


A painted candle sells for what a plain one never will, and it costs almost nothing extra to make. The trick is not talent, it is knowing that acrylic paint needs a partner before it will sit on wax at all: mix it with a candle painting medium and the paint grips instead of beading up and flaking off in the box on the way to a market stall.
Every design below names the base candle, the exact paint to medium ratio and how long it genuinely takes, timed the way a crafter actually works: mixing, painting, drying between coats. A one to one ratio of paint to medium is the standard starting point, and most of these ideas stay close to it, adjusting only when a design needs more coverage or more wash.
Clean the candle first. Strip off any packaging and stickers, and any leftover residue, before the brush comes near it. After that it is dots, lines and patience, and a batch of twelve that all look like they belong to the same small, slightly obsessive collection.
This post contains affiliate links. If you buy through them, I may earn a small commission at no extra cost to you.
Painted Florals
Florals are the fastest sellers and the easiest entry point, because a flower can be three dots of paint or thirty and still read as a flower. Keep the palette to two or three colours per candle so a table of them looks curated rather than chaotic.
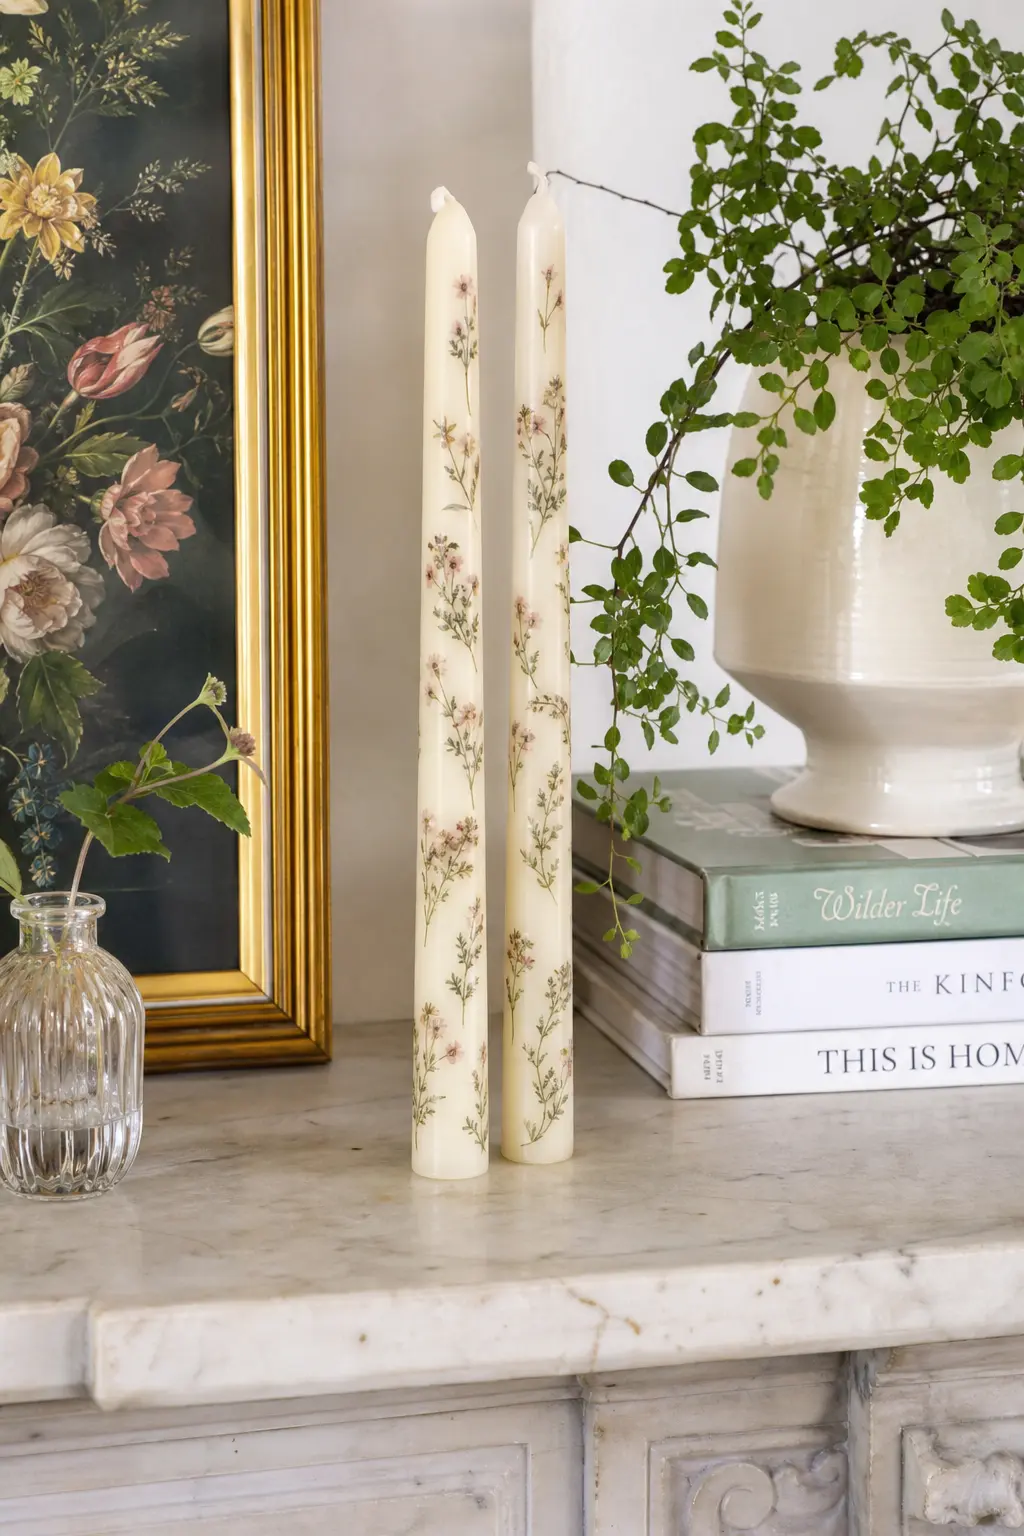
Wildflower Meadow Taper Pair
Base candle: two ivory taper candles. Paint mix: acrylic in dusty pink, sage green and ochre, each mixed with candle painting medium at a one to one ratio, kept in separate small dishes so colours stay clean between dips of the brush.
Work in loose clusters of three tiny dots per flower rather than single blooms marching in a line, it reads as a meadow instead of a pattern. This pair takes about forty five minutes for both candles including drying time between the base coat and the centre dots.
Sell them tied together with plain kitchen string rather than ribbon, buyers seem to trust the pair is handmade when the packaging looks unfussy.
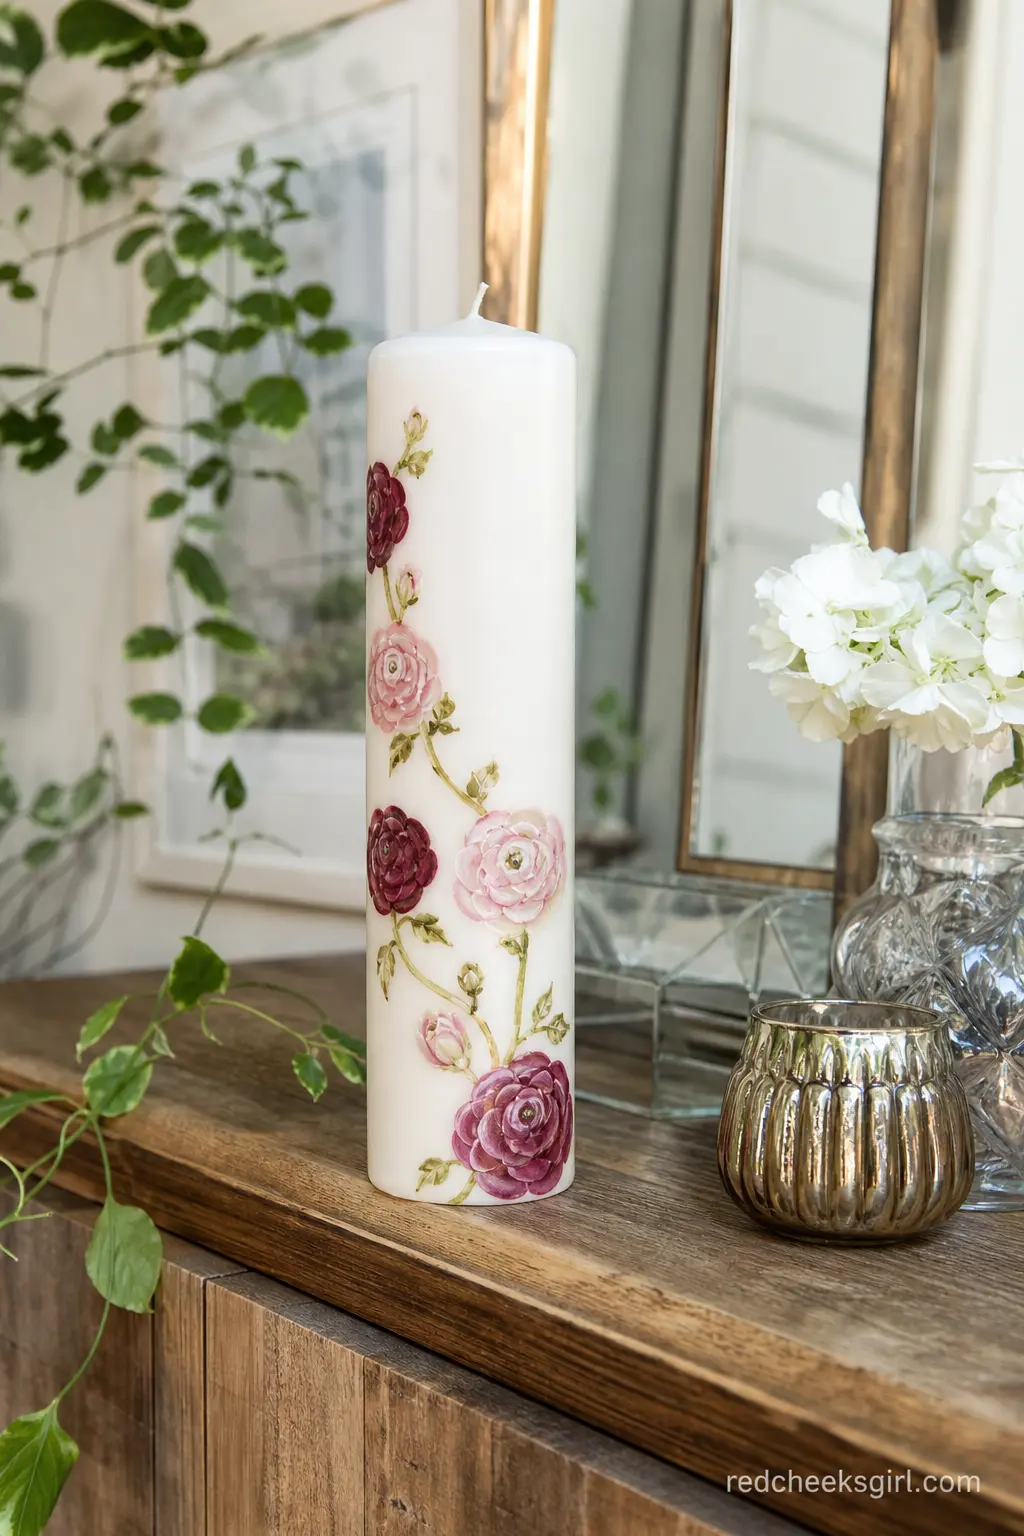
Trailing Ranunculus Pillar
Base candle: one white pillar candle, wide enough to give the trail room to climb. Paint mix: blush and burgundy acrylic mixed two parts paint to one part medium for the petals, so the colour sits opaque rather than washing into the white wax underneath.
Build each ranunculus from the centre out, small tight dots first, then looser petals fanning outward, climbing the candle in a diagonal line rather than a straight one. Allow about an hour and a half from sketch to final coat, since the layered petals need a short dry between colours.
🛍 Shopping guide
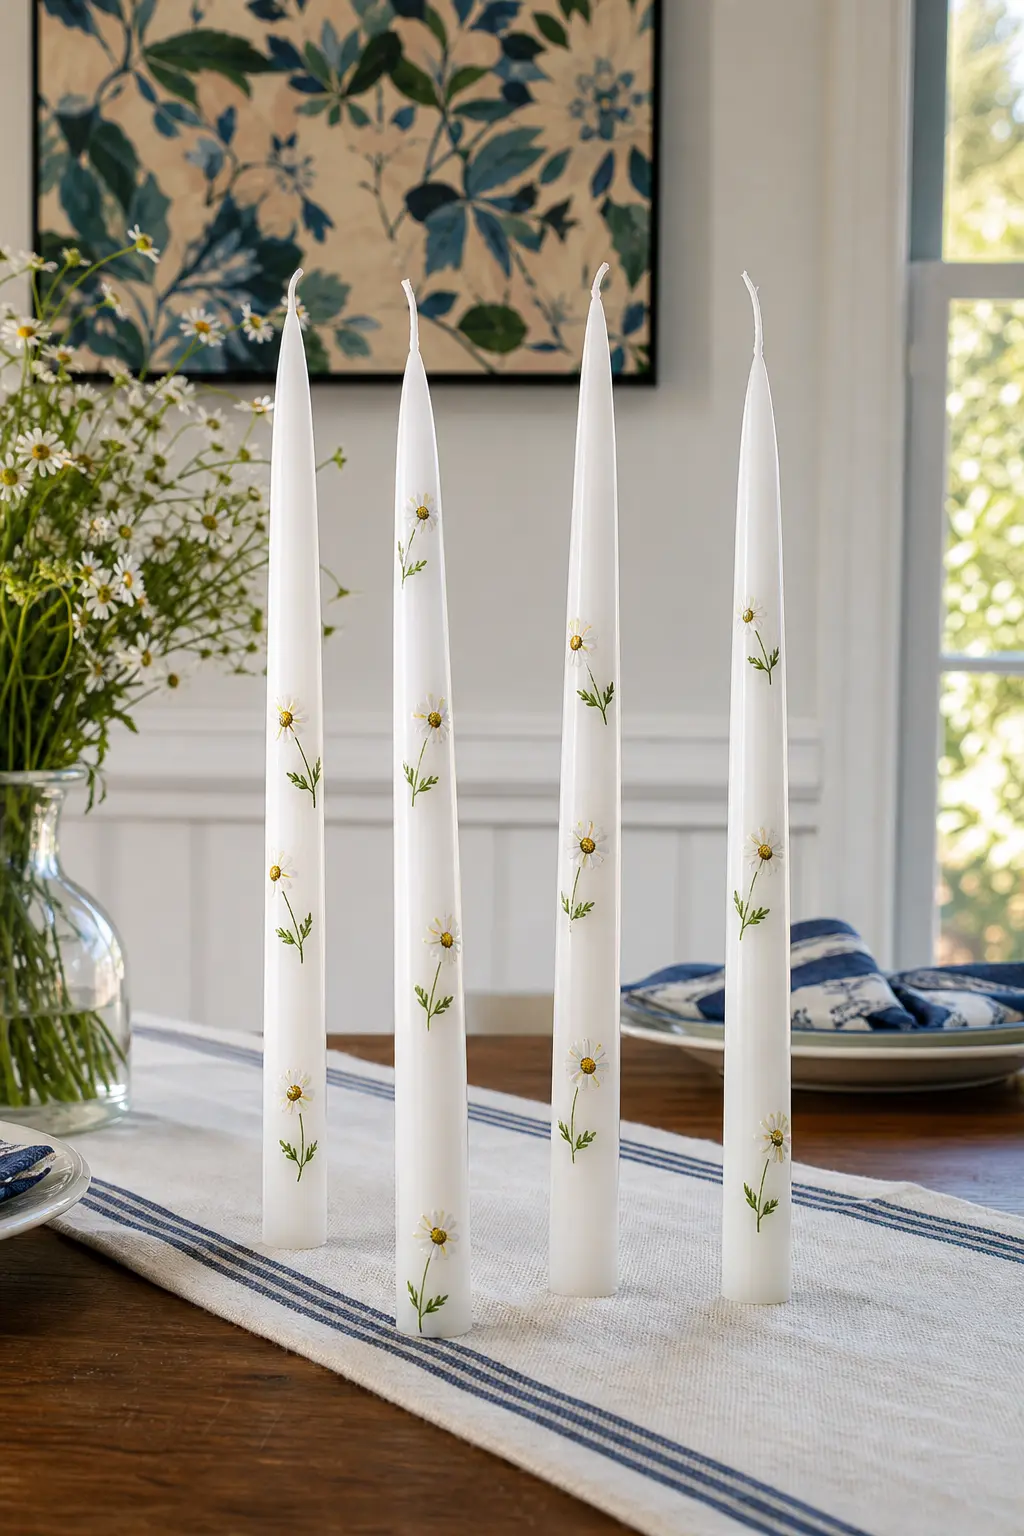
Single Stem Daisy Taper Set
Base candle: a set of four slim white taper candles. Paint mix: white and golden yellow acrylic, one part paint to one part medium, applied with the smallest brush in the kit since each daisy is only five short petal strokes around a single yellow dot.
This is the design to hand a beginner or a child helper, since one daisy takes seconds and mistakes disappear under the next flower. A full set of four tapers takes about thirty minutes start to finish.
🛍 Shopping guide
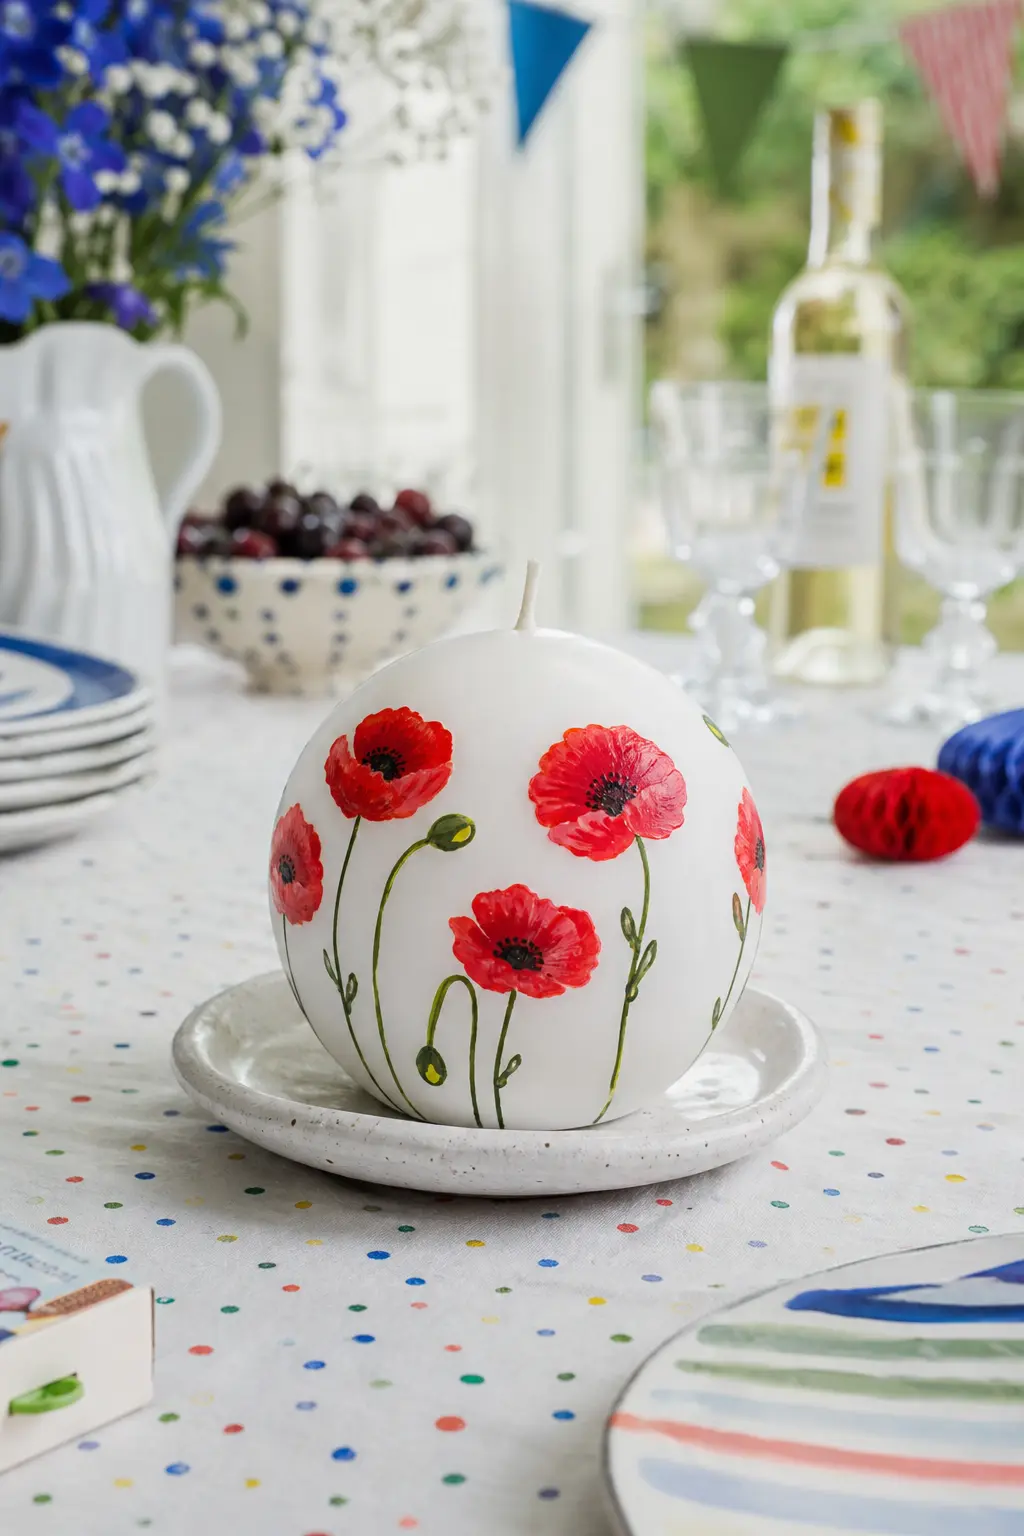
Poppy Field Ball Candle
Base candle: a round white ball candle, the curved surface actually helps here since poppy petals naturally look better slightly distorted. Paint mix: red acrylic mixed two to one with medium for opaque petals, black mixed one to one for the fine centre detail.
Paint the black centres first, small crosses of tiny dots, then build the red petals around them in loose overlapping curves. Green stem lines connect two or three poppies near the base. Budget about an hour for the full sphere, since the curve means working in sections and letting each dry before rotating the candle.
🛍 Shopping guide
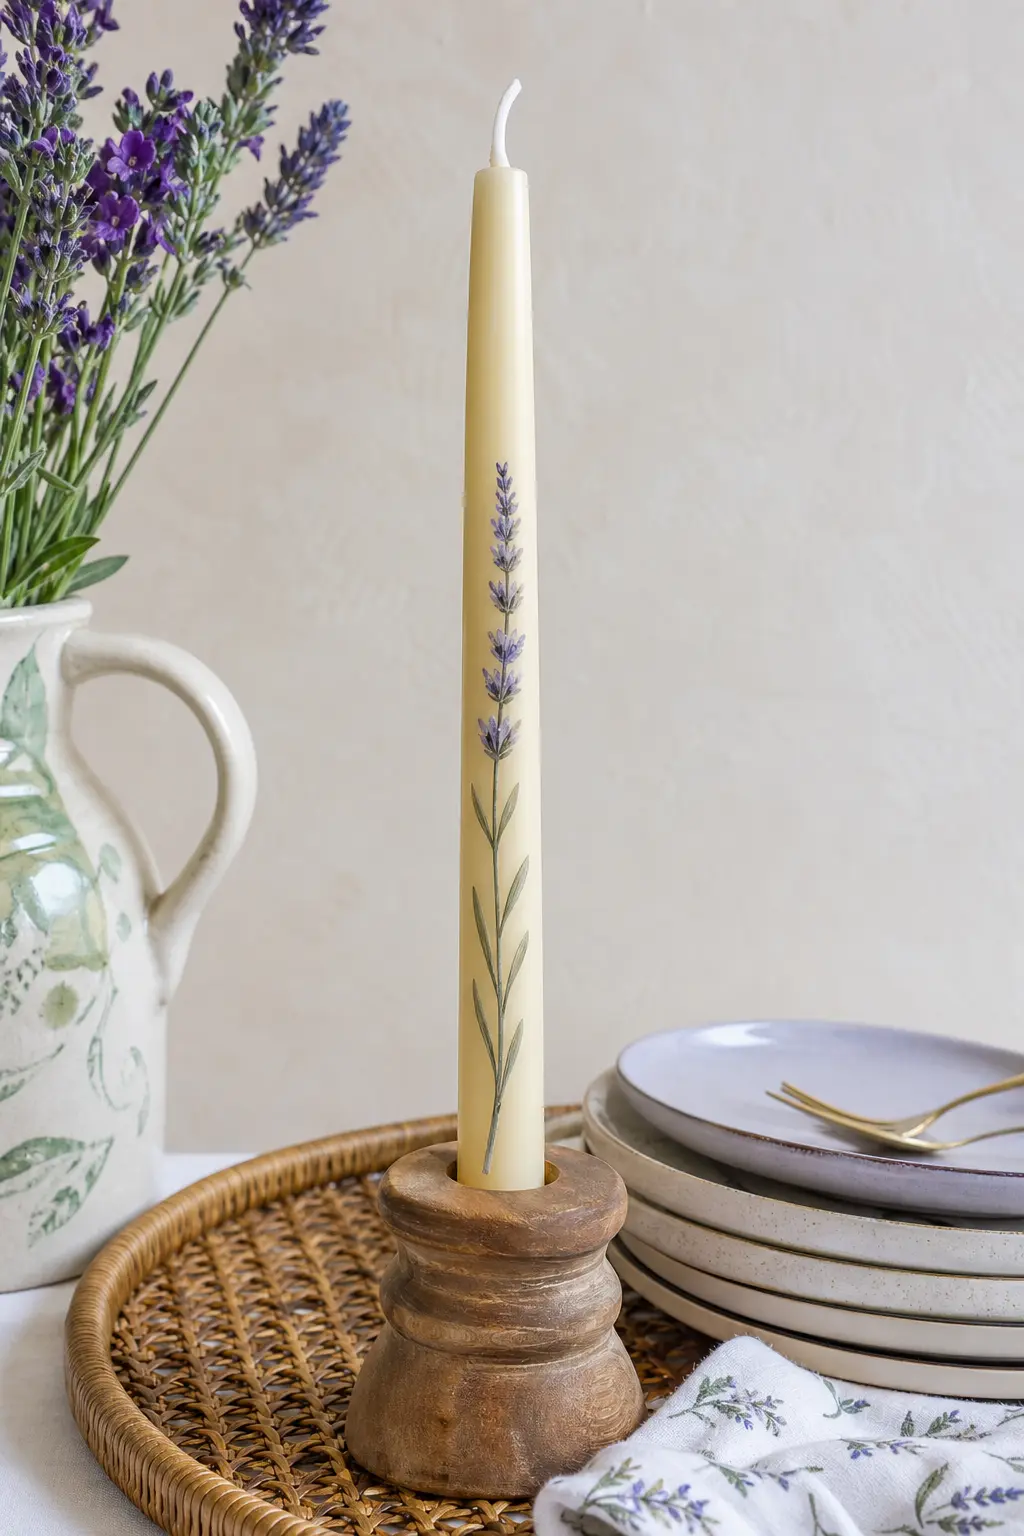
Lavender Sprig Dinner Candle
Base candle: one ivory taper, the kind used for a laid table rather than a gift box. Paint mix: dusty purple and sage acrylic thinned one part paint to two parts medium, a wash rather than a solid colour, so the sprigs look pressed rather than painted on.
A single vertical sprig runs most of the candle’s length, small oval leaves alternating either side of a thin stem. This one is quick, about forty minutes, and looks best sold in odd numbers of three or five for a table setting.
🛍 Shopping guide
Fruit and Garden Motifs
Fruit sells especially well in spring and summer markets, and it forgives a wobbly hand better than a face or a letter does. A cherry is two circles and a stem, which is exactly the kind of shape a beginner should practise on first.
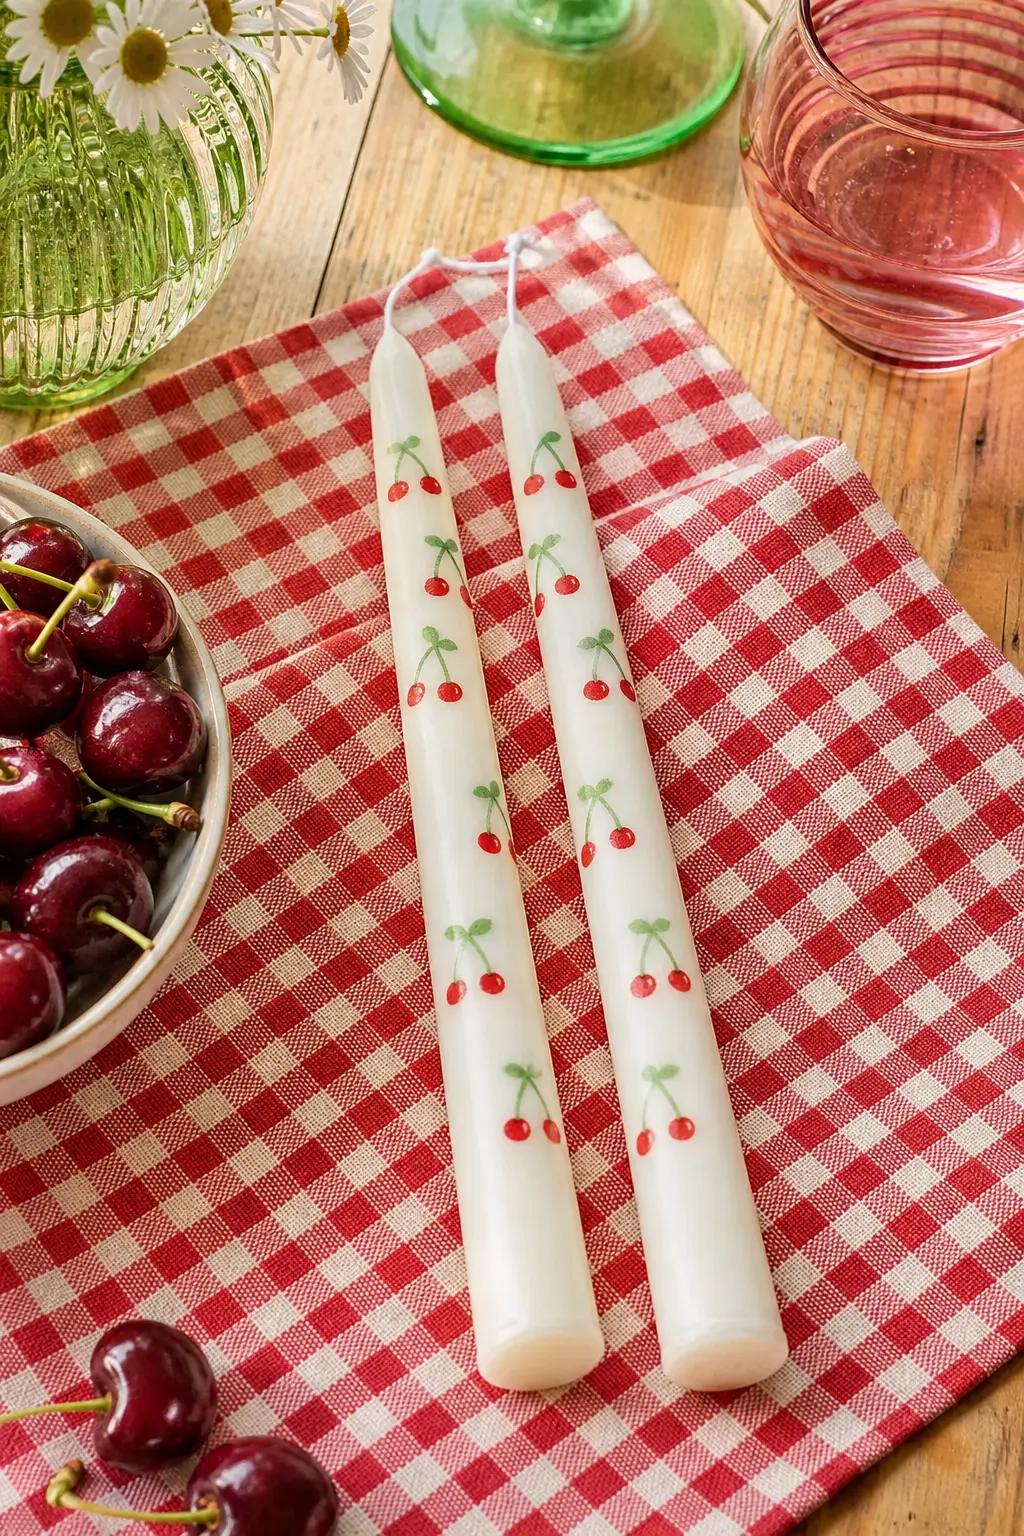
Cherry Orchard Taper Duo
Base candle: two white taper candles. Paint mix: cherry red and leaf green acrylic, one to one with medium, plus a touch of white mixed in for a small highlight dot on each cherry so they read as glossy rather than flat.
Two circles touching at the top, a thin curved stem joining them, repeated in small clusters up the candle. This is one of the fastest fruit designs on this list, about thirty five minutes for the pair including the highlight dots.
🛍 Shopping guide
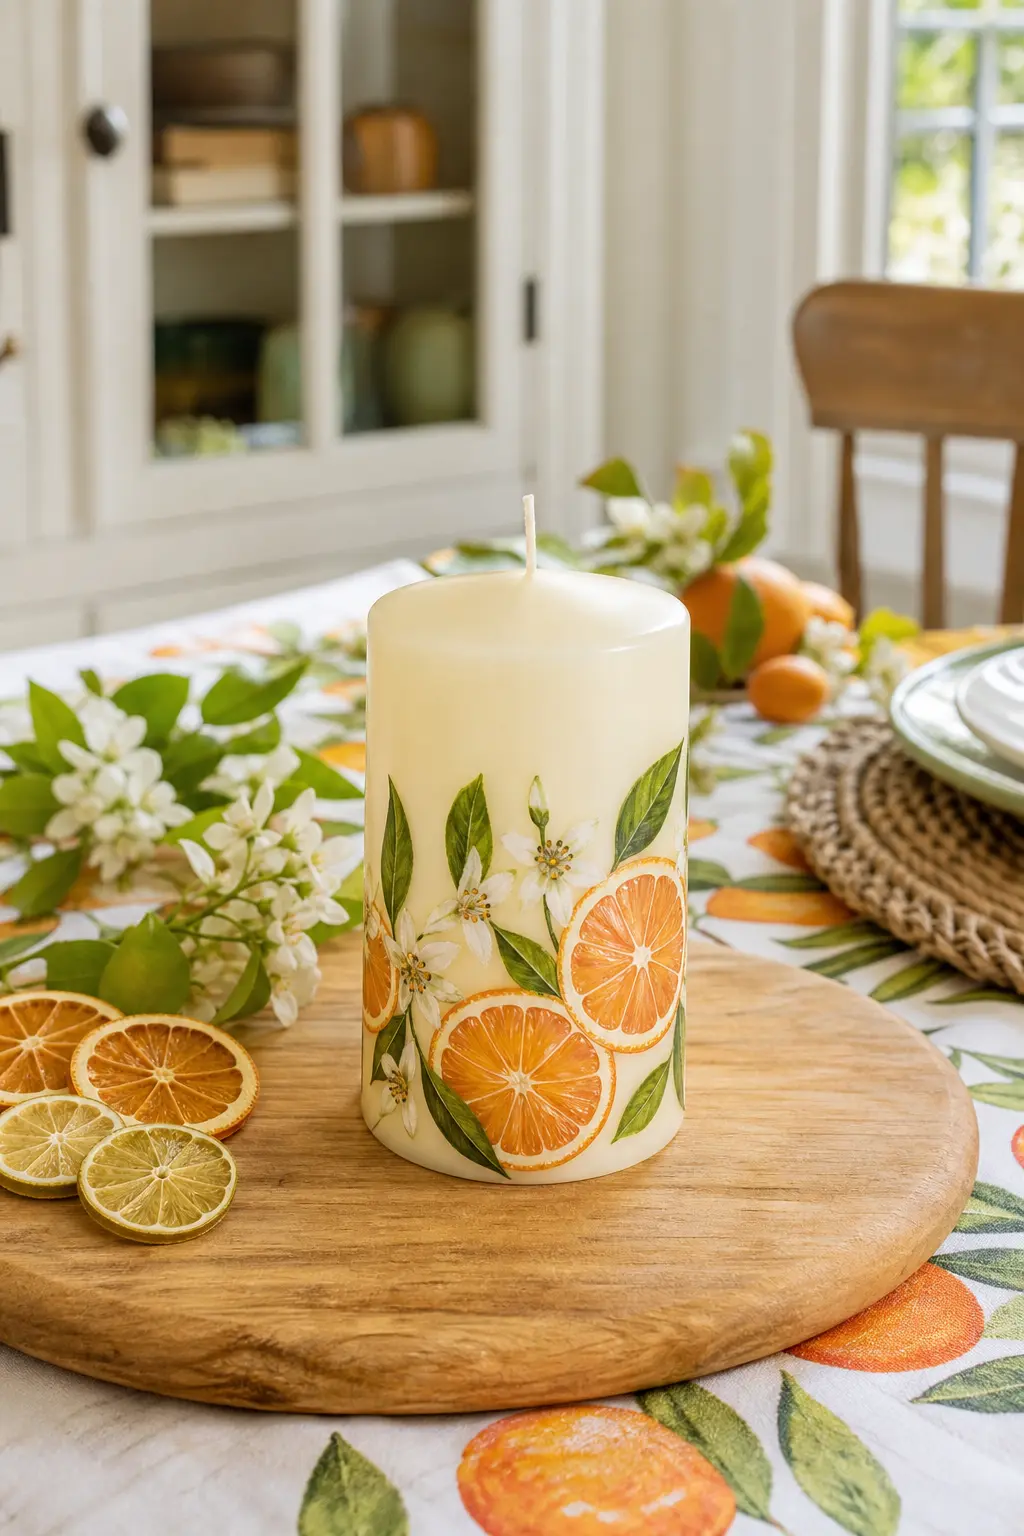
Citrus Grove Pillar
Base candle: one ivory pillar candle, wide enough for a full orange slice motif. Paint mix: orange, white and green acrylic each mixed one to one with medium, plus a thin black or brown line for the pith detail between segments.
Paint the slices as circles first, add the segment lines once dry, then scatter small white blossom dots and green leaves around the base. This is a slower design, close to an hour, because the segment lines need a steady hand and a dry surface underneath.
🛍 Shopping guide
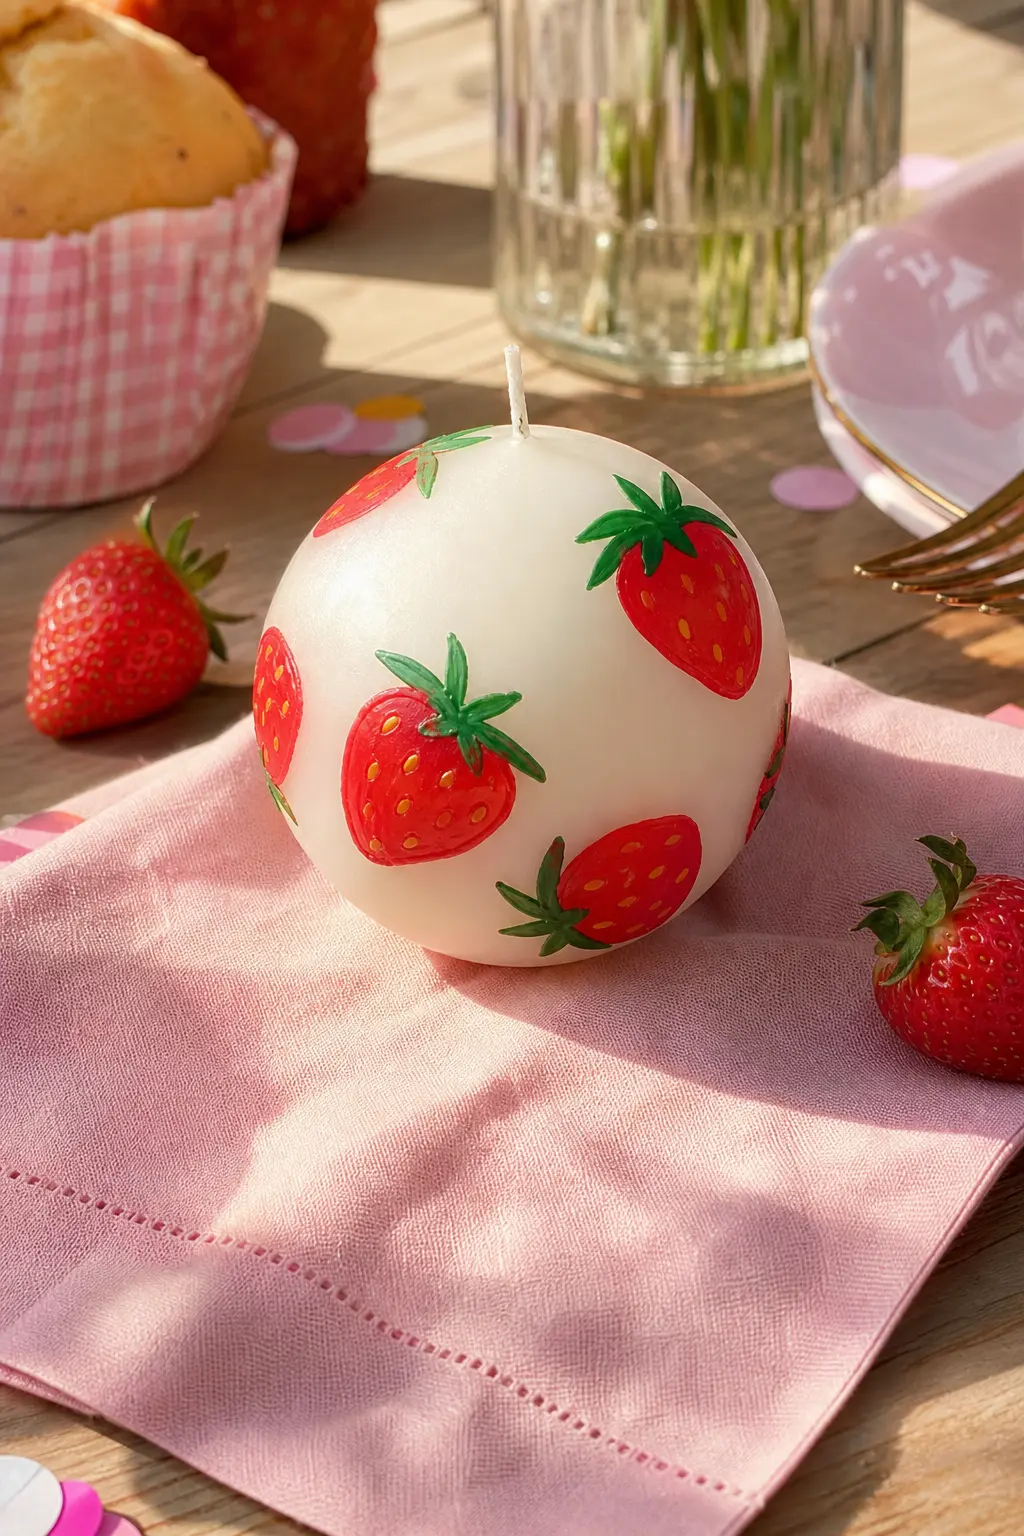
Strawberry Patch Ball Candle
Base candle: a round white ball candle. Paint mix: red acrylic two parts to one part medium for solid strawberry bodies, with tiny yellow dots stippled on top for the seeds once the red has dried, and green for the leafy cap.
Space three or four strawberries around the sphere with small white flowers filling the gaps. Around fifty minutes total, most of it waiting for the red base coat to dry enough that the seed dots do not bleed.
🛍 Shopping guide
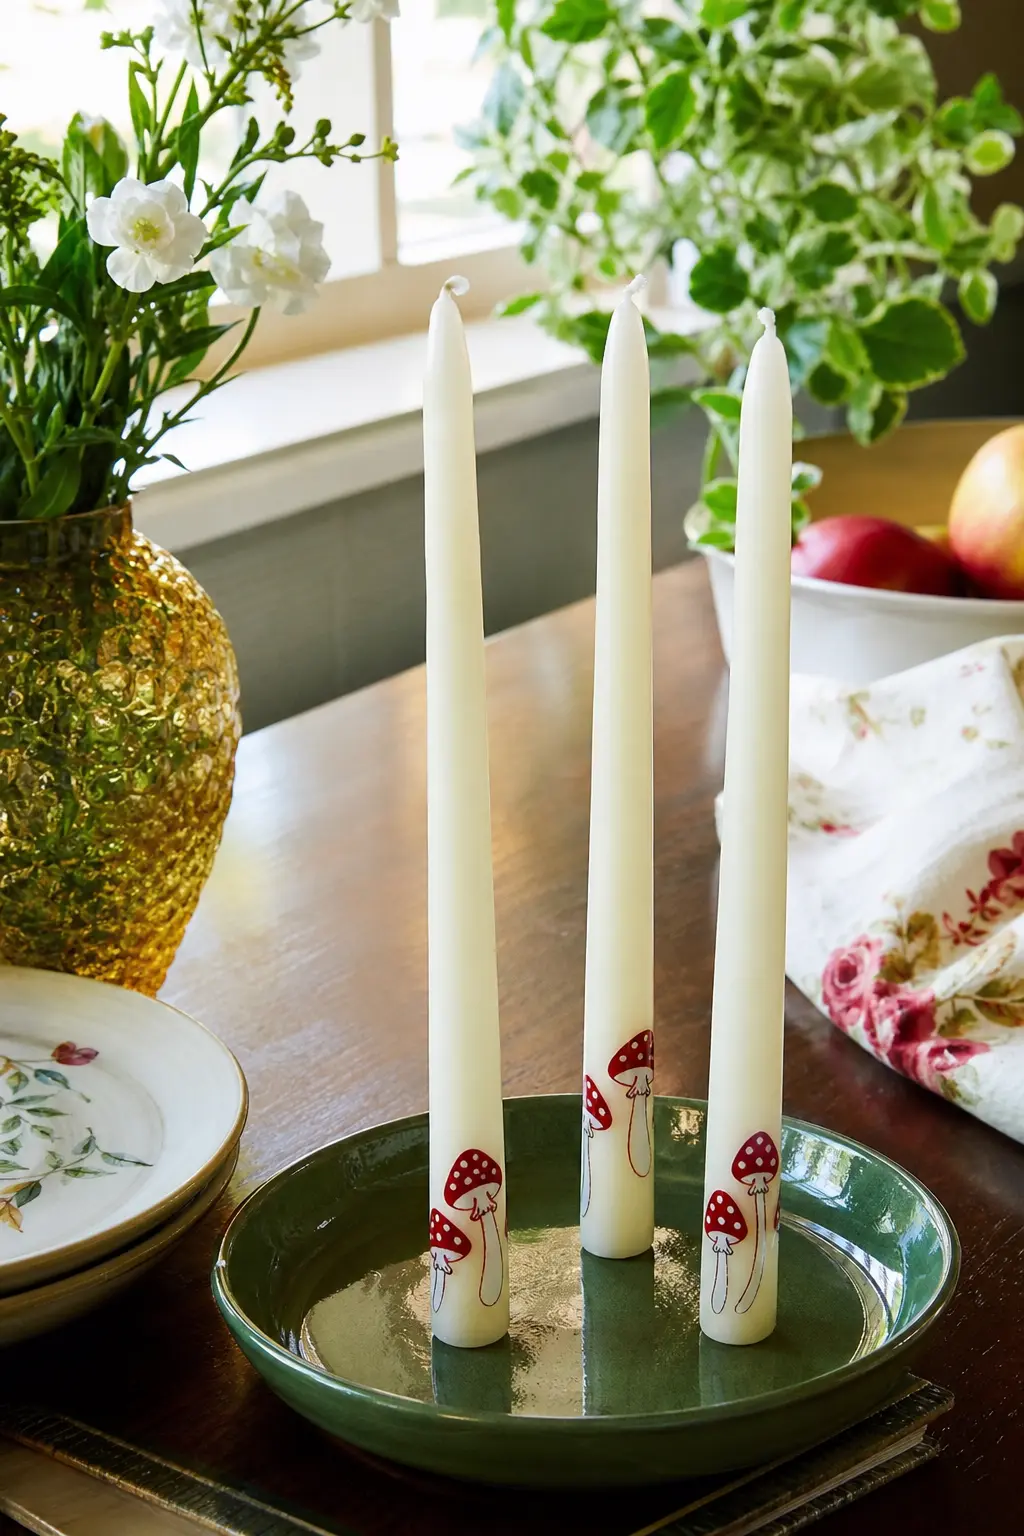
Mushroom Forage Taper Set
Base candle: a set of three ivory taper candles. Paint mix: brick red and white acrylic one to one with medium for the spotted caps, moss green thinned one to two for tiny scattered leaf dots at the base.
Paint the domed cap first, let it dry, then add small white dots on top for the classic spotted toadstool look. This woodland set takes about forty minutes for three candles and tends to sell fastest in autumn, though the palette works year round on a shelf.
🛍 Shopping guide
Blue and White China Patterns
China patterns take the longest of anything on this list, but they also command the highest price at a stall, because buyers recognise the reference even when they cannot name it. One steady cobalt line is worth more than ten shaky ones, so slow down for these three.
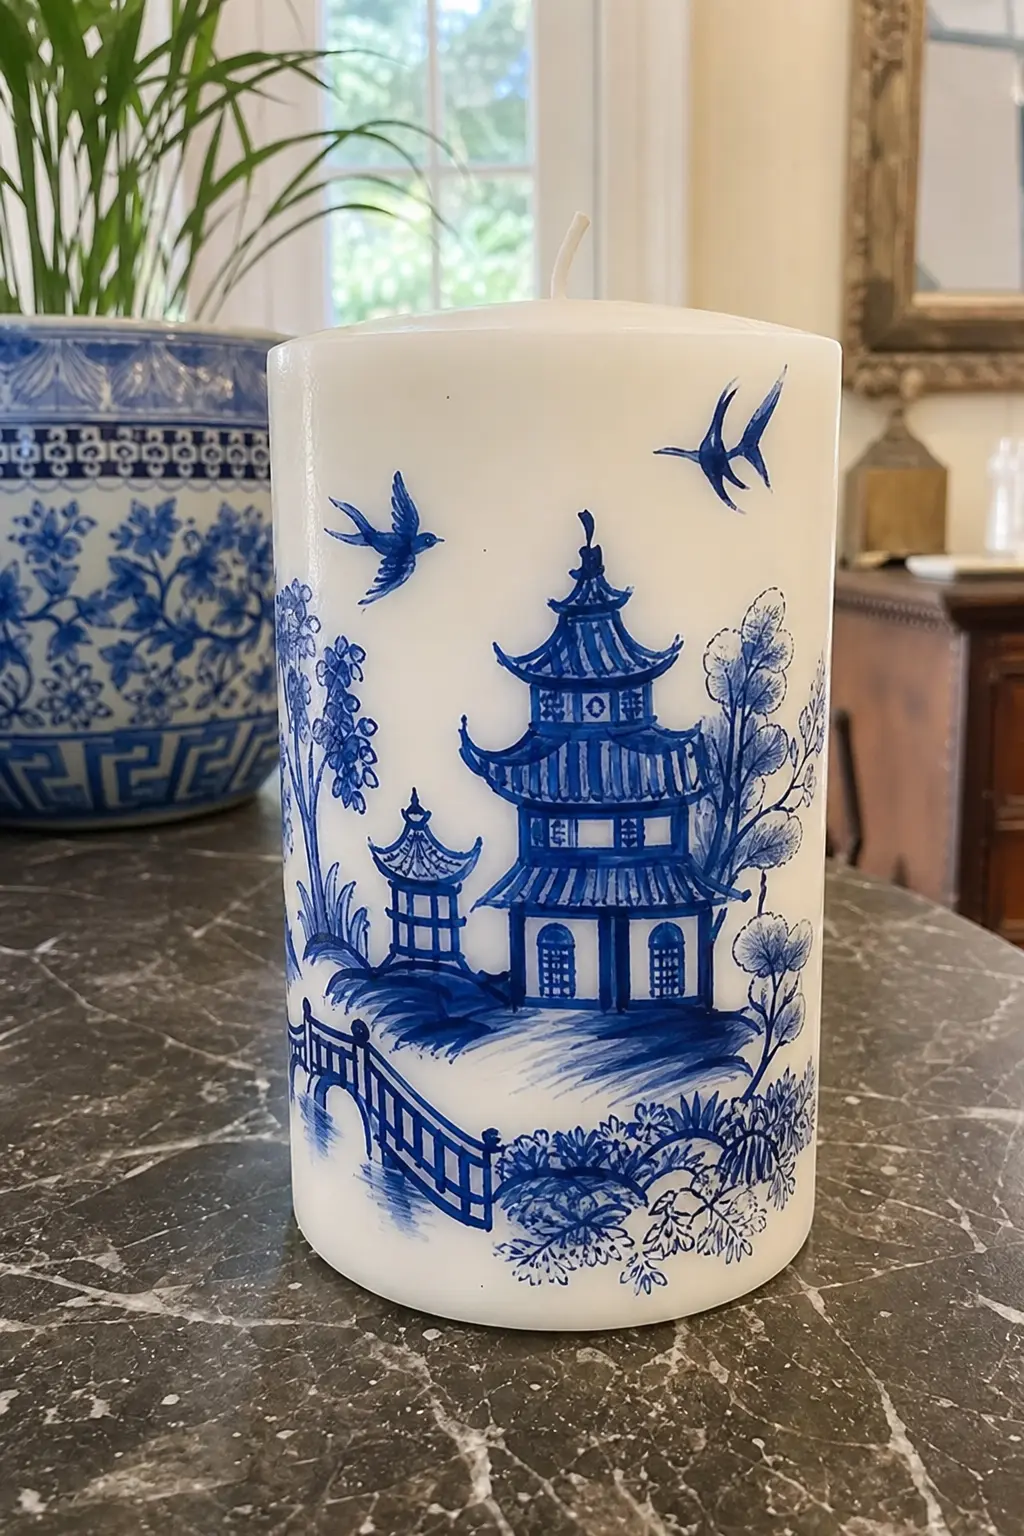
Willow Pattern Pillar
Base candle: one wide white pillar candle, the most forgiving surface for a design this detailed. Paint mix: cobalt blue acrylic mixed one to one with candle painting medium, thinned slightly further for the finest architectural lines so the brush glides rather than drags.
This is the slowest design in the whole set, close to two hours, because a willow scene needs a pagoda roofline, a bridge and at least one small tree before it reads as chinoiserie rather than abstract scribble. It is also the one that justifies the highest price tag at a stall.
🛍 Shopping guide
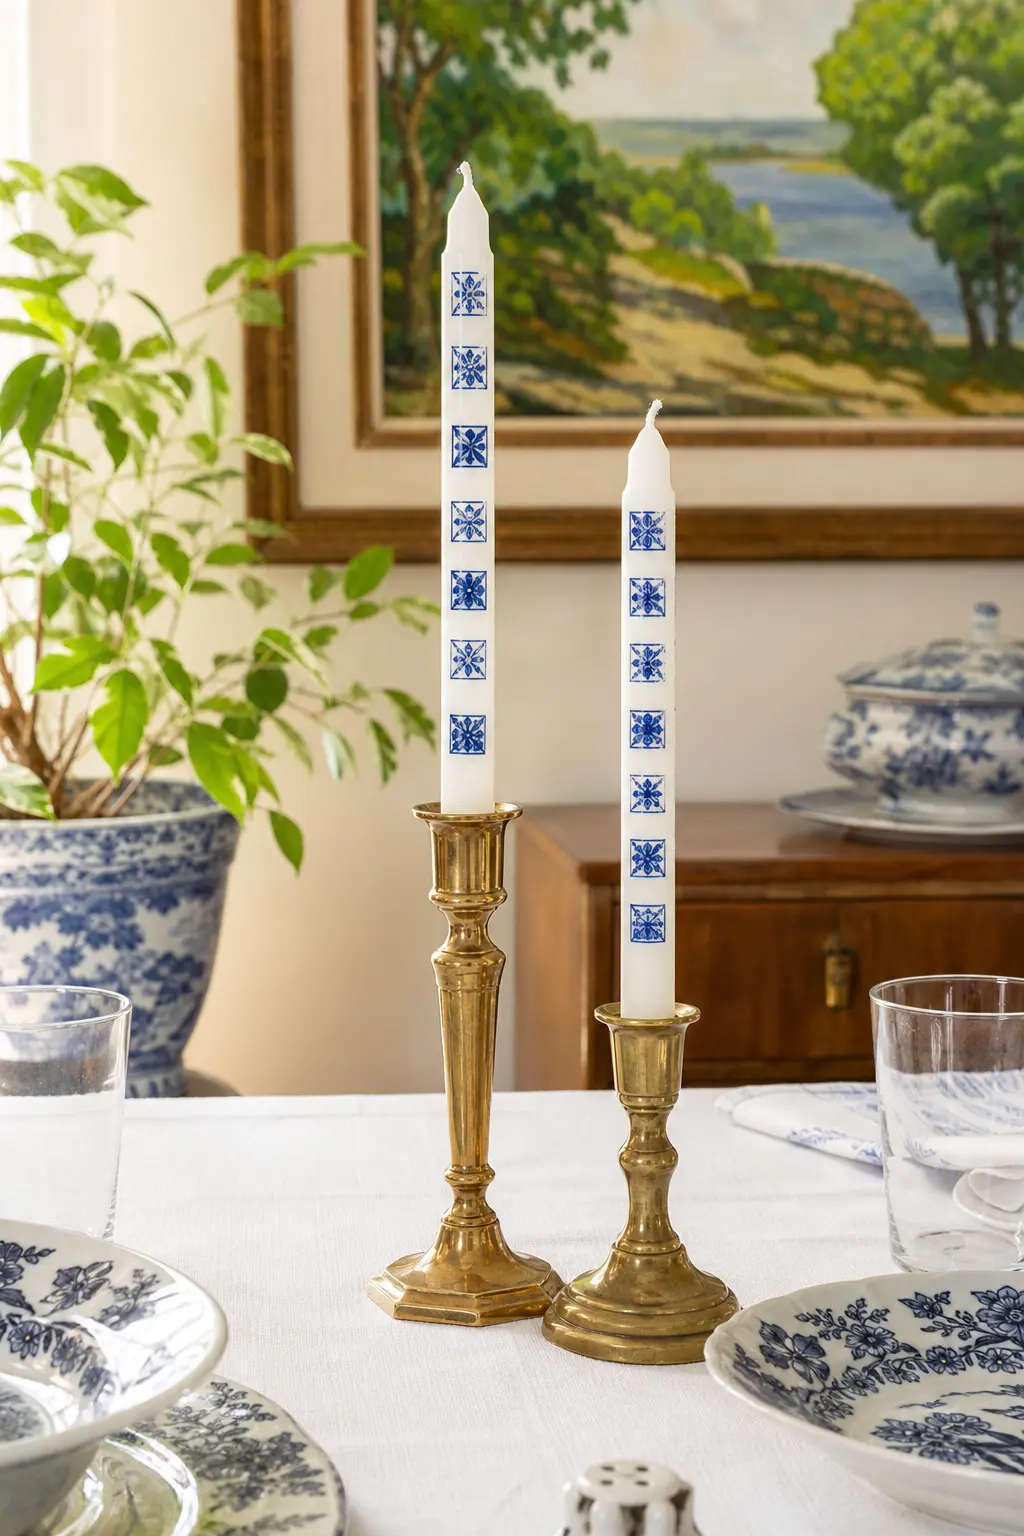
Delft Tile Taper Pair
Base candle: two white taper candles. Paint mix: cobalt blue acrylic one to one with medium, applied in small repeating squares to mimic a single delft tile rather than a full scene.
A tiny tulip or diamond motif inside each painted square, repeated in a neat vertical column up the candle, keeps this one far quicker than the willow pillar, about an hour for the pair. Sold as a pair rather than a single, they suggest a set for a mantel rather than one lonely candle.
🛍 Shopping guide
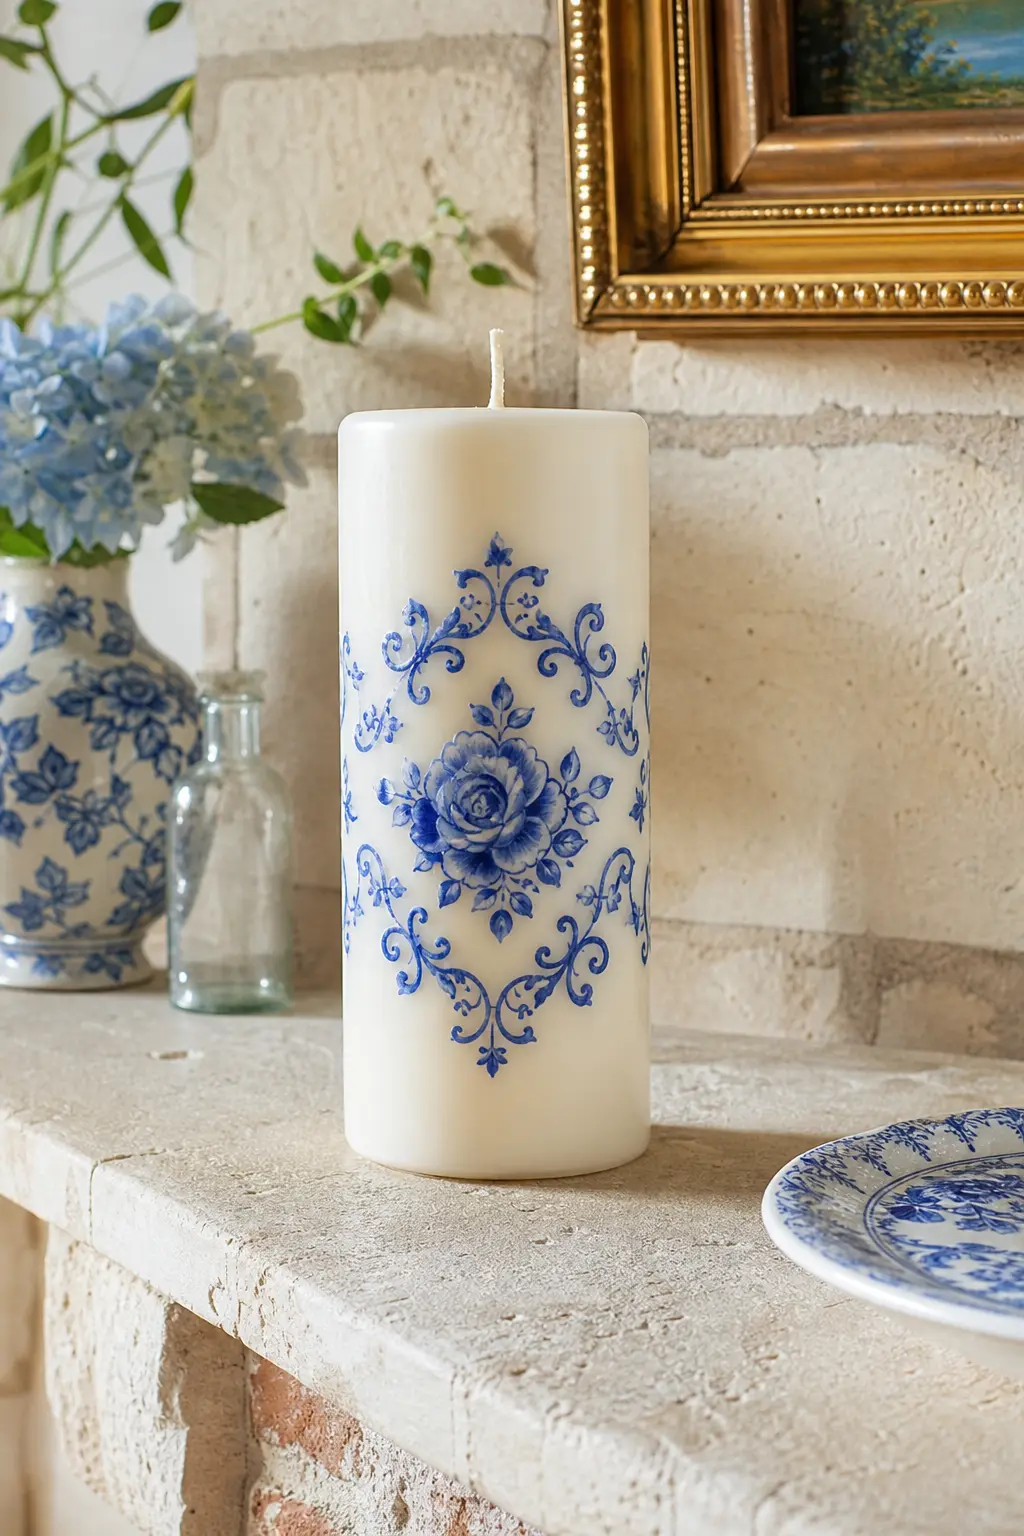
Porcelain Rose Pillar
Base candle: one ivory pillar candle. Paint mix: cobalt blue acrylic one to one with medium for the rose medallions, thinned to a wash of one part paint to two parts medium for the fine scrollwork connecting them.
Two or three rose medallions spaced evenly around the candle, joined by thin trailing scroll lines, gives the effect of a china plate rim without the full narrative scene of the willow design. About ninety minutes, most of it spent on the scrollwork rather than the roses themselves.
🛍 Shopping guide
Gingham and Stripes
Geometric patterns are the batch-production candles: once the grid or the stripe spacing is marked out, four candles paint up in the time one floral takes. They also photograph beautifully stacked, which matters more than it should for an online shop.
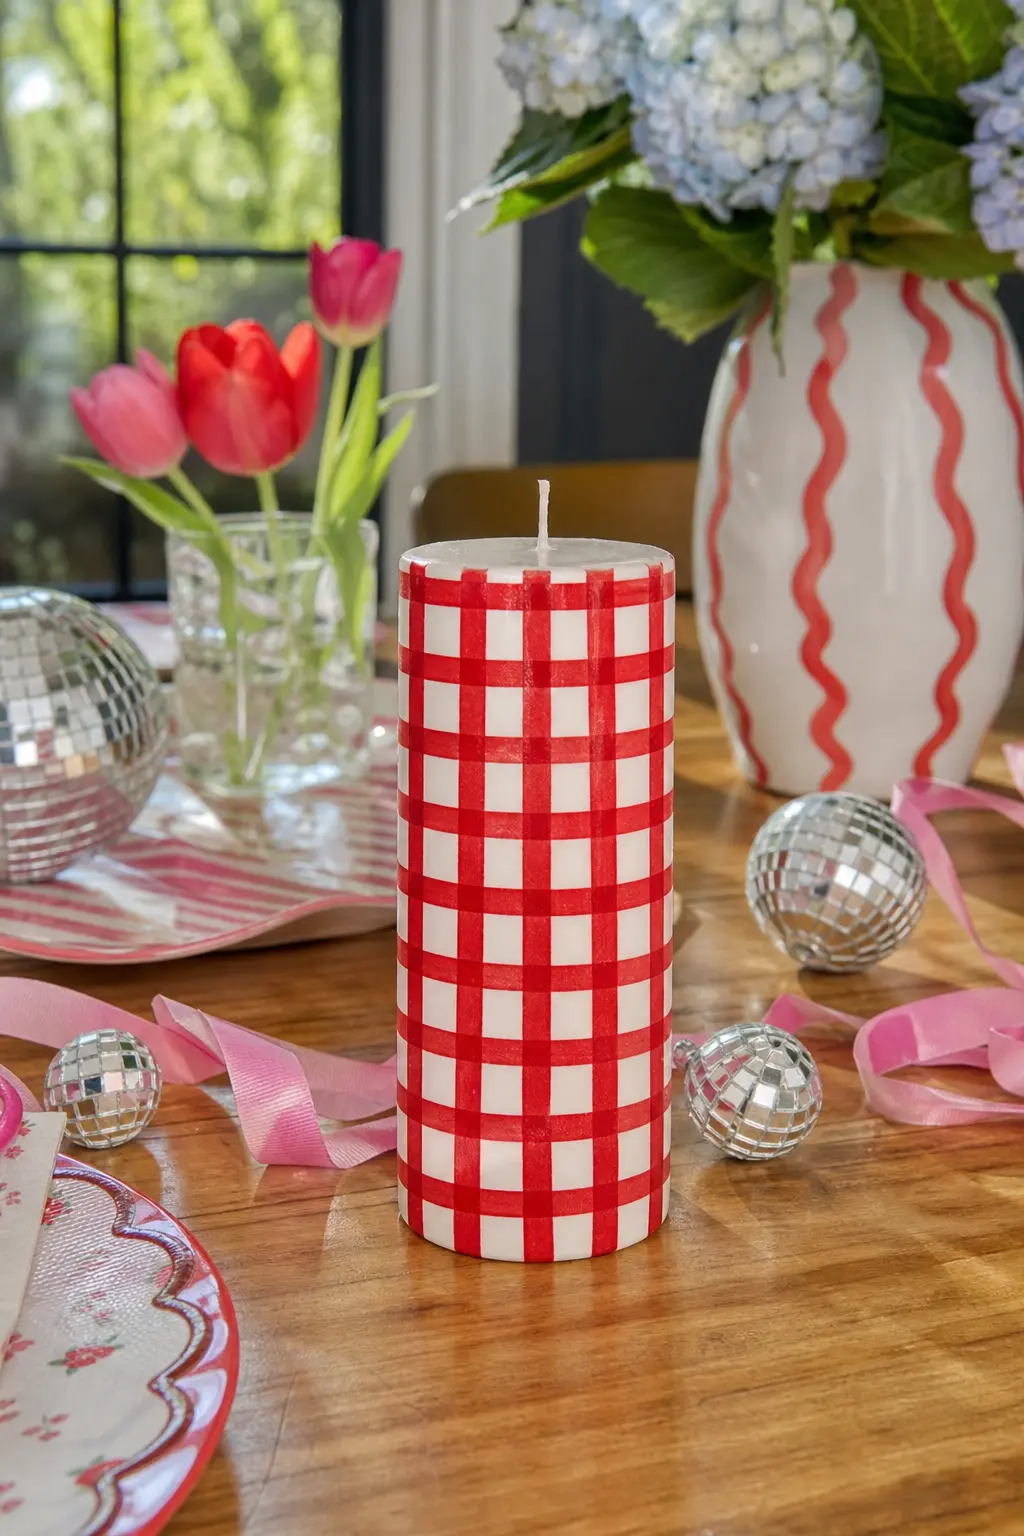
Cherry Red Gingham Pillar
Base candle: one white pillar candle, wide enough for a clear grid. Paint mix: cherry red acrylic mixed two parts paint to one part medium, kept thick enough that the checks stay crisp rather than bleeding into the white background.
Mark the grid lightly in pencil first, horizontal then vertical, before a single line of paint goes down, this is the difference between a gingham that looks intentional and one that looks like it slipped. About seventy five minutes total including the pencil marking.
🛍 Shopping guide
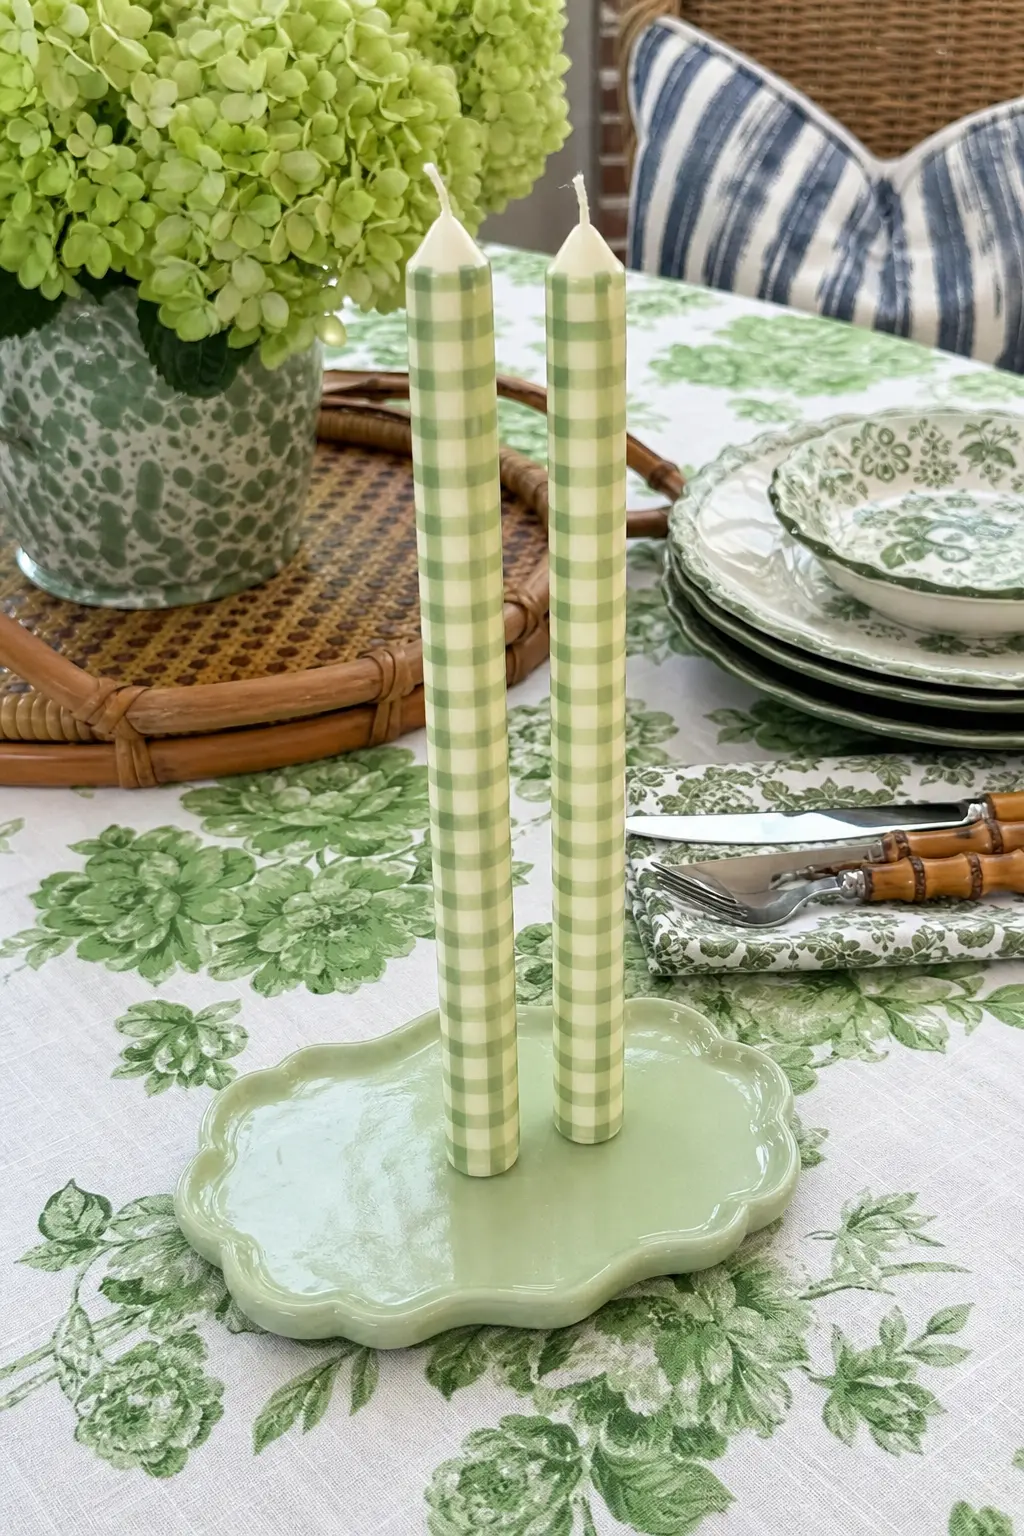
Sage Gingham Taper Pair
Base candle: two ivory taper candles. Paint mix: sage green acrylic two to one with medium for the grid lines, kept slightly looser than the pillar version since a taper’s narrower surface reads better with a smaller check.
Because the pattern repeats, the second candle goes noticeably faster than the first once the spacing is worked out. Plan on about forty five minutes for the pair.
🛍 Shopping guide
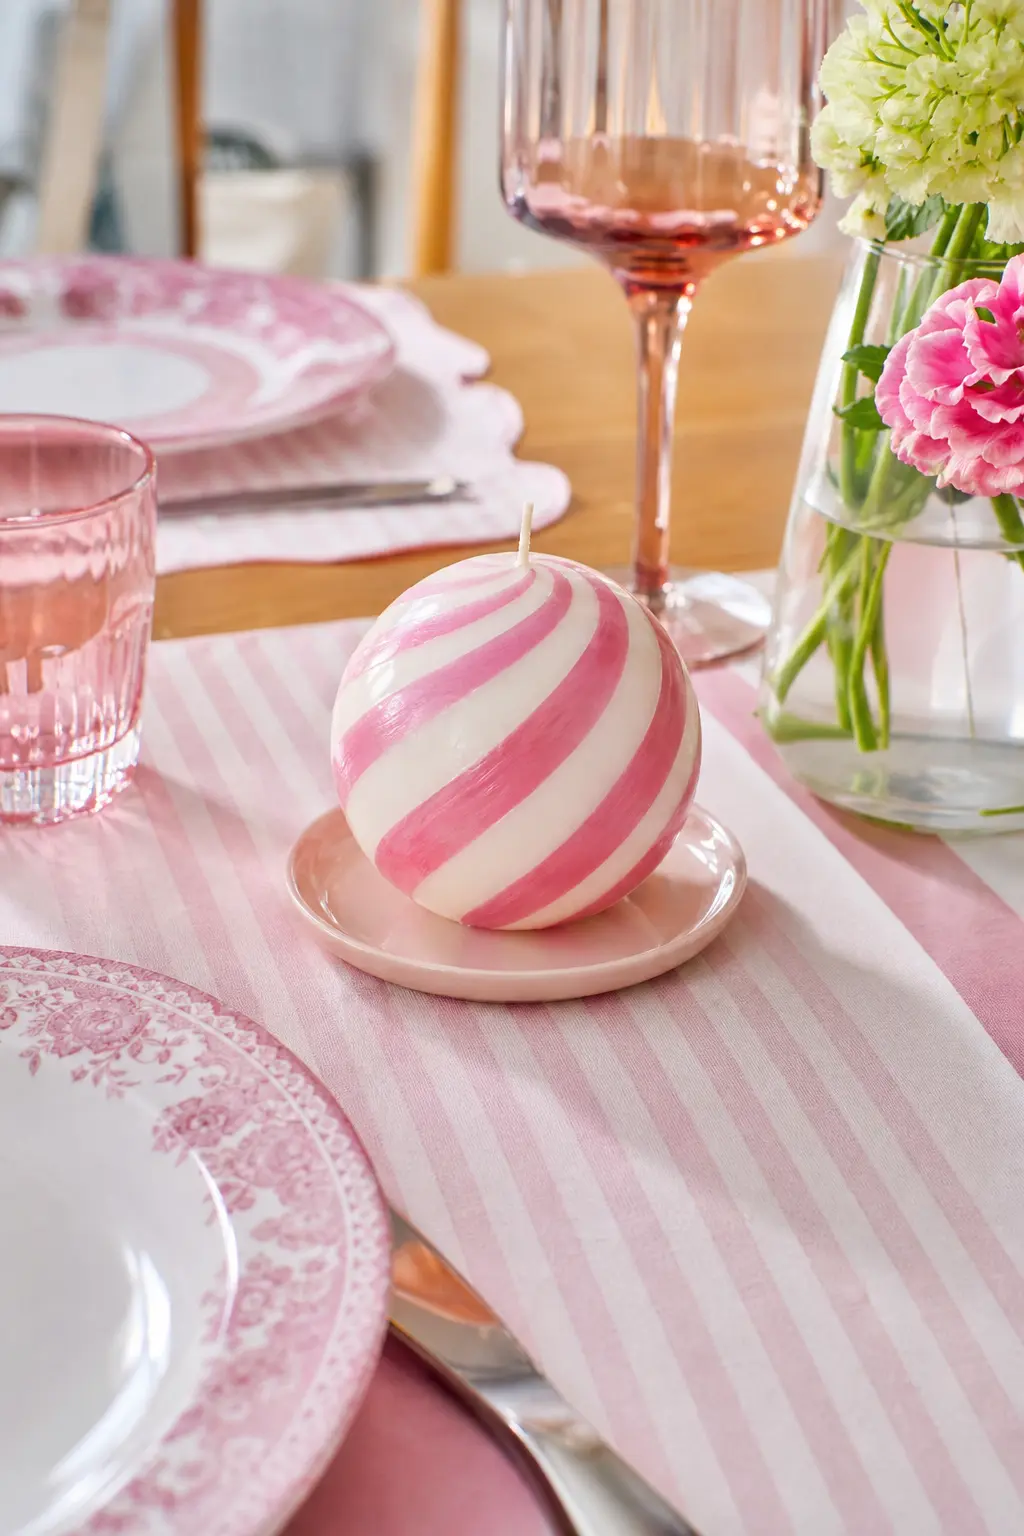
Candy Stripe Ball Candle
Base candle: a round white ball candle. Paint mix: dusty pink and cream acrylic, one to one with medium, applied in diagonal bands using a strip of washi tape as a guide so the stripe edges stay clean on a curved surface.
Peel the tape while the paint is still slightly tacky rather than fully dry, or the edge tears instead of releasing cleanly. About forty minutes, most of it drying time between the tape lifts.
🛍 Shopping guide
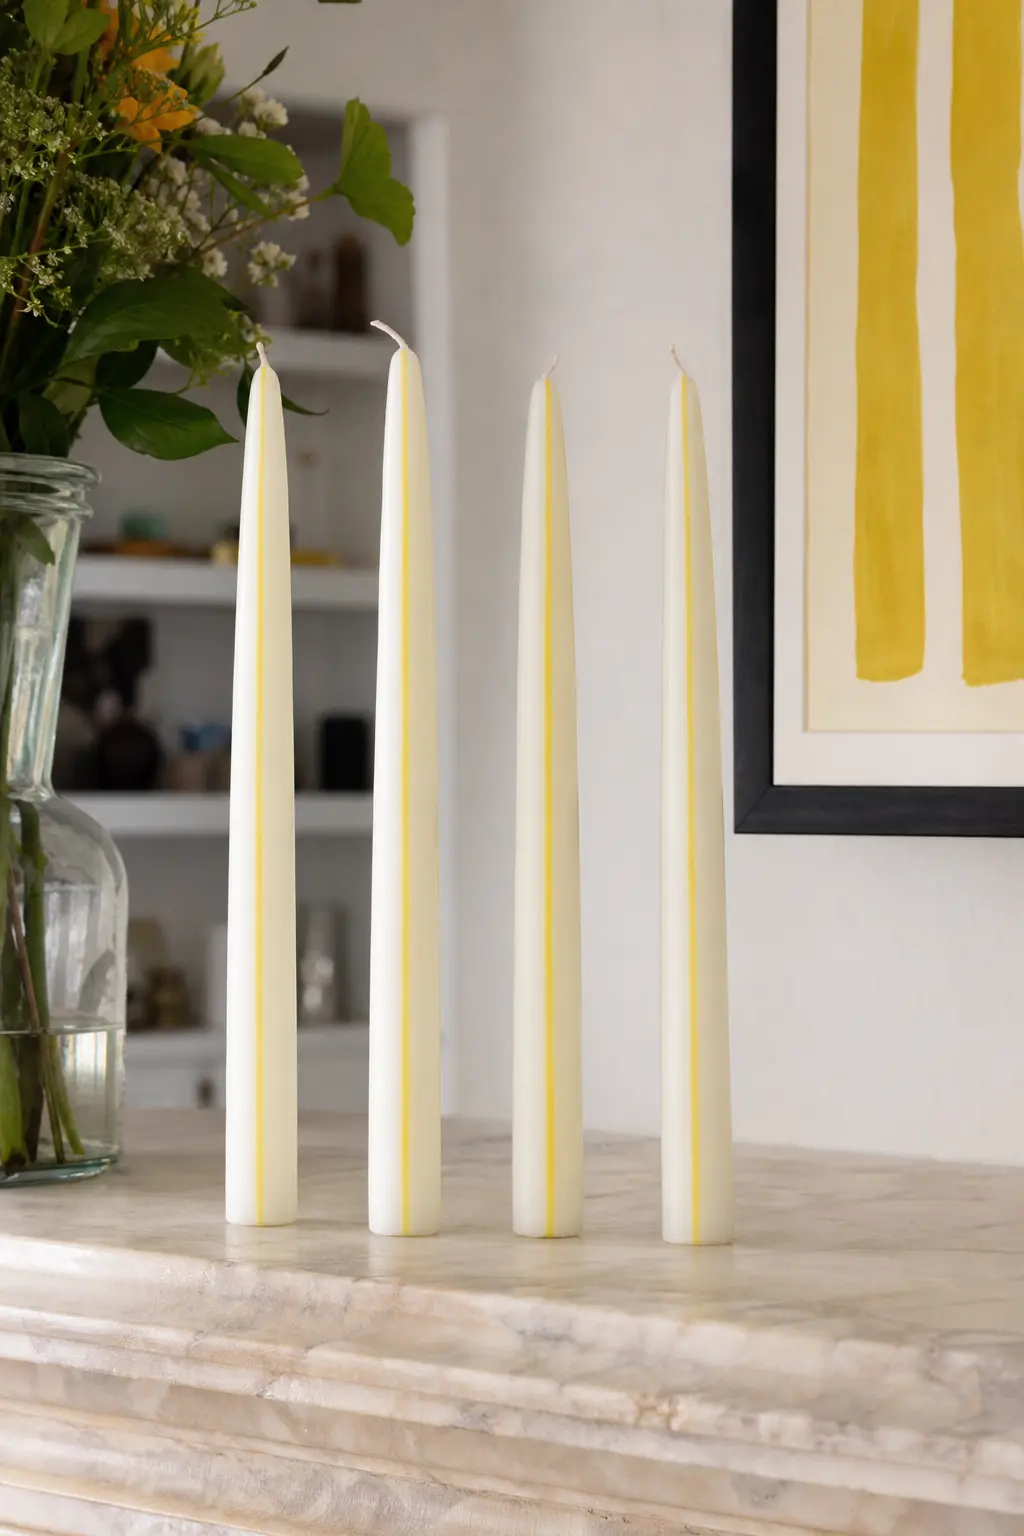
Butter Yellow Pinstripe Taper Set
Base candle: a set of four white taper candles. Paint mix: butter yellow acrylic one to one with medium, applied with a fine liner in a single continuous vertical line down each candle rather than a filled band.
This is the quickest design in the whole lineup, about thirty minutes for a full set of four, because there is only one thin line per candle rather than a repeating pattern to plan out.
🛍 Shopping guide
Tiny Hearts and Sweet Scatter Motifs
Scatter motifs, tiny hearts, stars, ladybirds, are the ones customers buy on impulse because they look like something from a favourite jumper or a childhood sticker sheet. They also happen to be the quickest designs in the whole lineup.
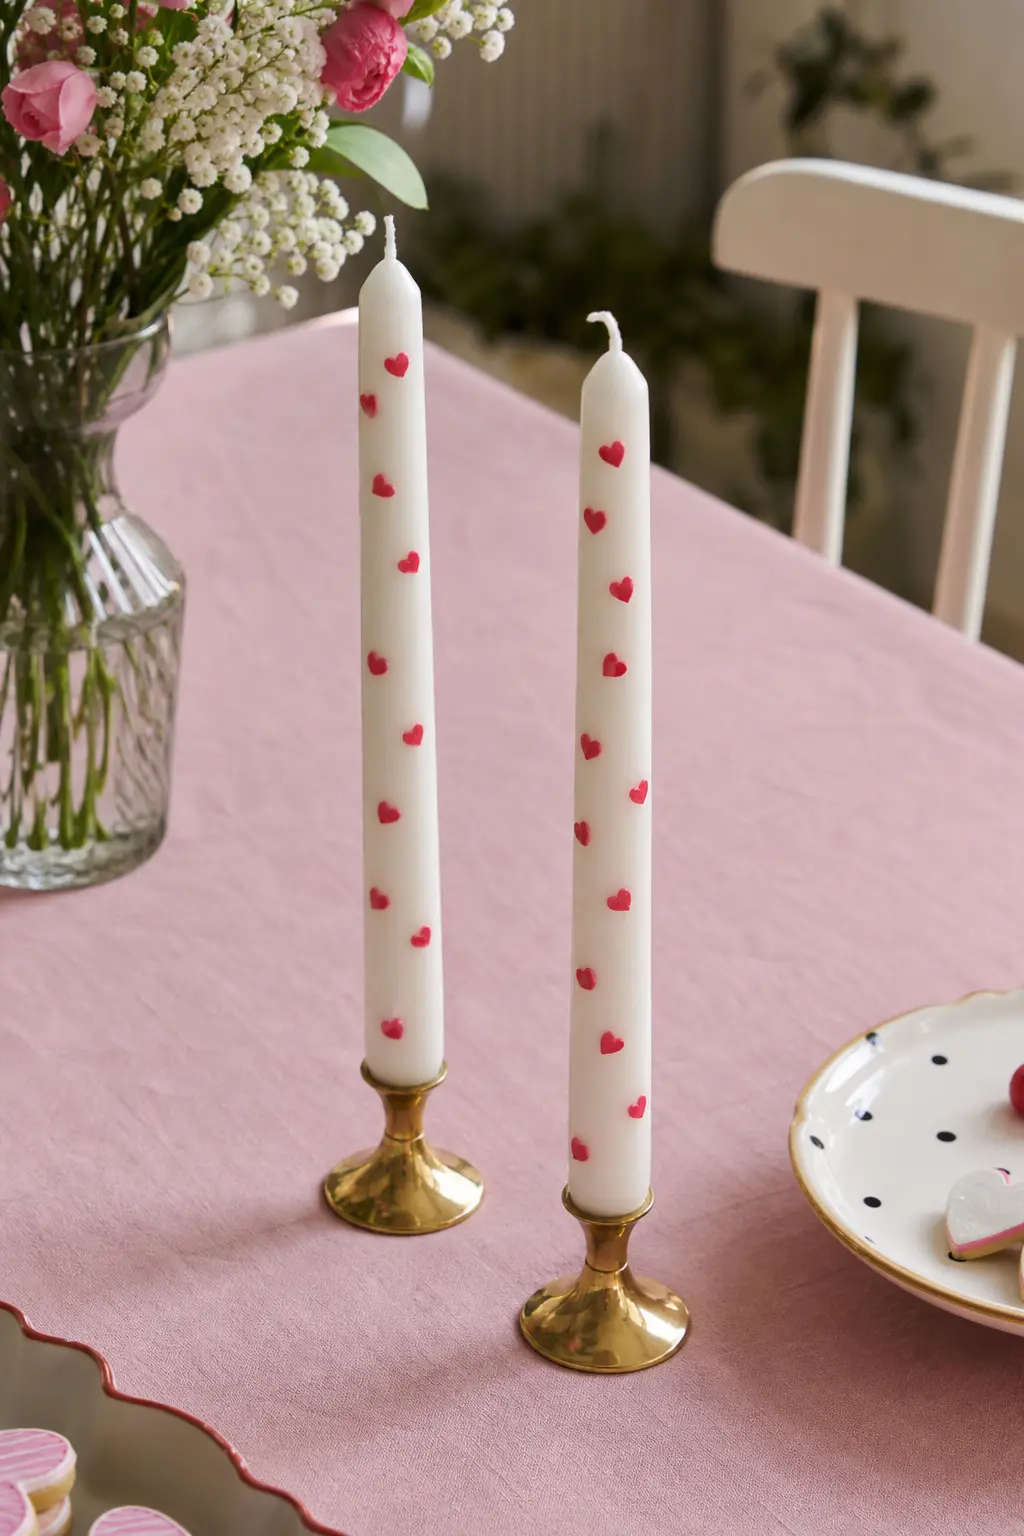
Candy Heart Taper Pair
Base candle: two white taper candles. Paint mix: raspberry pink acrylic one to one with medium, applied as tiny two stroke hearts scattered rather than lined up, so they read as confetti instead of a border.
Each heart is two small curved strokes meeting in a point, small enough that a whole cluster fits in the space of a thumbnail. About thirty minutes for the pair, one of the fastest and most reliable sellers at a market table.
🛍 Shopping guide
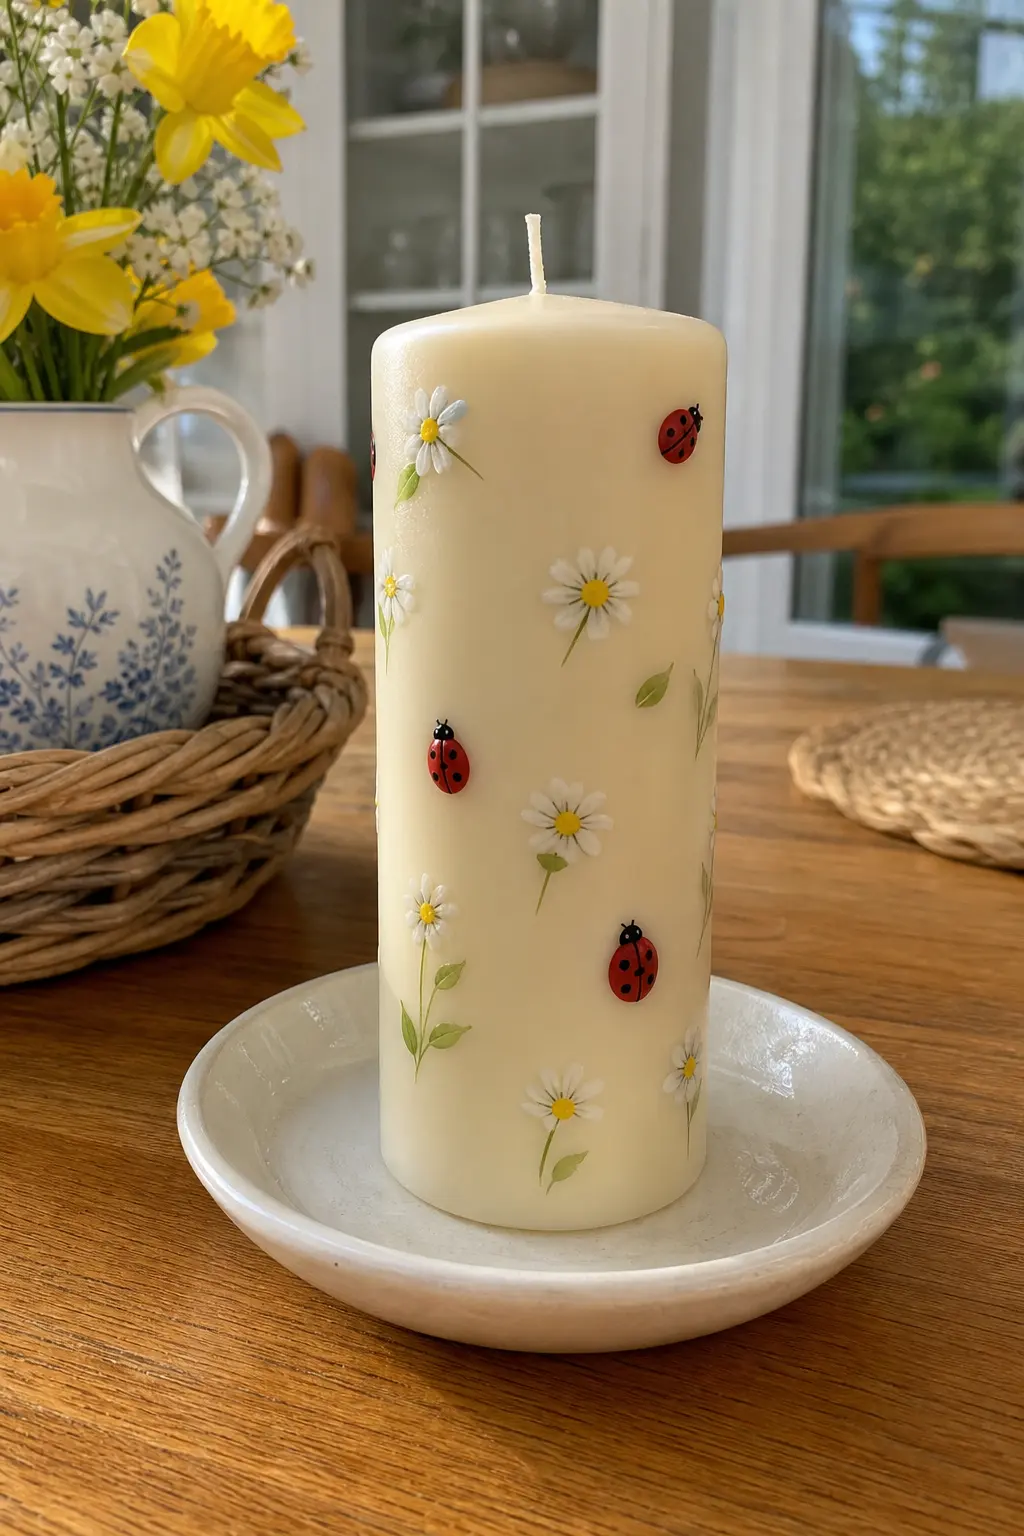
Ladybird Meadow Pillar
Base candle: one ivory pillar candle. Paint mix: red and black acrylic, red mixed one to one with medium for the body, black thinned one to two for the fine spots and head, plus small white daisy dots scattered between the ladybirds.
Paint the red oval body first, let it set, then add the black head and a neat row of dots down the back. About fifty minutes, and this one tends to sell to buyers shopping for a child’s room rather than a formal table.
🛍 Shopping guide
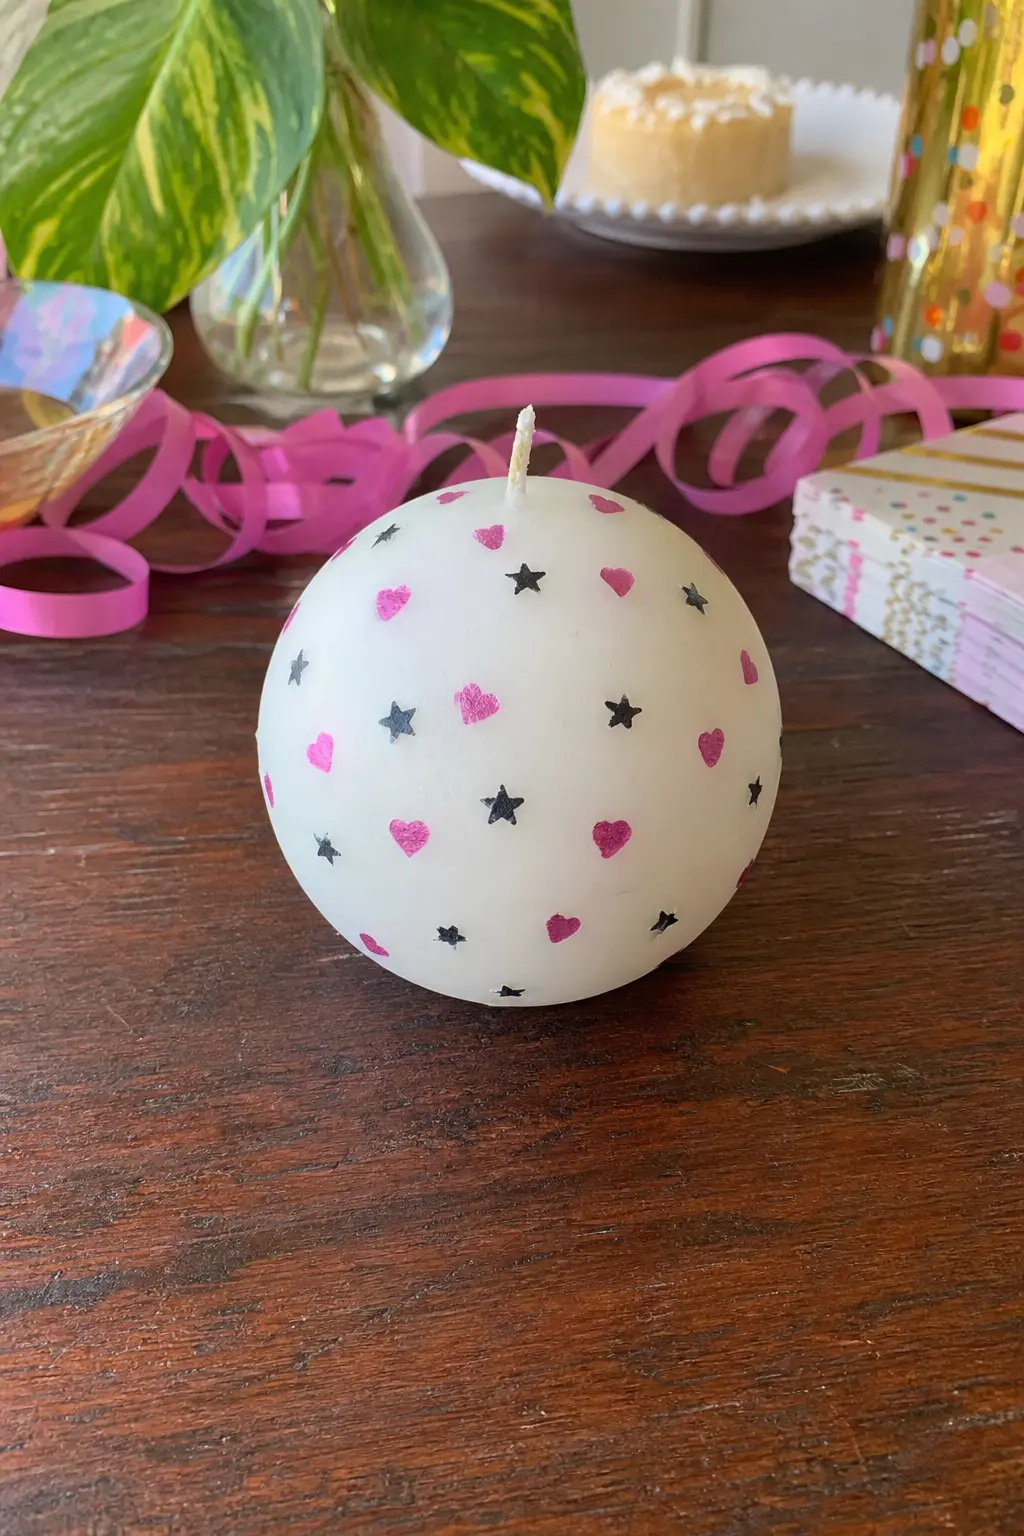
Star and Heart Confetti Ball Candle
Base candle: a round white ball candle. Paint mix: black and raspberry pink acrylic, each one to one with medium, applied as small simple star shapes and tiny hearts scattered at random across the sphere.
Keep the stars simple, four short strokes crossing at a centre point, rather than detailed five point outlines, they read better at this small scale. About thirty five minutes, and this design pairs well sold alongside the candy heart tapers as a set.
🛍 Shopping guide
Finishing Touches and Market Bestsellers
These last two round out a stall table: a decorative accent piece and a personalised one, which is consistently the item people come back for once they have seen the rest of the range. Pair either with a simple lantern build for a gift set that looks considered rather than thrown together.
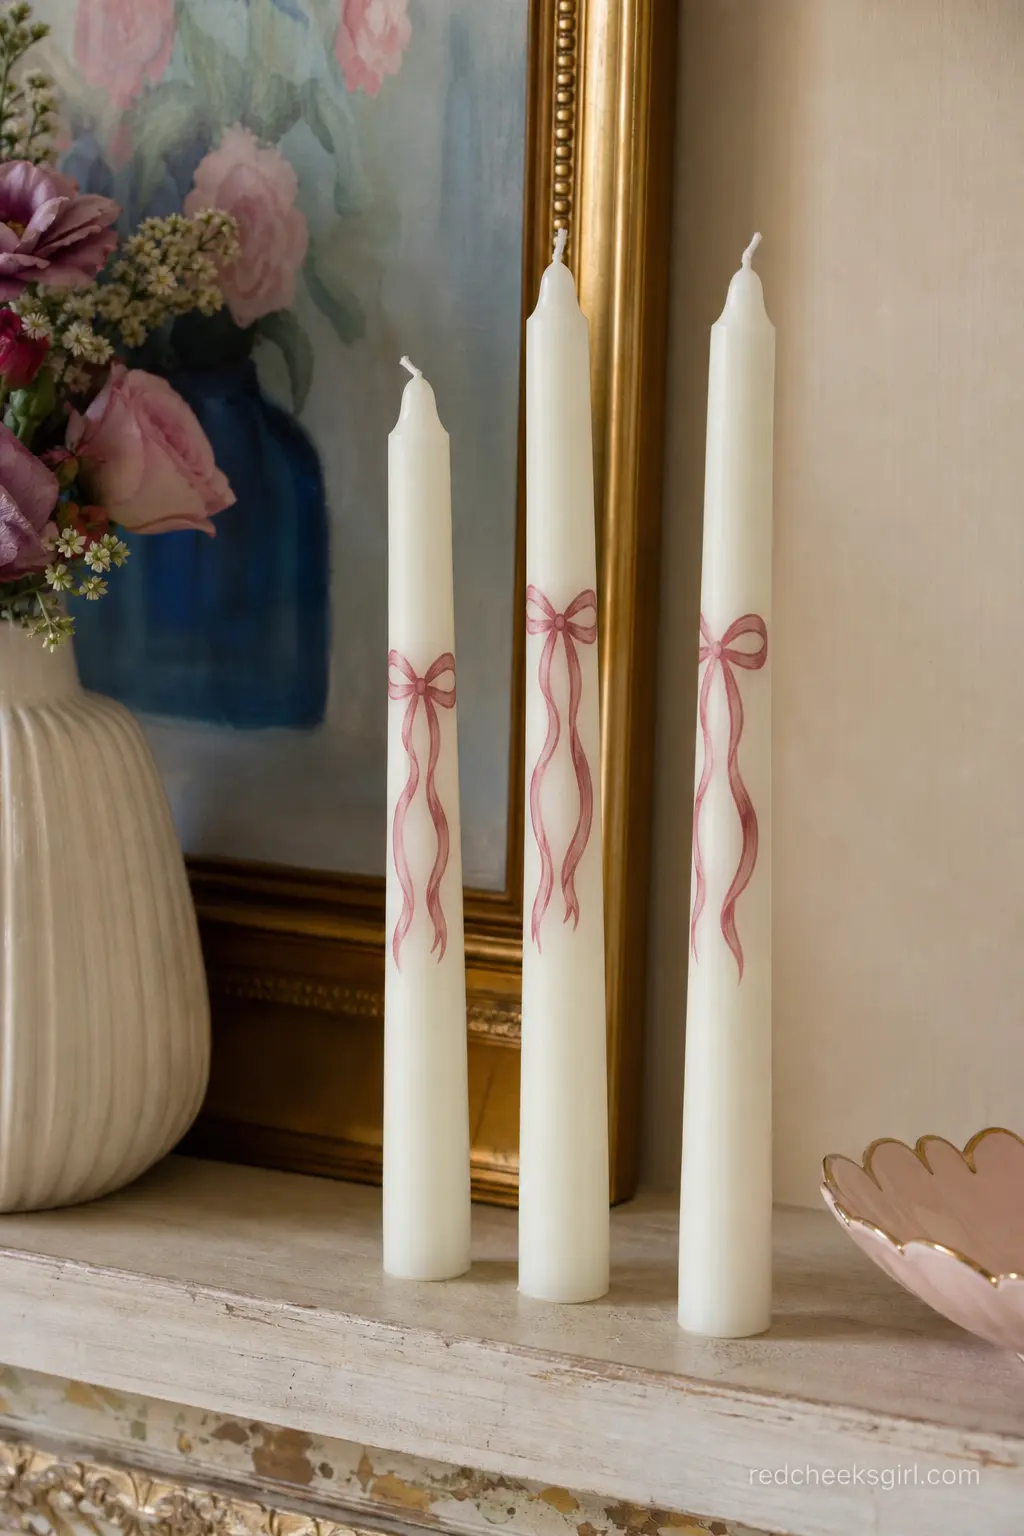
Ribbon Bow Taper Set
Base candle: a set of three ivory taper candles. Paint mix: dusty rose acrylic one to one with medium for the bow, a thinner wash of the same colour at one part paint to two parts medium for the trailing ribbon tails.
Paint the bow knot first as two triangles meeting at a small centre circle, then let the ribbon tails trail loosely down the candle rather than sitting straight, it reads as tied rather than stamped on. About forty five minutes for the set.
🛍 Shopping guide
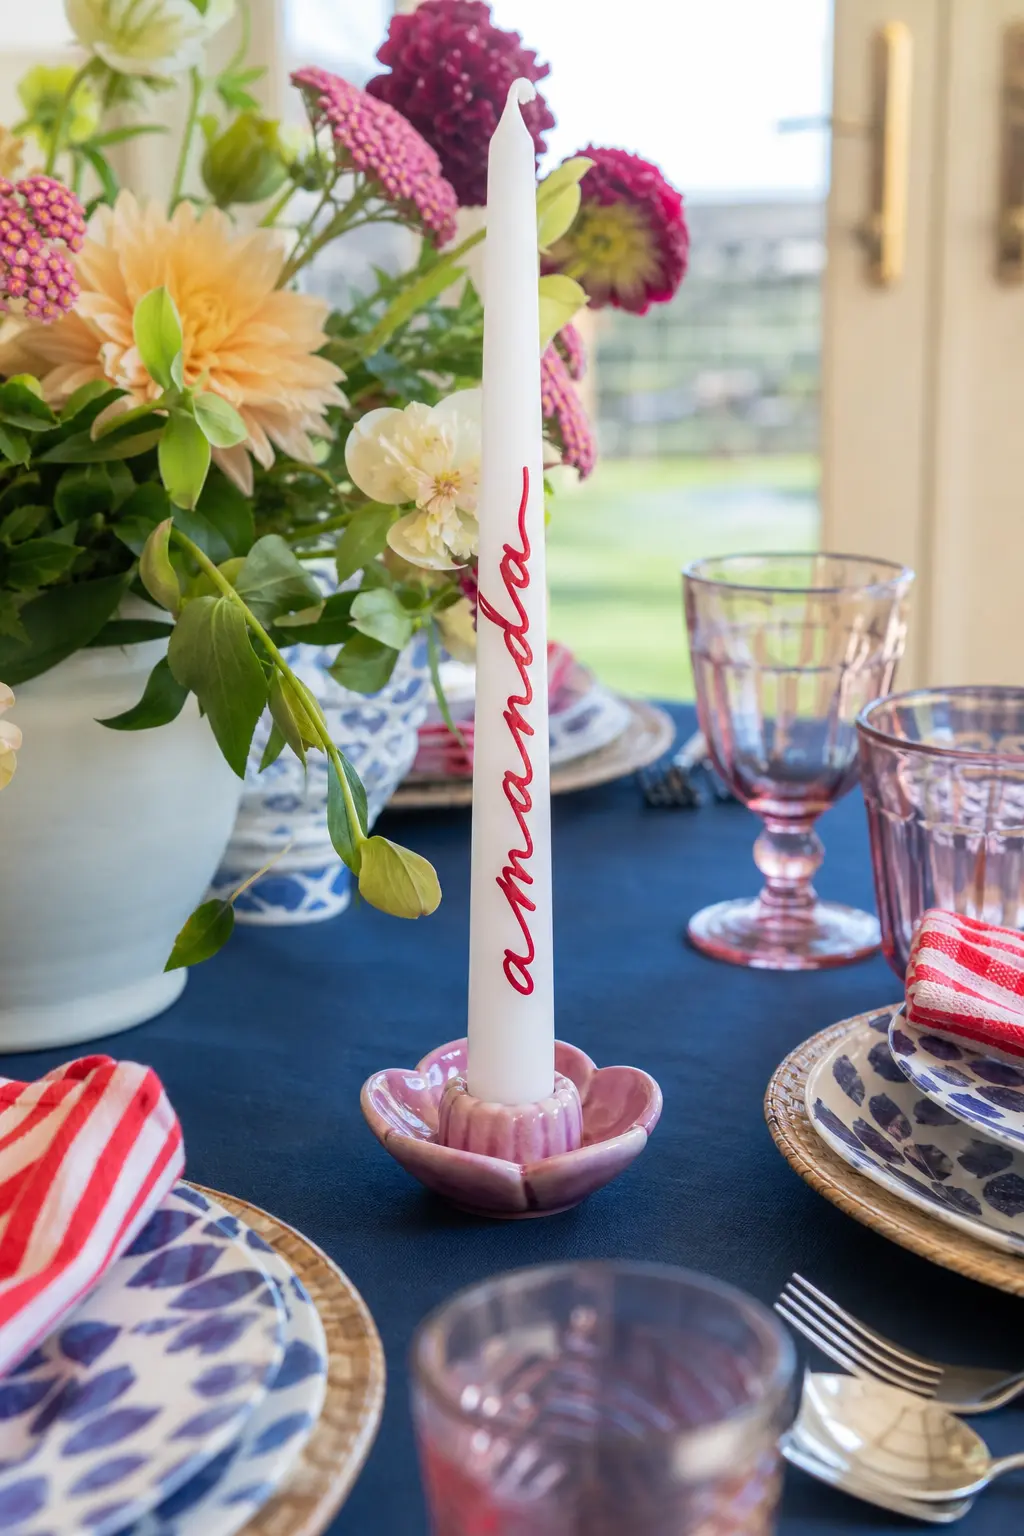
Hand Lettered Name Taper
Base candle: one white taper candle per order. Paint mix: raspberry red or cobalt blue acrylic, whichever suits the buyer, mixed one to one with medium and thinned very slightly further so the fine liner brush can carry a continuous script line without dragging.
This is the one worth keeping a template alphabet for, since a wobbly signature on a gift candle is far less forgiving than a wobbly flower. About forty minutes each once the lettering hand is warmed up, and it is consistently the item repeat customers ask for by name.
🛍 Shopping guide
Frequently Asked Questions
What paint do you actually use to paint candles
Ordinary acrylic craft paint works, but it needs a candle painting medium mixed in or it beads up on the waxy surface instead of gripping. The standard starting ratio most crafters use is one part paint to one part medium.
Do you need a special medium or will regular acrylic paint work alone
Straight acrylic will sit on top of wax for a while and then flake, especially once a candle is handled or boxed for shipping. Mixing in the medium is what makes the difference between a candle that survives a market stall and one that chips on the drive home.
How long does painted candle take to dry between coats
It depends on how thick the layer goes on, but as a rough rule a single layer takes about one to two hours to dry completely. Anything with layered colour, like the china patterns or the ranunculus pillar, needs that gap respected or the colours smear into each other.
Can you paint over a candle you already own or a secondhand one
Yes. Used candles can be painted just as well as new ones. Give it a proper clean first to remove any dust, old wax drips or sticker residue so the new paint has a fair surface to grip.
Is it safe to burn a candle once it has been painted
Only if the paint stays well clear of the wick and the top inch or two of the candle. Non-toxic acrylic near a flame can still release fumes, so treat painted areas as decorative rather than something meant to melt. Most of the designs above are built for pillar and taper candles kept as decor pieces rather than lit right down.
Do painted candles need to be sealed afterwards
It is optional rather than essential. A clear sealant spray can protect the paintwork if the candle will be handled a lot, but many sellers skip it for scented candles since a spray sealant can dull the scent throw.

My basil plant has died four times. Not four times total — four times this winter alone. I kep
23 DIY Thanksgiving decorations made from foraged branches, dried botanicals and garden finds. No fa
My bank account said no to Amalfi Coast this summer. So I spent $40 on wax and fragrance oils, and n
Leave a Reply