

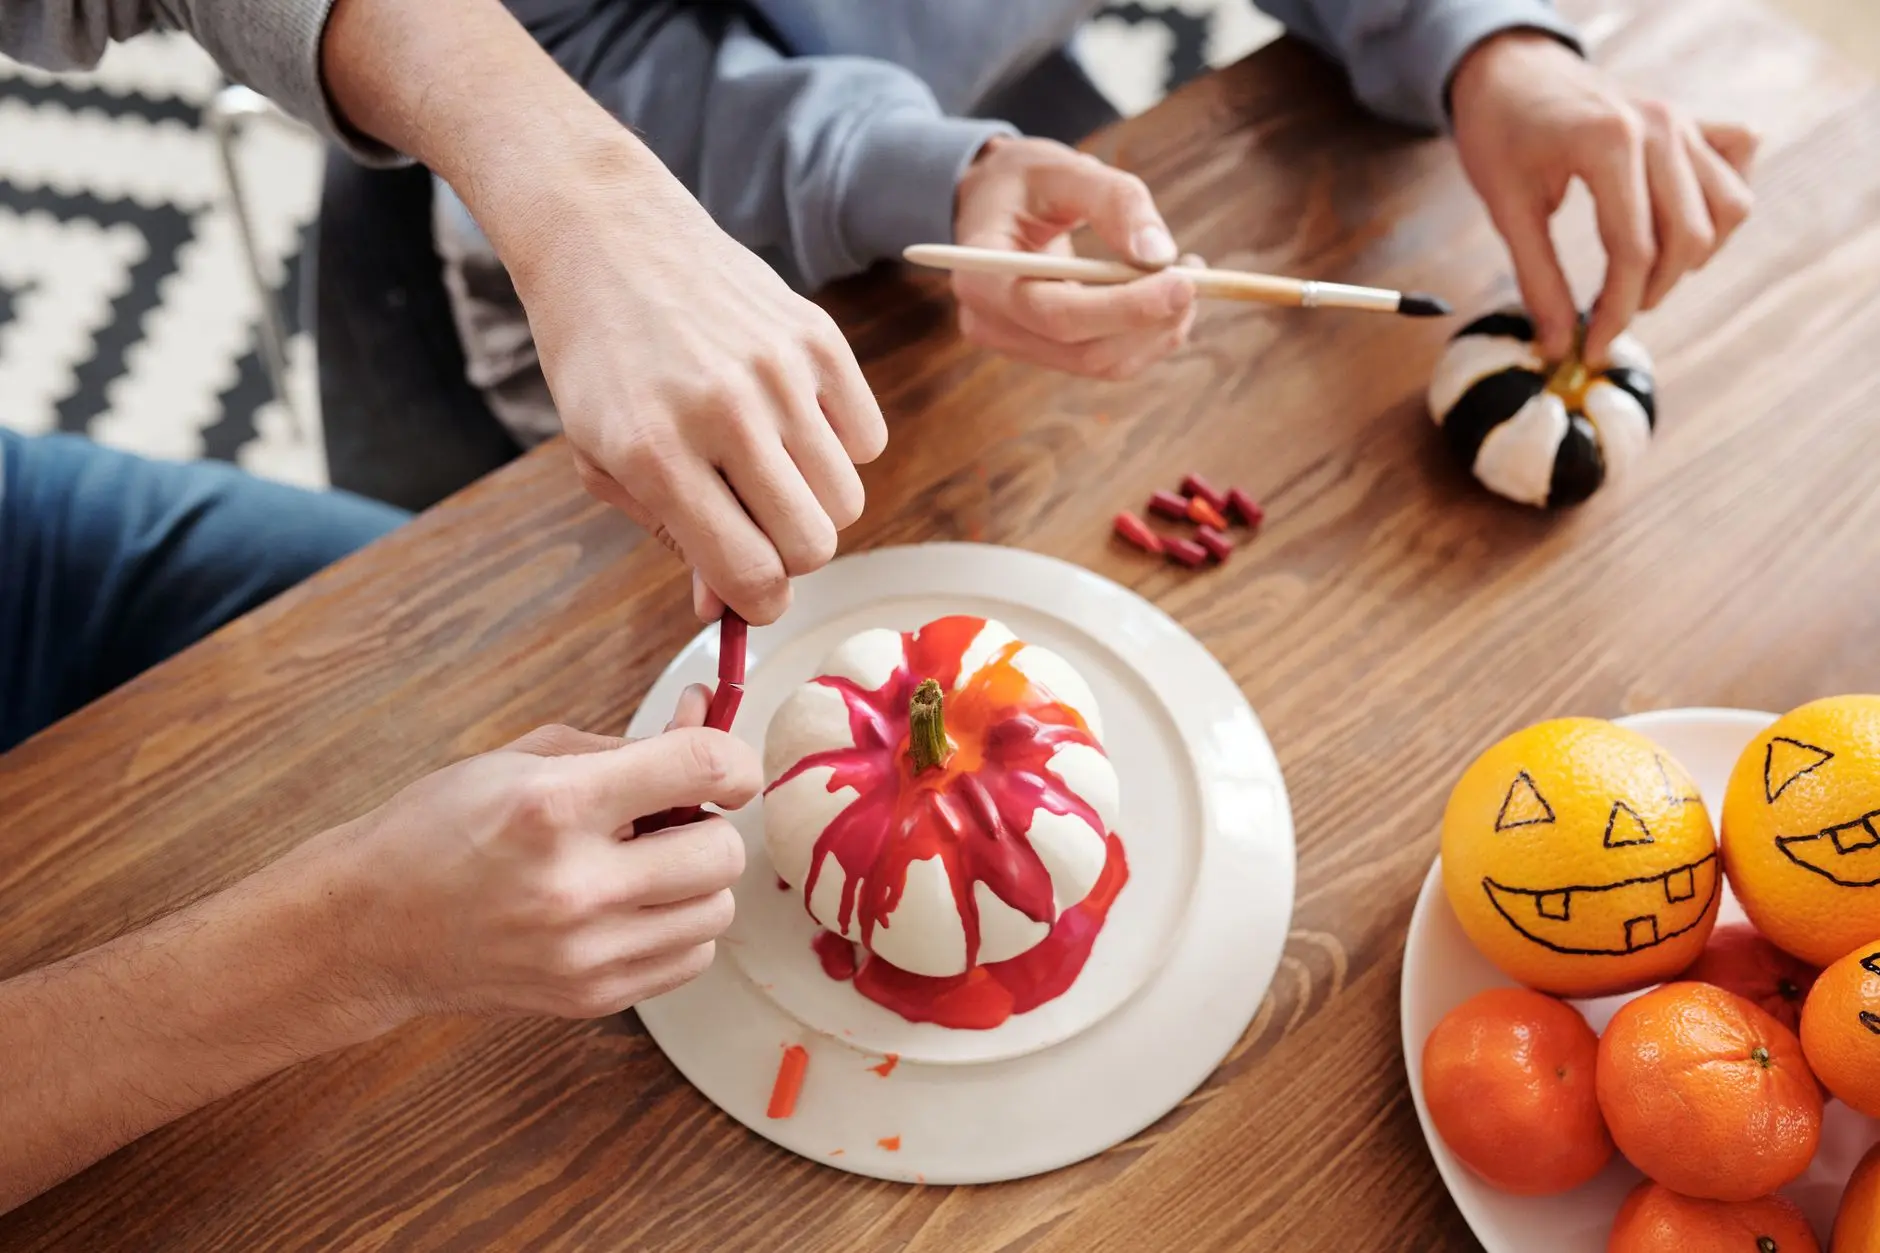
Getting a teenager off their phone for sixty minutes takes either a power outage or a project that feels worth their time.
These fourteen Thanksgiving crafts for teens are designed to produce something real: a piece they would actually keep on their shelf, gift to a relative, or photograph for their grid.
Every project here sits in a palette of terracotta, black, cream and dried naturals, so nothing looks like it came out of a primary-school art room.
Most need under an hour of active time, a few need an overnight dry, and all of them can be finished at the kitchen table before the turkey is carved.
If you want something for the teenagers to do once the crafts are done, these Thanksgiving games for teens are equally cringe-free. And if the whole family wants in, this family games list has something for every age at the table.
This post contains affiliate links. If you buy through them, I may earn a small commission at no extra cost to you.
- Hand-Lettered Place Cards
- Photo Garland Strung Above the Table
- Clay Ring Dishes as Gifts
- Embroidered Napkin Corner
- Playlist Card with a QR Code
- Candle Making from a Kit
- Pressed Flower Bookmarks
- Painted Canvas Banner for the Door
- Friendship Bracelets in Autumn Colours
- Sketched Menu Board for the Table
- Block Printed Tote Bag
- Scrapbook Page of the Year
- Beaded Phone Charm
- Photo Booth Frame for the Table
- Frequently Asked Questions
Hand-Lettered Place Cards
A place card done well is the quietest flex on a Thanksgiving table. These sit flat, slightly tented, in terracotta ink on cream card, and the imperfection of hand-lettering is the whole point.
A teenager who has spent five minutes watching brush-lettering videos will produce something that looks intentional rather than hesitant. Store flat between sheets of tissue paper and reuse them next year if you write names in pencil first.
What You Need
- Cream card stock, 300 gsm, cut into 10 x 7 cm rectangles (one per guest)
- Terracotta or black brush-tip calligraphy pen (e.g. Tombow Fudenosuke)
- Pencil and ruler
- Bone folder or butter knife for scoring
- Fine-tip black pen for small flourishes
How to Make It
- Score each card lightly down the centre with the bone folder and ruler, then fold so it stands as a tent. The fold line should be clean and sharp, not ragged. If the card buckles, press it under a heavy book for a minute.
- Pencil the name lightly in the lower half of the front panel. Trace over it with the brush pen using light pressure on upstrokes and firm pressure on downstrokes. Wipe the nib on scrap paper between cards to keep the ink flow even.
- Once the ink is fully dry (about twenty minutes), erase any pencil marks with a soft eraser. Add a small dried leaf or a pressed sprig with a dot of glue to the corner if you want the extra detail.

Photo Garland Strung Above the Table
A string of printed photos above the Thanksgiving table does more decorating work than any bought banner, and it takes the phone out of a teenager’s hand in the best possible way: they curate the photos themselves.
Print ten to fifteen square photos (the matte finish reads better than glossy in candlelight), clip them to black twine, and hang them between two nails or hooks above the table.
Roll the twine loosely around a paper tube and store the photos in an envelope for next year.
What You Need
- 10-15 printed square photos, 10 x 10 cm, matte finish
- 2 m black or natural jute twine
- 15 small wooden or black mini clothes pegs
- 2 adhesive hooks rated for the wall surface
- Scissors
How to Make It
- Print photos at a pharmacy or home printer. Arrange them face-down on the table in the order you want them to read left to right, so you are not repositioning mid-hang.
- Fix the two adhesive hooks at the same height on opposite walls or at either end of a mantel. Cut the twine to span the gap with 30 cm extra at each end for tying. Tie one end, pull the twine taut and tie the other.
- Clip each photo to the twine with a peg, spacing them roughly 10 cm apart. Step back and check the hang before pressing the last peg closed. The photos should sit straight; a slightly heavier photo at the centre helps keep the twine from sagging in the middle.

Clay Ring Dishes as Gifts
Air-dry clay ring dishes are the craft that always surprises teenagers: they take less than thirty minutes to shape, look genuinely good on a dressing table, and make a present that feels considered rather than rushed.
The finished dish is roughly the size of a saucer, with pinched or folded edges in whatever shape feels right. Paint them terracotta, matte black or a wash of both, seal with a coat of varnish, and they are ready to give.
Drying is the long part: plan for overnight before painting.
What You Need
- Air-dry clay, 500 g block (enough for 4-5 dishes)
- Rolling pin
- Circle cutter or a glass, approximately 10 cm diameter
- Acrylic paint in terracotta and matte black
- Matte varnish spray or brush-on sealant
- Fine sandpaper, 220 grit
How to Make It
- Tear off a golf-ball-sized piece of clay and roll it out to about 5 mm thick. Press the glass or cutter into the clay to cut a circle. Smooth the edges with a damp finger. This is a good moment to add a small thumb-press texture around the rim if you want it.
- Gently lift the clay circle and drape it over an upturned bowl or cup to create a slight curve, or pinch the edges upward by hand to make a shallow dish. Leave on the mould (or flat on baking paper) overnight until fully hard. A dish that flexes at all is not dry enough and will crack when painted.
- Once dry, sand any rough patches lightly. Paint in thin coats: two coats of terracotta base, then a dry-brushed stripe of black over the rim if you want the two-tone look. Allow each coat to dry fully (about thirty minutes). Spray or brush with matte varnish to seal. An adult should handle the varnish spray in a ventilated space.

Embroidered Napkin Corner
One small embroidered motif in the corner of a linen napkin turns a basic piece of cloth into something heirloom-adjacent. A wheat stalk, a single leaf or a simple geometric takes about forty-five minutes and uses only two or three stitches.
The result is a napkin a teenager made and a relative will actually use. Wash the napkin first to remove any sizing, iron it flat, and work on a firm surface with the fabric held in a small hoop.
What You Need
- 1 plain linen or cotton napkin, pre-washed and ironed
- 10 cm embroidery hoop
- Embroidery floss in terracotta, cream and dark brown (2 skeins of main colour)
- Embroidery needle, size 7
- Water-soluble fabric pen or pencil
- Scissors
How to Make It
- Trace or draw a small motif (a wheat stalk roughly 6 cm tall works well) in the corner of the napkin using the water-soluble pen. Place that corner in the hoop and tighten until the fabric is drum-taut. Loose fabric produces wobbly stitches, so this step matters.
- Thread the needle with two strands of floss (separate them from the six-strand skein). Work the stem in back stitch: bring the needle up, take a small stitch forward, bring it up again a stitch-length ahead, then back into the hole at the end of the last stitch. Keep stitches about 3 mm long. Fill the wheat heads with satin stitch, laying threads close together so no fabric shows through.
- Finish by running the thread under four or five stitches on the back and trimming close. Remove the hoop, dab the pen marks with a damp cotton pad and they vanish. Press the corner with an iron on the reverse side to flatten the stitching.

🛍 Shopping guide
Playlist Card with a QR Code
This is the most phone-forward craft on the list and the one most likely to get a teenager interested immediately.
The finished piece is a small illustrated card, roughly postcard size, with a hand-drawn border, a title like “Thanksgiving Table” and a printed QR code that links directly to a curated Spotify or Apple Music playlist.
It sits propped against the centrepiece and doubles as a conversation starter. Print the QR code free from any online generator, cut it to 4 x 4 cm, and paste it onto the finished card.
What You Need
- A5 cream card stock, 300 gsm, one sheet per card
- Fine-tip black pen and a brush pen for the title
- QR code printed on plain paper, cut to 4 x 4 cm (generated free at qr-code-generator.com or similar)
- Glue stick
- Terracotta watercolour or acrylic for a washed border (optional but recommended)
- Small ruler
How to Make It
- Build the playlist first on the streaming service of choice, copy the share link, and generate the QR code. Print it and cut it out cleanly: a ragged edge shows on the finished card, so use scissors against a ruler or a craft knife on a cutting mat. An adult should handle the craft knife.
- Paint or draw a thin terracotta wash around the border of the card and leave it to dry for five minutes. Letter the playlist title in the upper half using the brush pen, with the track count or a short tagline underneath in fine-tip. Leave space in the lower half for the QR code.
- Glue the QR code neatly into the lower half and press flat. Test it with a phone camera before the card goes on the table: a code that does not scan after drying is usually caused by glue seeping over the code pattern. Trim and reprint if needed.

Candle Making from a Kit
A candle kit removes all the measuring anxiety and still produces something a teenager can call genuinely handmade. The wax, wick, fragrance and vessel all come in the box; what they add is the pour, the styling and the patience to let it set.
Go for a warm amber or woodsmoke fragrance rather than anything sweet, and pour into a terracotta-coloured or matte black tin for a result that looks like a boutique buy.
Candle making involves hot wax, so an adult pours or stands directly next to the pourer for this step.
What You Need
- Soy candle making kit (includes wax, wick, fragrance, vessel and thermometer)
- Old saucepan and heat-proof pouring jug
- Pencil or chopstick to hold the wick centred
- Sticky tape or wick sticker
- Label cut from kraft paper, written with a fine-tip pen
How to Make It
- Secure the wick to the base of the vessel with a wick sticker or a small dot of melted wax. Lay a pencil across the top of the tin and tie or tape the wick to it so it stands centred and straight. A wick that leans will produce an uneven burn.
- Melt the wax in the jug over a saucepan of simmering water (a bain-marie method). Watch the thermometer: most soy wax is ready to pour between 65 and 70 degrees Celsius. An adult manages the heat and carries the jug. Stir in the fragrance oil at the temperature specified in the kit instructions, usually the last step before pouring.
- Pour steadily and slowly into the vessel, stopping 1 cm from the rim. Do not disturb it for at least three hours. If a small sinkhole forms in the centre as it cools, pour a thin second layer to fill it. Trim the wick to 5 mm before the first burn. Write a kraft paper label and press it to the tin.

🛍 Shopping guide
Pressed Flower Bookmarks
A pressed-flower bookmark is the kind of thing that disappears off a table because a relative quietly slips it into their bag.
These take almost no skill and look better than they have any right to, particularly when the flowers are autumn ones: dried hydrangea, small fern fronds, or any flat petal in rust and cream.
Press the flowers at least 48 hours in advance (inside a heavy book works perfectly), so plan this one the weekend before Thanksgiving. Laminate the finished bookmark for durability: most libraries and office supply shops have a laminator to borrow or use.
What You Need
- Fresh flat flowers or leaves (hydrangea florets, fern fronds, small autumn leaves)
- Heavy books and absorbent paper for pressing
- Cream or kraft card stock strips, 5 x 20 cm
- PVA glue or a thin glue stick
- Laminator and A4 laminating pouches, or clear self-adhesive book covering film
- Hole punch and 15 cm length of natural ribbon per bookmark
How to Make It
- Place flowers face-down between two sheets of absorbent paper (kitchen roll works) and slide into the middle of a heavy book. Stack more books on top. Leave for at least 48 hours. Check at 24 hours: if the paper is damp, replace it. The flowers are ready when they feel paper-dry and flat.
- Arrange the pressed pieces on the card strip until you are happy with the layout. Glue each piece down with a tiny amount of PVA and press flat. Less glue is always better: too much causes the petals to go translucent. Let it dry for fifteen minutes before laminating.
- Feed the card into a laminating pouch and run it through the laminator following the machine instructions, or press self-adhesive film over both sides smoothing out any bubbles. Trim the edges with scissors. Punch a hole at the top, thread the ribbon and tie a simple knot. An adult should operate the laminator.

Painted Canvas Banner for the Door
A cotton canvas banner painted in black and terracotta is one of those decorations that looks like it belongs in a boutique home shop.
It hangs on the front door or above the mantel, says something short and specific, and rolls up for storage at the end of the day. “Gather” or “Give Thanks” both read well at a distance.
This craft suits a teenager who can commit to keeping the lettering large and bold: small, cramped text on canvas always looks underwhelming from the doorway.
What You Need
- Cotton canvas panel or pre-cut canvas strip, 30 x 60 cm
- Black acrylic paint
- Terracotta acrylic paint
- Flat brush, 2 cm wide, for backgrounds
- Script or flat brush, size 8-10, for lettering
- Pencil, ruler
- Wooden dowel, 32 cm, and 50 cm natural twine for hanging
How to Make It
- If the canvas needs a background wash, paint the whole surface with thinned terracotta and let it dry (about twenty minutes). A raw canvas with no background also works and looks more natural. Lightly pencil the word or phrase centred on the canvas, drawing guide lines for the top and bottom of the letters.
- Paint the letters in black acrylic using the script brush. Work from left to right so your hand does not drag over wet paint. Keep the strokes confident: hesitant short strokes produce wobbly edges. If a letter goes wrong, wait for it to dry completely, then paint over it in the background colour and re-letter. Do not try to fix wet paint on canvas.
- Once the lettering is fully dry (about one hour), add any botanical line drawings in the margins in black fine-tip or with a thin script brush. Thread the twine through a fold at the top of the canvas around the dowel, or use a staple gun at the back to fix the canvas to the dowel. An adult should operate the staple gun. Tie the twine in a loop for hanging.

🛍 Shopping guide
Friendship Bracelets in Autumn Colours
Friendship bracelets have had a genuine cultural moment and teenagers know it. A bracelet in rust, cream, dark brown and black looks nothing like primary school craft: it looks like something from a concert merch table, which is precisely the point.
This is a cord bracelet using a simple spiral knot, makeable in forty minutes with no prior experience. Make several and stack them, or give one to a relative as a table favour. The bracelet stores perfectly flat in a small envelope.
What You Need
- Embroidery floss or 1 mm waxed cord in rust, cream, dark brown and black (about 80 cm of each colour per bracelet)
- Scissors
- Safety pin or tape to anchor the work to a firm surface
- Ruler
How to Make It
- Cut four strands, one of each colour, each 80 cm long. Knot them together about 10 cm from one end and pin or tape the knot to a firm surface. Arrange the strands in colour order. The first strand (rust) is your knotting strand for the first row.
- Work a spiral knot: bring the rust strand over the next strand, under it, and back through the loop. Pull upward to tighten against the previous row. Repeat across all three remaining strands. This forms one row. Repeat with rust as the knotting strand for as many rows as it takes to fill 15-16 cm. The pattern spirals naturally without you doing anything extra. When rust runs short, move to the next colour.
- When the bracelet is long enough to wrap the wrist with 3-4 cm spare, knot all strands together and braid or twist the remaining cord into a tie. The clasp is just the loop you left at the start pulled over the end knot, so leave enough of a loop at the beginning to close it.

🛍 Shopping guide
Sketched Menu Board for the Table
A hand-drawn menu written in chalk pen on a small black board turns the Thanksgiving menu into a feature rather than an afterthought. It stands propped against the centrepiece or on a small easel.
The sketch can be as simple as a single dried leaf in the corner and a list of dishes in mixed caps and script: two lettering styles, written alternately, give it the kind of editorial look that photographs well.
Wipe it clean after dinner and it is ready for Christmas.
What You Need
- Mini chalkboard, A5 size or 15 x 20 cm
- White and terracotta chalk pens (oil-based for a clean line)
- Cotton wool or a damp cloth for corrections
- Small easel or a folded piece of thick card as a stand
How to Make It
- Prime the chalkboard if it is new: rub a piece of chalk flat across the whole surface, then wipe it off with a damp cloth. This prevents ghosting from the first writing. Shake the chalk pen, press the tip against scrap paper until the ink flows, then begin.
- Write the menu title at the top in large caps with the white chalk pen. List each dish below in alternating caps and loose script, leaving a small gap between courses. Leave the bottom corner or left margin clear for the decorative element.
- Add a simple leaf or botanical sketch in the clear corner using the terracotta chalk pen. It does not need to be botanically accurate: a loose three-stroke leaf shape reads well at table distance. Chalk pens dry in minutes. If a letter goes wrong, a damp cotton bud removes it cleanly without disturbing the rest.

🛍 Shopping guide
Block Printed Tote Bag
Block printing a tote bag is a genuinely satisfying craft that looks far more technical than it is.
A simple leaf or geometric stamp carved from an eraser or a pre-cut foam block, printed in black or terracotta fabric ink on a natural canvas tote, produces a bag a teenager will actually carry.
The printing takes fifteen minutes; the drying and heat-setting take another twenty. The bag becomes a useful thing rather than a decoration, which is the whole point.
What You Need
- Natural canvas tote bag, blank, at least 38 x 42 cm
- Large white eraser or pre-cut foam printing block
- Craft knife and cutting mat (adult to carve)
- Black or terracotta fabric ink or fabric paint
- Flat brush or foam brayer for inking the stamp
- Piece of scrap cardboard to slide inside the bag
How to Make It
- Draw the design on the eraser in pencil: a simple leaf, a wheat stalk, or a geometric diamond works well. An adult carves away the background around the design with the craft knife, leaving the raised shape to carry the ink. The lines do not need to be perfect: slight irregularity is part of the appeal of block printing.
- Slide the scrap cardboard inside the bag so the ink does not bleed through to the back. Apply an even coat of fabric ink to the stamp surface using the brush or brayer. Press the stamp firmly onto the bag without rocking it sideways. Lift straight up. Repeat across the bag in a loose, slightly irregular grid, re-inking after every two or three prints.
- Leave to dry flat for thirty minutes. Heat-set by pressing with a medium-hot iron directly on the print for thirty seconds per section, following the fabric ink instructions. An adult should handle the iron. Once heat-set, the bag is machine washable.

Scrapbook Page of the Year
This one is the most personal craft in the collection and the most likely to end up framed. One A4 scrapbook page documenting the year in photos, ticket stubs, doodles and hand-written notes is something a teenager will look at in ten years.
Set them up with a flat workspace, a mix of materials, and a clear frame to display the finished page. The layout is the skill being practised here: filling a page without it looking cluttered takes more thought than it seems.
What You Need
- A4 card in kraft or cream, 300 gsm, one sheet
- 4-6 printed photos, various sizes, matte finish
- Glue stick and double-sided tape
- Fine-tip black pen and brush pen for titles
- Decorative elements: washi tape, pressed leaves, ticket stubs or stickers in the palette
- A4 clip frame for display
How to Make It
- Lay all the photos and elements flat on the card before gluing anything. This is the planning step and it is worth spending ten minutes here: the classic mistake is gluing the first photo in the wrong spot and running out of room. Overlap photos, angle one slightly, and leave a small margin around the page edge for the frame.
- When the layout feels right, glue photos with double-sided tape for a flat, bubble-free hold. Layer decorative elements over or under the photos. Write the year title at the top in brush pen and add captions in fine-tip, keeping text small so the photos stay dominant.
- Add any pressed leaves or flat keepsakes as a final layer. Leave to dry flat for a few minutes so nothing shifts. Slide into the clip frame. The completed page also photographs well as a flat lay if a teenager wants to post it.

🛍 Shopping guide
Beaded Phone Charm
A beaded phone charm in rust, cream and black is the kind of thing teenagers buy for fifteen dollars online and can make for almost nothing.
It attaches to the phone case lanyard loop (most modern cases have one) via a short length of cord with a lobster clasp. The beads thread in under ten minutes once the materials are sorted.
Make a few for the table as Thanksgiving favours and expect them to go immediately.
What You Need
- Small glass or acrylic beads in rust, cream, black and amber (about 20-30 beads per charm)
- 0.5 mm elastic cord or nylon bead thread, 30 cm per charm
- 1 small lobster clasp and 1 jump ring per charm
- Round-nose pliers (adult to close jump ring)
- Scissors
How to Make It
- Thread the beads onto the cord in your chosen pattern: a repeating sequence of three colours reads best and is easier than designing as you go. Leave 4 cm of cord clear at each end for the clasp attachment.
- When all beads are on, tie both ends of the cord together in a double overhand knot pulled very tight. Trim the tails to about 2 mm. Thread the loop through the jump ring and close the jump ring around the lobster clasp with round-nose pliers. An adult should close the jump ring: it requires firm pressure to close fully so the ring does not pull open in use.
- Clip the lobster clasp to the lanyard loop on the phone case. Tug gently to make sure the knot and clasp are secure before handing it off.

🛍 Shopping guide
Photo Booth Frame for the Table
A flat photo booth frame sits on the table and invites guests to hold it up for pictures: low-tech, immediately fun, and something a teenager will actually engage with because it produces content.
Make it from black card with a terracotta-paint border and a hand-lettered phrase at the bottom. It needs no stand: it leans against a wall or a vase, or someone holds it. Store flat in a large envelope for next year.
What You Need
- A3 black card, 300 gsm, one sheet
- White and terracotta acrylic paint
- Script brush, size 8
- Craft knife and cutting mat (adult to cut the central aperture)
- Ruler and pencil
- Fine-tip white gel pen
How to Make It
- On the black card, measure and pencil a rectangle 10 x 15 cm centred in the sheet, leaving at least 6 cm of border on all sides. An adult cuts out this rectangle with the craft knife on the cutting mat, working against a ruler for a straight edge. The resulting hole is the viewfinder frame.
- Paint a loose terracotta border roughly 1-2 cm wide around the inside edge of the aperture using the script brush. It does not need to be perfectly even: a slightly uneven painted border looks more handmade than a ruler-straight one. Leave to dry for thirty minutes.
- Write a short phrase along the bottom border in the white gel pen: “Grateful” or “Thanksgiving Crew” or the family name in quotation marks all work well. Add small dots or botanical dashes in the corners with the white pen. The frame is finished and ready to use.

Frequently Asked Questions
What Thanksgiving crafts are good for thirteen to fifteen year olds?
The embroidered napkin corner, beaded phone charm, playlist card with QR code and pressed flower bookmarks all suit this age group well. They produce something genuinely useful or postable, take under an hour of active time, and need no specialist equipment beyond a needle or a bone folder.
Which crafts on this list work as Thanksgiving gifts?
The clay ring dishes, pressed flower bookmarks, embroidered napkins, friendship bracelets and candle are all strong gift options. They look considered rather than rushed and can be made in a batch if the guest list is long.
How far in advance can these Thanksgiving crafts be made?
The clay ring dishes need overnight drying plus painting time, so make them two days ahead. Pressed flower bookmarks need at least 48 hours of pressing time. Everything else can be finished on the day, but the candle must set for three hours before use so start that one in the morning.
Which crafts on this list need adult supervision?
Candle making needs an adult for melting and pouring hot wax. The block printed tote needs an adult to carve the eraser and to operate the iron. The photo booth frame needs an adult to cut the aperture with a craft knife. The beaded phone charm needs an adult to close the jump ring with pliers.
What if teenagers are not interested in traditional crafts?
The playlist card with QR code, beaded phone charm, photo garland and scrapbook page are the most phone-native options on the list. They produce something a teenager might actually photograph and share, which makes them easier to sell as an activity.
If you need more ideas to keep the whole group busy, these Thanksgiving games for teens pair well with a craft session.
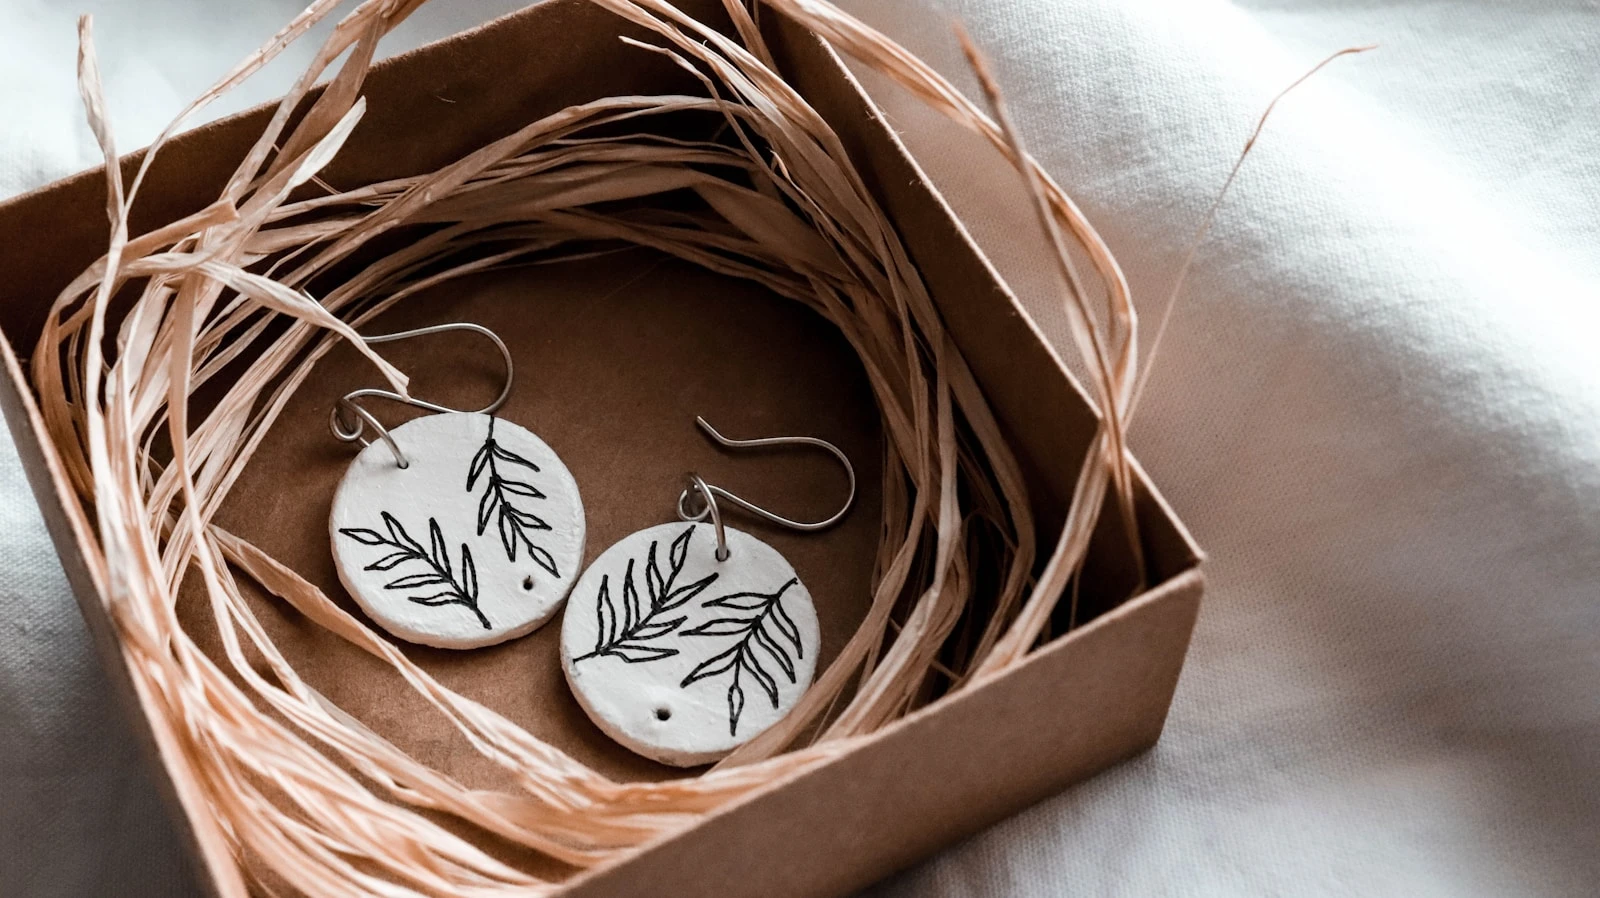
I spent $11 on a block of air dry clay and made four pairs of earrings in one afternoon. Two of them
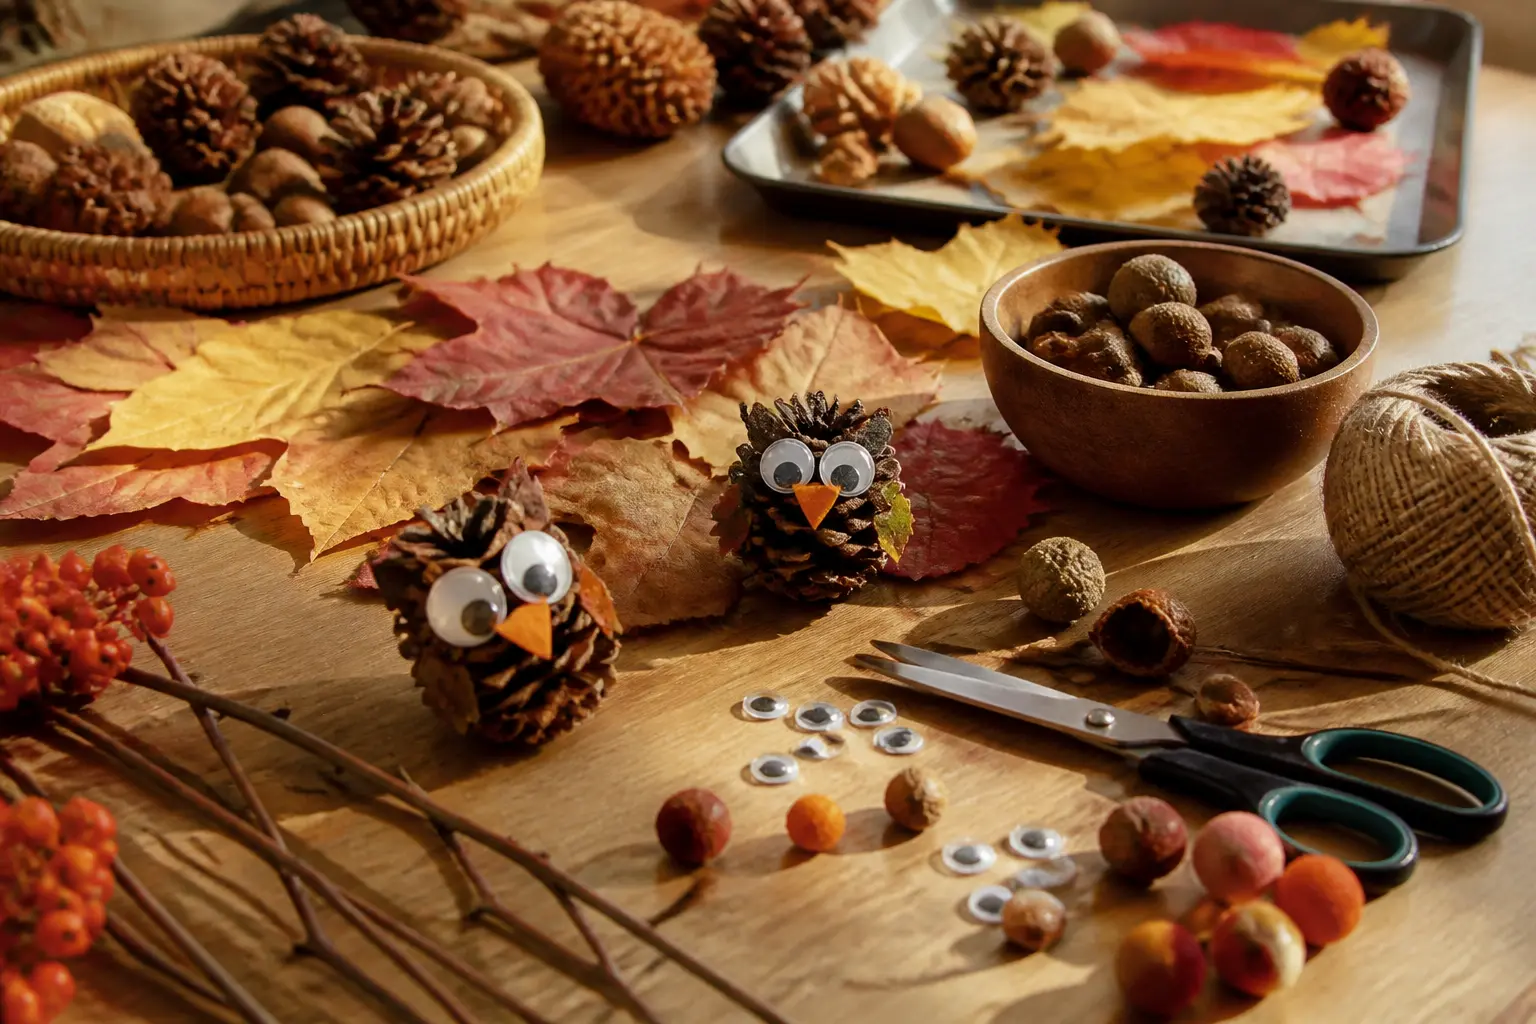
17 fall crafts for preschoolers that actually get played with afterwards. Simple materials, glue sti
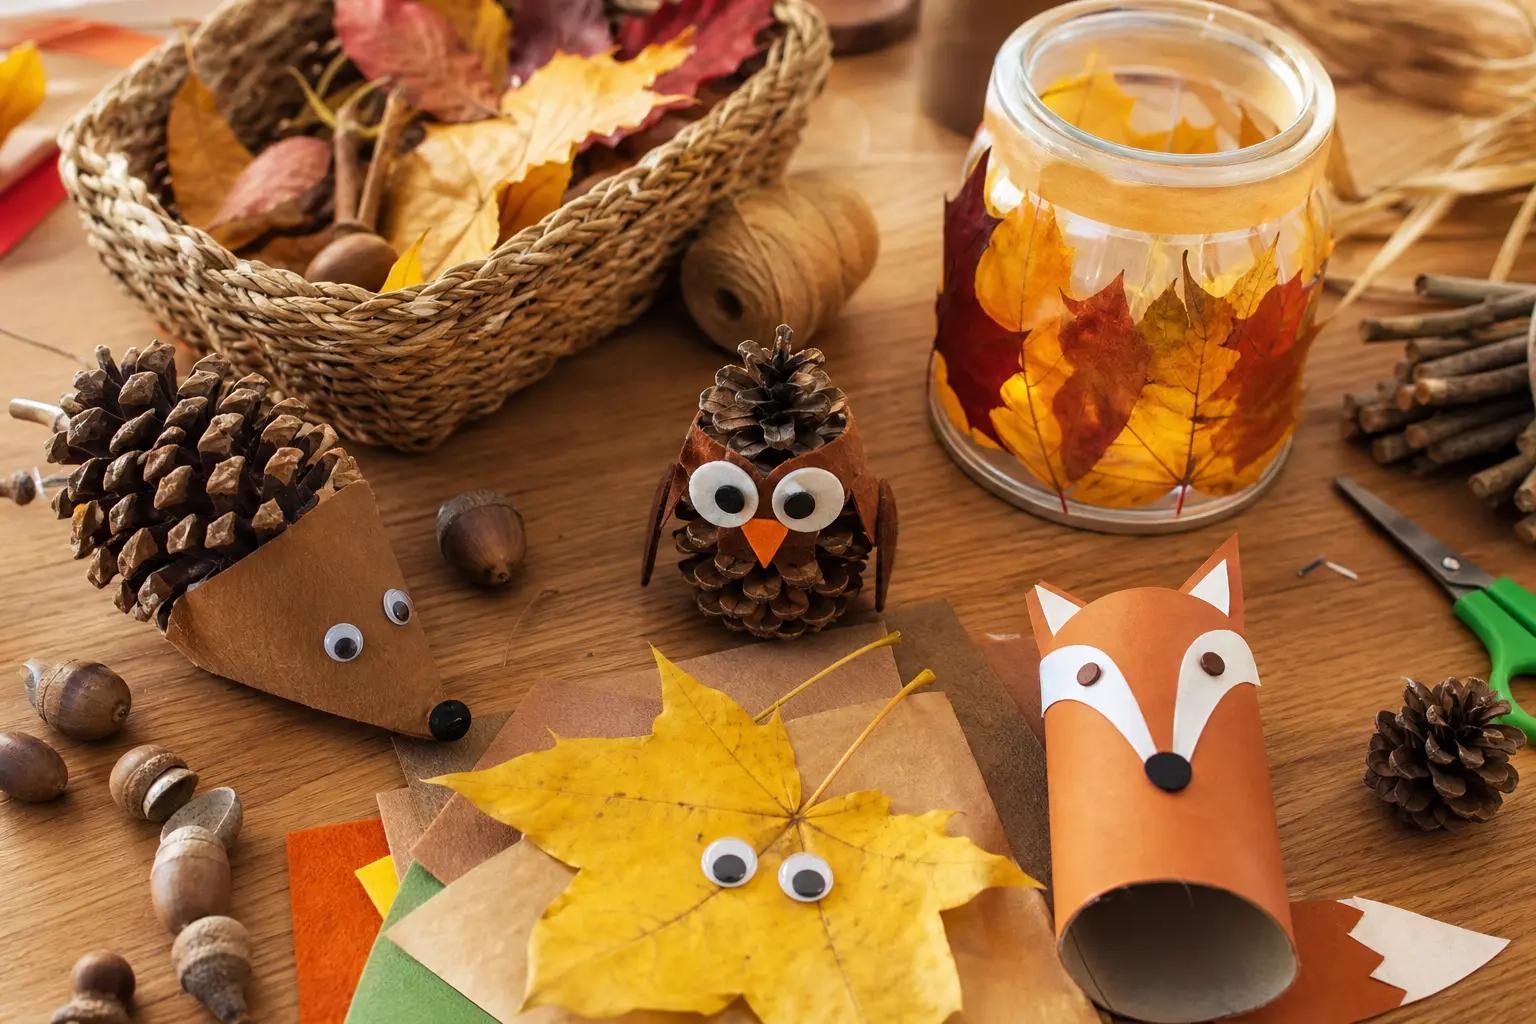
17 fall craft collections for kids, sorted by age and occasion, so you can find the right project fo
Leave a Reply