

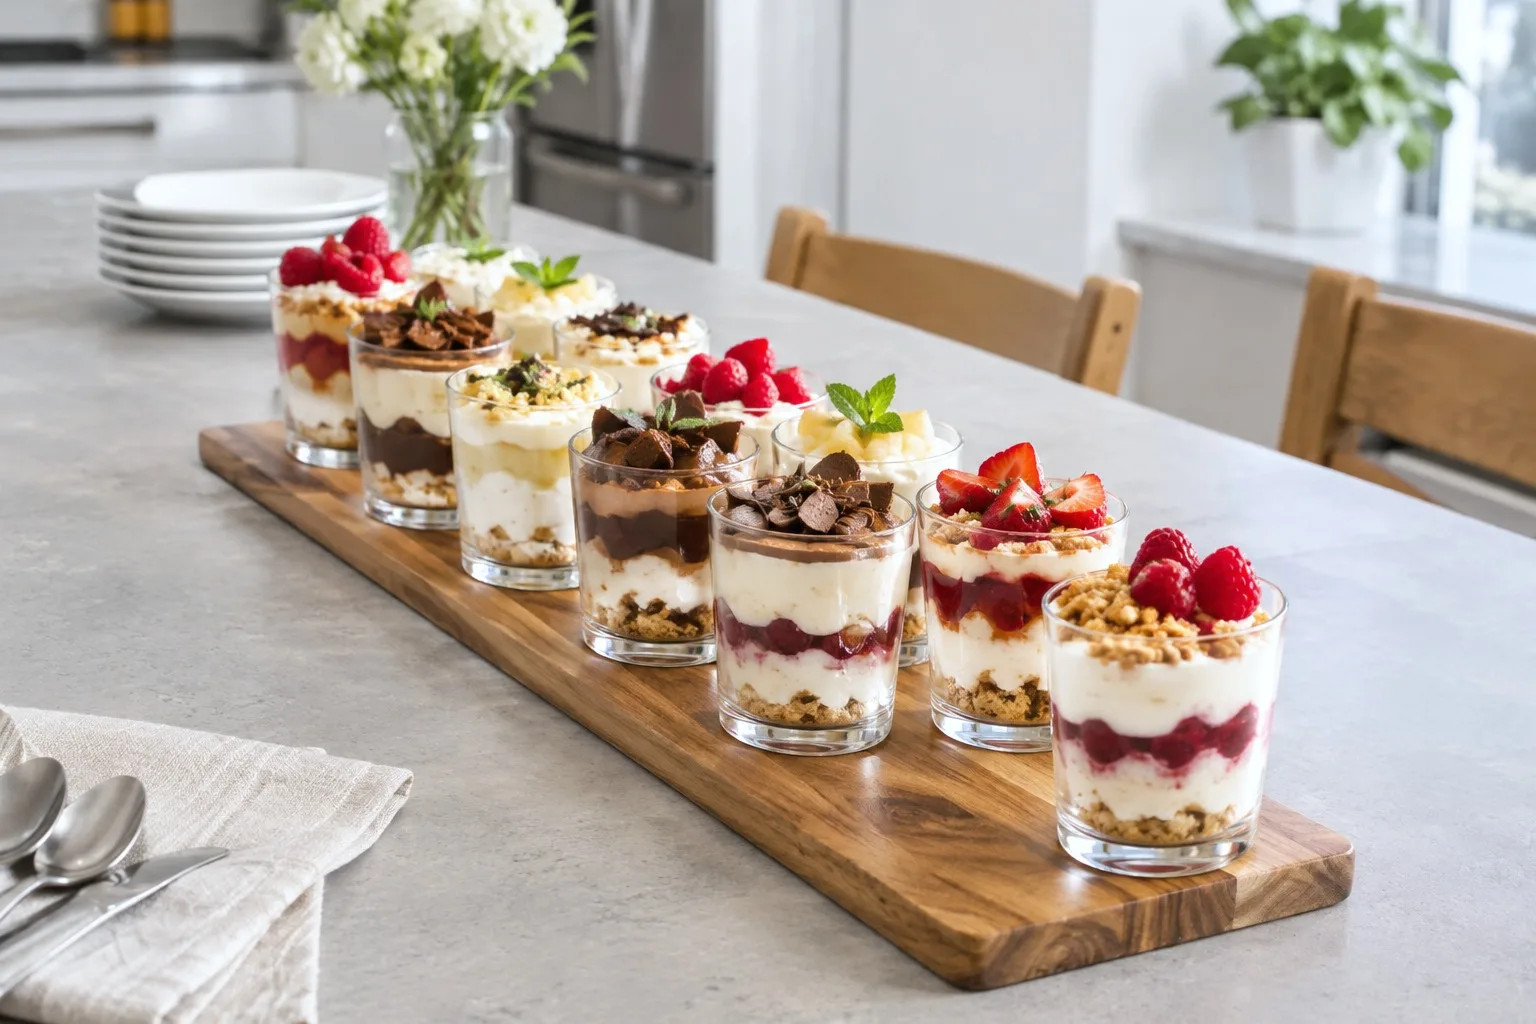
Mini dessert cups solve the oldest problem at a dessert table: how to offer six flavors without six serving knives and six sets of sticky tongs. Layer each one in a 2-ounce shot glass or a small clear cup and every stripe shows through the glass, no slicing required, no fighting over the corner piece.
Plan on 2 to 3 mini cups per guest when they share the table with other sweets, and closer to 3 to 4 each if cups are the only dessert on offer.
Most of what follows layers 1 to 2 days ahead and lives in the fridge, covered, until the last hour before the party, when the crisp toppings go on.
Between the cookie crumbs, cream cheese, eggs and ground nuts in pistachio and chocolate hazelnut cups, this list touches gluten, dairy, egg and tree nuts, so read labels if the guest list includes allergies.
A couple of recipes carry an optional splash of liqueur, keep those cups on the adult end of the table and set out an alcohol-free batch alongside for anyone who is driving home.
If the dessert table needs savory backup too, a round of cold appetizers that hold just as well overnight in the fridge solves that in the same trip to the grocery store.
This post contains affiliate links. If you buy through them, I may earn a small commission at no extra cost to you.
Table of Contents
- Black Forest Cups
- Key Lime Pie Cups
- Red Velvet Cheesecake Cups
- Cherry Cheesecake Cups
- Lemon Cheesecake Cups
- Chocolate Mousse Cups
- Raspberry White Chocolate Cups
- Coffee Cream Cups
- Pistachio Cups
- S’mores Cups
- Peanut Butter Chocolate Cups
- Mango Coconut Cups
- Banana Pudding Cups
- Cookies and Cream Cups
- Chocolate Hazelnut Cups
- Strawberry Mousse Cups
- Vanilla Berry Parfait Cups
- Frequently Asked Questions
Black Forest Cups
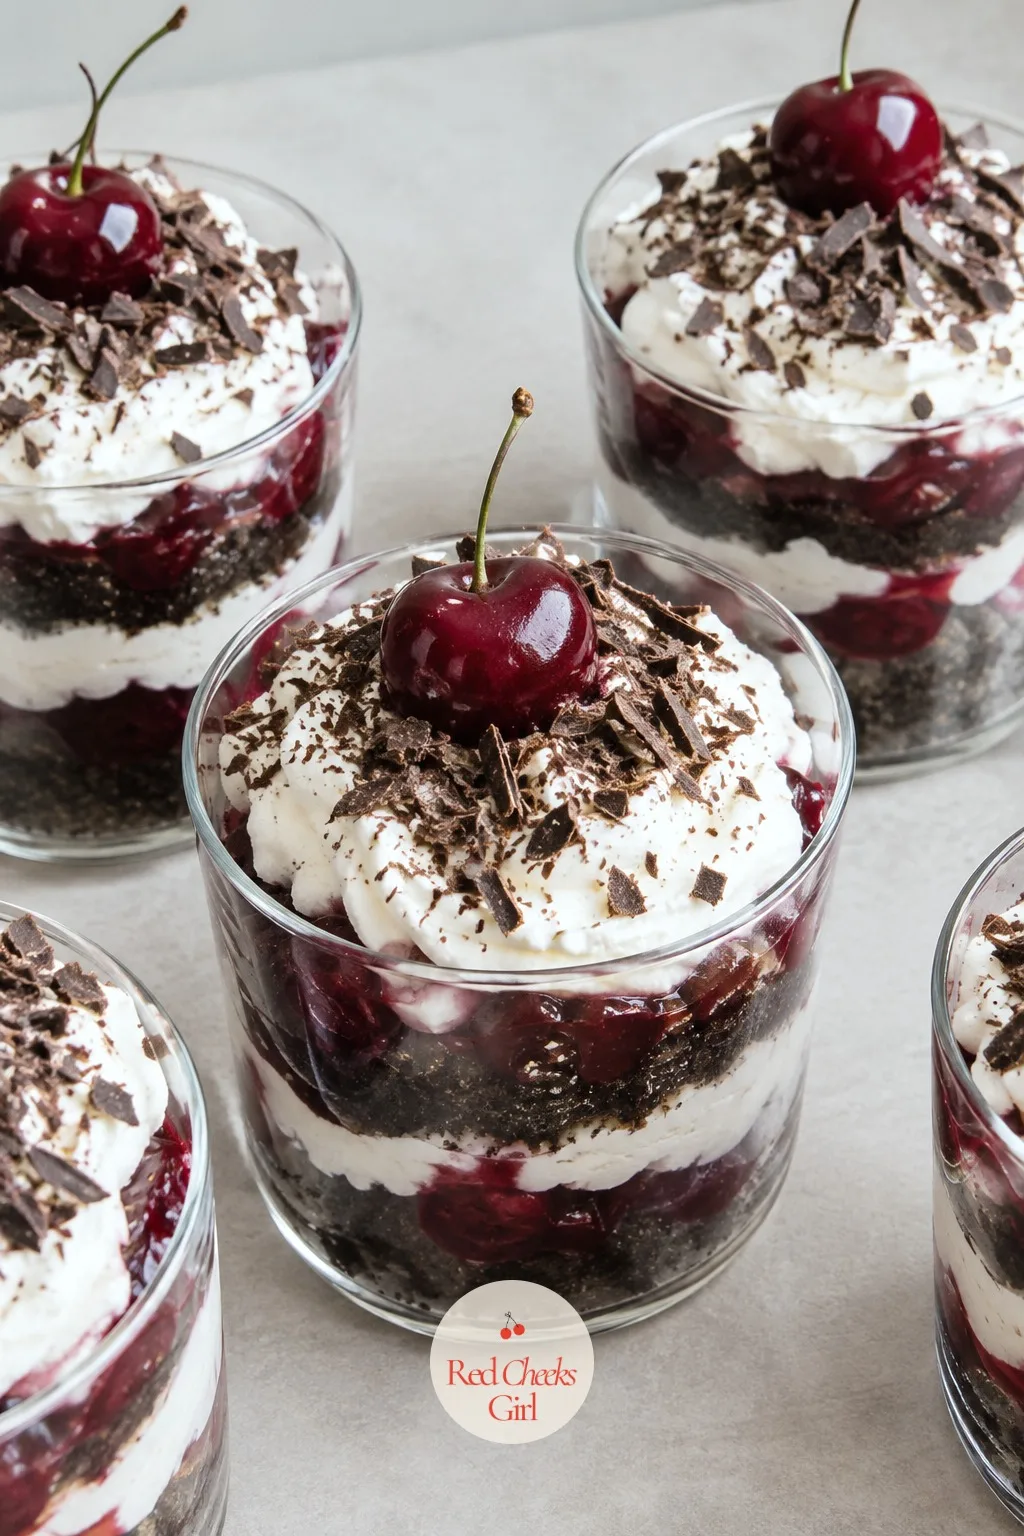
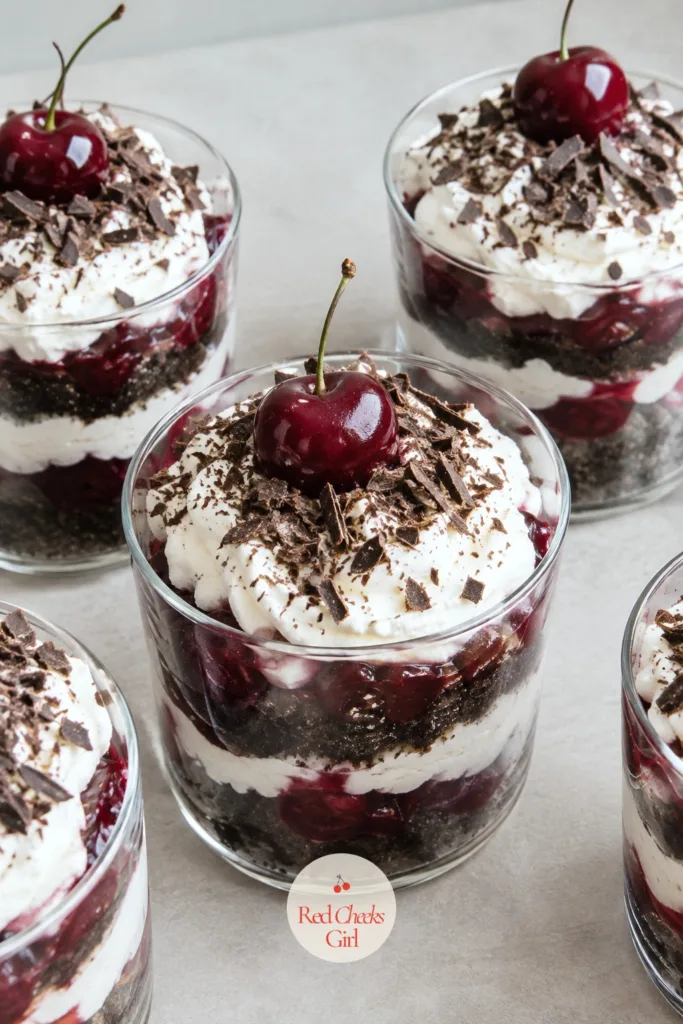
This is the one that gets photographed before anyone eats it. Dark chocolate crumbs, a glossy cherry compote and a cloud of whipped cream stack into stripes that read as elegant even though nothing here gets baked.
Watch the compote on the stove: it goes from loose and syrupy to glossy and spoon-coating in the space of a minute, and that is the moment to pull it off the heat.
If the party lands near the holidays, the same stacking trick works on a whole different flavor list in 20 mini Christmas desserts that look fancy but take minutes to assemble.
Serve these in short, wide glasses so the dark chocolate shavings on top catch the light instead of hiding down a narrow shot glass.
Black Forest Cups
Ingredients
- 1 cup chocolate wafer cookies crushed (about 20 cookies)
- 3 tablespoons unsalted butter melted
- 2 cups pitted fresh or frozen cherries thawed if frozen
- 1/3 cup granulated sugar
- 1 tablespoon cornstarch
- 2 tablespoons water
- 1 tablespoon kirsch or cherry juice optional
- 1 1/2 cups heavy cream cold
- 3 tablespoons powdered sugar
- 1/2 teaspoon vanilla extract
- 2 ounces dark chocolate for shaving
Instructions
- In a medium saucepan, combine the cherries, granulated sugar, cornstarch and water over medium heat; stir constantly for about 5 minutes until the mixture turns glossy and coats the back of a spoon.
- Remove the compote from the heat, stir in the kirsch if using, and let it cool to room temperature, about 15 minutes.
- Stir the crushed chocolate wafer cookies with the melted butter in a small bowl until the crumbs look like wet sand.
- Spoon 2 tablespoons of the crumb mixture into the bottom of each of 10 small clear cups and press lightly with the back of a spoon.
- Beat the cold heavy cream with the powdered sugar and vanilla on high speed for 2 to 3 minutes until stiff peaks hold their shape when the beaters lift out.
- Spoon a layer of whipped cream over the crumbs in each cup, filling about a third of the way up.
- Add a spoonful of cooled cherry compote over the cream, then repeat the crumb, cream and cherry layers until the cups are nearly full.
- Cover and refrigerate for at least 2 hours, until the layers feel fully chilled and set when you touch the glass.
- Just before serving, top each cup with a small swirl of whipped cream and a scatter of shaved dark chocolate.
Good to Know
🛍 Shopping guide
Key Lime Pie Cups
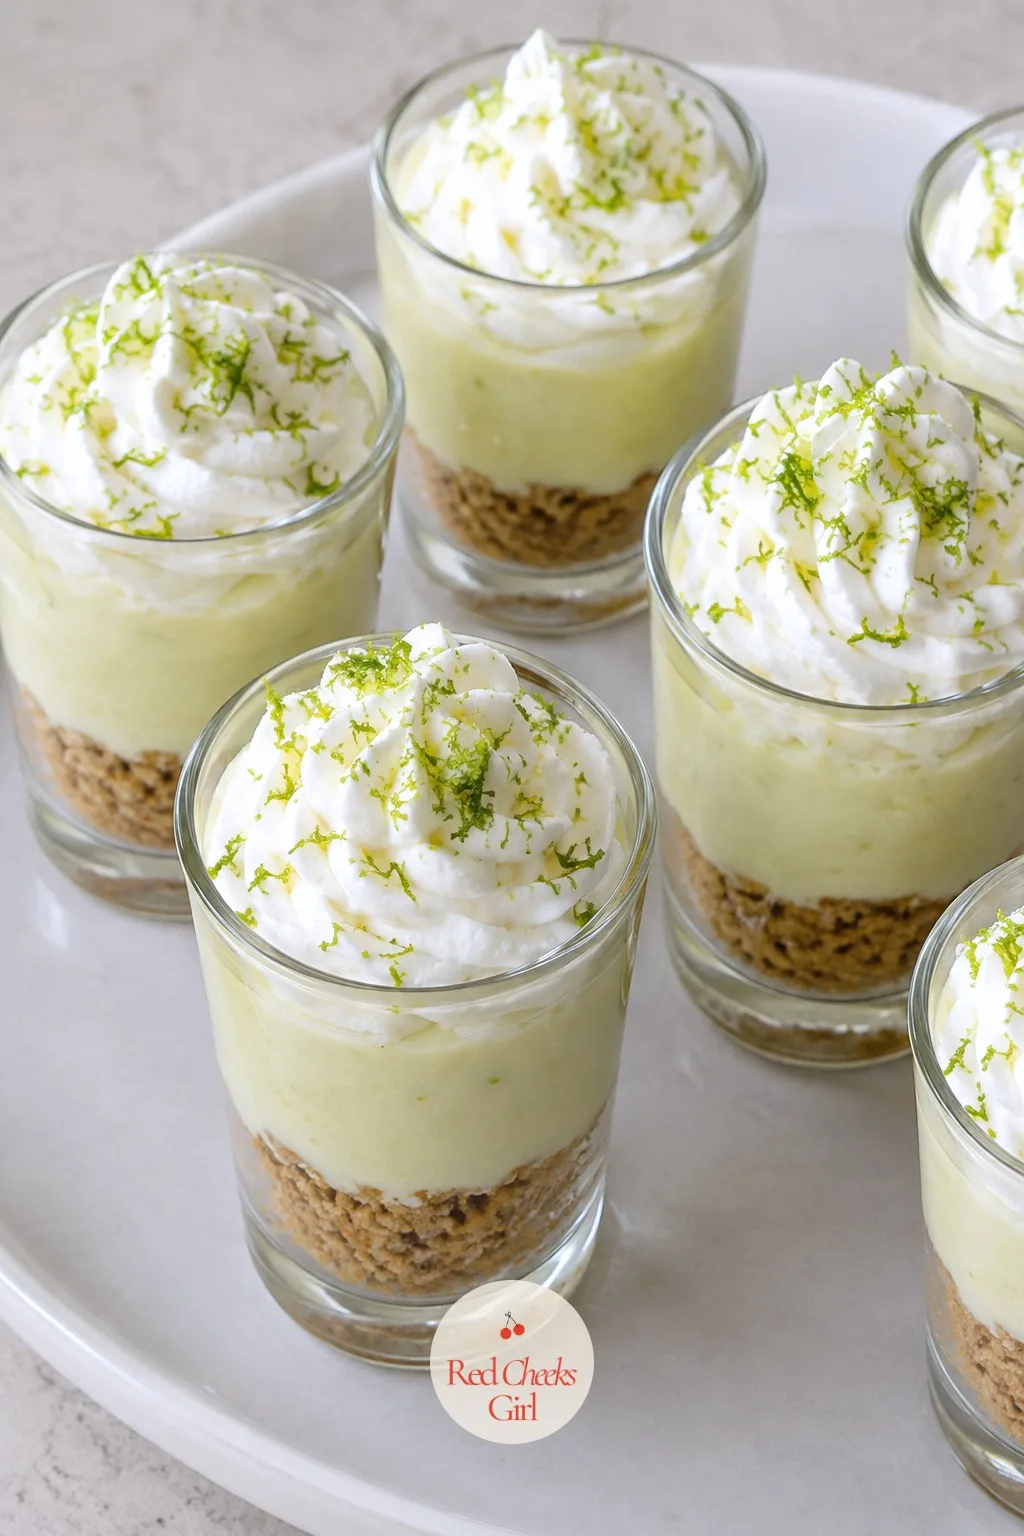
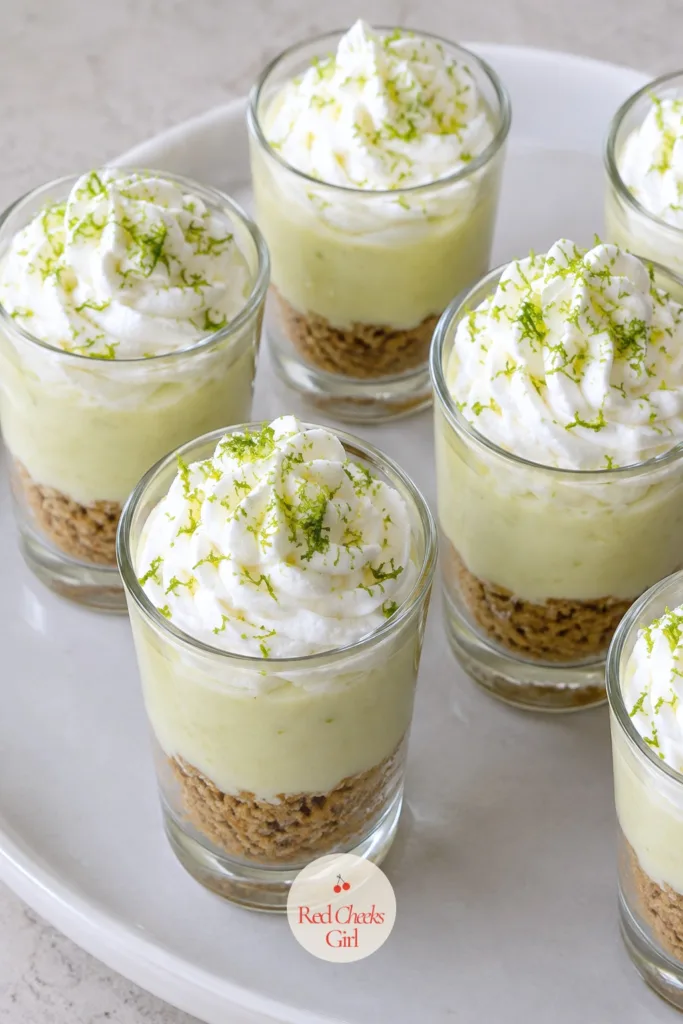
No oven, no pastry crust that cracks in transit, just the sharp-sweet filling everyone actually wants from key lime pie. The green against the white cream looks sharper in a glass than it ever does in a pan.
Real key limes are small and fussy to juice; bottled key lime juice works fine here and keeps the tartness consistent cup to cup. Skip anything labeled “lime-flavored” though, the flavor reads thin once it is chilled.
Serve in narrow shot glasses so the lime layer stays visible under the cream even in a two-bite portion.
Key Lime Pie Cups
Ingredients
- 1 1/4 cups graham cracker crumbs
- 5 tablespoons unsalted butter melted
- 1 14-ounce can sweetened condensed milk
- 1/2 cup key lime juice bottled or fresh
- 1/2 cup sour cream
- 1 tablespoon lime zest plus more for garnish
- 1 1/4 cups heavy cream cold
- 3 tablespoons powdered sugar
Instructions
- Stir the graham cracker crumbs with the melted butter in a bowl until every crumb is coated and the texture looks like damp sand.
- Press 1 tablespoon of the crumb mixture into the bottom of each of 12 small clear cups.
- In a medium bowl, whisk the sweetened condensed milk, key lime juice, sour cream and lime zest until smooth and slightly thickened, about 2 minutes.
- Spoon the lime filling over the crumb layer in each cup, filling about halfway.
- Refrigerate the filled cups for at least 1 hour, until the filling feels set rather than loose when you nudge the glass.
- Beat the cold heavy cream with the powdered sugar on high speed for 2 to 3 minutes until stiff peaks form.
- Pipe or spoon the whipped cream over the set lime layer, mounding it slightly above the rim.
- Cover and chill for at least 2 more hours so the flavors meld and the filling finishes setting.
- Just before serving, finish each cup with a light grating of fresh lime zest.
Good to Know
🛍 Shopping guide
Red Velvet Cheesecake Cups
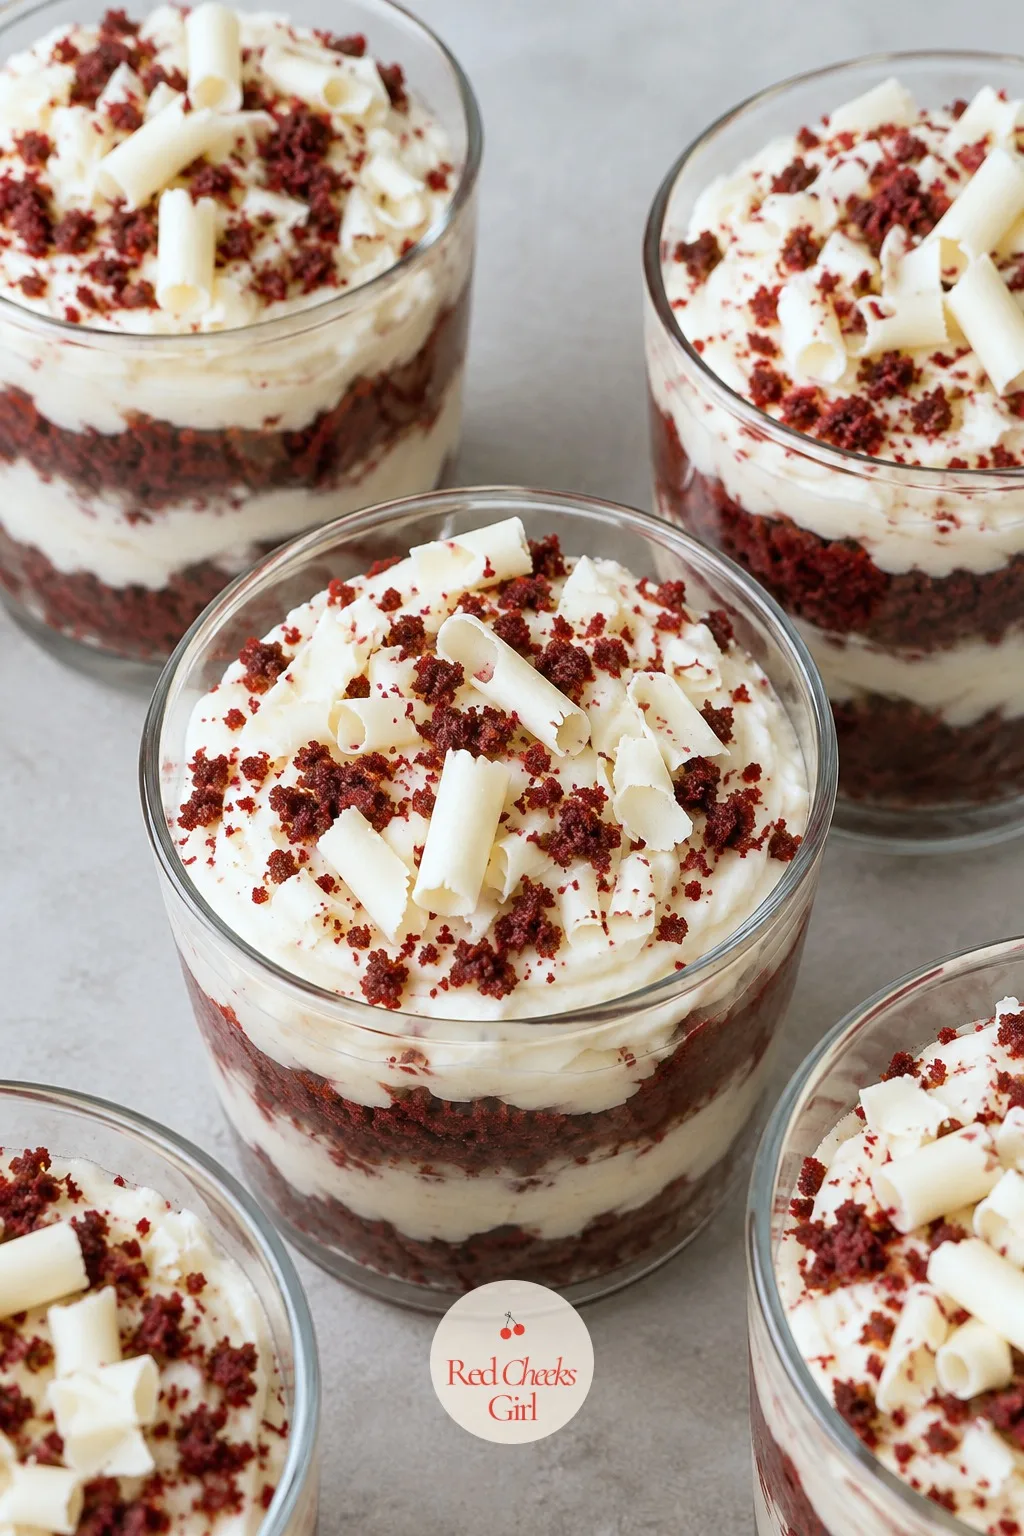
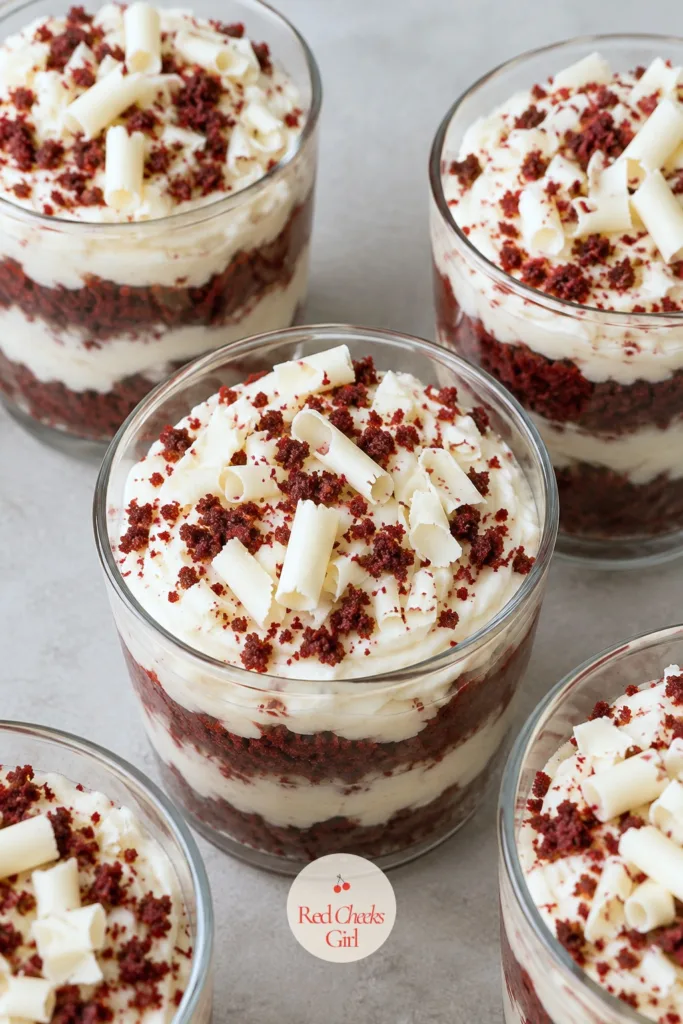
Red against white is a color combination that photographs itself, which is half the reason this one belongs near the top of the list. The other half is that the cake crumbs do all the work; nothing here goes near an oven.
Buy a red velvet loaf cake or a box of cupcakes rather than baking one from scratch for crumbs alone, it is cheaper in time if not in a few extra dollars. Fold the whipped cream into the cheesecake base gently, overmixing deflates the filling and the layers lose their height.
White chocolate curls on top keep the color story clean; skip anything red for the garnish so the cake crumbs stay the only red note.
Red Velvet Cheesecake Cups
Ingredients
- 3 cups red velvet cake crumbled (store-bought loaf or cupcakes)
- 8 ounces cream cheese softened
- 1/2 cup powdered sugar
- 1 teaspoon vanilla extract
- 1 cup heavy cream cold
- 2 tablespoons granulated sugar
- 1 ounce white chocolate shaved, for garnish
Instructions
- Crumble the red velvet cake into small, loose pieces with your fingers and set aside.
- Beat the softened cream cheese, powdered sugar and vanilla in a large bowl on medium speed for 2 minutes, until completely smooth with no lumps.
- In a separate bowl, beat the cold heavy cream with the granulated sugar on high speed for 2 to 3 minutes until stiff peaks form.
- Fold one-third of the whipped cream into the cream cheese mixture to loosen it, then gently fold in the rest until no white streaks remain.
- Spoon 2 tablespoons of cake crumbs into the bottom of each of 10 small clear cups and press down lightly.
- Pipe or spoon a layer of the cheesecake cream over the crumbs, filling about a third of the cup.
- Repeat the layers of crumbs and cream until the cups are nearly full, finishing with a cream layer.
- Cover and refrigerate for at least 2 hours, until the filling feels firm rather than soft when pressed.
- Top each cup with a few reserved cake crumbs and a scatter of shaved white chocolate just before serving.
Good to Know
🛍 Shopping guide
Cherry Cheesecake Cups
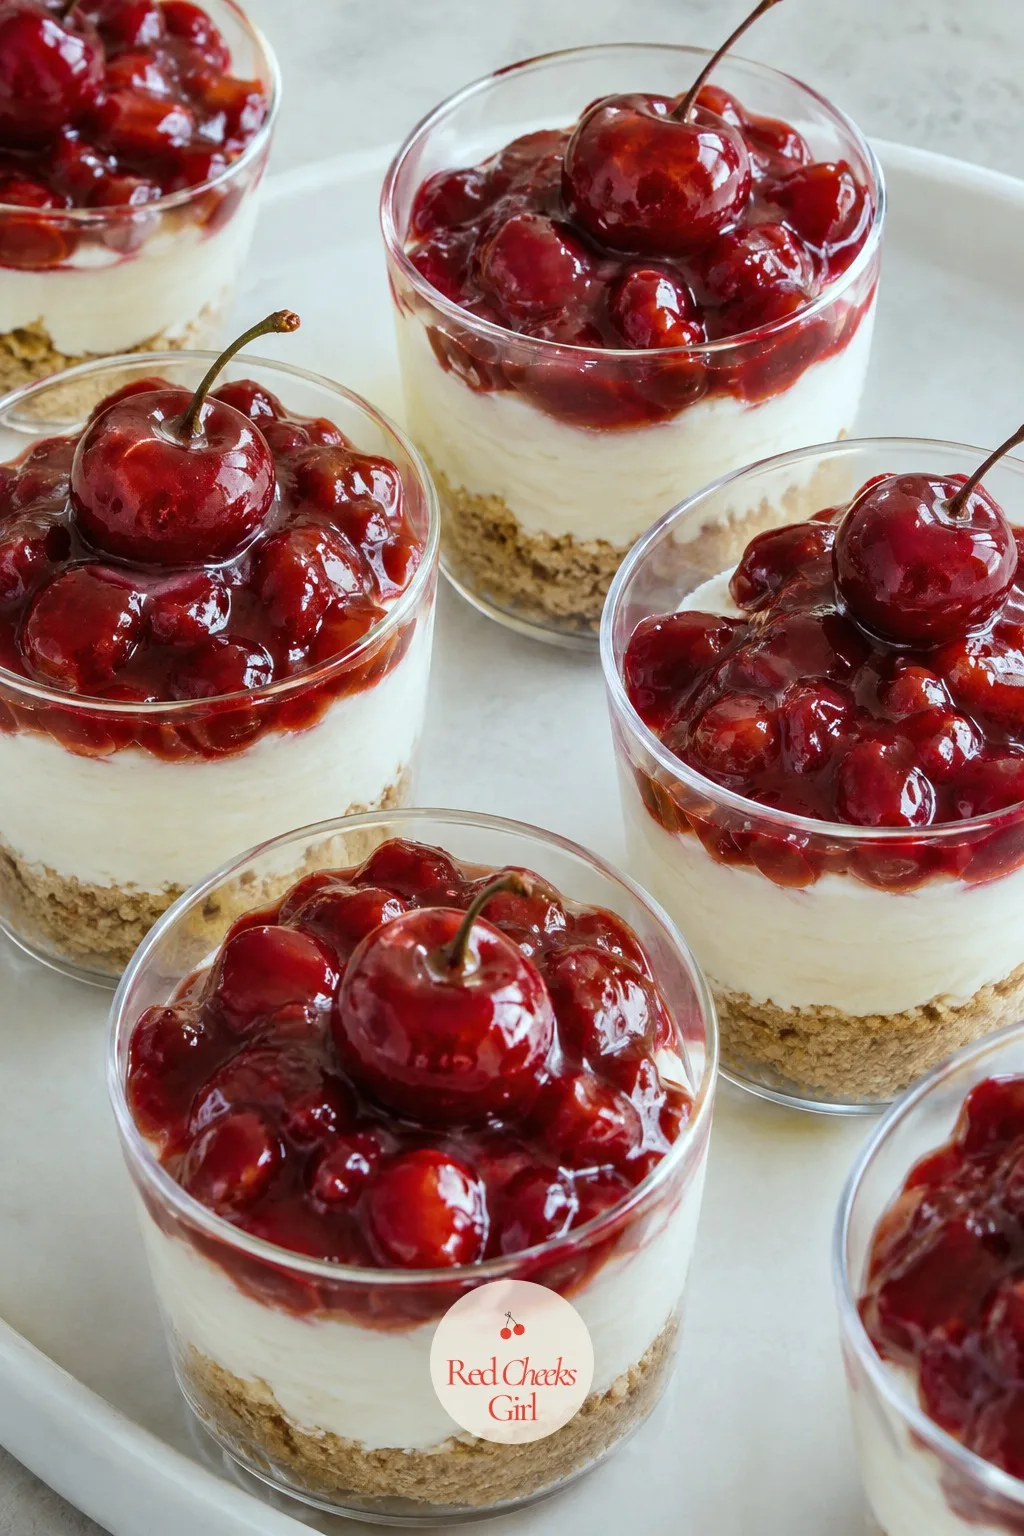
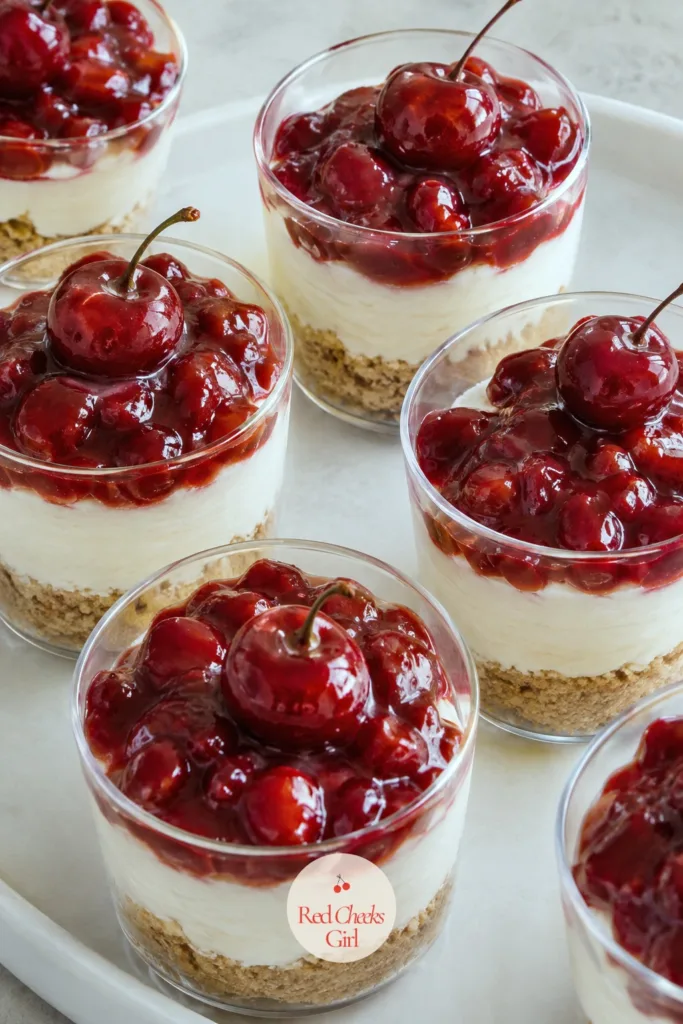
This is the cheesecake flavor most people ask for by name, built here with none of the springform pan drama. A quick stovetop cherry sauce beats canned pie filling on flavor and takes five minutes.
Let the cherry sauce cool fully before it goes anywhere near the cream cheese layer, warm sauce will melt the filling into a puddle instead of a stripe. The cheesecake layer firms up nicely in the fridge, so this is a genuinely forgiving one for a first attempt at layered cups.
A single whole cherry balanced on top finishes the cup without hiding the red stripe underneath.
Cherry Cheesecake Cups
Ingredients
- 1 cup graham cracker crumbs
- 4 tablespoons unsalted butter melted
- 2 cups pitted fresh or frozen cherries thawed if frozen
- 1/4 cup granulated sugar
- 1 teaspoon cornstarch
- 1 teaspoon lemon juice
- 8 ounces cream cheese softened
- 1/3 cup powdered sugar
- 1 teaspoon vanilla extract
- 1 cup heavy cream cold
Instructions
- Combine the cherries, granulated sugar, cornstarch and lemon juice in a small saucepan over medium heat; cook for about 5 minutes, stirring often, until the sauce thickens enough to coat a spoon.
- Remove the cherry sauce from the heat and let it cool completely, about 20 minutes, before using.
- Stir the graham cracker crumbs with the melted butter until evenly coated, then press 1 tablespoon into the bottom of each of 10 small clear cups.
- Beat the softened cream cheese, powdered sugar and vanilla on medium speed for 2 minutes until smooth.
- In a separate bowl, whip the cold heavy cream on high speed for 2 to 3 minutes until stiff peaks form, then fold it into the cream cheese mixture.
- Pipe or spoon the cheesecake filling over the crumb layer in each cup, filling about two-thirds full.
- Refrigerate the cups for at least 1 hour, until the filling feels set rather than soft.
- Spoon the cooled cherry sauce over the chilled cheesecake layer just before serving so it sits glossy on top rather than sinking in.
- Finish each cup with a whole cherry on top, if available.
Good to Know
🛍 Shopping guide
Lemon Cheesecake Cups
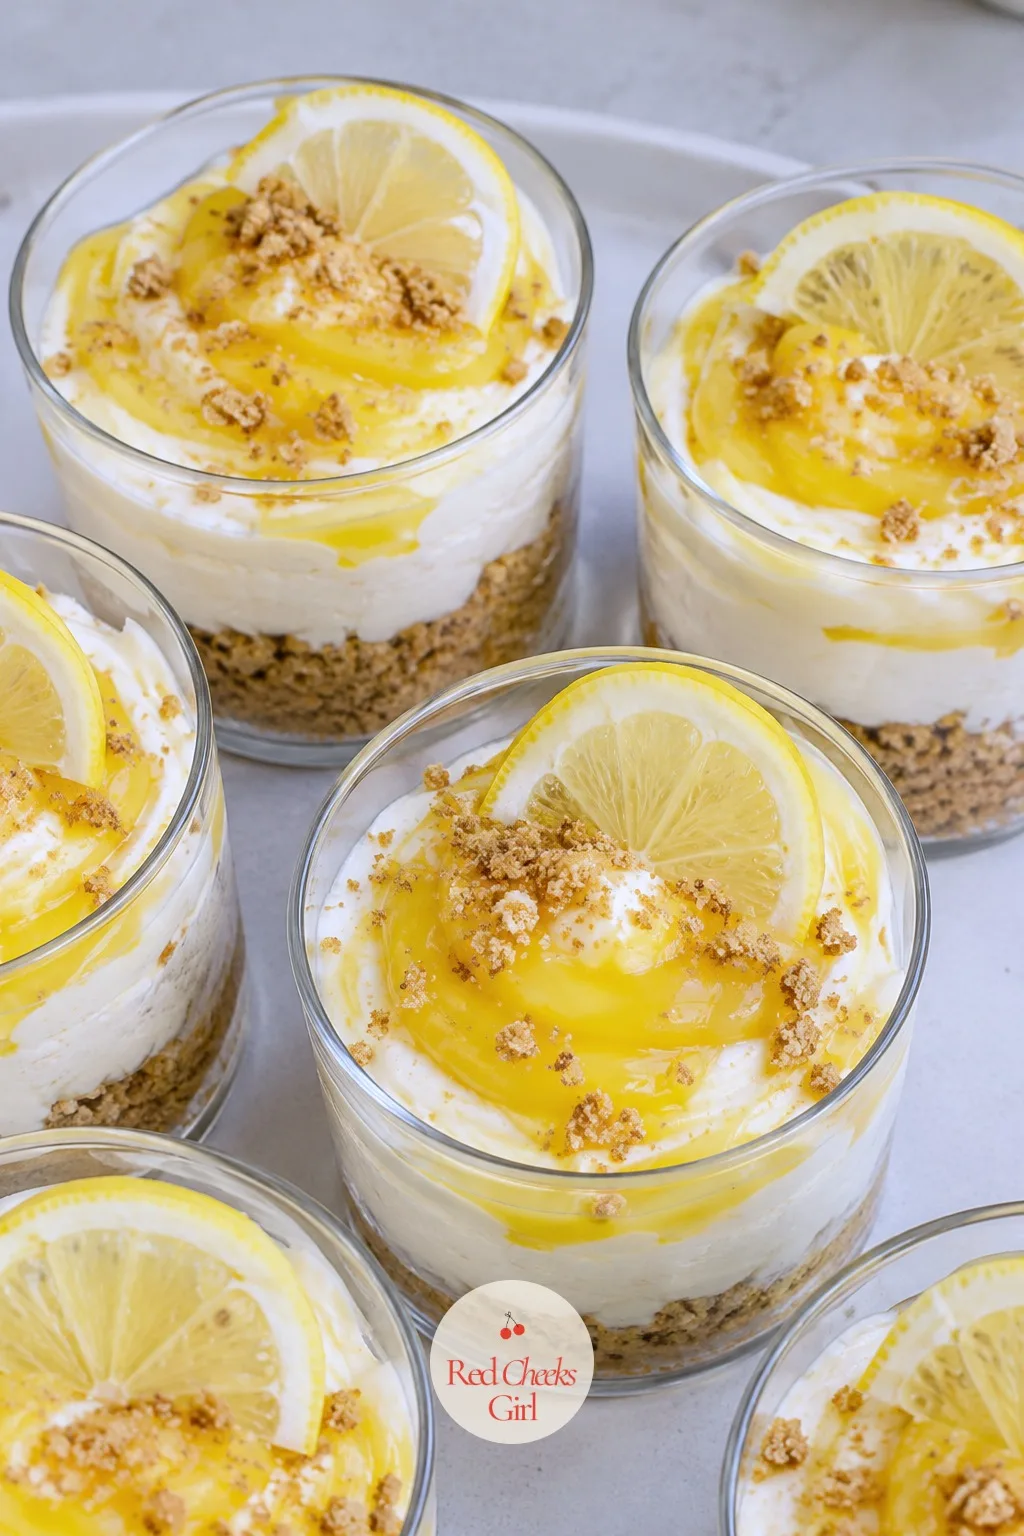
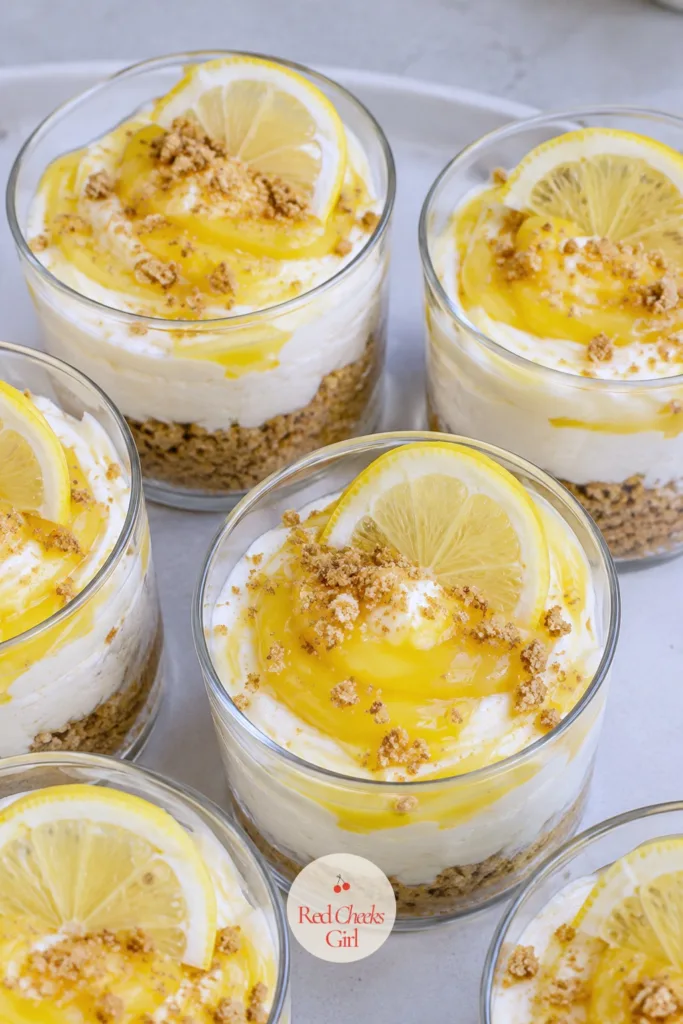
Bright, a little sharp, and the one guests reach for after two slices of something chocolate. A quick lemon curd does the heavy lifting here, and it is genuinely easier than it sounds if you keep the heat low and keep stirring.
The curd needs to coat the back of a spoon before it comes off the stove; pull it too early and the layer stays runny instead of holding a clean line against the cream. If the party calls for something pink instead, the same no-bake method turns up again in 14 Valentine’s dessert recipes in red, pink and chocolate.
Candied lemon peel or a thin lemon wheel on top keeps the color story honest.
Lemon Cheesecake Cups
Ingredients
- 3 large egg yolks
- 1/2 cup granulated sugar
- 1/3 cup fresh lemon juice
- 1 tablespoon lemon zest
- 3 tablespoons unsalted butter
- 1 cup graham cracker crumbs
- 4 tablespoons unsalted butter melted, for crust
- 8 ounces cream cheese softened
- 1/3 cup powdered sugar
- 1 cup heavy cream cold
Instructions
- Whisk the egg yolks, granulated sugar, lemon juice and lemon zest in a saucepan until smooth.
- Cook over medium-low heat, stirring constantly, for about 8 minutes, until the curd thickens enough to coat the back of a spoon.
- Remove from heat, whisk in the 3 tablespoons of butter until melted, then press plastic wrap directly onto the surface and chill for 30 minutes.
- Stir the graham cracker crumbs with the melted butter and press 1 tablespoon into the bottom of each of 10 small clear cups.
- Beat the softened cream cheese and powdered sugar on medium speed for 2 minutes until smooth.
- Whip the cold heavy cream on high speed for 2 to 3 minutes until stiff peaks form, then fold it into the cream cheese mixture.
- Spoon the cheesecake cream over the crumb layer in each cup, filling about halfway.
- Top with a spoonful of the chilled lemon curd, swirling it slightly into the cream with a toothpick for a marbled look.
- Refrigerate for at least 1 hour before serving, until all layers feel cold and set.
Good to Know
🛍 Shopping guide
Chocolate Mousse Cups
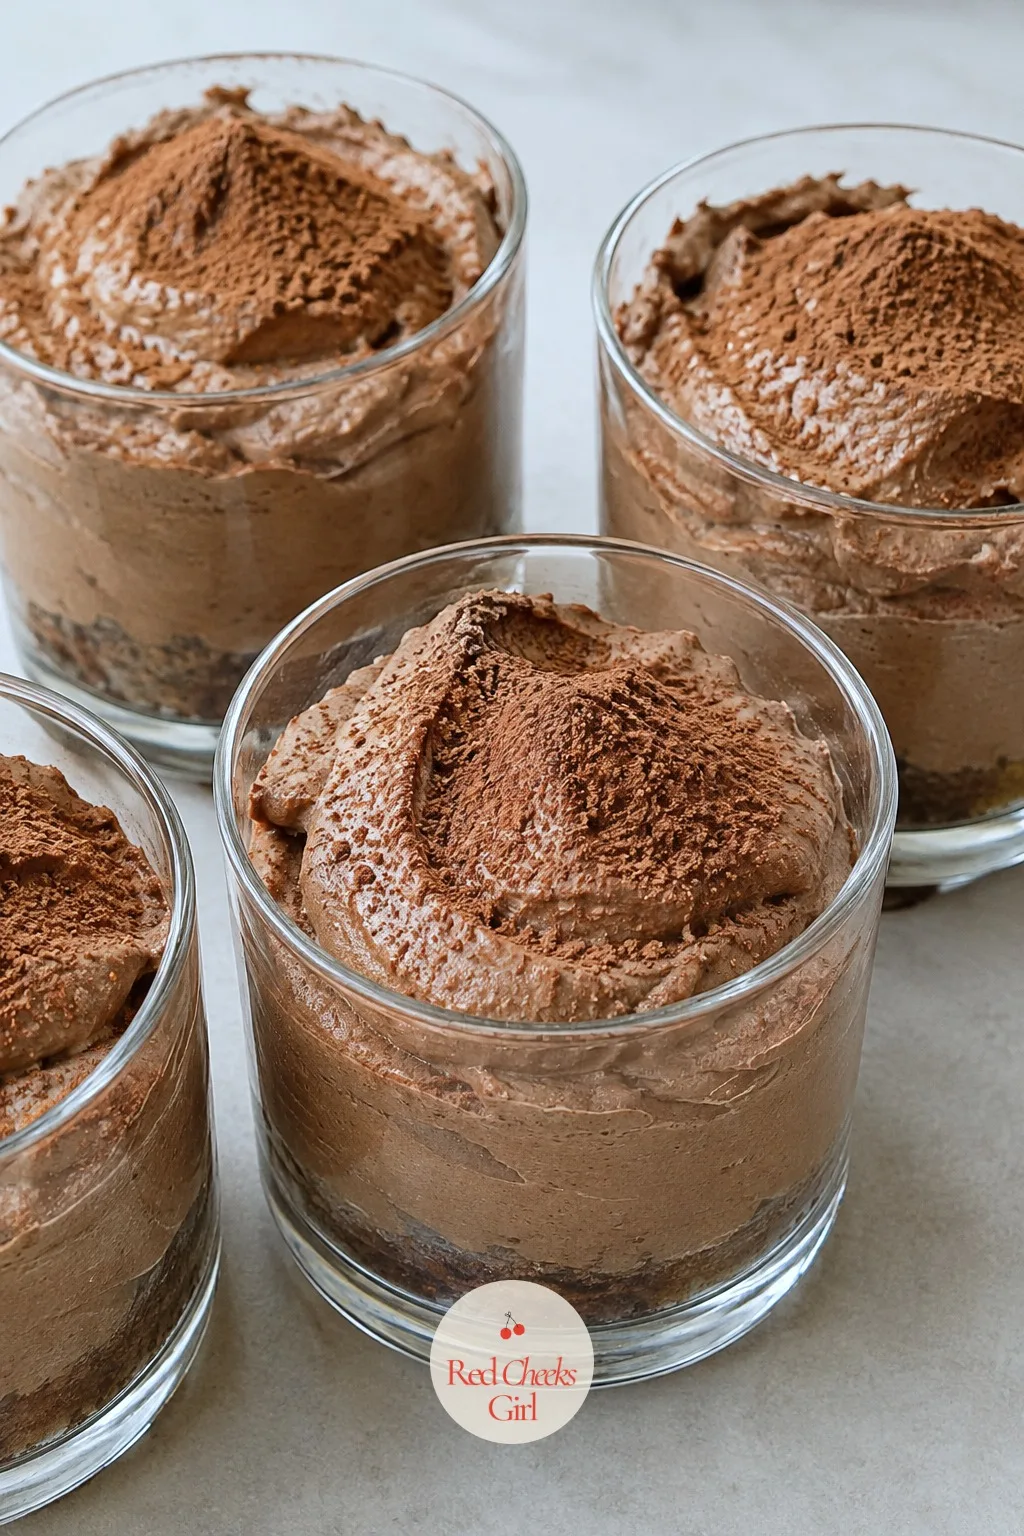
Three ingredients, one bowl of whipped cream, and a texture that reads as fussier than it is. This is the cup to start with if layering cups is new to you, nothing here can really go wrong.
Melt the chocolate gently, scorched chocolate turns grainy and there is no fixing it once that happens. Fold rather than stir once the cream goes in, a heavy hand knocks the air out and the mousse sets dense instead of light.
Serve in a slightly taller glass so the mousse has room to hold its shape when spooned or piped in.
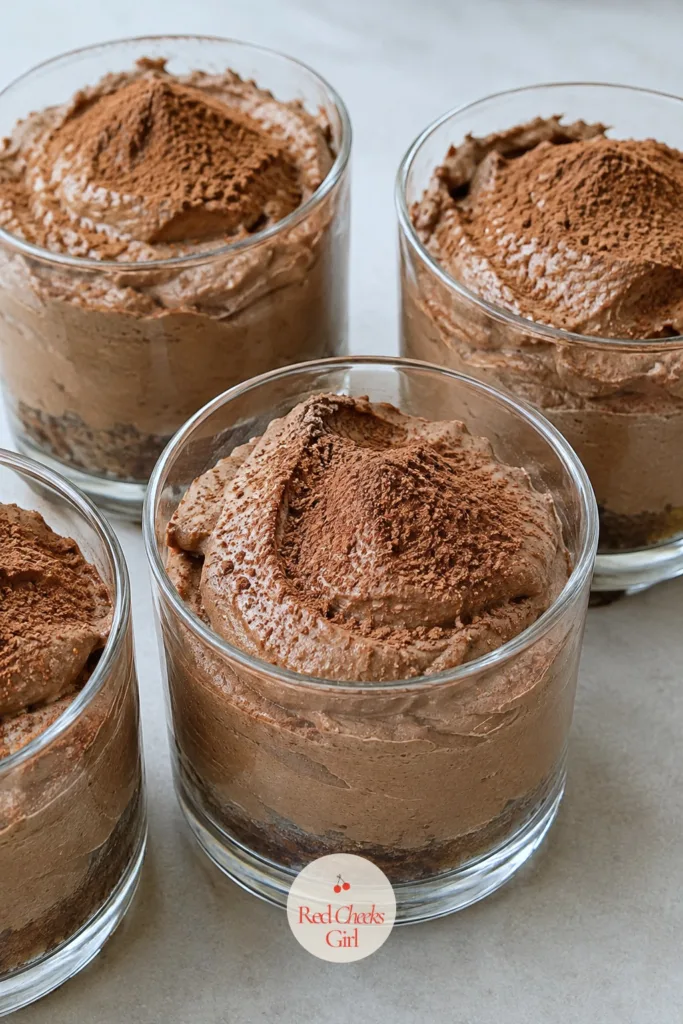
Chocolate Mousse Cups
Ingredients
- 6 ounces dark chocolate chopped
- 2 cups heavy cream cold, divided
- 2 tablespoons powdered sugar
- 1/2 teaspoon vanilla extract
- 1 cup chocolate cookie crumbs
- 1 tablespoon cocoa powder for dusting
Instructions
- Melt the chopped dark chocolate in a heatproof bowl set over a pan of barely simmering water, stirring until smooth and glossy, about 3 minutes.
- Remove the bowl from the heat and whisk in 1/2 cup of the heavy cream until the mixture is smooth and slightly cooled.
- In a separate bowl, whip the remaining 1 1/2 cups of cream with the powdered sugar and vanilla on high speed for 2 to 3 minutes until stiff peaks form.
- Fold one-third of the whipped cream into the chocolate mixture to lighten it, then gently fold in the rest until no streaks remain.
- Spoon 1 tablespoon of chocolate cookie crumbs into the bottom of each of 8 small clear cups.
- Pipe or spoon the chocolate mousse over the crumbs, filling the cups to just below the rim.
- Tap each cup gently on the counter to settle the mousse and release any air pockets.
- Refrigerate for at least 2 hours, until the mousse holds a soft peak when touched rather than sinking back.
- Dust each cup lightly with cocoa powder just before serving.
Good to Know
🛍 Shopping guide
Raspberry White Chocolate Cups
White chocolate needs a sharp partner or it reads as just sweet, and raspberry is the best one it has. The pink sauce against the pale cream is the kind of contrast that needs almost no styling to look finished.
Push the cooked raspberry sauce through a fine mesh sieve if the seeds bother you, it takes an extra two minutes and the sauce pours more cleanly between layers. White chocolate scorches faster than dark, so melt it low and slow and stop stirring the second it turns smooth.
A single fresh raspberry balanced on top is the only garnish this one needs.
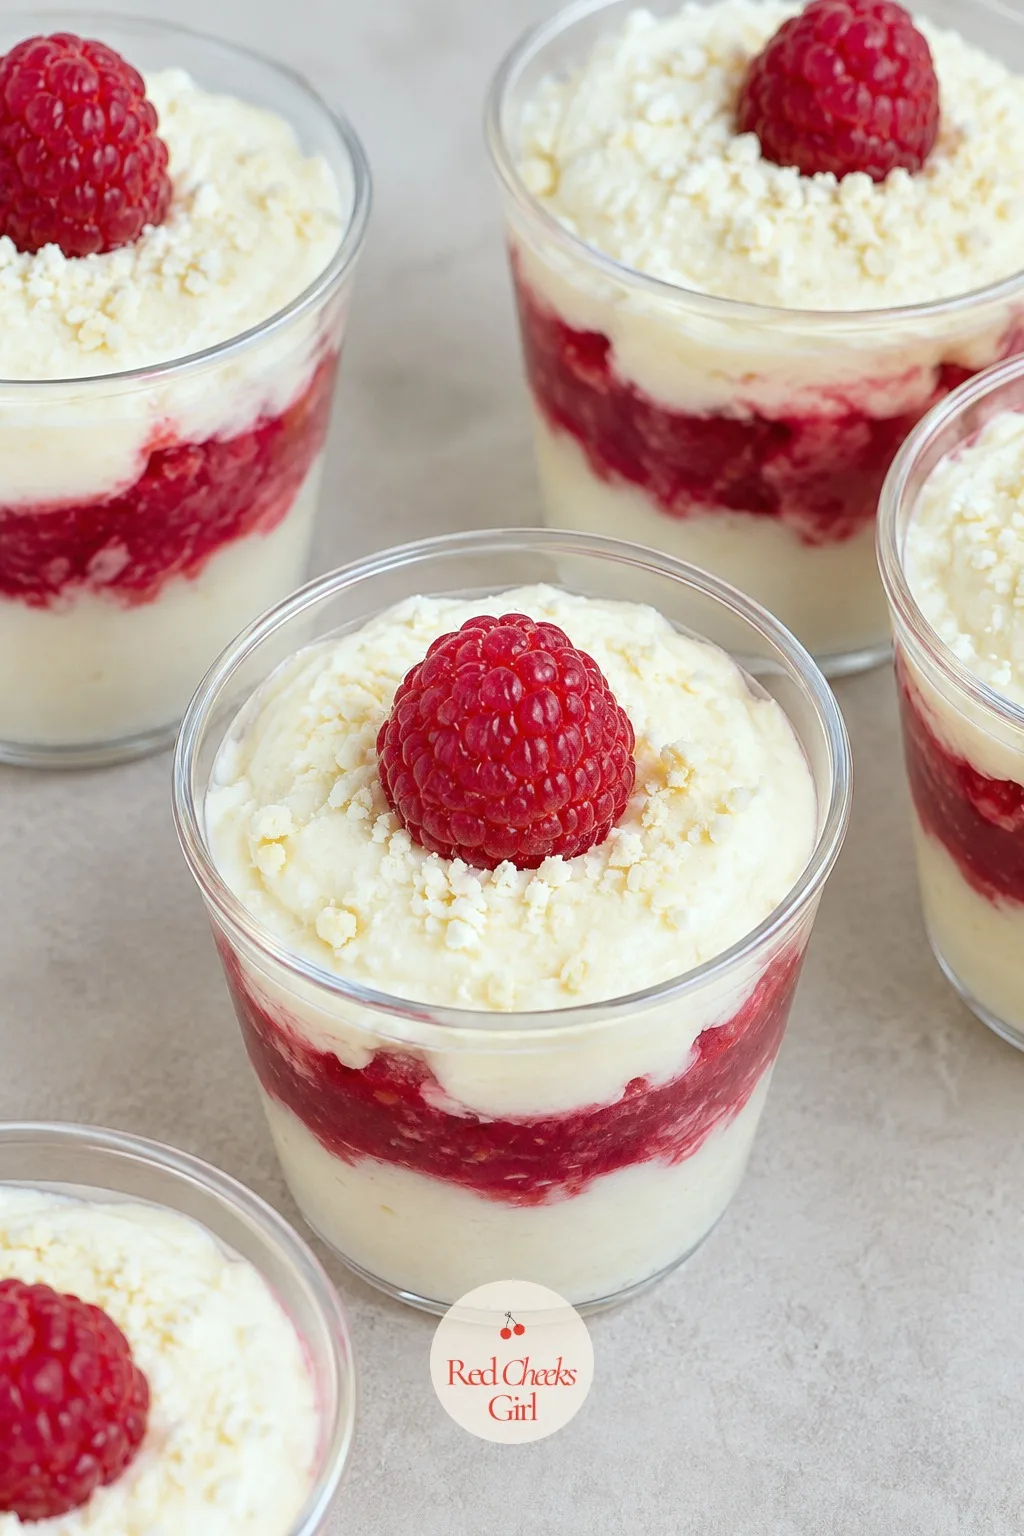
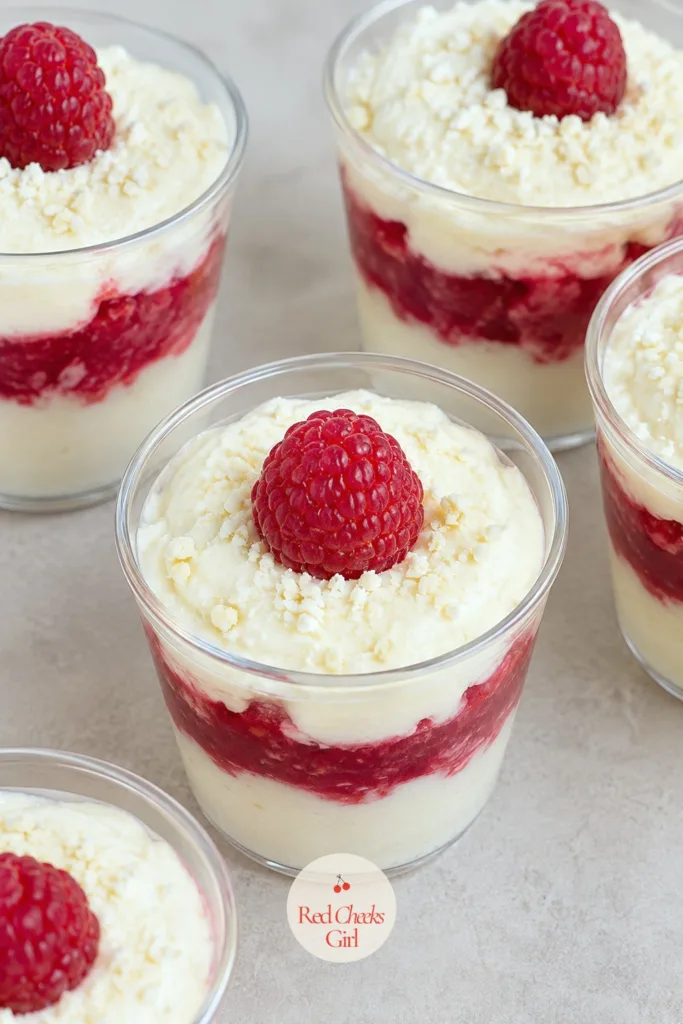
Raspberry White Chocolate Cups
Ingredients
- 1 1/2 cups fresh or frozen raspberries thawed if frozen
- 3 tablespoons granulated sugar
- 1 teaspoon cornstarch
- 1 teaspoon lemon juice
- 4 ounces white chocolate chopped
- 1 1/2 cups heavy cream cold, divided
- 1 cup shortbread cookies crushed
- Fresh raspberries for garnish
Instructions
- Combine the raspberries, sugar, cornstarch and lemon juice in a small saucepan over medium heat; cook for about 5 minutes, mashing gently, until the sauce thickens enough to coat a spoon.
- Push the sauce through a fine mesh sieve to remove the seeds, then let it cool to room temperature, about 20 minutes.
- Melt the white chocolate with 1/2 cup of the heavy cream in a heatproof bowl over barely simmering water, stirring until smooth, about 3 minutes; let cool slightly.
- Whip the remaining 1 cup of heavy cream on high speed for 2 to 3 minutes until stiff peaks form, then fold it into the cooled white chocolate mixture.
- Spoon 1 tablespoon of crushed shortbread into the bottom of each of 10 small clear cups.
- Add a layer of the white chocolate cream, then a spoonful of raspberry sauce, repeating until the cups are nearly full.
- Use a toothpick to swirl the top layer slightly for a marbled finish.
- Cover and refrigerate for at least 2 hours, until the cream layer feels firm when pressed lightly.
- Top each cup with a fresh raspberry just before serving.
Good to Know
🛍 Shopping guide
Coffee Cream Cups
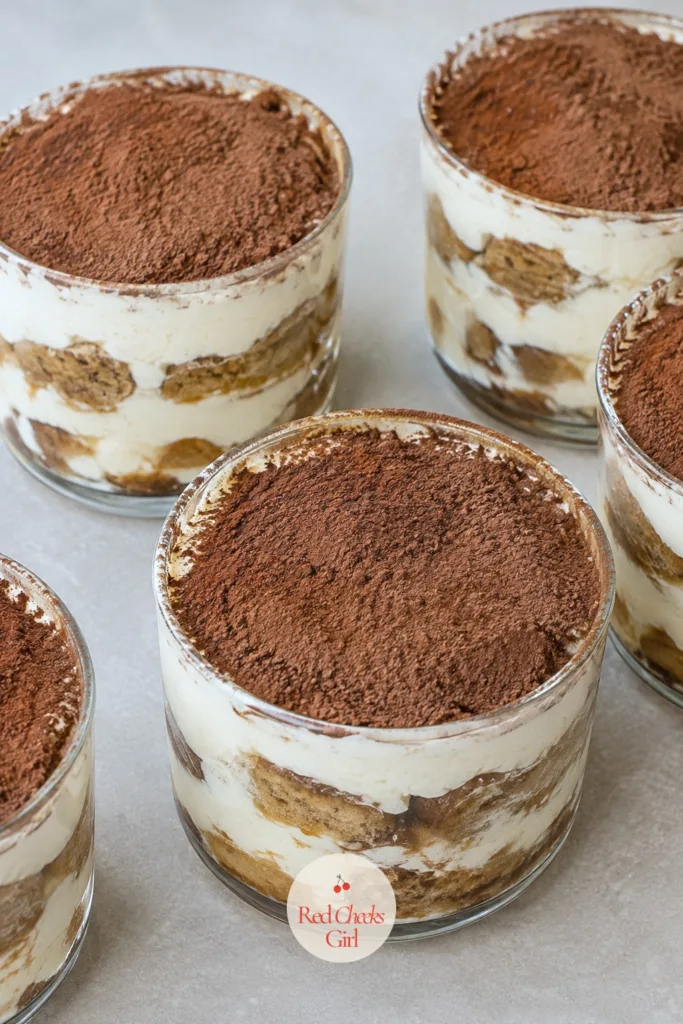
For the table that wants something less sweet near the end of the night, this one reads grown-up without being bitter. Coffee-soaked cake, mascarpone cream and a dusting of cocoa do the same job tiramisu does, in a fraction of the fuss.
Brew the coffee strong and let it cool before it touches the cake, hot coffee turns the layer to mush instead of a soft, soaked bite.
The optional coffee liqueur is genuinely optional, leave it out and nobody at a family party will know the difference; keep it in for a dinner party and pair the leftover bottle with something from 20 party drinks everyone will ask you to make again.
A short, wide glass shows off the layered look best here.
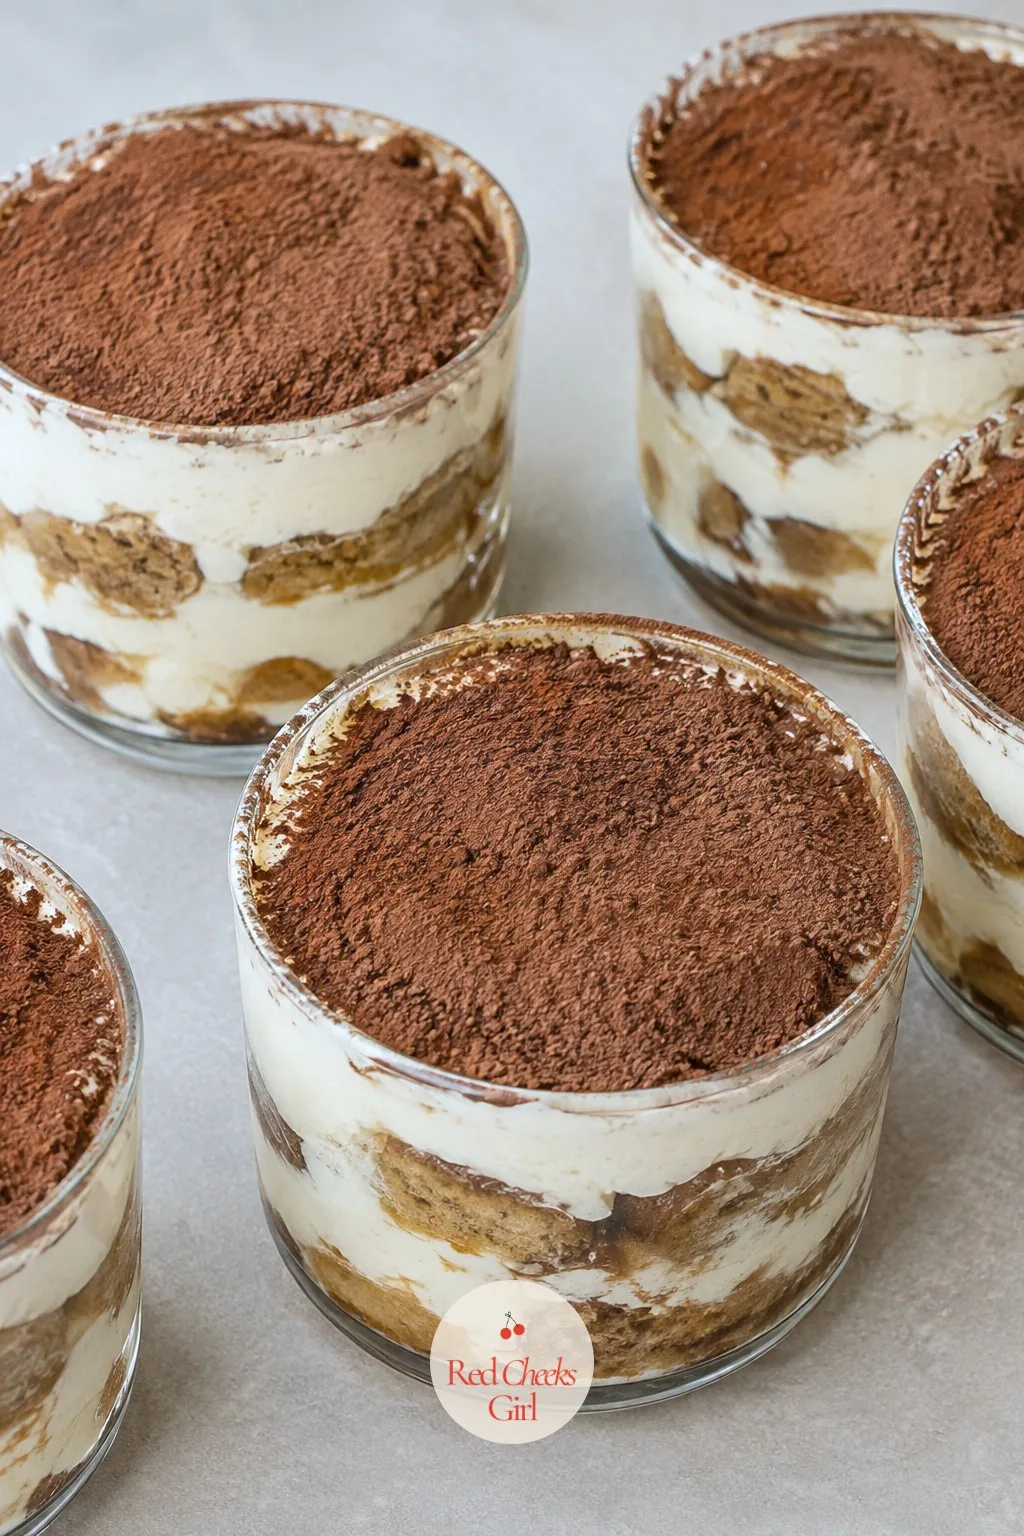
Coffee Cream Cups
Ingredients
- 1 cup brewed espresso or strong coffee cooled
- 1 tablespoon coffee liqueur optional
- 16 ladyfinger cookies broken into pieces
- 8 ounces mascarpone cheese softened
- 1 cup heavy cream cold
- 1/3 cup powdered sugar
- 1 teaspoon vanilla extract
- 2 tablespoons cocoa powder for dusting
Instructions
- Stir the cooled brewed coffee with the coffee liqueur, if using, in a shallow bowl.
- Dip the broken ladyfinger pieces briefly into the coffee mixture, just long enough to soak through without turning soggy, about 2 seconds per side.
- Place a layer of soaked ladyfinger pieces in the bottom of each of 8 small clear cups.
- Beat the softened mascarpone, powdered sugar and vanilla on medium speed for 2 minutes until smooth.
- In a separate bowl, whip the cold heavy cream on high speed for 2 to 3 minutes until stiff peaks form, then fold it into the mascarpone mixture.
- Spoon or pipe the mascarpone cream over the soaked ladyfingers, filling about halfway up each cup.
- Repeat with another layer of soaked ladyfingers and cream until the cups are nearly full.
- Cover and refrigerate for at least 3 hours, until the layers feel fully set and cold.
- Dust the tops with cocoa powder just before serving.
Good to Know
🛍 Shopping guide
Pistachio Cups
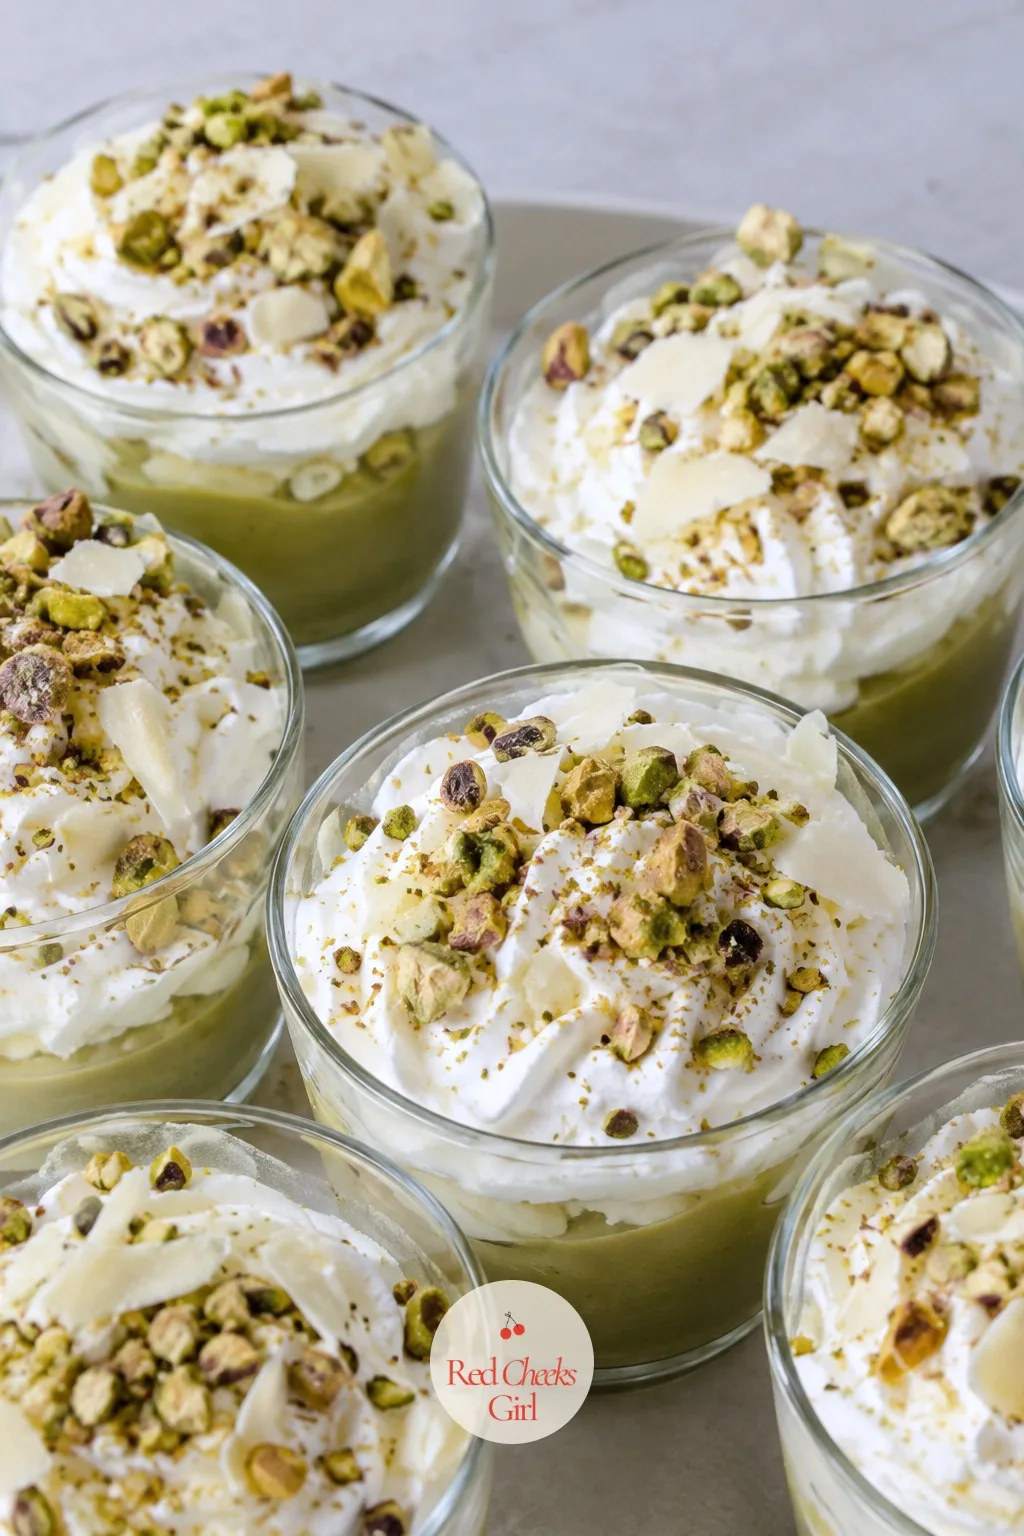
Pistachio is the flavor that makes a dessert table look like it came from somewhere nicer than the supermarket, and it is almost entirely instant pudding doing the heavy lifting underneath.
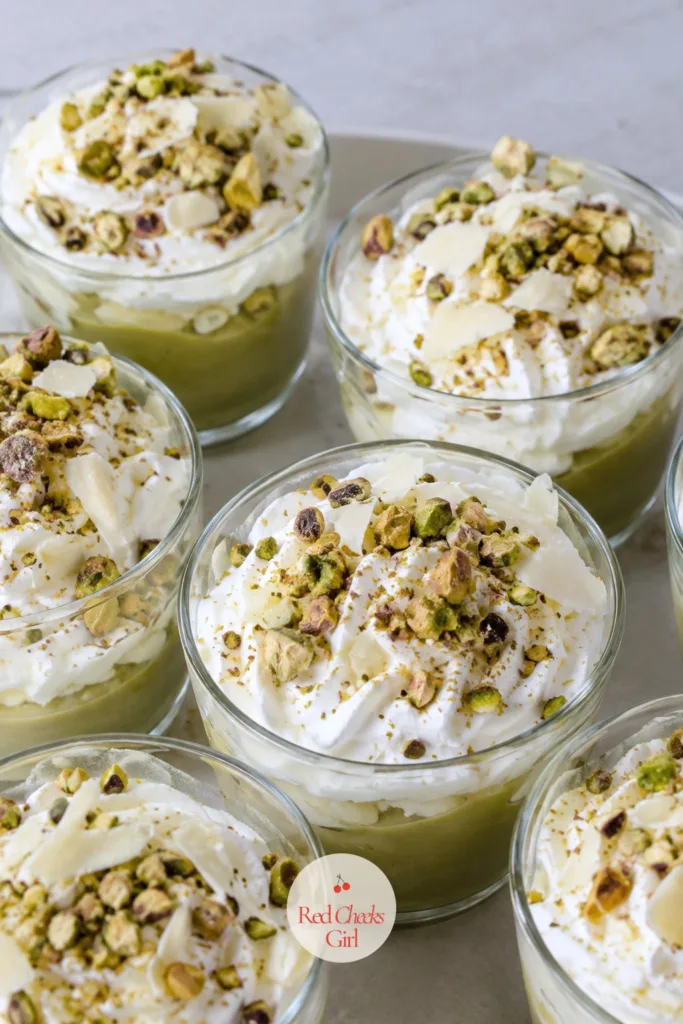
Chopped pistachios on top give the only visual clue to the flavor, so do not skip them even if the budget is tight elsewhere, a small bag goes a long way scattered over ten cups. This is a quiet, short-chill option to tuck into the lineup next to louder flavors like black forest or key lime.
Serve in a small clear glass so the pale green layer shows against the white cream on top.
Pistachio Cups
Ingredients
- 1 3.4-ounce box instant pistachio pudding mix
- 1 3/4 cups cold milk
- 1 cup heavy cream cold
- 2 tablespoons powdered sugar
- 1 cup shortbread cookies crushed
- 1/3 cup shelled pistachios chopped
- Shaved white chocolate for garnish, optional
Instructions
- Whisk the pistachio pudding mix with the cold milk in a bowl for 2 minutes, until it thickens into a soft, spoonable pudding.
- Cover the pudding and refrigerate for 10 minutes to finish setting.
- Whip the cold heavy cream with the powdered sugar on high speed for 2 to 3 minutes until stiff peaks form.
- Fold half of the whipped cream into the pistachio pudding to lighten it, keeping the rest for the top layer.
- Spoon 1 tablespoon of crushed shortbread into the bottom of each of 10 small clear cups.
- Spoon the pistachio pudding mixture over the crumbs, filling about two-thirds of the cup.
- Top with the reserved whipped cream and refrigerate for at least 1 hour, until fully chilled.
- Scatter the chopped pistachios and white chocolate shavings over the top just before serving.
Good to Know
S’mores Cups
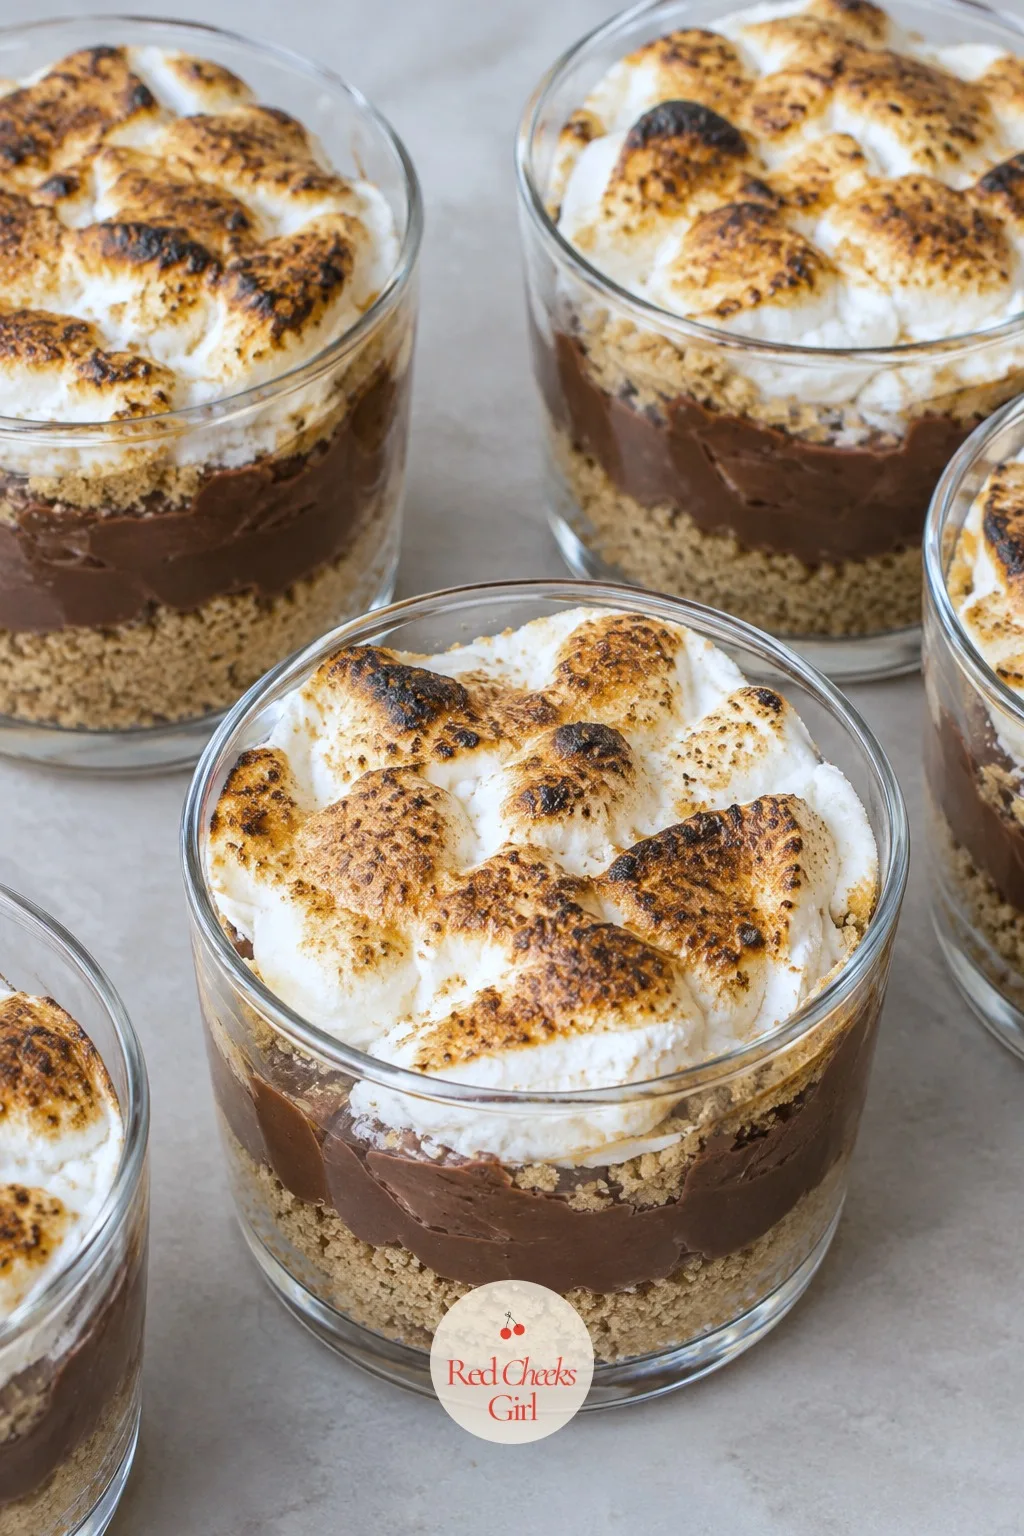
The one flavor everyone agrees on before it even hits the table. Graham, chocolate pudding and toasted marshmallow in a cup means no campfire, no skewers, and no burnt fingers.
Toasting the marshmallow topping needs about a minute under the broiler and real attention, marshmallow goes from golden to black in seconds once it starts to catch. If a kitchen torch is on hand, it does the same job with far less risk and gives a more even color.
Serve these in a wider cup than most of the others here, the toasted top needs room to show.
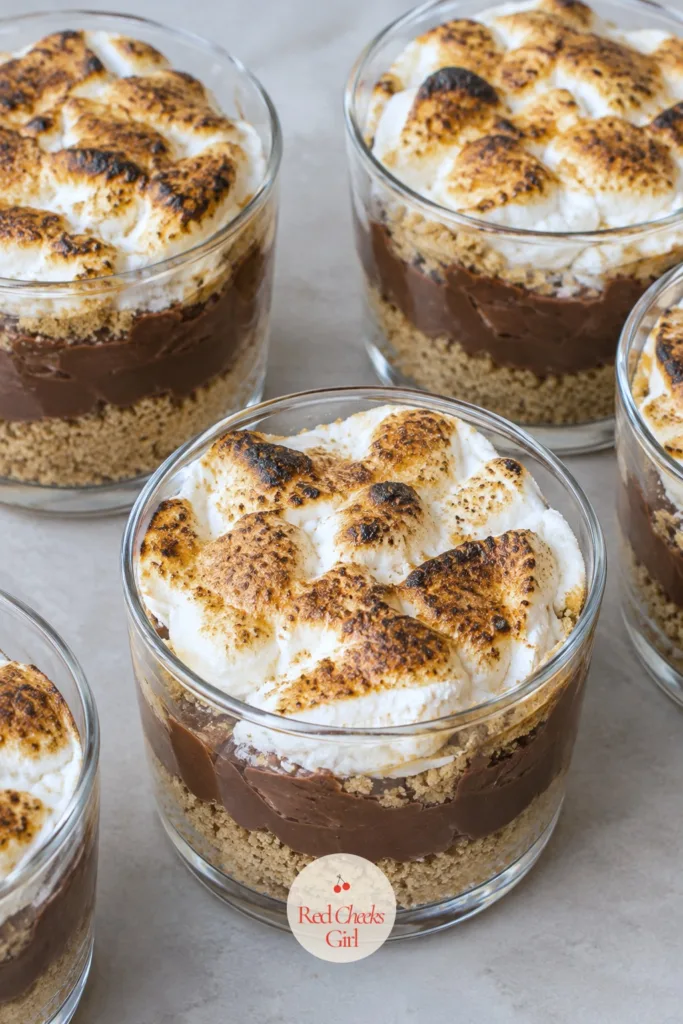
S'mores Cups
Ingredients
- 1 1/4 cups graham cracker crumbs
- 5 tablespoons unsalted butter melted
- 2 cups milk
- 1/3 cup granulated sugar
- 3 tablespoons cornstarch
- 3 tablespoons cocoa powder
- 3 ounces semisweet chocolate chopped
- 1 teaspoon vanilla extract
- 1 1/2 cups mini marshmallows
Instructions
- Stir the graham cracker crumbs with the melted butter until evenly coated, then press 1 tablespoon into the bottom of each of 10 small oven-safe clear cups.
- Whisk the milk, sugar, cornstarch and cocoa powder together in a saucepan until smooth.
- Cook over medium heat, whisking constantly, for about 8 minutes, until the pudding thickens enough to coat the back of a spoon.
- Remove from heat, stir in the chopped chocolate and vanilla until fully melted and smooth.
- Spoon the chocolate pudding over the crumb layer in each cup, filling to about 3/4 full.
- Cover and refrigerate for at least 2 hours, until the pudding feels fully set rather than loose.
- Top each cup with a layer of mini marshmallows just before serving.
- Place the cups on a baking sheet and broil for 1 to 2 minutes, watching closely, until the marshmallows turn golden brown on top.
- Let the cups cool for 2 minutes before serving so the marshmallow sets slightly.
Good to Know
🛍 Shopping guide
Peanut Butter Chocolate Cups
Salty-sweet, rich, and the flavor combination that disappears first off any dessert table, every time. A peanut butter mousse layered against a dark chocolate ganache does more work than it looks like on paper.
Use a natural peanut butter and the mousse can turn oily once it warms up; a standard shelf-stable peanut butter holds its texture far better over a few hours on a party table. For another chocolate cup that leans fruity instead of nutty, Dubai chocolate strawberry cups make a good neighbor on the same tray.
Chopped mini peanut butter cups on top signal the flavor before the first bite does.
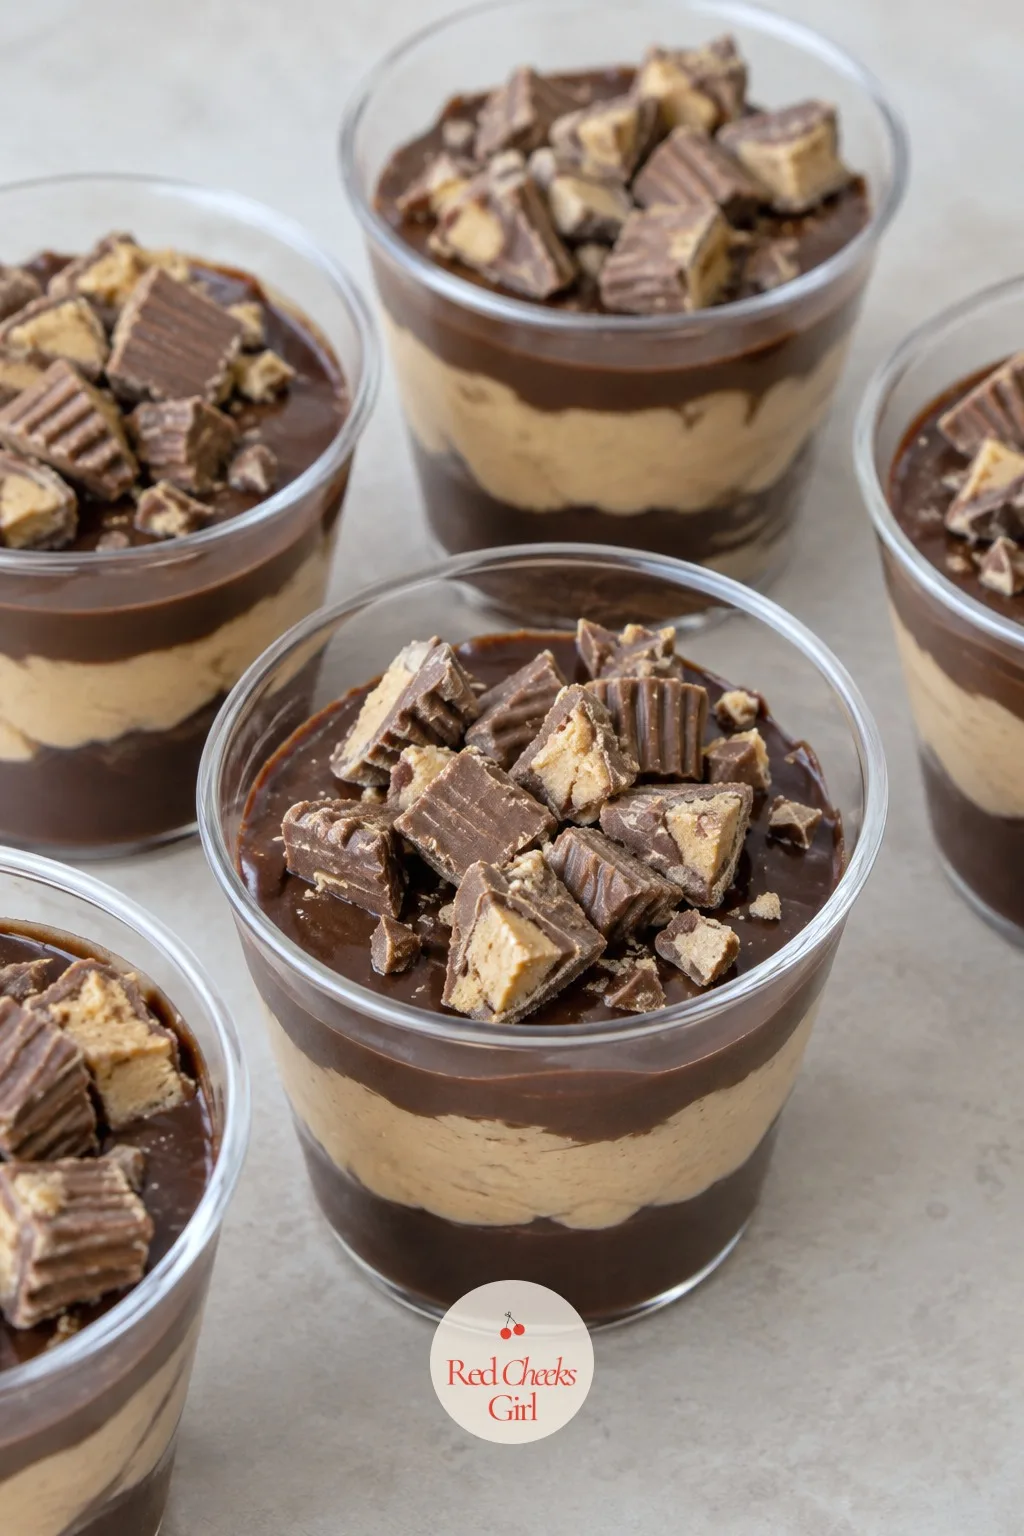
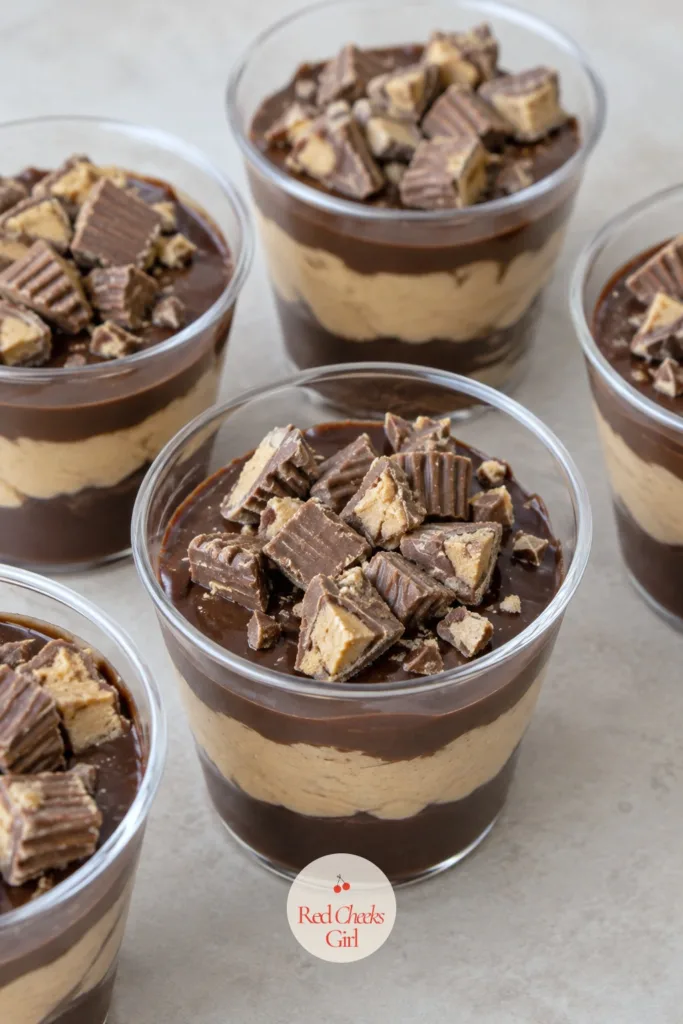
Peanut Butter Chocolate Cups
Ingredients
- 4 ounces semisweet chocolate chopped
- 1 1/4 cups heavy cream cold, divided
- 1/2 cup creamy peanut butter
- 4 ounces cream cheese softened
- 1/3 cup powdered sugar
- 1 cup chocolate cookie crumbs
- 4 mini peanut butter cups chopped
Instructions
- Melt the chopped chocolate with 1/4 cup of the heavy cream in a heatproof bowl over barely simmering water, stirring for about 3 minutes until smooth and glossy; let cool slightly.
- Spoon 1 tablespoon of chocolate cookie crumbs into the bottom of each of 8 small clear cups.
- Spoon the cooled chocolate ganache over the crumbs, filling about a quarter of each cup, then refrigerate for 15 minutes to set slightly.
- Beat the peanut butter, softened cream cheese and powdered sugar on medium speed for 2 minutes until smooth.
- Whip the remaining 1 cup of heavy cream on high speed for 2 to 3 minutes until stiff peaks form, then fold it into the peanut butter mixture.
- Pipe or spoon the peanut butter mousse over the set ganache layer, filling the cups to just below the rim.
- Cover and refrigerate for at least 1 hour, until the mousse feels firm when touched.
- Top each cup with chopped mini peanut butter cups just before serving.
Good to Know
🛍 Shopping guide
Mango Coconut Cups
This is the cup for a party that wants to feel like somewhere warm regardless of the weather outside. Coconut cream against fresh mango is bright, light, and noticeably less sweet than most of the chocolate options on this list.
Choose a mango that gives slightly under gentle pressure, underripe fruit stays fibrous and fights the blender. Toasted coconut flakes need watching closely in the oven, they turn from pale gold to burnt in under a minute once they start to color.
For a whole different lineup of fruit-forward, no-bake desserts in the warmer months, 11 no-bake summer dessert recipes with fruit, cream and layers picks up where this one leaves off.
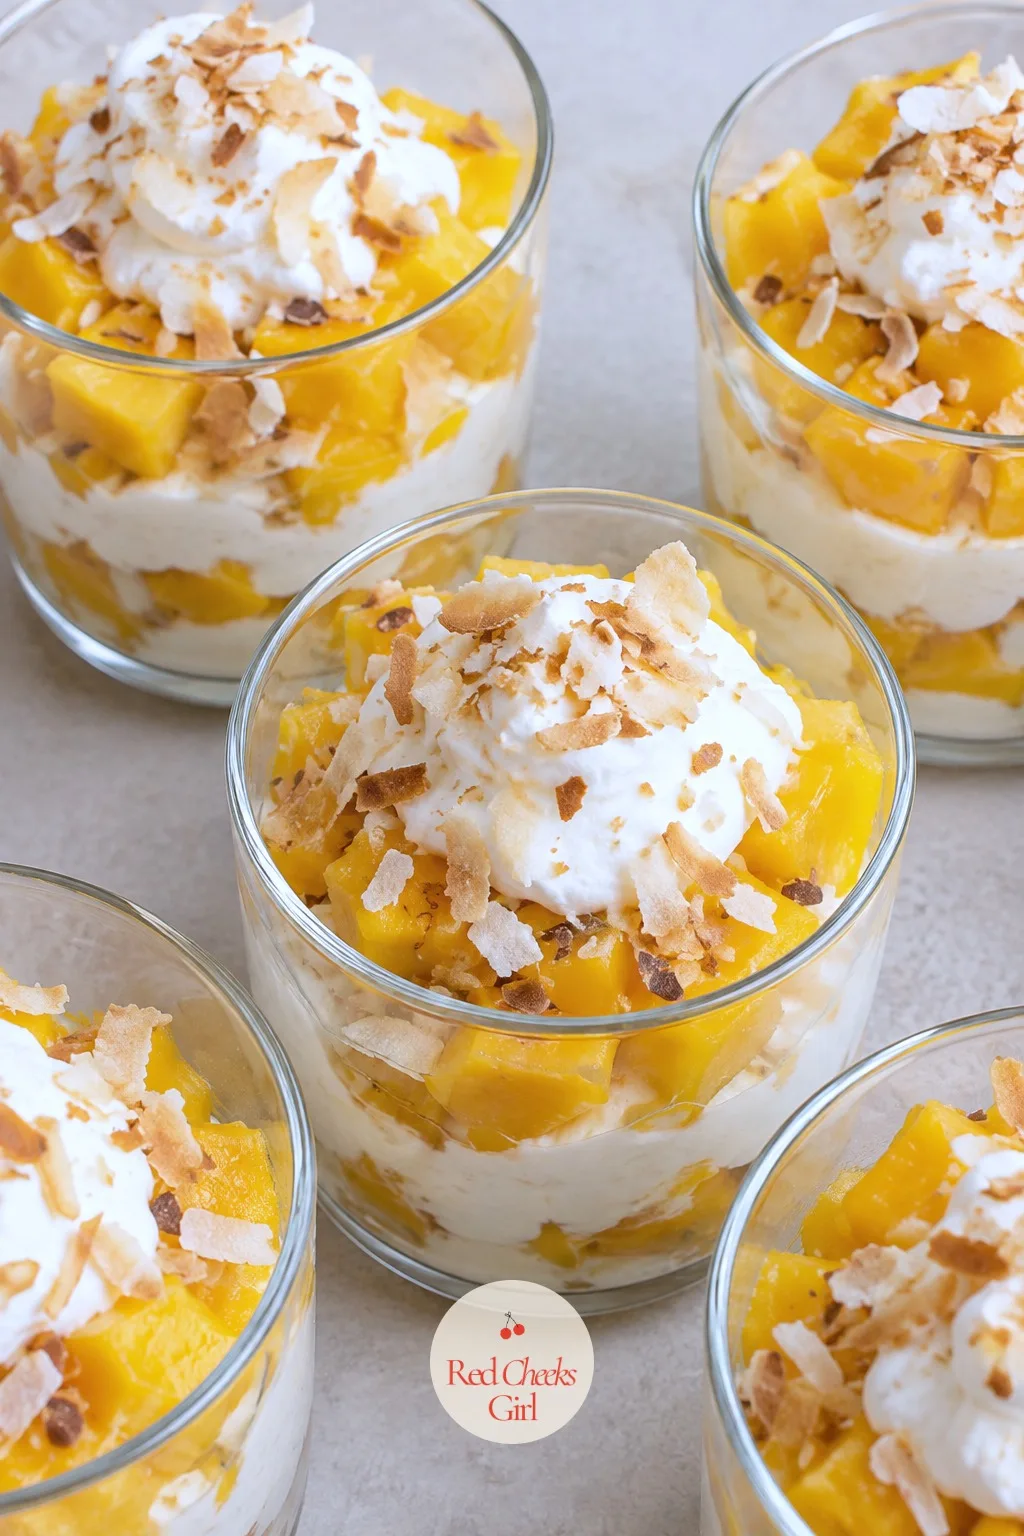
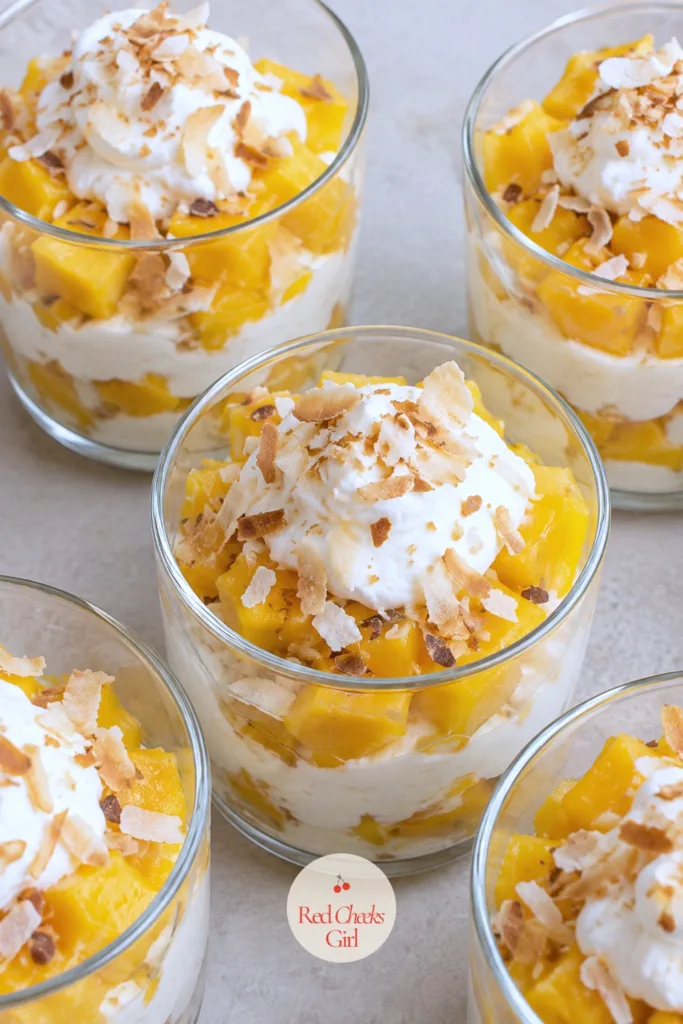
Mango Coconut Cups
Ingredients
- 1 13.5-ounce can full-fat coconut milk
- 1/4 cup granulated sugar
- 1 tablespoon cornstarch
- 1/2 teaspoon vanilla extract
- 2 ripe mangoes peeled and diced
- 1 tablespoon lime juice
- 1/2 cup heavy cream cold
- 1 tablespoon powdered sugar
- 1/3 cup shredded coconut toasted
Instructions
- Whisk the coconut milk, granulated sugar and cornstarch together in a saucepan until smooth.
- Cook over medium heat, whisking constantly, for about 5 minutes, until the mixture thickens enough to coat the back of a spoon.
- Remove from heat, stir in the vanilla, and let the coconut cream cool to room temperature, about 20 minutes.
- Toss the diced mango with the lime juice in a bowl and set aside.
- Spread the shredded coconut on a baking sheet and toast at 325°F for 5 to 7 minutes, stirring once, until golden brown.
- Whip the cold heavy cream with the powdered sugar on high speed for 2 minutes until soft peaks form.
- Spoon the cooled coconut cream into the bottom of each of 10 small clear cups, filling about a third full.
- Add a layer of diced mango, then a dollop of whipped cream, and refrigerate for at least 2 hours.
- Finish each cup with the toasted coconut flakes just before serving.
Good to Know
🛍 Shopping guide
Banana Pudding Cups
This is the one that disappears fastest at a Southern-style spread, and the cup format solves the problem of the top layer of wafers going soft before anyone gets to it. A real stovetop custard beats the instant version here by a wide margin.
Toss the banana slices in a little lemon juice before layering, it slows the browning by a few hours and keeps the cups looking fresh for longer.
Build these closer to serving time than most of the others on this list, bananas are the one ingredient here that does not hold.
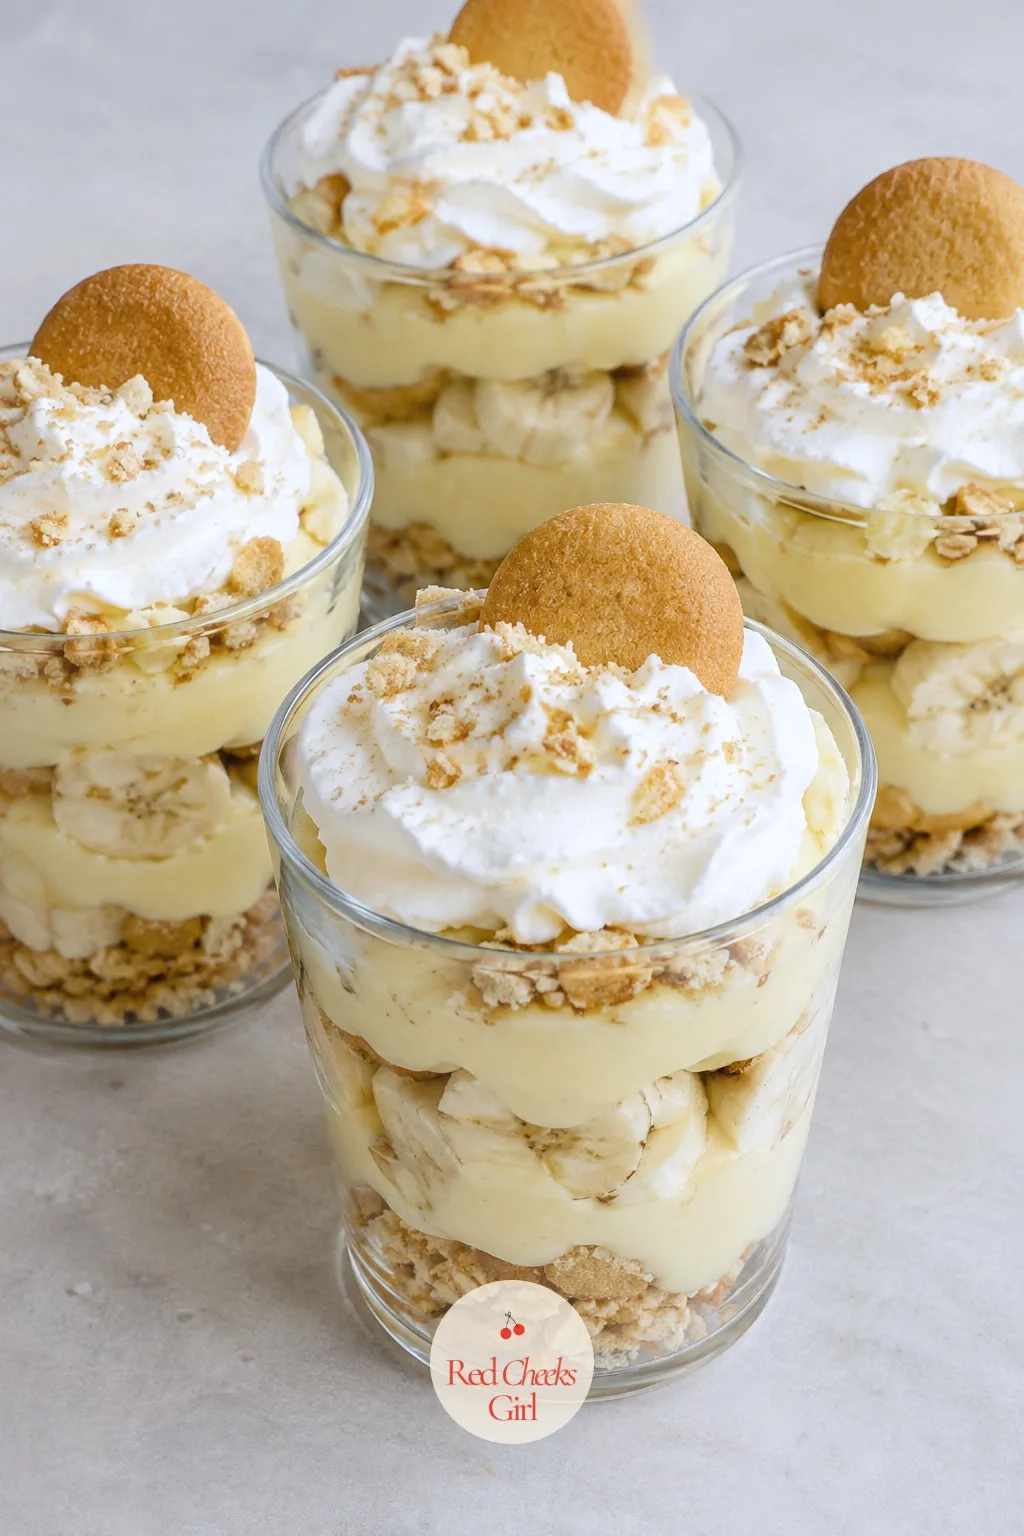
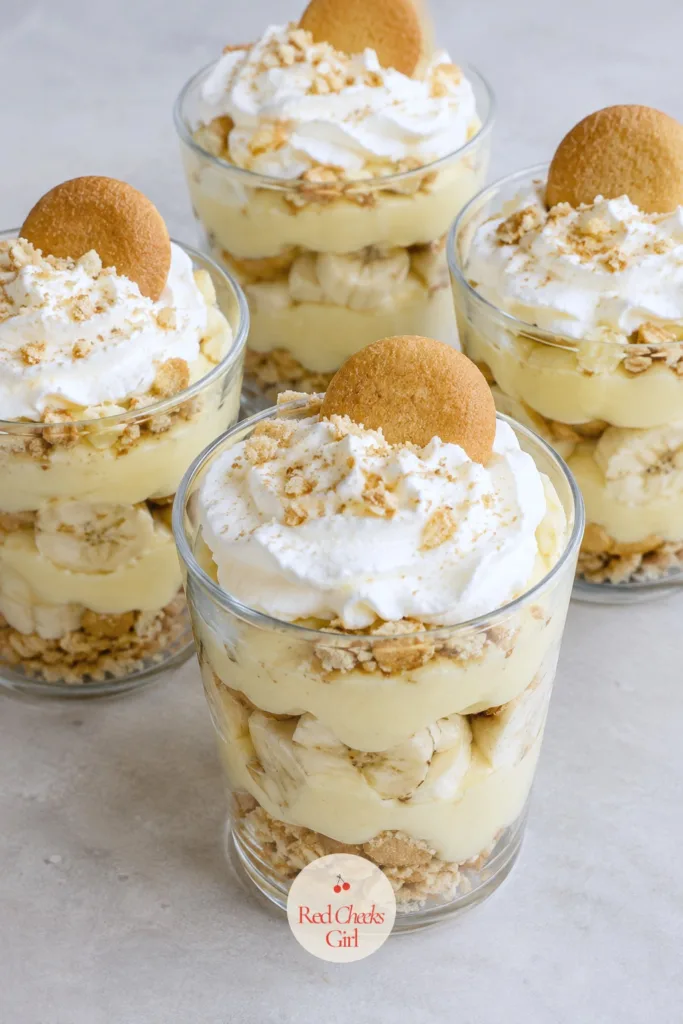
Banana Pudding Cups
Ingredients
- 2 cups whole milk
- 1/2 cup granulated sugar
- 3 tablespoons cornstarch
- 3 large egg yolks
- 1 teaspoon vanilla extract
- 2 tablespoons unsalted butter
- 24 vanilla wafer cookies roughly crushed, plus whole ones for garnish
- 2 ripe bananas sliced
- 1 teaspoon lemon juice
- 1 cup heavy cream cold
- 2 tablespoons powdered sugar
Instructions
- Whisk the milk, sugar, cornstarch and egg yolks together in a saucepan until smooth.
- Cook over medium heat, whisking constantly, for about 8 minutes, until the custard thickens enough to coat the back of a spoon and holds a line when you run a finger through it.
- Remove from heat, stir in the vanilla and butter until melted, then press plastic wrap onto the surface and refrigerate for 1 hour.
- Toss the sliced bananas gently with the lemon juice in a bowl to slow browning.
- Whip the cold heavy cream with the powdered sugar on high speed for 2 to 3 minutes until stiff peaks form.
- Spoon crushed vanilla wafers into the bottom of each of 10 small clear cups.
- Layer the chilled custard, banana slices and a few more crushed wafers, repeating until the cups are nearly full.
- Top each cup with whipped cream and a whole vanilla wafer.
- Serve within 2 hours of assembling, before the banana slices begin to brown.
Good to Know
🛍 Shopping guide
Cookies and Cream Cups
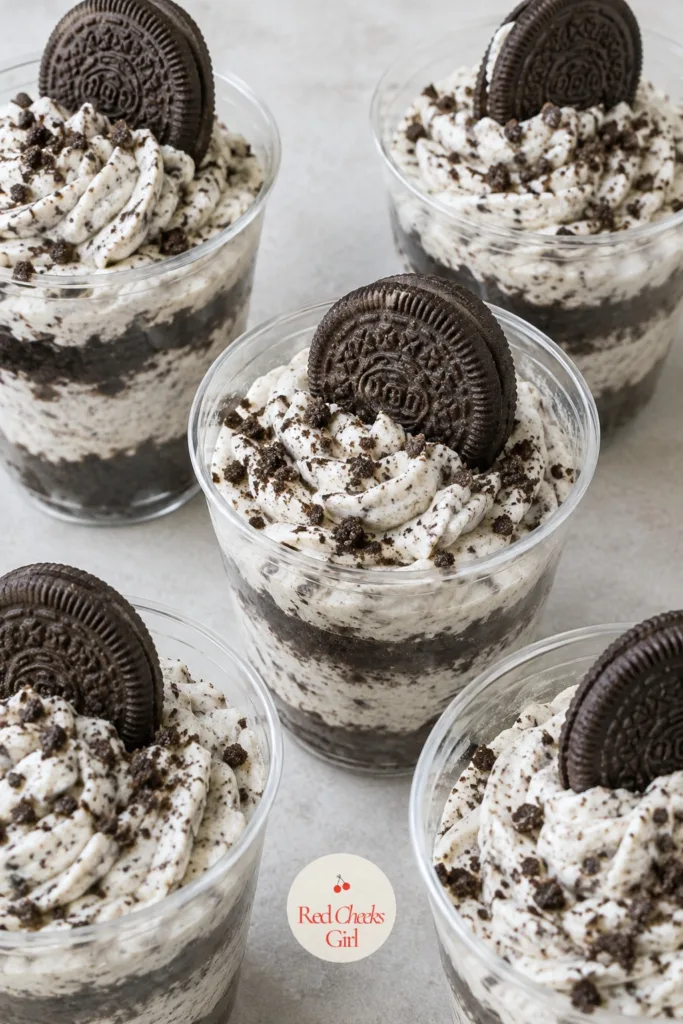
The flavor every kid at an adult party still sneaks a cup of, which is reason enough to keep it on the table. Crushed chocolate sandwich cookies fold straight into a simple cream cheese filling, no cooking involved.
Save a few whole cookies back for garnish rather than crushing the entire package, the visual contrast between the whole cookie on top and the crumbs below reads better in photos.
This one also doubles as the most budget-friendly cup on the whole list, a single package of sandwich cookies covers crust, filling and topping.
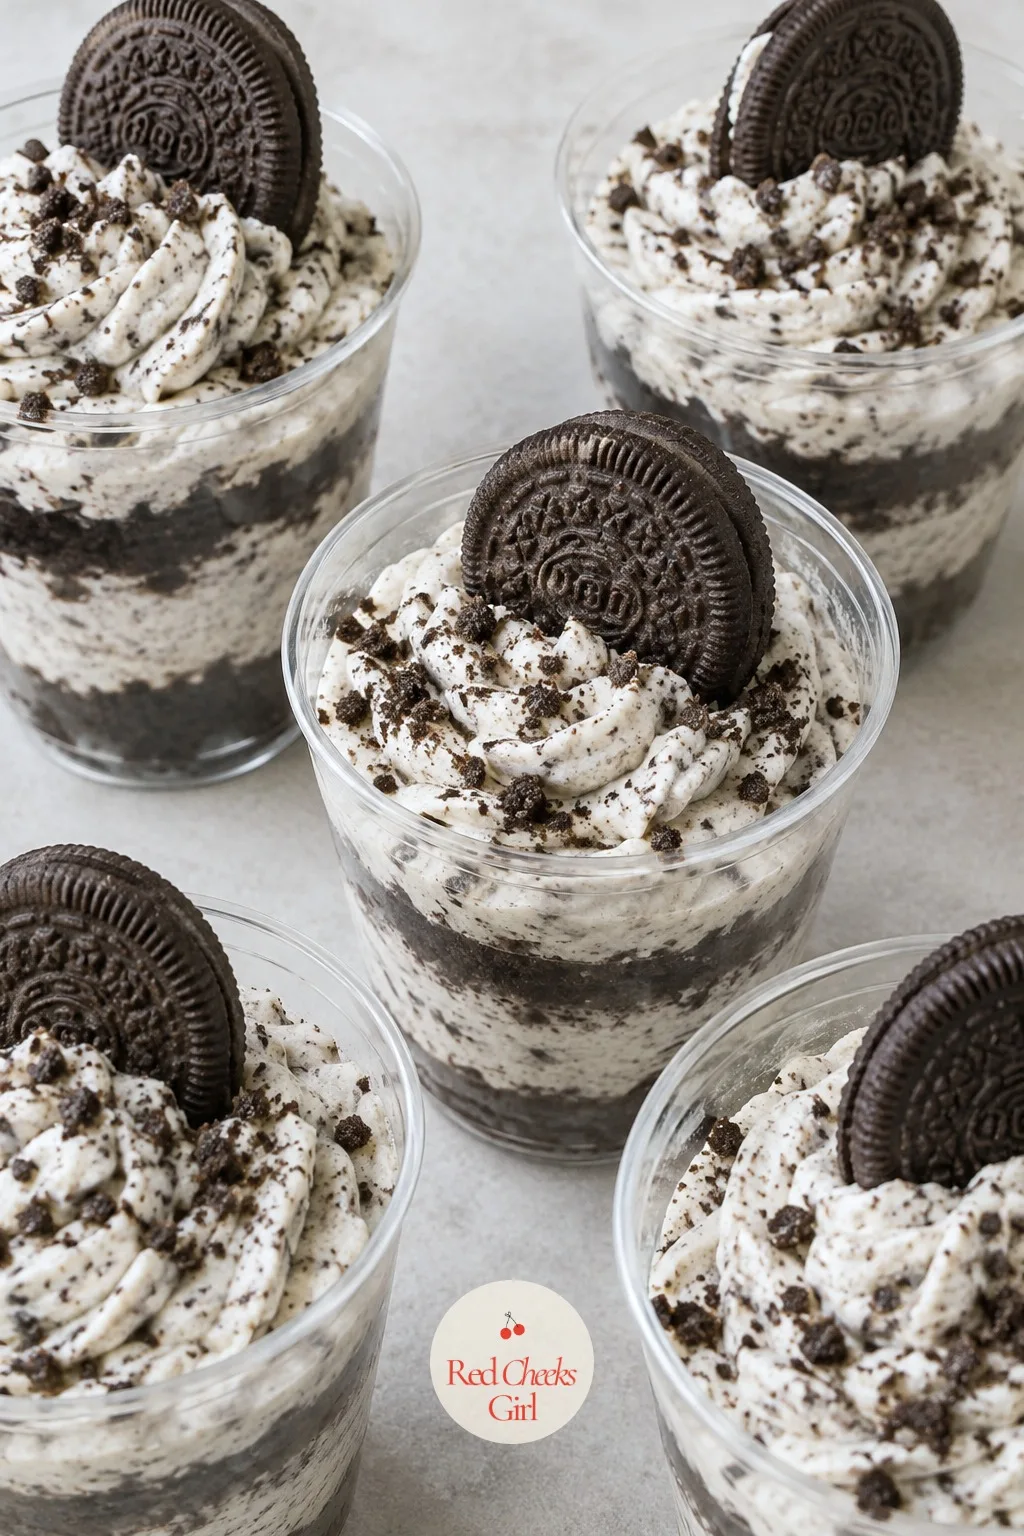
Cookies and Cream Cups
Ingredients
- 24 chocolate sandwich cookies divided
- 3 tablespoons unsalted butter melted
- 8 ounces cream cheese softened
- 1/3 cup powdered sugar
- 1 teaspoon vanilla extract
- 1 1/2 cups heavy cream cold
Instructions
- Set aside 10 whole cookies for garnish, then crush the remaining cookies into fine crumbs.
- Stir two-thirds of the crumbs with the melted butter until the mixture looks like damp sand, keeping the rest of the crumbs separate for layering.
- Press 1 tablespoon of the buttered crumb mixture into the bottom of each of 10 small clear cups.
- Beat the softened cream cheese, powdered sugar and vanilla on medium speed for 2 minutes until smooth.
- Whip the cold heavy cream on high speed for 2 to 3 minutes until stiff peaks form, then fold it into the cream cheese mixture.
- Fold in the reserved plain cookie crumbs, leaving some texture rather than mixing until smooth.
- Spoon or pipe the cookies and cream filling over the crust in each cup, filling to just below the rim.
- Refrigerate for at least 1 hour, until the filling feels firm when pressed.
- Top each cup with a whole cookie just before serving.
Good to Know
🛍 Shopping guide
Chocolate Hazelnut Cups
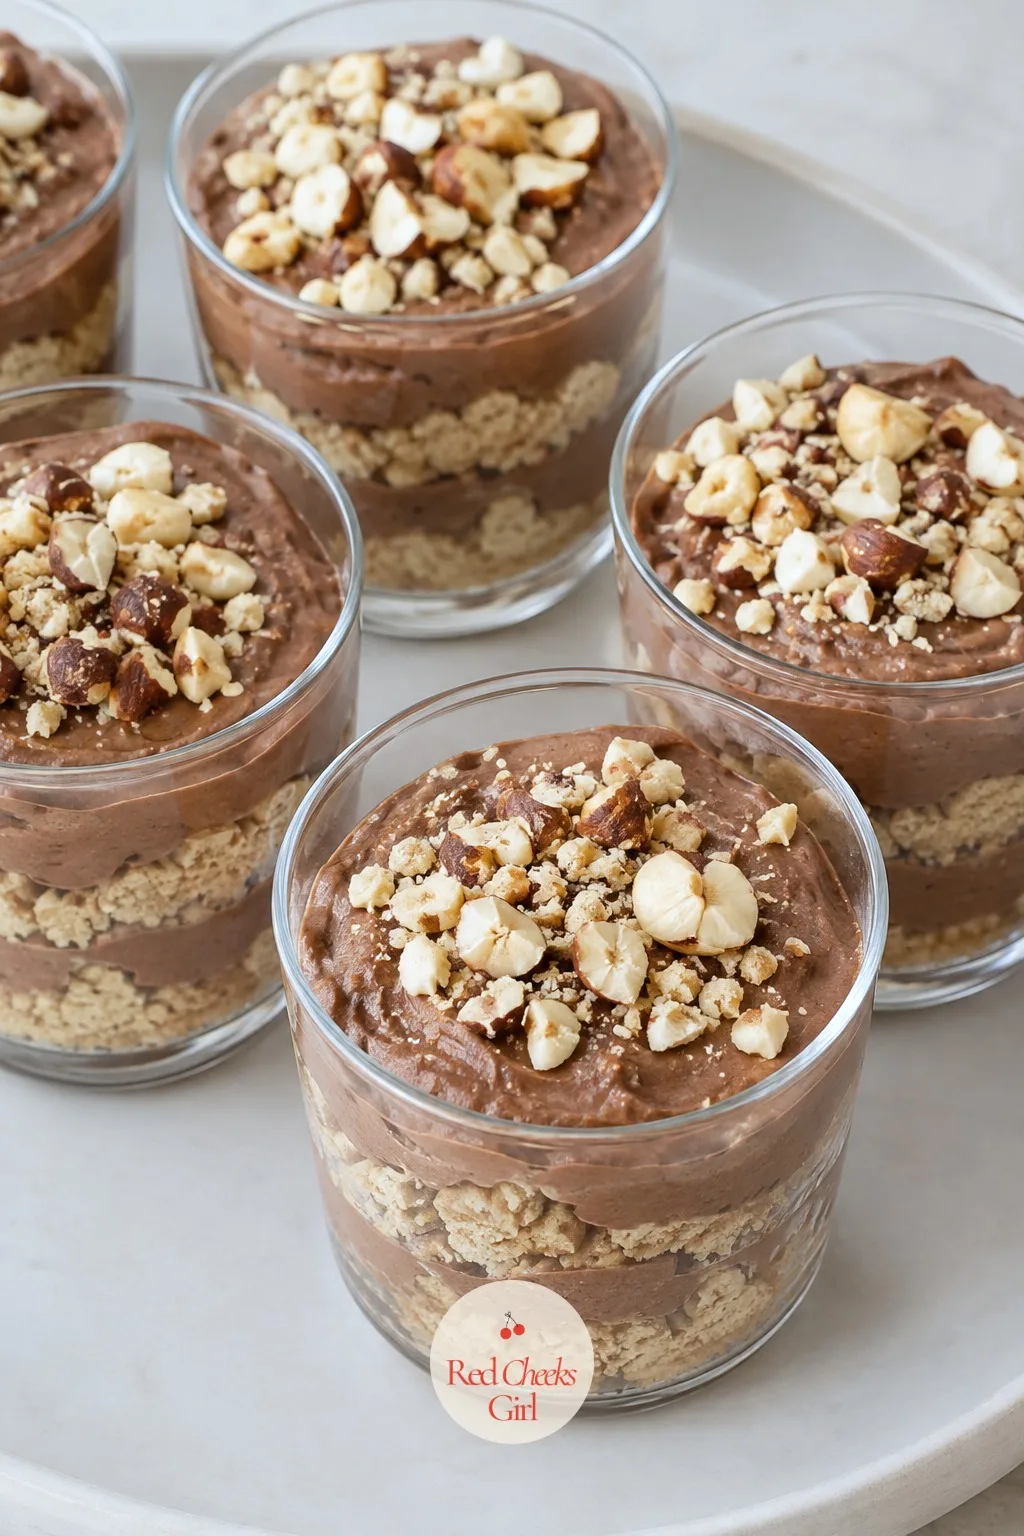
For the person at every party who would eat chocolate hazelnut spread straight from the jar given half a chance. This one turns that into something that looks deliberate, in under fifteen minutes of actual work.
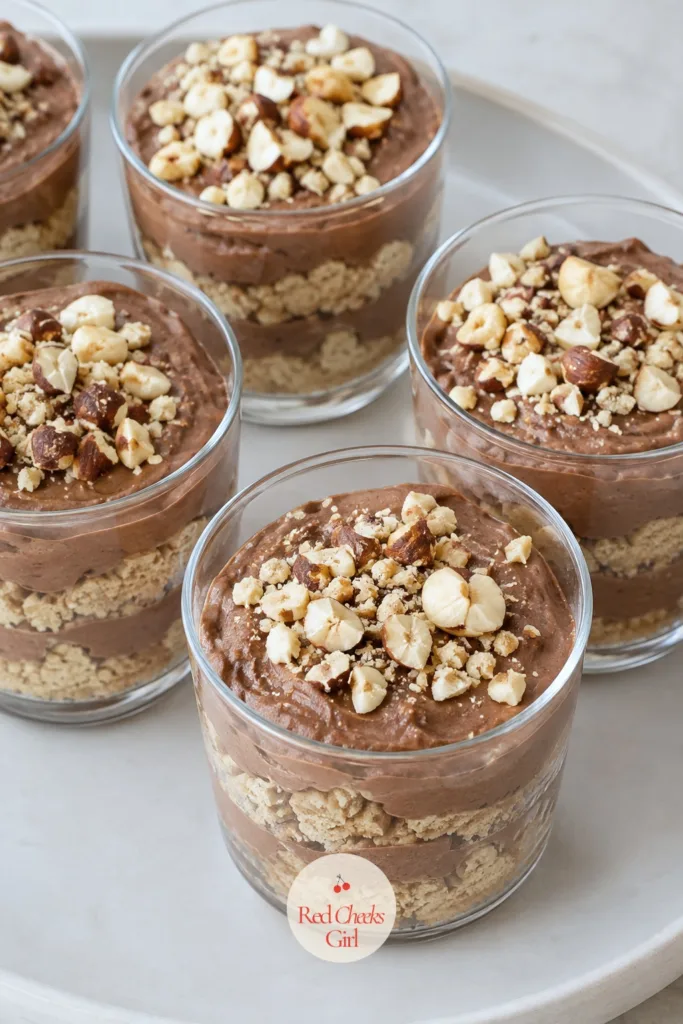
Soften the spread slightly before mixing, cold chocolate hazelnut spread fights the cream cheese and leaves streaks instead of folding in smoothly. A handful of chopped hazelnuts on top is the only thing that separates this from a jar with a spoon in it, so do not skip it.
These keep their texture well, making them a reliable one to prep first and forget about until the party.
Chocolate Hazelnut Cups
Ingredients
- 1 cup chocolate hazelnut spread slightly softened
- 4 ounces cream cheese softened
- 1 cup heavy cream cold
- 2 tablespoons powdered sugar
- 1 cup wafer cookies crushed
- 1/4 cup chopped hazelnuts toasted
Instructions
- Beat the softened chocolate hazelnut spread and cream cheese together on medium speed for 2 minutes until fully combined and smooth.
- Whip the cold heavy cream with the powdered sugar on high speed for 2 to 3 minutes until stiff peaks form.
- Fold one-third of the whipped cream into the hazelnut mixture to loosen it, then gently fold in the rest until no streaks remain.
- Spoon 1 tablespoon of crushed wafer cookies into the bottom of each of 8 small clear cups.
- Pipe or spoon the chocolate hazelnut mousse over the crumbs, filling the cups to just below the rim.
- Tap the cups gently on the counter to settle the filling and remove air pockets.
- Refrigerate for at least 1 hour, until the filling feels set rather than soft.
- Top each cup with chopped toasted hazelnuts just before serving.
Good to Know
🛍 Shopping guide
Strawberry Mousse Cups
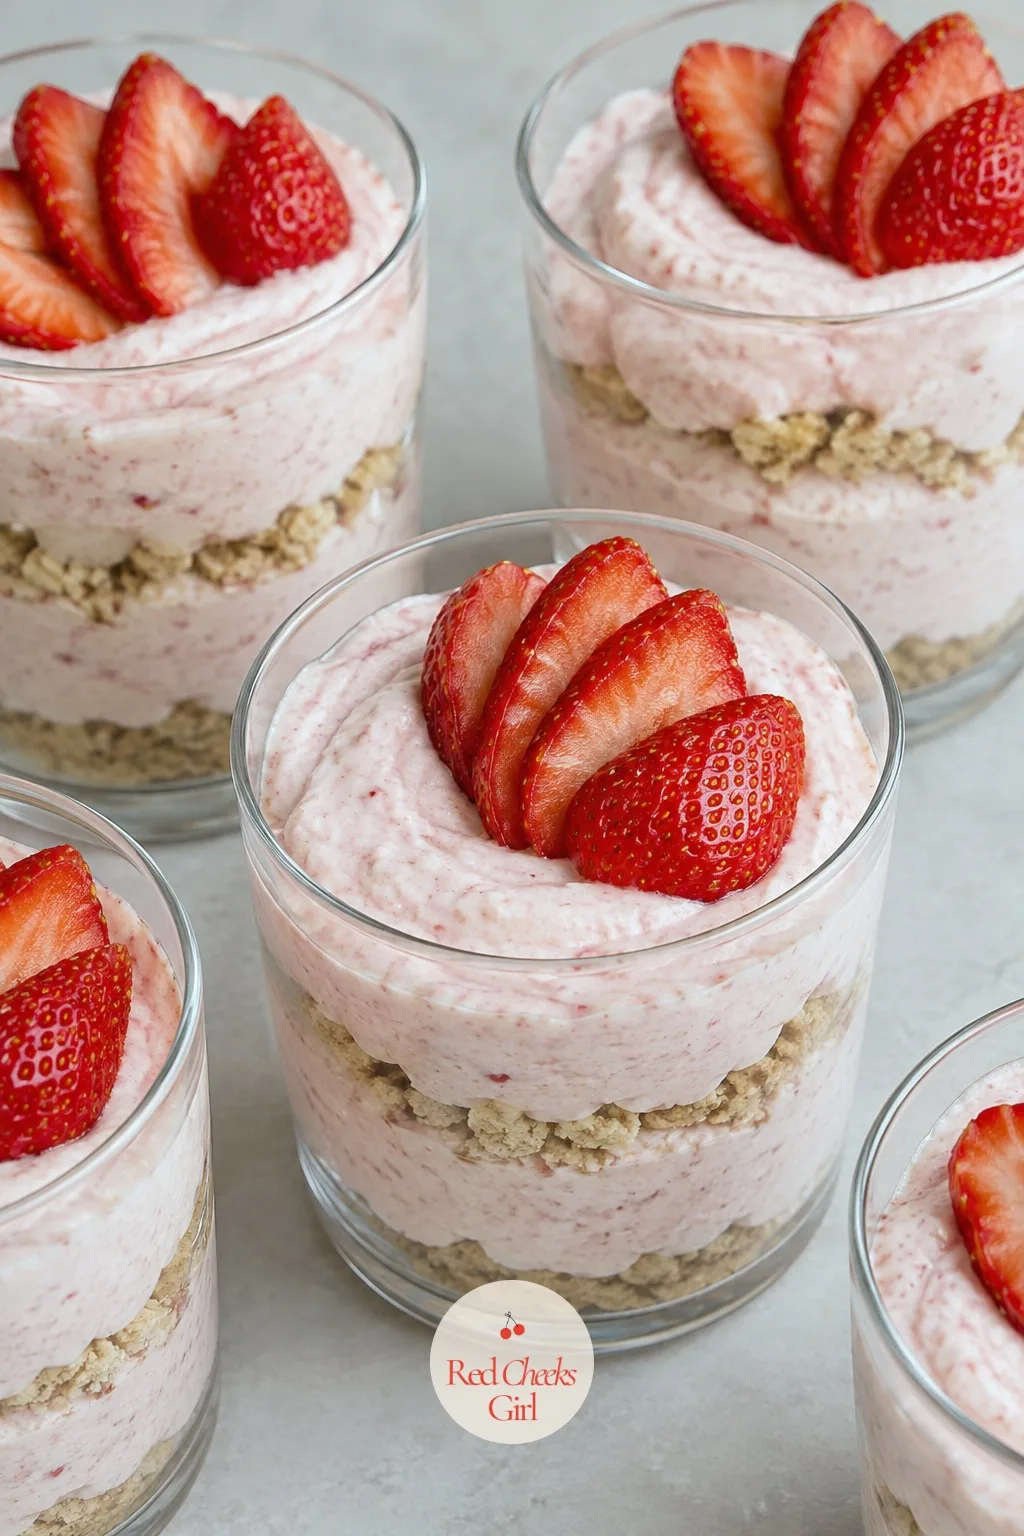
Pale pink, light as air, and the cup that looks the most delicate of the whole list despite being one of the simpler ones to make. Fresh strawberries do the color work here, no food dye required.
Puree the strawberries smooth before cooking them down, chunky pieces make the mousse set unevenly and the layer looks grainy instead of silky against the glass.
A single strawberry fan sliced thin on top finishes the cup without adding another texture to fight the mousse.
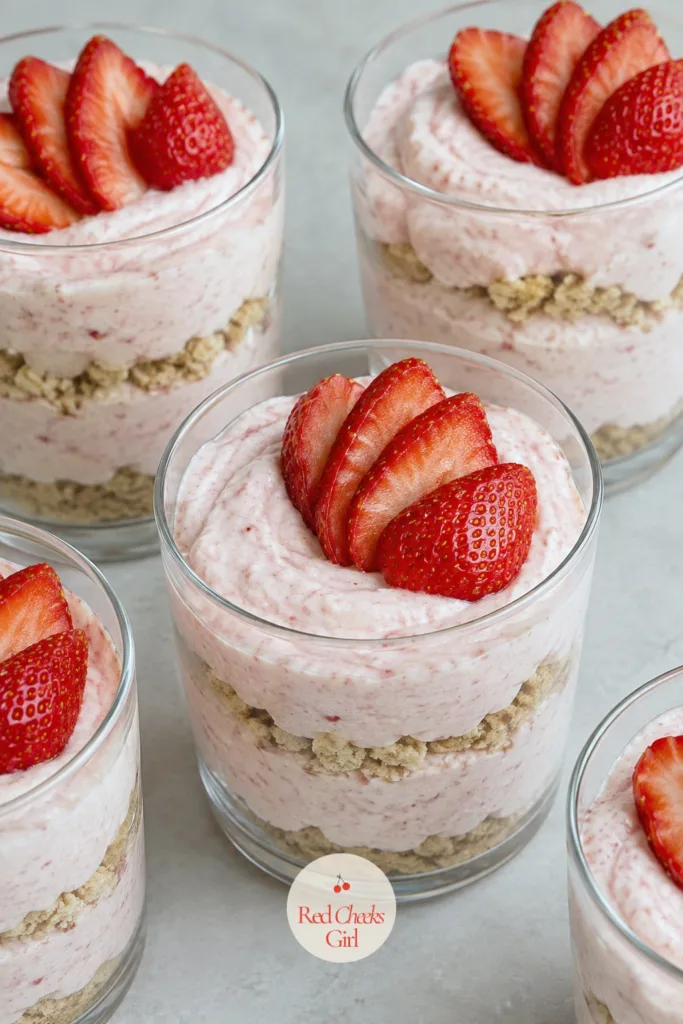
Strawberry Mousse Cups
Ingredients
- 2 cups fresh strawberries hulled, plus more for garnish
- 1/3 cup granulated sugar
- 1 tablespoon lemon juice
- 1 teaspoon unflavored gelatin
- 2 tablespoons cold water
- 1 1/2 cups heavy cream cold
- 2 tablespoons powdered sugar
- 1 cup shortbread cookies crushed
Instructions
- Puree the strawberries in a blender until smooth, then pour into a small saucepan with the granulated sugar and lemon juice.
- Cook over medium heat for about 5 minutes, stirring often, until the mixture thickens slightly and coats the back of a spoon.
- Sprinkle the gelatin over the cold water in a small bowl and let it sit for 5 minutes to bloom, then stir it into the warm strawberry puree until fully dissolved.
- Let the strawberry mixture cool to room temperature, about 20 minutes, stirring occasionally so it does not set unevenly.
- Whip the cold heavy cream with the powdered sugar on high speed for 2 to 3 minutes until stiff peaks form.
- Fold the cooled strawberry mixture into the whipped cream in two additions, folding gently until streak-free and uniformly pink.
- Spoon crushed shortbread into the bottom of each of 10 small clear cups, then pipe or spoon the strawberry mousse on top.
- Cover and refrigerate for at least 2 hours, until the mousse holds its shape when the cup is tilted slightly.
- Garnish each cup with a few thin strawberry slices just before serving.
Good to Know
🛍 Shopping guide
Vanilla Berry Parfait Cups
No stove, no mixer, no chilling to speak of, just the easiest thing on this entire list to pull together when the guest list doubled overnight and there is no time left.
Thick vanilla Greek yogurt holds its layers better than plain whipped cream here, and it means these cups taste a little lighter after everything richer on the table.
Add the granola layer last, right before serving, it stays crisp for maybe twenty minutes in cream before it starts to soften.
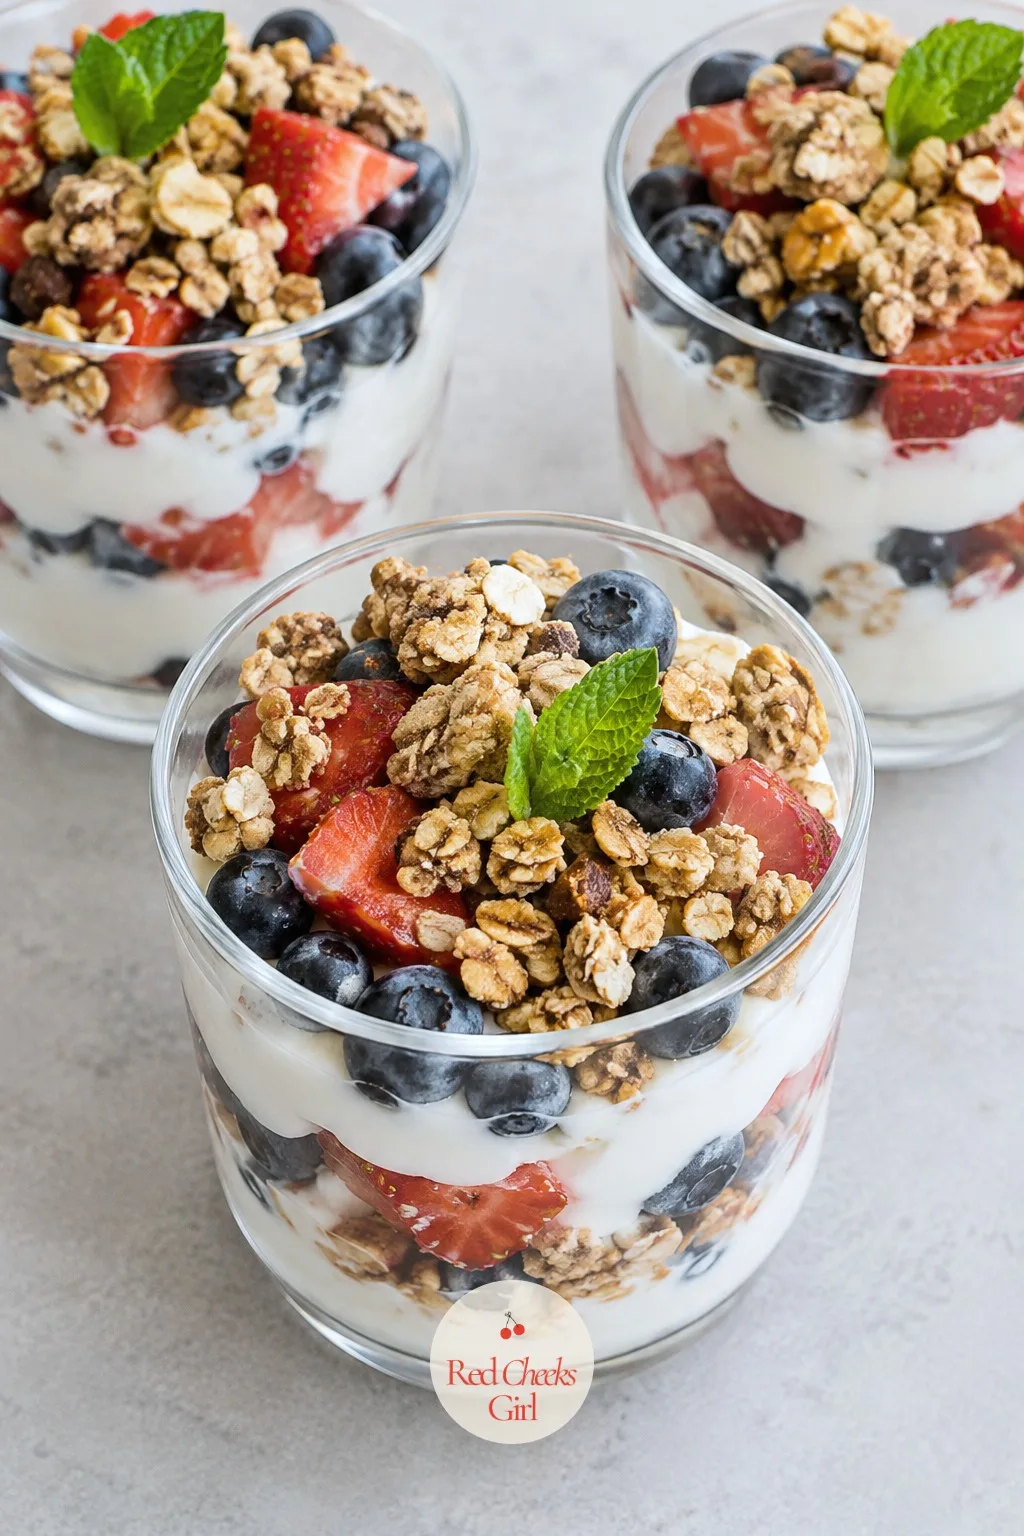
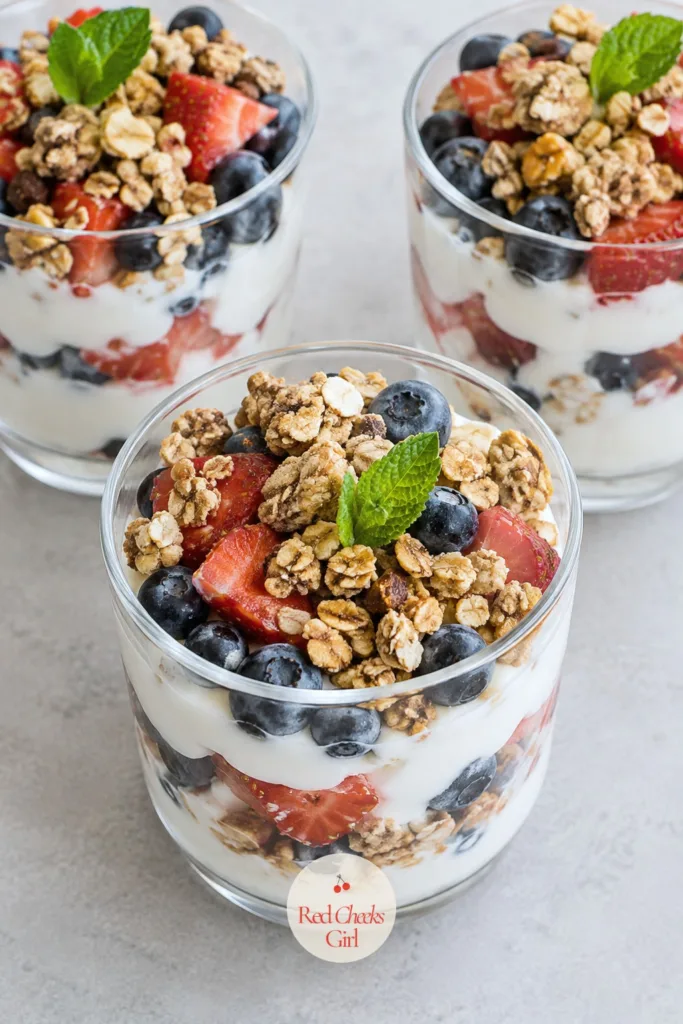
Vanilla Berry Parfait Cups
Ingredients
- 2 cups vanilla Greek yogurt
- 2 tablespoons honey
- 1/2 teaspoon vanilla extract
- 1 1/2 cups mixed fresh berries strawberries, blueberries, raspberries
- 1 cup granola
- Fresh mint leaves for garnish, optional
Instructions
- Stir the vanilla Greek yogurt with the honey and vanilla extract in a bowl until smooth and evenly sweetened.
- Hull and slice any large strawberries so all the berries are roughly the same bite-sized pieces.
- Spoon 2 tablespoons of the yogurt mixture into the bottom of each of 10 small clear cups.
- Add a spoonful of mixed berries over the yogurt layer.
- Repeat with another layer of yogurt and berries until the cups are nearly full.
- Cover and refrigerate for up to 1 day if making ahead, or serve right away.
- Just before serving, top each cup with a spoonful of granola so it stays crisp.
- Finish with a small mint leaf on top, if using.
Good to Know
🛍 Shopping guide
Frequently Asked Questions
What size cups work best for mini dessert cups?
A 2-ounce shot glass or cup works for tastings when several flavors are on the table, while a 4 to 5-ounce glass suits a single flavor served as the main dessert.
How long do mini dessert cups keep in the refrigerator?
Most layered cups with cream cheese, pudding or whipped cream stay fresh and food-safe for 2 to 3 days, covered tightly in the fridge.
Can mini dessert cups be frozen?
Cream and pudding based layers can freeze for up to a month, but fresh fruit layers and whipped cream toppings turn watery once thawed, so add those after freezing.
How do you keep the crust from getting soggy in dessert cups?
Press the crumb layer firmly and add the cream or pudding layer directly on top rather than letting them sit apart; a firm crumb layer holds its texture for about 2 days under cream.
Can I use plastic cups instead of glass for a party?
Yes, clear plastic cups work just as well as glass and are safer for outdoor parties or events where breakage is a concern, without losing the layered look.
What’s the best way to transport mini dessert cups to a party?
Set the filled cups upright in a shallow box or a muffin tin so they cannot tip over, cover the whole tray with plastic wrap, and keep them chilled until arrival.
Overnight cinnamon rolls shape the night before, chill in the fridge while you sleep, and bake fresh
Dessert charcuterie board ideas for a party: chocolate strawberries, macarons and brownie bites, wit

10 kindergarten birthday treats every five-year-old can eat with one hand and no cutlery. No-mess, n
Leave a Reply