

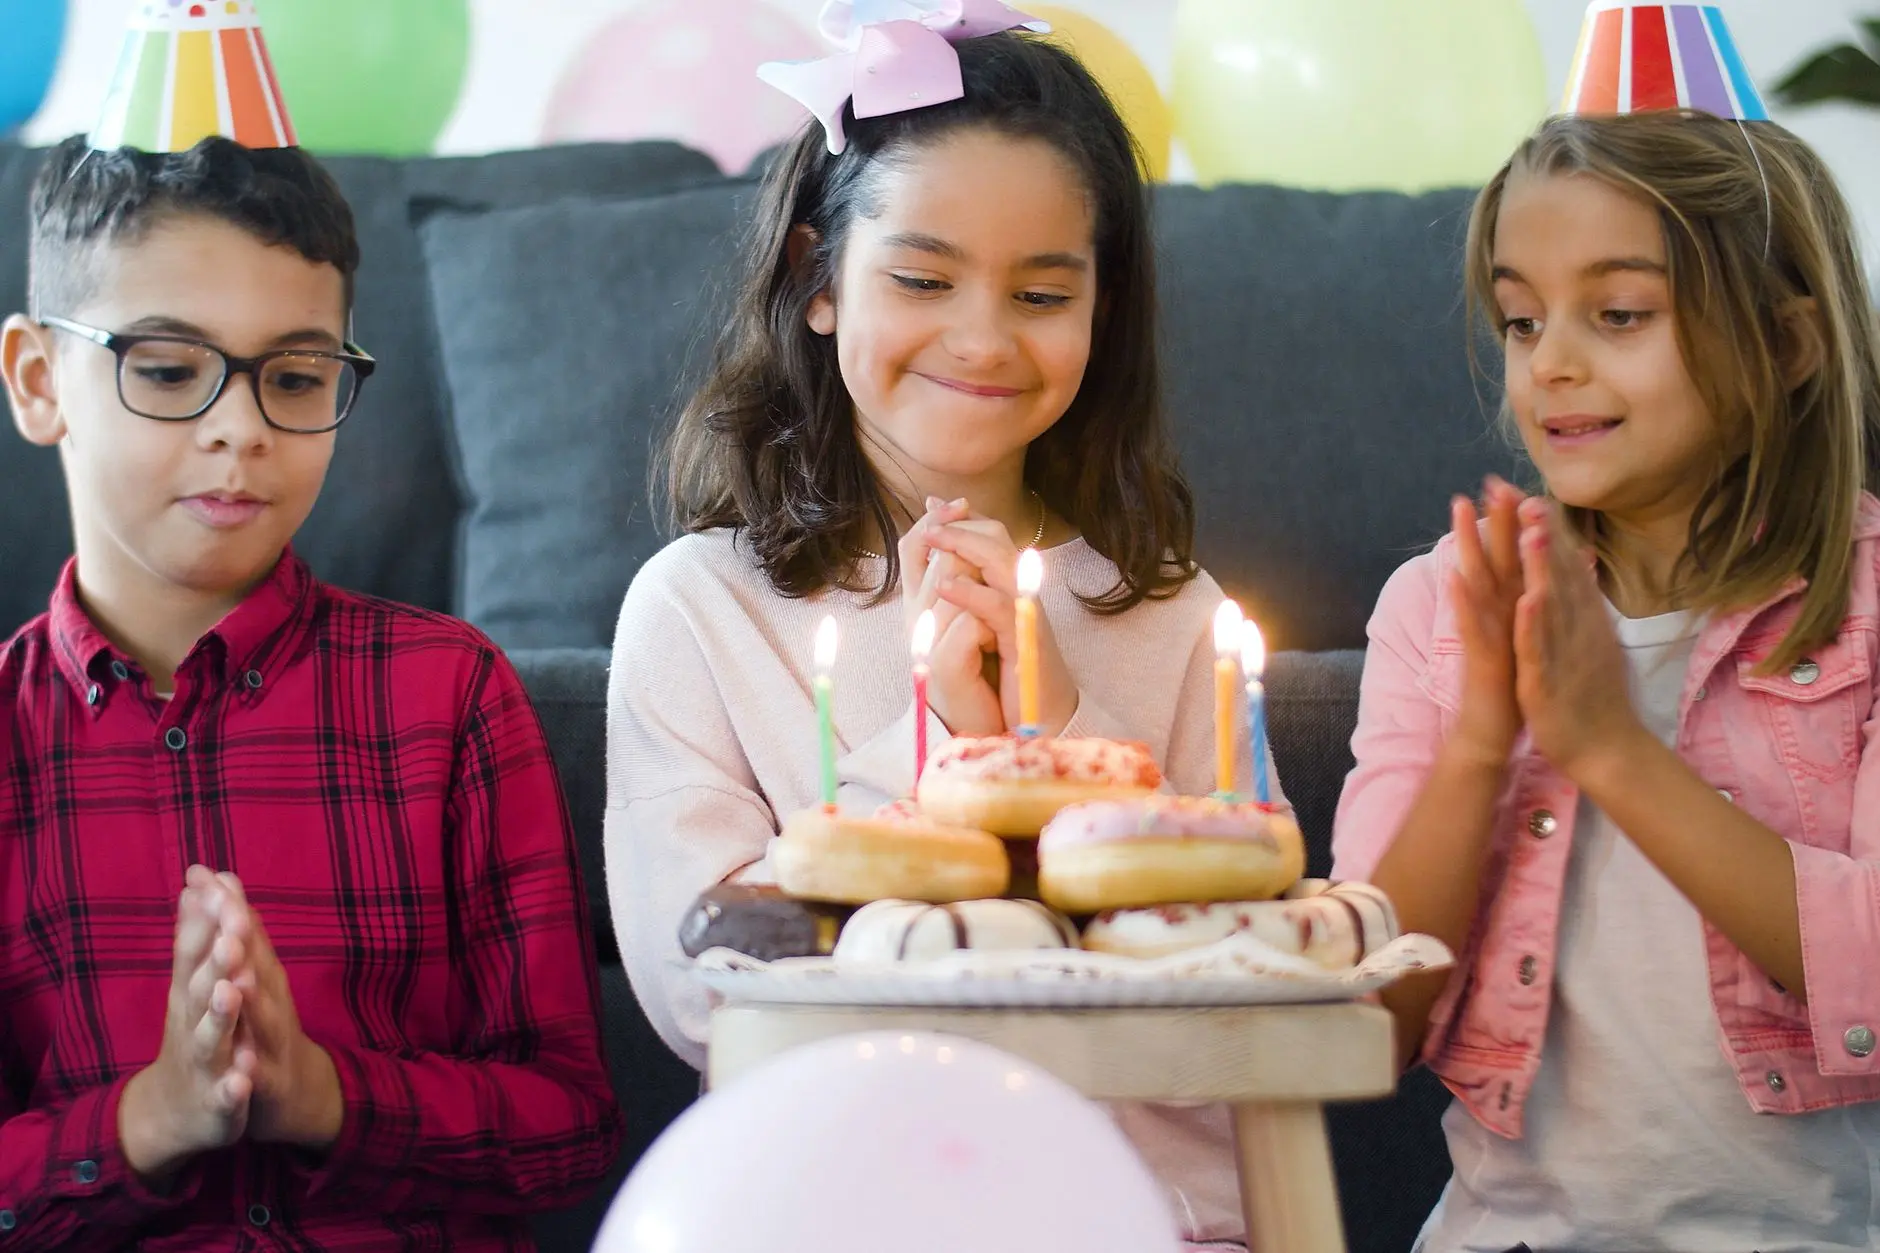
Sending a birthday treat into a kindergarten classroom means working within a very specific set of rules: no plates, no forks, no wet wipes, and thirty small people who will eat whatever lands in their hands in approximately ninety seconds. The bar is not “impressive”. The bar is “self-contained and edible without assistance”.
Every treat below is one piece, wrapped or bagged before it leaves your kitchen, and bright enough that a five-year-old will notice it from across a table.
All ten are non-alcoholic and designed for a mixed-allergy classroom, so check the notes on dairy and gluten and swap as your class list requires.
For more classroom party inspiration, the kindergarten Christmas party games guide and the birthday party games for kids round-up both keep the same no-fuss philosophy.
This post contains affiliate links. If you buy through them, I may earn a small commission at no extra cost to you.
- Fruit Skewers on Blunt Sticks
- Popcorn Bags Tied With Ribbon
- Rice Krispie Squares Cut and Bagged
- Banana and Oat Bites in Paper Cases
- Cheese and Grape Sticks
- Melon Stars on Blunt Sticks
- Breadstick and Cheese Bundles
- Yoghurt Covered Raisin Bags
- Mini Muffins Wrapped Singly
- Party Mix Cones of Cereal and Dried Fruit
- Frequently Asked Questions
Fruit Skewers on Blunt Sticks
The visual hook here is pure colour: a striped stack of strawberry red, grape purple and pineapple yellow that children can see from the other side of a classroom. Use 15 cm bamboo skewers with blunt ends, or buy dedicated blunt-tipped fruit skewer picks.
Wrap each finished skewer in a small square of cling film, twist the ends, and the whole thing is self-contained and drip-free until a child pulls it open.
Make these the morning of the party. Fruit skewers do not benefit from sitting overnight, and cut strawberries weep if left more than a few hours. For a class of thirty, you need thirty skewers, each holding five to six pieces of fruit.
That is roughly 150 to 180 fruit pieces total, and the quantities below cover exactly that. Swap pineapple for melon or kiwi if either is easier to find.
Ingredients
- 300 g strawberries, hulled and halved
- 300 g seedless red grapes, whole
- 300 g fresh pineapple, cut into 2 cm cubes
- 200 g seedless green grapes, whole
- 200 g blueberries, whole
- 30 blunt-tipped 15 cm bamboo skewers
- 30 squares of cling film, approximately 25 x 25 cm each
Instructions
- Wash all fruit thoroughly in cold water and pat completely dry with a clean tea towel. Wet fruit slides off skewers.
- Thread five to six pieces onto each skewer in alternating colours: strawberry, grape, pineapple, blueberry, green grape, then one more strawberry or grape to finish. Press each piece firmly so there are no gaps.
- Lay a cling-film square flat on the counter. Place one skewer diagonally across the centre.
- Fold the two short corners over the fruit, then roll the skewer toward the remaining corner. Twist both tail ends firmly in opposite directions to seal.
- Arrange the wrapped skewers on a tray in a single layer and refrigerate until ready to transport. Pack in a rigid container so the wrapping stays intact.

🛍 Shopping guide
Popcorn Bags Tied With Ribbon
Popcorn bags deliver crunch and theatre in equal measure. A clear or glassine bag shows the fluffy white popcorn inside, and a strip of bright ribbon tied around the top turns a snack into something that looks chosen rather than grabbed. Keep the seasoning to fine salt only: at five, plain is the crowd-pleaser.
Pop the corn up to 24 hours ahead and store it in an airtight container once it has cooled completely. Bag and tie the evening before the party.
For thirty children, you need roughly 15 g of popcorn per bag, which comes from about 55 g of unpopped kernels per batch. The quantities below make two batches, which gives a small buffer.
Contains: none of the top fourteen allergens in the basic version, but check your popcorn oil for cross-contamination if the class has a corn allergy on record.
Ingredients
- 110 g popcorn kernels (makes approximately 450 g popped)
- 3 tablespoons neutral oil (sunflower or light olive)
- 1.5 teaspoons fine sea salt
- 30 clear or glassine treat bags, approximately 10 x 20 cm
- 30 lengths of ribbon, 30 cm each, in the party colour
Instructions
- Heat 1.5 tablespoons of oil in a large, heavy-based saucepan over medium-high heat. Add half the kernels and cover with a tight-fitting lid.
- Once popping begins, shake the pan gently every 20 seconds. Remove from the heat when popping slows to one pop every three seconds. Tip into a large bowl.
- Repeat with the remaining oil and kernels for the second batch.
- Sprinkle salt evenly over both batches while the popcorn is still warm. Toss to distribute. Let cool completely, at least 20 minutes.
- Weigh or scoop approximately 15 g of popcorn into each bag. Gather the top of the bag, fold it over once, and tie firmly with a length of ribbon in a double knot or a simple bow.
- Store the tied bags in a single layer in a large box until the party.

🛍 Shopping guide
Rice Krispie Squares Cut and Bagged
A Rice Krispie square has exactly two visual qualities that work in a classroom: a golden caramel gloss on the outside and a visible crunch structure inside.
Cut them into neat rectangles rather than the traditional large squares so each piece is exactly one-hand-sized for a five-year-old, then seal each one in a small cellophane bag. The bag keeps sticky fingers to a minimum.
Make these up to two days ahead, cut them, bag them and they stay perfectly chewy. The recipe below uses butter and marshmallows, so flag dairy for allergy lists. To make it dairy-free, swap the butter for refined coconut oil in the same quantity. The yield is thirty pieces cut from one 23 x 33 cm tray.
Ingredients
- 60 g unsalted butter, plus extra for greasing
- 400 g mini marshmallows
- 180 g puffed rice cereal (such as Rice Krispies)
- 0.5 teaspoon fine sea salt
- 30 small cellophane bags with self-seal strips
Instructions
- Grease a 23 x 33 cm baking tray with butter and line with baking paper, leaving an overhang on the long sides.
- Melt the butter in a large saucepan over low heat. Add the marshmallows and stir constantly until completely smooth. Remove from the heat.
- Add the salt and the puffed rice cereal. Stir quickly and thoroughly until every piece is coated in the marshmallow mixture.
- Transfer the mixture to the prepared tray. Wet your hands lightly with cold water and press the mixture into an even layer approximately 2.5 cm thick. Work quickly before it sets.
- Allow to cool and set at room temperature for at least 25 minutes. Do not refrigerate or the squares become hard.
- Lift out using the baking-paper overhang. Cut into 30 equal rectangles: five cuts along the short side and six cuts along the long side.
- Slide one piece into each cellophane bag and seal the strip. Store at room temperature.

Banana and Oat Bites in Paper Cases
These are the treat that looks like a muffin but requires no oven and no flour, which makes them genuinely allergy-friendly and genuinely fast. The visual hook is the golden oat surface speckled with dark mini chocolate chips: simple, warm-toned and appetising sitting in a bright paper case. Each bite is exactly one palm-sized portion for a small hand.
Make them up to two days ahead and refrigerate in an airtight container. Bring to room temperature for an hour before the party. The recipe is gluten-free if you use certified gluten-free oats. It is dairy-free without the chocolate chips. Each batch makes thirty bites from three ripe bananas. Contains: oats (gluten risk), optional milk chocolate.
Ingredients
- 3 large ripe bananas (approximately 300 g peeled weight)
- 240 g rolled oats
- 3 tablespoons honey or maple syrup
- 1 teaspoon vanilla extract
- 0.5 teaspoon ground cinnamon
- 0.25 teaspoon fine sea salt
- 60 g mini chocolate chips (optional)
- 30 small paper cases (cupcake or candy size)
Instructions
- Mash the bananas thoroughly in a large bowl until no large lumps remain. A fork works fine; the mixture does not need to be perfectly smooth.
- Add the honey or maple syrup, vanilla extract, cinnamon and salt. Stir to combine.
- Add the oats and mix until the oats are fully coated and the mixture holds together when pressed. Fold in the chocolate chips if using.
- Scoop level tablespoons of the mixture and roll briefly between your palms to form compact balls approximately 3 cm in diameter. Place each one into a paper case as you go.
- Arrange the cases on a tray and refrigerate for at least one hour until firm. Store covered in the refrigerator.

Cheese and Grape Sticks
Two colours, two textures, one stick: the contrast of deep purple grape against pale yellow cheddar is the visual hook, and it reads clearly from across a lunch table.
Use blunt-tipped picks and cut the cheese into cubes that match the grape in size so every bite has both.
These are the savoury option in the line-up, which matters when you have thirty children and at least four of them will not eat anything sweet.
Assemble these on the morning of the party and keep them chilled. Wrap each finished stick in a small square of cling film for hygiene and ease of handout. For thirty children, the quantities below give one stick each with a small buffer. Contains: dairy. Swap for a dairy-free hard cheese alternative if the class has a milk allergy.
Ingredients
- 500 g mature cheddar, cut into 2 cm cubes (approximately 60 cubes)
- 300 g seedless red or black grapes, whole
- 30 blunt-tipped 10 cm picks or skewers
- 30 squares of cling film, approximately 20 x 20 cm each
Instructions
- Cut the cheddar into neat 2 cm cubes. Wash the grapes and dry them thoroughly.
- Thread one cube of cheddar onto each pick, followed by one grape, then a second cube of cheddar. Press each piece firmly so nothing slides.
- Lay a cling-film square flat. Place one stick across the centre, fold the sides in over the cheese, then roll toward the far edge. Twist both ends to seal.
- Place the wrapped sticks on a tray and refrigerate until ready to transport.

🛍 Shopping guide
Melon Stars on Blunt Sticks
A star-shaped piece of watermelon on a stick is the most visually arresting thing on this list. The deep pink flesh against the green edge gives a ready-made colour story, and the shape tells a child immediately that this is for them.
Use a large star cookie cutter (about 6 cm point to point) cut from watermelon slices 2 cm thick, then push a blunt stick through the bottom point so the star fans out at the top.
Cut and stick the stars on the morning of the party. Watermelon weeps after a few hours, so do not assemble the night before. Wrap each star loosely in cling film, star upward, and twist the base around the stick.
For thirty children, one large seedless watermelon (approximately 4 kg whole) gives you more than thirty stars with comfortable margin for imperfect cuts. Contains no top allergens. Swap for cantaloupe or honeydew for a colour change.
Ingredients
- 1 large seedless watermelon, approximately 4 kg whole
- 30 blunt-tipped 15 cm bamboo skewers
- 30 squares of cling film, approximately 20 x 20 cm each
- 1 large star cookie cutter, approximately 6 cm point to point
Instructions
- Slice the watermelon into rounds approximately 2 cm thick. Lay each round flat on a cutting board.
- Press the star cutter firmly into the flesh and push through in one clean motion. Lift the cutter and remove the star. Repeat across all slices, re-cutting any odd edges into extra shapes for buffering.
- Push one blunt skewer through the lowest point of each star, centring it so the star is balanced.
- Lay a cling-film square flat. Set the star face-up on the centre of the square and gather the film loosely around the stick below the star. Twist to seal without pressing the star flat.
- Arrange upright or flat on a tray lined with paper towels. Refrigerate until transport.

🛍 Shopping guide
Breadstick and Cheese Bundles
Three thin breadsticks bundled together with a strip of thinly sliced cheese wrapped around the middle: structurally simple, texturally interesting, and the kind of thing a child can grip and eat without ever putting it down.
The visual hook is the contrast of pale brown breadstick against the white or yellow cheese strip, plus the bundle format that looks deliberate. A small piece of ribbon or a thin strip of baking paper keeps it all together.
Assemble up to four hours ahead and keep refrigerated. Beyond that the cheese softens too much and loses its grip. For thirty children, the quantities below allow three breadsticks per bundle. Contains: gluten, dairy. Use gluten-free breadsticks and dairy-free sliced cheese to accommodate both restrictions; the method is identical.
Ingredients
- 90 thin breadsticks (plain or sesame, approximately 20 cm long)
- 15 slices of mild cheddar or provolone (deli-thin), each cut into two long strips
- 30 short lengths of thin ribbon or strips of baking paper to tie
Instructions
- Lay three breadsticks side by side on a clean surface, flat ends aligned.
- Take one long cheese strip and wrap it twice around the centre of the three breadsticks, pulling it snug so the bundle holds together. The cheese should overlap itself and grip without slipping.
- Tie one ribbon length in a simple knot over the cheese strip to keep it in place, or fold a baking-paper strip around and tuck the end under.
- Repeat for all thirty bundles and arrange in a single layer in a shallow box. Refrigerate until ready to transport.

Yoghurt Covered Raisin Bags
Yoghurt-covered raisins are a single-ingredient buy at most supermarkets, which makes this the fastest option on the list.
The visual hook is the white coating against the plump, dark raisin underneath: it looks like a tiny candy, tastes gently sweet and sour, and a small bag of them keeps a child occupied for a satisfying amount of time.
All you are doing is portioning and packaging, which makes it a ten-minute job for thirty children.
Portion these up to three days ahead and store the sealed bags at room temperature. For thirty children, 25 g per bag is the right amount: enough to feel generous without causing a sugar spiral before lunch.
The total below is 750 g of yoghurt-covered raisins, which you can buy in one large bag and divide. Contains: dairy, sulphites (from raisins). Check the packet for nut cross-contamination warnings.
Ingredients
- 750 g yoghurt-covered raisins (store-bought)
- 30 small self-seal treat bags, approximately 8 x 12 cm
- 30 small label stickers (optional, for the child’s name or a birthday message)
Instructions
- Set up the treat bags in a row on a flat surface, all opened with the tops folded back slightly so they stay open.
- Weigh 25 g of yoghurt-covered raisins into each bag. A small kitchen scale speeds this up considerably; after the first two or three bags the eye adjusts and you can scoop by sight.
- Press the self-seal strip firmly to close each bag. Run a fingernail along the seal to make sure it is airtight.
- Attach a label sticker if using. Store the bags flat in a box at room temperature.

Mini Muffins Wrapped Singly
A mini muffin is the most recognisable birthday-treat shape in the world, and wrapping each one individually in a square of coloured tissue paper transforms a tray of baked goods into thirty small presents.
The visual hook is the domed top pushing against the tissue, which reads as a gift rather than a generic snack. Banana chocolate chip is the flavour that works across the most palates at five years old. This recipe requires the oven.
Bake the muffins a day ahead, cool them completely, wrap and store at room temperature. Do not refrigerate; they dry out. For thirty children, this recipe makes exactly thirty-six mini muffins using a standard 24-cup mini-muffin tray, baked in two batches. Contains: gluten, eggs, dairy, optional tree nuts if you add any. The recipe below is nut-free.
Ingredients
- 3 ripe bananas (approximately 280 g peeled weight), mashed
- 80 ml neutral oil (sunflower or light olive)
- 80 g caster sugar
- 2 large eggs
- 1 teaspoon vanilla extract
- 190 g plain flour
- 1 teaspoon baking powder
- 0.5 teaspoon bicarbonate of soda
- 0.25 teaspoon fine sea salt
- 80 g mini chocolate chips
- 30 squares of coloured tissue paper, approximately 25 x 25 cm each
Instructions
- Preheat the oven to 180 C (fan 160 C). Line two 24-cup mini-muffin trays with paper cases or grease lightly with oil.
- Whisk the mashed banana, oil, sugar, eggs and vanilla in a large bowl until combined.
- Sift the flour, baking powder, bicarbonate of soda and salt over the wet ingredients. Fold gently until just combined; do not overmix or the muffins will be tough.
- Fold in the chocolate chips.
- Divide the batter evenly among 36 cups, filling each one approximately three-quarters full. Bake for 12 to 14 minutes until the tops are golden and a skewer inserted in the centre comes out clean.
- Cool in the tray for 5 minutes, then transfer to a wire rack to cool completely.
- To wrap: place one muffin in the centre of a tissue-paper square, gather the corners upward and twist them together above the muffin. Tie with a thin length of ribbon or secure with a small sticker.

Party Mix Cones of Cereal and Dried Fruit
A paper cone filled with colourful cereal and dried fruit is a three-second assembly that looks considerably more considered than it is. The visual hook is the jumble of colours visible through the cone opening: red cranberries, golden cereal, purple raisins, orange dried apricot pieces.
Roll the cones from squares of card or buy pre-made paper treat cones, fold the tip to close it, fill from the top, and seal with a sticker or a small square of tape.
Mix the filling up to a week ahead and store it in an airtight container. Fill the cones the evening before. For thirty children, 30 g per cone is the right portion. The mix below makes exactly 900 g.
Contains: oats (gluten risk if not certified gluten-free), sulphites (dried fruit). Check each cereal packet for nut warnings, as many cereals are packed in shared facilities.
Ingredients
- 300 g coloured O-shaped corn or oat cereal (such as Froot Loops or a natural equivalent)
- 200 g honey-puffed cereal or granola clusters
- 150 g dried cranberries
- 150 g raisins
- 100 g dried apricots, snipped into small pieces with scissors
- 30 paper treat cones or squares of thin card rolled into cones
- 30 small stickers or pieces of tape to seal
Instructions
- Combine all dried fruit and both cereals in a large bowl. Toss gently until the colours and textures are evenly distributed throughout.
- If using flat card squares, roll each one into a cone shape and secure the seam with a small piece of tape. Fold the tip up by about 1 cm and press flat to close the bottom.
- Hold each cone upright and spoon or pour approximately 30 g of the mix into the open top. Tap the cone gently on the table once to help the mix settle.
- Fold the top edge of the cone down twice to close it, then press a sticker over the fold to seal. Alternatively, tie the top with a short ribbon.
- Stand the finished cones upright in a muffin tray to keep them stable until transport.

🛍 Shopping guide
Frequently Asked Questions
Can I make all of these kindergarten birthday treats the night before?
Most of them, yes. The popcorn bags, Rice Krispie squares, yoghurt raisin bags, banana oat bites, cereal cones and wrapped muffins are all better the next day and fully assembled the night before. The fruit skewers, melon stars and cheese-grape sticks must be made the morning of the party, as cut fruit and unwrapped cheese weep or dry overnight.
Are these treats suitable for a nut-free classroom?
Every recipe on this list is nut-free as written. Check the packaging of store-bought items: yoghurt-covered raisins, cereals and popcorn kernels are sometimes packed in facilities that also handle nuts. If the class has a severe tree nut allergy, contact the manufacturer directly and look for a dedicated nut-free brand.
How do I transport thirty individual treats without crushing them?
A shallow cardboard box, one layer deep, is the most practical container. Line it with a sheet of baking paper to stop anything sliding. Rigid treats like muffins and Rice Krispie squares can stack if there is a layer of paper between them. Skewers and sticks travel best in a single layer in a long, flat box.
What is the best treat for a class with multiple food allergies?
The melon stars are the safest option: they contain no allergens, need no processing and come in their own natural wrapper. The fruit skewers are a close second. For savoury options with multiple restrictions in the room, the popcorn bags made with sunflower oil and no additional flavourings cover the most ground.
How much should each treat cost to make for thirty children?
The most economical options are the popcorn bags, yoghurt raisin bags and cereal cones, each of which costs well under the price of a single shop-bought party bag per child when made at home. The mini muffins and Rice Krispie squares sit in the middle.
The fruit skewers and melon stars cost the most per portion because of fresh fruit prices, but they are still significantly cheaper than packaged alternatives.
17 Halloween breakfast ideas that look spooky and taste great: ghost pancakes, monster toast, mummy
This high protein breakfast casserole has 30g of protein per serving! Made with turkey sausage, eggs
I bought a bag of chia seeds two years ago for a recipe I made once, then forgot the bag existed. It
Leave a Reply