

Starbucks Cake Pops Recipe: A Party Dessert Dipped Smooth and Pretty
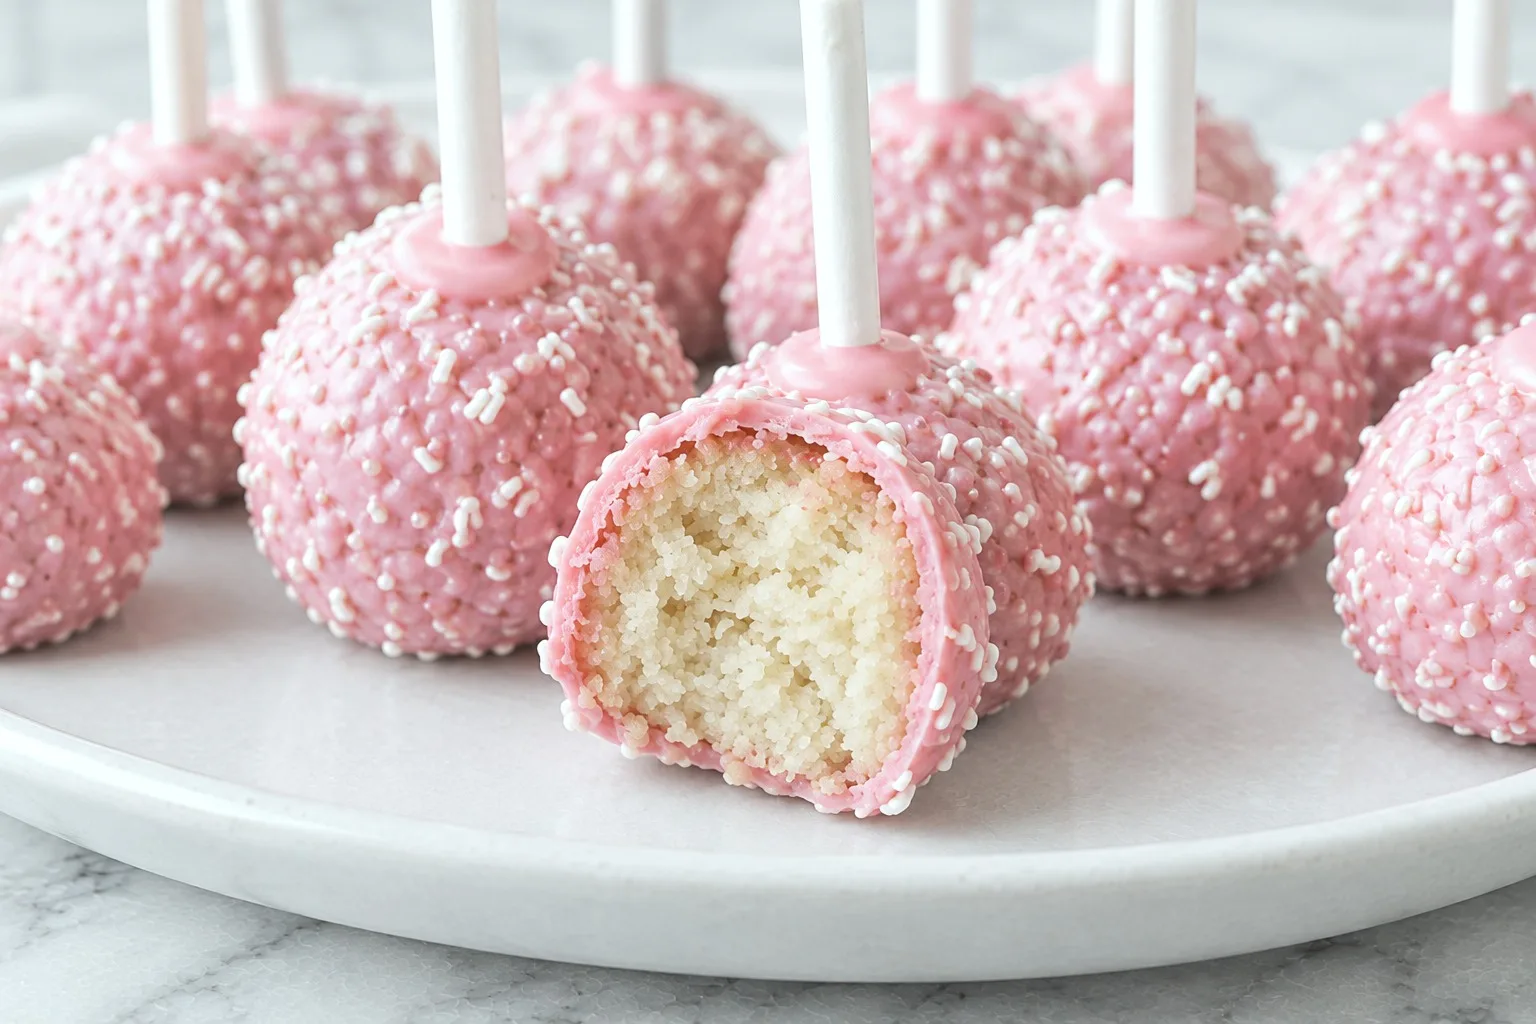
This starbucks cake pops recipe turns a box of vanilla cake into the pink, sprinkle-flecked pop everyone already knows from the pastry case. No cake decorating skill required, just a cold bowl of dough, a steady hand with the dipping, and somewhere for the sticks to stand while the shell sets.
This post contains affiliate links. If you buy through them, I may earn a small commission at no extra cost to you.
Table of Contents
What Goes Into Starbucks-Style Cake Pops
Five ingredients do all the work here, and none of them are unusual. The whole recipe lives or dies on the ratio of two of them, so it helps to know what each one is actually doing before you start mixing.
Vanilla cake mix is the base, and it needs to be baked and completely cool before anything else happens to it. A warm cake crumbles into gummy clumps instead of fine crumbs, and that throws off everything that follows.
Vanilla frosting is the glue, not the flavor. You are not trying to taste it, you are trying to get the crumbs to hold a ball shape, so less is genuinely more here.
Pink candy melts give the recipe its Starbucks look. They melt smoother than real chocolate and set with a matte, bakery-case finish that plain melted chocolate does not quite manage on its own.
White sprinkles go on while the coating is still wet, which is the only window you get. A small bowl of them within arm’s reach saves a lot of scrambling.
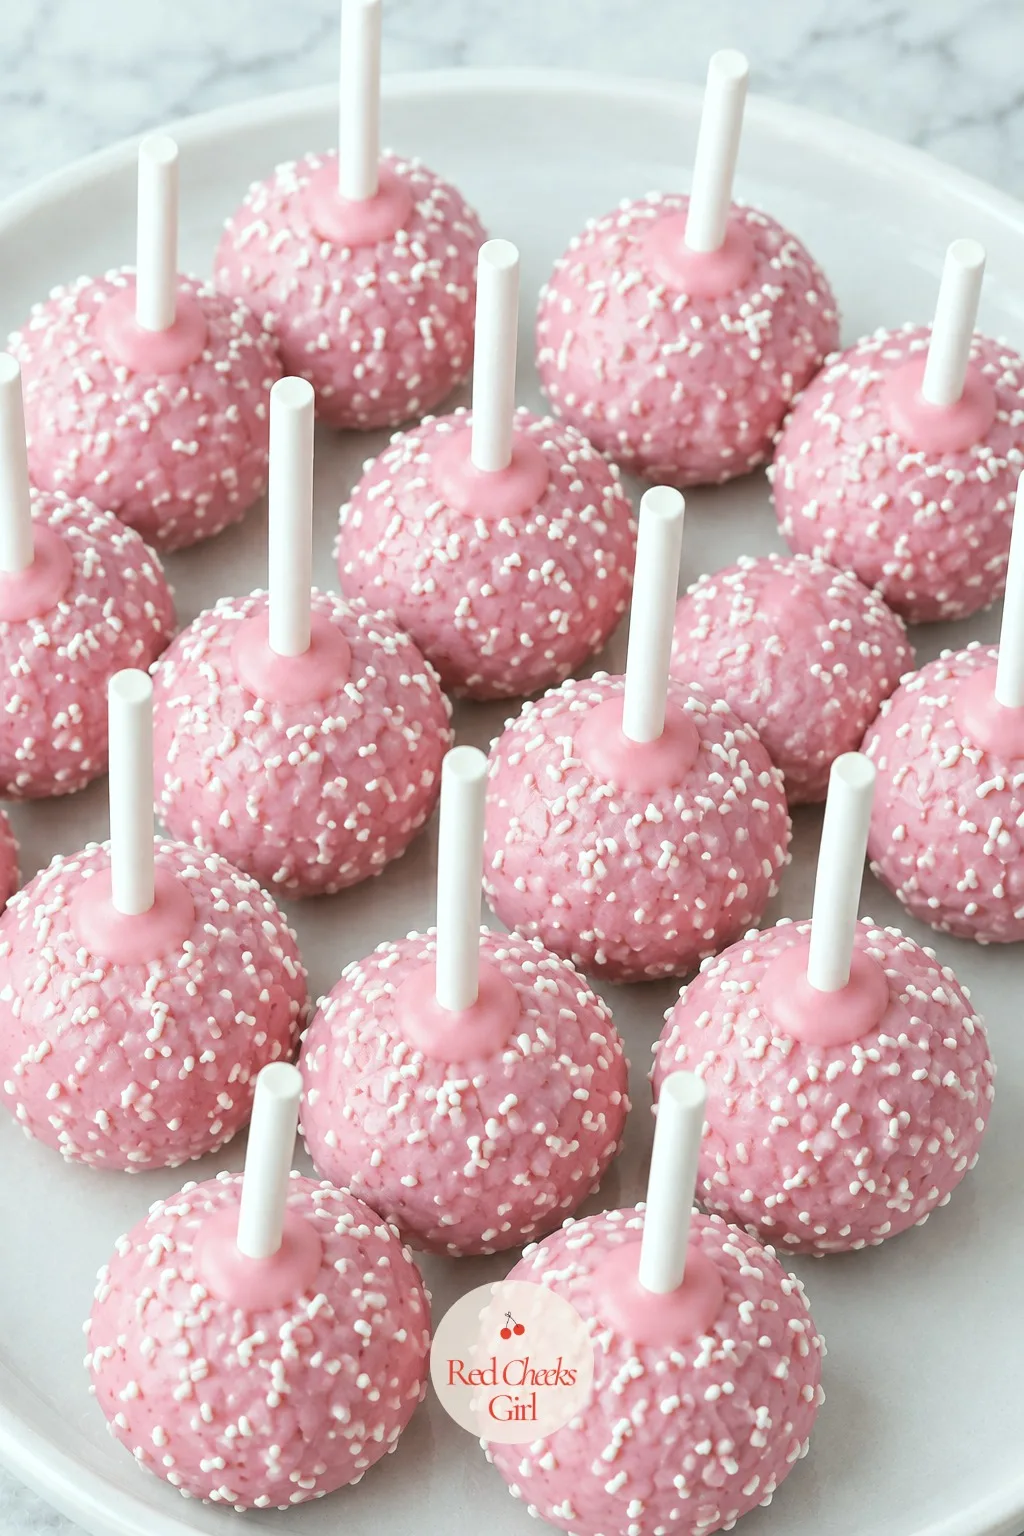
How to Make It
The whole process breaks into three calm stages: bake and crumble, roll and chill, then dip and dry. Nothing here is hard, it just rewards patience, especially around the chilling and the drying, where rushing is what causes most of the trouble.
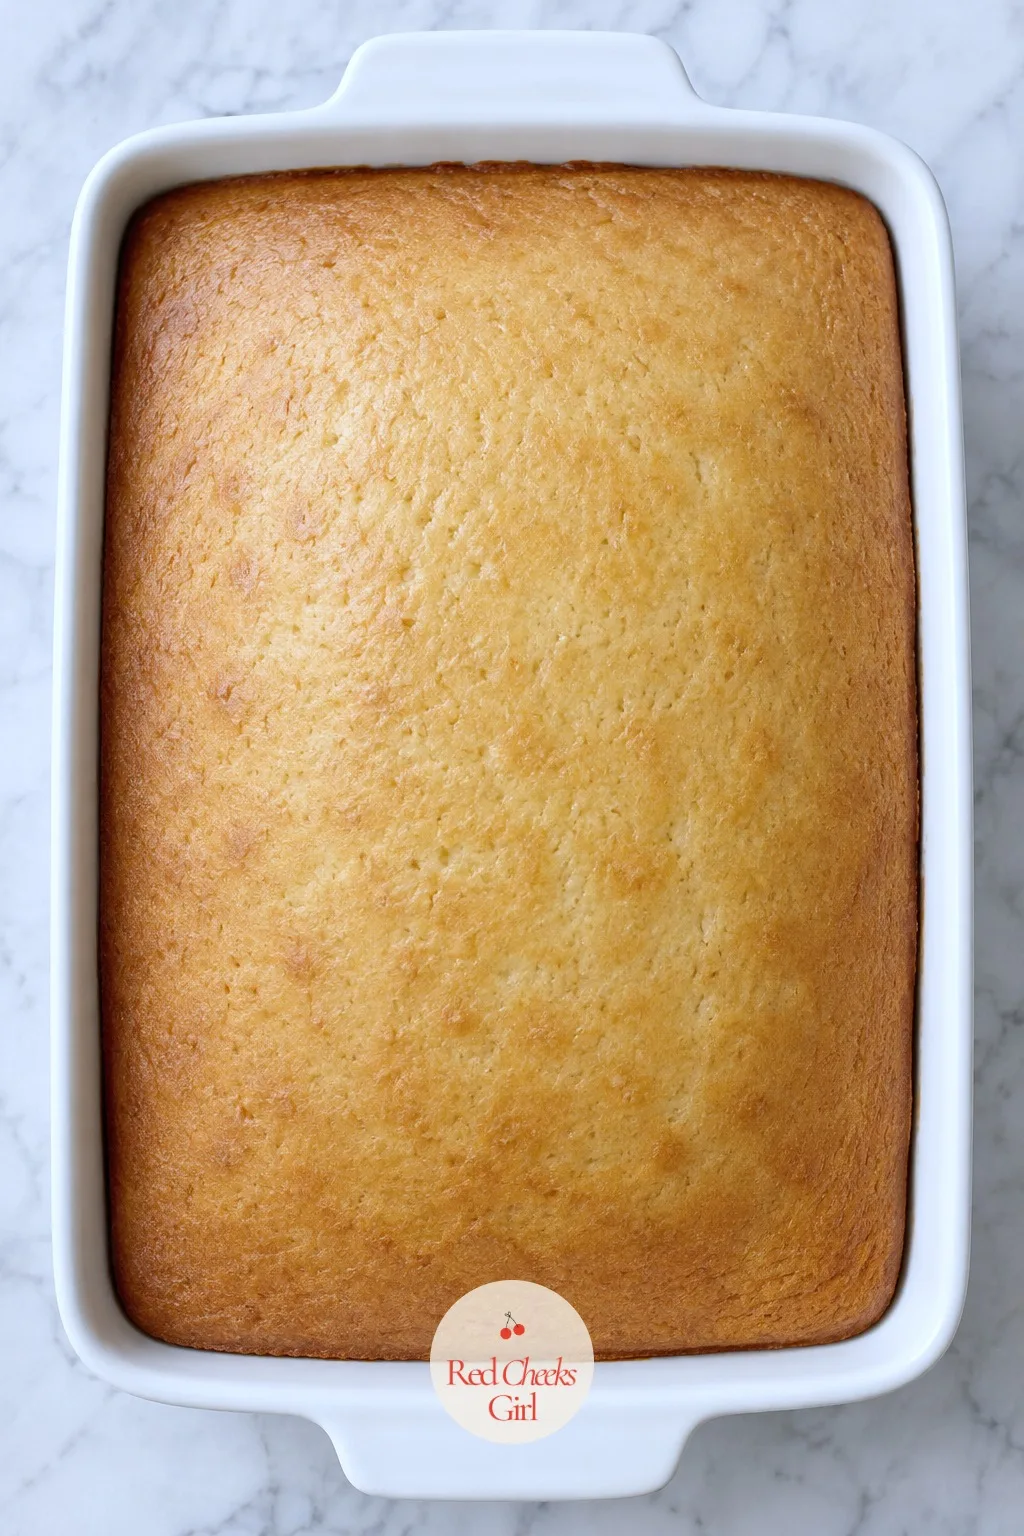
Bake the vanilla cake
Bake the cake mix in the dish exactly as the box directs, then let it cool completely before you touch it. A cake that is even slightly warm will crumble into clumps instead of fine, even crumbs.
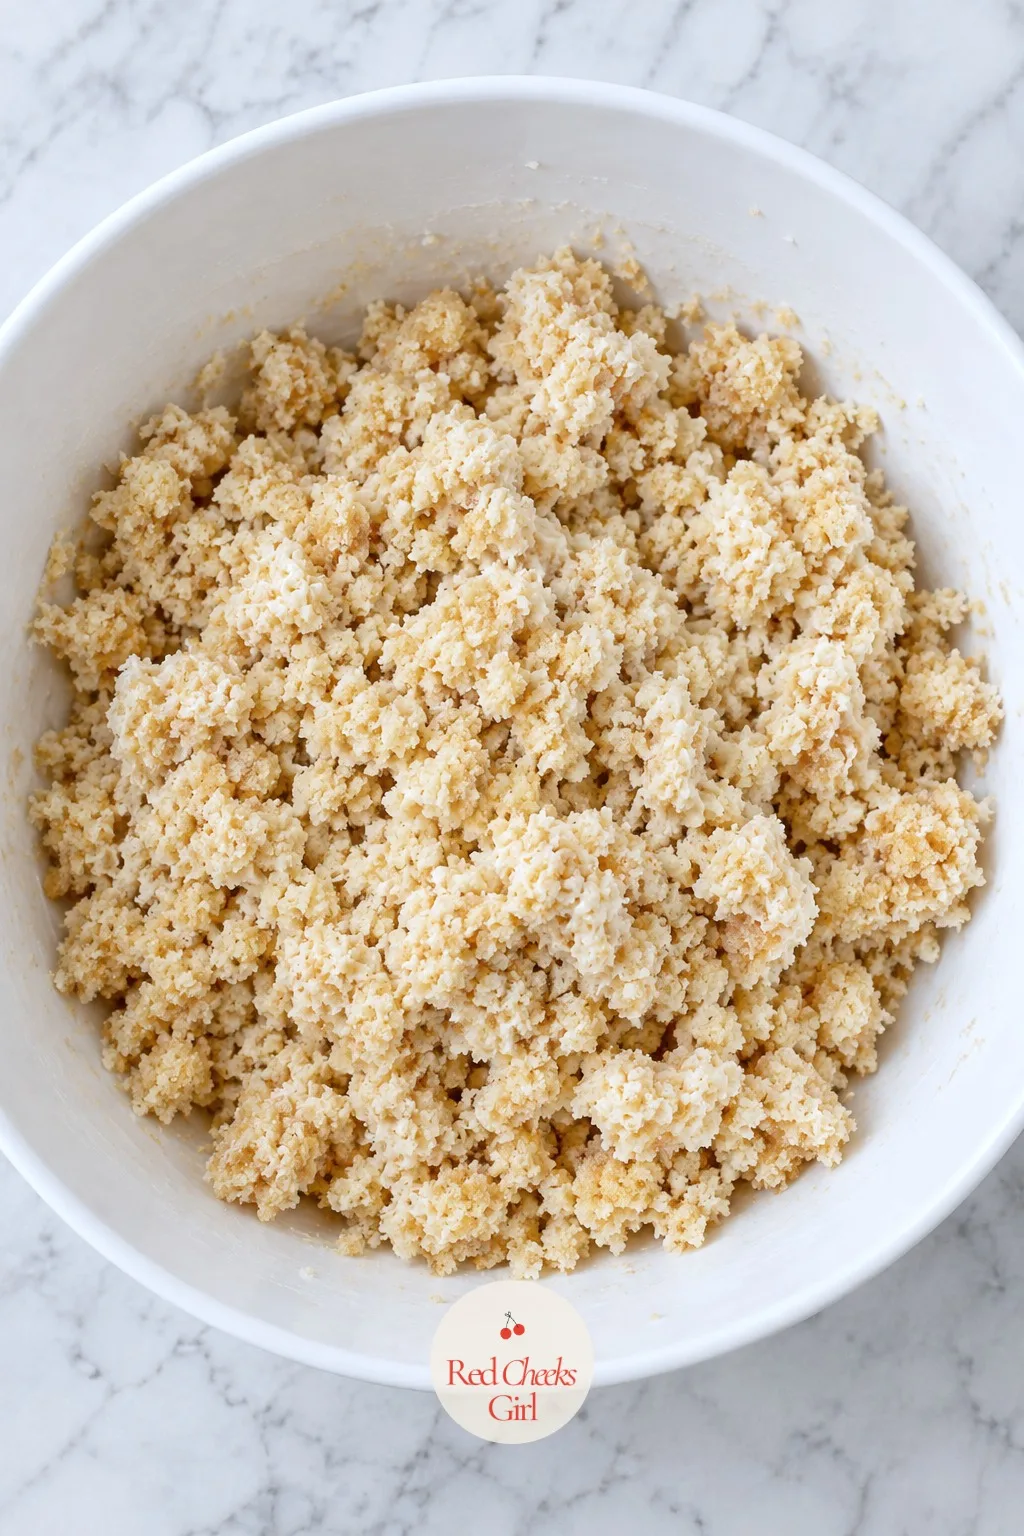
Mix crumbs with frosting
Work the frosting into the crumbled cake a spoonful at a time until the mixture holds together like soft clay. Stop as soon as it stops crumbling, since too much frosting is what makes pops slide off the stick later.
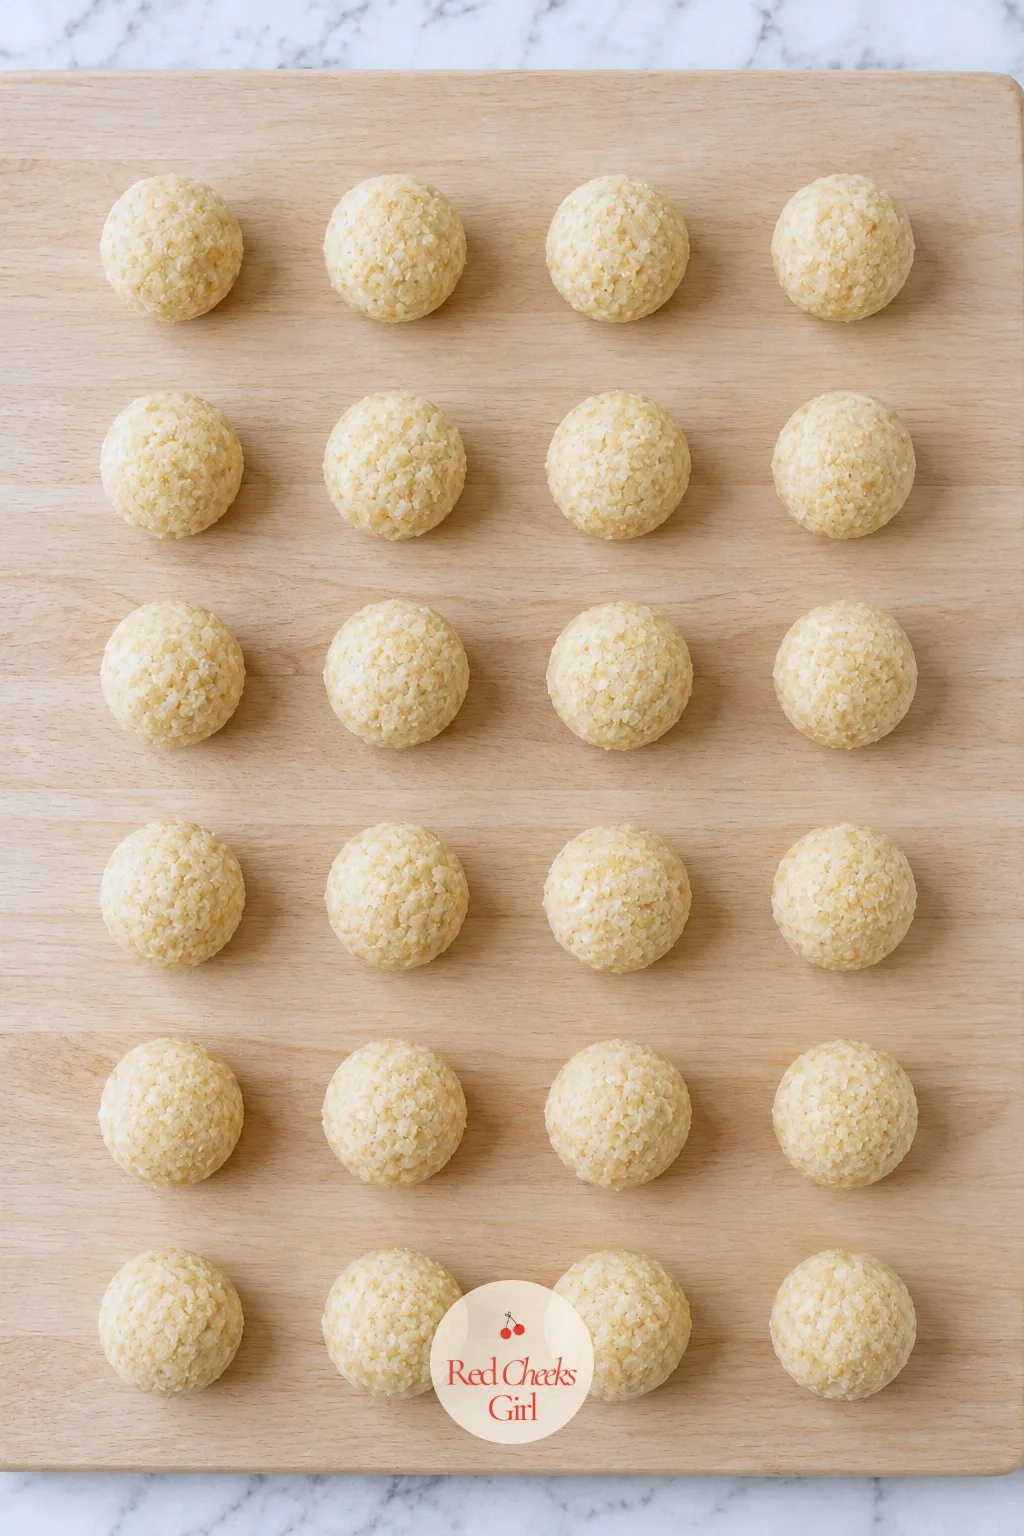
Roll into balls
Scoop and roll the dough into smooth, even balls about 1 inch across. Keep them the same size so they all chill and dip at the same rate.
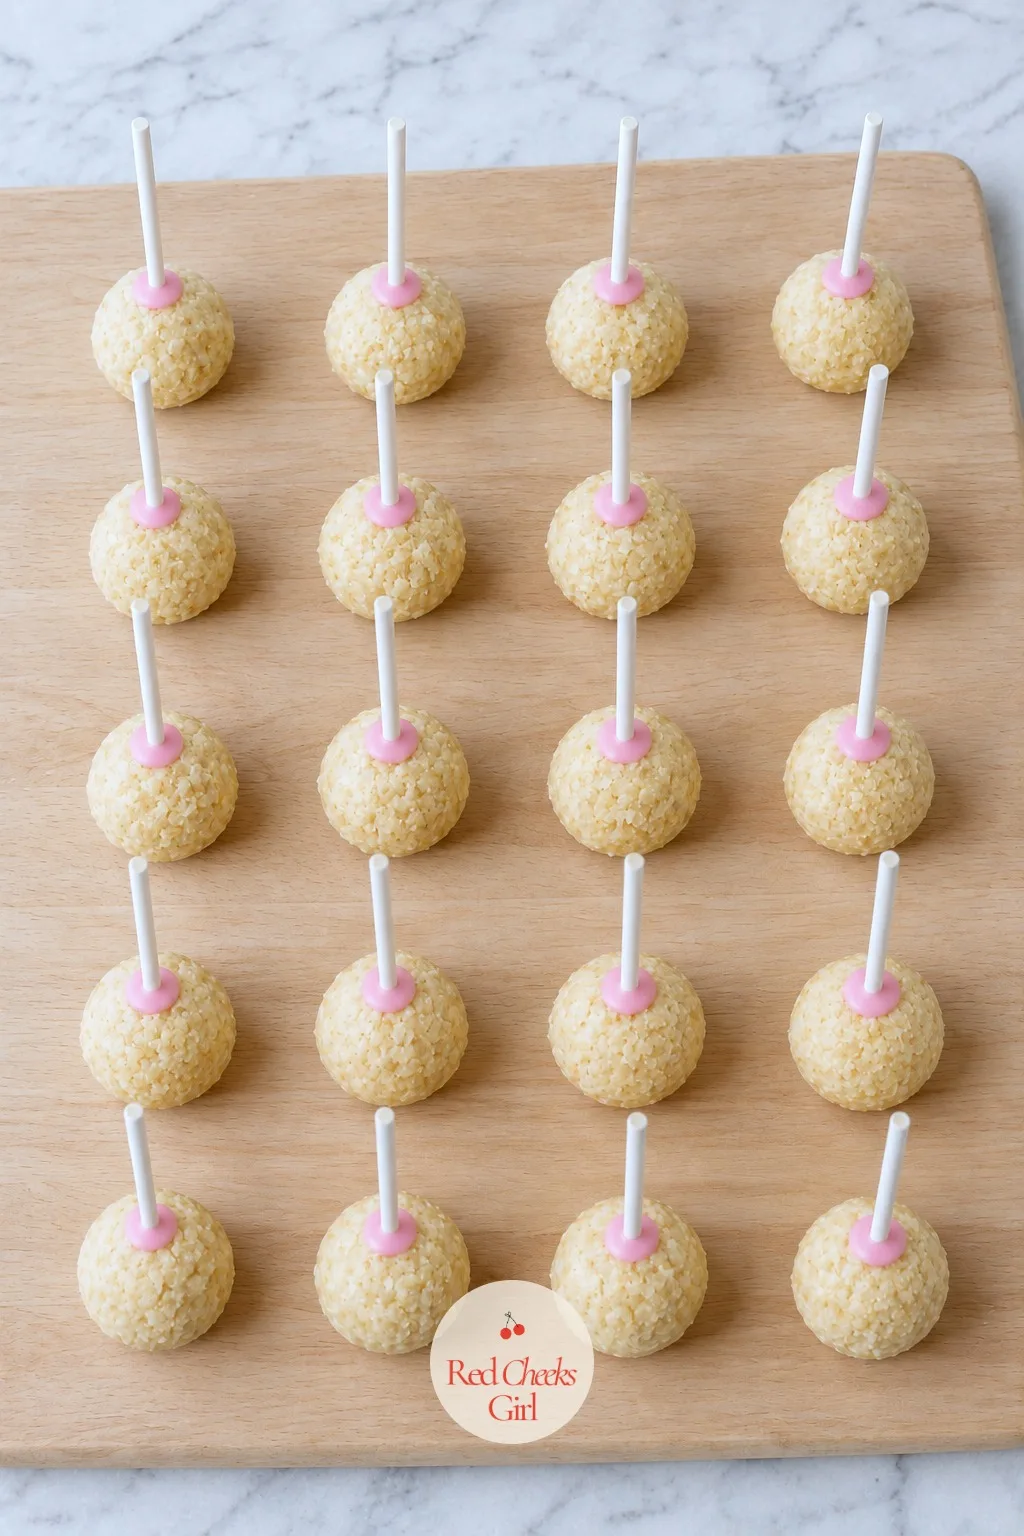
Anchor the sticks
Dip each stick tip in melted candy before pushing it halfway into a chilled ball. This small anchor is the real reason the pop stays on the stick once it is fully dipped.
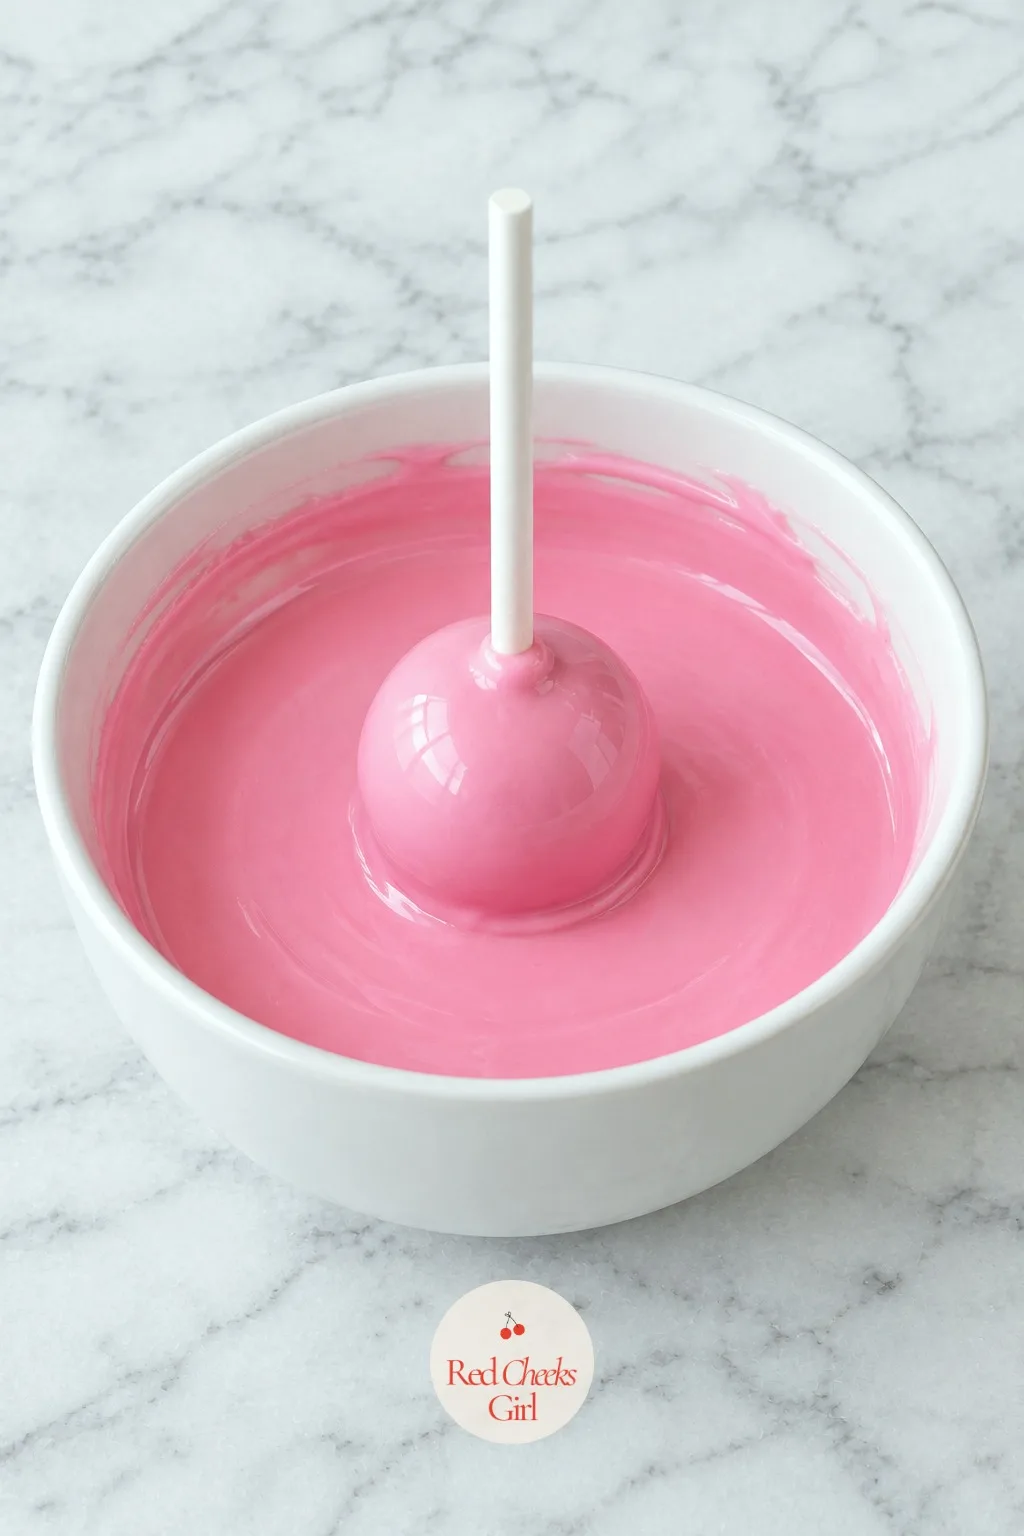
Dip the cake pop
Lower each pop into the melted candy and turn it to coat completely, then let the excess drip away. A thin, even shell sets smoother than a thick one.
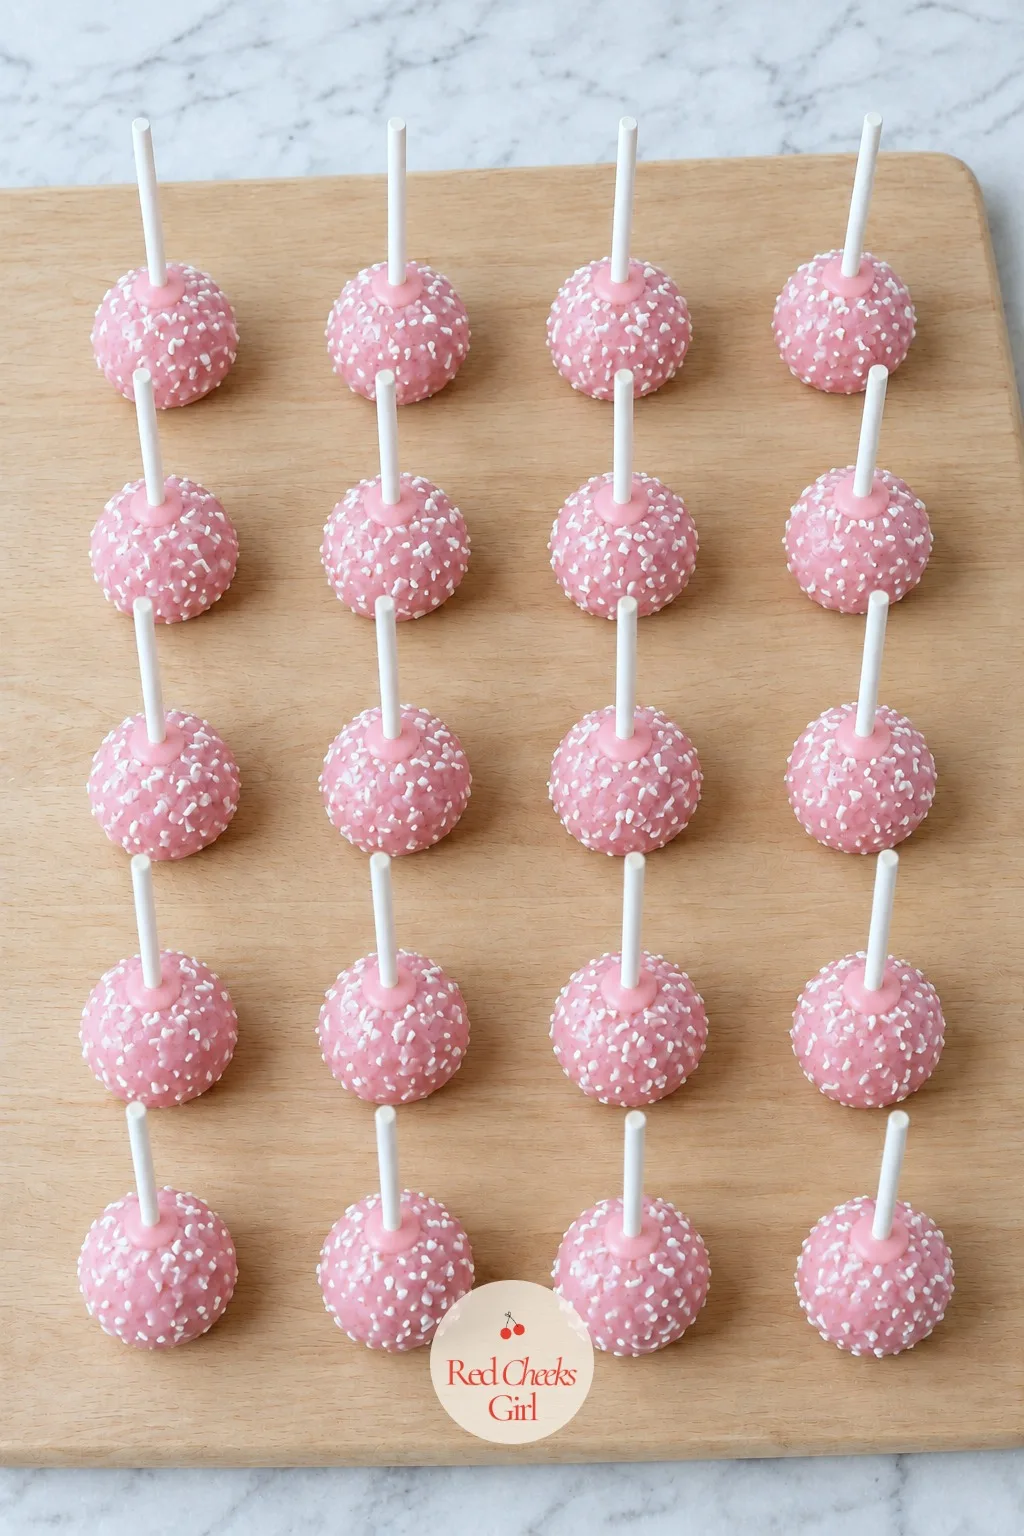
Add the sprinkles
Scatter white sprinkles over the coating while it is still wet, turning the pop so they land on every side. Wait even a minute too long and they will not stick.
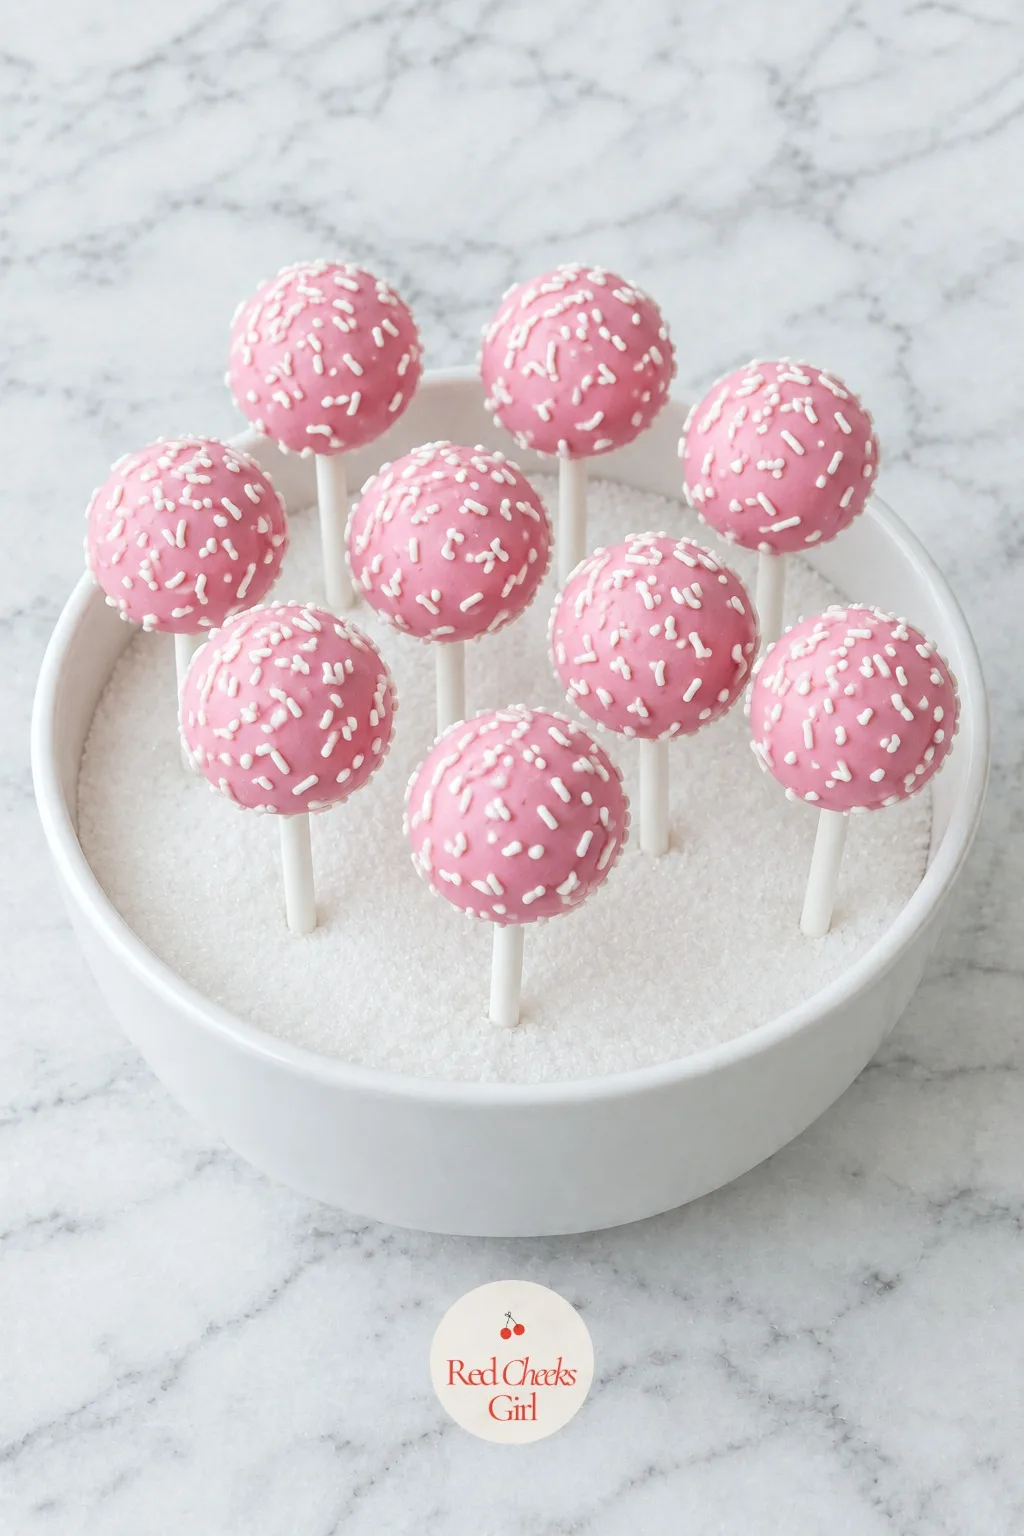
Stand the pops to dry
Stand the pops upright, stick down, in a bowl filled with sugar or rice until the coating turns matte and firm. Resist moving them before that, or the shell can slip.
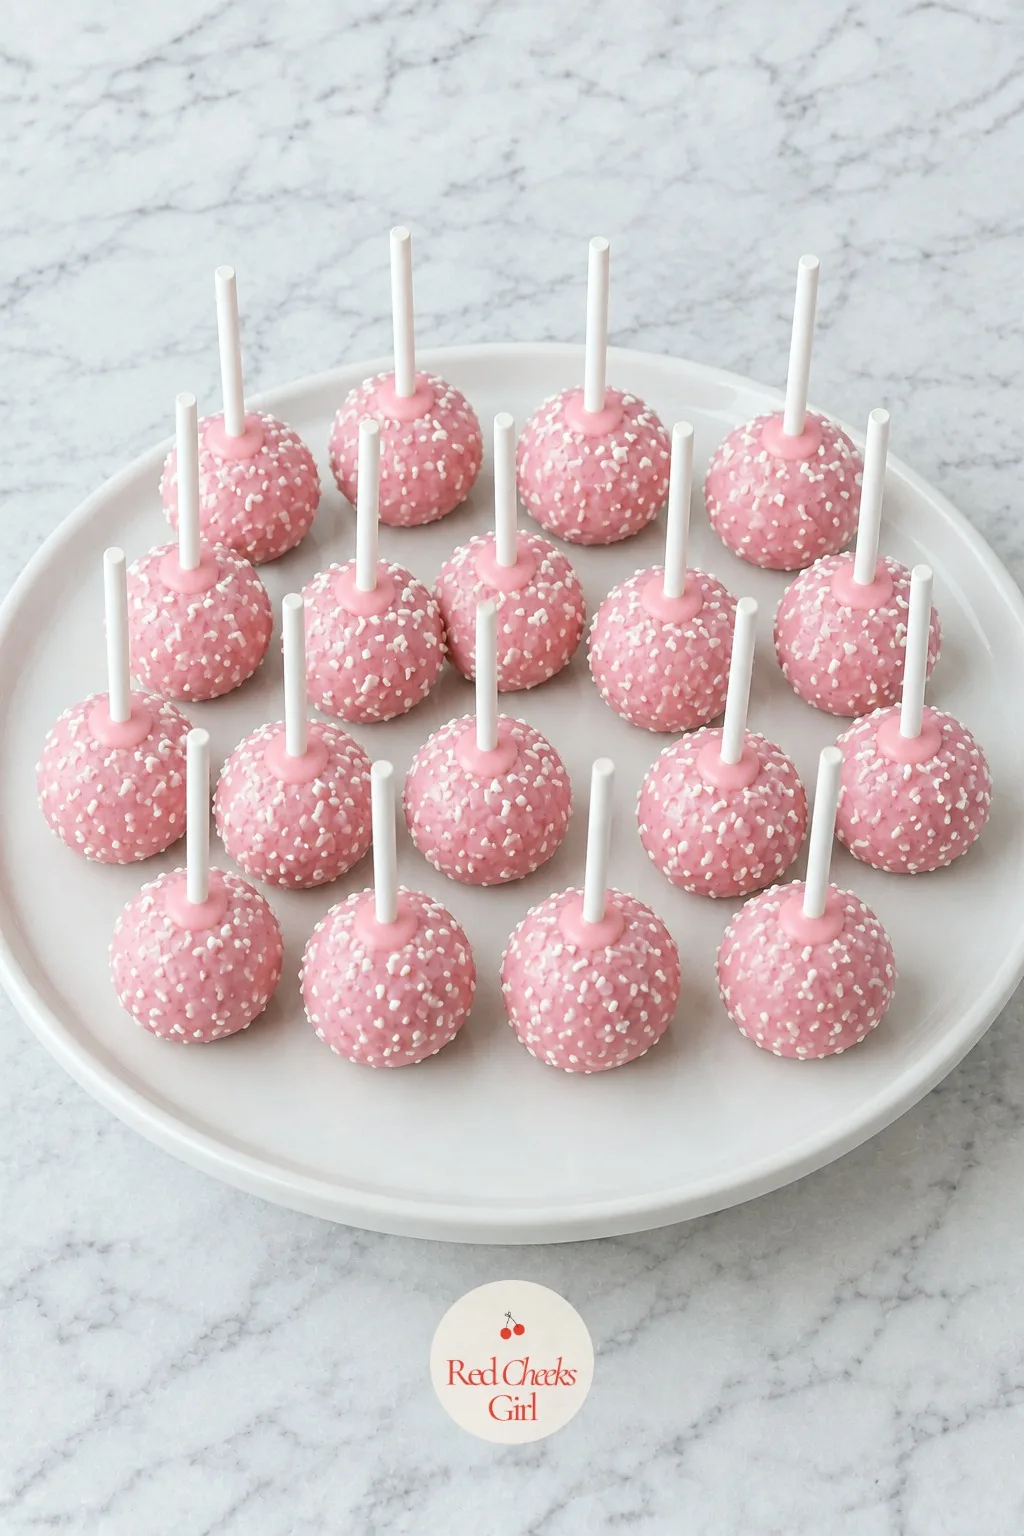
Serve the cake pops
Arrange the finished pops upright on a board or in a low vase for the table. They hold their looks for hours once the coating has fully set.
🛍 Shopping guide
Tips for Getting It Right
Nearly every cake pop failure traces back to one of two things: too much frosting, or the wrong temperature at the wrong moment. Fix those two and the rest tends to fall into place.
The frosting ratio matters more than people expect. Add it a spoonful at a time and stop the moment the dough holds together.
Skipping the chill, or going the other way and freezing the balls solid, causes the same problem from opposite directions.
A ball that is too soft slides down the stick, and a ball that is frozen solid can crack the shell on contact with warm candy melts, so a firm 45 to 60 minutes in the fridge is the middle ground that works.
Always anchor the stick before the full dip. Skip that step and even a well-balanced dough can slide.
If the shell cracks right after dipping, the coating was likely too hot for a cold ball. Let the melted candy cool for a minute or two off the heat before you start dipping, so the temperature difference is gentler on the way in.
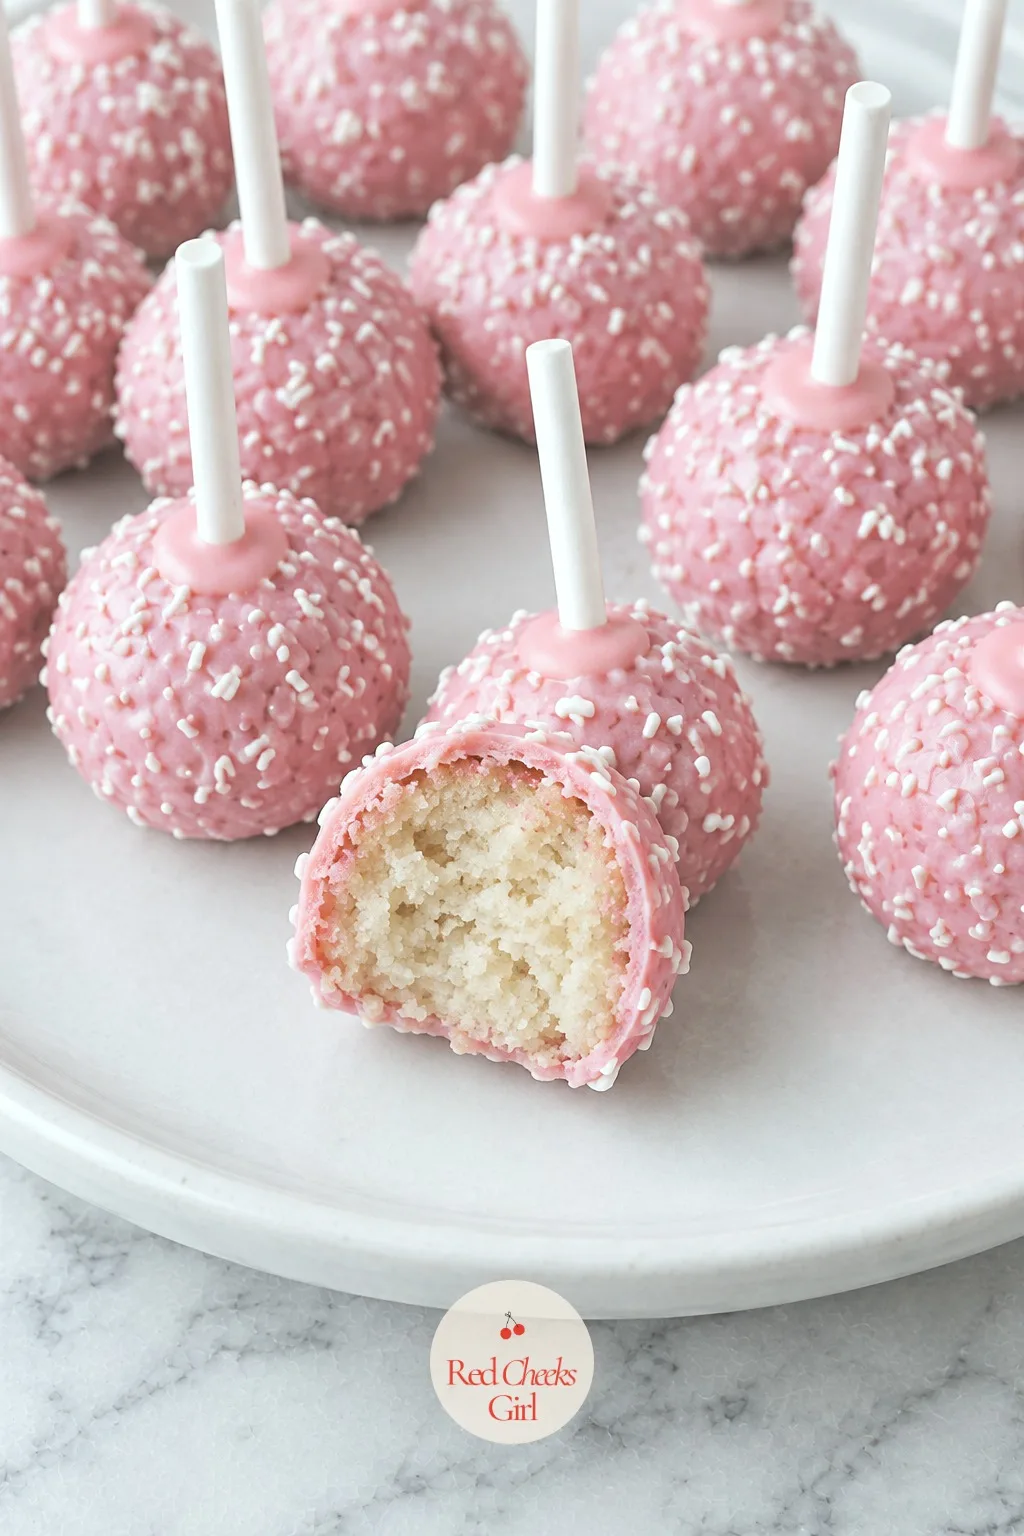
Swaps and Substitutions
The chocolate version is just as easy and arguably the better one for anyone who finds vanilla a little plain. Swap the cake mix for chocolate or devil’s food, use chocolate frosting in the same small amounts, and dip in chocolate or brown candy melts instead of pink.
Red velvet works the same way if you want that bakery look without buying a second cake mix, since it already comes tinted and pairs naturally with white or cream colored melts.
Color is where this recipe earns its keep at a party, because the cake itself barely changes, only the melts do. Pastel pink and baby blue read as a baby shower from across the room, the kind of palette this site rounds up in its baby shower table decorations guide.
Purple, green and gold melts, alternated pop by pop, turn the same base recipe into a Mardi Gras centerpiece, an idea this site expands on in its Mardi Gras party ideas. Red and green do the same job for a holiday table, alongside the other shapes in the Christmas cake pops collection.
No candy melts on hand, or a climate too warm for them to behave.
What to Serve It With at a Party
Cake pops want company that is just as grab-and-go. A dessert table of small, stickless bites keeps the rhythm going, the kind gathered in this site’s birthday party treats list.
For the savory side of the same table, finger foods that need no fork or plate sit well next to a vase of cake pops, the sort rounded up in birthday party food ideas.
A simple glass pitcher of something cold cuts the sugar nicely, since cake pops are rich in a small bite and a drink on the side keeps guests from reaching for a second one too fast.
Stand them in a tall glass filled with sugar or in a low vase and they double as part of the table decoration, no extra styling required.
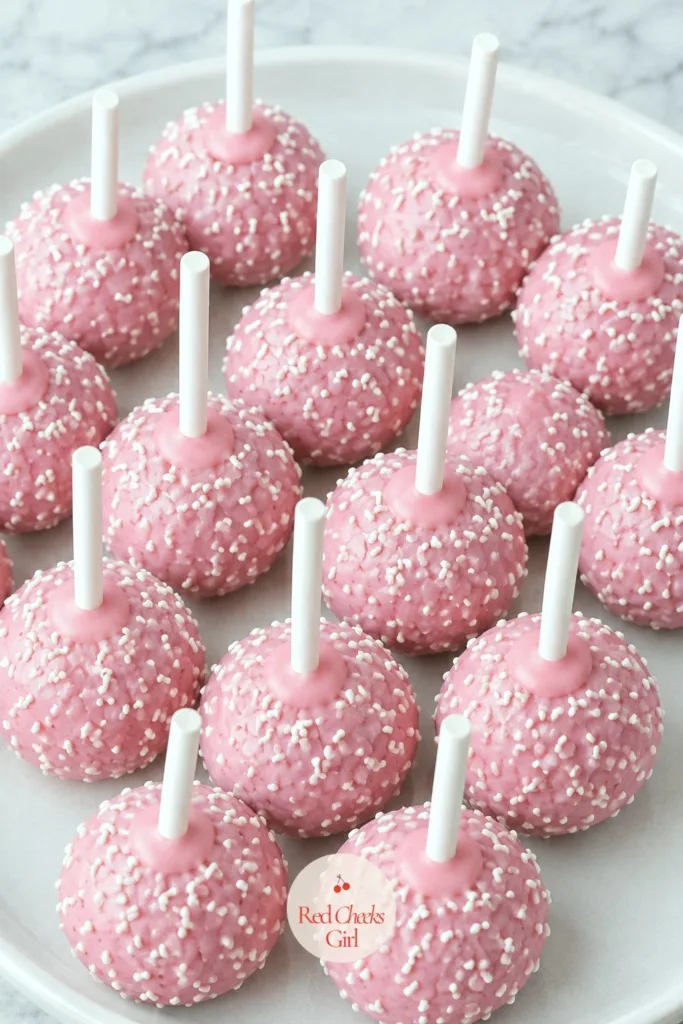
Starbucks Cake Pops Recipe
Ingredients
- 1 box 15.25 ounces vanilla cake mix, plus the eggs, oil and water the box calls for
- 1/4 cup vanilla frosting plus up to 2 tablespoons more if needed
- 12 ounces pink candy melts about 2 cups
- 1 teaspoon vegetable oil or shortening to thin the candy melts if needed
- 24 paper cake pop sticks 6 inch
- 2 tablespoons white sprinkles for finishing
Instructions
- Preheat the oven and bake the vanilla cake mix in a 9x13 inch ceramic baking dish exactly as the box directs, using the eggs, oil and water it calls for. Let the cake cool completely in the dish, about 1 hour, until the surface feels cool to the touch all the way through.
- Crumble the cooled cake into fine, even crumbs in a large white ceramic mixing bowl, breaking up every chunk with your fingers or a fork until no piece is larger than a pea.
- Add the vanilla frosting to the crumbs 1 tablespoon at a time, working it in with your hands between additions. Stop as soon as the mixture holds its shape like soft clay when you squeeze a handful: it should feel neither dry and crumbly nor sticky and wet, which usually means 1/4 to 1/3 cup of frosting total.
- Scoop the dough with a 1-tablespoon cookie scoop and roll each portion between your palms into a smooth ball about 1 inch across. Set the 24 balls on a parchment lined baking sheet or a pale wood board as you go, spacing them so they do not touch.
- Chill the balls in the refrigerator for 45 to 60 minutes, until firm enough to hold their shape when pressed gently but not hard all the way through: cold, not frozen, so the coating does not crack when it meets them.
- Melt the pink candy melts in a microwave-safe white ceramic bowl in 30-second bursts, stirring between each, until smooth and pourable. Stir in the vegetable oil if the candy stays thick, 1 teaspoon at a time, until it drips off a spoon in a steady ribbon.
- Dip the tip of each cake pop stick about 1/2 inch into the melted candy, then push it halfway into a chilled cake ball. This glues the stick in place and is what actually stops the ball from sliding off later.
- Dip each cake pop straight down into the melted candy, turning it to coat the ball completely. Lift it out, tap the stick gently against the rim of the bowl to let the excess drip away, and turn the pop slowly for a few seconds so the coating sets evenly instead of pooling at the base.
- Scatter white sprinkles over the wet coating right away, before it starts to set, turning the pop so they catch on every side.
- Stand the finished pops upright to dry completely, stick down in a block of foam, a cake pop stand, or a deep bowl filled with sugar or rice. Leave them for 20 to 30 minutes, until the coating looks matte and feels firm, not tacky, when you touch it lightly.
- Serve the cake pops standing upright on a platter or board, or arrange them in a vase for the table.
Good to Know
Frequently Asked Questions
Why do my cake pops crack after dipping?
Cracking usually happens when a cold cake ball meets candy melts that are still too hot, shocking and splitting the shell as it sets. Let the melted candy cool slightly before dipping balls straight from the fridge.
Can I use melted chocolate instead of candy melts?
Yes, melted white chocolate or almond bark works as a substitute, though it needs a little oil or shortening stirred in to thin it to the right dipping consistency.
What kind of cake works best for cake pops?
Any moist, not overly oily cake works well, with vanilla, chocolate and red velvet all crumbling and binding easily into smooth balls.
Why do my cake pops taste dry?
Overbaking the cake is the usual cause, since dry crumbs then need extra frosting to bind, which masks the cake flavor. Pull the cake as soon as a toothpick comes out clean.
Can I make cake pops without a cake pop stand?
Yes, a block of craft foam, a colander with sticks poked through the holes, or a deep bowl filled with rice or sugar all hold pops upright just as well.
Puppy chow chex mix recipe coats Chex cereal in melted chocolate and peanut butter, then shakes it r
It was 94 degrees on a Saturday afternoon and I had a half-empty bottle of rosé on the counte
16 gourmet cookies recipes for trays, bake sales and gifting: thick, chewy, crisp-edged bakery style
Leave a Reply