

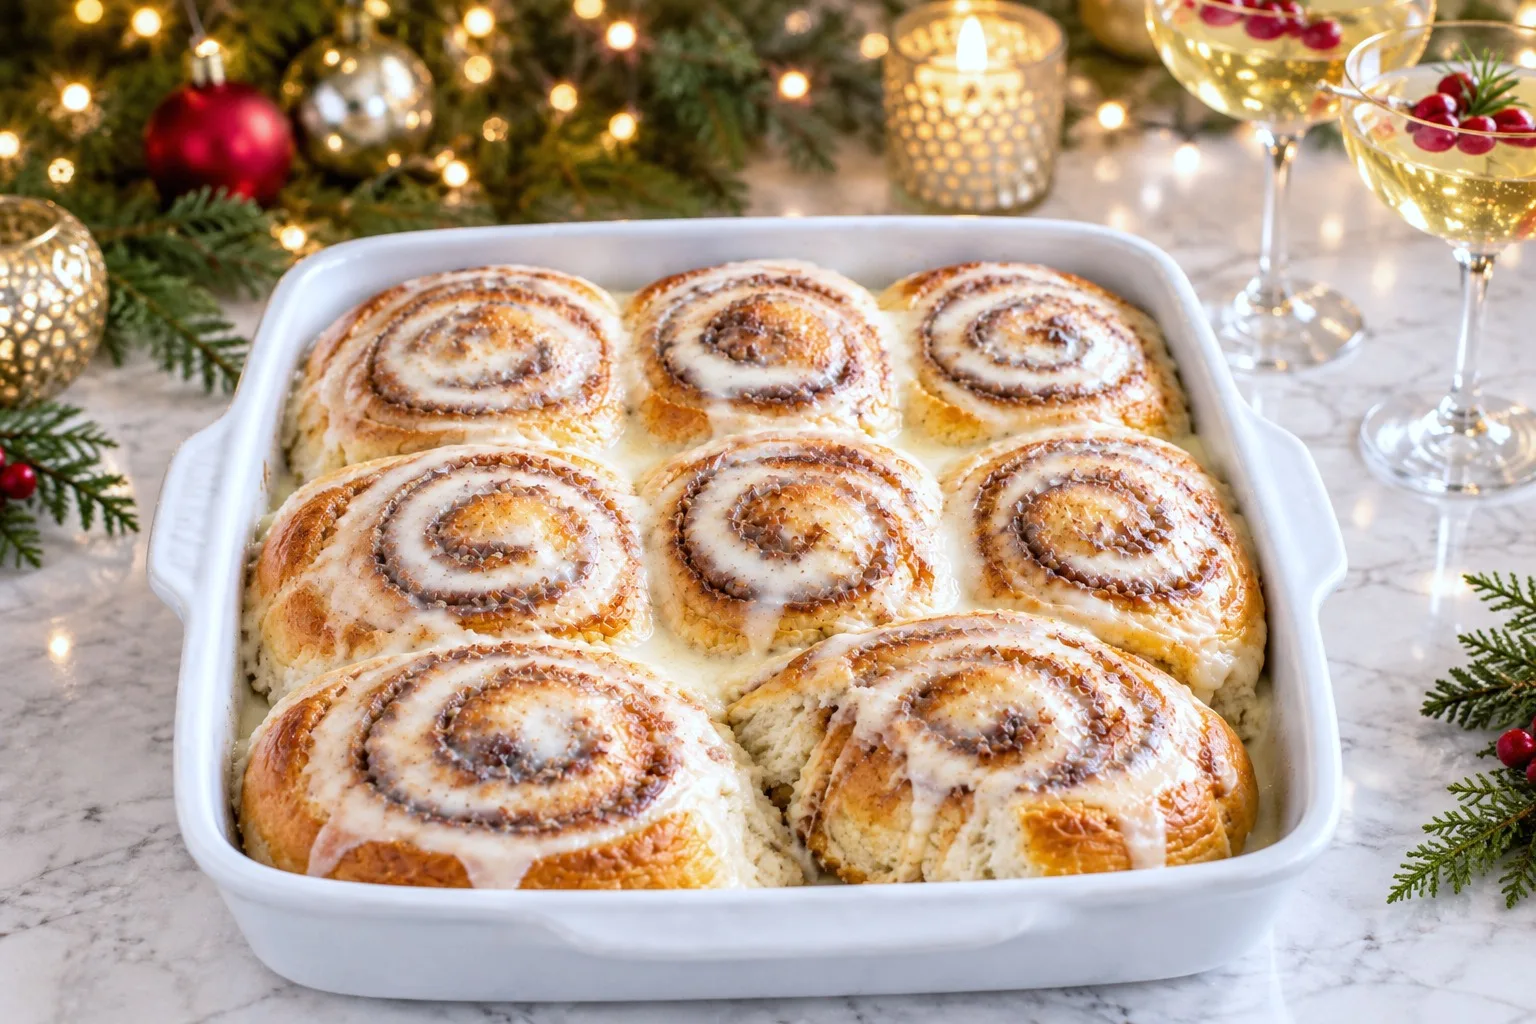
Overnight cinnamon rolls solve the one real problem of December 25th: nobody wants to knead dough before coffee. Shape them the evening before, let the fridge do the slow work overnight, and all that is left in the morning is a warm kitchen and a short wait while they puff.
This post contains affiliate links. If you buy through them, I may earn a small commission at no extra cost to you.
Table of Contents
Why Bake Them the Night Before
Picture the version of Christmas morning where you are not standing over a mixing bowl in your robe while everyone else opens stockings. That is the whole argument for doing this the night before: the dough rises once while you still have the energy for it, and the fridge takes over from there.
If early mornings are not your strong suit even on an ordinary Tuesday, this method is built for you. There is a reason this sits alongside 10 Gentle Morning Practices When You’re Not a Morning Person: the fewer decisions your hands have to make before 8am, the better the day starts.
It costs nothing extra to plan this way. You already own flour, butter, eggs and a baking dish, so the only real change is timing: shape at night, bake at dawn, and the smell does the rest of the work for you.
There is something about waking up to that smell already moving through the house, the kind of thing that makes the whole morning feel settled before anyone is properly dressed, which is most of what 22 Christmas Bedding Finds That Make Bedtime Feel Like Christmas Morning is trying to do for the bedroom.
What Goes Into Them and Why It Matters
Whole milk, warmed gently, is what wakes the yeast and keeps the crumb soft; skim milk works but the rolls turn noticeably drier. Active dry yeast needs that warm bath and a few minutes to foam before you trust it with the rest of the dough.
Butter does double duty here, melted into the dough for softness and whipped to a near-paste for the filling, where it carries the cinnamon instead of letting it sit dry on top.
Light brown sugar in the filling matters more than white sugar does: the molasses in it is what turns gooey rather than just sweet once it hits the oven.
Ground cinnamon should be fresh enough to smell sharp straight from the jar, since a tired jar of cinnamon gives you rolls that taste mostly of sugar. The glaze leans on cream cheese rather than a plain powdered sugar icing, because it sets with a slight tang instead of turning sickly sweet on a warm roll.
This dough contains wheat, dairy and egg, so plan accordingly if anyone at the table has those allergies.
How to Make It
The method has two days built into it on purpose: one evening for mixing, rolling and slicing, one morning for warming, baking and glazing. Follow the timeline below exactly as written and you will not be guessing at 7am whether the rolls are ready.
Let the dough double in the bowl
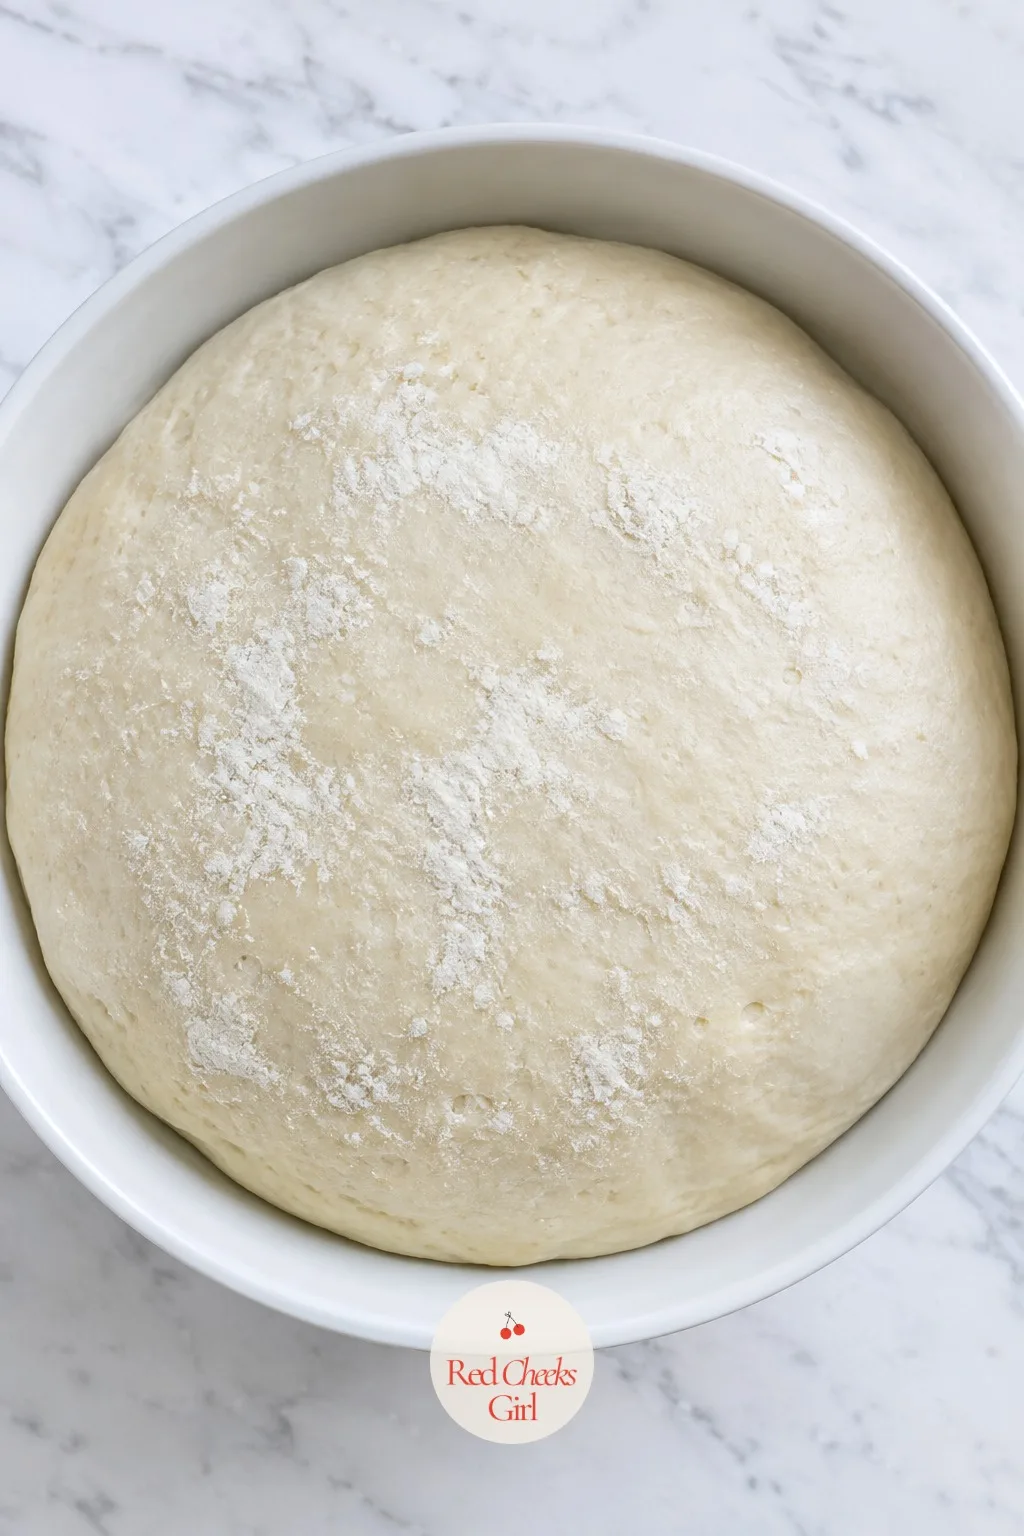
The dough should look noticeably larger than when it went in, smooth and rounded rather than lumpy. Press two fingers into it gently; if the dent stays, it is ready to shape.
Spread the cinnamon butter to the edges
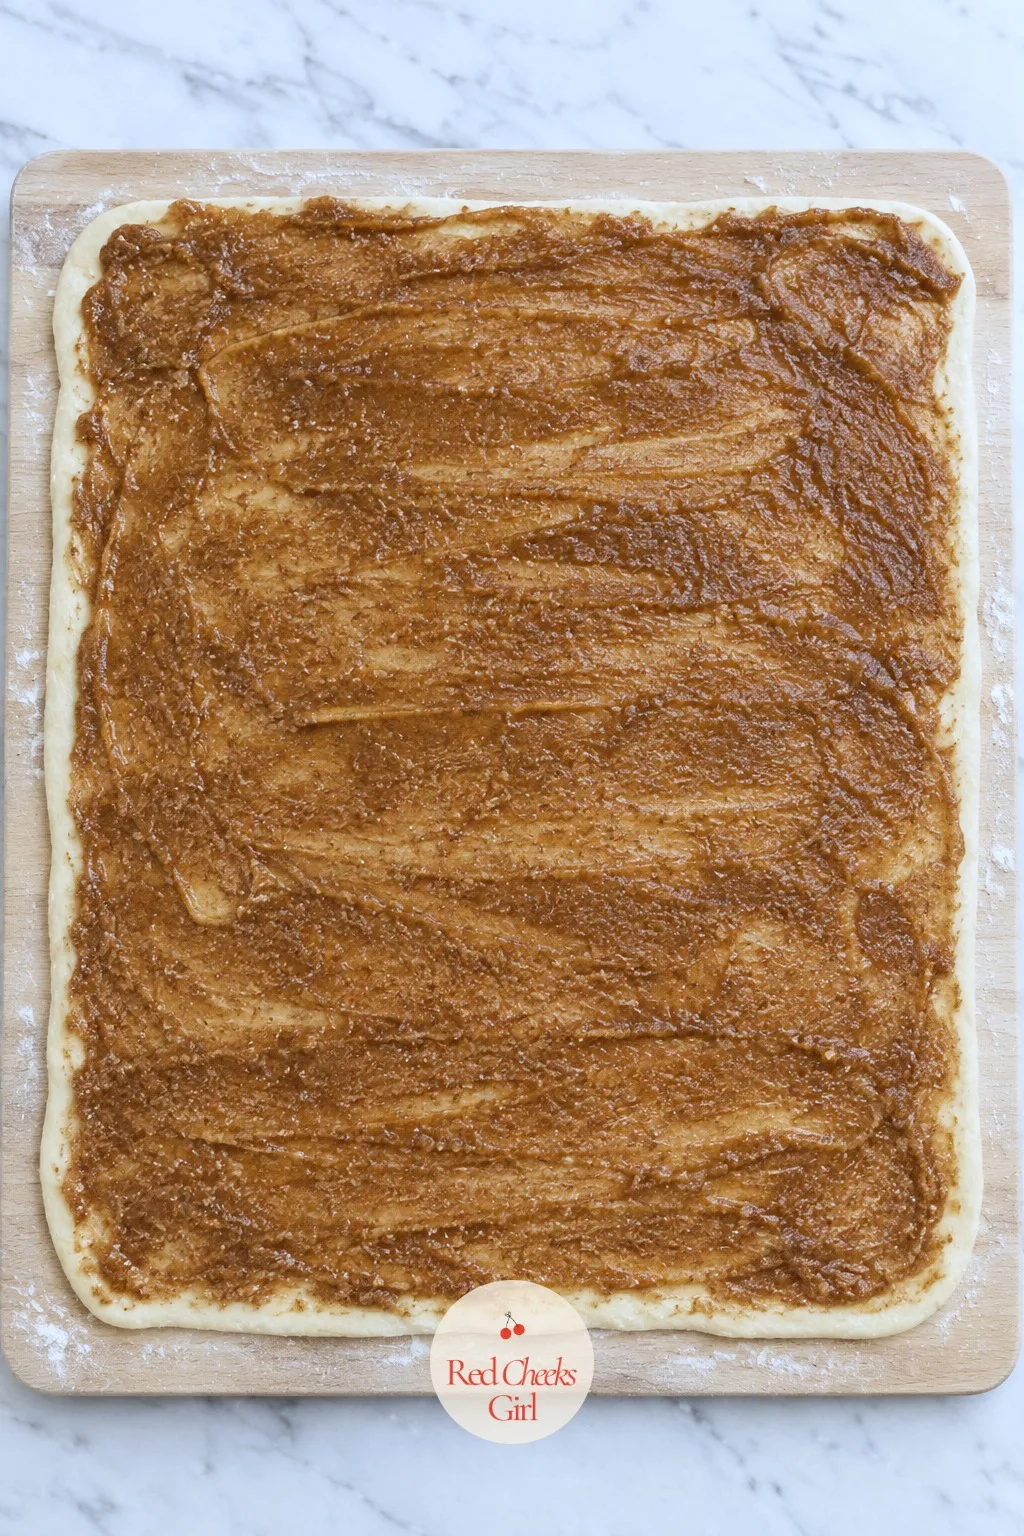
The rolled rectangle should be covered edge to edge in the cinnamon butter, except for that bare strip along one side. The paste should look spreadable and even, not clumped in patches.
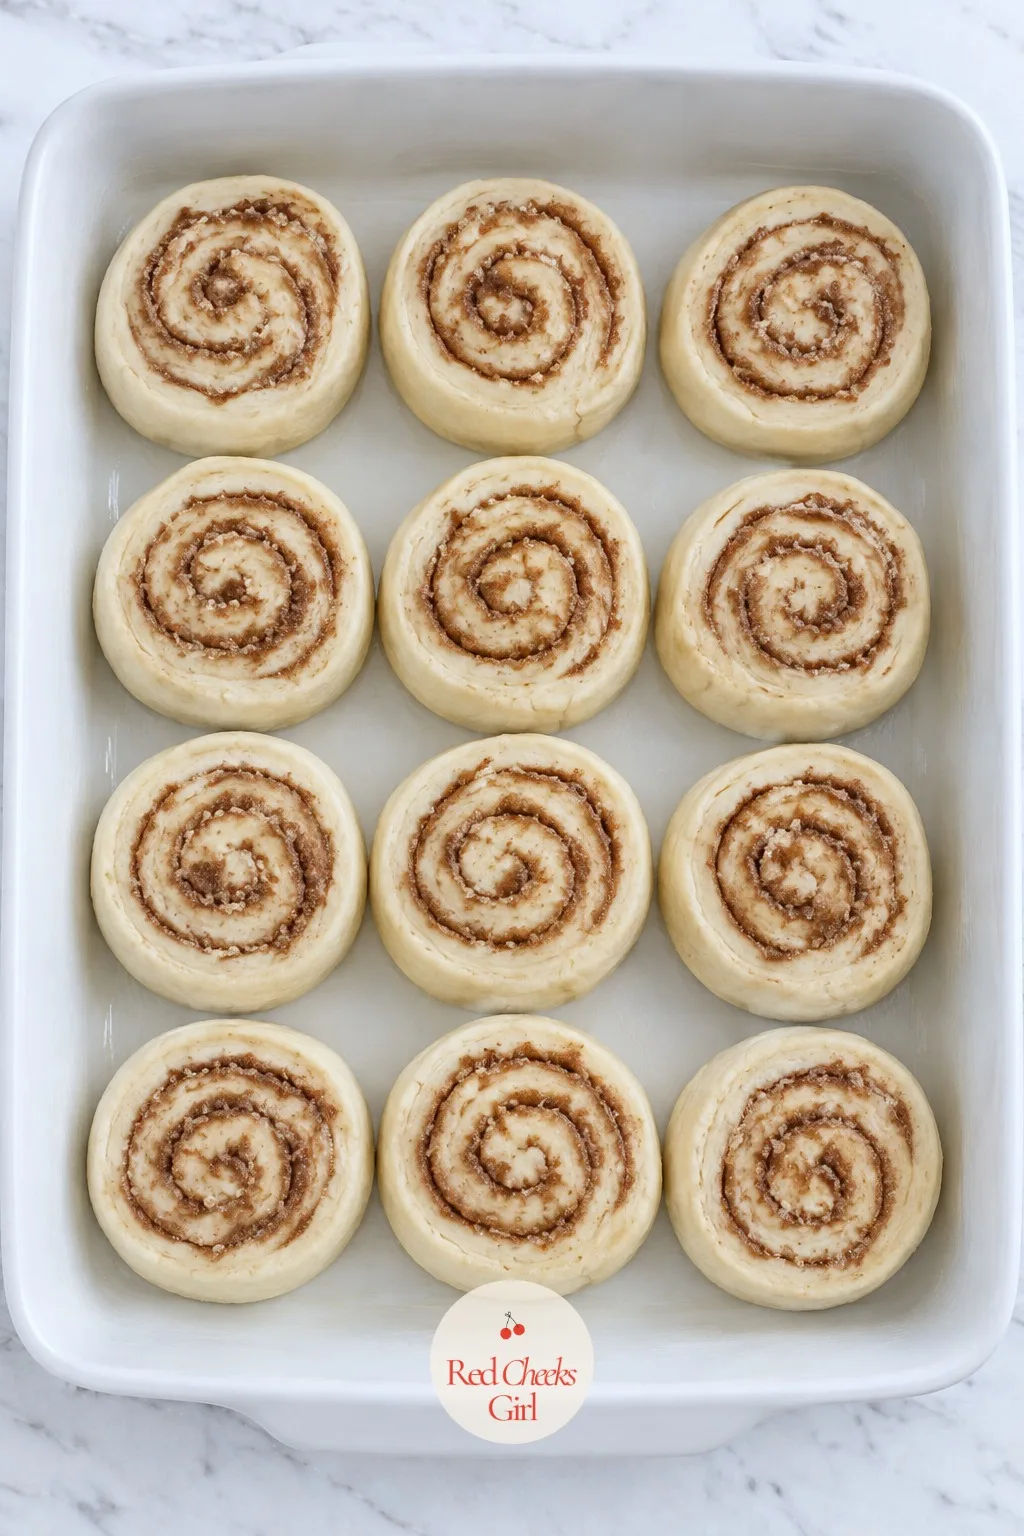
Slice and arrange the rolls in the dish
Each round should sit cut side up, snug against its neighbors with a little breathing room left between them. They should still look flat and compact, not risen yet, since this is the shape they hold overnight.
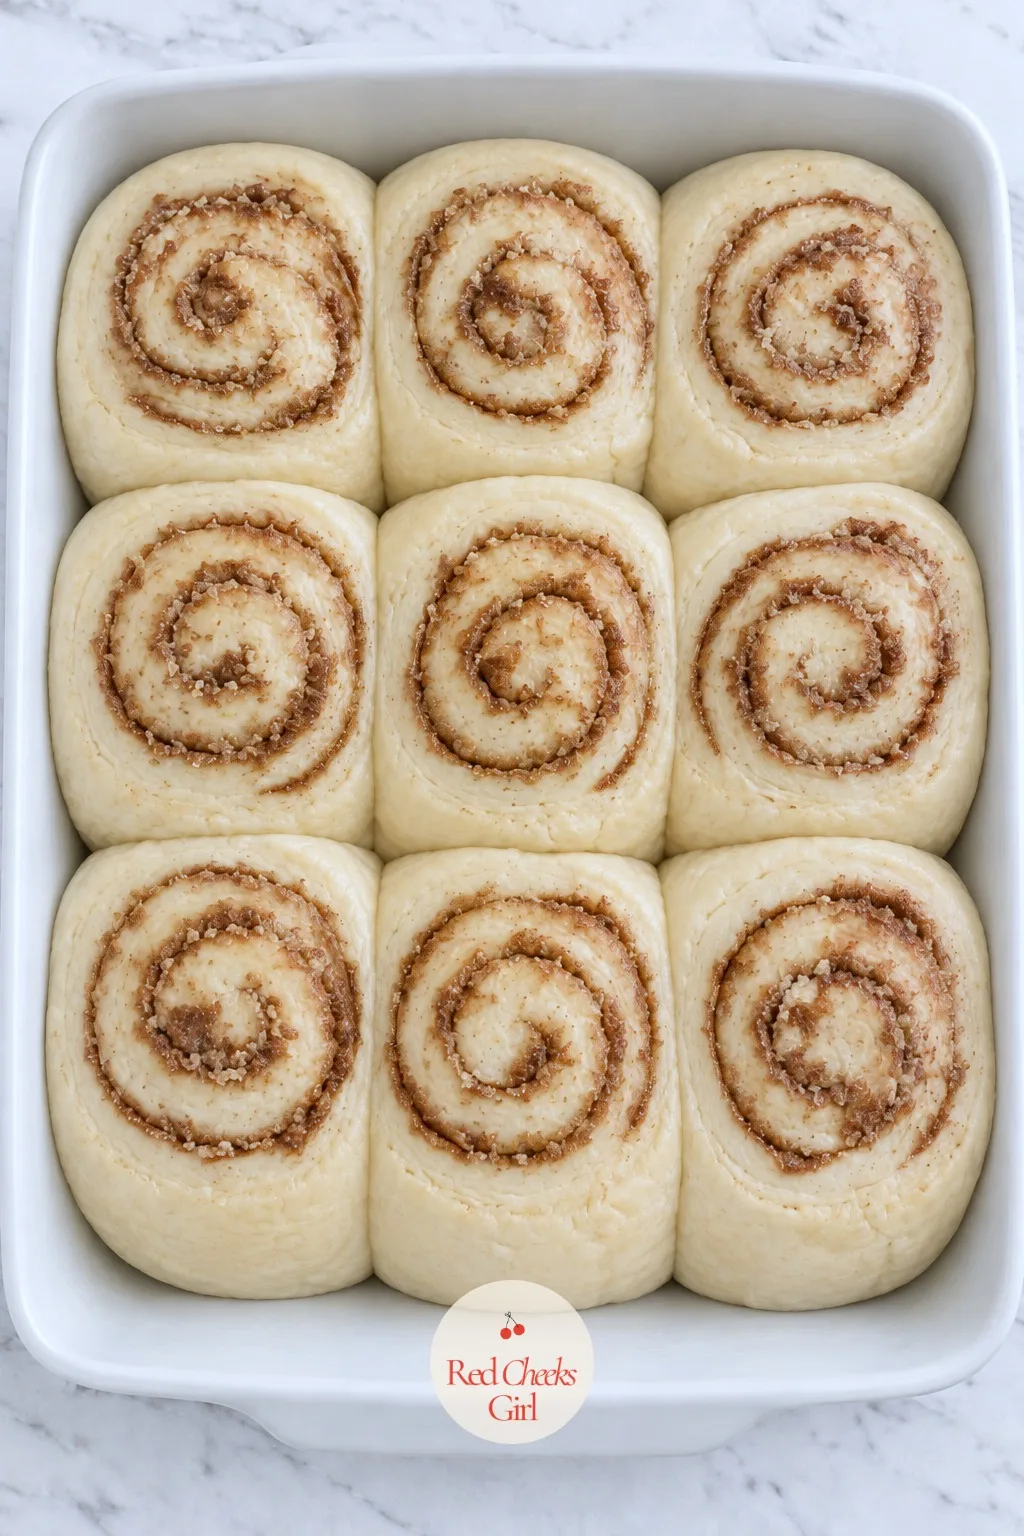
Watch them turn puffy before the oven
After the morning rest, the rounds should look noticeably swollen and pressed into one another, their tops smooth rather than tight. This is the visual cue that they are ready for the oven.
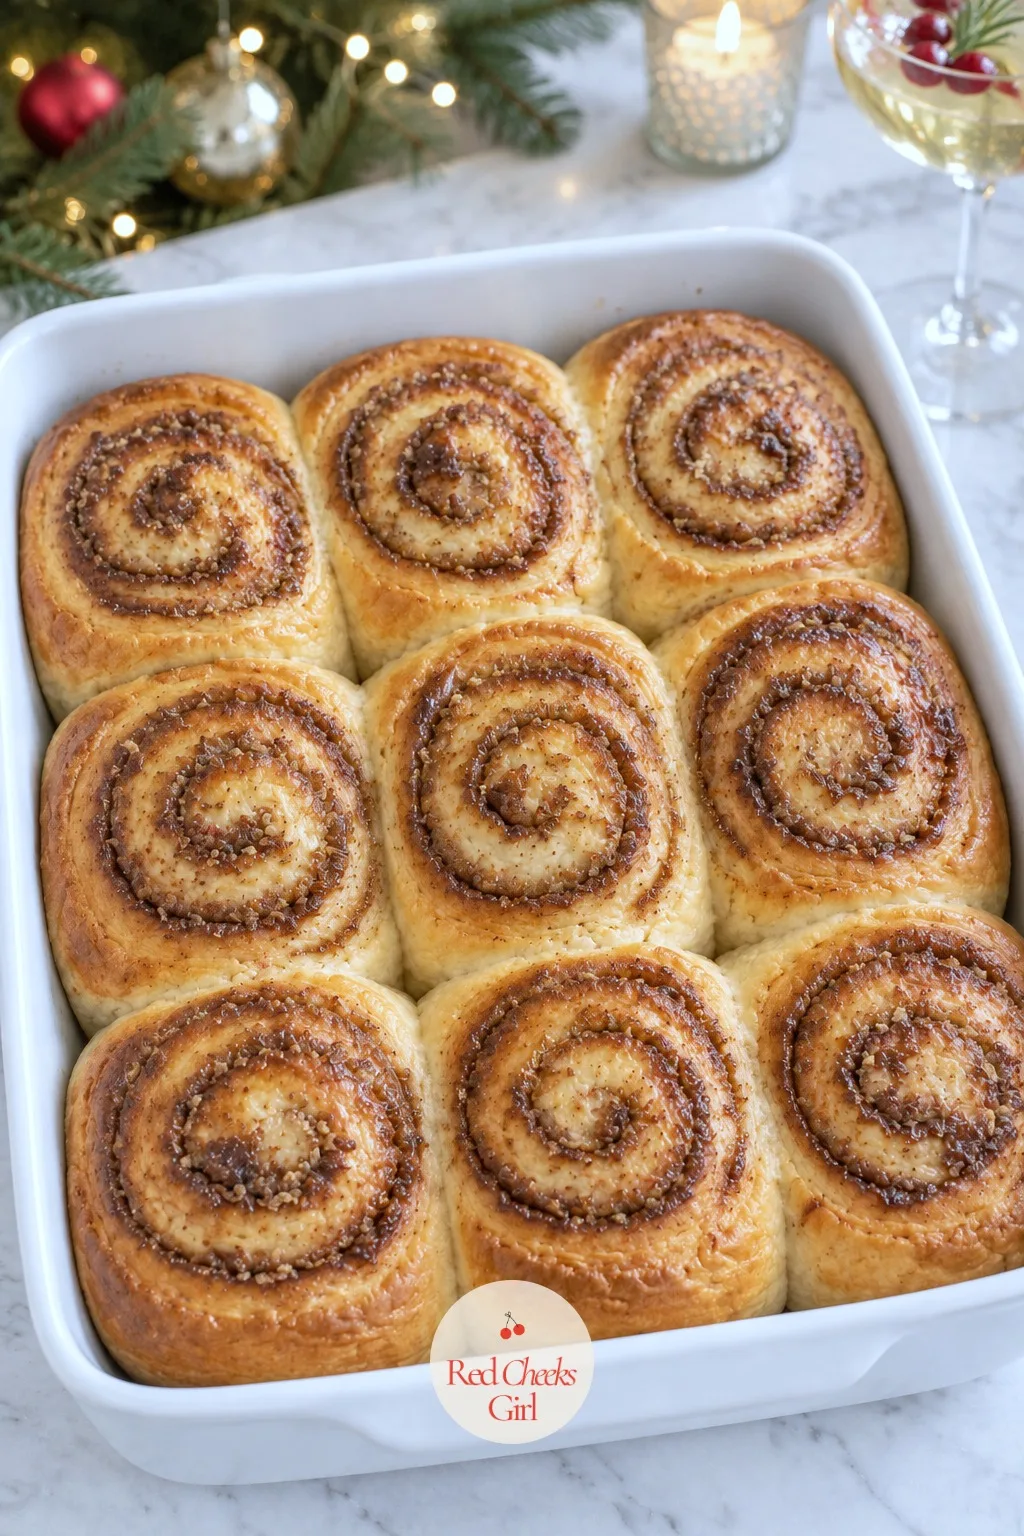
Bake until deep golden and set
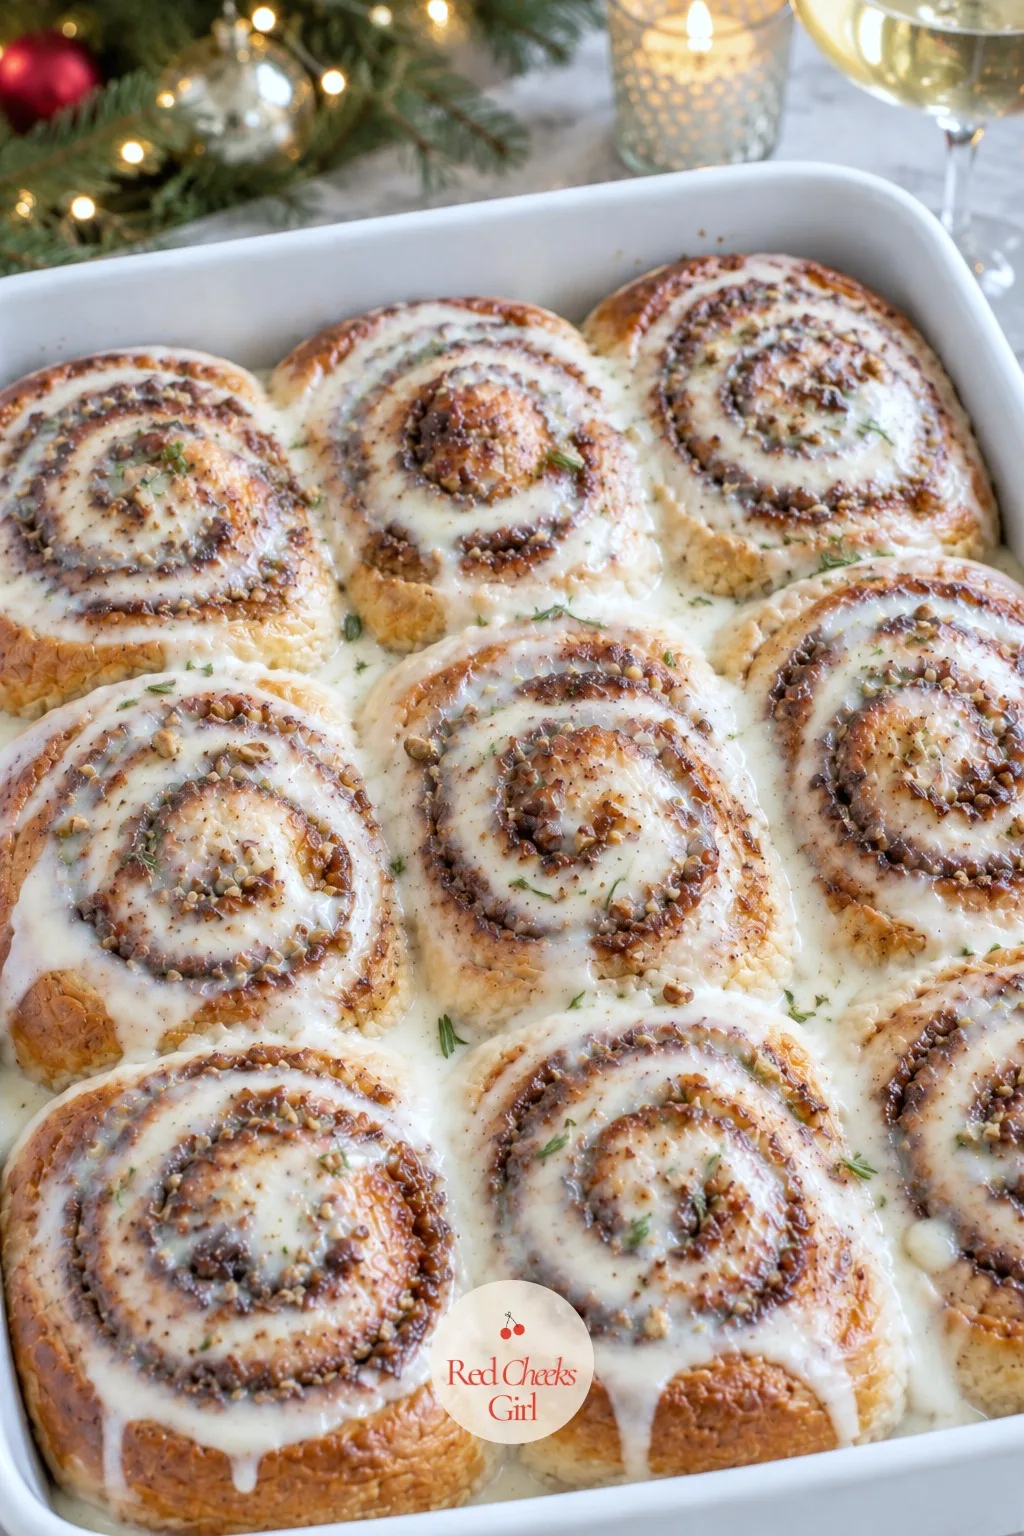
The tops should have turned a deep, even golden brown with the cinnamon swirls visibly caramelized. The dough between the rolls should look set rather than pale or doughy.
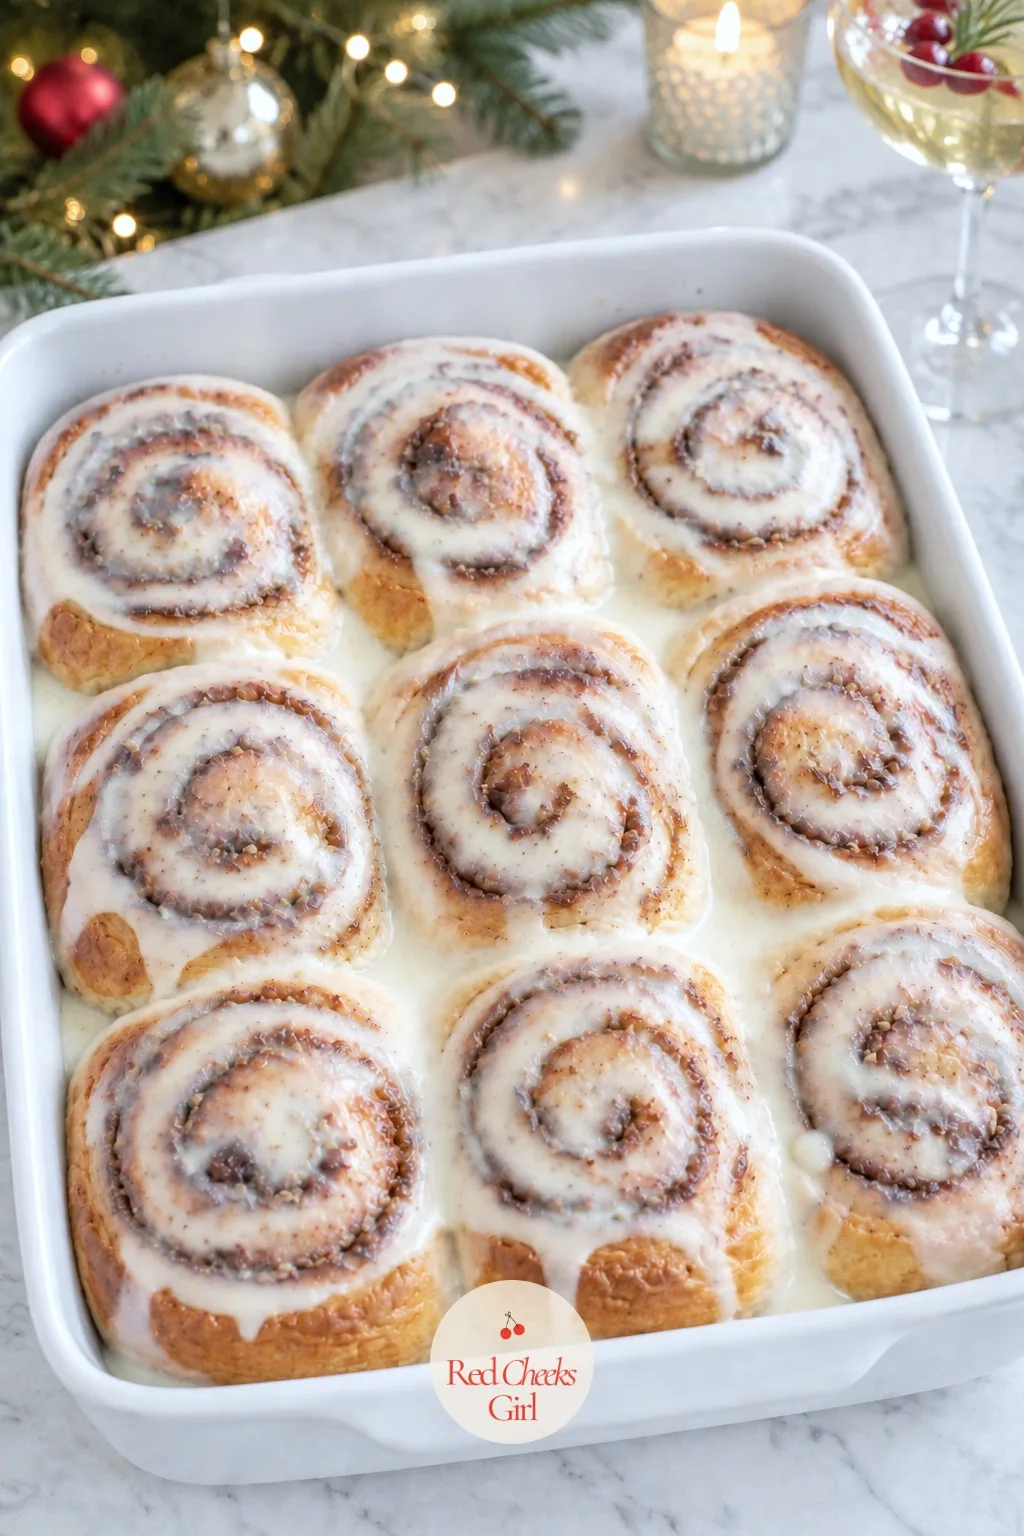
Drizzle on the glaze and serve warm
The glaze should pool into the seams between the rolls and run slightly down the sides, still glossy from the warmth underneath. Serve straight from the dish while they are warm.
🛍 Shopping guide
How to Get Them Right
The most common failure is not timing, it is the roll itself: dough pressed too thin tears when you spread the filling, and dough left too thick never cooks through in the center. Aim for a rectangle about 1/4 inch thick and you will have room for both the filling and a clean roll.
Leaving filling too close to the edge is the second mistake. That bare half inch strip along one long side is not optional; without it, the log will not seal and the rolls unwind in the oven instead of holding their swirl.
A dull knife squashes the log flat as you cut, which is why floss works better than most kitchen knives. It slides straight through without dragging the dough out of shape.
Skipping the morning rest is the mistake that ruins the most breakfasts. Cold dough baked straight from the fridge stays dense in the middle no matter how long it sits in the oven, so give it the full 45 minutes to 1 hour before it goes in.
Swaps and Substitutions
No cream cheese in the house tonight? A plain powdered sugar glaze made with milk and vanilla works fine in its place, just thinner and sweeter rather than tangy.
Pecans or walnuts, chopped and pressed into the filling before rolling, give these some texture if you like a bit of crunch against the soft dough. A teaspoon of orange zest stirred into the filling does something quietly good alongside the cinnamon, if you want them to taste a little more like the holidays and less like a diner breakfast.
For a dairy-free version, swap the whole milk for a full-fat plant milk, the butter for a baking-safe plant butter, and the cream cheese for a dairy-free alternative; the dough will be slightly less rich but still rises the same way.
If you would rather not manage a 9×13 inch dish, divide the rounds between two smaller round pans instead. They bake in roughly the same time and make it easier to send one pan home with a guest.
What to Serve Alongside Them
These rolls are rich enough to be the whole show, but a bowl of something cold and bright next to them keeps the table from feeling heavy. Fresh orange segments or a simple fruit salad do exactly that without any extra cooking.
If breakfast is turning into the real event this year, build the rest of the spread around eggs and something savory: 21 Christmas Brunch Ideas That Make the Morning the Best Part of the Day has the rest of the menu covered.
For the adults at the table, a small pitcher of mimosas alongside the coffee turns this into more of an occasion; pour lightly and keep the orange juice generous, and always have a non-alcoholic option on the table for anyone driving or not drinking.
The table itself is worth a few extra minutes, since cinnamon rolls photograph beautifully on something that is not a paper plate: 31 Christmas Table Decorations for a Table That Seats More Than It Should has ideas that work for a breakfast crowd, not just dinner.
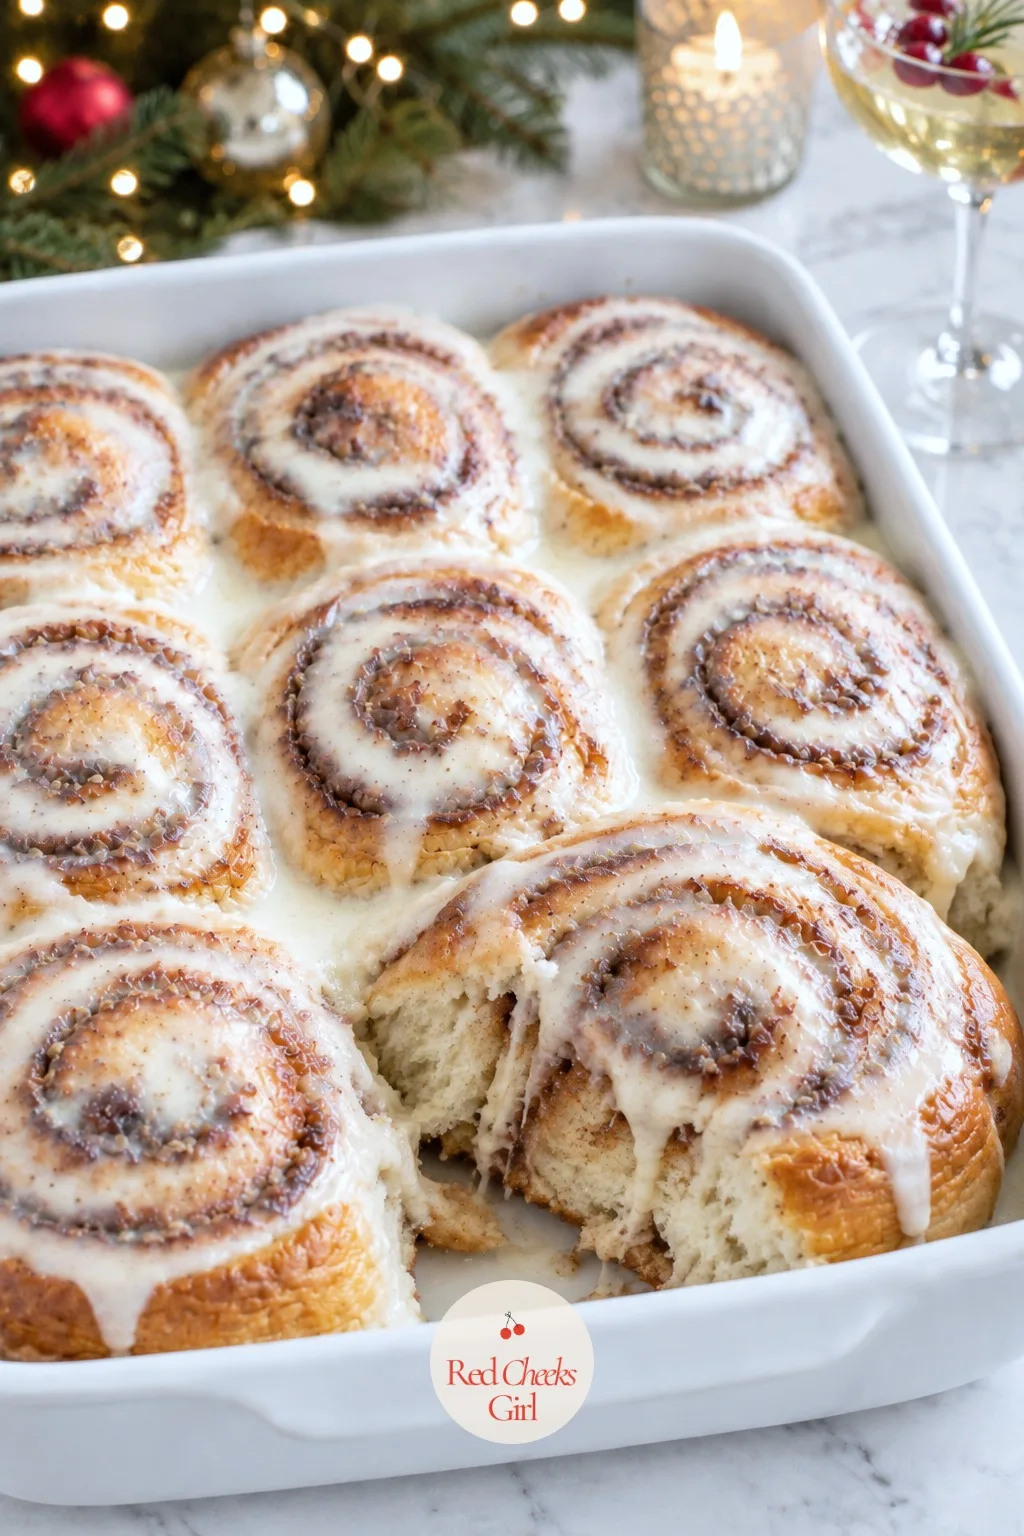
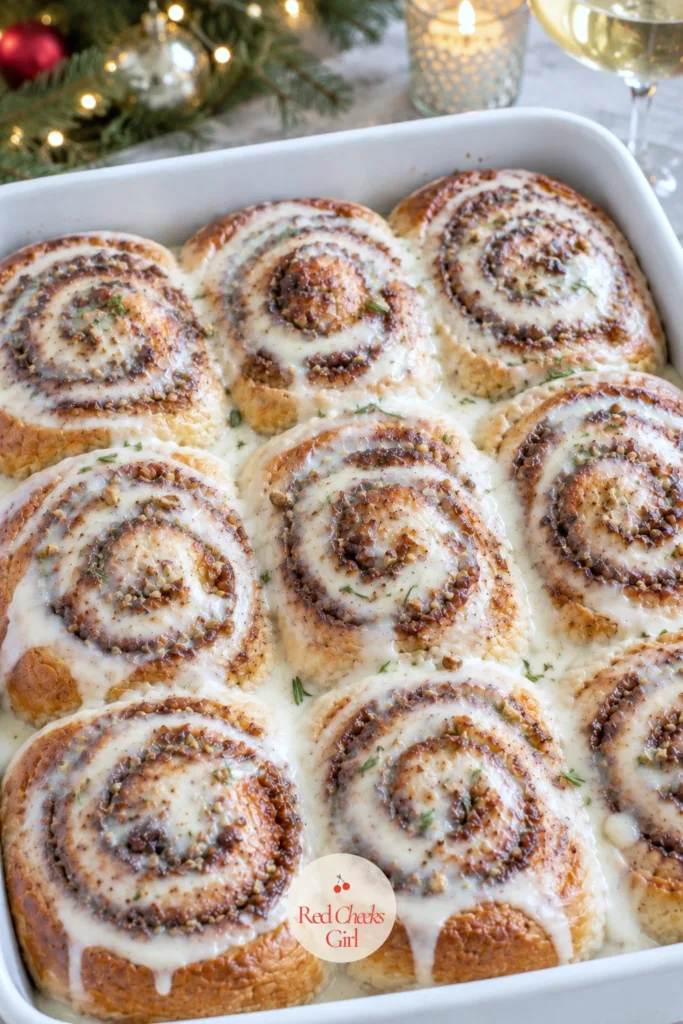
Overnight Cinnamon Rolls
Ingredients
- 1 cup whole milk warmed to about 110°F
- 1 standard packet 2 1/4 teaspoons active dry yeast
- 1/3 cup granulated sugar divided
- 1/3 cup unsalted butter melted and slightly cooled
- 2 large eggs room temperature
- 1 teaspoon salt
- 4 to 4 1/2 cups all-purpose flour plus more for the board
- 1/2 cup unsalted butter very soft, for the filling
- 3/4 cup packed light brown sugar
- 2 tablespoons ground cinnamon
- 1/4 teaspoon salt for the filling
- 4 ounces cream cheese softened
- 1/4 cup unsalted butter softened, for the glaze
- 1 1/2 cups powdered sugar
- 1/2 teaspoon vanilla extract
- 2 to 3 tablespoons whole milk for the glaze
Instructions
- Warm 1 cup whole milk to about 110°F (it should feel like a warm bath, not hot) and pour it into a large mixing bowl. Sprinkle the yeast and 1 tablespoon of the sugar over the milk, stir once, and let it stand 5 to 8 minutes until the surface turns foamy, which tells you the yeast is alive and working.
- Whisk in the remaining sugar, the melted butter, the eggs and the salt. Add the flour 1 cup at a time, stirring after each addition, then turn the shaggy dough onto a floured work surface and knead by hand for 7 to 8 minutes until it turns smooth, elastic and springs back slowly when poked.
- Shape the dough into a ball, set it in a buttered bowl, turn once to coat, and cover with plastic wrap. Let it rise in a warm spot for 1 to 1 1/2 hours, until it has doubled in size and holds a dent when you press two fingers into it.
- While the dough rises, stir together the soft butter, brown sugar, cinnamon and salt in a small bowl until it forms a spreadable paste rather than a grainy mixture.
- Punch the risen dough down to release the air, then roll it out on a floured board into a 16x12 inch rectangle, about 1/4 inch thick. Spread the cinnamon butter edge to edge with a small offset spatula, leaving a bare 1/2 inch strip along one long edge so the roll seals.
- Starting from the long buttered edge, roll the dough into a tight log, finishing seam side down. Using a sharp knife or a length of unflavored dental floss slipped underneath, cut the log into 12 even rounds, each about 1 1/4 inches wide.
- Arrange the rounds cut side up in a buttered 9x13 inch baking dish, leaving a little room between each one since they will expand. Cover the dish tightly with plastic wrap, pressing it down so it touches the tops of the rolls, then refrigerate for 8 to 12 hours, no longer than 16, or the dough turns puffy and sour rather than light.
- On the morning you plan to bake, take the dish straight from the refrigerator and set it on the counter, still covered, in a warm corner of the kitchen. Let the rolls sit for 45 minutes to 1 hour: they are ready when they look visibly puffed, have pressed into one another, and wobble gently when you nudge the dish.
- Heat the oven to 350°F. Uncover the dish and bake the rolls for 25 to 30 minutes, until the tops turn deep golden brown and the dough between the swirls springs back when touched.
- Pull the dish out and let the rolls cool in the pan for 10 minutes; they need this pause so the glaze does not simply melt and disappear into the dough.
- While the rolls cool, beat the softened cream cheese and softened butter in a bowl until smooth, then add the powdered sugar, vanilla and milk, beating until the glaze falls in a smooth ribbon off the whisk.
- Spread or drizzle the glaze over the still-warm rolls, letting it pool into the seams, and serve them straight from the dish.
Good to Know
Frequently Asked Questions
Can I freeze the rolls instead of refrigerating them overnight?
Yes. Shape and slice the rolls, freeze them unrisen on a tray until solid, then bag them; thaw overnight in the fridge and let them warm and puff on the counter before baking.
Can I use instant yeast instead of active dry yeast?
Yes, swap in an equal amount of instant yeast and skip the foaming step, since it can go straight into the flour mixture; the first rise may run about 15 minutes faster.
Should I add the glaze before refrigerating the rolls overnight?
No. Glaze only goes on after baking, never before the chill, since sugar sitting against cold dough overnight can turn gummy and keep the tops from browning evenly.
Why is there liquid in the bottom of the pan when I take the rolls out of the fridge?
This usually means the rolls chilled longer than about 15 hours; past that point some liquid can seep out of the dough into the pan, so dab it out with a paper towel before baking.
Can I skip the overnight chill and bake the rolls the same day instead?
Yes. Shape the rolls as directed, then let them rise on the counter for about 45 minutes until puffy, and bake right away without any time in the refrigerator.

Sufganiyot are soft, jam-filled Hanukkah doughnuts you fry at home, fill with strawberry jam, and du
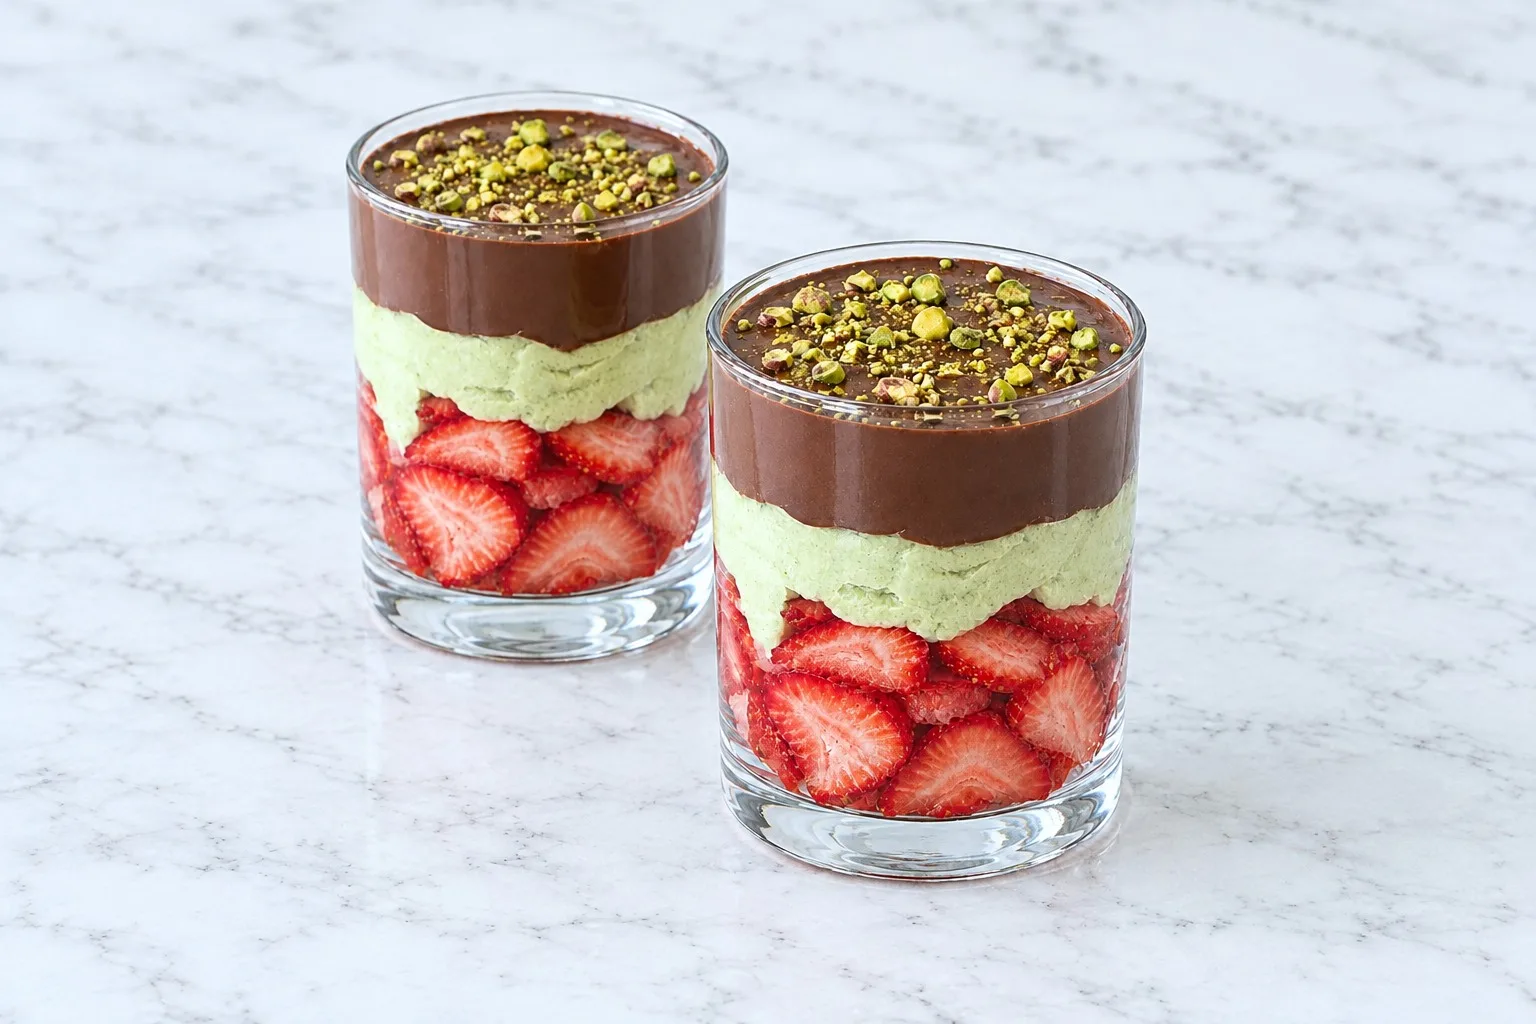
Dubai chocolate strawberry cups layer juicy berries, toasted pistachio kataifi and glossy chocolate
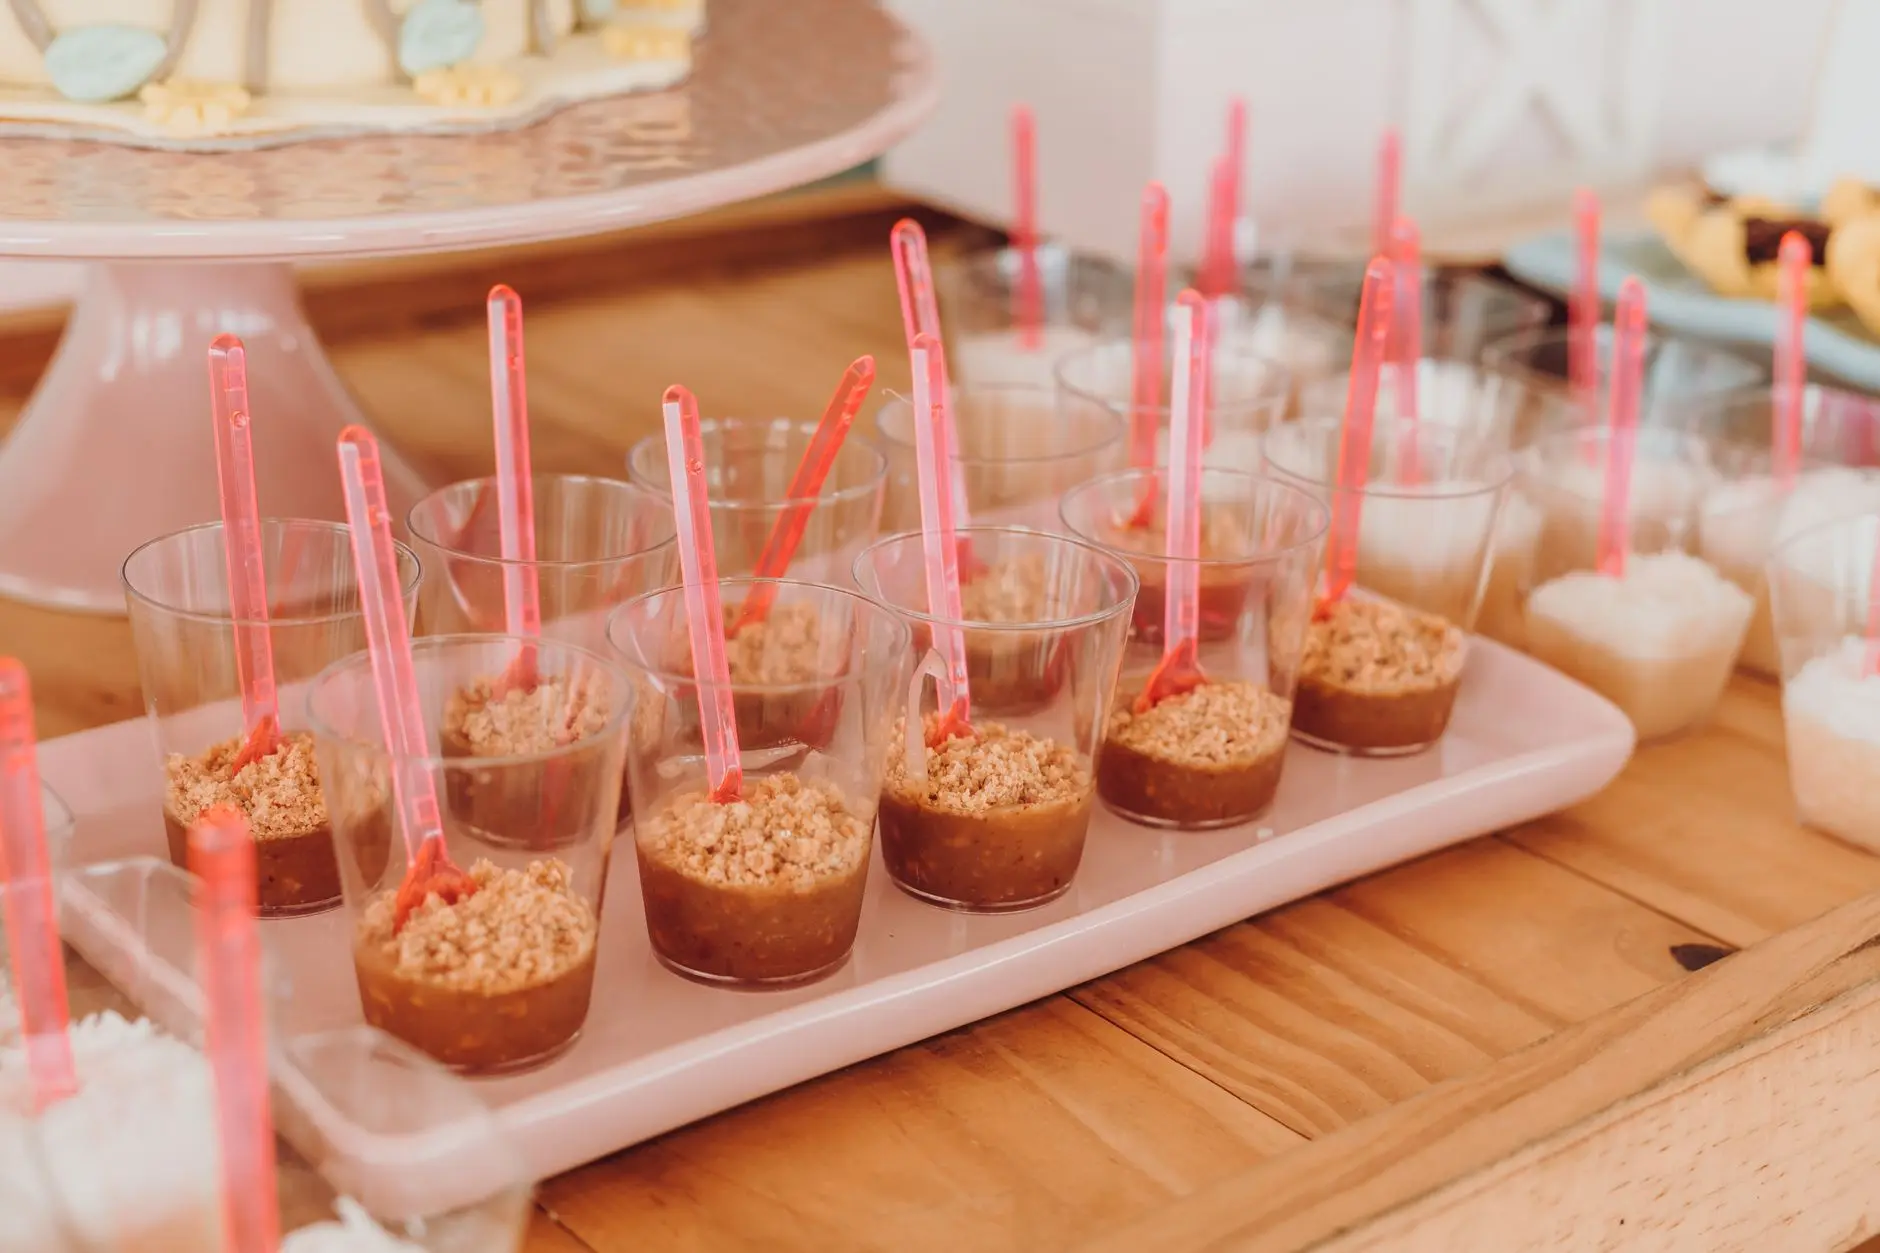
12 no-fuss birthday party treats that assemble fast, look beautiful at different heights and fill ev
Leave a Reply