

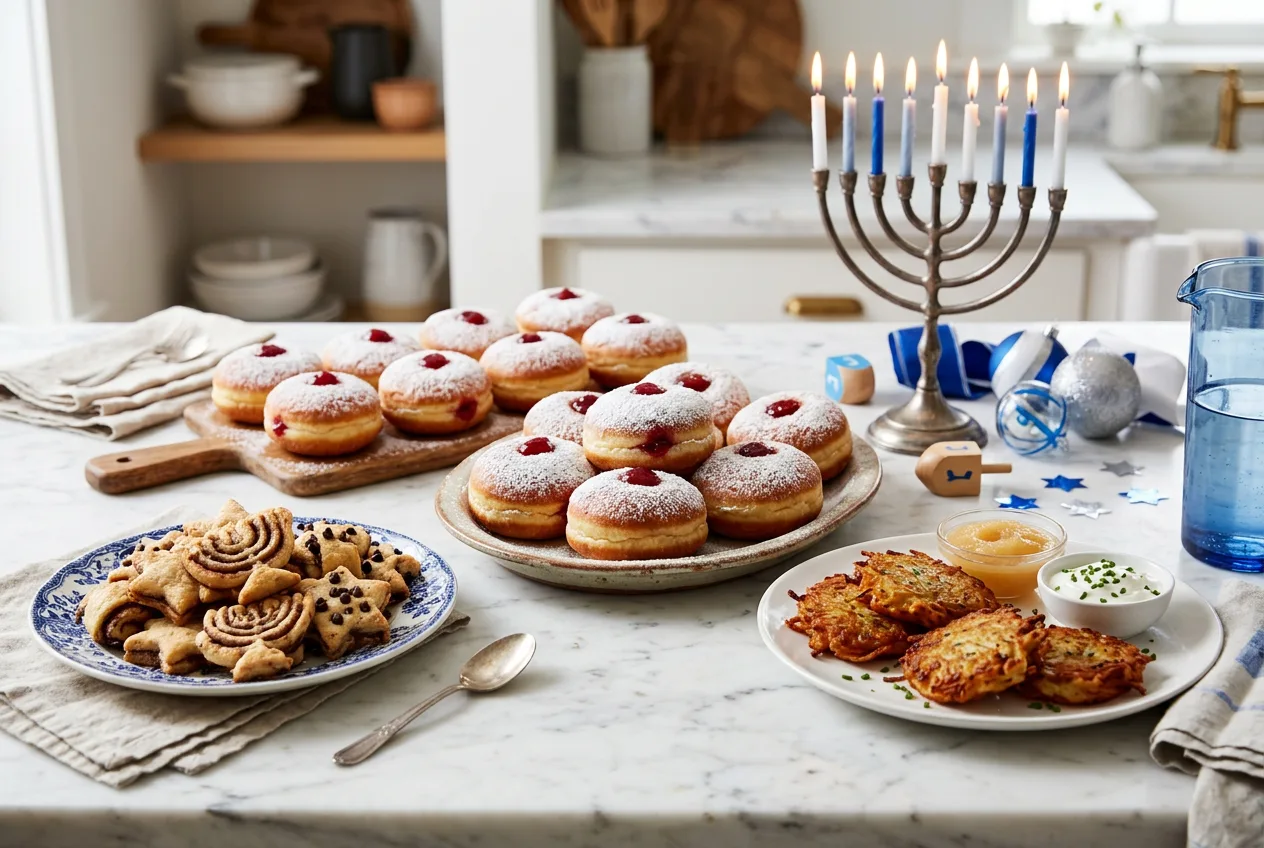
Eight nights of candles is eight separate excuses for something sweet, which is the best kind of math. You do not need a bakery case or a stand mixer collection to pull this off: a saucepan, a baking sheet and one good loaf pan cover most of what follows.
Wheat, dairy, eggs, peanuts and tree nuts show up across this list, so check labels if anyone at your table is avoiding one.
A few of these are pareve already (the bark, the olive oil cake, the honey cake) if you swap any butter for oil. None of it needs alcohol, so this whole spread is fine for a mixed table of kids and grown-ups.
If the sweets are the easy part and the hard part is keeping a room full of children occupied until dessert, 15 Hanukkah Games for Kids to Light Up the Eight Nights covers that end of the evening.
This post contains affiliate links. If you buy through them, I may earn a small commission at no extra cost to you.
Table of Contents
- Sufganiyot (Hanukkah Jelly Doughnuts)
- Quick Doughnut Holes (biscuit dough shortcut)
- Rugelach
- Blue and White Sheet Cake
- Chocolate Gelt Bark
- Olive Oil Cake
- Hanukkah Cheesecake
- Apple Fritters
- Chocolate Babka
- Dreidel Sugar Cookies
- Honey Cake
- Black and White Cookies
- Gelt Blossom Cookies
- Mandelbrot (Almond Biscotti)
- Frequently Asked Questions
Sufganiyot (Hanukkah Jelly Doughnuts)
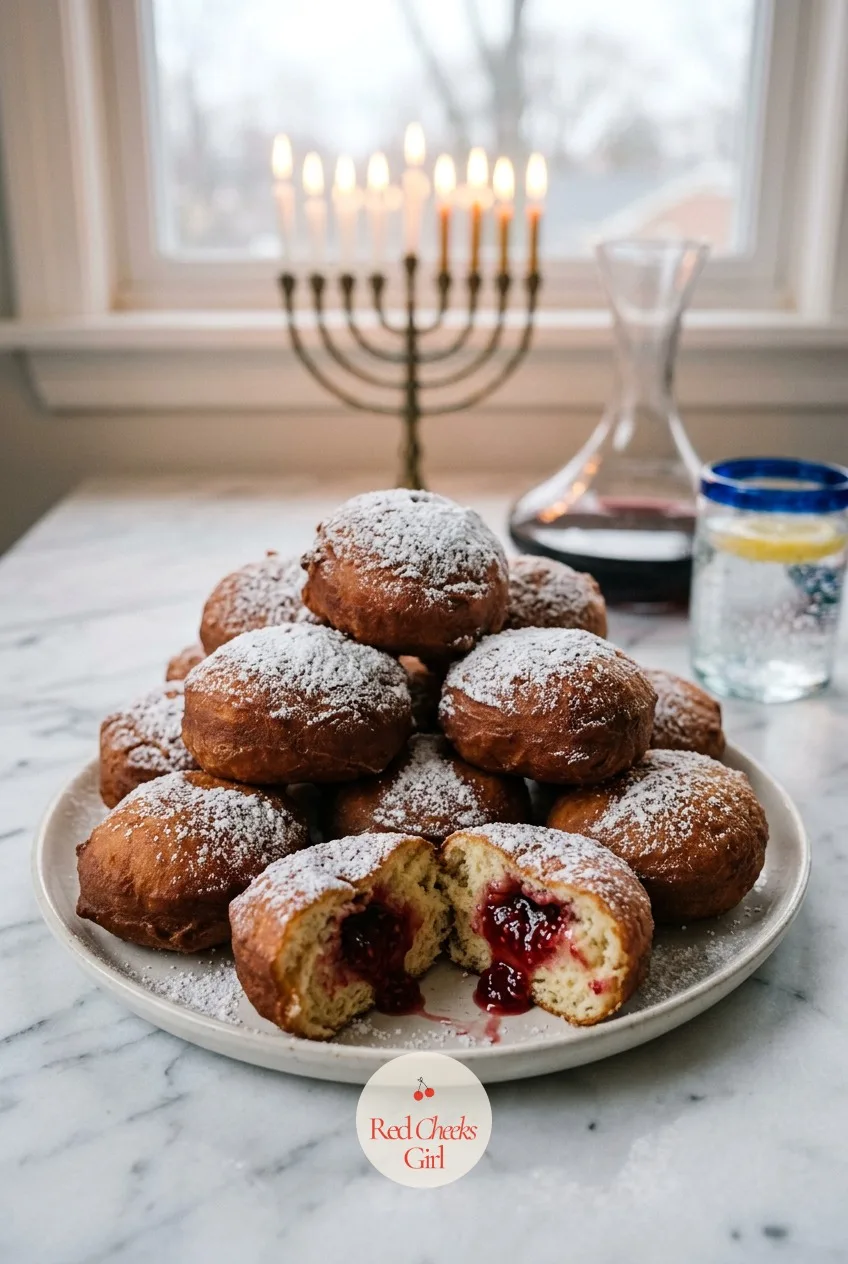
She will tell you doughnuts are a bakery job. They are not, they are a yeast job, and yeast mostly wants to be left alone in a warm corner for an hour while you do something else entirely.
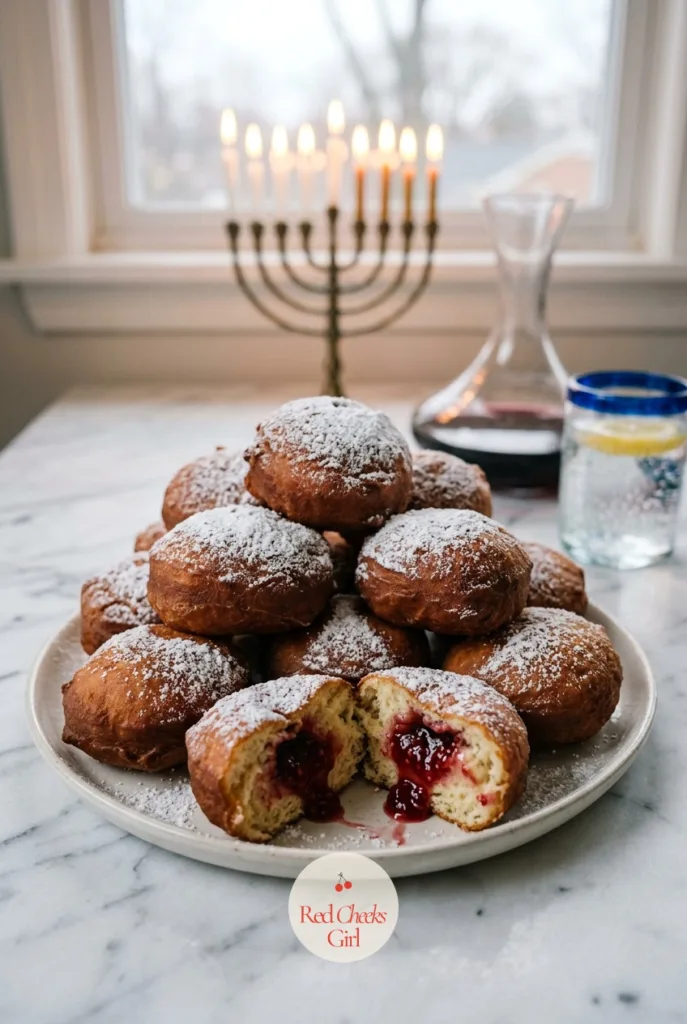
The tell for a good one is the dent test: press a finger into the risen dough and if it springs back halfway and holds the rest, it is ready to fry. Pipe the jam in while the doughnut is still warm, the filling slides in easier and the dough does not tear.
Serve these the day they are fried, piled on a plate with the powdered sugar dusted on last so it does not go translucent and wet.
Sufganiyot (Hanukkah Jelly Doughnuts)
Ingredients
- 3.5 cups all-purpose flour
- 0.25 cup granulated sugar plus 1 tbsp for the yeast
- 2.25 tsp active dry yeast 1 packet
- 0.75 cup warm whole milk 110°F
- 2 large eggs
- 3 tbsp unsalted butter softened
- 0.5 tsp salt
- 0.5 cup seedless raspberry or strawberry jam
- 4 cups vegetable oil for frying
- 0.5 cup powdered sugar for dusting
Instructions
- Warm milk to 110°F, stir in 1 tbsp of the sugar and the yeast, let sit 5 to 8 minutes until foamy on top.
- In a large bowl whisk the flour, remaining sugar and salt, then add the eggs, butter and yeast mixture and mix to a shaggy dough.
- Knead 8 minutes by hand, or 5 minutes in a stand mixer with the dough hook, until the dough is smooth and pulls cleanly from the sides of the bowl.
- Cover the bowl and let rise in a warm spot 1 hour, until doubled: press a finger into it, the dent stays.
- Punch down the dough, roll it to 0.5 inch thick on a floured counter, cut 16 rounds with a 2.5 inch cutter.
- Cover the rounds loosely, let rise 30 minutes until visibly puffy.
- Heat oil in a deep pot to 350°F, fry doughnuts in batches of 4, about 90 seconds per side, until deep golden.
- Drain on a paper towel-lined plate 2 minutes.
- Fit a piping bag with a narrow tip, fill with jam, push the tip into the side of each warm doughnut and pipe in about 1 tsp jam.
- Dust with powdered sugar just before serving.
Good to Know
🛍 Shopping guide
Quick Doughnut Holes (biscuit dough shortcut)
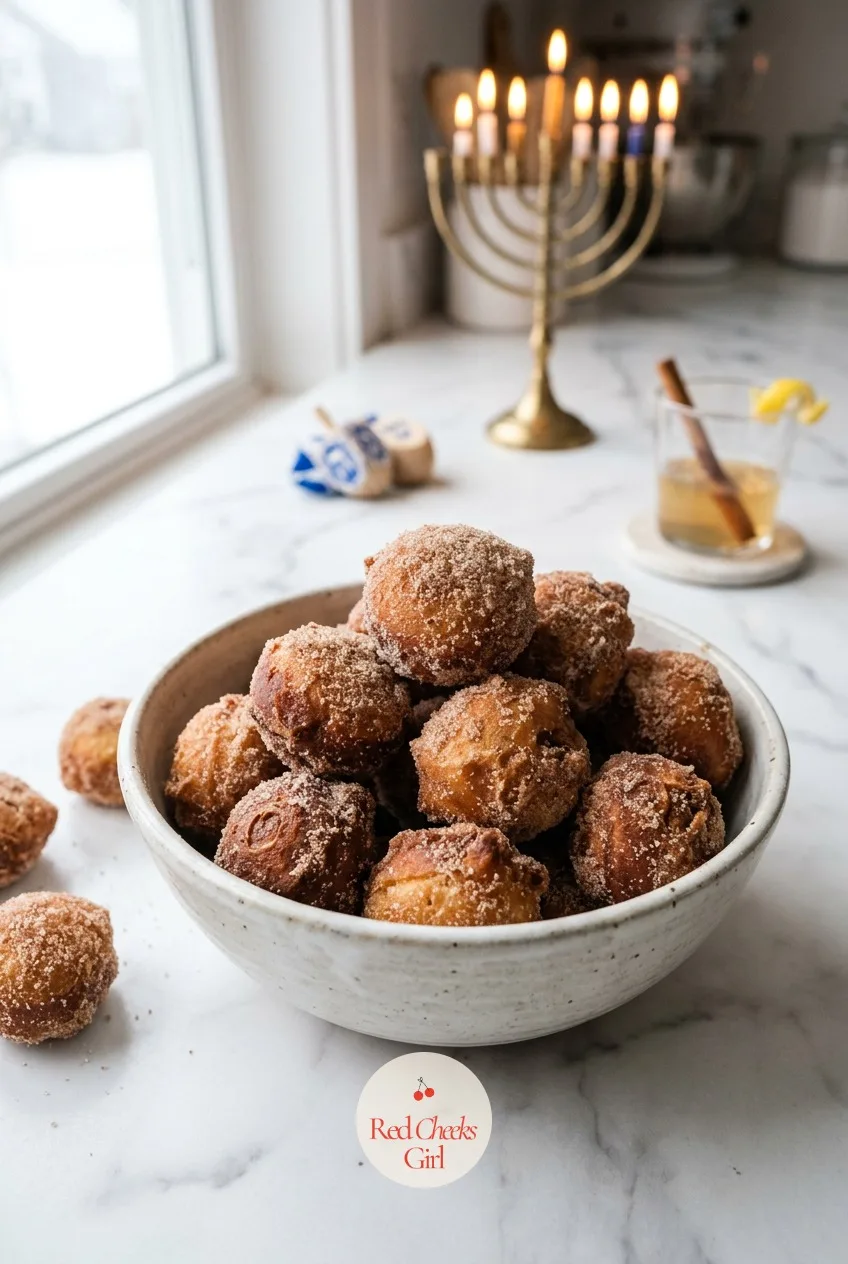
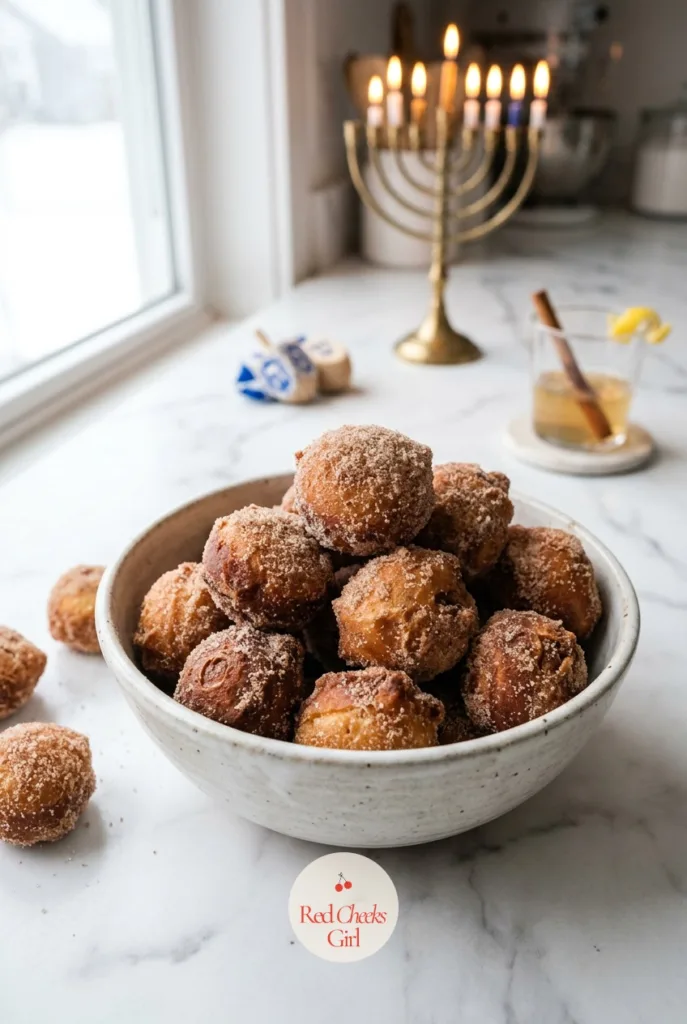
Some nights there is no time for yeast and that is fine, a can of biscuit dough from the fridge aisle does the job in twenty minutes flat. Nobody at the table will ask where the dough came from once it is rolled in cinnamon sugar.
Cheap, quick, and the kind of thing a seven-year-old can roll in sugar without supervision. Fry a test piece first: it should bubble and rise to the surface within 5 seconds, which tells you the oil is ready.
Quick Doughnut Holes (biscuit dough shortcut)
Ingredients
- 1 16.3 oz can refrigerated biscuit dough (8 biscuits)
- 3 cups vegetable oil for frying
- 0.5 cup granulated sugar
- 1 tsp ground cinnamon
- 0.25 cup unsalted butter melted (optional)
Instructions
- Cut each biscuit into 3 pieces, roll each piece into a ball between your palms.
- Heat oil in a deep skillet to 350°F, test with a small scrap of dough: it should bubble and rise within 5 seconds.
- Fry dough balls in batches of 6, 60 to 90 seconds per side, until deep golden and puffed.
- Lift out with a slotted spoon onto a paper towel-lined plate.
- Stir the sugar and cinnamon together in a shallow bowl.
- Brush warm doughnut holes with melted butter, if using.
- Roll each one in the cinnamon sugar while still warm, until fully coated.
- Serve within 1 hour, while the outside is still faintly crisp.
Good to Know
Rugelach
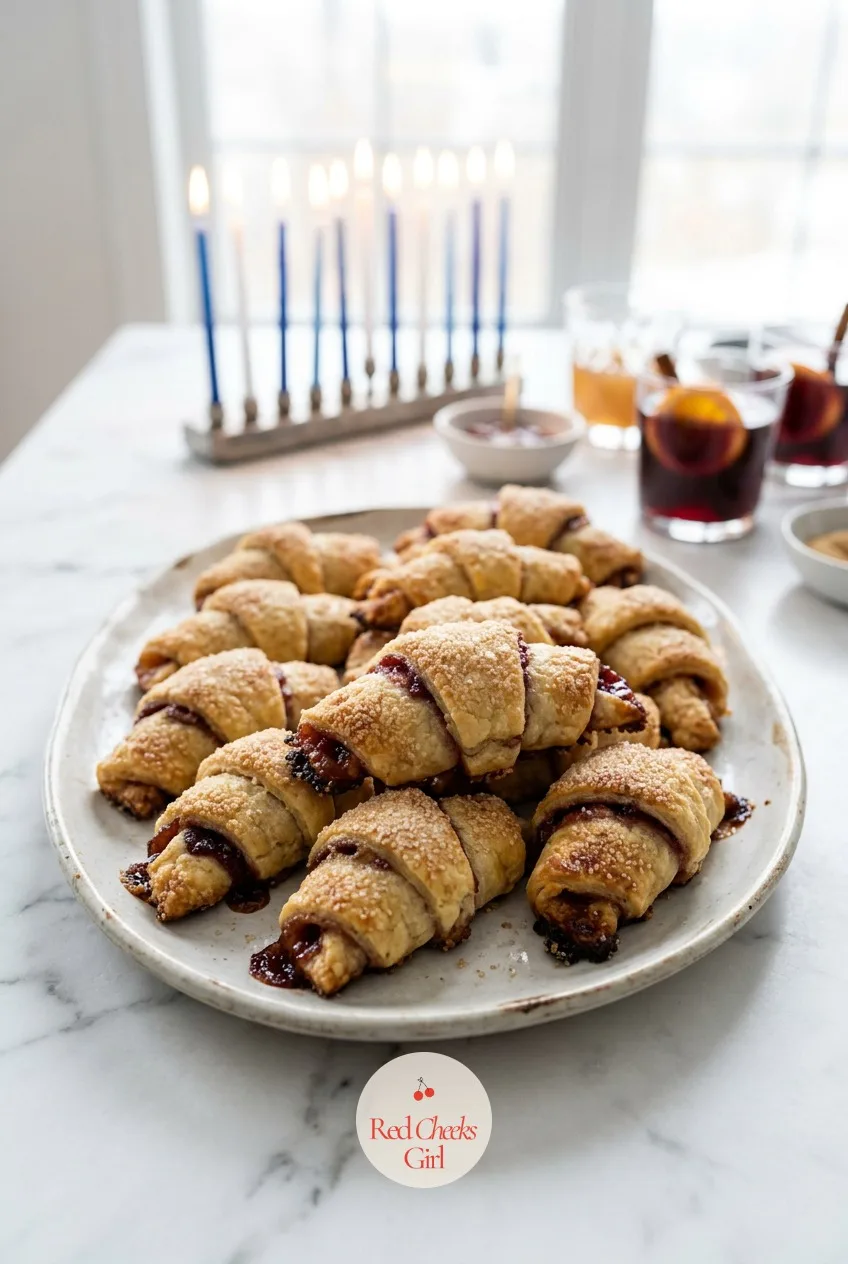
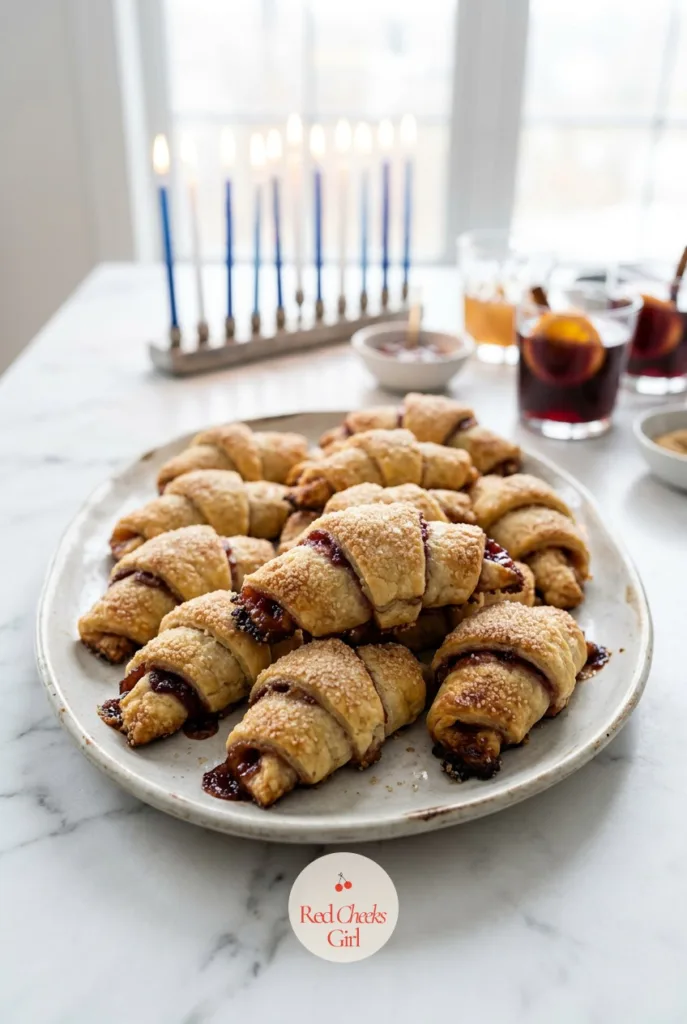
Cream cheese in the dough is the whole trick here: it rolls without cracking and bakes up flaky instead of tough, which matters more than the filling does.
If walnuts are off the table for anyone, swap in mini chocolate chips, the dough does not know the difference. Chill the dough properly, a soft disc will not roll into neat wedges and the filling squeezes out the sides instead of staying put.
These keep for days in a tin, so they are the one on this list you can genuinely make ahead and forget about.
Rugelach
Ingredients
- 1 cup unsalted butter softened
- 8 oz cream cheese softened
- 2 cups all-purpose flour
- 0.25 tsp salt
- 0.75 cup walnuts finely chopped
- 0.5 cup granulated sugar
- 1 tbsp ground cinnamon
- 0.5 cup apricot or raspberry jam
- 1 large egg beaten
- 2 tbsp coarse sugar for sprinkling
Instructions
- Beat butter and cream cheese together until smooth with no streaks, about 2 minutes.
- Add flour and salt, mix just until a soft dough forms.
- Divide dough into 4 discs, wrap each in plastic, chill 1 hour until firm but still rollable.
- Mix walnuts, sugar and cinnamon in a small bowl for the filling.
- On a floured surface, roll one disc into a 9 inch circle.
- Spread a thin layer of jam over the circle, then scatter a quarter of the nut filling evenly across it.
- Cut the circle into 12 wedges with a pizza cutter.
- Roll each wedge from the wide end to the point, curving the ends slightly to form a crescent.
- Repeat with the remaining dough, placing cookies point-down on parchment-lined baking sheets, 1 inch apart.
- Brush with beaten egg, sprinkle with coarse sugar, bake at 350°F for 18 to 20 minutes, until edges are golden and the jam bubbles at the seams.
- Cool on the sheet 5 minutes before moving to a rack.
Good to Know
Blue and White Sheet Cake
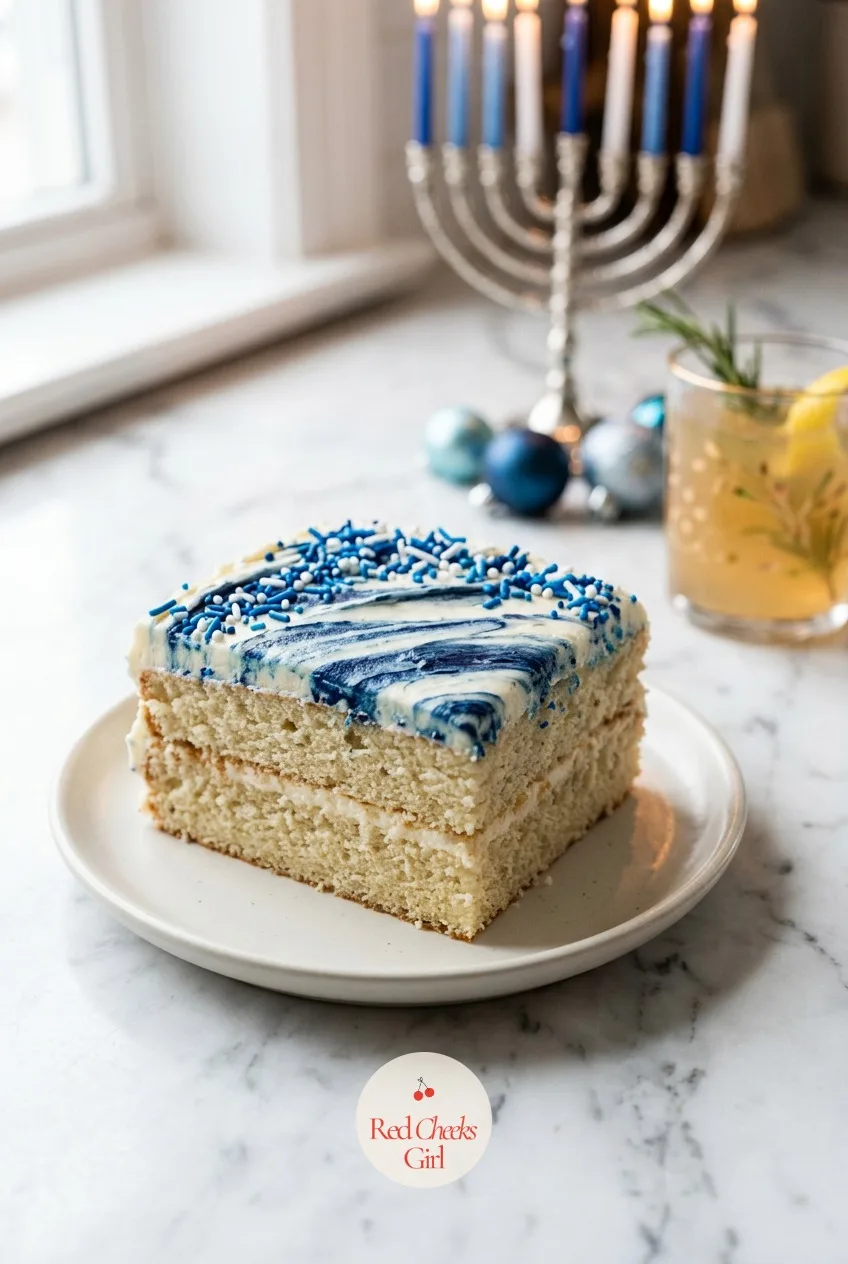
A sheet cake is the dessert that says ‘I made dessert’ without anyone timing how long it took. One pan, one frosting job, and it feeds a crowd standing around a menorah.
Split the buttercream into two bowls before you touch the food coloring: one stays white, one goes deep blue, and the swirl pattern on top does the decorating for you. No piping bag, no problem, a butter knife dragged through both colors looks just as deliberate.
Cut it into squares rather than slices, it travels better to a second night’s party that way.
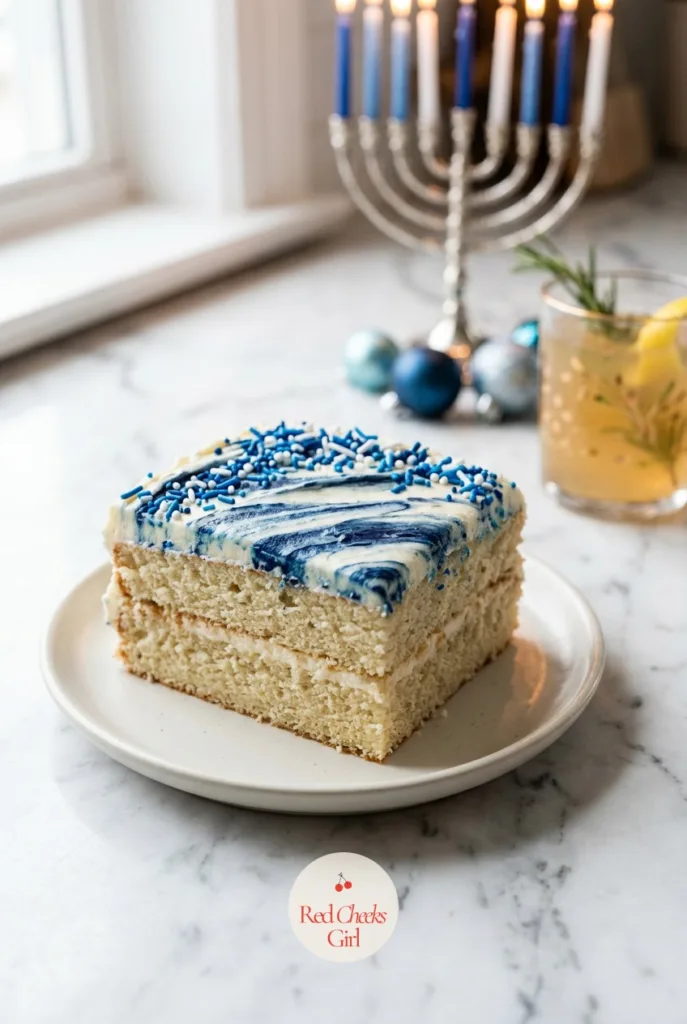
Blue and White Sheet Cake
Ingredients
- 2.5 cups all-purpose flour
- 2.5 tsp baking powder
- 0.5 tsp salt
- 1 cup unsalted butter softened
- 1.75 cups granulated sugar
- 4 large eggs
- 1 tbsp vanilla extract
- 1 cup whole milk
- 4 cups vanilla buttercream store-bought or homemade
- Blue and white gel food coloring
- Blue and white sprinkles for topping
Instructions
- Preheat oven to 350°F, grease a 9x13 inch baking pan.
- Whisk flour, baking powder and salt in a bowl, set aside.
- Beat butter and sugar together 3 minutes until pale and fluffy.
- Add eggs one at a time, beating well after each, then mix in the vanilla.
- Alternate adding the flour mixture and milk in three additions, mixing just until smooth.
- Pour batter into the pan, smooth the top, bake 28 to 32 minutes until a toothpick comes out clean.
- Cool the cake in the pan on a rack 20 minutes, then to room temperature.
- Split the buttercream into two bowls, tint one deep blue and leave one white.
- Spread the white buttercream over the cake, then pipe or swirl the blue buttercream in stripes across the top.
- Scatter blue and white sprinkles over the wet frosting before it sets.
Good to Know
🛍 Shopping guide
Chocolate Gelt Bark
No oven, no mixer, no excuse: this is melted chocolate poured flat and decorated while it is still wet, and it looks far more deliberate than the ten minutes it actually takes.
The gelt coins do double duty as decoration and as the thing everyone fights over, so press them in while the chocolate is still soft enough to hold them. If a child wants to help, this is the entry to hand her, there is no hot oil anywhere near it.
It also keeps in a tin for two weeks, which makes it the one dessert you can make before the candles are even bought.
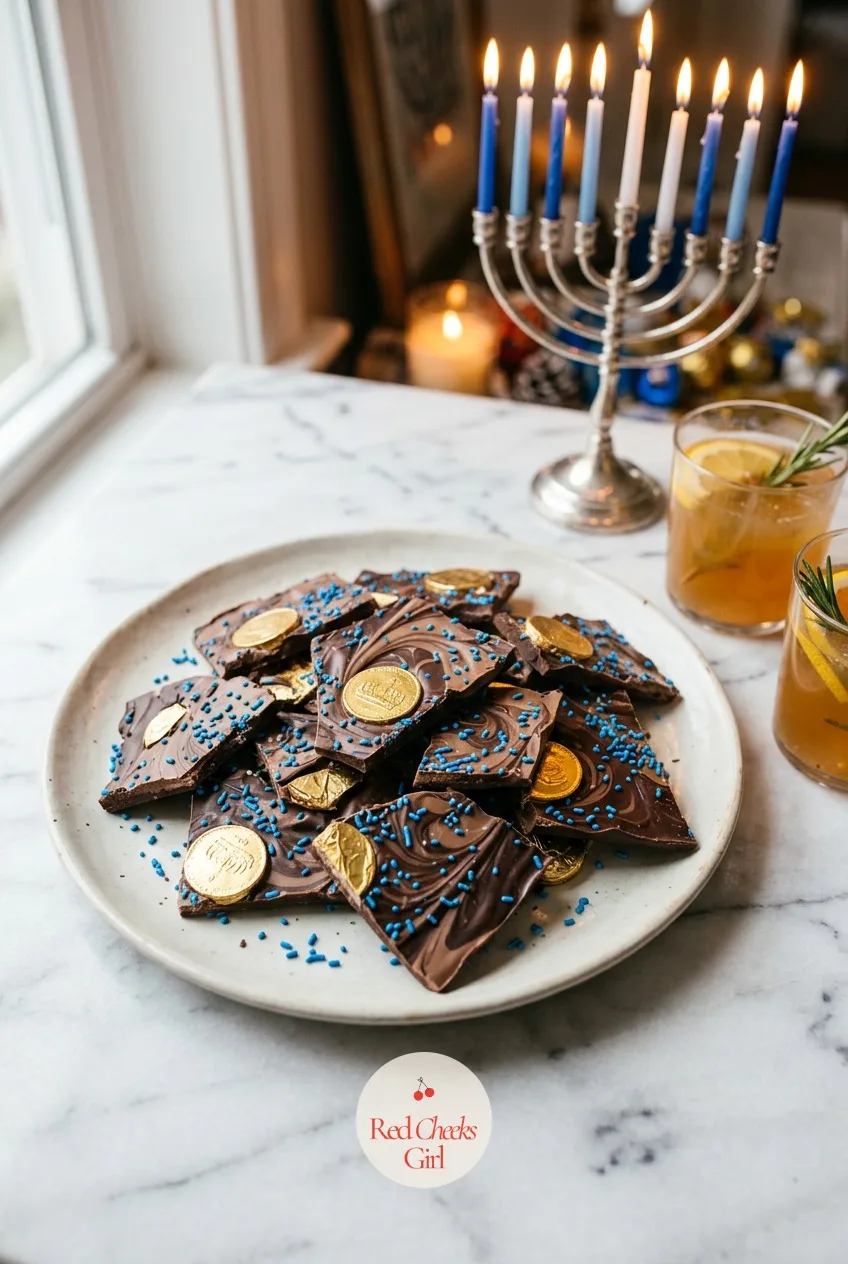
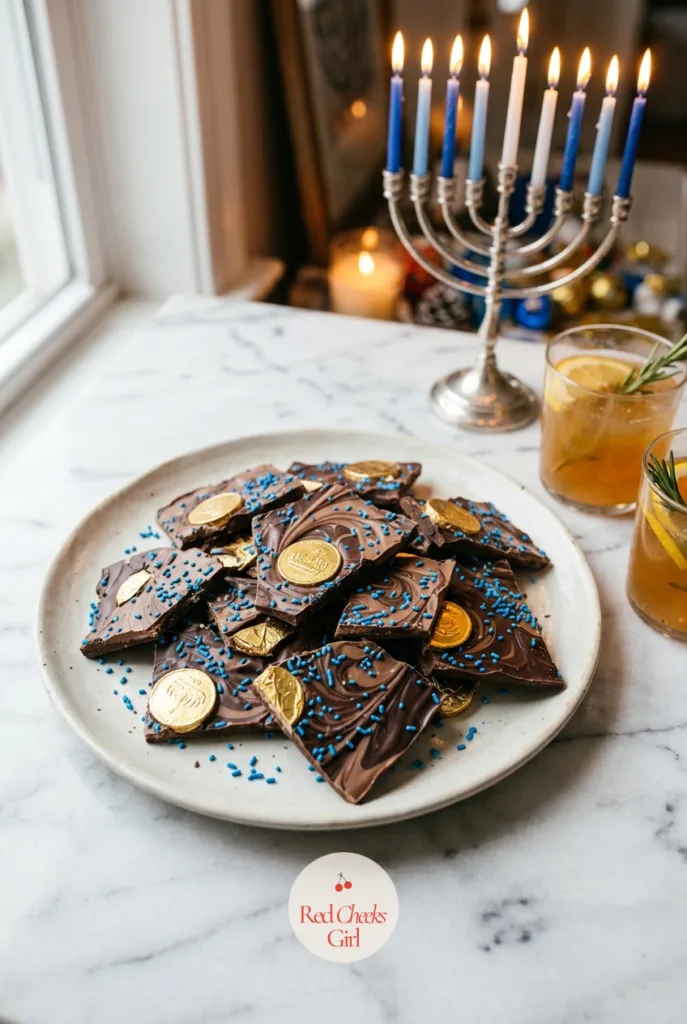
Chocolate Gelt Bark
Ingredients
- 12 oz dark chocolate chopped
- 8 oz white chocolate chopped
- 15 chocolate gelt coins unwrapped
- 0.25 cup white and blue nonpareils or sprinkles
- 0.25 tsp flaky sea salt
Instructions
- Line a baking sheet with parchment paper.
- Melt dark chocolate in a heatproof bowl set over barely simmering water, stirring until smooth and glossy.
- Pour the melted dark chocolate onto the parchment, spread into a rough 9x13 inch rectangle with an offset spatula.
- Melt the white chocolate the same way, in a separate bowl.
- Drizzle white chocolate over the dark layer, swirl the two together with a toothpick for a marbled look.
- While still wet, press the gelt coins into the chocolate in a scattered pattern.
- Scatter sprinkles and flaky salt over the top, pressing lightly so they stick.
- Chill 30 minutes until fully set and firm to the touch, then break into shards.
Good to Know
Olive Oil Cake
She will say olive oil in a cake sounds wrong. It is not: oil keeps a crumb moist for days in a way butter cannot, and this one stays good on the counter long after the candles are out.
Orange zest is doing the flavor work here, rub it into the sugar with your fingers before mixing if you have a minute, it releases more oil from the peel that way. No bundt pan needed, a plain 9 inch round does it.
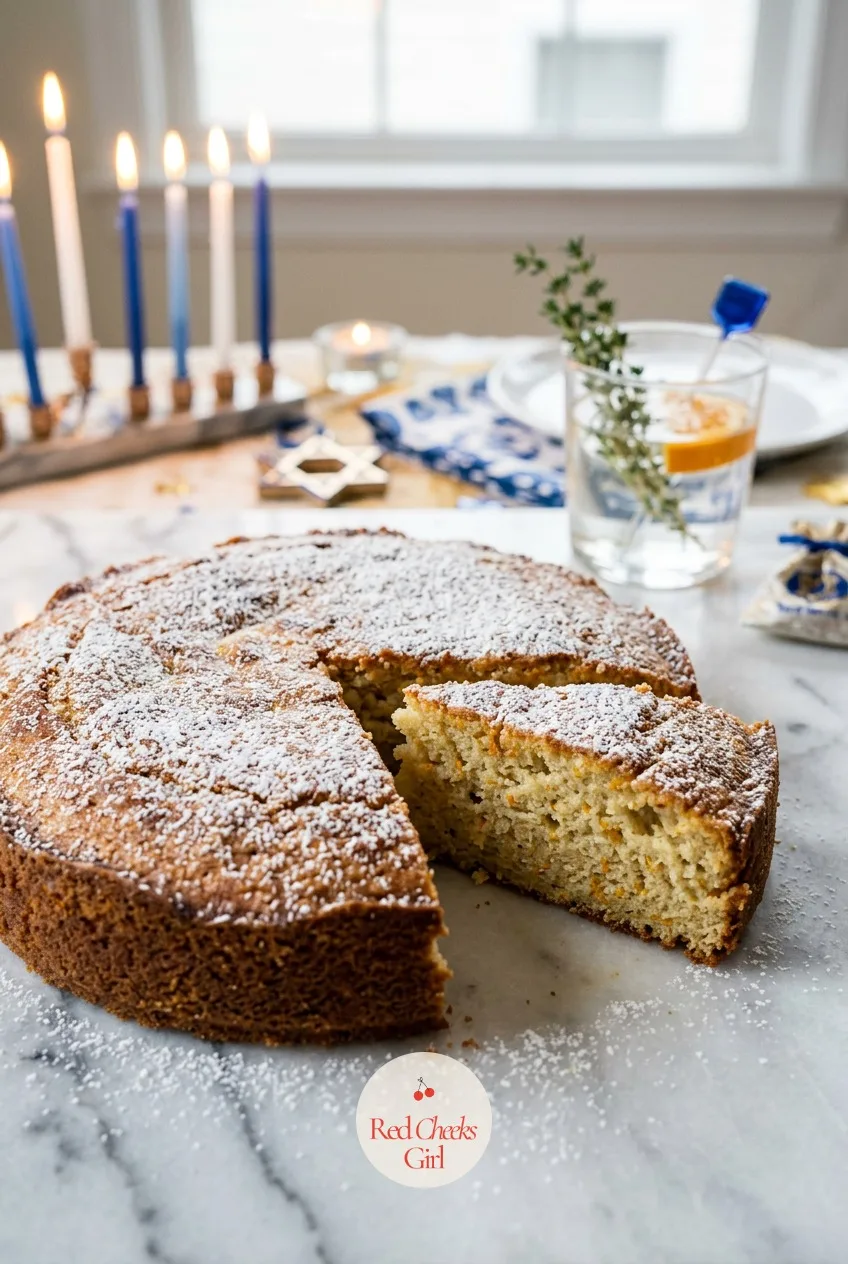
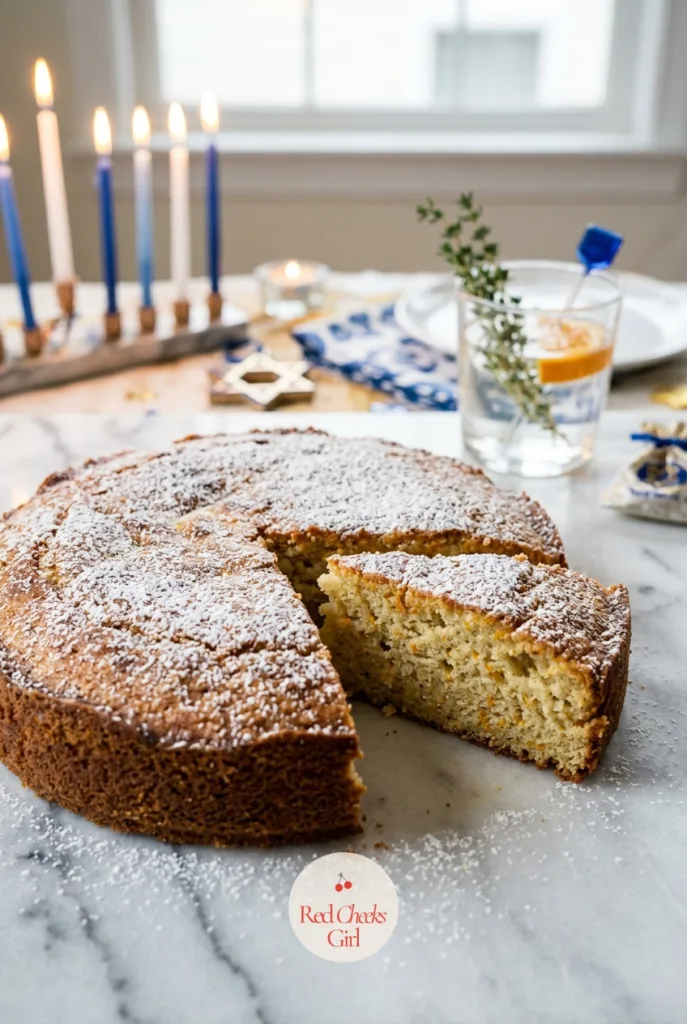
Olive Oil Cake
Ingredients
- 1.5 cups all-purpose flour
- 1 cup granulated sugar
- 1.5 tsp baking powder
- 0.5 tsp baking soda
- 0.5 tsp salt
- 3 large eggs
- 0.75 cup extra-virgin olive oil
- 0.5 cup whole milk
- Zest of 1 orange
- 2 tbsp fresh orange juice
- Powdered sugar for dusting
Instructions
- Preheat oven to 350°F, grease a 9 inch round cake pan and line the bottom with parchment.
- Whisk flour, baking powder, baking soda and salt in a bowl.
- In another bowl, whisk eggs and sugar 2 minutes until pale and slightly thickened.
- Slowly whisk in the olive oil, then the milk, orange zest and orange juice.
- Fold the wet ingredients into the dry ingredients just until no streaks of flour remain.
- Pour batter into the pan, smooth the top.
- Bake 40 to 45 minutes, until the top springs back when pressed and a toothpick comes out clean.
- Cool in the pan on a rack 15 minutes.
- Run a knife around the edge, invert onto the rack, then turn right side up to cool fully.
- Dust with powdered sugar just before slicing.
Good to Know
Hanukkah Cheesecake
Cheesecake is the one that makes people nervous, mostly because of the crack down the middle nobody warned them about. A water bath fixes that, and it is less fuss than it sounds: foil around the pan, a roasting pan of hot water, done.
The center should still wobble like a set gelatin when you nudge the pan at the end of baking, not ripple like liquid. It firms up completely in the fridge overnight, which is also why this is the dessert to start the night before, not the morning of.
A thin blue swirl on top nods to the holiday without turning the whole thing into a craft project.
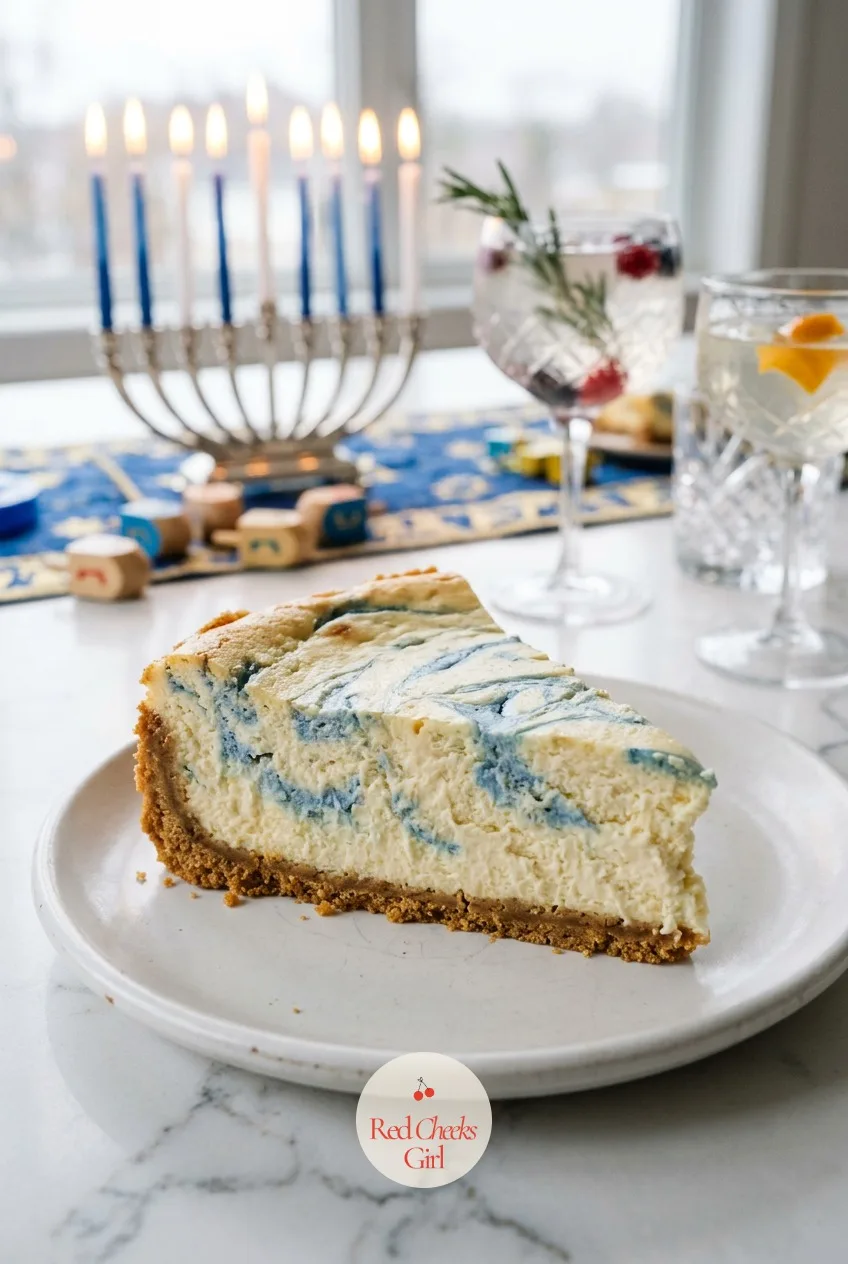
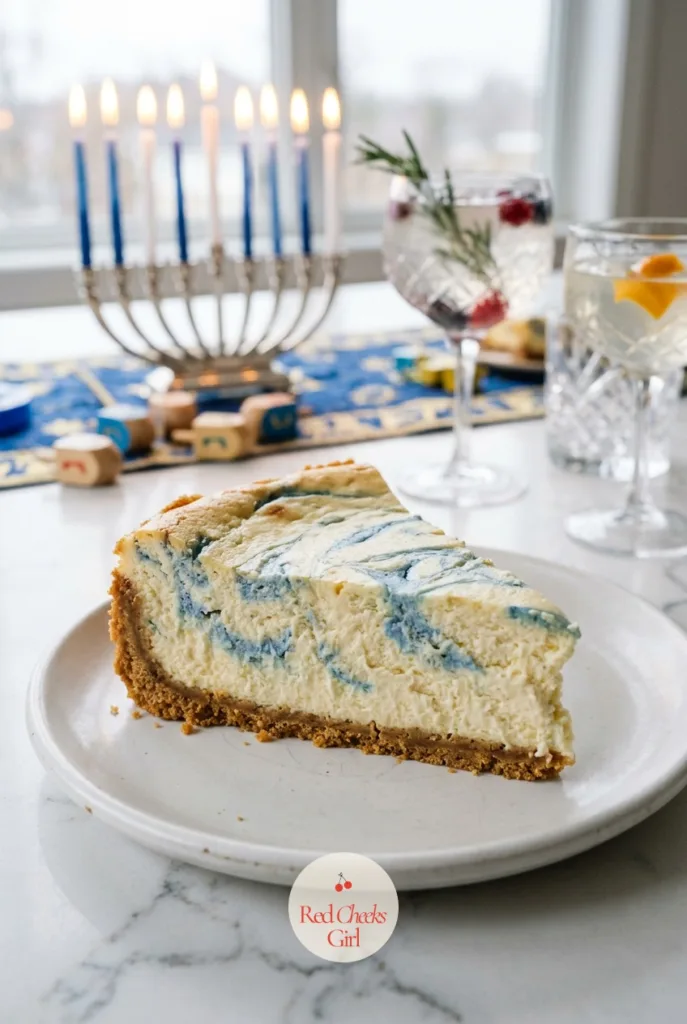
Hanukkah Cheesecake
Ingredients
- 1.5 cups graham cracker crumbs
- 5 tbsp unsalted butter melted
- 24 oz cream cheese softened
- 1 cup granulated sugar
- 3 large eggs
- 1 cup sour cream
- 1 tbsp vanilla extract
- 2 tbsp all-purpose flour
- Blue gel food coloring a few drops
Instructions
- Preheat oven to 325°F, wrap the outside of a 9 inch springform pan in two layers of foil.
- Mix graham cracker crumbs with melted butter, press into the bottom of the pan.
- Bake the crust 8 minutes, then cool while making the filling.
- Beat cream cheese and sugar together 3 minutes until completely smooth, scraping the bowl once.
- Add eggs one at a time, beating on low just until combined, to avoid trapping air.
- Mix in sour cream, vanilla and flour until smooth.
- Set aside 0.5 cup of batter, tint it blue, and leave the rest plain.
- Pour the plain batter into the crust, then drop spoonfuls of blue batter on top and swirl gently with a knife.
- Set the pan in a larger roasting pan, pour hot water halfway up the sides of the springform.
- Bake 50 to 55 minutes, until the edges are set and the center still wobbles slightly when nudged.
- Turn off the oven, crack the door, let the cheesecake sit inside 1 hour.
- Remove from the water bath, cool to room temperature, then chill at least 4 hours.
- Run a warm knife around the edge before releasing the springform ring.
Good to Know
🛍 Shopping guide
Apple Fritters
Latkes get all the Hanukkah credit for frying, but apple fritters deserve a turn: same oil, same miracle, considerably more cinnamon.
Fold the diced apple in gently so the pieces stay whole, you want a bite of actual apple inside, not applesauce. Glaze while the fritter is still warm, it should coat the back of a spoon in a thin ribbon rather than sitting on top like a shell.
Best eaten the same afternoon, while the inside is still a little steamy against the crisp edge.
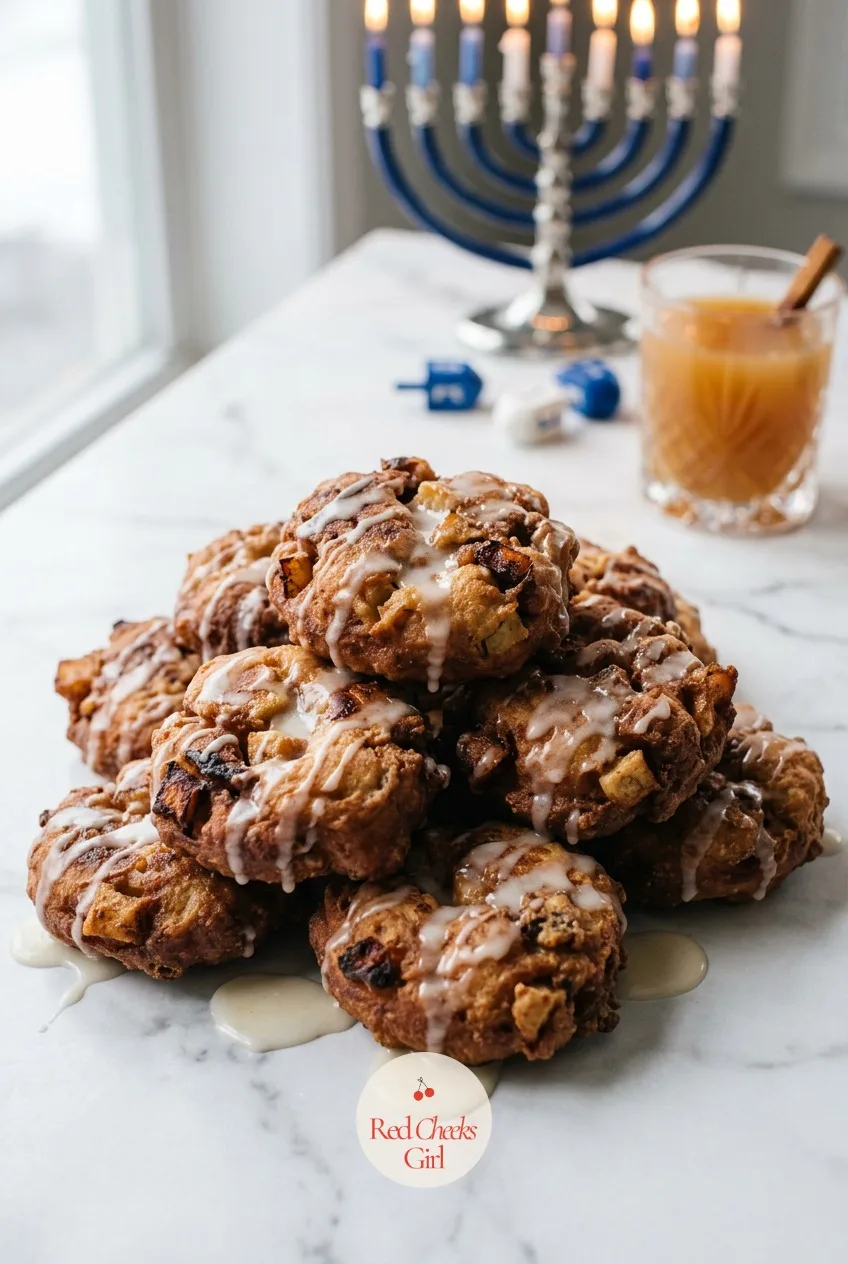
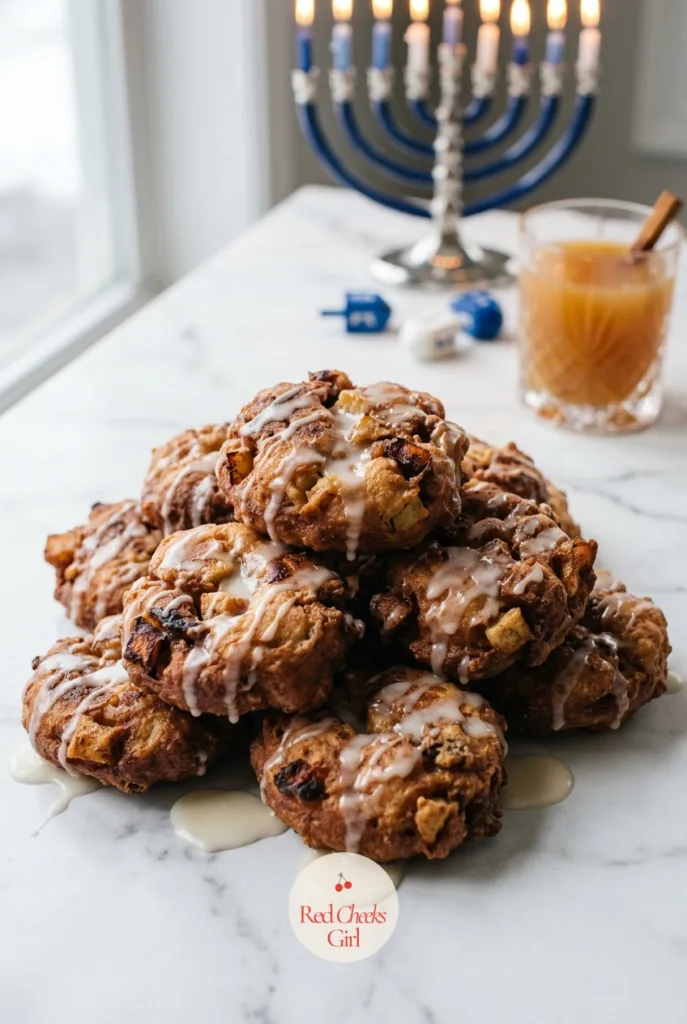
Apple Fritters
Ingredients
- 2 cups all-purpose flour
- 0.33 cup granulated sugar
- 2 tsp baking powder
- 1 tsp ground cinnamon
- 0.5 tsp salt
- 2 large eggs
- 0.75 cup whole milk
- 2 cups peeled diced apple (about 2 medium apples)
- 4 cups vegetable oil for frying
- 1 cup powdered sugar
- 2-3 tbsp milk for the glaze
Instructions
- Whisk flour, sugar, baking powder, cinnamon and salt in a large bowl.
- In another bowl whisk eggs and milk, pour into the dry ingredients and stir just until combined.
- Fold in the diced apple.
- Heat oil in a deep pot to 365°F.
- Drop batter by 0.25 cup scoops into the oil, 3 to 4 at a time, flattening slightly with the back of the spoon.
- Fry 2 to 3 minutes per side, until deep golden brown and cooked through at the center.
- Drain on a paper towel-lined rack.
- Whisk powdered sugar with milk, 1 tbsp at a time, until the glaze coats the back of a spoon in a thin ribbon.
- Drizzle glaze over the warm fritters, let set 5 minutes before serving.
Good to Know
Chocolate Babka
Babka has a reputation for being the dessert you buy, not bake. The twist step is the part that scares people, and it is also the part that takes thirty seconds once you see the dough split into two ropes.
Do not skip the syrup brush at the end, it is what keeps the crumb from drying out by day two and gives the crust that faint shine bakery loaves have.
Slice it thick, the chocolate ribbon should show in a clear swirl through the middle of each piece, not a smear.
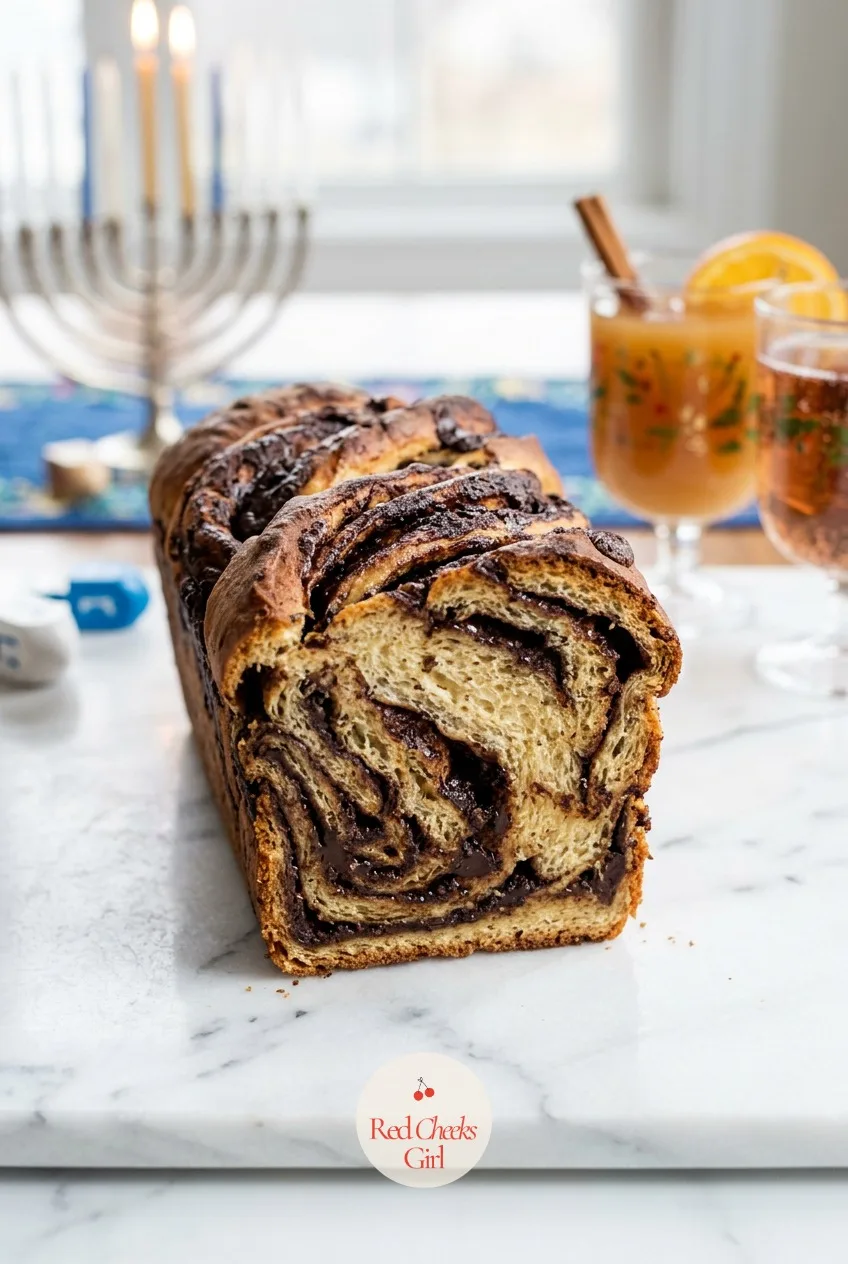
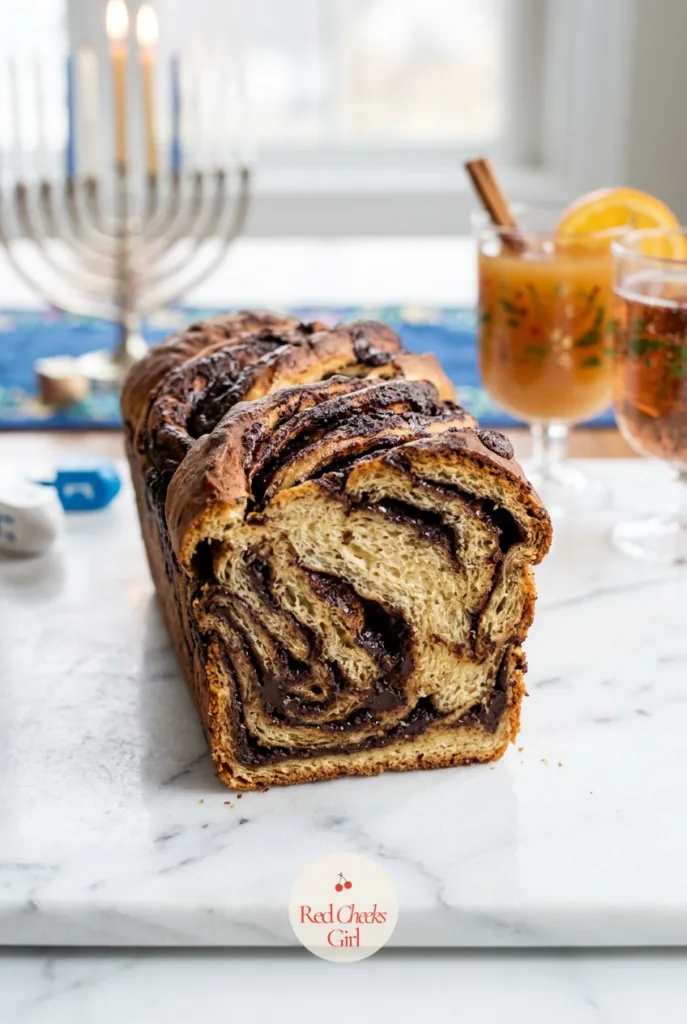
Chocolate Babka
Ingredients
- 3.5 cups all-purpose flour
- 0.33 cup granulated sugar
- 2.25 tsp active dry yeast
- 0.75 cup warm whole milk 110°F
- 2 large eggs
- 0.5 cup unsalted butter softened
- 0.5 tsp salt
- 8 oz semisweet chocolate melted
- 0.25 cup unsalted butter melted (for filling)
- 0.25 cup granulated sugar for filling
- 2 tbsp cocoa powder
- 0.25 cup sugar plus 0.25 cup water for the syrup
Instructions
- Warm the milk, stir in 1 tbsp of the sugar and the yeast, let sit 5 to 8 minutes until foamy.
- In a stand mixer, combine flour, remaining sugar and salt.
- Add the yeast mixture and eggs, mix with the dough hook 2 minutes to form a shaggy dough.
- Add the softened butter in 3 additions, kneading 6 to 8 minutes after each, until the dough is smooth and slightly tacky.
- Cover and let rise in a warm spot 1.5 hours, until doubled.
- Mix melted chocolate, melted butter, sugar and cocoa powder into a spreadable paste for the filling.
- Roll the risen dough into a 10x16 inch rectangle on a floured counter.
- Spread the chocolate filling evenly, leaving a 0.5 inch border.
- Roll tightly from the long edge into a log, pinch the seam closed.
- Slice the log lengthwise, keeping one end attached, then twist the two halves over each other to expose the layers.
- Tuck into a greased 9x5 inch loaf pan, cover and let rise 45 minutes until puffy.
- Bake at 350°F for 32 to 35 minutes, until deep golden and a skewer comes out clean of raw dough.
- Simmer sugar and water 2 minutes to make a simple syrup, brush over the hot loaf.
- Cool in the pan 15 minutes, then turn out onto a rack to cool fully before slicing.
Good to Know
🛍 Shopping guide
Dreidel Sugar Cookies
A cut-out cookie is only as good as the shape, and a dreidel cutter does more decorating work than any amount of icing skill. The dough needs a real chill, a warm disc will not hold crisp edges.
If royal icing intimidates you, a simple powdered sugar glaze in blue and white does the same job with none of the piping-bag anxiety. Drop it on and let gravity even it out.
These stack well between sheets of parchment, so they travel to a second household’s table without turning into a pile of crumbs.
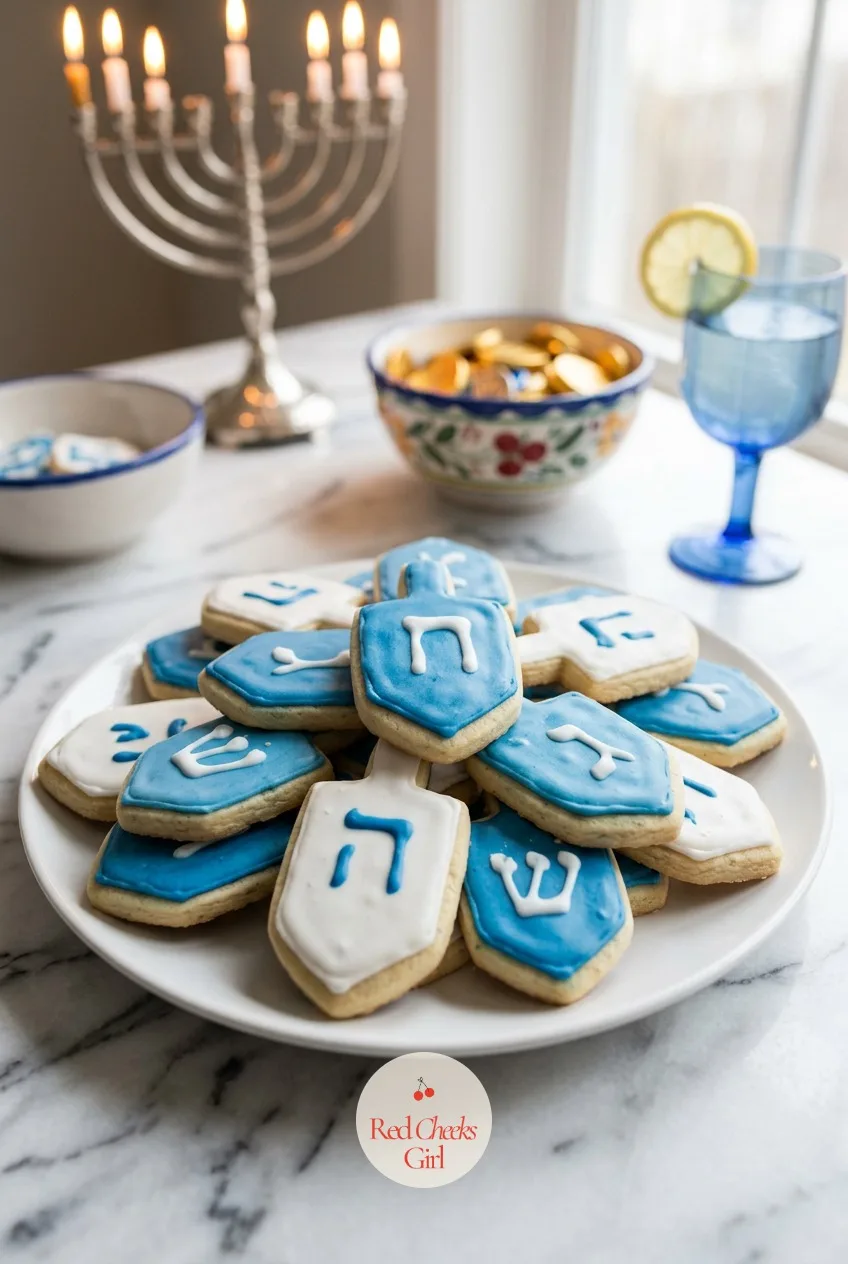
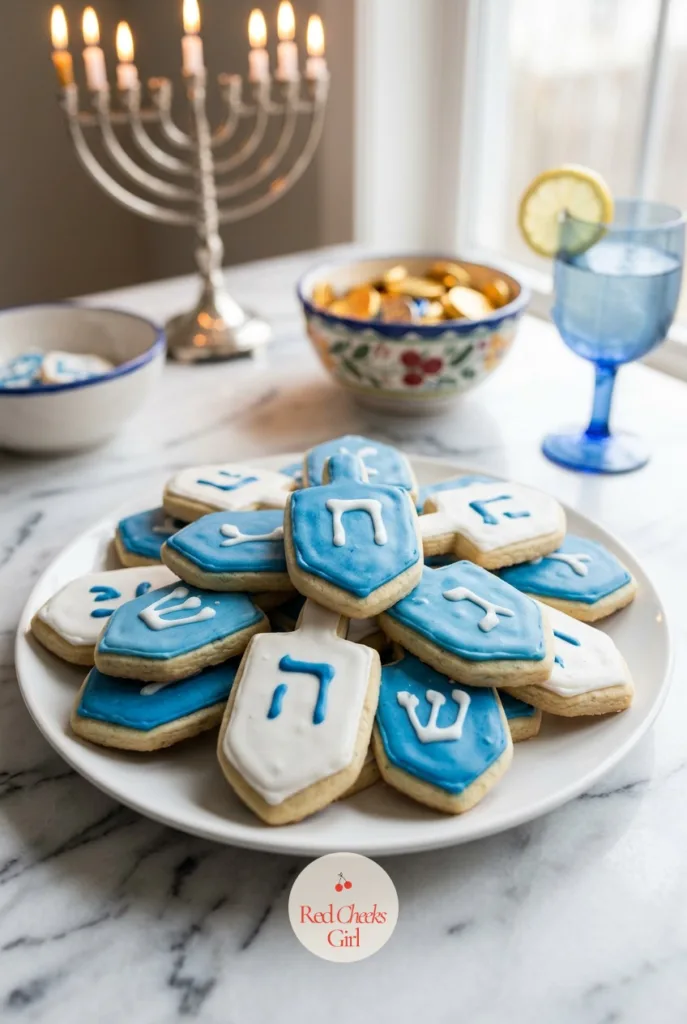
Dreidel Sugar Cookies
Ingredients
- 2.75 cups all-purpose flour
- 1 tsp baking powder
- 0.5 tsp salt
- 1 cup unsalted butter softened
- 1.5 cups granulated sugar
- 1 large egg
- 1.5 tsp vanilla extract
- 2 cups powdered sugar
- 3-4 tbsp milk
- Blue and white gel food coloring
Instructions
- Whisk flour, baking powder and salt in a bowl.
- Beat butter and sugar 3 minutes until fluffy.
- Add egg and vanilla, mix until combined.
- Add the flour mixture in two additions, mixing just until a soft dough forms.
- Divide dough in half, flatten into discs, chill 1 hour until firm.
- Roll dough to 0.25 inch thick on a floured counter, cut with a dreidel-shaped cutter.
- Place cookies 1 inch apart on parchment-lined baking sheets.
- Bake at 350°F for 9 to 10 minutes, until edges are just set and not browned.
- Cool on the sheet 5 minutes, then move to a rack to cool fully.
- Whisk powdered sugar with milk until the icing drips off the whisk in a slow ribbon, then tint half of it blue.
- Pipe or spread icing onto the cooled cookies, let set 20 minutes before stacking.
Good to Know
🛍 Shopping guide
Honey Cake
Honey cake has a reputation for being dry, usually because it got baked too long chasing a clean toothpick in a cake that is supposed to stay dense and a little sticky.
Coffee is the ingredient doing quiet work here, it deepens the honey without tasting like coffee at all. Tent the top with foil partway through baking if it browns too fast, the inside still needs its full time.
It actually improves after a day resting under a cake dome, wrapped, which makes it the dessert to bake first and worry about last.
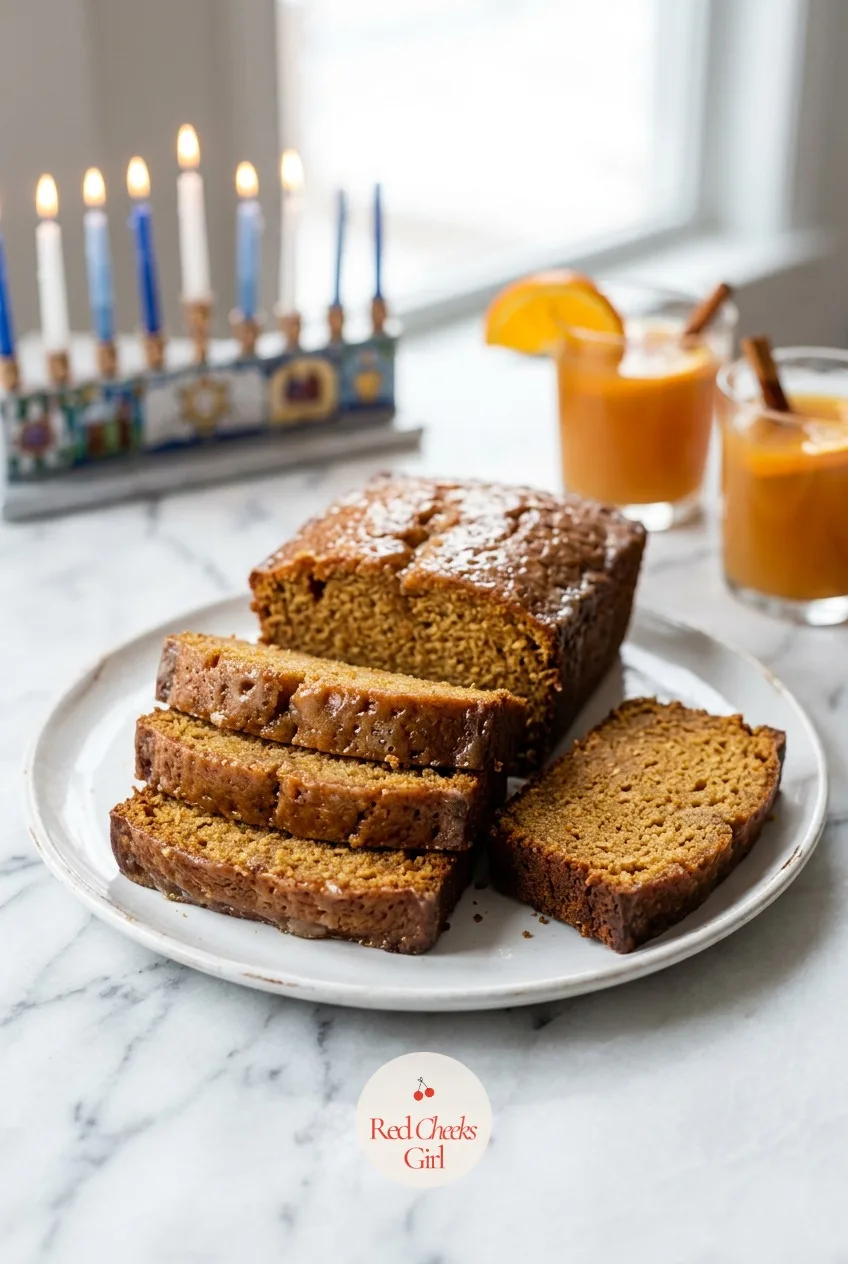
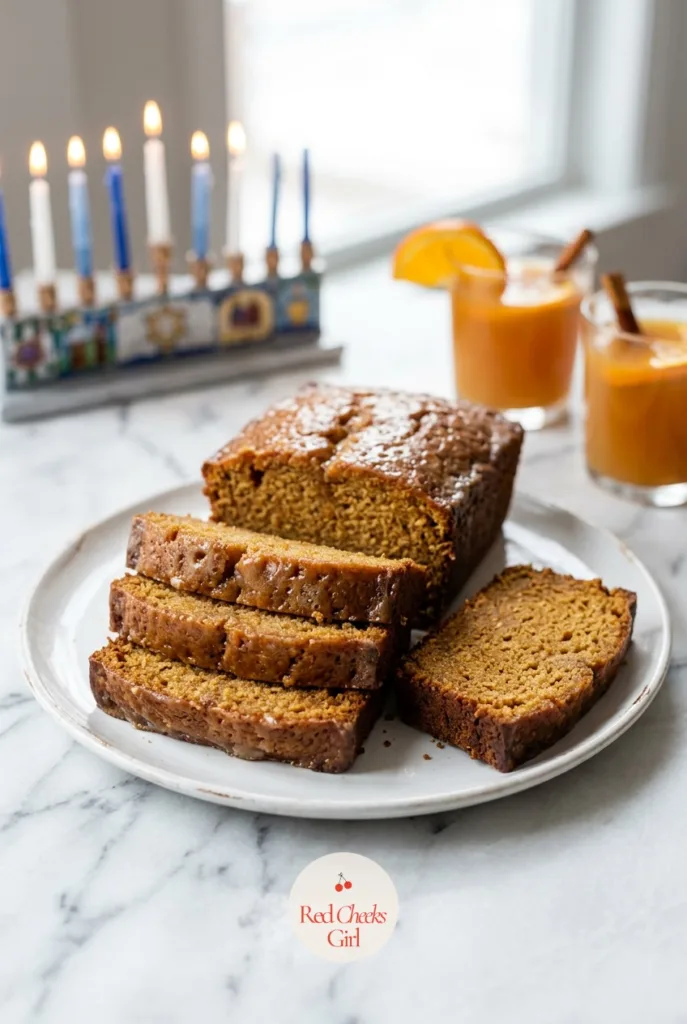
Honey Cake
Ingredients
- 2.5 cups all-purpose flour
- 1 tsp baking powder
- 1 tsp baking soda
- 1 tsp ground cinnamon
- 0.5 tsp ground cloves
- 0.5 tsp salt
- 1 cup honey
- 0.75 cup brewed coffee cooled
- 0.5 cup vegetable oil
- 0.75 cup packed brown sugar
- 3 large eggs
- 1 tsp vanilla extract
Instructions
- Preheat oven to 325°F, grease a 9x5 inch loaf pan and line with parchment.
- Whisk flour, baking powder, baking soda, cinnamon, cloves and salt in a bowl.
- In another bowl whisk honey, coffee and oil until combined.
- Whisk in brown sugar, eggs and vanilla until smooth.
- Pour the wet ingredients into the dry ingredients, whisk just until no lumps remain.
- Pour batter into the pan.
- Bake 45 to 50 minutes, tenting with foil after 30 minutes if the top is browning too fast.
- Test doneness with a skewer in the center, it should come out clean.
- Cool in the pan 15 minutes.
- Turn out onto a rack and cool completely before slicing, the cake firms up as it sits.
Good to Know
Black and White Cookies
Half vanilla, half chocolate, one cookie: the kind of deli classic that does not need a Hanukkah theme to earn its place, though tinting the white side pale blue nudges it onto the table anyway.
These are cakey, not crisp, closer to a soft cookie-shaped cupcake top than a crunchy cookie. Glaze one half, let it set fully before flipping to do the other, or the two colors bleed into each other at the seam.
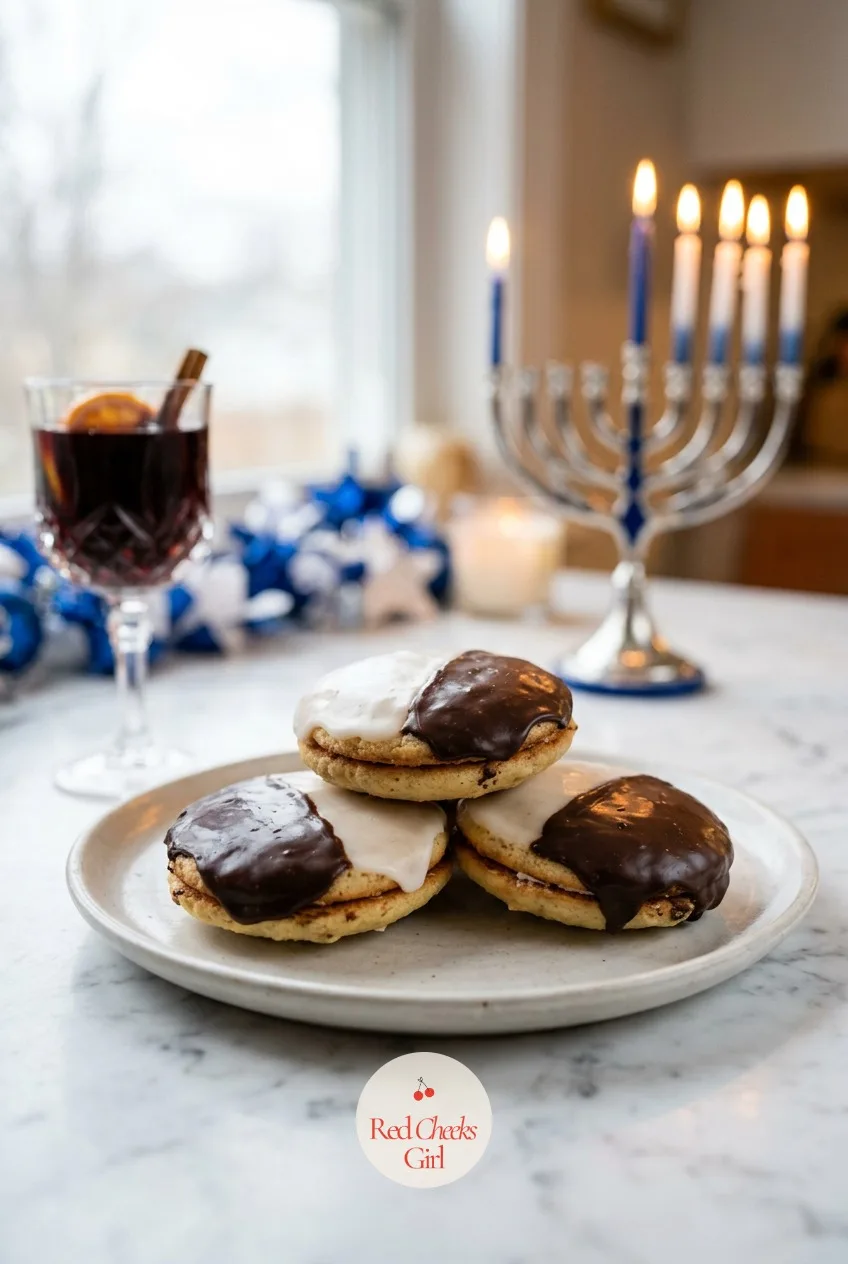
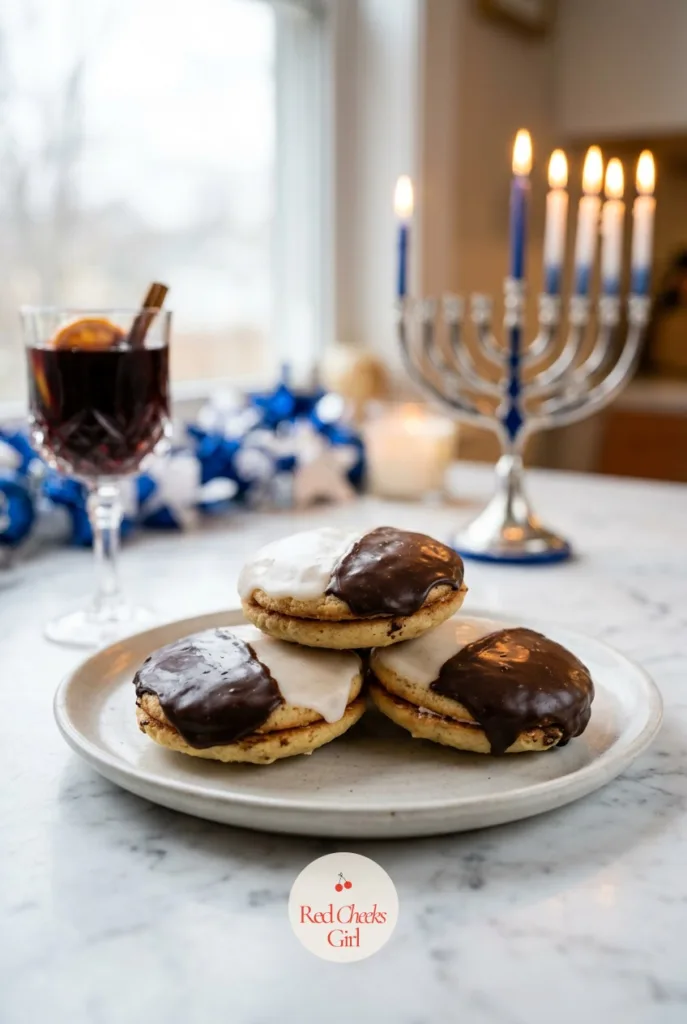
Black and White Cookies
Ingredients
- 2.5 cups all-purpose flour
- 1 tsp baking powder
- 0.5 tsp baking soda
- 0.25 tsp salt
- 0.5 cup unsalted butter softened
- 1 cup granulated sugar
- 2 large eggs
- 1 tsp vanilla extract
- 0.5 cup sour cream
- 2 cups powdered sugar
- 3-4 tbsp hot water
- 2 oz dark chocolate melted
Instructions
- Preheat oven to 350°F, line two baking sheets with parchment.
- Whisk flour, baking powder, baking soda and salt in a bowl.
- Beat butter and sugar 2 minutes until creamy.
- Add eggs and vanilla, mix until smooth.
- Add the flour mixture and sour cream alternately in two additions, mixing just until a thick batter forms.
- Drop batter by 0.25 cup scoops onto the sheets, 3 inches apart, smoothing each into a flat round.
- Bake 13 to 15 minutes, until the centers spring back when touched and the edges are pale gold.
- Cool completely on a rack before glazing, flat side up.
- Whisk powdered sugar with hot water until smooth, coat the flat side of each cookie in white icing, let set 15 minutes.
- Melt the chocolate, coat the other half of each cookie, let set 15 minutes before serving.
Good to Know
Gelt Blossom Cookies
Peanut butter and chocolate coins is not a Hanukkah tradition so much as a very good idea borrowed from a different holiday cookie entirely. Nobody at the table will object.
Press the gelt coin in the moment the tray comes out of the oven, while the cookie is still soft enough to take the shape without cracking at the edges. Wait too long and the coin just sits on top instead of settling in.
Watch for the peanut allergy flag here, it is the one entry on this list that needs a clear label if nuts are a concern for anyone coming.
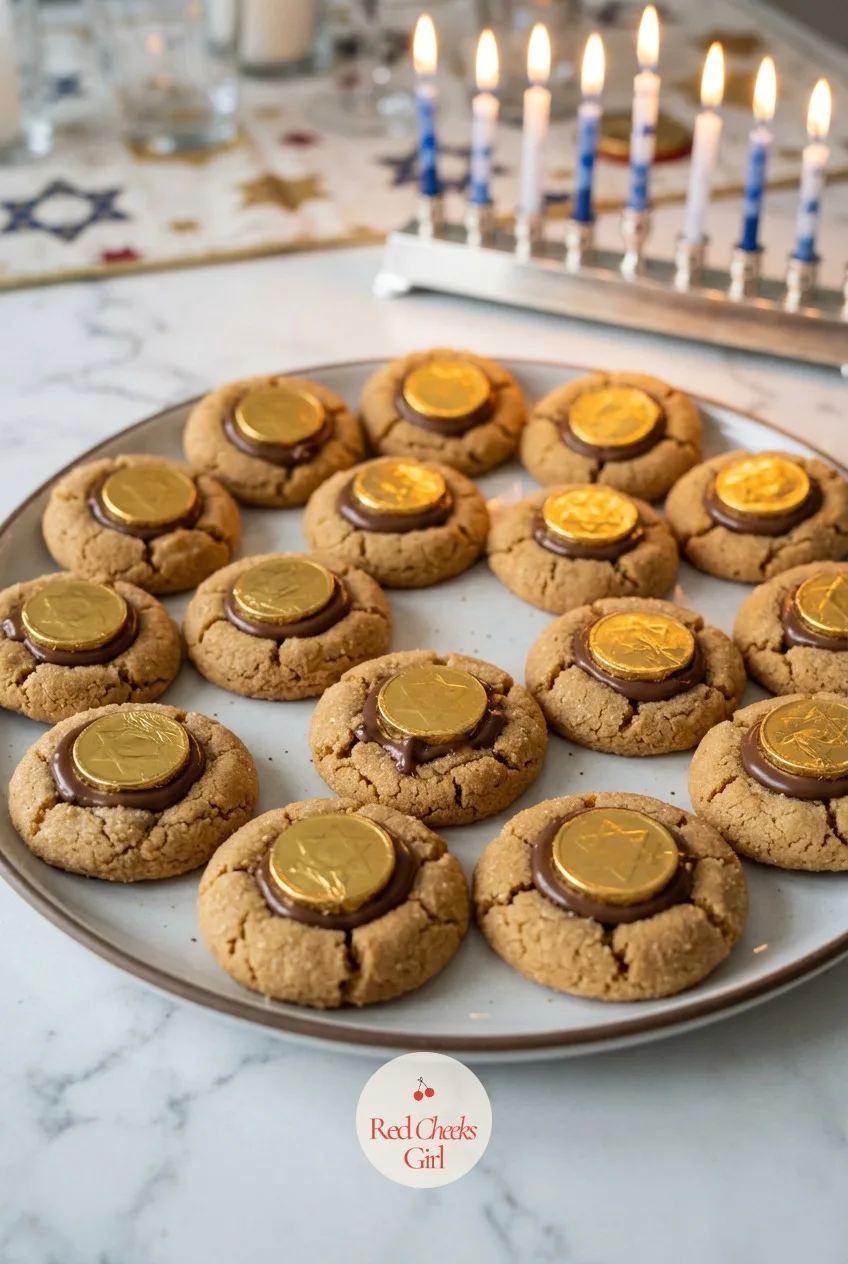
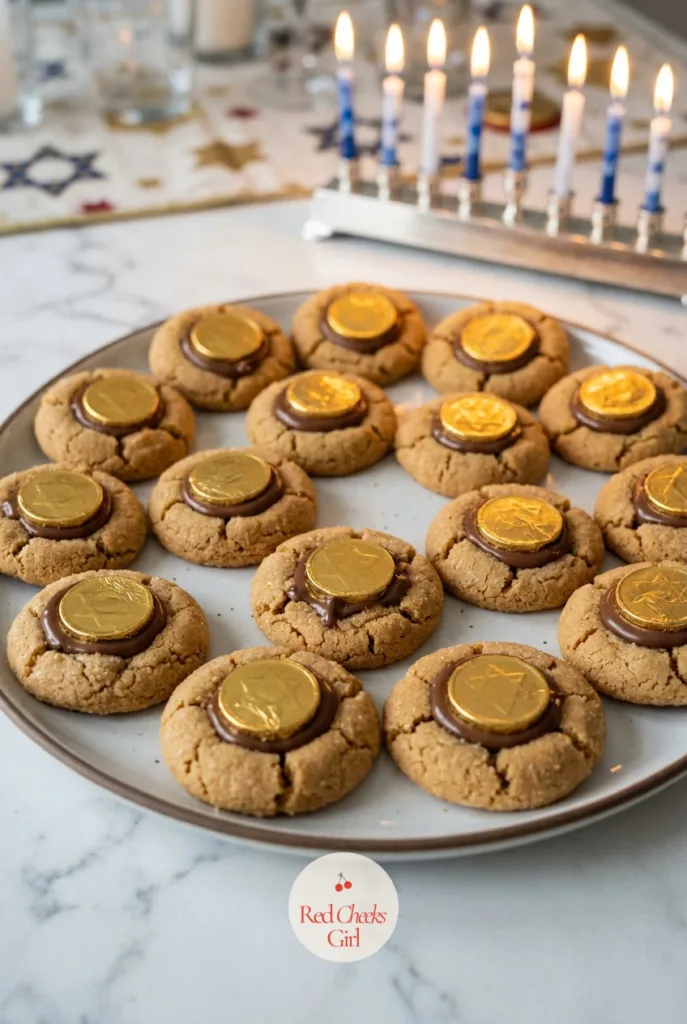
Gelt Blossom Cookies
Ingredients
- 1.75 cups all-purpose flour
- 1 tsp baking soda
- 0.5 tsp salt
- 0.5 cup unsalted butter softened
- 0.5 cup creamy peanut butter
- 0.5 cup granulated sugar plus extra for rolling
- 0.5 cup packed brown sugar
- 1 large egg
- 1 tsp vanilla extract
- 24 chocolate gelt coins unwrapped
Instructions
- Preheat oven to 350°F, line two baking sheets with parchment.
- Whisk flour, baking soda and salt in a bowl.
- Beat butter, peanut butter, granulated sugar and brown sugar 2 minutes until creamy.
- Add egg and vanilla, mix until smooth.
- Add the flour mixture, mix just until a soft dough forms.
- Roll dough into 1 inch balls, roll each in extra sugar.
- Place 2 inches apart on the sheets, bake 9 to 10 minutes, until edges are set and the tops look slightly underdone.
- Press a gelt coin into the center of each cookie as soon as they come out of the oven, while still soft.
- Cool on the sheet 5 minutes, until the coin holds its place, then move to a rack.
Good to Know
Mandelbrot (Almond Biscotti)
Mandelbrot means almond bread, and it bakes twice the same way Italian biscotti does: once as a log, once sliced, so the inside dries out just enough to hold up to a cup of tea without going stale after.
The second bake is short, watch the cut edges rather than the clock, they should look dry and lightly toasted rather than deeply browned. This is the dessert that survives a week in a tin better than anything else on this list.
Ingredients
- 2.5 cups all-purpose flour
- 1 tsp baking powder
- 0.5 tsp salt
- 0.75 cup vegetable oil
- 1 cup granulated sugar
- 3 large eggs
- 1 tsp vanilla extract
- 1 tsp almond extract
- 1 cup sliced almonds
- 2 tbsp granulated sugar plus 1 tsp cinnamon, for topping
Instructions
- Preheat oven to 350°F, line a baking sheet with parchment.
- Whisk flour, baking powder and salt in a bowl.
- In another bowl whisk oil and sugar, then beat in eggs one at a time.
- Stir in vanilla and almond extract.
- Fold in the flour mixture just until combined, then fold in the almonds.
- Divide dough in half, shape each half into a 12×3 inch log on the sheet, spacing logs 3 inches apart.
- Sprinkle logs with cinnamon sugar, bake 28 to 30 minutes, until firm and golden and a toothpick comes out clean.
- Cool logs on the sheet 15 minutes, until cool enough to handle.
- Slice each log on a slight diagonal into 0.75 inch slices.
- Lay slices cut side down on the sheet, bake 8 to 10 minutes more, until the cut edges are dry and lightly toasted.
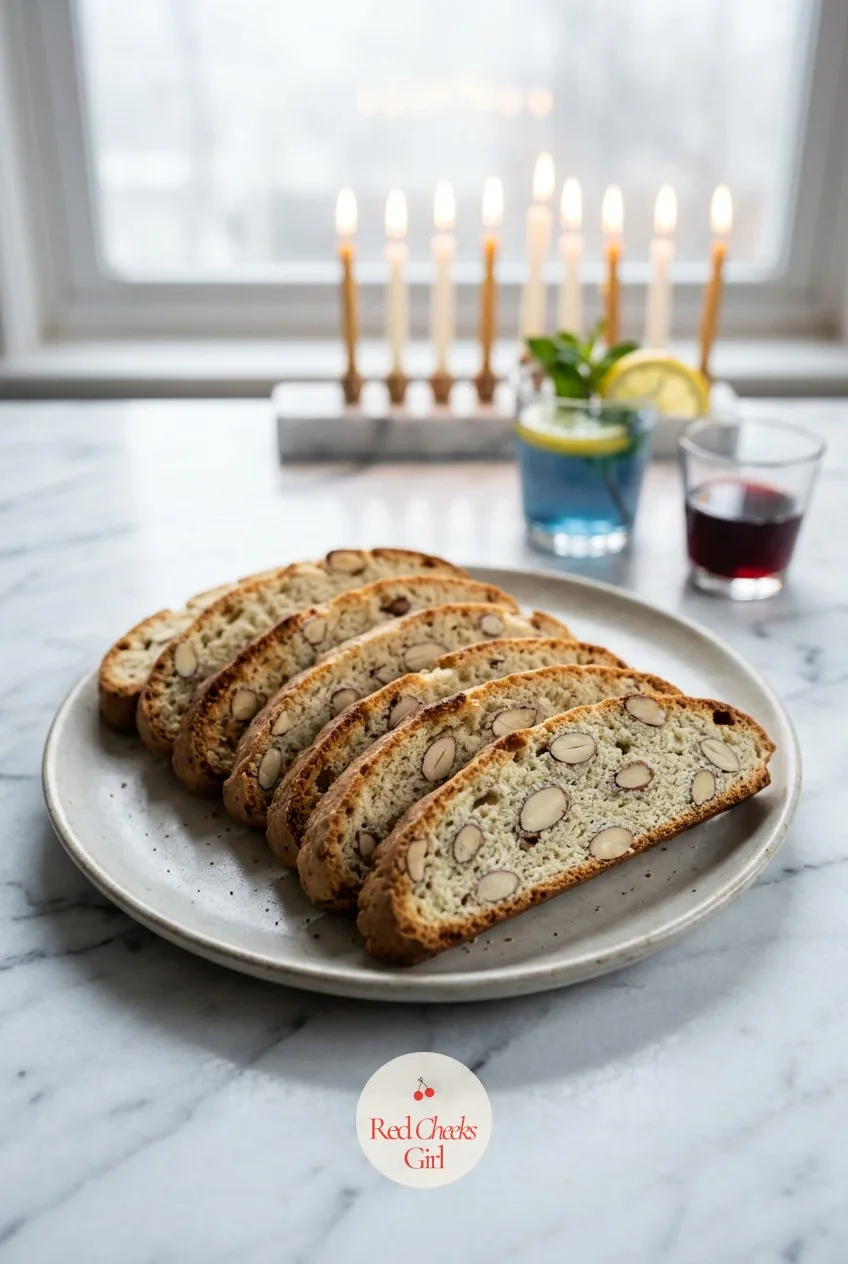
Frequently Asked Questions
What is the most popular Hanukkah dessert?
Sufganiyot are the clear favorite, especially in Israel where bakeries sell them by the million each holiday. In the United States, decorated Hanukkah cookies and chocolate gelt run a close second.
Why do people eat fried foods on Hanukkah?
Fried foods mark the miracle of a small flask of oil that burned for eight nights instead of one. Doughnuts, fritters and latkes all nod to that single detail of the story.
Why do people eat dairy desserts on Hanukkah?
Dairy honors Judith, a heroine of the Hanukkah story who is said to have fed a general salty cheese to make him thirsty before defeating him. Cheesecake and blintzes both trace back to that custom.
Which of these Hanukkah desserts can I make ahead?
The bark, rugelach, babka, honey cake and cheesecake all hold well for a day or more, several actually improve overnight. Fried items like the doughnuts and fritters taste best the same day.
Are any of these Hanukkah desserts dairy-free?
The olive oil cake, honey cake and mandelbrot are dairy-free as written, since they use oil instead of butter. The chocolate gelt bark can go dairy-free too with a dairy-free chocolate swap.
What are easy Hanukkah desserts kids can help make?
Chocolate gelt bark and gelt blossom cookies are the easiest for small hands, since there is no hot oil involved in either one. Rolling doughnut holes in cinnamon sugar is another good kid job.
11 no-bake birthday treats for adults, portioned for 12 and assembled in minutes. Tiramisu cups, che
14 New Year's Eve dessert recipes with jewel finishes: citrus trifle, crepe cake, profiterole tower,

12 no-bake birthday treats anyone can assemble in one evening. Each one has a single visual trick th
Leave a Reply