

16 Halloween Rice Krispie Treats Shaped Into Something Better Than Squares
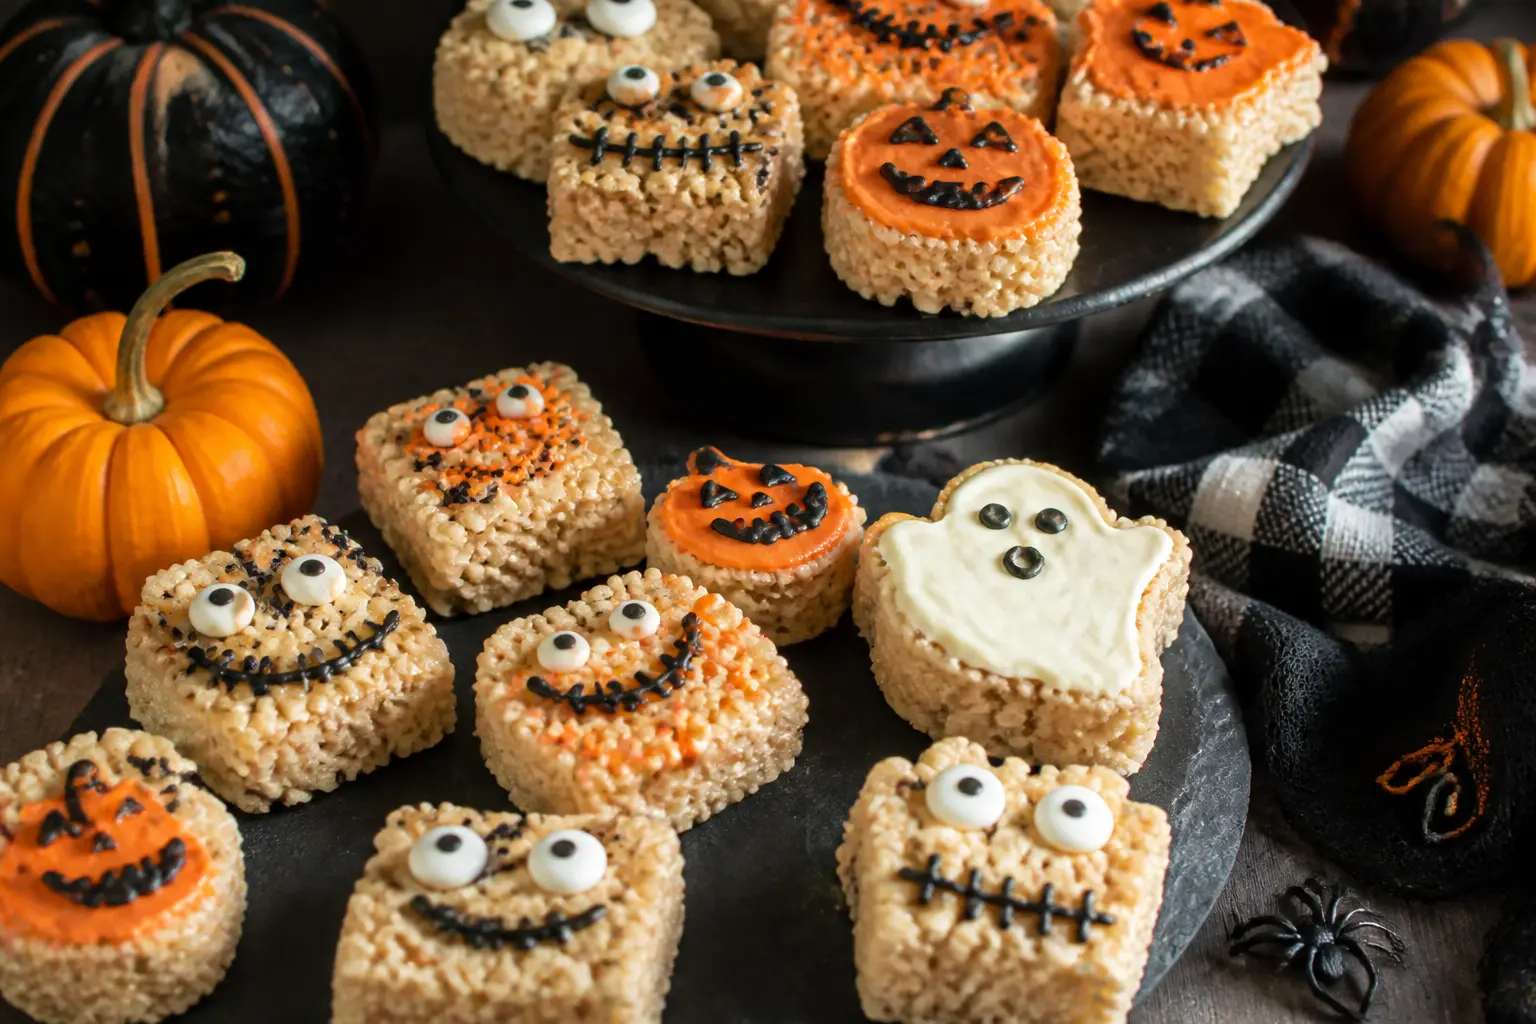
One base. Sixteen shapes. The classic cereal-and-marshmallow bar does almost anything you ask of it: roll it, press it flat, pack it into a cone, scoop it into a bowl. What changes is the tint, the coating, and the five minutes of decorating that turns a humble square into the centrepiece of a Halloween dessert table.
Every recipe here uses the same stovetop base: 57 g (4 tbsp) unsalted butter, 283 g (10 oz) marshmallows, and 168 g (6 cups) puffed rice cereal, making roughly 12 standard treats per batch. Scale up or down freely. All shaping happens at room temperature; the only heat is a microwave or small saucepan to melt butter, marshmallows, or candy melts. Common allergens across all recipes: milk (butter), gluten (some candy melts and pretzels, check labels), and soy (many candy melts). Make the base up to 24 hours ahead, wrap tightly in plastic, and shape on the day. Need games to go with the spread? 25 Not-Too-Scary Halloween Party Games for Kids and 23 Hilarious Halloween Games for Adults have the rest of the party covered.
This post contains affiliate links. If you buy through them, I may earn a small commission at no extra cost to you.
Pumpkin Balls
A round rice treat rolled in orange-tinted sugar and spiked with a pretzel stick stem is the easiest thing on this table that looks like it took effort. The salty pretzel contrasts the sweet base in a way that makes people reach for a second one before they have finished the first.
Make-ahead tip: roll and refrigerate the uncoated balls the night before, then dip and stem them the morning of the party.
Ingredients
- 57 g (4 tbsp) unsalted butter
- 283 g (10 oz) marshmallows
- 168 g (6 cups) puffed rice cereal
- Orange gel food colouring, approximately 1/4 tsp
- 113 g (4 oz) orange candy melts
- 12 short pretzel sticks (about 4 cm each)
- 12 small green candy-melt discs or green sprinkles (for leaves)
- 1 tsp coconut oil (to thin candy melts if needed)
Instructions
- Melt butter in a large saucepan over medium-low heat. Add marshmallows and stir until fully melted and smooth. Remove from heat.
- Stir orange gel colouring into the marshmallow mixture until evenly tinted. Add puffed rice cereal and fold until every piece is coated.
- Lightly butter your hands. Scoop approximately 60 g of the mixture and roll it firmly into a ball. Repeat to make 12 balls. Set on a parchment-lined tray.
- Use your thumb to press a shallow indent into the top of each ball so a pretzel stem can sit upright without toppling.
- Melt orange candy melts with coconut oil in a microwave-safe bowl in 30-second bursts, stirring between each, until smooth.
- Dip or spoon the candy melt coating over each ball, letting the excess drip back. Set back on the parchment tray.
- While the coating is still wet, press one pretzel stick into each indent as a stem and add a green candy disc or pinch of green sprinkles as a leaf.
- Allow to set at room temperature for 15 minutes before serving.

🛍 Shopping guide
Ghost Pops
Ghost pops are the crowd-pleaser of the whole lineup: pale, a little wobbly-looking, easy to hand to guests without a plate. Shaping is forgiving because ghosts do not need to be perfect. An uneven drape of white candy melt only adds to the haunted effect.
Insert the lollipop sticks before the mixture firms up completely, or the sticks will not hold. Swap white candy melts for white almond bark if that is what the shops have.
Ingredients
- 57 g (4 tbsp) unsalted butter
- 283 g (10 oz) marshmallows
- 168 g (6 cups) puffed rice cereal
- 226 g (8 oz) white candy melts
- 1 tsp vegetable shortening (to thin the coating)
- 24 mini dark chocolate chips (for eyes)
- 12 lollipop sticks
Instructions
- Melt butter in a saucepan over medium-low heat, add marshmallows, and stir until smooth. Remove from heat and fold in cereal.
- With buttered hands, pinch approximately 70 g of the warm mixture and shape it into a teardrop: rounded at the top, slightly flared and uneven at the base to mimic a floating ghost hem.
- While the shape is still warm and pliable, push a lollipop stick upward through the base about halfway through the treat.
- Set pops on a parchment-lined tray and allow to cool fully, about 15 minutes.
- Melt white candy melts with shortening in 30-second microwave bursts, stirring between each, until pourable.
- Hold each pop by the stick and spoon the white coating over the top, letting it drip naturally over the sides. Let the excess fall back into the bowl.
- Before the coating sets, press two mini chocolate chips onto the face as eyes. Return to the parchment tray.
- Allow to set completely, about 15 minutes, before serving or packaging.

🛍 Shopping guide
Mummy Bars
Mummy bars are the most low-effort entry here and still photograph beautifully. A plain rectangular bar, a quick drizzle of white chocolate in criss-cross bands, and two candy eyes resting at the top: that is genuinely all it takes. They are the ones to make when the day is running away from you.
Use a squeeze bottle or a zip-lock bag with the corner snipped for the drizzle. The thinner the tip, the more delicate and convincing the wrapping looks.
Ingredients
- 57 g (4 tbsp) unsalted butter
- 283 g (10 oz) marshmallows
- 168 g (6 cups) puffed rice cereal
- 170 g (6 oz) white chocolate chips or white candy melts
- 1 tsp coconut oil
- 24 candy eyes (two per bar)
Instructions
- Melt butter in a saucepan, add marshmallows, stir until smooth, then fold in cereal. Press the mixture evenly into a parchment-lined 33 x 23 cm (13 x 9 in) pan using a buttered spatula.
- Allow to cool for 10 minutes, then lift out and cut into 12 even rectangles.
- Melt white chocolate chips with coconut oil in a microwave-safe bowl in 30-second bursts, stirring between each, until smooth and fluid.
- Transfer the melted white chocolate to a squeeze bottle or a zip-lock bag. Snip a 2 mm hole in one corner.
- Lay the bars on a parchment-lined tray. Drizzle the white chocolate in diagonal lines across each bar, then drizzle again in the opposite diagonal to create crossing bands.
- While the chocolate is still tacky, press two candy eyes near the top of each bar to represent the mummy’s face peering through the wrapping.
- Allow to set at room temperature for 10 minutes before serving.

Monster Squares
These are the ones children (and adults with a sense of humour) go straight for. The lurid green, the googly candy eyes staring up from the tray: monster squares look unhinged and taste exactly like the classic bar. The lime-green tint comes from a tiny amount of green gel colouring stirred into the marshmallow mixture before the cereal goes in.
Pile on different sizes of candy eyes for a wild, asymmetrical monster face. A squiggle of black writing icing on top as a mouth takes thirty seconds and raises the effect considerably.
Ingredients
- 57 g (4 tbsp) unsalted butter
- 283 g (10 oz) marshmallows
- 168 g (6 cups) puffed rice cereal
- 1/4 tsp lime-green gel food colouring
- Assorted candy eyes, at least 36 (three or more per square)
- 1 tube black writing icing (7 g)
Instructions
- Melt butter in a large saucepan, add marshmallows, and stir until fully melted. Remove from heat.
- Stir in lime-green gel colouring until the mixture is evenly tinted with no streaks.
- Fold in puffed rice cereal until every piece is coated.
- Press the mixture evenly into a parchment-lined 33 x 23 cm pan using a buttered spatula or hands. Allow to cool for 10 minutes.
- Lift out, cut into 12 squares, and lay on the parchment tray.
- Press assorted candy eyes onto the surface of each square in a random cluster.
- Pipe a jagged or wavy mouth onto each square with the black writing icing.
- Serve immediately or store loosely covered at room temperature for up to 24 hours.

Spider Bars
A round chocolate sandwich cookie becomes the spider body, and thin pretzel rods become legs. The whole thing sits on a plain cereal bar and is held together with a smear of melted chocolate. It reads as elaborate and takes about eight minutes of assembly once the bars are cut.
Use the thinnest pretzel sticks you can find so the legs look spindly rather than chunky. Four sticks per side, snapped to different lengths, makes the spider look genuinely leggy.
Ingredients
- 57 g (4 tbsp) unsalted butter
- 283 g (10 oz) marshmallows
- 168 g (6 cups) puffed rice cereal
- 113 g (4 oz) dark chocolate chips
- 1 tsp coconut oil
- 12 round chocolate sandwich cookies
- 96 thin pretzel sticks (8 per spider)
- 24 mini candy eyes
Instructions
- Melt butter and marshmallows over medium-low heat, stir smooth, fold in cereal. Press into a lined 33 x 23 cm pan and cool for 10 minutes. Cut into 12 bars.
- Melt dark chocolate chips with coconut oil in a microwave in 30-second bursts, stirring between each, until smooth.
- Dip each sandwich cookie briefly in the melted chocolate to coat the top, then set on a rack to firm up slightly, about 5 minutes.
- Brush or spoon a small amount of melted chocolate onto the centre of each bar.
- Press 8 pretzel sticks (4 per side) into the chocolate on the bar, fanning them out to look like legs. Lay them flat.
- Set a chocolate-coated cookie on top of the pretzel legs, pressing gently so it adheres to the melted chocolate below.
- Press two mini candy eyes onto the cookie while the chocolate is still tacky.
- Allow to set at room temperature for 10 minutes before serving.

🛍 Shopping guide
Candy Corn Triangles
Candy corn triangles are the most visually dramatic treat on the table because the three colour bands show a cross-section of real effort, even though the technique is simply pressing three tinted layers into a loaf pan. Cut on the diagonal and the stripes appear. It is a neat trick.
Work quickly between layers: each band needs to be pressed before the one below has fully set, or the layers will separate when cut. Have all three tinted portions ready before you press any of them.
Ingredients
- 171 g (12 tbsp) unsalted butter, divided into three 57 g portions
- 849 g (30 oz) marshmallows, divided into three 283 g portions
- 504 g (18 cups) puffed rice cereal, divided into three 168 g portions
- 1/4 tsp white gel food colouring (for the bottom layer)
- 1/4 tsp orange gel food colouring (for the middle layer)
- 1/4 tsp yellow gel food colouring (for the top layer)
Instructions
- Line a 23 x 13 cm (9 x 5 in) loaf pan with parchment, leaving overhang on both long sides.
- Make the first batch: melt one portion of butter, stir in one portion of marshmallows until smooth, tint with white gel colouring, fold in one portion of cereal. Press firmly and evenly into the base of the pan.
- Quickly make the second batch: melt another butter portion, add marshmallows, tint orange, fold in cereal. Press evenly over the white layer while the first layer is still slightly tacky.
- Make the third batch immediately: melt final butter portion, add marshmallows, tint yellow, fold in cereal. Press evenly over the orange layer.
- Allow the whole loaf to cool completely, at least 20 minutes.
- Lift out using the parchment overhang. Trim the short ends, then cut the loaf into 12 slices. Cut each slice diagonally from corner to corner to create two triangles. Serve triangle-point-up to show the three stripes.

Witch Hat Cones
Witch hats are the tallest, most theatrical thing on the table. Pack the cereal mixture firmly into a sugar cone, unmould it, let it set, then dip the whole cone in black candy melts. A purple ribbon of writing icing around the brim and a small star completes it. These are genuinely striking standing upright on a platter.
Work in small batches because the cereal mixture cools faster than you expect. Slightly warm hands help the packing go smoothly.
Ingredients
- 57 g (4 tbsp) unsalted butter
- 283 g (10 oz) marshmallows
- 168 g (6 cups) puffed rice cereal
- 226 g (8 oz) black candy melts
- 1 tsp coconut oil
- 12 sugar ice cream cones
- 1 tube purple writing icing (7 g)
- 12 small yellow star sprinkles
Instructions
- Melt butter in a saucepan, add marshmallows, stir until smooth. Remove from heat, fold in cereal.
- Working quickly while the mixture is still pliable, pack it firmly into each sugar cone, pressing down with your fingers until the cone is solid and there are no air pockets. Overfill slightly at the opening so the brim will be flat when inverted.
- Invert each packed cone onto a parchment-lined tray (point up) and gently press the base flat with a buttered palm. The flat base becomes the brim of the hat.
- Allow to cool and firm for 15 minutes.
- Melt black candy melts with coconut oil in a microwave in 30-second bursts, stirring between each, until smooth.
- Holding the brim, dip each hat into the black candy melts, rotating to coat. Let the excess drip back and set point-up on parchment.
- Once the black coating is firm (about 10 minutes), pipe a band of purple writing icing around the base of the cone where it meets the brim.
- Press one yellow star sprinkle onto the purple band as a buckle accent.

🛍 Shopping guide
Eyeball Rounds
The eyeball round is unsettling in exactly the right way. A smooth dome of white-coated cereal with a single large candy eye pressed dead centre looks like something from a cabinet of curiosities, and guests will pick it up just to examine it before they eat it.
Use a cookie scoop for uniform domes. The larger the candy eye in the centre, the more unnerving and photogenic the result.
Ingredients
- 57 g (4 tbsp) unsalted butter
- 283 g (10 oz) marshmallows
- 168 g (6 cups) puffed rice cereal
- 226 g (8 oz) white candy melts
- 1 tsp vegetable shortening
- 12 large candy eyes (at least 2 cm across)
- Red writing icing (7 g) for veins
Instructions
- Melt butter and marshmallows over medium-low heat, stir until smooth, fold in cereal.
- Scoop the mixture with a large cookie scoop (approximately 60 g per portion) and roll into a smooth ball, then press one flat side down on parchment so it sits as a dome.
- Allow to cool fully, about 15 minutes.
- Melt white candy melts with shortening in 30-second microwave bursts, stirring between each, until smooth and pourable.
- Holding each dome by the flat base, spoon white coating over the curved top. Smooth with a small offset spatula if needed. Return to parchment.
- Immediately press one large candy eye into the centre of each coated dome. Allow the coating to set, about 10 minutes.
- Use red writing icing to pipe three or four thin veining lines radiating out from the edge of the candy eye across the white surface.

Bat Cutouts
Pressing the cereal mixture flat and cutting it with a bat-shaped cookie cutter is the most straightforward technique in this collection, and the silhouette does all the work. Dust the cutter with a little powdered sugar before each press to prevent sticking. A thin coat of black candy melt and a pair of candy eyes finishes the look cleanly.
Press the mixture to exactly 2 cm thick for cutouts that are sturdy enough to pick up without crumbling. Thinner and they will snap; thicker and they become dense.
Ingredients
- 57 g (4 tbsp) unsalted butter
- 283 g (10 oz) marshmallows
- 168 g (6 cups) puffed rice cereal
- 226 g (8 oz) dark or black candy melts
- 1 tsp coconut oil
- 24 mini candy eyes
- Powdered sugar for dusting the cutter
Instructions
- Melt butter and marshmallows over medium-low heat, stir until smooth, remove from heat, and fold in cereal.
- Turn the mixture onto a large piece of parchment. Place a second sheet of parchment on top and use a rolling pin to flatten the mixture to an even 2 cm thickness.
- Dust a bat-shaped cookie cutter with powdered sugar. Press firmly through the mixture to cut bat shapes, re-dusting the cutter between cuts. Gather and re-press scraps as needed.
- Set cutouts on a parchment-lined tray and allow to cool for 10 minutes.
- Melt dark candy melts with coconut oil in 30-second microwave bursts, stirring between each, until smooth.
- Spoon or brush the dark coating over each bat, covering the top surface and sides. Return to the parchment-lined tray.
- Press two mini candy eyes onto each bat while the coating is still wet. Allow to set for 15 minutes.

🛍 Shopping guide
Jack-o-Lantern Faces
Orange-tinted squares with piped jack-o-lantern expressions are the most recognisable treat on the Halloween table. The trick is to pipe the face with black writing icing before the surface dries, so the icing grips without sliding. Every face can be slightly different: crooked teeth on one, a winking eye on another.
A small round tip on a piping bag gives cleaner lines than a tube of writing icing, though either works. If making in advance, pipe the faces no more than two hours before serving so the black icing stays glossy.
Ingredients
- 57 g (4 tbsp) unsalted butter
- 283 g (10 oz) marshmallows
- 168 g (6 cups) puffed rice cereal
- 1/4 tsp orange gel food colouring
- 2 tubes black writing icing (7 g each)
- 1 tube green writing icing (7 g) for the stem accent
Instructions
- Melt butter in a saucepan over medium-low heat. Add marshmallows and stir until fully melted and smooth. Remove from heat.
- Stir in orange gel colouring until the mixture is uniformly tinted.
- Fold in puffed rice cereal until every piece is coated.
- Press into a parchment-lined 33 x 23 cm pan with a buttered spatula. Cool for 10 minutes, then cut into 12 squares.
- Pipe two triangle eyes onto each square with black writing icing. Below the eyes, pipe a row of rectangular or jagged teeth to form a grinning mouth.
- At the top centre of each square, pipe a short green icing stem.
- Serve within two hours of piping for the best appearance.

Skeleton Bones
Hand-shaped skeleton bones look like a prop from a very cheerful horror film. Roll a log, pinch the ends into knobbled knuckles, coat in white, and the illusion is complete. They are quicker to shape than they sound, and children and adults find them equally hard to resist picking up.
Keep your hands lightly buttered throughout the shaping. If the mixture cools and stiffens before you finish, microwave the bowl for 10 seconds to restore pliability.
Ingredients
- 57 g (4 tbsp) unsalted butter
- 283 g (10 oz) marshmallows
- 168 g (6 cups) puffed rice cereal
- 226 g (8 oz) white candy melts
- 1 tsp vegetable shortening
- White sanding sugar or white nonpareils (optional, for texture)
Instructions
- Melt butter and marshmallows in a saucepan over medium-low heat, stir until smooth, and fold in cereal.
- With buttered hands, roll approximately 55 g of the mixture into a log about 10 cm long and 2.5 cm in diameter.
- Pinch and press both ends of the log into a two-lobed knob shape, flattening slightly, to represent the joint ends of a bone. Repeat to make 12 bones.
- Set on a parchment-lined tray and cool for 15 minutes.
- Melt white candy melts with shortening in 30-second microwave bursts, stirring between each, until smooth.
- Hold each bone at the centre and lower it into the white coating, turning to coat all sides. Lift and let the excess drip back.
- Set on parchment. If using, scatter a pinch of white sanding sugar over each while the coating is still wet.
- Allow to set fully for 15 minutes before serving.

Frankenstein Bars
Frankenstein bars are green monster squares with a personality upgrade: flat-top black icing hair, a white icing forehead scar, and two small candy eyes set into the face. The flat-topped hair is the detail that makes the likeness immediately legible.
Cut the bars slightly taller and narrower than a standard square (roughly 7 x 5 cm) to better suggest a face shape. Pipe the hair with a wide, flat tip if you have one, or drag a fork through black icing to create texture.
Ingredients
- 57 g (4 tbsp) unsalted butter
- 283 g (10 oz) marshmallows
- 168 g (6 cups) puffed rice cereal
- 1/4 tsp forest-green gel food colouring
- 2 tubes black writing icing (7 g each)
- 1 tube white writing icing (7 g)
- 24 mini candy eyes
Instructions
- Melt butter and marshmallows in a saucepan, stir smooth, stir in forest-green gel colouring, fold in cereal.
- Press into a parchment-lined 33 x 23 cm pan. Cool 10 minutes, then cut into 12 bars approximately 7 x 5 cm each.
- Press two mini candy eyes onto the upper half of each bar.
- Using black writing icing, pipe a thick, flat-bottomed band across the very top of each bar to represent hair. Pull the icing downward slightly on both sides to form short sideburns.
- With the white writing icing, pipe a short diagonal line across the forehead of each bar as a scar.
- Allow to set at room temperature for 10 minutes before serving.

Web-Topped Squares
The spider-web pattern is a classic confectionery move that looks considerably harder than it is. Pipe concentric circles of dark chocolate onto a white-coated square, then drag a toothpick from the centre outward in eight even spokes. The chocolate drags into a web in about fifteen seconds.
The coating must be wet when you drag the toothpick, so work one bar at a time. The technique is very forgiving: an imperfect web still reads as a web.
Ingredients
- 57 g (4 tbsp) unsalted butter
- 283 g (10 oz) marshmallows
- 168 g (6 cups) puffed rice cereal
- 226 g (8 oz) white candy melts
- 1 tsp vegetable shortening
- 113 g (4 oz) dark chocolate chips
- 1 tsp coconut oil
Instructions
- Melt butter and marshmallows in a saucepan, stir smooth, fold in cereal. Press into a lined 33 x 23 cm pan. Cool 10 minutes, cut into 12 squares.
- Melt white candy melts with shortening in 30-second microwave bursts. Spoon a layer of white coating over each square and spread to the edges. Set squares on parchment.
- While the white coating is still wet, melt dark chocolate chips with coconut oil until smooth. Transfer to a small piping bag or zip-lock bag with a very small hole snipped in the corner.
- Working on one square at a time, pipe three or four concentric circles of dark chocolate on the white surface, starting from the centre and spiralling outward.
- Immediately drag a toothpick from the very centre of the square outward to the edge, repeating in eight evenly spaced spokes around the circle.
- Allow to set for 15 minutes before serving.

Cauldron Cups
Cauldron cups are the most interactive treat on the table: a cereal bowl filled with luminous green candy melt that looks like a witch’s brew. Press the mixture into a rounded cup shape while it is warm, let it firm, fill it with tinted white candy melt, and let the filling set glossy and green. They look like miniature prop cauldrons and hold their shape well at room temperature.
Use a muffin tin lined with plastic wrap to shape the cups uniformly. The wrap makes unmoulding effortless.
Ingredients
- 57 g (4 tbsp) unsalted butter
- 283 g (10 oz) marshmallows
- 168 g (6 cups) puffed rice cereal
- 170 g (6 oz) white candy melts
- 1/4 tsp bright-green gel food colouring
- 1 tsp coconut oil
- Green sanding sugar or small star sprinkles (optional, for the surface)
Instructions
- Line a standard 12-cup muffin tin with strips of plastic wrap, leaving overhang on both sides of each cavity for easy removal.
- Melt butter and marshmallows in a saucepan, stir until smooth, fold in cereal.
- Working quickly, press approximately 50 g of the warm mixture into each muffin cavity, pressing up the sides and leaving a deep well in the centre. The walls should be about 1 cm thick.
- Refrigerate the tin for 15 minutes until the cups are firm.
- Lift each cup out using the plastic wrap overhang and set on a parchment-lined tray.
- Melt white candy melts with coconut oil in 30-second microwave bursts. Stir in bright-green gel colouring until the coating is a vivid, opaque green.
- Pour the green coating into each cup, filling it to just below the rim. Allow to set at room temperature until firm and glossy, about 20 minutes.
- Scatter a few green sprinkles or sanding sugar on the surface before the filling is fully set, if using.

🛍 Shopping guide
Tombstone Slabs
Tombstone slabs are the most typographic treat here: a grey-tinted bar with a rounded top, pressed into shape by hand or cut with an arch cutter, with RIP or a funny epitaph piped across the face. The humour lands hardest when the lettering is deliberate and neat, so use a fine-tip writing icing tube and take a moment with it.
A few drops of black gel colouring mixed with the usual base tints the mix to a tombstone-appropriate grey. Do not overdo the colouring or the cereal darkens too dramatically.
Ingredients
- 57 g (4 tbsp) unsalted butter
- 283 g (10 oz) marshmallows
- 168 g (6 cups) puffed rice cereal
- 3-4 drops black gel food colouring (to tint grey)
- 113 g (4 oz) grey or white candy melts
- 1 tsp coconut oil
- 2 tubes black writing icing (7 g each)
Instructions
- Melt butter and marshmallows in a saucepan over medium-low heat until smooth. Remove from heat. Add black gel colouring three drops at a time, stirring thoroughly between each addition, until a pale grey forms.
- Fold in puffed rice cereal until fully coated.
- Press the mixture evenly into a parchment-lined 33 x 23 cm pan to a depth of about 2.5 cm. Cool for 10 minutes.
- Cut the slab into 12 rectangles. Round the top corners of each with a sharp knife or a round-top cutter to create the arched tombstone profile.
- Melt white or grey candy melts with coconut oil. Brush a thin coating over each tombstone for a smooth surface.
- Allow the coating to set for 10 minutes.
- Pipe “RIP” or a short epitaph (“Here lies my diet”) onto each tombstone with black writing icing. Allow to dry before serving.

Black Cat Rounds
Black cat rounds are the most polished-looking treat on the table, and they earn that look in about ten minutes of decorating. A dark-coated circle with two triangle candy ears pressed on at the top, two candy eyes, and a tiny pink nose: the face is instantly readable. Coat two small triangles of the same cereal mixture in dark candy melt to make the ears stand up properly.
Cut the triangular ears before the main rounds so you can assemble and attach everything while the coating is still wet.
Ingredients
- 57 g (4 tbsp) unsalted butter
- 283 g (10 oz) marshmallows
- 168 g (6 cups) puffed rice cereal
- 284 g (10 oz) dark or black candy melts
- 1 tsp coconut oil
- 24 candy eyes
- 12 small pink heart sprinkles or pink candy-melt drops (for nose)
- Black writing icing (7 g) for whiskers
Instructions
- Melt butter and marshmallows, fold in cereal. Press the mixture into a parchment-lined pan to 2 cm thickness. Cool for 10 minutes.
- Cut 12 circles approximately 7 cm across using a round cutter. From the trimmings, cut 24 small triangles (about 2 x 2 cm) for the ears.
- Melt dark candy melts with coconut oil in 30-second microwave bursts, stirring between each, until smooth.
- Dip each circle round in the dark coating, turning to cover. Set on parchment. Dip all 24 ear triangles as well.
- While the coating on the rounds is still wet, press two coated ear triangles into the top edge of each circle, points up, one on each side.
- Press two candy eyes and one pink heart or pink dot nose onto the face of each cat round while still wet.
- Allow to set for 10 minutes. Pipe two or three fine whisker lines on each side of the nose with black writing icing.
- Set for a final 5 minutes before serving.

Frequently Asked Questions
How far in advance can I make halloween rice krispie treats?
Plain pressed-and-cut bars keep well for up to 48 hours at room temperature in an airtight container. Dipped and hand-shaped pieces such as ghost pops and skeleton bones are best within 24 hours, as the candy melt coating can soften in humid air. Pipe any icing details no more than two hours before serving so they stay glossy.
Can I make all 16 treats from a single base batch?
One standard batch (57 g butter, 283 g marshmallows, 168 g cereal) makes about 12 treats. Scale it up by however many varieties you plan to make, but work in single batches on the stovetop so each batch is the right temperature for shaping before it firms up.
What can I use instead of candy melts?
White, dark, or coloured almond bark works as a direct substitute for candy melts in any of these recipes. You can also use regular chocolate thinned with a teaspoon of coconut oil per 113 g for a pourable coating, though the finish will be slightly less opaque than candy melts.
How do I stop the mixture sticking to my hands when shaping?
Lightly butter your palms before handling the warm cereal mixture. Re-butter your hands between batches. If the mixture cools and stiffens mid-shaping, microwave the bowl for 10 seconds to restore enough pliability to continue.
Are these halloween rice krispie treats gluten-free?
The base (butter, marshmallows, puffed rice cereal) can be gluten-free depending on the brand of cereal and marshmallows used. Check labels carefully. Many candy melts and all pretzel sticks contain gluten, so swap pretzels for gluten-free alternatives and verify the candy melt packaging before serving to guests with coeliac disease or gluten sensitivity.
What is the best way to package these as party favours?
Place each finished treat in a small clear cellophane bag and tie the top with a ribbon in orange, black, or purple. Flat treats such as mummy bars and tombstone slabs also fit neatly in small kraft boxes. Package after any candy melt coating has set completely and the treats have cooled fully, or condensation will form inside the bag.
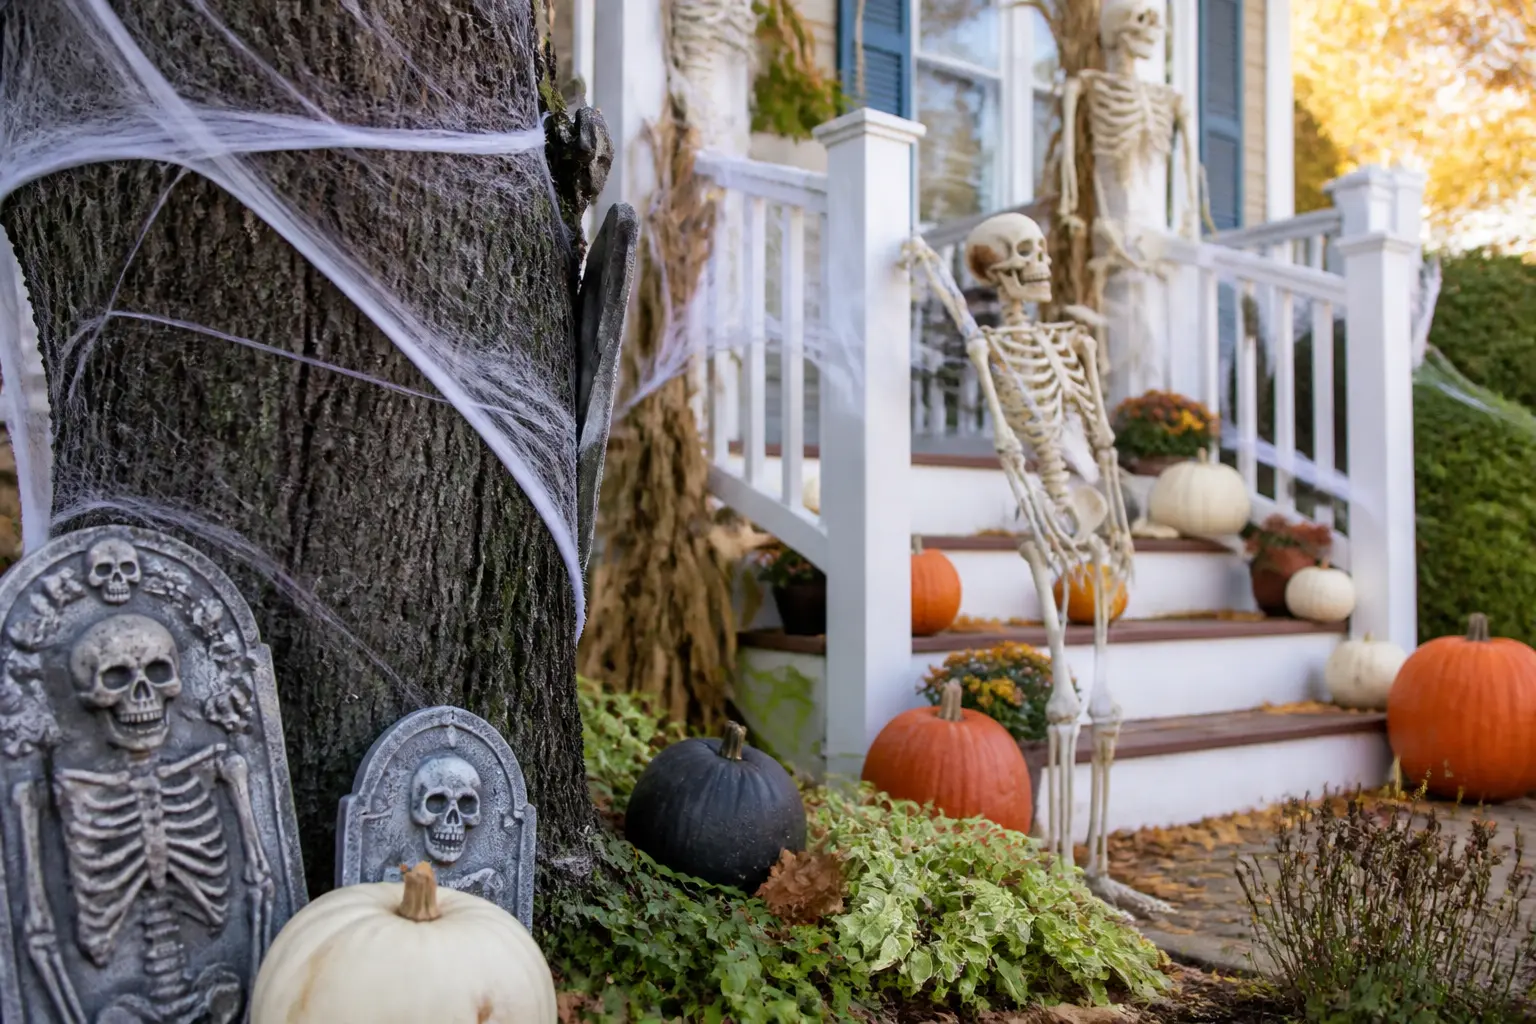
Turn scattered props into 15 Halloween yard decorations that each tell a story from the street. Ever
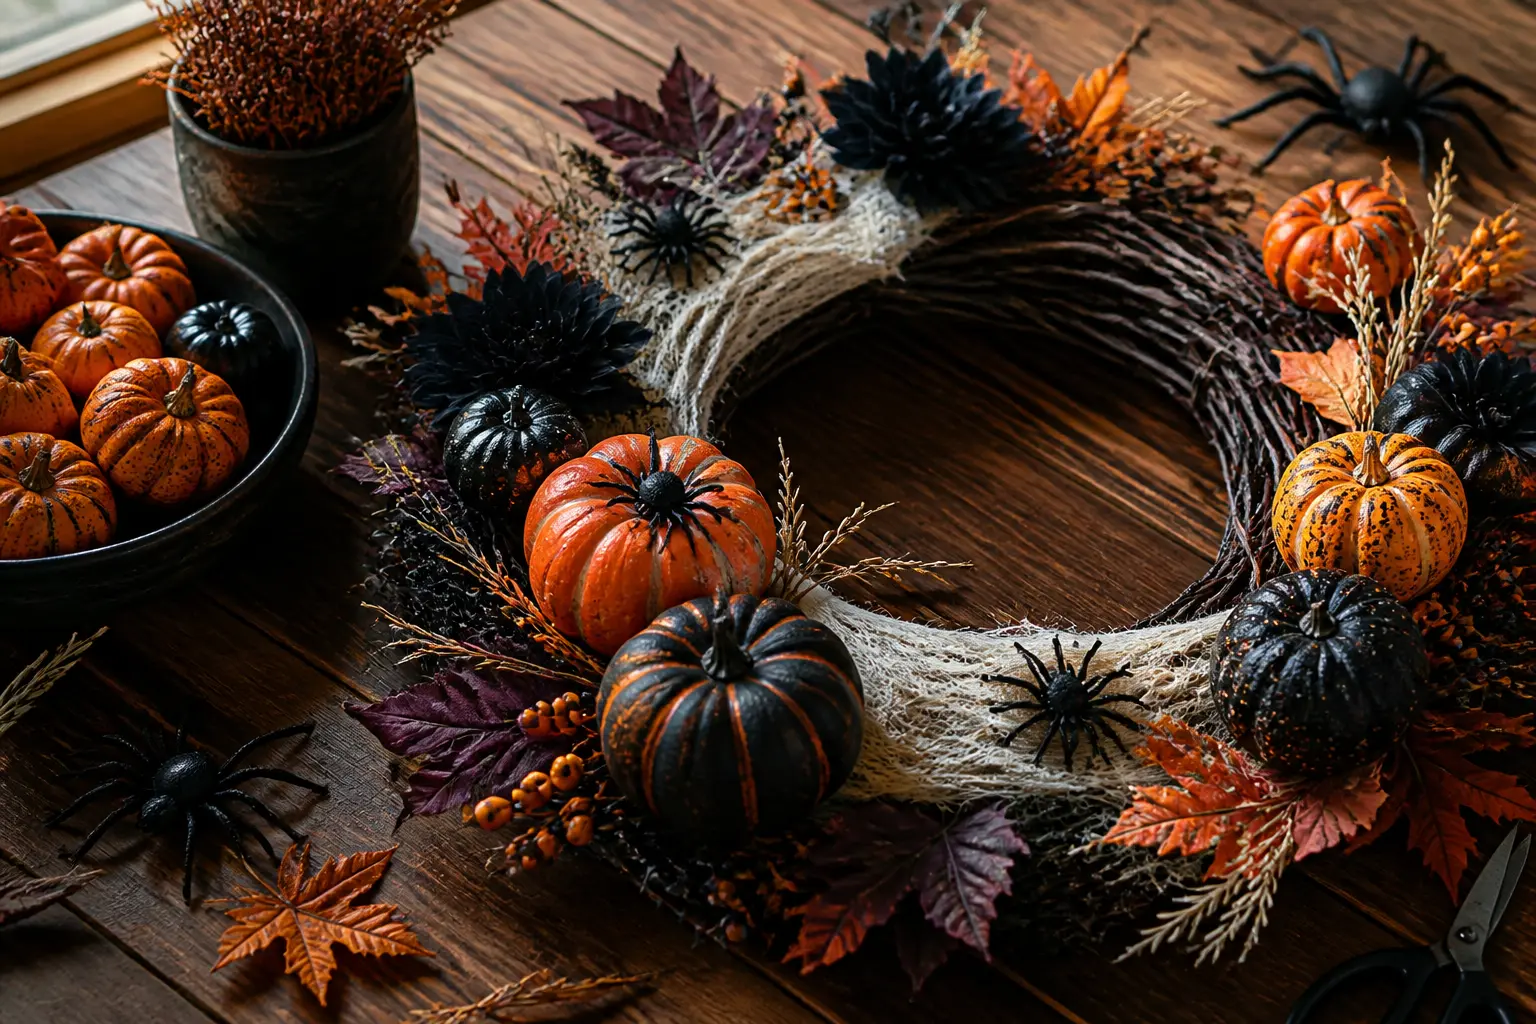
33 halloween wreath ideas from quietly elegant to full-on creepy, every one made by hand, for the on
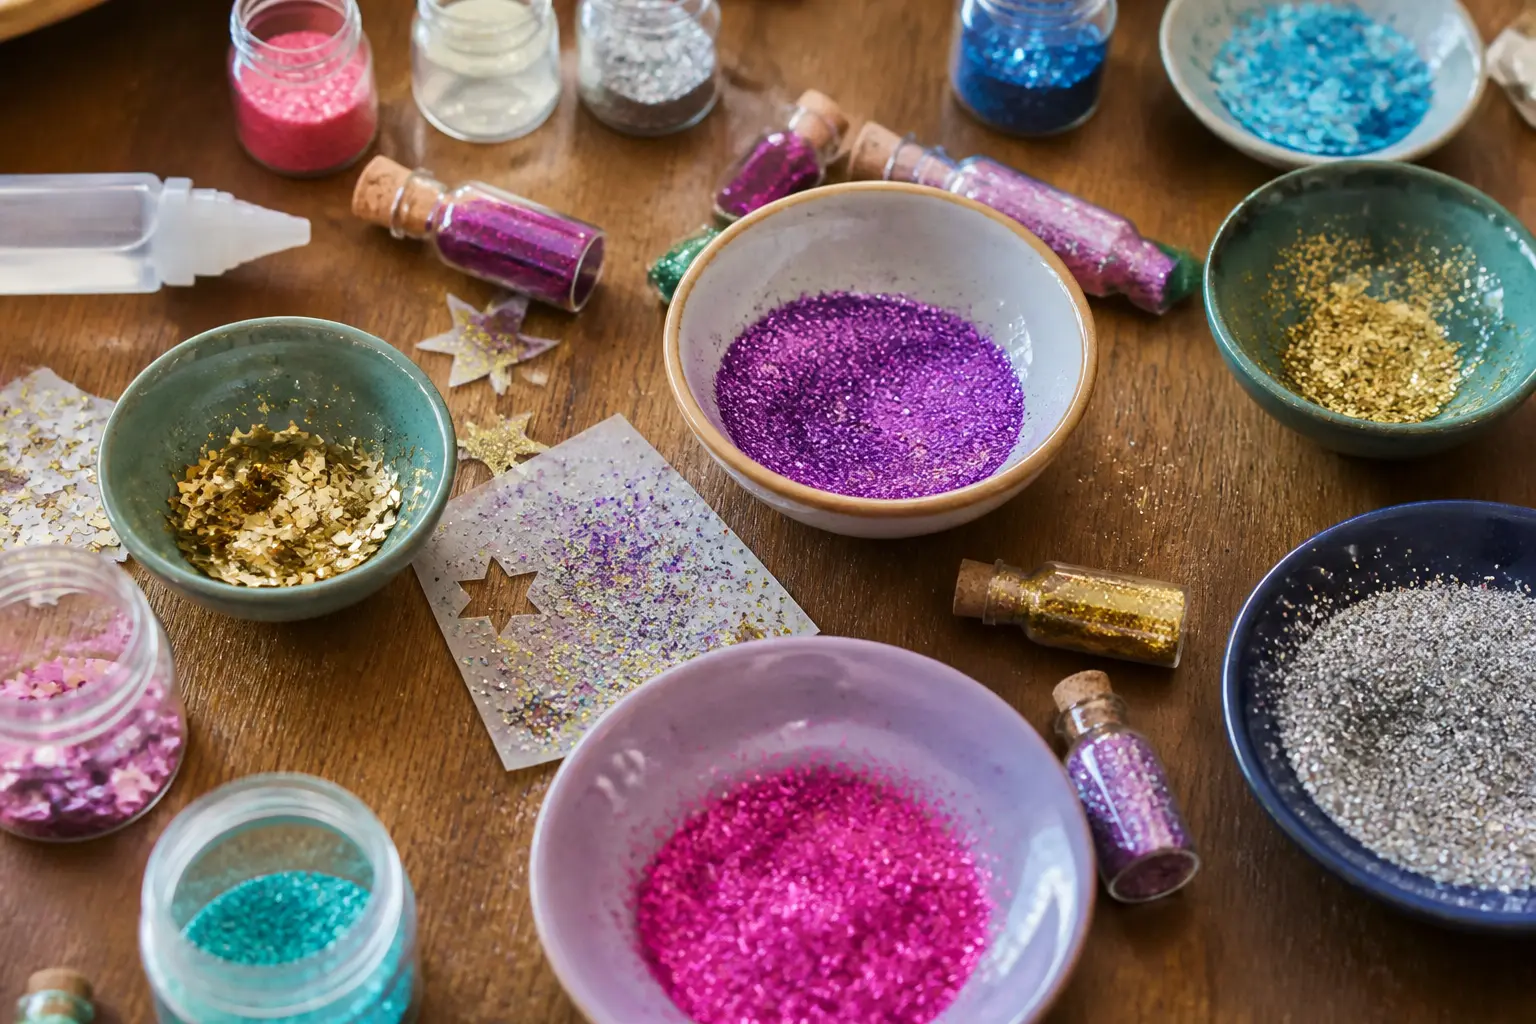
26 Halloween glitter crafts for adults that actually look good: sparkly spider webs, jeweled pumpkin
Leave a Reply