

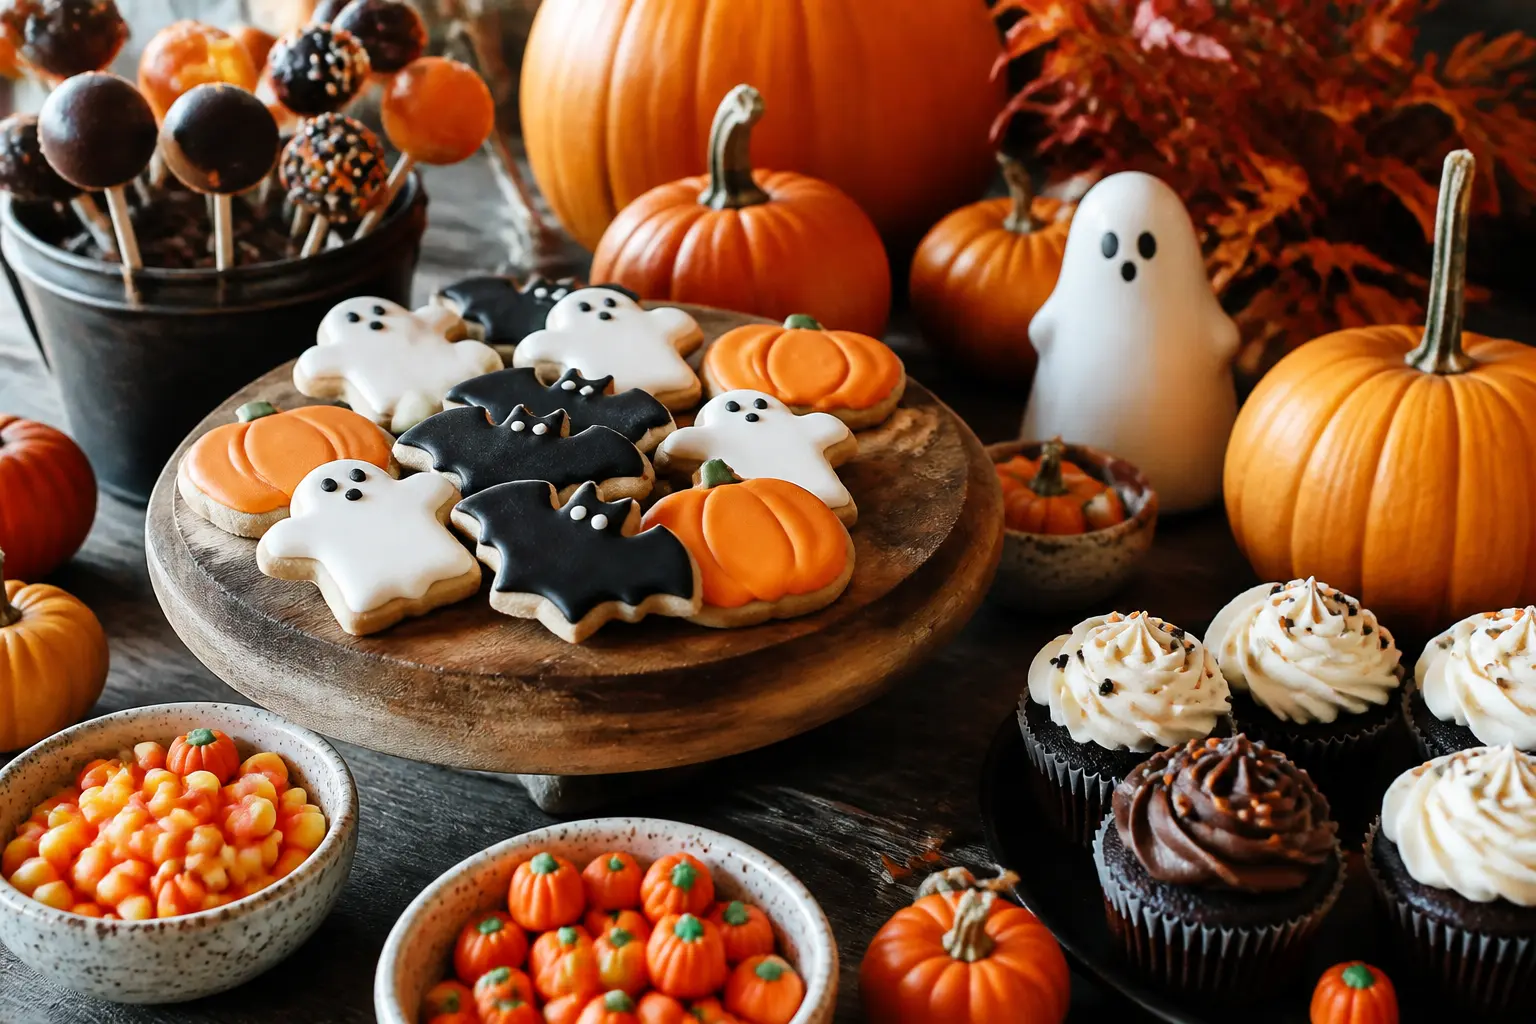
Halloween treats for kids do not have to mean a bowl of individually wrapped sugar. These 18 no-bake ideas use fruit, yogurt, vegetables and a few pantry bits to build ghosts, spiders, skeletons and witches that look genuinely spooky and taste like actual food.
Every recipe here suits ages 4 and up, with notes where younger hands can help. All common allergens (dairy, gluten, tree nuts, seeds) are flagged per recipe so you can swap around any table’s needs.
Make-ahead note: most of these hold well for two to three hours in the fridge, loosely covered. Build the platter the morning of the party, refrigerate, and pull it out thirty minutes before guests arrive so nothing is ice-cold.
Pair the food table with a round of 25 Not-Too-Scary Halloween Party Games for Kids and you have a full afternoon covered. If you want structured activities alongside the snack table, 24 Halloween Activities for Kids With Free Printables is worth bookmarking too.
This post contains affiliate links. If you buy through them, I may earn a small commission at no extra cost to you.
- Banana Ghosts with Chocolate Chip Eyes on a Stick
- Clementine Pumpkins with a Celery Stalk Stem
- Apple Monster Mouths with Sunflower Seed Teeth and a Strawberry Tongue
- Grape Spider Skewers with Pretzel Stick Legs
- Yogurt Ghost Cups with Blueberry Eyes
- Veggie Skeleton Tray Arranged in a Body Shape
- Cheese Stick Mummies Wrapped in Thin Cucumber Ribbons
- Strawberry Ghost Dips Coated in Yogurt with Mini Chip Eyes
- Pear Bat Halves with a Pretzel Wing Pressed into Each Side
- Melon Eyeball Balls with a Blueberry Pressed in the Center
- Carrot Stick Broomsticks Tied with a Cucumber Strip
- Apple Slice Witch Hats with a Grape at the Tip
- Banana Spider Halves with Pretzel Legs and Raisin Eyes
- Satsuma Segment Smiles Arranged in a Jack-o-Lantern Face
- Yogurt-Dipped Pretzel Mummy Sticks
- Kiwi and Grape Monster Cups Layered in Clear Cups
- Cucumber Round Frog Faces with Olive Eyes
- Fruit Skewer Rainbow Arranged in Halloween Colors
- Frequently Asked Questions
Banana Ghosts with Chocolate Chip Eyes on a Stick
Peel, skewer, freeze briefly: that is genuinely the whole project. The banana firms up just enough to hold the chocolate chips in place without melting or sliding.
Make these the night before and keep them in the freezer on a lined tray, then transfer to a platter right before the party. Contains: tree nuts only if a shared knife is used; chips should be dairy-free if needed.
Swap mini chocolate chips for raisin halves for a nut- and dairy-free version.
Ingredients
- 6 ripe but firm bananas
- 24 mini chocolate chips (2 per ghost)
- 12 wooden craft sticks or lollipop sticks
- 1 sheet parchment paper
Instructions
- Peel each banana and cut it in half crosswise so you have 12 chunky rounds, each roughly 5 cm tall.
- Push one craft stick firmly into the flat cut end of each banana half so it holds without splitting the fruit.
- Stand each banana ghost upright on a parchment-lined tray. The curved top will look like a ghost head naturally.
- Press two mini chocolate chips, point-side in, into the upper third of each banana to form eyes.
- Slide the tray into the freezer for at least 1 hour until the bananas are firm and the chips are locked in place.
- Arrange on a serving platter straight from the freezer and serve within 30 minutes before they soften.

🛍 Shopping guide
Clementine Pumpkins with a Celery Stalk Stem
Four ingredients, zero effort, and every single kid recognises exactly what it is supposed to be. The natural segments of a peeled clementine already read as a pumpkin’s ridges.
Cut the celery into short spears and press one piece into the top of each fruit where the navel was. Arrange on a green leaf of kale for a field effect. No allergens beyond the obvious; this one is suitable for all diets.
Ingredients
- 12 clementines or satsumas
- 3 stalks of celery
Instructions
- Peel each clementine, keeping the fruit whole so the segments stay connected and the ridged pumpkin shape is visible.
- Trim the leafy tops off the celery and cut each stalk into 4 short spears, each about 3 cm long.
- Press the flat end of one celery spear firmly into the top of each clementine where the stem navel sits.
- Arrange the pumpkins on a serving board or tray, optionally on a bed of curly kale for a garden patch look.

Apple Monster Mouths with Sunflower Seed Teeth and a Strawberry Tongue
These are the ones kids will actually eat and then ask you to make again. Each apple quarter becomes a wide-open monster mouth: a smear of peanut butter or sunflower seed butter holds the ‘teeth’ and ‘tongue’ in place.
Sunflower seed butter is the swap if any guest has a nut allergy, and the recipe works identically. The strawberry tongue adds a pop of red that makes the monster look properly alarming. Contains: seeds; nut version contains peanuts.
Apples will brown within an hour, so assemble close to serving time or brush the cut flesh with a little lemon juice first.
Ingredients
- 4 large apples (any firm variety)
- 4 tablespoons sunflower seed butter or smooth peanut butter
- 64 sunflower seeds (about 4 per mouth)
- 8 small strawberries, halved lengthwise
- 1 tablespoon lemon juice mixed with 120 ml water (to prevent browning)
Instructions
- Quarter each apple and remove the core, cutting a shallow wedge from the skin side of each quarter to form the upper and lower ‘lips’ of the mouth.
- Dip each cut apple piece briefly in the lemon water, then pat dry.
- Spread about half a teaspoon of sunflower seed butter along the inner flesh of the lower lip piece.
- Press 4 sunflower seeds into the seed butter along the lower lip to form teeth.
- Place one strawberry half, cut side down, in the centre of the lower lip as the tongue.
- Rest the upper lip piece on top at a slight angle so the mouth looks open and menacing.
- Arrange on a platter and serve within 1 hour for best colour.

Grape Spider Skewers with Pretzel Stick Legs
Fast, sturdy enough to travel to a school party, and genuinely fun to build with kids. One large grape sits at the centre of each skewer as the spider body, with pretzel sticks poked in on either side as legs.
A dab of cream cheese or yogurt and two mini chips on a smaller grape make the head. Contains: gluten (pretzels), dairy (cream cheese option). Use gluten-free pretzels if needed. Build up to two hours ahead and keep covered in the fridge.
Ingredients
- 12 large red or black grapes (spider bodies)
- 12 small green or red grapes (spider heads)
- 96 thin pretzel sticks (8 per spider)
- 24 mini chocolate chips (2 per spider)
- 2 tablespoons cream cheese or thick plain yogurt
- 12 short cocktail skewers or toothpicks (blunt-ended for kids)
Instructions
- Thread one large grape onto each skewer, leaving a short length of stick free at the front end.
- Thread one small grape onto the free end of the skewer in front of the large grape so the two grapes touch.
- Poke 4 pretzel sticks into each side of the large grape body, angling them downward slightly to look like legs: 8 legs total per spider.
- Dab a tiny amount of cream cheese onto each of the two front positions on the small grape.
- Press one mini chocolate chip onto each dab to form the spider’s eyes.
- Stand or lay the spiders on a lined tray and refrigerate until ready to serve.

🛍 Shopping guide
Yogurt Ghost Cups with Blueberry Eyes
Individual portions mean no shared-spoon situation, and the white yogurt against a dark blueberry face is immediately recognisable without any decoration skill.
Use a piping bag or a zip-lock bag with a corner snipped to pipe a peaked ghost shape on top of the yogurt, then press the blueberries in before the yogurt sets. Contains: dairy.
Use coconut yogurt to make this dairy-free, though the piped peak will be slightly softer. These hold well in the fridge for up to four hours.
Ingredients
- 480 ml (2 cups) thick plain Greek yogurt
- 2 teaspoons honey or maple syrup
- 1 teaspoon vanilla extract
- 8 small clear plastic or glass cups
- 24 fresh blueberries (3 per cup: 2 eyes, 1 mouth)
Instructions
- Stir the yogurt, honey and vanilla together in a bowl until smooth.
- Spoon 60 ml (a quarter cup) of yogurt into the bottom of each clear cup.
- Transfer the remaining yogurt into a piping bag or a zip-lock bag with a small corner snipped off.
- Pipe a rounded ghost head with a slight peaked top onto the yogurt in each cup, using about 2 tablespoons of mixture per cup.
- Press 2 blueberries side by side into the piped ghost face for eyes, and 1 blueberry below for the mouth.
- Refrigerate cups for at least 15 minutes so the ghost holds its shape before serving.

Veggie Skeleton Tray Arranged in a Body Shape
This one earns its place purely through presentation: the identical vegetables you would serve on any party platter become a full skeleton when you lay them on a black board in a body shape.
Use a hard-boiled egg for the skull, broccoli florets for the ribcage, baby carrots for arm and leg bones, and cauliflower florets for the knees and elbows. Celery sticks form the spine and a halved radish makes the pelvis.
The skeleton needs no dip to look dramatic, but a small bowl of hummus at the hip is a nice finishing touch. No common allergens; check the hummus label if using store-bought. Allergens in hummus: sesame (tahini).
Ingredients
- 2 hard-boiled eggs, peeled (skull)
- 8 large broccoli florets (ribcage)
- 4 long celery sticks, halved (spine and limbs)
- 20 baby carrots (arm and leg bones)
- 8 small cauliflower florets (joints)
- 2 radishes, halved (pelvis)
- 2 black olive halves (eye sockets on the skull)
- 4 tablespoons hummus, to serve alongside
Instructions
- Lay a large dark serving board or tray on a flat surface.
- Place the two hard-boiled eggs side by side at the top of the board for the skull. Press one black olive half onto each egg for eye sockets.
- Arrange two halved celery sticks vertically below the skull as the spine.
- Lay the broccoli florets in two rows along either side of the spine to form the ribcage.
- Place the radish halves just below the ribcage to suggest the pelvis.
- Arrange baby carrots in two columns on each side as arms and legs, using 5 carrots per limb.
- Tuck cauliflower florets at the elbows, shoulders and knee joints.
- Place a small bowl of hummus near the hip area of the skeleton. Serve immediately or refrigerate loosely covered for up to 2 hours.

Cheese Stick Mummies Wrapped in Thin Cucumber Ribbons
String cheese wrapped in cucumber ribbons looks like a mummy with almost no effort.
Use a vegetable peeler to shave long, thin ribbons from a cucumber, then wind them around each cheese stick with small gaps in between so the white cheese peeks through like bandages.
Two small dots of mustard or cream cheese hold the ribbon ends and serve as the mummy’s eyes. This is ready in under fifteen minutes, it requires no refrigeration for the first hour, and kids will eat the cheese and the cucumber. Contains: dairy.
Gluten-free as written.
Ingredients
- 10 individual string cheese sticks
- 2 medium cucumbers
- 2 tablespoons cream cheese or mustard (for the eyes and to anchor ribbons)
- 20 mini chocolate chips or 20 small black sesame seeds (2 per mummy for eyes)
Instructions
- Run a vegetable peeler along the length of each cucumber to produce long, thin green ribbons. You need about 3 to 4 ribbons per mummy.
- Unwrap each cheese stick and lay it flat on a clean surface.
- Wind a cucumber ribbon tightly around each cheese stick in a diagonal, overlapping slightly, leaving small gaps of white cheese visible. Secure the end with a tiny dab of cream cheese pressed against the stick.
- Add one more ribbon wound in the opposite direction for a fuller bandage effect.
- Dab two small dots of cream cheese near the top of the wrapped cheese stick and press one mini chocolate chip onto each dot to form the eyes.
- Stand mummies upright on a board or lay flat on a platter. Serve within 1 hour.

Strawberry Ghost Dips Coated in Yogurt with Mini Chip Eyes
These are the elegant cousins of the banana ghost, and they work best when the strawberries are large and dry before you dip them.
Thick Greek yogurt coats them better than thin yogurt, and a few minutes in the freezer after dipping sets the coating so the chocolate chip eyes stay exactly where you place them. Contains: dairy.
Use coconut yogurt for a dairy-free version: it holds slightly less well but still looks the part. Make up to four hours ahead and keep refrigerated.
Ingredients
- 16 large firm strawberries, washed and fully dried, stems on
- 240 ml (1 cup) thick plain Greek yogurt
- 2 teaspoons honey
- 32 mini chocolate chips (2 per strawberry)
- 1 sheet parchment paper
Instructions
- Mix the yogurt and honey together in a small deep bowl until smooth.
- Hold each strawberry by its stem and dip it into the yogurt, rotating to coat all sides. Let the excess drip off for a few seconds.
- Set each dipped strawberry on the parchment-lined tray, tip pointing upward, so the peak mimics a ghost’s head.
- Immediately press two mini chocolate chips, flat side in, into the yogurt coating on each strawberry to form eyes.
- Place the tray in the freezer for 30 minutes until the yogurt coating is firm and the chips are fixed in place.
- Transfer to a serving plate and keep refrigerated until needed. Eat within 3 hours.

Pear Bat Halves with a Pretzel Wing Pressed into Each Side
A pear half, cut side down, is already the right silhouette for a bat’s body. Two pretzel twists pressed into the fruit on either side become the wings in seconds. A grape cap for the head and two mini chip eyes finish the creature.
The contrast between the golden pear skin and the salted pretzel reads well on a dark plate. Contains: gluten (pretzels). Use gluten-free pretzel twists if needed. Brush cut pear flesh with lemon juice to prevent browning; assemble up to one hour ahead.
Ingredients
- 4 ripe but firm pears
- 16 small pretzel twists (2 per bat)
- 8 small dark grapes
- 16 mini chocolate chips
- 2 tablespoons lemon juice mixed with 120 ml water
- 2 tablespoons cream cheese or peanut butter (to adhere head and eyes)
Instructions
- Halve each pear lengthwise and scoop out the core with a melon baller or small spoon. Dip cut sides in lemon water and pat dry.
- Place each pear half cut-side down on the serving tray. The wide base is the bat’s body and the narrow tip is the tail.
- Press one pretzel twist firmly into each side of the pear half at the widest point, angling it outward and slightly upward to look like open wings.
- Dab a small amount of cream cheese on the narrow tip end of the pear.
- Press one dark grape onto the cream cheese as the bat’s head.
- Add a tiny dab of cream cheese on the grape and press two mini chocolate chips in for eyes.
- Serve immediately or refrigerate loosely covered for up to 1 hour.

Melon Eyeball Balls with a Blueberry Pressed in the Center
A melon baller is the only tool this recipe needs, and the result looks like a tray of eerie eyeballs with almost no effort. Use pale honeydew for white eyeballs and a contrasting dark blueberry for the pupil.
A single press is all it takes: the blueberry sits snugly in the divot the melon baller leaves behind. Arrange on a dark plate for maximum effect. No common allergens. Make up to two hours ahead and keep chilled.
Ingredients
- 1 large honeydew melon (or any pale-fleshed melon)
- 24 large blueberries
Instructions
- Halve the melon and scoop out the seeds.
- Use a melon baller to scoop 24 evenly sized balls from the flesh, pressing firmly to get a complete round ball each time.
- Notice that each ball has a small circular indentation where the baller scooped: this is where the pupil sits.
- Press one large blueberry firmly into the centre divot of each melon ball so it sits flush and does not roll off.
- Arrange on a dark serving plate. Refrigerate until ready to serve.

🛍 Shopping guide
Carrot Stick Broomsticks Tied with a Cucumber Strip
Cut carrot sticks and fan the base to suggest broomstick bristles, then tie them together just below the fan with a thin strip of cucumber peel. This is less fiddly than it sounds: the cucumber strip is flexible enough to wrap and tuck.
Make a batch of twenty in about fifteen minutes and pile them in a tall glass like a bundle of tiny broomsticks. No common allergens, suitable for all ages including under-4s (keep strips long enough to avoid choking risk).
A dip of hummus or ranch alongside earns zero complaints.
Ingredients
- 6 large carrots, peeled
- 1 large cucumber
Instructions
- Cut each carrot into sticks about 10 cm long and 1 cm wide.
- At one end of each carrot stick, make 3 to 4 short cuts about 2 cm deep into the flesh to fan out the ‘bristles’. Fan them gently with your fingers.
- Use a vegetable peeler to peel 20 long strips from the cucumber skin, each about 15 cm long and 5 mm wide.
- Wrap one cucumber strip around each carrot stick just above the fanned end, and tuck the end under itself to hold.
- Arrange in a tall glass or bundle on a board bristle-end up.

Apple Slice Witch Hats with a Grape at the Tip
Apple slices cut into triangles look like witch hats already. A dark grape pressed onto the pointed tip becomes the hat’s buckle, and a strip of pear or banana laid along the base suggests the hat brim.
Arrange them on a platter brim-side down and the effect is immediate. Contains: none; naturally allergen-free. Brush all cut surfaces in lemon water to prevent browning; these hold for up to two hours refrigerated.
Ingredients
- 4 large green or red apples
- 16 small dark grapes
- 2 tablespoons lemon juice mixed with 120 ml water
- 1 ripe banana, cut into 16 thin rounds (for the hat brim)
Instructions
- Core each apple and cut it into quarters. Cut each quarter into a triangle shape by trimming the sides to a point at the top and keeping the flat skin side as the base of the hat.
- Dip all cut apple pieces in lemon water and pat dry.
- Press one dark grape firmly onto the pointed tip of each apple triangle.
- Lay one banana round flat at the base of each triangle to represent the hat brim.
- Arrange on a platter with the banana brim flat on the surface and the grape-tipped point rising up.

Banana Spider Halves with Pretzel Legs and Raisin Eyes
Split a banana lengthwise, lay each half flat, and poke pretzel sticks into the sides as legs. Two raisins pressed on for eyes and the spider is done. The raisin’s stickiness on the soft banana surface means no adhesive needed.
These take five minutes flat and work well as a last-minute addition to the table. Contains: gluten (pretzels), sulphites (raisins, check the pack). Sulphite-free raisins are available in most natural food shops.
Ingredients
- 4 ripe but firm bananas
- 64 thin pretzel sticks (8 per spider)
- 16 raisins (2 per spider)
Instructions
- Peel each banana and halve it lengthwise so you have 8 boat-shaped pieces.
- Lay each banana half flat on the serving board, cut side down.
- Push 4 pretzel sticks into each long side of the banana half at even intervals to form 8 legs in total.
- Press 2 raisins onto the rounded end of each banana half as the spider’s eyes.
- Serve immediately, as the banana will soften and brown within about 30 minutes.

Satsuma Segment Smiles Arranged in a Jack-o-Lantern Face
Peel a satsuma, separate the segments, and lay them on a dark plate in the shape of a jack-o-lantern face: a curved row of segments for the smile, two segments upright for the triangle eyes, and three segments in a V for the nose.
The plate itself becomes the pumpkin’s face. This is a great job for kids to do themselves at the table, which buys a few minutes of occupied hands. No allergens whatsoever. Use as many satsumas as guests need; the recipe scales by plate.
Ingredients
- 3 satsumas or clementines
- 1 dark-coloured round plate (25-30 cm diameter)
Instructions
- Peel all three satsumas and separate the segments completely.
- Arrange 2 single segments near the top of the plate, standing them slightly upright, for the triangle eyes.
- Place 3 segments in a downward-pointing V shape between the eyes to form the nose.
- Curve the remaining segments along the lower third of the plate in a wide arc for the jack-o-lantern smile, turning some slightly sideways to fill gaps.
- Serve immediately or refrigerate the plate for up to 1 hour.

Yogurt-Dipped Pretzel Mummy Sticks
Thick pretzel rods dipped in white yogurt and laid on parchment to set look exactly like bandaged mummies once you draw two chocolate chip eyes on while the coating is still wet.
They are portable, sturdy, and easier to dip than strawberries because pretzels do not need to be dry first. Contains: gluten (pretzels), dairy (yogurt). Make up to three hours ahead: the coating firms as it chills.
For a dairy-free version, use coconut yogurt thickened with a teaspoon of cornstarch stirred in.
Ingredients
- 12 large pretzel rods
- 300 ml (1.25 cups) thick plain Greek yogurt
- 1 tablespoon honey
- 24 mini chocolate chips (2 per pretzel)
- 1 sheet parchment paper
Instructions
- Stir the yogurt and honey together in a tall narrow glass or mug wide enough to fit a pretzel rod.
- Hold each pretzel rod by one end and dip it into the yogurt mixture, rotating slowly to coat about two-thirds of the rod. Let excess drip off for 5 seconds.
- Lay each coated pretzel on the parchment-lined tray, leaving space between them.
- While the coating is still wet, press two mini chocolate chips onto the yogurt near the uncoated end of each rod to form eyes. Press them flat-side-in so they stick.
- Refrigerate the tray for 30 minutes until the yogurt is firm and the coating is set.
- Serve from the tray or stand the mummy sticks upright in a small jar or cup.

Kiwi and Grape Monster Cups Layered in Clear Cups
The green of the kiwi and the deep purple of the grapes layered in a clear cup already reads as a monster without any further decoration.
Scoop the kiwi into rounds with a small melon baller or cut into cubes, halve the grapes, and layer them alternately in a clear cup. Two mini chocolate chips pressed against the inside of the cup near the top become the monster’s eyes peering out.
Contains: none (check grape sourcing). These hold in the fridge for up to three hours, which makes them ideal for a party buffet. Each cup is one portion.
Ingredients
- 6 ripe kiwi fruits, peeled and cut into small cubes (about 1 cm)
- 300 g (2 cups) seedless red or black grapes, halved
- 16 mini chocolate chips (2 per cup)
- 8 small clear plastic or glass cups (about 180 ml capacity each)
Instructions
- Peel and cube all the kiwi fruit into roughly 1 cm pieces.
- Halve all the grapes.
- Place a layer of kiwi cubes in the bottom of each clear cup, filling it about one-third full.
- Add a layer of halved grapes on top, filling to two-thirds.
- Add a final layer of kiwi cubes to the top of each cup.
- Press two mini chocolate chips against the inside of the cup just below the rim on the outside surface, so they look like eyes peering out of the green monster face.
- Refrigerate cups until ready to serve.

Cucumber Round Frog Faces with Olive Eyes
Thick cucumber rounds as the frog’s face, two black olive halves as eyes, and a curved strip of red capsicum as the wide frog smile. Arrange a tray of them and they look like a chorus of frogs mid-song.
The cucumber stays crisp for hours, so these are one of the better make-ahead options on this list. Contains: none. Completely allergen-free. Halve the olives cleanly with a sharp knife for a neater eye, and choose pitted olives to speed things up.
Ingredients
- 2 large cucumbers
- 16 pitted black olives, halved crosswise (32 halves)
- 1 large red capsicum (bell pepper)
Instructions
- Slice each cucumber into thick rounds about 1.5 cm thick. You need 16 rounds total.
- Halve all the black olives crosswise to make 32 flat circles.
- Cut the red capsicum in half, remove the seeds, and cut it into thin curved strips about 3 cm long.
- Lay the cucumber rounds on a tray in a single layer.
- Press two olive halves, cut-side down, onto the upper portion of each cucumber round for the eyes.
- Place one curved strip of red capsicum on the lower portion of each cucumber round to form the wide frog smile.
- Serve immediately or refrigerate loosely covered for up to 3 hours.

Fruit Skewer Rainbow Arranged in Halloween Colors
A rainbow in Halloween’s colour palette means orange clementine segments, purple grapes, green kiwi, and red strawberries threaded onto skewers and laid in an arc on a white platter.
The effect is colourful, the fruit is varied enough that every child finds something they like, and you can scale the number of skewers to the headcount without a second thought. Contains: none; naturally allergen-free. Use blunt-ended skewers for younger children.
Assemble up to two hours ahead and refrigerate.
Ingredients
- 3 clementines, peeled and segmented (orange)
- 200 g (1.5 cups) seedless purple grapes
- 3 kiwi fruits, peeled and cut into thick rounds (green)
- 16 large strawberries, hulled (red)
- 16 blunt-ended short skewers (about 18 cm long)
Instructions
- Prepare all fruit: separate the clementine segments, leave grapes whole, cut kiwi into rounds about 1 cm thick, and hull the strawberries.
- Thread each skewer in Halloween rainbow order: 1 strawberry, 2 grapes, 1 kiwi round, 2 clementine segments.
- Repeat until all 16 skewers are filled.
- Lay the skewers on a large white platter in a gentle arc shape, with the red strawberry end on the outside of the arc and the orange clementine end on the inside.
- Refrigerate loosely covered until ready to serve.

🛍 Shopping guide
Frequently Asked Questions
Can I make these halloween treats for kids the night before?
Most of the fruit-based treats hold for two to three hours refrigerated, but a few work well made the night before: the banana ghosts on sticks freeze overnight beautifully, and the yogurt ghost cups and yogurt-dipped pretzel mummy sticks keep well for up to 4 hours covered in the fridge.
Anything with cut apple or pear is best assembled on the day, within an hour of serving, even with lemon juice treatment.
Are these halloween treats safe for kids under 4?
Most are safe for children aged 2 and up with small adjustments. Avoid whole grapes and blueberries for children under 4; halve them lengthwise before serving. Remove pretzel sticks from skewers for toddlers and serve the fruit separately. The clementine pumpkins, melon eyeballs (blueberry removed or halved), carrot broomsticks and satsuma smiles are all naturally fine for younger children.
Which of these treats are dairy-free?
The banana ghosts, clementine pumpkins, apple witch hats, banana spiders, satsuma smiles, melon eyeballs, carrot broomsticks, cucumber frog faces and fruit skewer rainbow are all naturally dairy-free.
Recipes using cream cheese or Greek yogurt have a dairy-free swap noted: coconut yogurt works in the ghost cups and strawberry ghost dips, and sunflower seed butter replaces cream cheese in the monster mouths.
Which treats are gluten-free?
All recipes without pretzel sticks or rods are naturally gluten-free. That covers the banana ghosts, clementine pumpkins, apple monster mouths, yogurt ghost cups, veggie skeleton tray, melon eyeballs, apple witch hats, satsuma smiles, cucumber frog faces, carrot broomsticks and fruit skewer rainbow.
For the grape spiders, pear bats, banana spiders, yogurt-dipped pretzel mummy sticks and kiwi monster cups, substitute certified gluten-free pretzels and the recipe is equally gluten-free.
How many of these halloween treats should I make per child?
As a rough guide, plan 3 to 4 individual items per child if these are served alongside other party food, or 5 to 6 items if this is the main snack table.
The tray recipes like the veggie skeleton and the satsuma jack-o-lantern plate are designed to be shared, so count those differently.
Building a variety of 4 or 5 different treats rather than a large quantity of one gives the best visual spread and suits picky eaters.
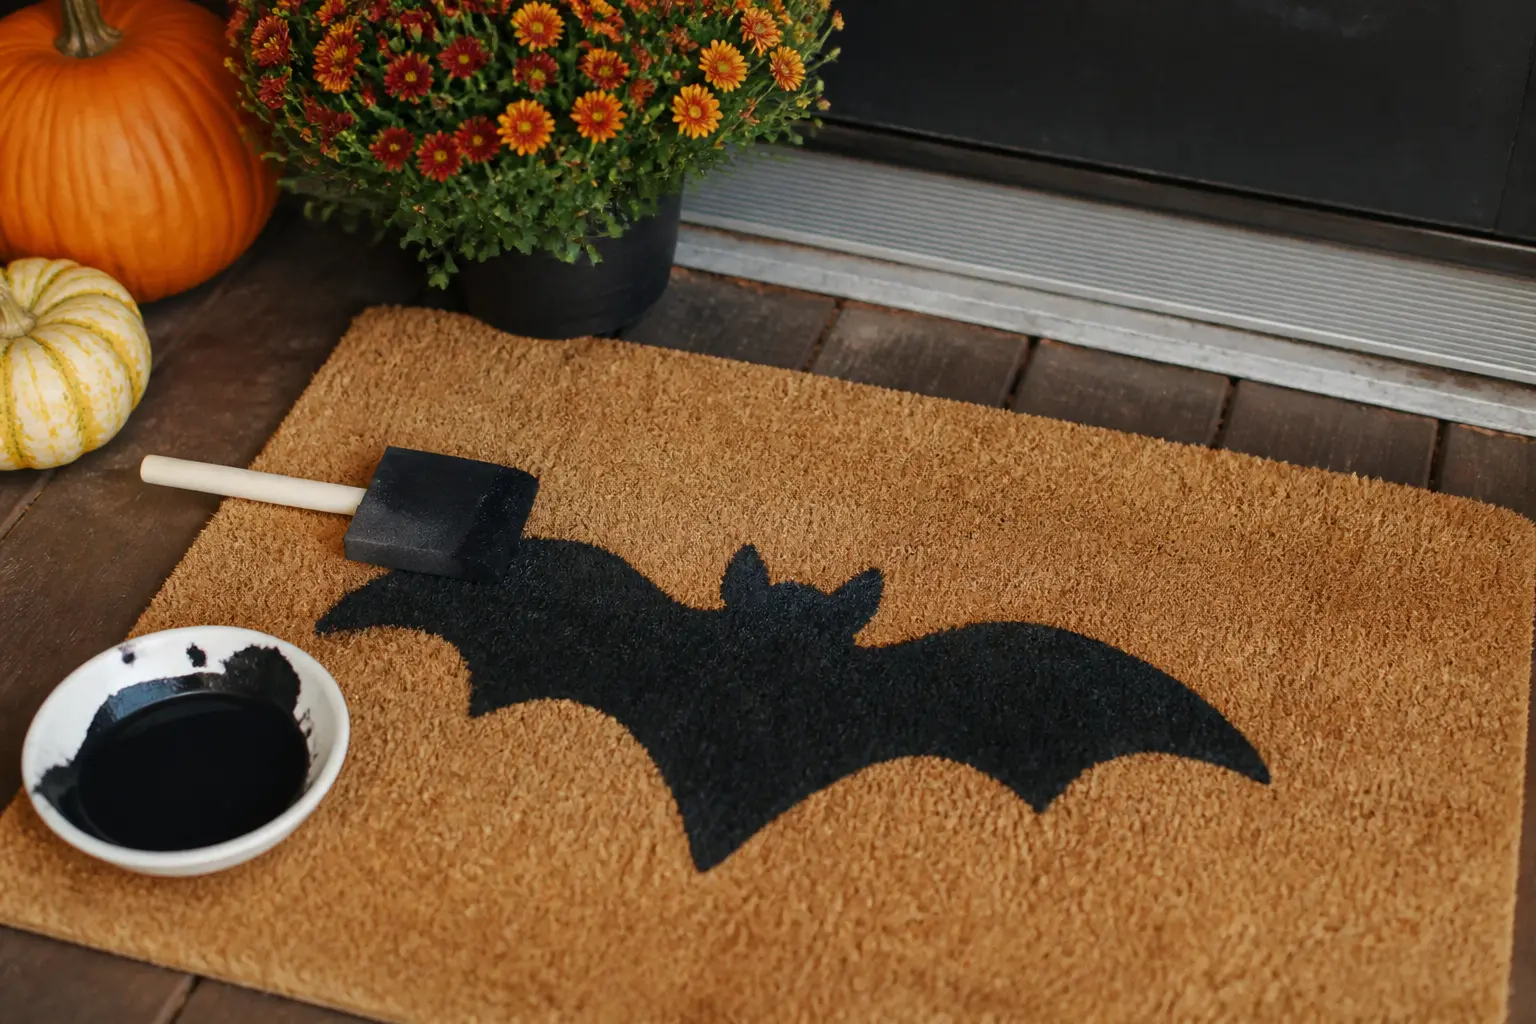
14 freehand-painted DIY Halloween doormats you can finish in one afternoon, using acrylic paint, ste
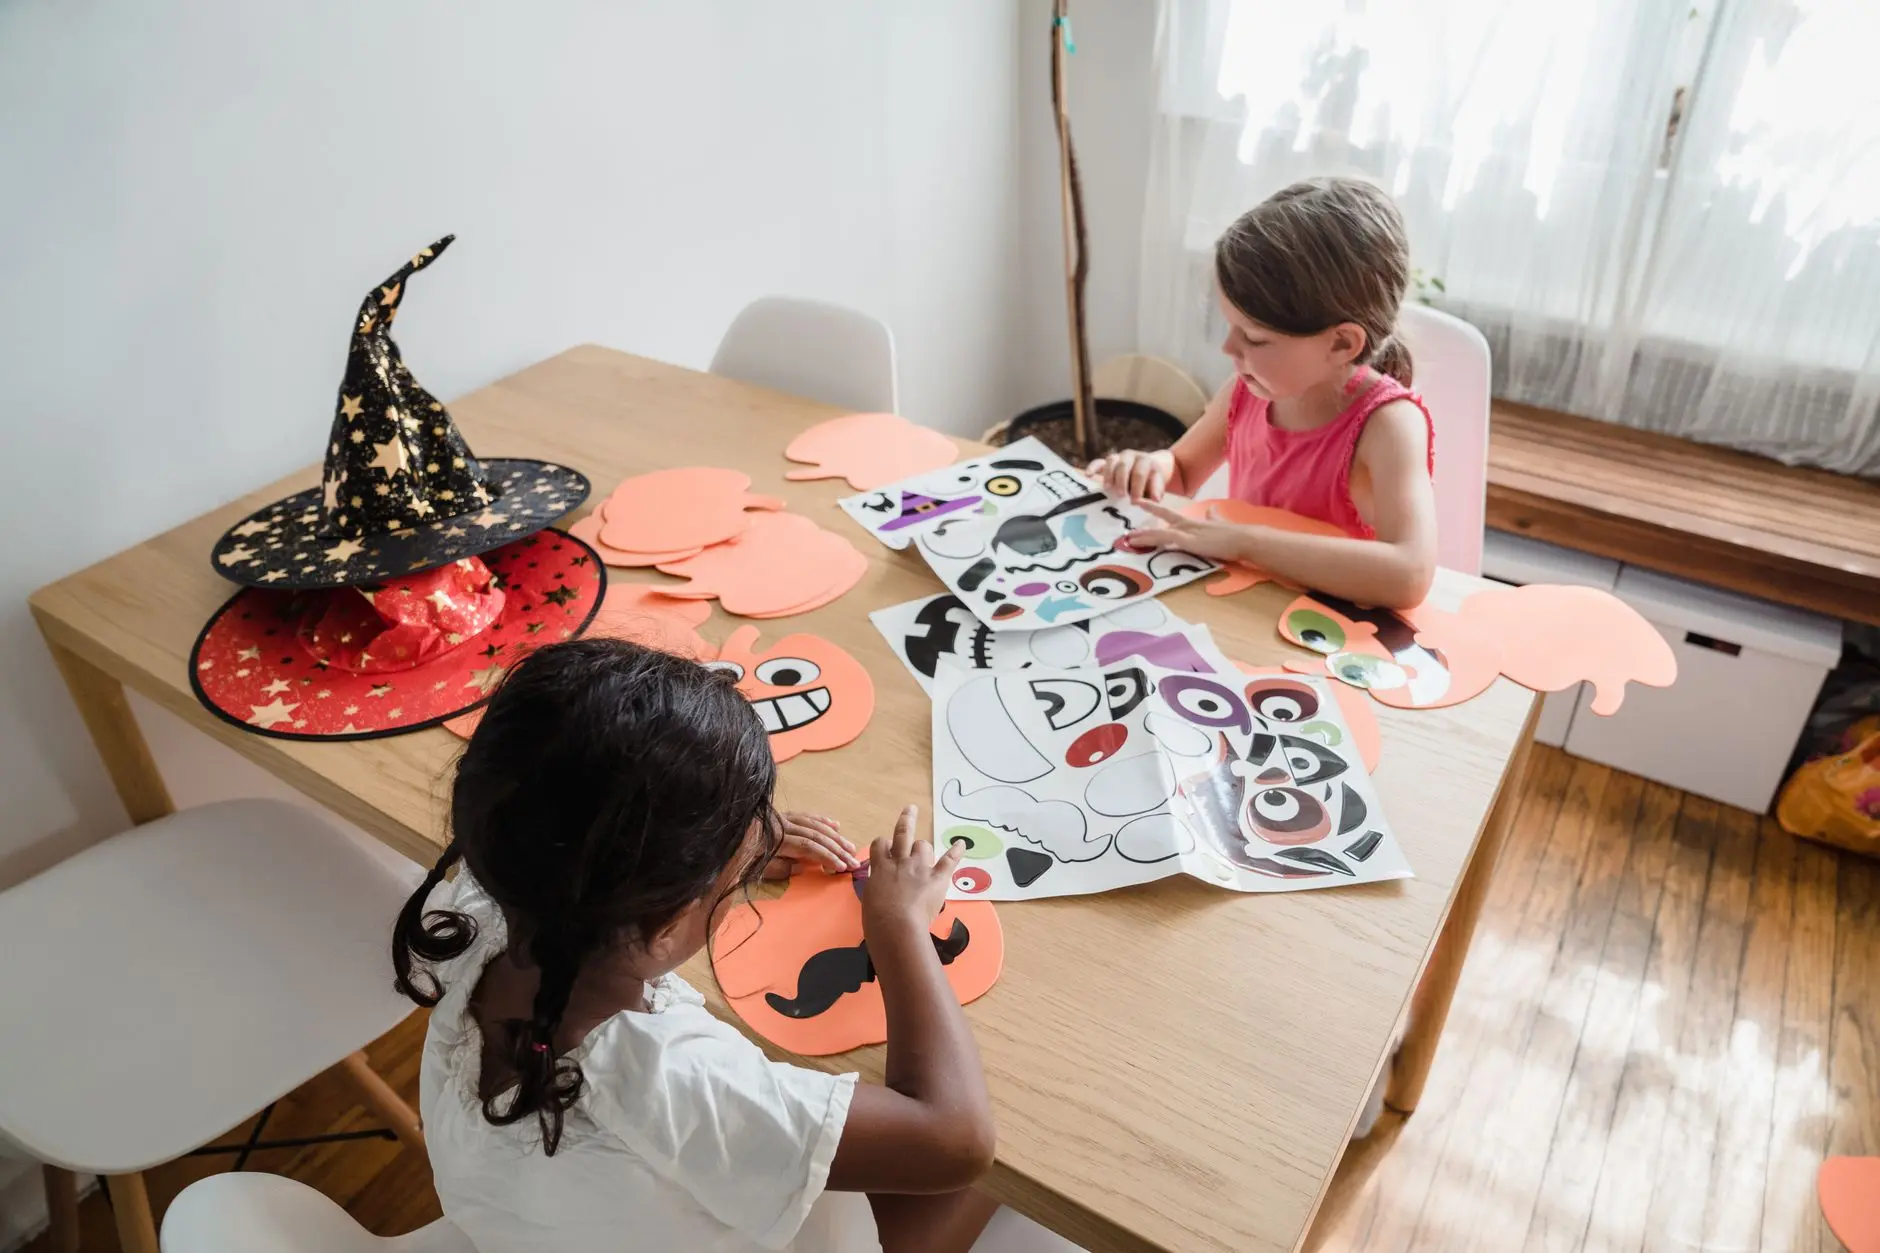
18 Halloween kids crafts sorted by age so toddlers, preschoolers and older kids work side by side on
16 Halloween games and activities for kids — active, printable, and quiet. Perfect for class parti
Leave a Reply