

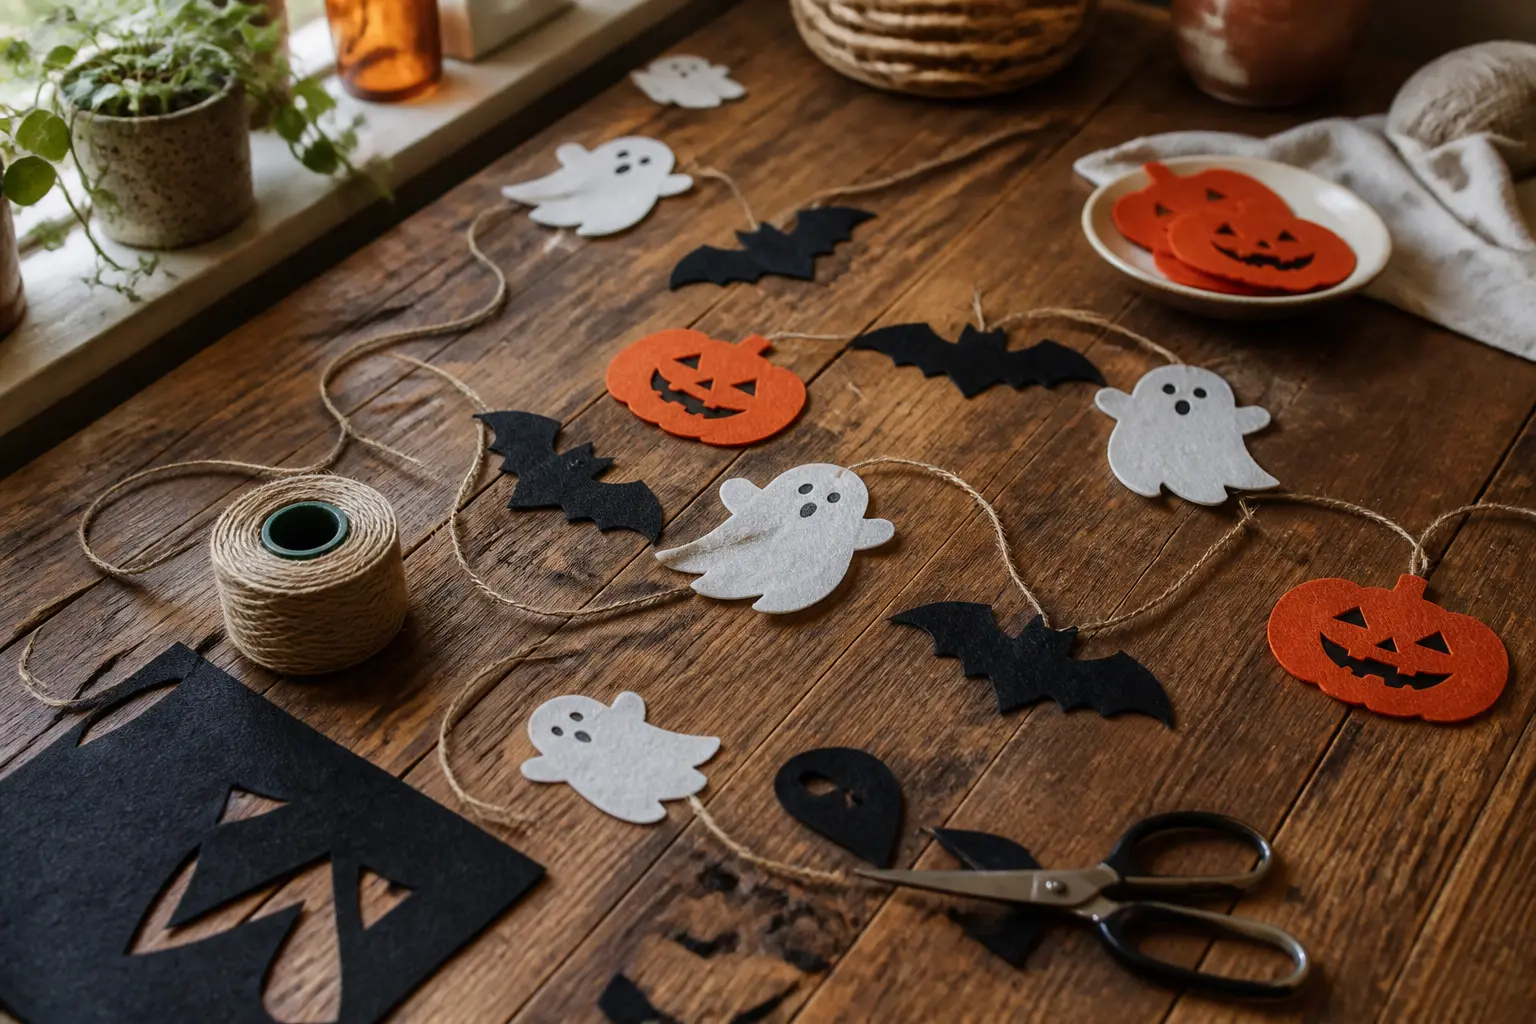
A garland is the fastest way to change the feeling of a room, and Halloween garlands have the added advantage of working on a mantelpiece, a staircase, a doorframe, or strung between two nails above a buffet table. The sixteen ideas below use different materials, different techniques, and land in different parts of the house. Some take twenty minutes. The longest takes an afternoon, and most of the time is drying. Every one of them hangs the same day you make it.
If you want the full Halloween party picture once your garland is up, 30 Unforgettable Halloween Party Ideas and Games will fill in the rest. And if you are building the whole room display from scratch, 15 Easy DIY Halloween Decorations With Three Steps or Fewer pairs neatly with this list.
This post contains affiliate links. If you buy through them, I may earn a small commission at no extra cost to you.
- Party-Hat Mini Pumpkin Garland
- Retro Paper Character Garland
- Painted Leaf and Pinecone Nature Mobile Garland
- Black Velvet Ribbon and Bone Bead Garland
- Washi Tape Stained-Glass Window Garland
- Salt-Dough Ghost Garland
- Crepe Paper Honeycomb Ball Garland
- Felt Bat Pennant Garland
- Copper Wire and Black Bead Web Garland
- Marbled Paper Moon Garland
- Dried Orange Slice and Rosemary Garland
- Lino-Print Fabric Flag Garland
- Paper Tube Skeleton Garland
- Dip-Dyed Muslin Ghost Garland
- Stamped Cork Garland
- Ink-Wash Watercolour Pennant Garland
- Frequently Asked Questions
Party-Hat Mini Pumpkin Garland
Real mini pumpkins painted in chalky, non-orange shades and topped with tiny paper cones thread onto baker’s twine to make a garland that looks expensive and takes about an hour of active work. The finished string reads as playful but not childish, the kind of thing that works above a mantelpiece or draped along a windowsill. After the party, remove the pumpkins and compost them; the cones store flat in an envelope for next year.

Party-Hat Mini Pumpkin Garland
What You Need
- 12 mini pumpkins, roughly golf-ball to tennis-ball size
- Chalk paint in dusty rose, marigold, coral, and cream, 1 small pot of each
- Foam brush, 2.5 cm wide
- Card stock, 200 gsm, in pink, peach, and pale yellow, 3 sheets
- Small pom-poms, 1 cm diameter, in mixed pastel colours, 12
- 24 googly eyes, 12 mm diameter
- Black fine-tip permanent marker
- Hot glue gun and glue sticks (adult step)
- Bamboo skewer
- Baker's twine, red and white twist, 3 m
How to Make It
- Paint each pumpkin with two coats of chalk paint, letting the first coat dry for 30 minutes before adding the second. The surface should look slightly powdery and opaque when it is ready.
- While the pumpkins dry, cut each card-stock sheet into four equal rectangles (roughly 7 cm x 10 cm). An adult should do this with scissors or a craft knife. Roll each rectangle into a cone about 5 cm tall, tape the seam, and trim the base flat so it sits level.
- Hot glue (adult step) one pom-pom to the tip of each cone.
- Use the bamboo skewer to poke a small pilot hole through the top of each pumpkin stem, or through the pumpkin itself if the stem is missing. Thread one end of the baker's twine through each hole, tie a double knot on the underside to anchor it, and space the pumpkins about 15 cm apart along the twine.
- Hot glue (adult step) two googly eyes onto the front of each pumpkin. Draw a small curved smile with the permanent marker just below the eyes.
- Hot glue (adult step) one cone hat onto the top of each pumpkin at a slightly jaunty angle.
- Hang by looping the ends of the twine over two hooks or nails.
Good to Know
🛍 Shopping guide
Retro Paper Character Garland
Vintage-style Halloween characters, a black cat face, a round ghost, and a grinning pumpkin head, cut from card and threaded with hand-painted yellow stars give a garland the feel of a 1950s party decoration without the flea-market price tag. Hang it on a wire for the rigid, slightly formal drape you see in old images, or use twine for a softer loop. Store it flat between sheets of tissue paper in a box.

Retro Paper Character Garland
What You Need
- Black card stock, 300 gsm, 2 A4 sheets
- White card stock, 300 gsm, 1 A4 sheet
- Orange card stock, 300 gsm, 1 A4 sheet
- Acrylic paint in cadmium yellow, orange, black, white, and pink, small tubes
- Fine round paintbrush, size 2
- Craft knife and self-healing cutting mat (adult step)
- Pencil and eraser
- Hole punch, 5 mm
- Black craft wire, 26 gauge, 1.5 m
- Strong PVA glue
How to Make It
- Sketch three character shapes freehand in pencil on card: a cat face roughly 10 cm tall on black card, a teardrop ghost roughly 9 cm tall on white card, and a round pumpkin face roughly 10 cm in diameter on orange card. Keep the outlines simple and slightly irregular for a hand-cut retro look.
- An adult cuts out all three shapes cleanly with the craft knife on the cutting mat.
- Paint the character details: cat gets yellow eyes with black slits, an orange party hat triangle, and a jagged smile; ghost gets two wide dot eyes and rosy pink cheeks; pumpkin gets a dark navy witch hat painted on, triangle eyes, and a wide crooked grin. Let each character dry flat for 30 minutes.
- Cut eight star shapes from yellow card, each about 6 cm point to point. Paint them with cadmium yellow acrylic for an even, slightly shiny finish and let them dry 20 minutes.
- Use the hole punch to make one hole at the top of each character and each star.
- Thread all pieces onto the craft wire in this order: star, star, cat, star, ghost, star, pumpkin, star, star. Leave 15 cm of wire free at each end for hanging.
- Bend the wire ends into small loops around a nail or hook, curving the wire gently between pieces so it drapes in a natural arc.
Good to Know
🛍 Shopping guide
Painted Leaf and Pinecone Nature Mobile Garland
Autumn leaves painted chalk-white become ghost faces. Unpainted brown leaves get small googly-eye monsters. Black paper bat silhouettes clip alongside real pinecones. A pale birch branch or any smooth-barked stick ties everything together at the top. This is genuinely free if you forage the branch, leaves, and cones, and the jute twine costs almost nothing. It suits a front door, a porch, or a bare wall that needs texture. After Halloween, take the whole thing apart in five minutes: compost the natural pieces, fold the bats flat, and loop the twine back into a ball.

Painted Leaf and Pinecone Nature Mobile Garland
What You Need
- 1 birch branch or smooth stick, 40-50 cm long
- 6 large dried autumn leaves, at least 12 cm across (oak or maple work best)
- 4 pinecones, medium, roughly 5-7 cm tall
- White chalk paint or white acrylic paint, 1 small pot
- Black acrylic paint, 1 small pot
- Foam brush, 2 cm wide
- Black card stock, 200 gsm, 1 A4 sheet
- 12 googly eyes, 8 mm diameter
- Black fine-tip permanent marker
- Natural jute twine, 3 m
- 8 small wooden clothespins (mini pegs), about 3 cm long
- PVA glue or hot glue gun (adult step for hot glue)
How to Make It
- Lay the dried leaves flat. Paint three of them all over with white chalk paint using the foam brush. Two coats give a solid, slightly chalky finish; let each coat dry for 20 minutes. The leaf veins will still show faintly through, which looks intentional and lovely.
- On the white leaves, use the permanent marker to draw two large round eyes and a small open-circle mouth on each one, turning each leaf into a simple ghost face.
- On two of the unpainted brown leaves, glue two googly eyes near the top with PVA or a tiny dot of hot glue (adult if using hot glue). Draw a small jagged mouth with the marker to make a friendly monster.
- Cut bat shapes from the black card stock: draw two bat silhouettes, each about 10 cm wingspan, and cut them out (adult step with scissors). Fold each bat body slightly along the centre so the wings angle up a little.
- Cut six lengths of jute twine ranging from 20 cm to 35 cm. Tie one end of each length around a mini peg and let the other end hang free. Tie the remaining twine in a loop around the branch about 5 cm from each end to make two hanging points.
- Arrange pieces along the branch, clipping leaves, bats, and pinecones with the mini pegs. Mix heights by using different twine lengths. The branch should feel full but not crowded; aim for three or four elements clustered towards the centre with single pieces trailing at the sides.
- Hang the branch from the two end loops on a hook or nail.
Good to Know
Black Velvet Ribbon and Bone Bead Garland
A strand of matte black velvet ribbon threaded with cream and bone-coloured wooden beads reads as Halloween without a single pumpkin or ghost in sight. It suits a sophisticated living room or a bedroom doorframe, and it stores coiled in a drawer. The whole thing takes under thirty minutes if you have the beads and ribbon ready.

Black Velvet Ribbon and Bone Bead Garland
What You Need
- Black velvet ribbon, 12 mm wide, 2 m
- 40 wooden beads, 20 mm diameter, in cream and natural wood tones
- 10 wooden skull beads, 18-20 mm, in white or bone colour
- Strong clear-drying craft glue (such as a jewellery glue)
- Tapestry needle, size 18
- Scissors
How to Make It
- Cut the velvet ribbon to 180 cm. Thread the tapestry needle with the ribbon (fold the ribbon end to a point and ease it through the needle eye; a small piece of tape wrapped around the tip helps stiffen it).
- Thread beads onto the ribbon in a loose pattern: two cream wooden beads, one skull bead, two natural beads, one skull bead. Repeat until you have used all the beads or reached the last 15 cm at each end.
- Once all the beads are on, push them gently towards the centre so they sit with about 1 cm of ribbon showing between each bead. This gives the strand a relaxed, slightly draped look rather than a tight packed line.
- Tie a double knot at each end of the ribbon, just outside the last bead, to stop them sliding off.
- Put a small dot of clear craft glue on each end knot and let it dry for five minutes. This is the only step where anything can go wrong: skip the glue and the knot will eventually loosen.
- Hang by tying the ribbon ends to two hooks, or loop each end over a small nail.
Good to Know
Washi Tape Stained-Glass Window Garland
Strips of translucent orange, black, and gold washi tape layered over a sheet of clear acetate produce a fake stained-glass panel that glows when light hits it. Cut those panels into bat, moon, and pumpkin shapes, punch a hole at the top, and string them on thin gold cord for a garland that looks remarkable in a window. This is a no-mess, no-glue project that anyone can do at the kitchen table.

Washi Tape Stained-Glass Window Garland
What You Need
- Clear acetate sheets, A4, 210 gsm, 5 sheets
- Washi tape in translucent orange, black, and gold, 1 roll of each
- Scissors (adult step for acetate)
- Pencil
- Hole punch, 5 mm
- Gold cord or thin metallic thread, 1.5 m
- Simple bat, moon, and pumpkin templates printed on paper, or drawn freehand, each roughly 8-10 cm
How to Make It
- Lay an acetate sheet flat. Cover it completely with overlapping strips of washi tape, alternating colours and directions. The strips can overlap messily; that randomness is what creates the stained-glass effect. Press each strip down firmly so no bubbles form.
- Flip the taped sheet over and place a paper template on the back. Trace around it lightly with a pencil, then set the template aside. Repeat on fresh areas of the sheet for each shape, using all five sheets to make about 12-15 shapes total.
- An adult cuts out each shape with scissors. Acetate is slippery; cutting slowly in one continuous motion gives cleaner edges than short snips.
- Punch one hole at the top of each shape, about 5 mm from the edge.
- Cut twelve lengths of gold cord, each 12 cm. Fold each length in half, push the loop through a shape's hole, and pull the two ends through the loop to make a lark's head knot. This gives each shape a neat hanging point.
- Tie all the shapes onto a main length of gold cord, spacing them roughly 10 cm apart. Hang the garland where light hits it: a window, a glass door, or beside a lamp.
Good to Know
Salt-Dough Ghost Garland
Salt dough is the oldest craft medium in the book and still one of the best. Mix it, cut little ghost shapes, bake them, paint them bone-white, add tiny black bead eyes, and thread them onto black linen cord. The finished garland has a satisfying weight and a slightly rustic, artisan look. Store it in a tin for years.

Salt-Dough Ghost Garland
What You Need
- Plain flour, 240 g (about 2 cups)
- Fine table salt, 120 g (about 1 cup)
- Water, 120 ml, room temperature
- Rolling Pin
- Ghost cookie cutter or a ghost template cut from card, about 8 cm tall
- Cocktail straw or thin drinking straw, for punching holes
- White acrylic paint, 1 small pot
- Foam brush, 2 cm wide
- 24 black seed beads, 4 mm, for eyes
- Strong clear-drying glue
- Black linen cord or thin black jute, 1.5 m
- Baking tray lined with parchment
How to Make It
- Mix flour, salt, and water in a bowl until the dough comes together. Knead it for two minutes on a lightly floured surface until smooth and pliable. If it feels sticky, add flour a pinch at a time; if it cracks, add water a drop at a time.
- Roll the dough to about 5 mm thickness. Cut out 10-12 ghost shapes. Use the cocktail straw to punch a clean hole near the top of each ghost, about 8 mm from the edge. The straw gives a neater hole than a pencil.
- Preheat the oven to 160 C (fan 140 C). Place the shapes on the lined baking tray and bake for 2 to 2.5 hours, until the dough is completely hard and sounds hollow when tapped on the bottom. An adult handles all oven steps. Let the shapes cool completely on a wire rack; this takes about 30 minutes.
- Paint each ghost with two coats of white acrylic, letting the first coat dry for 15 minutes before applying the second. The finished surface should be matte and opaque.
- Glue two black seed beads onto each ghost face for eyes. Let the glue cure for at least 20 minutes before handling.
- Thread the black cord through each ghost's hole, spacing ghosts about 12 cm apart along the cord. Tie a knot on either side of each ghost to hold it in place.
Good to Know
Crepe Paper Honeycomb Ball Garland
Stacked and folded crepe paper squares, glued at intervals, open into a three-dimensional honeycomb ball when you pull the layers apart. Make them in black, burnt orange, and ivory, thread them on black cord, and the result looks like something from a high-end paper goods shop. Each ball takes about eight minutes once you have done the first one.

Crepe Paper Honeycomb Ball Garland
What You Need
- Crepe paper in black, burnt orange, and ivory, 1 roll of each
- PVA glue or a glue stick
- Scissors
- Ruler and pencil
- Black waxed cord, 2 m
- Large-eye tapestry needle
How to Make It
- Cut 20 squares of crepe paper per ball, each 12 cm x 12 cm. Stack them in a neat pile. The grain of the crepe paper should run the same direction on every sheet.
- Apply a thin line of PVA glue or swipe a glue stick horizontally across the centre of the first sheet. Lay the second sheet on top and press firmly. Repeat, alternating: glue the second sheet at the top quarter, the third at the centre, the fourth at the top quarter. The pattern is: centre, top, centre, top all the way through the stack. Let the stack dry flat under a heavy book for 20 minutes.
- Once dry, trim both short ends of the stack into a rounded arch shape: stack the pile, draw a gentle curve across the top, and cut through all layers at once with sharp scissors. This creates the ball's silhouette.
- Pierce a hole through the very centre of the stack (straight through all layers) with the tapestry needle.
- Thread a 15 cm length of waxed cord through the needle and pull it through the hole. Tie both ends in a firm knot on one side to act as an anchor.
- Gently fan the layers apart from both sides, pulling the top sheet away from the bottom sheet until the ball opens into a full sphere. If a layer tears, a small dot of glue will reattach it.
- Tie each finished ball onto the main 2 m cord at 20 cm intervals.
Good to Know
Felt Bat Pennant Garland
Small triangular felt pennants with a bat silhouette appliqued on each one make a garland that is soft, reusable, and completely washable. Use charcoal, ink, and slate grey felts rather than pure black for a palette that reads as modern rather than costume-shop. The pennants store flat in a zip-lock bag. No sewing machine needed; everything bonds with fabric glue.

Felt Bat Pennant Garland
What You Need
- Wool felt sheets, 30 cm x 30 cm: 6 in charcoal, 4 in slate grey, 3 in ivory
- Fabric glue (strong, flexible, clear-drying)
- Scissors
- Pencil and card for templates
- Ruler
- Jute or black cotton twine, 2 m
- Mini wooden clothespins, 3 cm, 13
How to Make It
- Cut 13 triangles from the felt sheets, each 14 cm wide at the top and 18 cm tall. Mix charcoal and slate grey pennants; a few ivory ones lighten the run nicely. Cut with long clean strokes of the scissors to avoid a jagged edge.
- Draw a simple bat silhouette on card, about 8 cm wingspan, and cut it out as a template. Trace this template onto the remaining felt (use charcoal on ivory pennants and ivory on charcoal pennants) and cut out 13 bat shapes.
- Apply a thin, even layer of fabric glue to the back of each bat shape and press it firmly onto the centre of its pennant, about 4 cm up from the point. Hold each one in place for 30 seconds. Let all pennants dry flat for 45 minutes; the glue should be fully clear and firm before you handle them.
- Clip each pennant to the jute twine with a mini clothespin, placing the pin across the top edge of the pennant about 1 cm from the top. Space them roughly 12 cm apart.
- Hang the twine between two hooks. The weight of the felt gives the garland a pleasing natural droop.
Good to Know
🛍 Shopping guide
Copper Wire and Black Bead Web Garland
Coiled copper wire shapes into small open-circle frames. Black seed beads and clear beads fill each circle in a simple web pattern. Hang six or eight frames on a length of raw brass chain and the result is jewellery-level Halloween decor that works all autumn, not just on the thirty-first. This is the most technical craft in the set, but it rewards the effort.

Copper Wire and Black Bead Web Garland
What You Need
- Copper craft wire, 20 gauge, 5 m reel
- Black seed beads, size 8/0, 1 small pack
- Clear glass seed beads, size 8/0, 1 small pack
- Round-nose pliers (adult step)
- Wire cutters (adult step)
- Cylindrical marker pen or a 2.5 cm dowel rod, for forming circles
- Brass cable chain, 1.2 m
- 8 small jump rings, 6 mm, in copper or gold
How to Make It
- An adult cuts eight lengths of copper wire, each 45 cm. Wrap one length three times around the marker pen or dowel, then slide it off to form a coiled circle about 2.5 cm in diameter. Twist the ends together twice at the join to close the circle, leaving one tail of wire pointing inward across the circle's face. This tail is your web-thread anchor.
- Thread 8-10 black seed beads onto the inner tail. Bring the tail across the circle's diameter and wrap it once around the opposite edge of the frame, pulling just tight enough to hold the bead strand taut without distorting the circle. Repeat with a second strand crossing at an angle, using clear beads this time, then a third with black again. Three crossing strands per circle is enough; more and the web starts to look muddled.
- When all three strands are across, bring the wire tail to the back of the circle frame and wrap it tightly twice around the coil to secure it. An adult snips the tail as close as possible with wire cutters, then uses round-nose pliers to press the sharp end flat against the frame.
- Repeat for all eight circles.
- Use a jump ring (adult step with pliers) to attach each completed circle to the brass chain, spacing them about 10 cm apart along the chain. Hang the chain between two hooks.
Good to Know
🛍 Shopping guide
Marbled Paper Moon Garland
Full-moon circles cut from marbled paper, in smoky black, deep teal, and gold, thread together on thin gold ribbon for a garland that looks more like modern art than Halloween. The marbling technique uses shaving foam and food colouring, nothing expensive, and each sheet takes about three minutes. Cut the dried sheets into circles and you have a one-of-a-kind garland no two households will ever share.

Marbled Paper Moon Garland
What You Need
- White card stock, 200 gsm, 6 A4 sheets
- Shaving foam (the cheap kind in a can), 1 can
- Food colouring in black, teal, and gold (or use liquid watercolour)
- Cocktail sticks or skewers, for swirling
- Old baking tray or flat tub, large enough for an A4 sheet
- Palette knife or old credit card, for scraping
- Circle punch, 7 cm diameter, or a compass and craft knife
- Hole punch, 5 mm
- Gold satin ribbon, 6 mm wide, 2 m
How to Make It
- Spread a layer of shaving foam about 1 cm deep across the baking tray. Drop 4-5 dots of each food colouring across the surface.
- Drag a cocktail stick through the foam in slow, looping swirls to create a marbled pattern. Do not over-stir; six to eight strokes is enough. Over-mixing turns the colours muddy.
- Press a card-stock sheet face-down onto the foam, pat gently with the flat of your hand, then lift it straight up. Lay it foam-side up on a flat surface.
- Use the palette knife or credit card to scrape the foam off the card in one smooth stroke, revealing the marbled pattern underneath. Set the sheet aside to dry flat for at least one hour. Repeat with the remaining sheets, refreshing the foam and colouring as needed.
- Once fully dry, cut 18 to 20 circles, 7 cm diameter, from the marbled sheets using the circle punch or a compass-drawn template and craft knife (adult step for craft knife). Aim for areas with the richest colour.
- Punch a hole near the top of each circle and thread them onto the gold ribbon, knotting the ribbon loosely between each circle to hold it in position. Space them about 8 cm apart.
Good to Know
Dried Orange Slice and Rosemary Garland
Dried orange slices and sprigs of dried rosemary on twine make a garland that smells extraordinary and looks like something from a slow-living magazine. It suits a kitchen, a dining table, or a front door. After Halloween, hang it on the Christmas tree or compost it with no guilt. This is the easiest craft on the list once the drying is done.

Dried Orange Slice and Rosemary Garland
What You Need
- 3 large oranges
- Sharp knife and chopping board (adult step)
- Baking tray lined with a wire rack
- 8 sprigs of fresh rosemary, each about 15 cm long
- Natural jute twine, 1.5 m
- Large tapestry needle, size 14
- Black waxed thread or thin wire, for tying rosemary
How to Make It
- An adult slices the oranges into rounds about 5 mm thick. Lay them flat on the wire rack over the baking tray. Do not overlap them.
- An adult places the tray in the oven at 80 C (fan 60 C) for 3.5 to 4 hours, turning the slices once halfway through. They are ready when they feel dry and papery and no longer leave moisture on your finger. Let them cool fully on the rack (about 30 minutes) before handling.
- Thread the tapestry needle with the jute twine. Pierce each orange slice through the rind at the top, about 5 mm in from the edge, and push the needle through. Ease the slice along the twine until it sits where you want it.
- Thread the orange slices onto the twine first, spacing them about 15 cm apart. Between each slice, tie a rosemary sprig directly onto the twine with a short length of black waxed thread, knotting it twice so it holds securely.
- Tie a loop at each end of the twine for hanging. The finished garland is about 1.2 m long.
Good to Know
Lino-Print Fabric Flag Garland
Carve a simple spider or moon motif into a lino block, ink it in black, and stamp it onto small squares of natural calico. Fold the squares into two-sided flags, sew or glue the fold over a length of twine, and you have a garland that looks handcrafted in the best possible sense. It is the most involved craft here, but the lino block lasts for years of printing.

Lino-Print Fabric Flag Garland
What You Need
- Soft-cut lino block, 10 cm x 10 cm, 1
- Lino-cutting tool with V-gouge and U-gouge attachments (adult step)
- Black fabric printing ink, 1 small pot
- Small rubber roller (brayer), 10 cm wide
- Inking plate or tile, 20 cm x 20 cm
- Unbleached calico fabric, 50 cm x 30 cm
- Scissors
- Fabric glue (strong, flexible)
- Natural cotton string or thin jute, 1.5 m
How to Make It
- Draw a spider or crescent moon motif onto the lino block in pencil, keeping the design bold and simple: thin lines do not print well. Remember that the carved areas will NOT print; carve away everything you want to stay white. An adult uses the V-gouge to carve the outline and the U-gouge to clear larger background areas. Always cut away from the hand holding the block.
- Roll a thin, even layer of fabric ink onto the inking plate with the brayer, then roll ink onto the lino block surface until it is evenly coated but not flooded. Press the block firmly and evenly onto a piece of calico, hold for five seconds, then lift straight up. Print 12 to 14 squares total, re-inking the block for each stamp. Let the ink dry for 45 minutes, then heat-set the prints with a warm iron (cotton setting, no steam) for 30 seconds per print.
- Cut the printed calico into 12 cm x 12 cm squares, trimming so the motif sits roughly centred.
- Fold each square in half to make a 12 cm x 6 cm rectangle, printed side out. Apply a strip of fabric glue along the inside of the fold and press the string into the crease before the glue sets. Hold each flag in place for 30 seconds. Let all flags cure flat for one hour.
- Hang the string between two hooks. The raw-edged calico gives a casual, slightly frayed finish that looks intentional.
Good to Know
🛍 Shopping guide
Paper Tube Skeleton Garland
Cardboard tubes from kitchen paper and toilet rolls become a rattling skeleton garland when cut into bone shapes and linked with split-pin fasteners. Paint them chalky bone-white and hang them on black cord. This is a completely free craft if you save tubes, and children from six upwards can do most of the cutting with good scissors. The skeleton garland makes a pleasing knocking sound in a breeze.

Paper Tube Skeleton Garland
What You Need
- 8 cardboard tubes (kitchen roll or toilet roll), saved and clean
- Scissors
- White chalk paint or white acrylic, 1 small pot
- Foam brush, 2 cm
- 24 brass split-pin fasteners (paper brads), 20 mm
- Hole punch, 5 mm
- Black jute or cord, 1.5 m
How to Make It
- Flatten each tube. Cut each flattened tube into three shapes: a long rectangle for a rib or spine section (about 10 cm), and two small dumbbell shapes (cut by snipping a short section and pinching the ends to round them) for joints. You will end up with a pile of ribs and rounded knobs.
- Paint all pieces with two coats of white chalk paint, letting the first coat dry for 20 minutes before adding the second. They should look chalky and opaque; cardboard drinks paint, so a second coat is always necessary.
- Punch a hole at each end of every piece once the paint is fully dry.
- Connect the pieces by pushing a split-pin fastener through the end hole of one piece and then through the end hole of the next, then spreading the pin's arms open on the back. Alternate long pieces and short dumbbell pieces to build up a skeleton-like chain. An adult should help insert and open the pins for younger makers.
- Once you have a chain of about 40-50 pieces, run the black cord through the top hole of the first piece and tie a firm knot. Hang between two hooks.
Good to Know
🛍 Shopping guide
Dip-Dyed Muslin Ghost Garland
Squares of thin muslin dip-dyed in black tea become slightly translucent, aged-looking little ghosts when gathered and tied. Add a knot for the head, two small black bead eyes, and hang them on linen twine. The whole thing takes under an hour including dyeing, and the result is the kind of understated, textile-forward Halloween that suits any room without screaming October at you.

Dip-Dyed Muslin Ghost Garland
What You Need
- Muslin fabric, pre-washed, cut into 20 cm x 20 cm squares, 12
- 6 black tea bags
- Large bowl or pot
- Boiling water (adult step)
- 24 black seed beads, 4 mm
- Strong clear-drying glue
- Natural linen twine, 1.5 m
- 12 rubber bands or thin black elastic, 15 cm each
How to Make It
- An adult pours boiling water into the bowl, adds the tea bags, and steeps for five minutes to make a strong dark brew. Let it cool to warm (about 10 minutes) before children handle it.
- Submerge the muslin squares in the tea bath. Leave them for 15-20 minutes; longer gives a darker antique tone. For an ombre effect, dip only the bottom half of each square. Remove them and squeeze out the excess liquid gently, then lay them flat to dry (about 20 minutes with a fan, or 40 minutes air-dry).
- Once the fabric is dry, place a small ball of scrunched tissue paper or a scrap of wadding in the centre of each square. This fills the ghost head and makes the finished shape rounder. Gather the fabric around it and secure it tightly with a rubber band about 3 cm below the stuffing to form the neck. The head should feel firm, not floppy.
- Glue two black seed beads onto the face of each ghost, slightly above centre, for eyes. Let the glue dry for 15 minutes.
- Tie each ghost to the linen twine by looping the tail fabric around the twine and knotting it once. Space them about 12 cm apart. Let the tails hang freely; they drift nicely in any air movement.
Good to Know
Stamped Cork Garland
Wine corks stamped with a carved potato moon or star, painted in gold or bone-white acrylic, thread onto thin black cord for a garland that is practically free and thoroughly original. The potato carving is easy enough for a confident ten-year-old, and each cork takes about three minutes. This works beautifully above a drinks table.

Stamped Cork Garland
What You Need
- 20 wine corks, used and dry
- 1 medium potato
- Craft knife (adult step)
- Gold acrylic paint and bone-white acrylic paint, 1 small pot of each
- Small flat paintbrush, size 6
- Black acrylic paint, 1 small pot (for a thin moon outline option)
- Large tapestry needle, size 14
- Thin black waxed cord, 1.5 m
How to Make It
- An adult cuts the potato in half. On the flat cut face of one half, carve a simple crescent or star shape in relief with the craft knife, cutting away the surrounding potato so the shape stands proud by about 4 mm. Keep it bold: a 3-4 cm motif at most.
- Pat the potato stamp dry with kitchen paper. Dab the flat paintbrush into the gold paint and apply it to the raised stamp surface. Press the stamp firmly onto the side of a cork and lift straight up. You may need to press two or three test corks to get a feel for how much paint gives a clean impression without bleeding. Alternate gold and bone-white stamps across the 20 corks. Let every stamped cork dry flat for 30 minutes.
- Thread the tapestry needle with the waxed cord. Push the needle lengthways through the centre of each cork (in at one end, out at the other). This is the fiddly part: hold the cork firmly and ease the needle through slowly; rushing splits the cork. Space the corks about 6 cm apart by tying a small overhand knot on either side of each one once it is in position.
- Hang the finished garland by tying the cord ends to two small hooks.
Good to Know
Ink-Wash Watercolour Pennant Garland
Small triangular watercolour paper pennants painted with loose ink-wash skies, deep indigo and black with a swipe of gold, look grown-up enough for a dinner-party mantelpiece. Stencil or freehand a simple moon or bat silhouette over the top once the wash is dry. Hang them close together on gold thread for a dense, jewel-like run of colour. They store flat in a folder for years without fading.

Ink-Wash Watercolour Pennant Garland
What You Need
- Watercolour paper, 300 gsm, cold press, 3 A4 sheets
- Watercolour or ink in indigo, lamp black, and gold, 1 small pot or tube of each
- Round watercolour brush, size 10
- Water jar
- Scissors
- Black fine-tip permanent marker or a small bat stencil
- Hole punch, 5 mm
- Gold thread or fine metallic string, 1.5 m
How to Make It
- Cut each A4 watercolour sheet into four triangles: measure and mark the sheet into quarters, then cut each quarter into a triangle by cutting diagonally from the top corners to the bottom centre. You will have 12 triangles total, each roughly 10 cm wide at the top.
- Wet each triangle with clean water using the size-10 brush. While the paper is still damp, drop indigo watercolour near the top and let it bleed downward. Add a stripe of lamp black near the tip. While everything is still wet, touch one edge with a little gold ink and let it spread naturally. Do not try to control it. The finished wash should look like a night sky. Let each pennant dry completely flat for at least 45 minutes; watercolour paper buckles badly if you rush it.
- Once dry, use the fine-tip permanent marker to draw a small bat silhouette or crescent moon shape somewhere on each pennant. Keep it simple: a five-second bat shape reads perfectly well at this scale.
- Punch a hole at the top left and top right corner of each pennant.
- Thread the gold thread through both holes at the top of each pennant, tying a small knot on the inside edge of each hole so the pennant hangs flat. Position pennants about 5 cm apart along the thread for a dense, tapestry-like effect. Hang between two nails or hooks.
Good to Know
🛍 Shopping guide
Frequently Asked Questions
How long does a DIY Halloween garland take to make?
Most of the garlands here take under an hour of active work. The longest active sessions are the lino-print fabric flags (1 hr 30 min) and the copper wire web (1 hr 15 min). Total time is longer for anything that needs baking or drying, such as the salt-dough ghosts (about 3 hr 30 min total) or the dried orange garland (4 hr 30 min, almost all of which is passive oven time).
What is the easiest Halloween garland to make with kids?
The dip-dyed muslin ghost garland suits children from about five upward once an adult has handled the hot water. The paper tube skeleton garland works well from age six, uses only materials you already have, and the articulated chain appeals to children who like constructing things. Both need no glue gun and no oven.
How do you hang a Halloween garland without damaging walls?
Removable adhesive hooks (the kind with a pull-tab that peels cleanly from painted walls) hold up to about 1 kg each and leave no mark. Use two hooks and let the garland drape naturally between them. For a doorframe, tension clips designed for curtain rods also work without any adhesive.
How do you store a Halloween garland after the party?
Flat garlands (paper, felt, watercolour pennants) store between sheets of tissue paper in a flat box or a large envelope. Three-dimensional garlands with beads or corks coil loosely into a ziplock bag with a sheet of bubble wrap. Salt-dough pieces are fragile; store them in a single layer in a tin with tissue between each piece.
Can you make a Halloween garland the same day as the party?
Yes, with the right choice of craft. The velvet ribbon bead garland, the washi tape stained-glass garland, the stamped cork garland, and the watercolour pennant garland all take under two hours from start to hang. Avoid same-day salt dough or dried orange slices, since both need several hours of passive time.
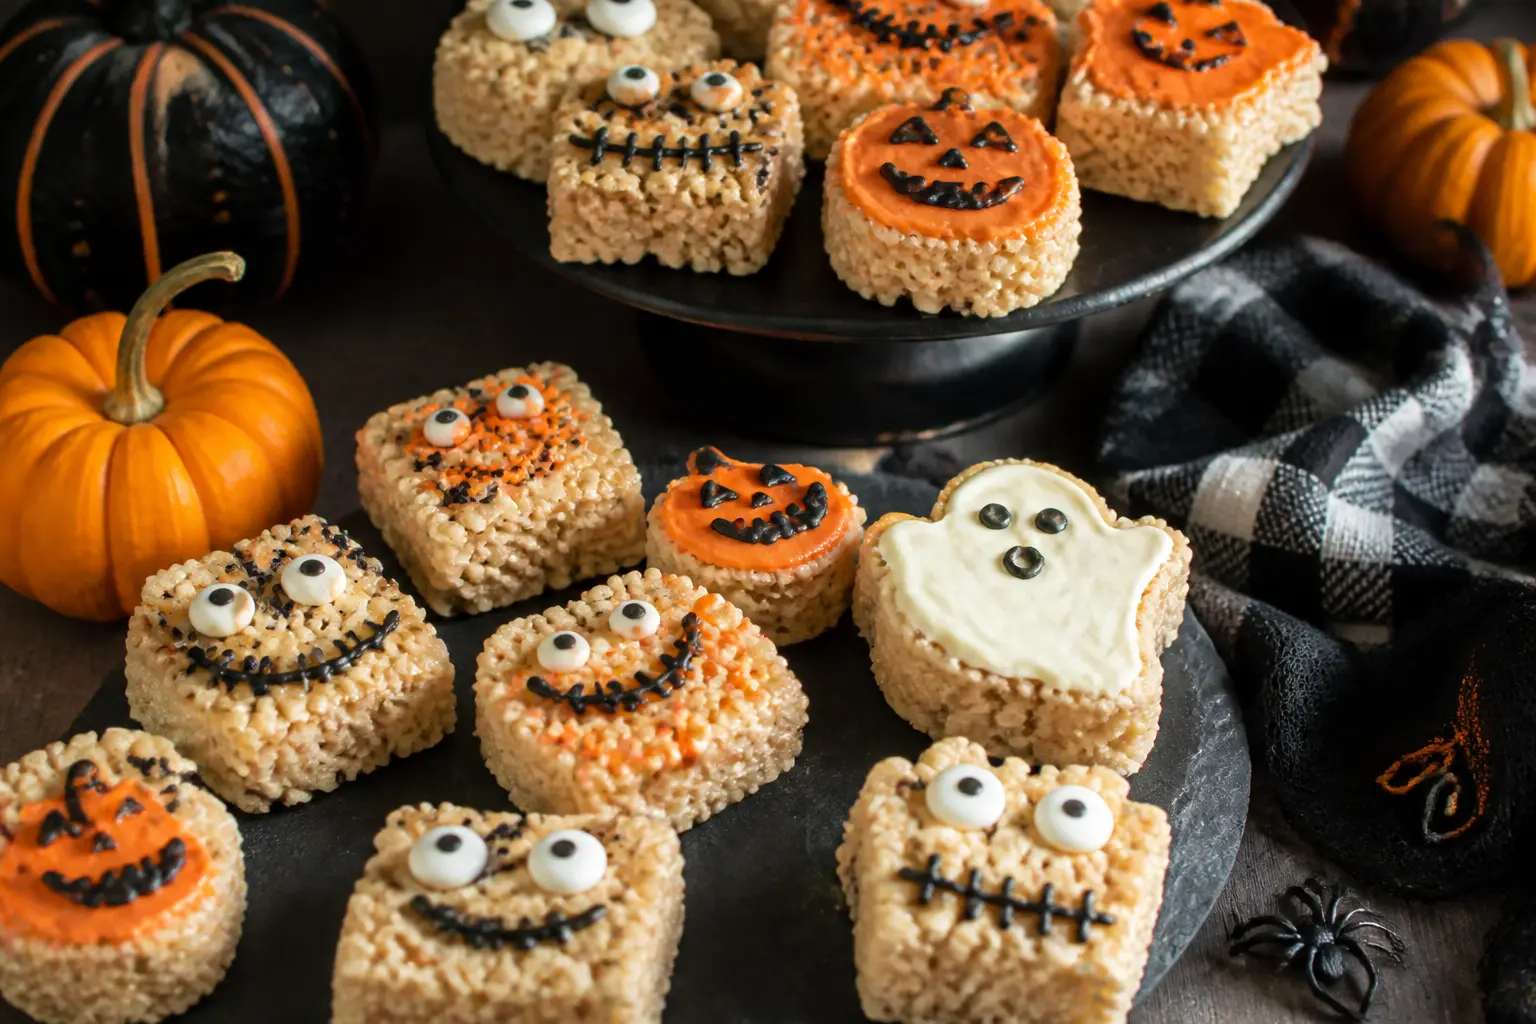
16 Halloween rice krispie treats shaped, dipped, and decorated from one base recipe. Pumpkins, ghost
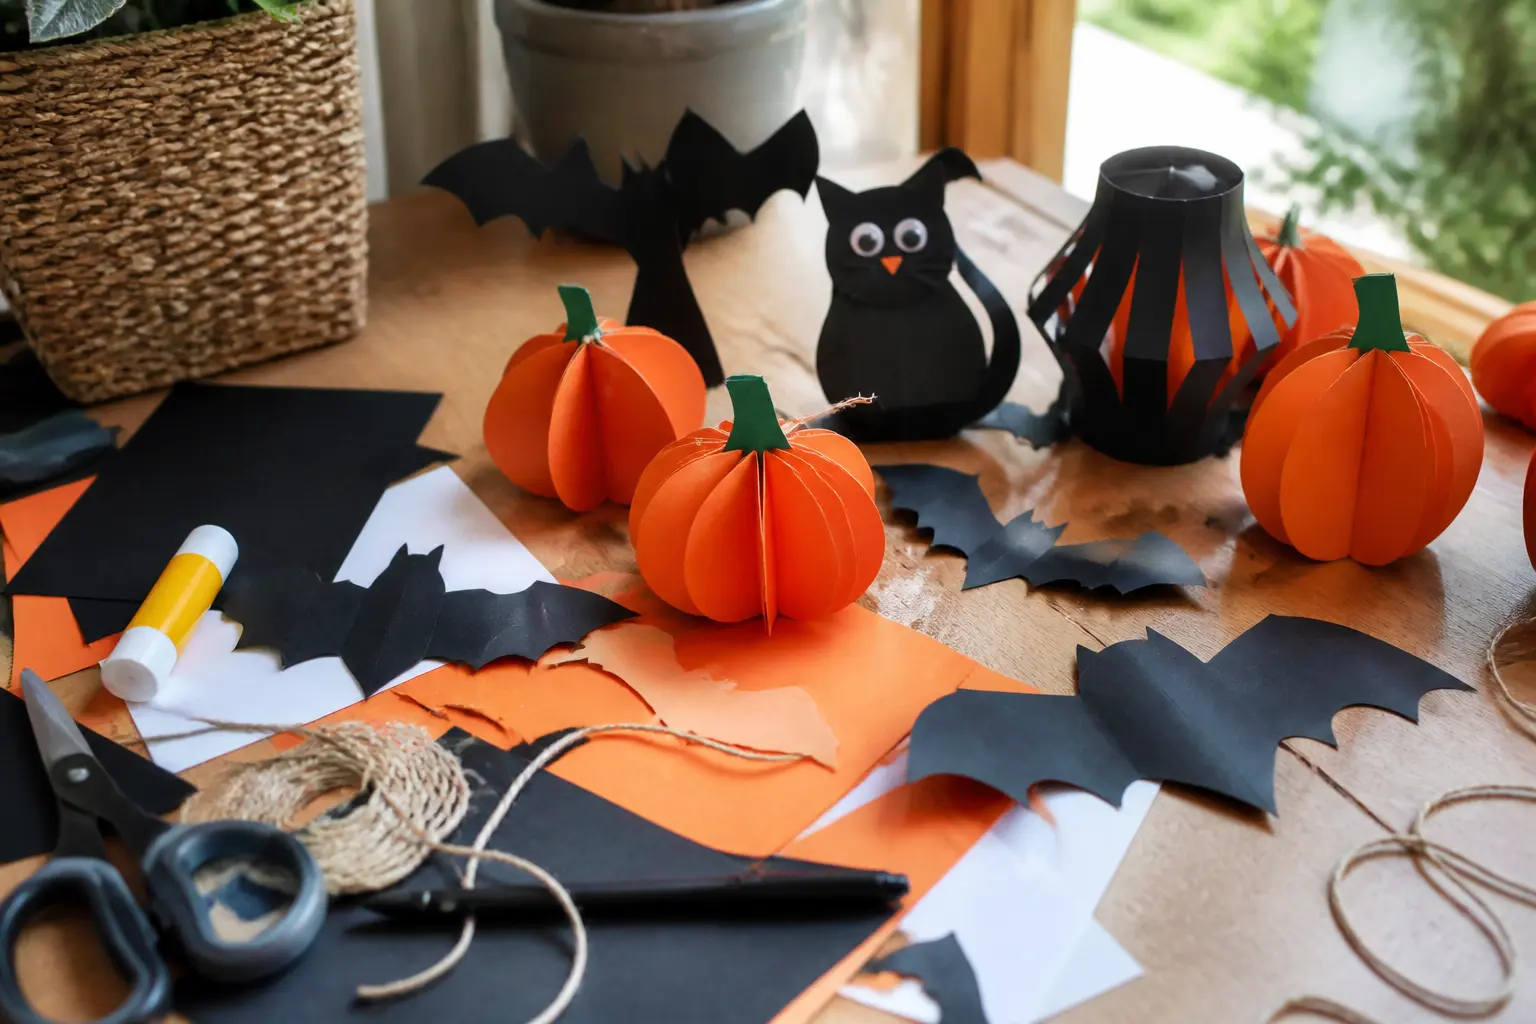
33 Halloween paper crafts for kids that actually work: glitter webs, ghost cards, witch hats, handpr
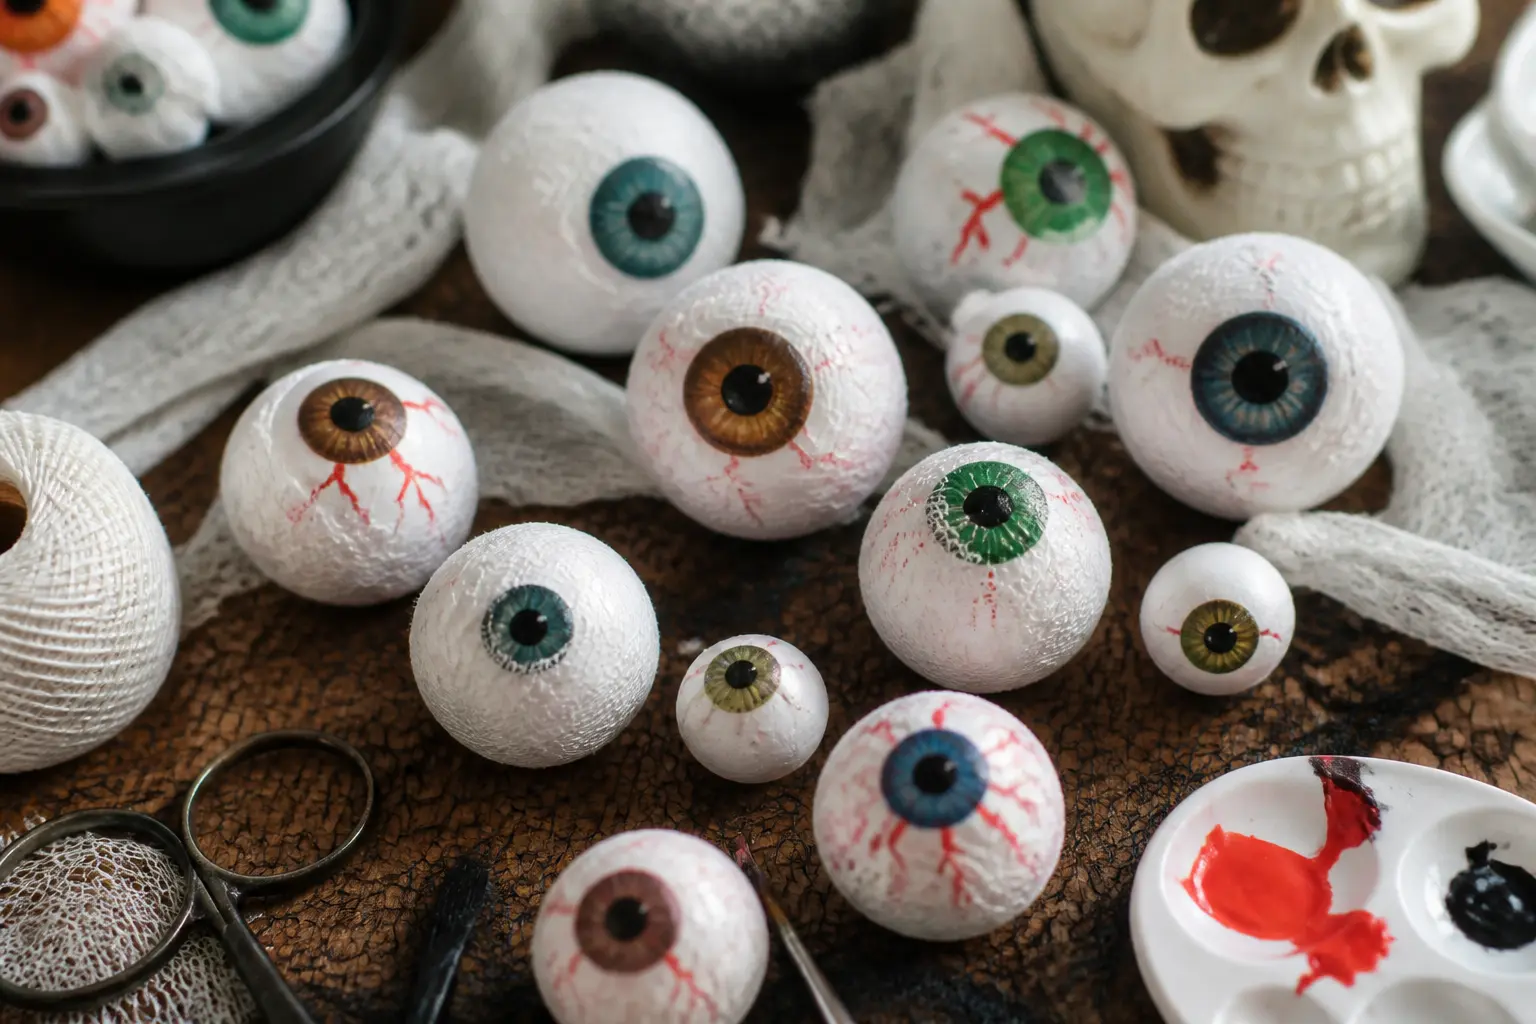
27 DIY Halloween eyeball decorations made from googly eyes, empty jars, balloons, and paper plates.
Leave a Reply