

15 DIY Paper Christmas Ornaments So Pretty No One Will Guess They Cost Pennies
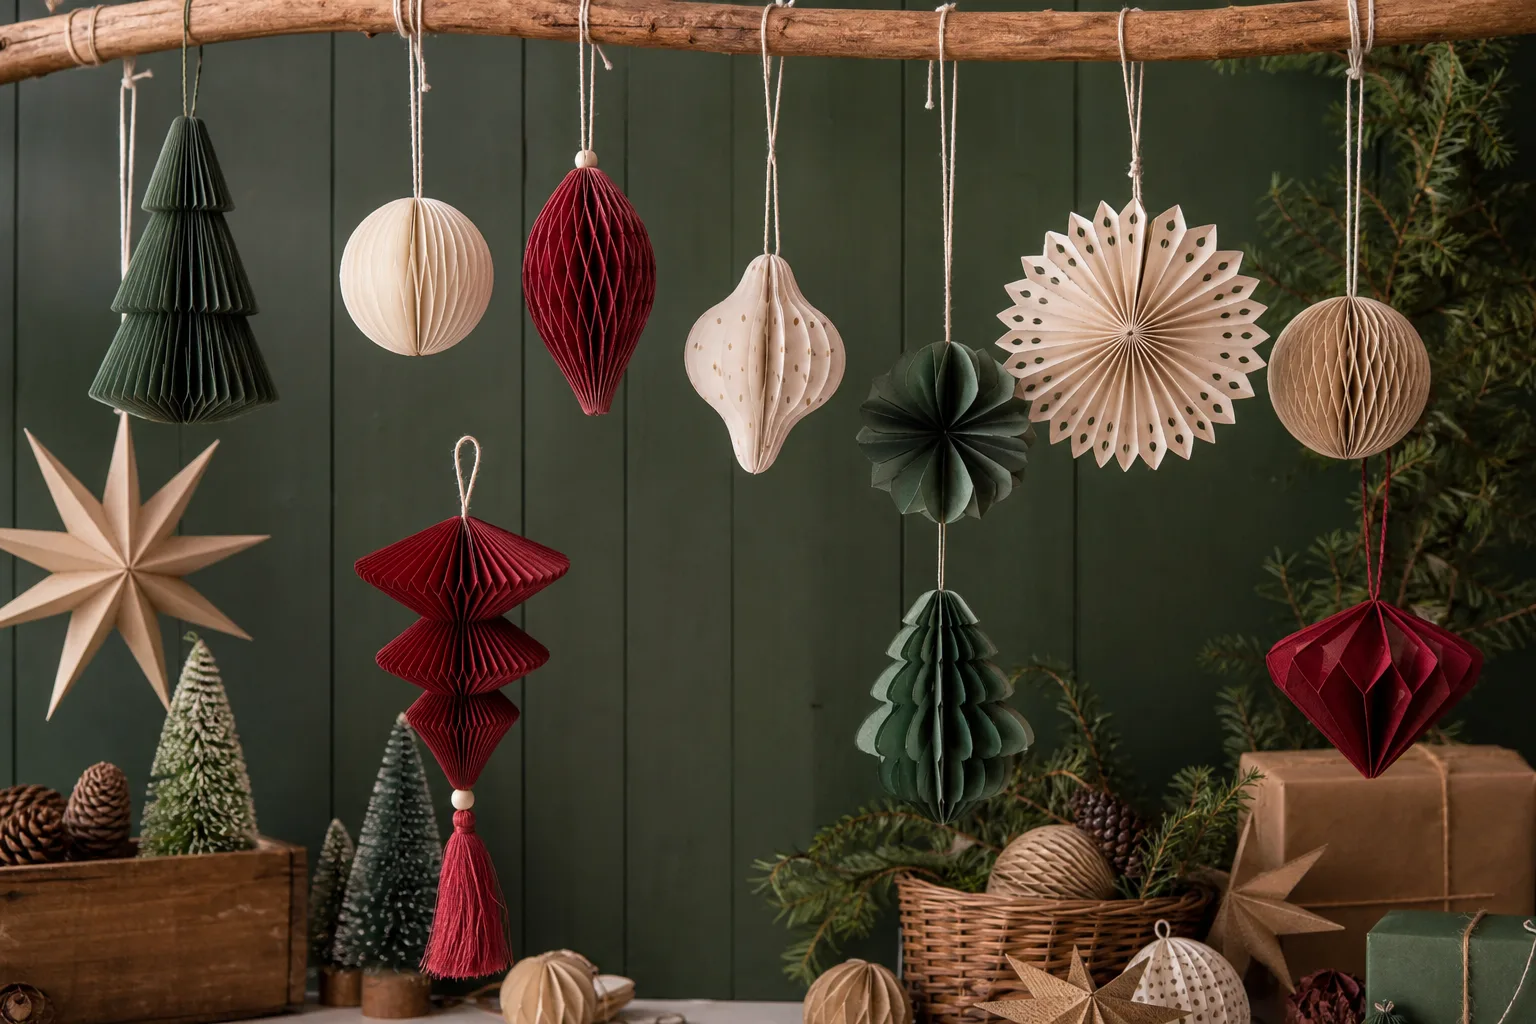
The tree looks fine. It also looks like every other tree on the street, because the ornaments came from the same three boxes everyone buys. Paper fixes that without touching the budget you have already spent on the turkey.
None of this needs a die cutting machine or a crafting weekend you do not have. A stack of cardstock, a glue stick and one quiet evening get you an ornament that photographs better than most of what is sold in the seasonal aisle.
Fifteen looks follow, grouped by technique rather than by colour, so you can match the method to the paper already sitting in a drawer. If you would rather build ornaments from something less expected than paper, 32 DIY Christmas Ornaments Built From an Object Nobody Would Guess sits alongside this one nicely.
This post contains affiliate links. If you buy through them, I may earn a small commission at no extra cost to you.
Folded And Origami Ornaments
No scissors, no mess, just folds. These start flat and become sculptural in your hands, which is oddly satisfying after a day of screens.
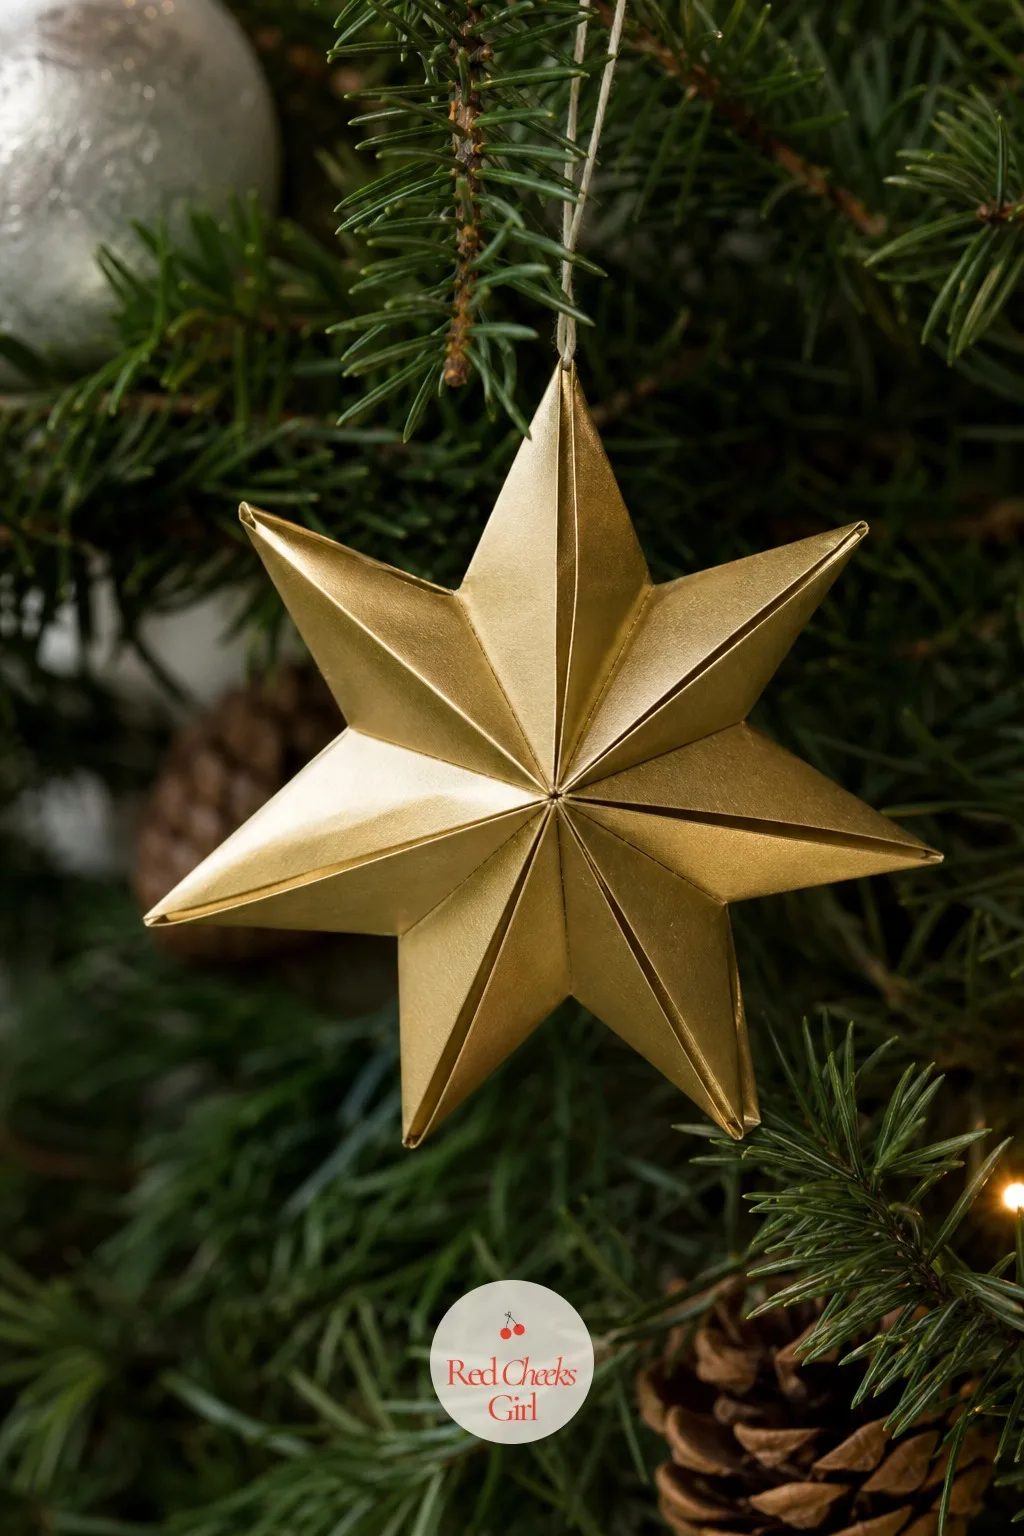
Metallic Origami Star
A flat sheet, eight folds, and suddenly you have a star with real facets, the kind that catches lamplight instead of just hanging there. No glue needed until the very last fold locks it shut.
Gold or copper paper reads as expensive because the fold lines do the work that cost would otherwise do. Use two tones of the same metallic and nobody will believe this came from a single ten dollar pack.
Twenty minutes gets you one star. Four evenings get you enough to fill a small tree, which is the kind of math that makes this worth doing at all.
🛍 Shopping guide
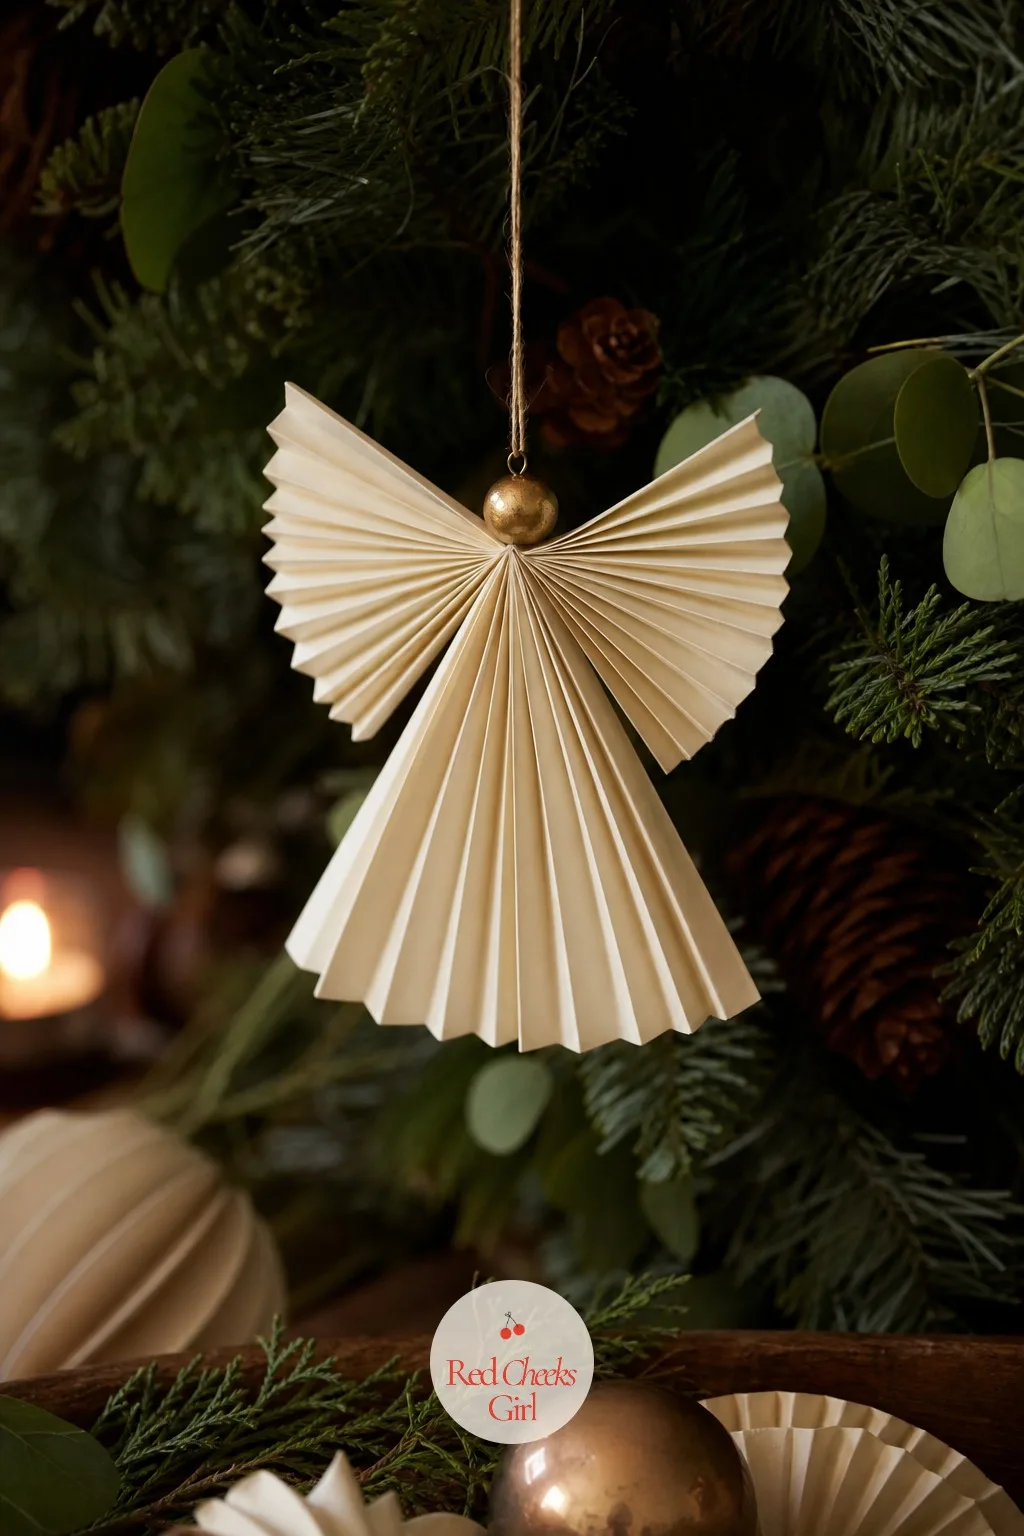
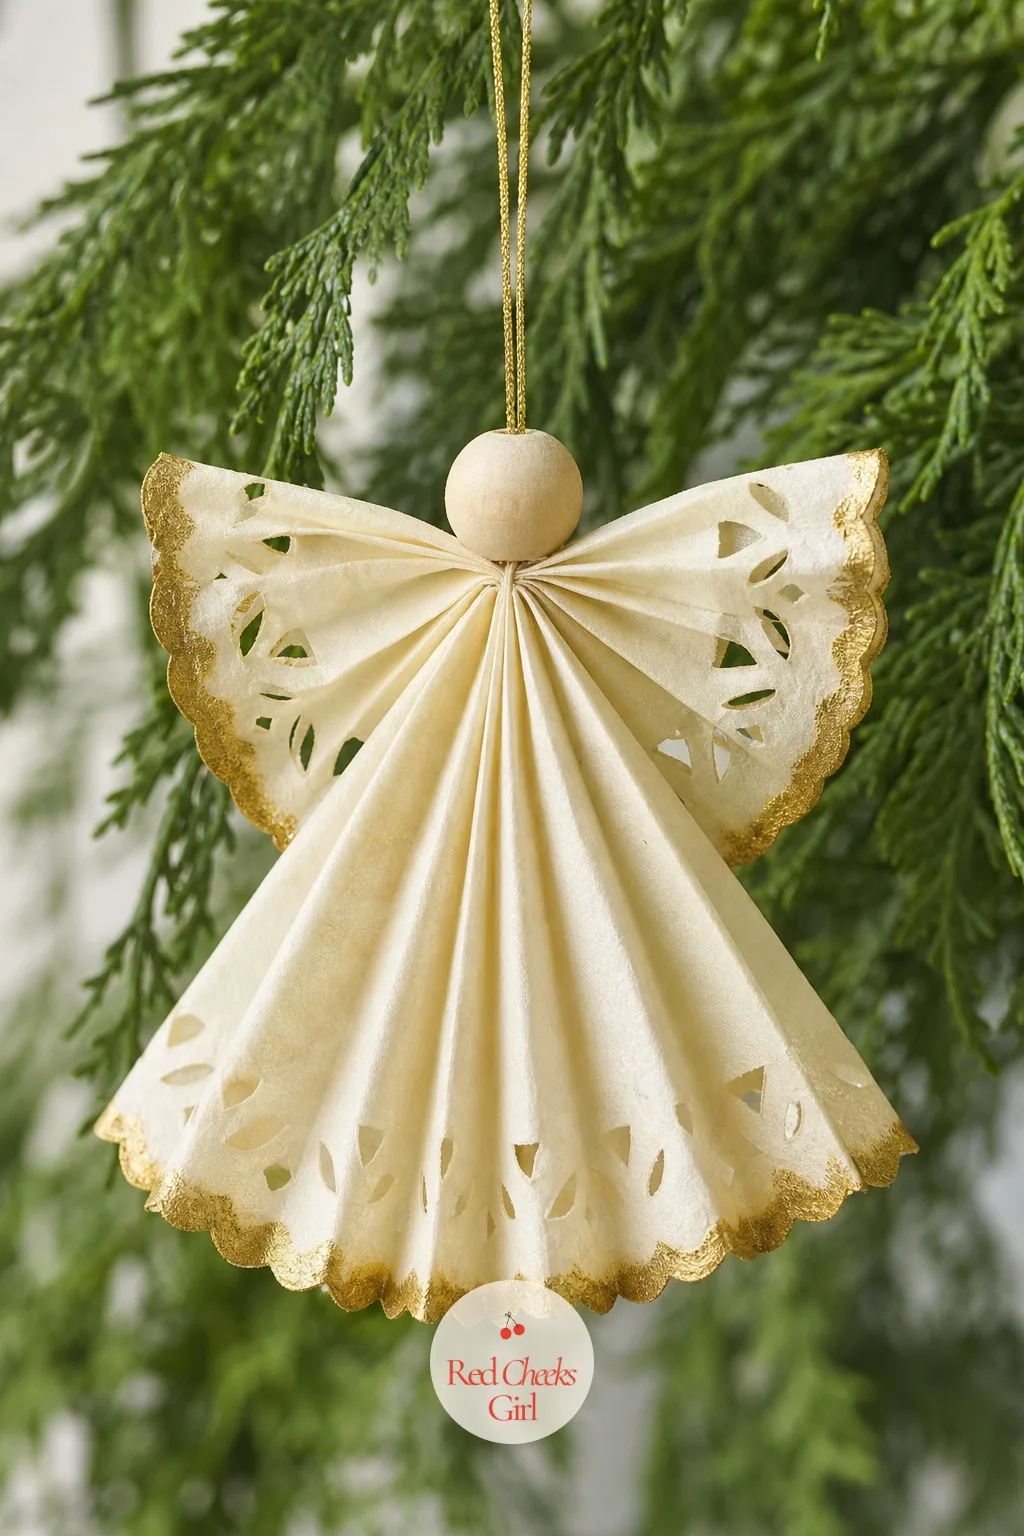
Ivory Accordion Fan Angel
She looks fussy from across the room and takes under fifteen minutes up close. An accordion-folded half circle becomes wings, a wooden bead becomes a head, and the whole thing weighs nothing hanging on a thin branch.
Ivory tissue paper keeps her soft rather than crisp, closer to a candle flame than a craft store. A dab of gold on the fold tips is the only extra step worth taking.
If tissue feels too delicate for small hands in the house, swap in lightweight vellum, it folds the same way and holds its shape longer.
🛍 Shopping guide
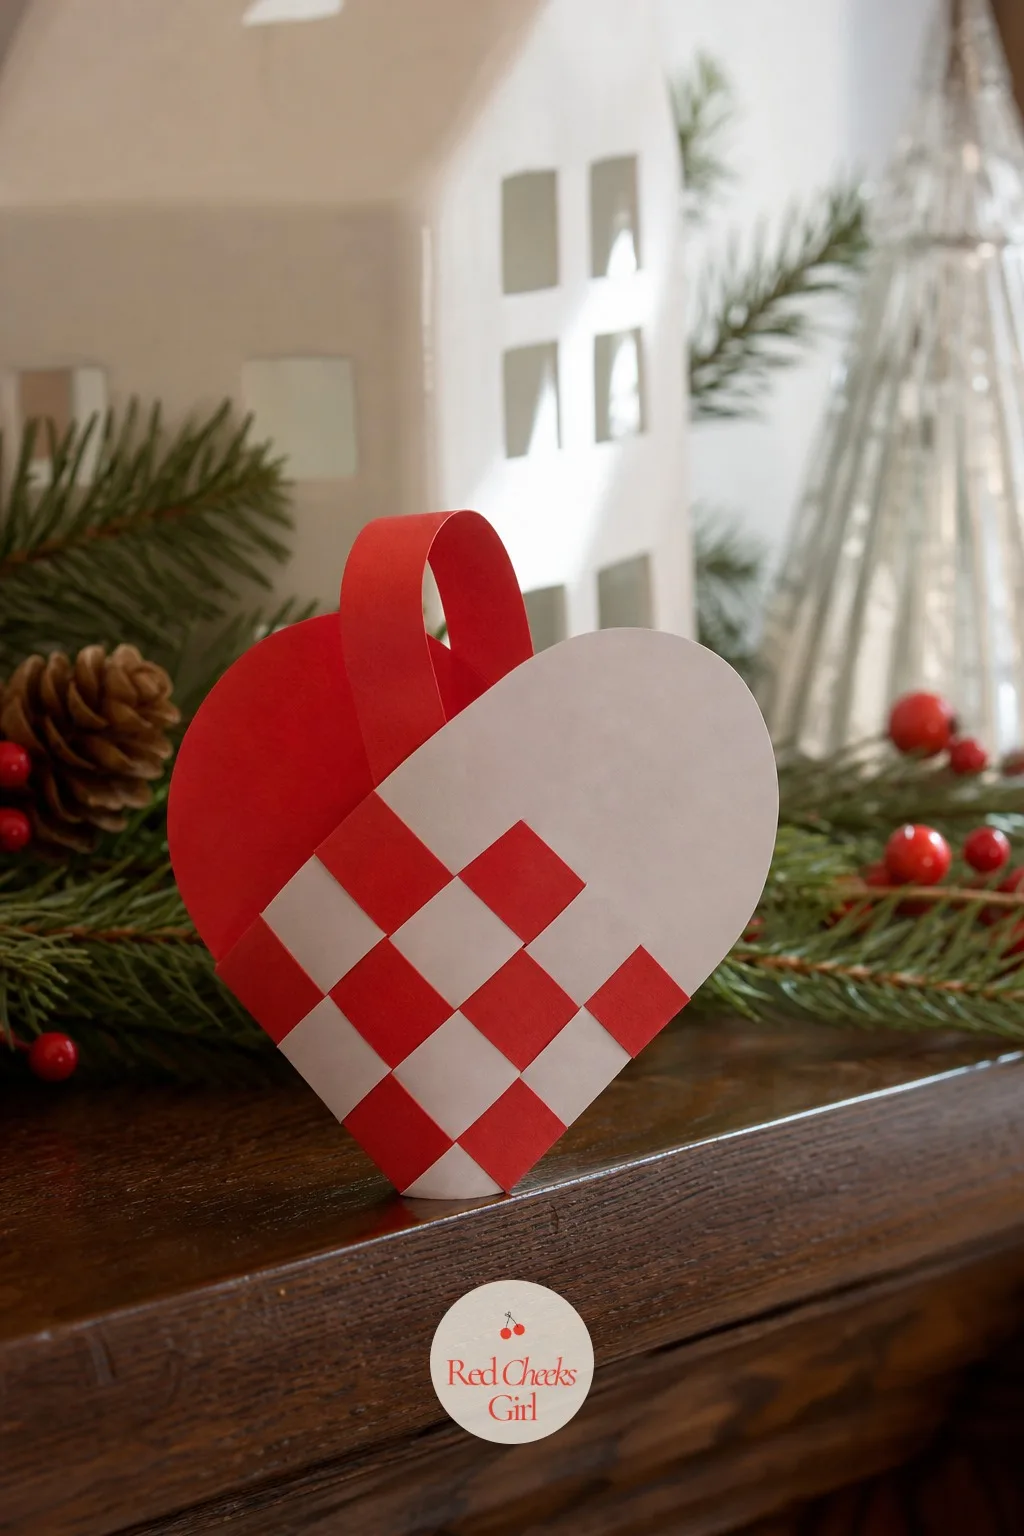
Woven Paper Heart Basket
This one asks for no glue at all, just two paper strips woven over and under until they lock into a tiny basket shape. Scandinavian trees have hung these for generations, usually filled with a sweet.
Red and white strips keep it traditional, but try two shades of the same colour if the tree already leans monochrome. The weaving itself takes about ten minutes once the pattern clicks.
Small enough to clip onto a wrapped gift instead of the tree, which solves the problem of what goes on top of a present besides a bow. If you need more mantel filler in the same spirit, 25 DIY Christmas Banner Ideas Sized to the Wall They Actually Go On uses the same paper stash.
🛍 Shopping guide
Quilled And Rolled Paper Ornaments
Thin strips, rolled and pinched into shape: slower to make, but the kind of detail guests lean in to look at.
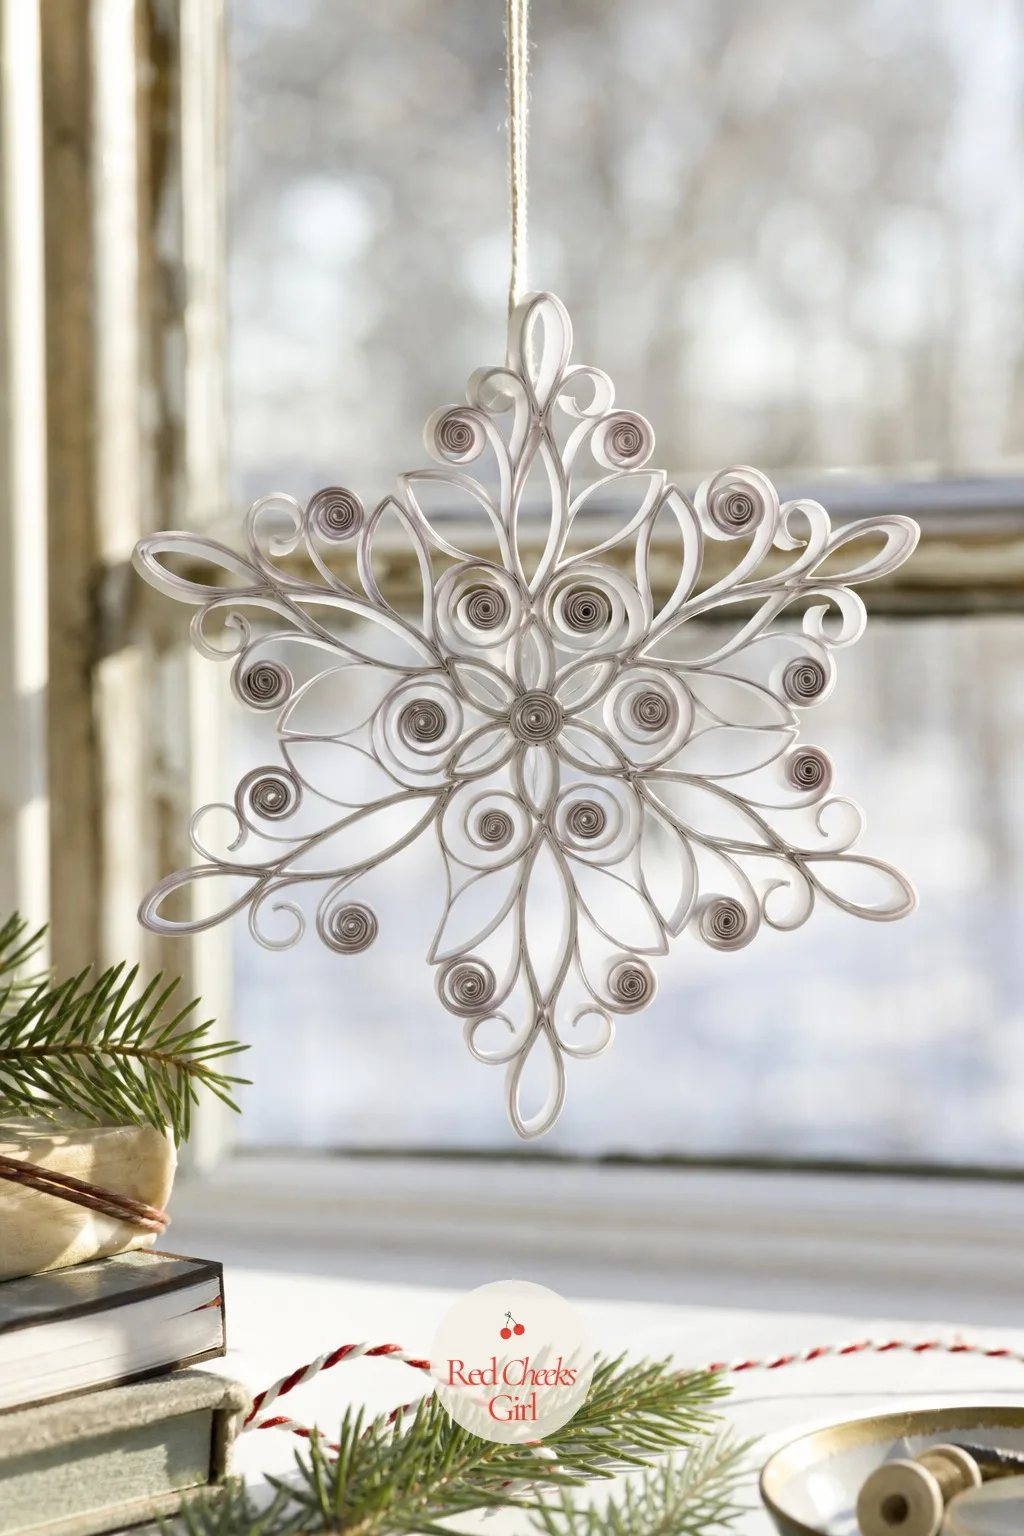
Filigree Quilled Snowflake
Quilling has a reputation for being fiddly, and it is, a little. But a snowflake only needs six or eight coils, rolled on a simple tool and pinched into teardrops before you glue them into a ring.
White on white reads as lace rather than paper once it is lit from behind by a string of fairy lights. That is the whole trick: hang these where light passes through them, not against a solid wall.
Budget for a slow Sunday rather than a quick evening. This is the one entry here that rewards patience over speed.
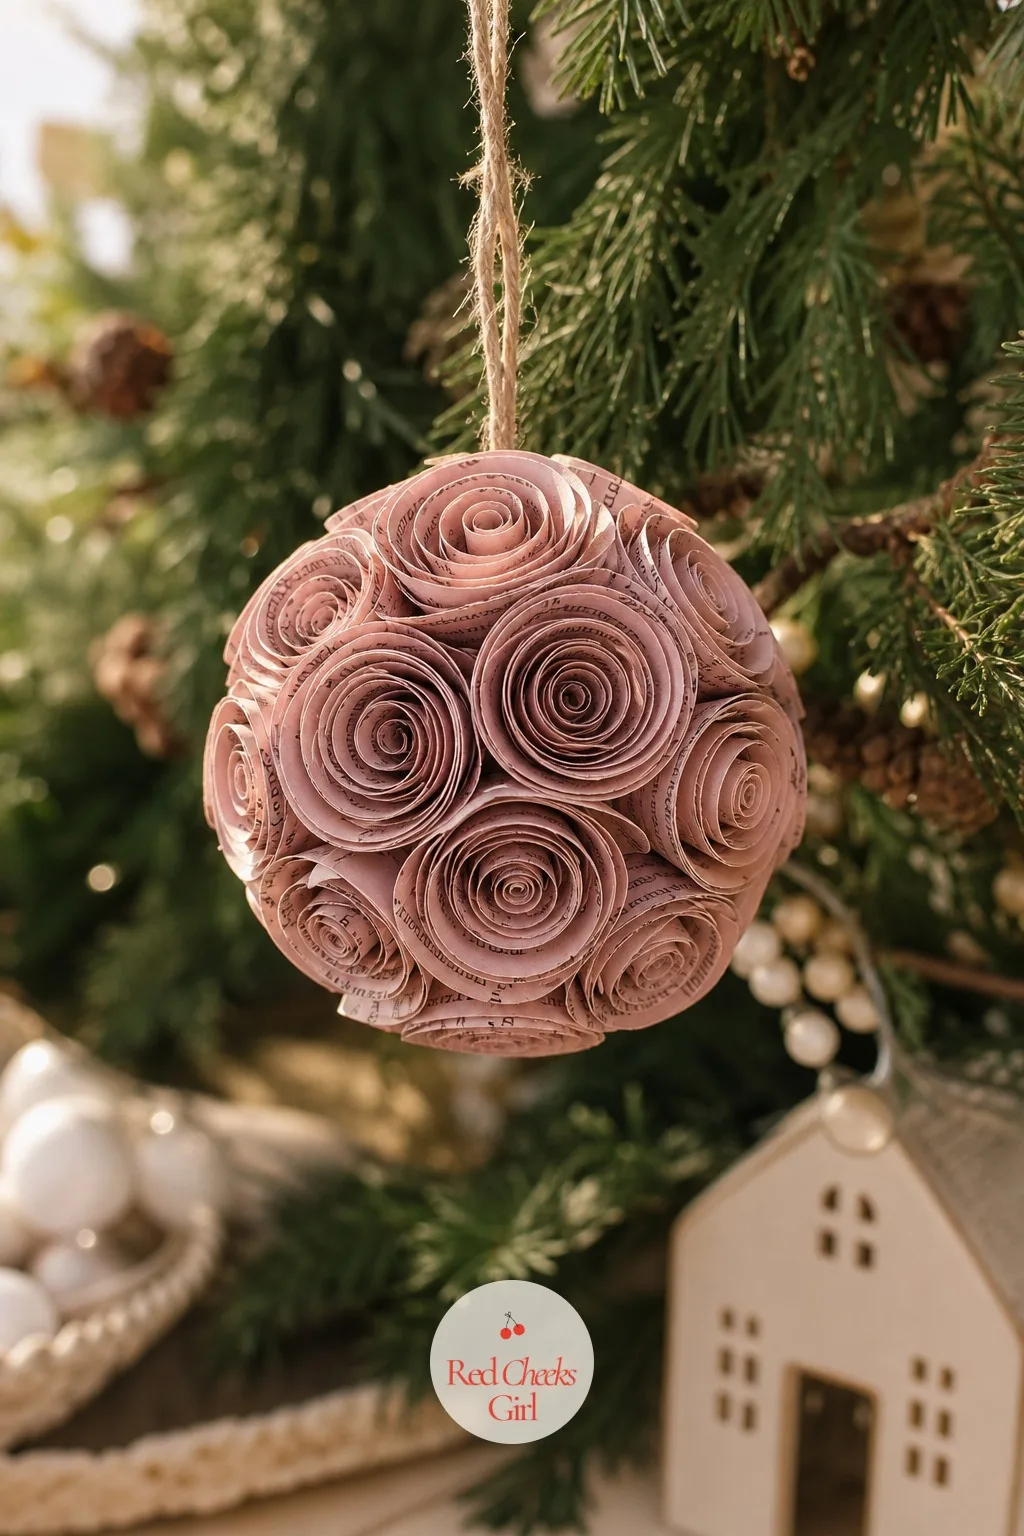
Rolled Book-Page Rose Bauble
A strip of paper, rolled loosely and pinched at the base, turns into something that looks suspiciously like a rose. Cover a plain round bauble in a dozen of these and the shape disappears under petals.
Dusty pink pages from an old paperback give it a worn, warm colour no new paper quite matches. Coat the finished rose in a thin layer of matte sealant if little hands will be near it.
One bauble takes about half an hour once the rolling motion settles in. Worth doing in front of a film rather than in silence.
🛍 Shopping guide
Paper Ball And Sphere Ornaments
The classic bauble shape, rebuilt from flat paper instead of glass. Round, glowing under fairy lights, and genuinely hard to tell from a storebought one at a glance.
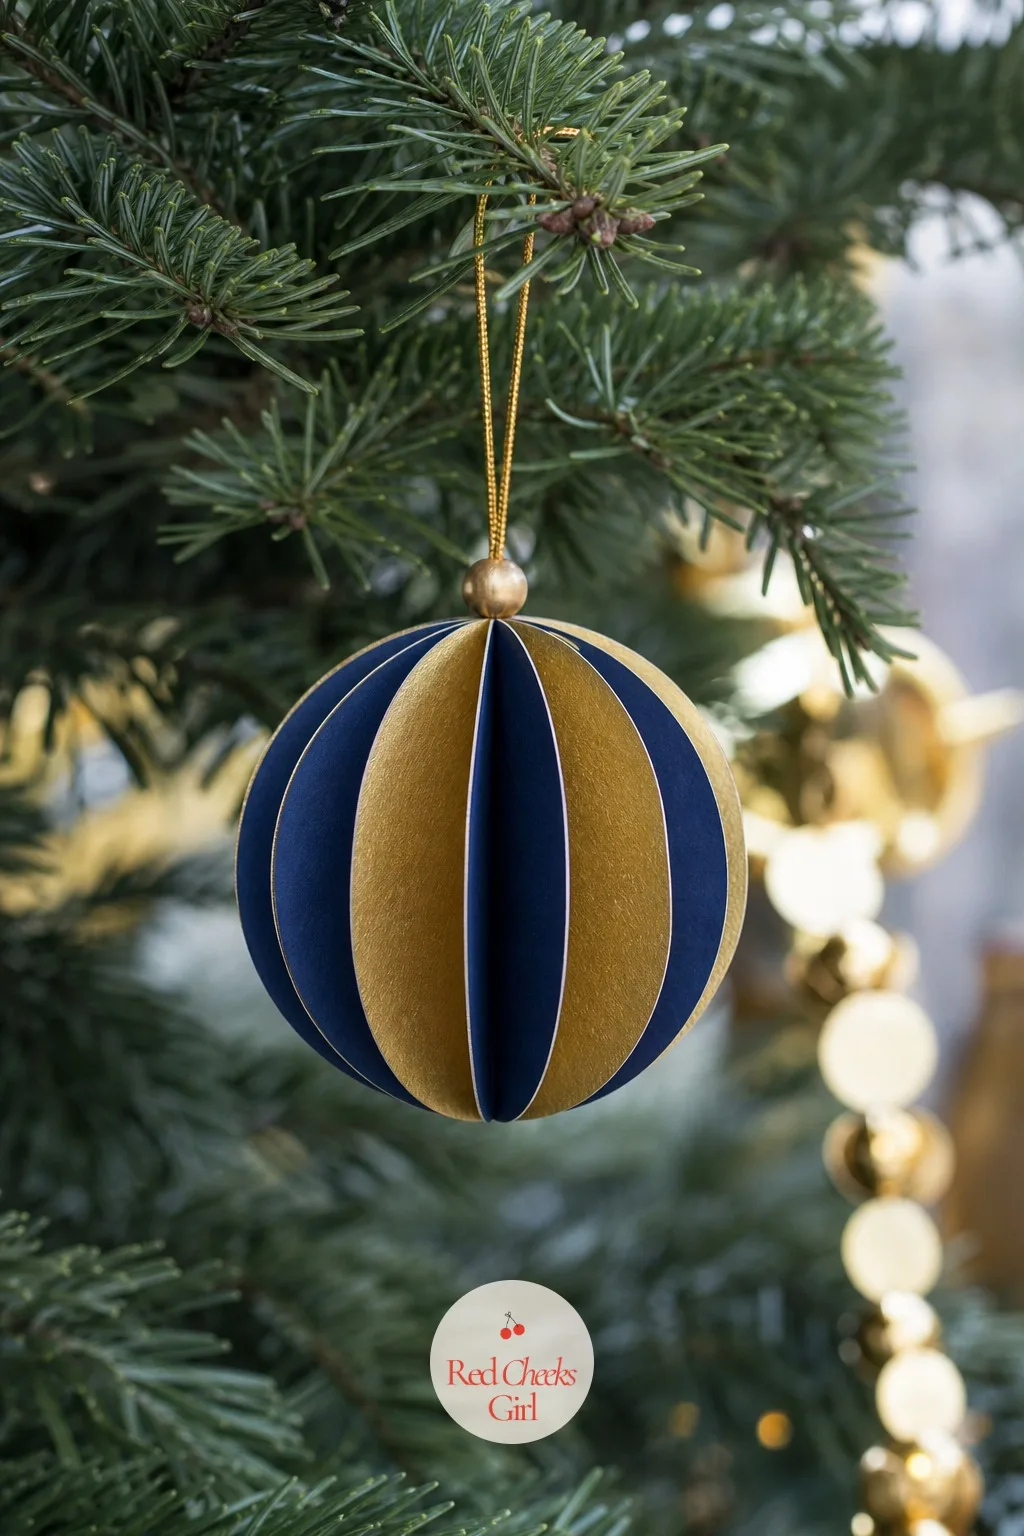
Sapphire And Gold Paper Bauble
Ten circles of paper, folded in half and glued edge to edge, open out into a perfectly round bauble with no mould and no balloon underneath. It is the easiest sphere on this list to get right the first time.
Mix sapphire blue and gold circles in the same size for a bauble that reads as more expensive than the pack of paper it came from. A thread through the centre at the halfway point does the hanging.
This is the entry to batch. Cut thirty circles in one sitting and the tree gets a whole matching set for the price of two sheets of card.
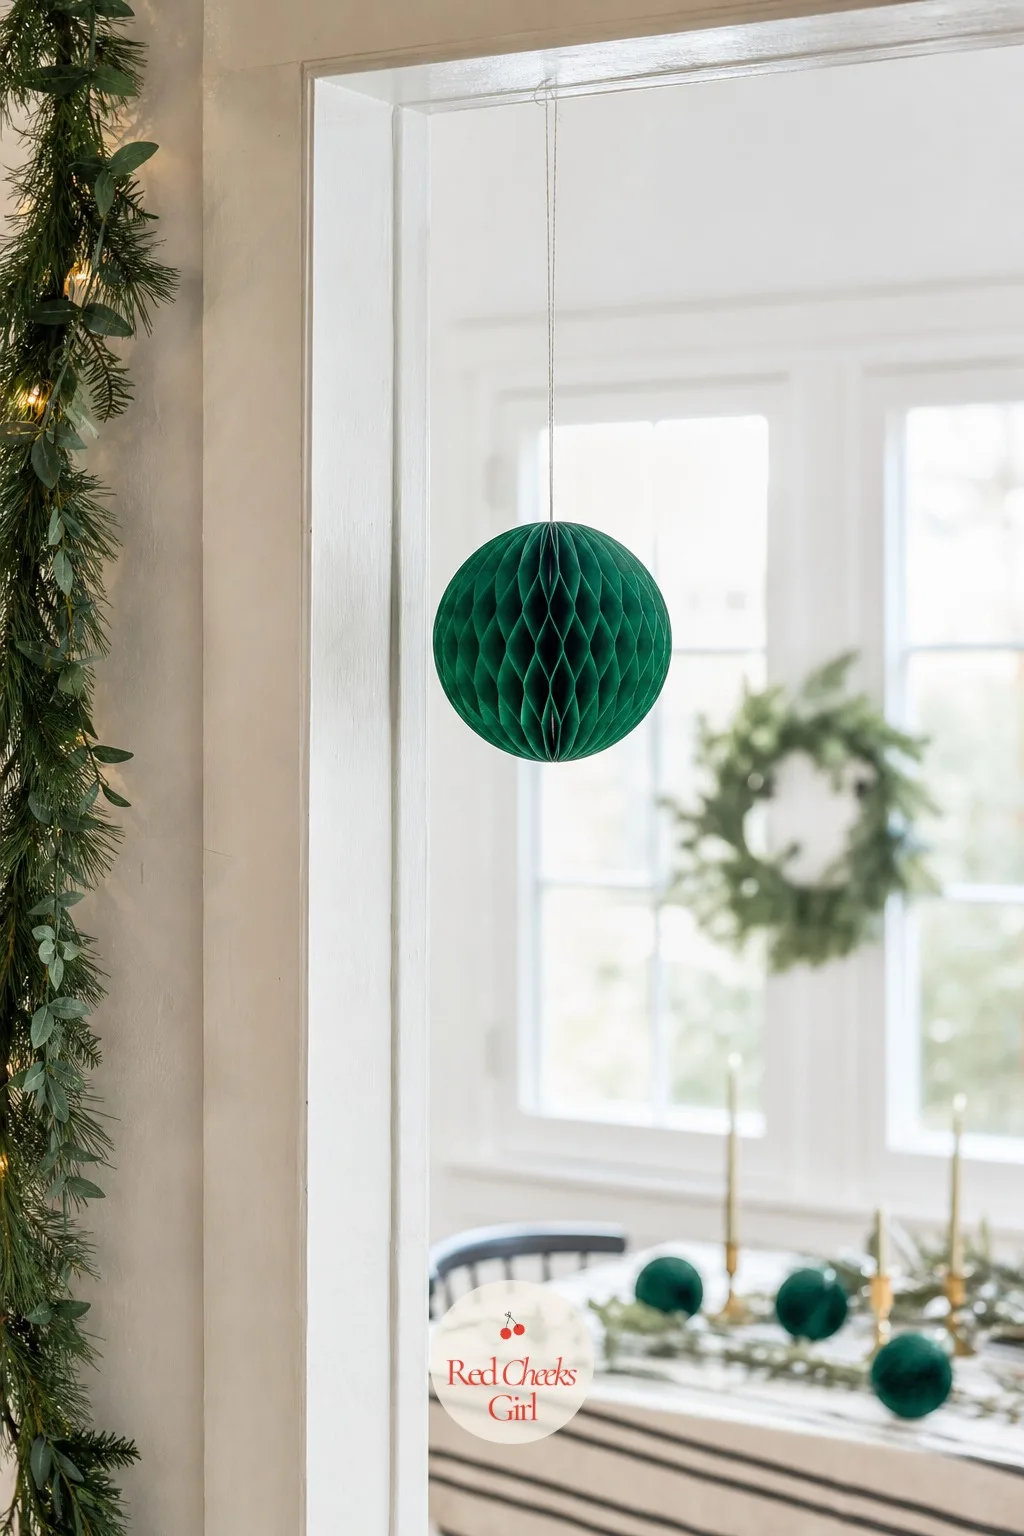
Emerald Honeycomb Ball
Honeycomb paper opens like an accordion into a full round shape in about thirty seconds, which makes it the fastest big ornament on this entire list. The glue lines are already scored, you just pull.
Emerald green against white twine keeps it crisp rather than Christmassy in the obvious way. Hang three in graduated sizes down a doorway for an instant, nearly free garland effect.
Store these flat between seasons, they fold right back down to nothing and take up nearly no space in a drawer!
🛍 Shopping guide
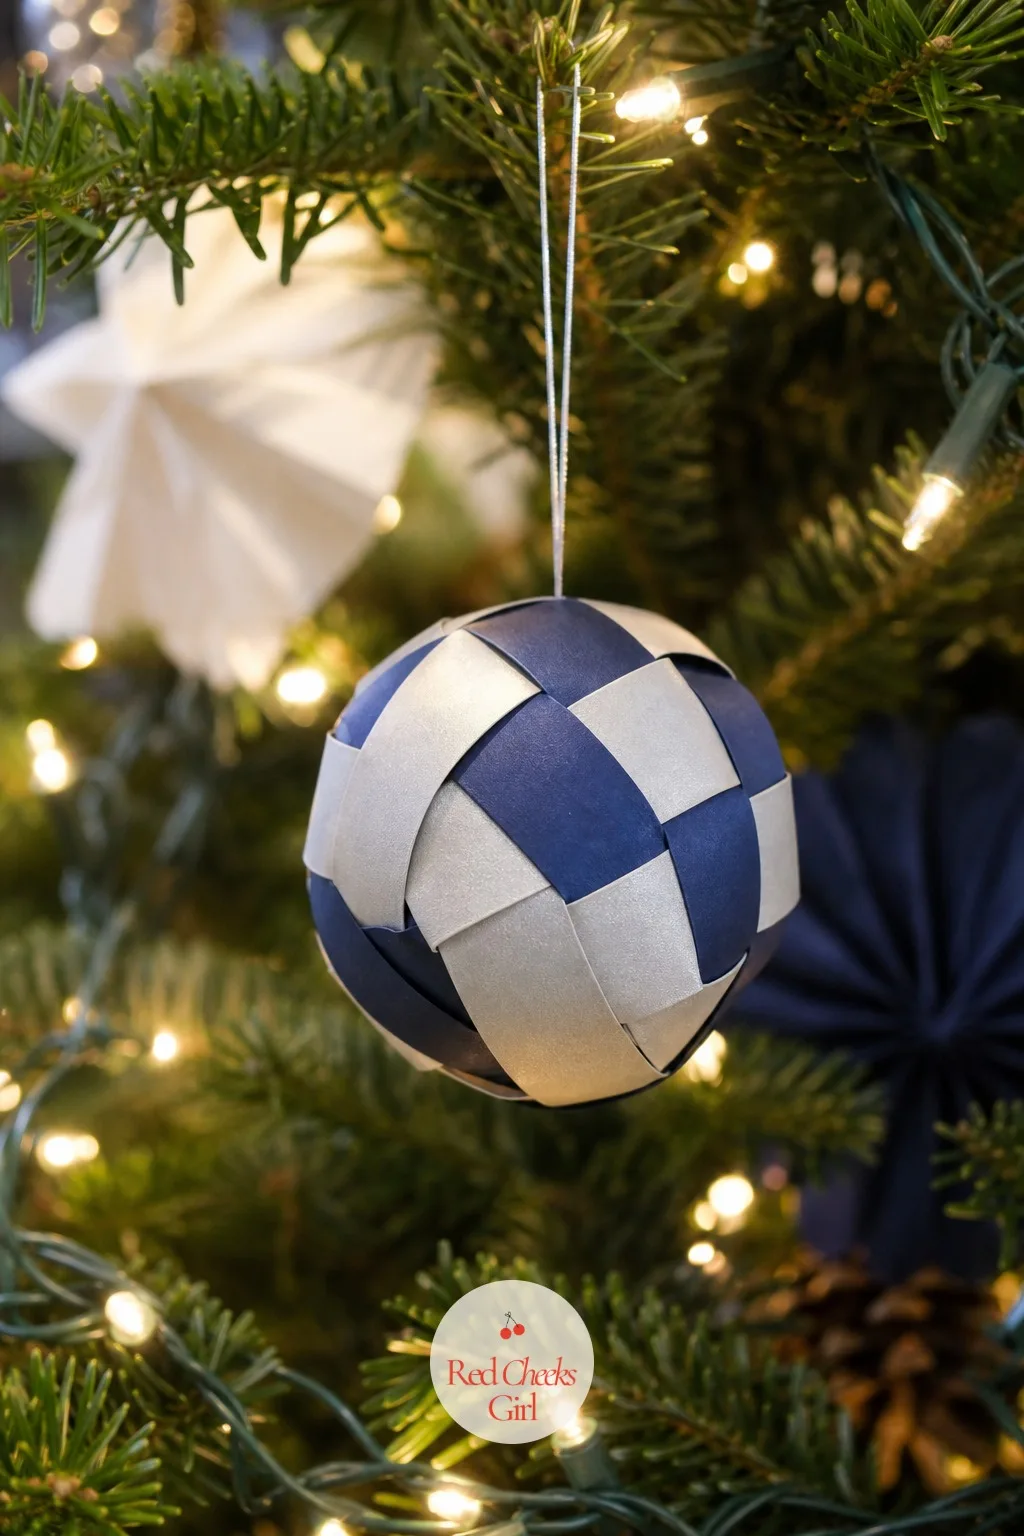
Navy And Silver Woven Ball
Strips of paper, woven over a simple frame of their own folds, build a sphere that looks basket woven rather than papercraft. It holds its round shape without any internal support.
Navy and silver strips alternated give it a formal, almost nautical finish that suits a tree with a lot of white lights already on it. Each ball takes about twenty minutes once the weaving pattern is set.
If the tree already carries enough blue, swap in a single metallic colour instead, woven monochrome, it reads just as rich.
Cut And Layered Paper Ornaments
Where a craft knife or a good pair of scissors earns its keep: flat shapes stacked to read as dimensional from across the room.
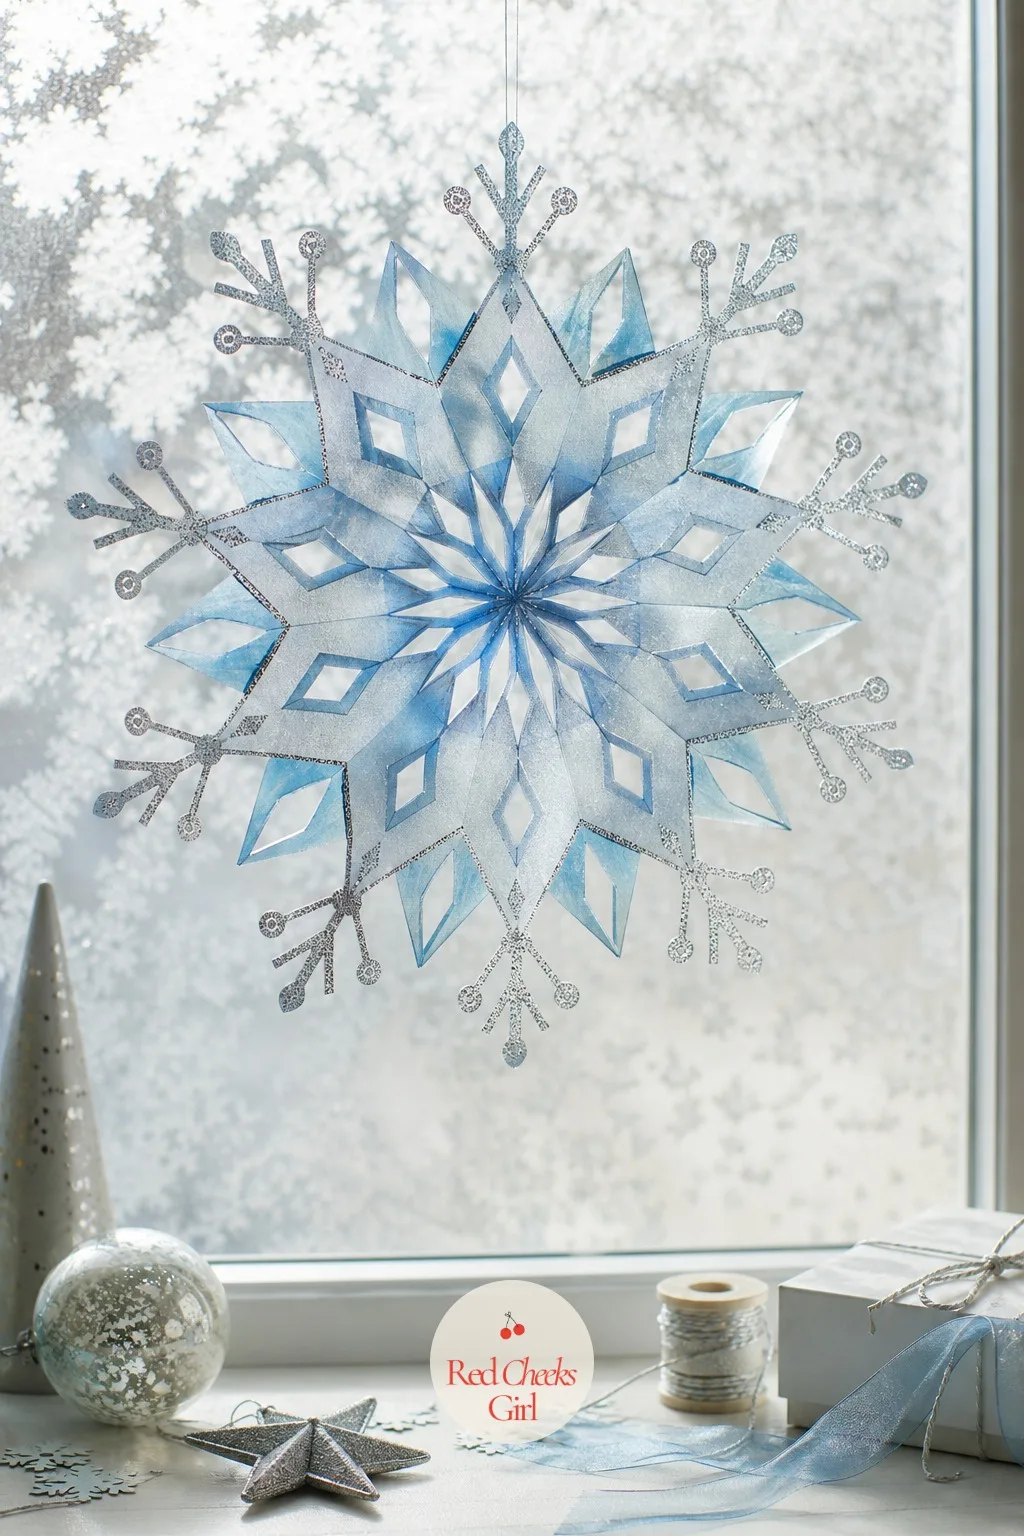
Icy Vellum Snowflake
Fold a square six times, snip a few shapes out with small scissors, and the unfolding is the whole reward, every single one comes out slightly different. Vellum lets light pass through it the way real snow never quite does.
Silver glitter pen along the cut edges adds just enough sparkle without the mess of loose glitter falling onto the carpet. Fishing line instead of ribbon makes it look like it is floating.
This one suits a window as much as a tree, tape a cluster to the glass and the whole room gets a softer light in the evening.
🛍 Shopping guide
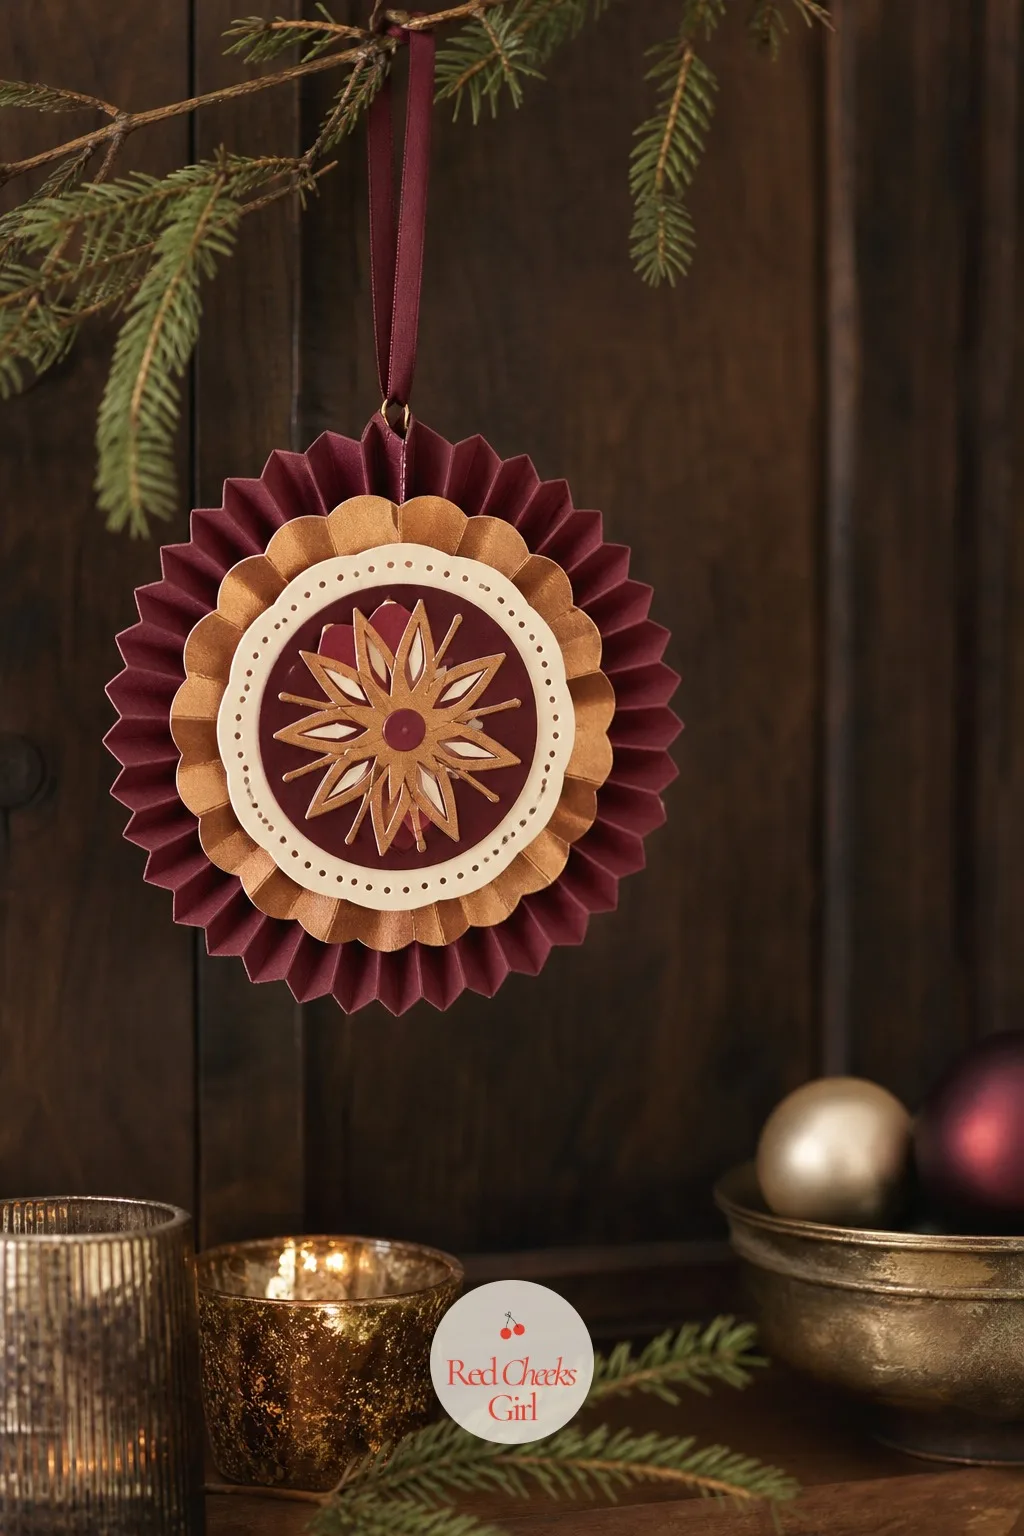
Burgundy And Copper Layered Medallion
Three or four circles, each slightly smaller than the last, stacked and glued at the centre so the edges fan out in a slight dome. It photographs with real shadow and depth despite being completely flat underneath.
Burgundy beneath copper beneath cream gives it a jewellery box richness that suits a formal dining room tree more than a playroom one. A craft knife and a circle template are the only tools involved.
Cut the circles freehand with a glass or a mug if a template set feels like one purchase too many.
🛍 Shopping guide
Vintage And Upcycled Paper Ornaments
Old pages, new purpose. These lean warm and a little nostalgic, perfect if the tree already has a secondhand, collected-over-years feel to it.
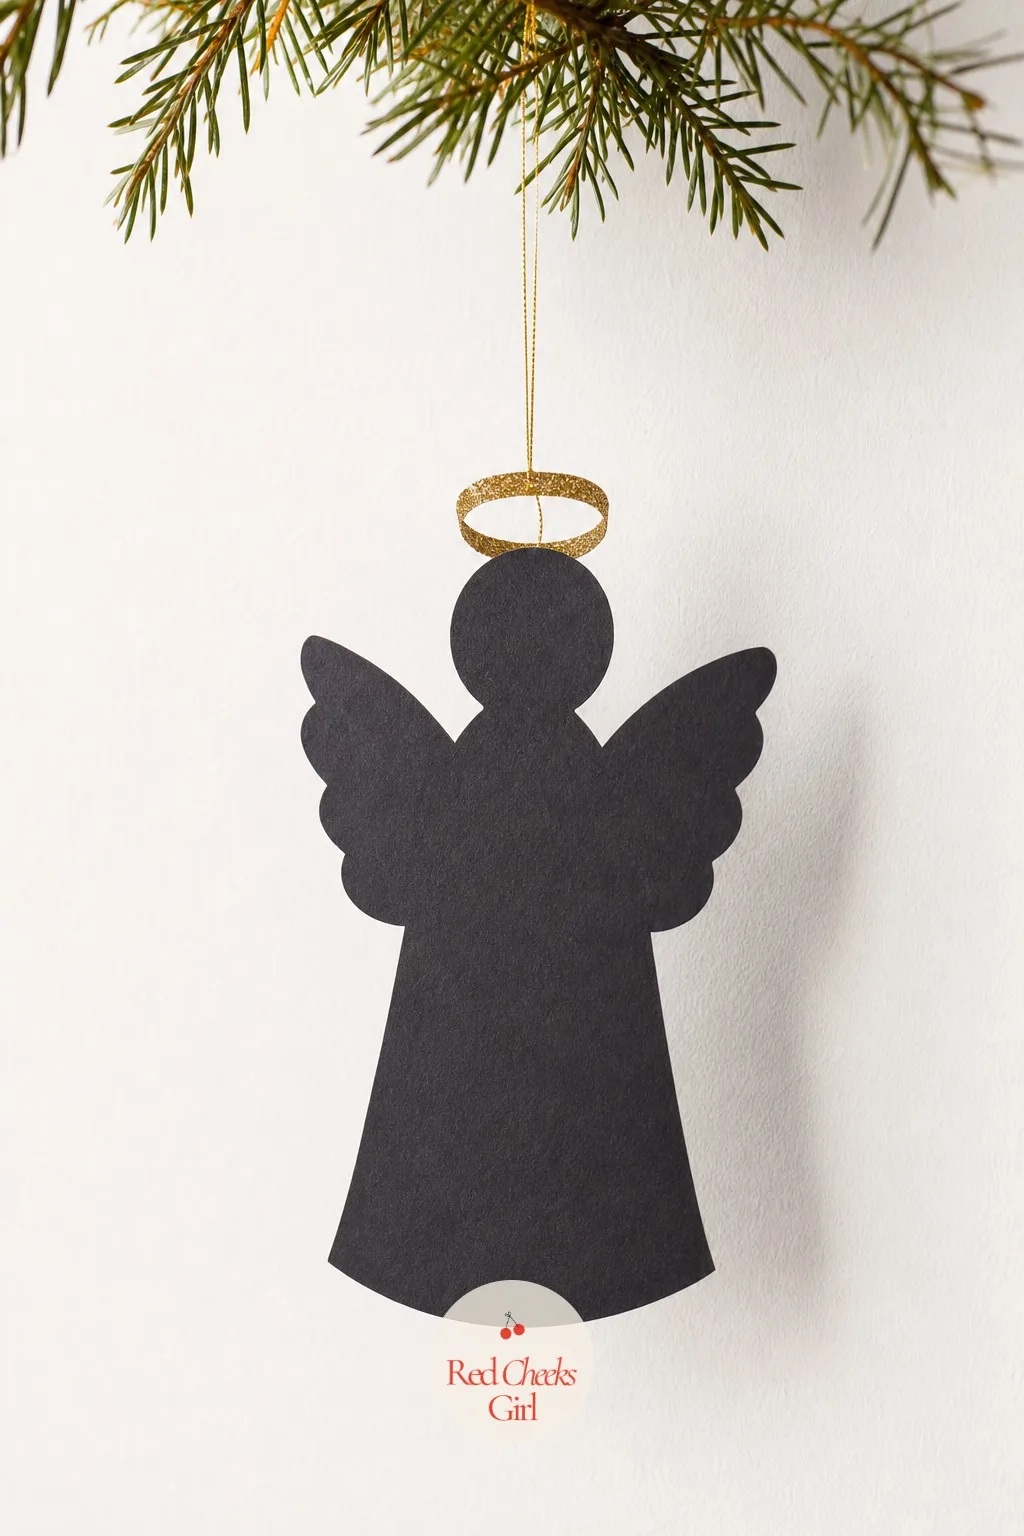
Black Cut-Paper Angel Silhouette
A single silhouette, scissor cut from black card, reads as a Victorian scrapbook piece rather than anything from this century. No colour, no glitter, just a clean outline against whatever is behind it.
Pair it with a thin gold halo cut from a second sheet and the whole thing lifts without needing more detail. These cost almost nothing to make since one sheet of black card yields four or five silhouettes.
Hang a small cluster against a plain white wall instead of a tree for a quieter kind of display near the front door.
🛍 Shopping guide
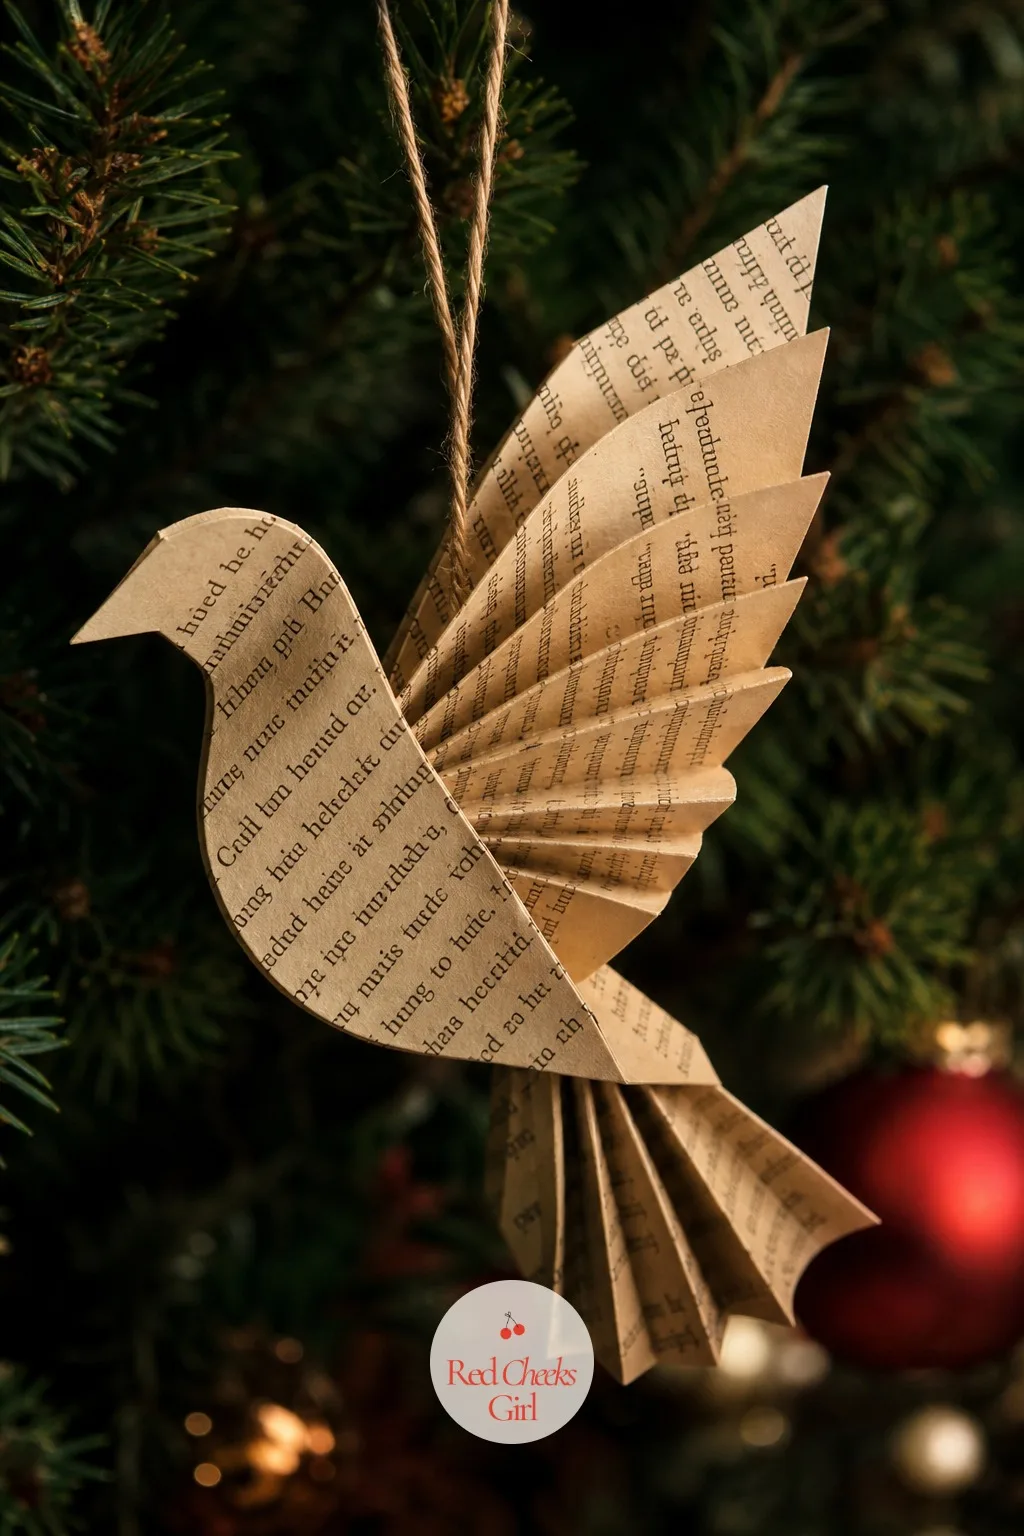
Sepia Book-Page Dove
An old paperback nobody is finishing gives its pages a second life as a dove shape, folded along the spine so the text runs across the wings in both directions. The yellowed paper does the vintage work for you, no staining or tea dyeing required.
Fine gold cord for hanging keeps it from looking like a school project. This is the ornament to make with the stack of damaged books most people keep meaning to donate.
If a whole book feels wasteful, a few photocopied pages from a library discard sale do exactly the same job.
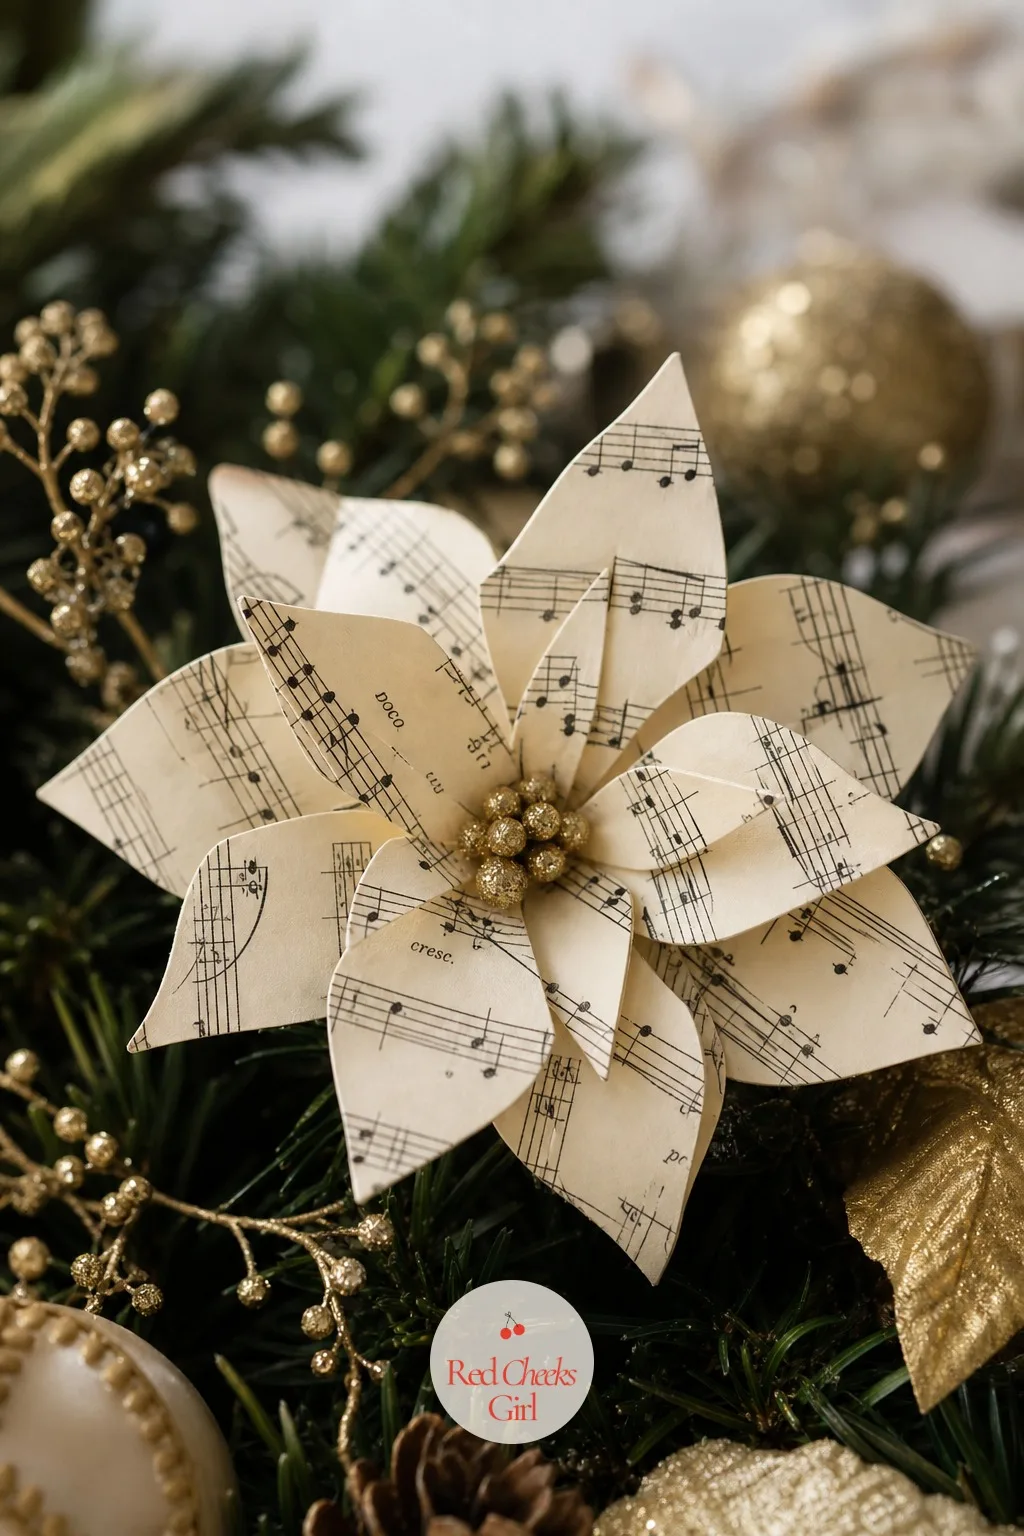
Sheet-Music Poinsettia
Petals cut from old sheet music, cupped slightly with a fingertip, build into a poinsettia that photographs like fabric from a distance. A small brad through the centre holds the whole flower together and doubles as the stamen.
Cream and gold against the printed notation gives it a warmer finish than a plain red poinsettia would, closer to an antique shop find than a craft table. One flower takes about fifteen minutes once the petal shape is cut out as a template.
For more paper flowers built the same way, in felt and sheet music both, 20 DIY Christmas Flowers Made From Paper, Felt and Old Sheet Music has the full set.
Coffee Filter Snowflake Angel
A coffee filter, folded and snipped the same way as a paper snowflake, opens into a soft, rounded shape that drapes rather than holds a sharp edge. Bend the top into wings and glue on a small bead head, and it stops being a snowflake.
Natural cream colour needs almost no decoration beyond a gold paint pen along the folded edges. This is the cheapest entry on the whole list, a box of filters covers a dozen ornaments for less than a cup of coffee costs.
If filters feel too flimsy to hold shape, two layers glued back to back fix it without changing the look.
🛍 Shopping guide
Printable And No-Fuss Ornaments
For the night you want ornaments but not a project: print, cut on the lines, glue. Done before the kettle cools.
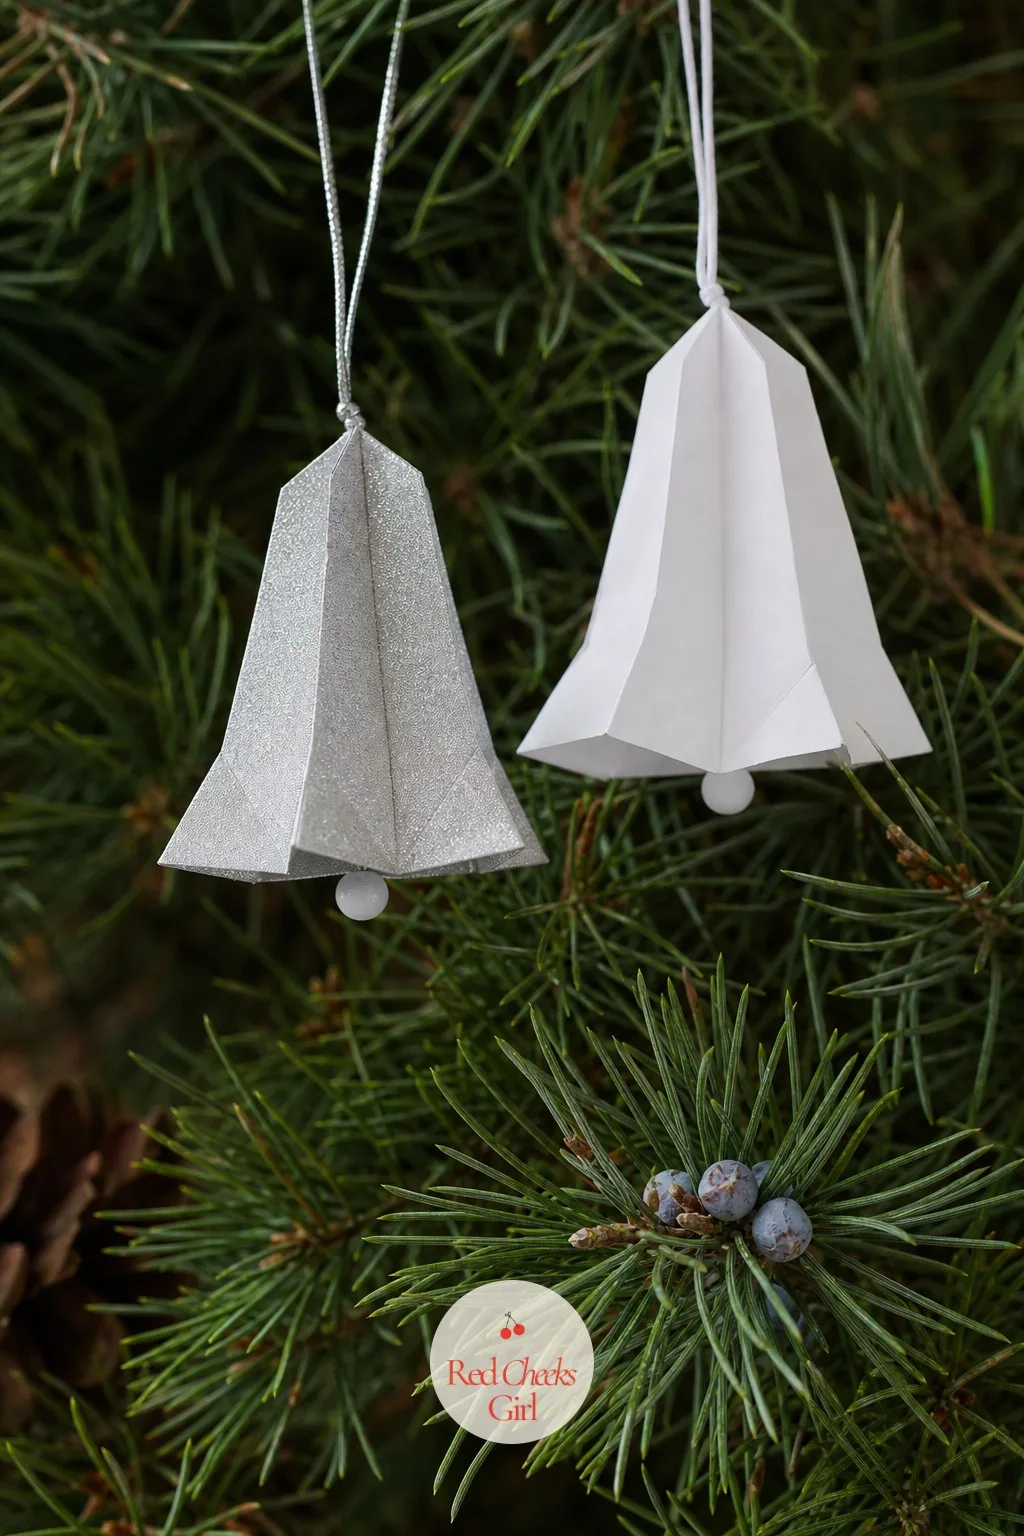
Punch-And-Fold Silver Bell
Print a scored bell template, fold on the lines, glue one seam shut, and a flat sheet becomes a dimensional bell with no cutting beyond the outline. The scoring does the shaping for you.
Silver card against a white one, mixed through the same cluster, keeps it from looking like a single mass-produced batch. A tiny bead inside the bell mouth finishes it off without adding weight.
This is the entry for the night you promised ornaments and have twenty minutes before the film starts.
Frequently Asked Questions
How long do paper Christmas ornaments actually last?
Longer than most people expect. With the right storage between seasons, paper ornaments last for years, though they will gradually soften in colour over time, which many people end up preferring for a vintage look.
Will paper ornaments survive a humid or steamy room?
Paper is the one weak point against moisture, so it is worth keeping these away from windows that collect condensation or rooms that run warm and damp. A thin coat of a sealant such as mod podge or an acrylic spray over the finished piece gives it real protection if humidity is a concern in your home.
What kind of paper should I use so the ornaments do not go floppy?
Thin copy paper and most gift wrap will not hold a shape, so reach for something with real body instead. The paper choice is one of the most important parts of this project, and it needs to be heavy and durable rather than lightweight.
Are these projects something a child can actually help with?
Many of them, yes. Folded and cut paper ornaments are some of the easiest DIY Christmas ornaments to make, especially with kids, though the quilled snowflake and the layered medallion are better handled by an adult or an older teenager given the smaller, fiddlier pieces involved.
What is the cheapest paper to use if I do not want to buy anything new?
Whatever is already in the house works. These ornaments are wonderfully versatile, made from newspaper, origami paper, book pages, or colourful craft paper, and once they have served their season they are fully recyclable, so nothing goes to waste either way.
How should I store paper ornaments once the tree comes down?
Flat, and protected from crushing. Store them in a flat box with tissue paper between layers to prevent crushing and folding, and keep the box somewhere dry rather than in a damp garage or attic where moisture collects.

24 traditional Christmas decorations in red, green and gold, room by room, with a shoppable list for

20 Friendsmas party games your friend group will actually love — witty, cheeky, and a little unhin
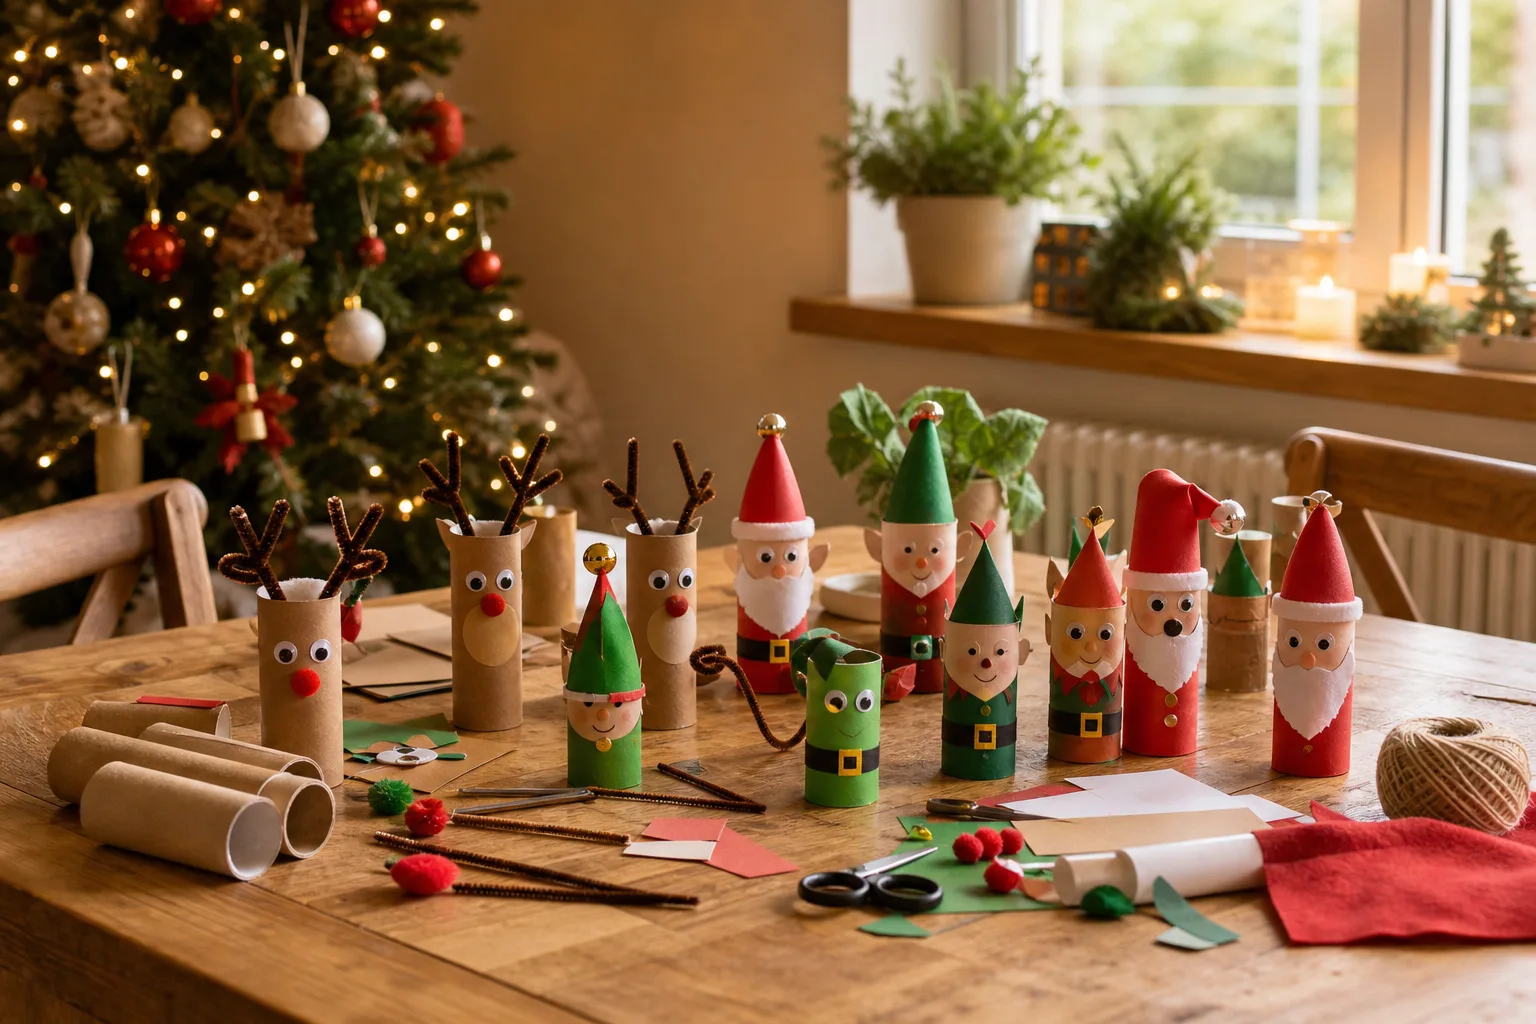
15 toilet paper roll Christmas crafts for kids: reindeer, elves, Santa, a wreath and more. Full mate
Leave a Reply