

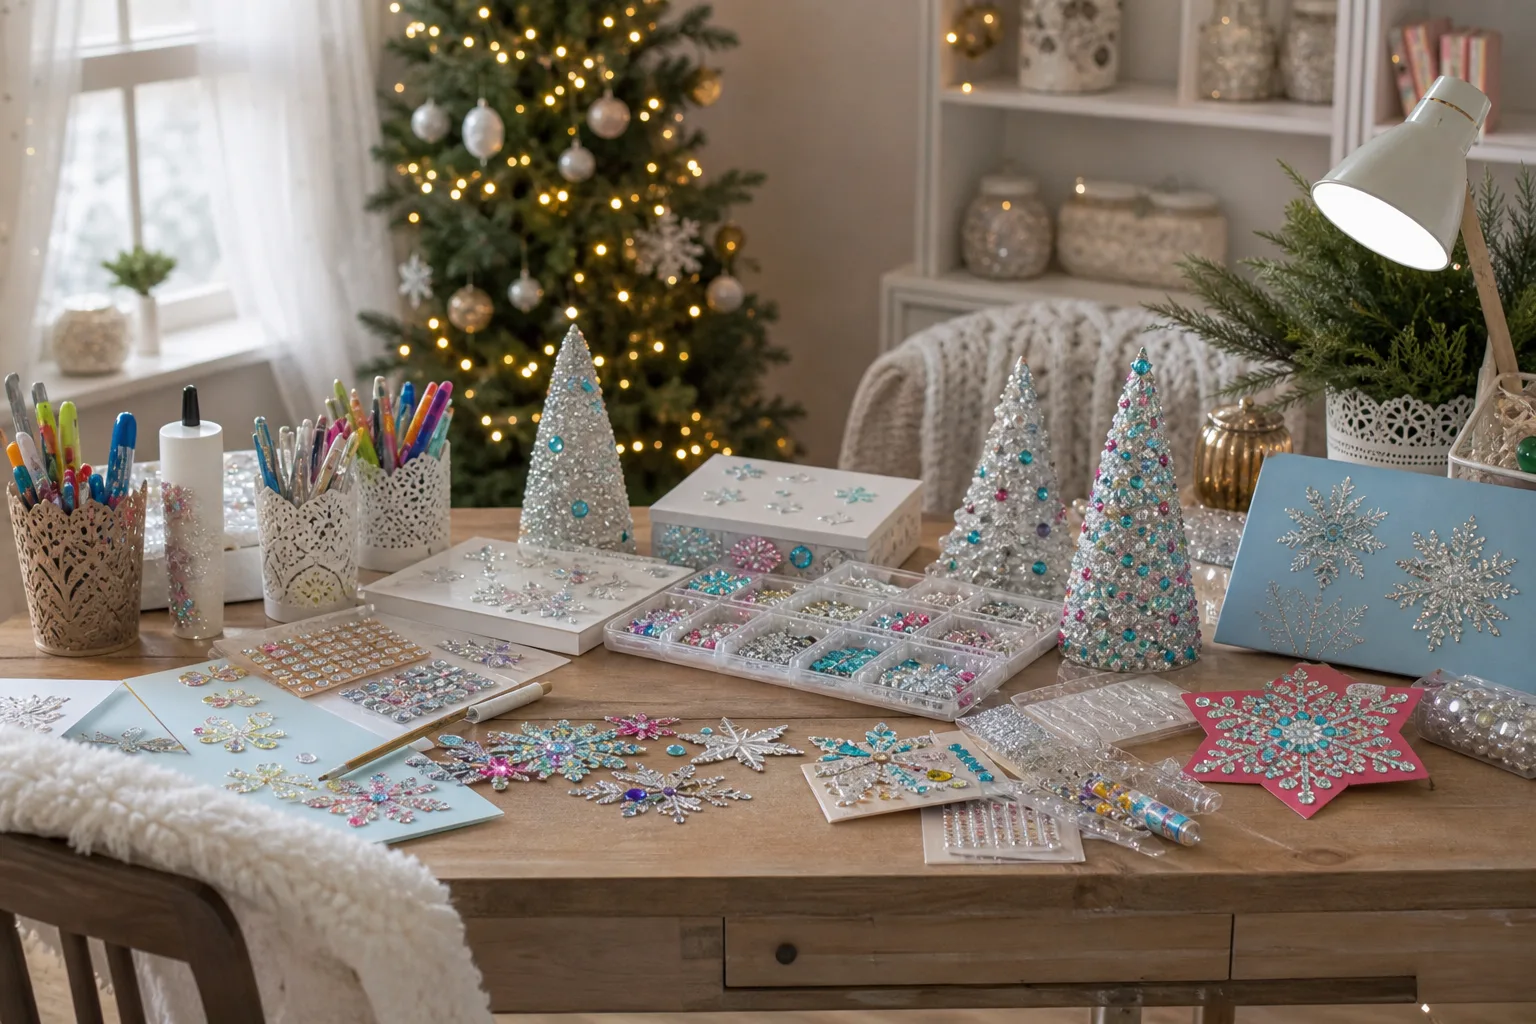
A plain paper snowflake taped to the window says someone ran out of time. A few dozen tiny stones pressed into the same shape, catching the porch light at six in the evening, says something else entirely. That is really all a rhinestone does for a kids’ Christmas craft: it turns a school-glue project into something that looks lit from the inside.
None of what follows needs a trip to three shops. Flat-back rhinestones come in bags of a thousand for not much money, and most of these use things already drifting around the house: felt scraps, a plain headband, a clean jam jar. Pick two or three for a wet Saturday afternoon and let the rest wait for the tree-trimming party.
This post contains affiliate links. If you buy through them, I may earn a small commission at no extra cost to you.
- Rhinestone Snowflake Ornaments
- Rhinestone Gift Tags
- Rhinestone Candy Cane Headband
- Rhinestone Wood Slice Name Ornaments
- Rhinestone Mitten Garland
- Rhinestone Santa Hat Hair Clip
- Rhinestone Ice Castle Luminaries
- Rhinestone Stocking Place Cards
- Rhinestone Snow Globe Ornament
- Rhinestone Bauble Centerpiece Bowl
- Rhinestone Princess Crown
- Rhinestone Mini Frame Ornament
- Rhinestone Starlight Wand
- Rhinestone Initial Brooch Pin
- Rhinestone Reindeer Antler Headband
- Frequently Asked Questions
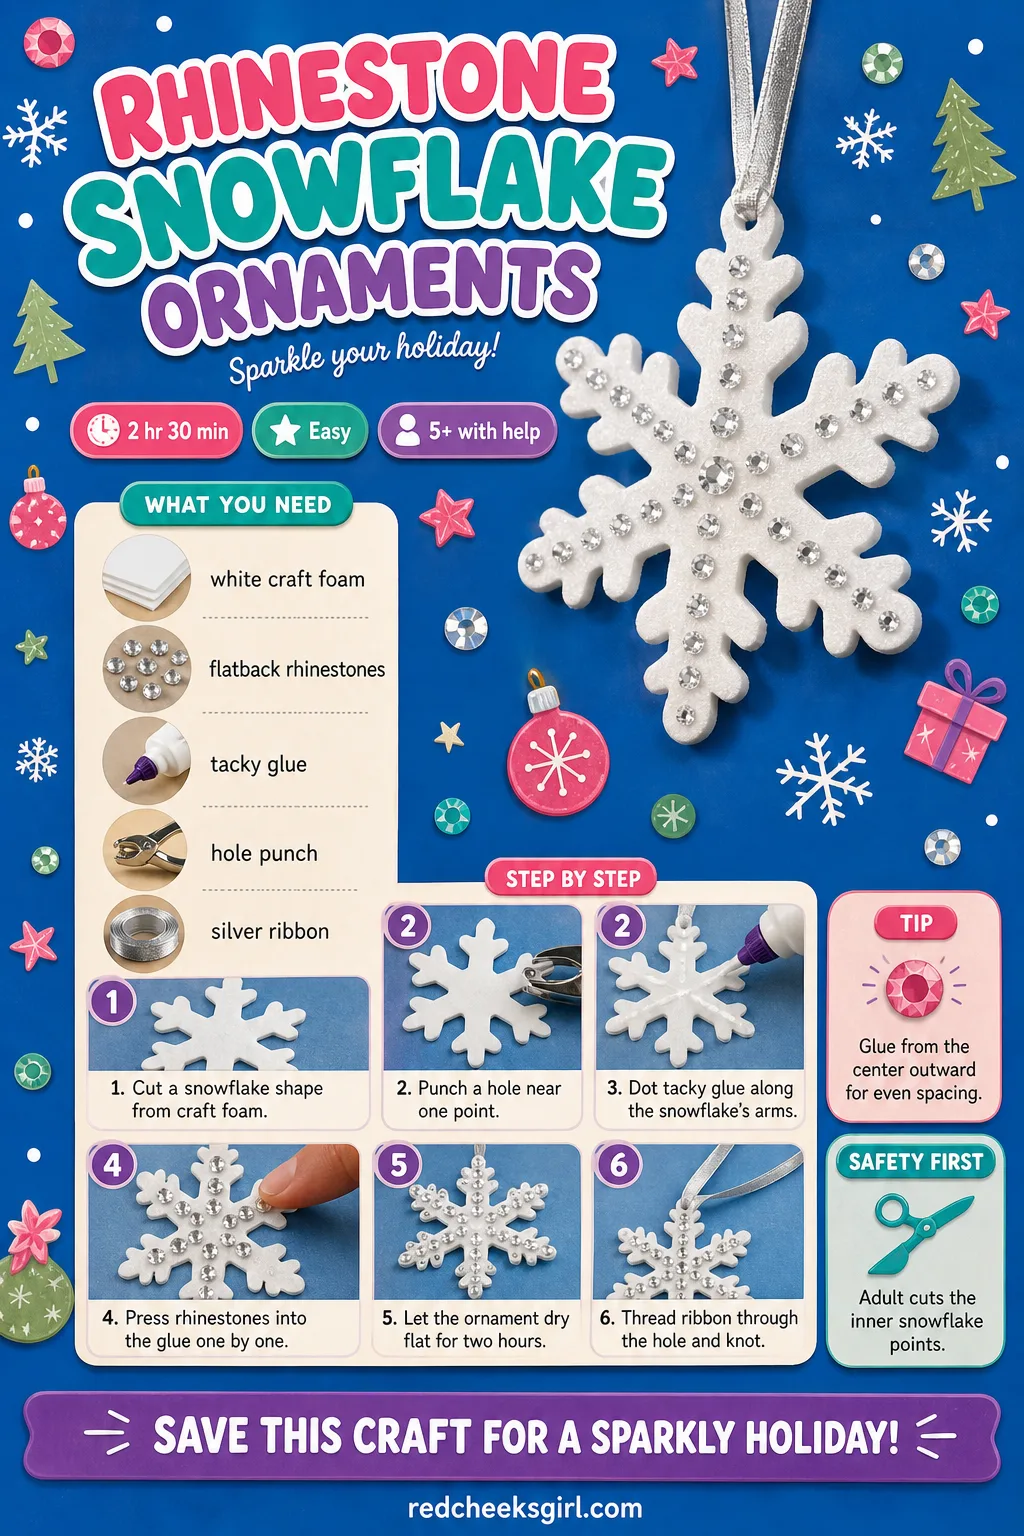
Rhinestone Snowflake Ornaments
A foam snowflake straight off the craft aisle looks exactly like what it is: a dollar-store shape. Cover its arms edge to edge in tiny stones and it turns into the kind of ornament that gets fought over at the end of the season. Hang a cluster of them in a bare window and they catch every bit of passing light, even on a grey afternoon.
What You Need
- 1 sheet white craft foam, 9×12 inch (makes 4 snowflakes)
- 1 pack flat-back rhinestones, 4mm, silver or clear
- 1 bottle tacky glue
- 1 hole punch
- 12 inch silver ribbon per ornament
How to Make It
- Trace or print a snowflake template and cut the shape from the foam sheet; an adult should cut the thin inner points.
- Punch a hole near the tip of one point for hanging.
- Squeeze small dots of tacky glue along the snowflake’s arms, working one arm at a time.
- Press rhinestones into the glue one by one, starting at the center and working outward.
- Leave the ornament flat for 2 hours so the glue sets completely.
- Thread the ribbon through the hole and knot it into a hanging loop.
🛍 Shopping guide
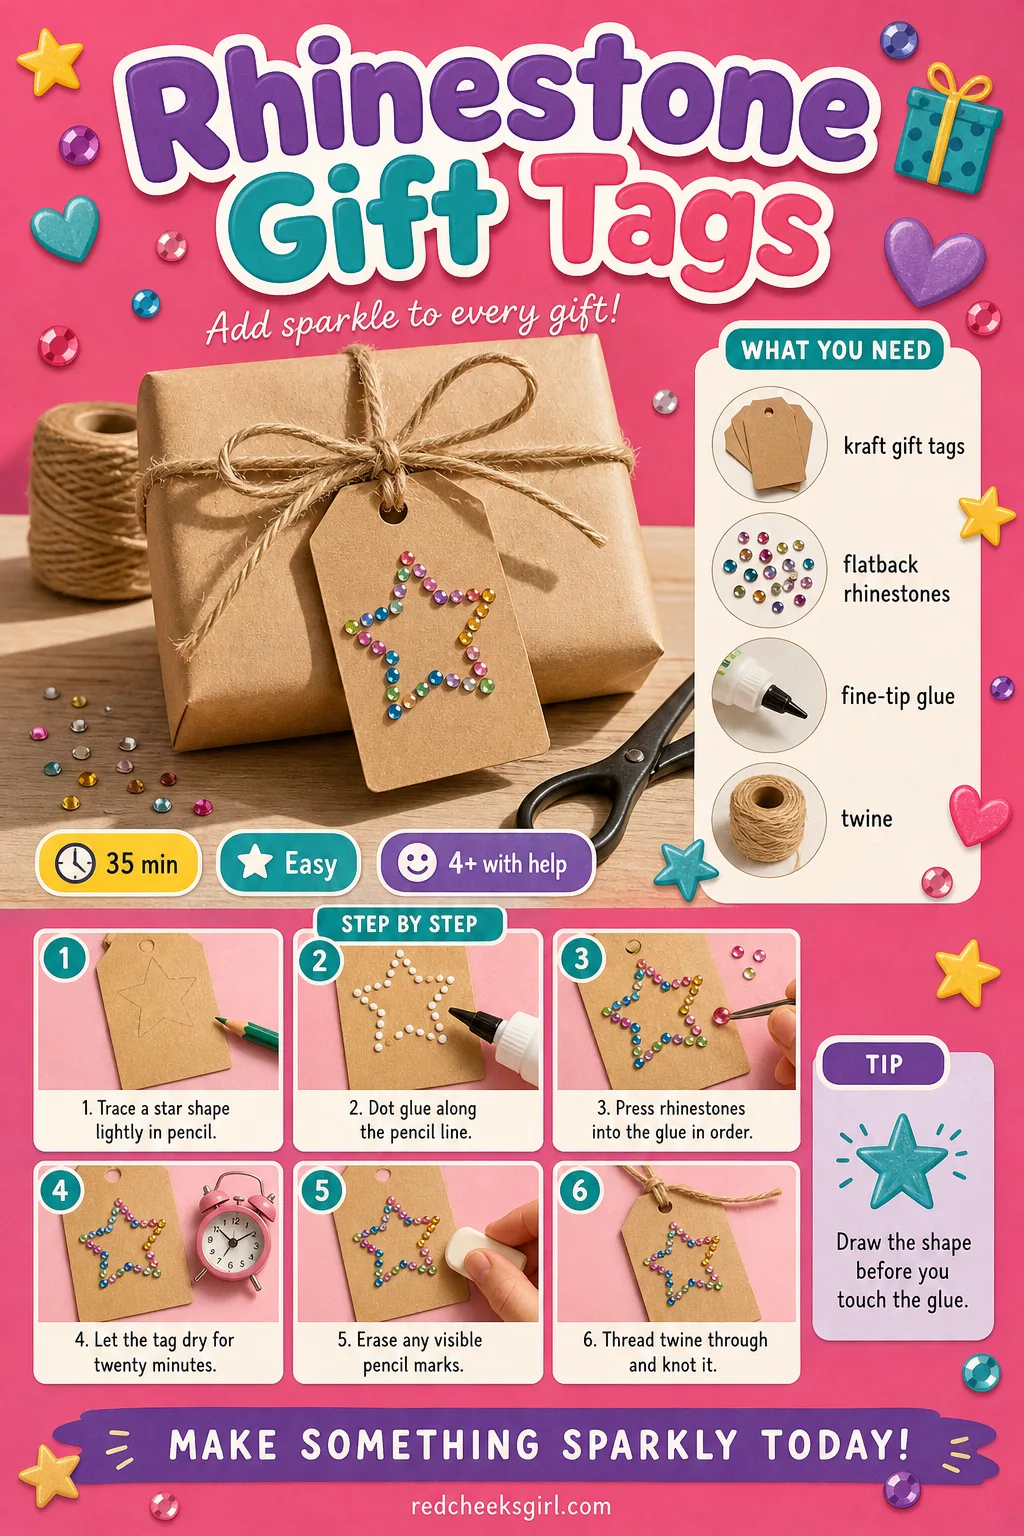
Rhinestone Gift Tags
A sticker gift tag reads as an afterthought. A tiny star outlined in stones, swinging from a loop of twine, reads as someone who sat down for ten quiet minutes with the kids. These are the fastest thing on this list to make and the cheapest, since one pack of blank tags covers the whole family’s parcels under the tree.
What You Need
- 1 pack kraft cardstock gift tags, blank, 2.5×4 inch
- 1 pack flat-back rhinestones, 3mm, star shaped if you can find them
- 1 bottle craft glue with a fine tip
- 12 inch length of jute or baker’s twine, per tag
How to Make It
- Lightly pencil a star or snowflake outline onto the tag.
- Run a thin line of glue along the pencil line, working in short sections.
- Press rhinestones into the glue, following the line in order.
- Let the tag dry flat for 20 minutes.
- Erase any pencil marks still showing once the glue has set.
- Thread twine through the tag’s hole and knot it onto the parcel.
🛍 Shopping guide
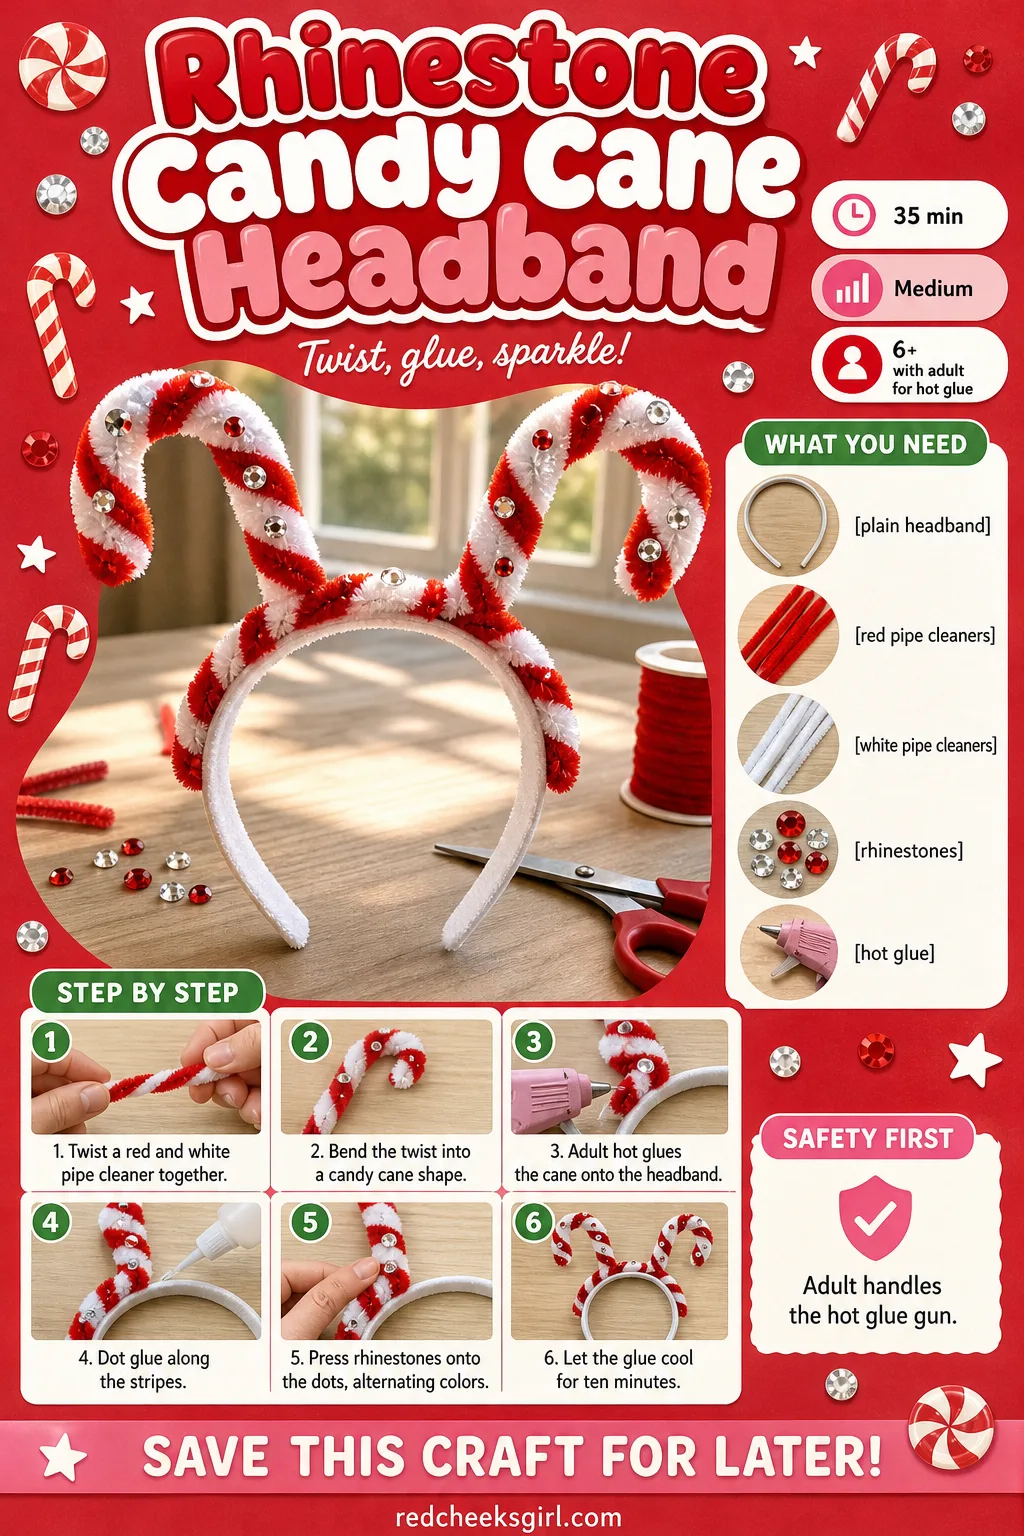
Rhinestone Candy Cane Headband
Kids at a Christmas party want something to wear, not just something to carry home in a plastic bag. This one loops a striped pipe-cleaner cane over a plain headband and studs it with alternating red and clear stones, so it photographs well under string lights and survives a few hours of dancing. If the glitter version of a candy cane feels like too much, swap in white and gold pipe cleaners for a quieter, grown-up sparkle instead.
What You Need
- 1 plain plastic headband
- 2 red pipe cleaners, 12 inch
- 2 white pipe cleaners, 12 inch
- 1 pack flat-back rhinestones, red and clear mix
- hot glue gun with 2 glue sticks
How to Make It
- Twist one red and one white pipe cleaner together along their full length to create a striped effect.
- Bend the twisted length into a simple candy cane hook shape.
- An adult hot-glues the cane shape onto the top arch of the headband.
- Dot tacky glue, or small dabs of hot glue, along the stripes.
- Press rhinestones onto the dots, alternating red and clear for contrast.
- Let the glue cool and set for 10 minutes before wearing.
🛍 Shopping guide
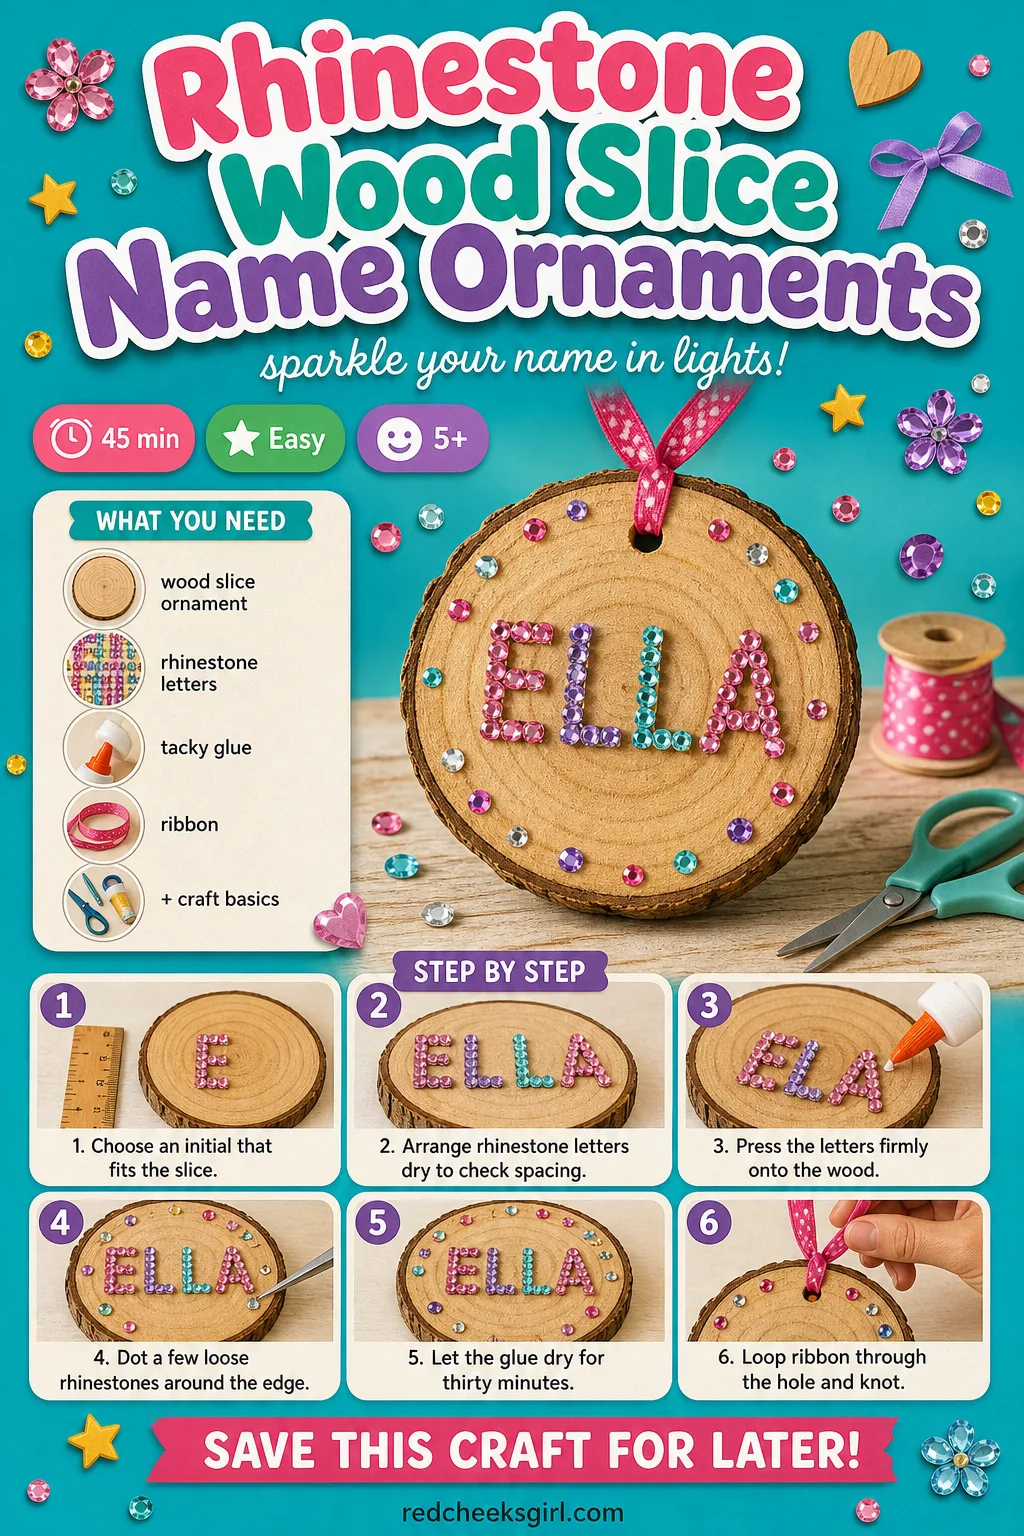
Rhinestone Wood Slice Name Ornaments
A tag with a name scrawled in marker gets forgotten by February. A wood slice with the same name spelled out in tiny rhinestone letters goes back into the ornament box year after year, and doubles neatly as a gift kids can make for grandparents without spending much at all. Keep the slices flat in a shoebox between seasons so the ribbon loops don’t tangle.
What You Need
- 1 wood slice ornament blank, 3 inch diameter, with hole
- 1 pack rhinestone alphabet letter stickers, 6mm
- a few loose flatback rhinestones for accent dots
- 1 bottle tacky glue
- 10 inch ribbon for hanging
How to Make It
- Decide on a name or initial that will fit comfortably across the slice.
- Peel the rhinestone letter stickers and lay them out dry first to check the spacing.
- Press the letters firmly onto the wood, starting with the first letter and working across.
- Dot a few loose rhinestones around the edge as extra sparkle, using tacky glue.
- Let everything dry for 30 minutes.
- Loop the ribbon through the hole and knot it for hanging.
Rhinestone Mitten Garland
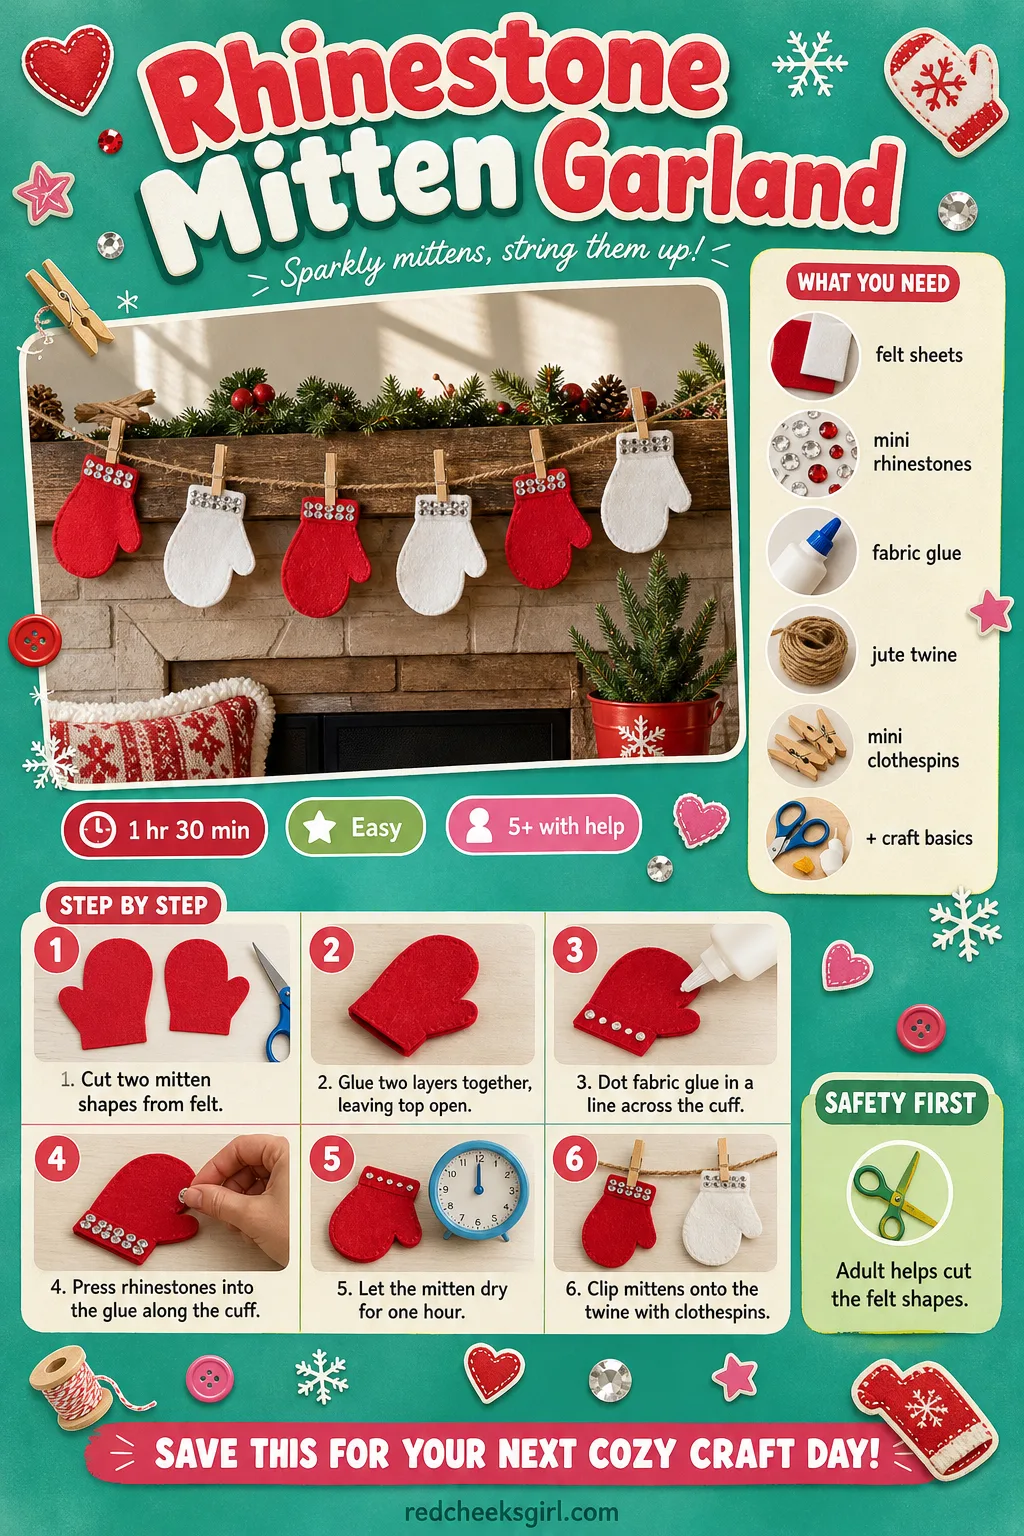
A bare mantel in December looks unfinished no matter how many candles sit on it. A line of felt mittens, each one stitched with a single stone cuff, fixes that without a single yard of fabric being wasted. If there is no mantel to speak of, the same garland clips just as well along a hallway rail or a bedroom window.
What You Need
- 2 sheets red felt, 9×12 inch
- 2 sheets white felt, 9×12 inch
- 1 pack mini flatback rhinestones, 3mm
- 6 feet jute twine
- 10 mini wooden clothespins
- 1 bottle fabric glue
How to Make It
- Cut two mitten shapes per mitten, front and back, from the felt using a simple template; an adult should help with the cutting.
- Glue the two layers together around the edge, leaving the top open like a pocket.
- Dot fabric glue in a line across each mitten to mark the cuff.
- Press rhinestones into the glue along that cuff line.
- Let each mitten dry flat for 1 hour.
- Clip the mittens onto the twine with the mini clothespins, spacing them about 6 inches apart.
Rhinestone Santa Hat Hair Clip
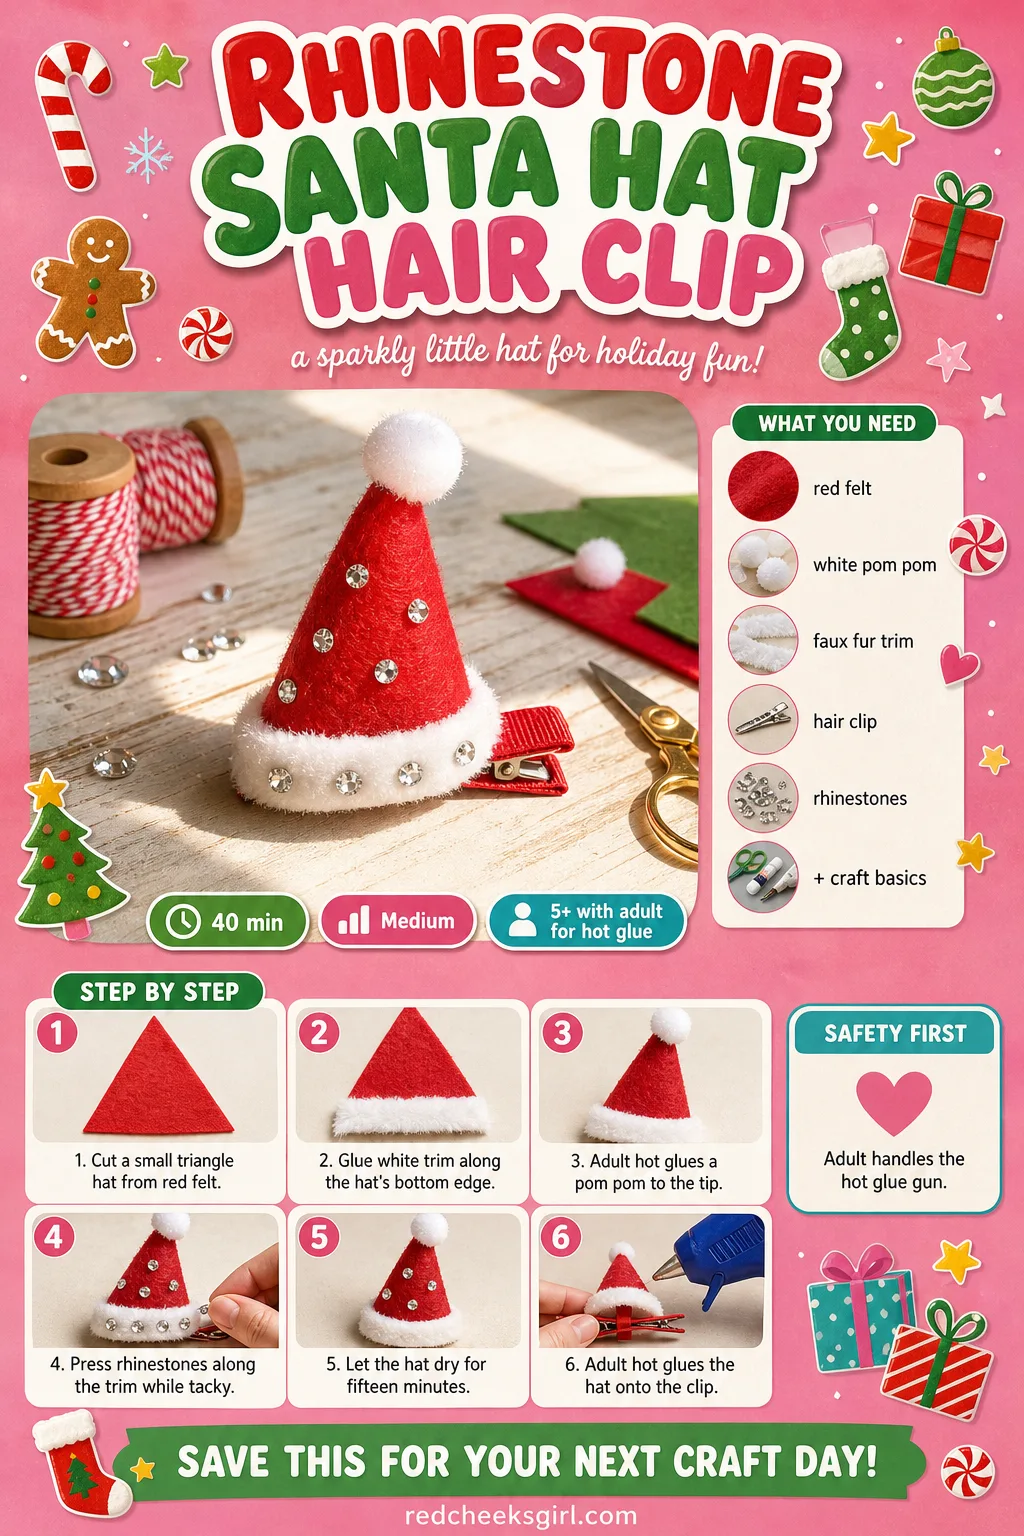
A plain red felt triangle glued onto a clip looks like a craft-fair leftover. A row of stones along the white trim and a proper pom pom at the tip makes it look like something from an actual party shop, at a fraction of the cost. It clips into hair in seconds, which matters when the car is already idling outside.
What You Need
- 1 sheet red felt, enough for a 2 inch triangle per hat
- 1 inch white pom poms, 1 per clip
- white faux fur or cotton trim, 2 inch strip per hat
- alligator hair clips, 1 per hat
- 1 pack 3mm flatback rhinestones
- hot glue gun
How to Make It
- Cut or fold a small triangle hat shape from the felt, about 2 inches tall.
- Glue a strip of white faux fur or cotton trim along the hat’s bottom edge.
- An adult hot-glues a white pom pom to the point of the hat.
- Press 3 or 4 rhinestones along the white trim while the glue is still tacky.
- Let the hat dry for 15 minutes.
- An adult hot-glues the finished hat onto the hair clip.
Rhinestone Ice Castle Luminaries
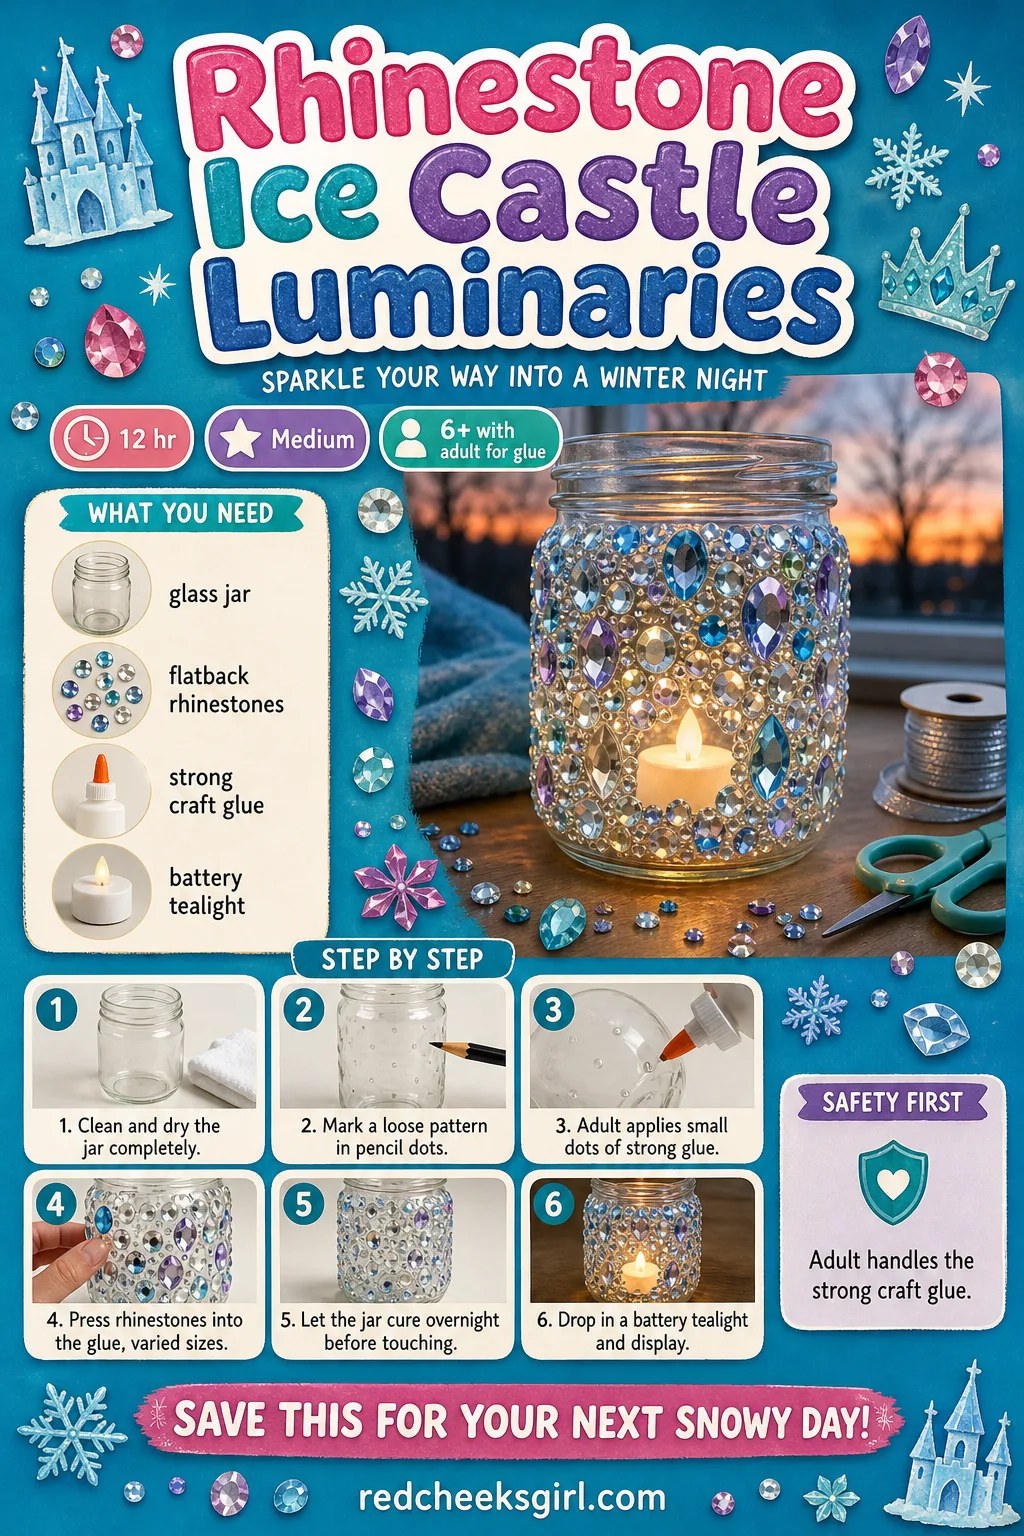
An empty jam jar on a windowsill says nothing. The same jar, scattered with stones in a loose icicle drip and holding a flameless candle, throws a proper constellation onto the wall once the sun goes down. These belong on an entry table or a staircase, somewhere a child walks past after dark and actually looks up.
What You Need
- 1 clean glass jar, pint size, label removed
- 1 pack clear and iridescent flatback rhinestones, mixed sizes
- strong craft glue (such as gem-tac)
- 1 battery operated tealight
How to Make It
- Wash the jar and let it dry completely; any trace of moisture will stop the glue from holding.
- Lightly mark a loose scatter or icicle-drip pattern with pencil dots.
- An adult applies small dots of strong glue following the marked pattern.
- Press rhinestones into the glue one at a time, mixing sizes for more sparkle.
- Let the jar cure fully overnight before it gets handled or moved.
- Drop in a battery tealight and set the jar where the light will catch the stones.
🛍 Shopping guide
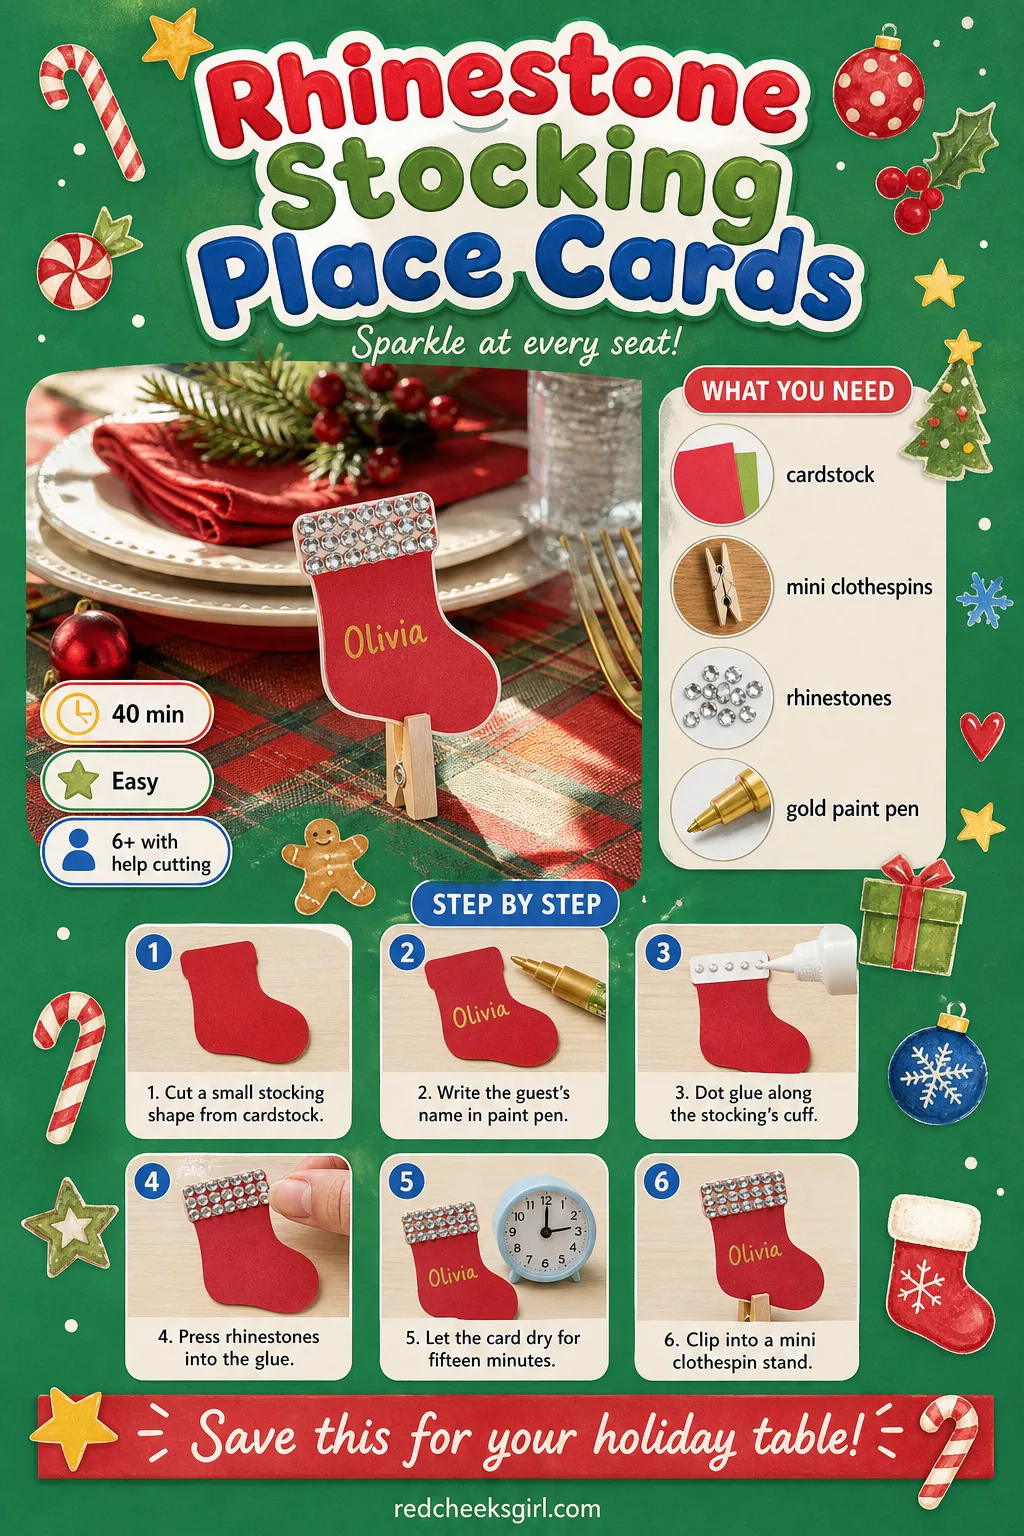
Rhinestone Stocking Place Cards
A folded index card with a name in biro does the job, technically. A tiny cardstock stocking with a rhinestone cuff, clipped into a wooden peg, makes the kids’ table at a family Christmas dinner feel like it got the same attention as the adults’ end. Store the whole set flat in an envelope once the dishes are cleared, ready to reuse next year.
What You Need
- cardstock, 110gsm, 1 sheet makes 4 place cards
- mini wooden clothespins, 1 per card
- 1 pack 3mm flatback rhinestones
- gold paint pen
How to Make It
- Cut a small stocking shape from the cardstock, about 3 inches tall.
- Write each guest’s name near the top in gold paint pen.
- Dot glue along the stocking’s cuff line.
- Press rhinestones into the glue along that line.
- Let the card dry for 15 minutes.
- Clip the finished stocking into a mini clothespin and stand it at each place setting.
Rhinestone Snow Globe Ornament
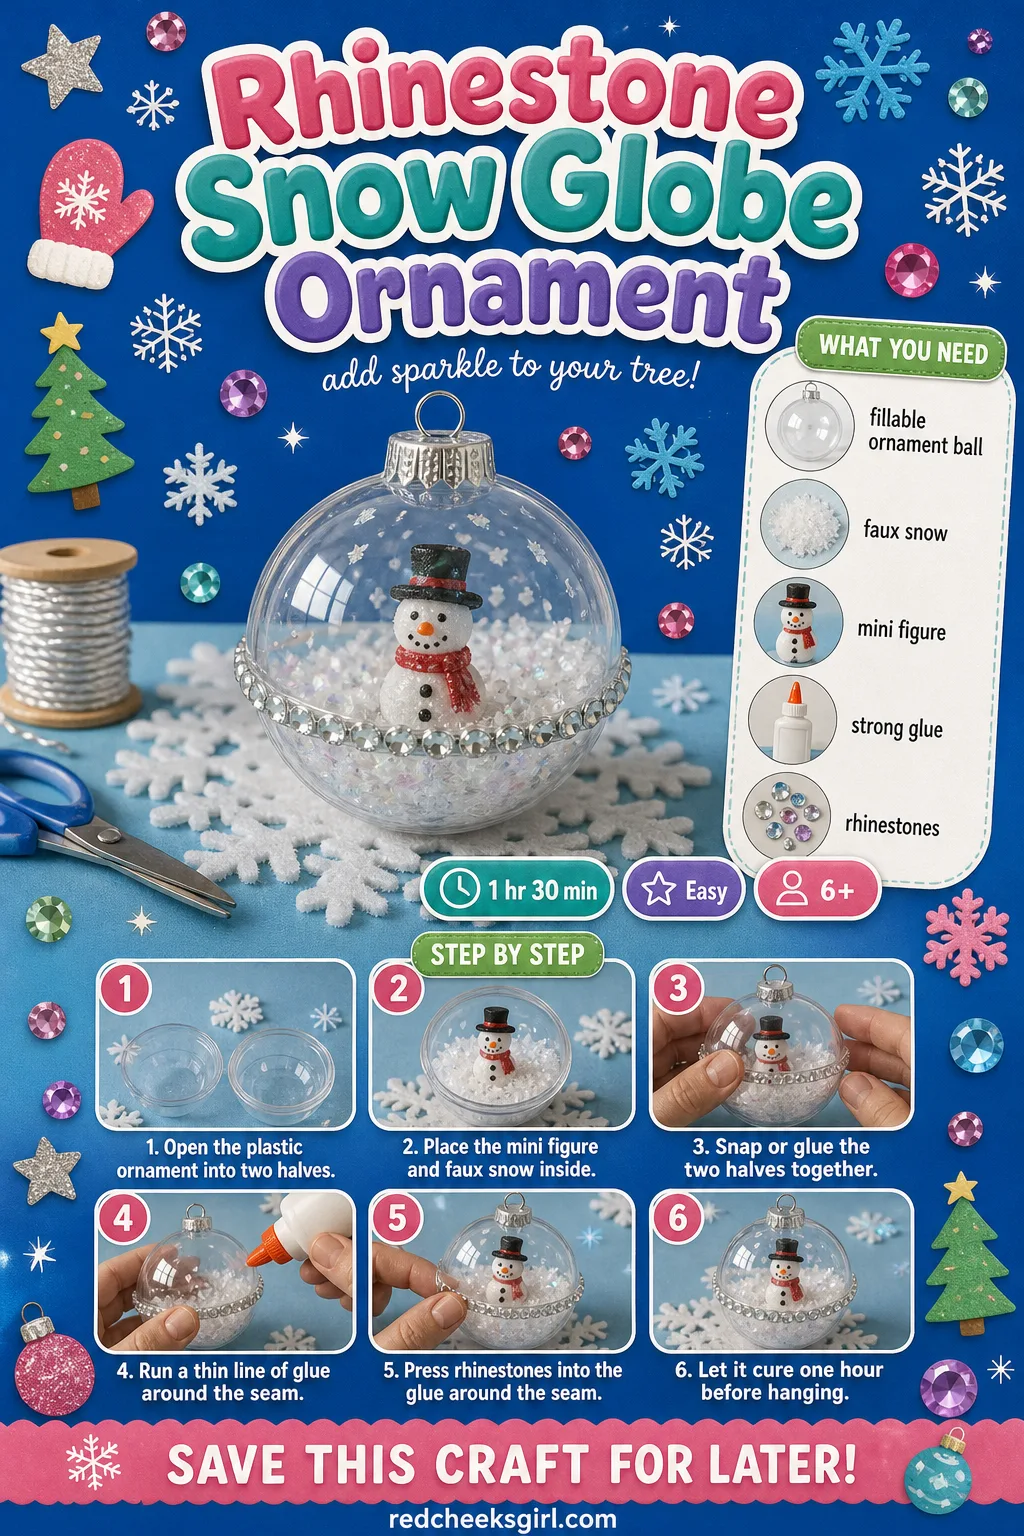
A plastic fillable ornament ball on its own looks half-finished, that seam around the middle always visible. Ring the seam in rhinestones instead of leaving it bare and the join disappears into a sparkling band that reads as deliberate rather than accidental. Hang a few from a bare branch in a vase if there is no tree up yet.
What You Need
- 1 clear fillable plastic ornament ball, 3 inch, two halves
- 1 small bag iridescent faux snow or mica flakes
- 1 miniature Christmas figure or bead per ornament
- strong craft glue
- 1 pack 3mm flatback rhinestones
How to Make It
- Open the plastic ornament ball into its two halves.
- Place the mini figure and a pinch of faux snow into the bottom half.
- Snap the two halves back together (an adult can help if they’re stiff).
- Run a thin line of strong glue around the seam where the halves meet.
- Press rhinestones into the glue all the way around the seam, covering the join completely.
- Let it cure for 1 hour before hanging by the ornament cap’s loop.
Rhinestone Bauble Centerpiece Bowl
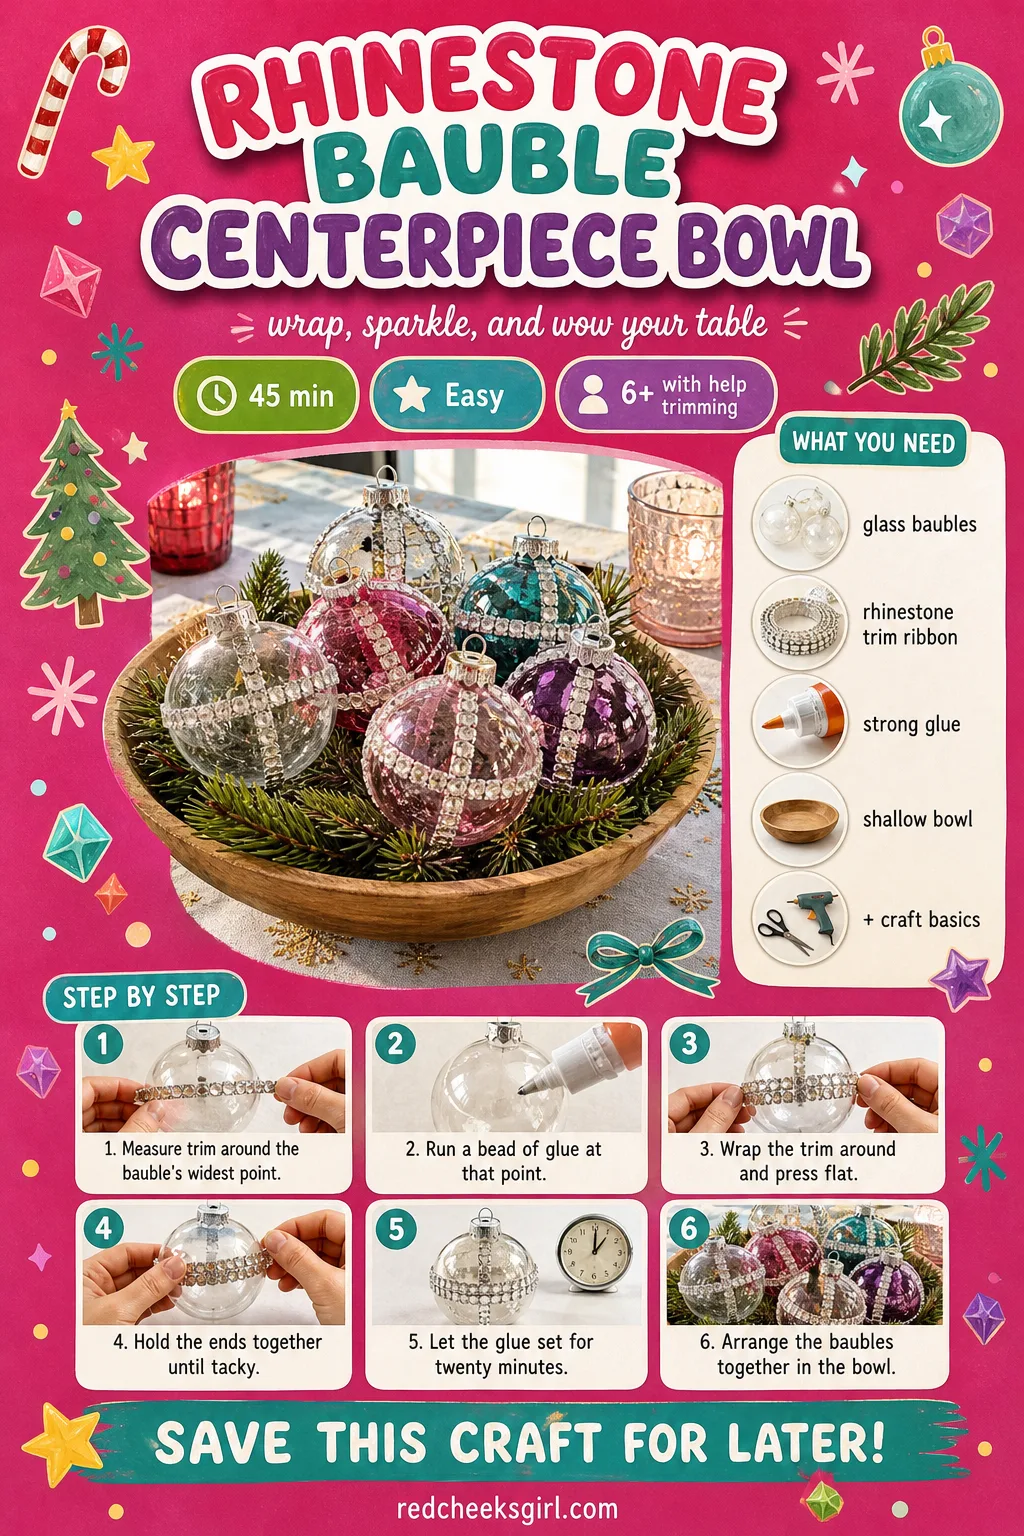
A bowl of plain glass baubles on the dinner table looks like it got pulled straight off the tree in a hurry. Wrap a band of rhinestone trim around each one’s widest point and the same bowl reads as a proper centerpiece, no florist required. It sits comfortably next to any rhinestone jewelry already drying nearby, since the glue and the stones overlap.
What You Need
- 6 glass or plastic ornament baubles, 3 inch
- rhinestone trim ribbon, 1 yard per bauble
- strong craft glue
- 1 wide shallow bowl or footed dish
- faux pine sprigs, optional filler
How to Make It
- Measure the rhinestone trim around the bauble’s widest point and snip it to length; an adult should cut any wired-edge trim.
- Run a thin bead of glue around the bauble at that same point.
- Wrap the trim around the bauble, pressing gently so it lies flat.
- Hold the trim ends together for a few seconds until tacky.
- Let the glue set for 20 minutes before handling the bauble again.
- Arrange the finished baubles in the bowl, nestled with a few sprigs of faux pine.
Rhinestone Princess Crown
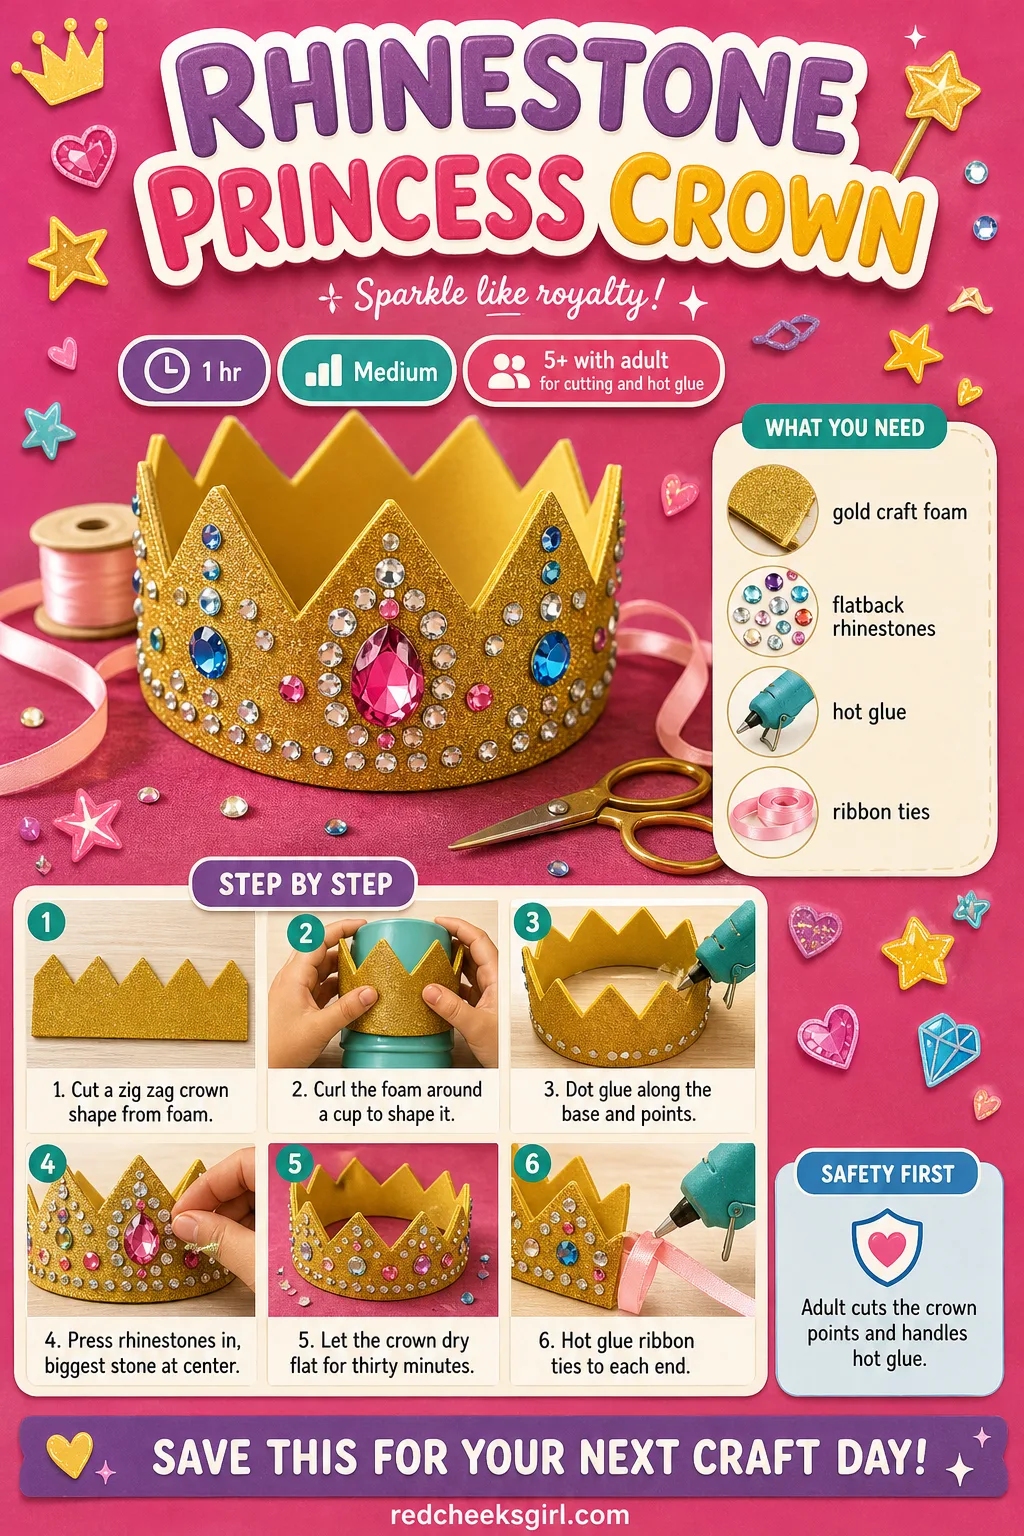
Dress-up box crowns go soft and crumpled by the second wearing. This one holds its zig-zag shape because the foam gets curled before anything gets glued on, and the rhinestones running along each point keep catching light even under an overhead bulb. It earns its keep as party-favor and photo-prop in one, and it costs barely anything to make several at once for a whole table of guests.
What You Need
- 1 sheet gold or silver craft foam, 9×12 inch
- 1 pack flatback rhinestones, mixed sizes
- hot glue gun or tacky glue
- 2 lengths elastic cord or ribbon, 10 inch each
How to Make It
- Cut a crown shape from the foam sheet, about 2 inches tall and long enough to wrap the head; an adult should cut the zig-zag points.
- Curl the foam gently around a cup for a minute to help it hold a curve.
- Dot glue along the crown’s base and points.
- Press rhinestones into the glue, saving the largest stone for the center point.
- Let the crown dry flat for 30 minutes.
- Hot-glue or staple a ribbon tie to each end for tying at the back.
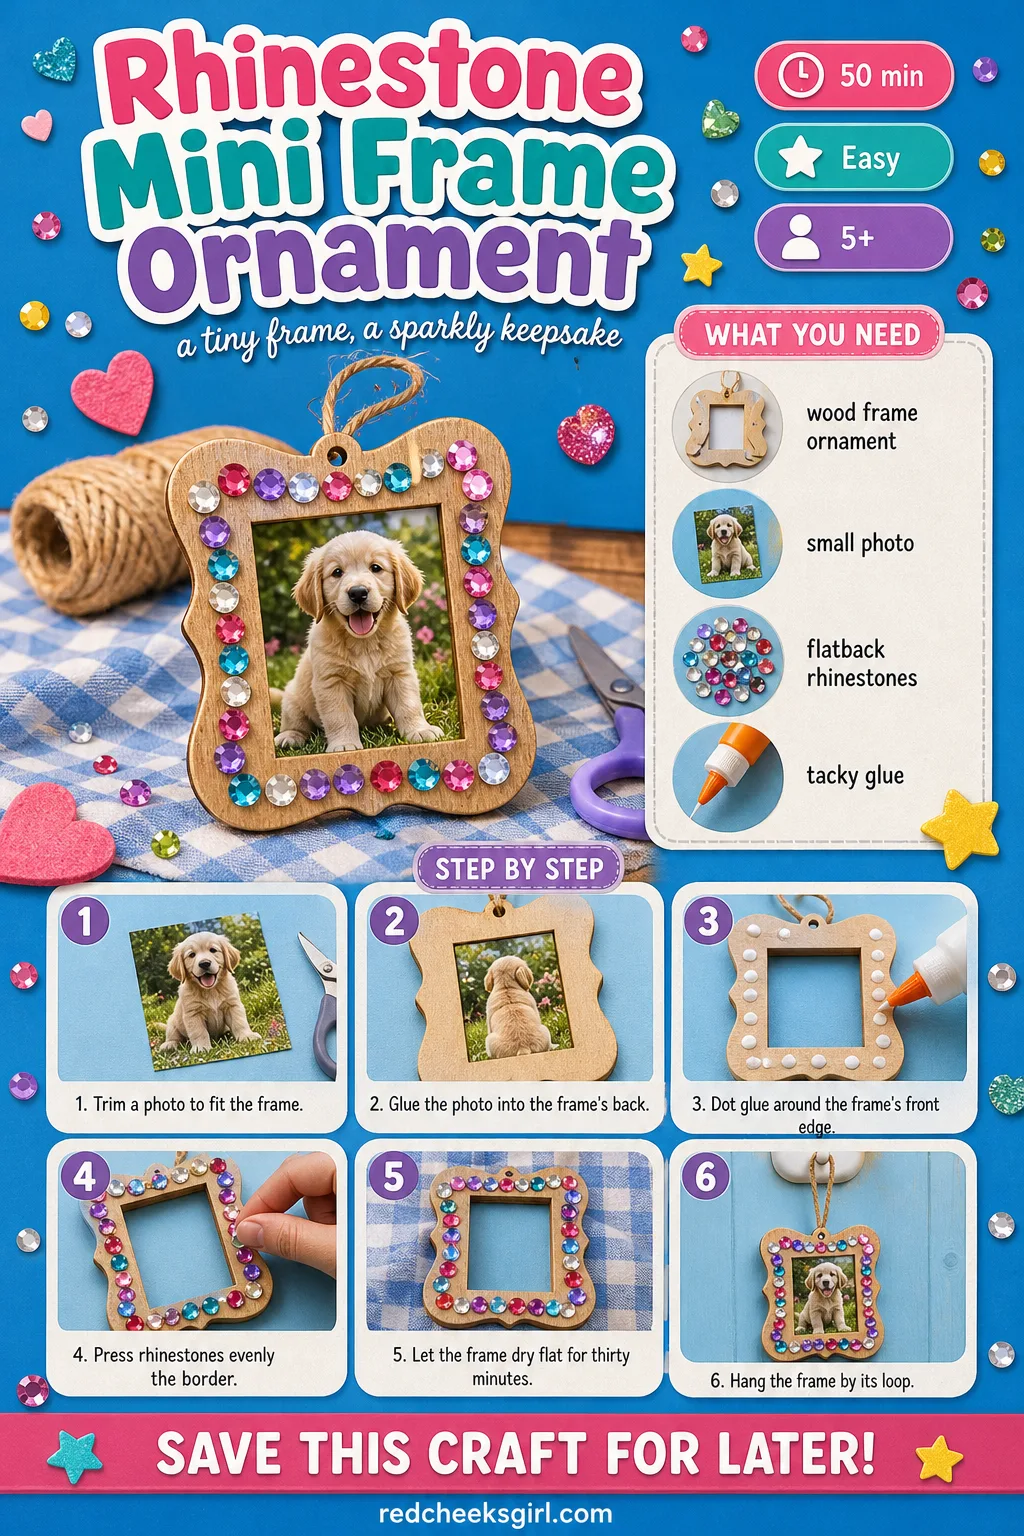
Rhinestone Mini Frame Ornament
A photo tucked into a plain mini frame on the tree gets overlooked among the baubles. Border the same frame in a thin, even line of stones and it becomes the ornament everyone reaches for first when the box comes down from the attic. It also works, exactly as is, as a small wrapped gift for a grandparent who wants one more picture of this year.
What You Need
- 1 mini wood photo frame ornament with hanger, about 3×3 inch
- 1 small photo, printed to fit
- 1 pack 3mm flatback rhinestones
- tacky glue
How to Make It
- Trim the photo to fit the frame opening.
- Slide or glue the photo into the back of the frame.
- Dot tacky glue around the frame’s front edge.
- Press rhinestones into the glue, spacing them evenly around the border.
- Let the frame dry flat for 30 minutes.
- Hang the finished frame by its loop on the tree or tie it onto a gift.
🛍 Shopping guide
Rhinestone Starlight Wand
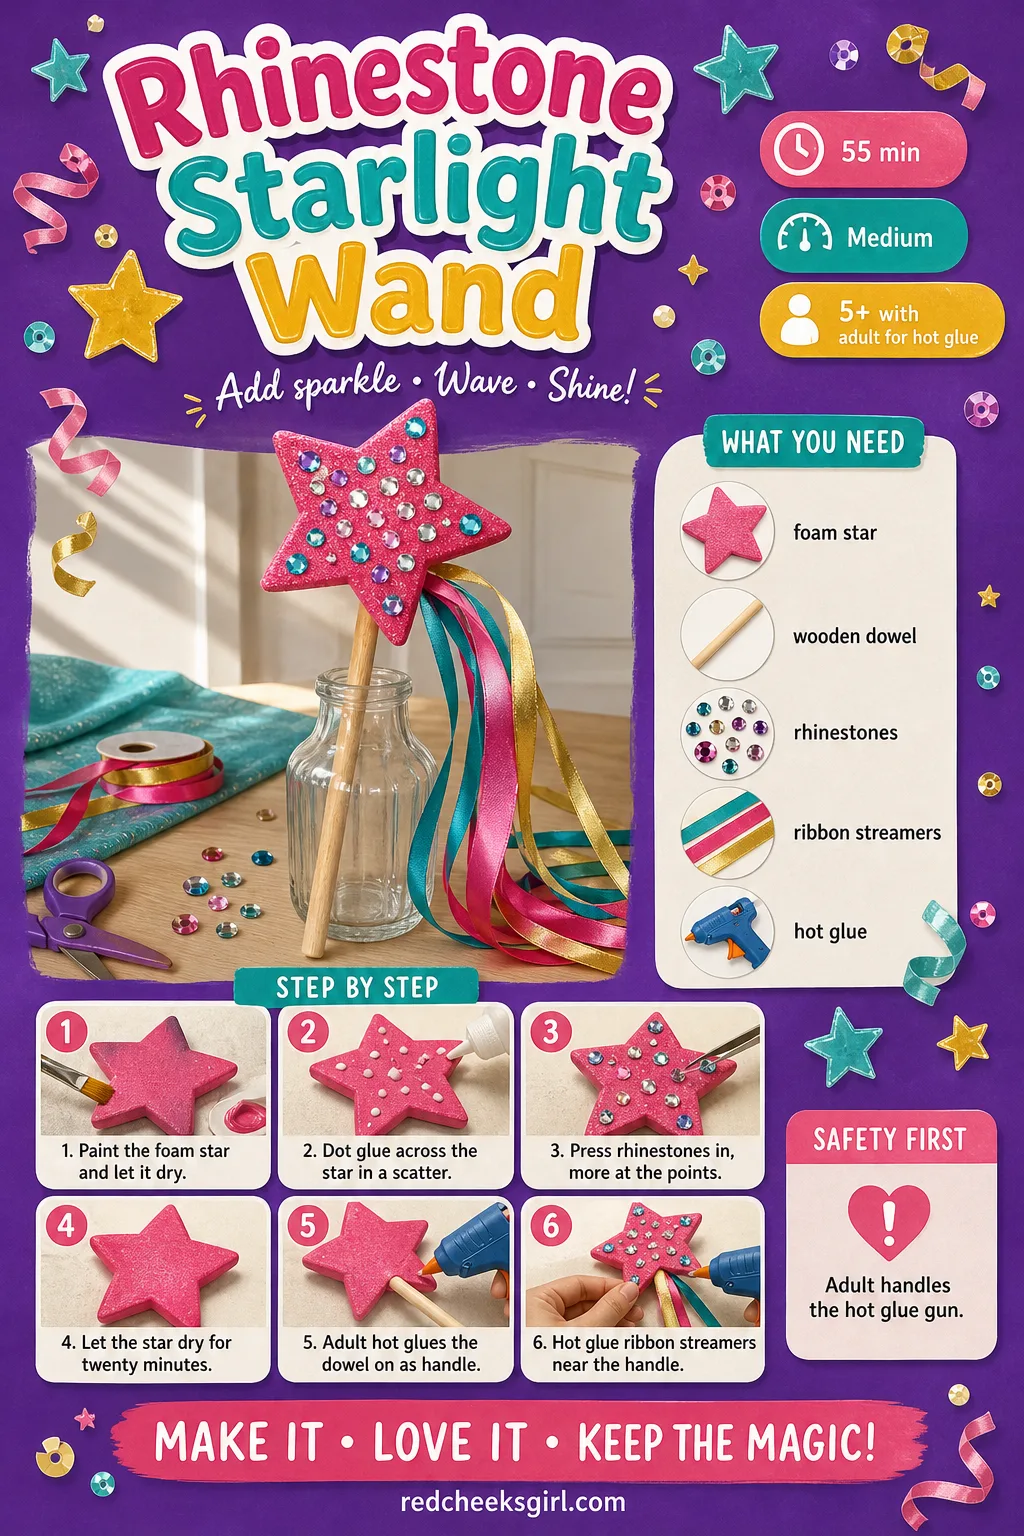
Party favors that cost nothing often look like it. This wand, a dowel glued behind a scattered star and finished with a few ribbon streamers, works under fairy lights in a way that stops a child mid-sentence the first time they wave it. It fits neatly with any other Christmas crafts already on the table for a party craft station, and it packs flat into a gift bag afterward.
What You Need
- 1 wooden dowel, 12 inch
- 1 foam star shape, 4 inch
- 3 lengths metallic ribbon, 18 inch
- 1 pack flatback rhinestones, mixed sizes
- hot glue gun
- metallic paint, optional
How to Make It
- Paint the foam star if you want a solid color base and let it dry for 30 minutes.
- Dot glue across the star’s front in a loose scatter pattern.
- Press rhinestones into the glue, clustering more at the points and fewer in the middle.
- Let the star dry for 20 minutes.
- An adult hot-glues the dowel to the back of the star to make a handle.
- Hot-glue the ribbon streamers to the star’s base, near the handle.
Rhinestone Initial Brooch Pin
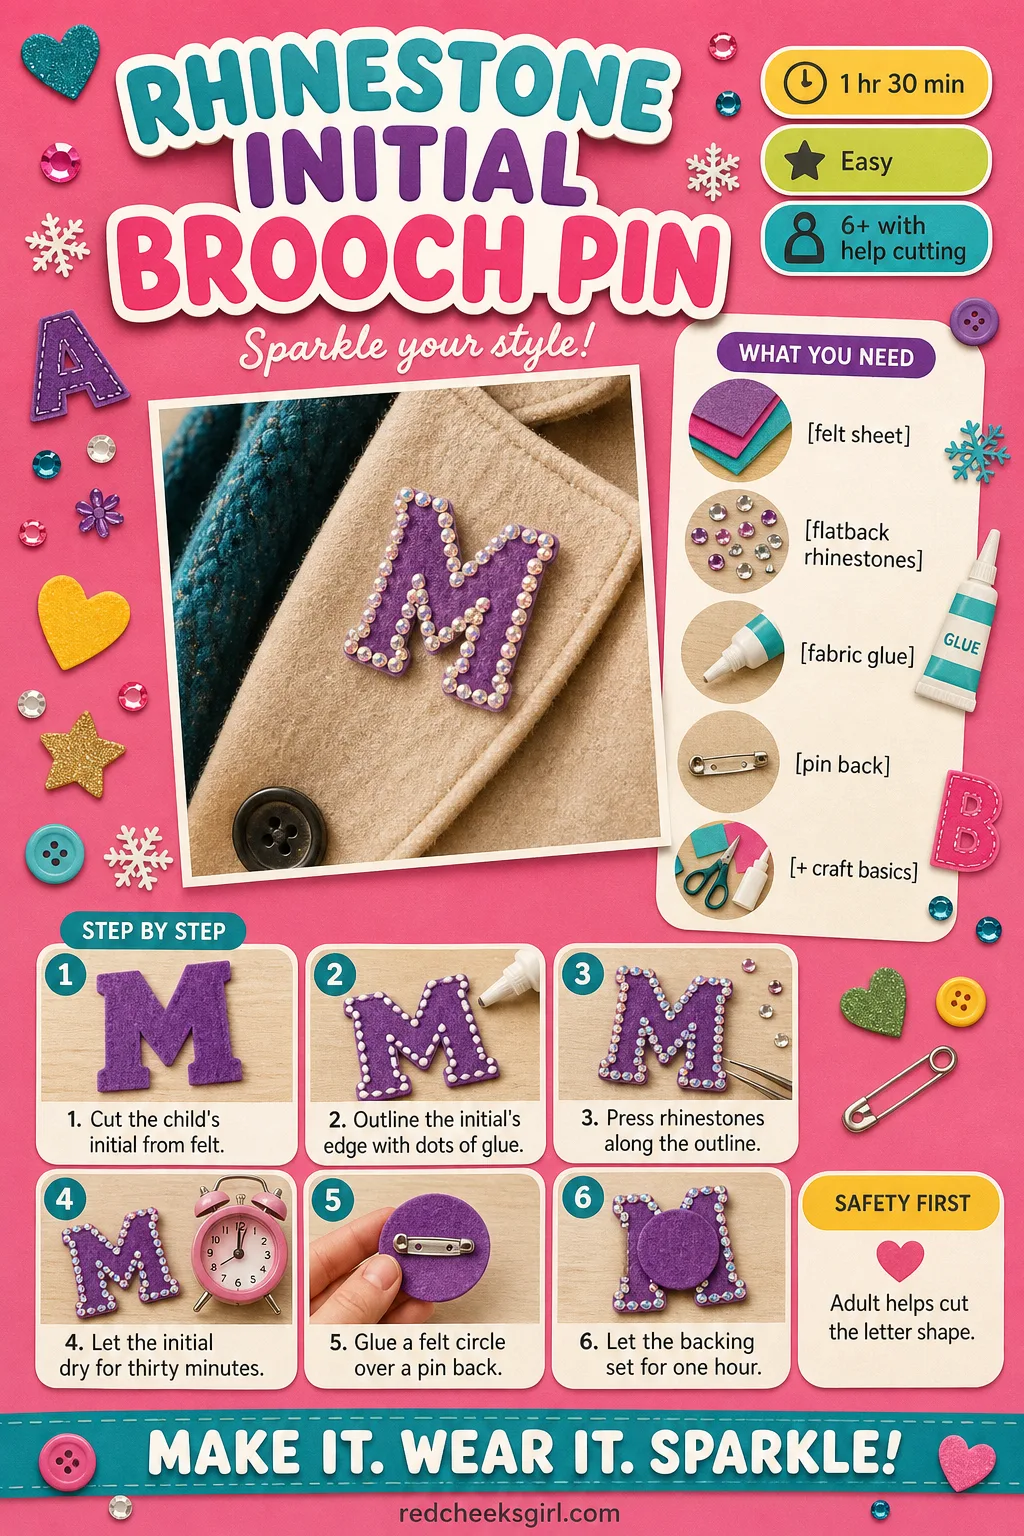
A felt letter cut out and left plain looks like a leftover from a different craft entirely. Outline the same letter in stones and pin it to a coat before the school Christmas concert and it looks deliberate, almost jewelry. Keep it in a small tin with the safety pin closed when it is not being worn, so the stones don’t catch on anything in a drawer.
What You Need
- 1 sheet felt, any color, 9×12 inch
- 1 pack 3mm flatback rhinestones
- fabric glue
- 1 brooch or safety pin back
- 1 small felt circle for backing
How to Make It
- Cut the child’s first initial from the felt, about 2 inches tall; an adult should help with the tight curves.
- Outline the initial’s edge with small dots of fabric glue.
- Press rhinestones into the glue, following the outline all the way around.
- Let the initial dry for 30 minutes.
- Glue the small felt circle to the back, sandwiching a pin back between the two layers.
- Let the backing set for 1 hour before wearing the pin.
🛍 Shopping guide
Rhinestone Reindeer Antler Headband
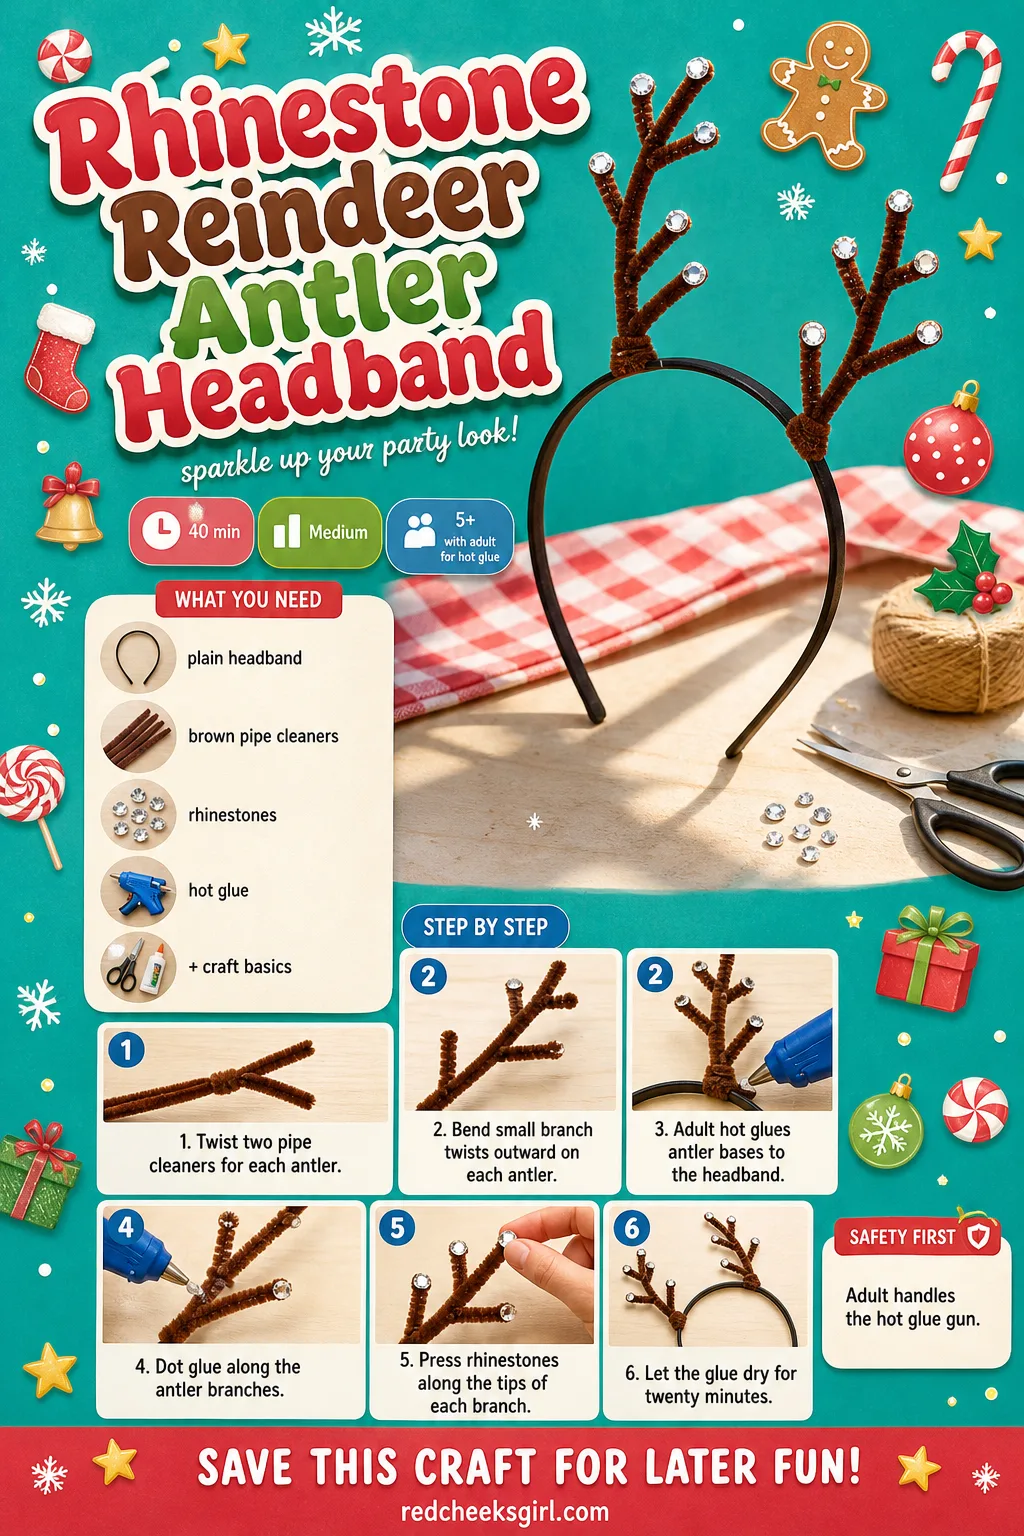
Felt antlers from the discount aisle droop by lunchtime. Pipe cleaner ones, twisted thick and frosted with stones along each branch tip, actually stand up for a whole afternoon of a party and look like they belong in a photograph rather than a joke prop. Add the small red pom pom at the front for the child who wants to be the reindeer with the famous nose, or leave it off for a plainer, more wintry look.
What You Need
- 1 plain headband
- 4 brown pipe cleaners, 12 inch
- 1 pack flatback rhinestones, assorted
- hot glue gun
- 1 small red pom pom, optional
How to Make It
- Twist two pipe cleaners together for each antler, bending small branch twists outward as you go.
- An adult hot-glues the base of each antler to the inside of the headband.
- Dot tacky glue along the antler branches.
- Press rhinestones along the tips of each branch for a frosted look.
- Let the glue dry for 20 minutes.
- Gently shape the antlers upright before wearing.
🛍 Shopping guide
Frequently Asked Questions
What type of rhinestones should I buy for a kids’ craft?
Stick with flat-back rhinestones rather than the pronged or hotfix kind, since flat-back rhinestones are the most versatile choice for craft projects because they attach easily to a wide variety of surfaces. A mixed bag of 3mm and 4mm sizes covers every project on this list without any special tools.
What glue actually holds rhinestones onto fabric or felt?
Choose the glue based on what is underneath the stone, not the stone itself. Fabric needs a glue that stays flexible and bends with the material, while hard, non porous surfaces like glass, metal or plastic usually need a stronger, more industrial bond. For jars, frames and wood, a strong craft glue works better than anything labelled fabric glue.
How long does rhinestone glue actually need to dry?
Shorter than you’d think for handling, longer than you’d think for real durability. It usually takes about 5 minutes for hotfix glue to cool, but the glue requires 24 hours to completely cure, so treat anything worn or washed as an overnight job, not a same-afternoon one.
What’s the easiest way to pick up tiny rhinestones without losing them?
Tweezers work but fling stones across the room more often than anyone admits. A simpler trick is to use the tip of a colored pencil or sharp crayon, pressing it gently but firmly onto the top of the rhinestone so the wax grabs it for lifting and placing. It is slower than tweezers for an adult, but far steadier for small hands.
Why does the glue look cloudy or form a ring around my rhinestones?
That ring, often called a glue halo, comes down to one habit. A cloudy halo is simply a sign of using too much adhesive, and the trick is to apply a dot of glue that’s slightly smaller than the rhinestone itself, since it spreads out a little once the stone is pressed down.
What age can kids start making rhinestone crafts on their own?
Around 5 or 6, a child can place rhinestones into pre-glued dots without much supervision, since the fiddly part is patience rather than skill. Anything involving hot glue, a craft knife or strong industrial glue stays with an adult until closer to 9 or 10, which is why every craft above flags exactly where that hand-off happens.
16 nutcracker Christmas tree looks, real and artificial, in red and gold, jewel tones, icy silver an
Vintage christmas cards you print at home, write by hand and post today. 30 designs, blank inside, f

Free printable Bible alphabet coloring pages your kids will love. One scripture object per letter, p
Leave a Reply