

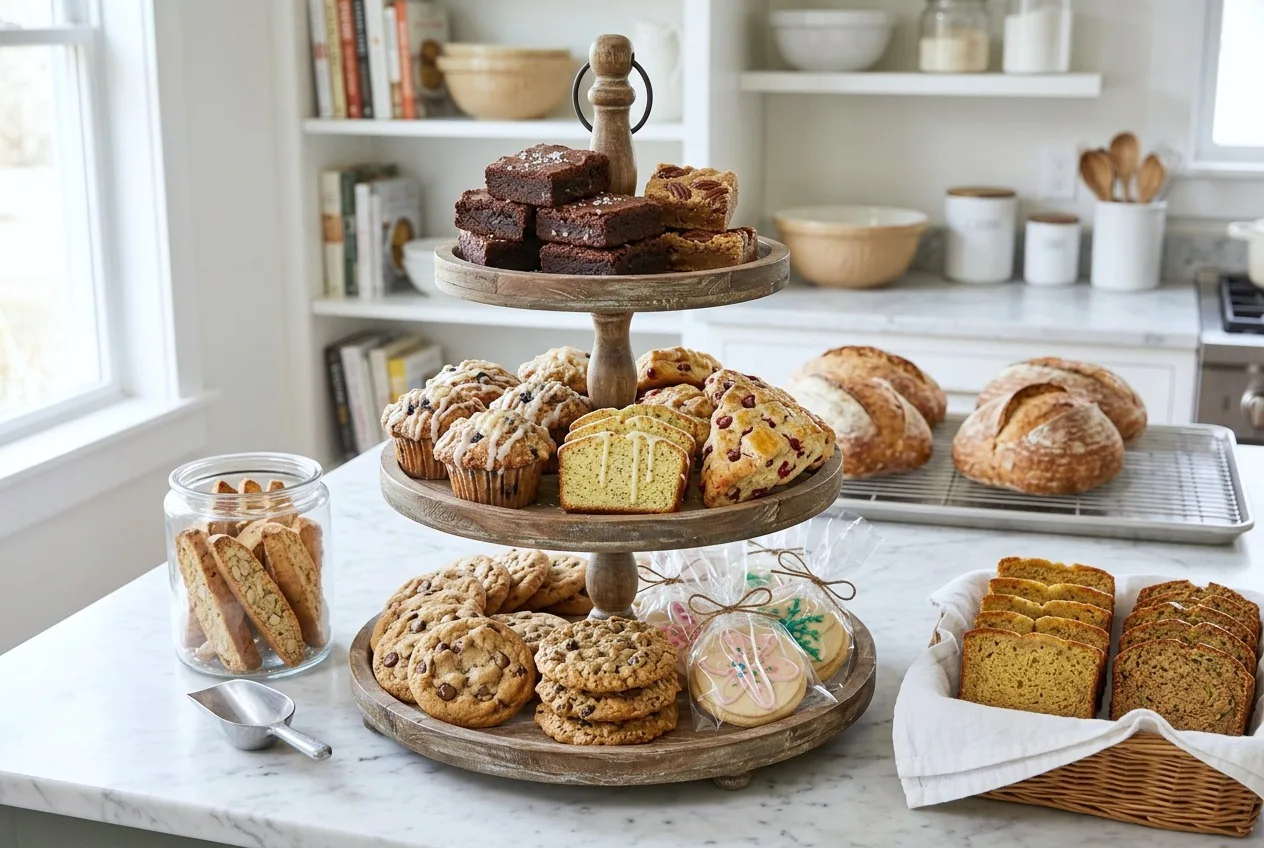
A card table of baked goods lives or dies in the first three seconds, before anyone tastes a crumb. People decide with their eyes: is it wrapped, is it priced, does it look like it will survive the walk to the car. Get that part right and the baking itself barely matters.
Every one of the twenty bakes below is written for a batch, not a single pan for your own kitchen table, with the exact packaging that gets it picked up first: cellophane, a kraft box, paper liners, a mason jar.
If a weekend bake sale table sounds like a pleasant use of a free Saturday, there is a longer list of 50 things to do on weekends that make your free time count worth a look too, and if this goes well enough to repeat, 18 cookie business ideas to start from your home kitchen covers where to take it next.
Most of these contain wheat, dairy, egg or all three, and a handful carry peanuts or pecans, so label the table and say so on anything a nut-allergic neighbor might otherwise grab by reflex.
Check your local cottage food rules before selling regularly for money rather than for a one-off school or church table; charity sales are usually exempt, ongoing selling for profit usually is not.
Table of Contents
- S’mores Rice Krispie Treats
- Fudgy Brownies
- Glazed Pumpkin Scones
- Cinnamon Roll Muffins
- Mini Apple Pies in Mason Jars
- Mini Lemon Loaves
- Mini Vanilla Bundt Cakes
- Cupcakes in a Cup
- Peanut Butter Pretzel Clusters
- Pink Chocolate Covered Pretzels
- Cake Mix Cookies
- Pecan Pie Bark
- Pumpkin Monkey Bread Bites
- Heart Sugar Cookies
- Lemon Bars
- Chocolate Chip Cookie Dough Truffles
- Rocky Road Fudge
- Snickerdoodle Blondies
- Maple Pecan Granola Bars
- Chocolate Dipped Shortbread Cookies
- Frequently Asked Questions
S’mores Rice Krispie Treats
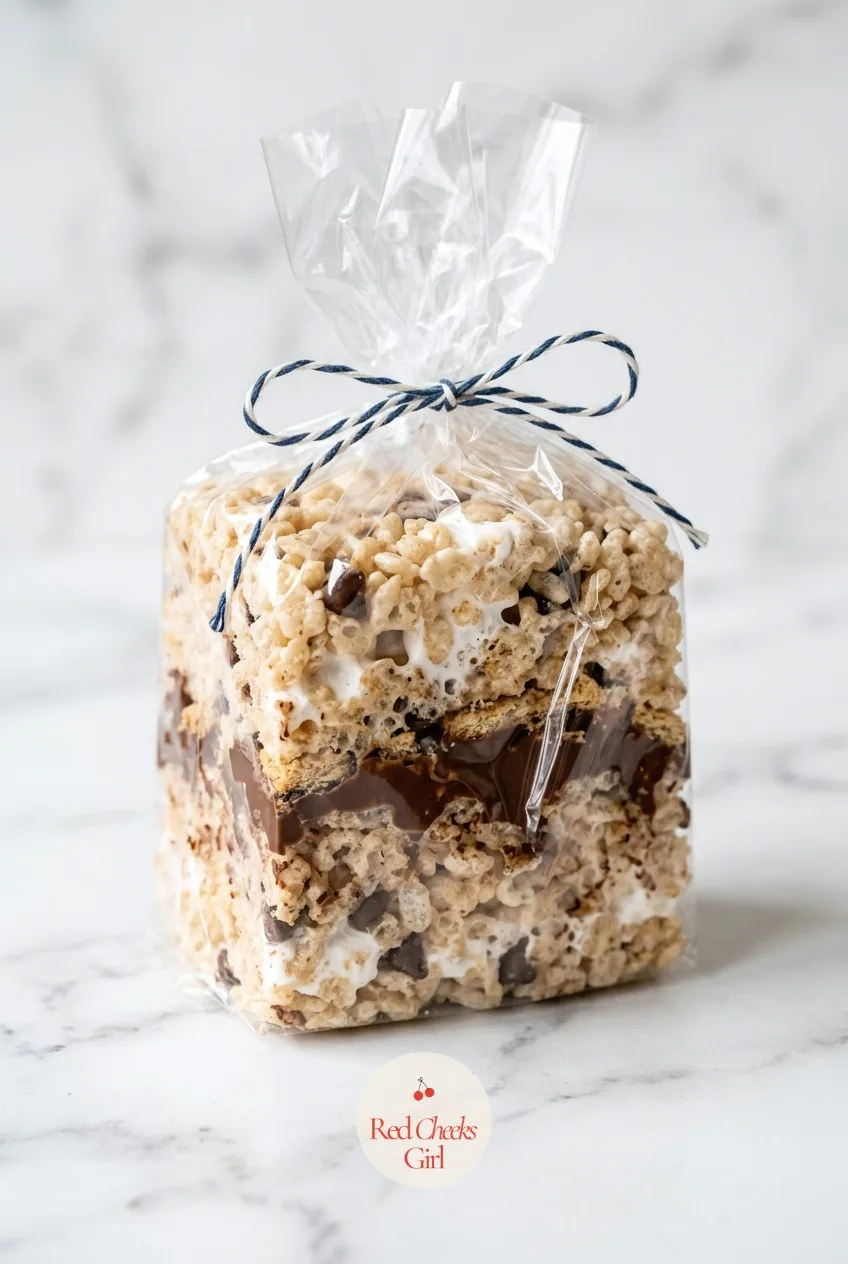
Plain rice krispie treats are fine. The version with a hidden layer of chocolate bar through the middle is the one that sells out before the brownies do, and it costs barely more to make.
The trick is in the two-layer press: half the cereal mixture, a flat layer of chocolate squares, the rest of the cereal on top. Cut it cold so the layers hold, not warm, or the chocolate smears into the marshmallow instead of staying as its own clean stripe.
Cellophane is the whole sell here. A square wrapped tight and twisted at both ends looks like something from a proper bake shop, not a Tupperware lid. Tie it with a scrap of ribbon if you have it, a twist tie if you do not: both work.
S'mores Rice Krispie Treats
Ingredients
- 6 tablespoons unsalted butter
- 10 oz bag mini marshmallows divided
- 6 cups rice krispies cereal
- 1 cup graham cracker pieces broken into small chunks (about 4 full crackers)
- 1/2 cup mini chocolate chips
- 4 full-size chocolate bars 1.55 oz each, broken into squares
Instructions
- Line a 9x13 inch baking pan with parchment paper, leaving overhang on two sides, and spray lightly with cooking spray.
- Melt 6 tablespoons butter in a large pot over medium-low heat until fully melted, about 2 minutes.
- Add 8 ounces of the mini marshmallows to the melted butter and stir constantly until smooth, 3 to 4 minutes; the mixture should coat the spoon in a thin shiny layer.
- Remove the pot from the heat and fold in the rice krispies cereal, graham cracker pieces, and mini chocolate chips until evenly coated.
- Scrape half the mixture into the prepared pan and press flat with buttered hands or the back of a spatula.
- Lay the chocolate bar squares in a single layer over the pressed cereal mixture.
- Scoop the remaining cereal mixture on top and press gently to cover the chocolate, so it holds together without squashing flat.
- Scatter the remaining mini marshmallows and a few graham cracker crumbs over the top, pressing them lightly into the surface.
- Let the pan rest at room temperature for 1 hour, until firm enough to cut cleanly.
- Lift the slab out using the parchment overhang and cut into 16 squares with a sharp knife run under hot water between cuts.
- Wrap each square individually in a square of clear cellophane, twisting the ends and securing with curling ribbon or a twist tie.
- Store wrapped squares in an airtight container at room temperature for up to 4 days before selling.
Good to Know
Fudgy Brownies
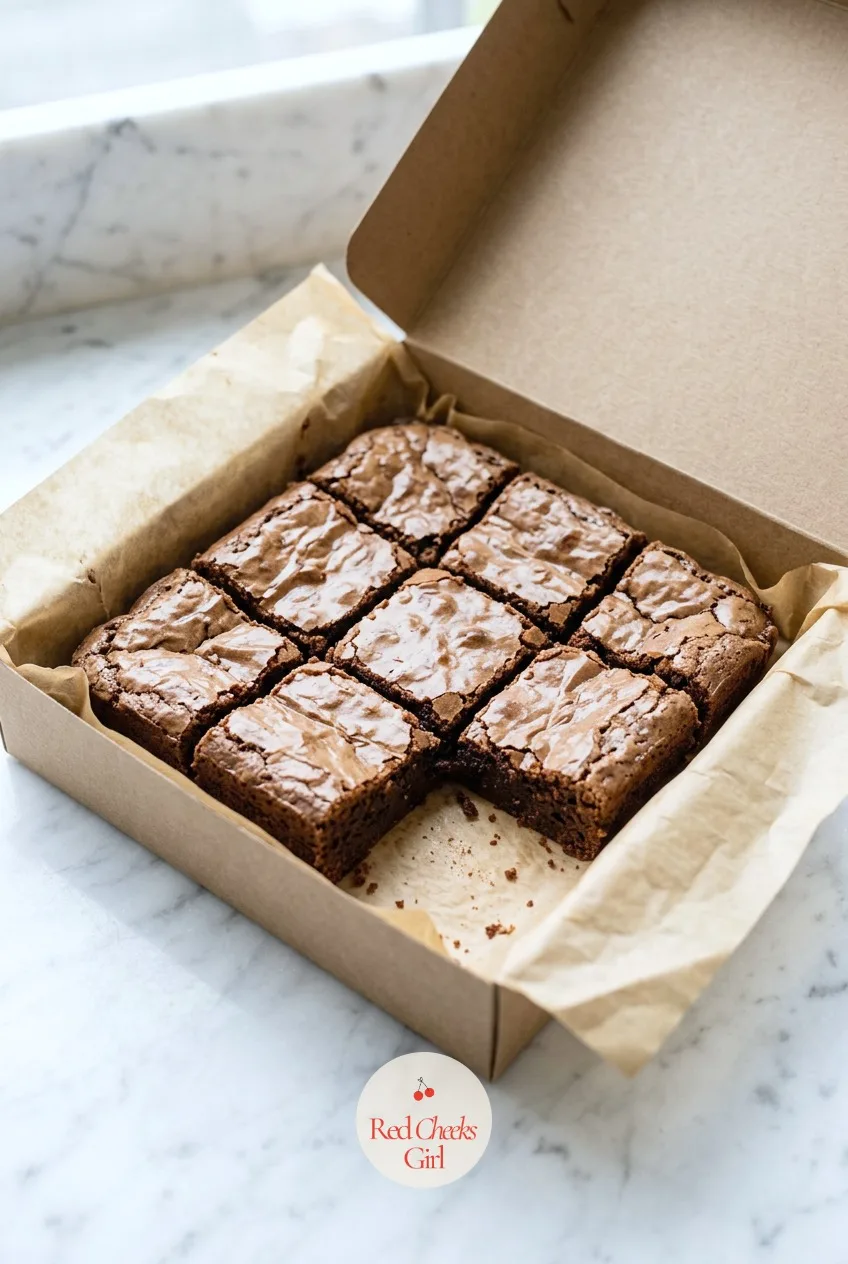
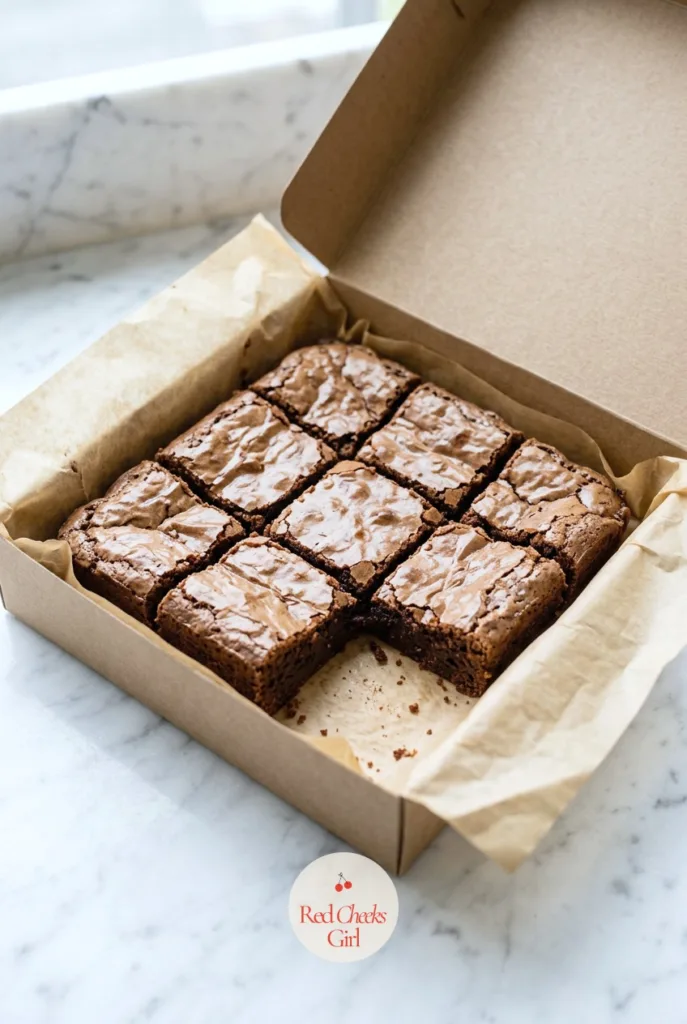
Brownies go first at almost every sale, before the cookies, before the cupcakes. No frosting to melt in a hot car, no icing to smear into cellophane: just a clean square that still looks good three hours after you cut it.
Cut these smaller than feels generous. A 1.5 inch square at two dollars moves faster than a three inch square at four, and you get more units out of the same pan.
Skip the fancy stand and use a plain kraft bakery box lined with fresh parchment. It reads as homemade-but-serious, which is exactly the impression you want at a dollar fifty a square.
Fudgy Brownies
Ingredients
- 1 cup unsalted butter
- 2 cups granulated sugar
- 4 large eggs
- 2 teaspoons vanilla extract
- 3/4 cup cocoa powder
- 1 cup all-purpose flour
- 1/2 teaspoon salt
- 1 cup semisweet chocolate chips
Instructions
- Preheat the oven to 350°F and line an 8x8 inch baking pan with parchment paper, leaving overhang on two sides.
- Melt 1 cup unsalted butter in a medium saucepan over low heat, then remove from heat and whisk in 2 cups granulated sugar until glossy.
- Whisk in 4 large eggs one at a time, followed by 2 teaspoons vanilla extract, until the batter is smooth and lightens in color.
- Sift in 3/4 cup cocoa powder, 1 cup all-purpose flour, and 1/2 teaspoon salt, folding just until no dry streaks remain.
- Fold in 1 cup semisweet chocolate chips.
- Pour the batter into the prepared pan and smooth the top with a spatula.
- Bake for 28 to 32 minutes, until the edges pull slightly from the pan and a toothpick in the center comes out with a few moist crumbs, not wet batter.
- Cool the brownies in the pan on a wire rack for at least 1 hour before lifting out by the parchment overhang.
- Cut into 16 even squares with a sharp knife, wiping the blade clean between cuts.
- Line a kraft bakery box with a fresh sheet of parchment paper and arrange the brownies in a single snug layer.
- Close the lid and tie the box with baker's twine or a ribbon, adding a small label with the flavor and date baked.
- Store at room temperature for up to 4 days, or freeze unwrapped squares for up to 2 months before boxing fresh.
Good to Know
Glazed Pumpkin Scones
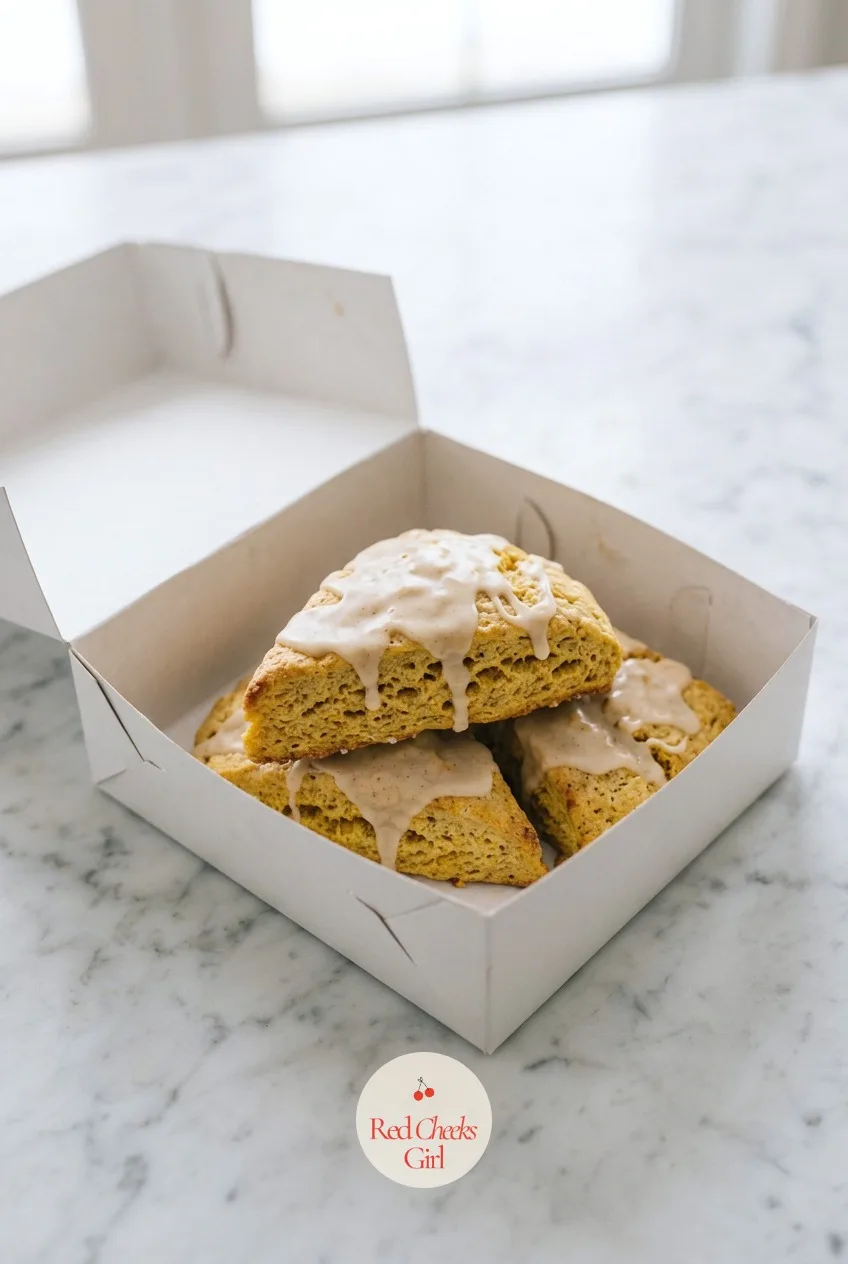
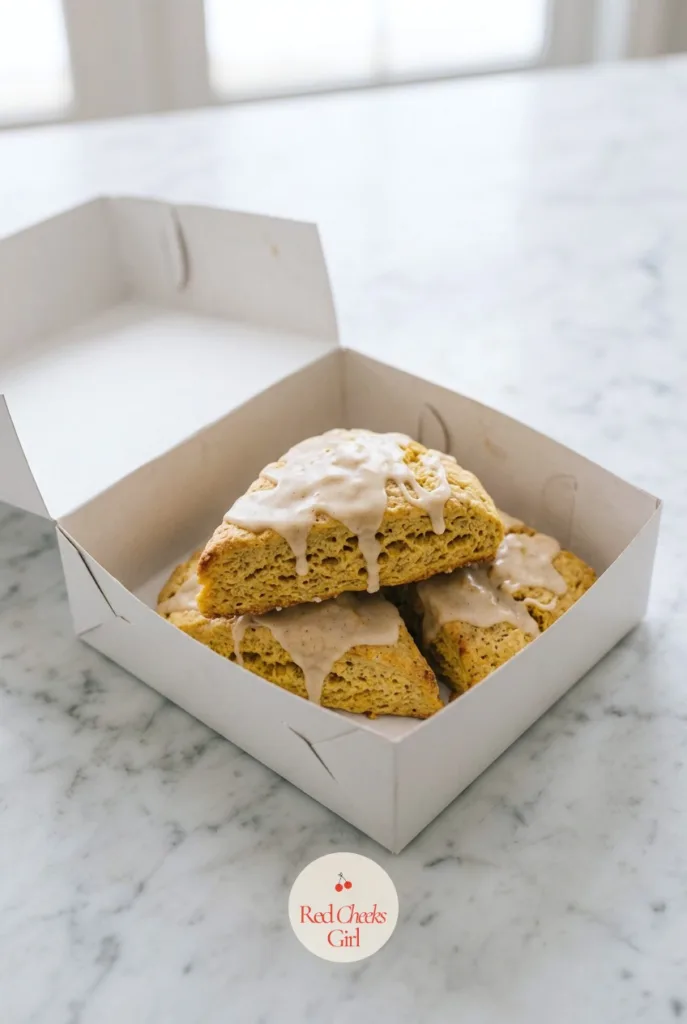
A scone has to look like it belongs somewhere with good lighting, not like a biscuit that lost its way. The maple glaze is what does that: it sets to a thin shine rather than a thick cap, so the wedge shape still reads through it.
Pat the dough, do not roll it hard, or the scone bakes dense instead of tender and flaky. The cream brushed on top before baking is what gives the bronze top color people associate with a real bakery case.
Box these upright in a paper bakery box with a little space between each wedge so the glaze has room to set without smearing onto its neighbor.
Glazed Pumpkin Scones
Ingredients
- 2 cups all-purpose flour
- 1/3 cup granulated sugar
- 1 tablespoon baking powder
- 1 teaspoon ground cinnamon
- 1/2 teaspoon ground ginger
- 1/4 teaspoon ground nutmeg
- 1/2 teaspoon salt
- 6 tablespoons cold unsalted butter cubed
- 1/2 cup pumpkin puree
- 1 large egg
- 3 tablespoons heavy cream plus extra for brushing
- 1 cup powdered sugar
- 2 tablespoons maple syrup
- 1 to 2 teaspoons milk
Instructions
- Preheat oven to 400°F and line a baking sheet with parchment paper.
- Whisk together 2 cups flour, 1/3 cup sugar, 1 tablespoon baking powder, 1 teaspoon cinnamon, 1/2 teaspoon ginger, 1/4 teaspoon nutmeg, and 1/2 teaspoon salt in a large bowl.
- Cut in 6 tablespoons cold butter, cubed, using a pastry cutter or your fingers until the mixture looks like coarse crumbs with pea sized butter bits.
- In a separate bowl whisk 1/2 cup pumpkin puree, 1 egg, and 3 tablespoons heavy cream until smooth.
- Pour the wet mixture into the dry and stir just until a shaggy dough forms; do not overmix.
- Turn the dough onto a floured surface, pat into an 8 inch round about 1 inch thick, and cut into 8 wedges.
- Transfer wedges to the prepared sheet, spacing 2 inches apart, and brush tops lightly with extra cream.
- Bake for 18 to 20 minutes, until the tops are golden and a toothpick in the center comes out clean.
- Cool scones on a wire rack for 20 minutes before glazing, so the glaze sets instead of sliding off.
- Whisk 1 cup powdered sugar with 2 tablespoons maple syrup and 1 to 2 teaspoons milk until the glaze ribbons off the whisk and holds a trail for a few seconds.
- Drizzle glaze over the cooled scones and let it set for 10 minutes until matte.
- Arrange scones in a paper bakery box lined with parchment, leaving a little space between each so the glaze does not smear.
- Sell or store at room temperature for up to 2 days.
Good to Know
Cinnamon Roll Muffins
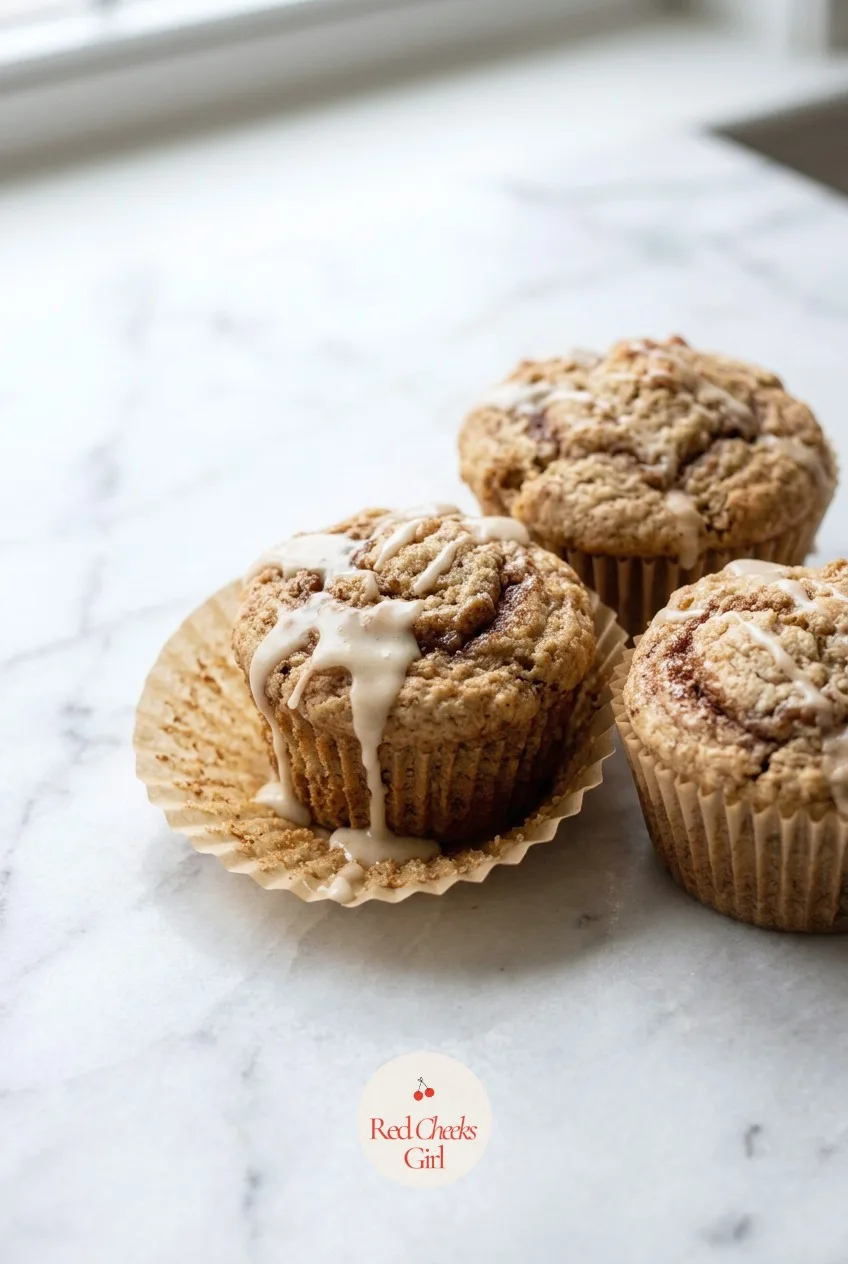
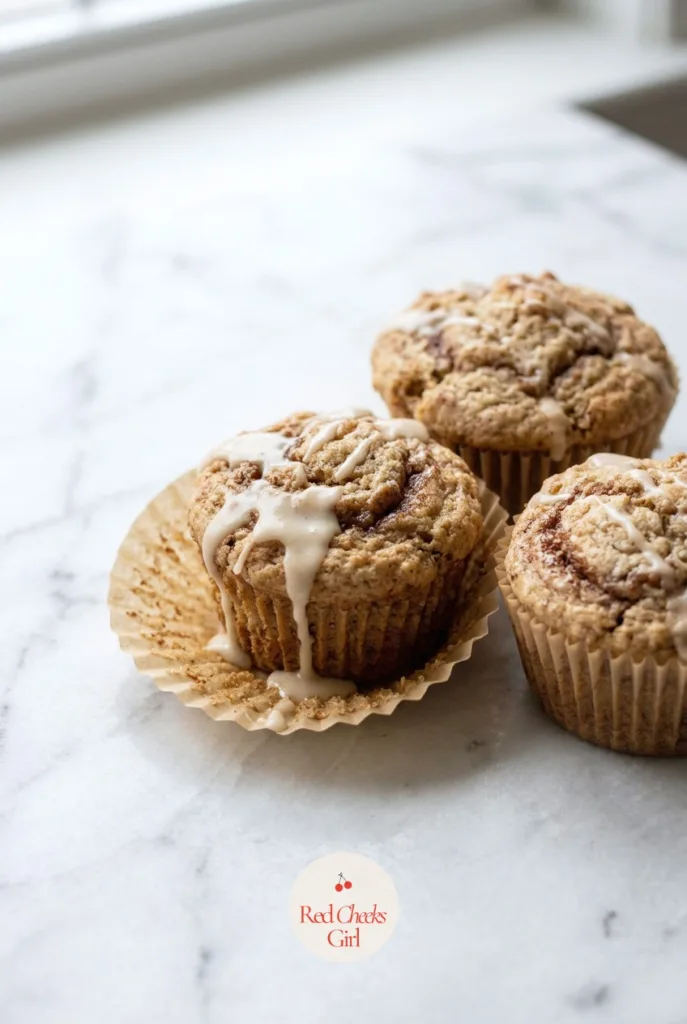
Everything people love about a cinnamon roll, none of the proofing time. The swirl of brown sugar filling through the middle is what makes someone stop and ask what they are, even in a paper liner that looks ordinary from the outside.
Swirl the filling gently with a toothpick rather than stirring it in, so you still see a visible ribbon once baked, not a uniform brown muffin.
These sell well stacked in a bakery box one layer deep, liners still on. If you would rather not fuss with a glaze at all, a dusting of cinnamon sugar on top before baking does almost the same job for less effort.
Cinnamon Roll Muffins
Ingredients
- 2 cups all-purpose flour
- 1/2 cup granulated sugar
- 2 teaspoons baking powder
- 1/2 teaspoon salt
- 1/2 cup unsalted butter melted, divided
- 3/4 cup milk
- 1 large egg
- 1 teaspoon vanilla extract
- 1/3 cup packed brown sugar
- 1 tablespoon ground cinnamon
- 1 cup powdered sugar
- 2 to 3 tablespoons milk for the glaze
Instructions
- Preheat oven to 375°F and line a 12-cup muffin tin with paper liners.
- Whisk 2 cups flour, 1/2 cup sugar, 2 teaspoons baking powder, and 1/2 teaspoon salt in a large bowl.
- Whisk 1/4 cup of the melted butter, 3/4 cup milk, the egg, and 1 teaspoon vanilla in a separate bowl, then stir into the dry ingredients until just combined.
- Mix the brown sugar, cinnamon, and remaining 1/4 cup melted butter in a small bowl to make the swirl filling.
- Divide half the muffin batter among the liners, then drop a teaspoon of the cinnamon filling onto each and swirl gently with a toothpick.
- Top with the remaining batter and swirl a little more filling across the tops.
- Bake for 18 to 20 minutes, until a toothpick inserted in the center comes out clean.
- Cool muffins in the tin for 5 minutes, then transfer to a wire rack to cool for 15 minutes more.
- Whisk the powdered sugar with 2 to 3 tablespoons milk until the glaze drizzles in a thin ribbon off the whisk.
- Drizzle glaze over the muffins and let it set for 10 minutes, until no longer wet to the touch.
- Package muffins in their paper liners inside a bakery box or stacked in a clear clamshell container, one layer deep so the glaze does not stick to the lid.
Good to Know
Mini Apple Pies in Mason Jars
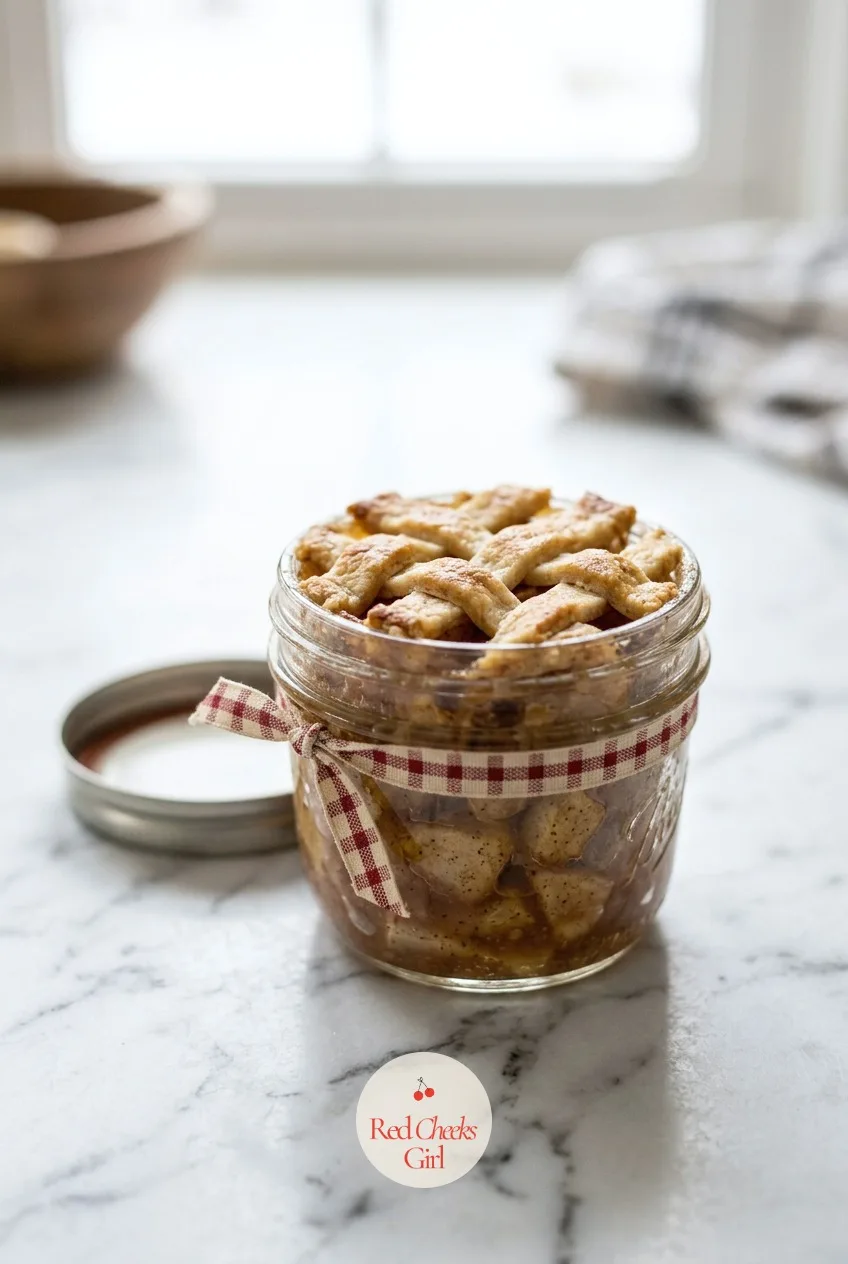
A whole pie is a commitment nobody at a craft fair wants to make standing up. A single jar, lid off, crust visible through the glass, is a commitment of about four dollars and thirty seconds.
Use plain wide-mouth jars without their metal lids in the oven, and only screw the bands and lids back on once the jars have cooled completely, both so the seal is clean and so nobody hands over a jar that is still too hot to hold.
Tie a small circle of fabric or a ribbon under the band for the fair-table look, and label the flavor right on the lid in marker.

Mini Apple Pies in Mason Jars
Ingredients
- Pie dough for a double crust store-bought or homemade
- 3 cups peeled diced apples
- 1/3 cup granulated sugar
- 1 tablespoon cornstarch
- 1 teaspoon ground cinnamon
- 1 tablespoon lemon juice
- 1 tablespoon unsalted butter cut into 6 small cubes
- 1 egg beaten, for egg wash
- 1 tablespoon coarse sugar for topping
Instructions
- Preheat the oven to 375°F and set 6 wide-mouth 4-ounce mason jars (lids and bands removed) on a baking sheet.
- Toss the diced apples with 1/3 cup sugar, 1 tablespoon cornstarch, 1 teaspoon cinnamon, and 1 tablespoon lemon juice in a bowl.
- Roll out the pie dough and cut circles to line the bottom and sides of each jar, pressing gently into place.
- Fill the jars with the apple mixture and dot each with a small cube of butter.
- Cut lattice strips or a small round lid of dough for the tops of each jar, crimping the edges against the jar rim.
- Cut a steam vent in each top, brush with egg wash, and sprinkle with coarse sugar.
- Bake for 30 to 35 minutes, until the crust is golden and the filling bubbles visibly through the vent.
- Cool jars completely on a wire rack for about 1 hour 30 minutes before handling the rims.
- Wipe the jar rims clean and screw on the lids and bands only once the jars are fully cool.
- Tie a ribbon or fabric circle under the band if selling, and label the flavor and date on the lid.
- Store at room temperature for up to 2 days or refrigerate for up to 4 days.
Good to Know
Mini Lemon Loaves
Banana bread is the safe choice. Lemon is the one people remember, and a mini loaf sized for one or two people solves the problem of a buyer who does not want a whole full-size loaf they will not finish.
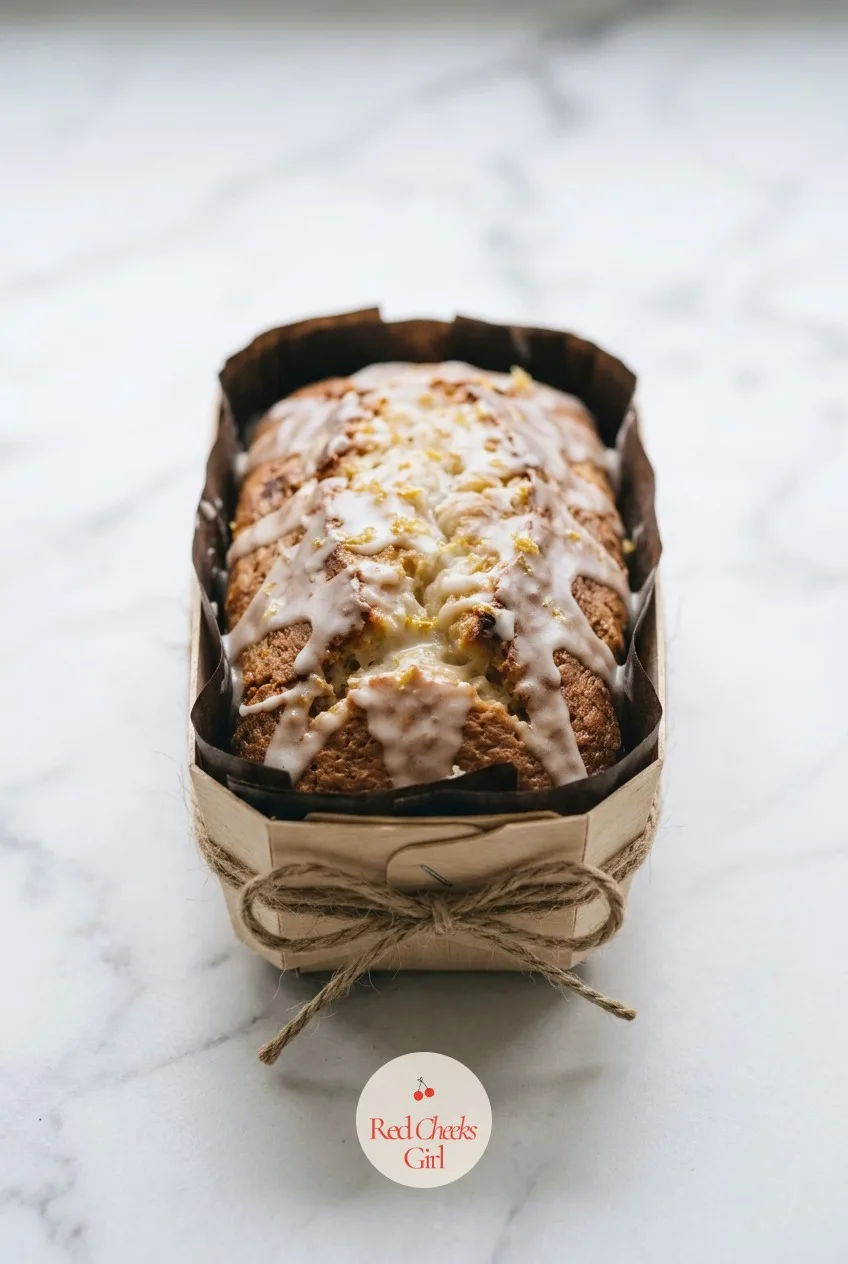
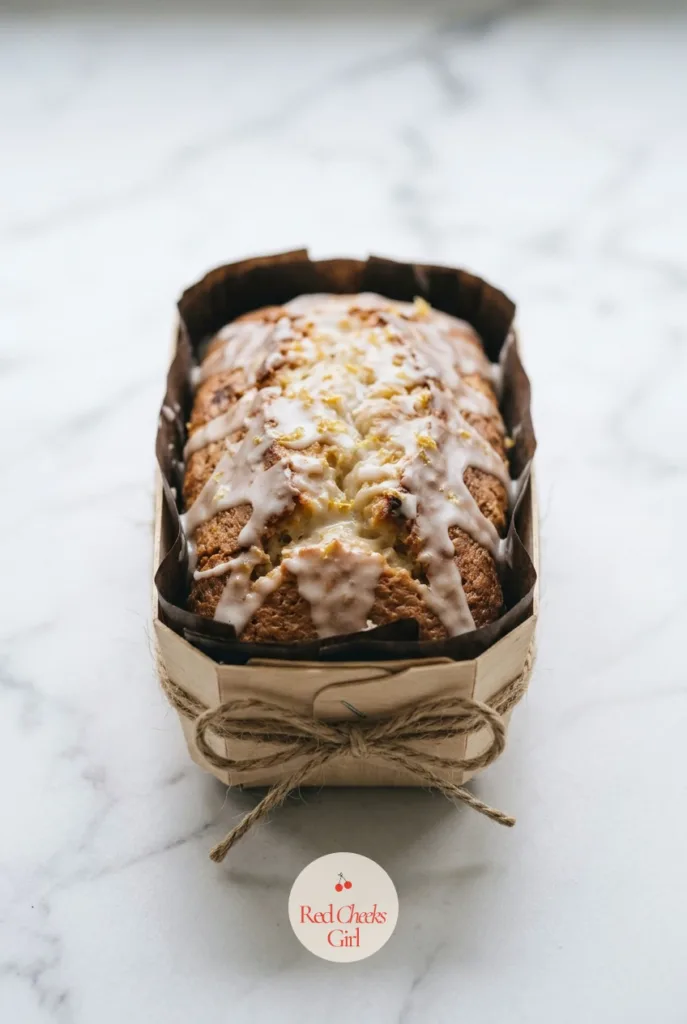
The glaze needs ten clear minutes to set before you touch the loaf again, or it drags and looks smudged instead of glossy. Let it sit.
Slide each cooled, glazed loaf back into its own paper loaf tin and wrap twine around twice before tying a bow on top: cheap, quick, and it looks like it came from a proper stall.
Mini Lemon Loaves
Ingredients
- 1 3/4 cups all-purpose flour
- 1 teaspoon baking powder
- 1/4 teaspoon baking soda
- 1/2 teaspoon salt
- 1/2 cup unsalted butter softened
- 1 cup granulated sugar
- 2 large eggs
- 1/3 cup plain yogurt or sour cream
- 1/4 cup fresh lemon juice
- 2 tablespoons lemon zest about 2 lemons
- 1 teaspoon vanilla extract
- 1 cup powdered sugar
- 2 to 3 tablespoons lemon juice for the glaze
Instructions
- Preheat the oven to 350°F and arrange 6 paper mini loaf tins on a baking sheet.
- Whisk the flour, baking powder, baking soda, and salt together in a bowl.
- Cream the butter and sugar together until light and fluffy, about 3 minutes, pale and increased in volume.
- Beat in the eggs one at a time, then the yogurt, lemon juice, zest, and vanilla, until smooth.
- Fold the dry ingredients into the wet just until no flour streaks remain.
- Divide the batter evenly among the 6 tins, filling each about two-thirds full.
- Bake for 25 to 28 minutes, until a toothpick inserted in the center comes out clean and the tops spring back when pressed.
- Cool the loaves in their tins on a rack for 15 minutes, then lift out to cool for 20 minutes more.
- Whisk the powdered sugar with the lemon juice until the glaze drips in a slow ribbon off the whisk.
- Drizzle the glaze over the cooled loaves and let it set for 15 minutes, until no longer tacky.
- Return each loaf to its paper tin, wrap twine twice around, and tie a bow at the top, tucking a small tag under the knot.
- Sell the same day or store airtight for up to 3 days at room temperature.
Good to Know
Mini Vanilla Bundt Cakes
A full bundt is pretty but awkward to sell by the slice at a table. Nine small ones, each with its own neat glazed top, solve that: one price, one cake, no cutting board required.
Grease every groove of the pan properly, right into the center tube, or half the cake stays behind and the shape comes out torn instead of crisp.
Dip the tops straight into the glaze rather than drizzling if you want the clean, finished look of a bakery case cake; either way, a scatter of sprinkles while the glaze is still wet is what sells the box to a child walking past.
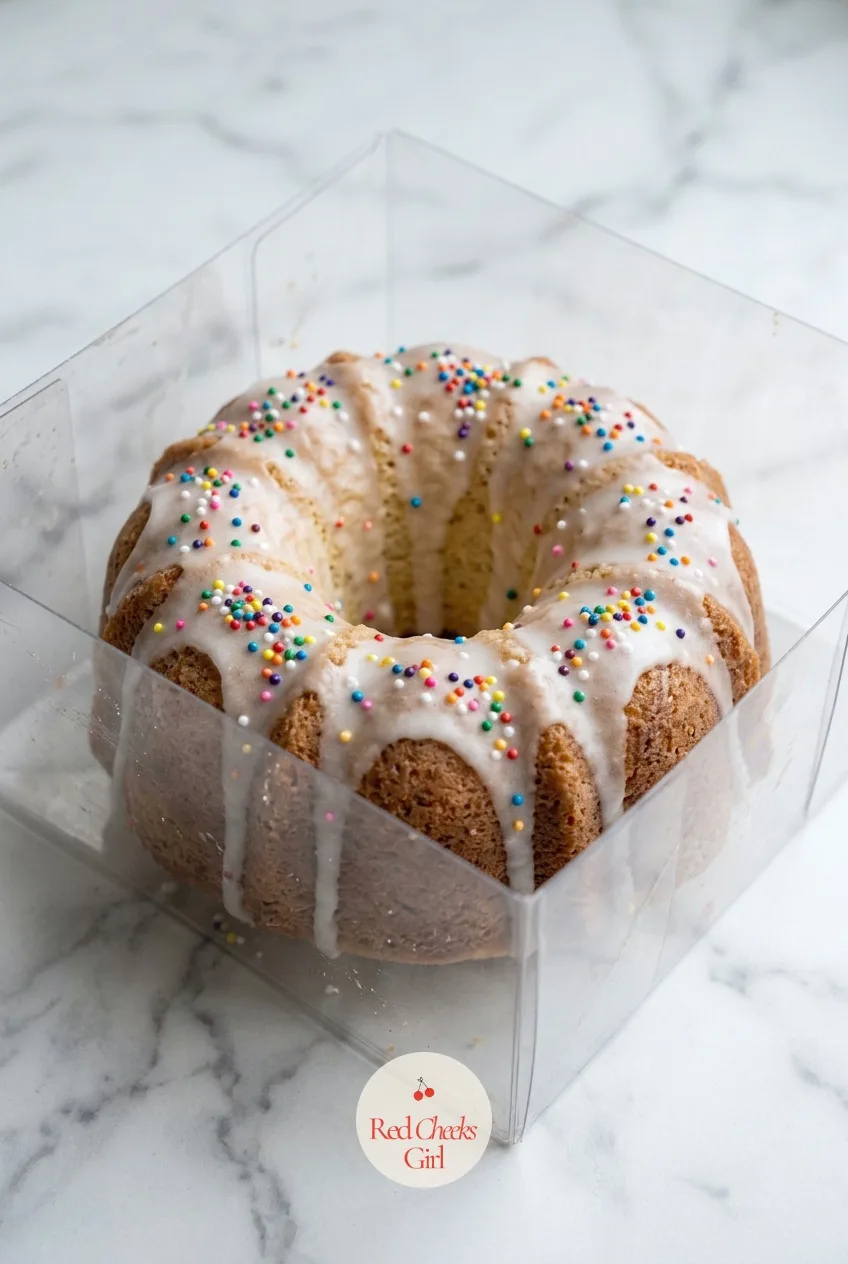

Mini Vanilla Bundt Cakes
Ingredients
- 2 cups all-purpose flour
- 1 1/2 teaspoons baking powder
- 1/4 teaspoon salt
- 1/2 cup unsalted butter softened
- 1 cup granulated sugar
- 2 large eggs
- 1 teaspoon vanilla extract
- 3/4 cup milk
- 1 cup powdered sugar
- 2 to 3 tablespoons milk for the glaze
- 1/2 teaspoon vanilla extract for the glaze
- Sprinkles optional
Instructions
- Preheat the oven to 350°F and grease and flour a 9-cavity mini bundt pan thoroughly, pushing into every groove.
- Whisk 2 cups flour, 1 1/2 teaspoons baking powder, and 1/4 teaspoon salt in a bowl.
- Cream 1/2 cup butter and 1 cup sugar together for 3 minutes, until fluffy.
- Beat in the eggs one at a time, then 1 teaspoon vanilla.
- Alternate adding the dry ingredients and 3/4 cup milk in three additions, starting and ending with dry, mixing just until smooth.
- Divide the batter evenly among the cavities, filling each about two-thirds full.
- Bake for 18 to 22 minutes, until a toothpick comes out clean and the cakes spring back when touched.
- Cool in the pan on a rack for 10 minutes, then invert onto the rack to release, tapping the pan firmly if any stick.
- Cool completely, about 20 minutes more, before glazing.
- Whisk 1 cup powdered sugar with 2 to 3 tablespoons milk and 1/2 teaspoon vanilla to a glaze that coats the back of a spoon.
- Dip the top of each bundt into the glaze or drizzle it over, letting excess drip into the grooves.
- Add sprinkles while the glaze is still wet if using, then let set for 15 minutes.
- Box individually in clear mini bundt boxes or set in paper cupcake liners for selling.
Good to Know
Cupcakes in a Cup
A frosted cupcake travels badly. Crumble the cake and layer it with frosting in a clear cup instead and it travels perfectly, looks taller and more generous than the same cake in a liner, and nobody has to touch icing with their fingers.
Snap the lid on and tape a small spoon to the side rather than leaving it loose in the cup, where it slides into the frosting the second someone picks it up.
These are the easiest thing on this list to flavor up without extra work: swap the vanilla for chocolate crumb and a different sprinkle and you have a second product from one afternoon.
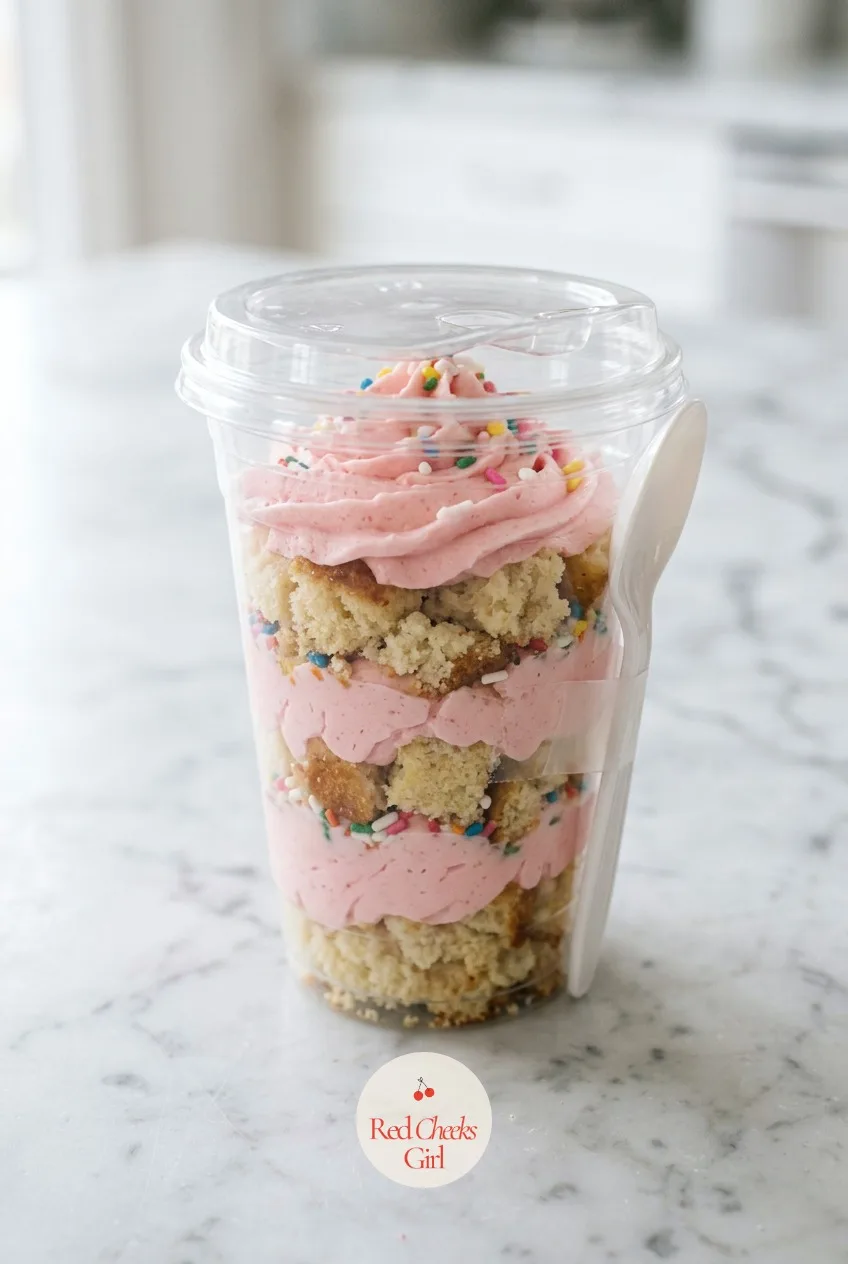

Cupcakes in a Cup
Ingredients
- 1 1/2 cups all-purpose flour
- 1 1/2 teaspoons baking powder
- 1/4 teaspoon salt
- 1/2 cup unsalted butter softened, divided
- 1 cup granulated sugar
- 2 large eggs
- 1 teaspoon vanilla extract divided
- 1/2 cup milk
- 3 cups powdered sugar
- 2 tablespoons milk for the frosting
- Sprinkles for topping
- 10 clear plastic dessert cups with lids
Instructions
- Preheat the oven to 350°F and line a standard 12-cup muffin tin with paper liners.
- Cream 1/2 cup of the softened butter with 1 cup sugar until light and fluffy, about 3 minutes.
- Beat in the eggs one at a time, then 1/2 teaspoon vanilla extract.
- Whisk 1 1/2 cups flour, 1 1/2 teaspoons baking powder, and 1/4 teaspoon salt in a separate bowl.
- Add the dry ingredients to the butter mixture alternately with 1/2 cup milk, mixing just until smooth.
- Divide the batter among the liners and bake for 18 to 20 minutes, until a toothpick comes out clean.
- Cool the cupcakes completely on a rack, about 30 minutes, then remove the liners and crumble the cake into loose crumbs.
- Beat the remaining 1/2 cup butter with 3 cups powdered sugar, 2 tablespoons milk, and 1/2 teaspoon vanilla until the frosting holds a soft peak when the beater is lifted.
- Spoon a layer of cake crumbs into the bottom of each clear cup, pressing gently.
- Pipe or spoon a layer of frosting over the crumbs, then repeat with another layer of crumbs and a final swirl of frosting on top.
- Finish each cup with sprinkles, then snap on the lid.
- Tuck a small dessert spoon under each lid or tape one to the side of the cup.
- Chill the cups for 20 minutes to set the frosting before selling, and keep them cool at the table on a warm day.
Good to Know
Peanut Butter Pretzel Clusters
Salty and sweet in one bite is close to an unfair advantage at a bake sale table. These need no oven time beyond freezing the filling, which makes them the thing to make the night before when everything else is still cooling.
Freeze the sandwiched pretzels before dipping, not after: a soft filling slides apart in warm chocolate and you end up fishing pretzel halves out of the bowl.
Contains peanuts, which matters more here than almost anywhere else on this table; keep them visibly separate from the nut-free items and say so on the sign.
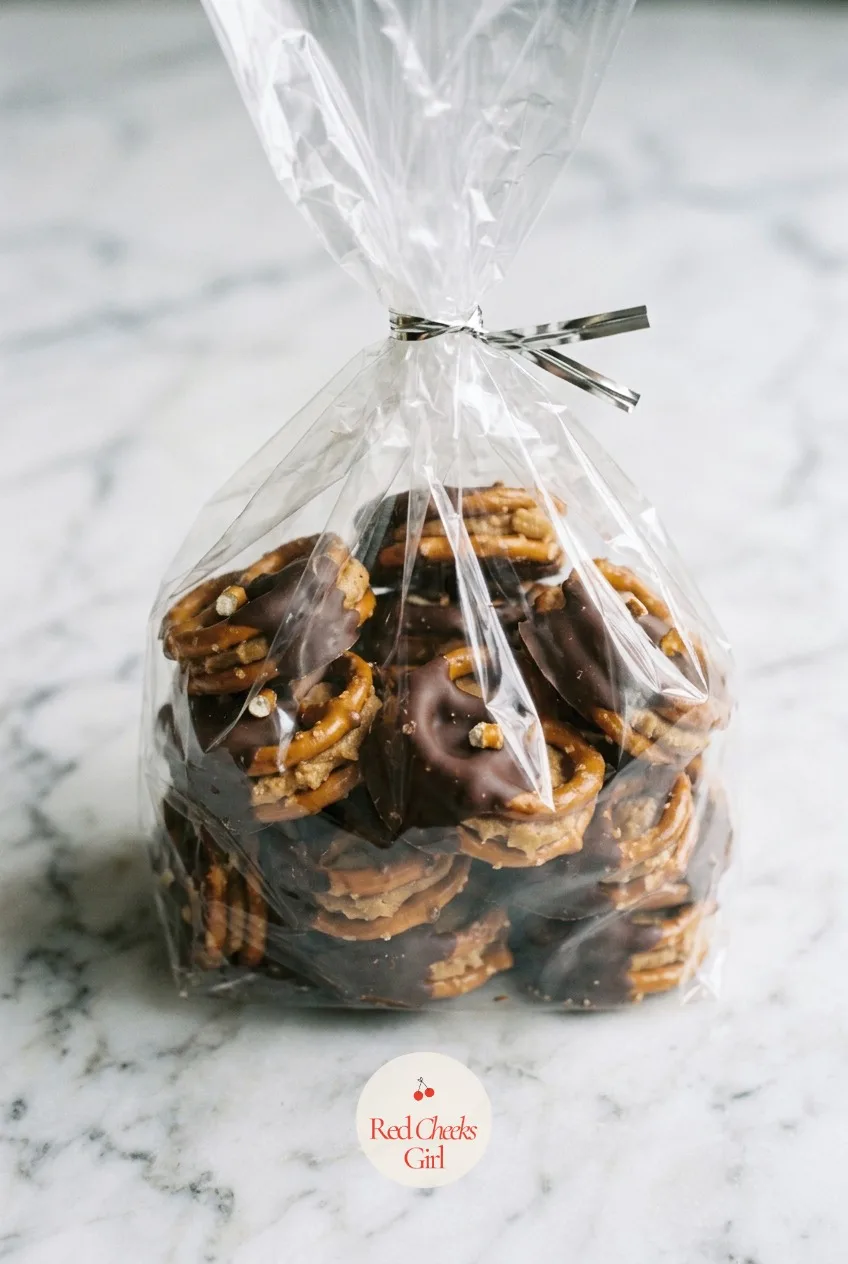

Peanut Butter Pretzel Clusters
Ingredients
- 40 small pretzel twists
- 1/2 cup creamy peanut butter
- 2 tablespoons unsalted butter softened
- 1/2 cup powdered sugar
- 12 ounces chocolate melting wafers
Instructions
- Line a baking sheet with parchment paper and arrange 40 small pretzel twists in 20 matching pairs.
- Beat 1/2 cup creamy peanut butter, 2 tablespoons softened butter, and 1/2 cup powdered sugar together until it forms a stiff, moldable paste that holds its shape when rolled.
- Roll the peanut butter mixture into 20 small balls, about 1 tablespoon each, and flatten slightly.
- Sandwich each flattened ball between two pretzel twists, pressing gently so the filling just peeks out the sides.
- Freeze the sandwiched clusters on the sheet for 15 minutes, until firm enough to dip without falling apart.
- Melt 12 ounces chocolate melting wafers in a microwave-safe bowl in 30 second bursts, stirring each time, until smooth and pourable.
- Dip each cluster halfway into the melted chocolate, letting excess drip off, then return to the parchment to set.
- Let clusters sit at room temperature for 30 minutes, or refrigerate for 10 minutes, until the chocolate is fully hardened and no longer glossy when touched.
- Bag clusters individually or in pairs in small clear cellophane bags, sealing with a twist tie or a sticker.
Good to Know
Pink Chocolate Covered Pretzels
Nothing but a pretzel rod and melted candy, and it still looks like the prettiest thing on the table because of the color. Pink reads as a treat before anyone even knows what flavor it is.
Dip and twist in one motion so the coating goes on even; a rod dunked straight in and pulled straight out drips unevenly and sets lumpy on one side.
Stand finished rods upright in a tall cellophane bag rather than laying them flat in a box, where the coating can stick to whatever they are resting against.
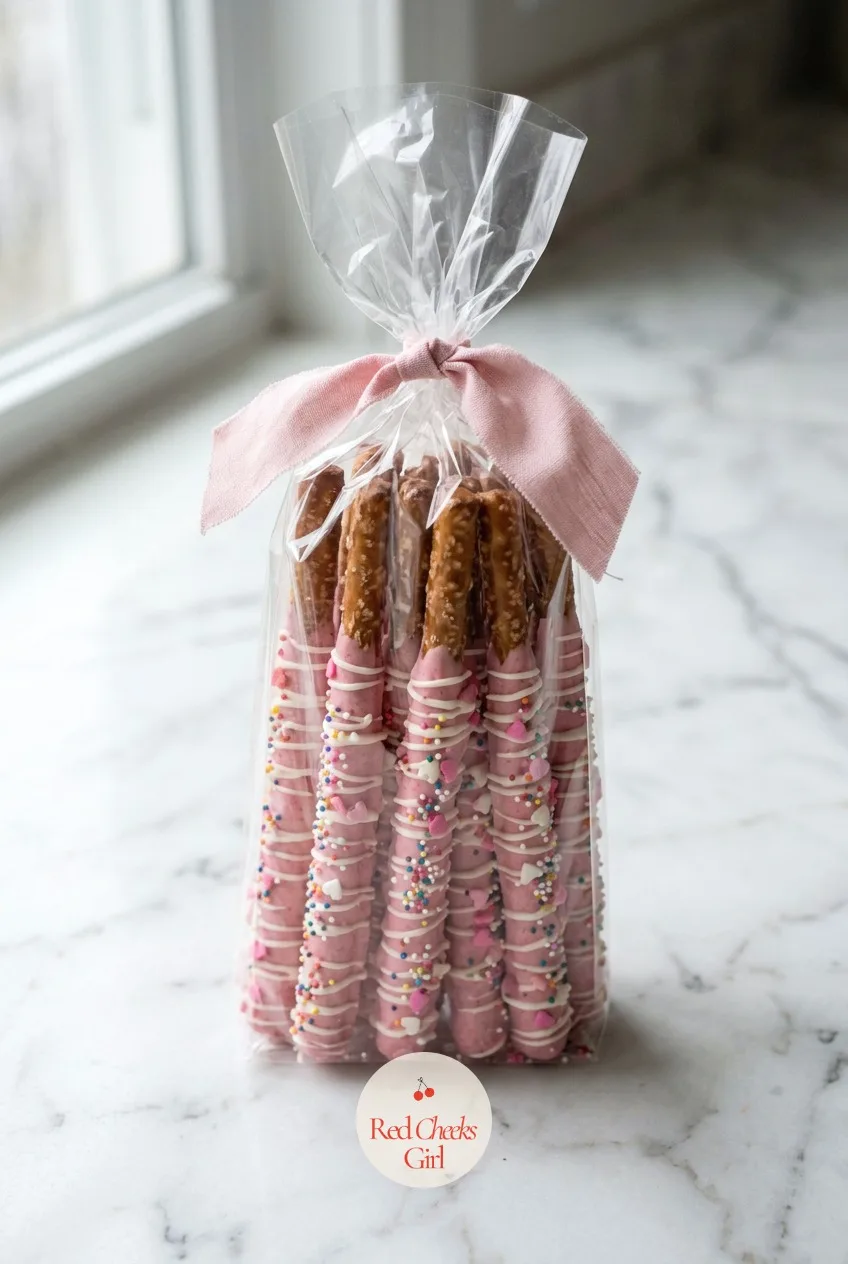
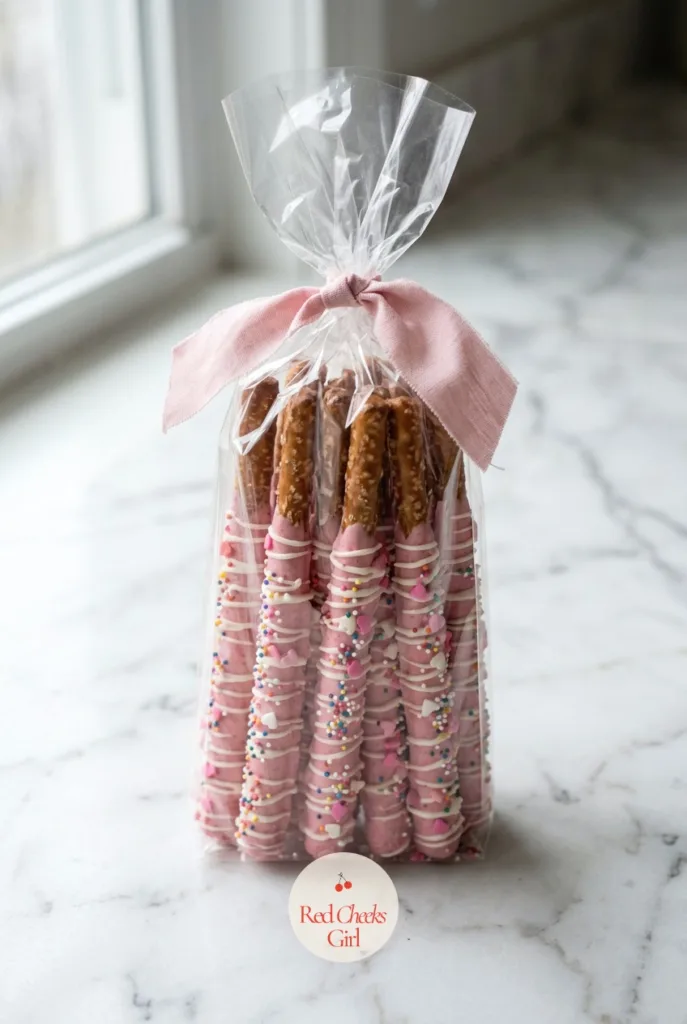
Pink Chocolate Covered Pretzels
Ingredients
- 20 pretzel rods
- 12 ounces pink candy melts
- 2 ounces white chocolate melted
- Sprinkles
Instructions
- Line a baking sheet with parchment paper.
- Melt 12 ounces pink candy melts in a tall narrow glass in the microwave in 30 second bursts, stirring between each, until smooth enough to coat the back of a spoon evenly.
- Dip each of the 20 pretzel rods about three-quarters of the way into the melted candy, twisting gently to coat and letting excess drip back into the glass.
- Lay dipped rods flat on the parchment and immediately scatter sprinkles over the wet coating before it sets.
- Let rods firm up at room temperature for 20 minutes, or in the refrigerator for 8 minutes, until the coating snaps cleanly rather than smears.
- Melt 2 ounces white chocolate separately and drizzle in thin lines across the pink coating for a finished, bakery look.
- Let the drizzle set for 10 minutes.
- Stand rods upright in a tall clear cellophane treat bag, gathering the top and tying with curling ribbon.
Good to Know
Cake Mix Cookies
Three ingredients, no mixer required, and they still look handmade once stacked and tied. This is the one to make when the sale is tomorrow and the rest of the baking list already ate the afternoon.
Pull them out while the centers still look faintly underdone. They firm up completely on the sheet as they cool, and a cookie baked to fully set in the oven turns hard by evening.
Stack six in a tower, wrap a strip of cellophane around the whole stack, and tie both ends like a candy wrapper: it photographs well for a sale flyer and it is genuinely the fastest packaging on this list.
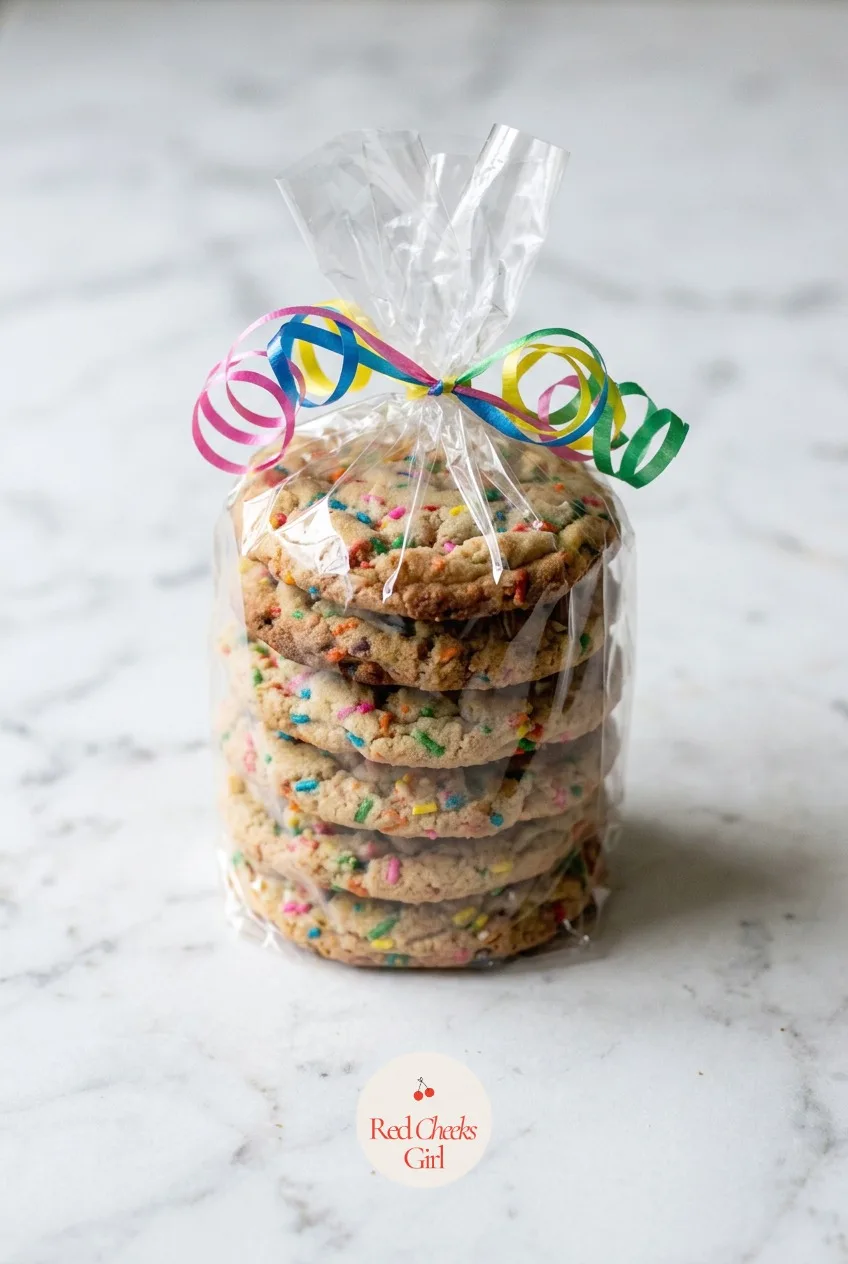

Cake Mix Cookies
Ingredients
- 1 box 15.25 oz cake mix, any flavor
- 2 large eggs
- 1/2 cup vegetable oil
- 1/2 cup chocolate chips or sprinkles
Instructions
- Preheat the oven to 350°F and line two baking sheets with parchment paper.
- Stir the cake mix, eggs, and vegetable oil together until a thick, scoopable dough forms with no dry mix visible.
- Fold in the chocolate chips or sprinkles.
- Scoop the dough into 24 balls, about 1.5 tablespoons each, spaced 2 inches apart on the sheets.
- Bake for 9 to 11 minutes, until the edges are set but the centers still look slightly underbaked and soft.
- Cool on the sheet for 5 minutes, where the cookies finish firming up, then transfer to a rack to cool completely, about 15 minutes.
- Stack cookies in towers of 6, wrap each stack in a strip of cellophane, and tie with ribbon at both ends like a candy wrapper.
- Store stacks at room temperature for up to 5 days.
Good to Know
Pecan Pie Bark
All the flavor of pecan pie with none of the crust fuss, broken into shards and sold by weight like real toffee bark. It looks far more complicated than the actual hands-on time involved.
Boil the caramel for the full three minutes without stirring and no longer; under-boiled, it never sets crisp, over-boiled, it turns bitter and dark before it even hits the oven.
Contains pecans, so keep it on its own end of the table, clearly marked, away from anything a nut-allergic buyer might otherwise pick up without reading the sign.
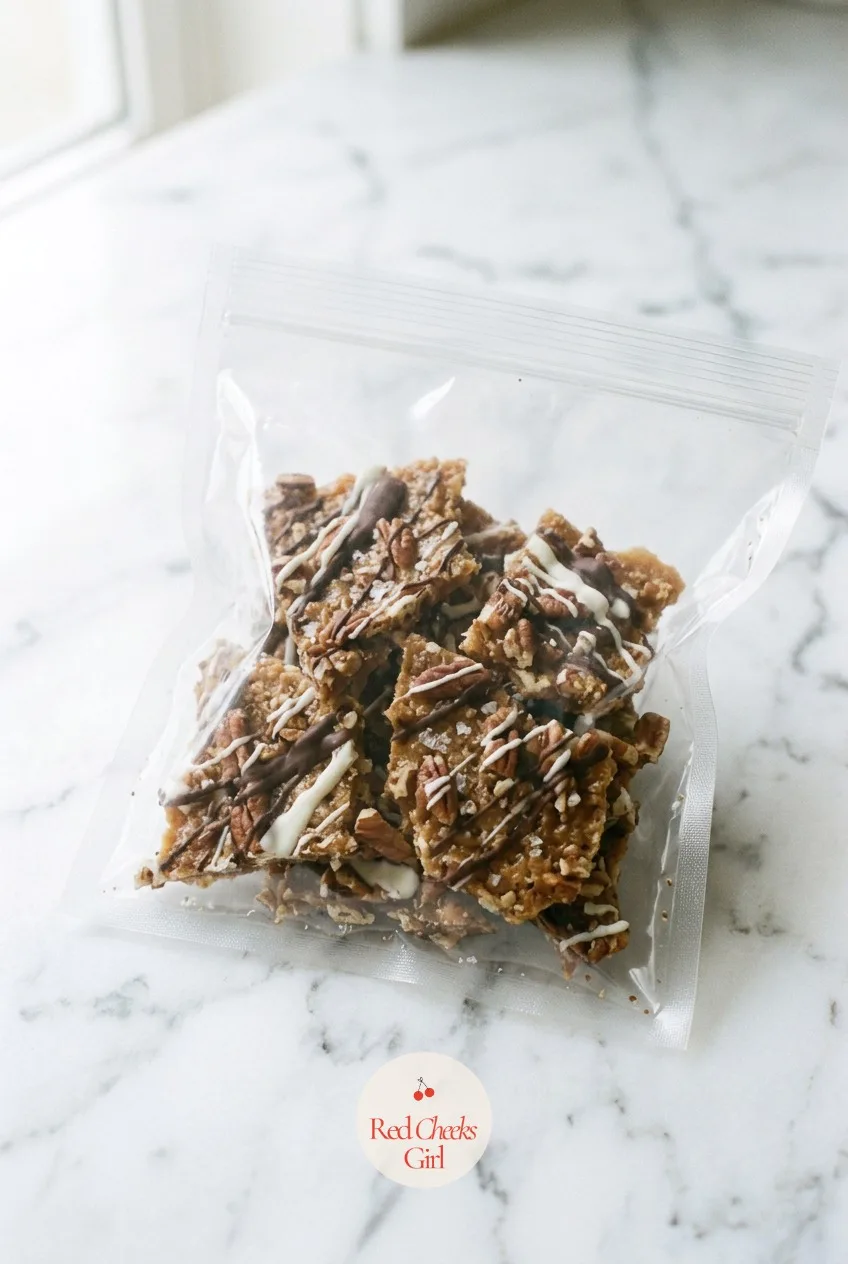
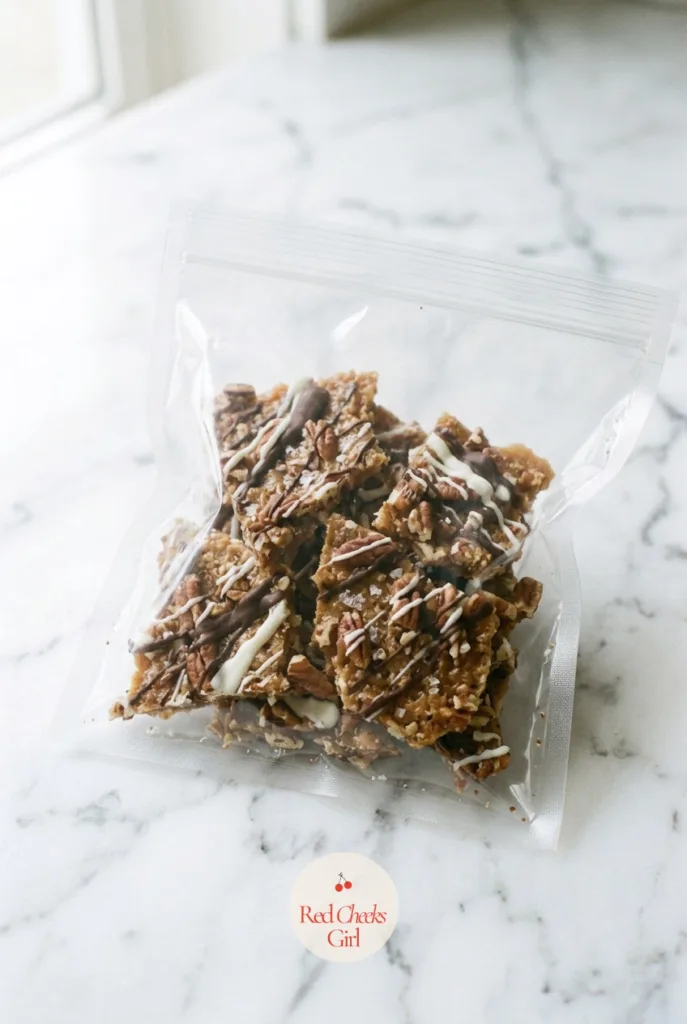
Pecan Pie Bark
Ingredients
- 20 to 24 graham cracker sheets
- 1 cup unsalted butter
- 1 cup packed brown sugar
- 1.5 cups chopped pecans
- 4 ounces chocolate melted
- Flaky salt for finishing
Instructions
- Preheat the oven to 350°F, line a rimmed 11x17 inch sheet pan with foil and parchment, then arrange a single layer of graham crackers edge to edge covering the pan.
- Melt 1 cup butter with 1 cup packed brown sugar in a saucepan over medium heat, stirring until it comes to a full boil.
- Boil the butter-sugar mixture for exactly 3 minutes without stirring, until it turns a shade darker and coats the spoon in a glossy caramel layer.
- Pour the hot caramel evenly over the crackers and spread quickly with an offset spatula before it sets.
- Scatter 1.5 cups chopped pecans evenly over the caramel.
- Bake for 8 to 10 minutes, until the caramel is bubbling all over, not just at the edges.
- Remove from the oven and let cool on the pan for 10 minutes, then drizzle the melted chocolate over the top in thin lines.
- Sprinkle with flaky salt and let cool completely, about 1 hour, until the chocolate is fully set and snaps when pressed.
- Break into irregular shards by hand.
- Weigh into 6-ounce portions and seal each portion in a small clear cellophane or resealable bag.
Good to Know
Pumpkin Monkey Bread Bites
Regular monkey bread is a pull-apart loaf nobody can sell by the piece without it falling apart in someone’s hands. Baking the same dough in a mini muffin tin solves that: each bite is its own clean, grabbable unit.
Biscuit dough from a tube is genuinely the right shortcut here, not a compromise; rolling 24 pieces of homemade dough for bites this small eats far more time than it is worth.
If a weekend is already full of other baking, these are quick enough to squeeze in between batches, and still worth a look alongside other weekend activities that make free time count.
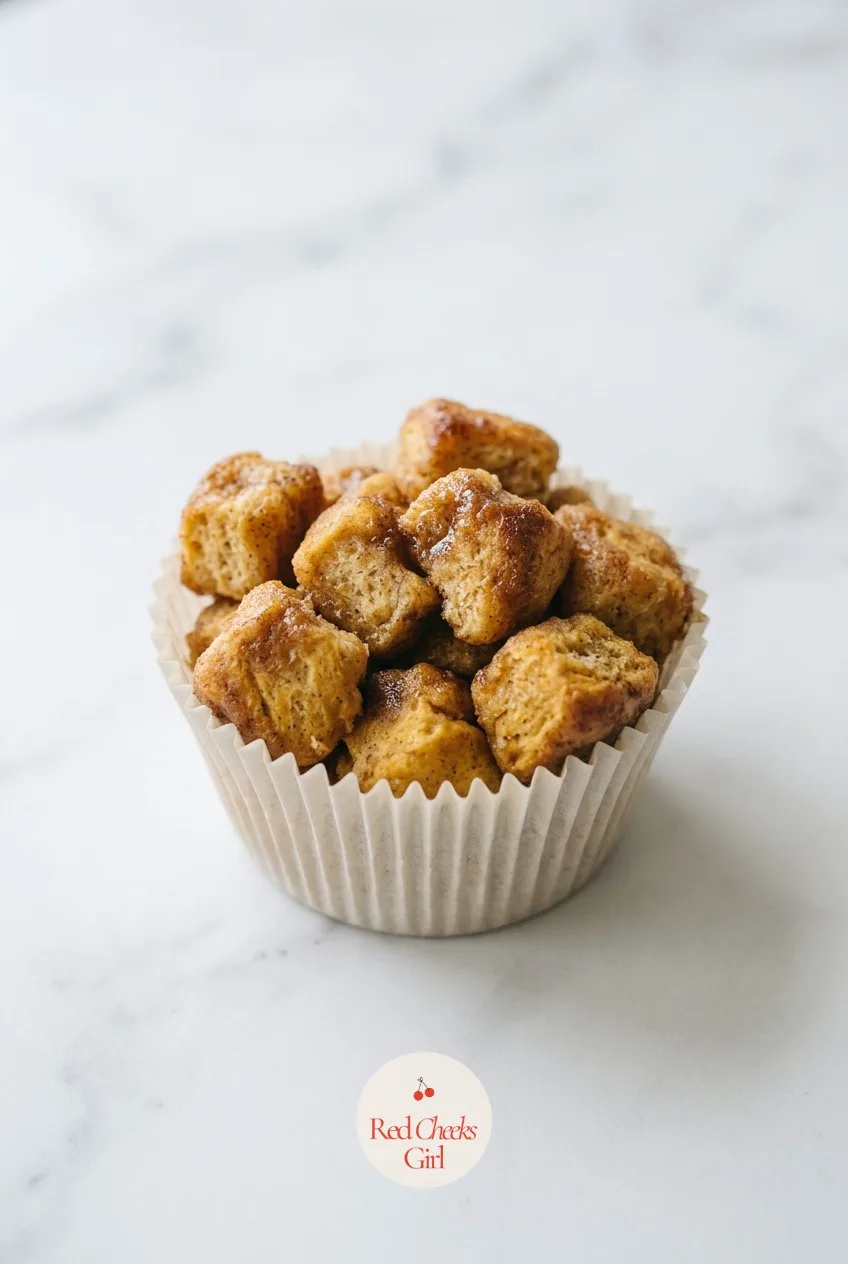
Pumpkin Monkey Bread Bites
Ingredients
- 1 tube 16 oz refrigerated biscuit dough, 8 biscuits
- 2 tablespoons pumpkin puree
- 1/4 cup unsalted butter melted, divided
- 1/2 cup granulated sugar
- 2 teaspoons ground cinnamon
- 1/2 teaspoon pumpkin pie spice
- 1/4 cup packed brown sugar
Instructions
- Preheat the oven to 350°F and grease a 24-cup mini muffin tin well.
- Cut each of the 8 refrigerated biscuits into 3 pieces, making 24 small dough pieces, and roll each into a ball.
- Whisk the pumpkin puree into 2 tablespoons of the melted butter in one bowl.
- Mix the granulated sugar with the cinnamon and pumpkin pie spice in a second bowl.
- Dunk each dough ball in the pumpkin butter, then roll in the cinnamon sugar to coat completely.
- Drop one coated ball into each mini muffin cup.
- Bake for 10 to 12 minutes, until golden brown and a toothpick inserted into a piece comes out clean.
- While the bites bake, simmer the remaining 2 tablespoons butter with the brown sugar in a small saucepan for 2 minutes, until it thickens enough to coat the back of a spoon.
- Let the bites cool in the tin for 5 minutes, then drizzle the warm brown sugar glaze over the top.
- Cool completely, about 15 minutes, before lifting out.
- Mound the bites into small paper candy cups or mini treat boxes, 4 to 6 per box, for selling as single servings.
Good to Know
Heart Sugar Cookies
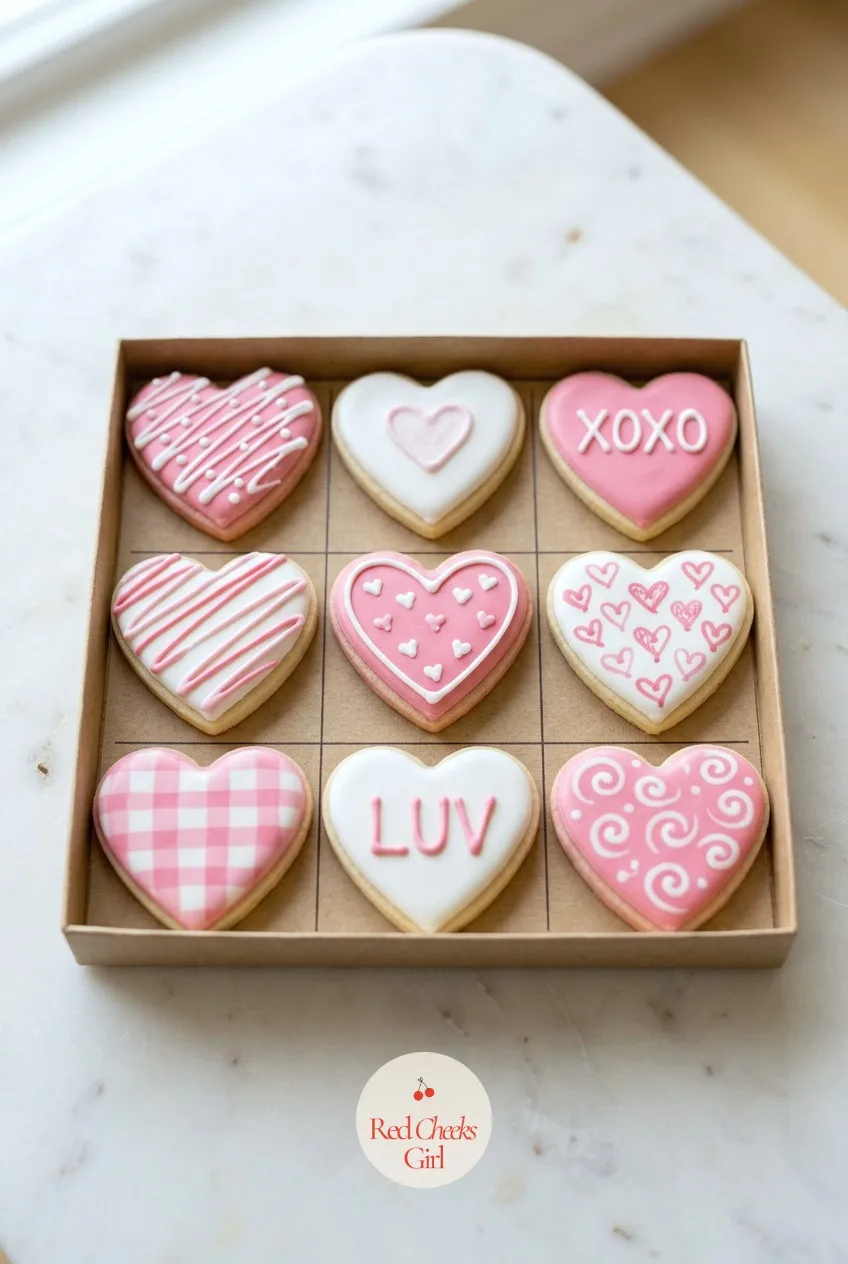
A plain iced heart is sweet. Nine of them laid into a box printed with tic-tac-toe lines, half iced pink and half left white, is the thing someone photographs before they even pay for it.
Chill the dough properly before rolling; a warm dough spreads in the oven and the hearts lose their point, which is the whole shape people are buying.
Give the icing its full drying time before boxing, a couple of hours uncovered, or the top of one cookie prints onto the lid when you close the box.

Heart Sugar Cookies
Ingredients
- 3 cups all-purpose flour
- 1 teaspoon baking powder
- 1/2 teaspoon salt
- 1 cup unsalted butter softened
- 1 cup granulated sugar
- 1 large egg
- 1 teaspoon vanilla extract
- 2 cups powdered sugar
- 3 to 4 tablespoons milk
- Pink gel food coloring
Instructions
- Whisk 3 cups flour, 1 teaspoon baking powder, and 1/2 teaspoon salt together in a bowl.
- Cream 1 cup butter and 1 cup sugar together for 3 minutes, until fluffy.
- Beat in the egg and vanilla.
- Mix in the dry ingredients until the dough just comes together.
- Divide the dough in half, wrap each half, and chill for 1 hour, until firm enough to roll without sticking.
- Preheat the oven to 350°F and line baking sheets with parchment.
- Roll the dough 1/4 inch thick and cut hearts with a 2 to 2.5 inch cutter, placing them 2 inches apart on the sheets.
- Bake for 9 to 11 minutes, until the edges just turn golden and the centers are still pale.
- Cool on the sheet for 5 minutes, then on a rack for 15 minutes more.
- Whisk the powdered sugar with 3 to 4 tablespoons milk until it ribbons off the whisk and disappears back into the bowl within 10 seconds; split the icing in half and tint one half pink.
- Outline and flood half the hearts in pink and leave the rest white, then let the icing set uncovered for 1 to 2 hours, until matte and firm to the touch.
- Arrange 9 cookies, alternating pink and white hearts, into the 3x3 grid of a tic-tac-toe printed bakery box like a tied game.
- Close the lid and secure with a ribbon; the dough makes enough for 3 boxed sets of 9.
Good to Know
Lemon Bars
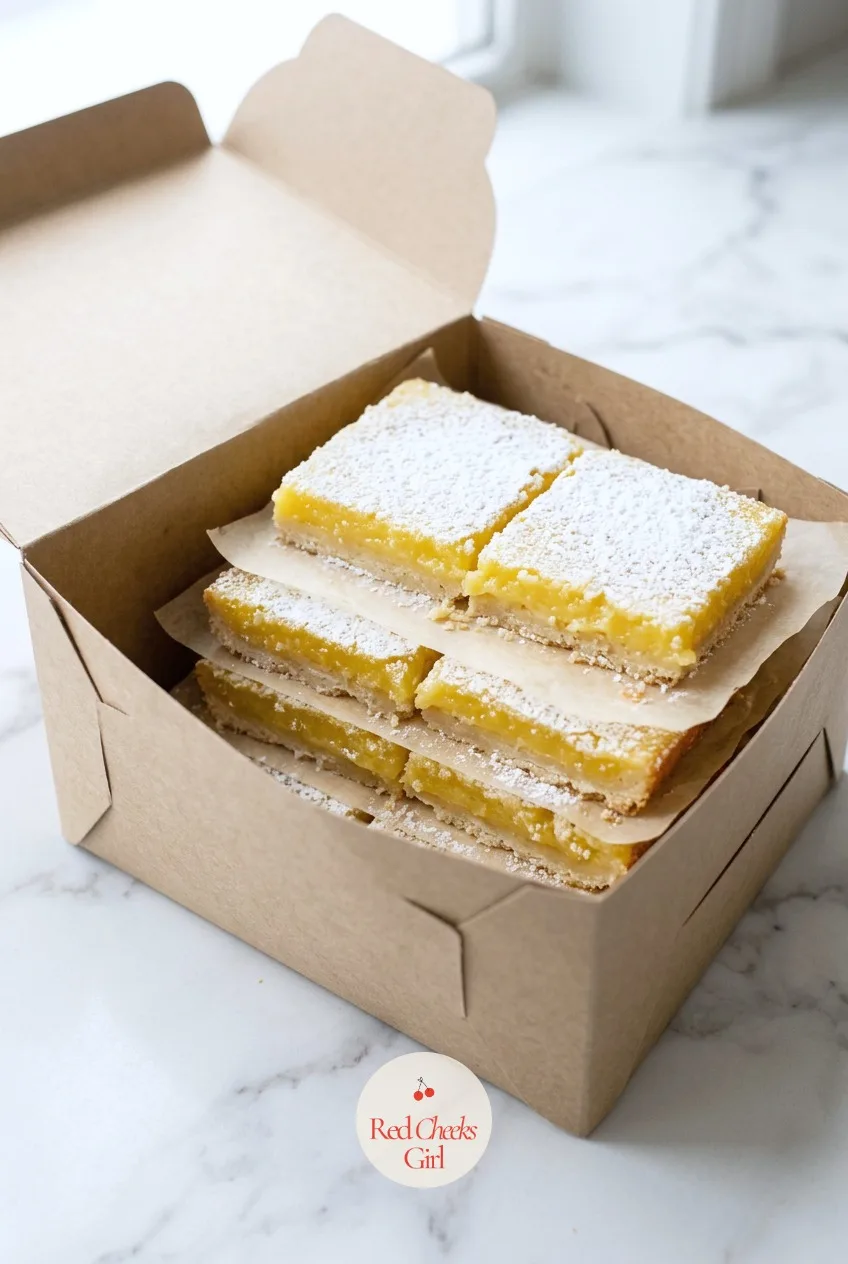
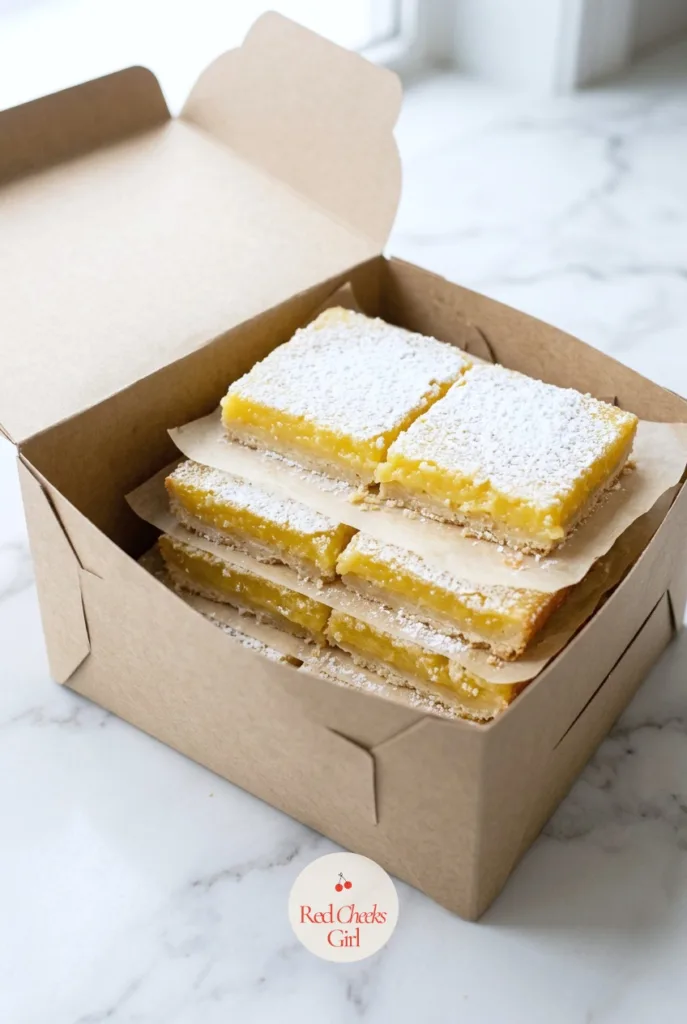
The one non-chocolate thing most people can picture without being told what it is. A clean yellow square under a dusting of powdered sugar does more selling than any sign could.
Pour the lemon layer over the crust while the crust is still hot from the oven, not cooled, so the two bake together into one slab instead of separating into two distinct layers that crack apart when cut.
Dust with sugar right before boxing, not the night before, or the sugar dissolves into the surface and disappears by morning.
Lemon Bars
Ingredients
- 1 1/4 cups all-purpose flour
- 1/4 cup powdered sugar plus extra for dusting
- 1/4 teaspoon salt
- 1/2 cup cold unsalted butter cubed
- 4 large eggs
- 1 1/2 cups granulated sugar
- 1/3 cup all-purpose flour
- 2/3 cup fresh lemon juice
- 2 teaspoons lemon zest
Instructions
- Preheat the oven to 350°F and line an 8x8 inch pan with parchment paper, leaving overhang on two sides.
- Mix 1 1/4 cups flour, 1/4 cup powdered sugar, and 1/4 teaspoon salt; cut in the cold butter until the mixture clumps when pressed.
- Press the mixture into the bottom of the pan evenly and bake for 18 to 20 minutes, until the edges are light golden.
- Meanwhile, whisk the eggs, granulated sugar, 1/3 cup flour, lemon juice, and zest until smooth.
- Pour the lemon filling over the hot crust immediately after baking.
- Bake for 20 to 22 minutes, until the center is set and jiggles only slightly in the middle, like firm gelatin, not liquid.
- Cool completely in the pan on a rack, about 1 hour 30 minutes, then refrigerate for 30 minutes for cleaner cuts.
- Lift out by the parchment overhang and cut into 16 squares, wiping the knife between cuts.
- Dust with powdered sugar just before packaging.
- Layer the bars in a bakery box between sheets of parchment so the sugar dusting and soft top do not stick to the lid.
Good to Know
Chocolate Chip Cookie Dough Truffles
Raw cookie dough is a genuine food safety issue, both the flour and the egg. These skip the egg entirely and heat-treat the flour first, so the dough is safe to eat straight from the bowl and still tastes exactly like the thing everyone secretly wants.
Bake the flour on a sheet pan until it hits 165°F on a thermometer before it goes anywhere near the dough; this is the one step in the whole recipe that is not optional.
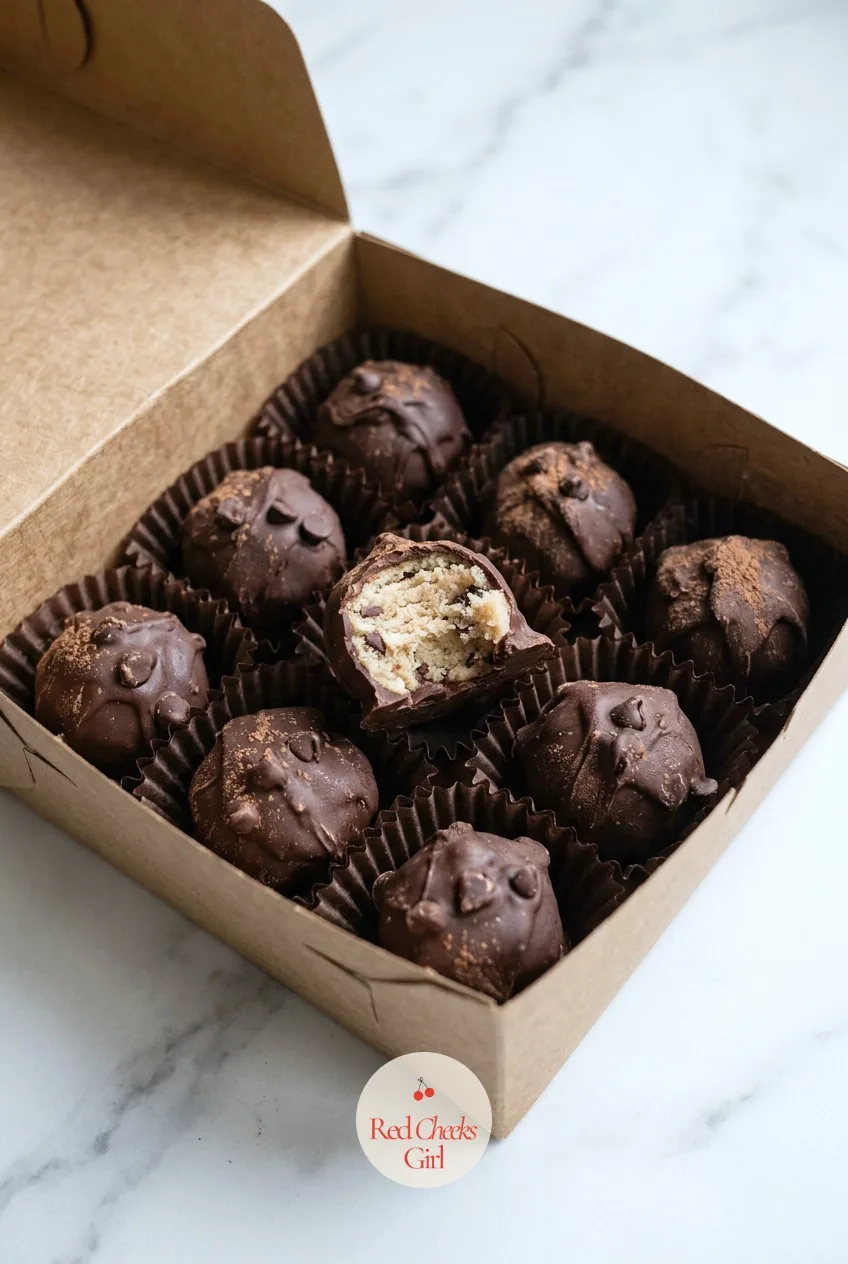
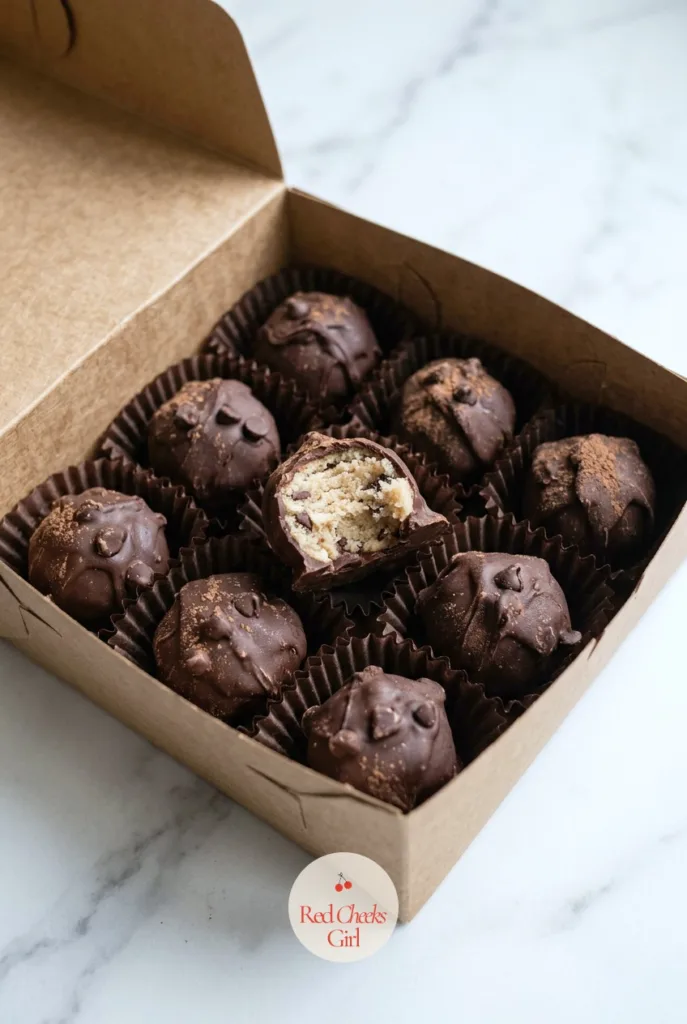
Nestle each dipped truffle into its own mini liner before boxing: it stops them rolling around and keeps the chocolate shell from scuffing against its neighbors.
Chocolate Chip Cookie Dough Truffles
Ingredients
- 1 cup all-purpose flour
- 1/2 cup unsalted butter softened
- 1/2 cup packed brown sugar
- 1 teaspoon vanilla extract
- 2 tablespoons milk
- 1/4 teaspoon salt
- 3/4 cup mini chocolate chips
- 12 ounces chocolate melting wafers
Instructions
- Spread 1 cup flour on a baking sheet and bake at 300°F for 5 to 7 minutes, stirring once, until it reaches 165°F on an instant read thermometer; cool completely before using.
- Cream 1/2 cup softened butter with 1/2 cup packed brown sugar until fluffy.
- Beat in 1 teaspoon vanilla and 2 tablespoons milk.
- Mix in the cooled heat-treated flour and 1/4 teaspoon salt until a soft, scoopable dough forms.
- Fold in 3/4 cup mini chocolate chips.
- Scoop into 24 balls, about 1 tablespoon each, and roll smooth between your palms.
- Freeze the balls on a parchment lined tray for 20 minutes, until firm enough to dip without losing shape.
- Melt 12 ounces chocolate melting wafers until smooth and pourable.
- Dip each ball fully in the melted chocolate using a fork, letting excess drip off, then set on parchment.
- Let set at room temperature for 30 minutes, or refrigerate for 10 minutes, until the shell is hard and matte.
- Nestle each truffle into its own mini cupcake liner.
- Box the truffles in their liners inside a bakery box, one snug layer, for selling.
Good to Know
Rocky Road Fudge
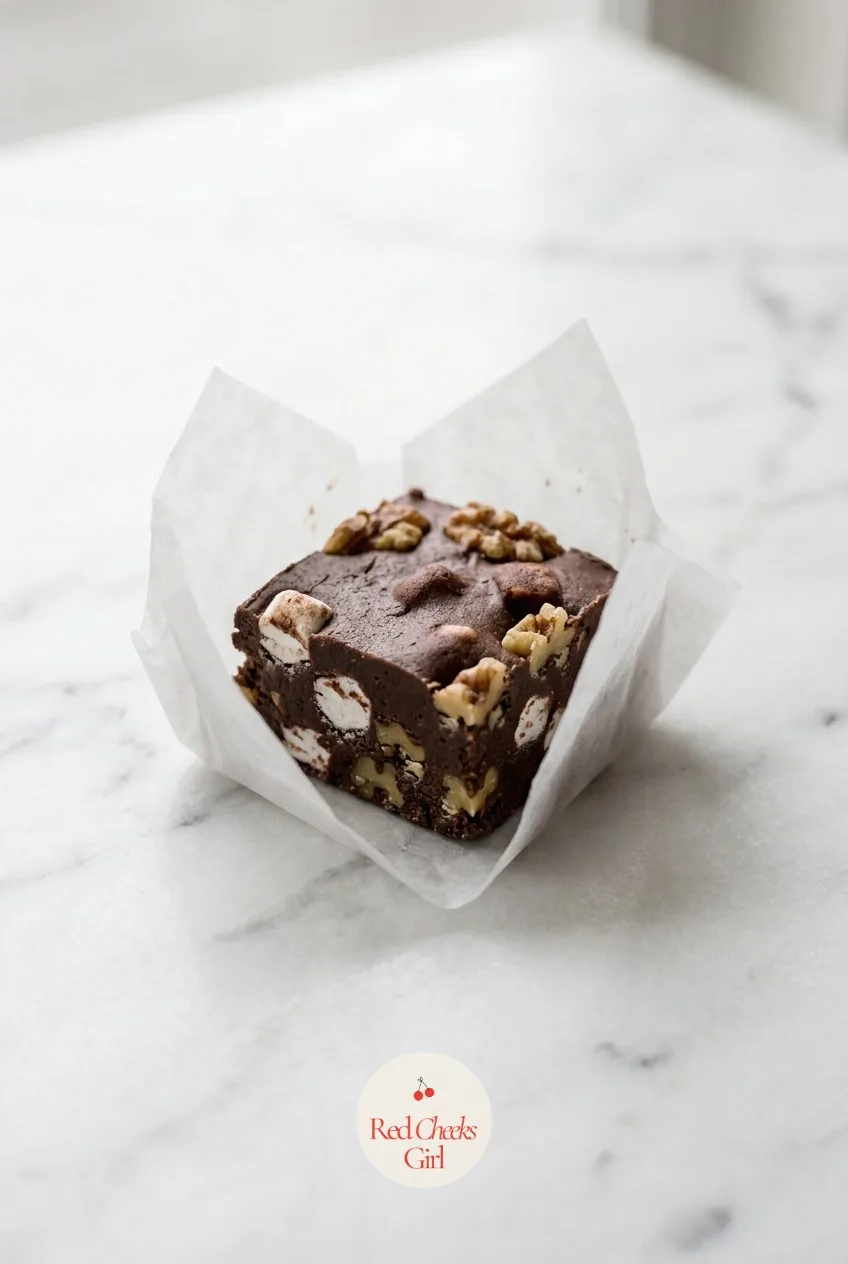
Fudge needs no oven at all, which makes it the thing to make when the rest of the kitchen is already busy with something that does. Marshmallow and walnut on top give it the craggy, generous look that plain chocolate fudge never quite manages.
Work fast once the marshmallows and nuts go in; the fudge starts to set the moment it leaves the heat, and a slow hand means it sets in the pot instead of the pan.
Contains tree nuts, so bag it clearly and keep it away from the peanut butter clusters on the same table.
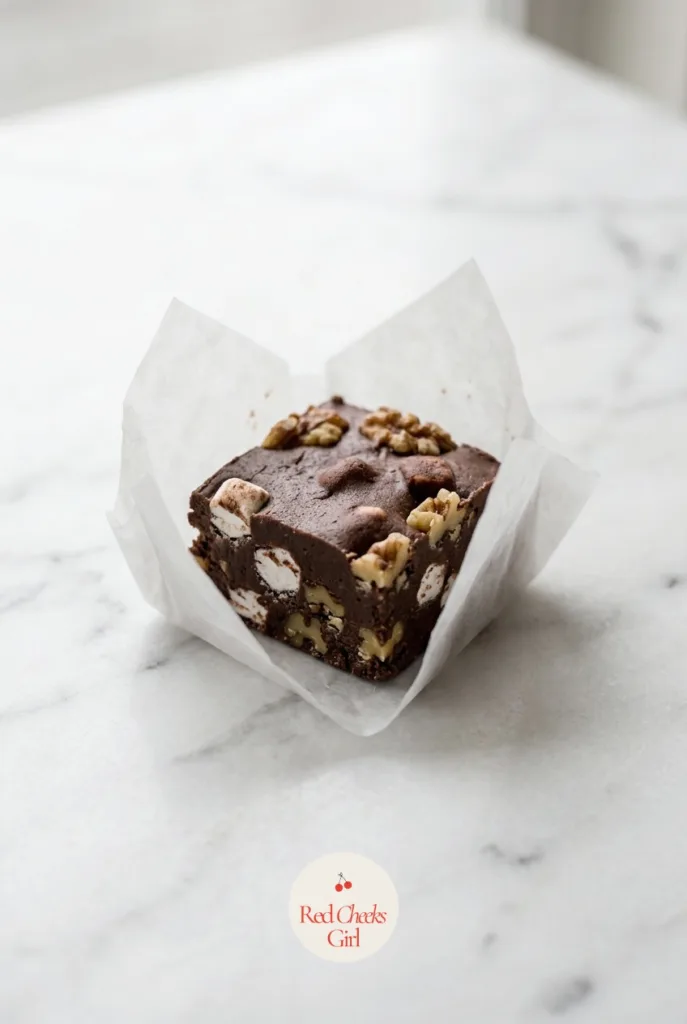
Rocky Road Fudge
Ingredients
- 2 cups chocolate chips
- 1 can 14 oz sweetened condensed milk
- 2 tablespoons unsalted butter
- 1 teaspoon vanilla extract
- 1 cup mini marshmallows plus extra for topping
- 3/4 cup chopped walnuts plus extra for topping
Instructions
- Line an 8x8 inch pan with parchment paper, leaving overhang on two sides.
- Melt the chocolate chips, sweetened condensed milk, and butter in a saucepan over low heat, stirring constantly until smooth and the mixture coats the back of a spoon thickly, about 5 minutes.
- Remove from heat and stir in the vanilla.
- Fold in 1 cup mini marshmallows and 3/4 cup chopped walnuts, working quickly before the fudge sets.
- Scrape into the pan, smooth the top, and scatter a few extra marshmallows and walnuts over the surface, pressing lightly.
- Refrigerate for 2 hours, until firm to the touch and pulling cleanly from the sides of the pan.
- Lift out by the parchment overhang and cut into 25 squares with a knife warmed under hot water.
- Twist each square in a small square of wax paper or nest in mini paper candy cups inside a box.
Good to Know
Snickerdoodle Blondies
A snickerdoodle without the trouble of rolling two dozen individual balls in cinnamon sugar. The cinnamon-sugar layer goes on top of the whole pan instead, which gets the same flavor in a fraction of the effort.
Pull these at 22 minutes if the center still looks faintly soft; blondies firm up as they cool, and a few extra minutes in the oven turns them cakey instead of chewy.
Wrap individually in cellophane squares, twisting the ends like a candy, for the same grab-and-go appeal as the rice krispie treats without repeating the same flavor on the table.
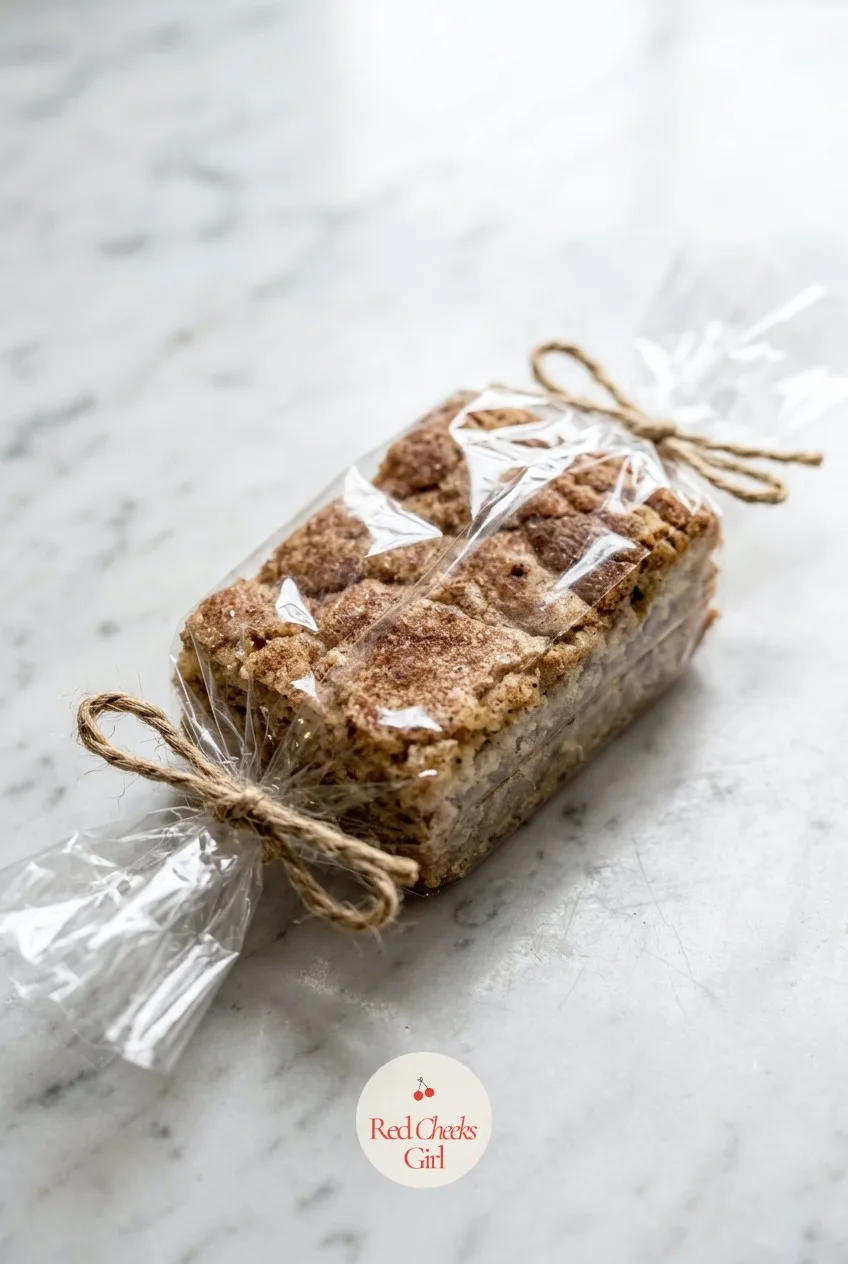
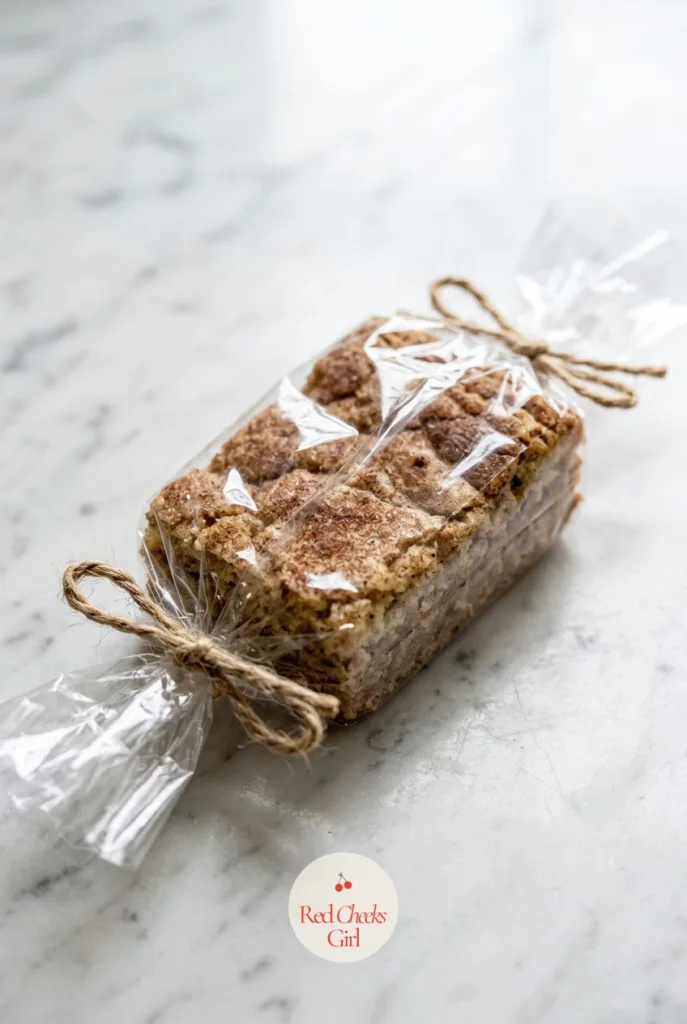
Snickerdoodle Blondies
Ingredients
- 1/2 cup unsalted butter
- 1 cup packed brown sugar
- 1 large egg
- 1 teaspoon vanilla extract
- 1 1/3 cups all-purpose flour
- 1/2 teaspoon cream of tartar
- 1/4 teaspoon baking soda
- 1/4 teaspoon salt
- 2 tablespoons granulated sugar
- 1 teaspoon ground cinnamon
Instructions
- Preheat the oven to 350°F and line an 8x8 inch pan with parchment paper.
- Melt the butter, then whisk in the brown sugar until glossy.
- Whisk in the egg and vanilla.
- Fold in the flour, cream of tartar, baking soda, and salt just until combined.
- Spread the batter into the pan.
- Mix the granulated sugar with the cinnamon and sprinkle evenly over the batter.
- Bake for 22 to 25 minutes, until the edges are golden and set and the center still looks slightly soft.
- Cool completely in the pan on a rack, about 1 hour, before lifting out and cutting into 16 bars.
- Wrap each bar individually in a cellophane square, twisting the ends like a candy.
Good to Know
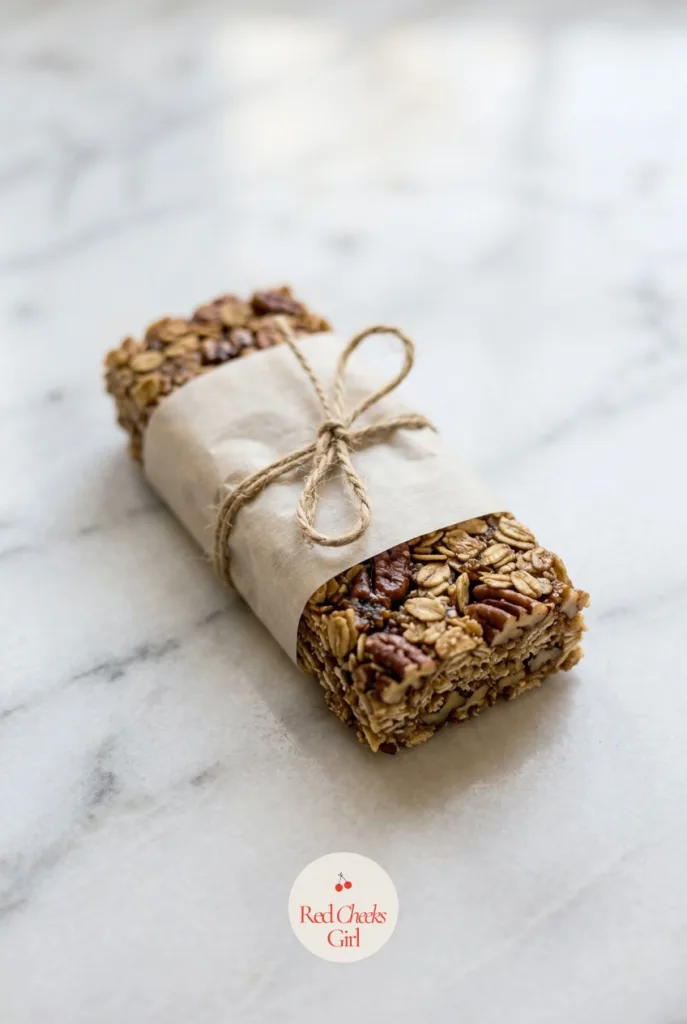
Maple Pecan Granola Bars
Something for the table that is not pure sugar, which someone always asks for even at a bake sale. These still taste like a treat, just one with oats and nuts in it instead of only chocolate.
Press the mixture down hard with a greased spoon until it holds a fingerprint; a loosely packed bar falls apart into crumbs the moment it is cut.
Contains tree nuts. Wrap individually in parchment and tie with twine, the one spot on this table where a plain, undyed paper wrap actually looks deliberate rather than unfinished.
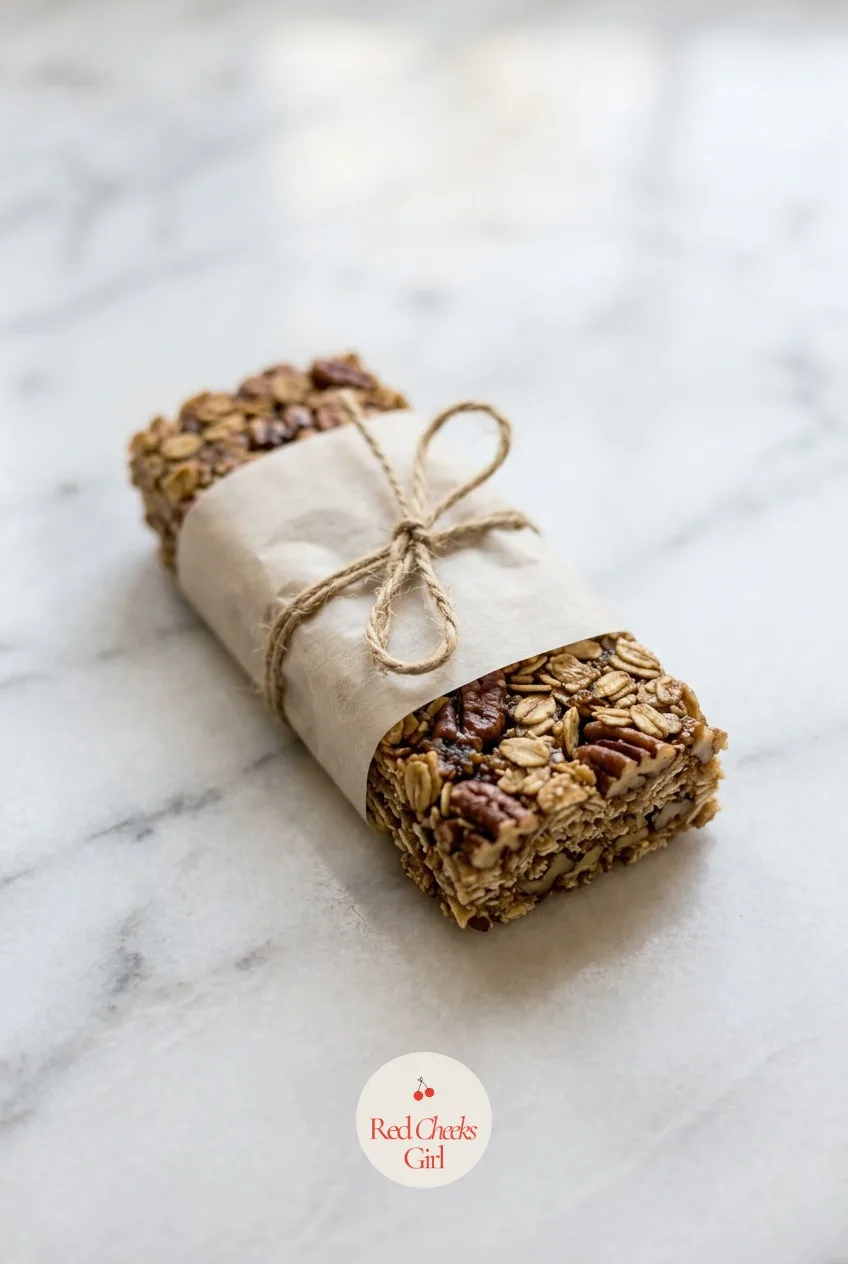
Maple Pecan Granola Bars
Ingredients
- 2 1/2 cups rolled oats
- 3/4 cup chopped pecans
- 1/3 cup unsalted butter
- 1/3 cup packed brown sugar
- 1/4 cup maple syrup
- 1/2 teaspoon vanilla extract
- 1/4 teaspoon salt
Instructions
- Preheat the oven to 325°F and line a 9x9 inch pan with parchment paper, leaving overhang on two sides.
- Toast the oats and pecans on a sheet pan for 8 to 10 minutes, stirring once, until fragrant and lightly golden.
- Melt the butter with the brown sugar and maple syrup in a saucepan, stirring until it bubbles and coats the spoon, about 3 minutes.
- Remove from heat and stir in the vanilla and salt.
- Pour over the toasted oats and pecans, stirring until every piece is coated.
- Press the mixture firmly and evenly into the pan using the back of a greased spoon, firm enough that it holds a fingerprint.
- Bake for 18 to 20 minutes, until the edges are deep golden.
- Cool completely in the pan, about 1 hour, before lifting out; bars cut warm fall apart.
- Cut into 12 bars, wrap each individually in parchment paper, and tie with a length of twine.
Good to Know
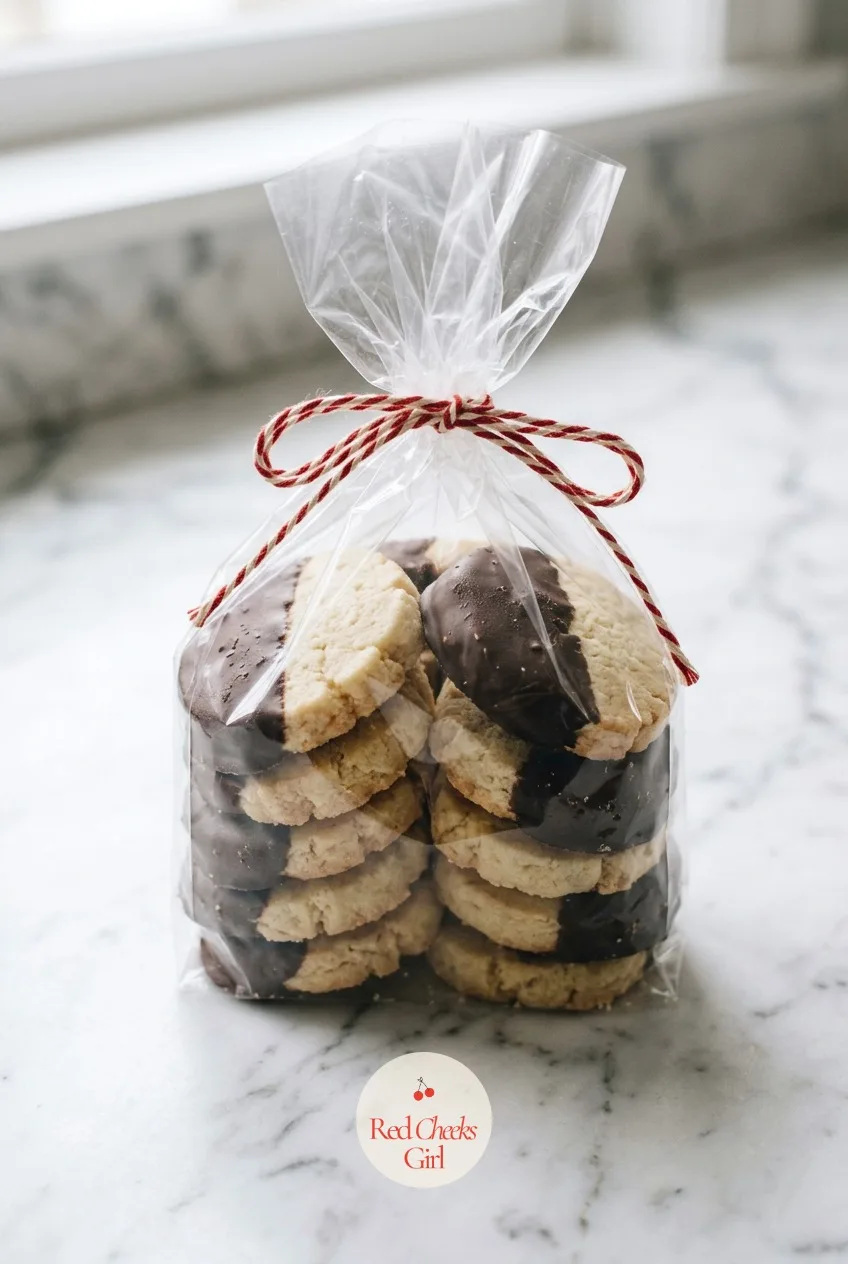
Chocolate Dipped Shortbread Cookies
Plain, buttery and a little old-fashioned, right up until half of each cookie goes under a layer of chocolate. That half-dip is what separates a bakery cookie from a plain one, and it takes about two extra minutes per batch.
Slice the chilled dough log rather than rolling and cutting; it gives you even, uniform rounds with almost no scrap dough left to reroll.
Stack and bag in a cellophane sleeve tied with ribbon at the top, loose enough that buyers can see every cookie through the bag before they commit.

Chocolate Dipped Shortbread Cookies
Ingredients
- 1 cup unsalted butter softened
- 1/2 cup powdered sugar
- 1 teaspoon vanilla extract
- 2 cups all-purpose flour
- 1/4 cup cornstarch
- 1/4 teaspoon salt
- 8 ounces chocolate melted
Instructions
- Cream the butter with the powdered sugar until smooth, not fluffy, about 2 minutes.
- Mix in the vanilla.
- Add the flour, cornstarch, and salt, mixing until the dough just comes together.
- Shape the dough into a log 2 inches thick, wrap, and chill for 1 hour, until firm enough to slice cleanly.
- Preheat the oven to 325°F and line baking sheets with parchment.
- Slice the log into 24 rounds, about 1/3 inch thick, and arrange on the sheets.
- Bake for 14 to 16 minutes, until the edges are just barely golden and the centers are still pale.
- Cool on the sheet for 5 minutes, then on a rack for 15 minutes, until completely firm.
- Melt the chocolate, dip half of each cookie, let excess drip off, and set on parchment.
- Let set for 30 minutes at room temperature, until the chocolate snaps cleanly.
- Stack cookies in a clear cellophane bag and tie with ribbon at the top.
Good to Know
Frequently Asked Questions
What sells best at a bake sale?
Individually wrapped, single-serving treats that hold at room temperature sell fastest, with cookies, brownies, bars and rice krispie treats leading almost every table.
How much should I charge for homemade baked goods?
Most homemade cookies sell for $1 to $2 each or three for $3, while brownies and fudge bars typically run $2 to $3 a square.
Do I need a license to sell baked goods from home?
In most US states, cottage food laws let you sell non-hazardous baked goods from a home kitchen without a commercial license, though exact rules vary by state.
How far in advance can I bake for a bake sale?
Cookies, bars and brownies freeze well for up to two months, so bake those weeks ahead and finish scones, muffins and glazed items the day before.
How should I package baked goods so they sell faster?
Wrap items individually in something clear so the treat sells itself before anyone asks what it is, since easy-to-carry packaging increases impulse purchases at the table.
Do I need to label allergens when selling baked goods?
Charity and school sales usually skip formal food licensing but still expect every item labeled with its ingredients and the nine major allergens, especially nuts, dairy, egg and wheat.

Ten no-bake preschool birthday treats that are portioned, labelled and free from the most common all
Sufganiyot are soft, jam-filled Hanukkah doughnuts you fry at home, fill with strawberry jam, and du

10 kindergarten birthday treats every five-year-old can eat with one hand and no cutlery. No-mess, n
Leave a Reply