

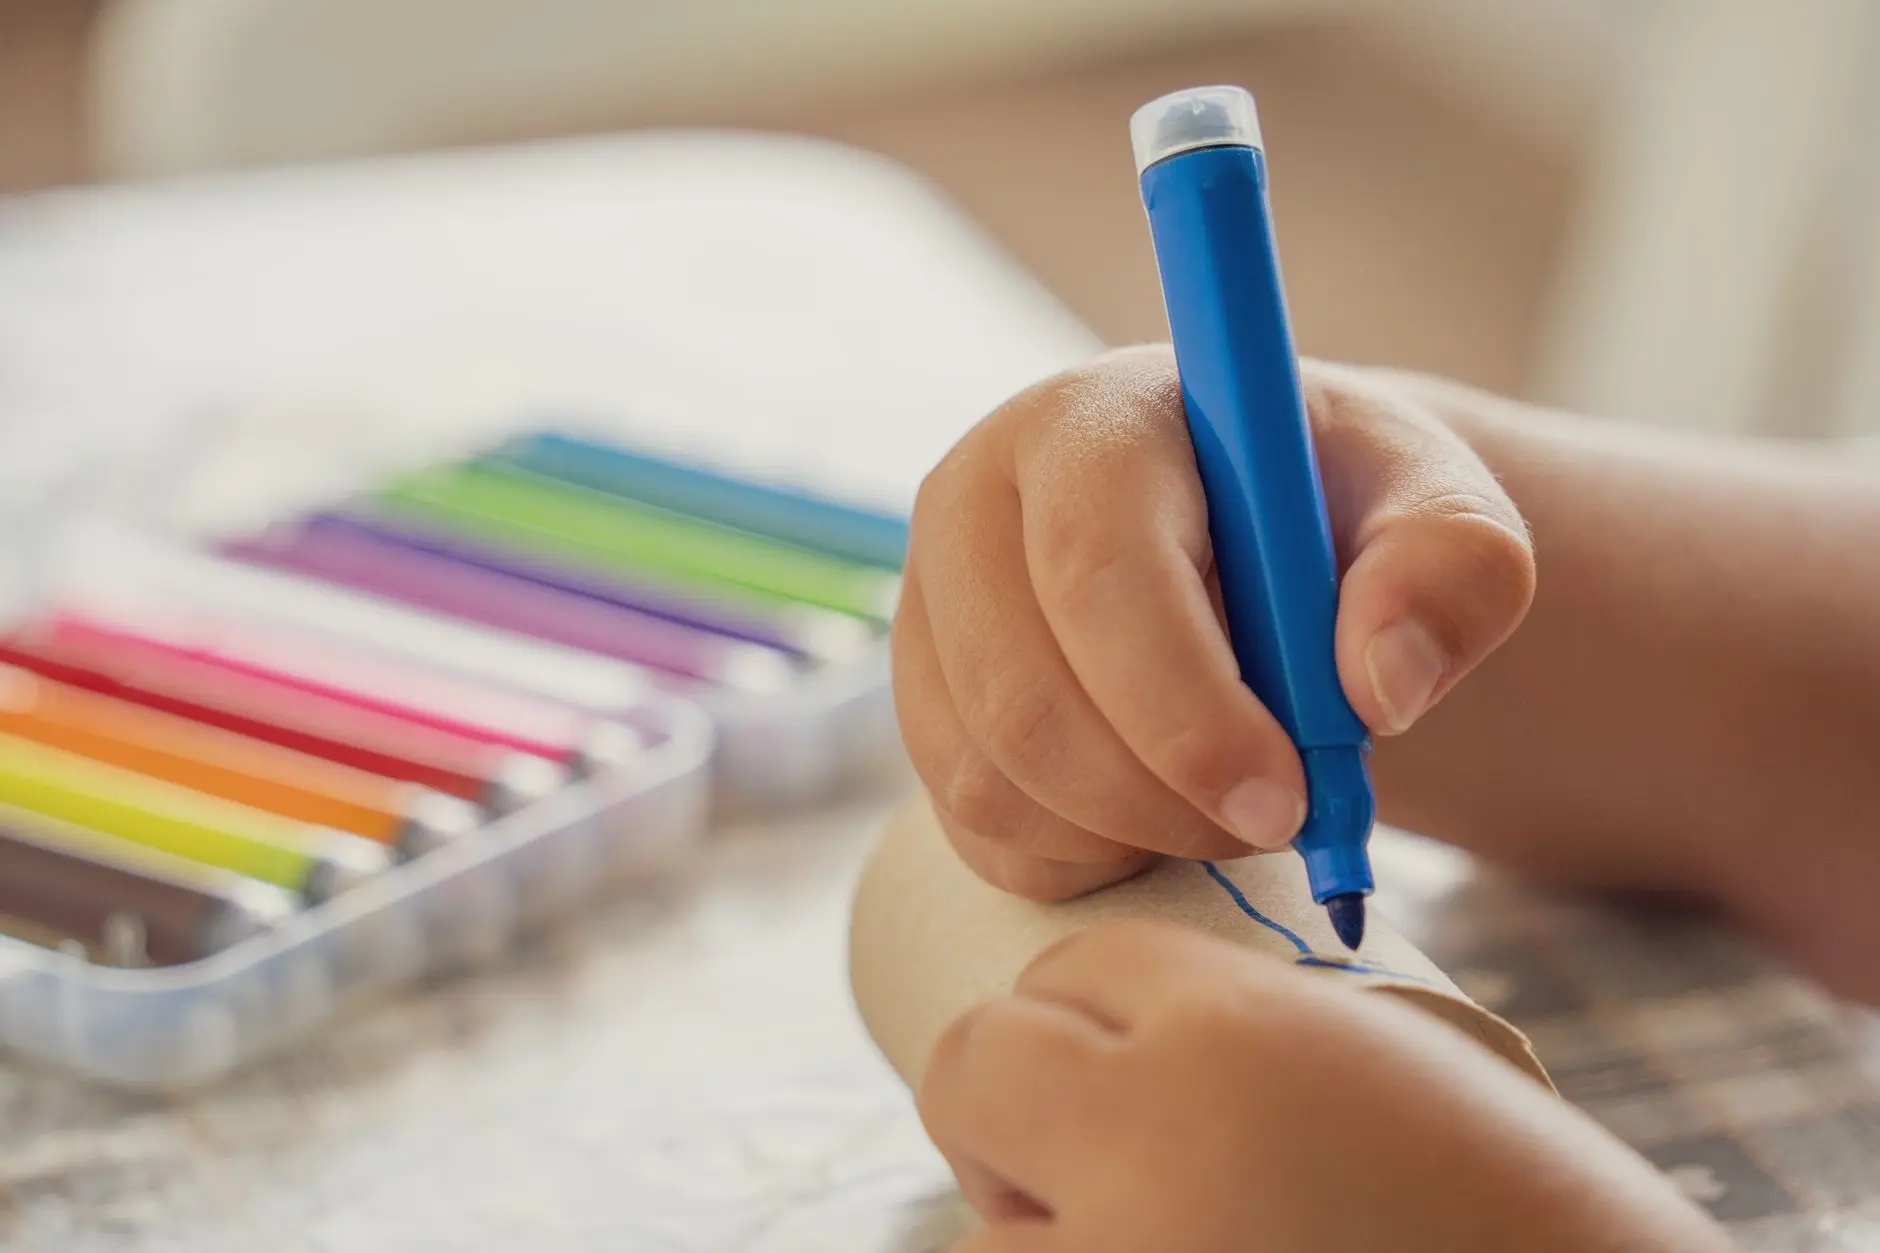
Fourteen crafts, twenty children, one teacher, and a hard pickup deadline.
That is the brief, and every project here meets it: nothing sits on a rack overnight, nothing costs more than a few cents per child, and nothing needs you to stand over every single kid while the other nineteen eat the glue.
The palette is orange, brown, and green with enough brightness to make a hallway look genuinely festive. A few of these are whole-class projects that build themselves while you circulate; the rest are at-your-seat makes that a four-year-old can finish before snack.
For Thanksgiving games to keep the energy up between stations, take a look at 18 Thanksgiving Classroom Games Teachers Swear By and 15 Thanksgiving Minute To Win It Games For Kids.
This post contains affiliate links. If you buy through them, I may earn a small commission at no extra cost to you.
- Handprint Turkey Banner
- Paper Plate Leaf Wreath
- Thankful Tree Class Project
- Bubble Wrap Printed Corn
- Pilgrim Hat Paper Bowl
- Turkey Headband
- Feather Counting Craft
- Apple Stamp Printing
- Tissue Paper Pumpkin
- Paper Bag Scarecrow
- Wax Paper Leaf Sun Catcher
- Napkin Ring for the Family Table
- Thanksgiving Placemat
- Class Thanksgiving Mural
- Frequently Asked Questions
Handprint Turkey Banner
Every child contributes one painted handprint, and together they become a turkey-feather banner long enough to run the full length of a hallway bulletin board.
The finished piece looks deliberately bold: a row of orange, red, and yellow hands spreading out like a fan of feathers, with a simple brown turkey body cut from card in the center.
Roll it up and send it home with the class helper at the end of term, or keep it as a room fixture through the season.
Cut the banner base from a length of butcher paper or tape two sheets of cream card together before the session starts.
Set out three trays of washable paint in orange, red, and yellow and rotate children through in groups of four while the others work on a second craft.
Each hand takes about thirty seconds to press; drying happens while the next group takes their turn, so there is no bottleneck.
What You Need
- 1 sheet of butcher paper or two sheets of A1 cream card taped end to end
- Washable paint in orange, red, and yellow, one shallow tray per colour
- Brown A4 card, 2 sheets, for the turkey body and head (adult cuts these)
- A black marker for facial details (adult draws)
- String or ribbon, 1 metre, for hanging
- Hole punch and 2 reinforcement stickers
How to Make It
- An adult cuts a teardrop body shape and a small circle head from the brown card before the session, then draws a beak, wattle, and two dot eyes with the marker. Attach the head to the body with a glue stick and position it at the center of the banner, gluing it down.
- Each child presses one or both palms into a paint tray, then presses firmly onto the banner around the turkey body so the fingers spread outward like feathers. Encourage them to overlap slightly for a full, lush look. The print is right when you can see all five fingers clearly and the palm fills in solidly.
- Once all prints are down and the paint feels dry to a light touch (usually 15 to 20 minutes at room temperature), an adult punches two holes at the top corners, threads string through, and reinforces each hole with a sticker so it does not tear.

🛍 Shopping guide
Paper Plate Leaf Wreath
A paper plate with its center cut out becomes the frame for a wreath covered in torn construction-paper leaves in autumn colours. No scissors needed for the children at all: tearing is the technique, and four-year-olds are extremely good at it.
The finished wreath is chunky and textural, exactly the kind of thing a parent hangs on the front door without being asked.
Pre-cut the center from each plate before school starts. Set out torn strips of orange, red, yellow, and brown construction paper in a shared basket so children can pull what they need.
The only tricky moment is getting the paper to overlap naturally rather than lying flat in a single layer; show one example at the start and the children copy instinctively.
What You Need
- 1 paper plate per child, 23 cm, center circle removed by an adult
- Construction paper in orange, red, yellow, and brown, pre-torn into roughly 5 cm pieces
- 1 glue stick per child
- 1 length of ribbon or yarn, 25 cm, per child for hanging
- Optional: gold or brown marker for writing the child’s name on the back
How to Make It
- Each child takes a plate ring and a handful of paper pieces. They spread glue stick across one small section of the ring at a time and press torn paper pieces onto it, overlapping them and letting some hang over the edge. The ring is done when no white plate shows through.
- Continue around the full ring, layering colours randomly. The wreath looks its best when dark brown pieces anchor bright orange and yellow ones on top, but children should follow their own instincts here.
- An adult loops a ribbon length through the top of the ring from behind and ties it in a knot to make a hanging loop. Let the glue set for 10 to 15 minutes before stacking to go home.

Thankful Tree Class Project
This one belongs to everybody. A bare brown-paper tree trunk goes up on the wall on Monday; by Friday it is covered in leaf-shaped notes from every child in the class.
It is the kind of display that makes visitors stop and read, and it costs almost nothing. Parents love it, inspectors love it, and the children love telling you which leaf is theirs.
Trace and cut the trunk and main branches from brown butcher paper or a large brown paper bag before school starts. Cut leaf shapes from green, orange, and yellow card, around 10 cm long, at least two per child.
During circle time, each child dictates one or two things they are thankful for; write the words on a leaf for them (or let older children write their own) and they colour or paint their leaf before gluing it to the tree.
What You Need
- Brown butcher paper or 2 large brown paper bags for the trunk and branches
- Green, orange, and yellow card, at least 2 leaf shapes per child (pre-cut by adult)
- Washable markers or crayons for decorating leaves
- Glue sticks
- Tape or adhesive putty to mount the tree on the wall
How to Make It
- An adult traces and cuts a tree trunk shape roughly 60 cm tall with three to five branching arms from brown paper, then tapes it to the wall or bulletin board at child height. The bare tree should look inviting rather than finished.
- Each child decorates a leaf with markers or crayons, then dictates what they are thankful for while the teacher writes it on. Children who can write add their own words. Set the leaf aside for 5 minutes if markers are wet.
- The child glues their leaf to any empty branch spot using a glue stick. By the end of the week the tree is full. Leave it up through the holiday and then let each child take their own leaf home.

Bubble Wrap Printed Corn
Indian corn is one of those objects that looks impossibly complicated to reproduce, until you realise that bubble wrap pressed in paint does exactly the right job: it leaves rows of round kernels in whatever colours you choose. The finished piece is recognisably corn, genuinely beautiful, and takes about eight minutes from start to finish per child.
Cut bubble wrap into roughly 8 x 15 cm rectangles before the session. Set out shallow paint trays in yellow, orange, red, and purple.
Children press the wrap into the paint and then onto a sheet of cream card, adding a torn green-paper husk at the bottom. The trick is pressing firmly and evenly; show them to use their whole palm rather than just their fingers.
What You Need
- Bubble wrap cut into 8 x 15 cm rectangles, 1 per child plus a few spares
- Washable paint in yellow, orange, red, and purple, one shallow tray per colour
- Cream or white card, A5, 1 sheet per child
- Green construction paper strips, 2 per child, for the husk (adult pre-cuts)
- Glue sticks
How to Make It
- Each child presses the bubble side of their wrap rectangle into one or two paint colours (mixing is fine and gives a multicolour corn effect), then presses it firmly onto the card, holding for five seconds. Lift straight up to avoid smearing. The print should show clear individual bubble circles in a grid pattern.
- Repeat with a second colour overlapping the first if the child wants a more colourful cob. One or two prints per sheet is plenty.
- The child glues two green paper strips at the base of the printed cob, fanning them outward slightly, to make the husk. Set flat to dry for 10 minutes before going home.

Pilgrim Hat Paper Bowl
A black-painted paper bowl turns upside-down and becomes the crown of a pilgrim hat; a strip of black card forms the brim. Children wear it on their head for about four minutes, photograph extremely well, and then tuck it flat into their backpack.
It is the craft that photographs best and impresses parents the most for the least effort on your part.
Paint the bowls black the evening before (this is your one prep investment) and cut brim rectangles from black card, roughly 28 x 8 cm, with a circle cut from the center the same diameter as the bowl’s open end. On the day, children add a yellow or gold card buckle and glue it to the brim strip.
What You Need
- 1 small black-painted paper bowl per child (6-inch bowl, painted by adult the day before)
- Black card strips, 28 x 8 cm, 1 per child, with a bowl-sized circle cut from center (adult pre-cuts)
- Yellow or gold card squares, 5 x 5 cm, 1 per child
- Glue sticks
- Stapler (adult uses) or strong tape to join bowl to brim
How to Make It
- Each child draws a smaller square inside their yellow card square with a crayon (making a buckle frame) and cuts along the inner square if they are able, or an adult does this with scissors. The buckle does not need to be perfect; a bold rectangle of gold looks just as good.
- The child glues the buckle to the front of the brim strip, centering it on the long edge.
- An adult fits the bowl upside-down through the center hole in the brim and staples or tapes it firmly in place. The hat should sit level and feel sturdy enough to wear briefly for a photo.

Turkey Headband
A strip of brown card becomes a headband; a set of coloured feather shapes fanned out from the back makes it instantly recognisable as a turkey. Every child in the room can make this independently while you circulate adjusting sizing.
It takes twelve minutes, fits every head with one staple adjustment, and looks joyful in every class photo you will ever take.
Pre-cut the headband strips (4 x 55 cm brown card) and the feather shapes (roughly 15 cm long teardrop shapes in orange, red, yellow, and green) before school. Children choose their feathers, colour or decorate them with crayons, and glue them to the back of the headband. An adult staples the band to size.
What You Need
- Brown card strips, 4 x 55 cm, 1 per child (adult pre-cuts)
- Feather-shaped card pieces, 15 cm long, 5 per child in mixed colours of orange, red, yellow, and green (adult pre-cuts)
- Crayons or washable markers
- Glue sticks
- Stapler (adult uses) to size the band
How to Make It
- Each child decorates their feather shapes with stripes, dots, or solid colour using crayons or markers. They should look vivid and varied; encourage children to do each feather a different colour.
- The child fans the feathers out and glues them to one end of the headband strip, overlapping them slightly at the base so they splay outward like a real turkey tail. Press firmly and hold for ten seconds per feather.
- An adult wraps the band around the child’s head, overlaps the ends to fit, and staples twice for security. The feathers should sit at the back of the head and stand upright.

🛍 Shopping guide
Feather Counting Craft
This one earns its place because it does double duty: it is a Thanksgiving craft and a maths activity in the same fifteen minutes.
Each child gets a simple turkey body outline printed or drawn on card, and adds numbered feathers to the tail while practising counting to ten. The finished piece goes home as proof of what they know, which parents appreciate even more than the decoration itself.
Draw or print a simple turkey body outline on A5 card before the session, one per child. Write numbers 1 through 10 lightly on 10 feather shapes per child. Children colour the body, then glue the feathers in order around the back, saying the number aloud as they place each one.
What You Need
- A5 card with a turkey body outline, 1 per child (adult draws or prints)
- Card feather shapes, 10 per child, numbered 1 to 10 by the adult
- Crayons in orange, red, yellow, brown
- Glue sticks
How to Make It
- Each child colours the turkey body with brown crayon, adding an orange beak and red wattle if they like. The outline keeps their colouring contained enough to look finished even for younger children.
- The child colours each feather in a bright colour, then lines them up in number order from 1 to 10. This ordering step is where the counting practice happens; prompt gently if they skip a number.
- The child glues the feathers in order around the top and sides of the turkey body, saying each number aloud. The finished turkey should have a full fan of numbered feathers fanning behind it. Write the child’s name on the front.

🛍 Shopping guide
Apple Stamp Printing
Halved apples pressed in paint make a print that looks almost like a professional lino cut: the star shape of the core appears in the center of every stamp like a hidden decoration.
Autumn colours in a repeat pattern across a sheet of paper make a wrapping sheet or a placemat cover, and children are genuinely surprised every time they lift the apple and see what they made.
An adult halves the apples and pats them dry with a paper towel before the session; wet apple does not hold paint well. Set out red, orange, and yellow paint in shallow trays.
Each child stamps a sheet of white or cream A3 paper, working across it in a loose grid. The natural juice in the apple means it picks up paint unevenly the first few stamps; that is fine and expected.
What You Need
- Apples, halved across the equator (not pole to pole), 1 half per 2 children
- Washable paint in red, orange, and yellow, one shallow tray per colour
- White or cream paper, A3, 1 sheet per child
- Paper towels for patting apple dry and for hand clean-up
How to Make It
- An adult halves the apples across their equator to reveal the star core, then pats each half dry with a paper towel. The drier the cut surface, the crisper the print.
- Each child presses an apple half into a paint tray, flat side down, then presses it firmly onto the paper. They lift straight up. Encourage them to stamp across the whole sheet, switching colours as they like. A completed sheet has 8 to 12 stamps filling it comfortably.
- Set the sheet flat to dry for 15 minutes. While it dries, clean hands with a damp paper towel. The paper can be taken home once it is no longer tacky to the touch.

🛍 Shopping guide
Tissue Paper Pumpkin
Scrunched orange tissue paper glued onto a pumpkin outline produces a wonderfully tactile finished piece that catches the light and looks almost three-dimensional when it hangs on a window. The technique is completely mess-free: no paint, no water, no drying rack needed. This is the craft to pull out when you want zero cleanup.
Draw or print a large pumpkin outline on green A4 card for each child before the session. Pre-tear orange tissue paper into 4 cm squares (a rough measure, not a precise one). Children scrunch each piece into a small ball and glue it inside the outline until the pumpkin is full. A green tissue paper stem finishes it.
What You Need
- Green A4 card with a large pumpkin outline, 1 per child (adult draws or prints)
- Orange tissue paper, pre-torn into roughly 4 cm squares, a large handful per child
- Green tissue paper, a few small squares per child for the stem
- Glue sticks (or PVA in a dish with a cotton bud if preferred)
How to Make It
- Each child scrunches an orange tissue square into a ball between their fingers and presses it onto the glued pumpkin outline, working from the outside edge inward. Glue a small section at a time, then cover it with scrunchies before moving on.
- Continue until the whole pumpkin outline is covered with orange tissue balls sitting close together. The pumpkin should look rounded and full, with no green card showing through.
- Scrunch a few green tissue pieces into a short column shape and glue them at the top of the pumpkin to form the stem. The piece is ready to go home immediately.

Paper Bag Scarecrow
A standard brown lunch bag stuffed with scrunched newspaper becomes a round scarecrow head that stands on its own, sits on a shelf, or hangs from a bulletin board. Children draw the face with markers and add yarn hair, making each one entirely individual.
They look brilliant lined up along a windowsill and take about ten minutes from bag to finished character.
Set a lunch bag and a sheet of newspaper per child on each table before school. Crayons, markers, and pre-cut yarn lengths (about 15 cm, six per child) go in a shared tub. The only adult job is tying the bag closed once it is stuffed.
What You Need
- Brown paper lunch bags, 1 per child
- Newspaper or scrap paper for stuffing, 2 to 3 sheets per child
- Washable markers or crayons for the face
- Yarn cut to 15 cm lengths, 6 per child, for hair (adult pre-cuts)
- Glue sticks or a small piece of tape per child
- String or twist tie for closing the bag top (adult ties)
How to Make It
- Each child draws a scarecrow face on the flat front of the bag: two eyes, a triangle nose, and a jagged or stitched-looking mouth. Encourage bold lines, as marker on paper bags can be faint with a light hand.
- The child scrunches the newspaper into loose balls and pushes them into the bag until it is plump and round. Do not over-stuff; the bag should hold its shape without straining at the seams.
- The child presses yarn lengths onto glue at the top edge of the bag for hair, fanning them to each side. An adult then gathers and ties the bag top closed with string, leaving the yarn hair sticking out above the knot.

🛍 Shopping guide
Wax Paper Leaf Sun Catcher
Two pieces of wax paper sandwich a scattering of tissue paper leaf scraps and, once pressed with a warm iron by an adult, they fuse into a glowing window panel that genuinely catches the light. The result looks expensive and complex; the process takes eight minutes. Hang these on the classroom windows and the room transforms immediately.
Pre-tear tissue paper in autumn colours into small organic leaf shapes before the session. Each child arranges their scraps between two pieces of wax paper, then an adult presses firmly with a warm iron for 10 seconds. The heat melts the wax layers together, sealing the tissue paper inside.
What You Need
- Wax paper cut into 20 x 25 cm rectangles, 2 per child
- Tissue paper in orange, red, yellow, and brown, torn into small leaf-like scraps
- An iron set to medium heat and a thin tea towel (adult only)
- String or ribbon, 20 cm, for hanging
- Tape for the hanging loop
How to Make It
- Each child lays one piece of wax paper on the table (wax side up) and arranges their tissue paper scraps on it in a scattered pattern, leaving a 2 cm border all around. There is no wrong arrangement; overlapping pieces create interesting colour blends when backlit.
- The child lays the second piece of wax paper on top, wax side down, sandwiching the tissue paper. An adult places a thin tea towel over the stack and presses firmly with a medium-heat iron for about 10 seconds, then lifts. The two wax sheets fuse and the tissue paper is sealed inside.
- Trim the edges straight with scissors if needed. Tape a ribbon loop to the top edge. The sun catcher is ready immediately and can hang in a window as soon as it cools, which takes about one minute.

🛍 Shopping guide
Napkin Ring for the Family Table
A cardboard tube section becomes a napkin ring that a child places at the family dinner table and takes real pride in. The finished ring is painted orange or brown, stamped with a leaf, and has the child’s name on it so every family member knows where to sit. It costs almost nothing and means an enormous amount.
Save and cut toilet paper tubes into 4 cm rings before school. Paint them orange in the morning (or the evening before) and let children decorate with markers or stickers during the session. A leaf rubber stamp or a hand-drawn leaf in green marker makes it unmistakably autumnal.
What You Need
- Cardboard tube rings, 4 cm wide, 1 per child (adult cuts from toilet paper tubes)
- Orange washable paint and small foam brushes, 1 per child
- Green and brown washable markers for decoration
- Stickers (leaf or star shapes) optional
- A fine-tipped black marker for writing the child’s name (adult writes for younger children)
How to Make It
- Each child paints their tube ring orange with a foam brush, covering all the cardboard. Set the rings on their side to dry for 10 to 15 minutes, or pre-paint them the evening before to save session time entirely.
- Once dry, the child decorates the ring with green and brown markers, adding leaf shapes, dots, or simple patterns. Press leaf stickers on if you have them.
- An adult (or an older child who can write) uses a fine black marker to write the family member’s name on the inside of the ring so it shows when a napkin is slipped through.

Thanksgiving Placemat
Each child makes a placemat that goes directly onto the family table at Thanksgiving dinner. It is A3 size, decorated with their own artwork, and laminated (or slipped into a clear A3 plastic sleeve) so it survives the meal.
Families genuinely use these year after year, and that longevity is part of why this craft is worth the tiny extra step of the laminator.
Provide a pre-ruled A3 sheet or a simple printed template with a turkey border for each child. Children colour or paint the border, draw something they are thankful for in the center, and write their name. An adult runs them through a laminator or slides them into clear sleeves before end of day.
What You Need
- White card, A3, 1 sheet per child, with a simple printed or drawn border
- Crayons and washable markers
- A laminator and A3 laminating pouches, 1 per child (or A3 clear document sleeves as a substitute)
How to Make It
- Each child colours the border and the center of their placemat with crayons and markers, drawing anything that represents what they are thankful for. Writing the child’s name and the current year in one corner takes 30 seconds and makes the piece a keepsake.
- An adult runs each completed placemat through the laminator on the standard setting, or slides it into a clear sleeve. Check that no edges of the card curl before inserting; flatten with a book for a minute if needed.
- The placemat goes home in the child’s bag the same afternoon, ready for the table. It wipes clean with a damp cloth.

Class Thanksgiving Mural
Roll out a long sheet of butcher paper on the floor or tape it to a low wall and let every child contribute something: a stamped shape, a handprint, a drawn character, a painted tree.
The mural grows across the morning and becomes a document of the whole class at this moment. It is the most social craft on this list and the easiest to manage, because children drift in and out as the session allows.
Set the scene before school: tape the paper down, set out paint trays in orange, brown, yellow, and green, and draw a simple horizon line across the middle so children instinctively place sky above and ground below.
Provide sponge stamps, apple halves, small foam rollers, and brushes so every technique is available without waiting for a turn.
If you want to pair this with some structured group activities, the 18 Thanksgiving Classroom Games Teachers Swear By article has ideas that work between mural sessions.
What You Need
- Butcher paper, at least 2 metres long, taped to the floor or a low wall
- Washable paint in orange, brown, yellow, and green, in shallow trays
- Sponge shapes, foam rollers, and brushes in a shared tub
- Apple halves for stamping (adult pre-cuts and pats dry)
- Damp paper towels for hand cleaning at the paper edge
How to Make It
- An adult sets up the paper and draws a faint horizon line across it, then sets all tools within easy reach. Explain to the class that everyone is painting the same picture together and there is room for everyone’s ideas.
- Children take turns (or work simultaneously if the paper is long enough) adding their contributions: handprints, stamped shapes, drawn turkeys, painted leaves, whatever they choose. No corrections, no over-directing. The mural looks richer when it is genuinely collaborative.
- Once the session ends and the paint is dry (30 to 45 minutes on butcher paper with washable paint), an adult rolls the mural up and displays it in the hallway, or cuts it into sections so each child takes a piece home.

Frequently Asked Questions
Which of these thanksgiving crafts preschool projects can go home the same day without smearing?
The tissue paper pumpkin and the paper bag scarecrow are completely dry the moment they are finished because they use no paint at all. The bubble wrap corn and apple stamp prints need about 15 minutes lying flat, which fits easily inside a normal session. The wax paper sun catcher is ready to handle within one minute of ironing.
How much do these thanksgiving crafts preschool projects cost per child?
Most land well under 30 cents per child when you buy basic supplies in bulk: construction paper, glue sticks, and paper plates bought by the pack keep costs extremely low.
The laminated placemat is the priciest at roughly 50 to 70 cents per child once you factor in the laminating pouch, but it is also the one families keep for years.
Which crafts work best for very young preschoolers, age 2 to 3?
The handprint turkey banner, tissue paper pumpkin, and class mural work brilliantly for the youngest children because tearing, scrunching, and pressing do not require fine motor control. The feather counting craft is better suited to children who are approaching school age and can handle sequencing.
Can any of these be done without a teacher standing over each child?
Yes, and that is the point of several of them. The thankful tree and class mural both run themselves once the setup is done: children drift in and contribute when they are ready. The tissue paper pumpkin, leaf wreath, and paper bag scarecrow are also genuinely independent once you have shown a quick example.
What is the cheapest way to display the handprint turkey banner without a laminator?
Tape the banner to a strip of crepe paper or ribbon and pin that to the bulletin board. The banner holds up fine for a week or two without any laminating. If you want it to last longer, slip individual sections into a clear plastic sleeve and pin through the sleeve.
40 thanksgiving games for all ages — sorted by moment. The only list you need for Turkey Day fun!
16 thanksgiving veggie tray ideas that actually get eaten: wreath, turkey shape, pumpkin dip bowl, w
15 high-energy Thanksgiving PE games for kids — relays, tag, sprints & more to burn holiday energy
Leave a Reply