

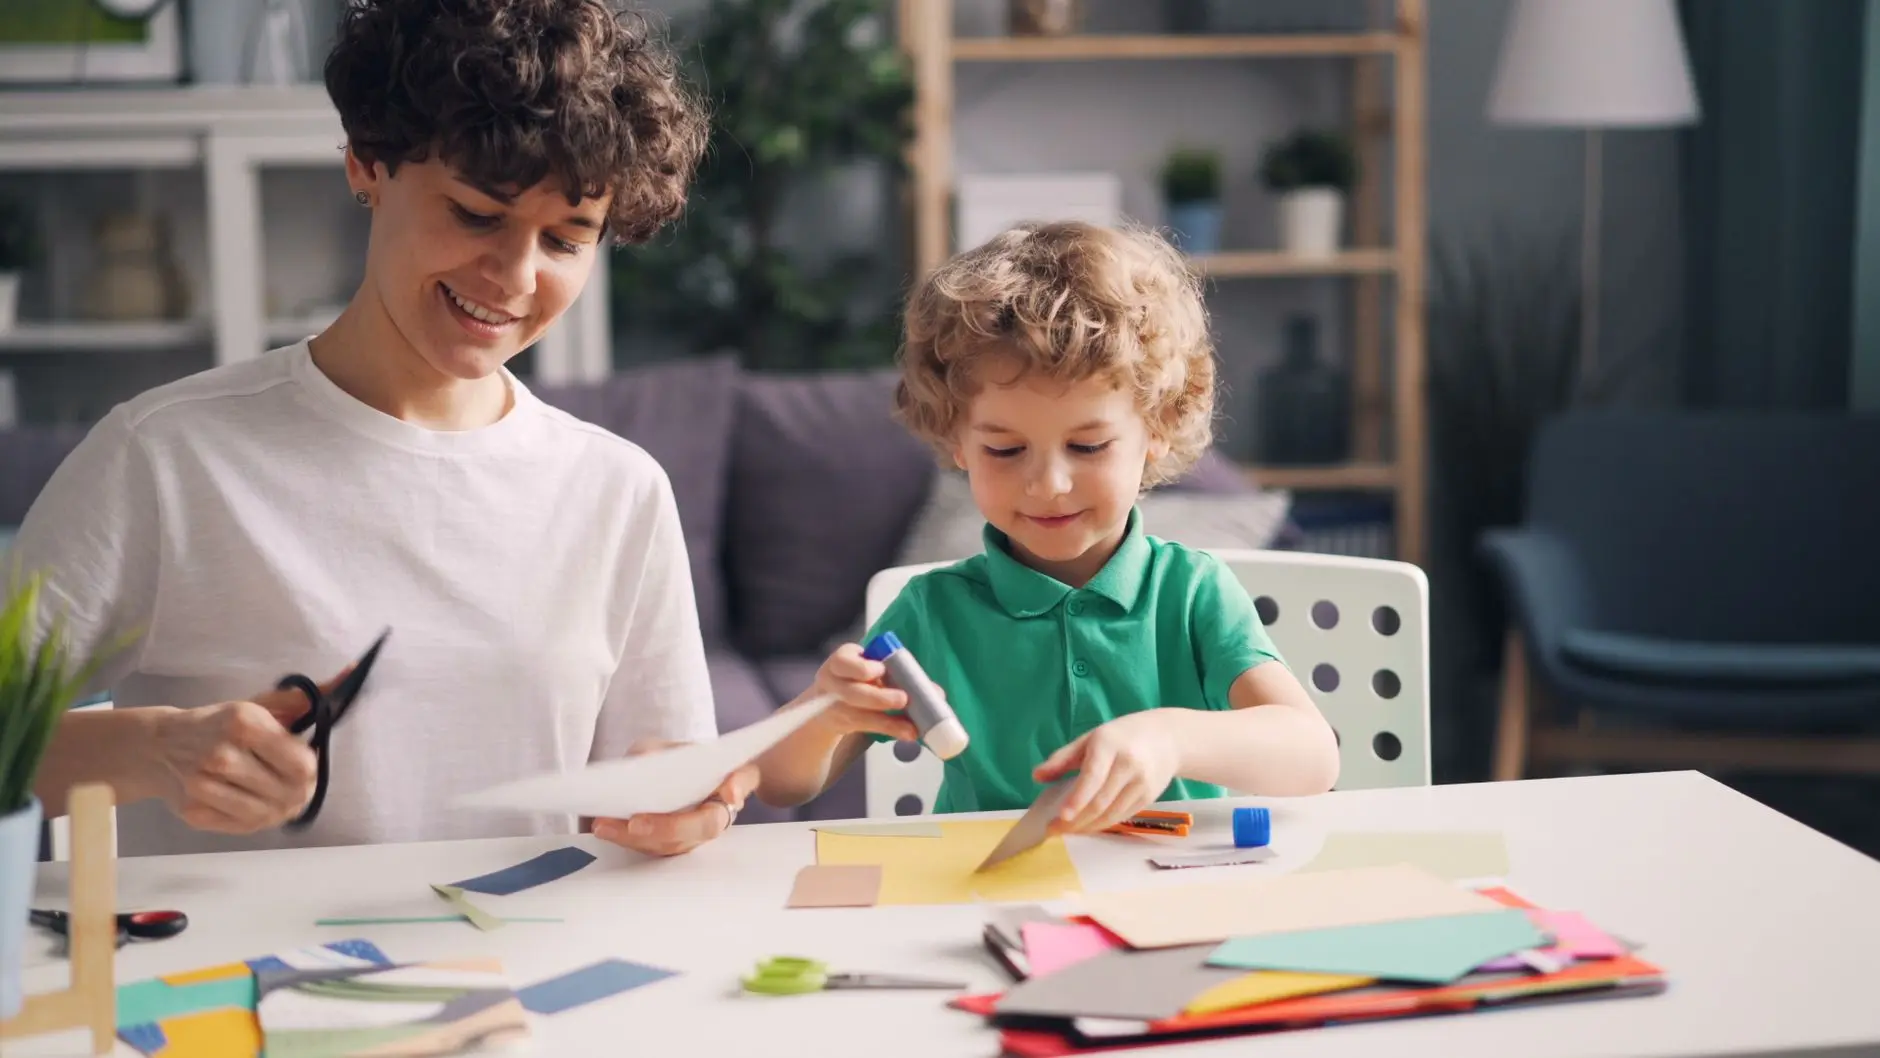
Twenty minutes, a handful of things from the kitchen drawer, and a two-year-old who needs something to do before the oven timer goes off. That is the brief every craft here was built to meet.
The palette runs warm: orange, brown, cream, and the kind of bright that looks great on a fridge door or tucked into a card for Grandma.
Nothing here needs scissors, nothing needs to dry overnight, and every single one of them can be finished before dinner is on the table.
If you are already planning some seasonal fun, the 20 Thanksgiving Party Games for a Festive Gathering and the 15 Thanksgiving Minute To Win It Games For Kids round-ups sit nicely alongside these crafts for a full afternoon.
Now, spread out the newspaper and let them at it.
This post contains affiliate links. If you buy through them, I may earn a small commission at no extra cost to you.
- Handprint Turkey on Paper
- Paper Plate Turkey with Torn Tissue
- Fingerprint Corn on the Cob
- Leaf Rubbing with Crayons
- Potato Stamp Pumpkins
- Pasta Necklace in Autumn Colours
- Cotton Ball Harvest Sheep
- Paper Bag Turkey Puppet
- Coffee Filter Leaf Dabbed with Watercolour
- Sticker Gratitude Card for Grandma
- Torn Paper Mosaic Pumpkin
- Pinecone Bird Feeder
- Playdough Pumpkin Patch
- Sponge-Painted Fall Tree
- Frequently Asked Questions
Handprint Turkey on Paper
A handprint turkey is the Thanksgiving craft that earns a place on the fridge every single year, and for good reason.
The finished piece looks like a proper turkey in full strut, with the palm as the body and each finger a feather fanned out behind it.
Frame it in a clip frame and it becomes a keepsake; slide it into an envelope and it becomes the best card Grandma receives all season.
Lay a sheet of white card on a hard, wipe-clean surface before you start. The trick most people miss is painting the whole hand in one coat rather than dabbing each finger separately, which gives cleaner feather edges and saves a two-year-old from pulling away too soon.
What You Need
- 1 sheet of white card, A4, at least 200 gsm
- Washable finger paint in orange, red, yellow, and brown
- 1 foam brush or wide flat paintbrush, at least 2.5 cm wide
- A wipe-clean mat or newspaper to protect the table
- Paper towels for quick clean-up
How to Make It
- Brush a thick, even coat of brown paint across the child’s entire palm and all five fingers. Work quickly so the paint does not dry before the print is made. Press the painted hand firmly onto the centre of the card, hold it still for three seconds, then lift straight up. You should see a clean print with the palm as the body and five spread fingers as the tail feathers. If the edges are smudged, that is fine; it adds character.
- While that print dries (about 20 minutes), let the child dip one finger at a time into orange, red, and yellow paint and press dots or short strokes onto the finger-feather sections to add colour and texture. This part is very forgiving.
- Once everything is fully dry, use a fine black marker to add two dots for eyes and a small orange triangle beak on the thumb side of the palm. An adult can do this part if the toddler has moved on to other things.

🛍 Shopping guide
Paper Plate Turkey with Torn Tissue
Tearing tissue paper is deeply satisfying at age two, which makes this craft feel more like play than work.
The finished turkey is bold and tactile: a plain white paper plate becomes the turkey body, with a fan of torn orange, red, and yellow tissue pieces ringing the top half like a sunrise.
Stick it on a door or string a few together across a window.
Torn edges are the whole point here, so do not smooth them or trim them. The rougher the tear, the more texture the finished feathers have. Pre-load a small tray with torn pieces before the child sits down so there is no waiting around.
What You Need
- 1 white paper plate, 23 cm diameter
- Tissue paper in orange, red, and yellow (2 sheets of each colour)
- Kid-safe PVA glue or a glue stick
- 1 brown felt-tip marker or brown crayon
- 2 small googly eyes, 15 mm (adult to handle and apply)
- A small scrap of orange card for the beak and wattle
How to Make It
- Tear the tissue paper into rough pieces about 4 to 6 cm across. Pile them on a tray by colour. An adult applies a thin layer of PVA glue around the top two-thirds of the plate, then the child presses tissue pieces onto the glue, overlapping them freely to build up the feather fan. Keep going until the glued area is covered, then leave it to dry for 20 to 30 minutes.
- Once the tissue is set, an adult draws a simple oval body in brown marker on the lower third of the plate. The child then fills that oval by pressing more torn brown tissue pieces over a fresh layer of glue.
- When dry, an adult presses the googly eyes onto the body with a dot of strong glue, and tears or pinches a small triangle beak and a teardrop wattle from the orange card scrap, gluing both in place. Small parts, so this step belongs to the grown-up entirely.

Fingerprint Corn on the Cob
This one looks genuinely impressive on the wall despite taking under ten minutes of active making. Rows of yellow, orange, and cream fingerprints packed tightly together build up into a convincing ear of corn, complete with a torn green husk at the base.
The key is pressing each fingerprint next to its neighbour with no gaps, which a toddler will do naturally if you show them the grid idea once.
Print the corn onto dark brown or black card so the warm colours pop. It photographs beautifully for a holiday card insert.
What You Need
- 1 sheet of dark brown or black card, A4, 200 gsm
- Washable finger paint in yellow, cream, and orange
- Green finger paint or green washable marker for the husk
- A small ink pad or paint tray for loading fingers
- Paper towels
How to Make It
- Pour a little yellow, cream, and orange paint into separate sections of a paint tray or onto a plate. The child dips one finger into any colour and presses it onto the dark card, then repeats, row by row, building a tall oval shape roughly 15 cm tall by 6 cm wide. Mixing the three colours at random gives the most realistic-looking corn. The shape should look filled and dense when done, with fingerprints touching each other.
- Once the corn body is dry (about 20 minutes), the child uses one or two fingers dipped in green paint to press three or four leaf-shaped strokes curving out from the bottom of the corn oval, like husks peeling back. Alternatively, tear two thin strips from green paper and glue them in a V shape at the base.
- Leave to dry fully, then display as-is or mount it on a contrasting cream mat for framing.

🛍 Shopping guide
Leaf Rubbing with Crayons
A classic that earns its place on this list because it genuinely needs nothing more than leaves from the garden, paper, and crayons.
The finished rubbings look like pressed botanicals: every vein and serrated edge shows up in warm orange or brown on cream paper, and they make beautiful place mats if you laminate them or simply lay them under a clear plastic sheet at the table.
The one place this goes wrong is using leaves that are too dry and crumbly. Fresh or slightly damp leaves work best; they lie flat and hold their shape under the paper.
What You Need
- 4 to 6 fresh leaves in different shapes and sizes
- 1 sheet of plain white paper per rubbing, A4
- Crayons in orange, red, yellow, brown, and cream (peel the paper off the sides so the child can rub with the flat edge)
How to Make It
- Arrange one or two leaves vein-side up on a hard, flat surface. Lay the paper on top. Show the child how to hold the paper still with one flat hand while rubbing the side of a peeled crayon firmly back and forth across the leaf. The leaf outline and veins appear almost immediately, which tends to produce a wonderful moment of surprise.
- Move the paper slightly to overlap a second leaf or swap for a different colour crayon, building up a layered composition. Three or four overlapping leaves in two or three colours look better than a single centred print.
- No drying needed. Display straight away, or stack and store flat in a folder.

🛍 Shopping guide
Potato Stamp Pumpkins
Potato stamping is the original toddler technique, and it works. An adult cuts a potato half into a rounded rectangle, and the child dips it in orange paint and stamps a grid of pumpkin bodies across a sheet of dark paper.
Add a brown fingerprint stem and a green squiggle for a vine, and the whole sheet looks like a pumpkin patch in miniature. Make a long strip and use it as a table runner under the centrepiece.
The paint should be thick enough to coat the potato surface without pooling, so if it runs off, blot the potato on a paper towel first.
What You Need
- 1 large potato, halved (adult to cut it)
- 1 sheet of dark brown or black sugar paper, A3 or larger
- Washable paint in orange, brown, and green
- 3 small paint trays or plates
- Paper towels
How to Make It
- An adult cuts the potato in half, then carves the flat cut face into a rounded rectangle shape about 6 cm by 4 cm, pressing the knife in just 1 cm to create a raised stamp. Pat the stamp surface dry with a paper towel. This is the only step that belongs to the adult.
- Pour orange paint into a tray and show the child how to press the potato flat into the paint, lift it, and press it firmly onto the paper. Stamp a scattered pattern across the sheet, reloading with paint every two or three prints. Each print should be a solid filled orange rectangle with clean edges. If the edges are fuzzy, blot the potato before re-inking.
- Once the orange stamps are dry (about 20 minutes), the child dips one finger in brown paint and presses a short upright stroke at the top of each pumpkin for a stem, then uses a finger dipped in green to drag a wavy line near the stems for vines. Leave to dry flat.

🛍 Shopping guide
Pasta Necklace in Autumn Colours
Threading pasta onto a lace is one of those rare crafts that doubles as fine motor practice and produces something the toddler will actually want to wear to the table.
Dye the pasta in advance (a ten-minute job the night before) in orange, yellow, and red, and by the time craft time arrives the beads are ready and the whole thing comes together in under fifteen minutes.
No small pieces, since rigatoni or penne are big enough to thread safely.
Tie a knot at one end of the lace before you start so the pasta cannot fall off the other end while the child works.
What You Need
- About 30 pieces of large pasta (rigatoni or penne), dyed and dried the evening before
- To dye: 1 tablespoon of rubbing alcohol and a few drops of food colouring per colour, mixed in a zip-lock bag with the pasta for two minutes, then spread on paper towels to dry
- 1 length of thick shoelace or craft lace, 60 cm, with a stiff plastic tip
How to Make It
- The evening before, divide the pasta into three zip-lock bags. Add a tablespoon of rubbing alcohol and a generous squeeze of orange, yellow, or red food colouring to each bag. Seal and shake for two minutes, then spread on paper towels to dry overnight. An adult handles this step.
- When craft time arrives, knot one end of the lace firmly so pasta cannot fall off. The child threads the pasta pieces onto the lace one at a time, mixing colours as they go. The stiff plastic tip on the lace acts as a needle. Celebrate every piece that goes on.
- When the lace is full (leaving about 8 cm free at each end), an adult ties the two ends together in a double knot to fit around the child’s neck with comfortable room. Check the fit before sending them off to dinner.

🛍 Shopping guide
Cotton Ball Harvest Sheep
A round brown body covered in fluffy white cotton balls, four stubby brown legs, and a proud little face: this sheep takes about twelve minutes and looks thoroughly charming on a mantelpiece or buffet table.
It started as a farm animal and somehow became a harvest decoration, which feels right for Thanksgiving. Make three and arrange them in a row for a flock.
The cotton balls stick best to slightly tacky glue rather than wet glue, so let the PVA sit on the card for thirty seconds before pressing them down.
What You Need
- 1 sheet of brown card, A4, 200 gsm
- About 20 cotton balls
- Kid-safe PVA glue
- A black crayon or thick black marker
- Googly eyes, 15 mm (adult to handle and apply)
How to Make It
- An adult draws a simple sheep shape on the brown card: a large oval body in the centre, four short rectangle legs at the bottom, and a smaller circle for the head at one side. No cutting required. The child covers the body oval with a thick layer of PVA glue using their fingers, waits thirty seconds, then presses cotton balls onto the body until it is completely covered. The head and legs stay as plain brown card.
- Once the cotton ball body is dry (about 25 minutes), an adult presses two googly eyes onto the head circle with a dot of strong glue, and uses a black marker to draw two small nostrils and a curved smile.
- The sheep stands on its own four legs if the card is propped slightly, or display it flat on a surface. Store flat in a folder between sheets of tissue paper.

Paper Bag Turkey Puppet
A plain brown paper lunch bag becomes a turkey puppet that a toddler can immediately use to entertain the table, which is arguably the best possible return on fifteen minutes of craft time.
The hand goes in the bottom of the bag, the flap becomes the beak, and the rest is gloriously simple. Orange, red, and yellow crepe paper strips fan out from the back as tail feathers.
Use a standard small paper lunch bag, not a large grocery sack. The child’s hand needs to control the beak flap, so size matters here.
What You Need
- 1 small brown paper lunch bag (approximately 18 cm x 10 cm)
- Crepe paper in orange, red, and yellow, torn into strips about 15 cm long
- Kid-safe PVA glue or glue stick
- 1 orange or yellow sticky foam sheet for beak detail
- 2 googly eyes, 20 mm (adult to apply)
- Brown or black washable marker
How to Make It
- Lay the bag flat with the folded bottom flap facing up: that flap is the turkey’s beak. An adult applies glue along the back top edge of the bag. The child presses crepe paper strips onto the glue in a fan shape, alternating colours, so the strips stick up and out behind the bag like tail feathers. Let the glue set for 15 minutes.
- An adult presses two large googly eyes onto the front of the bag, just above the beak flap, using a small dot of strong glue. Tear a small triangle from the orange foam sheet for the beak tip and glue it to the front edge of the flap.
- Slide a hand inside: fingers go under the flap, thumb stays below, and opening and closing the hand opens and closes the beak. Instant turkey performance.

Coffee Filter Leaf Dabbed with Watercolour
Coffee filters are the unsung hero of toddler crafts. They are absorbent enough to bloom colour beautifully the moment watercolour touches them, they dry in under an hour, and they cost almost nothing.
Folded into a leaf shape and dabbed with orange, red, and yellow watercolour, they look like stained glass when held to a window. String a dozen of them across a window frame with tape for an instant autumn garland.
Dab, do not brush. A brush stroke drags the colour and muddies it; a dabbing motion with a folded paper towel or a stubby brush keeps the colours bright and separate.
What You Need
- 6 to 10 white basket-style coffee filters
- Watercolour paints in orange, red, yellow, and brown
- A cup of clean water
- A wide, short brush or a folded paper towel for dabbing
- A protected surface (a baking tray lined with foil works well)
How to Make It
- Flatten each coffee filter into a round disc, then pinch the centre and gather it slightly to suggest a leaf shape. Lay it on the foil-lined tray. The child dips the brush or dabber into orange watercolour (not too wet: shake off the excess) and dabs it onto the filter. The colour spreads and blooms at the edges. Add yellow next to the orange while still wet so the colours bleed together naturally. Add a touch of red at the tips. Three colours overlapping look best; more than four gets muddy.
- Leave the filter flat on the tray to dry completely. This takes about 45 to 60 minutes and is the longest wait, so start it well before dinner. When dry, the filter holds its shape and the colours are vivid against the window.
- Tape a piece of brown yarn or string across a window and hang the dried leaves from it with small loops of tape, or display them directly on the glass.

🛍 Shopping guide
Sticker Gratitude Card for Grandma
At two or three, most children are not writing yet, but they can absolutely communicate gratitude with a sticker-covered card and a scrawled signature.
This one doubles as a meaningful keepsake: Grandma gets a card covered in her grandchild’s enthusiastic sticker choices, with a simple sentence filled in by an adult.
Print or write the prompt on the card front before craft time so the child only needs to decorate.
Keep the sticker selection relevant: autumn leaves, stars, hearts, and smiley faces all work. Avoid anything with tiny pieces.
What You Need
- 1 sheet of cream or orange card, A5, folded in half to make the card
- Sticker sheets in autumn colours and shapes (leaves, stars, hearts)
- A black marker for the adult to write the prompt on the inside
- An envelope that fits the folded card
How to Make It
- Fold the A5 card in half to make an A6 card. An adult writes or prints a simple sentence inside: “I am thankful for you because…” leaving a line blank, then writes whatever the child dictates on that line. This takes about a minute and makes the card personal and complete.
- Hand the sticker sheets to the child and let them decorate the front and back of the card however they like. No rules here. The more stickers the better, in the opinion of every grandmother who has ever received one of these.
- Tuck the card into the envelope, seal it, and let the child scribble their name on the front. Post it or hand it over at the table.

🛍 Shopping guide
Torn Paper Mosaic Pumpkin
No stamps, no printing, no paint on the table: this craft is purely about tearing and sticking, which makes it one of the calmest on this list.
A pencil-outline pumpkin shape drawn by an adult becomes a mosaic when the child fills it with torn pieces of orange, brown, yellow, and cream tissue or construction paper. The result looks like a stained-glass panel and belongs on a window.
Smaller torn pieces give a denser, more detailed mosaic. If your toddler tears big chunks, that is fine too: it just has a bolder, more graphic look.
What You Need
- 1 sheet of white card, A4, 200 gsm
- Tissue paper or construction paper in orange, brown, yellow, and cream
- Kid-safe PVA glue, diluted slightly with water (2 parts glue to 1 part water)
- A wide short brush for spreading glue
- A pencil for the adult to draw the outline
How to Make It
- An adult draws a large pumpkin outline in pencil on the white card: a round shape with three or four vertical ridges and a short stem at the top. The outline should fill most of the A4 sheet. Pre-tear a pile of tissue or paper pieces into rough 2 to 3 cm squares and put them in colour-sorted piles on the table.
- The child brushes a small area of the pumpkin outline with diluted PVA, then presses torn paper pieces onto the wet glue, overlapping slightly. Work section by section, keeping to orange for the main body and using brown and yellow for the ridges. Refill the glued area as they go. The surface should look completely covered with no white card showing through.
- Once the pumpkin is filled, brush a thin topcoat of diluted PVA over the whole mosaic to seal it. Leave flat to dry for about 25 minutes. The finished surface will be slightly glossy and firm.

🛍 Shopping guide
Pinecone Bird Feeder
This craft moves from the table to the garden, which gives it a satisfying second act: after the toddler rolls and presses and hangs it, they get to watch birds use it over the following days.
Gather the pinecones on a walk the day before so they have time to open up fully at room temperature. The peanut butter holds the birdseed, the string becomes the hanger, and the whole thing takes about twelve minutes of active time.
Check for nut allergies in the household before using peanut butter. Sunflower seed butter works as a direct substitute and birds do not mind at all.
What You Need
- 2 to 3 large open pinecones
- Peanut butter or sunflower seed butter, about 3 tablespoons per pinecone
- Mixed birdseed, about half a cup per pinecone
- A shallow tray or baking dish for rolling
- 50 cm of thick garden string or twine per pinecone (adult to tie)
How to Make It
- An adult ties a 50 cm length of string firmly around the top of each pinecone, looping it twice and knotting securely so it will bear the weight without slipping. The child then uses a spoon or their fingers to spread peanut butter generously into and between the pinecone scales, covering as much of the surface as possible. Thick coverage means more birdseed sticks.
- Pour the birdseed into the shallow tray. The child rolls the peanut butter-covered pinecone through the seed, pressing it in gently so the seed coats every sticky surface. Fill any bare patches by pressing extra seed on by hand.
- Hang the finished feeder from a tree branch or garden hook using the string. Hang it out of reach of cats and in view of a window so the toddler can watch the birds arrive.

🛍 Shopping guide
Playdough Pumpkin Patch
Playdough is a full sensory session disguised as a craft, and this one has an actual output: a small tabletop pumpkin patch made from orange and green dough that can live on the kitchen table for the whole of the Thanksgiving week.
Roll, pinch, and press: that is genuinely the whole technique. Real twigs from the garden become the stems, which makes the finished patch look more charming than any bought decoration.
If the playdough is homemade, roll it to the right colour before craft time so the child only needs to shape, not mix. Store-bought orange playdough works perfectly.
What You Need
- Orange playdough, about a tennis-ball-sized amount
- Green playdough, a smaller amount for vines and leaves
- 4 to 6 small twigs, about 3 to 5 cm long, for stems (collected outside)
- A flat surface or a small wooden board for display
How to Make It
- Show the child how to roll a ball of orange dough in their palms, then pinch it gently around the middle and press four or five vertical ridges into the side using a finger to create a pumpkin shape. There is no wrong version of this. Make as many as the dough allows, ranging from large to very small.
- Press a small twig firmly into the top of each pumpkin for a stem. Roll thin snake-lengths of green dough and curl them loosely around the finger, then press them at the base of the pumpkins to suggest vines.
- Arrange the pumpkins on the board in a casual cluster. The patch stays fresh and mouldable throughout the week if kept at room temperature. Store it in an airtight tub between sessions.

🛍 Shopping guide
Sponge-Painted Fall Tree
A bare brown tree trunk painted by hand, with a canopy of sponge-dabbed colour in orange, red, and yellow: this is one of those crafts that looks like it took much longer than it did.
The sponge technique covers a lot of paper quickly, which suits a short attention span perfectly. Finished and framed, it looks like a proper piece of children’s art rather than a craft project, and it earns a permanent spot on the wall well past Thanksgiving.
Use a torn piece of sponge rather than a flat one. Torn edges give a more leaf-like texture when dabbed.
What You Need
- 1 sheet of cream or light blue card, A4, 200 gsm
- Washable paint in brown, orange, red, and yellow
- A piece of kitchen sponge, roughly torn into a 5 cm piece
- A wide flat brush for the trunk
- 3 small paint trays or plates
- Paper towels
How to Make It
- Pour brown paint into a tray and hand the wide brush to the child. They paint a vertical brown stripe from the bottom third of the page upward, about 4 cm wide, then paint two or three shorter strokes branching out from the top of that trunk. The trunk does not need to be neat; wobbly and organic is the right look. Leave it to dry for about 10 minutes.
- Pour orange, red, and yellow into separate trays. Dampen the sponge piece slightly and dip it into orange paint. The child dabs it all over the top half of the page, clustering the dabbing above and around the branch tips. Reload with red, dab again in a slightly different area. Add yellow last. The three colours should overlap and blend slightly at their edges to look like a full autumn canopy.
- Leave flat to dry for 25 to 30 minutes. The canopy should look full and layered with texture from the sponge edges. Display it as-is, or add a simple clip frame.

Frequently Asked Questions
What thanksgiving crafts are safe for a two-year-old?
Any craft on this list that uses washable paint, crayons, playdough, or large pasta pieces is safe for a two-year-old with an adult nearby. Skip anything with small parts (googly eyes, beads under 20 mm) unless an adult applies them. The pinecone bird feeder, leaf rubbing, and playdough pumpkin patch need no adult-only steps at all.
How do I keep toddler crafts from being a mess?
Lay newspaper or a wipe-clean mat under the work area before you start. Pour paint into small trays rather than handing over a full bottle. Keep a damp paper towel within reach for quick hand wipes. Dress the child in an old shirt or a smock, and do only one craft per session so the clean-up stays manageable.
Can I do these thanksgiving crafts with a one-year-old?
The leaf rubbing, sticker gratitude card, and playdough pumpkin patch all work with a one-year-old if an adult does the set-up and supervises closely. Fingerprint crafts work too, though the one-year-old may prefer eating the paint, so make sure it is certified non-toxic and washable. Skip anything with small parts entirely.
What if I do not have construction paper?
Plain white printer paper works for almost every craft here. For crafts that benefit from a dark background (fingerprint corn, potato stamp pumpkins), a paper grocery bag opened flat makes a good substitute for dark sugar paper. Tissue paper can be layered over white card to add colour where needed.
How do I store finished toddler crafts after Thanksgiving?
Flat paper crafts (handprint turkey, leaf rubbing, fingerprint corn) store well in a large manila envelope or a document folder. Three-dimensional pieces like the playdough pumpkin patch should go in an airtight tub.
The pinecone bird feeder lives outdoors; leave it on the branch until the birds have emptied it. For long-term keepsakes, photograph the craft before storing it and print the photo with the child’s name and the date on the back.
Twelve Friendsgiving theme ideas that settle food, decor and dress code in one decision. From cabin
15 meaningful gratitude games for Thanksgiving that work for all ages — from printable sheets to h
Sixteen distinct Thanksgiving aesthetics, each with its own colour story and hero object, so every p
Leave a Reply