

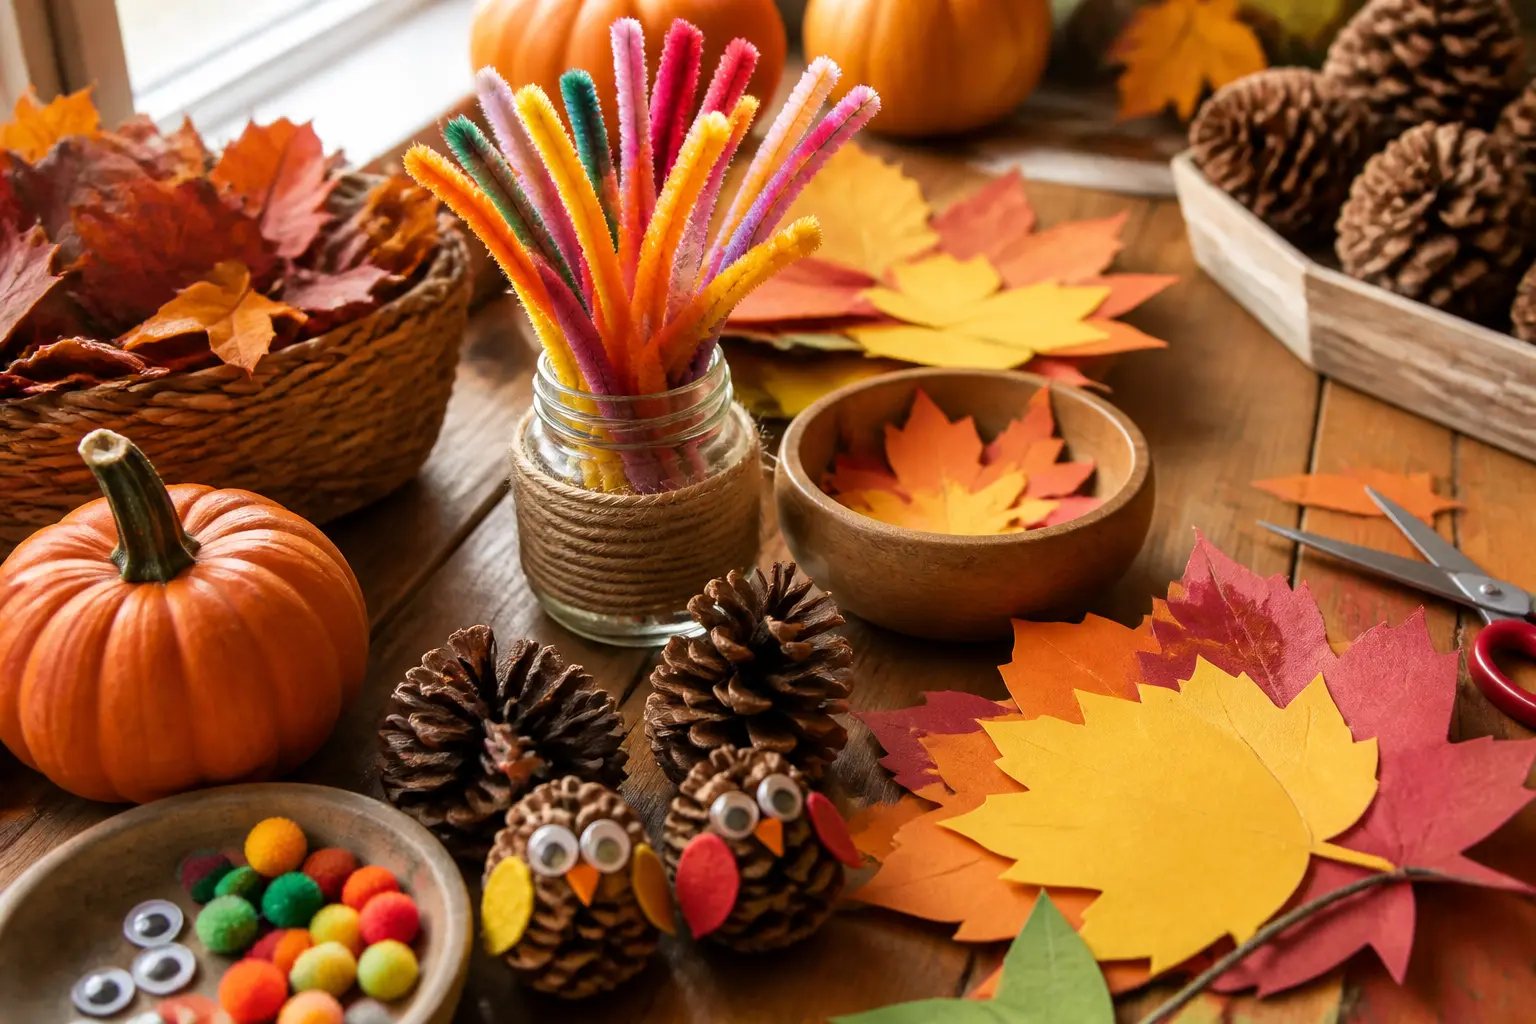
Fall crafts for toddlers live or die on one rule: if it fits in a nostril, it has no business being on the table. Every project here uses washable paint, paper, and materials too large to swallow, lose, or accidentally inhale. Nothing requires scissors in small hands, nothing involves glitter, and every step is sized for chubby fingers that squeeze rather than pinch.
These fifteen crafts range from a simple fingerprint leaf tree to a rolling-ball pumpkin that basically makes itself. Most take under twenty minutes of active time, dry in thirty, and produce something frameable enough to tape to the fridge with genuine pride. A few suit a one-year-old with a lap to sit on; others work best for a confident two or three-year-old who can follow a two-step idea. The age note on each one tells you which is which.
If you want more toddler-friendly autumn making, the 14 Thanksgiving Crafts a Toddler Can Actually Finish list pairs well with this one, and 14 Preschool Thanksgiving Crafts That Survive a Class of 20 is worth bookmarking once they hit three.
This post contains affiliate links. If you buy through them, I may earn a small commission at no extra cost to you.
Handprint Tree
A brown palm pressed flat onto paper becomes the trunk, and five orange fingertips become the canopy. The finished piece looks like a real illustration, and parents reliably put it in a frame. Let it dry completely on a flat surface so the paint does not crack at the palm crease.
What You Need
- White paper, A3 or A4
- Brown washable paint, one small squeeze on a paper plate
- Orange washable paint, one small squeeze on a second paper plate
- Two paper plates to use as paint trays
How to Make It
- Press the toddler’s palm and all five fingers flat into the brown paint, coating the hand evenly. An adult should guide the hand down firmly onto the lower half of the paper, fingers pointing upward, to form the trunk and bare branches. Lift straight up so the print stays crisp.
- Dip just the fingertips into the orange paint and dot them all around the top of the brown print, clustering the dots so the canopy looks full. The toddler can go back for more paint as often as they like; overlapping dots add depth.
- Set the paper on a flat surface and leave it to dry for at least thirty minutes. The print is done when the paint no longer looks wet or shiny.

🛍 Shopping guide
Sponge Print Leaves
Cut a large kitchen sponge into two or three simple leaf shapes before the session starts, and the toddler does everything else. The printed leaves land across the paper in an overlapping scatter that genuinely looks like autumn. Store the finished sheet flat inside a folder or roll it loosely once fully dry.
What You Need
- White or cream paper, A3
- One large kitchen sponge, cut by an adult into two or three leaf shapes at least 6 cm long
- Red, orange, and yellow washable paint, a small puddle of each on separate paper plates
How to Make It
- An adult cuts the sponge into leaf shapes before sitting down with the toddler. Simple pointed ovals work best; fine details disappear in the print anyway.
- The toddler presses a sponge shape flat into one colour, then presses it firmly onto the paper. A gentle rock side to side fills any gaps in the print. Encourage them to lift straight up for a clean edge.
- Repeat with different sponges and colours across the paper, overlapping prints freely. The piece is finished when the paper feels full. Leave flat to dry for thirty minutes.

Torn Paper Tree
No scissors, no paint, just tearing. Toddlers find tearing enormously satisfying, and the rough edges of torn construction paper give the finished tree a texture that cut paper never achieves. The whole thing sticks down with a glue stick, so there is nothing sticky or wet to manage. Display it straight on a wall or pop it in a frame.
What You Need
- White paper, A4 or A3, as the background
- Brown construction paper, one A4 sheet
- Orange construction paper, one A4 sheet
- Glue stick, large size
How to Make It
- The toddler tears the brown paper into a rough trunk shape: a wide strip for the base and narrower pieces for branches. There is no wrong result here. Lay the pieces on the white background first to check the arrangement, then swipe glue on the back of each piece and press it down.
- Tear the orange paper into irregular small pieces, roughly the size of a large coin or bigger. Pile them loosely above and around the brown branches on the white sheet, then glue each one down. Overlapping looks intentional and good.
- Press the whole sheet under a heavy book for five minutes so the torn edges bond flat. The piece is ready to display once the glue sets, which takes about five minutes more.

🛍 Shopping guide
Apple Stamp Painting
Cut an apple in half horizontally and you get a natural star stamp in the centre, a bonus the toddler does not need to know about. Dipped in red or orange paint and pressed onto paper, it leaves a print that looks almost designed. This one is worth doing twice: once for the art, once to eat the apple afterwards. An adult halves the apple before the session.
What You Need
- White paper, A3
- One apple, halved horizontally by an adult
- Red washable paint, a generous puddle on a paper plate
- Orange washable paint, a generous puddle on a second paper plate
How to Make It
- An adult cuts the apple in half before sitting down. Pat the cut face gently with a piece of kitchen paper to absorb excess moisture; a wet surface gives a blurry print. Press the cut face into the red paint so it coats evenly.
- Press the apple firmly onto the paper, hold for two seconds, then lift straight up. The toddler will see the star pattern in the middle of the print and find this remarkable. Repeat across the sheet, switching colours between prints.
- Leave flat to dry for thirty minutes. Store the finished sheet in a cardboard portfolio or rolled in a tube once fully dry.

🛍 Shopping guide
Bubble Wrap Corn
Bubble wrap pressed in yellow paint produces a grid of perfect raised dots that reads instantly as a corn cob. Two green paper husks glued either side finish the picture. The bubble wrap comes from any parcel; save it for this. The finished piece stands up on a windowsill propped against the glass or goes straight on the fridge.
What You Need
- White paper, A4
- Bubble wrap, one piece roughly 10 x 15 cm, bubbles facing out
- Yellow washable paint, a generous puddle on a paper plate
- Green construction paper, one sheet, torn or cut by an adult into two husk shapes
- Glue stick
How to Make It
- An adult tears or cuts the green paper into two long curved husk shapes before starting. Press the bubble-side of the wrap into the yellow paint until the bubbles are well coated, then press it firmly onto the centre of the white paper in a tall oval shape. Lift carefully; the dot pattern should be clear. If the print is faint, press again in the same spot.
- Glue the green husk pieces on either side of the yellow print, curving them outward so they look like leaves framing the cob. Press flat with a hand for ten seconds.
- Leave flat to dry for thirty minutes. The yellow dots will look vivid and raised once dry.

🛍 Shopping guide
Leaf Rubbing Sheet
Real leaves collected from outside do all the design work here. Slide one under a sheet of paper, hold the crayon flat on its side, and rub. The leaf’s veins and edges appear as if by magic. The toddler can do the rubbing entirely alone once the leaf is positioned; positioning is the one part that needs an adult’s hands for the first attempt.
What You Need
- White paper, A4 or A3
- Four or five real leaves, each at least 6 cm across, freshly collected and still flat
- Large chunky crayons in red, orange, yellow, and brown
How to Make It
- Place one leaf vein-side up under the paper. Hold it in place with one hand or tape the leaf’s stem to the table so it does not shift during rubbing. A toddler’s spare hand pressing down on the paper works fine too.
- Hold a crayon on its side so the long flat edge touches the paper. Rub firmly back and forth over where the leaf sits underneath. The outline and veins appear within a few strokes. Use different colours over different leaves.
- Slide the leaf out and replace it with another in a different spot. The piece is done when the paper feels full. No drying time needed.

🛍 Shopping guide
Footprint Scarecrow
A bare footprint in brown paint becomes a scarecrow body in about ten minutes of active time. The foot is the body, the heel is the head, and coloured paper arms and a hat go on once the print is dry. This is the messiest craft on the list, so lay down a bin bag or an old towel before starting. The finished piece looks completely deliberate and genuinely funny.
What You Need
- White paper, A3
- Brown washable paint, a generous puddle in a shallow tray or on a paper plate
- Coloured paper scraps in orange, yellow, or red, each piece at least 5 cm wide
- Glue stick
- A black washable marker for the face
How to Make It
- An adult paints the sole of the toddler’s foot with brown paint using a brush or by pressing the foot into a shallow tray of paint. Stamp the foot onto the centre of the paper with the heel at the top (that becomes the head) and the toes pointing down (those become the legs). Hold the foot firmly for two seconds, then lift straight up.
- Rinse and dry the foot while the print dries. Once the paint is fully dry, roughly thirty minutes, glue on torn paper arms extending from the sides of the footprint and a simple rectangular hat on top of the heel.
- Draw a simple face on the heel section with the black marker: two dots for eyes, a curved line for a smile. The scarecrow is done.

Cotton Ball Sheep
This one has almost no paint and no mess: just a glue stick, cotton balls, and paper. The toddler swipes glue in a large oval, presses cotton balls on until the oval is covered, then adds a paper head and legs. The result looks like a proper farmyard sheep, which makes it especially satisfying for the under-twos who cannot yet do fiddly things but can absolutely press a cotton ball onto glue.
What You Need
- White paper, A4
- Large cotton balls (at least 4 cm across when fluffed), approximately 12
- Large glue stick
- Black or brown construction paper, one sheet, for the head and legs
How to Make It
- An adult tears or cuts the black paper into a large round head shape and four thick leg rectangles, each at least 4 cm wide. These wait to one side. The toddler uses the glue stick to swipe a generous oval of glue in the centre of the white paper.
- Press the cotton balls one by one into the glue oval until the whole shape is covered. Cotton balls that pop off can simply be re-pressed; the glue stick holds them once they have sat for a minute. The body should look round and puffy when done.
- Glue the head to one end of the cotton body and the four legs underneath. Press everything flat with a hand. Leave for five minutes before lifting.

🛍 Shopping guide
Rolled Paint Pumpkin
Put orange paint and paper inside a shallow tray, drop in a small ball, and let the toddler tilt the tray. The ball rolls through the paint and leaves a pattern of looping orange lines that, trimmed to a pumpkin shape by an adult afterwards, looks completely convincing. The process is the entire point for a one-year-old; the result is a bonus.
What You Need
- White paper, cut to fit inside the tray
- Orange washable paint, two tablespoons
- A small rubber ball or ping-pong ball, at least 4 cm across
- A shallow baking tray or plastic storage lid, at least 25 x 20 cm
How to Make It
- Place the paper inside the tray. Squeeze two tablespoons of orange paint onto the paper in the centre, then place the ball on the paint. The toddler tilts the tray gently from side to side so the ball rolls through the paint and across the paper. Continue until the orange lines cover most of the sheet.
- Lift the paper carefully out of the tray and set it on a flat surface to dry for thirty minutes. Rinse the ball immediately.
- Once dry, an adult can round the corners of the paper into a pumpkin shape and add a small green paper stalk at the top with a glue stick. This step is optional; the rolled print is worth keeping as is.

🛍 Shopping guide
Finger Paint Fall Sky
Three colours, one sheet of paper, and a toddler’s hands. Squeeze dots of orange, red, and yellow finger paint across the paper and let the toddler smear them together freely. The colours blend at the edges into deep amber and burnt coral, which looks genuinely beautiful and costs nothing. This is the one craft where mess is the product. Tape the paper to the table first so it does not slide.
What You Need
- White paper, A3, taped to the table
- Orange washable finger paint
- Red washable finger paint
- Yellow washable finger paint
How to Make It
- Tape the paper flat to the table at the corners. Squeeze a generous dot of each colour across the paper: orange in the middle, red to one side, yellow to the other. Leave gaps between the dots so the toddler has room to smear.
- Let the toddler use both hands to push the paint around the sheet freely. The colours will blend where they meet. Do not direct this; the result is better when left alone.
- When the paper looks full and the toddler is done, peel it carefully off the table and set it flat to dry for at least thirty minutes. Drying time is the longest part of this one.

🛍 Shopping guide
Big Sticker Tree
Print or draw a simple bare tree trunk and branches on paper before the session and the toddler fills the canopy with large dot stickers in autumn colours. No paint, no drying time, no mess. The finished piece is neat enough to go into a card sleeve or clip frame. Large dot stickers are sold in office supply sections and work perfectly; anything 2 cm across or bigger is fine.
What You Need
- White paper, A4, with a simple bare tree trunk and branches drawn or printed in brown
- Large round dot stickers in red, orange, yellow, and brown, at least 2 cm across
How to Make It
- An adult prepares the paper in advance by drawing a thick brown trunk and several branches reaching upward, leaving the upper half of the page blank. Set this in front of the toddler alongside the sticker sheets.
- The toddler peels stickers and presses them above and around the branches to fill the canopy. There is no wrong arrangement. The peeling itself is a satisfying fine motor challenge for a two-year-old; help with the peeling for a one-year-old.
- The piece is done when the toddler stops or the canopy area is filled. No drying time needed.

🛍 Shopping guide
Sponge Print Acorns
Cut a kitchen sponge into a simple acorn cap shape and a round body shape, and the toddler does the rest. Printed in brown and tan across a strip of paper, a row of sponge-print acorns looks like something from a Scandi children’s book. This is a companion craft to Sponge Print Leaves and uses the same materials, so running both in one session saves setup time.
What You Need
- White or cream paper, A4 or A3
- One large kitchen sponge, cut by an adult into an acorn body shape and a cap shape, each at least 6 cm
- Brown washable paint, a puddle on a paper plate
- Tan or light orange washable paint, a puddle on a second paper plate
How to Make It
- An adult cuts the sponge into two pieces before starting: one rounded oval for the acorn body and one curved cap shape. Press the body sponge into the tan or orange paint and stamp it onto the paper. Repeat several times across the sheet, leaving a small gap between each.
- Press the cap sponge into the brown paint and stamp it onto the top of each acorn body, aligning it so it sits like a hat. The two shapes do not need to line up perfectly; slight misalignment looks hand-crafted, not wrong.
- Leave flat to dry for thirty minutes.

🛍 Shopping guide
Torn Tissue Leaf
Draw or print a large simple leaf outline on paper and hand it to the toddler with a pile of autumn-coloured tissue squares and a glue stick. The tissue pieces scrunch slightly as they go down and give the finished leaf a gorgeous crinkled texture. It looks luminous held up to a window. The outline keeps the toddler loosely on brief, but tissue that lands outside the line is fine.
What You Need
- White paper, A4, with a large leaf outline drawn in thick black marker by an adult
- Tissue paper squares, roughly 5 x 5 cm, in red, orange, yellow, and brown (pre-torn or pre-cut by an adult)
- Large glue stick
How to Make It
- An adult draws a large simple leaf shape on the paper and tears or cuts the tissue into rough 5 cm squares before sitting down. The leaf should fill most of the A4 page.
- The toddler swipes the glue stick inside the leaf outline, then presses tissue squares onto the glue. The tissue does not need to lie flat; scrunched pieces add texture. Encourage the toddler to keep going until the whole outline is covered.
- Leave flat for five minutes to set. Held to a window once dry, the overlapping tissue colours glow like stained glass.

🛍 Shopping guide
Palm Print Turkey
A brown palm pressed flat becomes the turkey body, and coloured finger dots fanned above it become the tail feathers. An adult draws the face details once the paint dries. The finished turkey is bright, unambiguous, and lasts well taped to card. For more in this direction, the 14 Thanksgiving Crafts a Toddler Can Actually Finish list has several companion projects.
What You Need
- White paper, A4
- Brown washable paint, one squeeze on a paper plate
- Red, orange, and yellow washable paint, one small squeeze of each on a second paper plate
- A black washable marker for the face details
How to Make It
- Press the toddler’s palm into the brown paint, coating it well, then stamp it flat onto the centre-lower half of the paper with the thumb to one side and fingers pointing upward. That print is the turkey body. Lift straight up for a clean edge.
- Dip each fingertip into a different colour from the second plate and press them above the brown print in a fan shape to form the tail feathers. The toddler can layer as many fingertip dots as they like; a full fan of colours looks festive.
- Once the paint is fully dry, roughly thirty minutes, an adult draws a small beak, eyes, and a wattle on the thumb side of the brown print. The turkey is done.

Nature Collage
Go outside first, collect large flat leaves and short chunky twigs, then bring them inside and stick them to paper. The collecting is half the craft and counts as outdoor time. Stick to leaves at least 6 cm across and twigs at least 1 cm thick; anything smaller disappears in a toddler’s hand. This is the one craft on this list that genuinely belongs on the dining table after it is done: prop it against a jar and it is a centrepiece.
What You Need
- White or kraft paper, A3
- Eight to twelve real leaves, each at least 6 cm across, freshly collected
- Four to six short twigs, each at least 1 cm thick and no longer than 15 cm
- Large glue stick or PVA glue in a tray applied by an adult
How to Make It
- Collect leaves and twigs outdoors with the toddler. Choose leaves that are still flexible and flat; very dry brittle leaves crack when pressed. Bring everything inside and lay it out on the paper so the toddler can see what is available.
- Swipe the glue stick generously over the back of each leaf or have an adult brush PVA across the paper in patches. The toddler presses each leaf flat onto the glue and holds it for five seconds. Twigs go across the composition wherever the toddler places them; dab glue under each one.
- Press the whole sheet under a heavy book for ten minutes to flatten any curling edges. The collage is ready to display once lifted.

🛍 Shopping guide
Frequently Asked Questions
What is the best washable paint for toddler crafts?
Tempera paint labelled ‘washable’ or ‘washable finger paint’ is the standard choice. It comes off skin and most fabrics with warm water before it dries. For one-year-olds, finger paint is better than liquid tempera because it is formulated to be skin-safe and non-toxic even if mouthed briefly.
How do you stop toddler art from curling after it dries?
Press the finished sheet flat under a heavy hardback book for at least ten minutes while it is still slightly damp. For very paint-heavy pieces, sandwich the sheet between two sheets of plain paper first to protect the book. The sheet will dry flat and stay flat.
Can a one-year-old actually do these crafts?
Yes, with an adult alongside. The projects rated 1+ are designed so the toddler does the physical action (pressing, smearing, rolling) while the adult manages the setup, holds the paper steady, and does any step that involves cutting or tools. The child’s contribution is genuine, not staged.
How do you store finished toddler art?
Flat is best. Slip dried sheets into a large plastic document wallet or a kraft paper portfolio. For pieces with texture (cotton balls, tissue paper), store in a single layer with a sheet of plain paper between each one. Roll larger sheets loosely and secure with a rubber band only once fully dry.
Are real leaves safe for toddler crafts?
For the Leaf Rubbing and Nature Collage projects, leaves are handled but not eaten, and both are suitable for toddlers under supervision. Avoid berries, seed pods, and anything with thorns when collecting outside. Wash hands after the session.
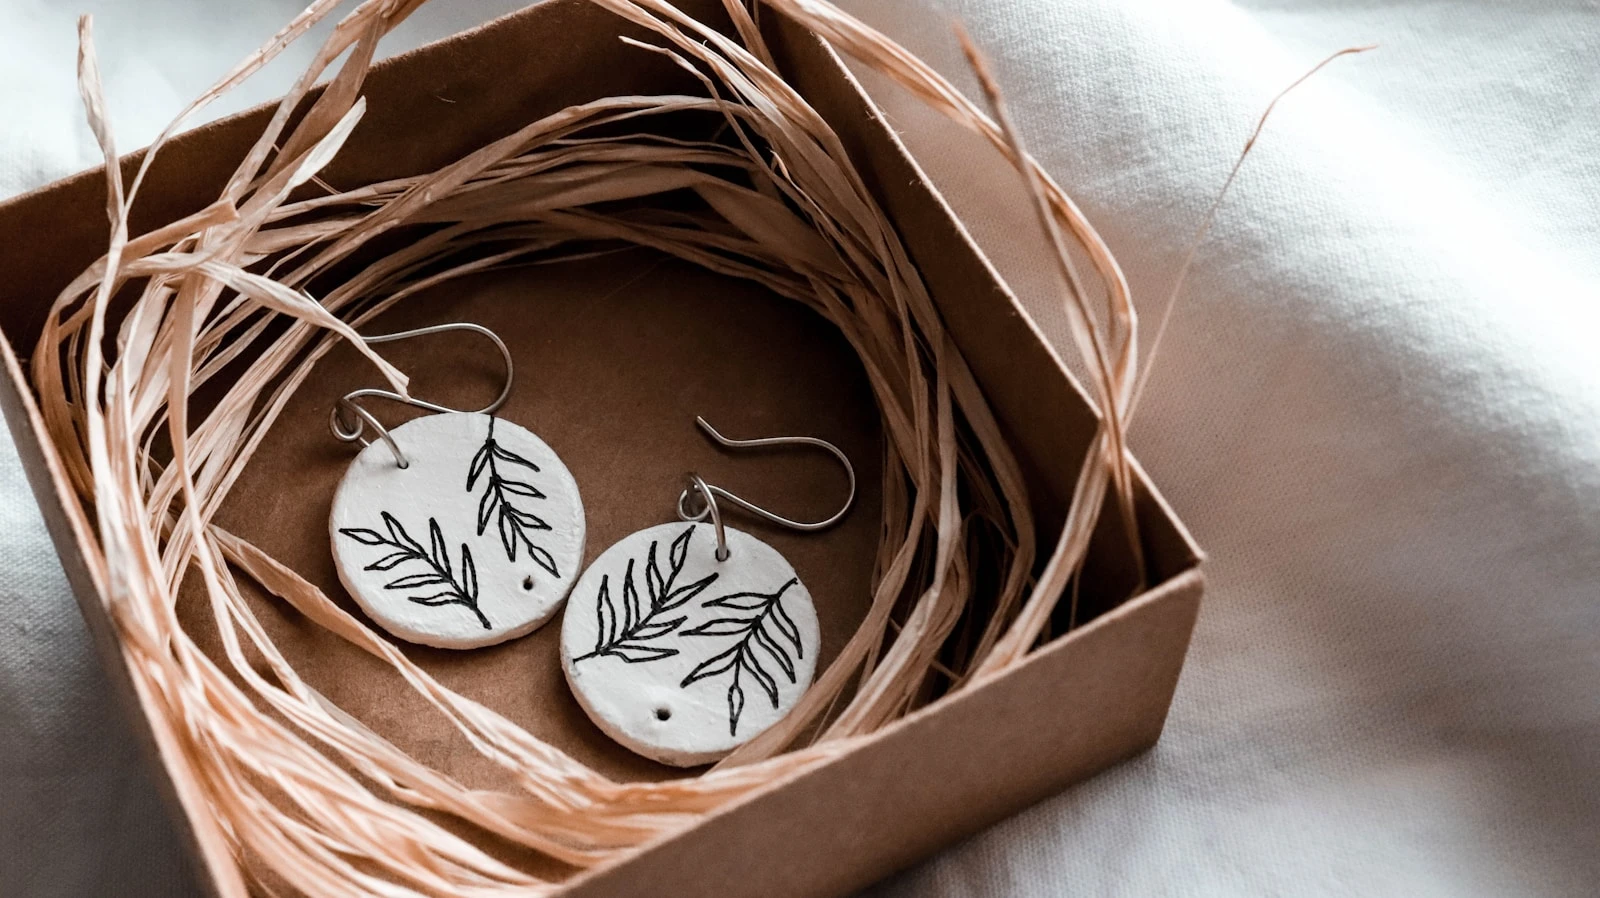
I spent $11 on a block of air dry clay and made four pairs of earrings in one afternoon. Two of them
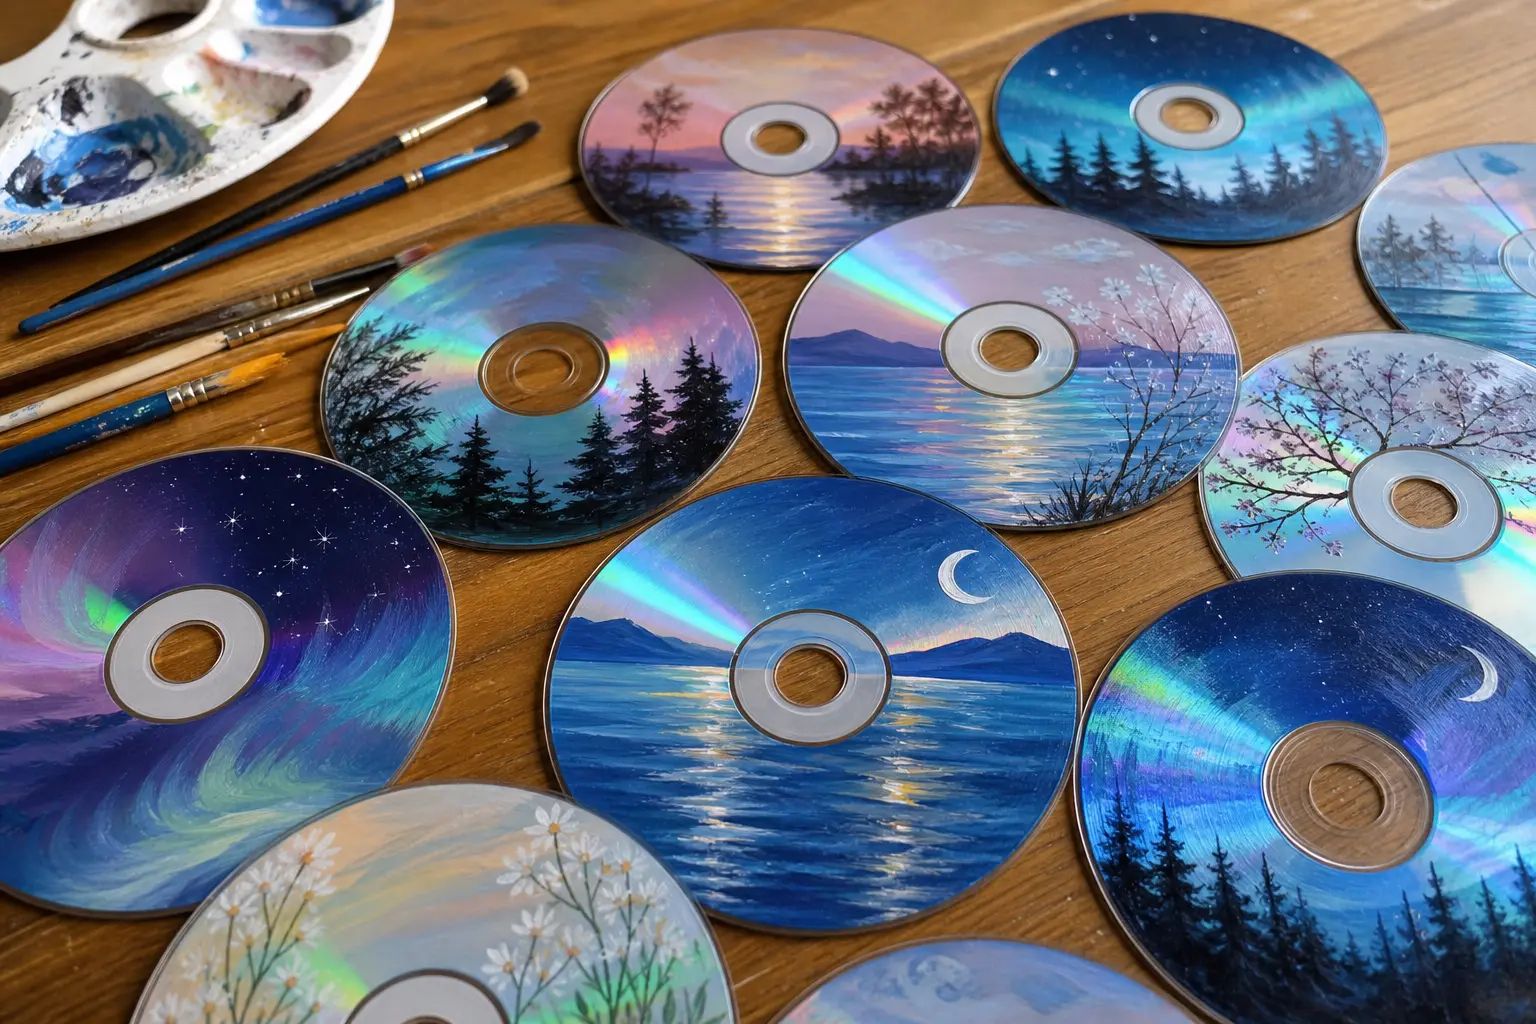
19 easy CD painting ideas that use the disc's own rainbow shine, from koi fish to star maps, no art
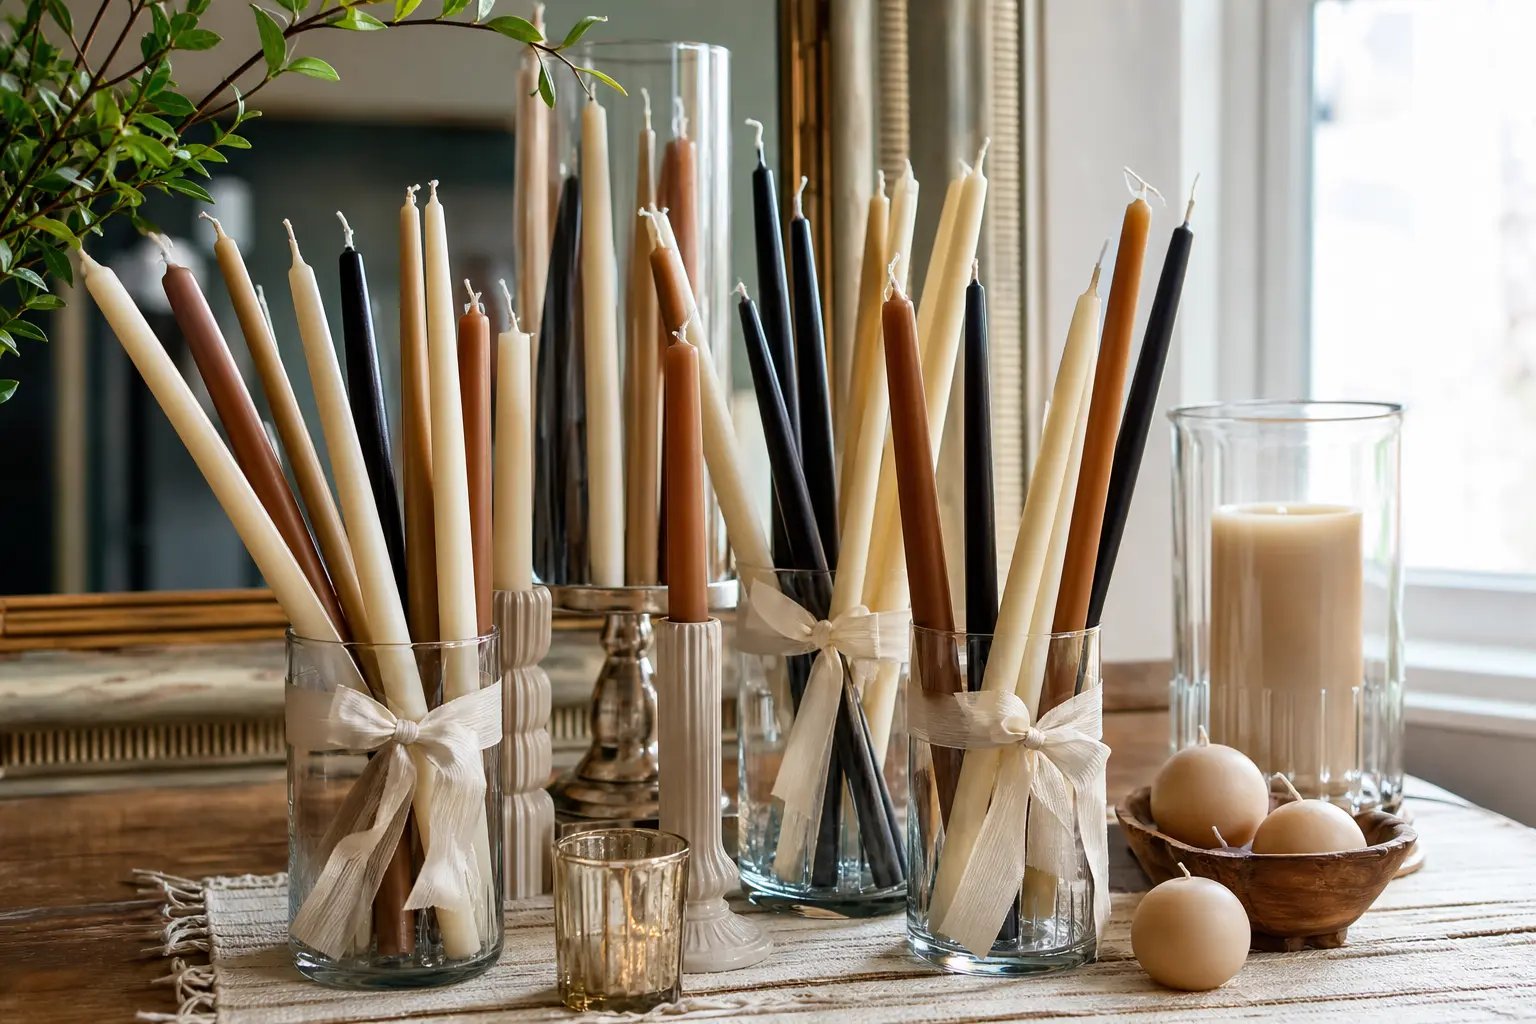
15 candle bouquet ideas with product-style shop names, plus the exact wax, fragrance percentage, col
Leave a Reply