

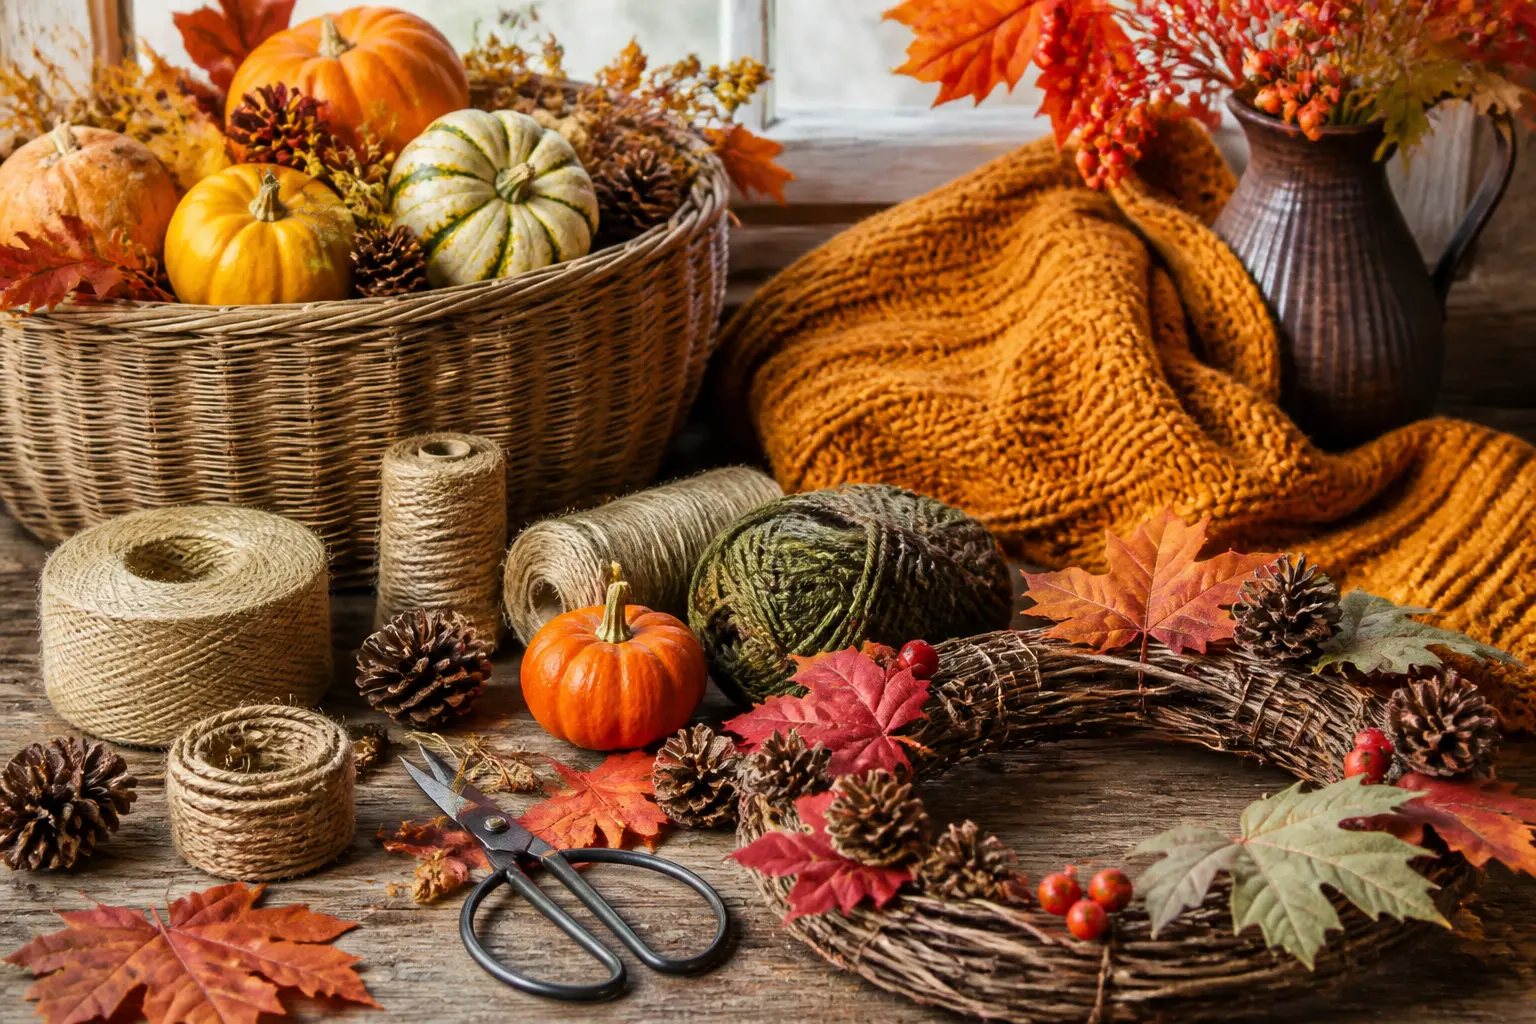
Most autumn craft roundups end with something you quietly slide into a drawer by November. These nineteen do not. Every project here produces a finished object worth displaying, the kind of thing guests assume you sourced from a shop rather than made on a Sunday afternoon.
The materials list for each one is short and findable. The skills required are basic: cutting, sewing a straight line, staining wood, wiring a wreath. Nothing here needs a craft room or a long weekend to complete.
Work through one section at a time and the whole house dresses itself. If you are already planning what to do with the space once the decor is up, the 25 Thanksgiving Games for Adults list pairs well with this one.
This post contains affiliate links. If you buy through them, I may earn a small commission at no extra cost to you.
Mantel and Shelf Pieces
These are the projects that anchor the room. A velvet pumpkin set, a painted ceramic vase and a branch candle holder all hold their own on a mantel without any surrounding arrangement to prop them up.
Work in warm neutrals and the pieces layer together naturally. Terracotta, cream, walnut and sage read as a considered palette even when each item was made on a different afternoon.
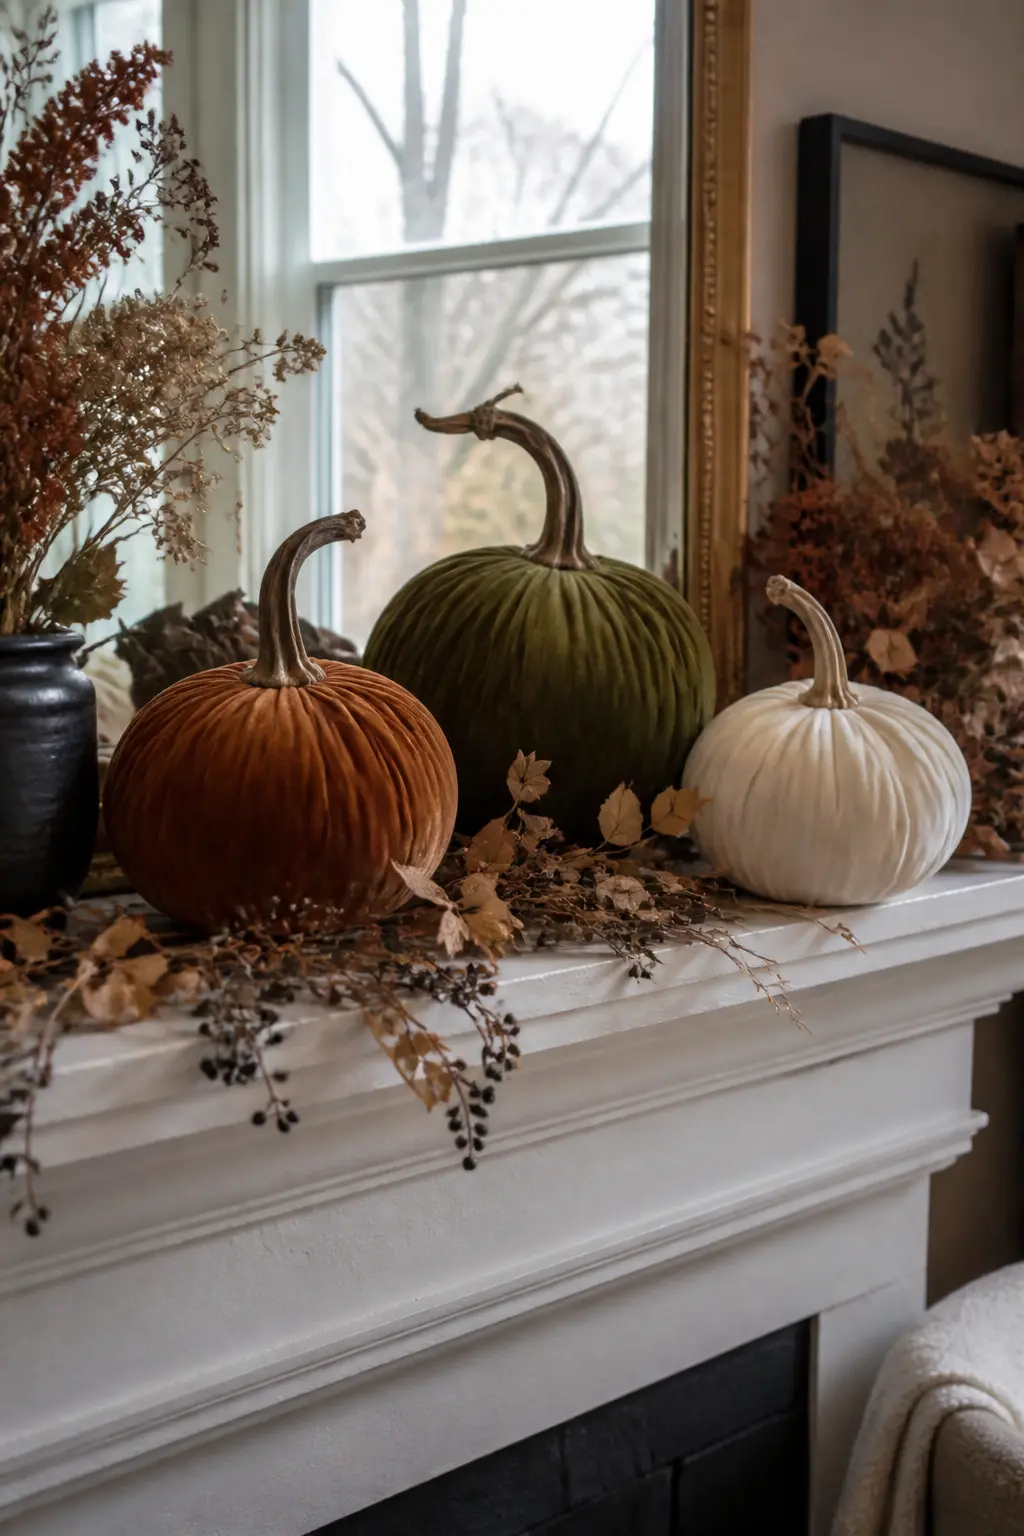
Velvet Pumpkin Set
Velvet holds light the way a real pumpkin holds morning frost. Cut your fabric into generous circles, sew each one into a pouch along the outer edge, turn it right-side out and stuff it with poly-fill until it feels dense.
Cinch the top and wrap twine tightly around the body in vertical lines to create segments, pulling each wrap snug before moving to the next. The more segments you define, the more convincingly pumpkin-shaped the result. Finish by pressing a real dried pumpkin stem into the cinched top and securing it with a dab of strong glue.
Make three in graduated sizes and group them. One deep rust, one forest green, one dusty cream reads as a set without matching in a way that looks purchased.
🛍 Shopping guide
Branch Candle Holder
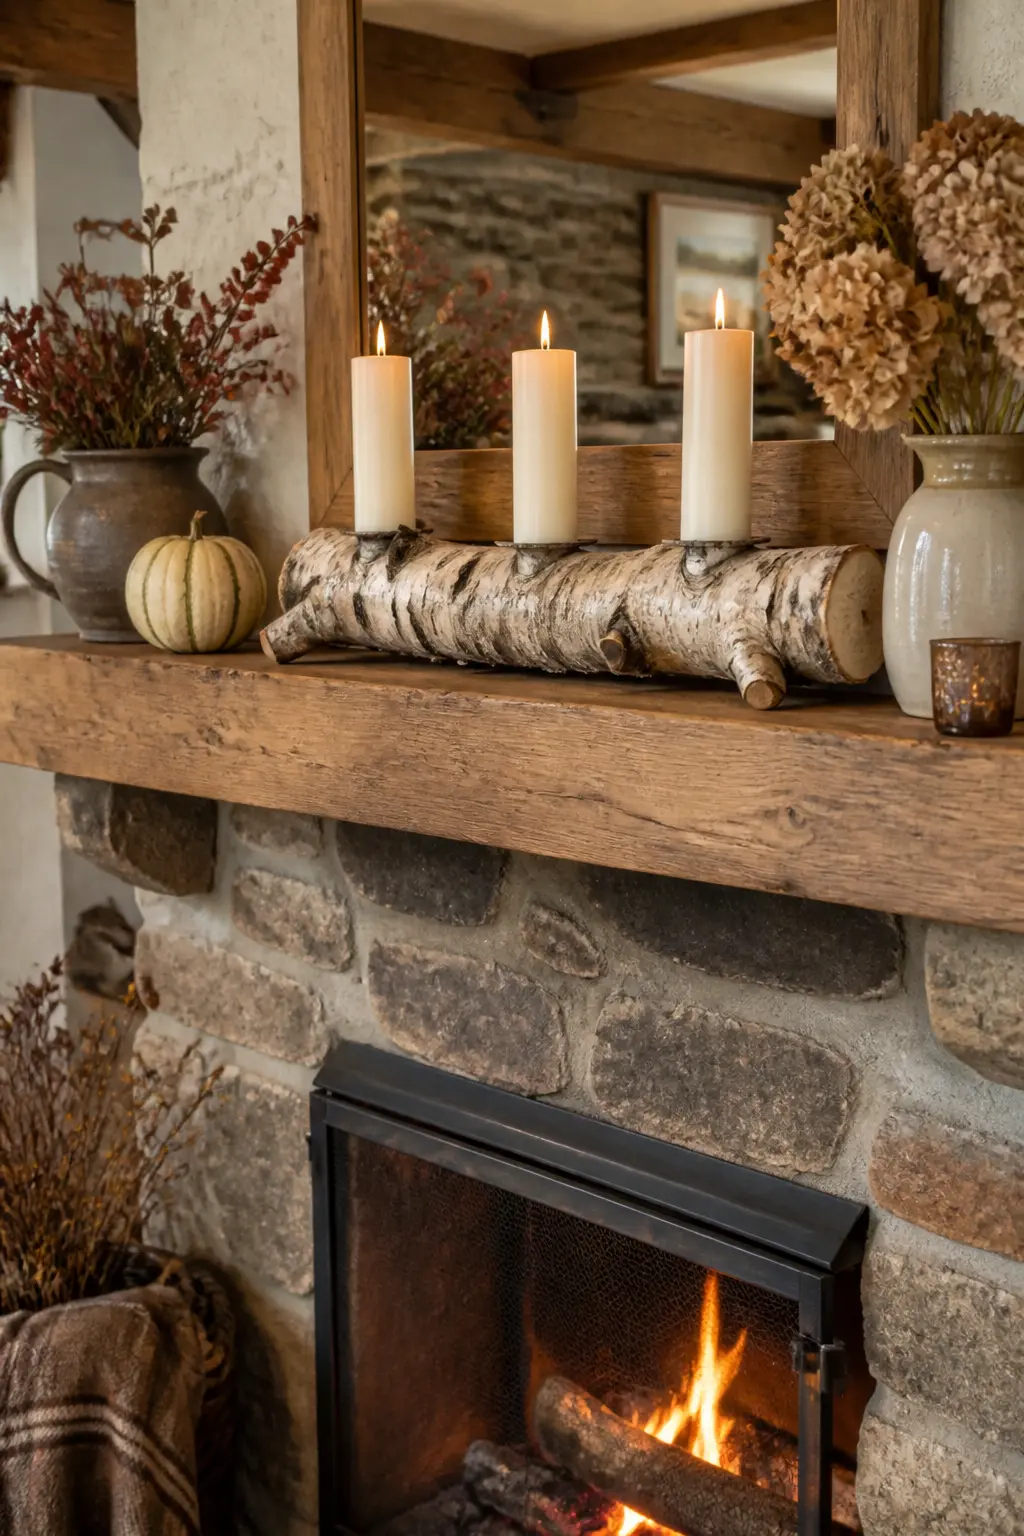
A thick, straight branch cut to about forty centimetres becomes a candle holder that looks as though a Scandinavian shop charged a great deal for it. Sand both cut ends smooth so the branch sits flat and stable without rocking.
Mark three or five evenly spaced points along the top of the branch and drill a hole at each mark with a spade bit sized to match your dinner candles snugly. The fit should hold the candle upright without adhesive. Sand the rim of each hole lightly so the candle slides in cleanly.
Set it on the mantel with candles of varying heights or use one uniform height for a cleaner look. Keep a plate or a thin piece of slate underneath to protect the shelf from any wax drips.
Painted Ceramic Vase
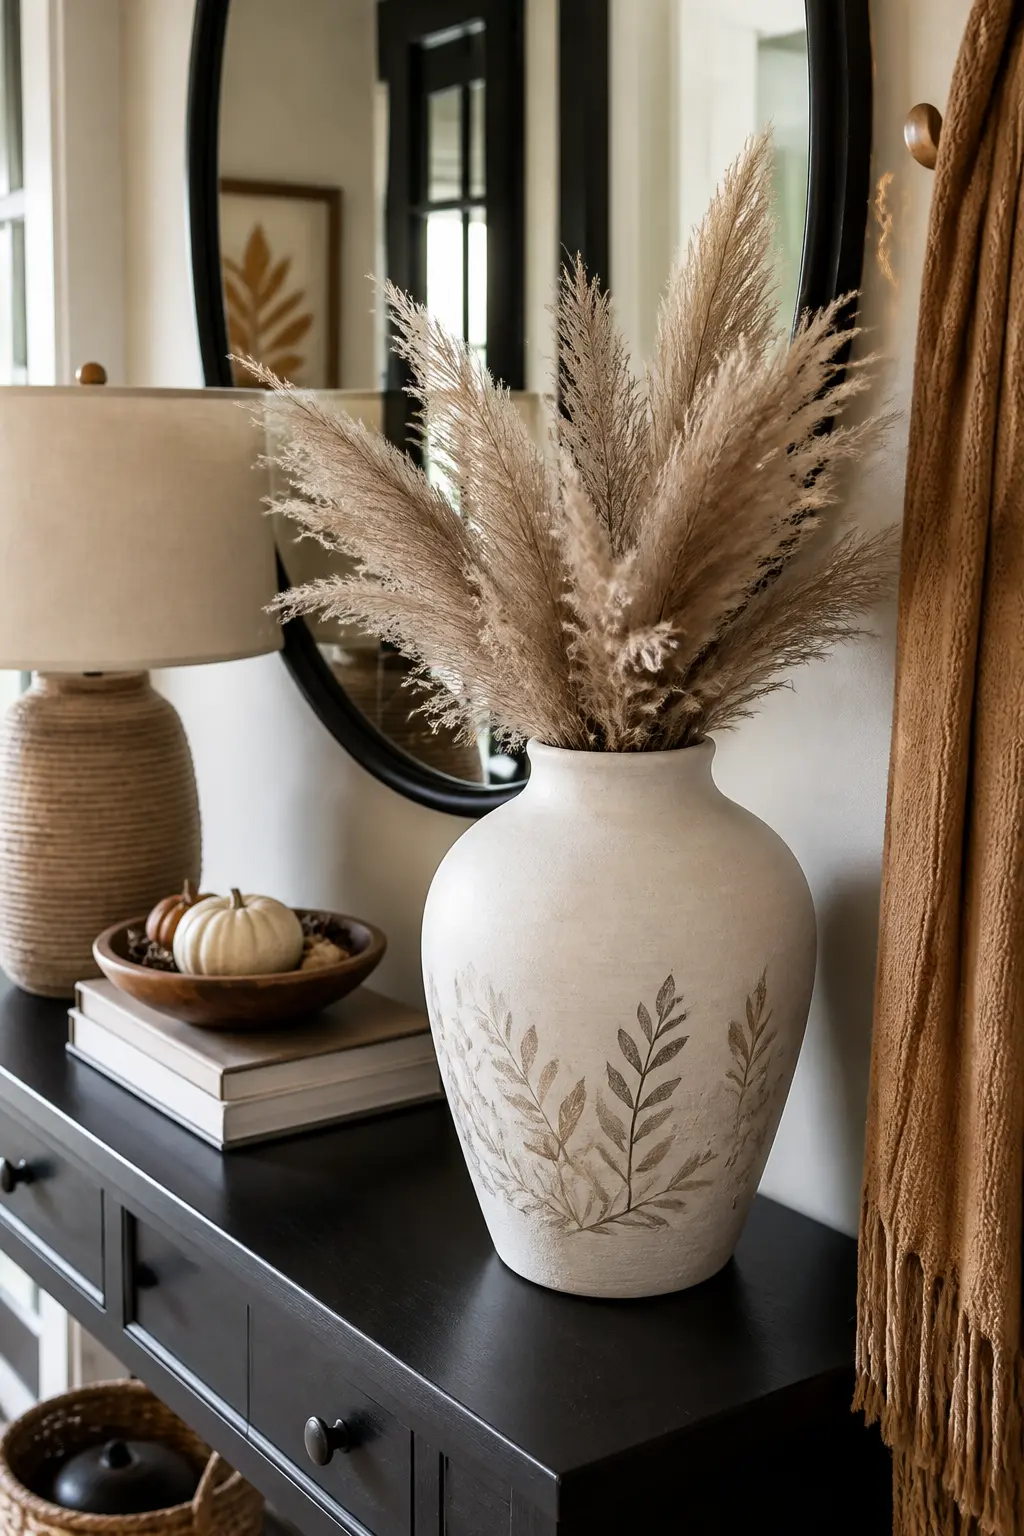
A plain vase from a charity shop or a discount home store becomes something you would pay full price for with chalk paint and a piece of sandpaper. Apply one thin coat of cream chalk paint, let it dry fully, then add a second coat and let that dry too.
Take fine sandpaper to the raised edges, the rim and any ridges on the body, rubbing until the base material shows through in small patches. This is the step that removes the craft-project quality and replaces it with something that looks genuinely old. Seal the whole surface with a matte chalk paint wax or matte spray sealant to keep the finish from chipping.
Fill it with dried pampas grass, eucalyptus or bare branches rather than flowers. The monochrome palette of the vase reads better with natural dry textures than with fresh colour.
Dark Stained Candlesticks
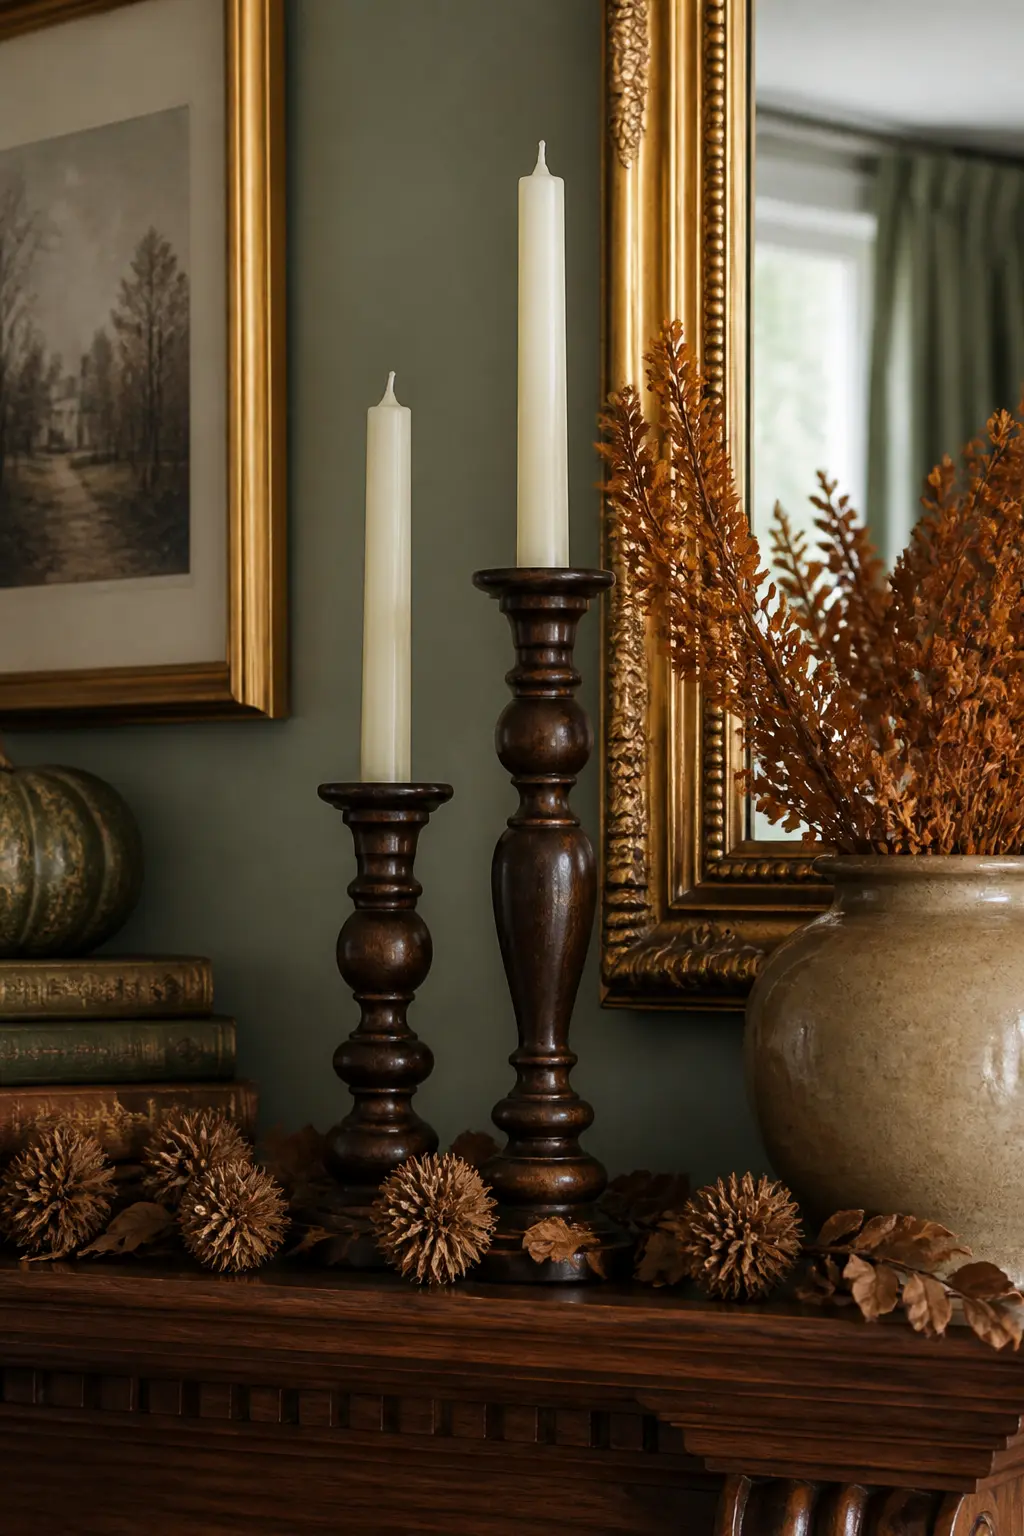
Wooden candlesticks from a craft shop or a thrift store take dark stain far more readily than people expect, and the result is indistinguishable from antique turned wood. Sand each candlestick lightly with fine sandpaper to open the grain, then wipe away the dust with a tack cloth or a damp rag wrung dry.
Dip a cloth into dark walnut or ebony stain and rub it into the wood with the grain, working into the turned details. Wipe back any excess immediately. Let it dry, then buff the high points of the turning lightly with fine steel wool, which removes a little stain from the raised areas and creates a worn quality that looks genuine.
Stand them in a pair on the mantel with the rolled beeswax candles. The dark base and the pale honey candle create a contrast that works in any room.
🛍 Shopping guide
Fabric Pumpkin Trio
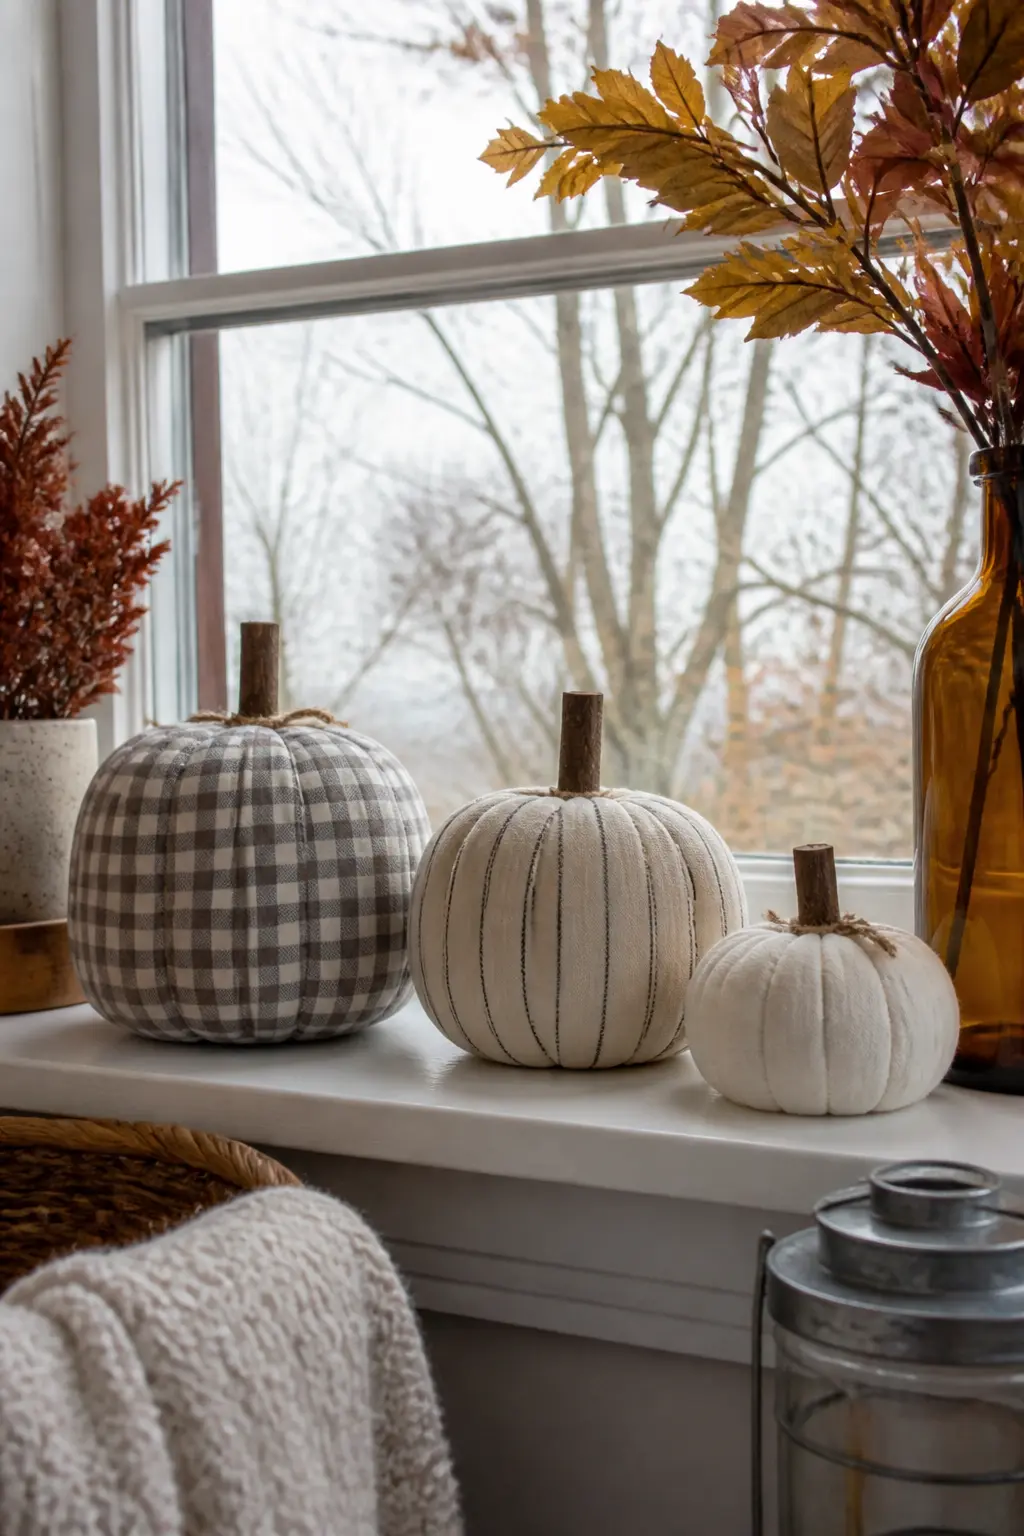
The fabric pumpkin trio works by the same principle as the velvet set, but cotton in three coordinating tones gives you more versatility: a small-scale check, a plain and a fine stripe in the same warm palette read as a thought-out grouping without being matchy.
Sew and stuff each pouch as you would the velvet version, then wrap twine around the body to define the segments. The cinnamon stick stem is what sets this version apart: it smells warm when the room heats up and it adds a slightly rougher, more rustic quality than a dried pumpkin stem would.
Group all three on a mantel or a kitchen windowsill. The smallest one can sit inside a small wooden bowl or a woven basket to vary the height without needing a stand. If you want more ideas for making a season of it once the home is dressed, the 25 Thanksgiving Games for Adults and the 23 Halloween Games for Adults are both worth bookmarking now.
🛍 Shopping guide
Garlands and Hanging Pieces
A garland earns more visual space than almost any other single object in a room. Hang one across the mantel, drape another over a doorframe, and the whole space reads as dressed rather than decorated.
Every garland here uses natural or near-natural materials, so they photograph well in daylight and do not look cheap once the seasonal candles are lit around them.
Dried Apple Ring Garland
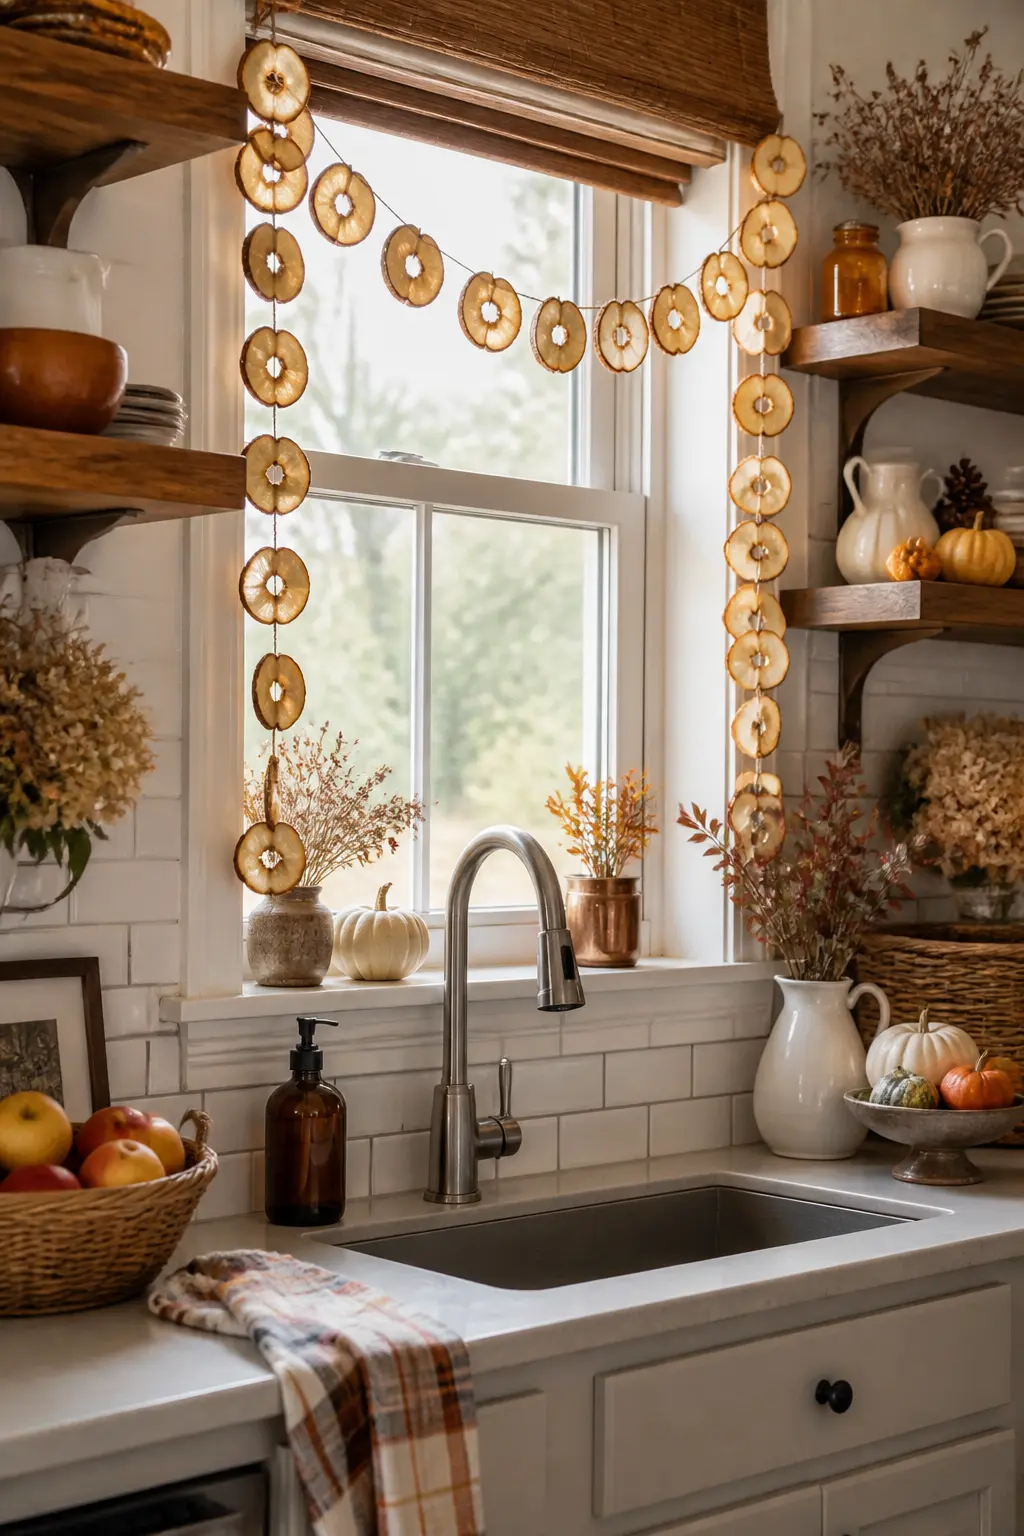
The brief calls these apple rings but the ingredient list names oranges, which dry more predictably and hold their colour better through the season. Slice them as thin as a pencil is wide, lay them on a baking sheet lined with a rack for airflow, and dry them at around 90 degrees Celsius for two to three hours, turning once.
They are ready when they feel papery rather than sticky. Thread each slice onto doubled kitchen twine using a large needle, spacing them several centimetres apart so each one is visible. Hang the finished garland across a mantel or in a window where the light catches the translucent slices.
The scent fades within a couple of weeks but the visual stays strong all season. Add a few cinnamon sticks knotted between slices to extend both the look and the fragrance.
Wood Bead Garland
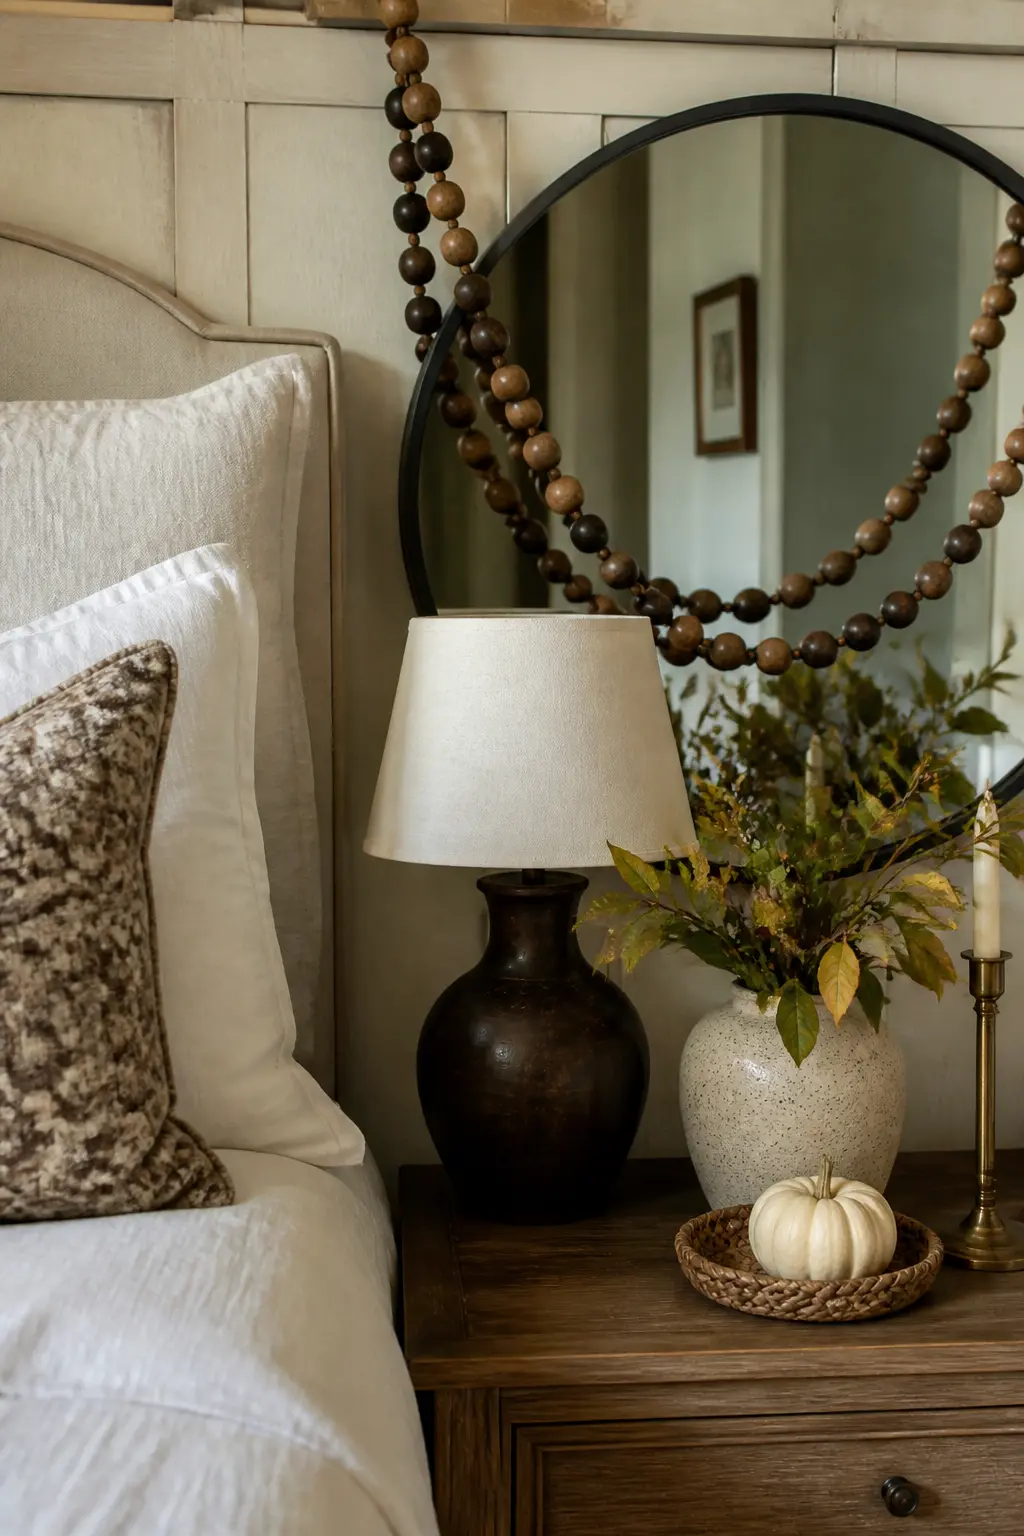
Unfinished wood beads take stain beautifully. Work in small batches: dip a cloth into walnut or ebony stain and rub each bead, turning it as you go, then set them on a sheet of baking paper to dry. Some beads will take the stain unevenly, which is an asset rather than a flaw.
Thread the dried beads on heavy natural twine, knotting on either side of each group of three to five beads to keep them spaced. Vary the knot spacing slightly so the garland has an organic rhythm rather than a rigid repeat.
Drape it over a mirror frame, across a mantel or looped several times around a pillar candle. It is the kind of object that looks right in almost every position you put it in.
🛍 Shopping guide
Felt Leaf Garland
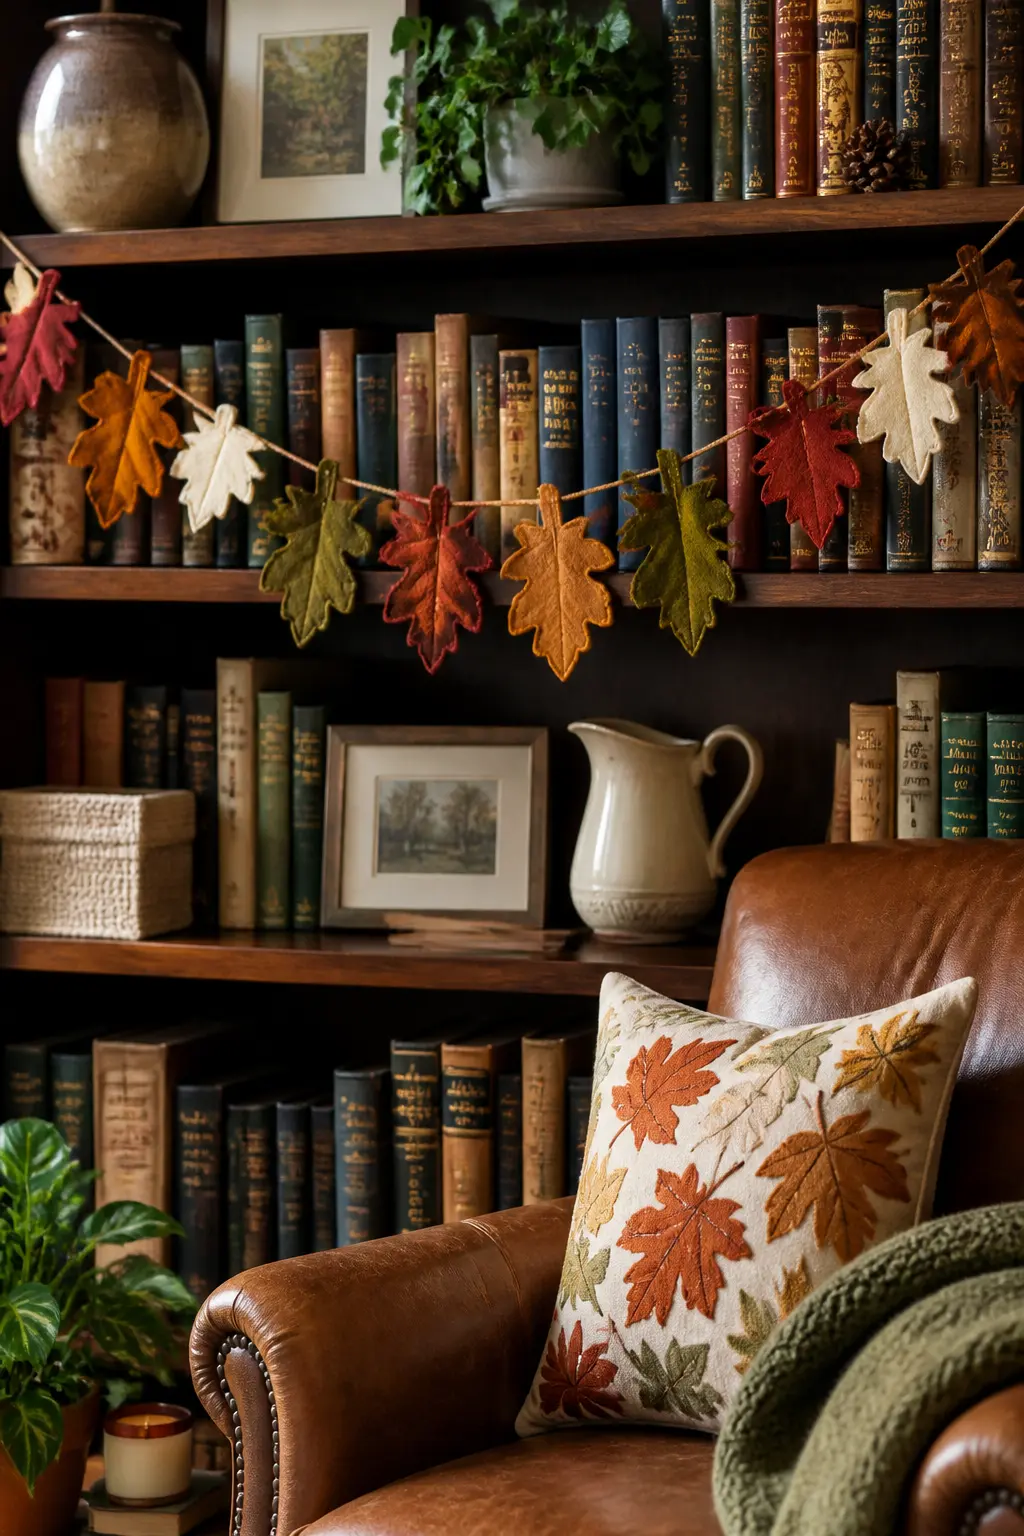
Wool felt in burnt orange, mustard, deep red and olive gives you a garland that holds its shape and its colour all season without any drying or pressing required. Cut a leaf template from cardboard first, then trace and cut as many leaves as you want from each felt colour.
Use a single strand of thread to stitch a simple running stitch down the centre vein of each leaf, which gives each one dimension and stops it lying completely flat. Thread all the finished leaves onto a length of natural twine by pushing the needle through the base of each stem area, alternating colours as you go.
Hang it above a window, along a bookshelf edge or layered over the dried orange garland from this list. The felt version works better in damp rooms than dried natural materials do.
🛍 Shopping guide
Acorn Cap Garland
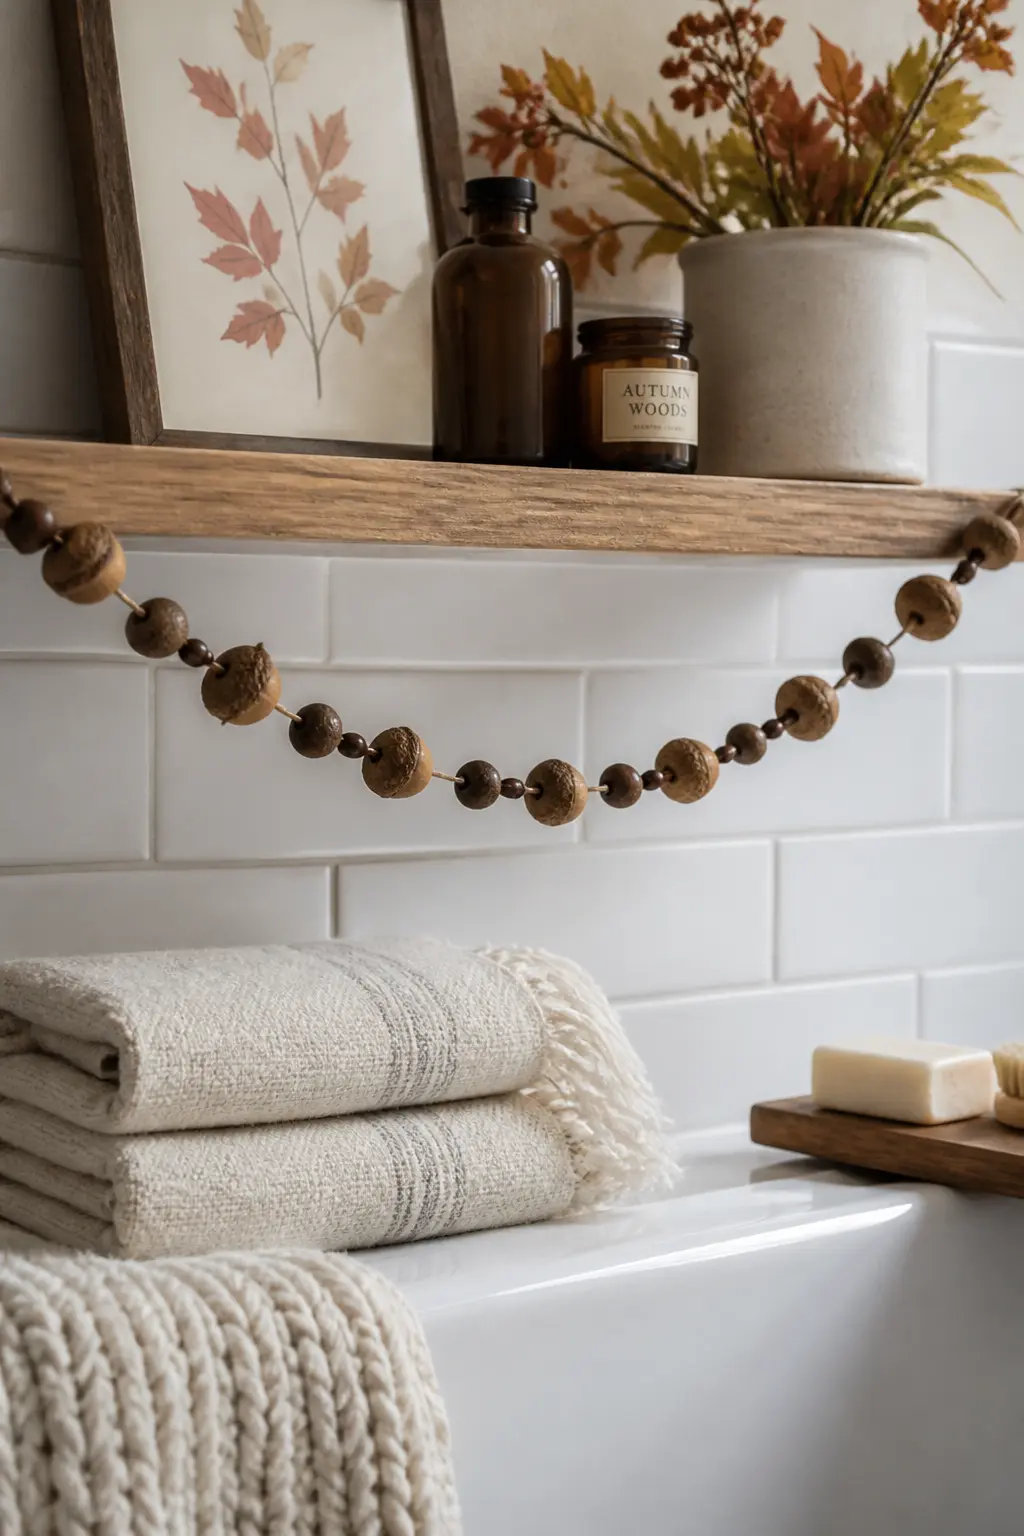
Acorn caps are free and they look like something you would buy at a nature-inspired home shop. Gather them in autumn, shake out any insects, and let them dry completely on a tray for a few days before you work with them.
Press a small bead into each cap with a dot of strong craft glue: a wooden bead, a pearl bead or a black glass bead all look deliberate in different ways. Let the glue cure overnight. Thread the caps onto thin craft wire by pushing the wire through the centre of the glued bead and bending a small loop on the back to keep the cap from sliding off.
Space them fifteen to twenty centimetres apart with the wire between them left loose enough to drape naturally. Hang the finished garland in a window or across the front of a shelf. The small scale suits a bathroom ledge or a bedroom mantel as well as a living room.
Wreaths and Wall Pieces
A wall piece does the work a gallery print does in spring: it fills vertical space with something that has texture and depth. Dried flowers and corn husks both reward you with a surface that genuinely improves as it ages through the season.
Wheat Bundle Wall Piece
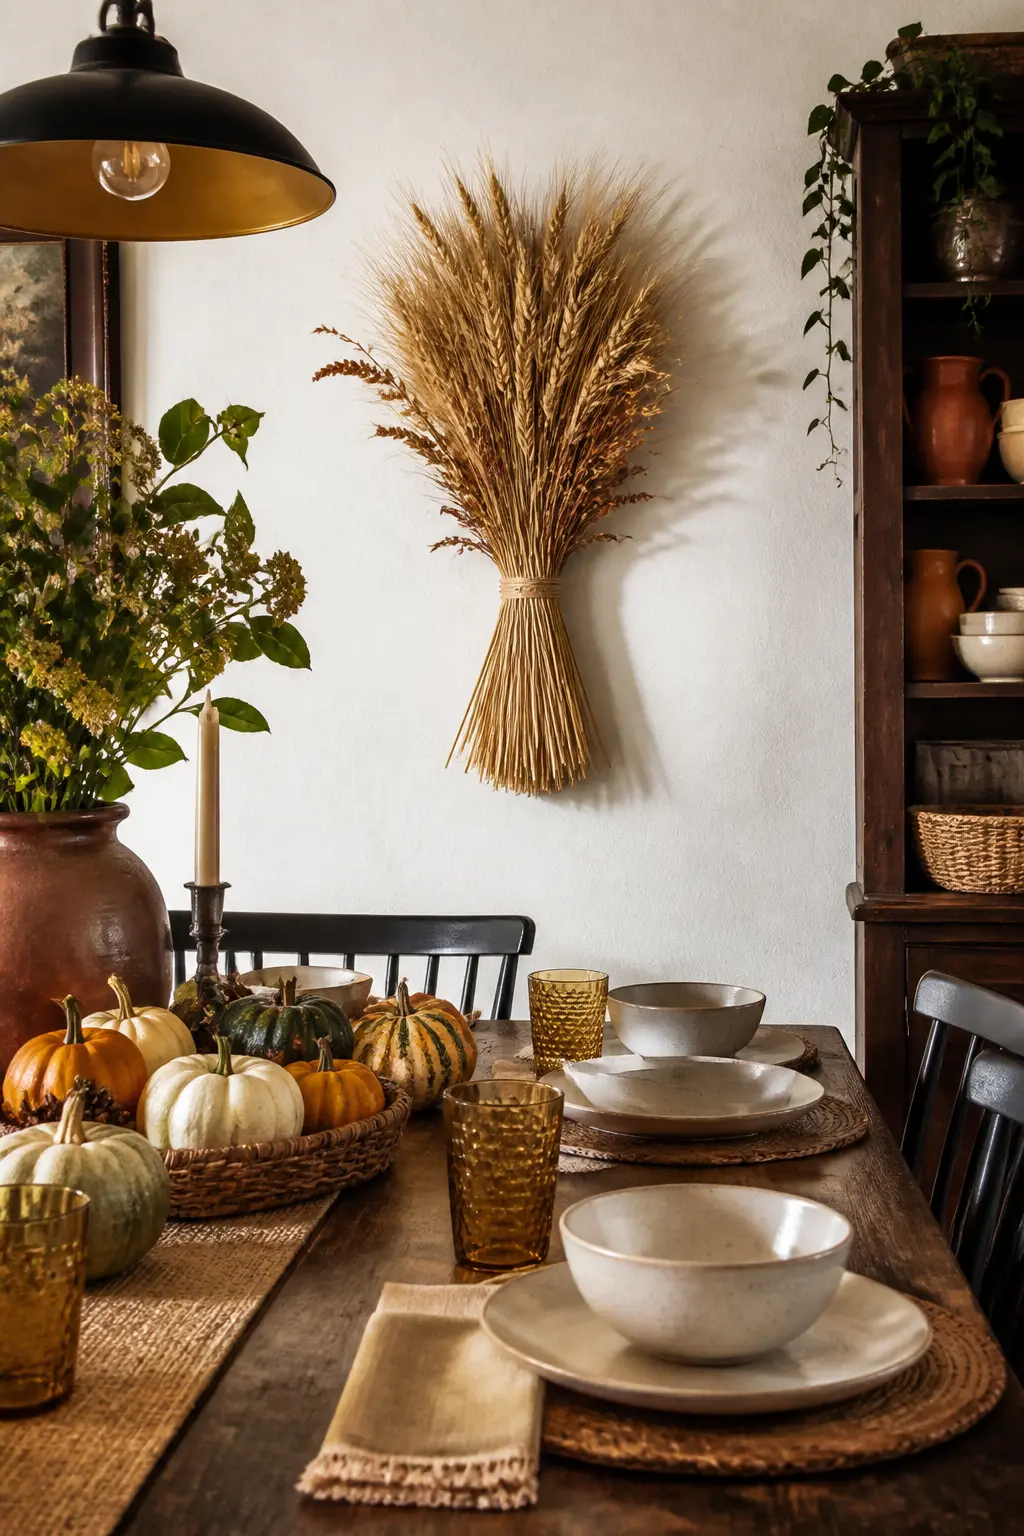
Dried wheat is one of those materials that costs very little and photographs as if it cost a great deal. Gather a small bundle of stems, align the heads, and wrap twine tightly around the bundle at two points to hold it firm. Repeat until you have six to eight bundles of similar size.
Tie each bundle onto a wooden dowel, working from one end to the other with the heads all facing the same direction. Pack them close enough that no bare dowel shows between bundles. Trim the stems at the bottom with sharp scissors so the bottom edge is level, then hang the dowel from a length of twine looped over a hook.
This reads as a piece of textile art on the wall rather than a harvest decoration. Keep it above a sideboard or on the wall behind a dining table where the warm gold catches the evening light.
🛍 Shopping guide
Dried Hydrangea Wreath
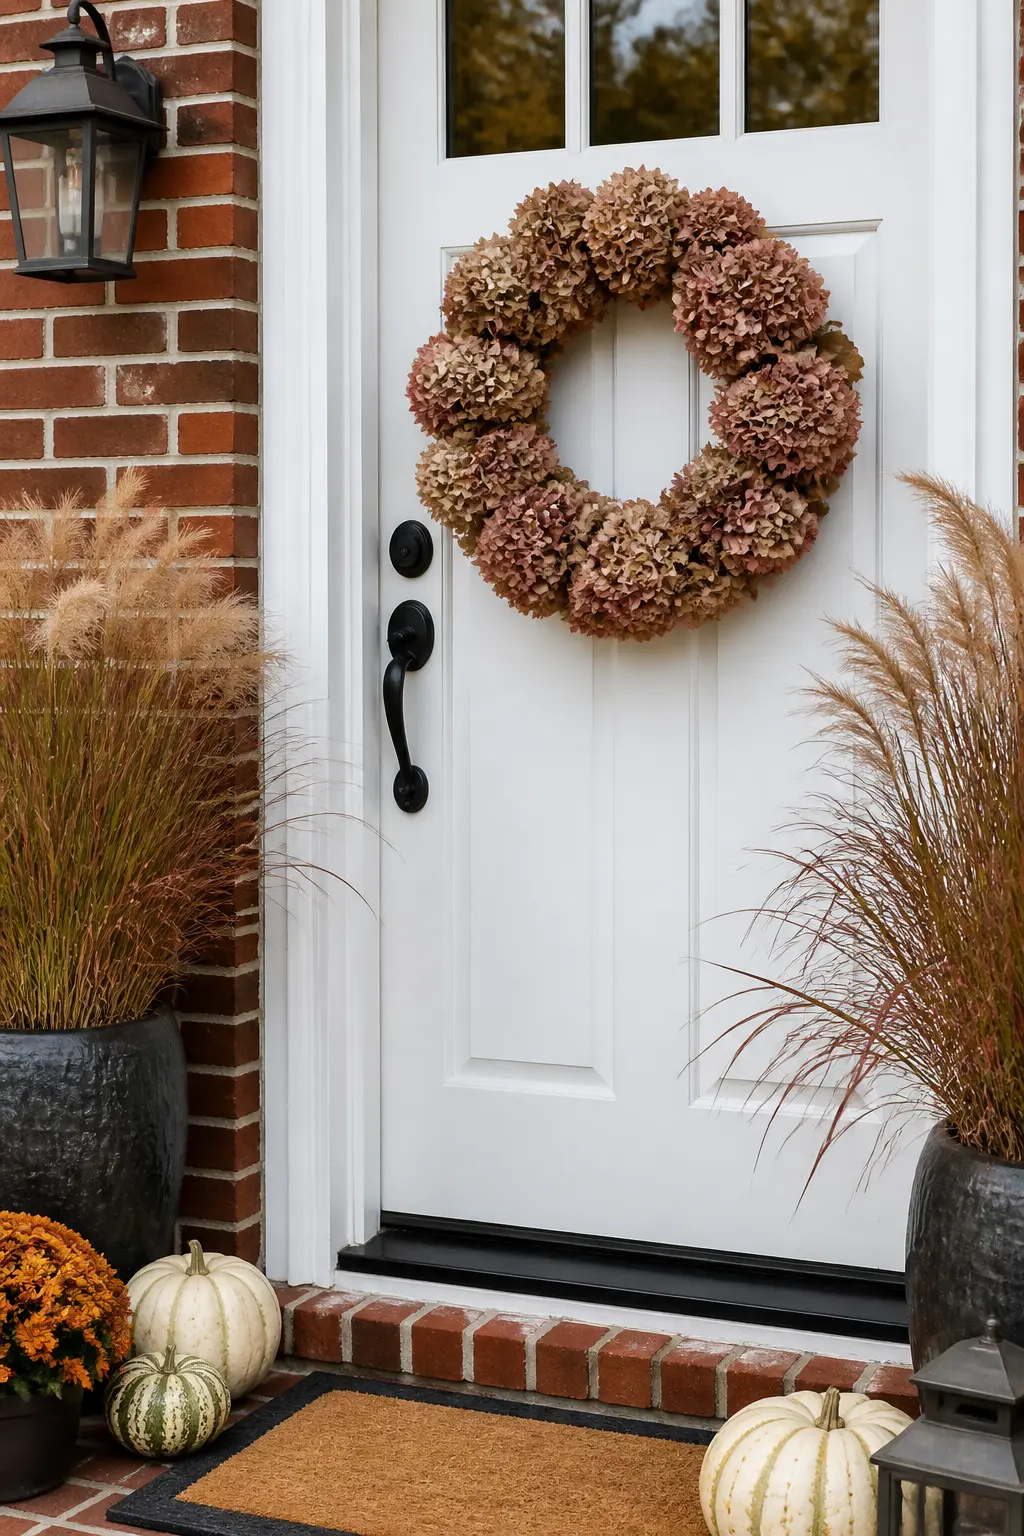
Hydrangeas dry to a colour that no dye can replicate: a dusty mauve-green or faded blush that reads as genuinely aged. Let fresh heads dry upright in a vase with no water, or hang them upside down in a warm room for two weeks, and the result is far softer than anything sold as a dried floral.
Wire a willow wreath form to the back of a picture hook before you start building. Cut hydrangea stems to about three centimetres and wire each head onto the form, working in one direction so the stems hide behind the head in front. Fill any gaps with smaller blooms or broken clusters pressed in from the side.
Hang it on a front door or an interior wall. Either way, the pale volume of it fills space beautifully without competing with anything else in the room.
Corn Husk Wreath
Dried corn husks layer onto a wire form into something that looks like a textile rather than a harvest decoration. Soak the husks briefly in warm water to make them pliable before you begin, then let them drain so they are damp but not dripping.
Fold each husk into a loop and pinch it at the base, then press it against the wire form and wrap floral wire tightly around the pinched base to secure it. Work in one direction around the form, pressing each loop close to the last so the husks fan outward and cover the wire underneath. Layer a second ring inside the first if any wire shows through.
Hang it on a door or a wall. As the husks dry completely on the form they tighten and hold their position. The natural cream colour of dried corn reads warmer than it sounds.
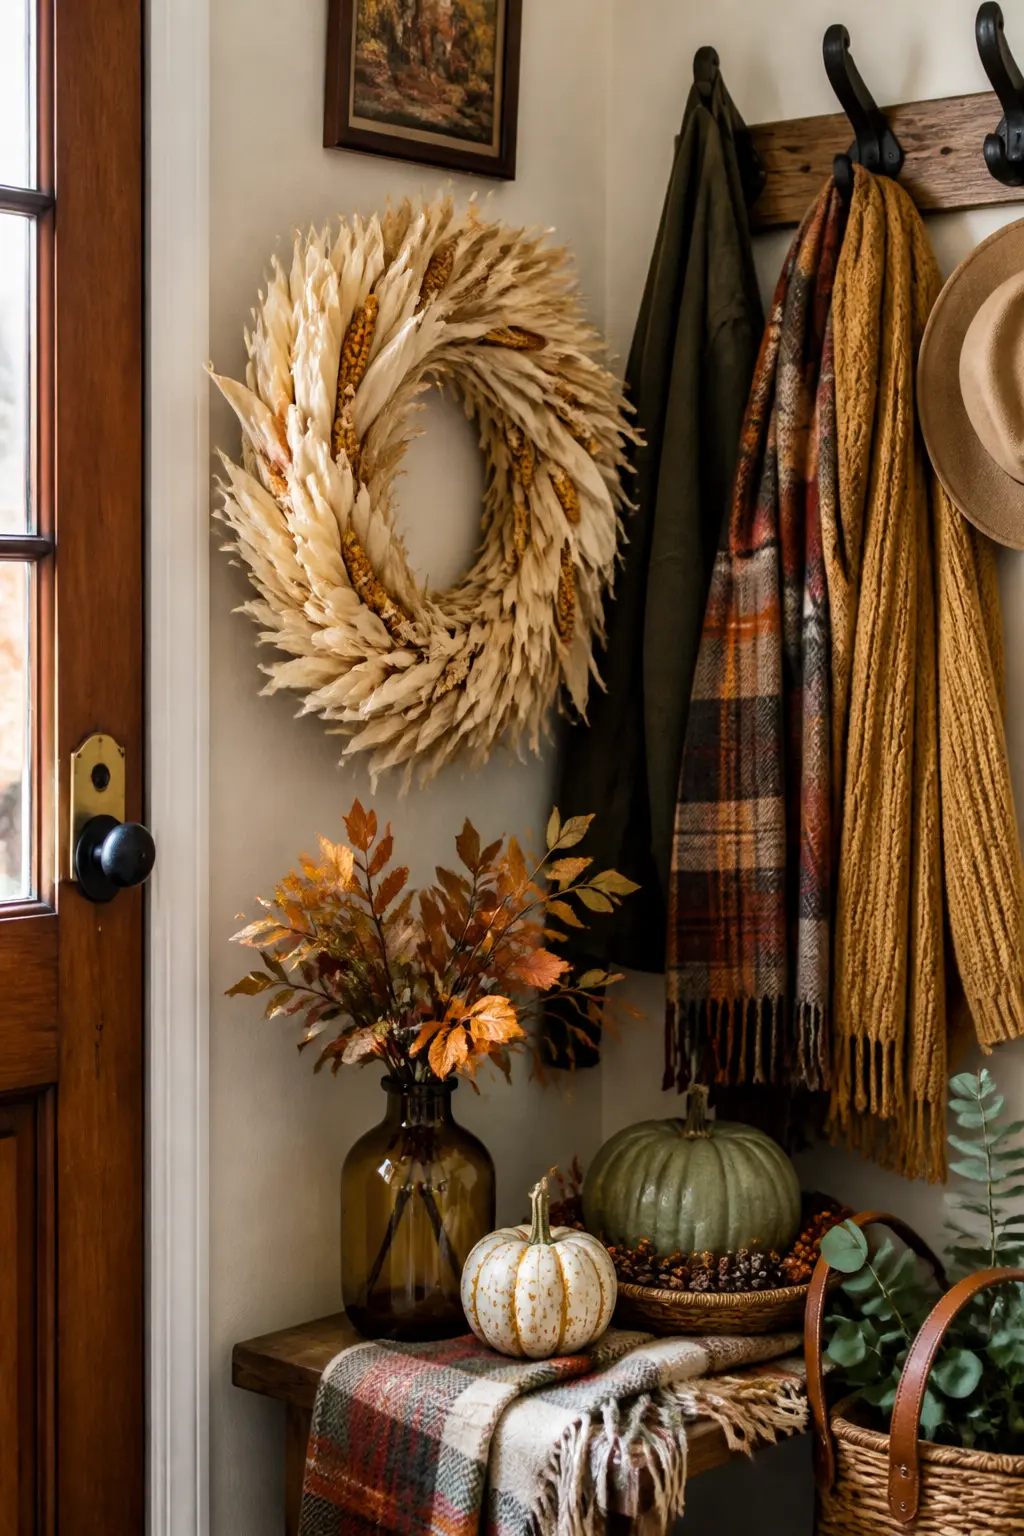
Table and Kitchen
Table decor has to survive use. A stained serving board, a set of leaf-print placemats and woven jute coasters are all things that live on the table during a meal without being moved out of the way first.
These are also the projects most likely to earn a compliment from someone who had no idea they were handmade, which is exactly the point.
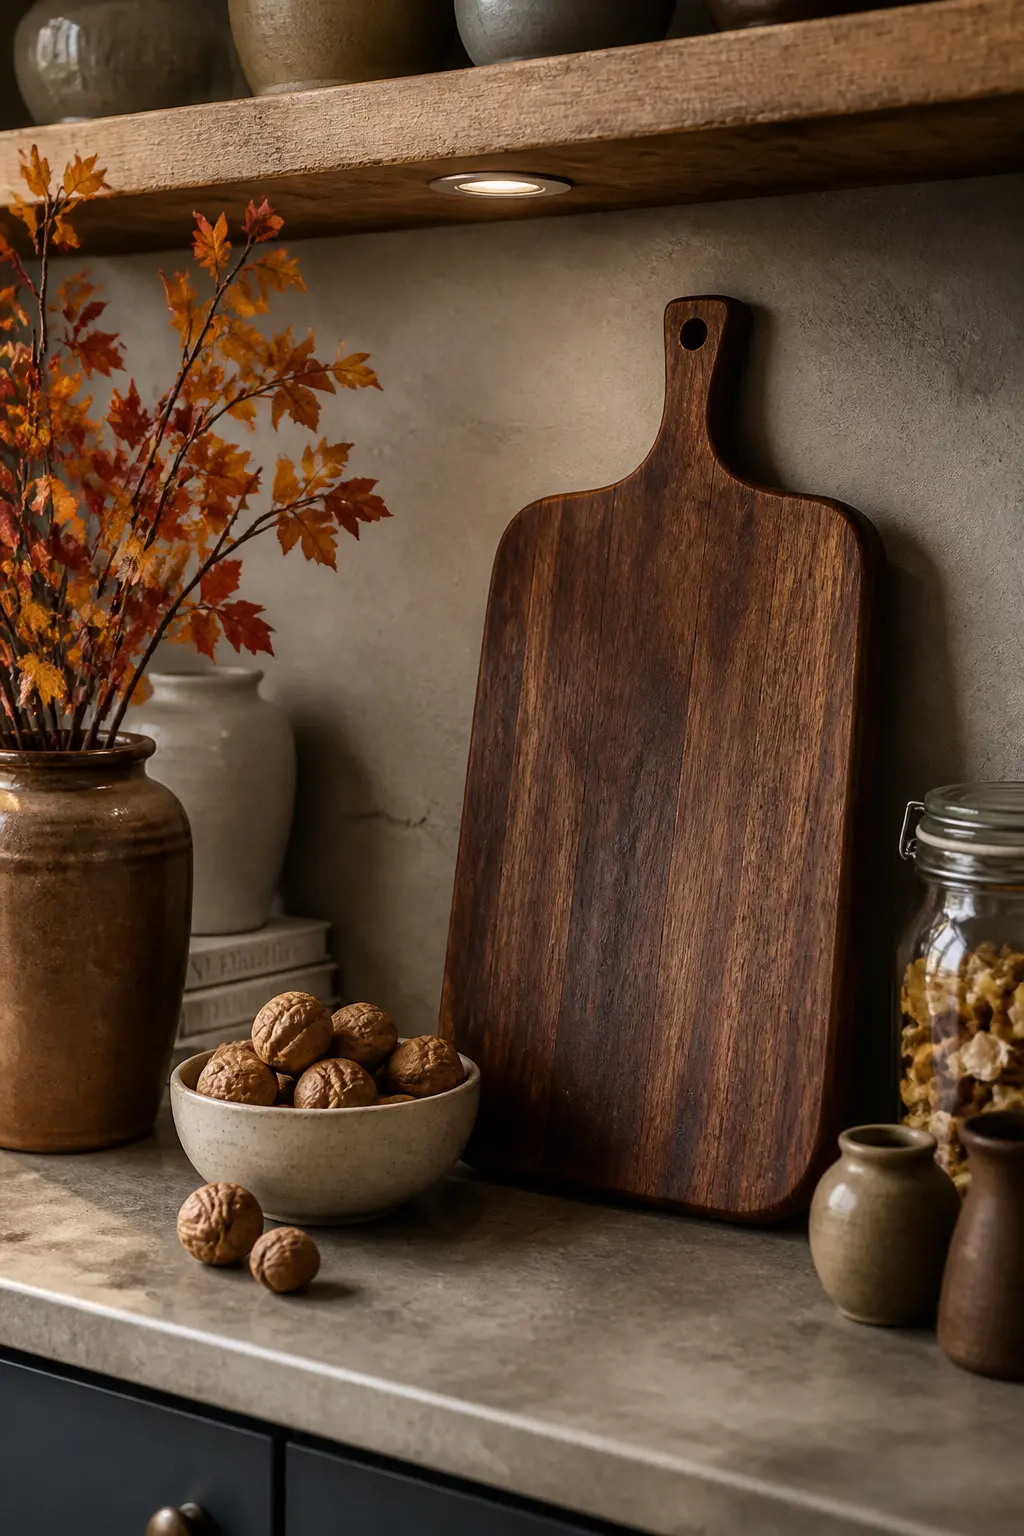
Stained Wood Serving Board
A raw wood board from a lumber yard or craft shop becomes a genuinely useful piece of kitchen equipment with about an hour of work. Sand it through two grits, finishing with a fine paper so the surface feels smooth under your palm with no grain catching your fingers.
Wipe away the dust and apply a dark walnut or ebony stain with a cloth, working with the grain and wiping back the excess before it pools. Let it dry fully, then finish with two coats of food-safe mineral oil, buffing between coats. The oil deepens the stain and protects the wood from moisture.
Use it as a cheese board, a bread board, or simply prop it against the kitchen wall as a decorative object between meals. A board this dark reads as intentional rather than accidental.
🛍 Shopping guide
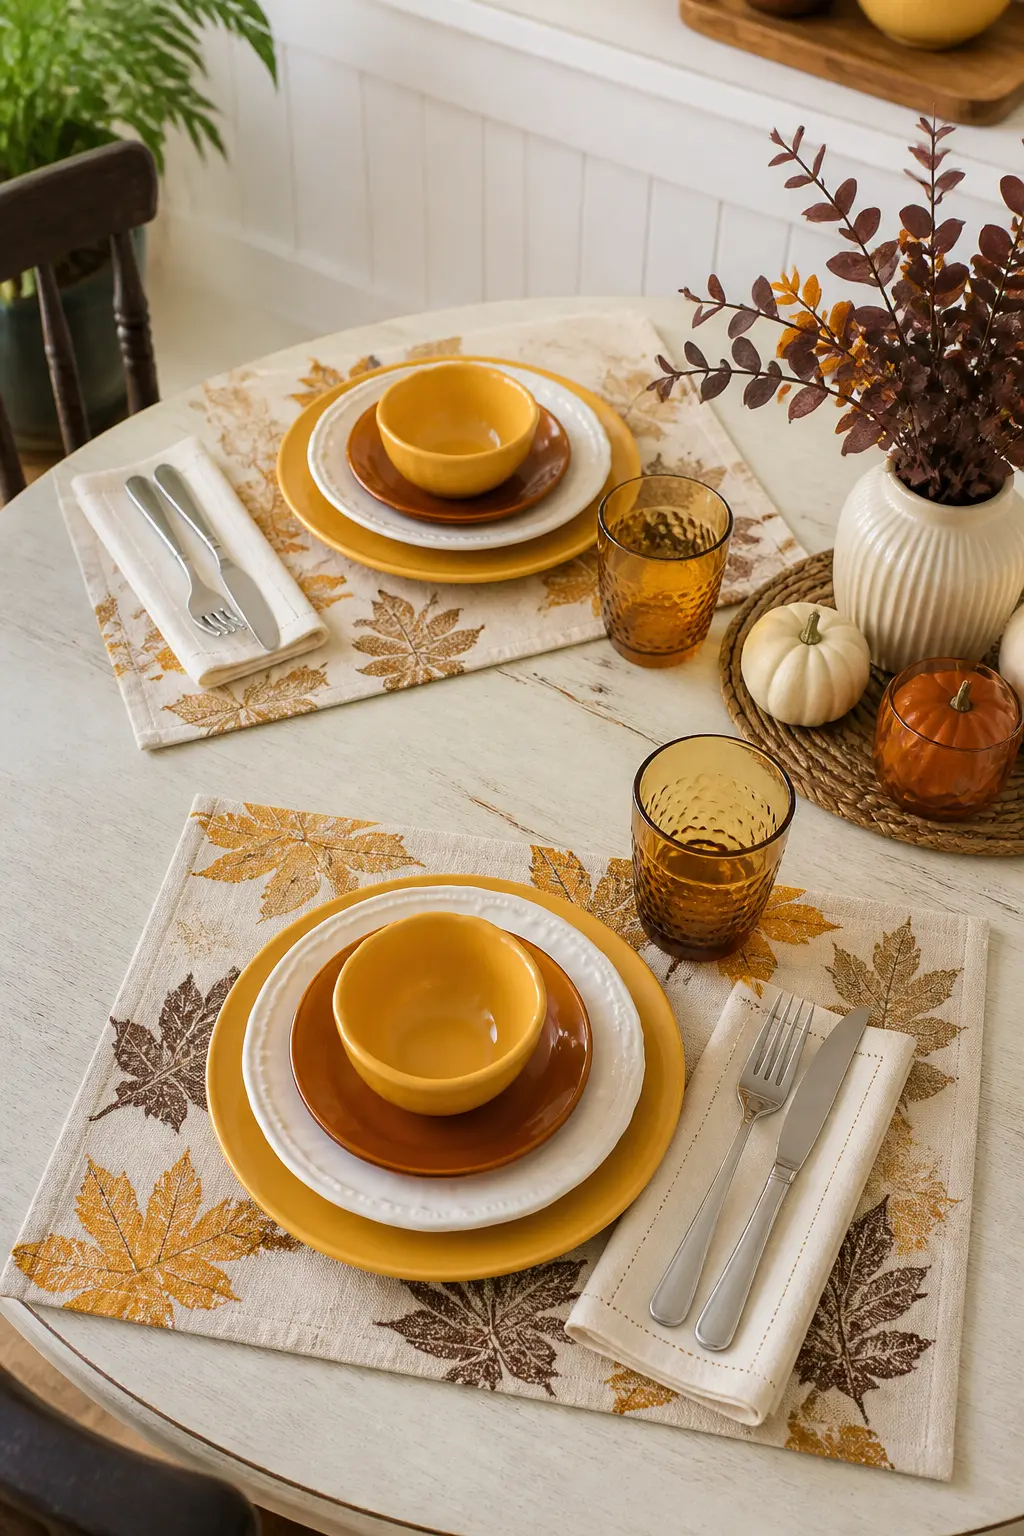
Leaf Print Placemats
Pick leaves with strong vein structure: oak, maple and sycamore all transfer well. Press them flat between books for a day before you print so they lie completely flat against the canvas mat surface.
Brush fabric paint onto the underside of the leaf, covering every edge without pooling. Press the leaf paint-side down onto the mat, lay a clean piece of paper over it and press firmly with your palm from the centre outward. Peel the leaf away in one motion. Let the print dry completely before heat-setting with a dry iron on the reverse side.
Print four to six leaves per mat, varying the species and the angle. No two mats need to match exactly: the variation is part of what makes them look considered rather than mechanical.
Woven Jute Coasters
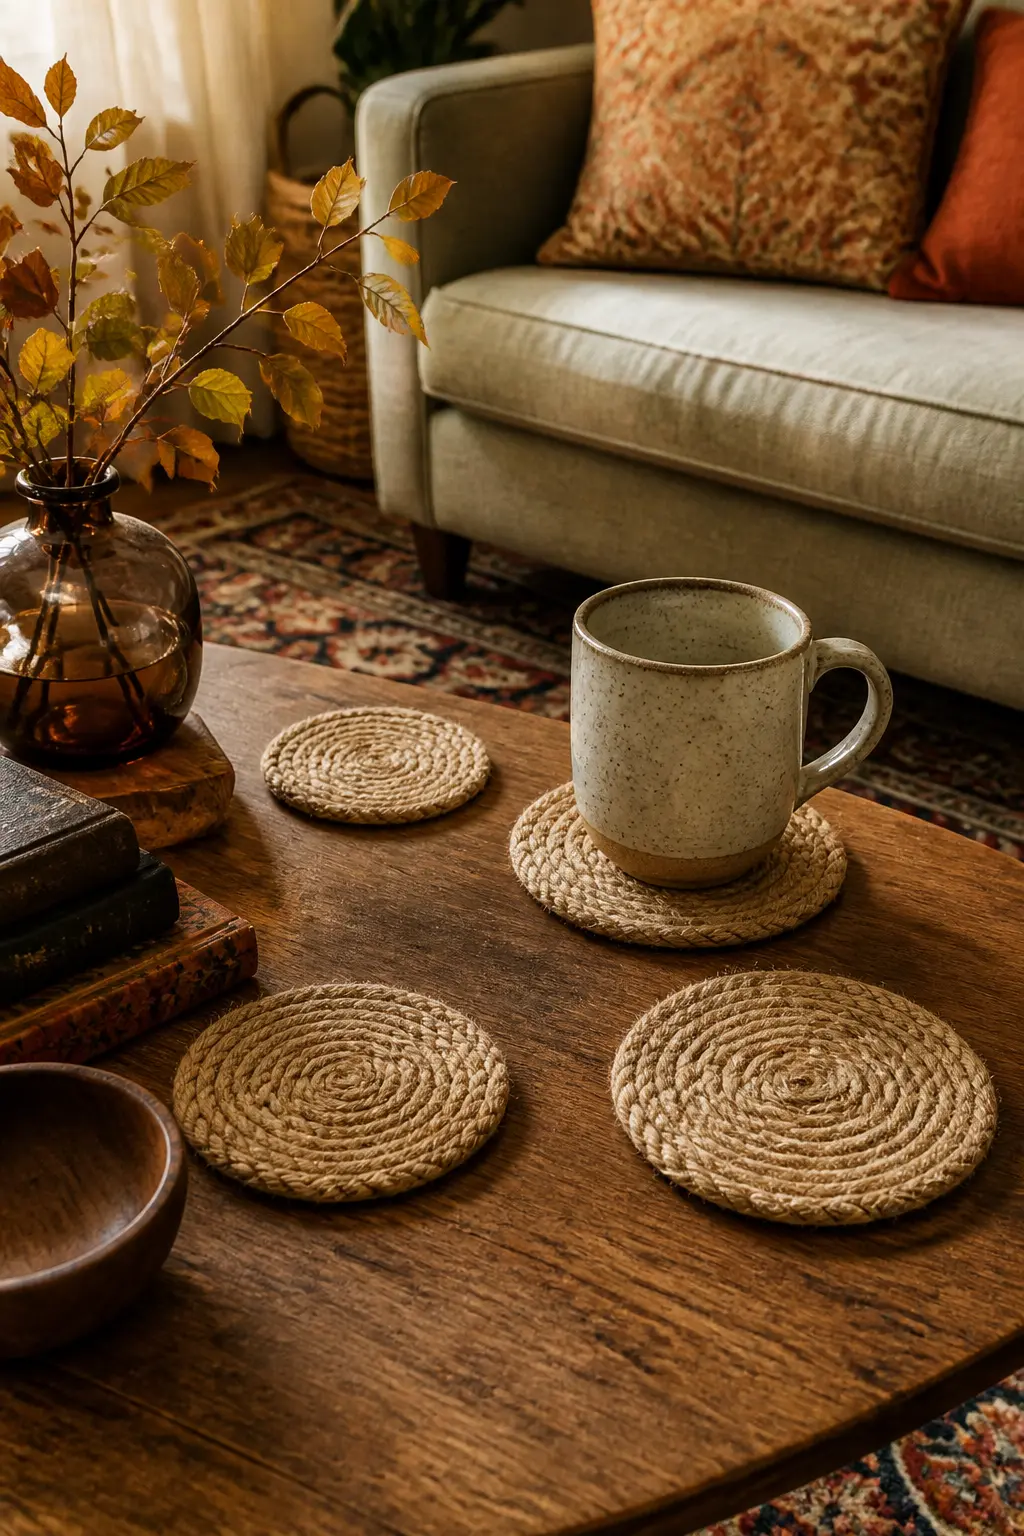
Jute rope coasters are the project that looks more complicated than it is. Start with the rope end and apply a small dot of hot glue, then press it against itself and begin coiling tightly in a flat spiral, adding glue every few centimetres to keep the coil bonded.
Work slowly enough that each coil sits flush against the last without gaps. When the coaster reaches about ten centimetres in diameter, cut the rope and tuck the end underneath the coil, securing it with glue. Press the whole thing flat between two books while the glue cools.
Make a set of six so there are always enough on the table. They look well with the stained serving board and they are functional enough to use every day, which is the real test of whether a craft project becomes decor or becomes clutter.
🛍 Shopping guide
Candles and Fire
Beeswax is the one material that looks expensive without costing much. The scent alone changes the feeling of a room. Make a batch of fire starters for the hearth and a set of rolled candles for the table and the whole house smells like October without a single synthetic fragrance involved.
Beeswax Fire Starters
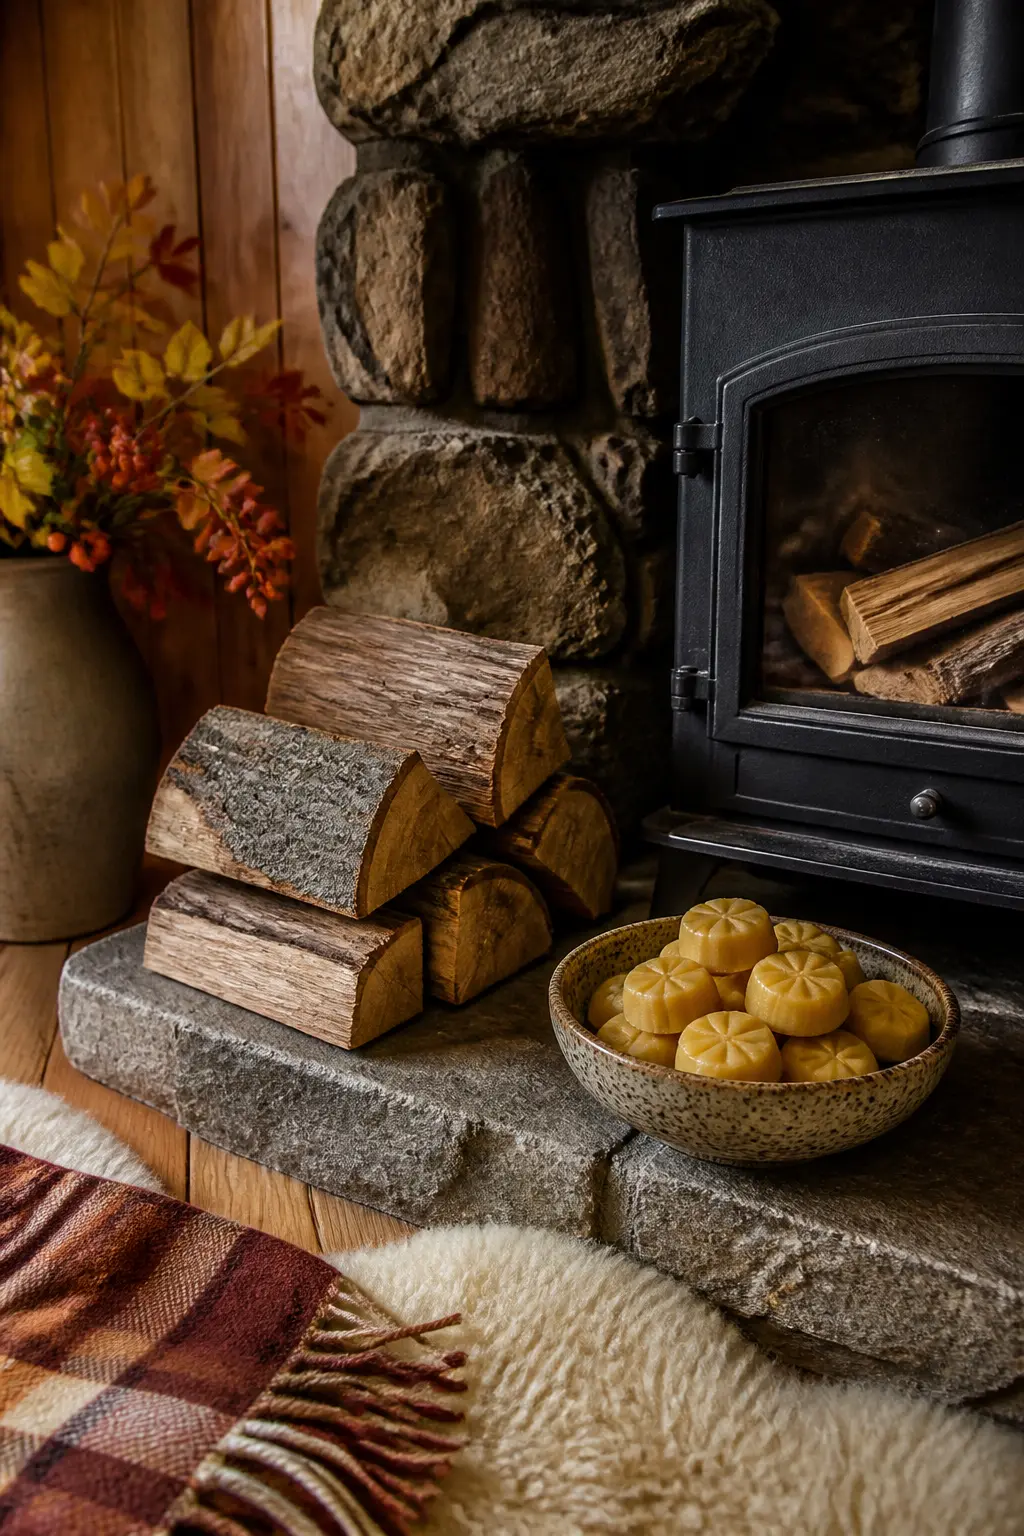
Fire starters made from wax and wood shavings look like something from a boutique apothecary. Pack a small handful of fine wood shavings into each cup of a muffin tin and press a cotton wick down the centre of each one, leaving a centimetre of wick above the shavings.
Melt beeswax pellets in a double boiler and pour slowly into each cup, letting the wax settle around the shavings without submerging the wick tip. Leave them to harden at room temperature rather than in the fridge, which can cause surface cracking. Pop them out once solid.
Store them in a ceramic bowl or a wooden box near the fireplace. They are practical, they smell like honey when they burn, and they make a generous and inexpensive gift in a kraft paper box tied with twine.
Rolled Beeswax Candles
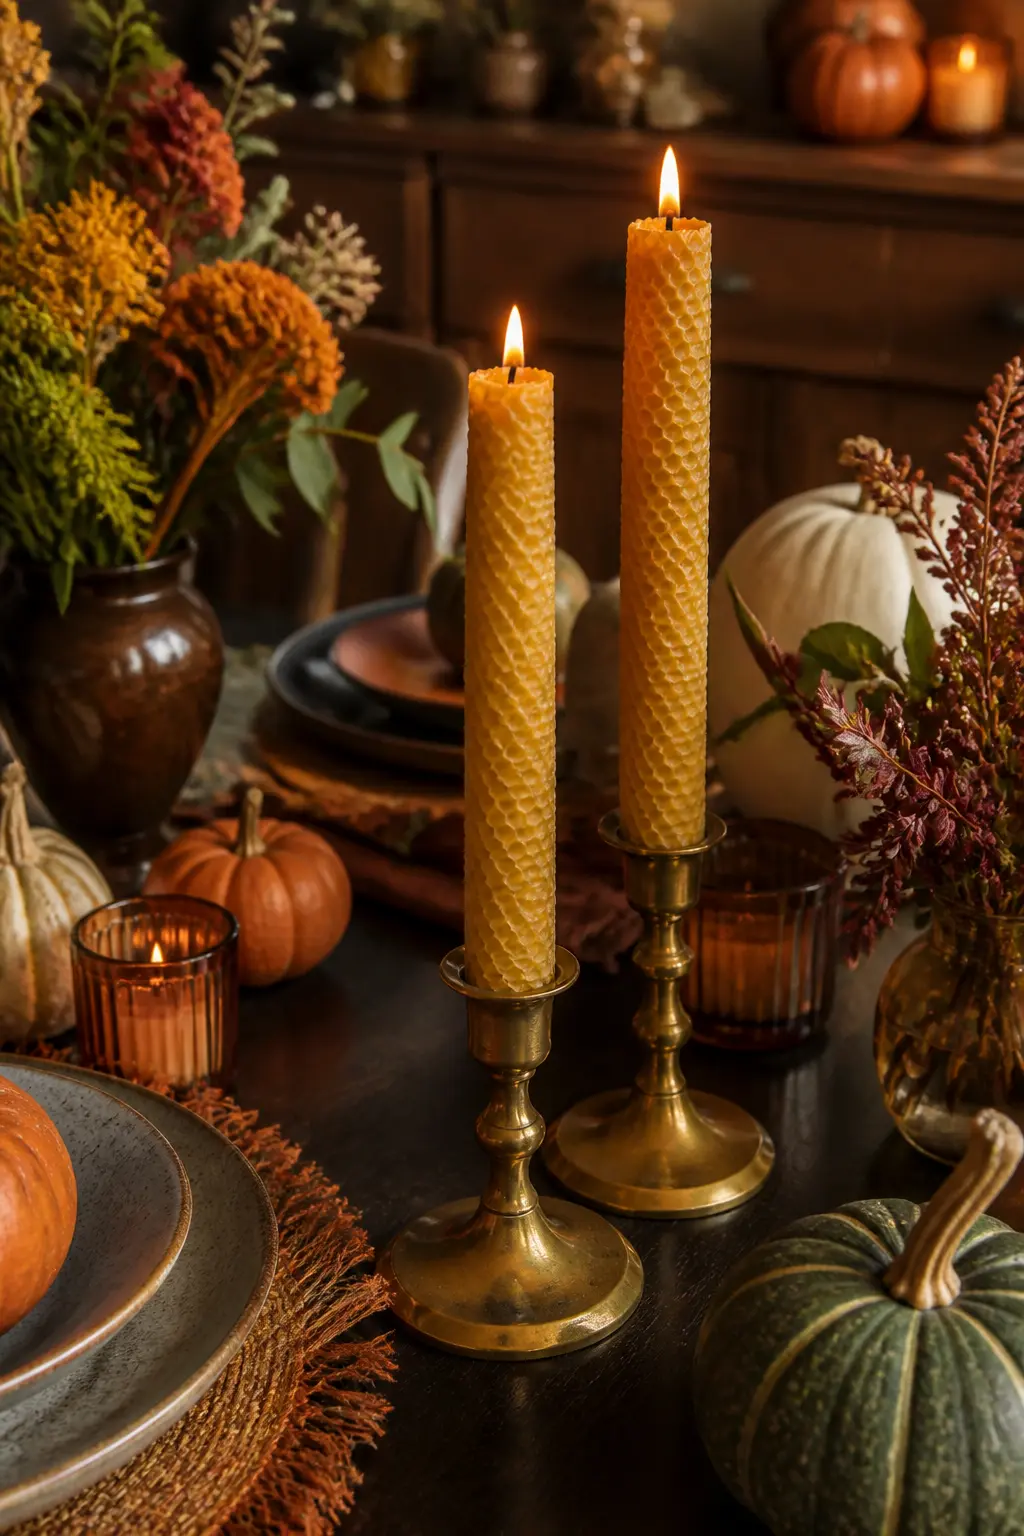
Beeswax sheets roll into tapers in under five minutes once you know the method. Lay a sheet on a flat surface and run a hair dryer over it on a low setting for about thirty seconds, just until it becomes pliable without cracking when you bend the edge.
Press a pre-waxed wick along one short edge, leaving a centimetre extending above the top of the sheet. Roll the sheet tightly from that edge, pressing as you go to keep the roll firm and the layers close together. When you reach the far edge, press it gently against the body of the candle to seal it.
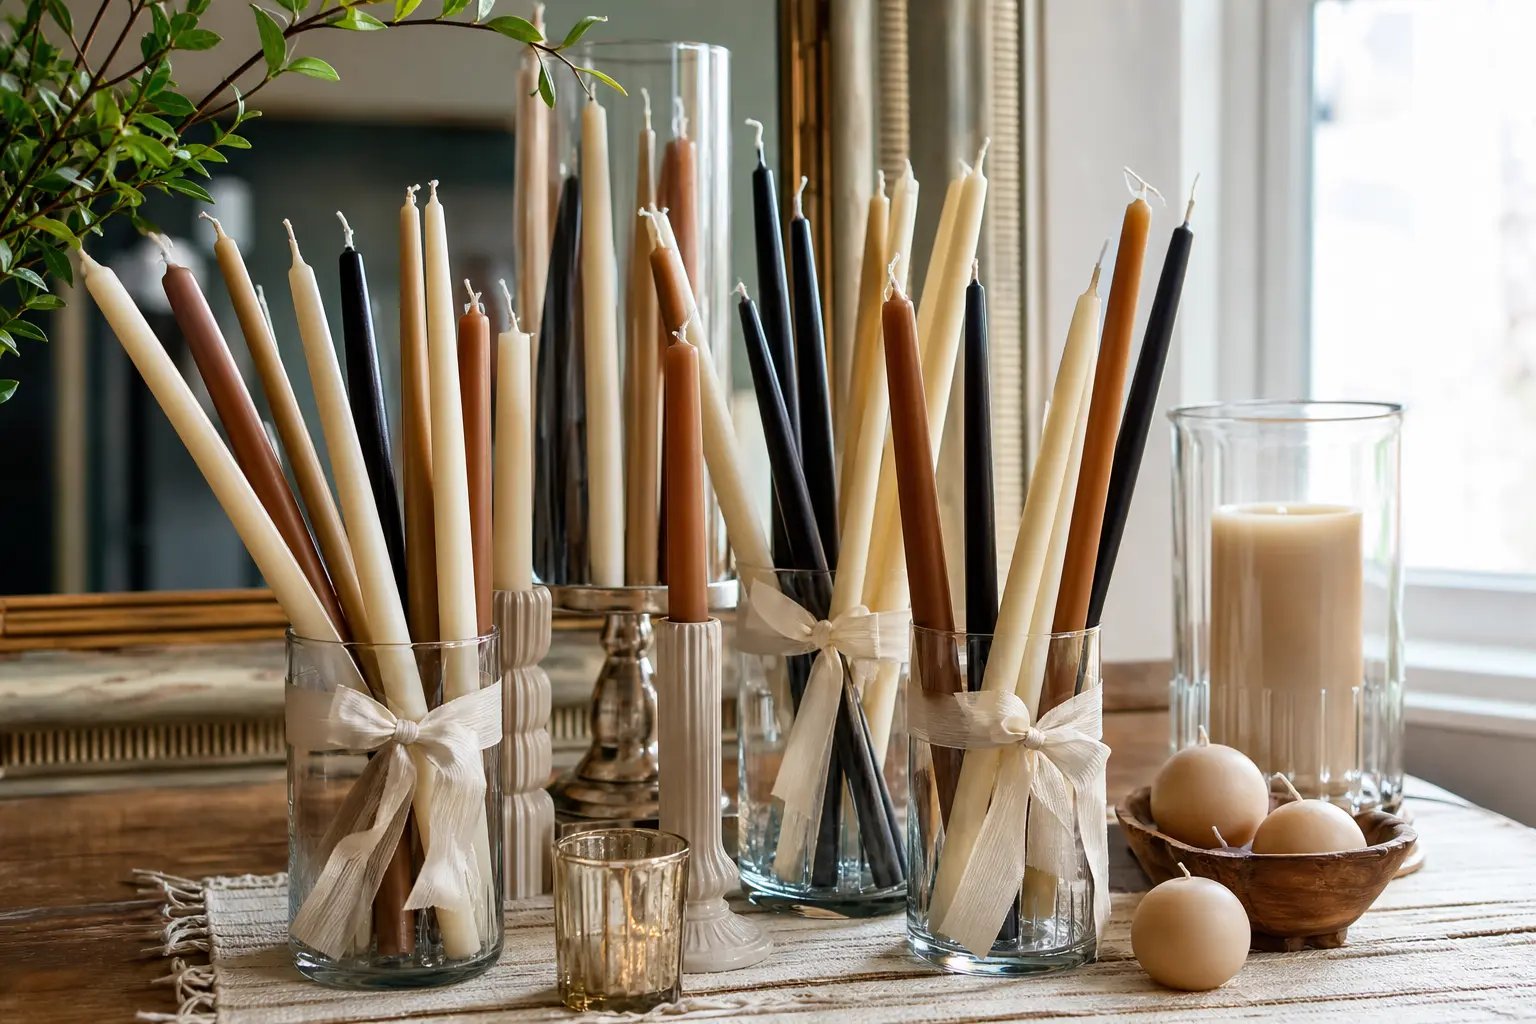
Make pairs in different heights by cutting the sheet at different widths before you roll. Stand them in candlesticks or in the branch holder from this list. The honeycomb texture of the wax catches candlelight in a way that machine-poured candles do not.
🛍 Shopping guide
Textiles
Fabric projects are the ones that quietly unify a space. A cotton runner and a stitched napkin set made from the same bolt of cloth pull a table together more effectively than any number of individual accessories would.
Cut, press and stitch: the technique is the same for all of them, so you can run through the whole textile section in a single session.
Cotton Table Runner
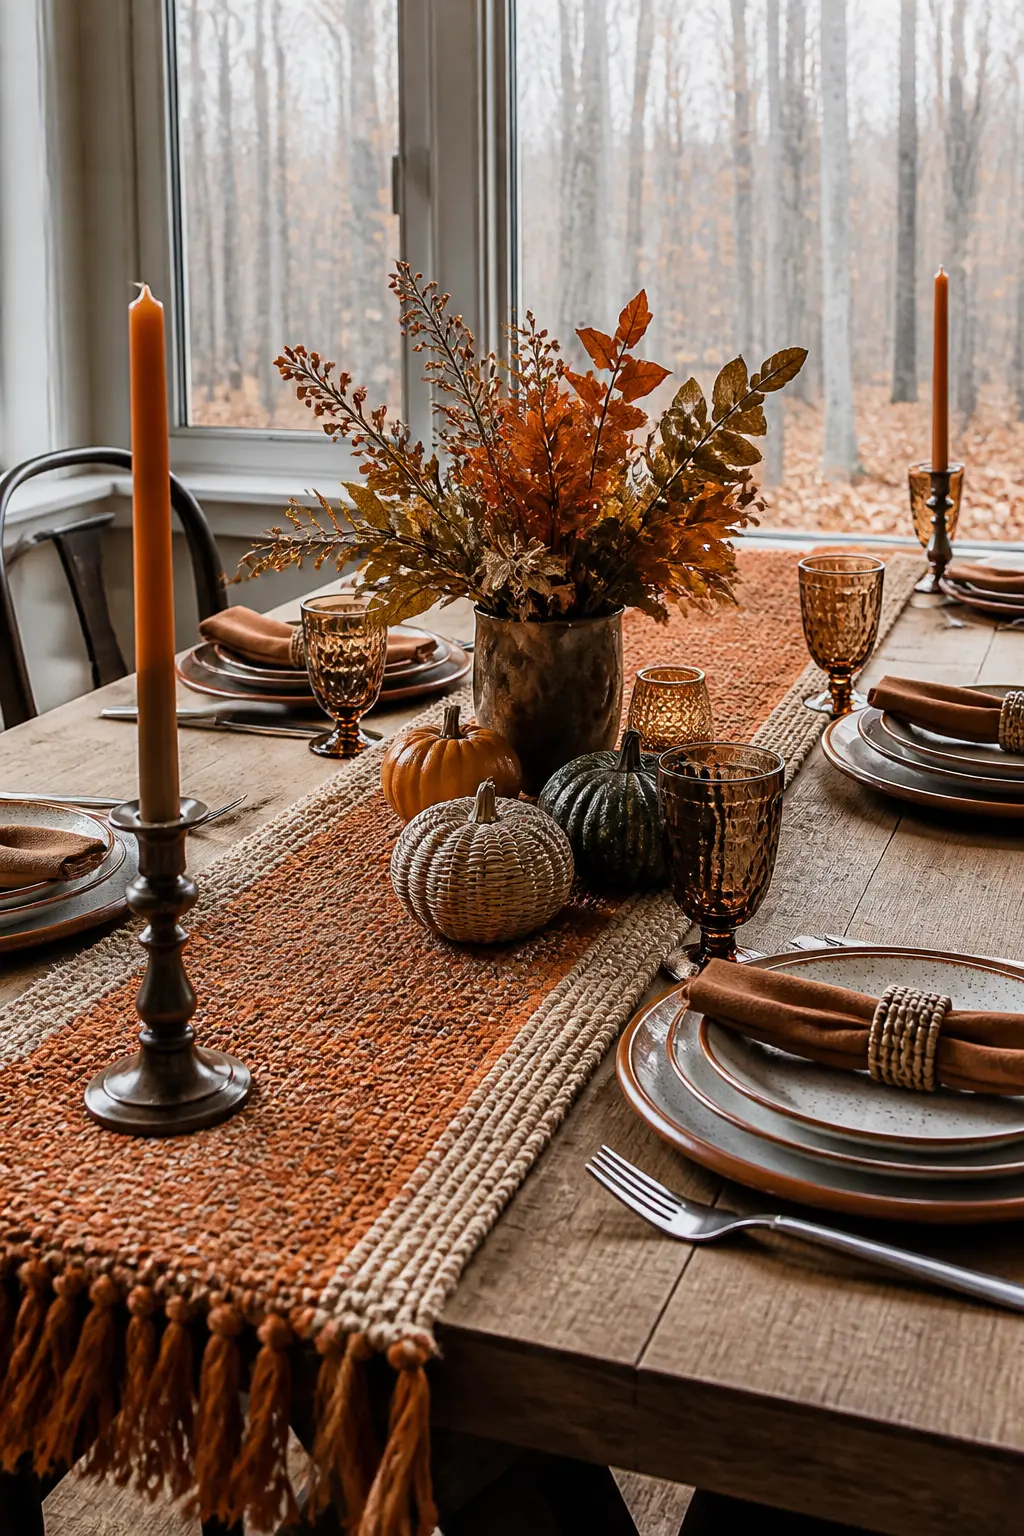
A table runner pulls a dining table together faster than almost any other single object. Choose a cotton in a warm neutral: undyed linen-look cotton, a soft ochre or a warm oatmeal all work. Cut it to the length of your table plus about forty centimetres of overhang on each end.
Fold and press each edge under by a centimetre, then fold and press again to hide the raw edge. Pin and stitch a running hem all the way around. Press the finished runner before you put it on the table: the difference between a pressed hem and an unpressed one is the difference between handmade and homemade.
Pair it with the stitched napkin set from this list and the two read as a coordinated collection.
Stitched Napkin Set
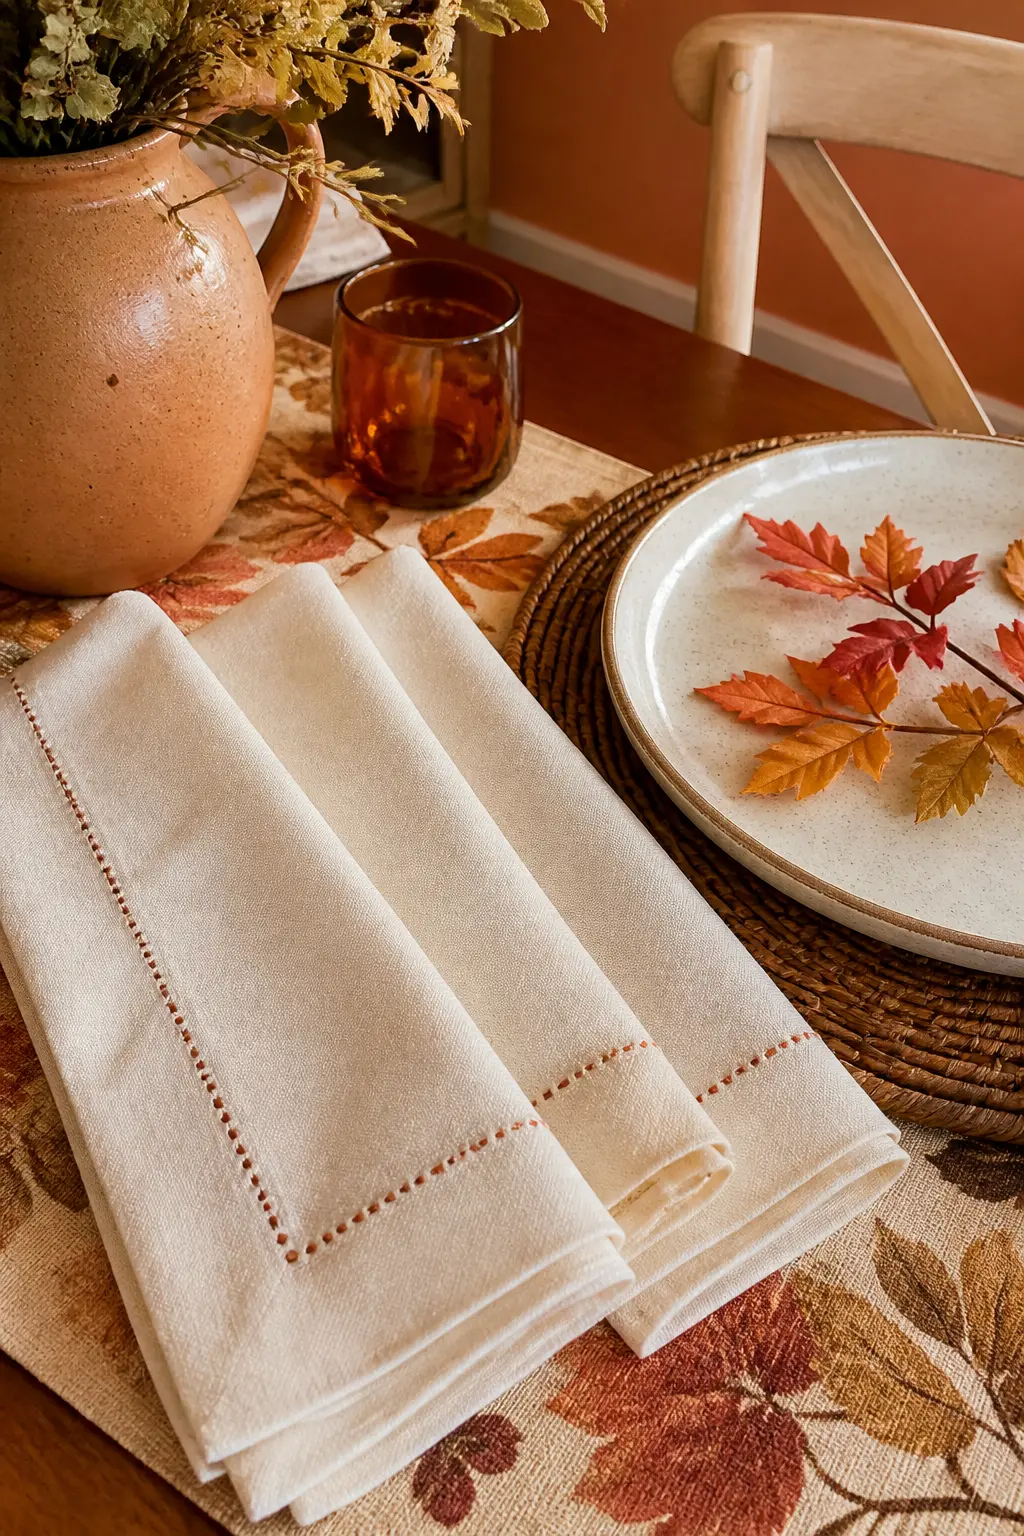
Cut your cotton fabric into forty-centimetre squares, using a rotary cutter and a ruler if you have them, scissors and a straight edge if you do not. The accuracy of the cut determines how the finished napkin sits on the table, so take the time to get the squares true.
Fold and press each edge under by one centimetre, then fold and press again to bury the raw edge. Stitch the hem by hand with a simple running stitch in a thread that either matches the fabric exactly or contrasts it in a colour from the rest of your autumn palette.
A set of eight napkins from one bolt of fabric costs less than a set of four from most home stores, and the weight and texture of a cloth napkin from good cotton puts the purchased kind in the shade.
🛍 Shopping guide
Frequently Asked Questions
What fall crafts for adults are easiest to finish in one sitting?
The woven jute coasters, rolled beeswax candles, beeswax fire starters and dried apple ring garland all take well under two hours from start to finish. None of them require drying time that sends you back the next day.
Which materials do I need to buy versus forage?
Acorn caps, dried leaves and fallen branches cost nothing. Corn husks and dried wheat are inexpensive at a farmers market or craft shop. The biggest cost items are velvet fabric, beeswax sheets and wool felt, all of which stretch across multiple projects if you buy by the yard or in bulk.
Do these fall crafts for adults hold up through the whole season?
The fabric pumpkins, felt garland, stained wood pieces, candlesticks and coasters are permanent and go back into storage each year. The dried orange garland and dried hydrangea wreath typically look good for one full season. The beeswax candles and fire starters are consumables.
Can I make these crafts as gifts?
Yes, and several of them read as genuinely expensive gifts. The beeswax fire starters in a kraft box tied with twine, a set of stitched napkins or a dark-stained serving board all present beautifully without any additional packaging.
What skill level do these fall crafts require?
Most need no formal craft skill at all: the candles, fire starters, garlands and jute coasters require only basic hand work. The sewing projects need a straight hem, nothing more. The branch candle holder is the only one that requires a power tool, and it is just a standard hand drill.
I came home from the beach last summer with an entire grocery bag of shells. Just… stuffed th
15 candle bouquet ideas with product-style shop names, plus the exact wax, fragrance percentage, col
This post contains affiliate links. If you buy something through these links, I may earn a small com
Leave a Reply