

Fairy Garden Birthday Party: A Magical Floral Celebration for Your Little Girl
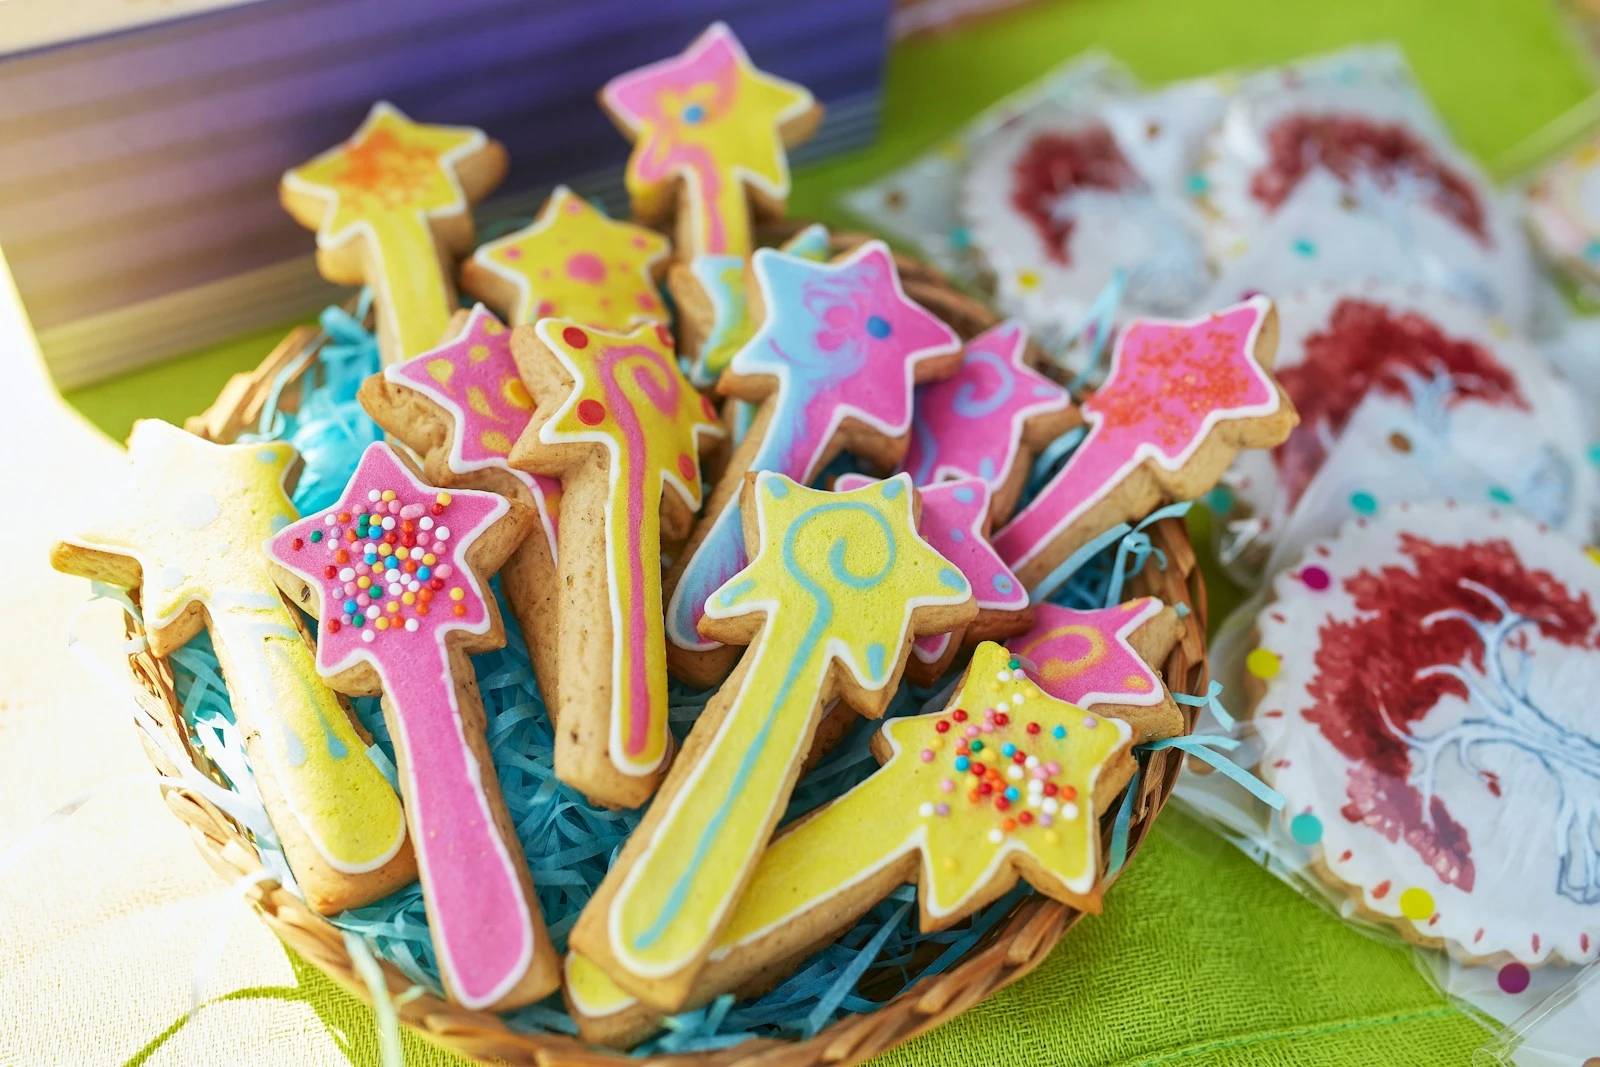
My daughter turned five in April, and I spent two weeks going down every party Pinterest rabbit hole you can imagine. Flower walls. Elaborate balloon arches. Rented backdrops that cost $300. I eventually closed the laptop, drove to the grocery store, and spent $47 total. The party looked like something out of a storybook.
This is the thing nobody tells you about a fairy garden birthday party: the ingredients are cheap and they photograph beautifully. Moss, tiny mushrooms, grocery store flowers, a bag of fairy lights. That’s basically it. The magic is in how you arrange them, not how much you spend.
This post contains affiliate links. If you buy something through these links, I may earn a small commission at no extra cost to you. I only recommend things I’d actually use.
Fairy Garden vs. Floral Party — They’re Not the Same Thing
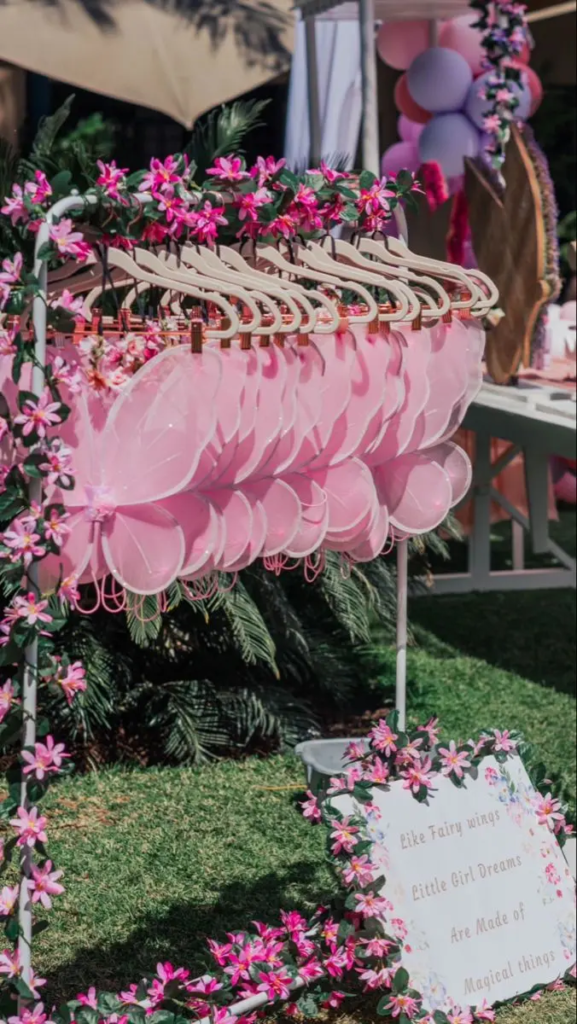
Before you start shopping, it’s worth getting clear on which direction you want to go, because they have a different feel.
A floral party is elegant. Think soft pastel roses, peonies, ribbon, pretty tablecloths. It’s pretty in a polished, almost grown-up way. Perfect if you want something refined and sweet.
A fairy garden birthday party is whimsical and earthy. You’re leaning into mushrooms, moss, twisting branches, tiny doors, and flowers that look like they grew wild instead of arranged. It feels like the forest came inside. The two can overlap — you can absolutely put flowers in a fairy garden — but the mood is different. One is a garden party. The other is an enchanted forest.
For little girls especially, the fairy garden version tends to win. There’s something about miniature things and hidden magic that absolutely floors kids between ages 3 and 8.
The $20 Foundation That Makes Everything Look Expensive
Here’s the whole trick: a bag of preserved or craft moss ($6–8 at Michaels or Hobby Lobby), a handful of decorative mushrooms from the craft store ($5–7), and a bouquet of whatever’s freshest at the grocery store that week ($8–12). White daisies, pink ranunculus, baby’s breath — whatever’s there.
Spread the moss flat on a table, tuck in the mushrooms, and lay the flowers loosely around them. Add a string of fairy lights for $8 and you have a centerpiece that looks like it took hours.
The rest is just repeating that formula in different sizes and spots around the party space.
The Invitation: Fairy Door Concept
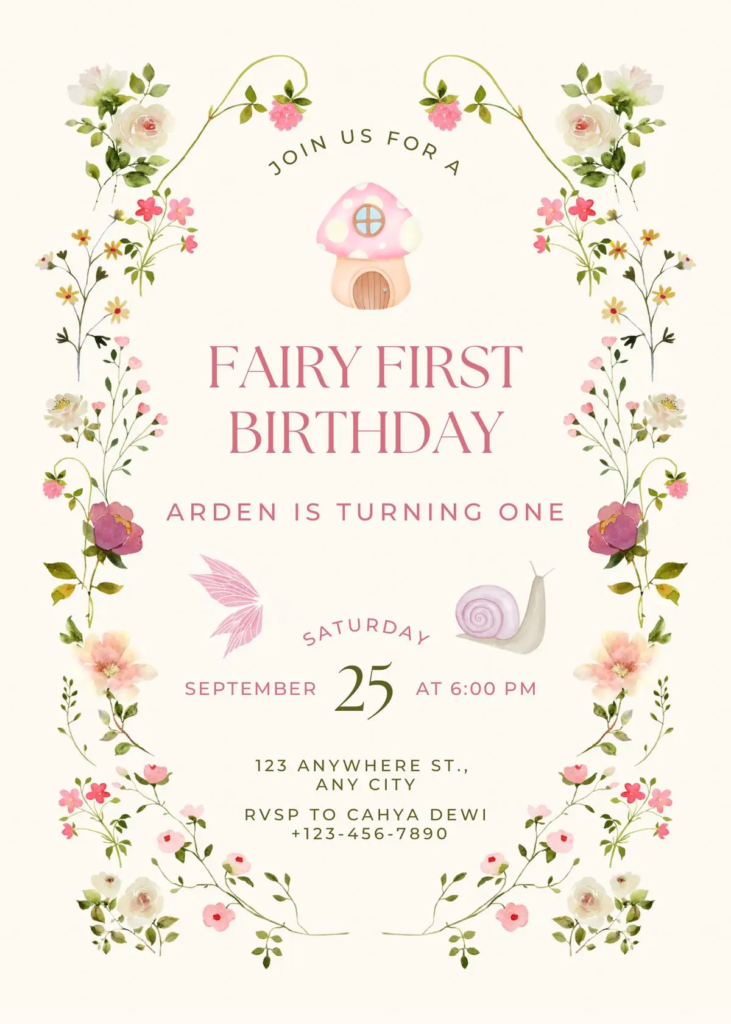
Instead of a standard flat card, send a fairy door invitation. This sounds complicated but it isn’t.
Print the invitation text on cardstock in a soft font — something slightly script-y but still readable. Then cut the edges to look slightly arched, like a tiny door. Add a small craft wood or cardboard “door frame” if you want to get fancy, or just stamp or draw a little doorknob in the corner.
The text can say something like: “A fairy has left this door just for you. Follow it to [child’s name]’s enchanted birthday garden…”
Kids go nuts for this. Parents save them.
If the full DIY feels like too much, search for fairy door birthday invitations on Amazon — there are print-at-home versions for a few dollars that come in editable formats.
Mushroom and Flower Balloon Arrangement
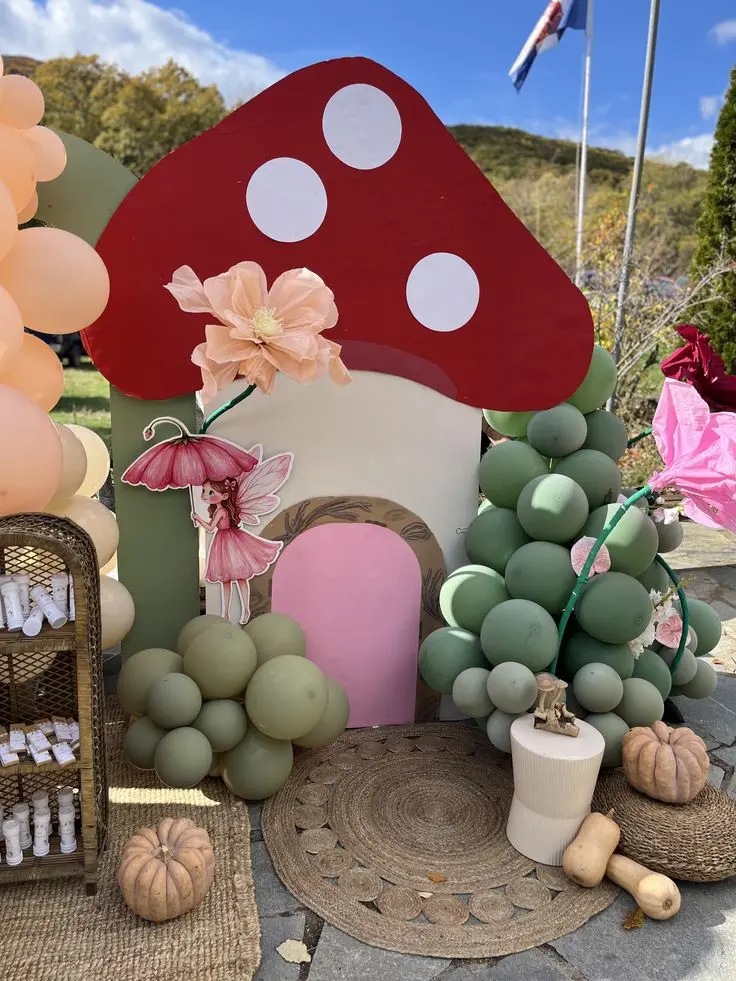
You’ve probably seen the white balloon mushrooms floating around Pinterest. They’re easier than they look.
Blow up white balloons — some round, some slightly oblong. Use red or pink marker or adhesive dots to add spots to some of them. Cluster them together at varying heights using balloon sticks and a balloon weight base. Tuck in a few pastel pink or blush balloons between them to represent flowers. Add a few green ones for leaves.
The balloon weight at the base gets hidden under a handful of moss. Suddenly it looks intentional and botanical instead of just… a bunch of balloons.
One cluster like this at the entrance sets the whole mood before anyone even walks in.
The Enchanted Forest Table Setup
This is where you spend the most time, and where the photos come from. It doesn’t have to be complicated.
Branches: Go outside and pick up a few fallen branches with interesting shapes, or grab a decorative branch bundle from the craft store. Stand them in a vase weighted with river rocks. Drape warm-white fairy lights over them loosely — battery-operated so you don’t need an outlet.
Moss runner: Lay craft moss down the center of the table instead of a traditional table runner. Seriously, just pour it out and spread it. It costs $6 and looks like a forest floor. Tuck small mushrooms, crystals, or acorns into it as you go.
Flower clusters: Every 12–18 inches, place a small bud vase or even a mason jar with 3–4 stems. Grocery store flowers work perfectly here. Mix heights — one jar with tall stems, one with short.
Fairy doors: Lean tiny wooden fairy doors against the bases of the bud vases. Under $10 for a pack of several. Kids will spend half the party moving them around, which is honestly the best entertainment.
Candles: If the kids are old enough to not grab them, small mushroom-shaped candles are a gorgeous touch. If not, LED tea lights are fine.
The DIY Flower Crown Station (The Star Activity)
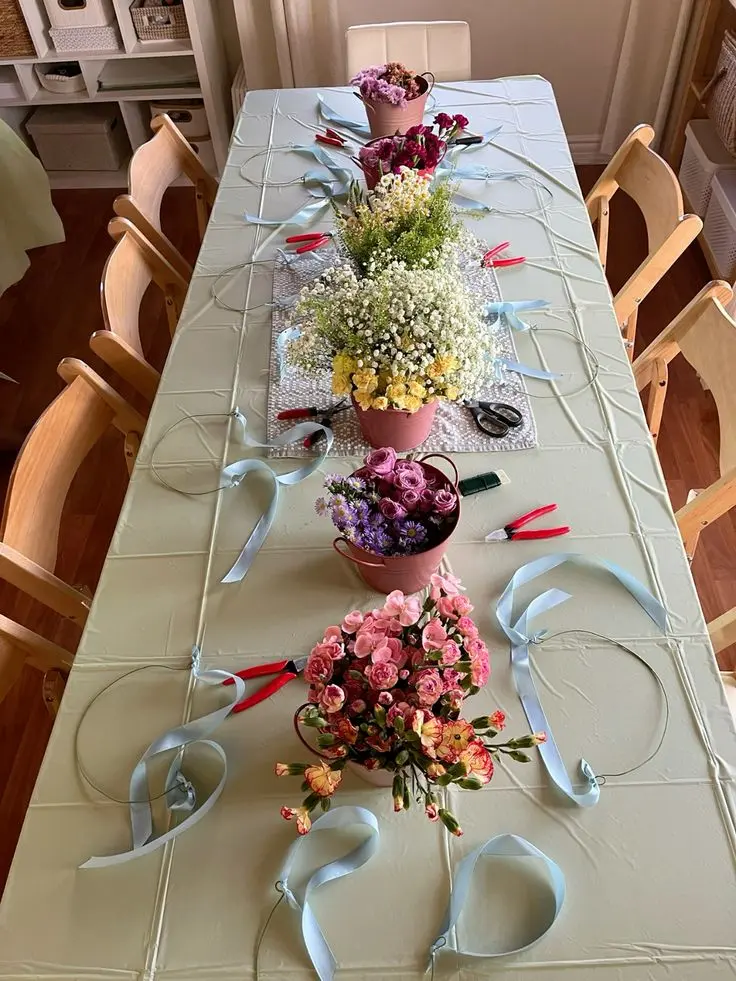
This is the activity everyone takes home in their hair and talks about for weeks. It’s also genuinely easy to set up.
What you need:
- Floral wire (18-gauge works well) — cut into 24-inch lengths, one per child
- Floral tape (green, stretchy kind)
- Wire cutters or strong scissors
- Flowers: daisies, small roses, baby’s breath, lavender — cut stems to about 2 inches
- Optional: ribbon, small butterfly clips, leaf garland pieces
Setup: Lay everything out on a low table. Put flowers in small cups of water by type so they stay fresh. Pre-cut stems. Pre-cut the wire lengths and bend each one loosely into a circle shape so kids can see what they’re making.
Instructions for the kids (say it this way — they get it):
- Take a wire circle and find where the ends overlap a little — that’s where you’ll start.
- Pick your first flower and hold it against the wire.
- Wrap floral tape around the stem and wire a few times, pulling the tape to stretch it (that’s what makes it stick — it sticks to itself).
- Pick your next flower, hold it right next to the first one so they touch, and tape again.
- Keep going around the whole circle, adding flowers and baby’s breath until it’s as full as you want.
- When you get back to where you started, tuck the last few stems under the beginning flowers and tape over everything.
- Twist the wire ends together to close the circle.
For parents helping little ones: Have adults do the wire-twisting and taping while kids pick and place the flowers. Even a 3-year-old can hand you flowers in the order she wants them.
Set out a small mirror so kids can try on their crowns as they go. Put out a little card that says “Fairy crown in progress” — it makes a cute photo moment.
Allow about 20–25 minutes for this activity. Some kids are in and out in 10 minutes. Some will stand there rearranging petals for 40. Both are fine.
Fairy Garden Cake: Moss Effect + Pressed Flowers
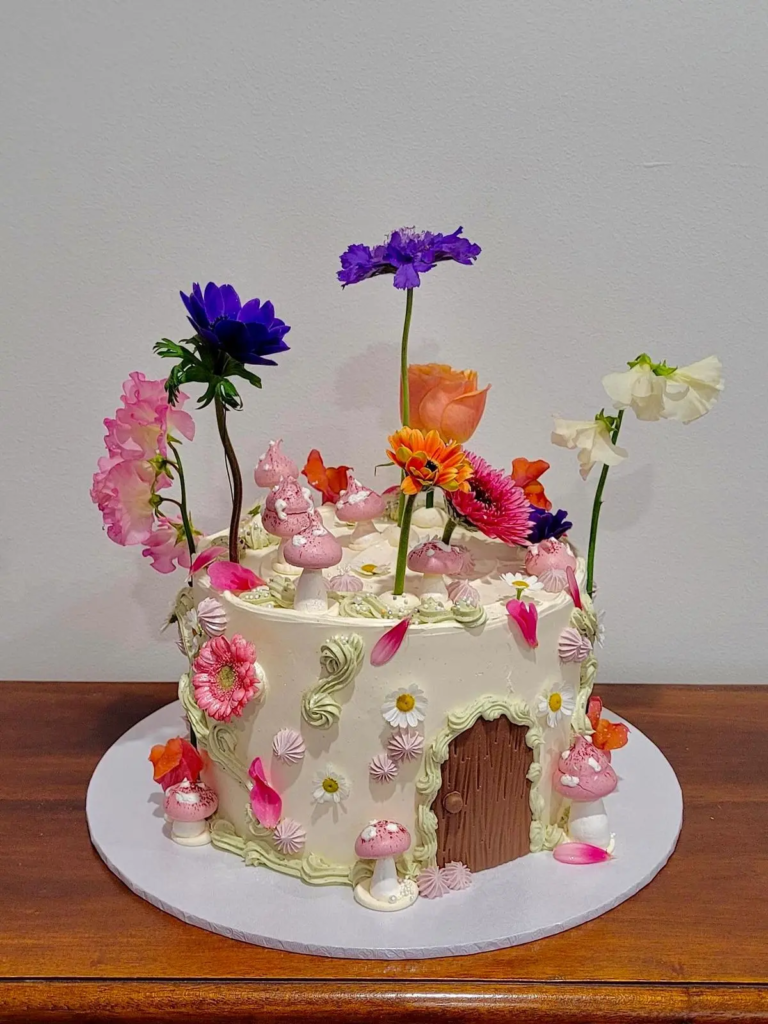
You don’t need to pay a professional baker for this look.
The “moss” on fairy garden cakes is made with green-tinted shredded coconut or green-tinted cookie crumbs. Mix shredded coconut with a drop or two of green gel food coloring, spread it in a zip-lock and shake — done. Press it onto the sides of a simply frosted cake (white or vanilla buttercream works best as the base).
For decorations, press dried edible flowers into the frosting: pansies, violas, and chamomile are all edible and look exactly like something you’d find in an enchanted garden. Many grocery stores with a floral section carry edible flowers, or you can order them. Check that they’re food-safe and untreated before using on a cake.
Add a few small fondant or marzipan mushrooms peeking out of the “moss.” You can buy pre-made mushroom cake toppers on Amazon or make simple ones: white fondant rolled into a ball, red fondant pressed flat on top, white dots added with a toothpick.
A wooden “Happy Birthday” topper tucked in the back, a scatter of edible glitter, and this cake looks like it took twice as long as it did.
Fairy Potion Drinks with Printable Labels
Kids lose their minds over this one.
Make a basic lemonade or fruit punch — pink or purple looks best. Pour it into small glass bottles (mason jars, small swing-top bottles, or even clear plastic cups work). Add a sprig of lavender, a few edible flower petals, or a strip of rosemary across the top for the “potion” look.
The labels are what make it. Search Etsy for “fairy potion label printable” — most are under $3 for a full set you download instantly. Print at home, cut out, and attach with a strip of twine or a tiny piece of tape. Labels usually say things like “Enchanted Glow Potion,” “Fairy Wing Elixir,” or “Sparkle Juice.”
Alternatively, hand-write them on small kraft paper tags. The messy handwriting looks charming, not unfinished.
Set the drinks out on a small wooden tray surrounded by — you guessed it — a little more moss and a few flowers.
Fairy Wing Favor Bags with Printable Gift Tags
The favor bags themselves are simple: clear cellophane bags or small kraft paper bags tied with ribbon. Fill them with small things — fairy stickers, a little tube of glitter, a few pressed flower petals in a tiny envelope, a small crystal or gemstone, a fairy door (the ones that come in packs have enough to give one to each guest).
For the gift tag, search Etsy or Creative Market for “fairy birthday party printable tags” — there are full sets that match any color palette you’re going for and cost $3–6 for instant download. Attach with ribbon to the bag.
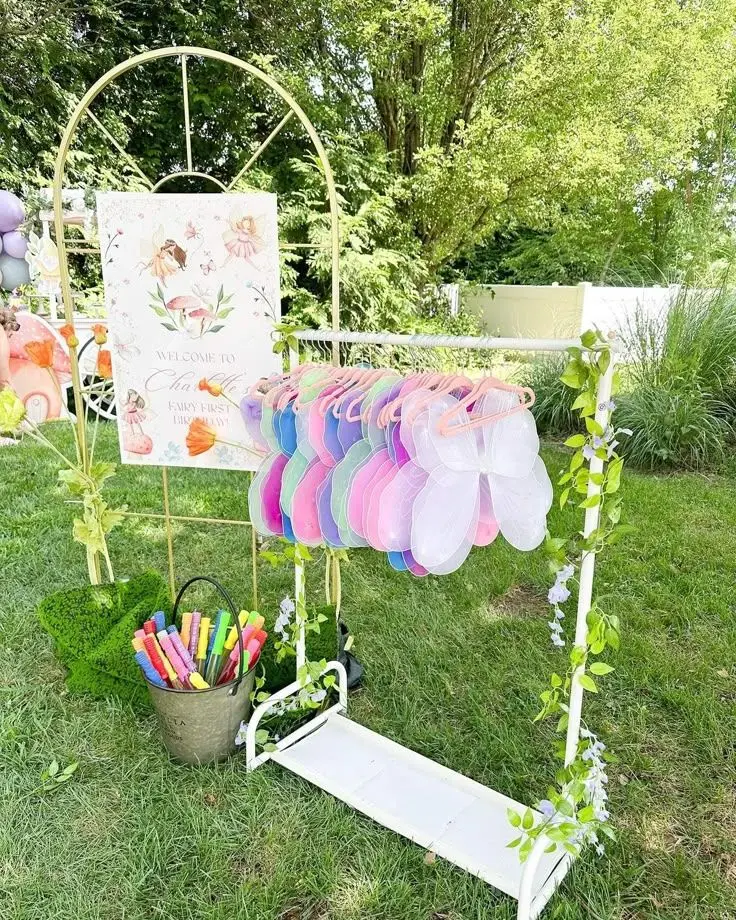
If you want to make the wings part of the favor, small fairy wings in kids’ sizes can be found for around $3–5 each when bought in bulk packs. The kids wear them at the party and take them home. One of those things that makes the whole afternoon feel complete.
A Few Things That Made Ours Work
The moss was the single best decision. I covered every surface I could with it — table runner, around the balloon base, tucked around the cake stand — and it created a visual continuity that made everything look cohesive even though I sourced things from four different stores.
Start the flower crown station right after cake. Kids are full and happy and the energy is right for a calm craft. Before cake, they’re either too excited or still eating. After, it’s perfect.
Don’t stress about everything matching exactly. The “fairy garden” aesthetic actually benefits from a little wildness. Flowers that are slightly different shades of pink, mushrooms at different heights, branches that aren’t perfectly symmetrical — it all adds to the enchanted feel.
If you love the general vibe of making pretty things, this pairs well with other DIY craft projects — you might find ideas in our 17+ Easy Air Dry Clay Ideas post or 14 Cute Scrapbook Ideas for ways to document the day.
And if you’re doing a Mother’s Day celebration around the same time, our Mother’s Day Bouquet Guide has solid guidance on working with grocery store flowers that applies here too.
FAQ
What age is a fairy garden birthday party best for? Three to eight is the sweet spot. Younger kids love the whimsy and the colors, and older kids still enjoy the flower crown activity and the overall “enchanted” feeling. For a 10-year-old who’s more into sophisticated stuff, you might adjust the theme slightly — but most kids in that age range still think it’s magical.
Can I do this outside? Yes, and it’s even better outside if the weather cooperates. A shaded backyard with the table set under a tree is almost too perfect. Just keep cut flowers out of direct sun and in water until you’re ready to arrange them.
How far in advance can I set up? The non-flower parts (branches, fairy lights, moss, mushrooms, favors) can be set up the night before. Add fresh flowers the morning of the party, kept in water until the last possible moment. They’ll hold for a few hours out of water once arranged.
What if I’m not crafty? The flower crown station has a learning curve of about five minutes. If you can wrap tape around a stick, you can do this. Having a parent helper stationed at the craft table makes it even easier — one adult demonstrates, the kids follow. You do not need craft experience.
How much does the whole party cost? Realistic budget for a small party (8–12 kids): $60–100 including food. The decor itself — moss, mushrooms, flowers, fairy lights, a few fairy doors — can come in under $40. The flower crowns cost about $2–3 per child in materials. Favor bags run $3–5 per child depending on what you fill them with.
Related:
The living room looked like a NASCAR fever dream. Black and white checkered streamers twisted across

One year ago you were in a hospital bed wondering if you’d ever sleep more than 90 minutes in
My daughter turned two in a world absolutely drowning in bright Disney character plates and plastic
Leave a Reply