

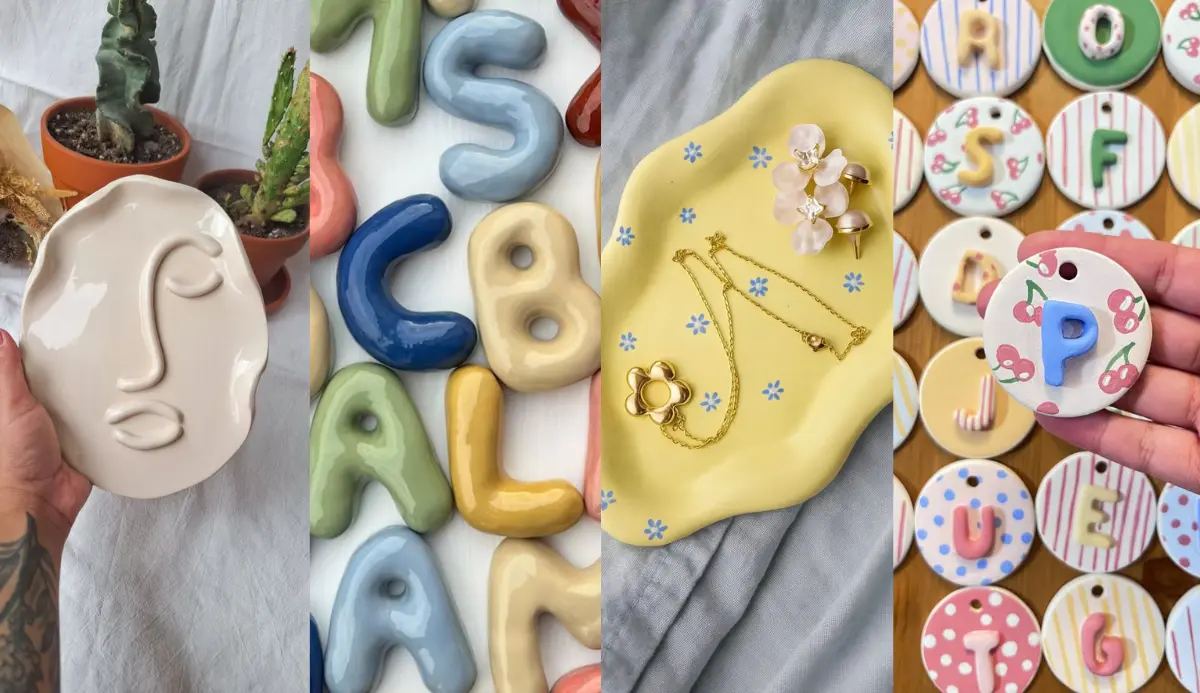
The air dry clay obsession has reached critical mass in 2026, and it’s not just another fleeting craft trend. Unlike the sourdough phase, the macramé phase, and that brief moment everyone thought they’d become plant parents to 47 succulents, this one has staying power.
Here’s the thing nobody talks about: scrolling through aesthetic room decor on Pinterest eventually reaches a tipping point. You stop just looking and start thinking, “I could make that.” And with air dry clay ideas flooding every corner of the internet in 2026, that thought becomes dangerously easy to act on.
Thousands are acting on it. And there are legitimate reasons why.
This post contains affiliate links. If you make a purchase through these links, I may earn a small commission at no extra cost to you. I only recommend products I genuinely use and love.
The Real Reason Air Dry Clay Is Having a Moment
We need to talk about why this craft is exploding right now—and it’s not just because TikTok told us to.
It’s the anti-algorithm aesthetic.
Think about it. Every home decor store sells the same mass-produced stuff. Your Target bowl is my Target bowl is everyone’s Target bowl. But when you make something with your own hands—even if it’s a little wonky—it becomes impossible to scroll past. It has a story. It has your fingerprints literally embedded in it.
In 2026, uniqueness is the ultimate luxury. And air dry clay delivers that without requiring a trust fund or a PhD in ceramics.
It’s therapy you can put on a shelf.
I’m not going to sit here and tell you that clay crafting cured my anxiety or changed my life. But there’s something genuinely meditative about working with your hands, no screen involved, creating something from nothing. The squish of clay between your fingers. The satisfaction of smoothing out imperfections. The quiet focus required to shape something intentionally.
It’s the opposite of doomscrolling. And in a world where we’re all overstimulated and under-touched by actual physical materials, that matters.
It costs less than therapy, too. A block of clay is $12. A therapy session is $150. I’m not saying clay replaces mental health care—but I am saying that making stuff with your hands hits different than buying stuff with your credit card.
How the Clay Trend Actually Started
The air dry clay movement didn’t begin with influencers or brand campaigns. It emerged organically from a perfect storm of circumstances.
The $68 trinket dish moment. Across social media, people kept encountering the same scenario: scrolling through Instagram, finding the perfect aesthetic piece, clicking through… and discovering it costs $68. For a dish. A small one. To hold rings.
That price point triggers something. The mental math kicks in: “Sixty-eight dollars? That could be made for eight dollars and some audacity.”
So people went to craft stores. They bought the cheapest blocks of DAS air dry clay. They watched exactly one YouTube tutorial. And they proceeded to make objectively ugly dishes.
Lumpy. Asymmetrical. Edges that looked attacked with a fork (intentional “texture”). Many nearly threw them away.
But then something shifted. People put their rings in the dishes anyway. They worked. They held rings. They cost $8 and 20 minutes. And when friends asked where they got them, they could say, “Made it”—which felt surprisingly satisfying.
That realization spread like wildfire: Perfect is boring. Handmade is interesting.
Three months into the trend, people who made one experimental dish now have collections of dishes, planters, wall hangings, decorative spheres, and entire armies of tiny mushrooms that serve no functional purpose except to spark joy on windowsills.
Understanding this progression matters because it’s not about the clay itself—it’s about what making something represents.
17+ Air Dry Clay Ideas (Plus the Hacks That Actually Work)
Let’s get into the actual projects. But more importantly, let’s talk about the hacks—the stuff I wish someone had told me before I wasted clay, time, and patience figuring it out myself.
1. The Gateway Drug: Wavy Trinket Dishes
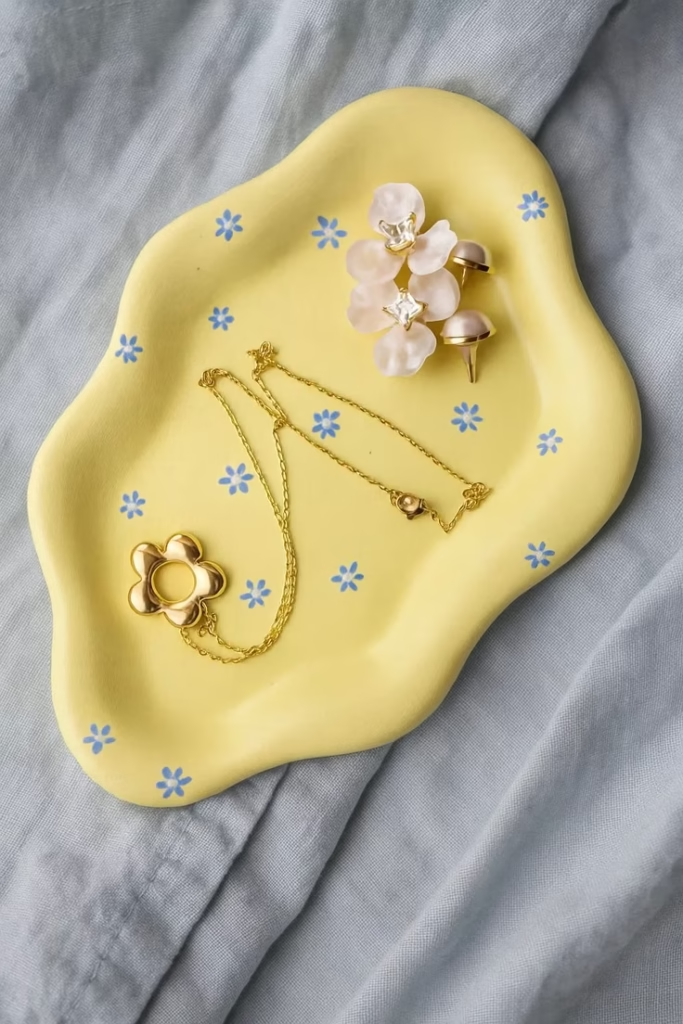
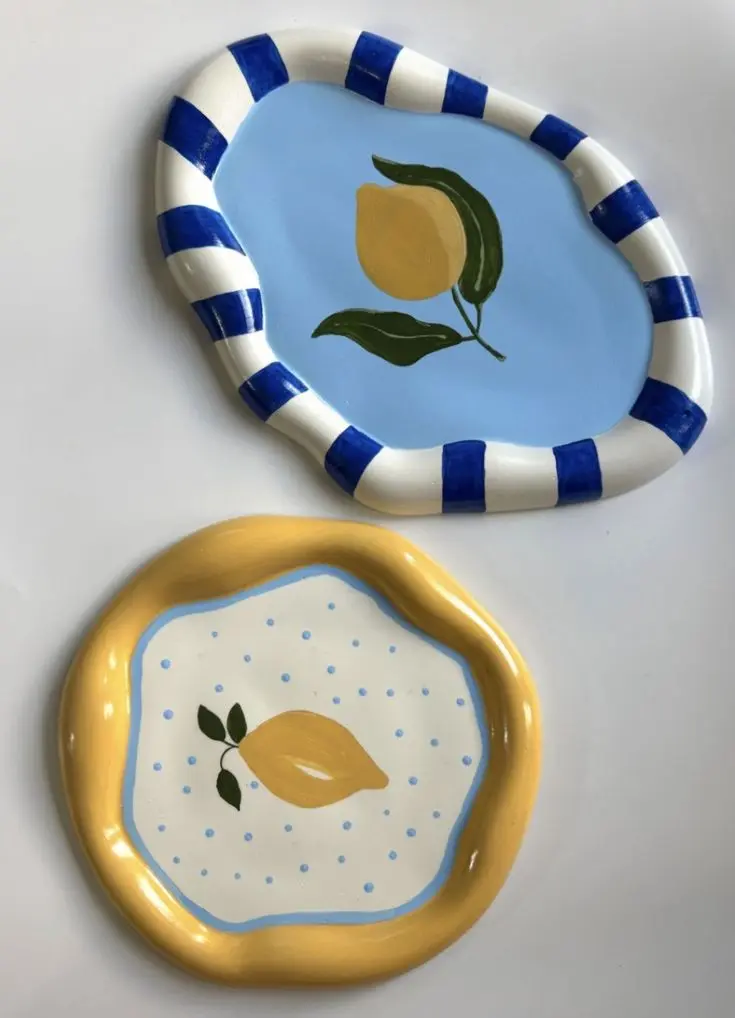
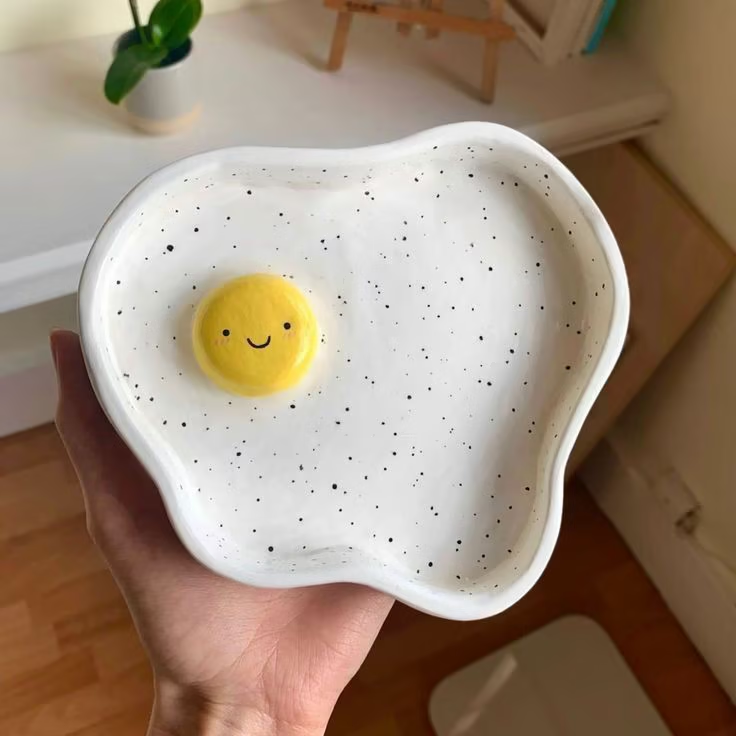
Start here. Everyone starts here. It’s the air dry clay equivalent of learning “Wonderwall” on guitar.
The basic method: Roll clay flat (about as thick as your pinky finger). Cut a circle. Drape it over an upside-down bowl while it dries so it gets that organic wavy shape everyone’s obsessed with.
The hack nobody tells you: Put plastic wrap between your clay and the bowl, or it might stick. Also, check it every few hours as it dries—if it’s sliding down and losing its shape, prop it up with crumpled paper towels underneath.
Real talk: Most first dishes crack a little. That’s fine. Call it “rustic” and move on. By dish number three, the technique clicks.
What people use them for: Rings by the sink, hair ties on nightstands, catch-alls for loose change. The bar is low. That’s the beauty.
2. Abstract Face Wall Art (For People Who Can’t Draw)
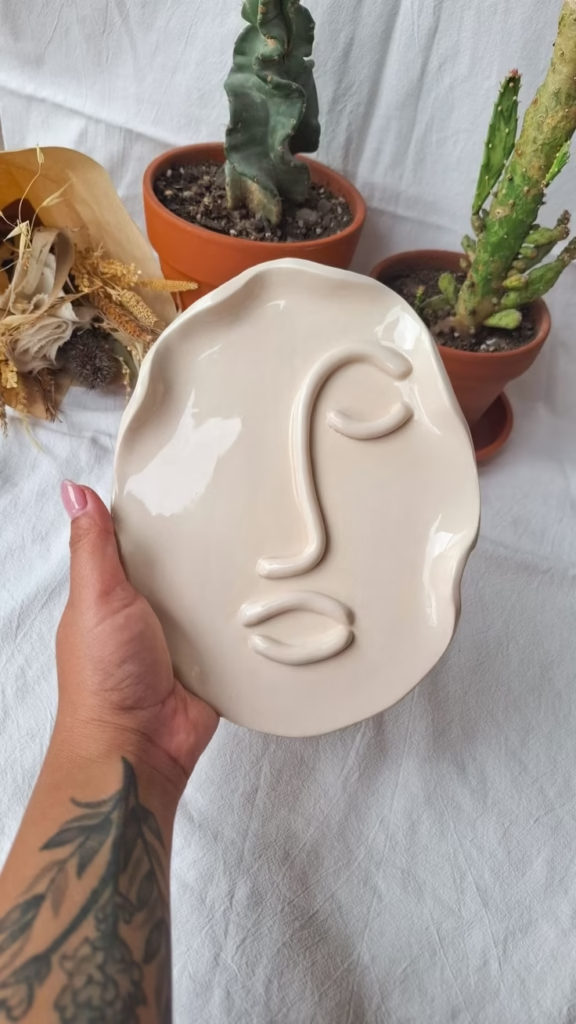
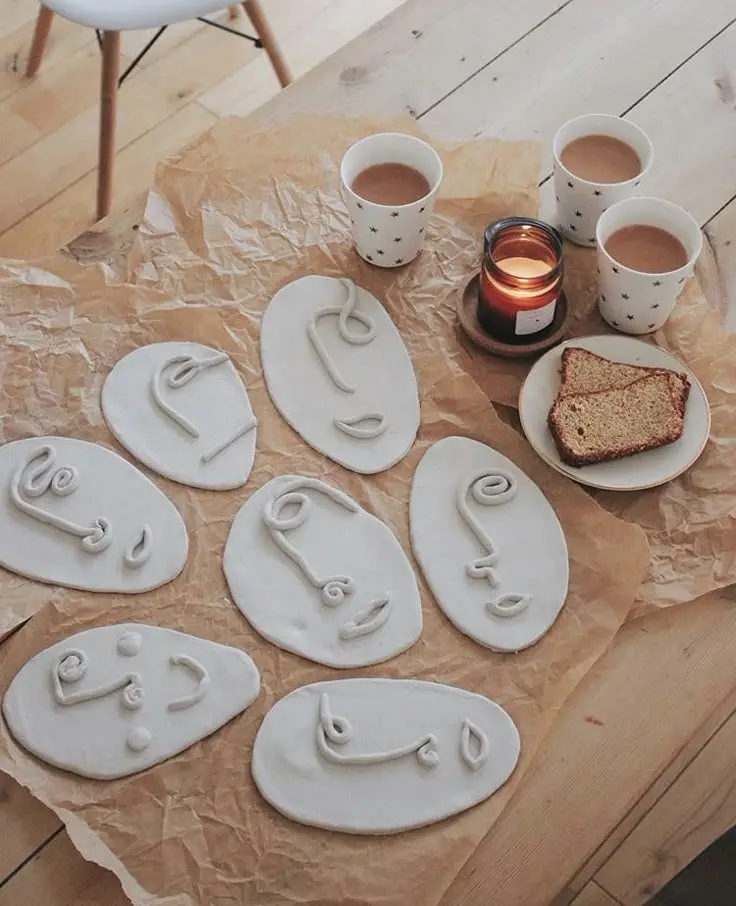
Here’s a secret: you don’t need to be artistic to make art that looks artistic.
The method: Roll clay flat. Cut it into an oval or organic blob shape. Use a toothpick to draw a simple face—just lines, nothing detailed. Two dots for eyes, a curved line for a nose, another for lips. That Picasso-esque, one-line-drawing vibe.
The life-changing hack: If you mess up your line, smooth it out immediately with a wet finger and try again. Clay is forgiving. Once it dries, you’re stuck with whatever face you drew at 11 PM after wine.
Styling tip: Make three different face variations and hang them in a cluster. Odd numbers always look more intentional.
Why this works: It delivers that “$200 Etsy art print” look for about $5 in materials. And when guests ask about it, there’s something objectively more interesting about saying “made it” than “bought it at HomeGoods.”
3. Tiny Mushrooms That Spark Joy
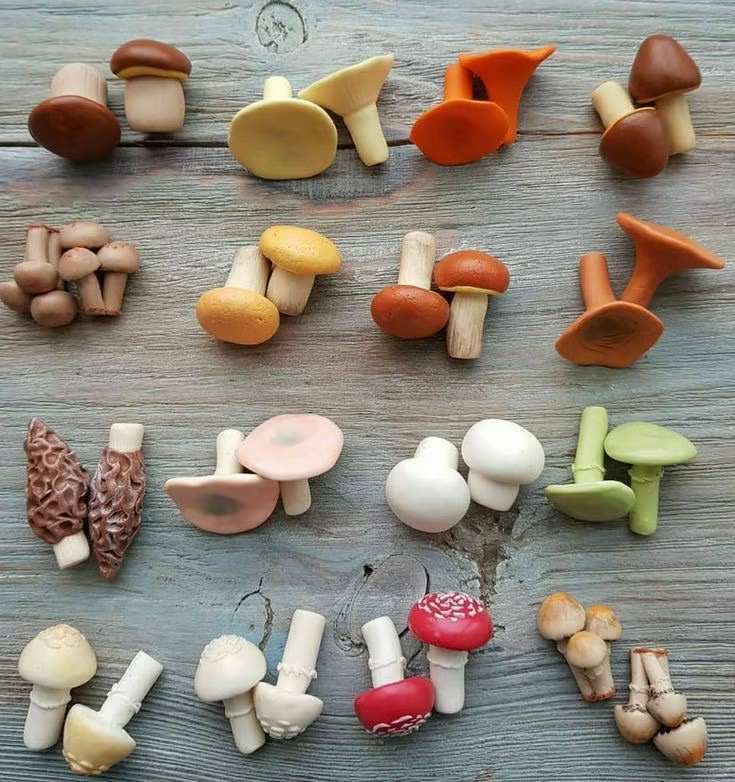
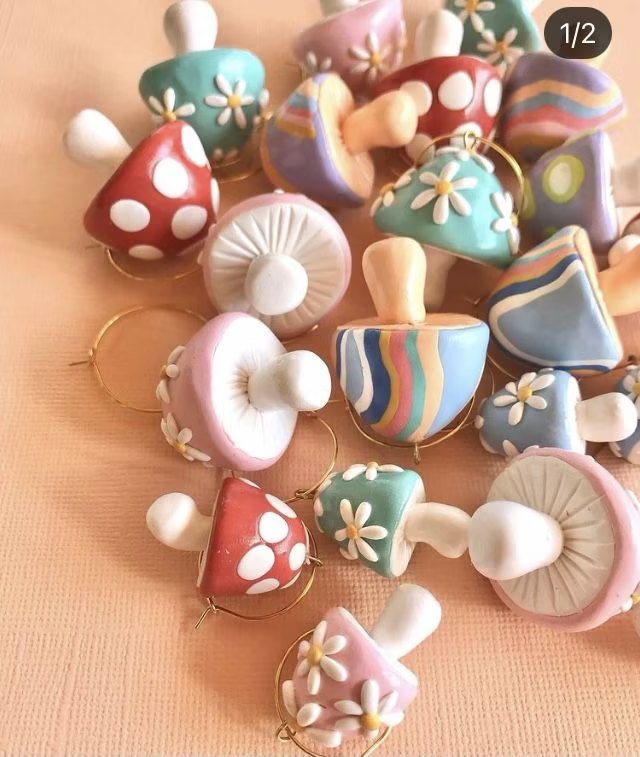
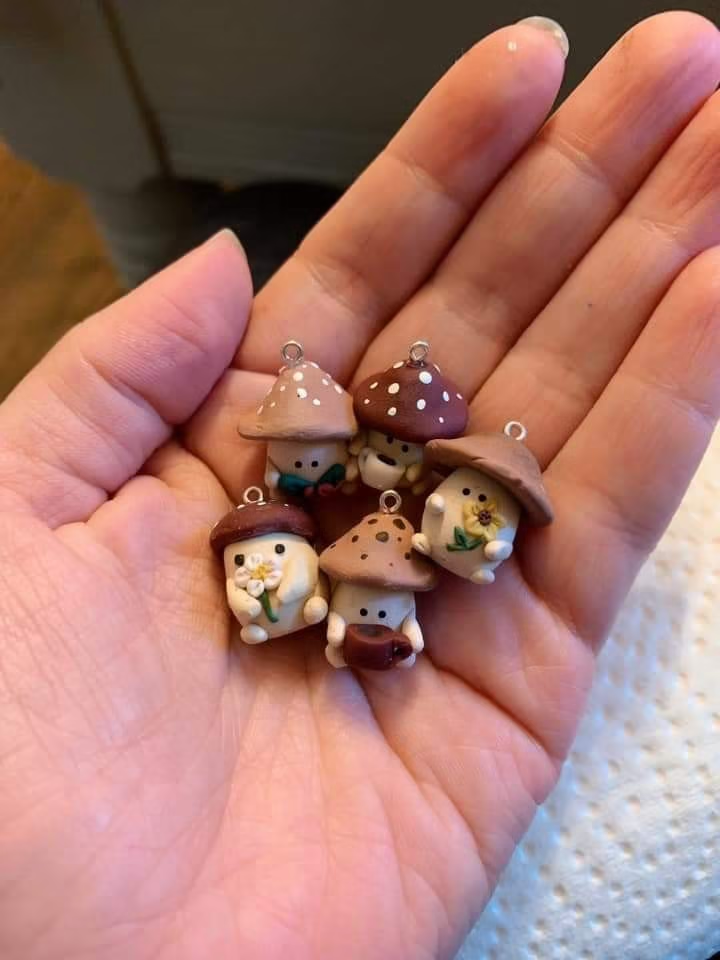
I cannot explain the hold these have on people. They’re mushrooms. Tiny clay mushrooms. They do nothing. Everyone loves them.
The method: Roll a ball for the cap, roll a cylinder for the stem, squish them together while both are still wet. Use a toothpick to add little spots on the cap.
The hack for mass production: Make 5-10 at once. They dry fast (small surface area), and a little collection looks better than one lonely mushroom. Also, make them slightly different sizes—like real mushrooms, not factory-produced clones.
Time investment: About 2 minutes per mushroom once you get the hang of it.
Where to put them: Literally anywhere. Plant shelves, desks, bathroom windowsills. They’re the craft equivalent of a comfort object.
Pro tip: If kids are involved in the project, they’re somehow naturally better at this than adults because they don’t overthink it. Purple mushrooms with googly eyes? Often the best pieces on the shelf.
4. The Minimalist Bud Vase (With a Critical Hack)
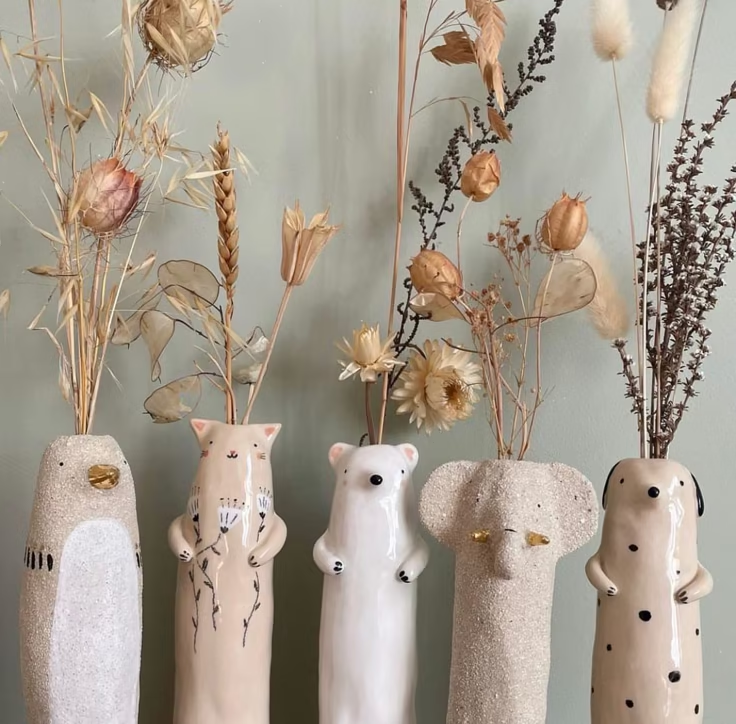
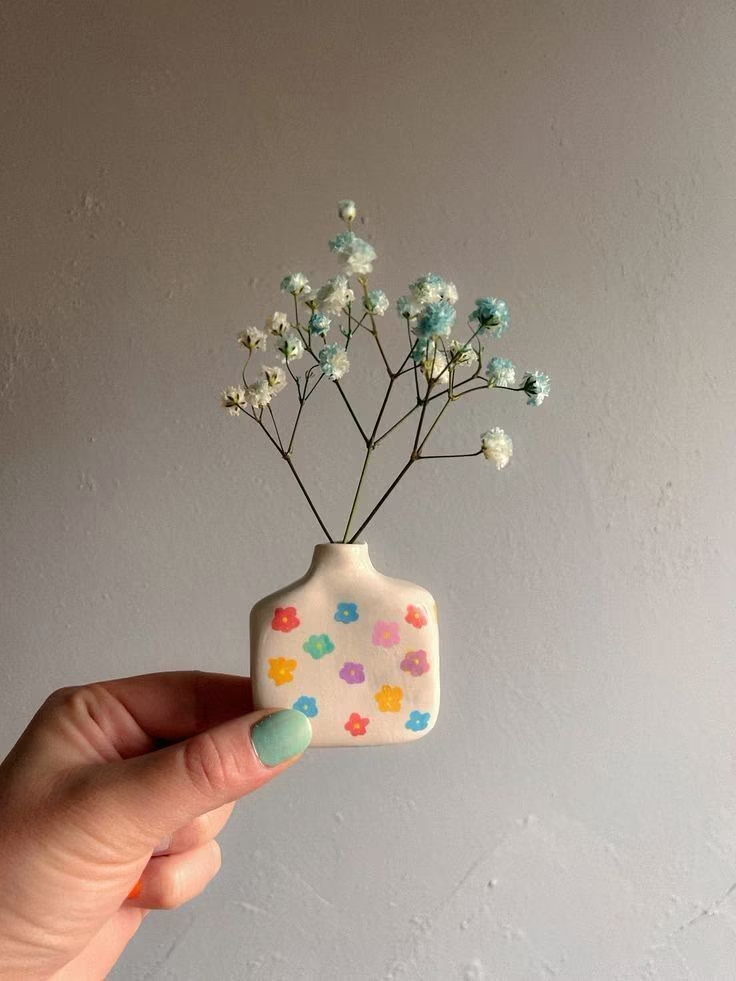
Single-stem vases are having a major moment. Maximalism is exhausting. One beautiful stem in a simple vase? That’s the move.
The method: Pinch pot technique. Take a ball of clay, press your thumb in to create a hollow, then gradually pinch and shape the walls upward. Keep the opening narrow.
THE HACK YOU NEED: Air dry clay is not waterproof. I repeat: NOT WATERPROOF. If you put water directly in your vase, it will eventually get soggy and fall apart.
The solution: Buy a pack of glass test tubes ($10 for 10 tubes on Amazon). Make your clay vase with an opening sized to fit the tube. Drop the tube inside. Now you can use real flowers without destroying your creation.
Alternative: Just use dried flowers, pampas grass, or those trendy bunny tail stems. No water needed, lasts forever, still looks good.
5. Textured Candle Holders (The Impressive One)
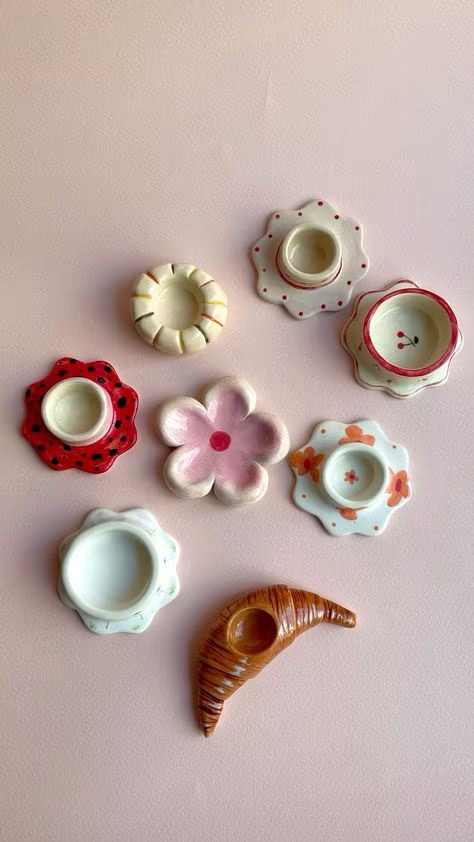
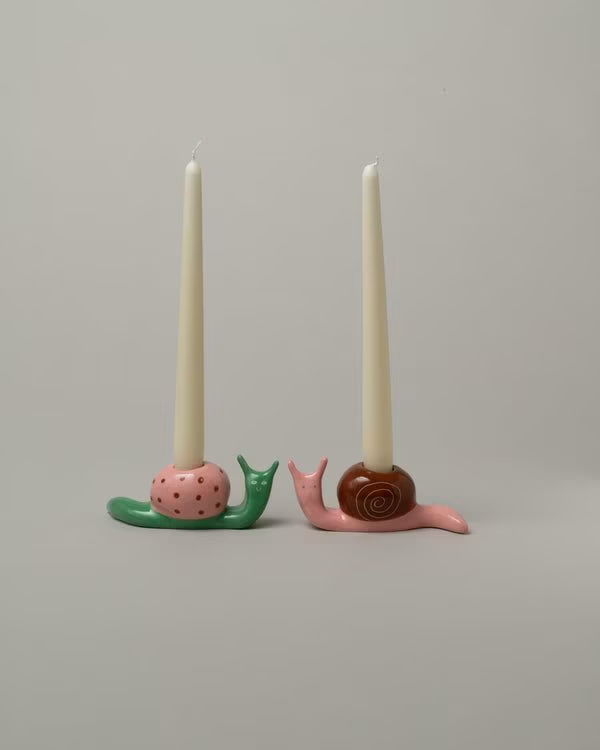
This is the project that makes people think you actually know what you’re doing.
The method: Roll clay into a cylinder. Use literally anything textured to press patterns into it—bubble wrap, lace, a potato masher, the sole of a shoe (clean, obviously), even crumpled aluminum foil. Create a depression in the top for a tea light.
The game-changer hack: Use an actual tea light candle (unlit) as your mold while the clay is wet. Press it into the top, let it sit for a minute, then remove it. Perfect size, perfect shape, every time.
Safety note: Only use these with LED tea lights UNLESS you put a glass votive inside. Air dry clay can technically burn. Don’t be the person who learns this the hard way.
Color strategy: Paint the outside, leave the inside natural clay color for contrast. It looks intentional and high-end.
6. Catch-All Tray (The “My Life is Together” Project)
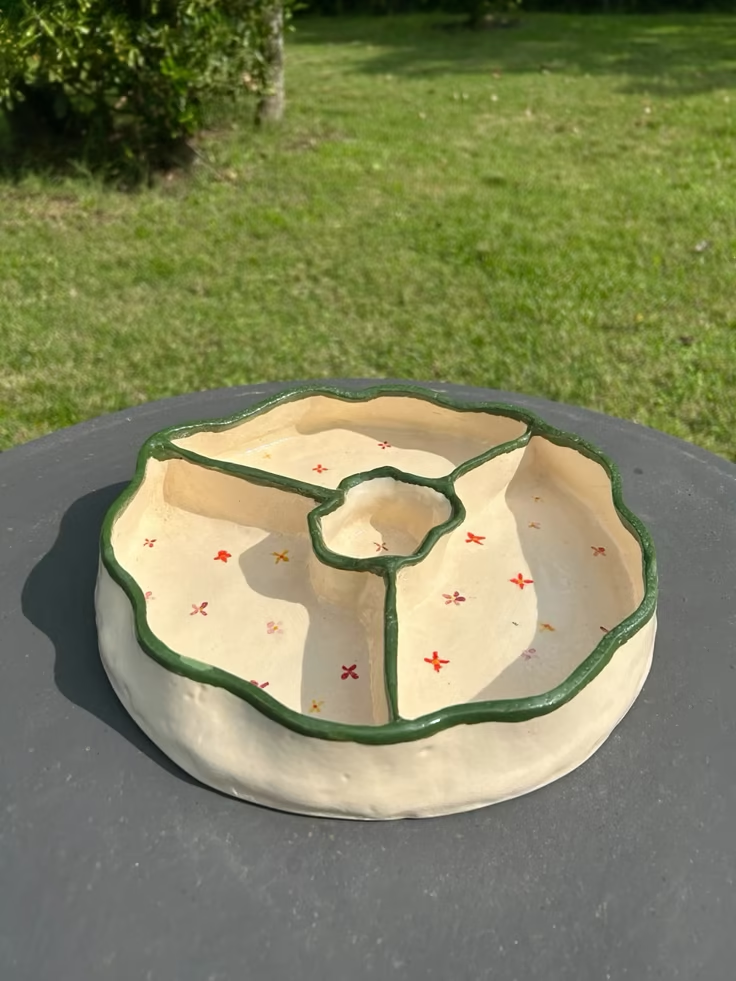
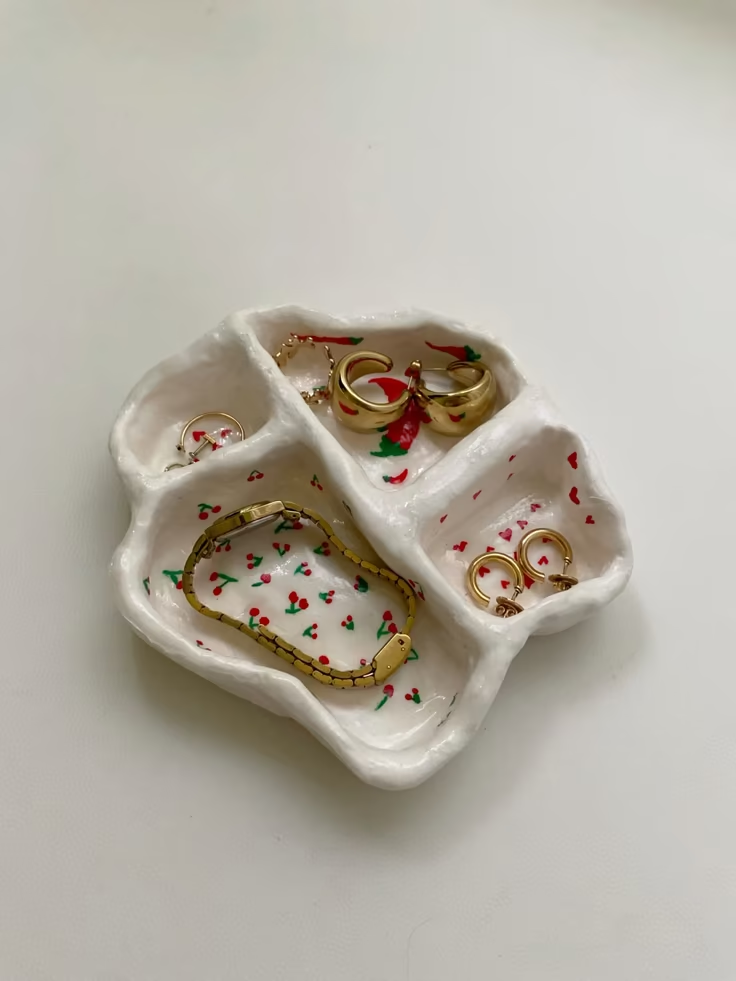
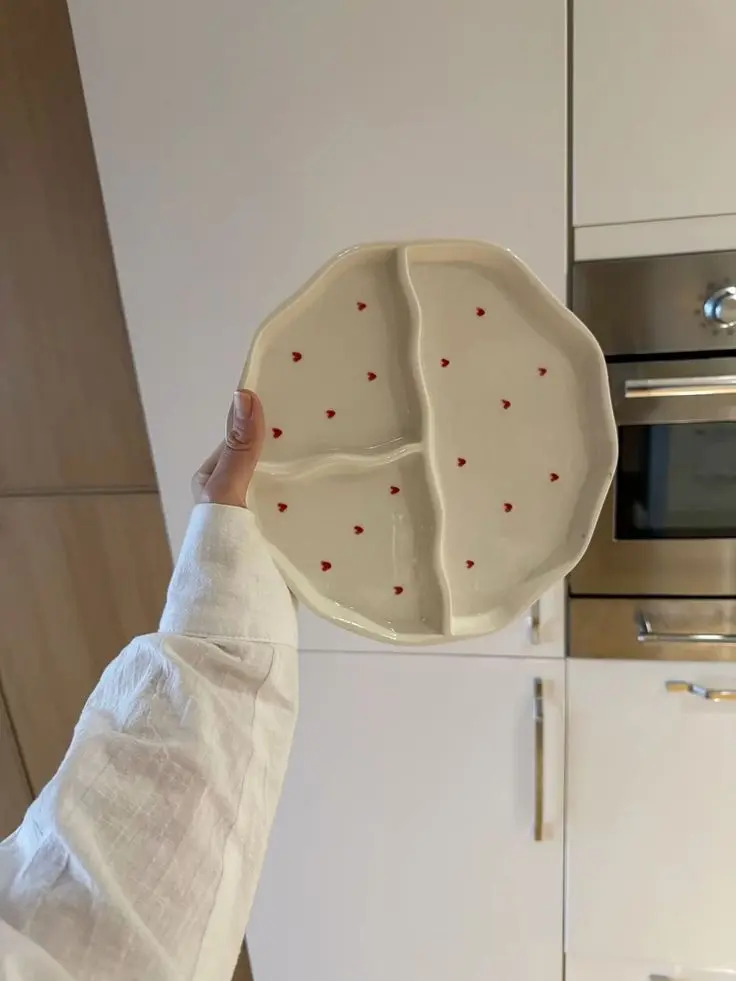
You know that person who has a designated spot for their keys, wallet, and sunglasses? You can fake being that person with one clay tray.
The method: Roll out a slab (about 1/4 inch thick). Cut your desired shape—rectangle, oval, or that kidney bean shape that’s everywhere right now. Build up edges by rolling thin coils and attaching them around the perimeter, smoothing as you go.
The structural hack: If you build the edges too high, they’ll slump as it dries. Keep walls shallow (under 1 inch) or reinforce them with crumpled aluminum foil pressed against the inside while it dries.
Real-world use: Common placements include entryway tables for keys and sunglasses, bathroom counters for jewelry removed before showering, and desks where they serve no function except looking organized.
7. Decorative Spheres (The Filler Object That Fixes Everything)
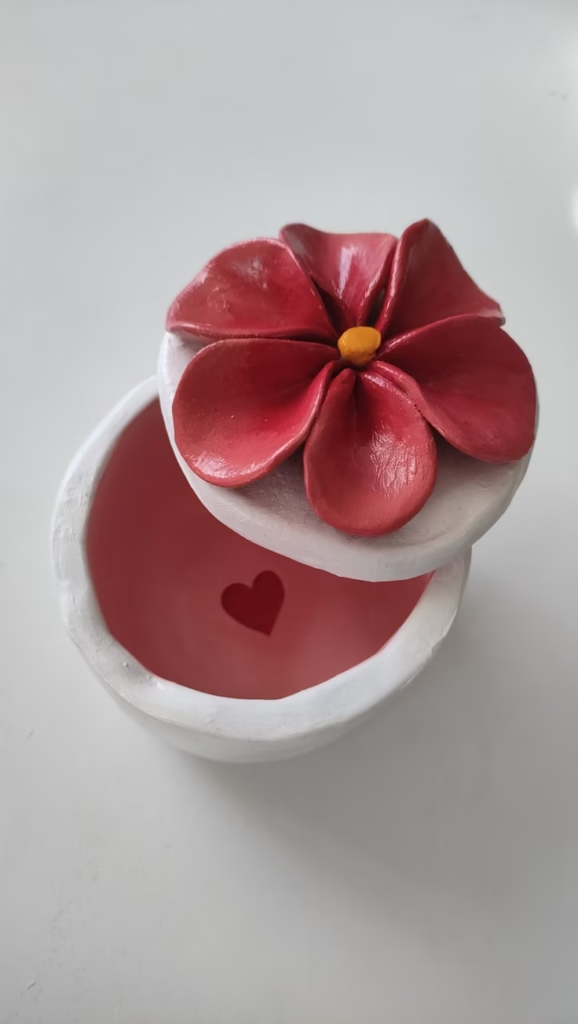
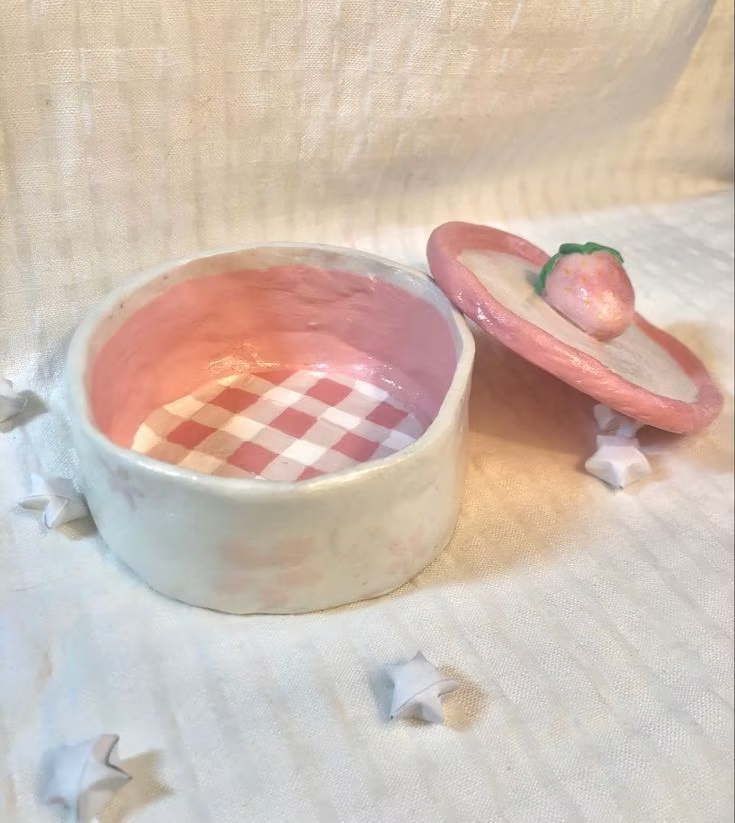
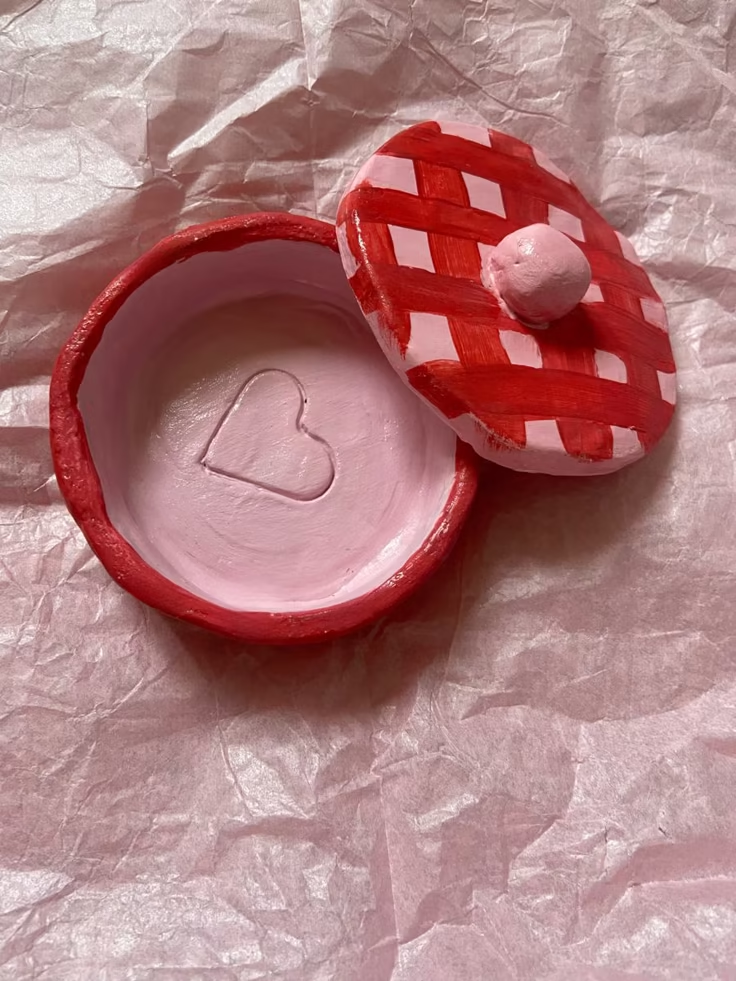
Interior designers use these constantly because they fill empty space without being cluttered. They’re the “umami” of decor—you don’t know exactly what they’re adding, but something looks wrong without them.
The method: Roll clay into smooth balls. Sizes ranging from golf ball to tennis ball work best. Let dry. Paint or leave natural.
The effortless hack: Don’t try to make them perfectly round. Hand-rolled imperfection is the aesthetic. Over-working them makes them look machine-made, which defeats the purpose.
Display strategy: Put 3-5 in a bowl. That’s it. That’s the whole thing. Your coffee table suddenly looks styled.
Lazy version: Roll the balls and leave them unfinished—just spray with clear sealant. The natural terracotta clay color is trending hard in 2026 anyway.
8. Incense Holders (For the Mood-Setting Friend)
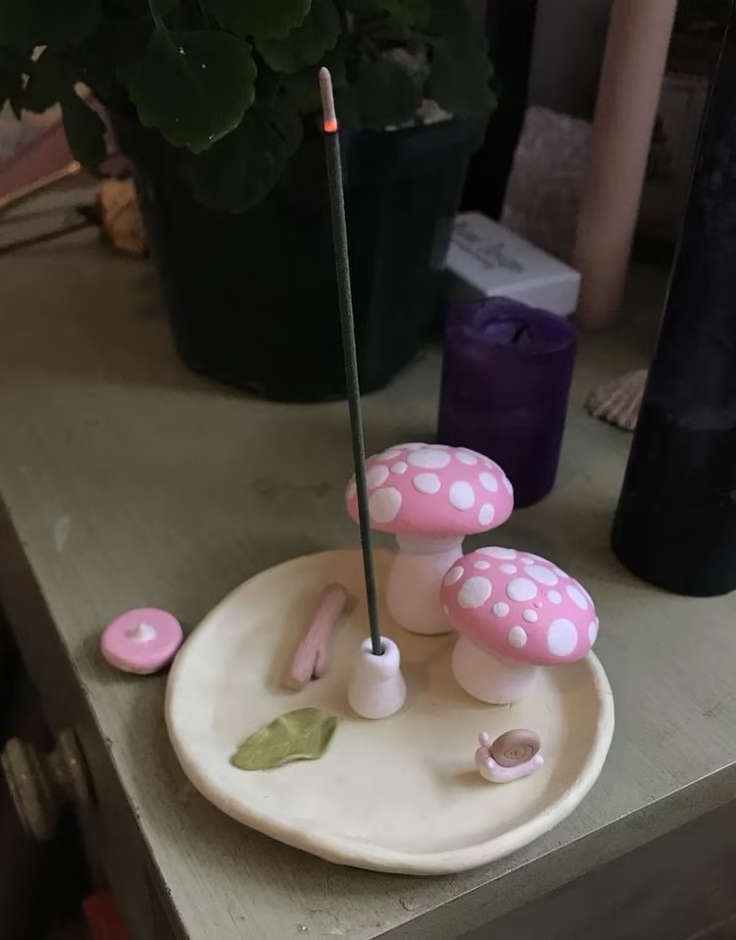
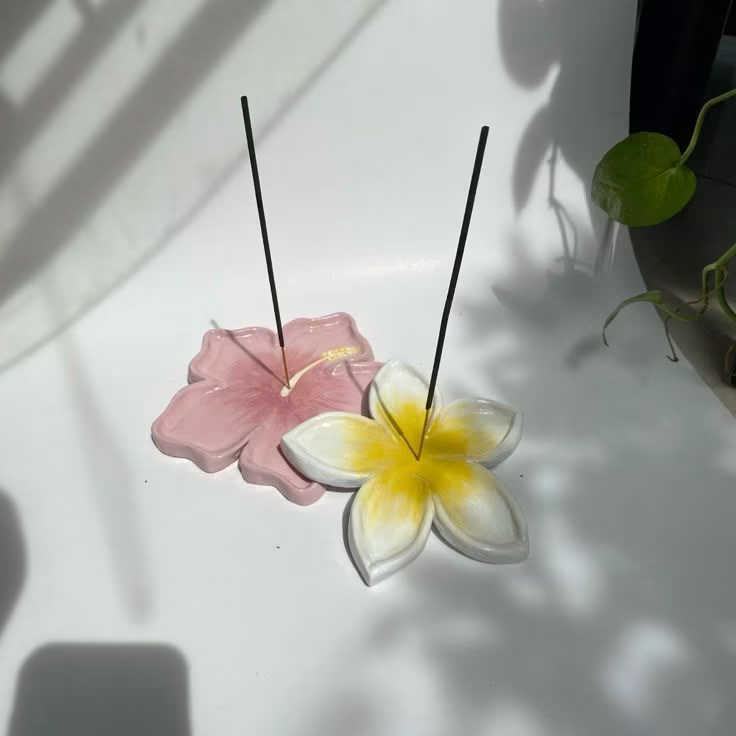
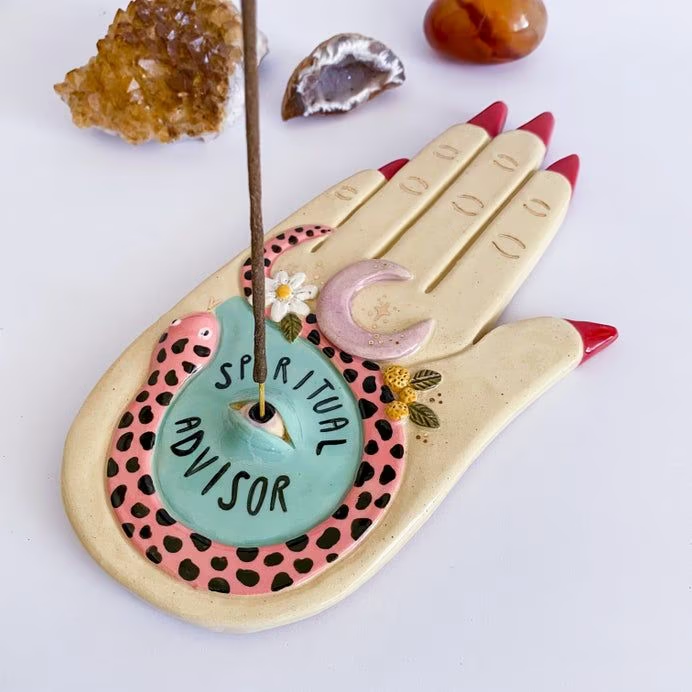
If you burn incense, you need a holder that isn’t a janky stick shoved into a potato. If you don’t burn incense, you might start once you make one of these.
The method: Roll a small flat base (rectangle or organic shape). Create a hole or groove for the incense stick by pressing something narrow through the clay before it dries. Shape a small well around it to catch ash.
The genius hack: Use the incense stick itself as your sizing tool. Press it into the wet clay to make the hole, leave it there for a few minutes, then remove it. Perfect fit guaranteed.
Aesthetic upgrade: Add a carved design—moon phases, simple waves, or dots in a pattern. Takes 30 seconds, looks like you spent an hour.
9. Ring Cones (The One Your Friends Will Ask About)
These minimal cone-shaped ring holders look expensive but take about 5 minutes to make.
The method: Roll clay into a cone shape, working it smooth. Make the base wide enough to be stable. Let it dry point-up.
The stabilizing hack: If your cone keeps tipping over as it dries, nestle it into a small bowl or cup to hold it upright until the clay sets enough to support itself.
Styling trick: Make 2-3 in graduating sizes and group them together. One looks lonely. Three looks curated.
Paint ideas: All matte white, all black, or each one a different shade of the same color (light pink, medium pink, dark pink).
10. Wall Hangings With Actual Texture
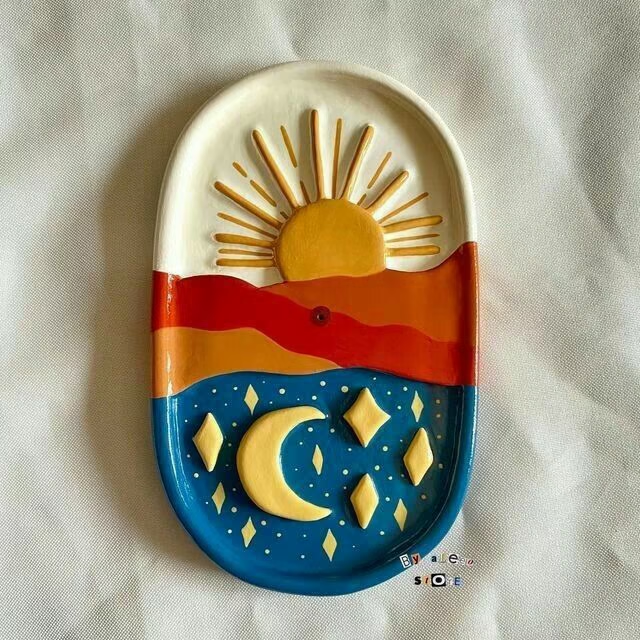
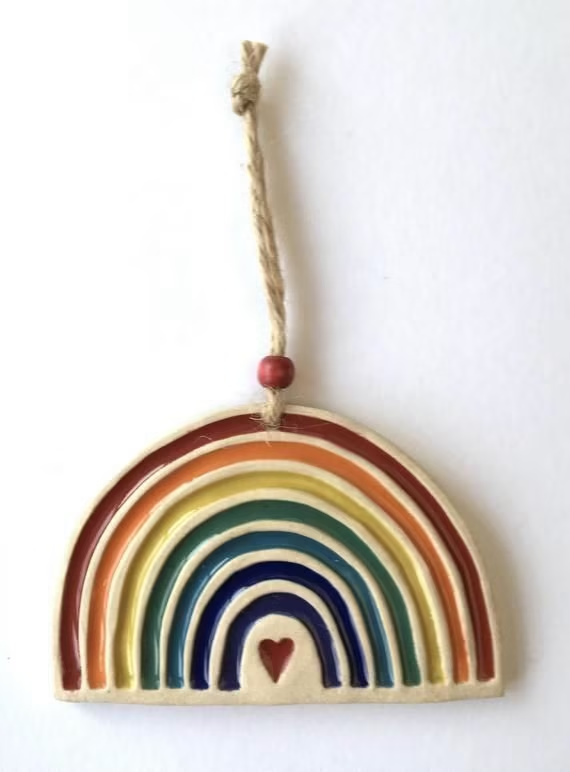
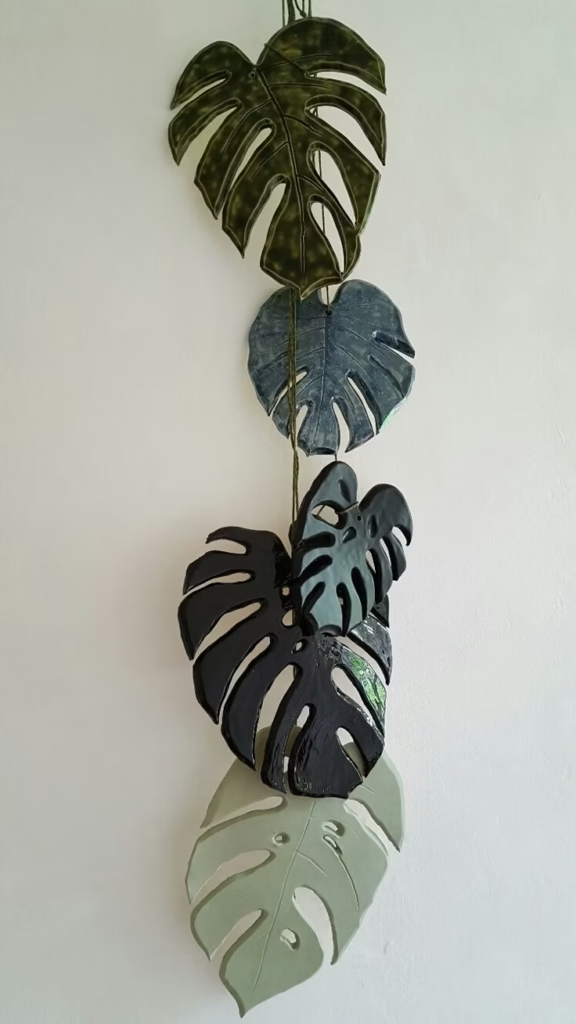
Flat wall art is fine. Textured wall art makes people stop and touch it (which is the highest compliment in the decor world).
The method: Roll clay flat, cut organic shapes (think cloud-like or kidney bean), add texture by pressing in leaves, stamps, fabric, or tools. Poke a hole near the top for hanging.
The professional-looking hack: Before adding texture, very lightly mist your clay with water from a spray bottle. The moisture helps textures impress deeper without cracking the surface.
Hanging solution: Thread through leather cord or jute twine—it looks 1000x better than string or wire. Hang at varying heights in a cluster of 3-5 pieces.
Popular texture method: Real leaves pressed into the clay, then removed before drying. This creates the leaf impression without the actual leaf (which would rot and ruin the piece).
11. Photo/Card Holders (The Gift Everyone Actually Uses)
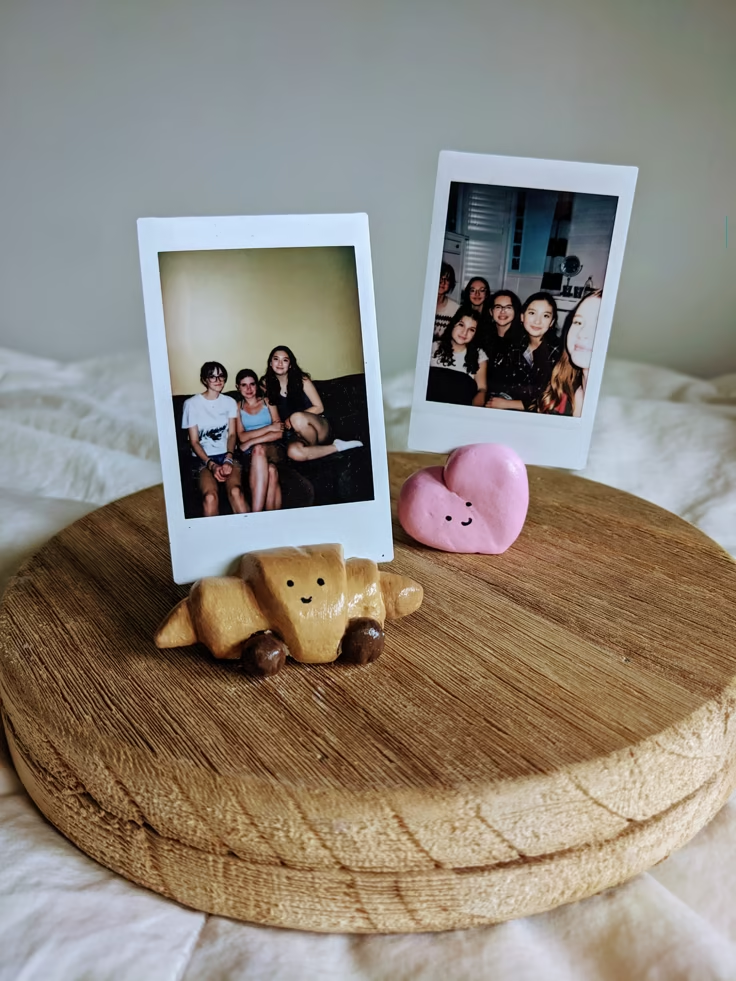
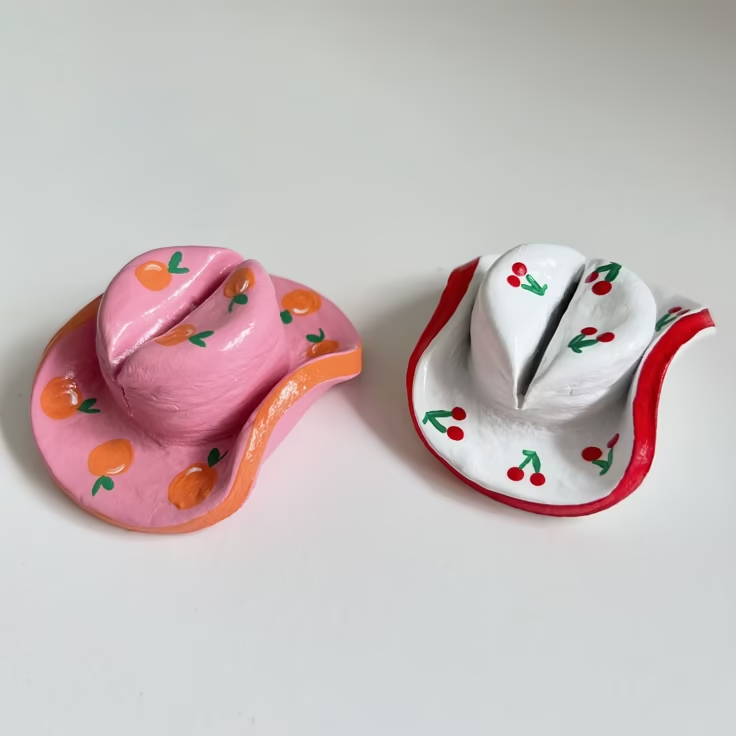
Make a chunky rectangular base with a slit cut into the top. Done. You’ve just made a gift people will actually keep.
The method: Roll clay into a thick rectangular base. Use a plastic knife to cut a slit about 1/4 inch wide across the top. Smooth the edges.
The hack for clean slits: Cut the slit when the clay is partially dried (leather-hard stage). If you cut while it’s too wet, the slit closes up. Too dry, it cracks.
Gift idea: Make a set of 3-5 in different shapes/colors. Package with a few blank cards. People use them for displaying photos, recipes, or motivation quotes.
Personal touch: Stamp initials or a small design into the front before drying.
12. Monogram Letters (The Personalization Everyone Wants)
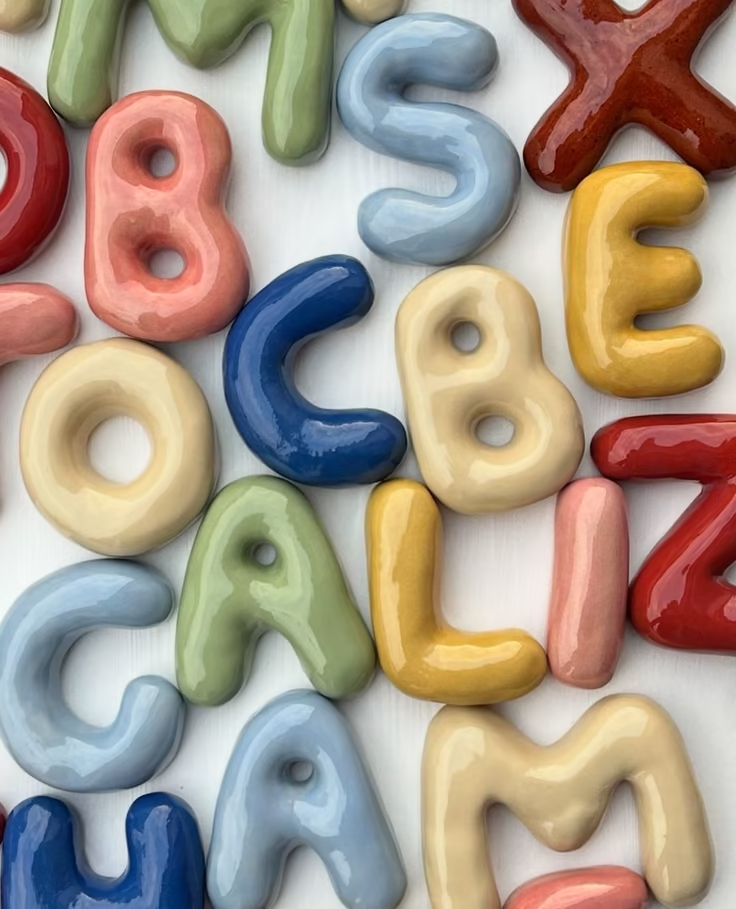
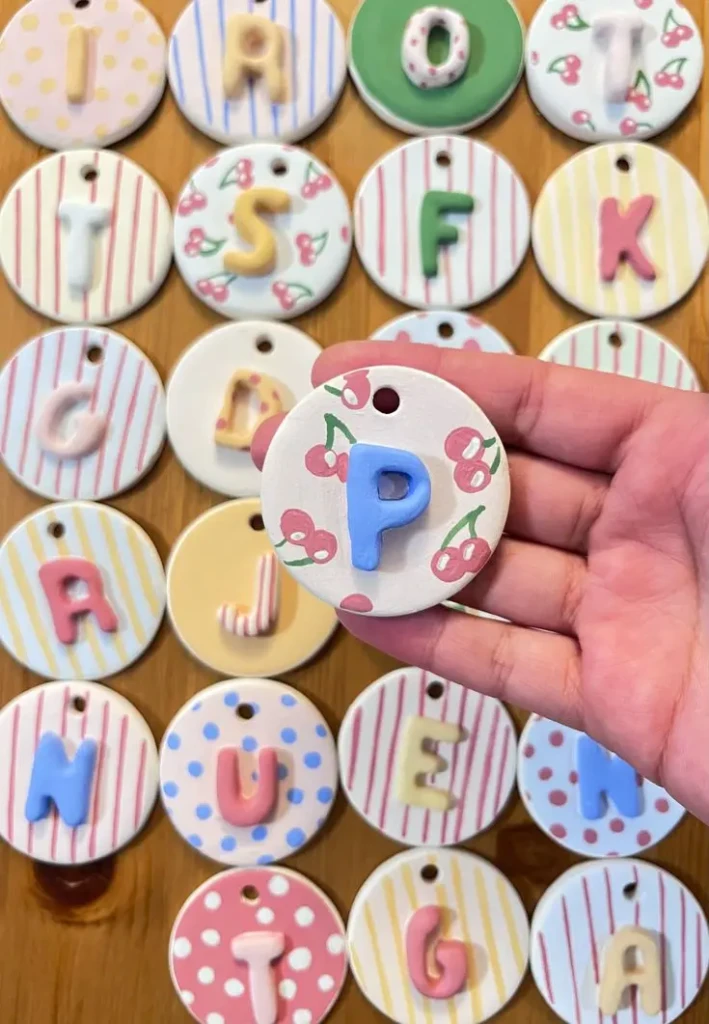
Clay letters look way better than wooden craft store letters. I don’t make the rules.
The method: Use cookie cutter letters if you have them, or hand-cut your initials. Make them thick enough to stand on their own (at least 1/2 inch).
The thickness hack: If you want them to stand up without tipping, make the base slightly wider/thicker than the top. Clay is heavy when dried, so top-heavy letters fall over.
Styling options:
- Stand them on a shelf
- Attach hanging hardware to the back for wall display
- Paint, add gold leaf, or leave natural
- Make the first letter of each family member’s name for a personal touch
13. Miniature Planters (With the Drainage Secret)
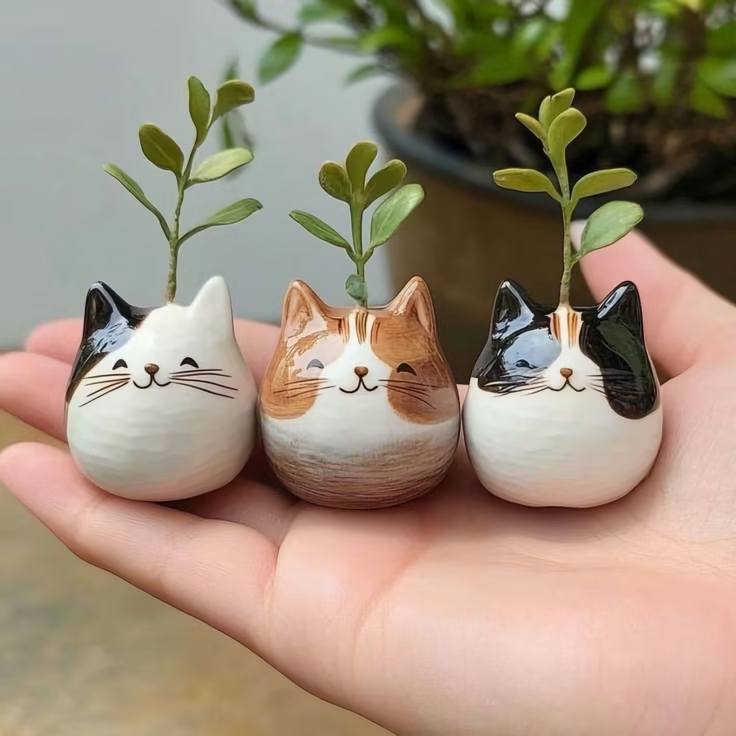
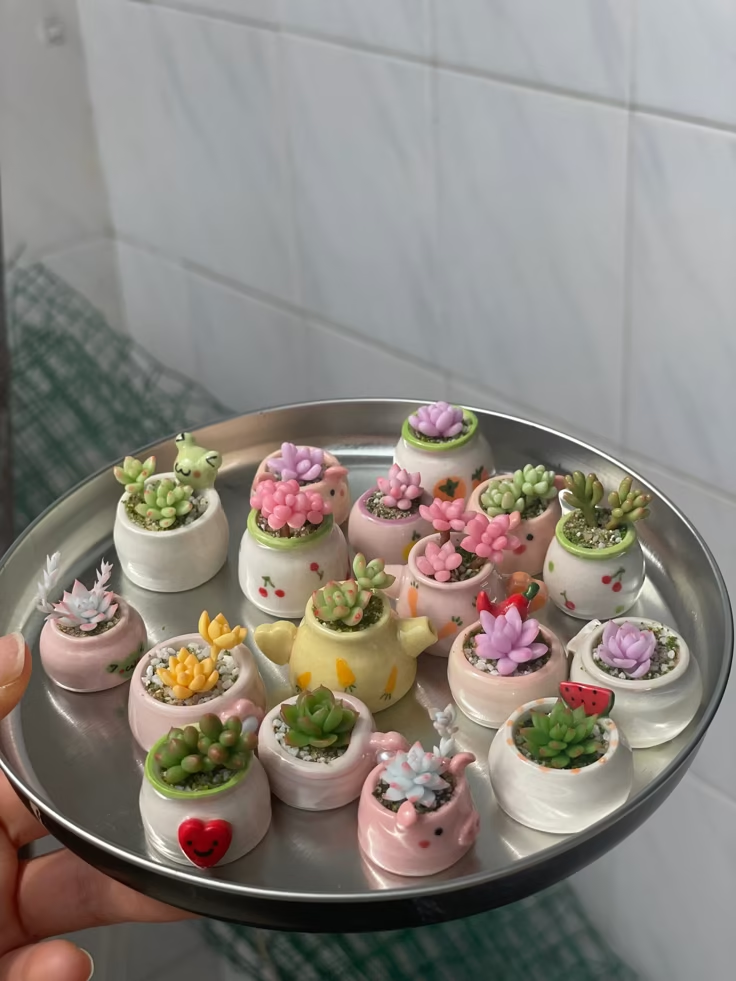
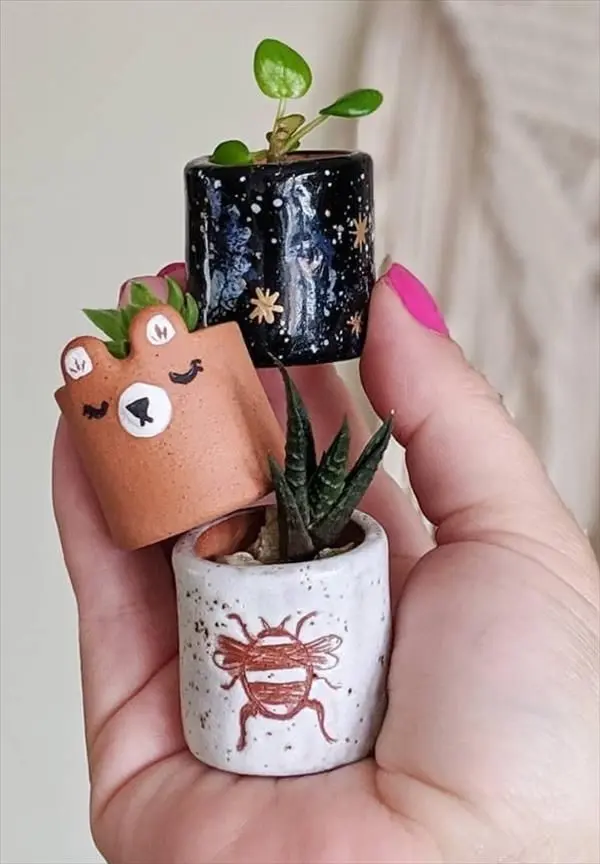
Tiny planters are cute. Tiny planters that don’t kill your succulents are cuter.
The method: Make small pinch pots. BEFORE the clay dries, poke drainage holes in the bottom using a straw or chopstick.
The critical hack: Poke holes from the inside out, not outside in. This prevents cracking and gives cleaner holes. Also, make holes bigger than you think you need—they shrink slightly as the clay dries.
Plant pairing: These work best with succulents, air plants, or small cacti. Regular plants need more drainage than air dry clay can provide.
Alternative use: Skip the drainage holes and use them as pen holders, makeup brush holders, or utensil organizers instead.
14. Beads and Garlands (The Batch Project)
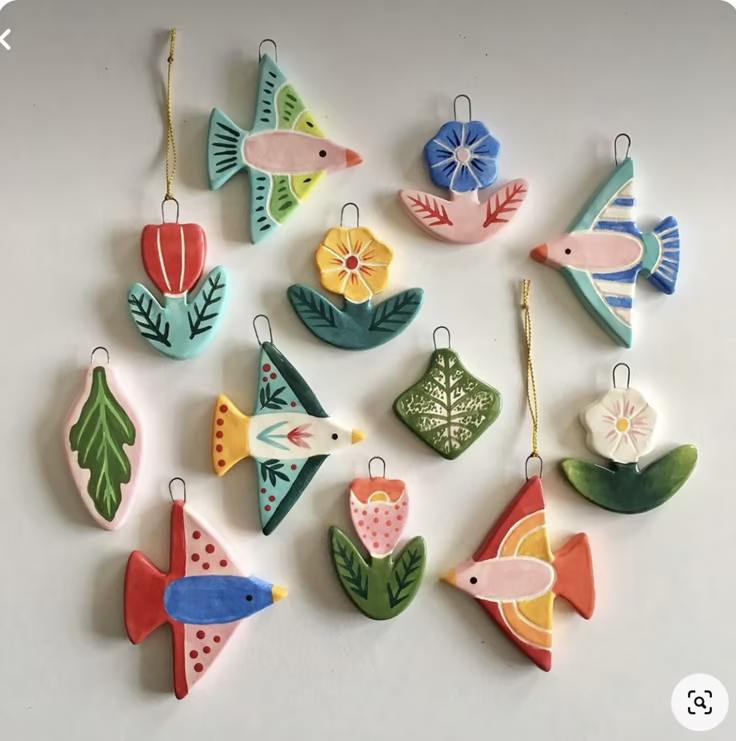
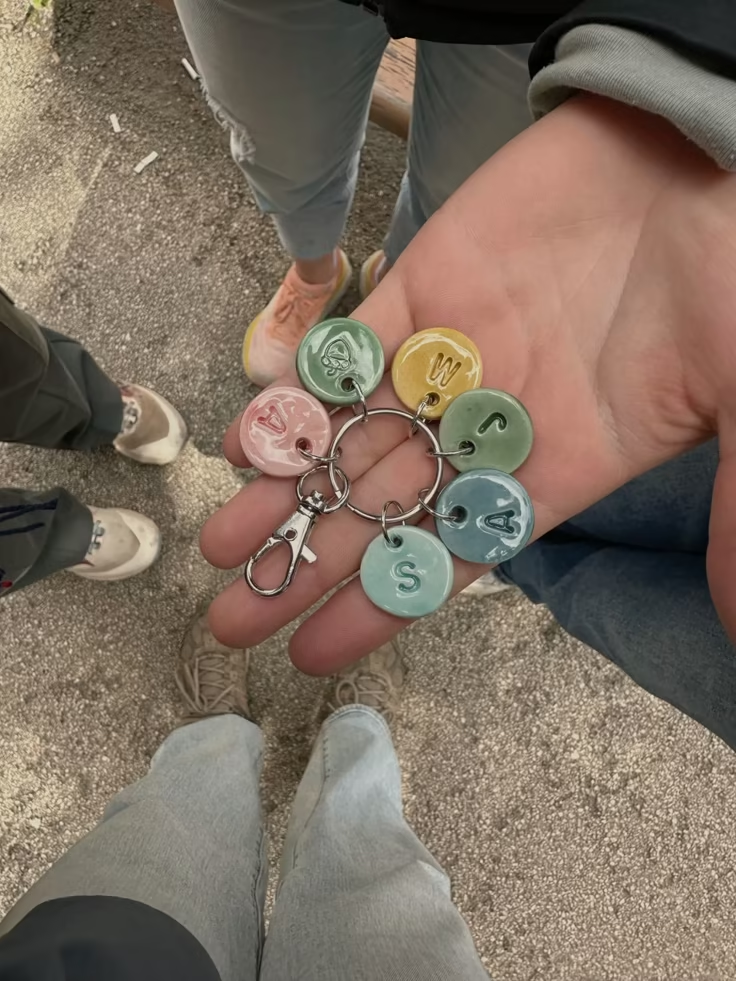
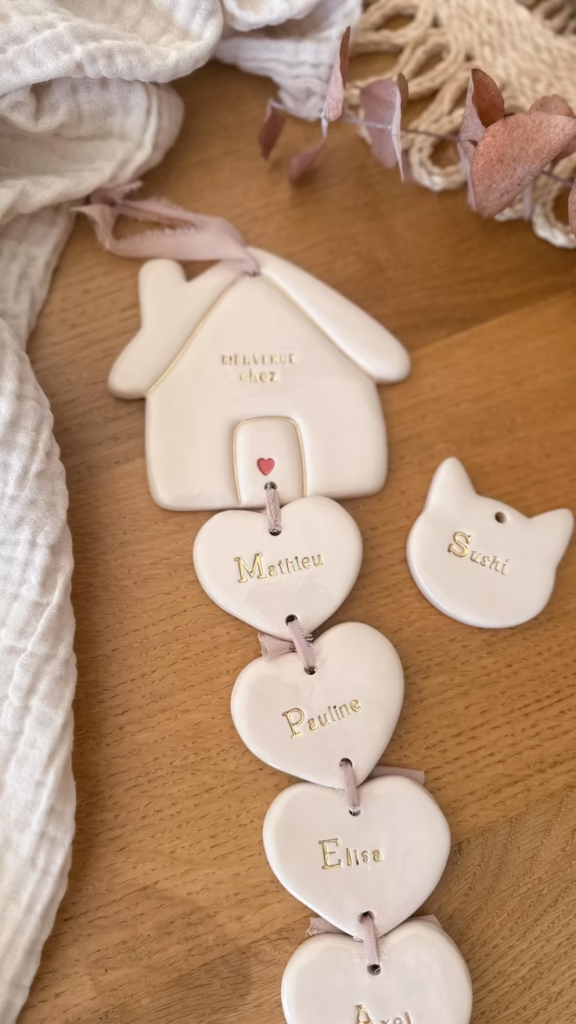
Once you start rolling beads, it’s oddly hard to stop. Queue up a podcast and make 50.
The method: Roll uniform balls or tubes, pierce with a skewer or toothpick before drying, string together once dry.
The consistency hack: Use a ruler or template to keep bead sizes consistent. Eyeballing it leads to some comically large beads mixed with tiny ones (unless that’s your vibe—it can work too).
What to make:
- Garlands for seasonal decor (drape over mantel, hang on wall)
- Boho jewelry (earrings, necklaces, bracelets)
- Decorative accents for plant hangers
- Mobile pieces for nurseries or kids’ rooms
Time saver: Make WAY more than you need. Store extras in a jar. Future you will thank present you when you need quick decor or gifts.
15. Drawer Pulls (The Ambitious One)
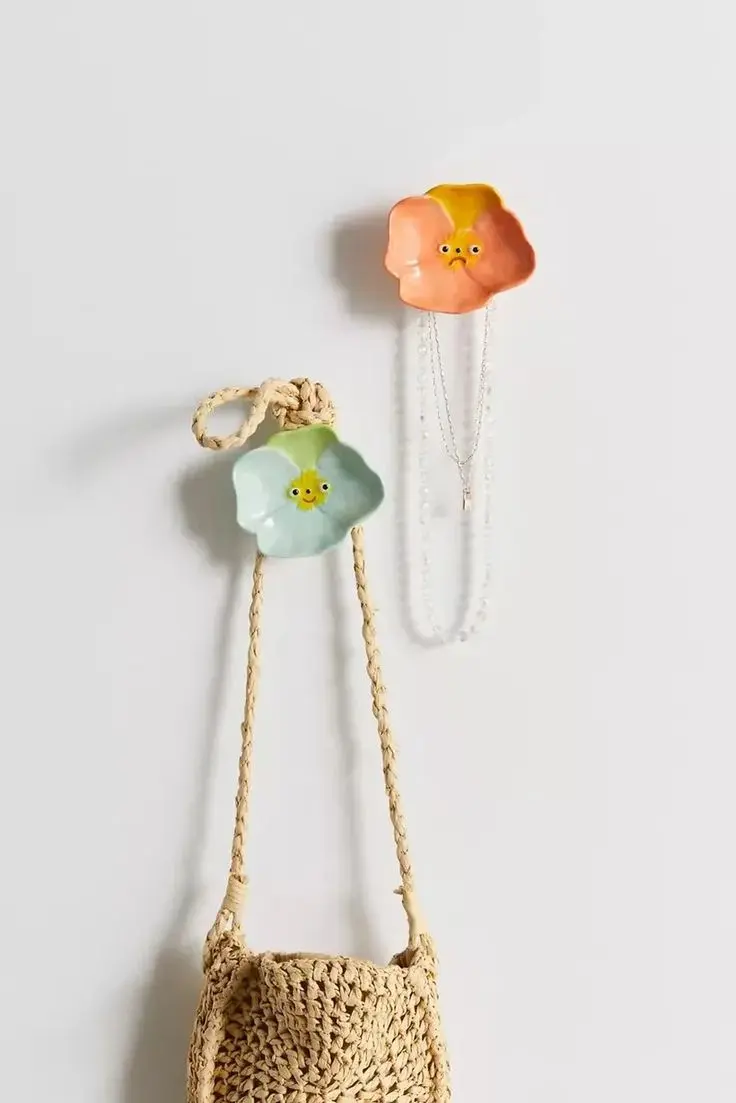
This is advanced. But if you want custom furniture hardware without the custom price tag, here we go.
The method: Shape small knobs or handles. While clay is wet, press an actual furniture screw partway in to create the screw hole. Remove screw, let clay dry completely, then reattach with the same screw when installing.
The load-bearing hack: These work best for furniture you don’t use constantly. Think dresser drawers, not kitchen cabinets. Air dry clay is durable but not indestructible.
Strengthening trick: After the clay is fully dry, paint multiple coats of sealant (let each coat dry between applications). The more sealant layers, the stronger and more water-resistant it becomes.
16. Geometric Jewelry Dishes (The Modern Option)
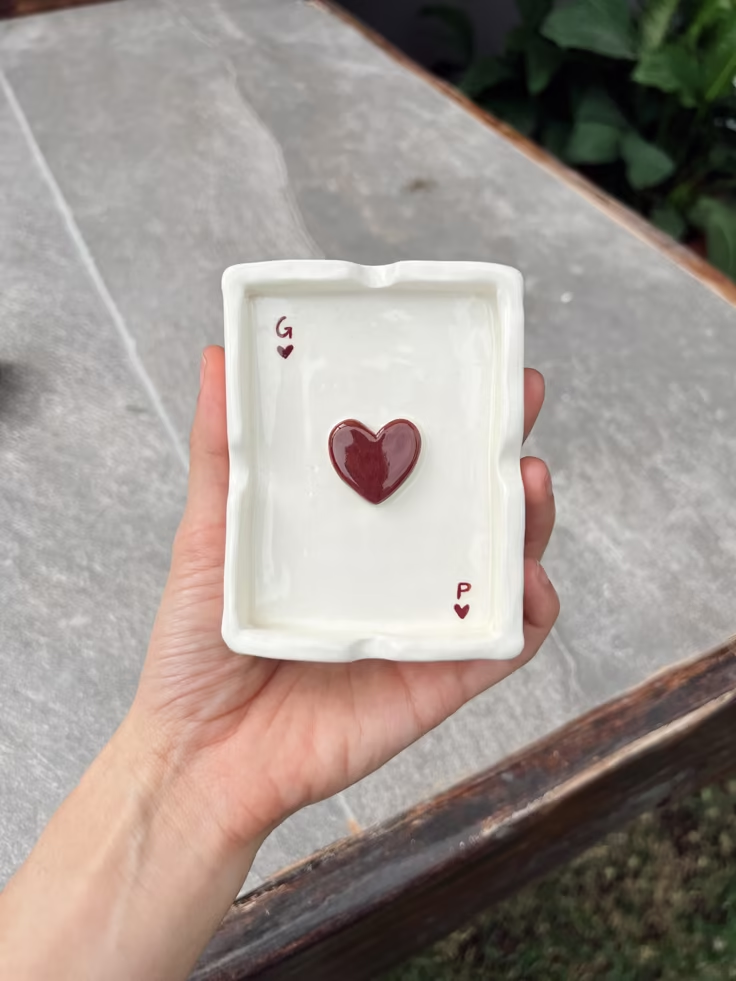
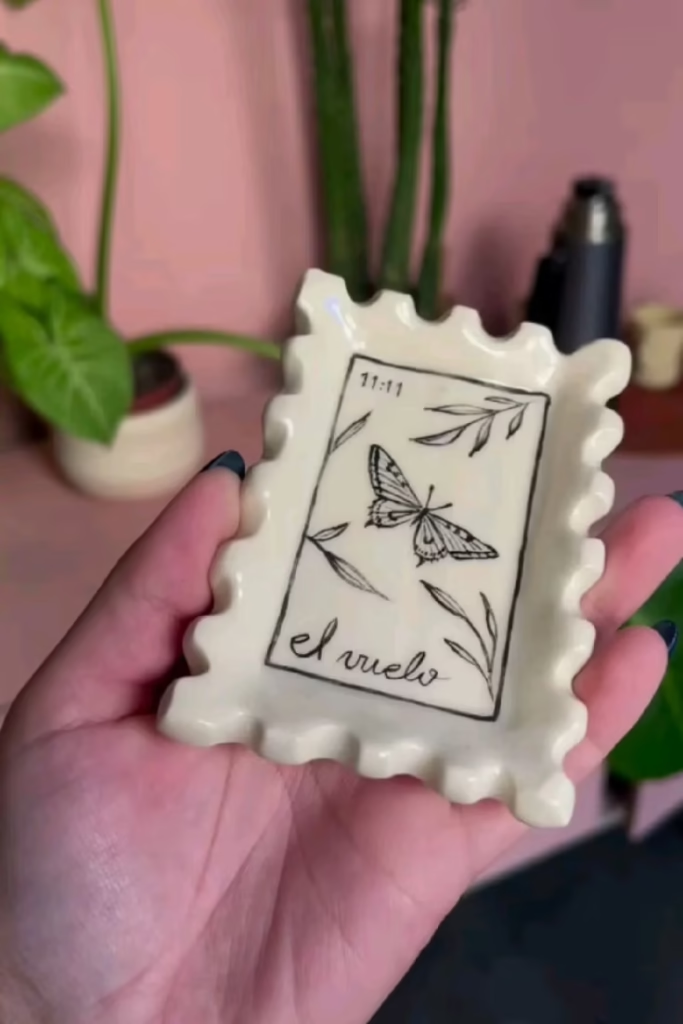
Organic shapes are everywhere, but geometric forms are the perfect balance if your style leans minimalist or modern.
The method: Use a ruler and straight edge to cut clean triangles, hexagons, or angular shapes. Keep them flat or build low walls.
The crisp-edge hack: Let the clay dry partially (leather-hard), then use a metal ruler and sharp blade to clean up edges. You can’t get truly crisp corners when the clay is wet and soft.
Color blocking: Paint each geometric section a different shade. Terracotta + cream + sage green is trending hard in 2026.
17. Bookends (The Structural Challenge)
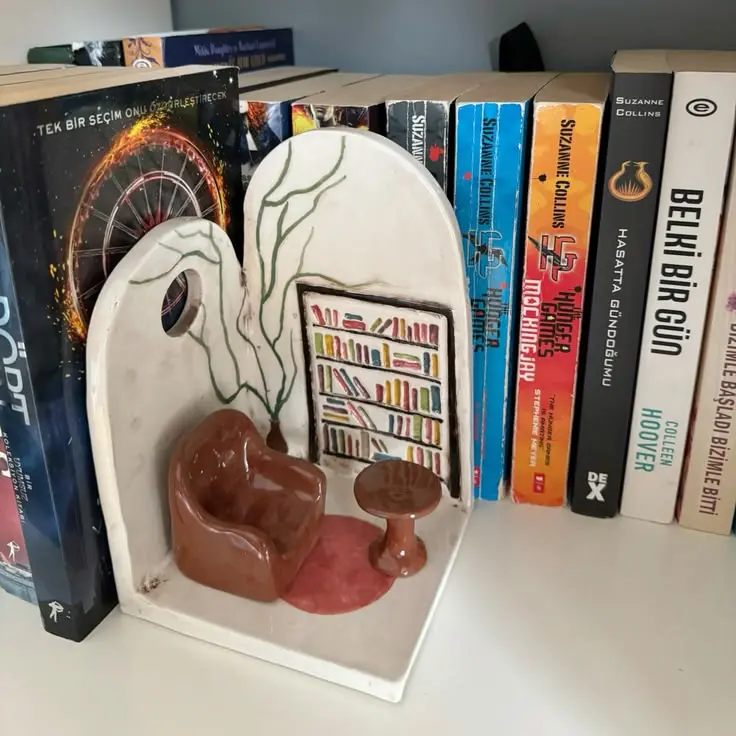
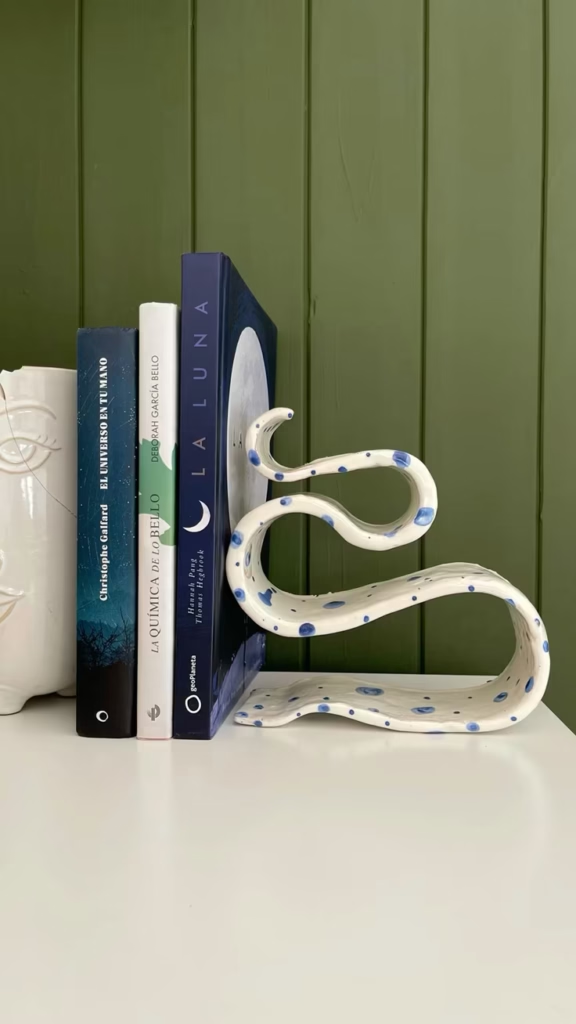
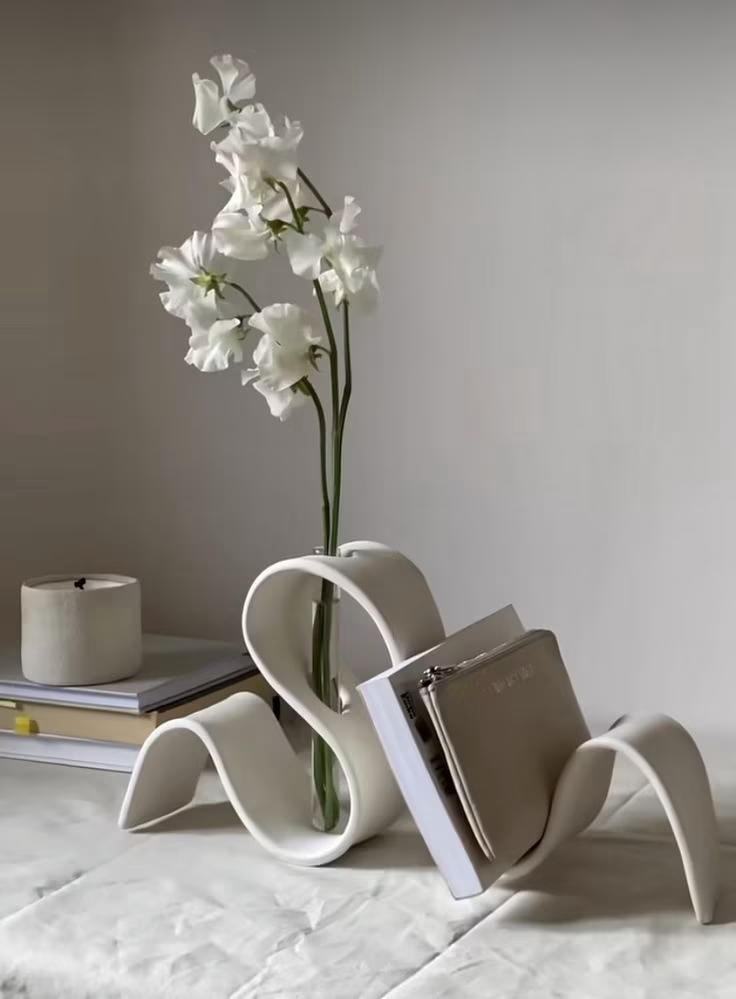
These require more clay and more patience, but homemade bookends are legitimately cool.
The method: Create thick L-shaped forms. Make the base wide and heavy enough to actually support books. Let dry completely (this can take 3-4 days for thicker pieces).
The weight hack: Air dry clay isn’t heavy enough for big books. Before the clay dries, embed small stones or metal washers inside the base for added weight.
Design tip: Simple shapes work best. Don’t try to make elaborate sculptures—they’ll topple. Go for clean, chunky forms.
The Life Hacks That Make a Difference
After observing countless clay projects and compilations of tips from experienced makers, these are the tricks that actually move the needle.
Hack #1: The Damp Towel Method
The problem: Clay dries out while you’re working, making it impossible to shape.
The solution: Keep a damp (not soaking) kitchen towel nearby. Cover your clay block when you’re not actively using it. If you need to step away mid-project, drape the towel over your piece.
Why it works: Clay stays workable for hours instead of minutes. You can actually finish what you started.
Hack #2: The Slip Recipe
The problem: Cracks appear as clay dries, or pieces won’t stick together.
The solution: Make “slip”—a clay + water paste that acts like glue. Scoop some clay scraps, add a few drops of water, mix until it’s the consistency of yogurt.
How to use it:
- Brush onto cracks to fill them
- Use as “glue” when attaching two clay pieces
- Smooth over rough textures
Why it works: You’re essentially adding more clay exactly where you need it, and it bonds chemically instead of just sitting on top.
Hack #3: The Sandwich Bag Storage
The problem: Leftover clay dries into a useless brick if you don’t use it immediately.
The solution: Wrap unused clay tightly in plastic wrap, then put it in a sealed plastic bag or container. Add a slightly damp paper towel inside the bag (not touching the clay directly).
Why it works: Clay stored this way can remain workable for months. No waste, no constant need to buy new blocks.
Hack #4: The Parchment Paper Base
The problem: Clay sticks to your work surface or dries onto the table.
The solution: Always work on parchment paper or a plastic mat. When you’re done, you can move the whole sheet to a drying area without touching your piece.
Bonus: Parchment prevents warping. If you work directly on wood or fabric, those surfaces absorb moisture unevenly and your piece dries crooked.
Hack #5: The Slow Dry Secret
The problem: Rushing the drying process causes cracks and warping.
The solution: Cover your finished piece loosely with plastic wrap or a plastic bag for the first 6-12 hours. This slows the drying and prevents surface cracks.
Why it works: Clay needs to dry from the inside out, not the outside in. Slow drying = stronger, crack-free results.
Hack #6: The Sandpaper Finish
The problem: Dried clay has rough edges and texture you don’t want.
The solution: Once fully dry, use fine-grit sandpaper (220 grit or higher) to smooth imperfections. Do this BEFORE painting.
Pro tip: Sand over a trash can or outside—clay dust goes everywhere. Also, wipe pieces with a barely damp cloth after sanding to remove dust before painting.
Hack #7: The Test Paint Piece
The problem: Some paints don’t adhere well to certain clay brands, or colors look different than expected.
The solution: Before painting your final project, make a small clay scrap, let it dry, and test your paint on that.
What to know: Watercolors look pretty but require a fixative spray or they’ll smudge indefinitely. Acrylic craft paint is foolproof. Spray paint works but needs multiple thin coats.
Hack #8: The Hairspray Finish Hack
The problem: You don’t want to buy expensive sealant for every project.
The solution: A light coat of unscented hairspray works as a temporary sealant for decorative pieces (not functional items like dishes or planters).
Why it works: It’s basically cheap aerosol fixative. Is it perfect? No. Does it work in a pinch? Yes.
Hack #9: The Mold Maker Shortcut
The problem: You want consistent shapes but don’t want to buy molds.
The solution: Use random household objects as molds—small bowls, lids, cookie cutters, bottle caps, anything with an interesting shape.
Popular choices:
- Medicine bottle lids for small dishes
- Upside-down glasses for curved shapes
- Cookie cutters for clean outlines
- Textured fabric or lace pressed into flat clay
- The bottom of drinking glasses for perfect circles
Hack #10: The Emergency Fix
The problem: Your finished, painted piece falls and breaks.
The solution: Use strong craft glue (E6000 or super glue) to reattach pieces. Paint over the seam with matching color. Nobody will know.
The bonus: Sometimes the repair line adds character. Call it “kintsugi-inspired” (the Japanese art of repairing pottery with gold) and suddenly it’s intentional. Repaired pieces often become conversation starters rather than embarrassments.
The Color Trends Worth Knowing
If you’re going to spend time making something, you might as well make it in colors that feel current.
2026’s color story is “earthy neutrals with a twist.”
Here’s what’s actually showing up in design magazines and on Instagram explore pages:
Terracotta + cream + sage: The trinity. You can’t go wrong. It’s warm without being overwhelming.
Dusty lavender + grey + warm white: Soft, calming, slightly unexpected. This is the “I’m not basic but I’m also not trying too hard” palette.
All-natural clay: Leaving clay unpainted (just sealed) is trending hard. The terracotta color is warm, organic, and goes with everything.
Monochrome with texture: All white or all black, but with heavy texture variation. The interest comes from light and shadow, not color.
Single pop color: Everything neutral except one bold element—maybe the inside of a dish or just the rim of a vase. Looks editorial and intentional.
What I Wish I’d Known Before I Started
Start smaller than you think. Your first project should not be a massive decorative bowl or elaborate wall sculpture. Make a simple dish. Build confidence. Get weirder later.
Clay shrinks as it dries. Not a lot, but enough that your “perfect fit” for a tea light becomes slightly too big. Size down on hollows and openings.
Thick is better than thin. I cannot emphasize this enough. Anything thinner than a credit card will crack, break, or warp. When in doubt, go chunkier.
The addictive quality is real. There’s something about working with clay that hits the same brain reward center as bubble wrap and ASMR videos. Before long, people find themselves with 14 projects drying on every flat surface.
Imperfection is the point. The wonky edges, the visible fingerprints, the slightly uneven thickness—that’s what makes it yours. If you wanted perfect, you’d buy something mass-produced.
Not everything needs to be functional. Some things can just be pretty. A decorative sphere doesn’t need to DO anything. It can just sit there and be round. That’s enough.
When Clay Isn’t the Answer
Let’s be real: air dry clay isn’t for everything.
Don’t use it for:
- Outdoor decor (rain will destroy it)
- High-moisture areas without proper sealing (bathrooms are risky)
- Items that need to be truly waterproof (planters for water-loving plants, actual flower vases without inserts)
- Heavy-duty functional items (cutting boards, hot pads, anything that gets scrubbed regularly)
- Food contact surfaces (it’s not food-safe)
Use it for:
- Decorative objects
- Light-duty organizers
- Wall art
- Temporary seasonal decor
- Gifts for people who appreciate handmade things
- Procrastination that feels productive
The Real Reason This Trend Sticks
Most craft trends fade because they’re annoying, expensive, or time-consuming. Remember friendship bracelets? Still cute, but nobody has the patience. Scrapbooking? Gorgeous, but requires 400 supplies and a dedicated craft room.
Air dry clay works because:
It’s genuinely easy. You need clay, your hands, and basic tools you already own. There’s no complex technique to master before you can make something decent.
It’s affordable. One $12 block makes multiple projects. Compare that to literally any other hobby—painting, knitting, woodworking—and clay is laughably cheap.
It’s satisfying quickly. You can finish a project in under an hour (minus drying time). The dopamine hit comes fast.
It looks more impressive than it is. When people see handmade clay objects, they assume you have skills. You don’t need skills. You need clay and mild confidence.
It doesn’t take over your life. You can make something, let it dry, and move on. It doesn’t require ongoing maintenance like sourdough or plants. Make it, forget it, enjoy it later.
What Makes This Trend Different
After observing the air dry clay movement evolve over months, several patterns emerge that explain its staying power.
Not everything needs to be perfect. The pieces with slightly wonky edges often get chosen first. Imperfection has become the appeal, not the flaw.
Making something beats buying something. Not always, but increasingly. The act of creating adds value beyond the object itself—a response to decades of passive consumption.
Homes should reflect their inhabitants. Mass-produced decor serves a purpose, but mixing in handmade pieces makes spaces feel personal rather than showroom-perfect.
Hobbies don’t require monetization. Despite hustle culture’s pressure to turn everything into a side business, sometimes making things just because you want to remains valid.
Sharing imperfect work is becoming normalized. Posting rough first attempts takes more courage than posting polished pieces. But it also gives others permission to try—creating a cycle of accessible creativity.
So, Should Anyone Try It?
Here’s the honest answer: probably yes.
For anyone who’s ever looked at aesthetic room decor and thought, “I wish I could make that”—you can. For those who’ve wanted a creative outlet that doesn’t require being “artistic”—this is it. For people who need a reason to put phones down for an hour and make something with their hands—clay is waiting.
First projects will be rough. That’s expected. Second attempts will be better. By the third, personal style emerges.
And six months later, when someone finds themselves on the kitchen floor at 2 AM making their eighth trinket dish, they’ll understand why everyone’s obsessed with air dry clay in 2026.
It’s not just about the objects. It’s about remembering that people can make things. That hands can shape something from nothing. That imperfect handmade things are better than perfect mass-produced things.
Also, it’s genuinely fun. Which, in 2026, feels like reason enough.
What should your first project be? Join the conversation in the comments—especially if you’re about to make 40 tiny mushrooms for no reason.
Frequently Asked Questions
How long does air dry clay really last? With proper sealing, years. I have pieces from a year ago that still look perfect. The key is multiple coats of sealant—don’t skimp on this step. Without sealant, they’ll get dusty and eventually crumble, especially in humid environments.
Can you make air dry clay waterproof enough for real plants? Not really. Even with sealant, air dry clay remains slightly porous. For planters with drainage holes, you can get away with it for succulents (they barely need water). For other plants, use a plastic nursery pot inside your clay planter, or switch to oven-bake polymer clay for truly waterproof projects.
What happens if a clay project breaks? Fix it with strong craft glue (E6000 or super glue) to reattach pieces. Paint over the seam with matching color. Most repairs become invisible. Sometimes the repair line adds character—call it “kintsugi-inspired” and it becomes a feature.
Why does everyone say their first project cracked? Usually because they worked the clay too thin, dried it too fast (near a heater or in direct sun), or didn’t smooth their seams properly. Solution: keep thickness at least 1/4 inch, dry slowly at room temperature, and really blend those seams with wet fingers while working.
Is expensive clay better than cheap clay? Sometimes. Budget options like Crayola air dry clay work but stay slightly soft even when dry. Mid-range brands like DAS and Activa Plus ($10-15/block) dry harder. Premium brands like Jovi or La Doll dry hardest and sand smoothest, but cost $20-30/block. For learning, starting cheap makes sense. Once committed, upgrading becomes worthwhile.
Can I use air dry clay outside? Not recommended. Rain will eventually dissolve it, and temperature changes cause cracking. If you must, seal it with marine-grade sealant and bring it inside during bad weather. But honestly, for outdoor stuff, use concrete or proper ceramic.
What’s the difference between air dry clay and polymer clay? Air dry hardens naturally over 24-48 hours. Polymer (like Sculpey) requires baking in a regular oven at low temp. Air dry is easier for large projects and beginners. Polymer is better for detailed work, jewelry, and truly permanent pieces. Both have their place.
How do you prevent clay dust everywhere? Work on parchment paper, sand over a trash can, and wipe pieces with a barely damp cloth after sanding. Also, don’t oversand—you only need to smooth rough edges, not the entire piece. Some people wear a dust mask while sanding thick projects.
Can I speed up drying time? You can, but you’ll risk cracks. Some people use a very low oven (200°F max) for an hour or two to accelerate drying, but the safest method is patience. If you’re in a rush, make thinner pieces—they dry faster—or use a fan to increase air circulation (but not direct heat).

There’s a very specific kind of person who glues rhinestones onto a Stanley cup at 11pm on a W
I came home from the beach last summer with an entire grocery bag of shells. Just… stuffed th
Easy Mother's Day craft ideas for kids ages 2-11. From fingerprint art to clay flower mirrors, these
Leave a Reply