

Fun to Be One: Colorful First Birthday Party Ideas That Make the Milestone Unforgettable
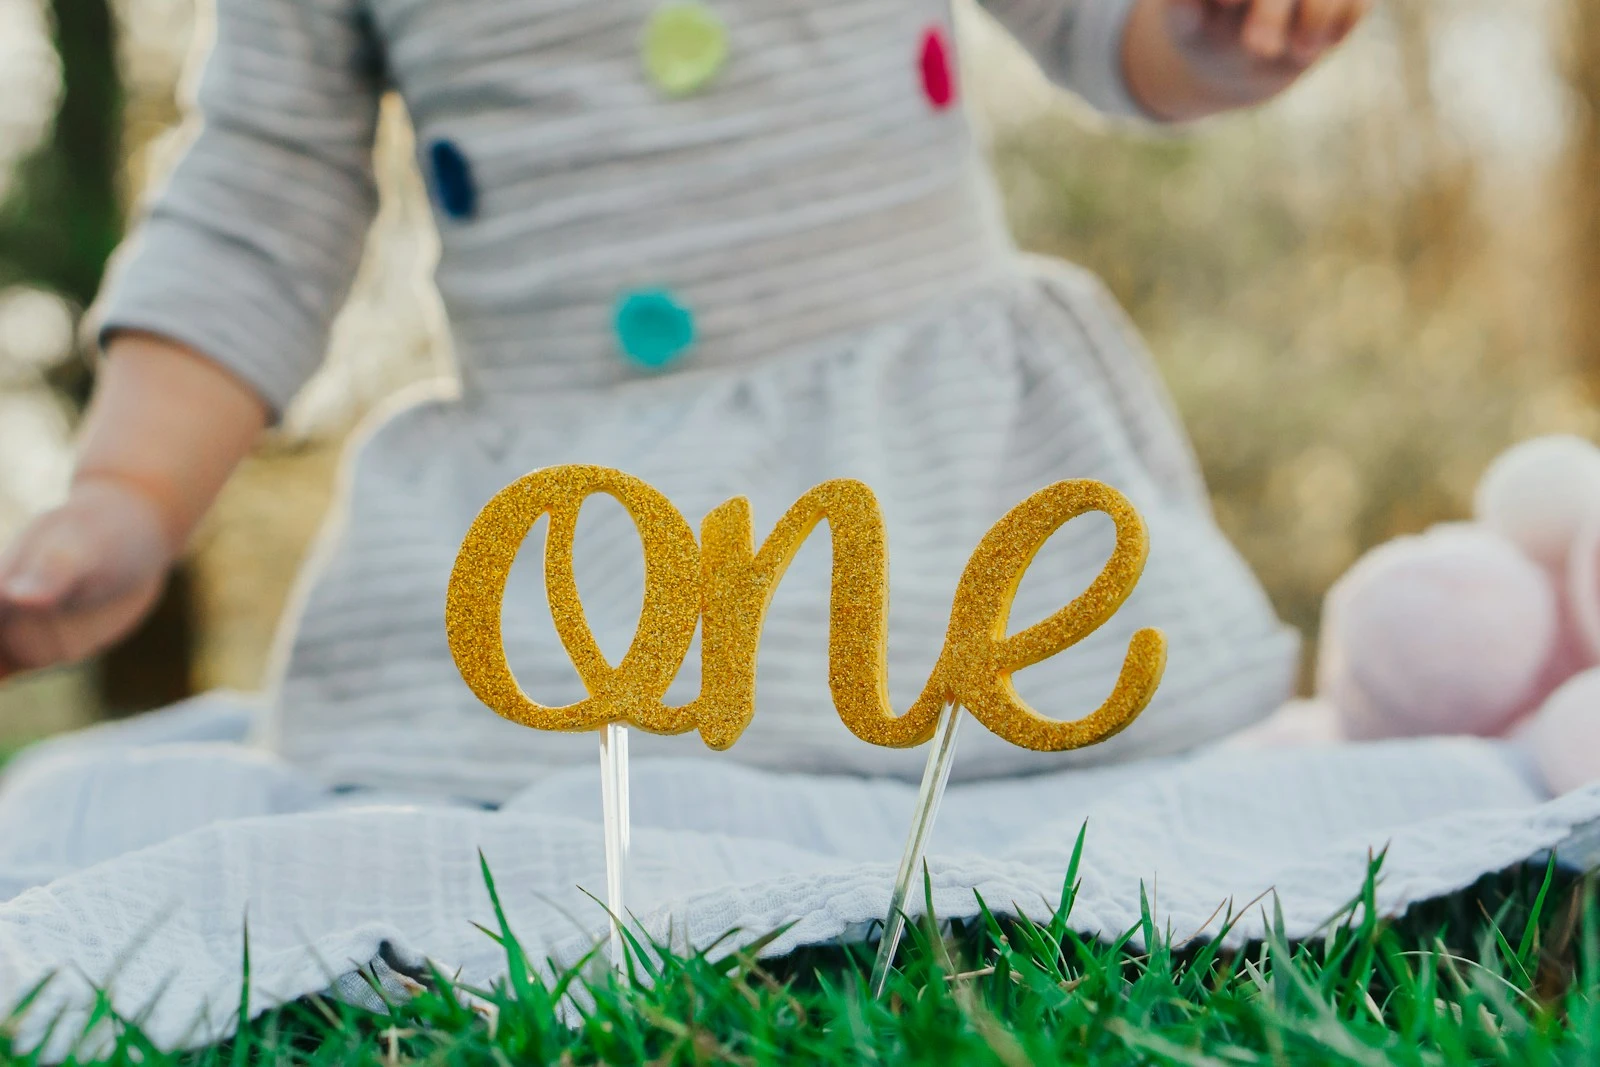
One year ago you were in a hospital bed wondering if you’d ever sleep more than 90 minutes in a row again. Now you’re planning a party with balloon arches and a smash cake.
This one’s for you as much as it’s for them.
Your baby will not remember this day. You absolutely will. And that’s the whole point. The first birthday isn’t really a baby milestone — it’s a parent milestone. Twelve months of figuring it out, of doing something you’ve never done before, of loving someone so completely it rewires your entire brain. That deserves a real celebration.
So yes, let’s make it colorful. Let’s make it joyful. And let’s make it something you’ll actually enjoy setting up instead of stress-cry over.
This post contains affiliate links. If you buy something through these links, I may earn a small commission at no extra cost to you. I only recommend things I’d actually use.
First: Pick Your Color Direction
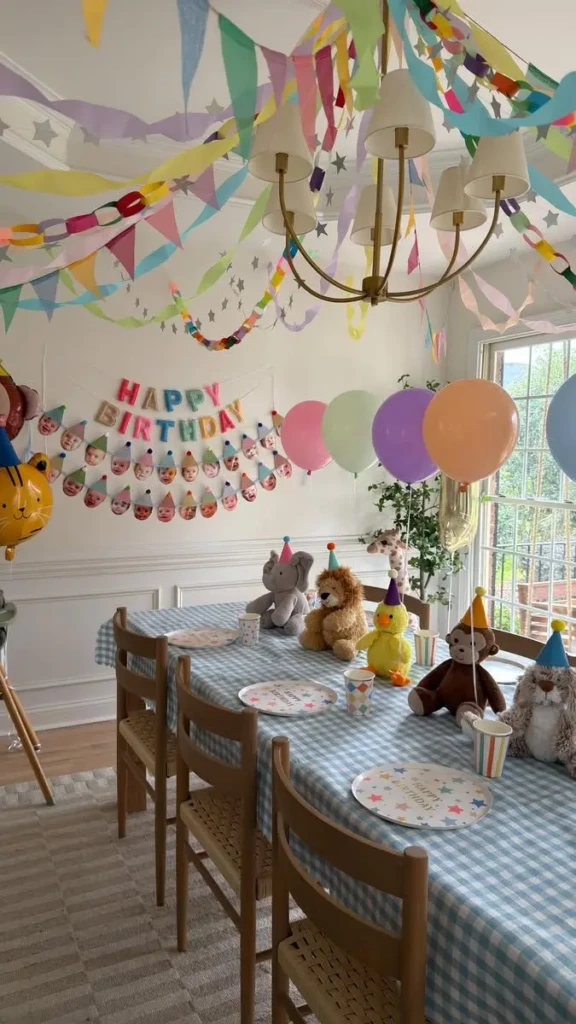
Before you buy a single balloon, decide which way you’re going. Colorful first birthday party ideas fall into three pretty distinct vibes — and mixing all three just looks chaotic.
Bold primaries — red, yellow, blue, with white as the base. Classic circus energy. Very clean against white tablecloths and kraft paper. Great for outdoors or a bright, light venue. Every party supply store has this palette in stock, so you’re not hunting for specialty items.
Pastel rainbow — soft pink, lavender, mint, peach, butter yellow. This one photographs beautifully. It reads as gentle and dreamy, which suits the “one tiny whole year” feeling more than anything else. The tradeoff is that pastels can wash out in low light — you’ll want good natural light or warm white string lights.
Bright pops on white — hot pink, orange, yellow, maybe a hit of teal, all against a white backdrop. This is the most Pinterest-able version. It’s bold without being overwhelming, and white gives your eye somewhere to rest. It also happens to be the most forgiving for a home venue where you can’t control the wall color.
Pick one. Then repeat that palette everywhere — balloons, plates, napkins, the banner, the cake colors. Repetition makes it look intentional even when the setup is simple.
The Balloon Arch DIY (It’s Easier Than It Looks)
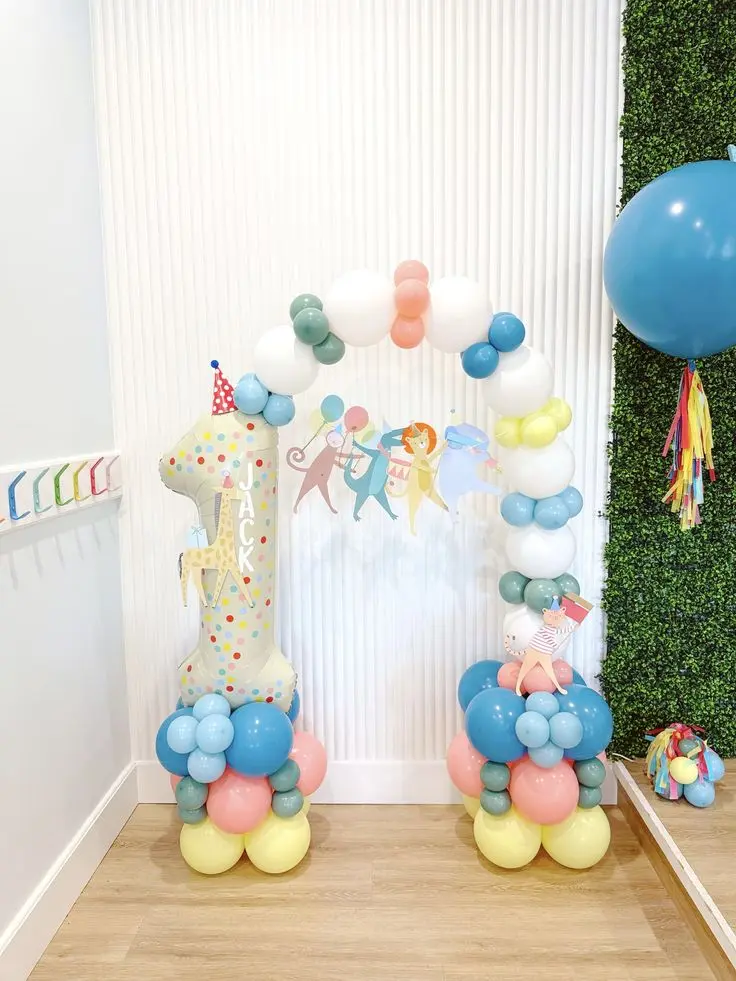
Balloon arches became the default backdrop for a reason: they’re cheap, they’re colorful, and they photograph well behind literally anything — high chair, cake table, front door.
You don’t need a frame. You need about 100–120 balloons in your chosen palette, a balloon arch strip, a hand pump (do not inflate 100 balloons with your lungs), and about an hour.
Here’s the version that actually works:
Blow up balloons in 4 sizes — very small (4 inches), small (6 inches), medium (10 inches), large (12 inches). The size variety is what makes it look textured and organic instead of uniform and stiff.
Knot them in clusters of 4. Push each cluster onto the balloon strip by threading the knot into the holes — two balloons on each side. Alternate cluster colors as you go so you don’t end up with a block of red and then a block of yellow. Fill gaps with the tiny balloons stuck in using tape or Command strips.
Hang it with Command hooks. Pull the ends tight before securing so it curves naturally.
Do this the morning of the party. Balloons lose firmness overnight and by the next day they look slightly sad, which is not the vibe.
The “Fun to Be One” Banner
A banner makes the whole thing feel intentional. You can buy one — the burlap and felt versions on Amazon are around $8–12 and honestly look cute — or print a free one and cut and string it yourself.
If you’re making it: print each letter on cardstock in your palette colors, laminate or use a heavier paper so they don’t curl, punch two holes at the top of each card, and thread through twine or ribbon. Space the letters about half an inch apart. The whole thing takes 20 minutes.
Hang it directly above the high chair or cake table. This is where most of your photos will happen, and having the banner in the frame makes every single one of them look more finished.
The Smash Cake Setup (This Section Deserves Your Full Attention)
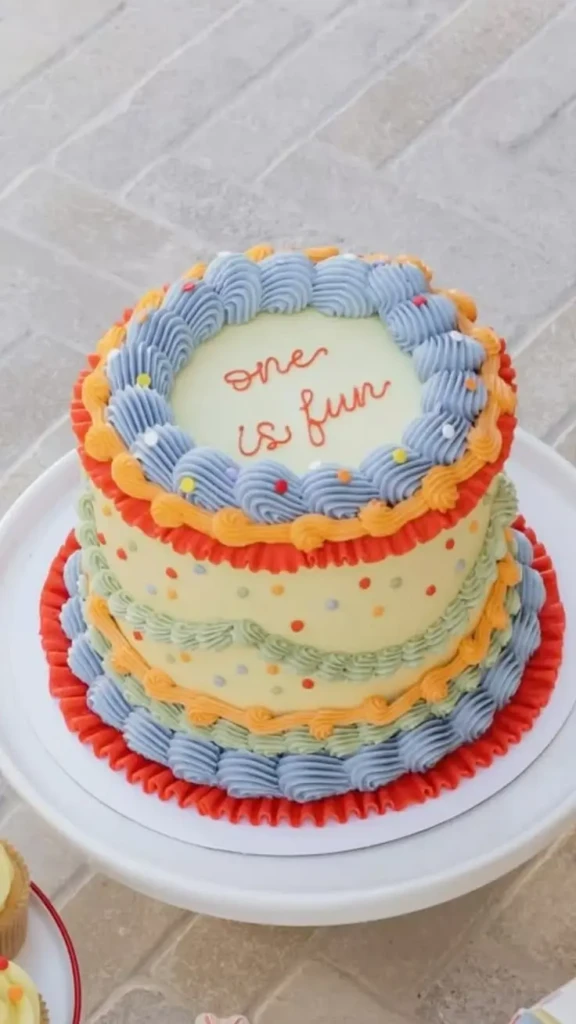
The smash cake moment is the one everyone shows up for. Here’s the thing though — it almost always goes better when you’ve thought through the logistics in advance.
The cake itself: Order a 4-inch round smash cake separate from the main cake. Tell your baker you want it soft (mashed banana or carrot base is perfect) and not too sweet — your baby’s digestive system does not need a cup of buttercream. Go simple white frosting with a colorful number “1” topper or fresh berries on top. The cake is going to get demolished anyway.
The backdrop: Put a plain white or solid-colored sheet or tablecloth behind and under the high chair. This does two things — it makes your photos clean, and cleanup takes 30 seconds instead of 30 minutes.
The floor: Lay down a splat mat or a cheap plastic tablecloth. Cake reaches further than you think.
The timing: Do the smash cake before your baby hits the wall. For most one-year-olds that’s around 90 minutes into the party. Tired baby + too many people + sudden sugar = tears, not joy. Watch for the happy window and go for it.
The photo setup: Have your phone or camera ready before you put the cake down. The first 60 seconds are the best — confusion, then curiosity, then absolute chaos. That’s your window. Get low so you’re shooting at baby’s level, not down at them. The messy face straight-on shot is the one you’ll actually frame.
Outfits: Put the cake outfit on after the regular party outfit. Or don’t bother with two outfits and just strip them down. Frosting in the hair folds is a two-bath situation regardless.
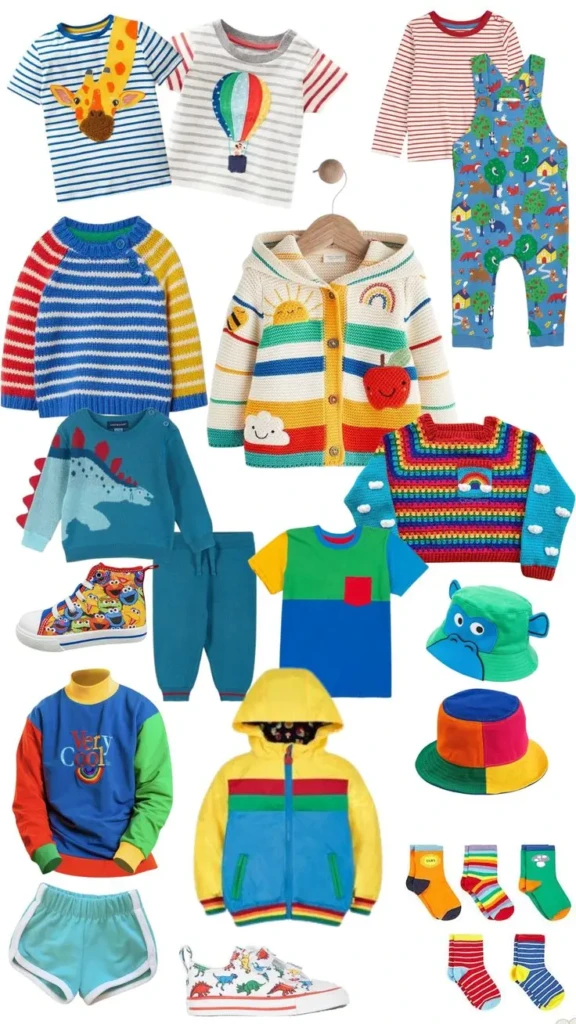
One more thing: not every baby dives in immediately. Some sit and stare at the cake like it personally offended them. That’s fine. That’s also a perfect photo. Don’t rush them.
Rainbow Fruit Skewer Display
This is the food idea that gets the most “where did you get this?” comments and it takes maybe 15 minutes to assemble.
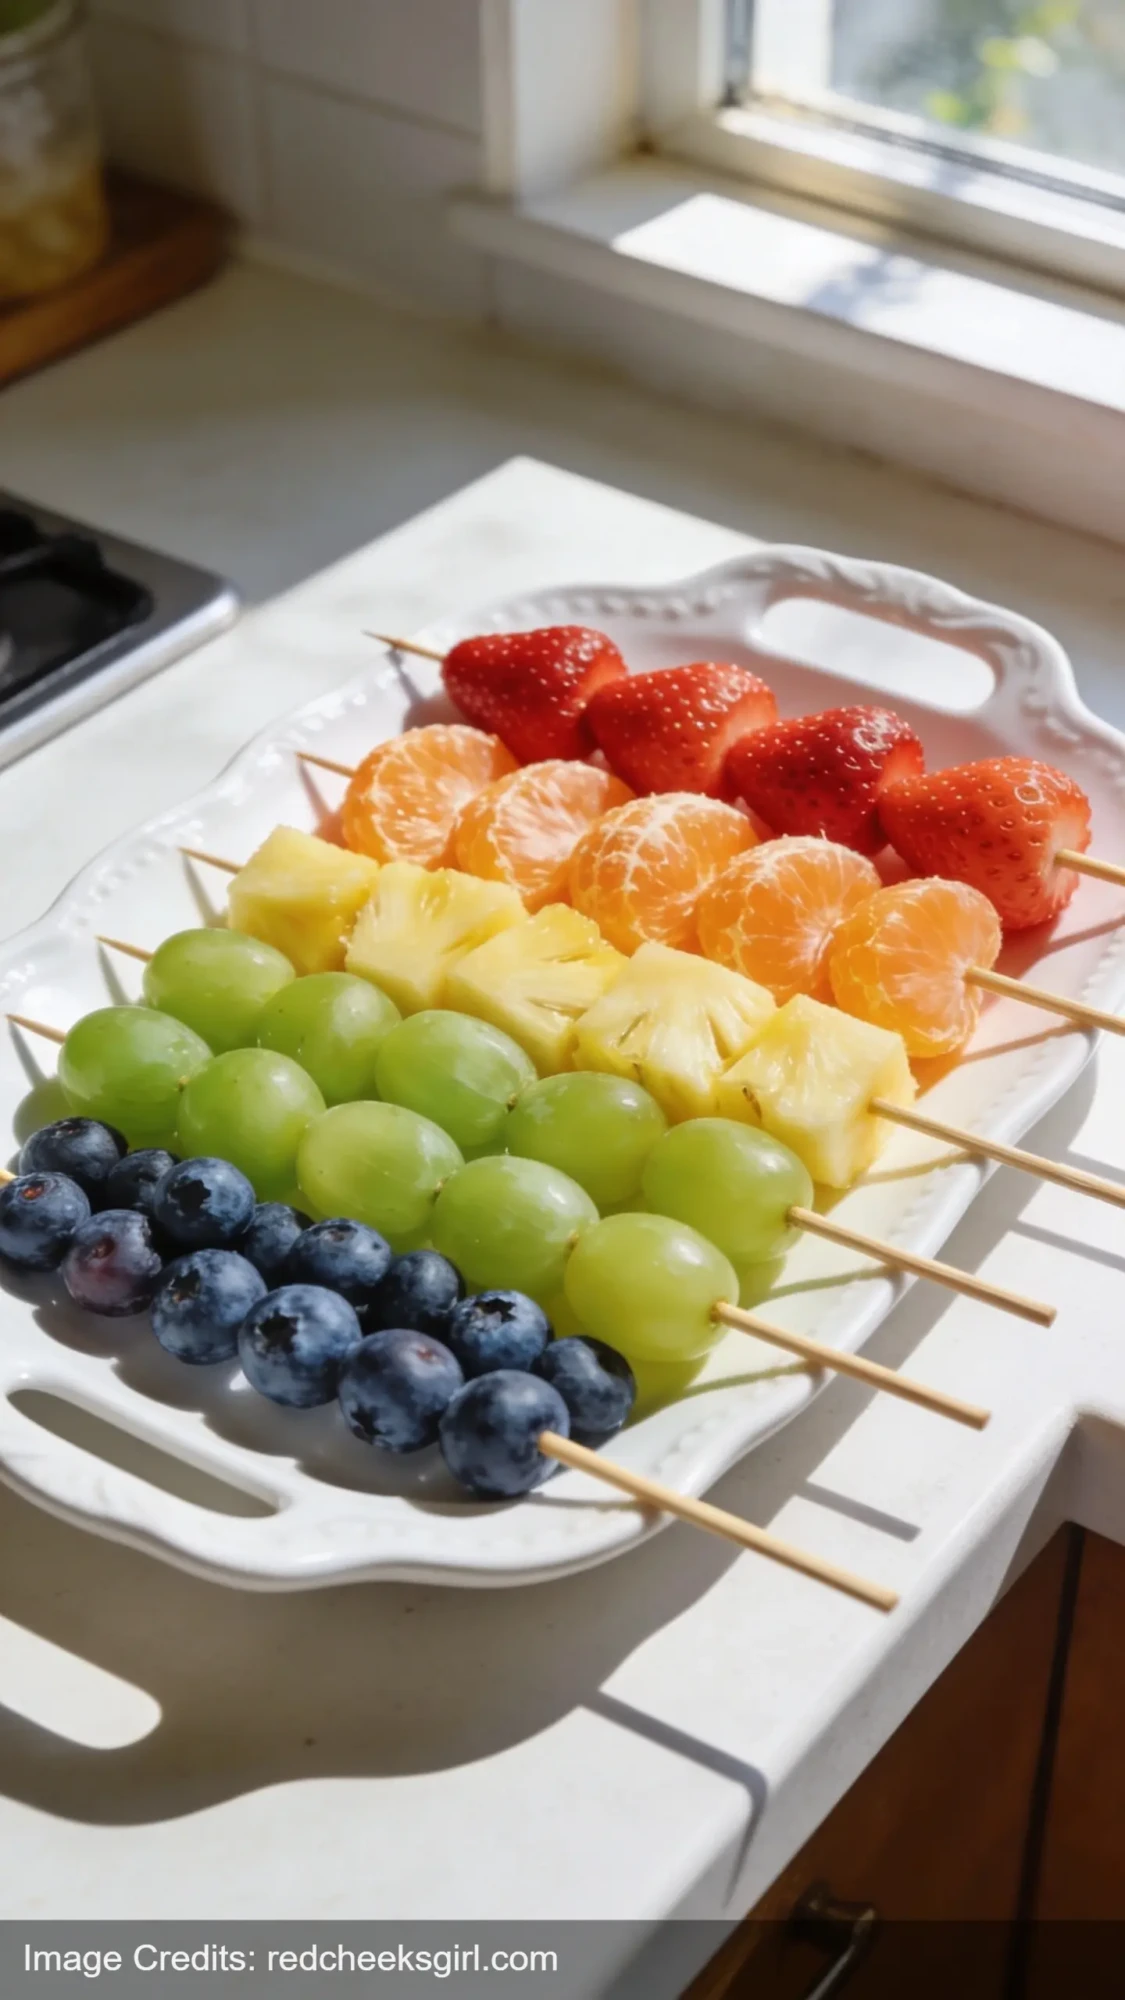
Pick one fruit in each color: strawberries (red), mandarin segments or cantaloupe (orange), pineapple (yellow), green grapes (green), blueberries (blue or purple). Thread them onto small wooden skewers in rainbow order — red to purple — and arrange them in a fan or arch shape on a white platter or in a small mason jar display holder.
It’s colorful, it’s the only food at the party that’s actually healthy, and the toddler guests will eat it before anything else. Adults too, honestly.
Games for Baby and Toddler Guests
Here’s the honest truth about games at a first birthday: babies don’t play games. They sit on blankets and stare at balloons. That’s the entertainment.
But if you have toddler siblings (18 months – 3 years) at the party, a few things work well without requiring much coordination.
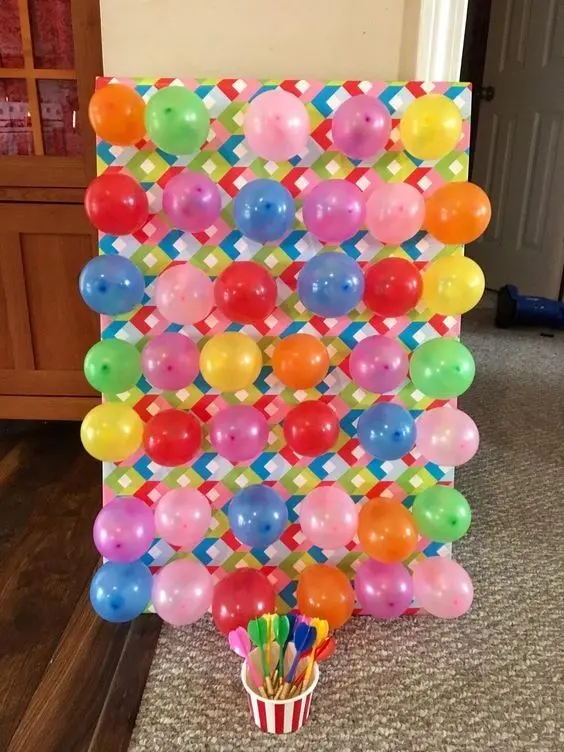
Balloon stomp: Tie a balloon to each toddler’s ankle. They try to pop each other’s. First time someone’s balloon pops — total chaos, probably tears, definitely also hilarity. It’s a 5-minute game and they’ll talk about it for days.
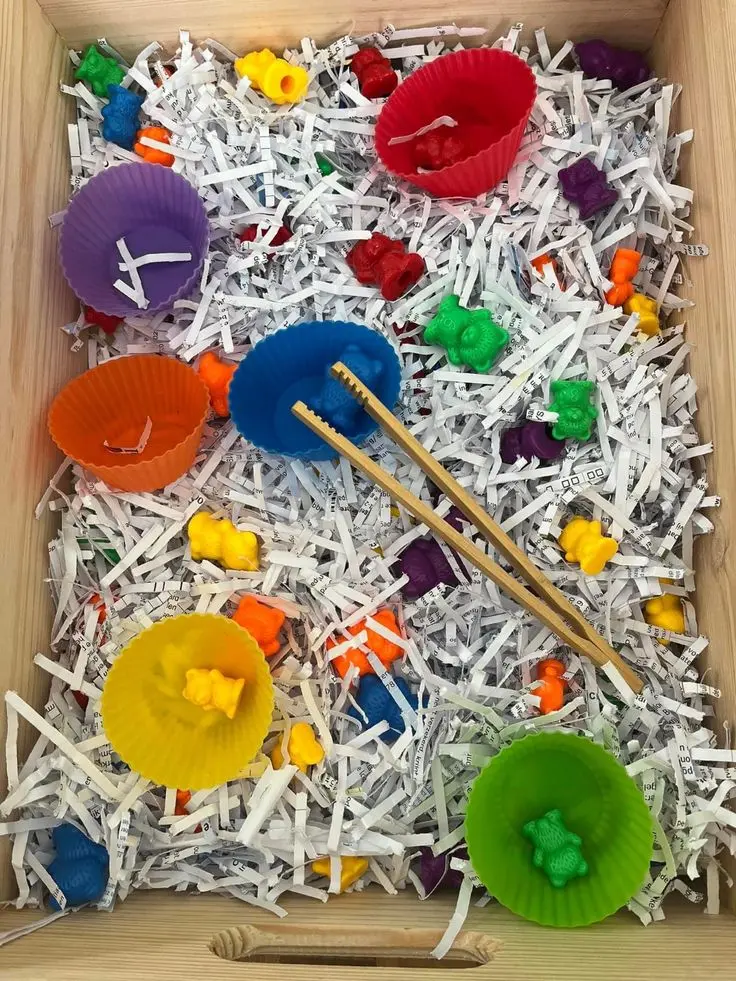
Sensory bin: Fill a storage bin with dried rice, colorful pom poms, and small cups for scooping. Park it in the corner. Babies and toddlers will gravitate to it on their own and stay there longer than you expect. Lay a sheet underneath.
Soft ball toss: Three colored baskets, three soft rainbow balls. That’s it. Nobody’s keeping score. They’ll do it for 20 minutes.
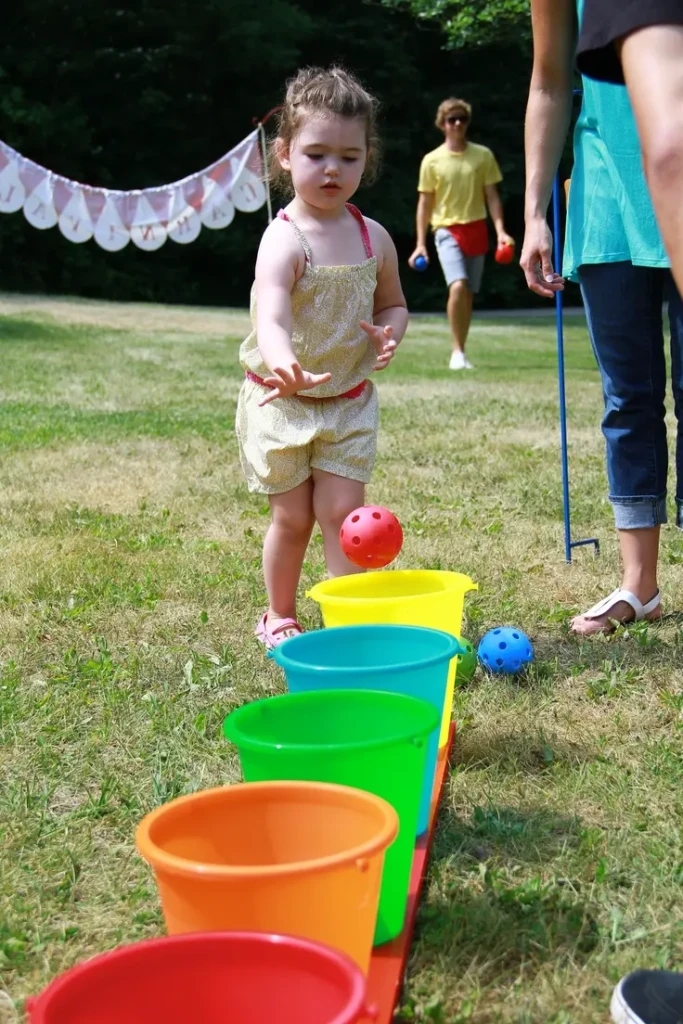
If you want more structured ideas for entertaining the older kids while parents mingle, my post on simple Halloween games for kids’ parties has a bunch of formats that scale down easily for little ones.
Party Favors: Colorful Bags with DIY Number Tags
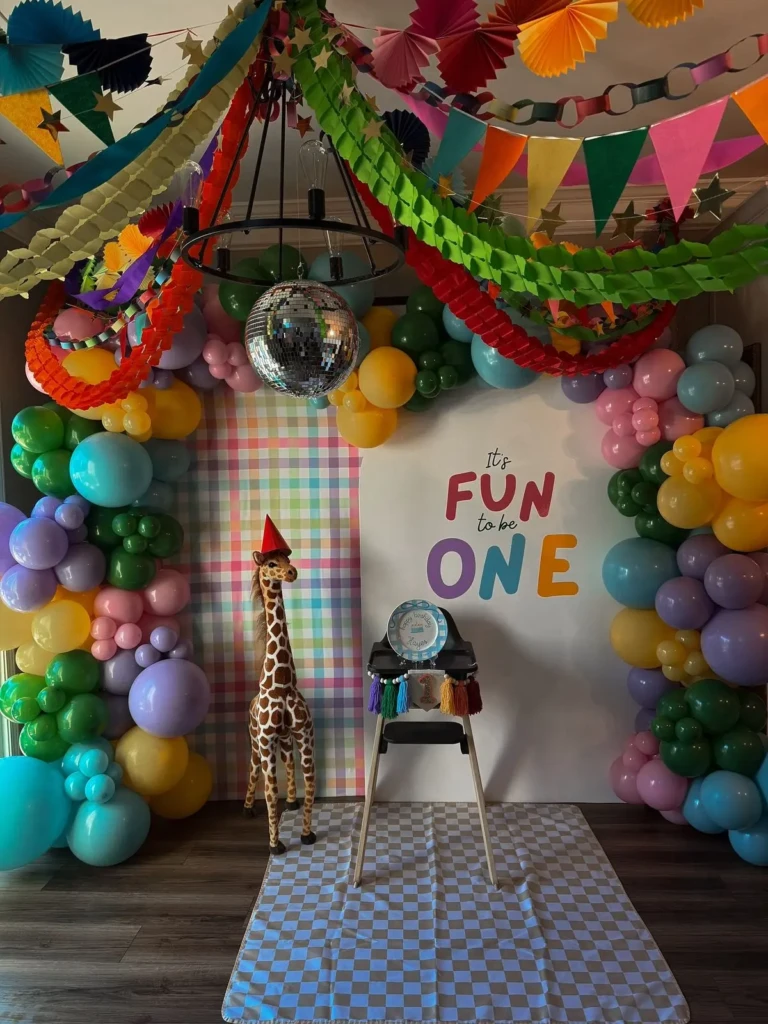
Favor bags don’t need to be elaborate. They need to exist, and they need to feel like someone thought about them for more than 30 seconds.
Get solid-colored kraft party bags in your palette — different color per bag or all one color with colorful tissue paper. Then make a simple “1” tag: print a big, bold number 1 on cardstock, cut into a circle or scalloped square, punch a hole at the top, and tie on with baker’s twine.
Inside: a bubble wand, a small colorful board book, a few fruit snacks, a mini Play-Doh cup. Under $3 per bag and genuinely cute.
If you enjoy the crafting process and want to lean into DIY more, I’ve been making a lot of party-adjacent crafts lately — my roundup of crafty hobbies that are surprisingly relaxing has some good ones that work well for party prep too.
The Setup You Actually Need
White backdrop. That’s it. Hang a white sheet, use a white wall, or push a white tablecloth up behind the cake table. Every single photo will look more intentional.
Natural light is your second priority. North-facing windows or open shade outside give you even, soft light that makes colors pop without harsh shadows. Avoid setting up directly in front of a bright window (it backlit your subject into a silhouette) or in a dark corner with overhead yellow light.
The rest — the banner, the arch, the fruit display — are just the decorations around the backdrop and the light. Get those two right first.
Your baby will be happiest in the first hour. That’s when to do photos. That’s when to do the group shot with grandparents. Don’t save the smash cake until the very end — see above.
And if the arch falls down, the fruit skewers tip over, or the banner letters end up slightly uneven? Nobody notices. In ten years you will not be looking at the balloon placement. You’ll be looking at your baby’s face, covered in frosting, completely delighted.
That’s the only photo that matters.
FAQ
How far in advance should I make the balloon arch? The morning of is ideal. If you need to get ahead of it, the night before is okay — just expect slightly less full balloons by party time. More than 12 hours and they start to droop noticeably.
What size smash cake should I order? 4 inches is standard. A 6-inch round works if you want a bit more for photos, but anything bigger just gets messy fast with no real benefit. The baby isn’t eating much anyway — you’re going for the moment, not the dessert.
My baby hates being the center of attention. Any advice? Keep the crowd back during the smash cake. Fewer faces staring at them = less overstimulation. Have one familiar person (not you — you’re taking photos) sit at their level next to the high chair. Sometimes all they need is one safe person nearby.
Do first birthday parties need to be long? No. 2 hours is honestly perfect. Enough time for everyone to arrive, eat, do the cake, do some photos, open a gift or two. Babies hit a wall fast and so do parents of babies.
Can I use real flowers in the decor? Yes, but keep them out of reach and check that anything on the table is non-toxic. Rainbow ranunculus or mixed gerbera daisies in your palette look gorgeous and add life to photos. Just Google the specific flower name + “non-toxic to children” before you buy.
Last July I planned what I thought would be a quick backyard pool party for my daughter’s 7th
The living room looked like a NASCAR fever dream. Black and white checkered streamers twisted across
You’ve been thinking about it for three weeks. The park party idea keeps coming back. It&rsquo
Leave a Reply