

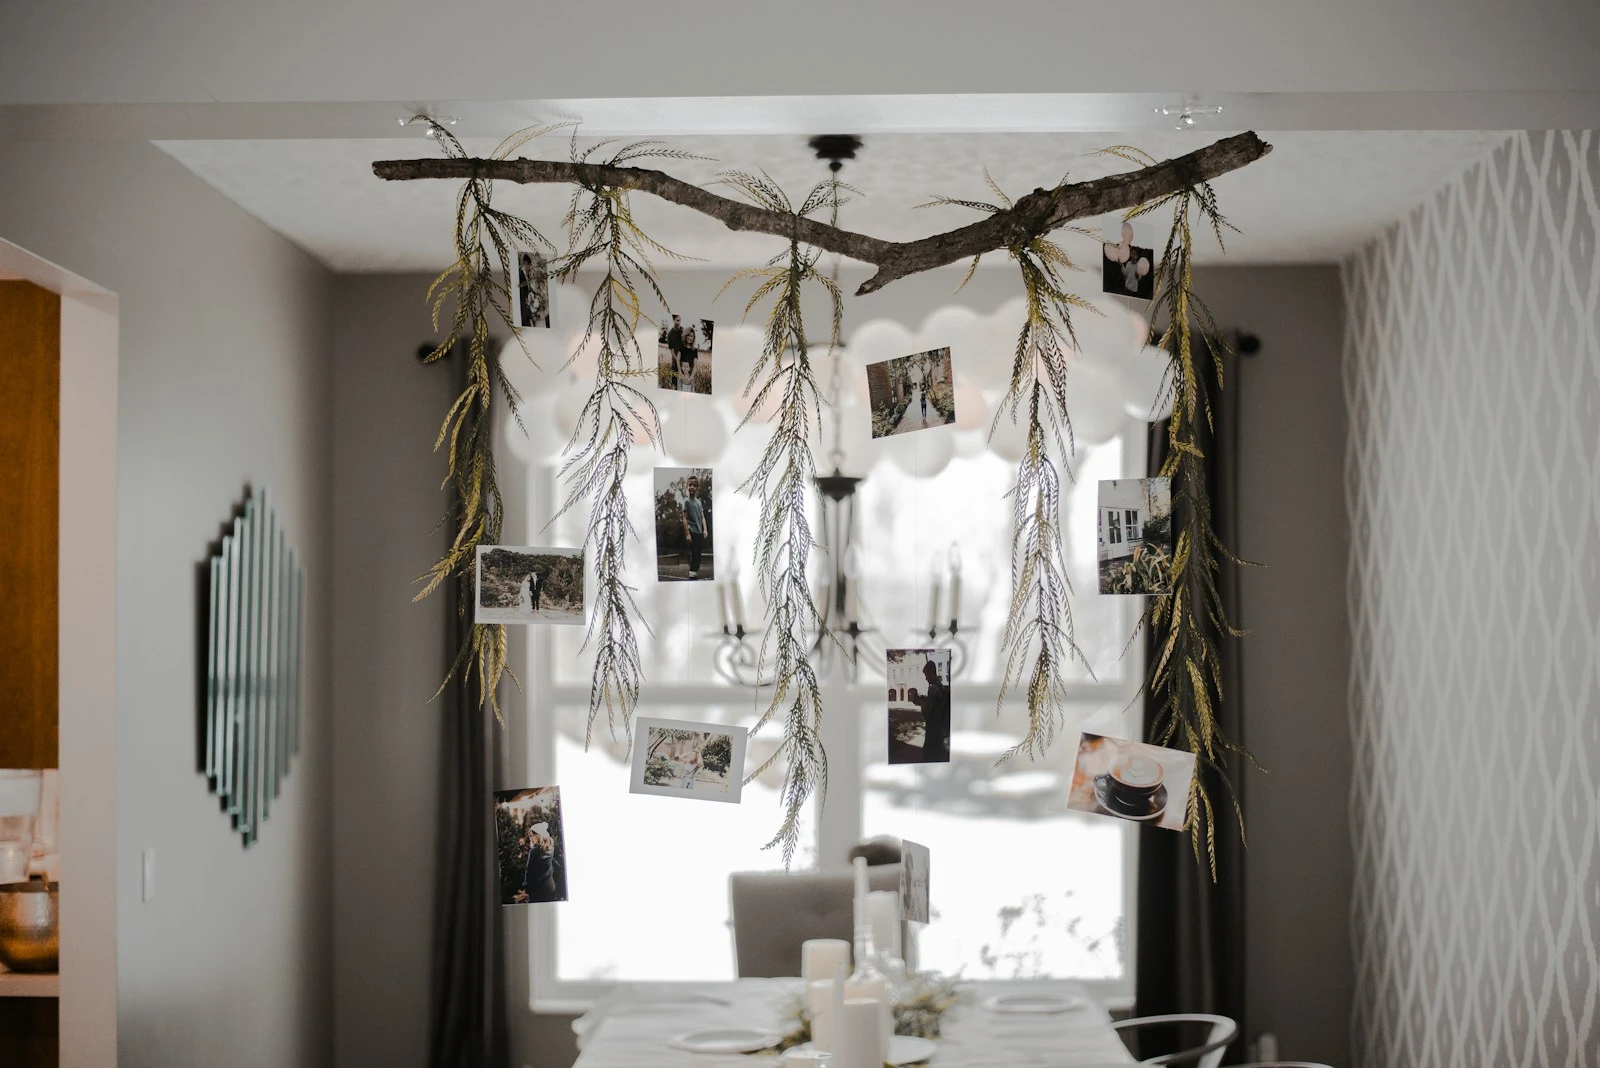
I grabbed a branch off the ground on a walk last October. It was a good one — silvery-gray, forked in three directions, about two feet long. I had no plan. I just thought it looked like something.
That branch is now the centerpiece of my living room bookshelf, wrapped in a string of warm white lights, with a few dried eucalyptus sprigs tucked between the forks. Three people have asked me where I bought it. One thought I got it from Anthropologie.
I didn’t spend a dollar on the branch itself. Total project cost: maybe $6.
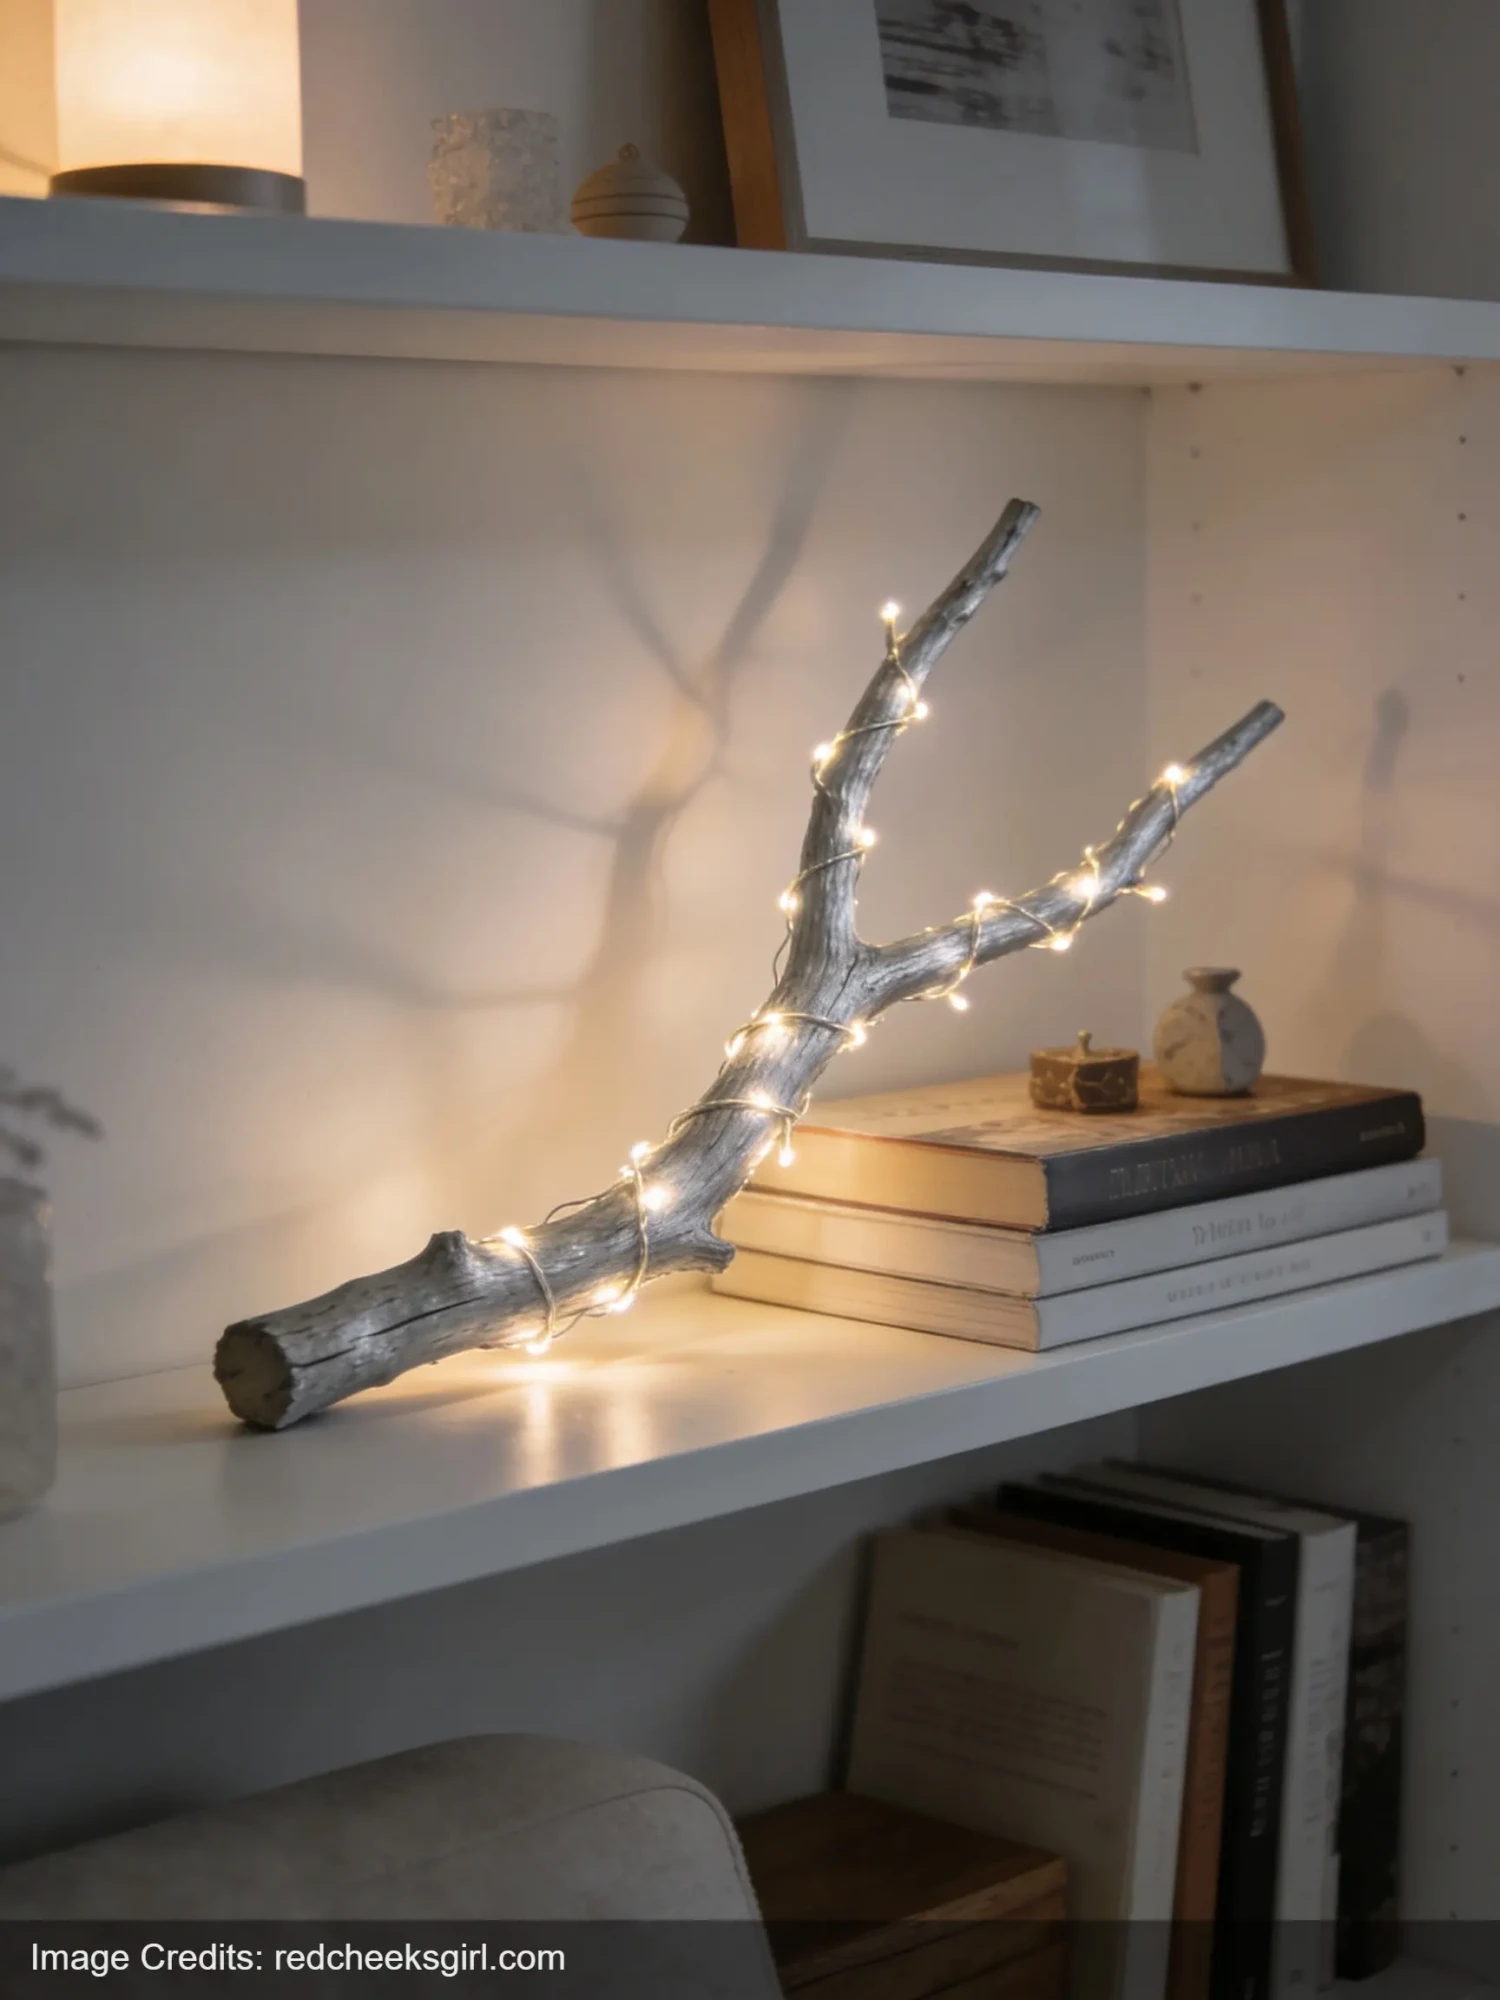
So. Here are 7 DIY living room decor ideas from tree branches that actually look expensive — the kind of stuff you see on Pinterest and assume is from a boutique that ships in tissue paper.
This post contains affiliate links. If you buy something through these links, I may earn a small commission at no extra cost to you. I only recommend things I’d actually use.
1. The Lit Branch Centerpiece (The One That Started This)
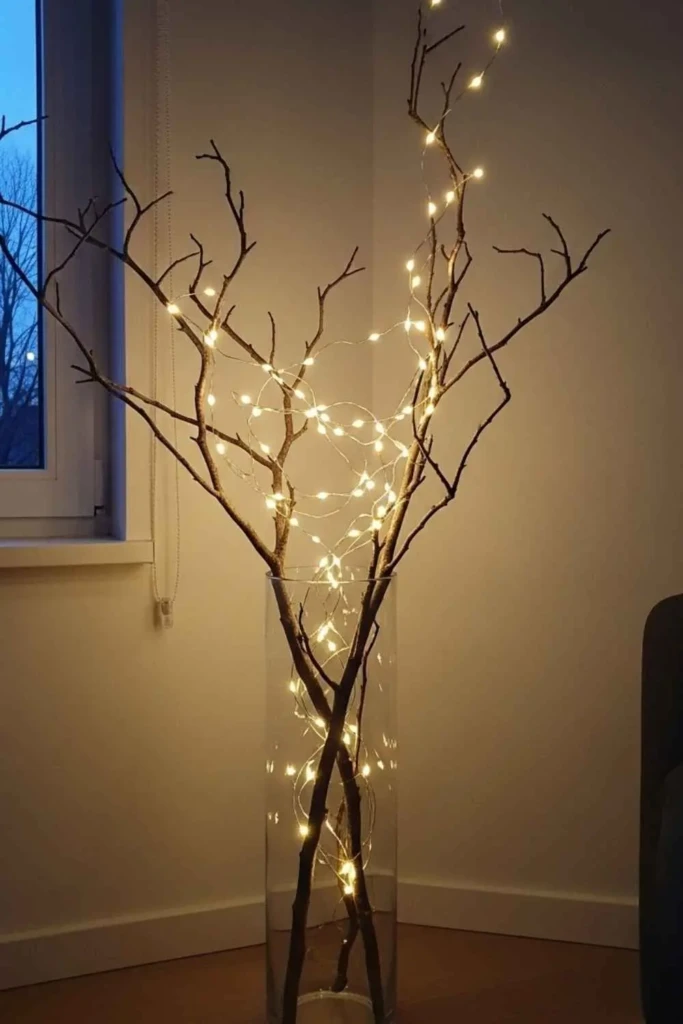
Find a branch with some interesting shape — bends, forks, a little asymmetry. Thicker than a pencil, thinner than your wrist. Let it dry out completely if it’s still green (a week or two on your porch works fine).
Then: a matte white spray paint, two light passes. Don’t go full coverage. Some of the natural color showing through looks more real. Let it dry. Wrap with a battery-operated fairy light strand, prop it in a tall glass vase weighted with pebbles or sand, and you’re done.
The glass vase is the part that matters most, honestly. A cheap branch in a beautiful vessel looks intentional. That same branch stuffed into an old plastic cup looks like yard waste.
Place it on a console table, bookshelf, or fireplace mantel. Works in literally every decor style — boho, Scandinavian, cottagecore, modern farmhouse. The branch doesn’t care.
2. Hanging Branch Photo Display
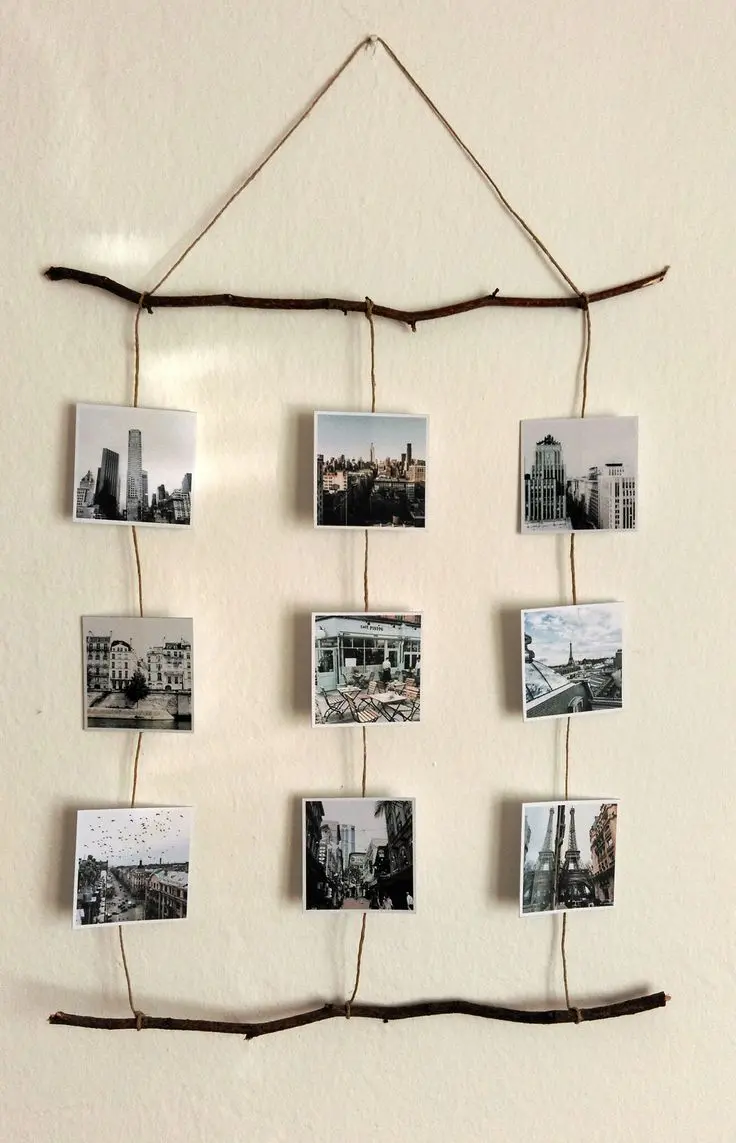
This one’s been on Pinterest for years and it still doesn’t look dated, which says something.
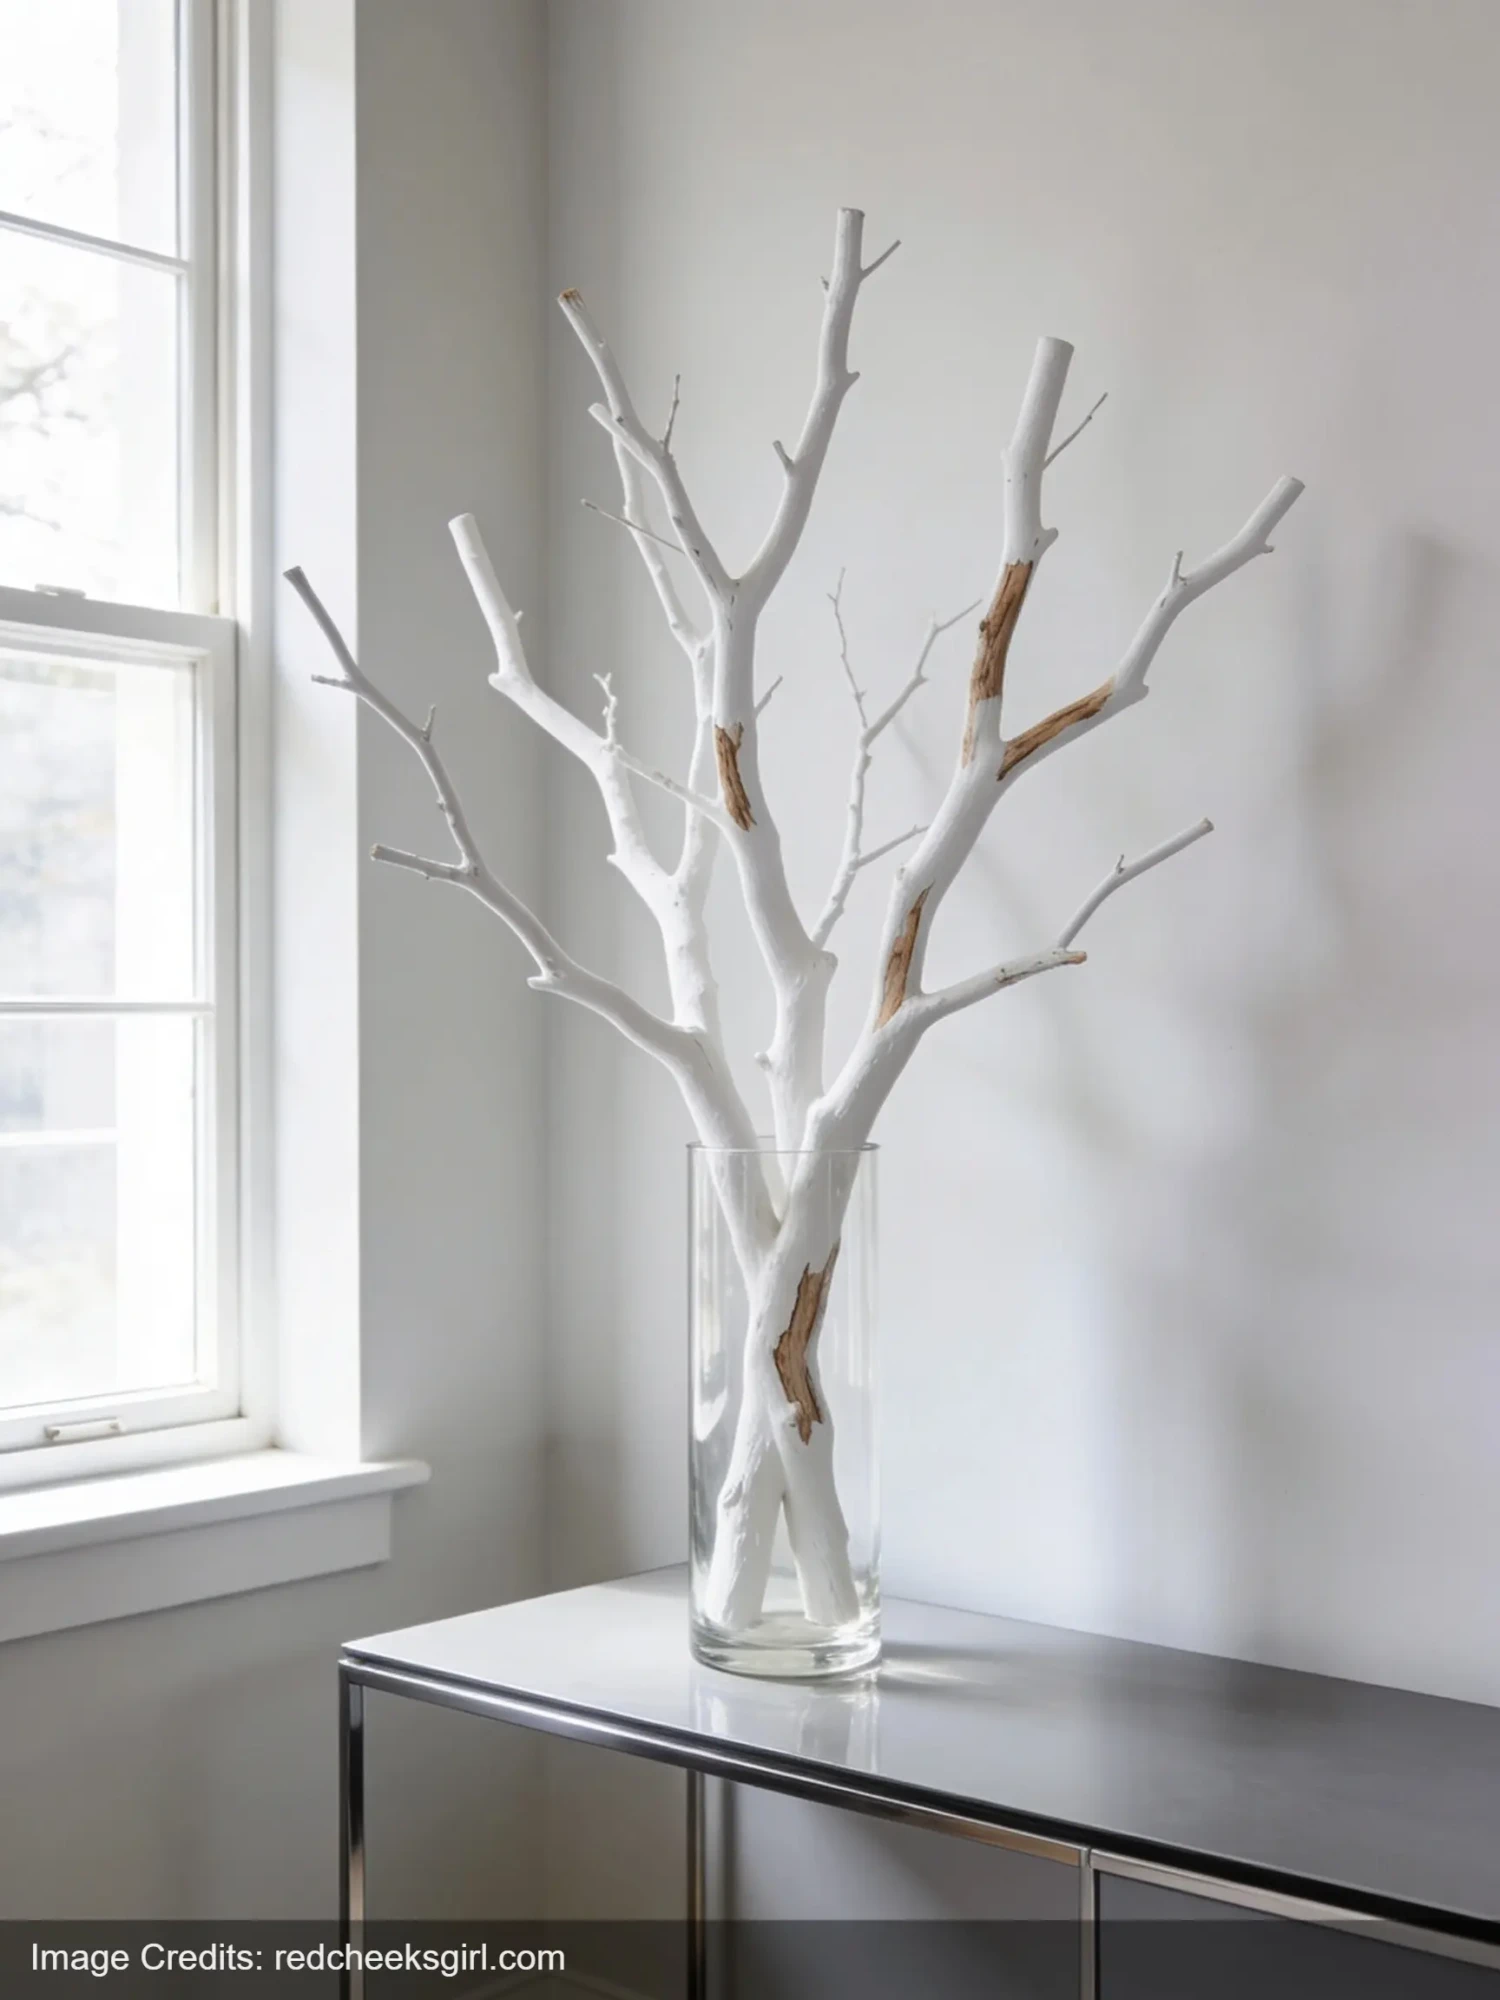
Find a fairly straight branch — about 24 to 30 inches long. Sand it lightly if there are any sharp bits. You can leave it natural, or give it a light coat of clear matte sealant to keep bark from flaking.
Hang it from the wall using two nails and a length of jute twine tied at each end. Then hang photos, cards, or small art prints from the branch using mini wooden clips and more twine. Space them unevenly — some hanging lower, some higher. Some photos vertical, some horizontal.
The key detail that makes this look expensive: frame a few of the photos in small, matching frames before clipping them. Even cheap black frames from the dollar store give it a gallery-wall feel instead of a craft-fair feel.
This works especially well above a small sofa or along a blank hallway wall. I did this in my reading nook and it cost me about $8 total — I already had the photos, I just printed a few new ones at the pharmacy for $.25 each.
3. Branch Shelf (Yes, an Actual Shelf)
Okay, this one takes a tiny bit more effort but the payoff is genuinely ridiculous.
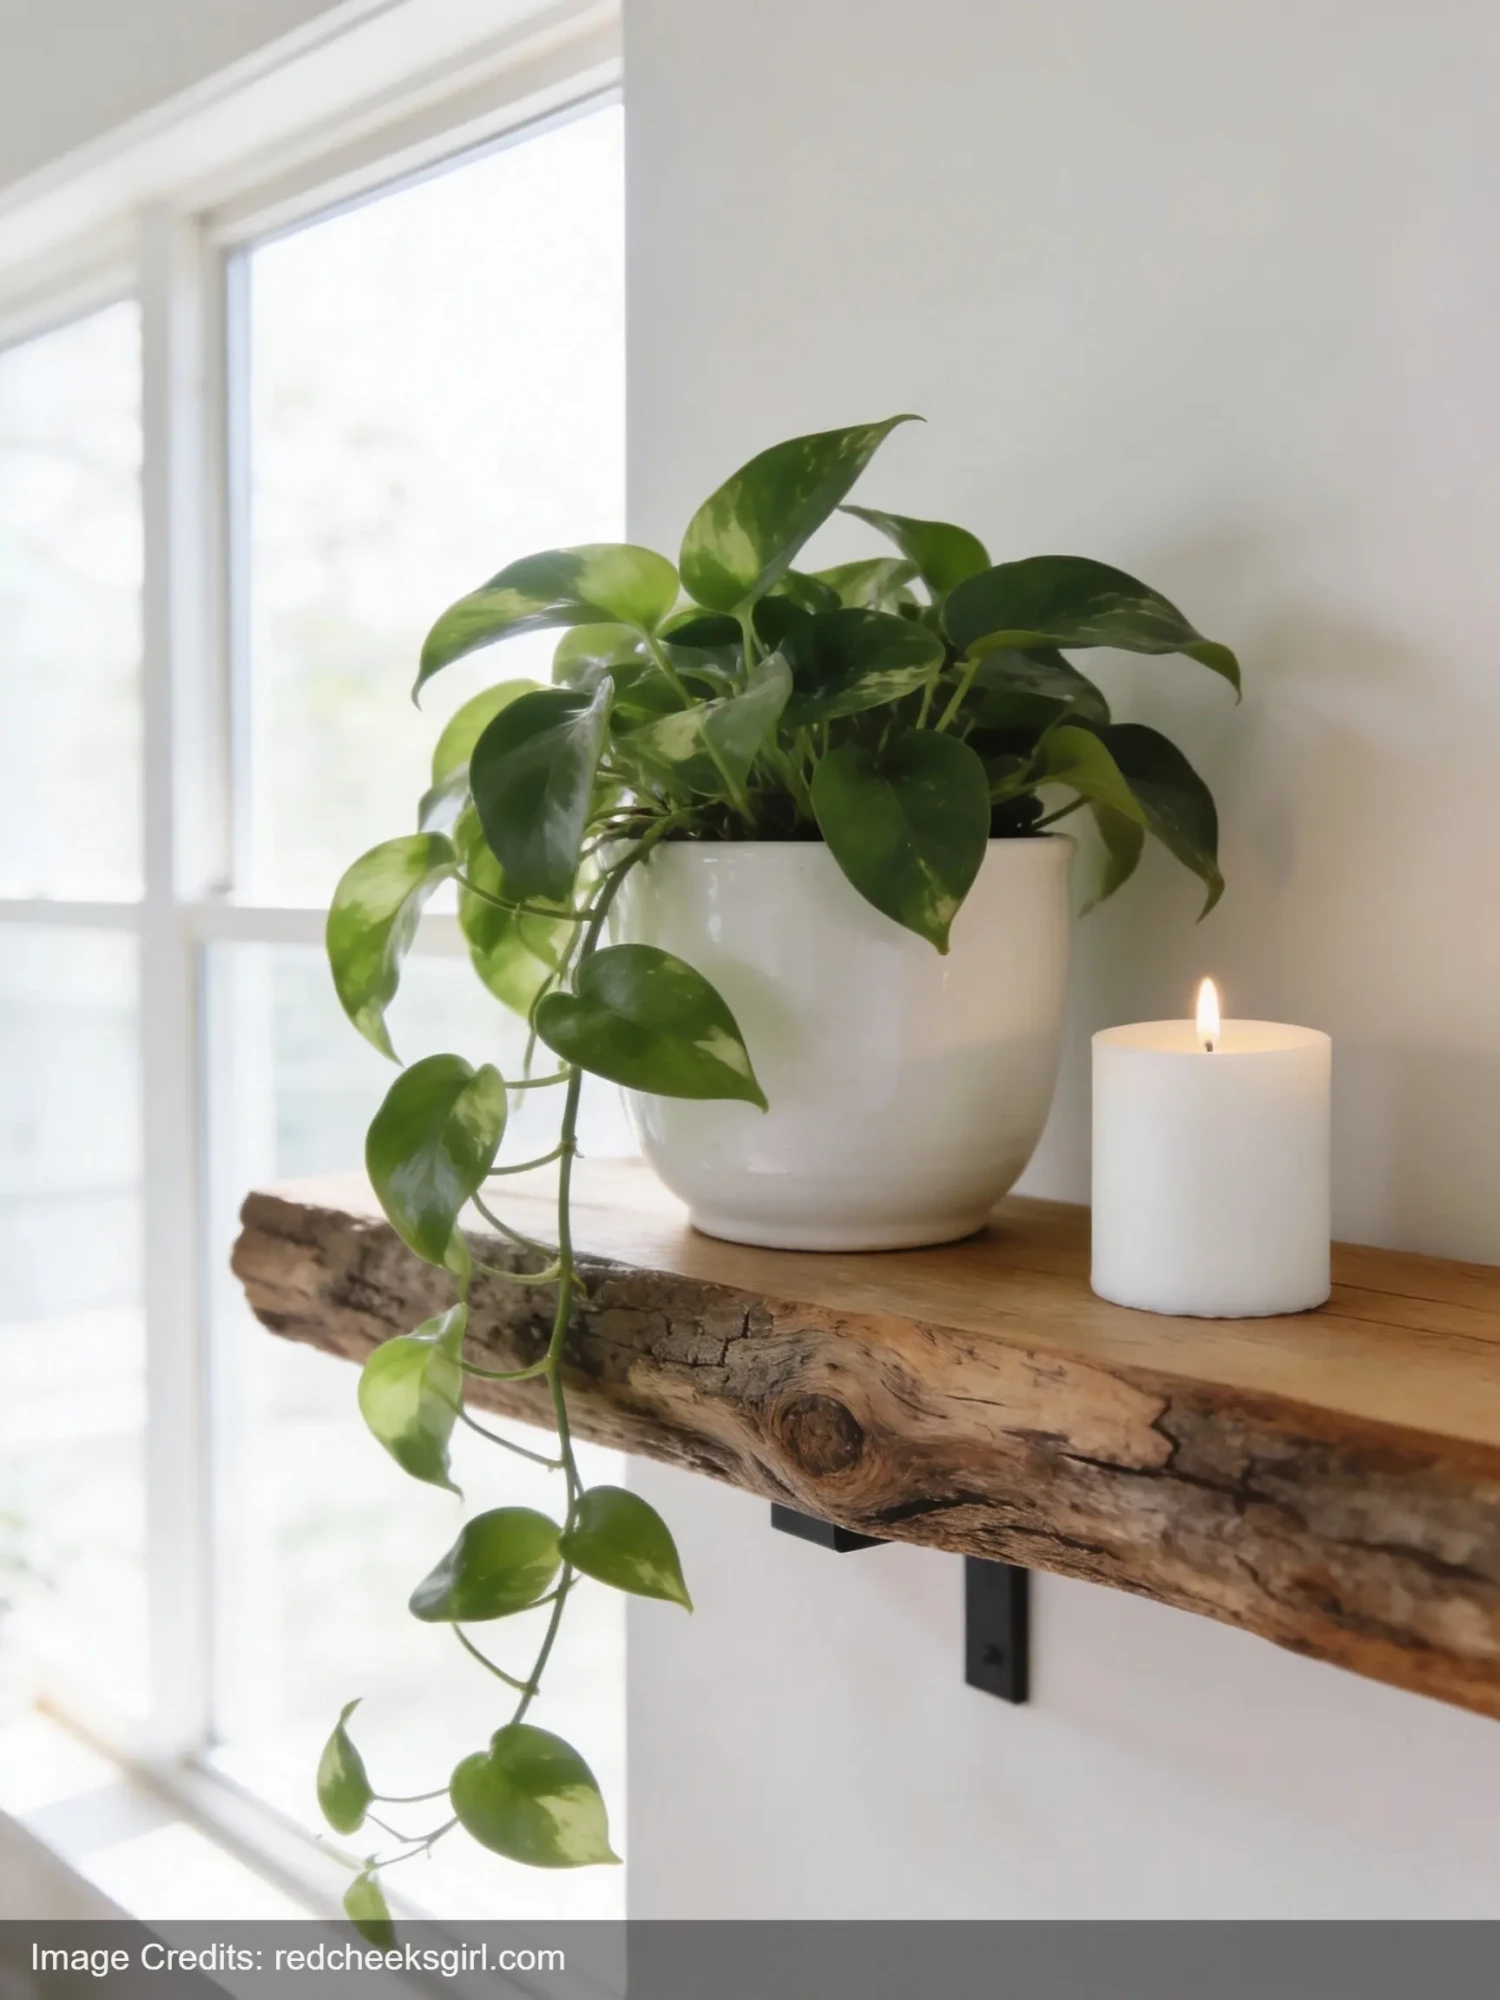
Find a branch that’s reasonably straight and thick enough to hold some weight — think 1.5 to 2 inches in diameter. Sand it smooth. Mount it directly to the wall using two pipe strap brackets screwed into studs.
That’s it. That’s a shelf.
Small plants look incredible on these. A trailing pothos in a white ceramic pot, maybe a small candle or a stack of three books with pretty spines. Keep it sparse. Sparse is what makes it look like a design decision.
I’ve seen this done in interior design studios for actual money. Rustic wooden branch shelving is a whole aesthetic people pay for. You can do it with something you found behind your house.
4. Sculptural Branch Arrangement in a Statement Vase
No lights, no clips, no tools. Just branches and a vase.
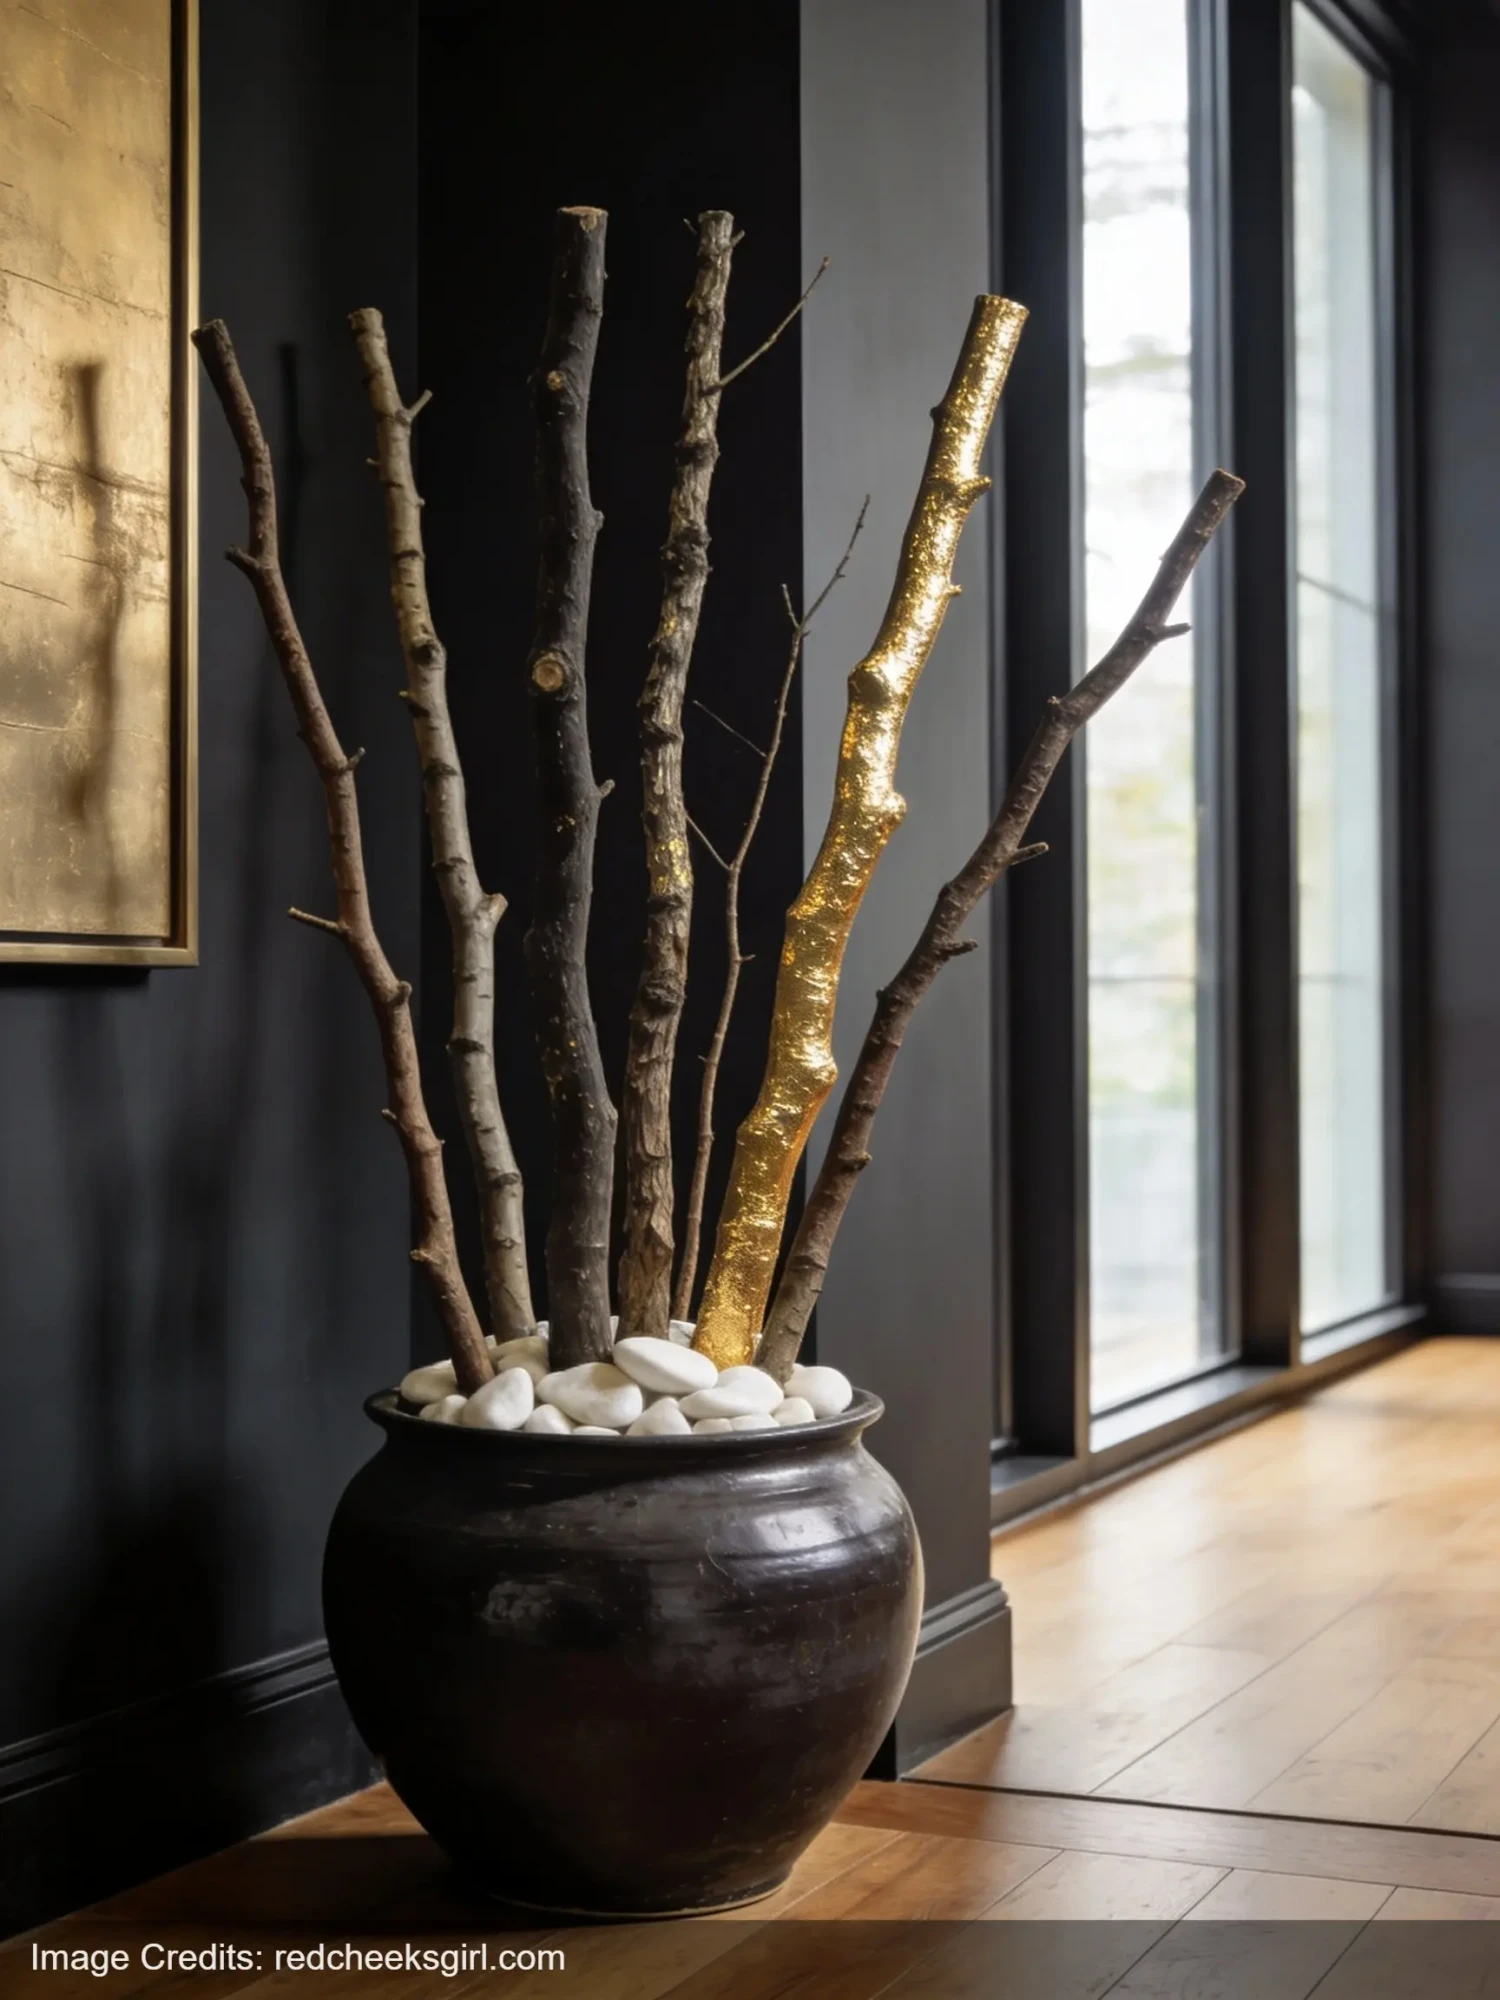
This works best with a large, substantial vase — ceramic, stoneware, or dark glass. Fill the bottom with decorative gravel or pebbles to anchor the branches.
Then: collect 5-7 branches of different heights. Mix textures — one smooth, one with some peeling bark, one that’s slightly mossy if you can find it. Arrange them loosely, not symmetrically. The tallest one should be roughly 1.5x the height of the vase.
You can leave them completely natural, or spray a few with gold metallic spray paint for a more dramatic look. Two or three gold branches mixed with natural ones is more interesting than all of them the same color.
This is genuinely one of those things that looks like it’s from a design boutique. Big sculptural arrangements in statement vases run $150 and up at home decor stores. This costs you the vase.
If you’re already into making things for your home, this pairs really well with some of the easy air dry clay ideas on here — a handmade clay dish or sculpture at the base of the arrangement looks like a real styled vignette.
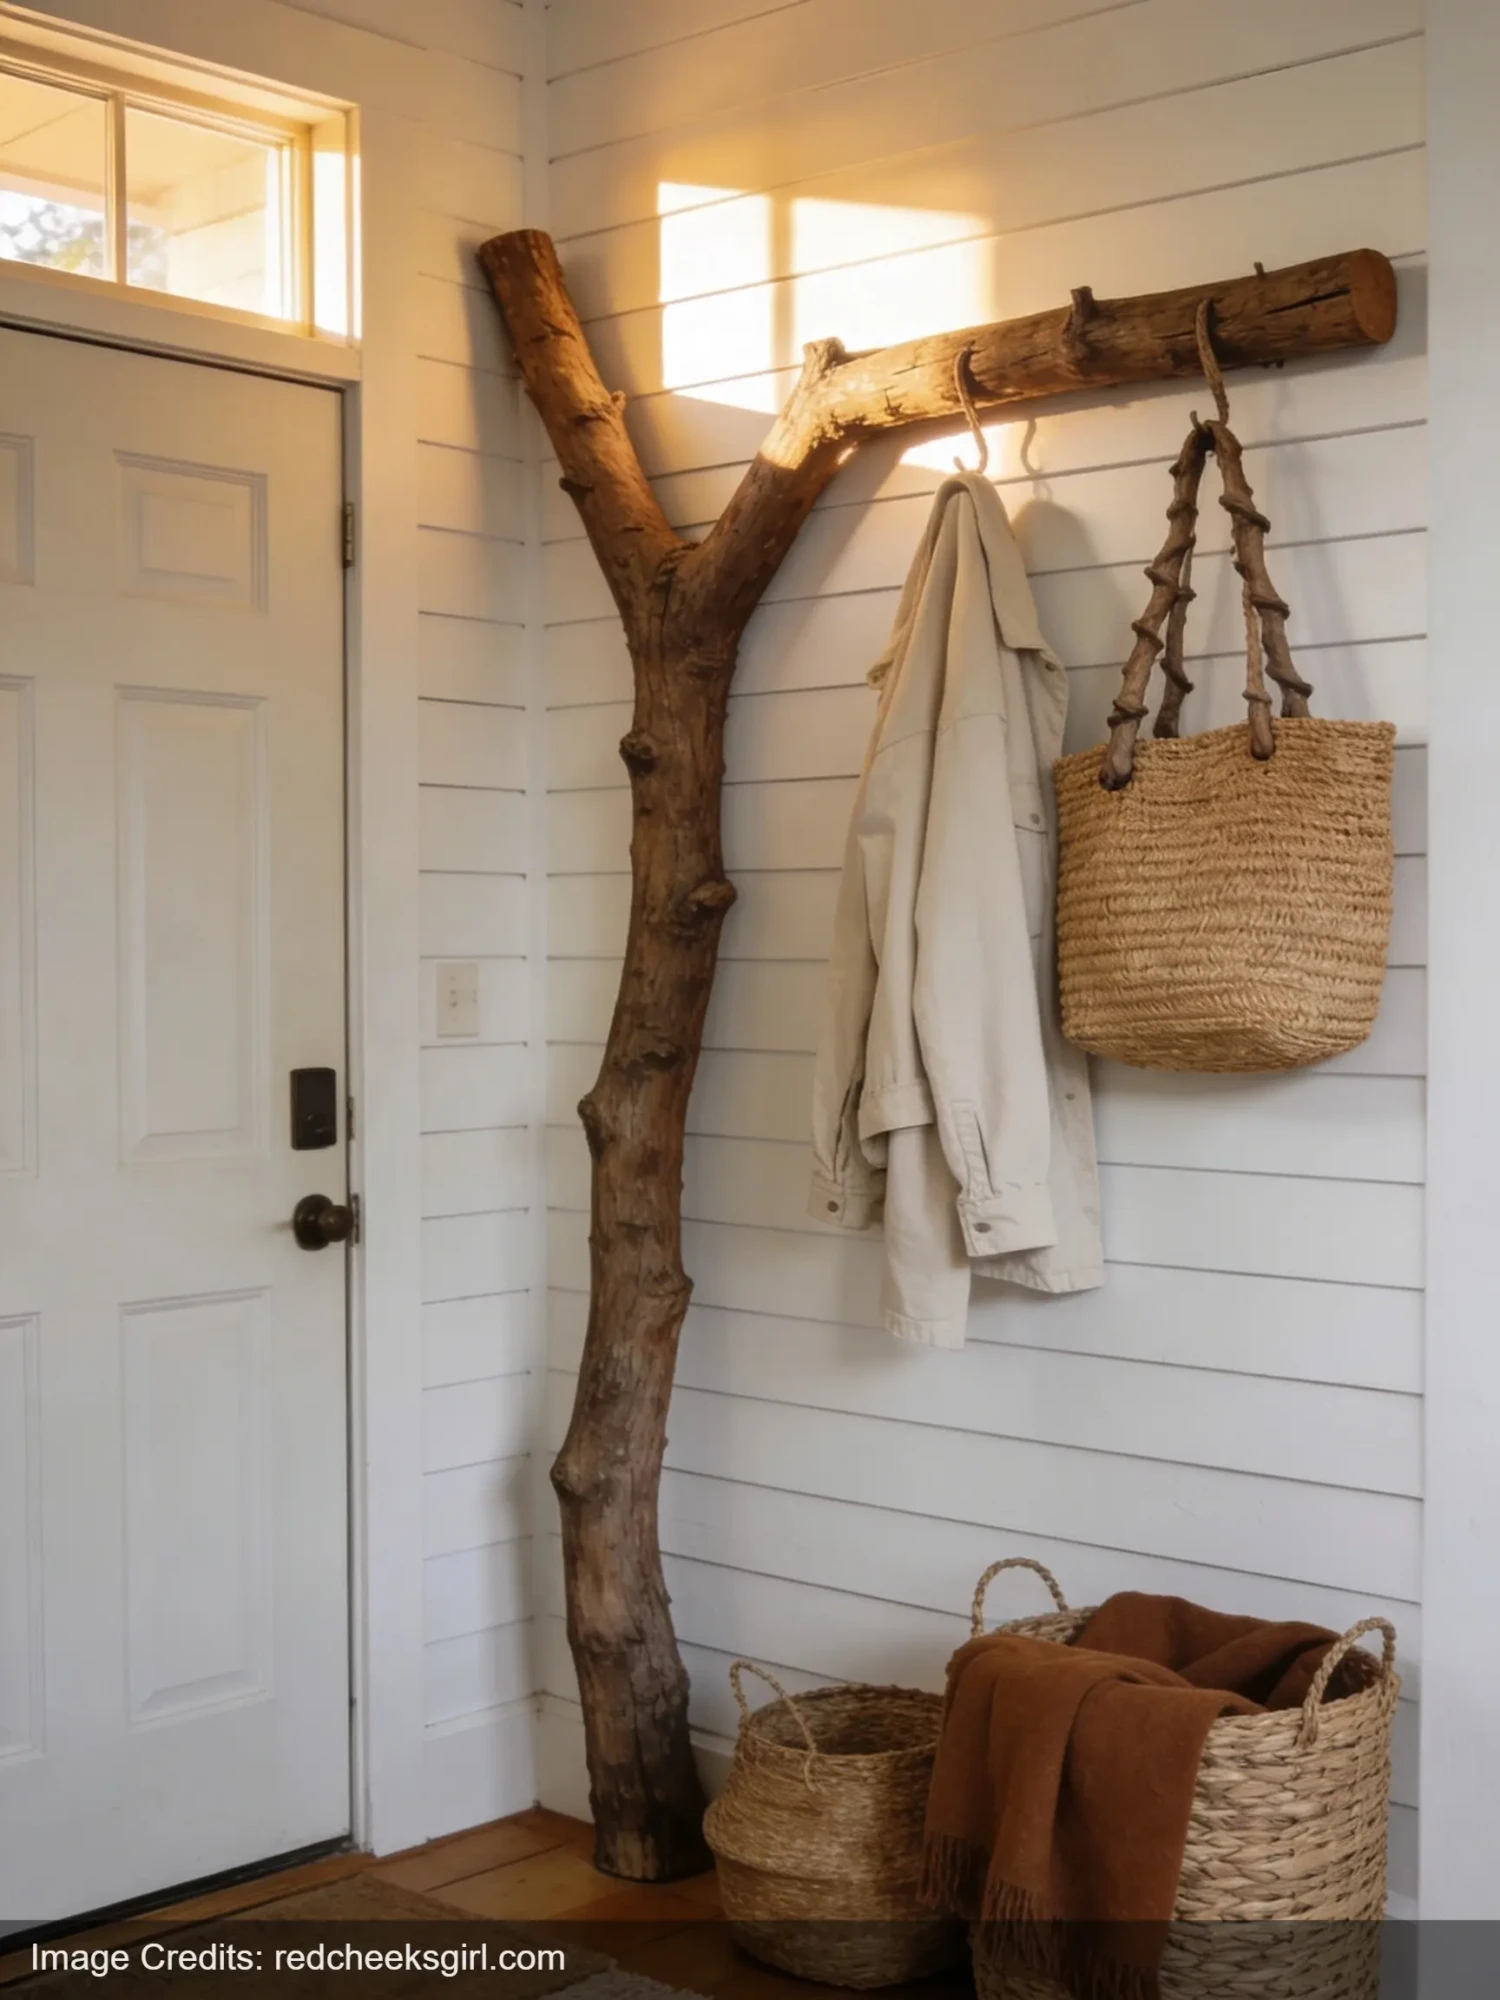
5. Branch Coat Rack or Entryway Hook
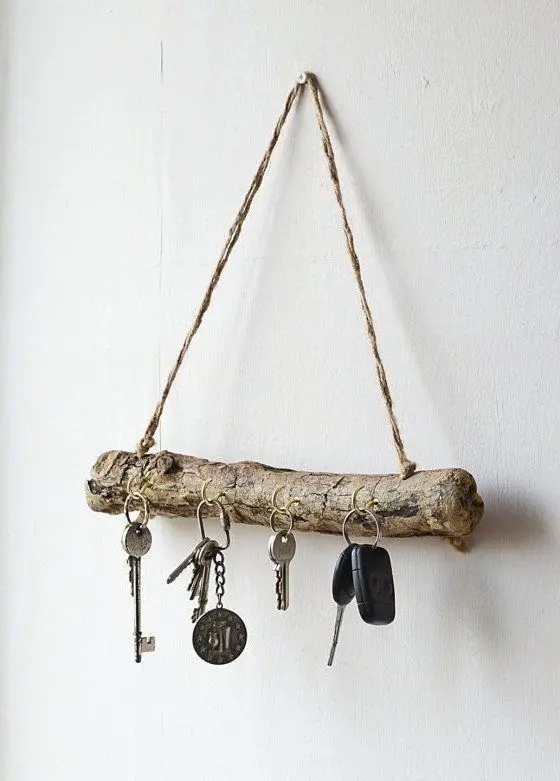
If you have a mudroom situation, a blank wall near your front door, or just need a place to hang bags — this one is useful, not just pretty.
Find a thick, Y-shaped branch or a branch with several outward-pointing smaller branches. The smaller offshoots become the hooks. Let it dry completely. Sand down any rough spots, especially the hook tips so they don’t snag your coat lining.
Mount it horizontally to the wall through the main branch using two long screws into studs. Done. Hang jackets, bags, hats, scarves.
I want to be honest with you: this is slightly rustic-looking by nature. It’s not going to pass for a minimalist Crate & Barrel hook rack. But if your home has any warmth to it — wood floors, plants, natural textures — it fits right in. And it holds a surprising amount of weight once it’s properly anchored.
6. Advent Calendar Frame (or Year-Round Display Frame)
This started as a Christmas thing for me but I liked it so much I kept a simplified version up past January.
Take a branch about 3 feet long, hang it horizontally from your wall or lean it against a shelf. From it, hang small paper envelopes, folded notes, seasonal ornaments, dried flowers, or mini gift bags using twine.
At Christmas, I numbered 24 small envelopes and filled each one with a tiny chocolate or a little note. The whole thing took maybe 45 minutes, cost about $4 in envelopes and twine, and looked significantly more special than the cardboard advent calendars I’d been buying for years.
Outside of the holiday version, this is a nice way to display dried flower bunches, small cards, or photos. It works along the same visual principle as the photo display idea above, just a bit softer in feeling. If you’re already exploring creative DIY ideas and want a weekend project that doesn’t require buying a single tool, this is it.
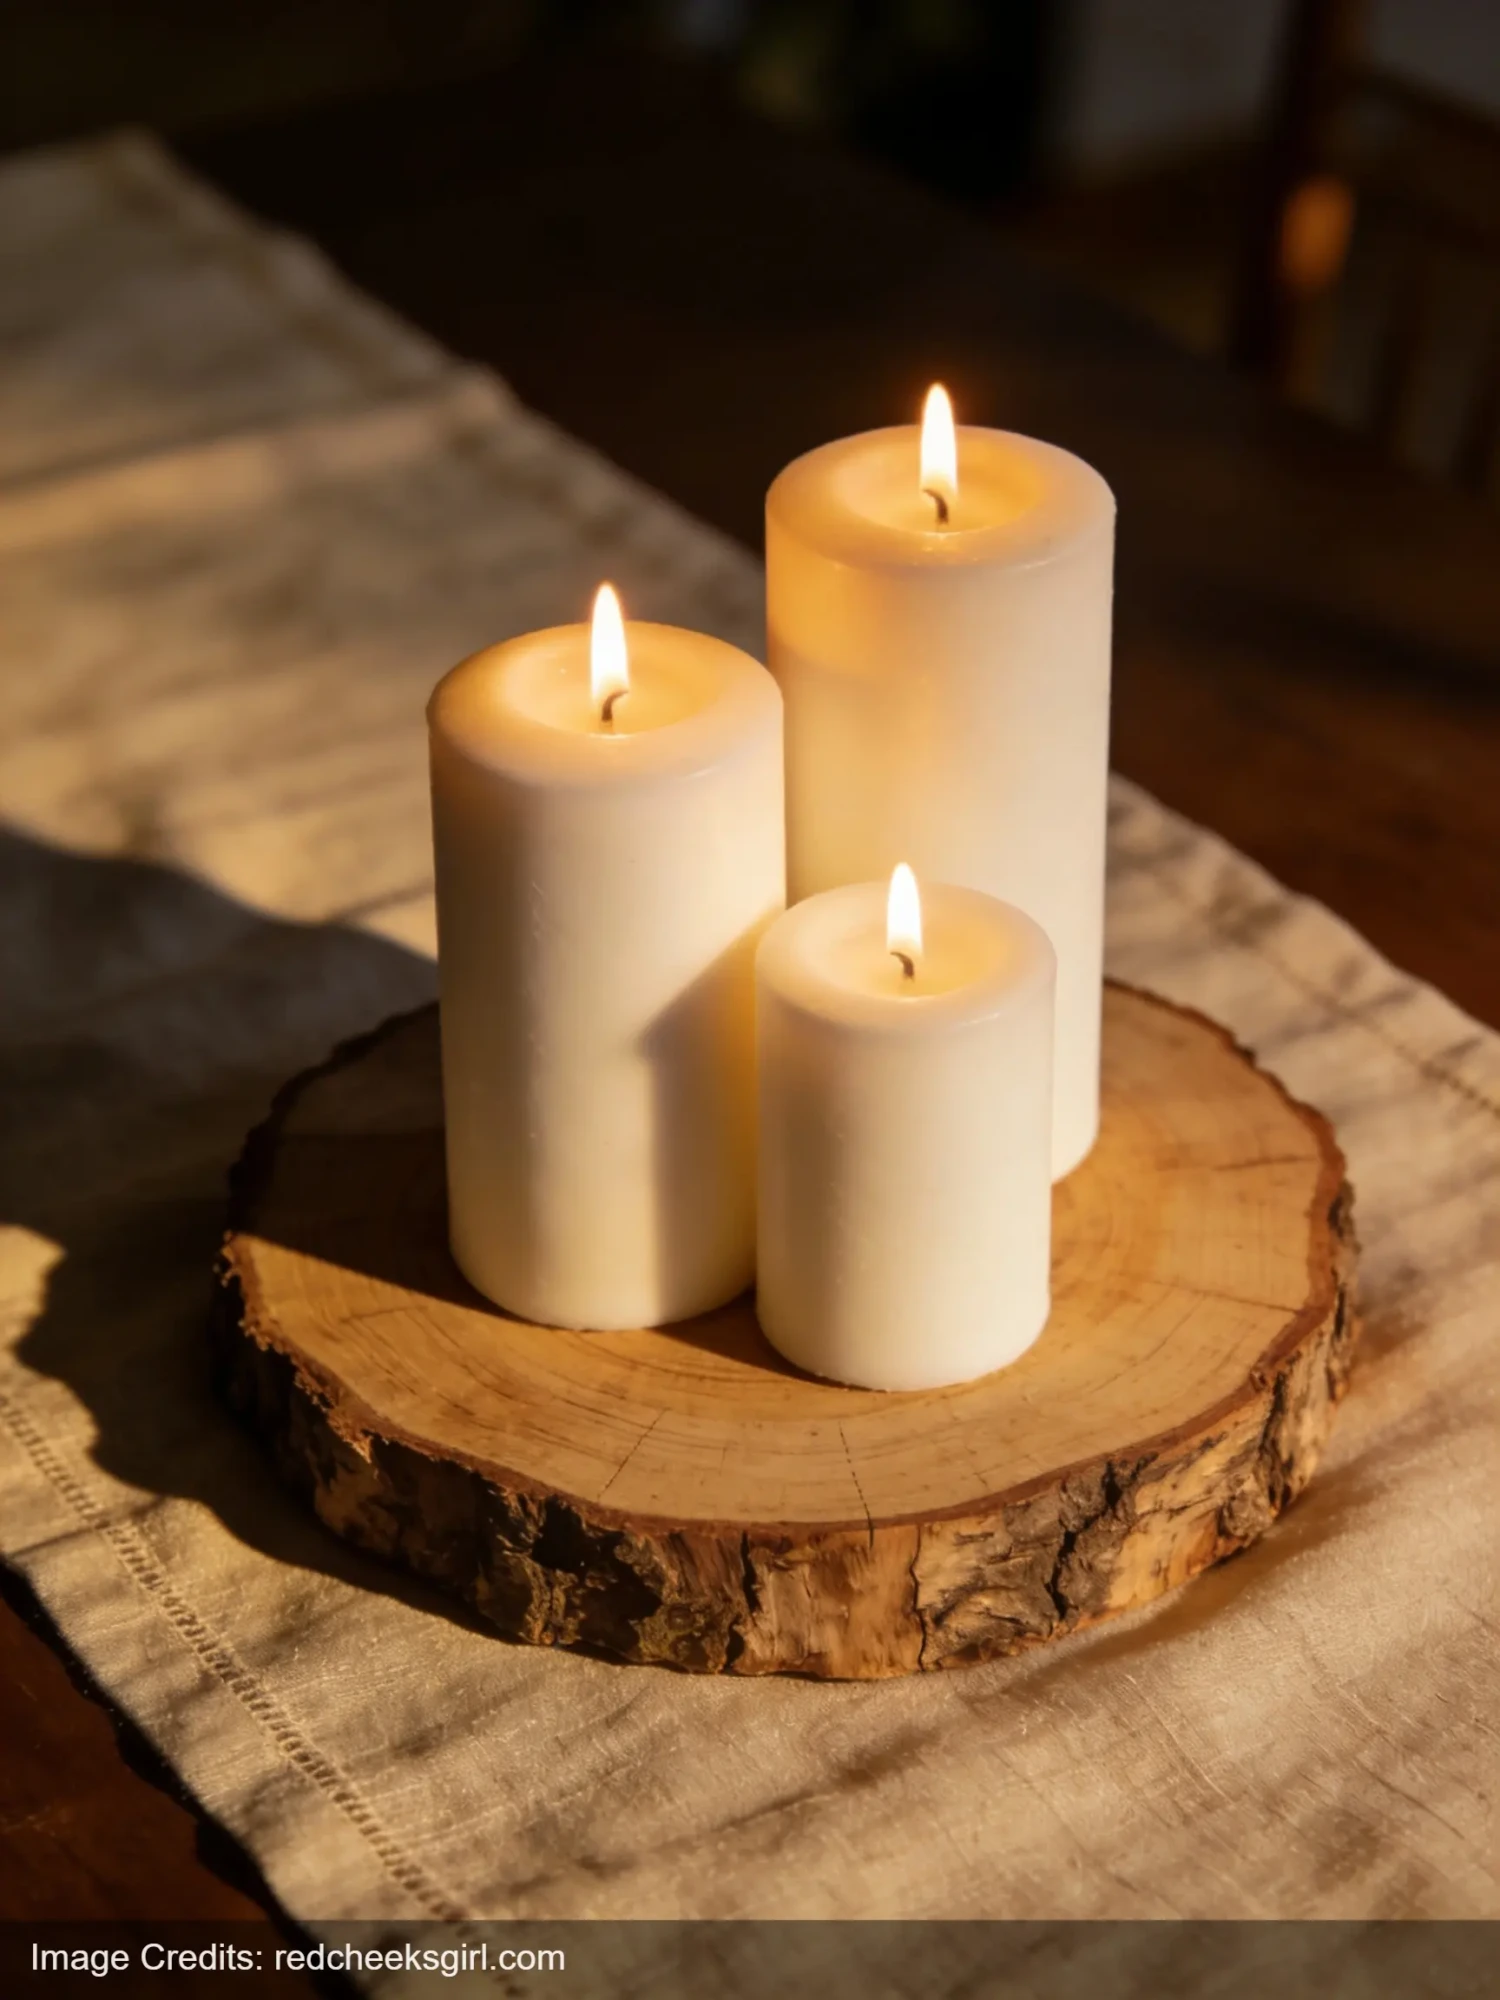
7. Branch Candle Holder Centerpiece for a Coffee Table
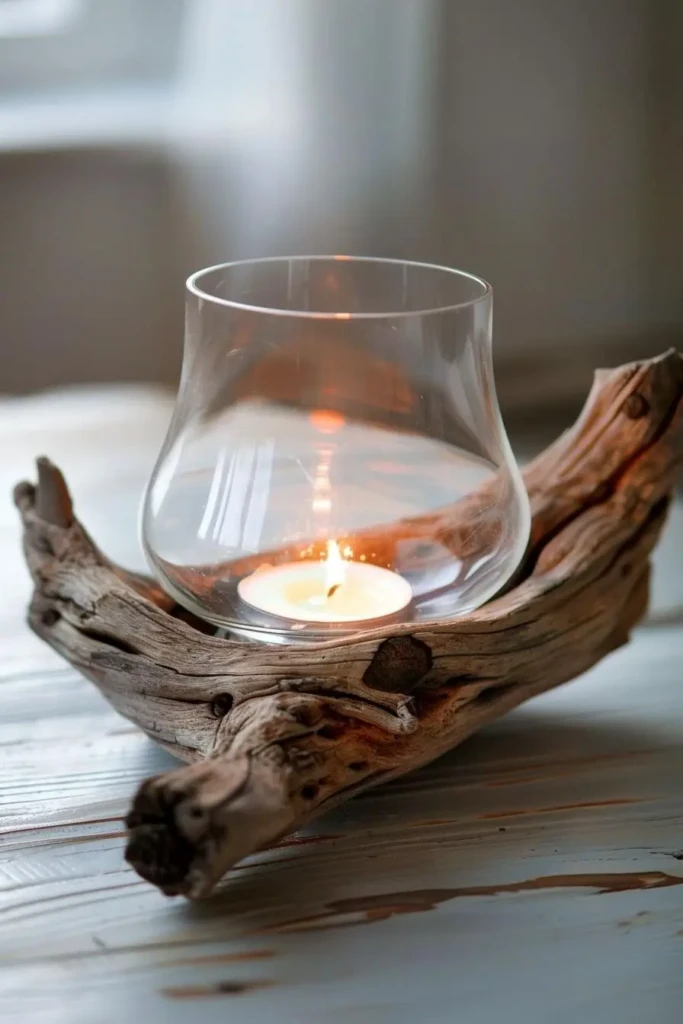
This one I’d seen done on fancy event tablescapes — the kind of thing a wedding florist charges $200 for.
The idea is simple: take a flat, wide piece of branch (or use a small log slice) as a base. Drill or carve small flat spots into it where candles can sit securely. Place pillar candles of varying heights on the base, grouped together, with a few sprigs of dried rosemary or small pebbles scattered around them.
Don’t actually drill unless you’re comfortable with that — you can also just group the candles beside the branch instead of on it and the effect is similar. Surround everything with a loose scattering of dried botanical mix.
This is one of those centerpieces that photographs like a magazine photo. It looks like a lot of thought went into it. It takes maybe 20 minutes. Keep candles away from anything flammable and never leave them unattended — but honestly, this is also beautiful with battery-operated candles if you have kids or pets.
A Few Notes Before You Start Foraging
Not every branch works. You want dry, firm wood — not soft, rotting, or still green (unless you’re planning to let it dry). Give a branch a gentle bend test. If it snaps cleanly, it’s dry enough. If it just bends, leave it for another week.
Always knock branches against the ground to dislodge anything living in them before you bring them inside. Spiders, beetles, the occasional earwig. I’ve learned this the hard way.
And honestly? Some of the most interesting branches are the weird ones — the ones that look crooked or too-this or too-that. Those are usually the ones that end up looking most intentional on a shelf.
For more ideas on styling your actual living space, I’ve been really into this summer home decor guide and the kitchen counter styling ideas here — both have a similar philosophy of making real spaces look considered without spending a lot.
FAQ
What kind of branches work best for DIY decor? Dry, hardwood branches with interesting shapes — oak, birch, cherry, or maple. Birch in particular has that clean white bark that looks naturally beautiful without any paint. Avoid softwoods like pine if you’re using the branch as a shelf; they’re less sturdy.
Do I need to seal or treat branches before using them indoors? For display-only branches (vases, arrangements), not necessarily. For anything that’ll be touched or used as a shelf, a light coat of clear matte sealant keeps bark from flaking and gives the wood some protection. Takes two minutes.
How do I get branches to stand upright in a vase? Fill the bottom third of the vase with pebbles, sand, or decorative gravel. Pack them in tight around the base of the branch. A heavy vase also helps — the lighter the vase, the more likely the whole thing tips when you bump into it at 7am.
Can I use painted branches? Yes, and they look great. White, gold, and black are the most versatile. Two light passes of spray paint from about 12 inches away, let dry completely between coats. Don’t go thick — thin, slightly uneven coverage looks more natural than fully painted wood.
Will branches attract bugs if I bring them inside? They can if you bring them in fresh or if there’s moisture. Let branches dry completely outside first, knock them against the ground to dislodge anything, and inspect them before bringing them in. Once they’re fully dry and sealed, it’s not really an issue.
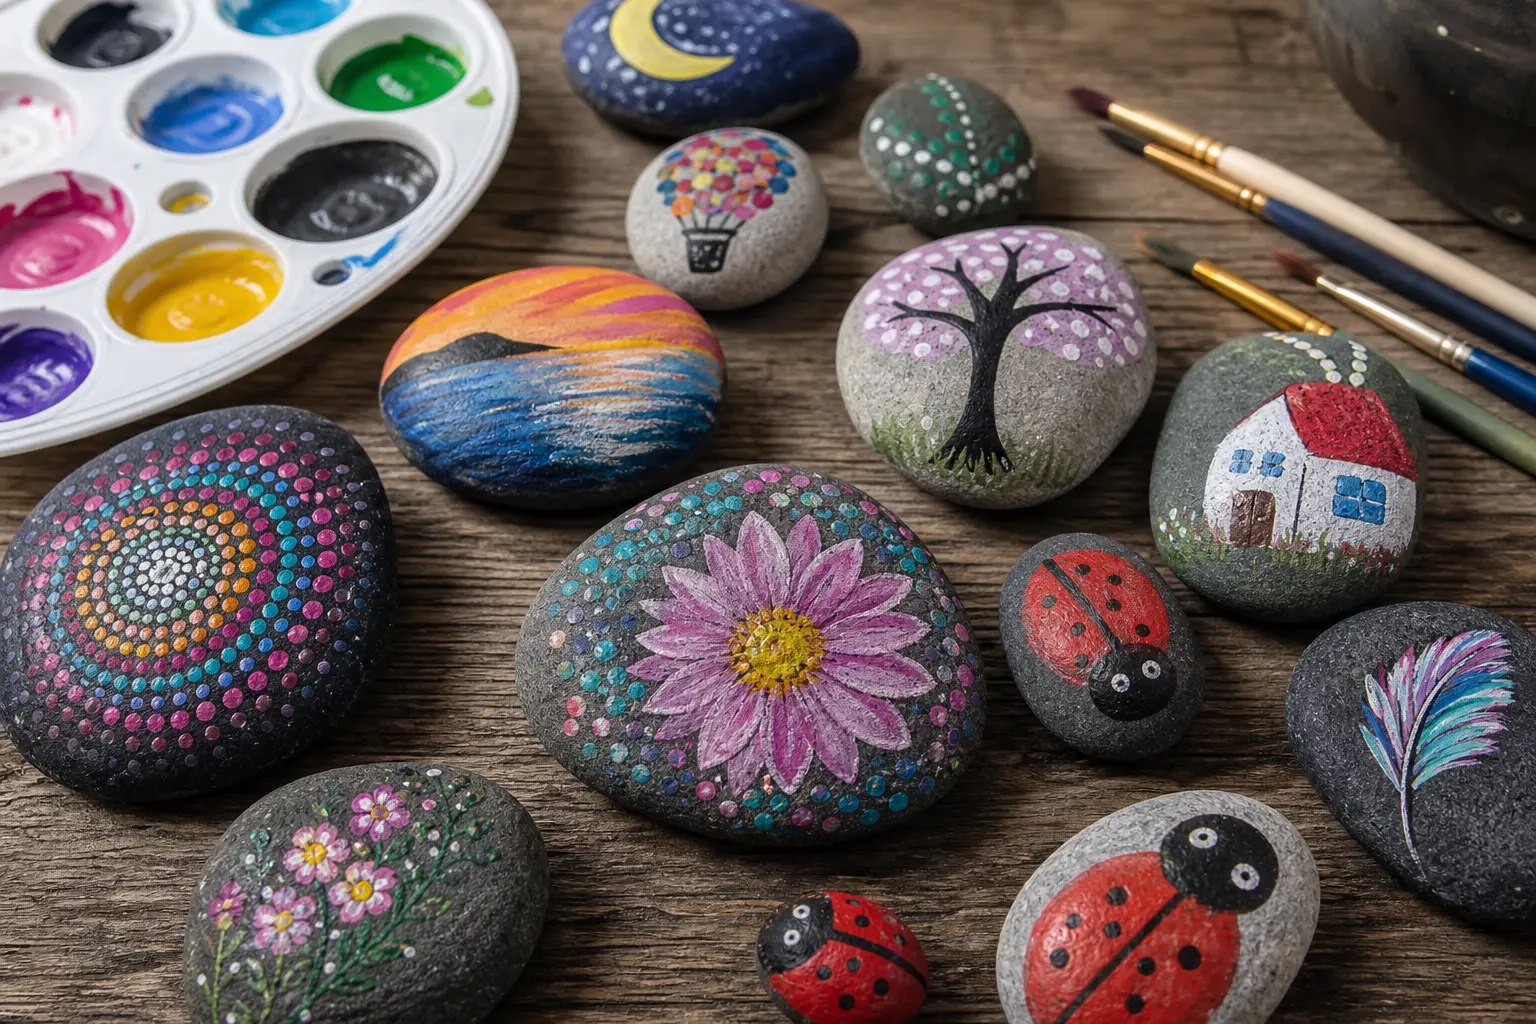
36 easy stone painting ideas grouped by mood, from gold celestial rocks to garden koi ponds, gifts a
Last summer I watched my daughter spend 45 minutes collecting shells — the prettiest little ha
21 candle painting ideas with the exact acrylic and medium ratio and the time each design takes, for
Leave a Reply