

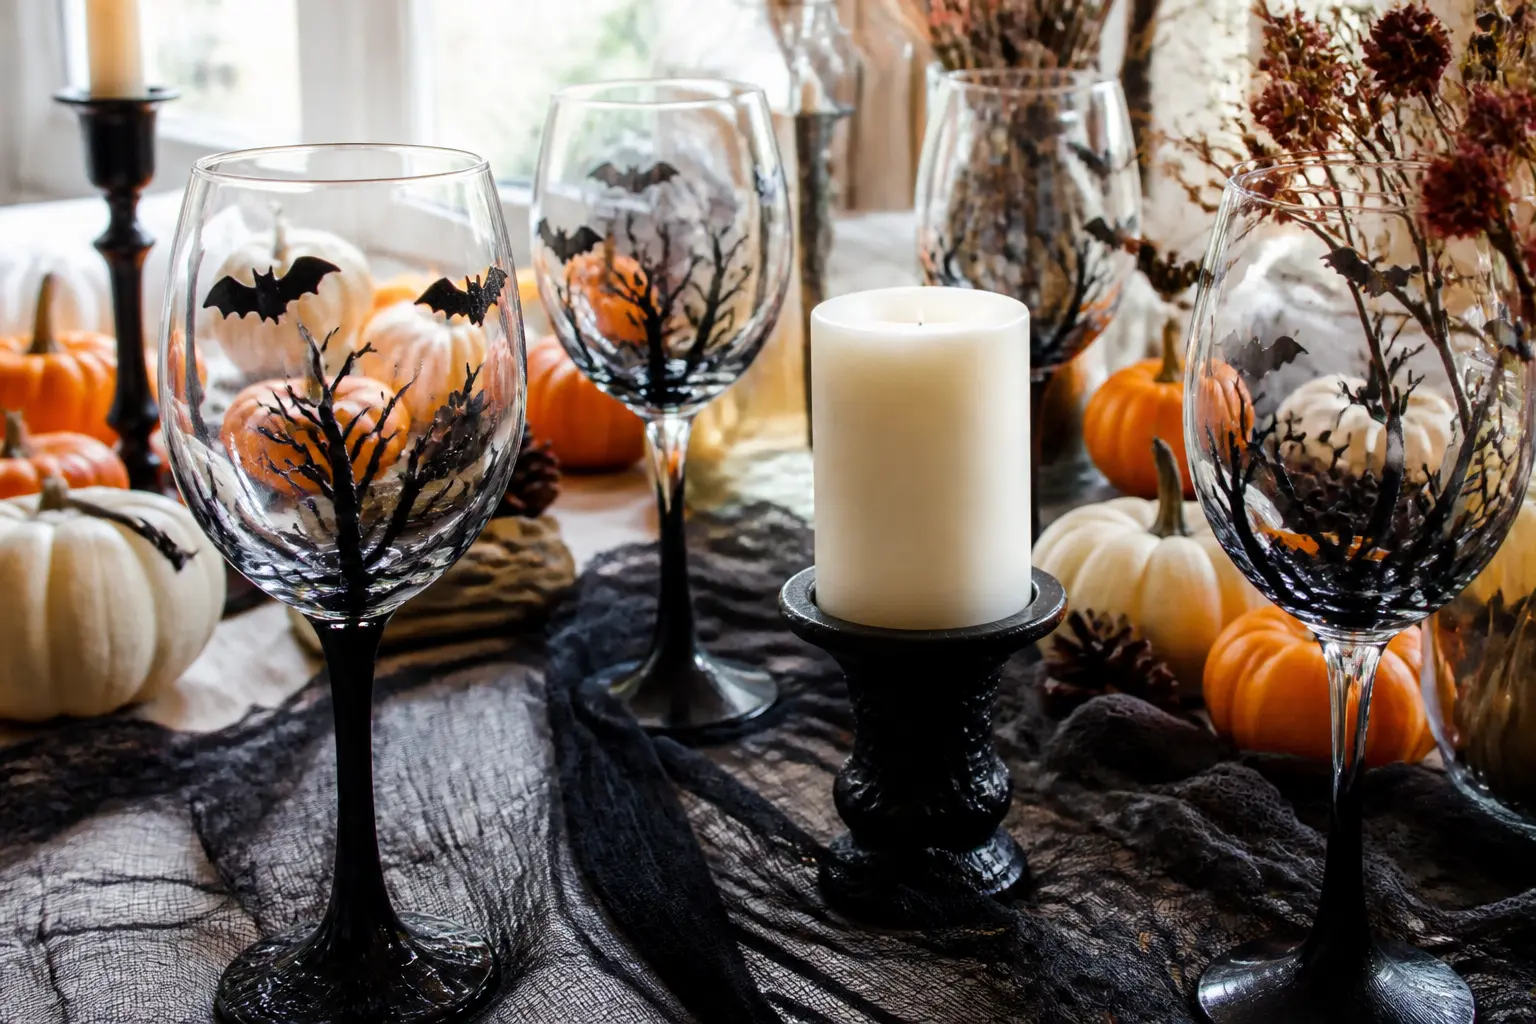
The glass in a guest’s hand is the one piece of decor they actually look at all night. Make it count, and make it cost almost nothing. These twelve ideas treat the glass as a tiny canvas, not a craft-fair prop.
Every technique here either washes off after the party or is food-safe and permanent enough to keep. Nothing requires a steady hand, an art degree, or a trip to a specialist craft store. For more ways to entertain a Halloween crowd once the glasses are sorted, see 23 Hilarious Halloween Games for Adults and 16 Halloween DIY Crafts That Look Like You Bought Them.
The twelve ideas below are grouped by technique so you can pick one method and run all twelve glasses through it in a single afternoon.
This post contains affiliate links. If you buy through them, I may earn a small commission at no extra cost to you.
Paint and Posca Marker
They go on clean glass, they dry hard, and they give you that flat graphic line that looks intentional rather than wobbly. Always cure in a cold oven that you then bring up to 350 F: the slow rise prevents cracking.
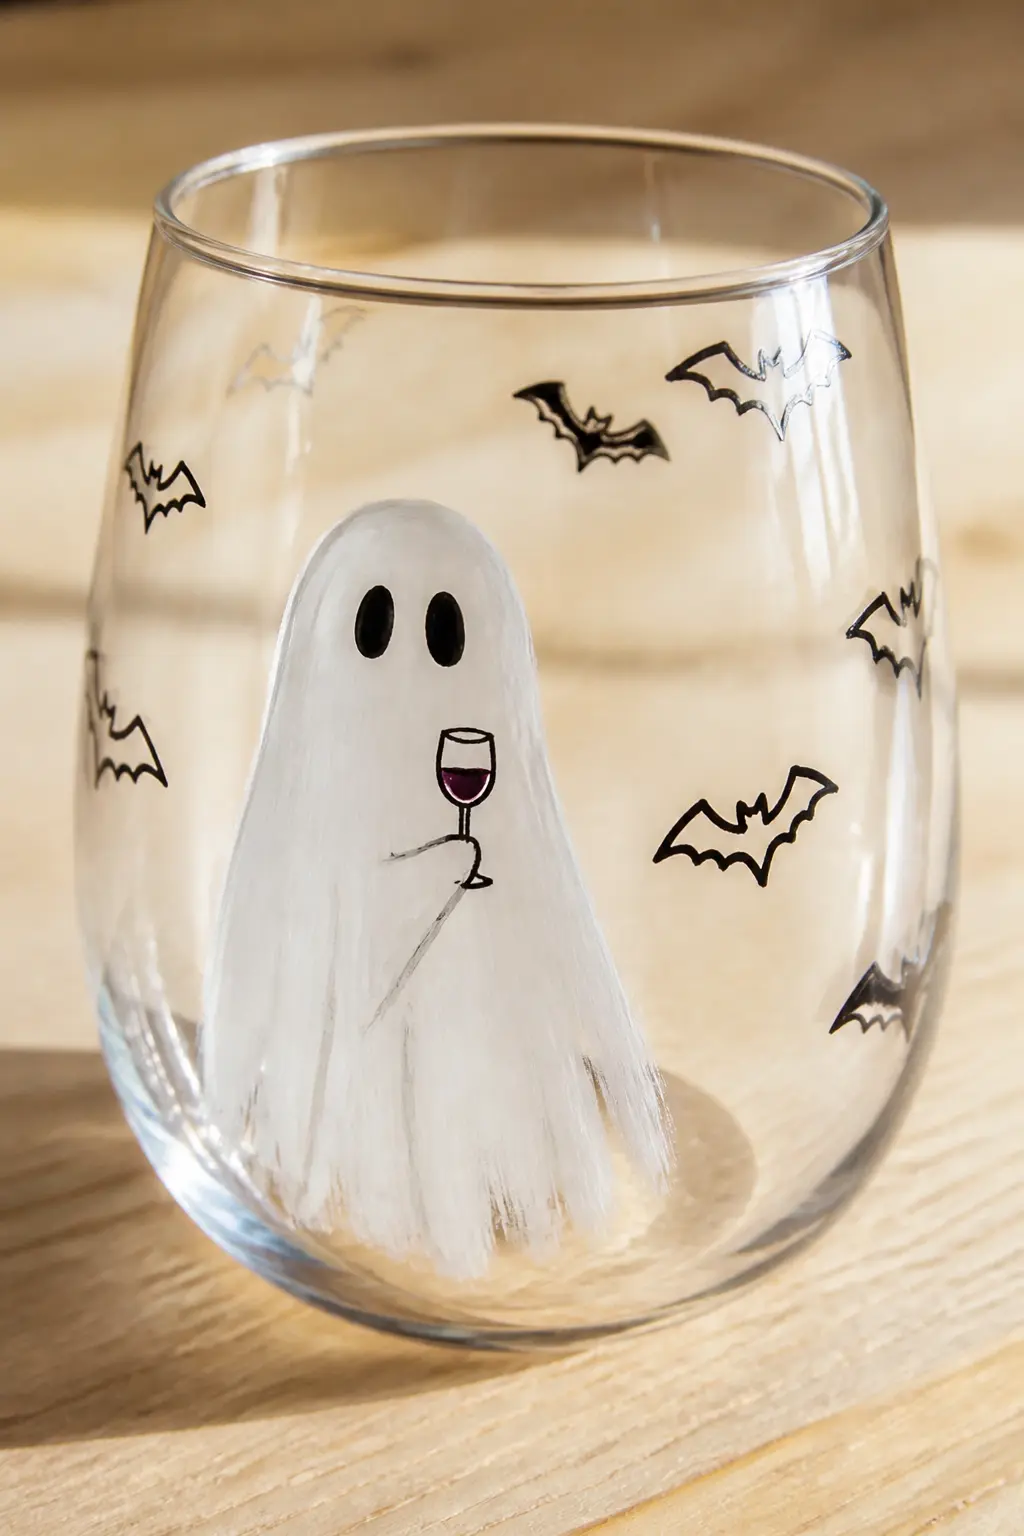
Ghost Holding a Tiny Wine Glass
Draw a simple sheet ghost in white Posca on a clear stemless glass, two hollow ovals for eyes, a wavy hem at the bottom. Give the ghost its own miniature wine glass in one hand, outlined in black and filled with a single stroke of dark purple. The joke lands without a word of explanation.
Use a white Posca PC-5M for the body and a fine black liner for the outline and bat silhouettes scattered around the back. Cure at 350 F for 30 minutes after the paint has dried fully. The design stays through hand-washing indefinitely.
🛍 Shopping guide
Single Bat Silhouette
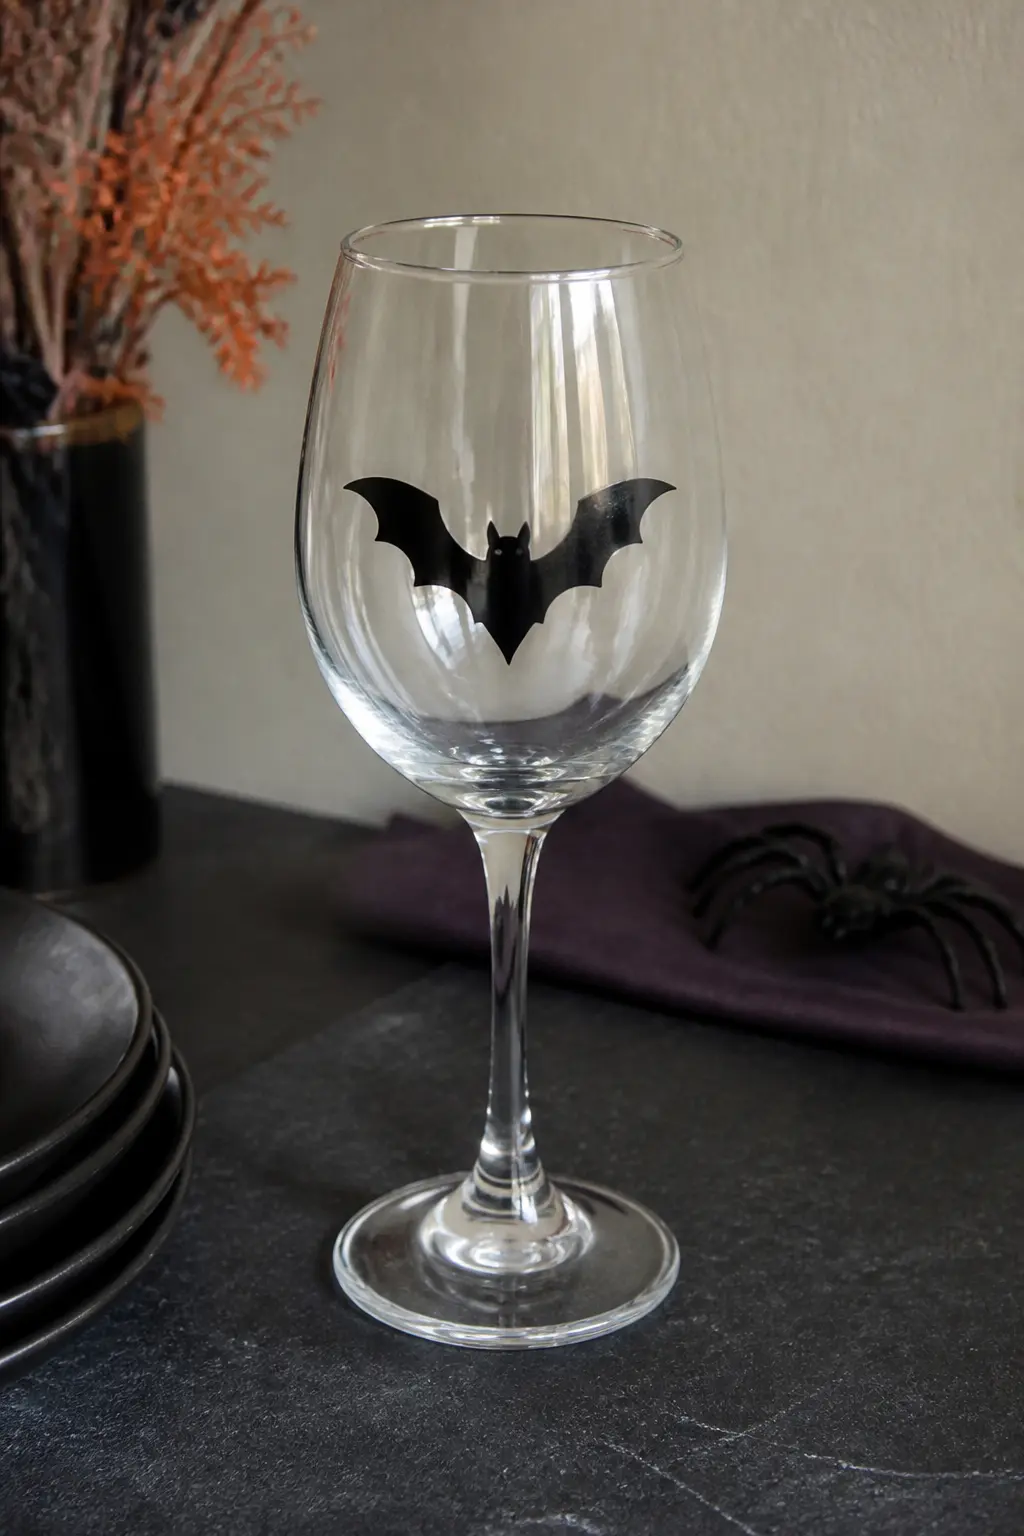
One bat, dead centre on the bowl of a stemmed wine glass, painted in flat black. Nothing else. The restraint is what makes it look expensive rather than crafty.
Sketch the bat lightly in pencil on paper, tape the paper inside the glass as a guide, then trace through the glass with a black Posca. Remove the paper, touch up any gaps, and cure. This works on both stemmed and stemless glasses and the silhouette reads clearly when the glass is full of red or white wine.
🛍 Shopping guide
Crackle-Glaze Votive Tumbler
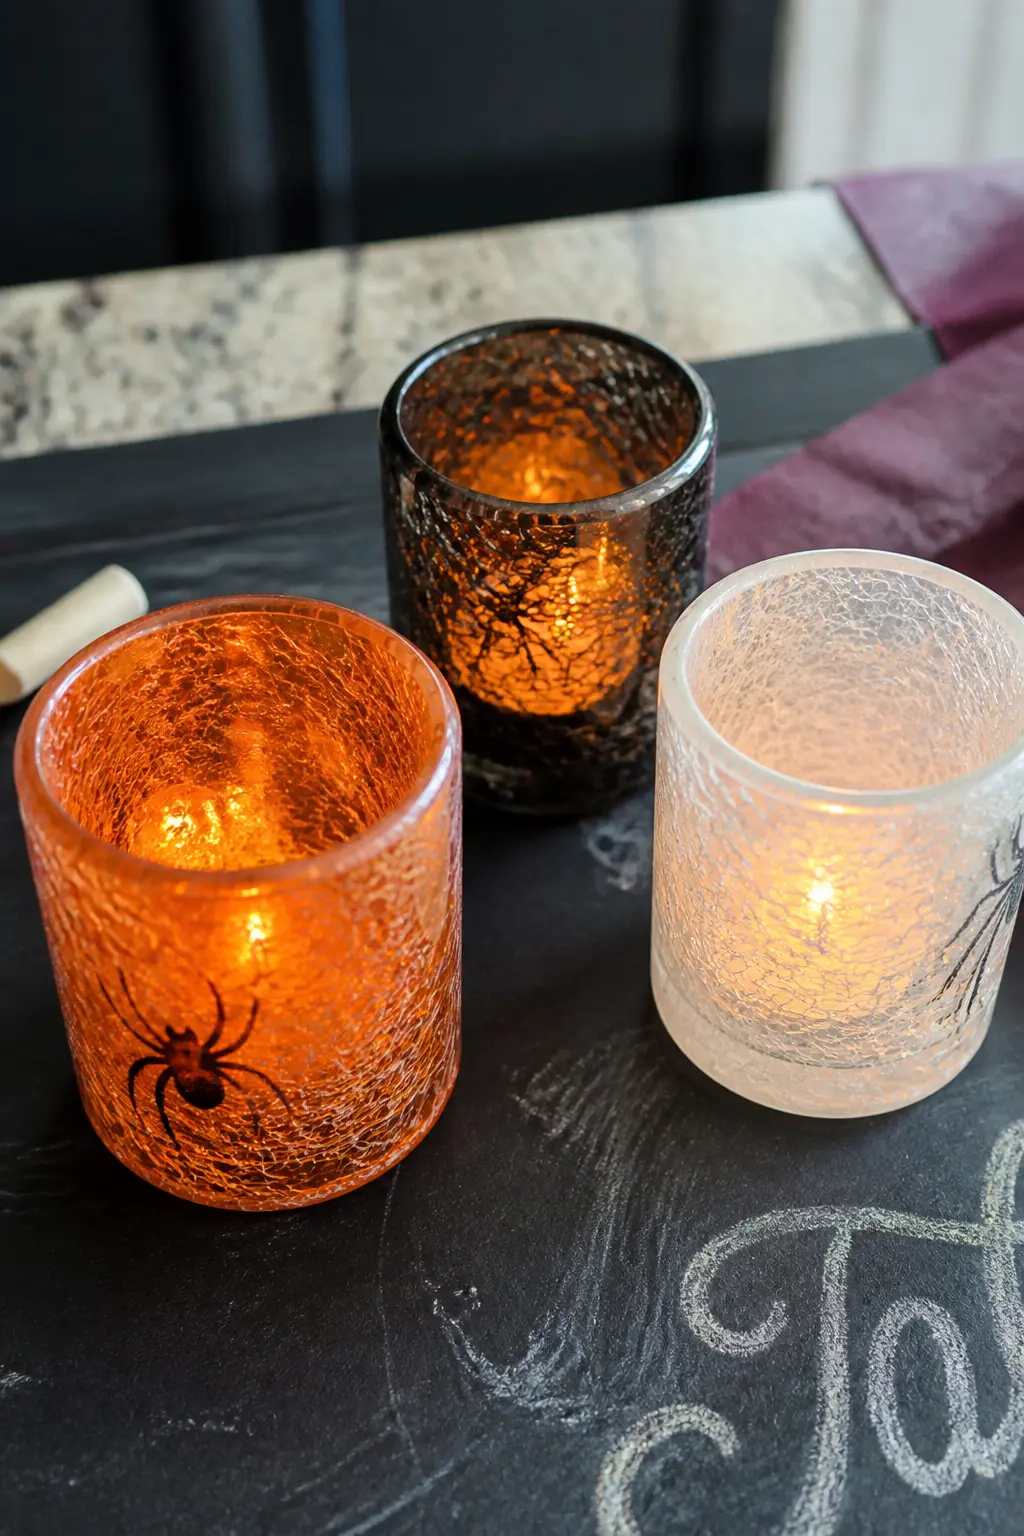
This one recreates the mottled, marbled texture seen on high-end Halloween votives, on a plain glass tumbler you already own. The effect comes from a two-layer technique: base coat of orange or black glass paint, then a crackle medium, then a contrasting top coat. As the top layer dries it pulls apart, revealing the colour beneath in an irregular web.
The result looks like hand-blown art glass. Fill the tumbler with a battery tea light rather than a real flame: the crackle finish is not heat-rated for open fire. Line several across a bar top for the kind of moody glow that costs nothing beyond the paint.
🛍 Shopping guide
Dripping Spider Web
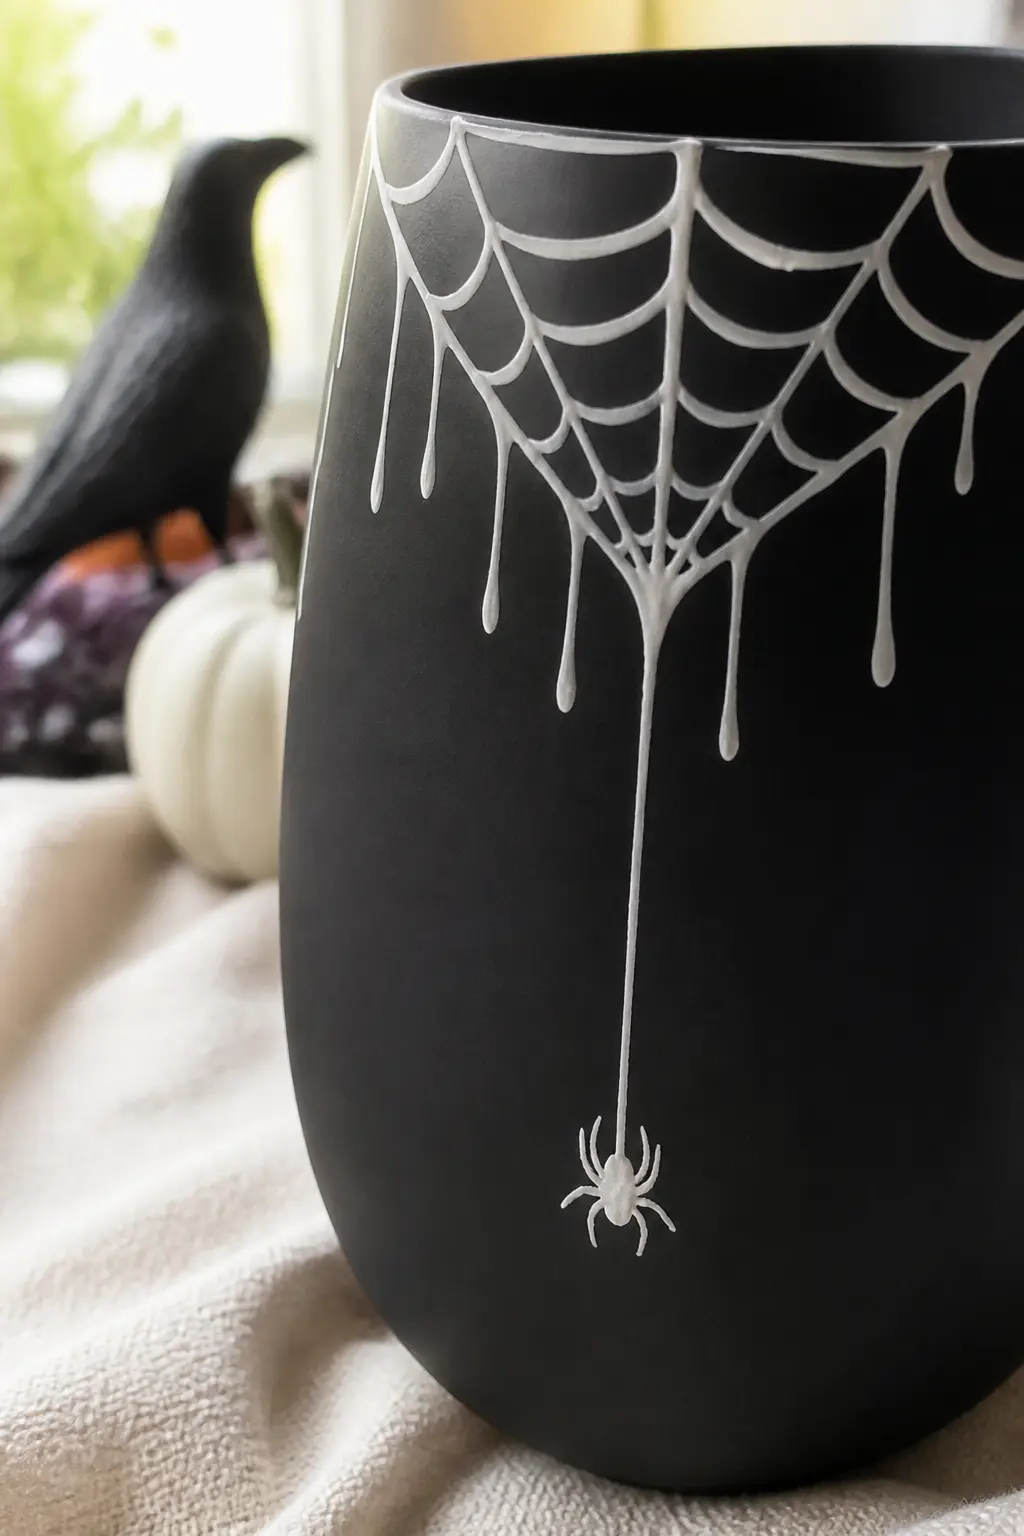
Paint a white spider web that starts at the rim and drips down the outside of a matte-black glass tumbler, as though the web is melting. One small white spider hangs at the lowest point of the longest drip. The contrast between the matte black base and the bright white detail is striking and reads well in candlelight.
First spray the tumbler with matte black glass spray paint and cure it. Then draw the web sections with a fine white Posca, working from the rim downward. Add the drips last with a slightly heavier hand so they catch the light differently from the fine web lines.
🛍 Shopping guide
Clip-On Charms and Drink Tags
No paint required. A charm or die-cut tag that slots over the rim does the same job as a painted glass and disappears into a drawer on November 1st. This is the category for anyone who rents glassware or refuses to touch her good stemware with a marker.
Black Acrylic Bat Charm
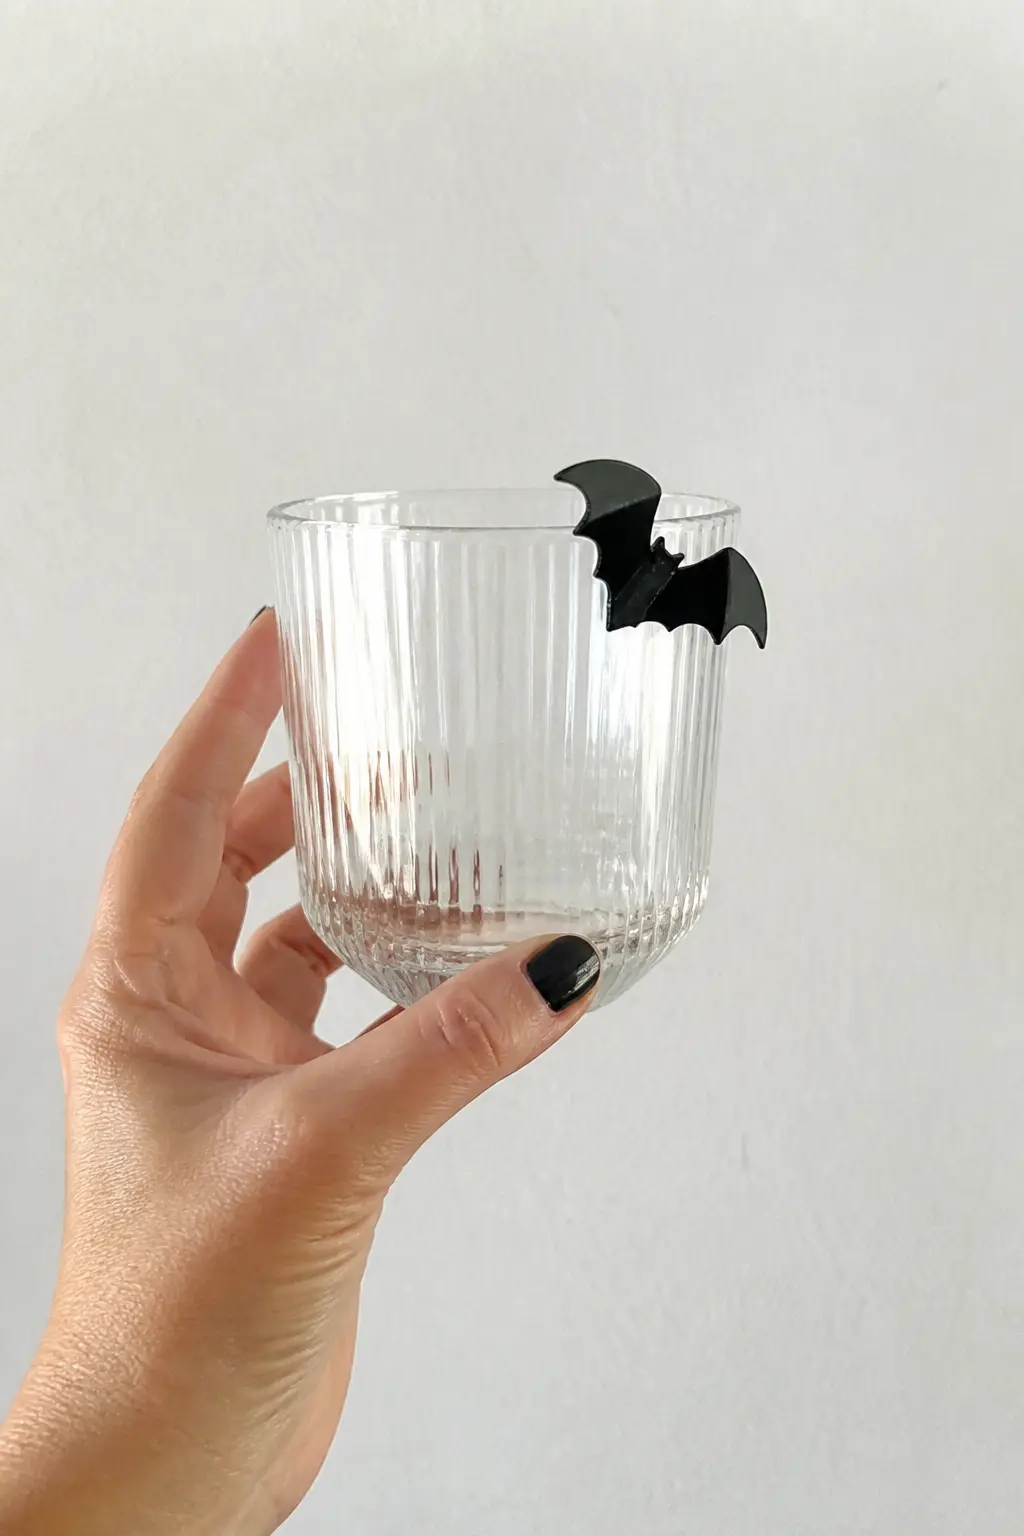
A 3mm black acrylic bat cut on a Cricut or laser cutter slots over the rim of any glass and perches there like it landed. No adhesive, no paint, no curing. Every guest gets a different character: you can cut a whole flock in under ten minutes from a single sheet of black acrylic.
The slot should be 3mm wide and 8mm deep so it grips without scratching the rim. If you do not own a cutting machine, order a pre-cut set from Etsy: search for acrylic bat drink markers and you will find sets of twelve for very little. These store flat in an envelope after the party.
🛍 Shopping guide
Paper Bat Name Tag
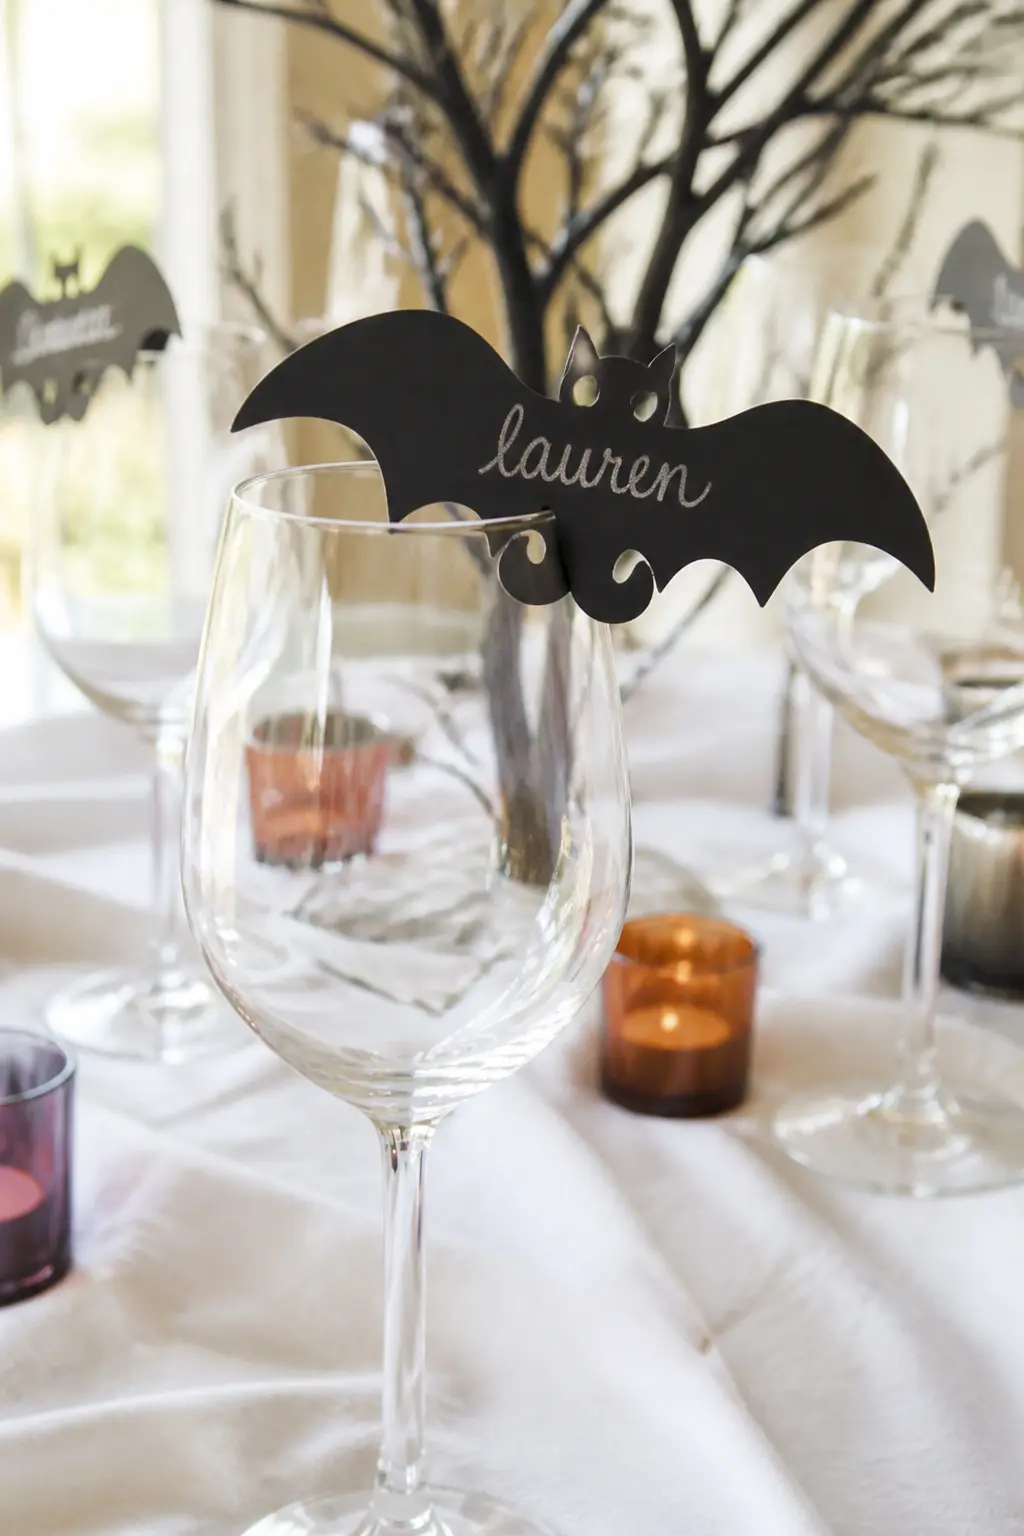
Cut bat shapes from black card stock, notch the wing to slot over the rim of a wine glass, and write a guest’s name in a silver or grey pen across the wing. Done. The whole set of twelve takes twenty minutes and costs the price of one sheet of card.
The bat’s wingspan should be wide enough that the name is legible, roughly 8 cm tip to tip. A Silhouette or Cricut file makes quick work of the cutting, but scissors and a printed template are just as fast for small numbers. Stack them the night before and write the names the day of the party when you know who is coming.
Ghost Drink Stirrer Charm
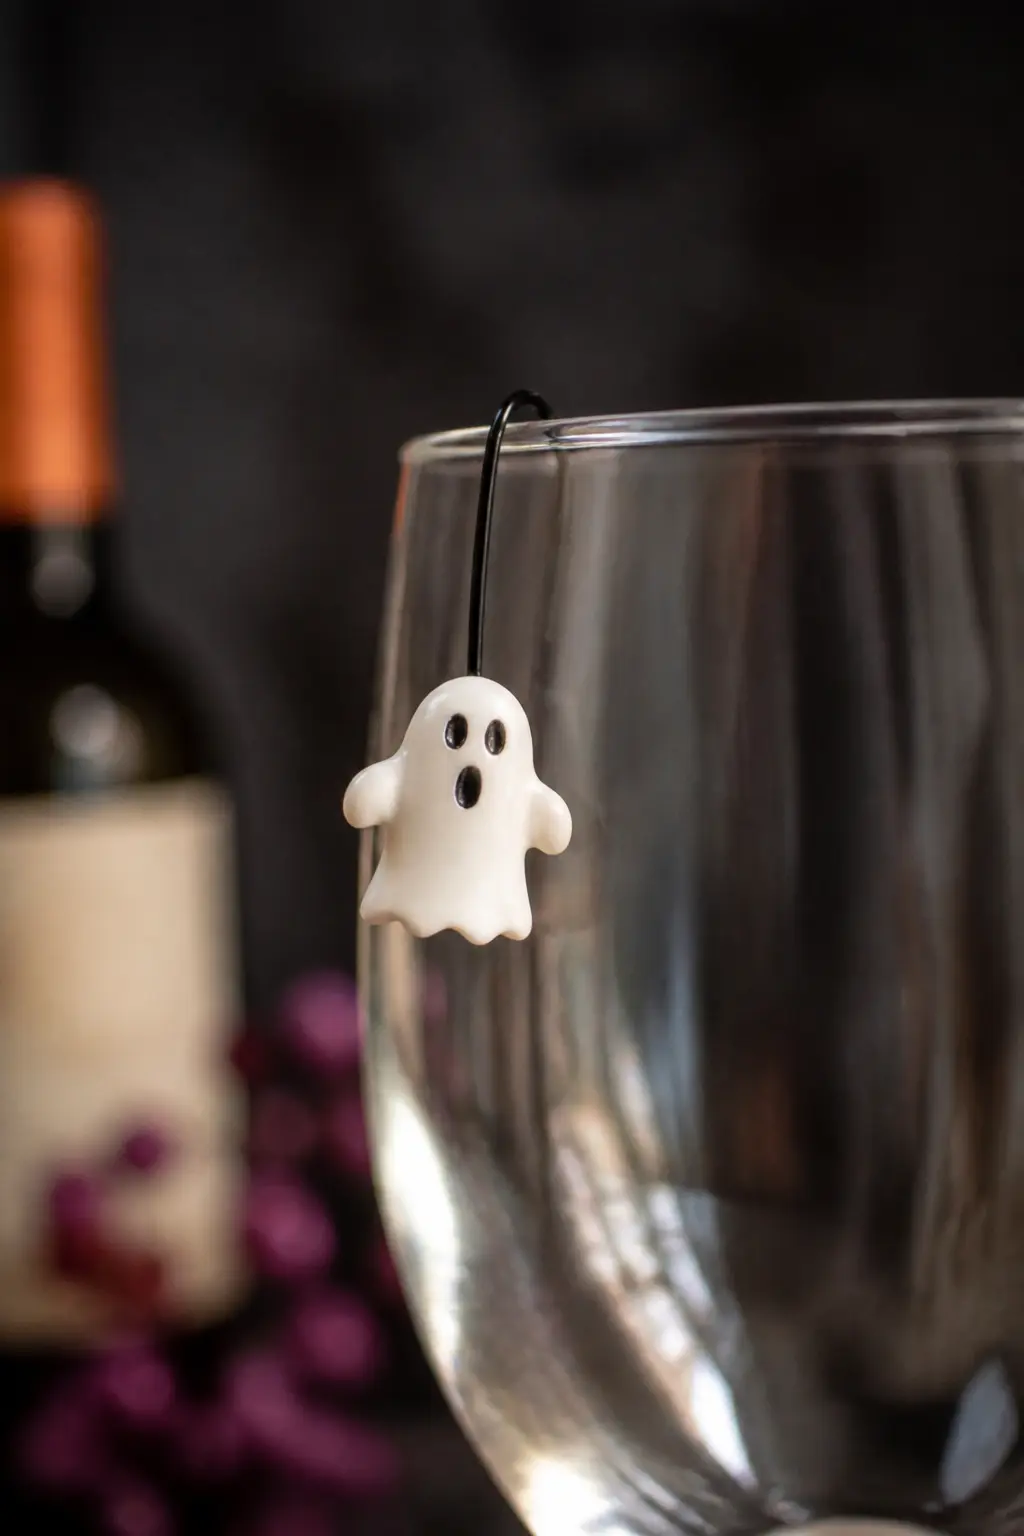
White clay or white shrink plastic, cut into a ghost silhouette, threaded onto a short length of black wire that loops over the rim. The ghost bobs at glass level whenever someone moves the drink. It is more animated than a flat tag and completely washable.
Shrink plastic is the faster option: draw the ghost in black marker, colour it with pencil in pale grey or leave it white, cut it out and bake it. The plastic shrinks to roughly a third of its original size and becomes rigid. Punch a hole before baking, thread the wire after. A set of twelve ghosts takes one sheet of shrink plastic and about thirty minutes total.
🛍 Shopping guide
Etching Cream
Armour Etch and a vinyl stencil produce a frosted silhouette that is genuinely permanent and genuinely dishwasher-safe. The technique takes about fifteen minutes of active work and looks like something from a boutique gift shop. Use it on the glasses you want to keep.
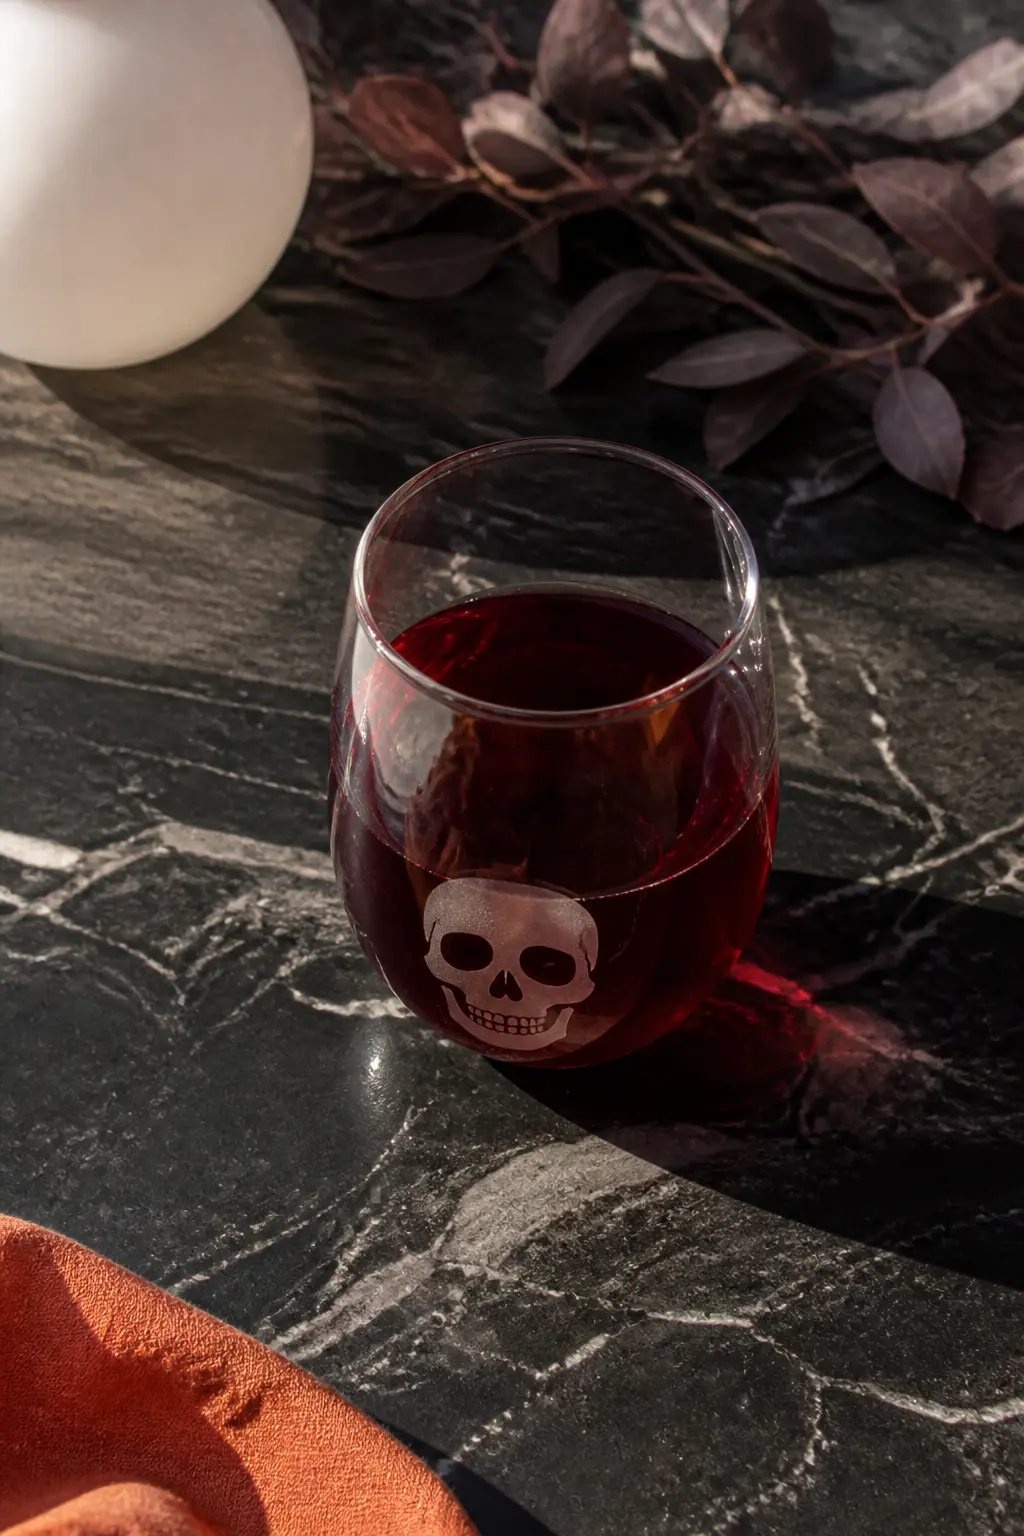
Skull Etched Stemless
A vinyl skull stencil, fifteen minutes of etching cream, and a rinse under cold water produce a frosted skull that sits just above the base of a clear stemless glass. It looks like it was sandblasted at a glassware studio. It is also completely dishwasher-safe and food-safe, so this glass lives in the cupboard long after October.
Cut the stencil on a Cricut from removable vinyl, press it firmly onto clean glass and run a cotton swab around every edge so no cream can seep under. Apply the cream thickly, set a timer for 12 minutes, rinse without touching your face, and peel the stencil. The frosted image is immediate.
🛍 Shopping guide
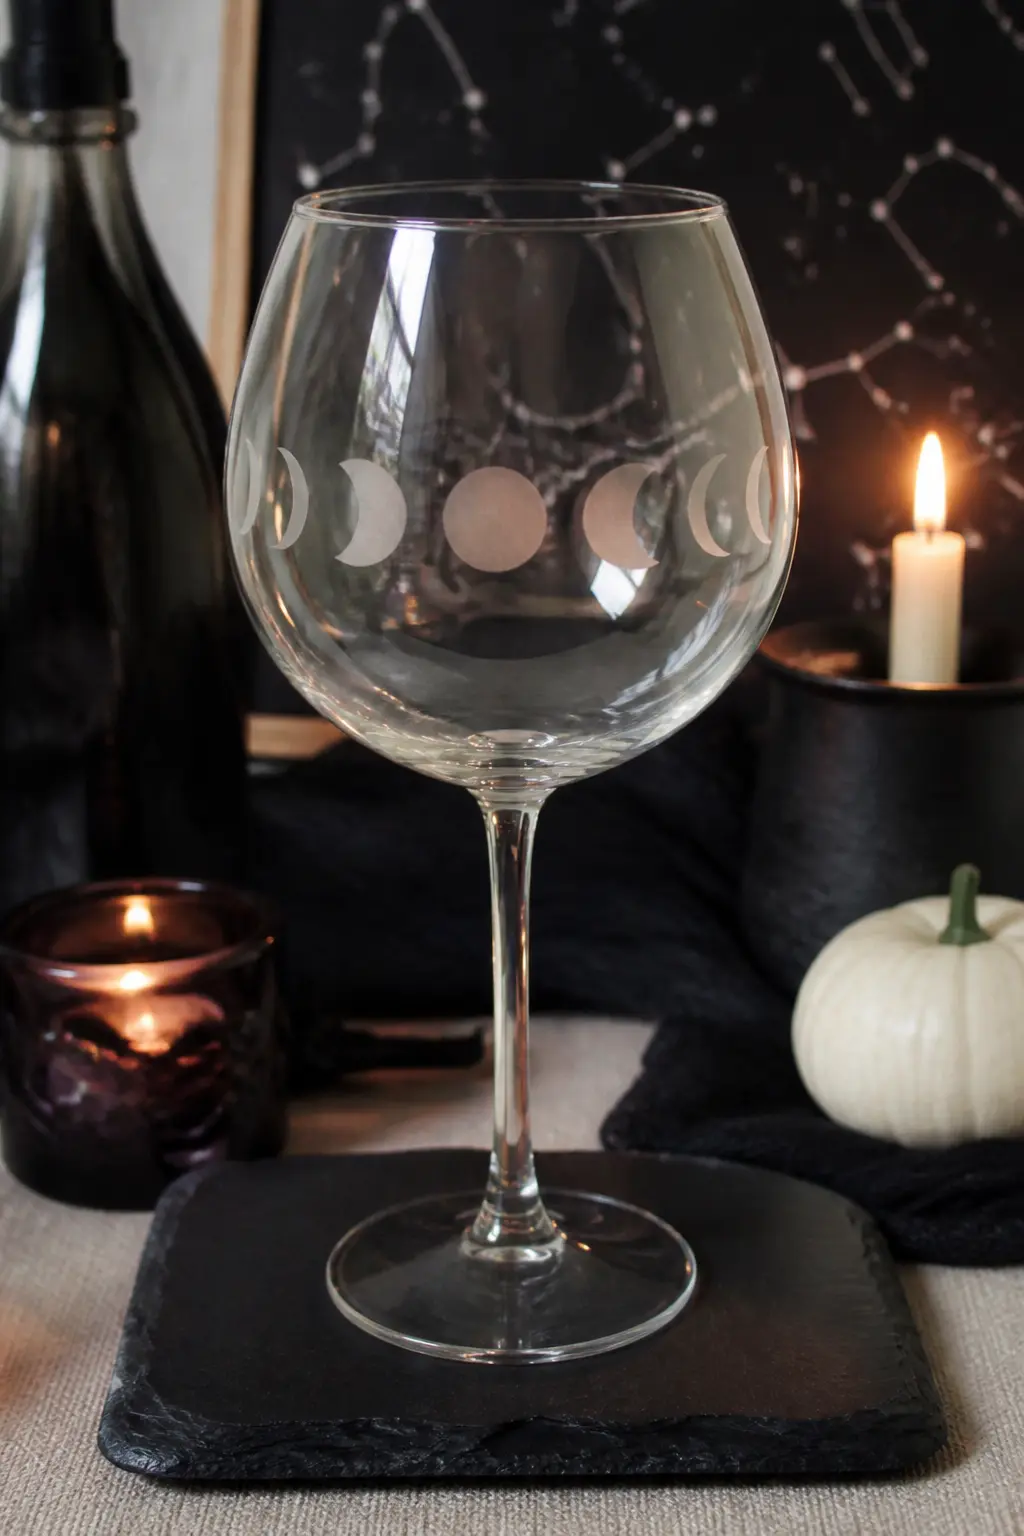
Moon Phase Strip
A horizontal band of frosted moon phases running around the widest point of a balloon wine glass. This reads as witchy and considered rather than spooky and seasonal, which means it earns a place in the everyday cupboard, not just at a Halloween party.
Design the stencil as a single strip: new moon, crescent, half, gibbous, full, and back, all in a row. Wrap it around the glass so the strip meets cleanly at the back. Apply cream, wait 12 minutes, rinse. The etched band is crisp and elegant and picks up candle light beautifully when the glass is empty.
🛍 Shopping guide
Temporary and Washable
Chalk markers, water-slide decals and temporary glass stickers wash off with warm soapy water. They are the right call when you are using a set you love and do not want to risk, or when your guest list changes every year and you need new names each time.
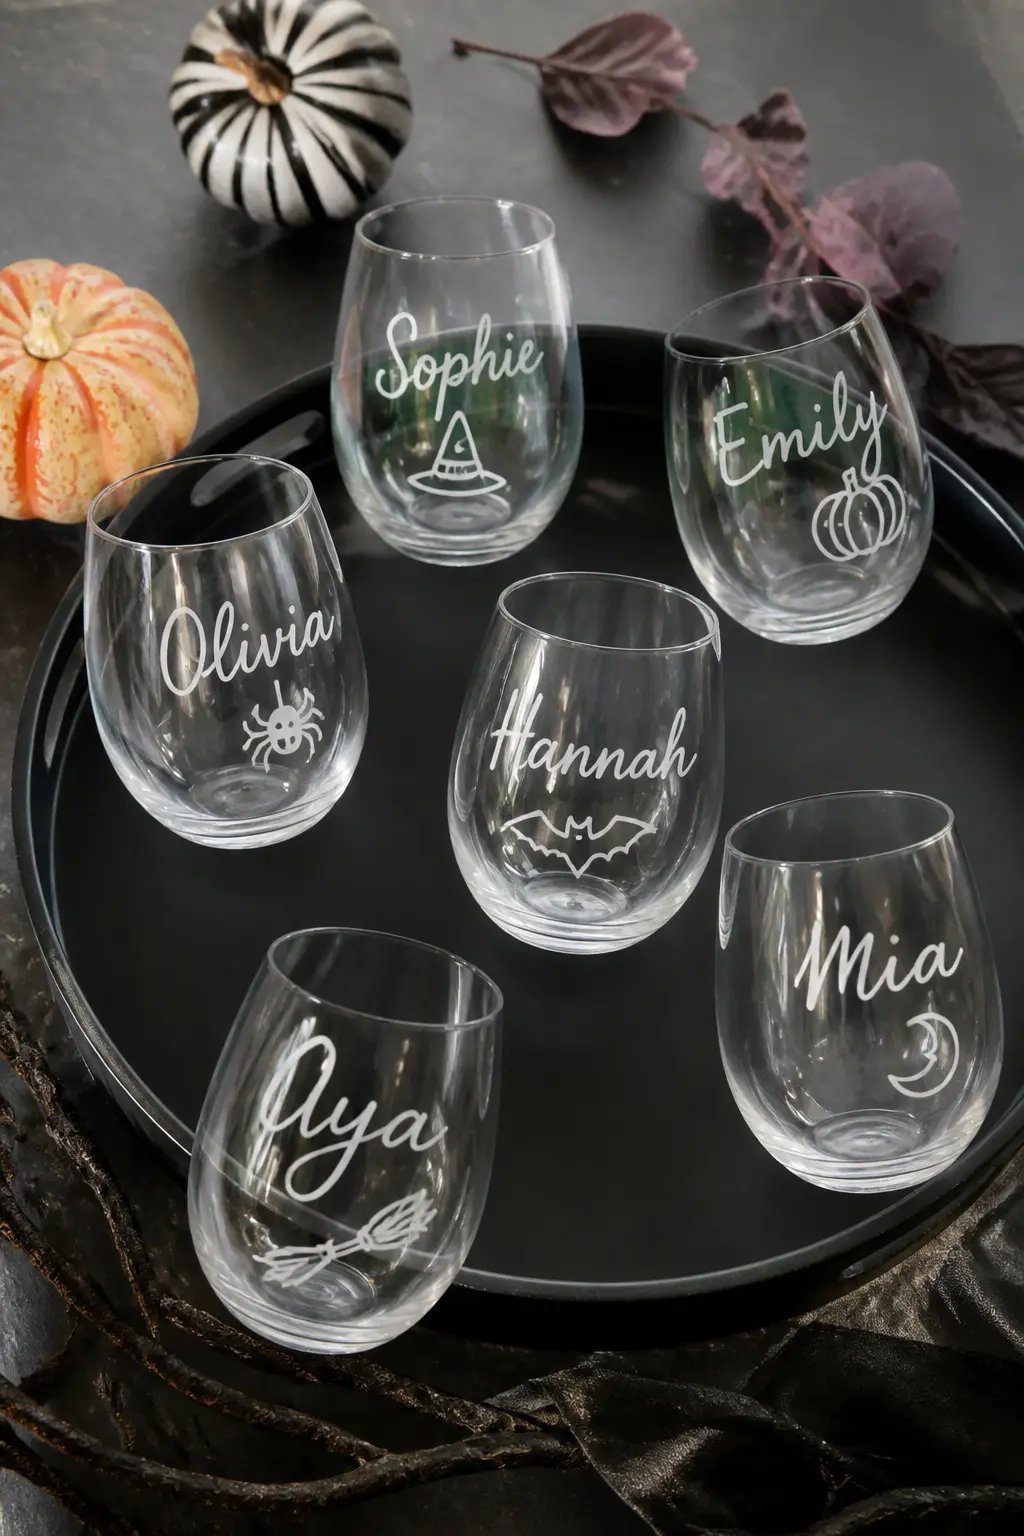
Chalk Marker Name and Doodle
A chalk marker writes on glass the way chalk writes on a board: cleanly, with enough opacity to read across a dark room, and it wipes off with a damp cloth the morning after. Write each guest’s name in large script on their glass and add one small doodle: a moon, a tiny web, a single star. Personal and zero-effort to reverse.
Chalk markers bleed slightly on porous surfaces, but glass is slick enough that they stay sharp. Do not use them on the interior of the glass or on any surface that will touch the lips. Write on the lower half of the bowl only. White on clear glass is the cleanest look; dark purple on a smoke-tinted glass is a close second.
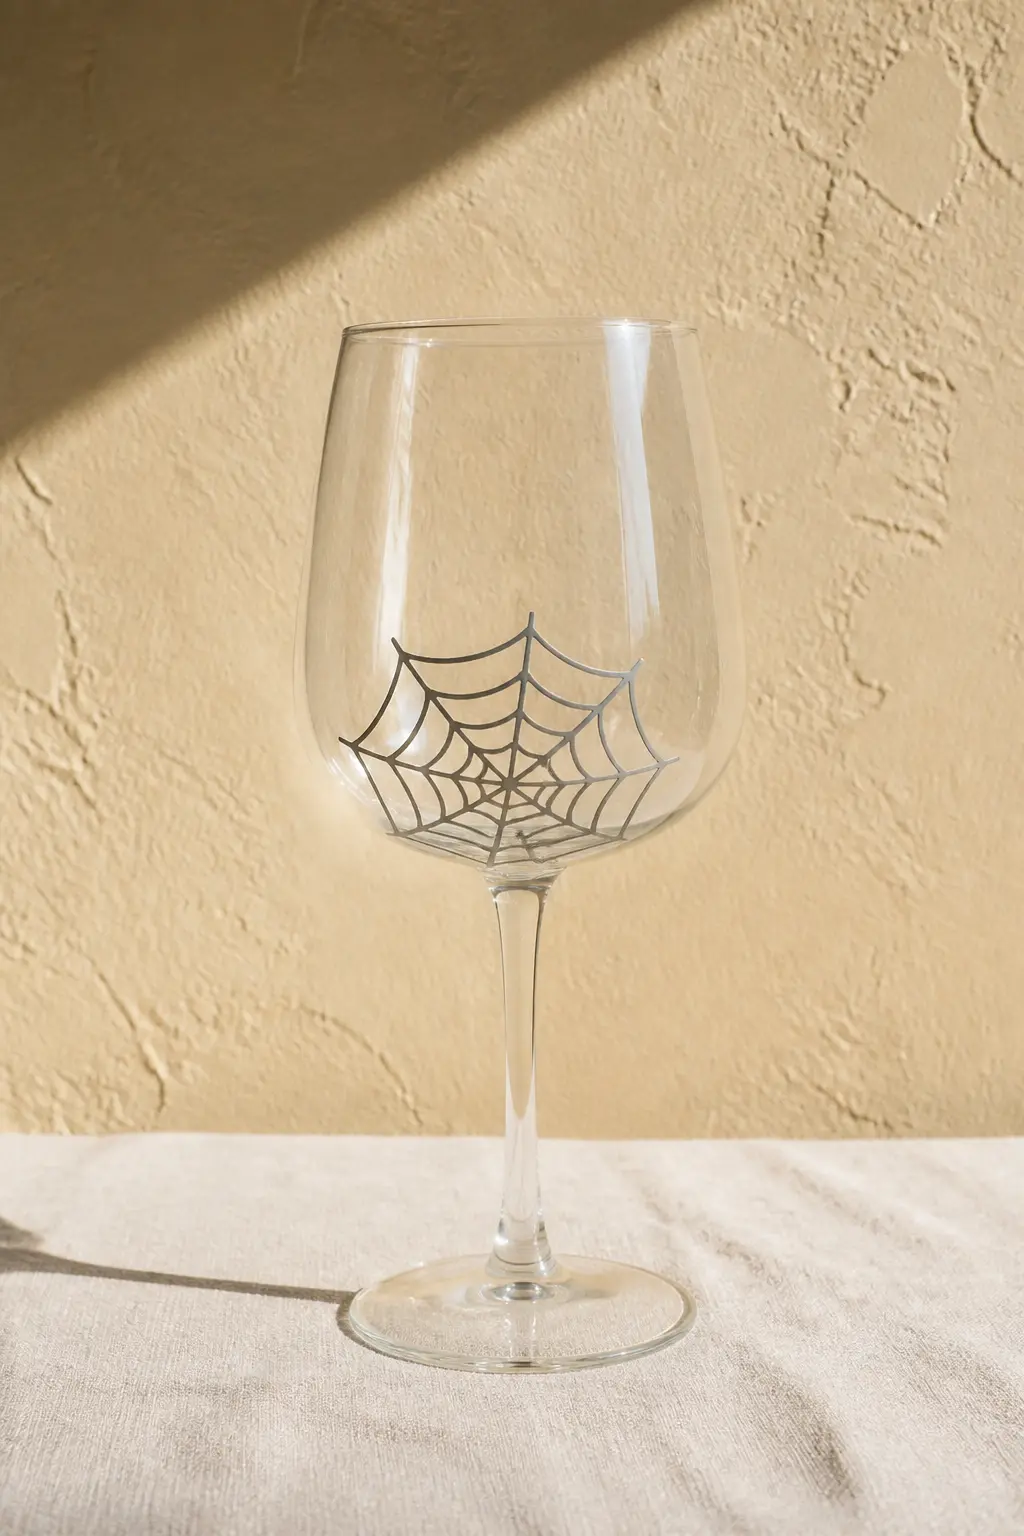
Water-Slide Decal Spiderweb
Print a spiderweb design onto water-slide decal paper on a home inkjet printer, seal it with a decal spray, soak it for 30 seconds and slide it onto the glass. It looks painted on, but warm soapy water removes it completely. This method works on curved surfaces that are impossible to paint neatly by hand.
The design can be as intricate as you want because the printer does the work. A grey or silver spider web on clear glass is subtle from a distance and detailed up close. Print a whole sheet of twelve different designs at once: spider webs, dripping text, small haunted-house silhouettes. They peel off in one piece for easy removal.
🛍 Shopping guide
Washi Tape Cauldron Base
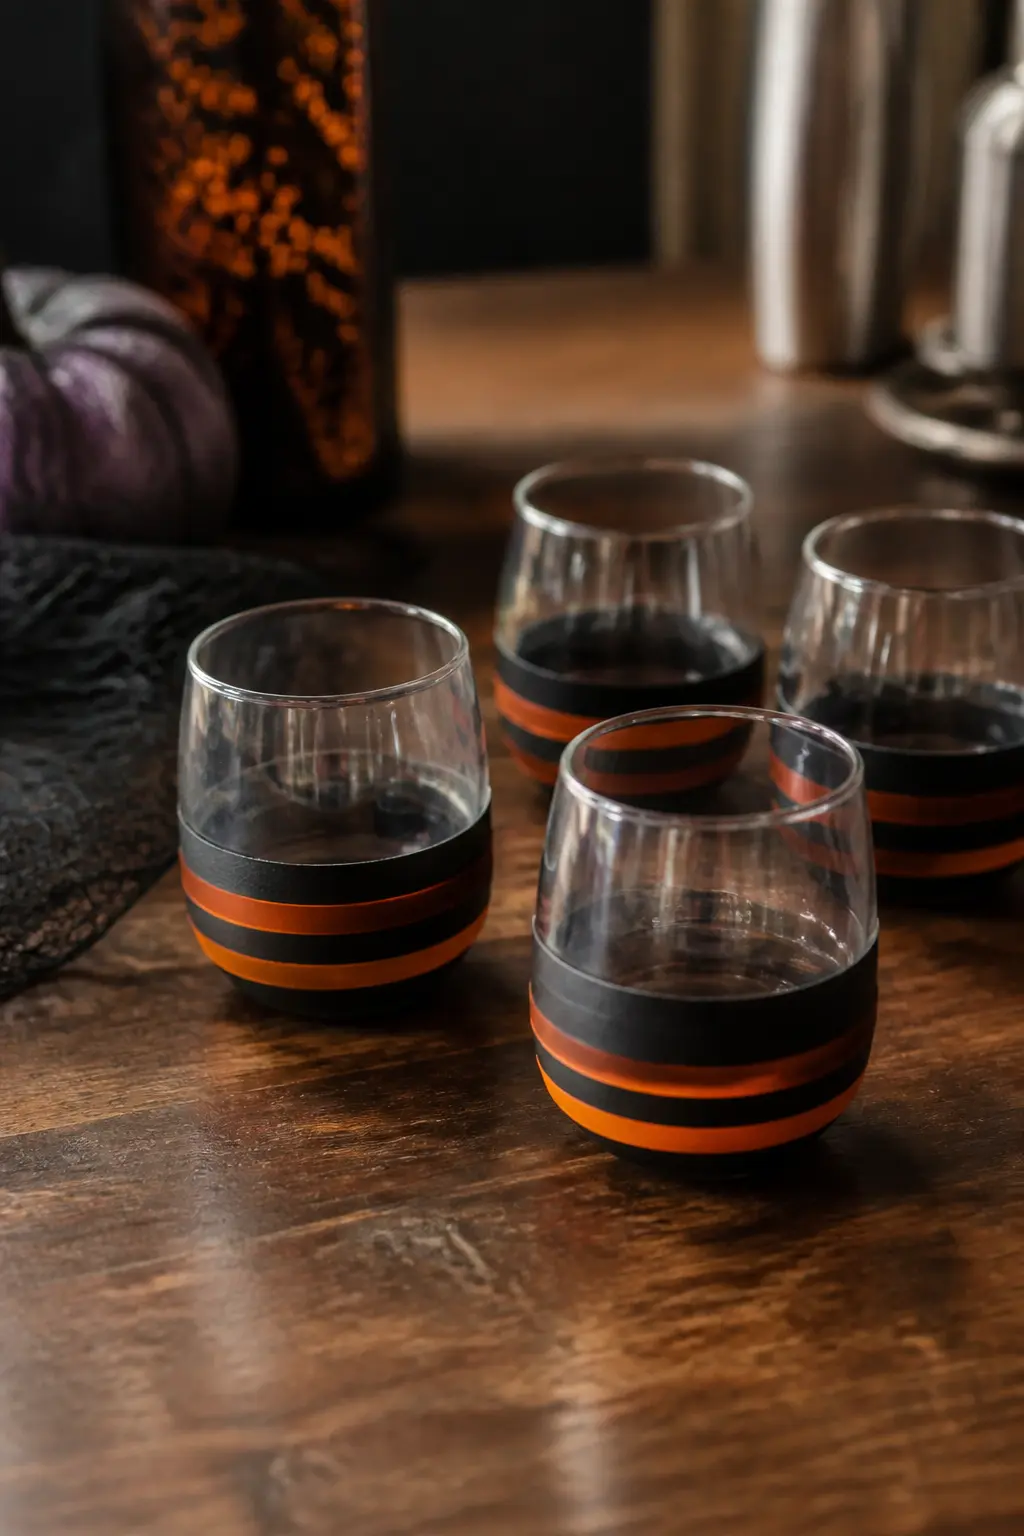
Wrap the base of a stemless glass with two overlapping bands of black washi tape so it reads as a little cauldron sitting on your bar. Add a strip of orange tape just above the black for the rim. The tape peels cleanly from glass without residue, and the look is graphic and unfussy.
This works best on short, wide tumblers rather than tall straight-sided glasses. Cut the tape ends cleanly with a craft knife rather than tearing, and overlap at the back so the seam hides when the glass faces forward. A set of eight takes about six minutes. No curing, no drying time, no mess.
Frequently Asked Questions
What paint actually stays on wine glasses and is safe to drink from?
Oil-based glass paint and Posca paint markers are both food-safe once cured. Cure by placing the painted glass in a cold oven, bringing it to 350 F, holding that temperature for 30 minutes, then letting it cool completely inside the oven. After curing, paint on the exterior of the glass below the rim is safe. Never paint the interior or the rim itself.
Can you make DIY Halloween wine glasses without a Cricut?
Yes. Chalk markers, washi tape and water-slide decal paper all require no cutting machine. For painted designs, print a template at home, tape it inside the glass and trace through the glass with a paint marker. Bat name tags can be cut with scissors from a printed template.
How do you remove etching cream designs if you change your mind?
You cannot. Etching cream creates a permanent frosted finish by chemically abrading the glass surface. Use it only on glasses you intend to keep. For glasses you want to reset after the party, stick to chalk markers, decals, washi tape or clip-on charms.
How far ahead can you make painted Halloween wine glasses?
Once cured, painted glasses are stable and can be made weeks in advance. Store them upright with a sheet of tissue between each glass to prevent the painted surfaces from rubbing together. Chalk marker and decal designs should be applied the day before or the morning of the party.
What glasses work best for these DIY techniques?
Smooth glass surfaces take paint markers and etching cream most cleanly. Heavily textured or ribbed glasses work well for clip-on charms and washi tape but can cause bleed under vinyl stencils. Standard clear stemless and stemmed wine glasses, widely available in bulk packs, are the most forgiving for every technique here.
Pick the right Halloween kids crafts by age and effort, from toddler-safe paint projects to printabl
28 DIY Halloween games for kids that cost almost nothing and set up fast. Clever, low-mess ideas you
31 blue and orange fall decor ideas that swap beige for something with actual personality: velvet, c
Leave a Reply