

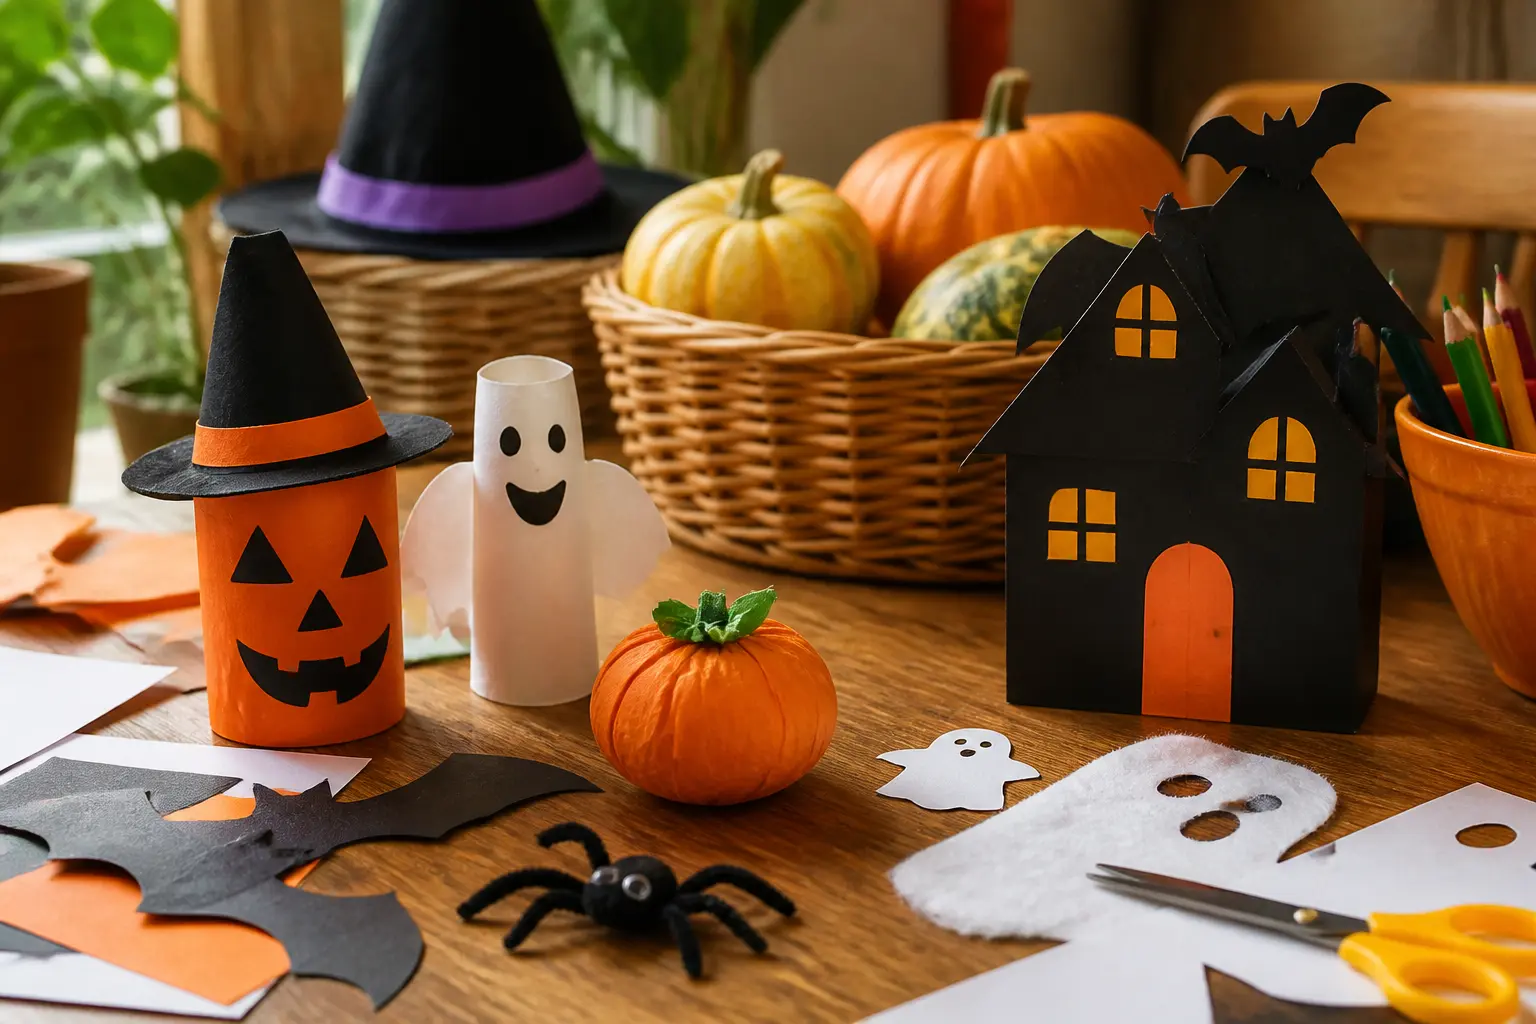
Halloween crafts for preschool live or die on one thing: can every child at the table finish before someone melts down? These fifteen crafts answer yes.
Each one uses a glue stick, safety scissors at most, and materials you can prep in under ten minutes the night before. Orange paint, paper plates, cotton balls, a paper bag.
Nothing fiddly, nothing that needs to dry for forty minutes while the room loses its mind. Every craft here is tested against a group of twenty wiggly three-to-five-year-olds and still looks good on the fridge.
When you are done, see 15 Free Printable Halloween Party Games to fill the rest of the session, and bookmark 14 Preschool Thanksgiving Crafts That Survive a Class of 20 for the month after.
This post contains affiliate links. If you buy through them, I may earn a small commission at no extra cost to you.
- Paper Plate Pumpkin
- Handprint Ghost Sheet
- Cotton Ball Ghost
- Torn Paper Pumpkin
- Paper Bag Monster Puppet
- Sponge Print Bats
- Cardboard Tube Mummy
- Dot Marker Spider Web
- Paper Plate Spider
- Sticker Pumpkin Face
- Coffee Filter Ghost
- Leaf Print Bats
- Paper Chain Garland
- Handprint Bat
- Paper Plate Cat Face
- Frequently Asked Questions
Paper Plate Pumpkin
A paper plate pumpkin is the workhorse of the Halloween craft table: it costs almost nothing, every child gets the same satisfying result, and twenty of them lined up on a windowsill look genuinely cheerful.
The finished piece is a round orange pumpkin face with a stubby green stem, flat enough to tape to a window or send home in a folder. Let paint dry completely before adding the stem or the glue will not hold.
What You Need
- 1 white paper plate per child (standard 23 cm dinner size)
- Orange washable paint (shared pot, one per table of four)
- 1 foam brush per child (2 cm wide)
- Green paper pre-cut into a rectangle roughly 5 x 8 cm (one per child, cut by an adult beforehand)
- 1 glue stick per child
How to Make It
- Give each child a paper plate face-up and a loaded foam brush. Ask them to paint the whole surface orange, working from the middle outward. When the plate looks fully covered with no white patches showing through, it is done. Set it flat to dry for about 20 minutes.
- While the plates dry, pass out the pre-cut green rectangles and glue sticks. Show the children how to rub glue across one short end of the rectangle.
- Once the orange paint is dry to the touch, press the glued end of the green rectangle onto the top center of the plate and hold for a count of five. The stem should stand upright slightly. Set aside to finish drying before stacking or sending home.

Handprint Ghost Sheet
White handprints on black paper look striking and cost nothing. The finished sheet shows a crowd of pale ghost-shaped hands floating on a dark background, which works pinned to a classroom door or rolled into a scroll for parents to take home.
The trick with a group of twenty is to move in a circuit: one adult presses hands while another follows with wipes. Keep the paint thin so hands clean up in seconds.
What You Need
- 1 large sheet of black sugar paper per child (A3 size)
- White washable paint in a shallow tray (one tray per table of four)
- Baby wipes or damp paper towels, within reach of every seat
- Pre-cut paper circles in white, roughly 4 cm diameter, for eyes (two per child, cut by an adult)
- 1 glue stick per child
How to Make It
- Have each child press their palm flat into the shallow tray of white paint, then press it firmly onto the black paper. An adult should guide the hand down and lift it straight back up so the print stays clean. Do one hand, wipe straight away, then do the other.
- Lay the sheets flat to dry. They are ready when the paint feels dry to the touch, about 10 to 15 minutes.
- Once dry, children use a glue stick to attach two white paper circles near the top of each handprint as eyes. The palm becomes the ghost body and the fingers trail upward as ghostly wisps. That is the moment it all clicks into place.

Cotton Ball Ghost
Cotton balls on black paper make a ghost that looks fluffy and dimensional rather than flat, and children find pressing them down genuinely satisfying.
The finished piece is a soft white cloud-shaped figure on a dark background, with two large paper eyes that give it personality.
Prep a simple ghost outline on each sheet of black paper with a white chalk pencil the night before, so children have a shape to follow rather than a blank sheet.
What You Need
- 1 sheet of black A4 card per child
- Roughly 20 cotton balls per child
- 1 glue stick per child (thick barrel is easier for small hands)
- 2 pre-cut white paper circles per child, about 4 cm diameter (cut by an adult)
- White chalk pencil or white crayon for the teacher to draw the ghost outline beforehand
How to Make It
- Before the session, draw a simple rounded ghost outline on each black sheet using a white chalk pencil. The shape should be about 15 cm tall: round at the top, wavy at the bottom, with no tiny points. Pass one sheet to each child.
- Children rub the glue stick generously inside the outline, covering it in broad strokes. Then they press cotton balls one by one inside the shape, packing them close together. The cotton balls should sit edge to edge so no black card shows through the body.
- Glue the two white paper circles near the top of the ghost as eyes. Press firmly and hold for a count of five. When the eyes sit flat and the cotton balls feel secure, the ghost is done.

Torn Paper Pumpkin
Tearing tissue paper is a fine motor skill in disguise, and this craft is the one where the messiest child often produces the best result.
The finished pumpkin is textured and rich in colour, built up from layers of orange tissue squares that overlap and crinkle.
Print or trace a large pumpkin outline onto white card for each child beforehand: the outline should be at least 20 cm wide so there is plenty of room to fill.
What You Need
- 1 white card sheet per child with a large pumpkin outline (A4, 200 gsm)
- Roughly 30 orange tissue paper squares per child, torn or pre-cut to about 5 x 5 cm
- 1 glue stick per child
- Green paper pre-cut into one stem shape per child (adult cuts)
How to Make It
- Show the children how to rub the glue stick back and forth across a section of the pumpkin outline. Work on one third of the shape at a time so the glue does not dry before the tissue goes on.
- Children press orange tissue squares onto the glued area, scrunching or overlapping them as they go. Wrinkles and overlaps are exactly right: they give the pumpkin a rounded, three-dimensional look. Move across the outline section by section until the whole shape is covered with no white card showing through.
- Glue the green stem to the top of the pumpkin. Press it down for a count of five. When the stem holds and the tissue covers the shape completely, it is finished and dry enough to take home.

🛍 Shopping guide
Paper Bag Monster Puppet
A paper lunch bag becomes a puppet in under ten minutes, and the moment a child slips their hand inside and makes it talk is worth every minute of prep.
The finished puppet is a cheerful green or purple monster face on the bag flap, with googly paper eyes, a wide paper mouth, and wild paper hair.
Pre-cut the shapes in advance: a classroom set of twenty takes about fifteen minutes with a pair of scissors and a stack of coloured paper.
What You Need
- 1 small paper lunch bag per child (standard 18 x 30 cm)
- Pre-cut paper shapes: 2 circle eyes per child (at least 4 cm), 1 wide mouth shape per child, several paper strips for hair (at least 4 cm long)
- 1 glue stick per child
- Coloured paper scraps in green, purple, orange, yellow (shared per table)
How to Make It
- Place the bag flat on the table with the flap facing up. Children glue two circle eyes onto the flap, pressing firmly so they stick flat. The flap is the face, so the eyes go near the top of it.
- Glue the wide mouth shape just below the flap on the body of the bag, so it looks like the monster is opening its mouth when the flap lifts. Press and hold for a count of five.
- Glue paper strips along the top of the flap as hair. Children can fan them out or press them in a row. When all the pieces are stuck and the bag can open and close without anything peeling off, the puppet is done.

🛍 Shopping guide
Sponge Print Bats
Sponge printing is the technique that makes even a reluctant painter look like they know what they are doing. Pre-cut the bat sponges before the session (an adult task: use a craft knife or sharp scissors on dry kitchen sponge).
Each child ends up with a sheet of black bat silhouettes on a white or pale grey background, scattered at angles across the page. Framed behind a window it looks properly atmospheric.
What You Need
- 1 dry kitchen sponge per pair of children, pre-cut into a bat shape roughly 8 x 5 cm (adult cuts with scissors beforehand)
- Black washable paint in a shallow tray (one per table of four)
- 1 sheet of white or pale grey A4 paper per child
- Paper towel for blotting excess paint
How to Make It
- Show children how to press the bat sponge lightly into the paint tray, then dab it once on a paper towel to remove drips. Too much paint blurs the shape; the sponge should feel damp, not soaked.
- Press the sponge firmly onto the paper, hold for two seconds, then lift straight up. The bat outline should be clean and crisp. Encourage children to tilt the sponge to different angles so the bats look like they are flying in different directions.
- Repeat across the sheet, re-dipping and blotting each time. Aim for five or six bats per sheet. Leave flat to dry for about 10 minutes before stacking.

🛍 Shopping guide
Cardboard Tube Mummy
Every household and every classroom has a stash of cardboard tubes, and this craft turns one into a standing mummy that can sit on a shelf or hang from a length of string.
The finished tube is wrapped in criss-crossing white paper strips with two dark paper eyes peering out from the top. It looks tidy enough to display and sturdy enough to survive a school bag.
Prep the paper strips in advance: tear or cut white copy paper into strips about 2 cm wide and 20 cm long, a handful per child.
What You Need
- 1 cardboard tube per child (toilet roll size, roughly 11 cm tall)
- Roughly 8 white paper strips per child, about 2 x 20 cm (pre-torn or pre-cut by an adult)
- 1 glue stick per child
- 2 pre-cut dark paper circles per child, about 4 cm diameter, for eyes
How to Make It
- Children rub glue along one paper strip, then wrap it around the tube at a slight angle, pressing the ends down firmly. The strip should overlap itself slightly at the back. Repeat with more strips, working from the bottom of the tube upward and leaving a small gap of about 2 cm at the top for the face.
- If a strip does not stay down, rub a dot of glue stick on the loose end and press again for a count of five. Strips that cross over each other at angles look the most mummy-like.
- Glue the two dark circles onto the top section of the tube as eyes. Press and hold. When both eyes sit flat and no strips are peeling, stand the mummy upright: it should balance on its own.

🛍 Shopping guide
Dot Marker Spider Web
Dot markers are the ultimate preschool tool: no brush to load, no spillable pot, and the result looks intentional even when it is not. Print a simple spider web outline onto white paper before the session and children fill every line with colourful dots.
The finished sheet is graphic and bold, and a set of twenty hung together on a wall looks like a proper art installation. Use black and orange dot markers for a classic Halloween palette, or let children choose freely.
What You Need
- 1 printed spider web outline per child on white A4 paper (print at home or school, web lines at least 5 mm thick so they are easy to follow)
- Dot markers in black, orange, and purple (2 or 3 markers shared per table)
How to Make It
- Place the printed web sheet in front of each child. Show them how to press a dot marker straight down onto the paper and lift it back up to make a clean circle. No dragging, just press and lift.
- Children press dots along each line of the web, spacing them about one dot-width apart or packing them tightly together. Both approaches look good. The aim is to cover all the web lines with dots.
- Fill in the gaps between lines with extra dots if the child wants more coverage. When the web is fully dotted and all the markers are capped, the sheet is done and dry immediately.

🛍 Shopping guide
Paper Plate Spider
A spider that looks like a proper spider, not a blob, needs only a painted plate and eight paper legs. The finished piece is a round black spider body with eight long legs curling outward and two oversized paper eyes on top.
Pin it to a wall or string a group of them across the classroom ceiling for an effect that costs almost nothing. Prep the leg strips in advance so painting is the only step that slows the group down.
What You Need
- 1 white paper plate per child (standard 23 cm)
- Black washable paint and a foam brush per child
- 8 black paper strips per child, roughly 2 x 20 cm (pre-cut by an adult)
- 1 glue stick per child
- 2 pre-cut white paper circles per child, about 5 cm diameter, for eyes
How to Make It
- Children paint the entire surface of the plate black. Brush from the middle outward in big sweeps so coverage is even. Set flat to dry for about 20 minutes. The plate should look fully black with no white patches before the next step.
- Once the plate is dry, children turn it over and glue four paper strips along each side edge so they radiate outward like legs. Four on each side, evenly spaced by eye. Press each strip flat and hold briefly.
- Glue the two white circles onto the front of the plate as eyes. Press firmly. The spider is done when the eyes sit flat and all eight legs feel secure when the plate is lifted.

🛍 Shopping guide
Sticker Pumpkin Face
This is the one craft on the list that needs no glue and no paint, which makes it ideal for the youngest children in the group or for a five-minute filler at the end of a session.
Pre-cut a large orange pumpkin shape from card for each child, at least A4 size, with a green stem already attached. Children build the face using large foam stickers, the kind with no fiddly backing.
The finished pumpkin is cheerful, takes home without smearing, and can be re-styled by the child later if the stickers are repositionable.
What You Need
- 1 orange card pumpkin cutout per child, at least A4 size with a green stem (adult pre-cuts)
- Large foam stickers: eyes, noses, mouths, stars, dots (at least 4 cm each), a handful per child
How to Make It
- Give each child their pumpkin cutout. Place the sticker selection in the center of the table so children can reach and choose. No directions needed: children pick stickers and press them onto the pumpkin to build a face.
- Encourage children to place eyes near the top of the pumpkin, a nose in the middle, and a mouth lower down, but do not correct placements. A wonky face is a personality.
- Children can keep adding stickers freely across the whole pumpkin once the face is in place. When they say it is done, it is done.

🛍 Shopping guide
Coffee Filter Ghost
A coffee filter and a single cotton ball produce a ghost that is soft, three-dimensional, and floats beautifully when hung from a window.
The finished ghost is a round white head with a gathered fabric-like body trailing below, tied at the neck, with a simple marker face. Hang a group of twenty from a length of string across the classroom and the effect is genuinely lovely.
The tying step is fiddly for small hands; plan for an adult to move around the table doing neck ties while children draw faces.
What You Need
- 1 round basket-style coffee filter per child (standard size, roughly 15 cm diameter when opened flat)
- 1 large cotton ball per child
- Roughly 30 cm of white or grey yarn per child (pre-cut by an adult)
- 1 black washable marker per child or per pair
How to Make It
- Open the coffee filter flat and place the cotton ball in the center. Gather the filter up around the cotton ball to make a round head, then bunch the filter below the head to form the body.
- An adult ties the yarn tightly around the gathered section just below the head. Pull snug so the head stays round. Tie a second knot and trim the ends if they are too long. Leave a loop of yarn at the top for hanging.
- The child uses the black marker to draw two eyes and a small round mouth on the round head section. Simple dots and a circle are plenty. The ghost is finished the moment the marker cap goes back on.

🛍 Shopping guide
Leaf Print Bats
Autumn delivers the perfect bat wing shape for free: a long narrow leaf with a pointed tip makes a remarkably convincing bat silhouette when printed in black. Collect leaves before the session, or ask children to bring one from outside.
The finished sheet shows two leaf prints placed mirror-image, point outward, with a small paper circle for the bat body between them. It is a craft that rewards a little patience: the print needs a firm, even press to come out clean.
What You Need
- 2 similar-sized leaves per child (roughly 8 to 12 cm long, pointed if possible)
- Black washable paint in a shallow tray
- 1 sheet of white A4 paper per child
- 1 small black or dark paper circle per child, about 4 cm diameter (pre-cut, for the bat body)
- 1 glue stick per child
- Paper towel for blotting
How to Make It
- Hold a leaf vein-side up and press it flat into the paint, or brush paint evenly across the vein side with a finger. The vein side prints more clearly than the smooth side. Dab once on paper towel to remove excess. An adult can help younger children with this step.
- Press the painted leaf firmly onto the left side of the paper, tip pointing outward, and hold for three seconds before lifting straight up. Repeat with the second leaf on the right side, mirroring the first. The two leaf prints form the bat wings. Leave to dry for about 15 minutes.
- Once dry, glue the dark paper circle between the two prints where the wings meet. Press and hold. That circle becomes the bat body and pulls the whole image together.

🛍 Shopping guide
Paper Chain Garland
A paper chain garland is the craft that decorates the room while it is being made, and a class of twenty children can produce enough chain to wrap the whole classroom in one session.
Orange and black links alternate into a garland that looks intentional and cheerful. The skill here is looping the strip through the previous link before gluing: show the motion once slowly and most children get it on the second try.
For the very youngest, an adult can hold the previous link open while the child threads the new one through.
What You Need
- Pre-cut paper strips in orange and black, roughly 2 x 20 cm, about 10 per child (adult or older helper cuts)
- 1 glue stick per child
How to Make It
- Give each child a stack of alternating orange and black strips. To make the first link, curve a strip into a ring and press the glued ends together. Hold for a count of five until it holds its shape. That ring is the anchor.
- Thread the next strip through the ring before gluing its ends together. This is the step that needs patience: make sure the new strip goes through the middle of the ring, not around the outside of it. When glued and held, it should pull the two rings together into a chain.
- Keep adding links, alternating colours, until the chain is as long as the child wants or time runs out. Lay finished chains flat on the table to dry briefly, then drape or tape them along the classroom wall.

🛍 Shopping guide
Handprint Bat
Two black handprints side by side on grey paper make a bat with a wingspan that looks as though someone planned it, even though the child did all the work.
The finished piece has both palm prints as wings, spread flat, with a small paper oval body glued between them once the paint dries.
It is the same technique as the ghost sheet but produces a completely different result, so the two crafts can sit in the same session without feeling repetitive. Keep the wipes station between every two seats so nobody waits to clean up.
What You Need
- 1 sheet of grey or pale blue A3 paper per child
- Black washable paint in a shallow tray
- Baby wipes, within reach of every seat
- 1 pre-cut black oval per child, roughly 6 x 4 cm, for the bat body (adult cuts)
- 2 pre-cut white paper circles per child, about 2 cm diameter, for eyes (adult cuts)
- 1 glue stick per child
How to Make It
- An adult presses each child’s right hand into the paint tray, then presses it palm-down onto the right side of the grey paper. Lift the hand straight up. Wipe the hand with a baby wipe immediately. Repeat with the left hand on the left side so the two prints sit side by side, thumbs touching in the middle. The palms form the wings and the fingers spread outward.
- Leave the sheet flat to dry for about 15 minutes. The paint should feel dry and not tacky before the body goes on.
- Children glue the black oval between the two palm prints, right where the thumbs met. Press and hold. Glue the two tiny white circles onto the oval as eyes. When the body sits flat and the eyes are on, the bat is complete.

🛍 Shopping guide
Paper Plate Cat Face
A black painted paper plate becomes a cat face with two triangle ears and a few paper whiskers, and it looks graphic and purposeful rather than wobbly.
The finished piece is a round black cat face with yellow or white paper eyes, a small pink or red nose, and long paper whiskers fanning out from each side.
Stand it on a shelf, pin it to a wall, or send it home flat in a folder. The ears go on before painting so everything dries together and saves a step.
What You Need
- 1 white paper plate per child (23 cm)
- 2 pre-cut black card triangles per child, roughly 6 cm tall (adult cuts)
- Black washable paint and a foam brush per child
- 2 yellow or white paper circles per child, about 4 cm diameter (for eyes)
- 1 small pink or red paper oval per child (for nose, at least 2 cm)
- 4 to 6 pre-cut black paper strips per child, about 1 x 10 cm (for whiskers, adult cuts)
- 1 glue stick per child
How to Make It
- Before painting, glue the two black triangles to the top back edge of the plate so they stick up like ears. Press and hold. Now paint the entire front surface of the plate black, including over the base of the ears if they are visible from the front. Set flat to dry for about 20 minutes.
- Once dry, children glue the yellow or white eye circles onto the face, roughly in the upper third of the plate. Press firmly. Glue the nose oval below and between the eyes.
- Fan three whisker strips out from each side of the nose and glue them flat. Press each one and hold briefly. When all the pieces sit flat and nothing lifts when the plate is picked up, the cat face is finished.

Frequently Asked Questions
Which of these halloween crafts for preschool need zero drying time?
The Sticker Pumpkin Face, Paper Bag Monster Puppet, Dot Marker Spider Web, Paper Chain Garland, Cotton Ball Ghost, and Cardboard Tube Mummy all finish without any paint drying time. They are the best choices when you have thirty minutes or less.
Can a preschool teacher run all of these alone with twenty children?
Most of them, yes. The two handprint crafts (Handprint Ghost Sheet and Handprint Bat) move faster with a helper because one adult presses hands while another follows with wipes. Every other craft here is designed to be independently managed once the teacher has shown the first step.
How do you store finished crafts until home time without smearing?
Lay flat on a drying rack or a clear patch of floor for the full drying time listed. Once dry, stack with a sheet of plain paper between each piece. Painted crafts take 20 minutes minimum; glue-stick crafts are handling-safe within 5 minutes.
Are any of these crafts suitable for children under 3?
The Sticker Pumpkin Face and the Cotton Ball Ghost are the safest choices for children under 3, as both avoid paint and scissors entirely. All stickers and paper circles must be at least 4 cm to remove any choking concern. An adult should stay close during any craft that uses small paper pieces.
What is the easiest way to prep materials for a class of twenty the night before?
Group all pre-cut shapes by craft into small zip-lock bags or cups, one bag per table rather than per child. Pre-pour paint into shallow trays covered with cling film overnight. For chained crafts like the garland, count strips into bundles of ten and rubber-band them together.
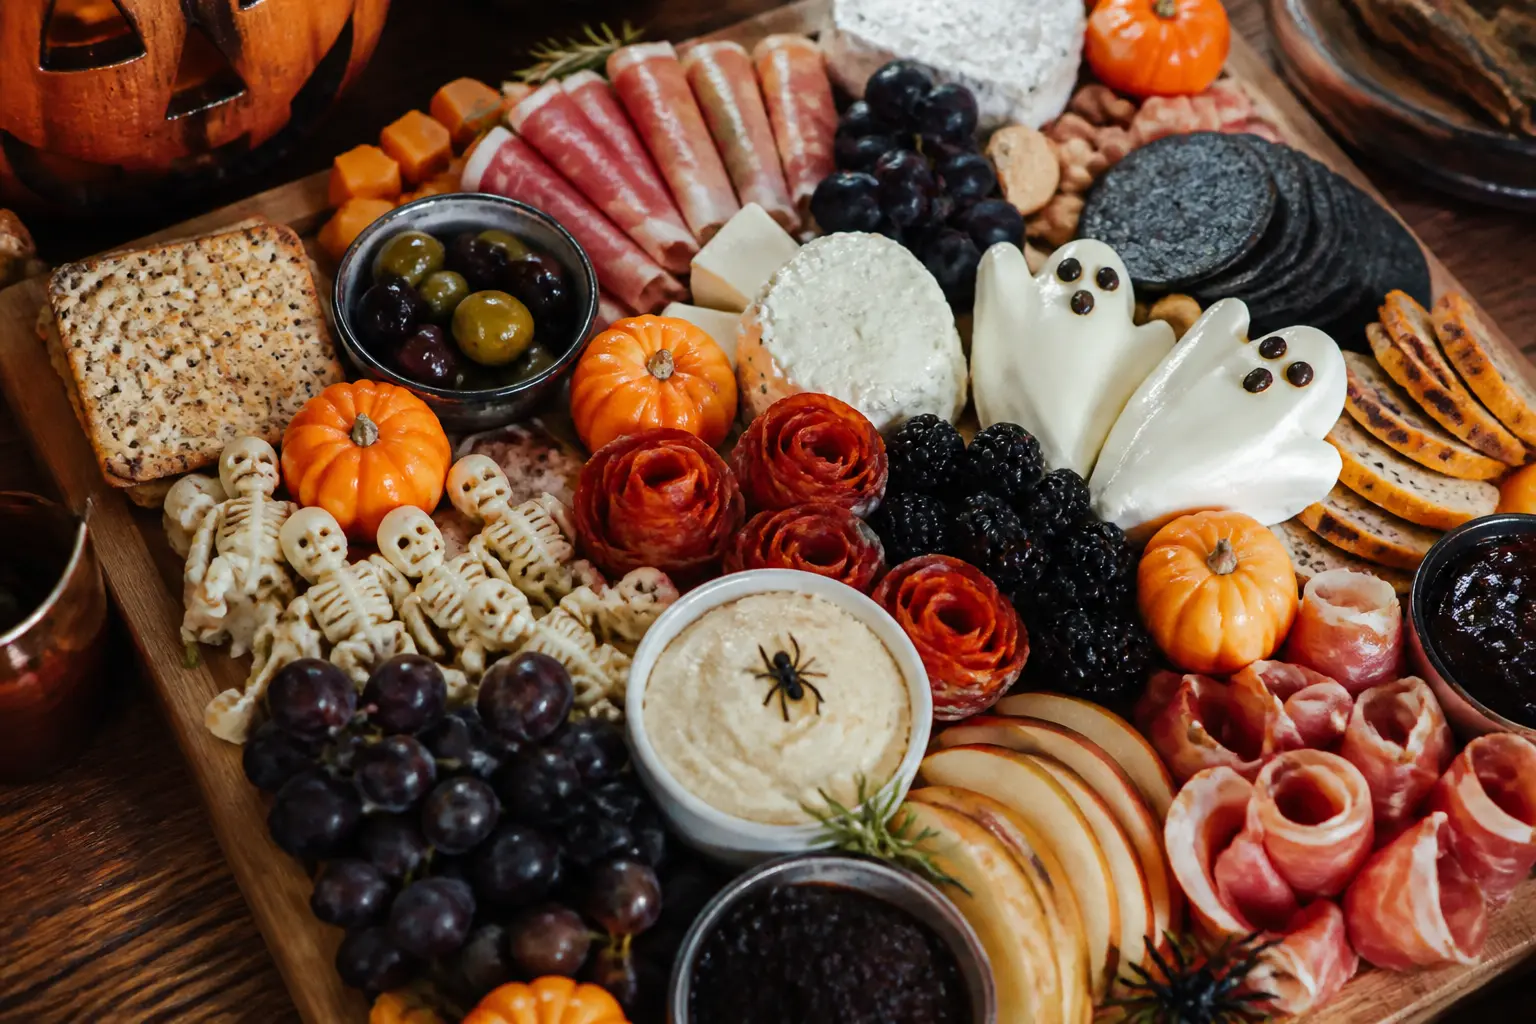
14 Halloween charcuterie board for kids ideas that look wildly spooky and take under 30 minutes to a
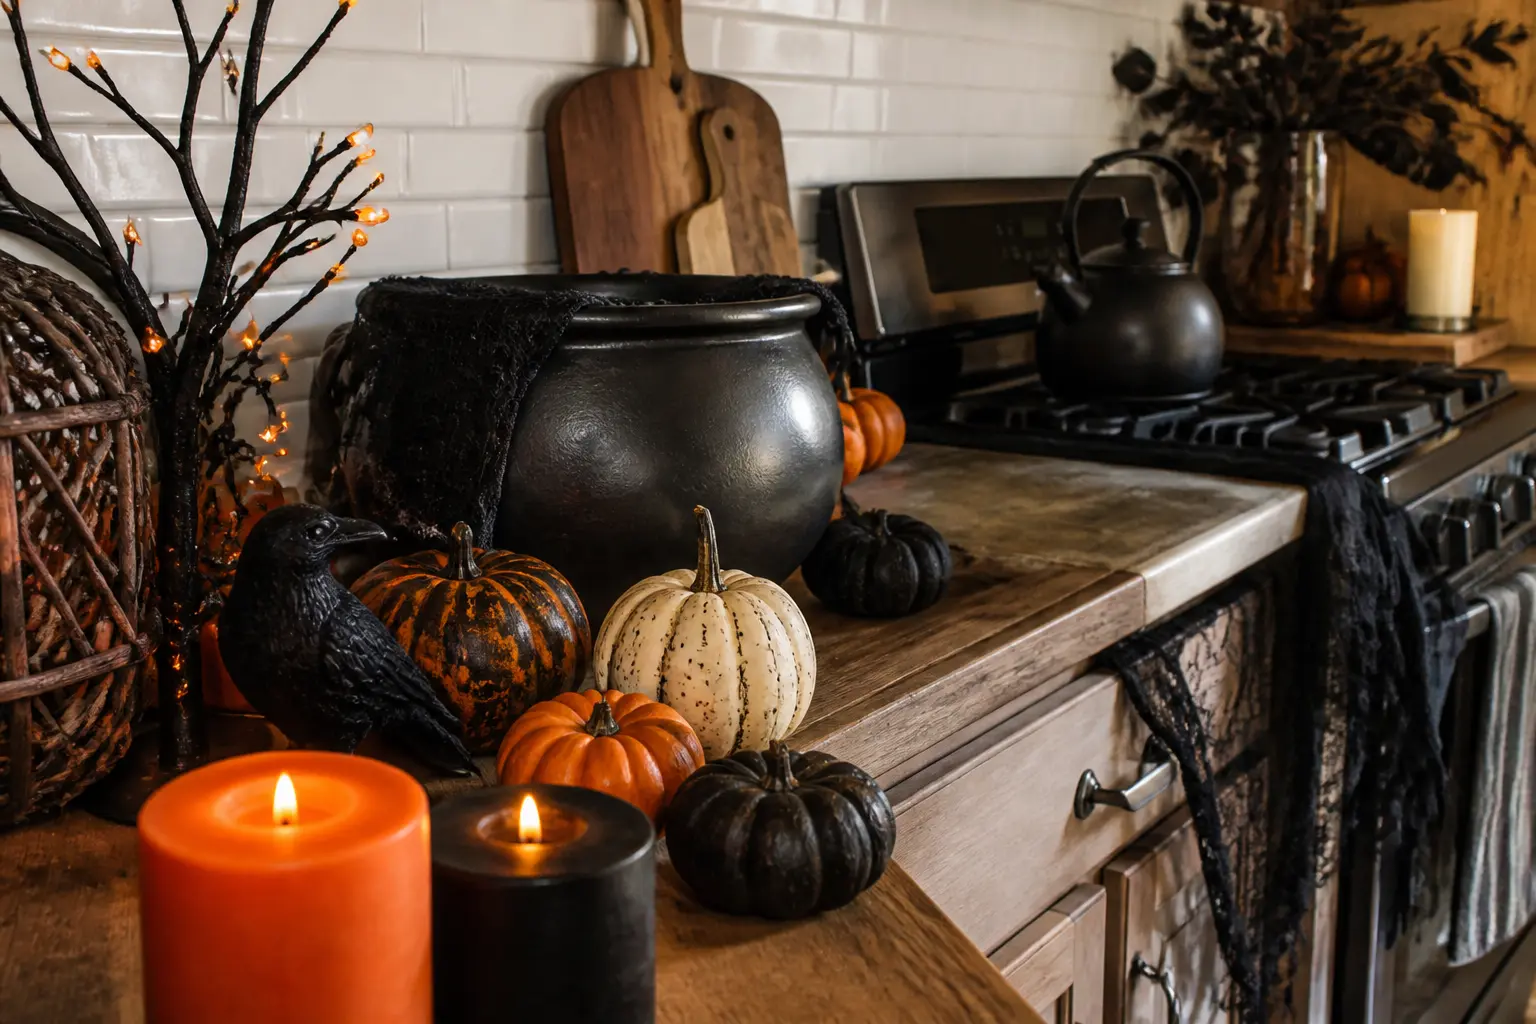
11 halloween kitchen decorations that look deliberate, not desperate. Real ideas by zone, from the i
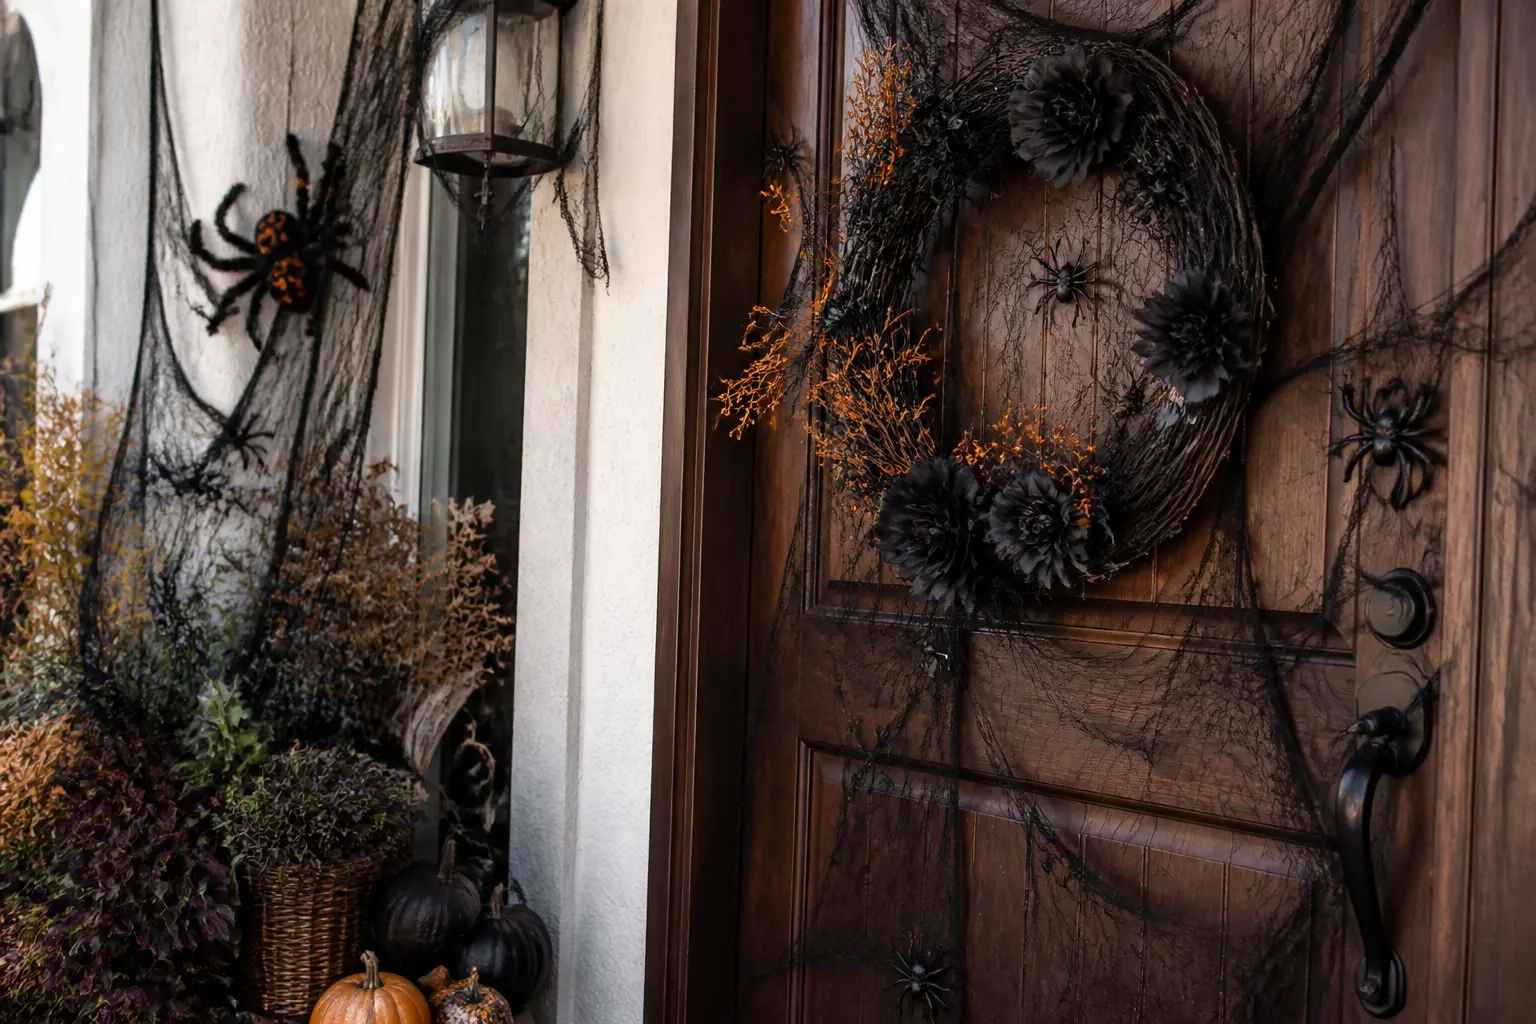
27 halloween door decorations contest ideas that read boldly from across the hall, use cheap materia
Leave a Reply