

Most craft roundups bury the adult options under a pile of foam stickers and paper-plate spiders. This list skips all of that. Every project here lands on a shelf, a mantel, or a wall and stays there, looking like something you chose rather than something you made the night before a party.
The materials list for each one is short. The steps are direct. And the finished piece is the kind of thing a guest notices and asks about, not the kind of thing you pack away in shame on November 1. If you are already on the fence about one or two, the planner cards will help you decide fast.
A note on the groupings: the 18 projects fall into five categories, from surface treatments to sculptural pieces. Work through one category at a time, or pick the single project that fills the gap on your mantel. Either way, start with whatever you already have the materials for.
This post contains affiliate links. If you buy through them, I may earn a small commission at no extra cost to you.
Bottles, Jars, and Vessels
Glass vessels are the fastest way to shift the mood of a shelf. A plain bottle becomes a prop; a set of them becomes a vignette. Both projects in this category work because the containers themselves do the heavy lifting: shape, height, and repetition handle the styling before you add a single label.
Arrange the finished pieces in odd numbers and vary the heights. A short squat bottle next to a tall slender one reads as deliberate. Three identical ones in a row reads as a craft fair.
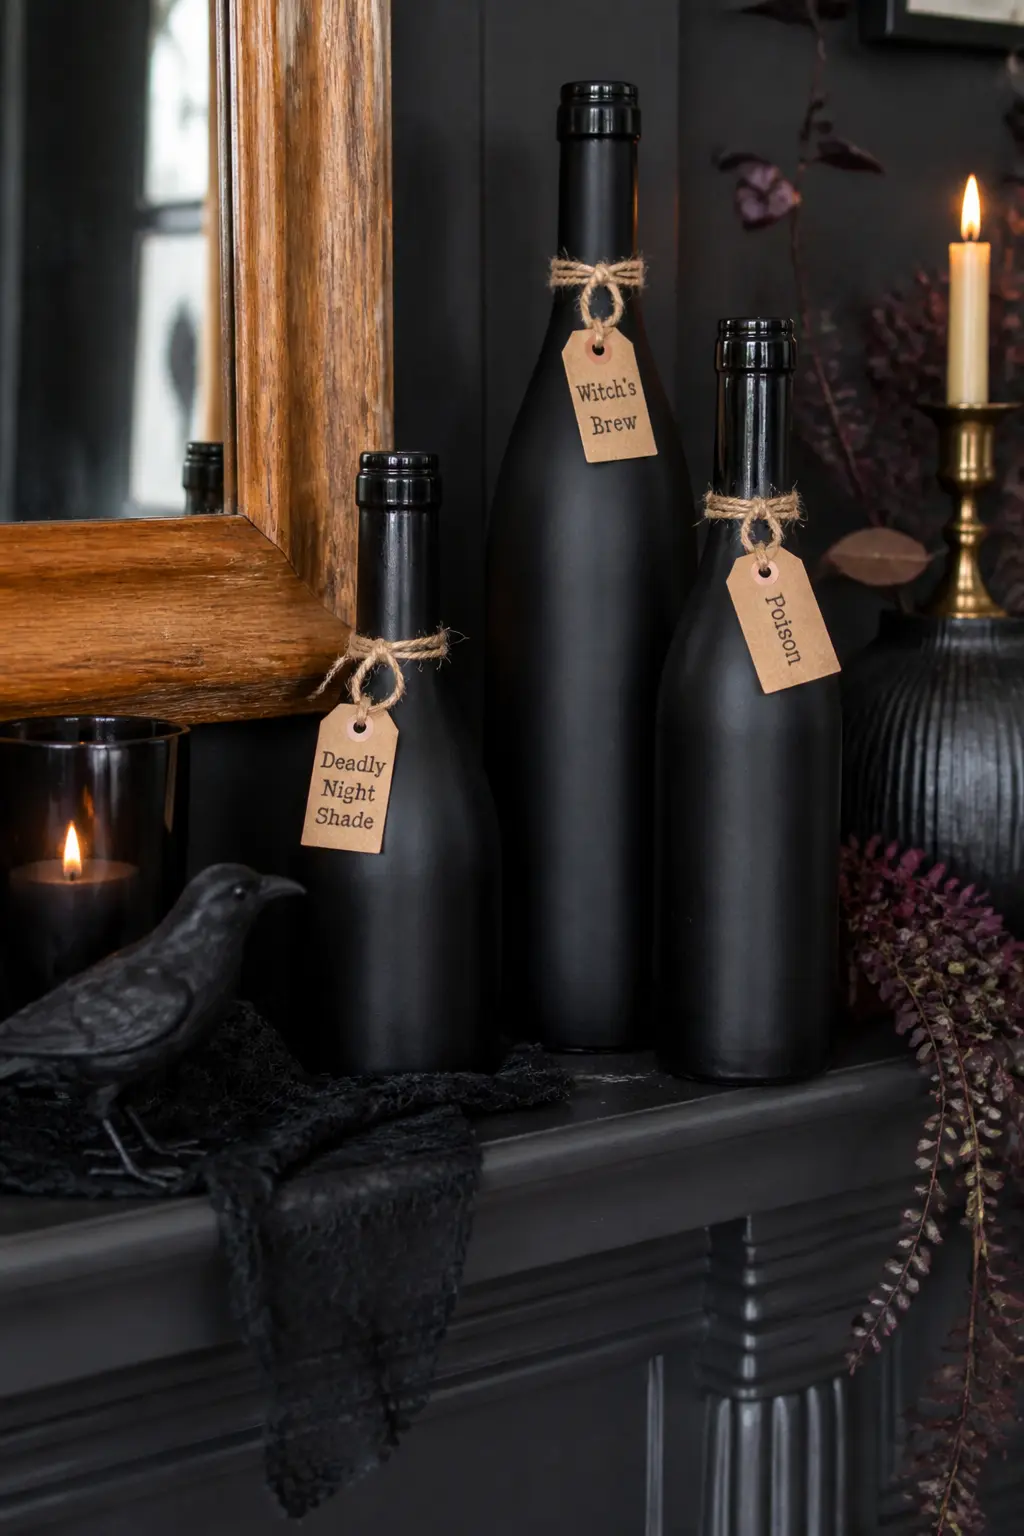
Matte Black Bottle Set
Collect assorted glass bottles in different silhouettes: a narrow medicine bottle, a wide-shouldered wine bottle, something squat in between. Spray each one matte black in thin coats, turning as you go, and let them cure for a full day. Rushing this step means fingerprints on the finish that will not buff out.
Letter the kraft labels by hand with a fine-tip paint pen or a dip pen and ink. Keep the text minimal: a single word, a Roman numeral, a symbol.
Tie each label to the bottle neck with a length of natural twine and knot it twice so it sits straight. Group the finished set in front of a stack of old books or a single candlestick.
🛍 Shopping guide
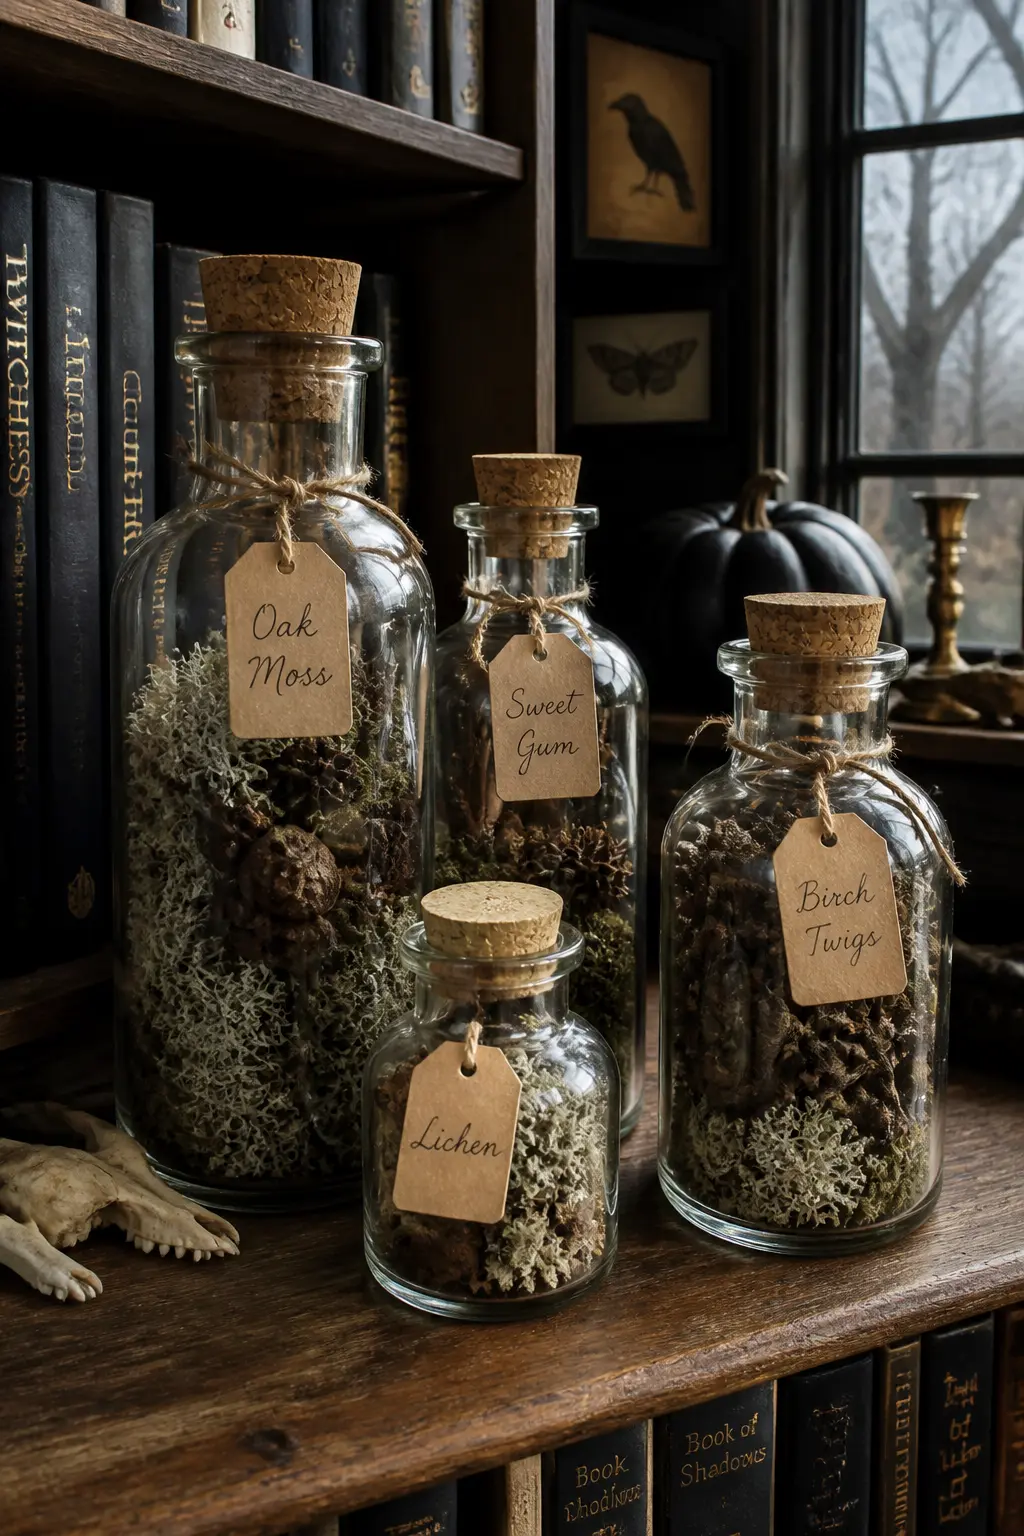
Corked Bottle Set
Clear glass apothecary jars and small specimen bottles work best here because the contents are the visual. Fill each one with a different dried material: crumbled dark moss in one, flat seed pods in another, a knot of dried herbs in the third. The variety of textures inside identical clear glass is what makes the set look curated.
Letter the kraft labels simply and tie them on with twine, as with the matte black set. The two groups share a material language, so they can sit on the same shelf without competing. Cork each jar firmly so the contents stay dry and the arrangement lasts the whole season.
🛍 Shopping guide
Wall and Textile Pieces
Walls and tables are the two surfaces most people forget to dress. A textile piece, whether a runner, a garland, or bunting, softens hard surfaces and introduces texture without adding clutter. The projects here use raw, imperfect materials: muslin, canvas, feathers, cardstock. That roughness is the point.
Hang things at different levels. A garland at picture-rail height and a runner at table level create a visual line that ties the room together without any additional styling effort.
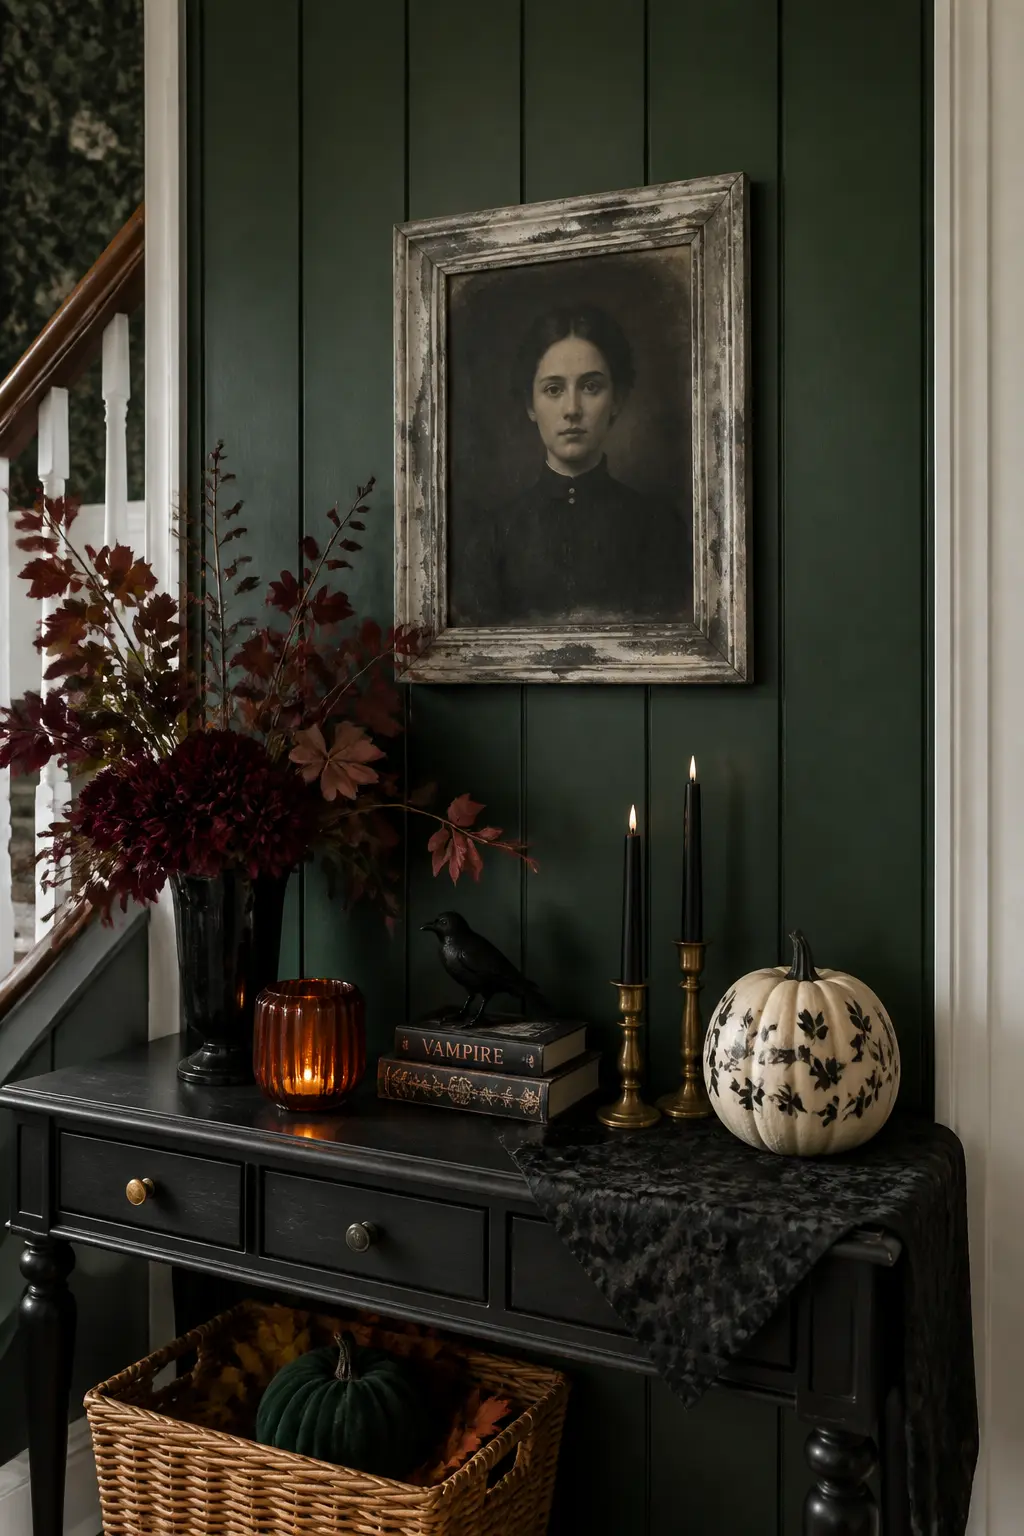
Aged Portrait Frame
Find a thrifted framed print with a landscape or botanical subject. The image itself matters less than the frame: look for something with detail, a carved edge or a gilded moulding. Sand the surface of the print lightly with fine-grit sandpaper, not aggressively, just enough to break the finish so the wash has something to grip.
Mix a small amount of gray paint into water to make a thin wash and brush it over the entire surface, print and frame together. While it is still wet, wipe back with a dry cloth in uneven strokes.
The wash settles in the recesses of the frame and lifts from the high points, which is exactly what age does. Let it dry flat before hanging.
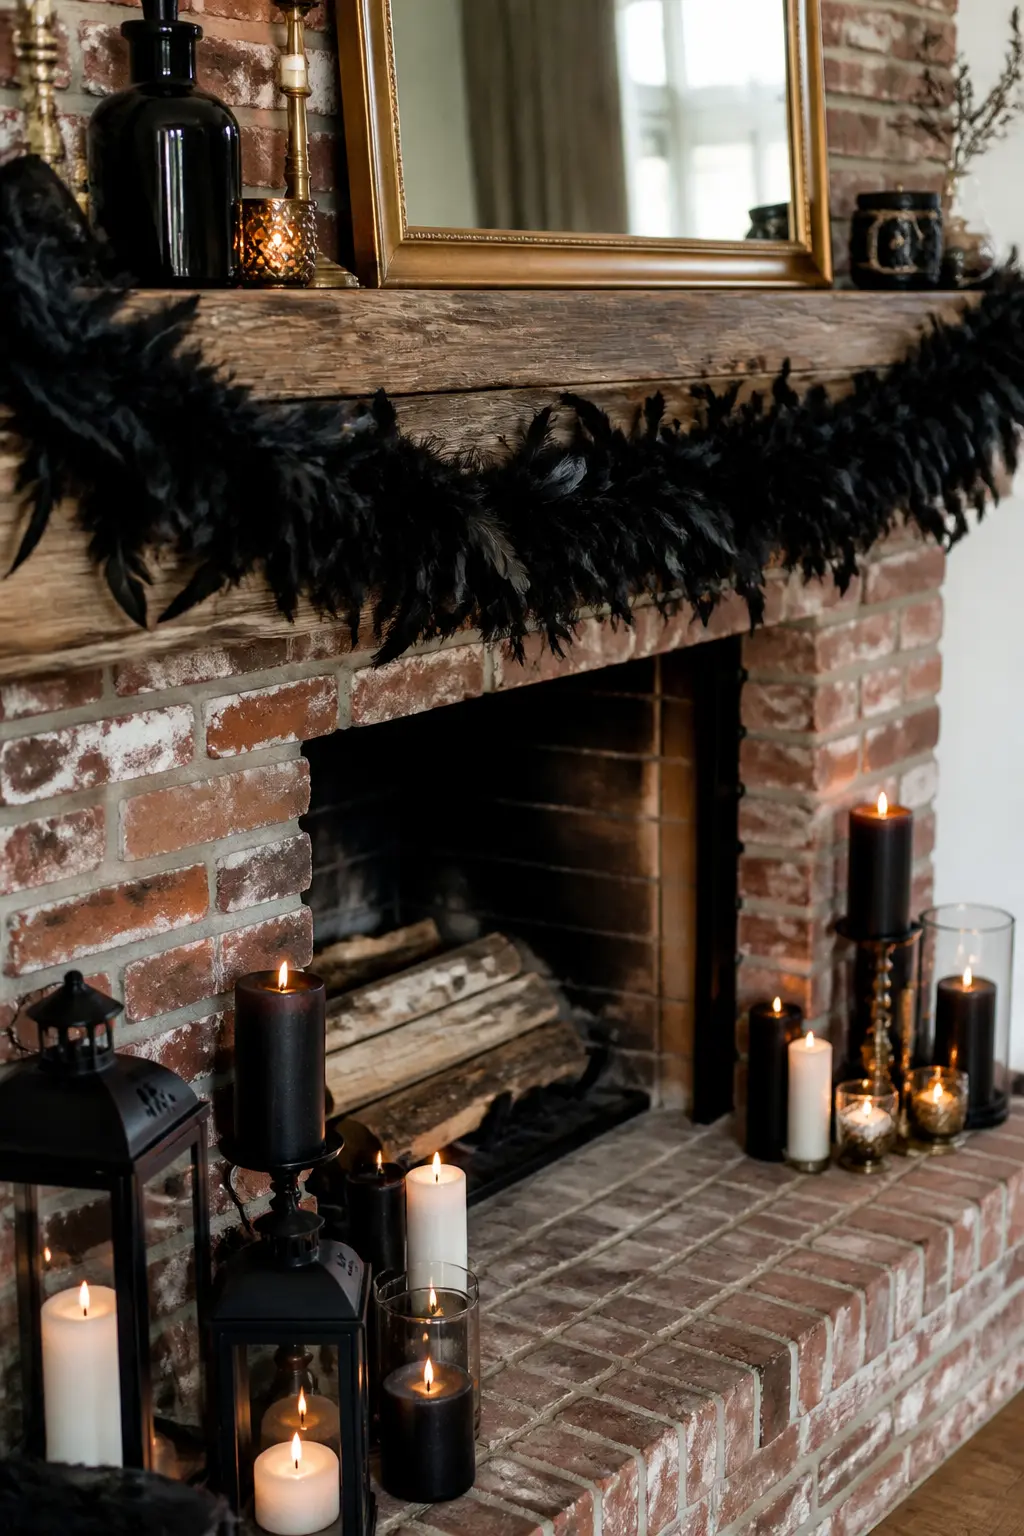
Black Feather Garland
Lay out a long length of twine and sort the feathers roughly by size before you start. Work in overlapping groups of three or four, gluing the quill ends to the twine and angling each group so the feathers fan out slightly.
Every few groups, flip the direction so the garland reads as full from both ends rather than pointing one way.
Leave loops of bare twine at each end for hanging. The garland works draped along a mantel edge, looped over a curtain rod, or hung flat against a wall between two small nails. It sheds slightly, so hang it somewhere that sheds matter less than it would on a dining table where people will be eating.
Muslin Table Runner
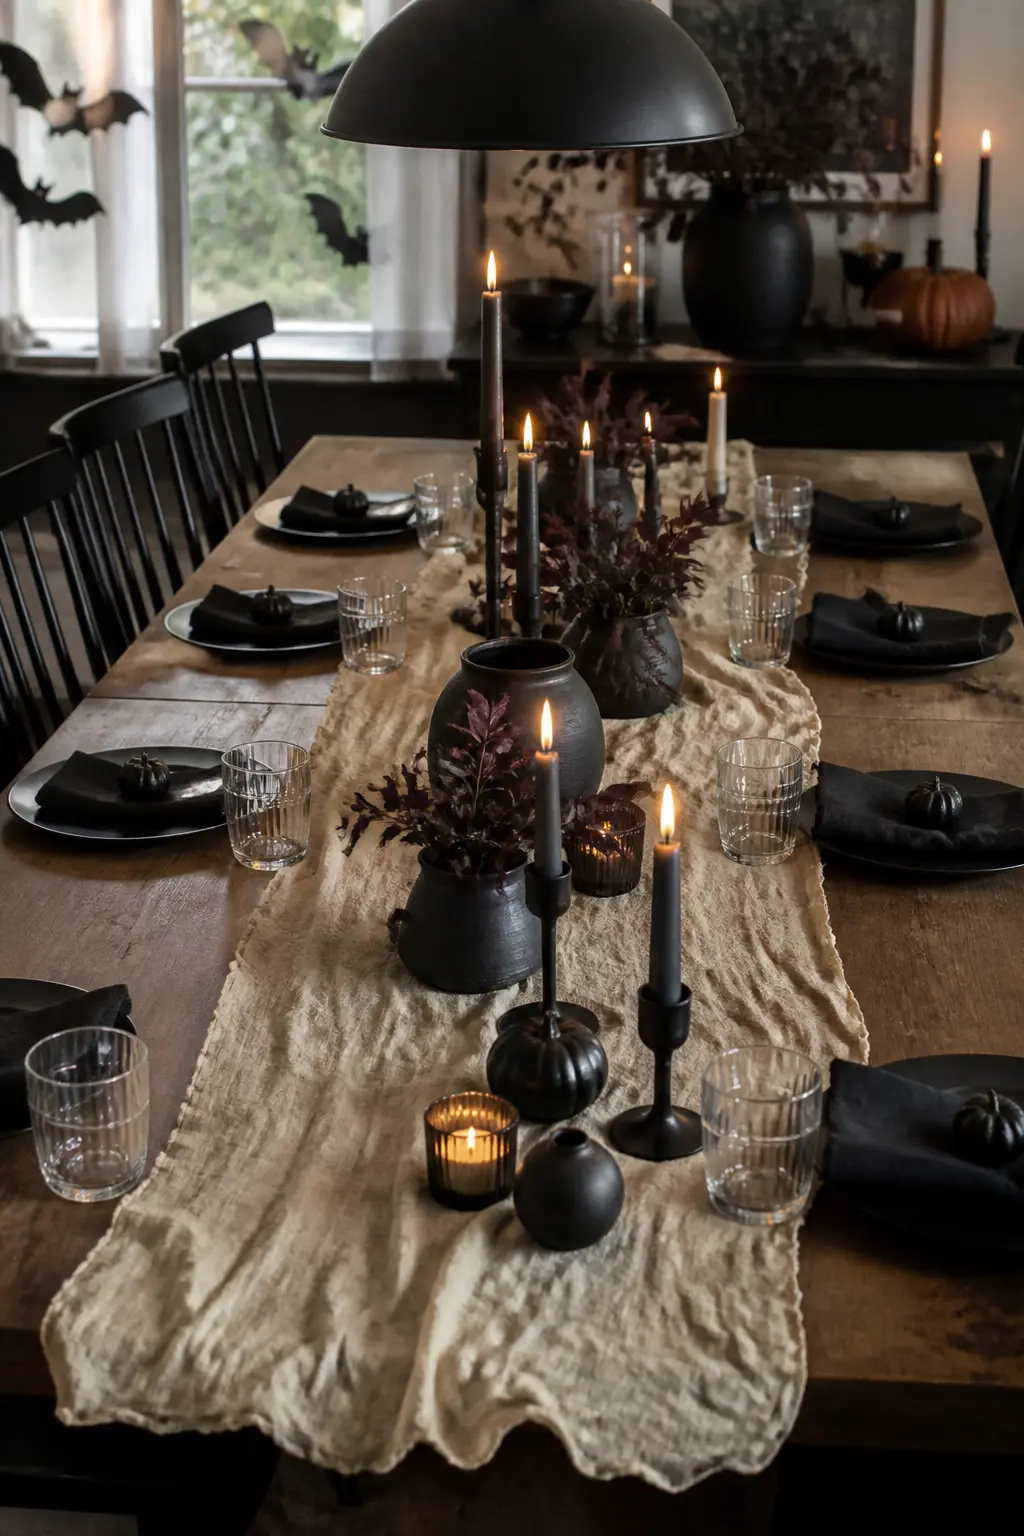
Brew a very strong pot of black tea, four to six bags in a large basin of hot water, and submerge a length of natural muslin. Leave it for at least an hour, moving it occasionally so the colour takes unevenly.
The uneven dye is the point: a flat uniform colour would look like fabric, but a patchy tea stain looks like linen that has been stored in a trunk for decades.
Dry it flat or over a rail, then tear, do not cut, the long edges to create a rough fringe. Lay it down the centre of the table and let the ends hang off the edges rather than folding them under. Layer candles, bottles, or branches on top of it.
🛍 Shopping guide
Charcoal Fabric Bunting
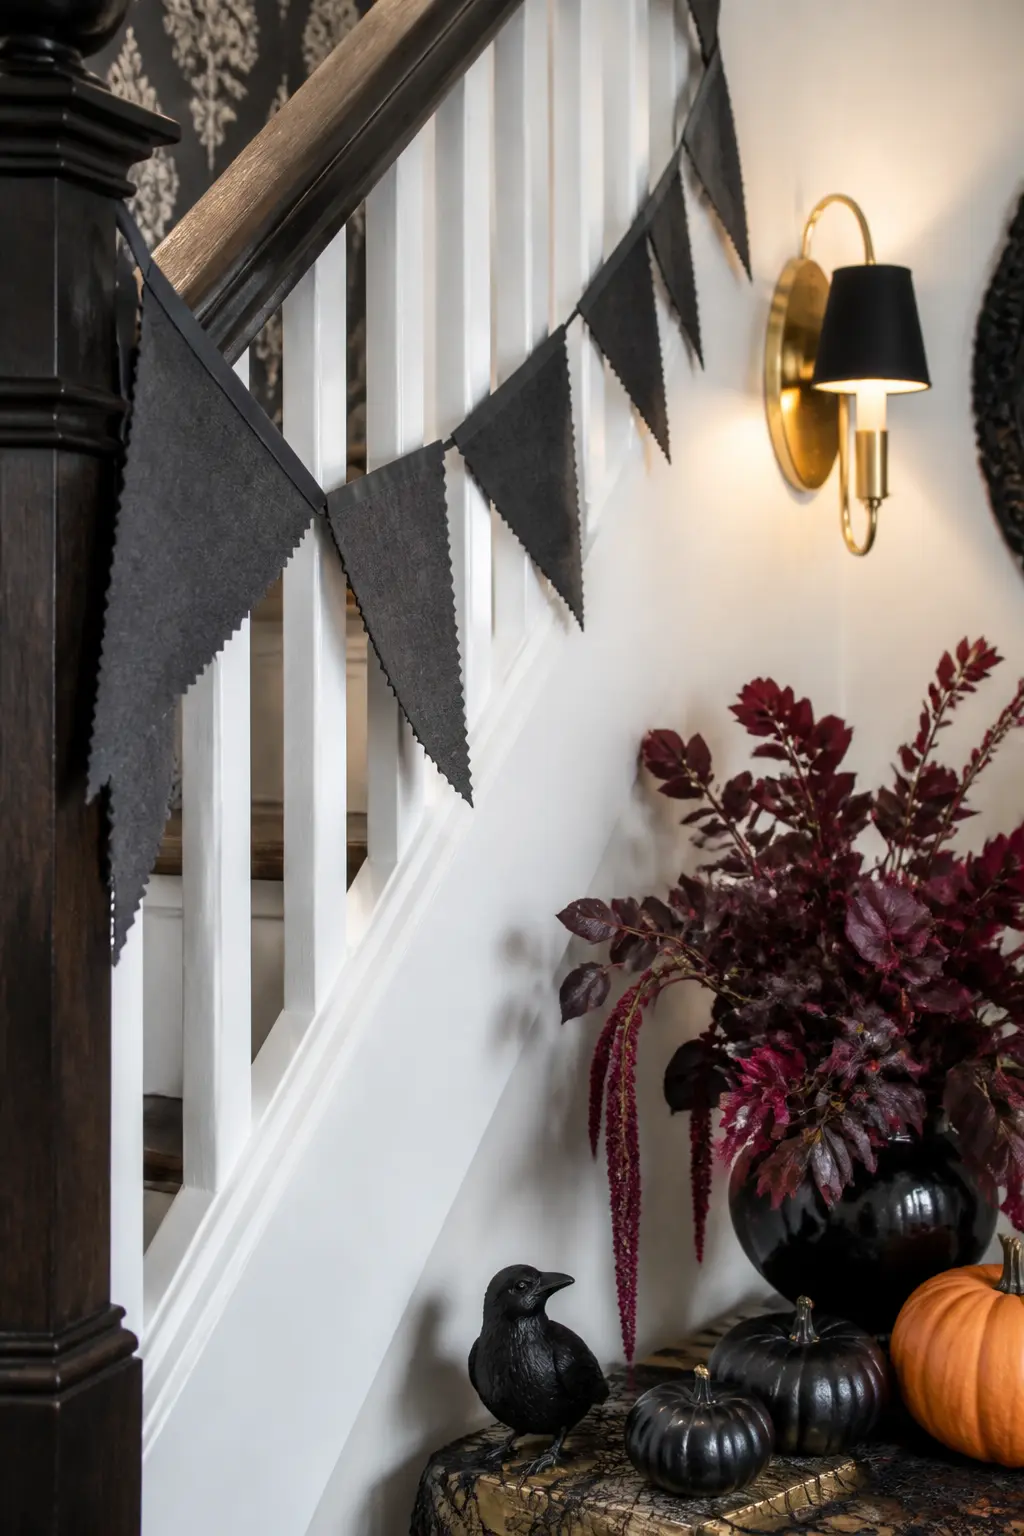
Cut the charcoal canvas into triangles, roughly 20 cm tall and 15 cm wide at the base. Pinking shears are essential here, not optional: the zigzag edge keeps the fabric from fraying in a way that looks controlled rather than unravelling.
Fold the top centimetre of each triangle over a length of twine and stitch the fold with a basic running stitch.
Leave a gap of about 3 cm of bare twine between triangles so each flag has breathing room. Hang the finished bunting at an angle, from a high point on the wall down to a lower one, rather than horizontally. A horizontal line of bunting reads as a birthday party; a diagonal line reads as something more considered.
🛍 Shopping guide
Bat Wall Cluster
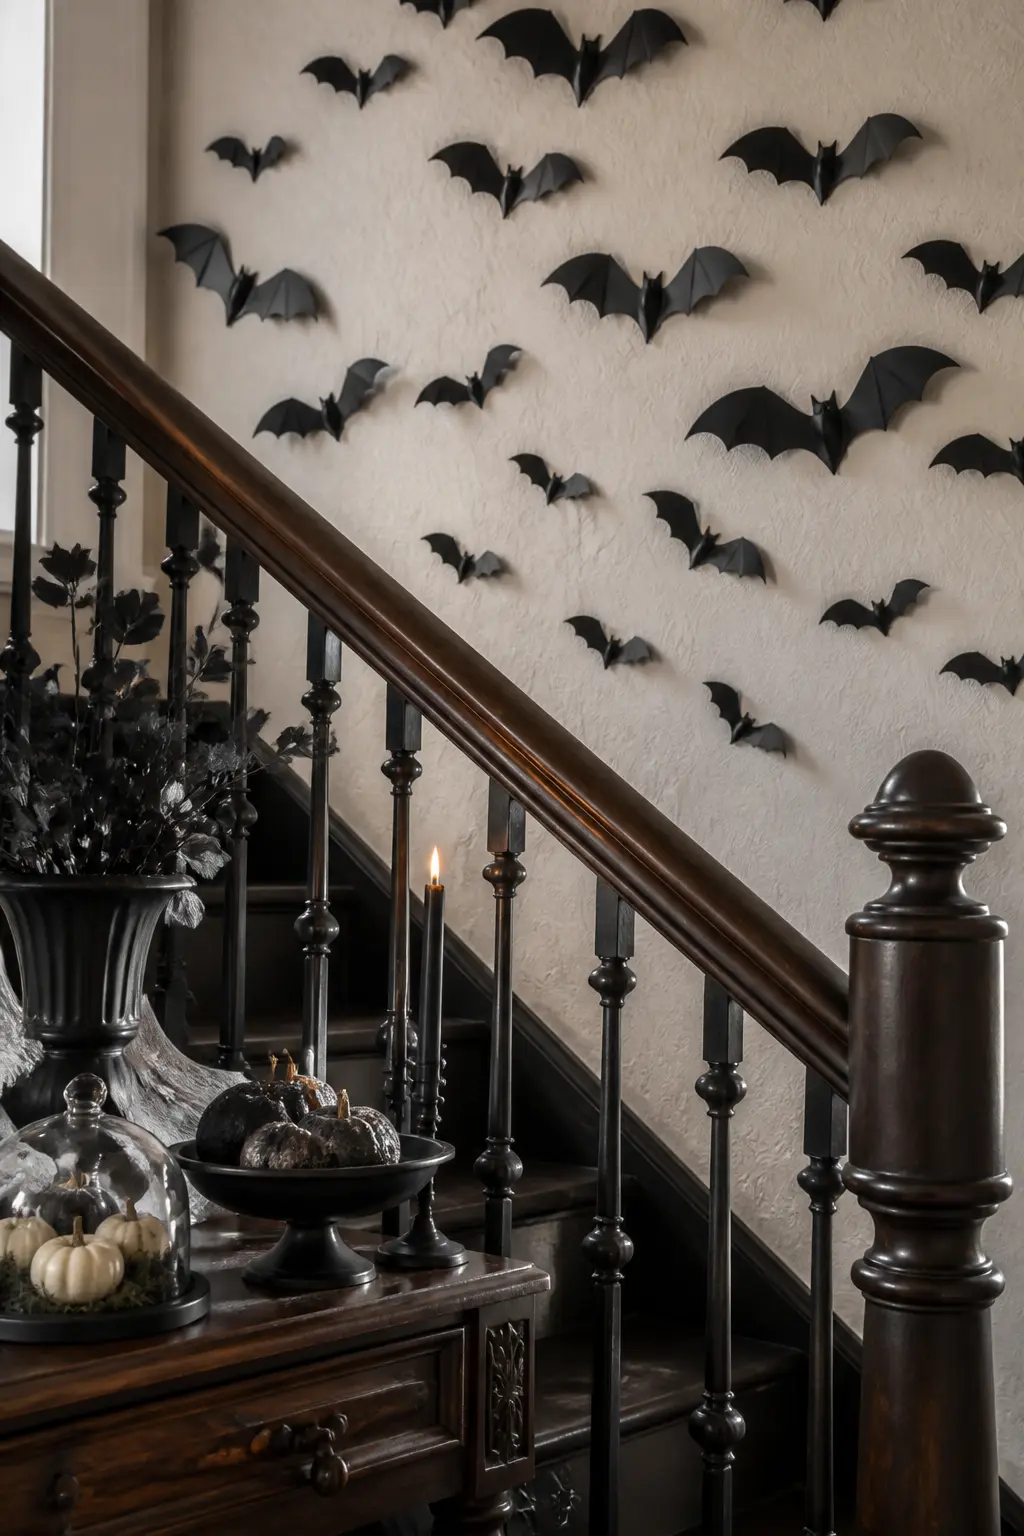
Cut bats from black cardstock in three distinct sizes: a large one with a wingspan of about 20 cm, a medium at 12 cm, and small ones at around 6 cm.
Simple silhouettes work better than detailed ones because the shape reads clearly from across the room. Cut at least a dozen to make the cluster feel like a swarm rather than a school project.
Arrange them on the wall with removable adhesive putty, clustering the largest at the centre and scattering the smaller ones outward as though the group is dispersing.
Bend the wings of each bat slightly forward before sticking it up: that three-dimensional curve catches shadow and lifts the whole arrangement off the flat wall. The effect is entirely different from bats that lie flat.
🛍 Shopping guide
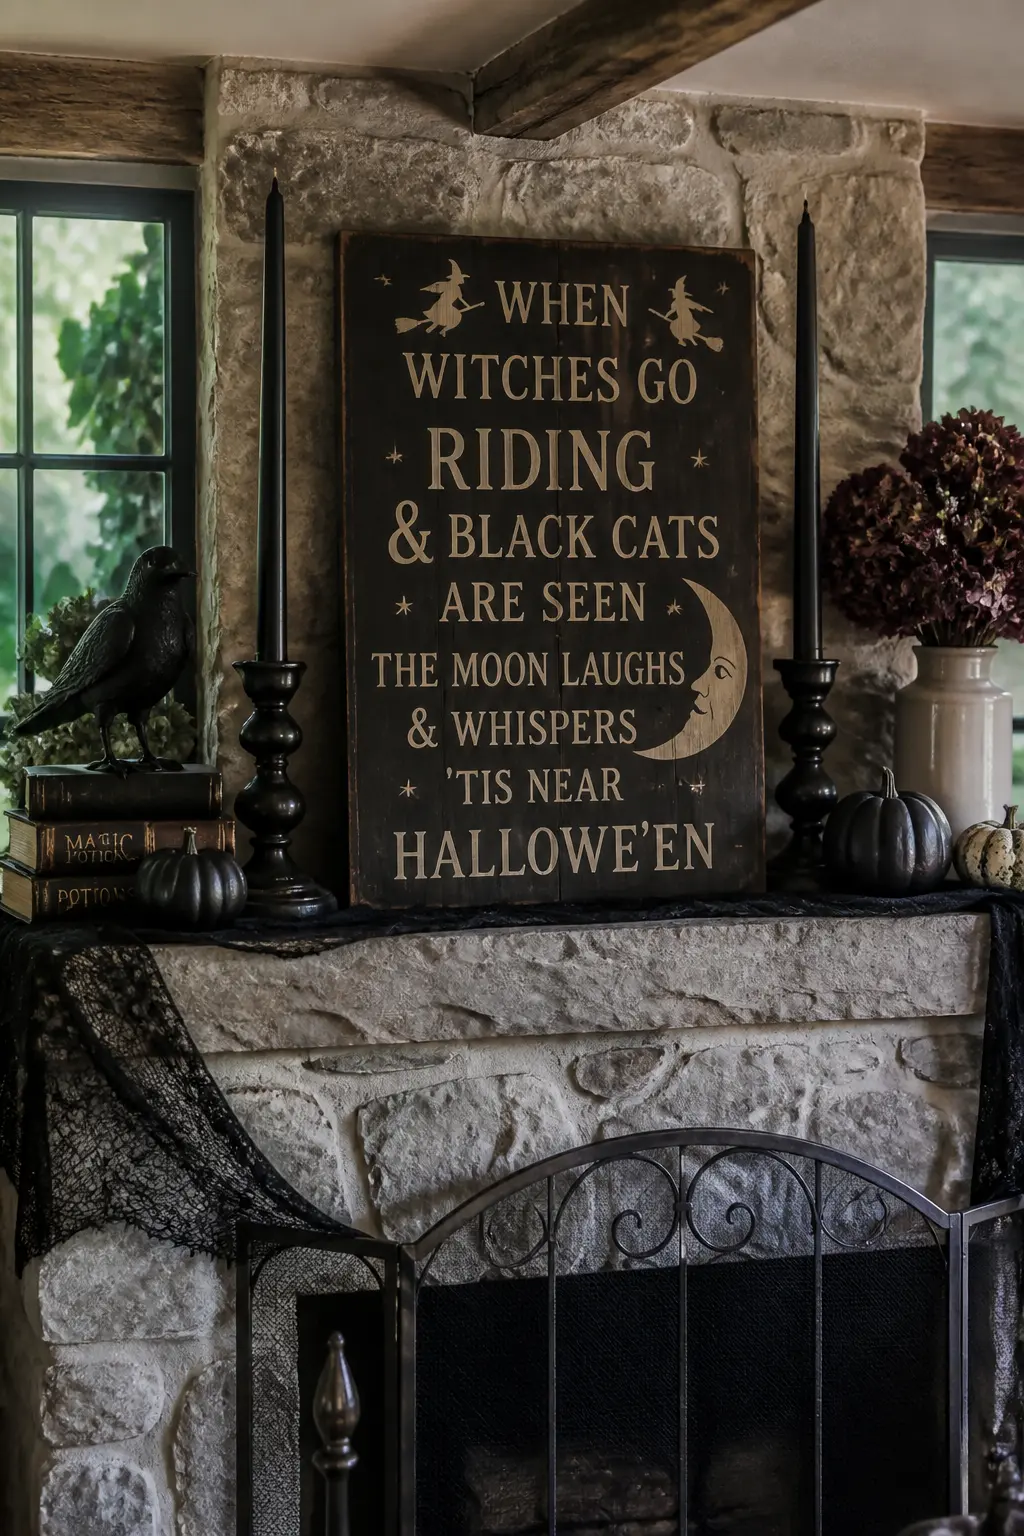
Stained Wood Sign
Sand a scrap wood board smooth, working with the grain, and wipe away the dust before applying a dark walnut or ebony wood stain. Work the stain in with a cloth rather than a brush, which gives a more even result on rough wood.
Let it dry overnight: stain that looks dry to the touch after an hour is not ready for the next step.
Once fully cured, letter the board with a cream or off-white paint pen. Keep the text short: a single word in large lettering, or a phrase of no more than four words.
Long sentences on a wood sign belong in a farmhouse kitchen, not on a dark Halloween mantel. Prop the finished sign against the wall rather than mounting it so you can move it between rooms.
Sculptural Objects
A sculptural object earns its place on a mantel because it has presence from every angle. It does not need to be large. A wax-dipped skull or a velvet pumpkin occupies space the way a good ceramic does: it looks considered, not assembled.
Give sculptural pieces room. Crowding a ghost sculpture between two tall candlesticks kills the effect. Let it sit alone or with one very flat neighbour so the eye has somewhere to land.
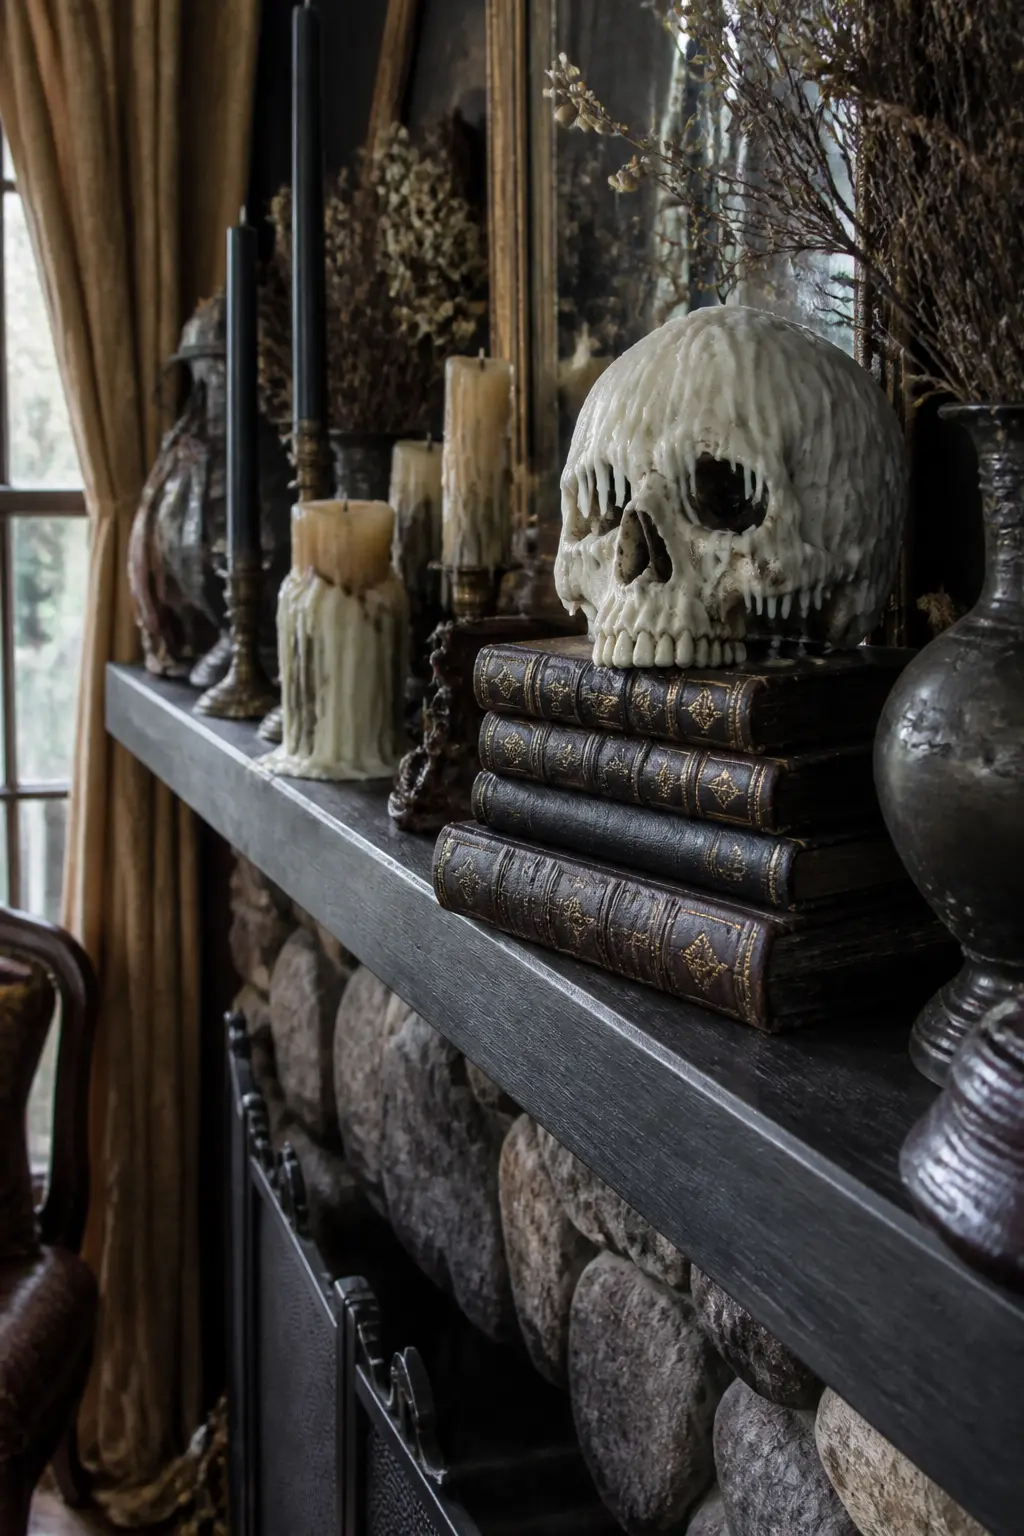
Wax-Dipped Skull
Use a plain resin or ceramic skull, not a painted one, because the white base shows through the wax exactly as bone shows through candlelight. Melt white candle wax in a container deep enough to submerge the top of the skull.
Lower the skull crown-down into the wax, hold it for a count of three, and lift it slowly so the wax drips down the face rather than running in a sheet.
Let it set completely, then dip a second time for a heavier drip effect. The wax accumulates around the eye sockets and jaw in a way that looks genuinely unsettling without being cartoonish. Set the finished skull on a stack of dark books or inside a glass cloche for maximum effect.
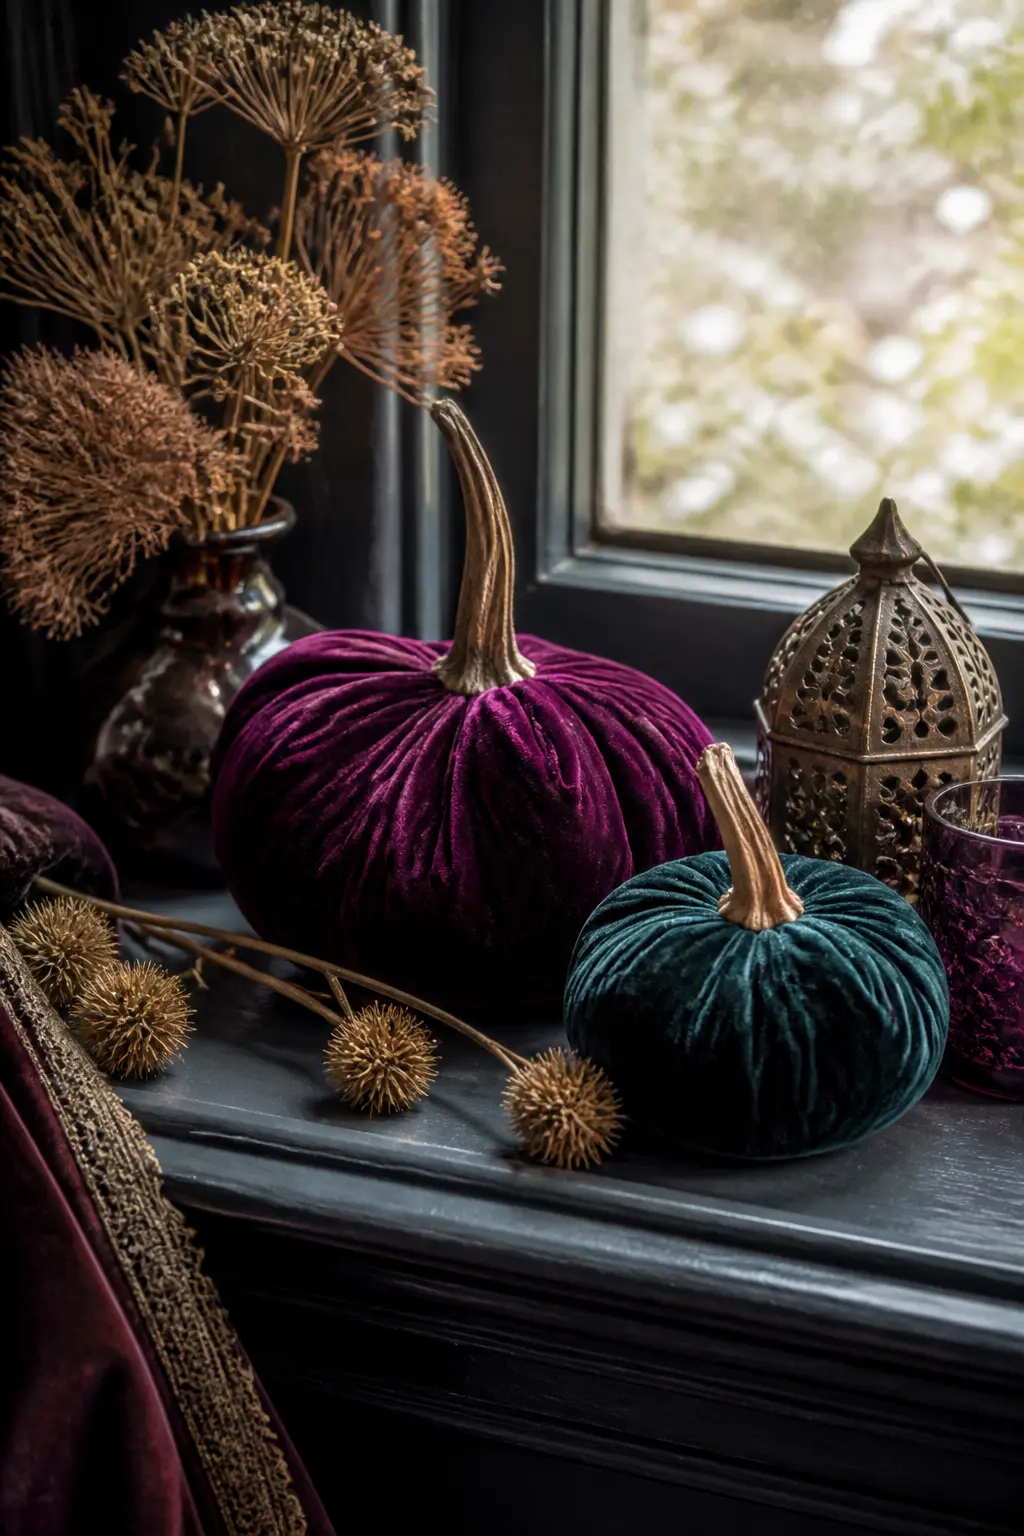
Velvet Pumpkin
Cut a circle of velvet roughly 40 cm in diameter and sew a running stitch around the perimeter, leaving a long tail of thread. Pull the thread to gather the fabric into a pouch, stuff it firmly with poly-fill, then pull tight and knot off. The stuffed shape should feel dense, not squishy.
Wrap twine around the outside of the pouch repeatedly, pressing it into the velvet at regular intervals to create the segment lines of a pumpkin. Pull each wrap firmly before moving to the next.
Glue a real dried pumpkin stem into the gathered top with strong craft glue. Set the finished pumpkin on a stack of books or in a shallow wooden bowl. It reads as a luxury object, not a craft project.
🛍 Shopping guide
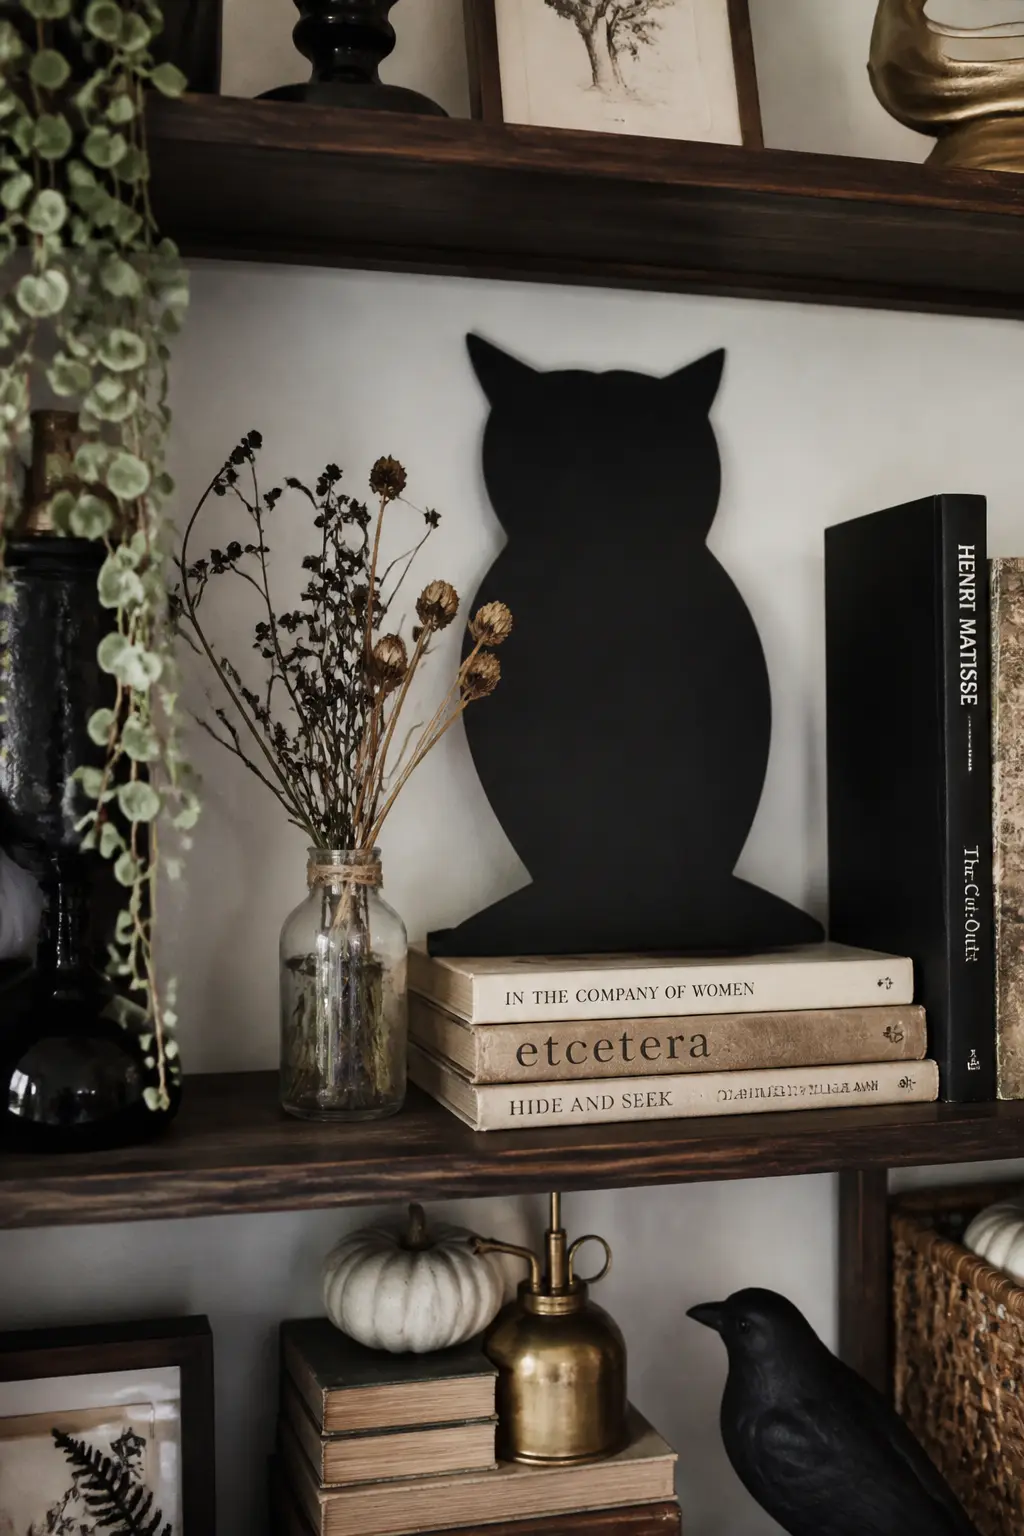
Painted Owl Silhouette
Print or draw an owl silhouette at the size you want, roughly 25 to 30 cm tall works well for a shelf. Transfer the outline to thin plywood or heavy mounting card and cut it out with a jigsaw or a sharp craft knife, depending on the material. Sand any rough edges smooth before painting.
Paint both sides matte black in two thin coats and let them dry fully between coats.
Prop the finished silhouette against the wall on a shelf rather than mounting it flat: a propped piece casts a shadow that a flat-mounted one does not, and that shadow is part of the effect.
Pair it with a branch arrangement for a collected, editorial feel.
🛍 Shopping guide
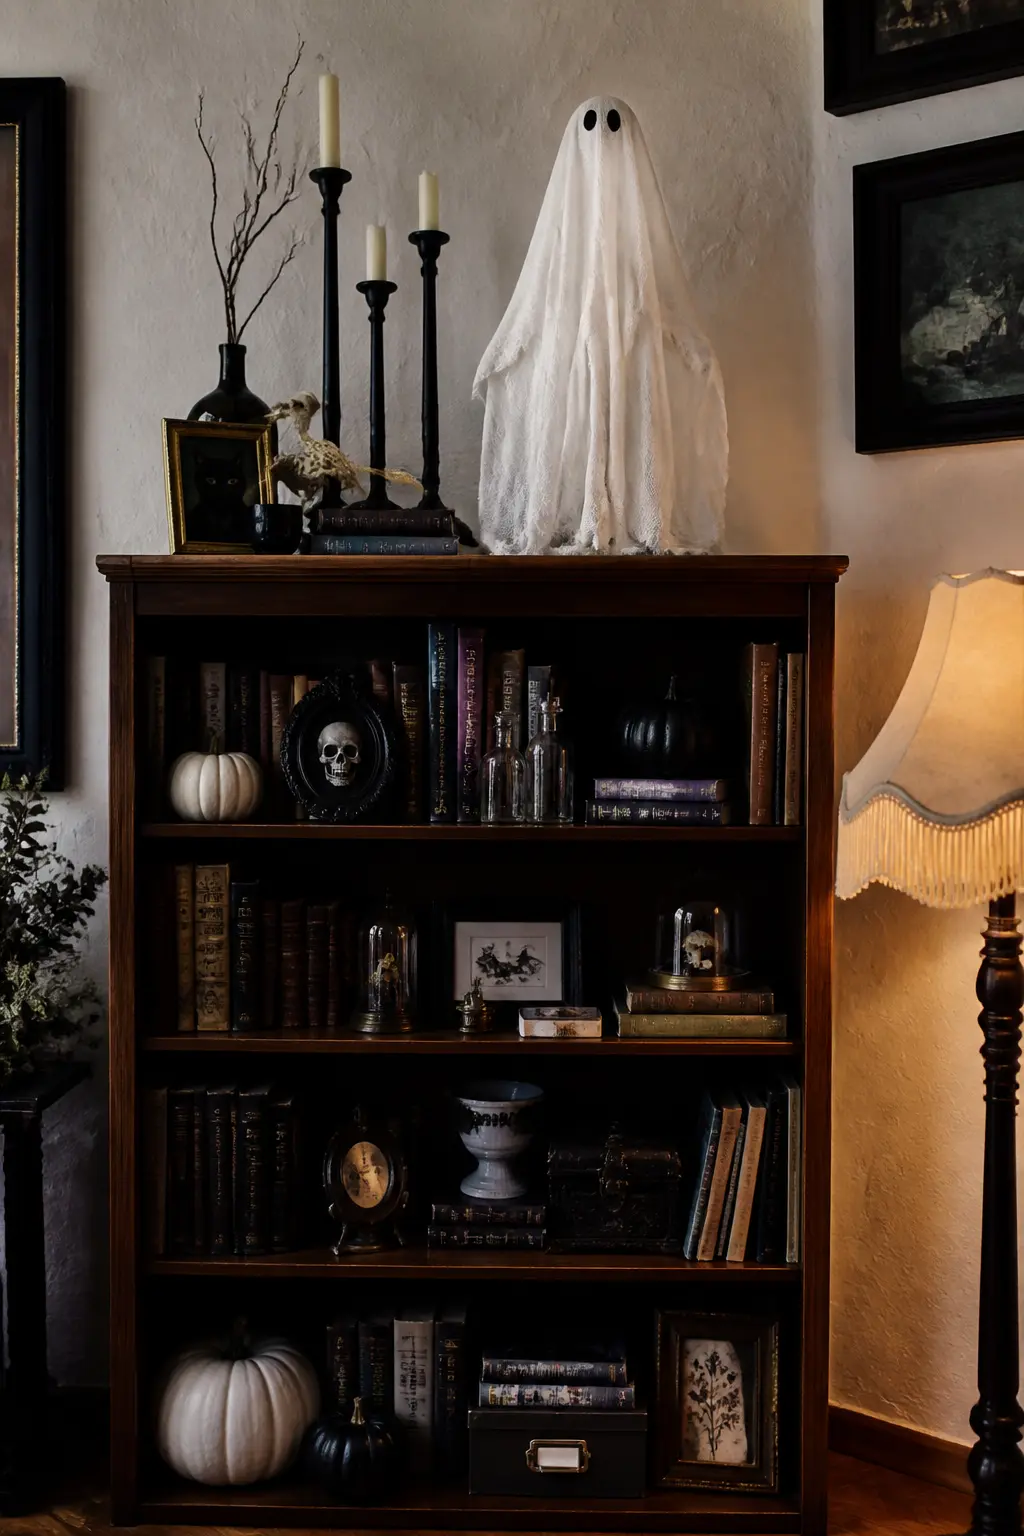
Stiffened Muslin Ghost Sculpture
Set a small foam ball on top of an upturned bottle to create the form: the ball is the head, the bottle provides the body volume and the height.
Mix fabric stiffener according to the packet instructions and soak a piece of loosely woven muslin in it until fully saturated.
Wring it out gently, then drape it over the ball-and-bottle form, arranging the folds so they look like fabric in motion rather than a cloth dropped over furniture.
Let it dry completely, which takes several hours. Once set, lift the muslin away from the form: it holds its shape. The finished sculpture is rigid and ghostly rather than floppy and cute, which is the entire distinction between this and a party-store ghost. Place it alone on a high shelf where it can be seen from below.
Branch and Floral Arrangements
Dead branches and dried flowers are already halfway to Halloween before you touch them. A coat of paint and the right vase close the gap entirely. These two projects share a logic: start with natural material, push the colour to an extreme, and let the organic shape do the rest.
Choose a vase with some weight. A tall arrangement in a light vessel tips, and a tipped arrangement on a mantel is a different kind of craft project.
Bone White Branch Arrangement
Gather bare branches in varying thicknesses from a garden or a florist. Lay them flat on newspaper outdoors and apply white spray paint in thin coats, rotating the branches to reach every surface.
Two or three light coats give a cleaner result than one heavy one, which drips and clogs the smaller forks. Let them cure for a full day before handling.
Choose a vase heavy enough to anchor the arrangement, a stone, ceramic, or concrete vessel rather than a lightweight glass one. Insert the branches at varied heights and angles, the tallest reaching well above the vase rim. The arrangement reads best against a dark wall where the white branches have contrast to work against.

Dark Dried Floral Arrangement
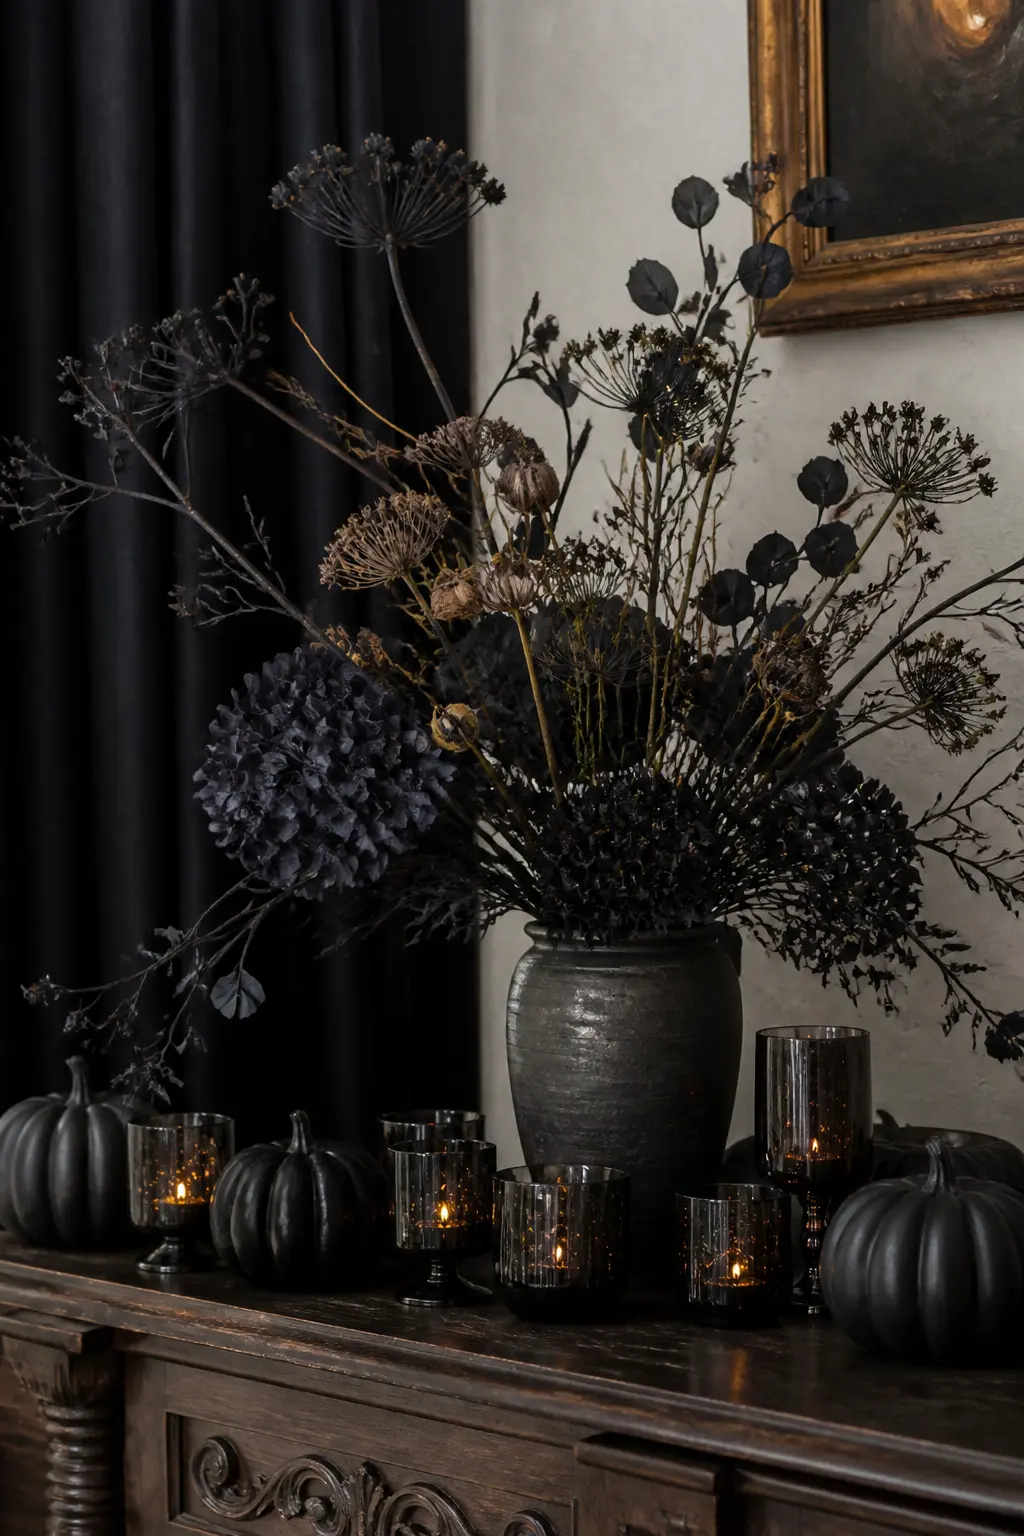
Dried flowers, pampas, lunaria, poppy heads, amaranth, take floral spray paint better than fresh ones because the petals are already sealed. Lay them on newspaper and apply black floral spray in short bursts, holding the can 30 cm back, then turn and repeat. The goal is full coverage, not a heavy coat that makes the petals stick together.
Press dry floral foam into the base of the vase until it is wedged firmly, then insert the stems at varied heights and angles. Black dried flowers in a dark-toned vase against a light wall is a strong combination because the silhouettes read clearly. Against a dark wall, use a pale or concrete-coloured vase to provide the contrast instead.
🛍 Shopping guide
Candles, Glass, and Finishing Details
These are the pieces that tie a room together once the larger projects are placed. Votives, candlesticks, a cloche, and a key display are all small enough to move around until the composition feels right. Think of them as punctuation rather than headlines.
Cluster votives rather than spacing them evenly. Three together on a small tray make a statement; one on its own in the middle of a shelf just looks forgotten.
Blackened Candlesticks
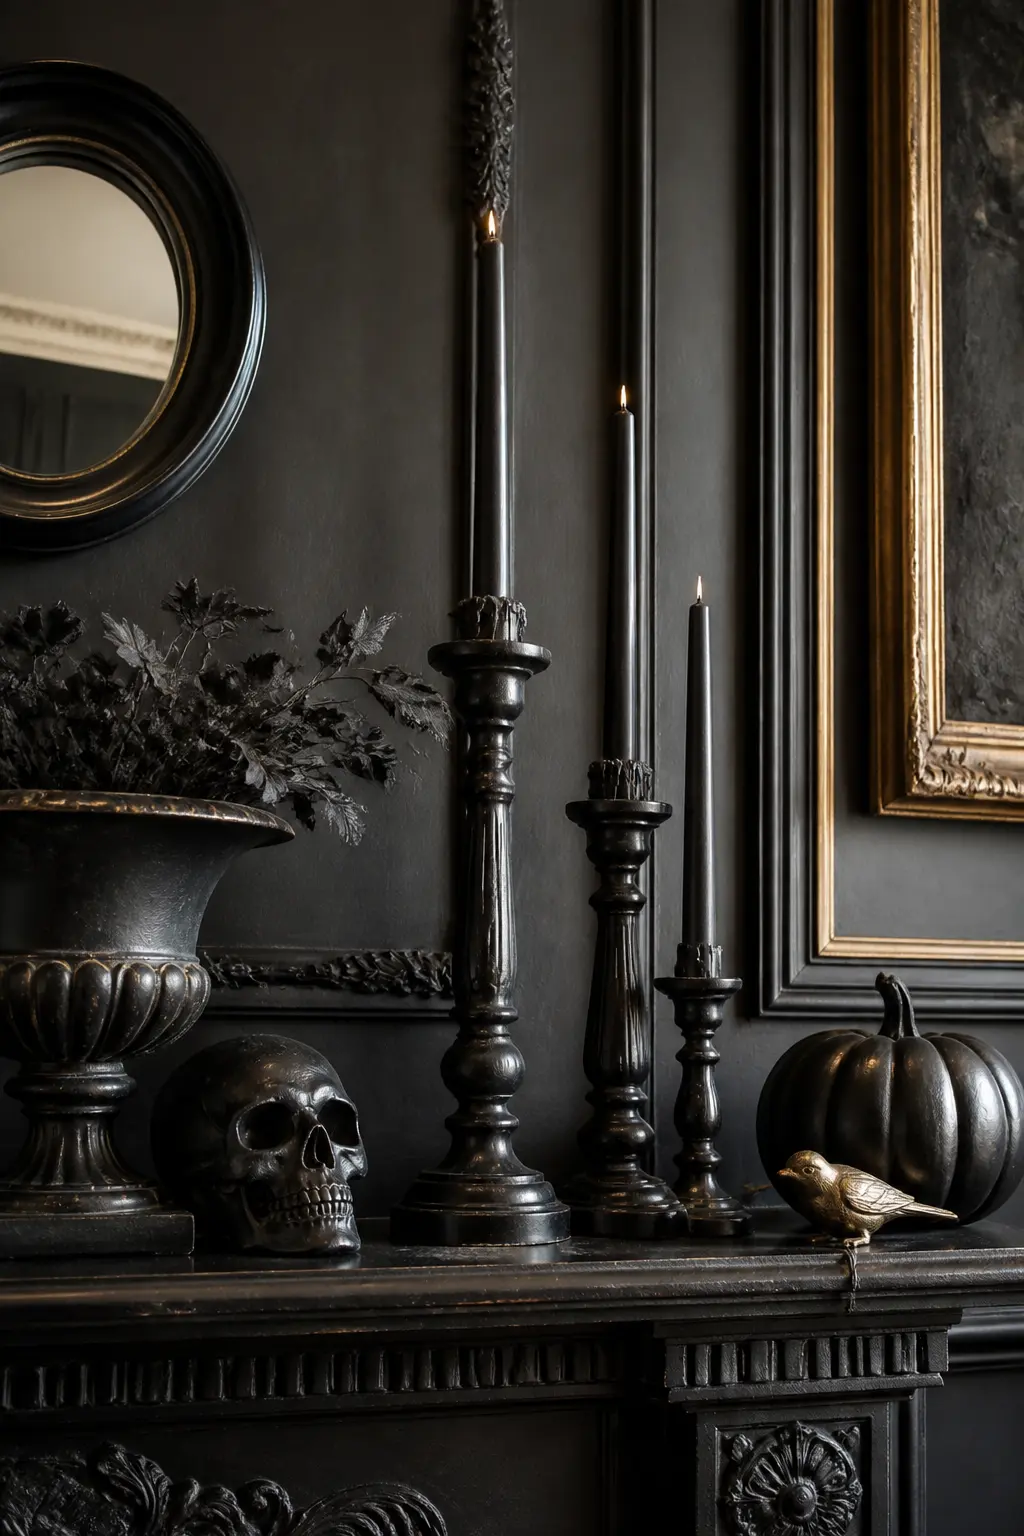
Wooden candlesticks from a thrift shop or an unfinished wood supplier are the best base because the paint adheres without primer and the sanding step reads clearly on wood grain. Apply two coats of matte black paint and let each coat dry fully.
Then take fine-grit sandpaper to the edges and high points, the tops of the turned details and the base rim, until the raw wood shows through in thin worn patches.
The sanded-back finish looks like a candlestick that has been used for decades rather than painted last week. Insert dinner tapers rather than pillar candles: the proportions are more elegant, and a long slender candle in a blackened stick is a complete visual statement. Group three candlesticks at different heights rather than placing them symmetrically.
Smoked Glass Votives
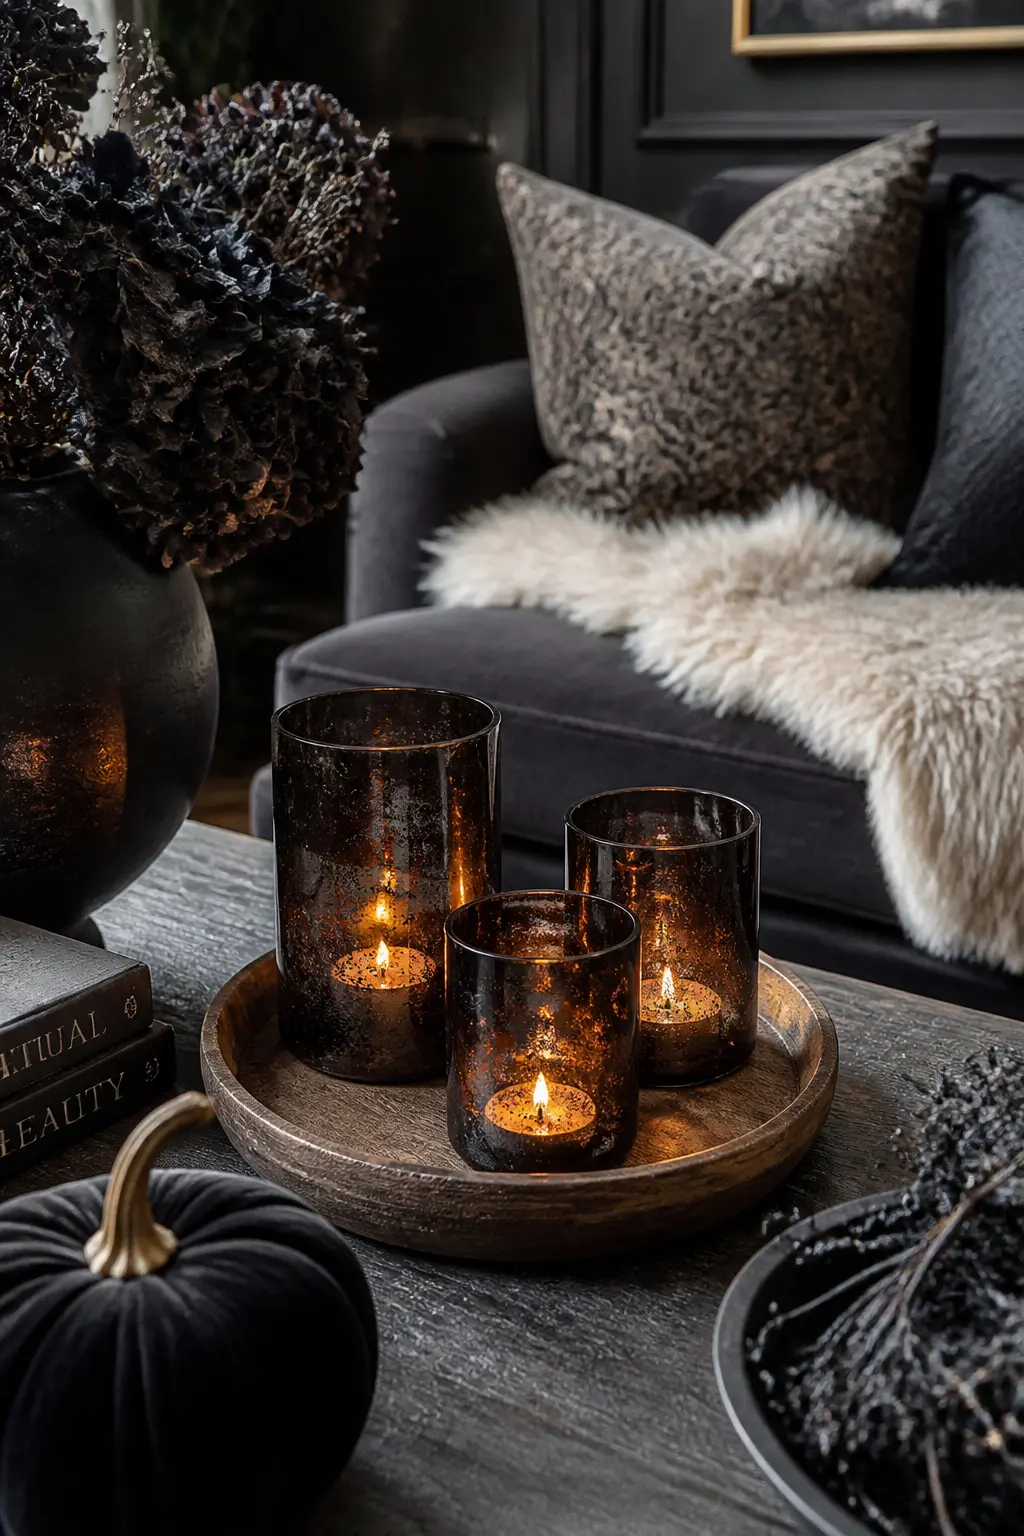
Pour a small amount of black glass paint onto a flat plate and load a sea sponge or torn kitchen sponge lightly. Dab it onto the outside of the votive holder in irregular patches, working around the glass.
While it is still slightly tacky, wipe back with a dry cloth in sweeping motions to lift some of the paint and create variation in the density. The finished effect should look like smoke trapped in the glass, not like painted glass.
Leave the votives to cure for the time specified on the paint tin before putting tea lights inside. Most glass paints need 24 hours to cure fully before heat exposure. Group the finished votives on a small tray or wooden board rather than spacing them across a surface, and light them all at once for maximum effect.
🛍 Shopping guide
Antique Key Display
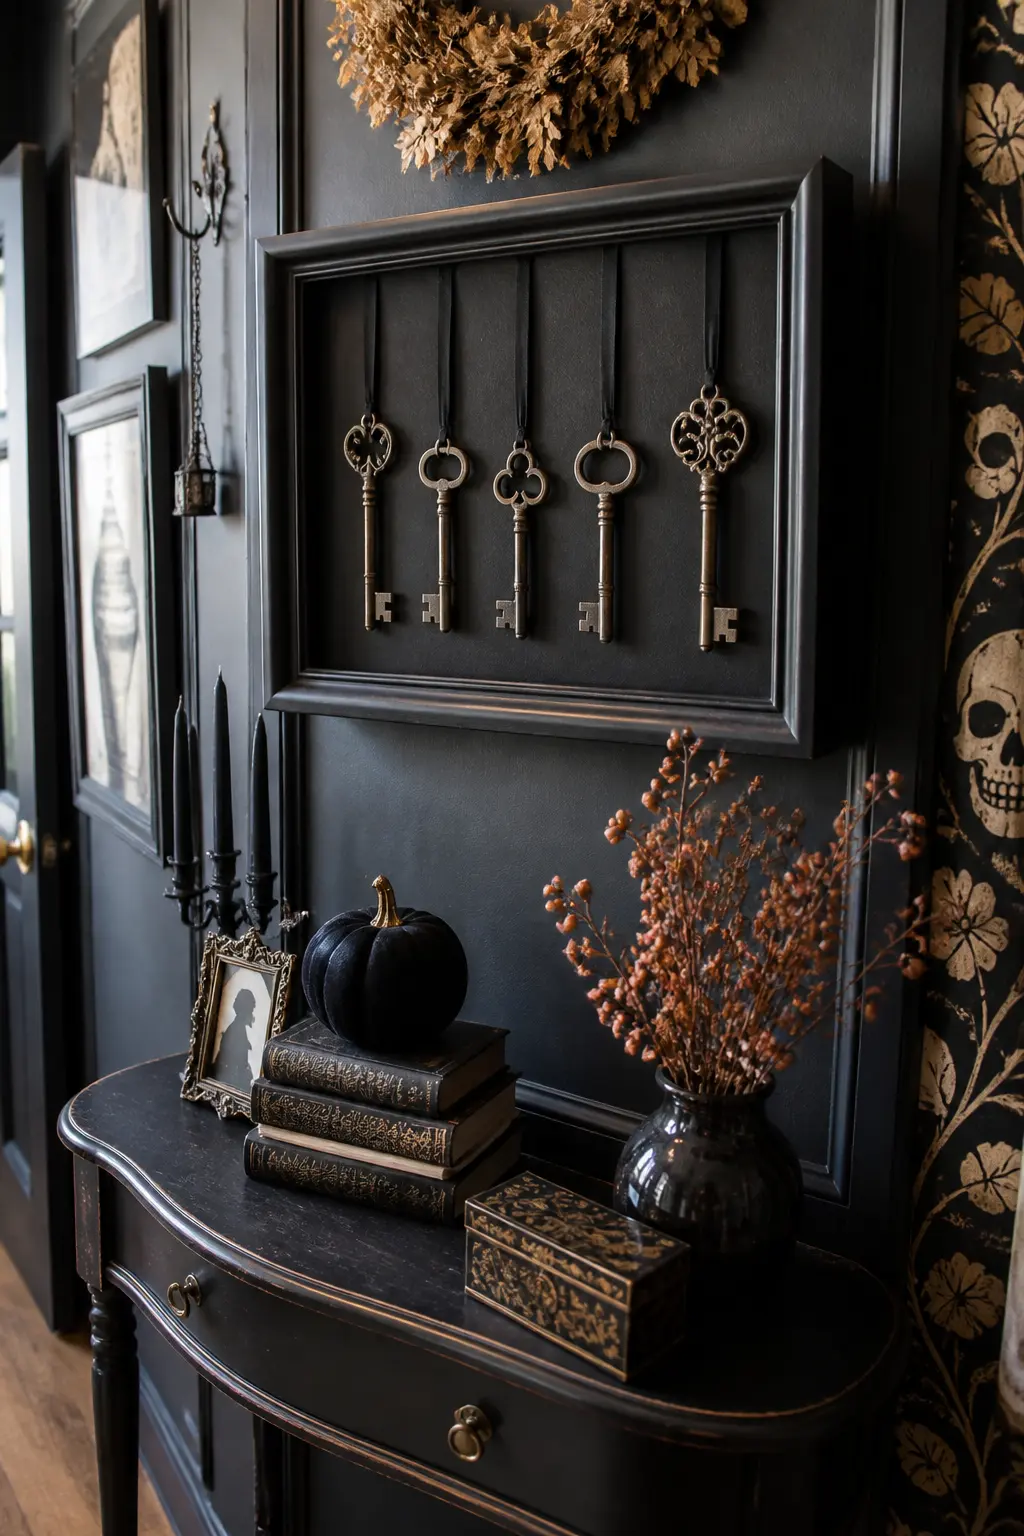
Old keys from flea markets and car boot sales are inexpensive and visually strong. Rub dark furniture wax, the kind sold for antiquing and ageing wood, onto each key with a soft cloth, working it into every crevice.
Buff it back gently so the wax sits in the detail but does not dull the surface completely: you want depth, not a flat matte coat.
Tie each key to a length of dark velvet ribbon or aged twine and mount them in a shallow shadow box or on a board wrapped in dark linen. Hang the keys at slightly different heights within the frame so each one is visible.
The completed display reads as a curiosity cabinet fragment rather than a craft project, which is the goal.
🛍 Shopping guide
Etched Glass Cloche Base
Glass etching cream permanently frosts whatever surface it contacts, so work with gloves on a surface you do not mind getting splashed. Press a self-adhesive stencil firmly onto the outside of the glass cloche, smoothing out any bubbles so the cream cannot bleed underneath.
Brush the etching cream in a thick, even layer over the stencil opening and set a timer for five minutes, no longer.
Rinse the cream off thoroughly under running water, then peel the stencil away to reveal the frosted design on clear glass. The contrast between etched and clear glass reads as expensive and considered. Place the finished cloche over a wax-dipped skull, a collection of small objects, or a single large candle. A cloche elevates whatever is underneath it.

🛍 Shopping guide
Before You Start: A Few Things Worth Knowing
Matte finishes photograph better and read as more intentional in person than gloss, so if a project gives you the choice, go matte. Kraft labels, raw twine, and linen or muslin share a visual language that ties unrelated objects together: use them across multiple projects and the whole shelf reads as a collection.
Two internal links worth bookmarking if you are also planning a gathering around the decor: 30 Unforgettable Halloween Party Ideas and Games covers the full event, and 20 No-Cringe Adult Halloween Party Games keeps the activities in the same grown-up register as this decor list.
Frequently Asked Questions
What materials do most of these halloween crafts for adults share?
Matte black spray paint, kraft labels, natural twine, and dark wood stain appear across multiple projects. Buying these four basics at the start lets you work through several crafts without a separate supply run for each one.
How do these crafts look different from store-bought Halloween decor?
Handmade pieces in this style use matte finishes, natural materials, and aged textures that mass-produced decor rarely uses. The result sits on a shelf without looking like it came out of a seasonal bin, because the colour palette and the material choices are consistent with the rest of your home.
Can any of these crafts stay up after Halloween?
Several of them work well beyond the season. The velvet pumpkin in a non-orange colourway carries through autumn. The antique key display has no season attached to it. The bone white branch arrangement and the blackened candlesticks work as year-round decor without reading as Halloween-specific.
Which project is best for someone who has never crafted before?
The muslin table runner requires nothing more than a basin, tea bags, and a pair of scissors. The matte black bottle set is the next easiest: it involves spray paint and a paint pen, both of which are forgiving if you work in thin coats and let things dry properly.
Is glass etching cream safe to use at home?
Yes, with basic precautions. Wear nitrile gloves throughout, work in a ventilated space, and rinse surfaces thoroughly after the five-minute contact time. Do not exceed the recommended contact time or the cream continues to etch beyond the stencil edge.
How do you make a group of different crafts look cohesive on a mantel?
Stick to one finish palette across the group: matte black, bone white, and natural kraft tones. Add varied heights. Use the same twine or ribbon material across multiple objects. Repetition of those two or three elements ties unrelated pieces together visually, even when the objects themselves are quite different.
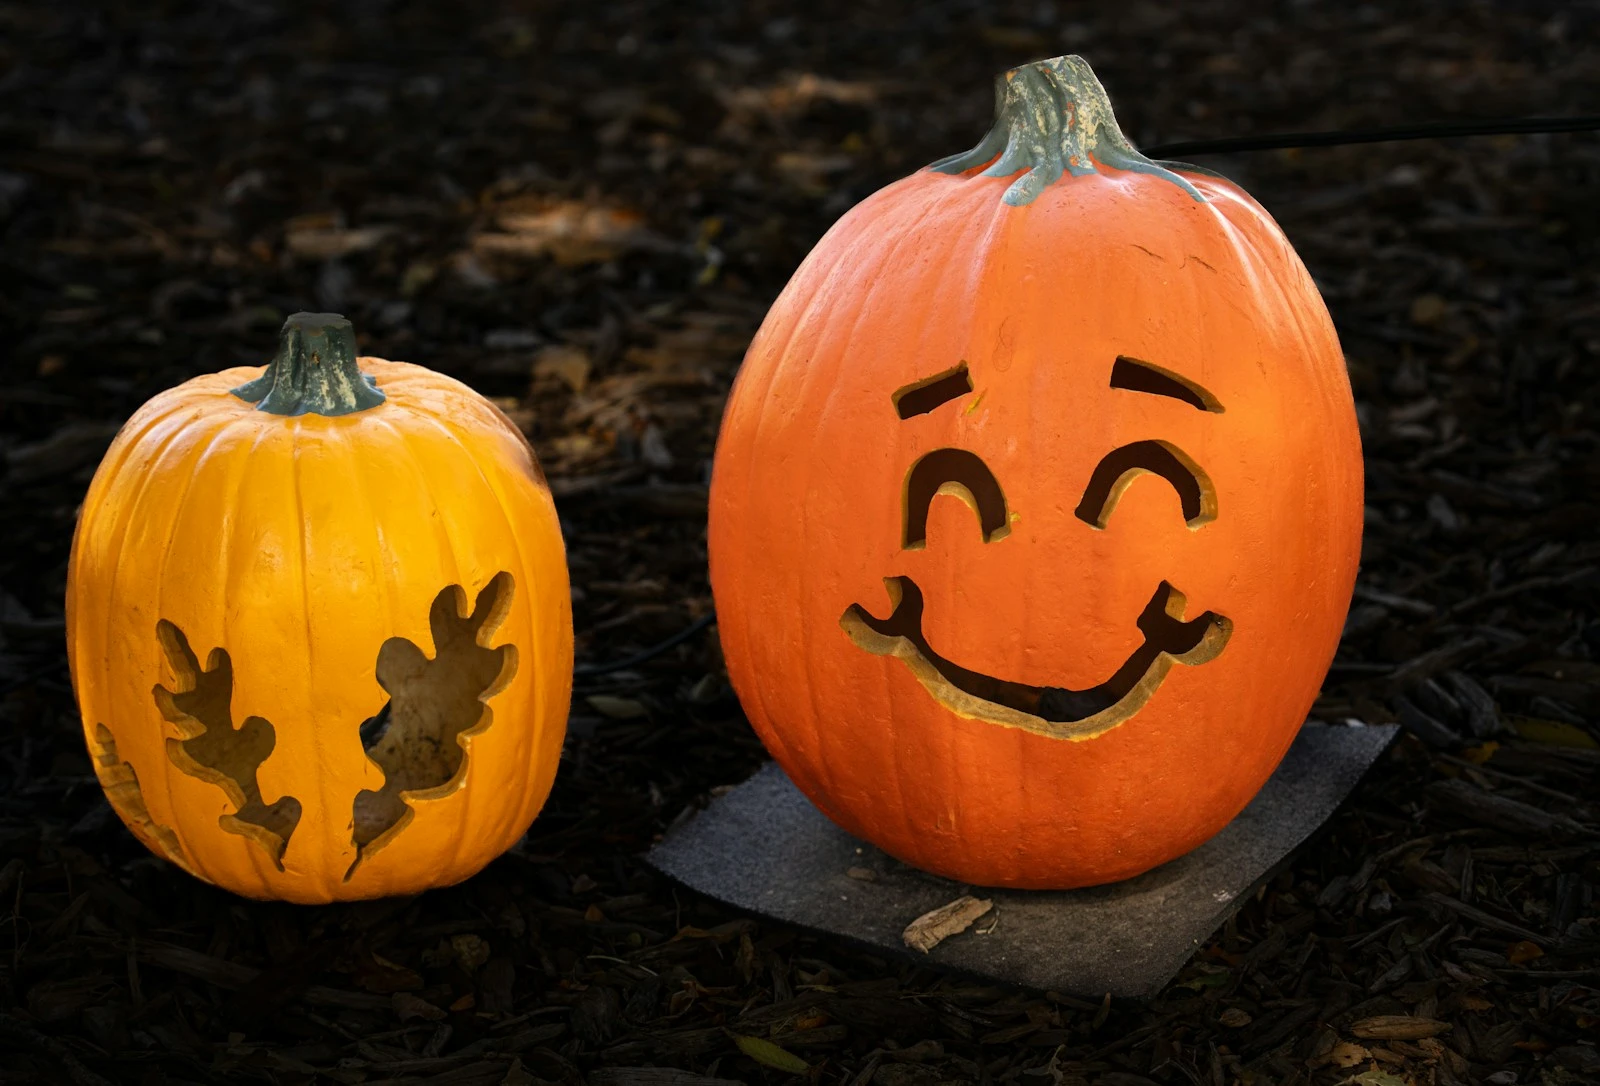
15 outdoor Halloween party games for your backyard bash — active, printable, and spooky. Print the
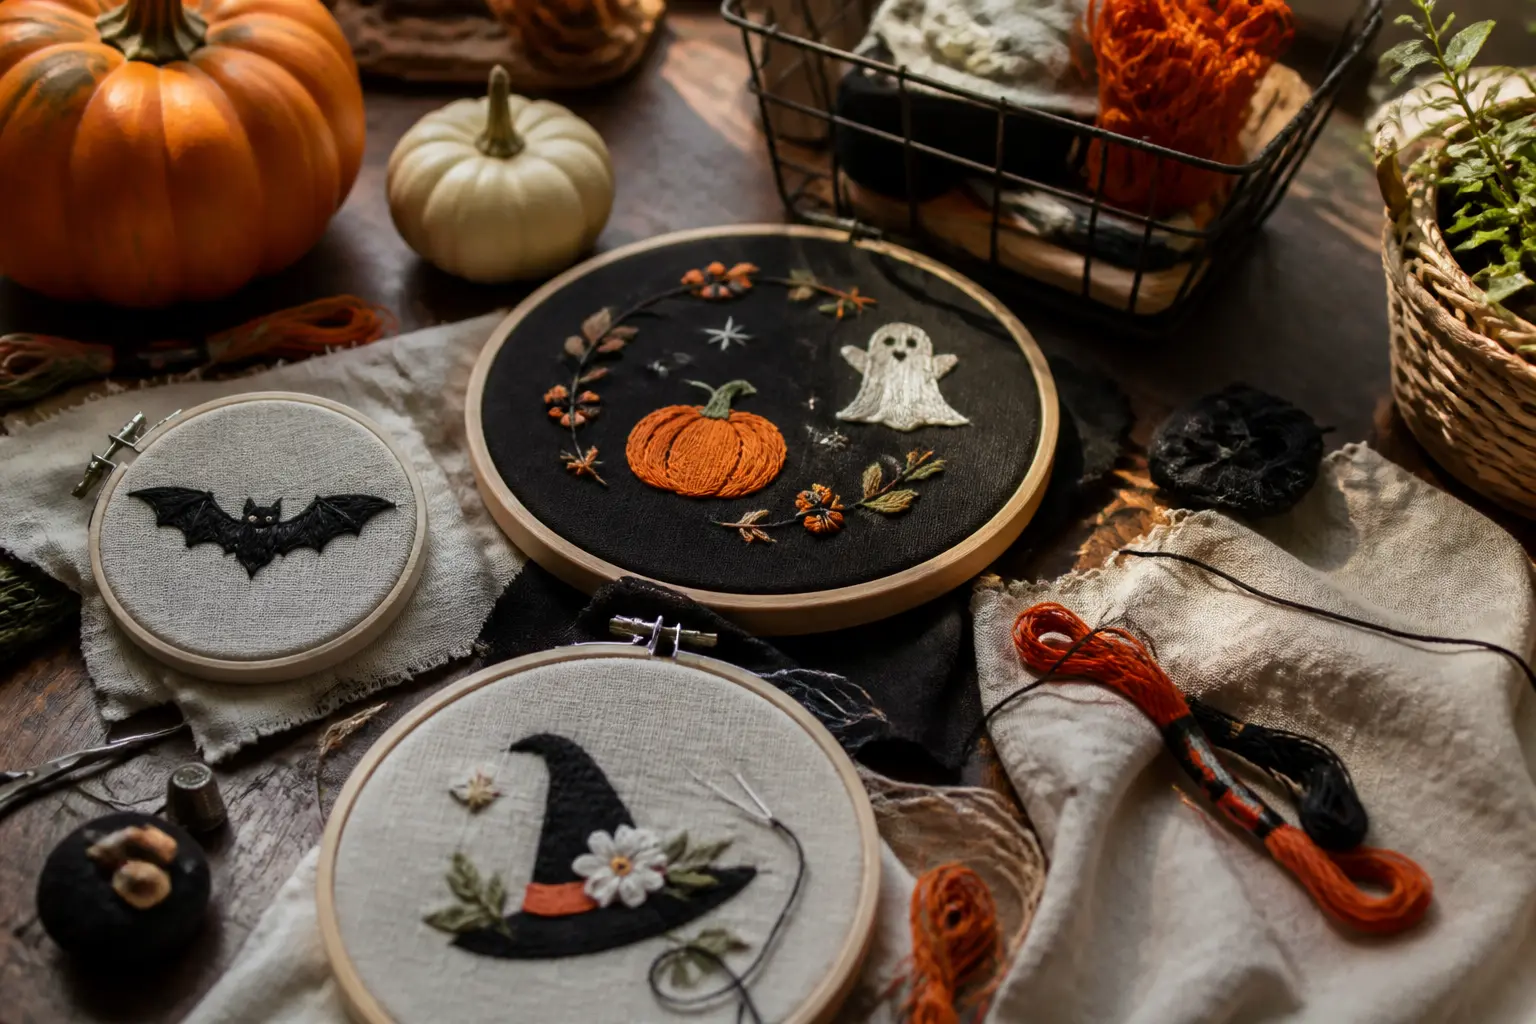
40 Halloween embroidery ideas sized for one evening: black cats, floral pumpkins, ghosts, woodland c
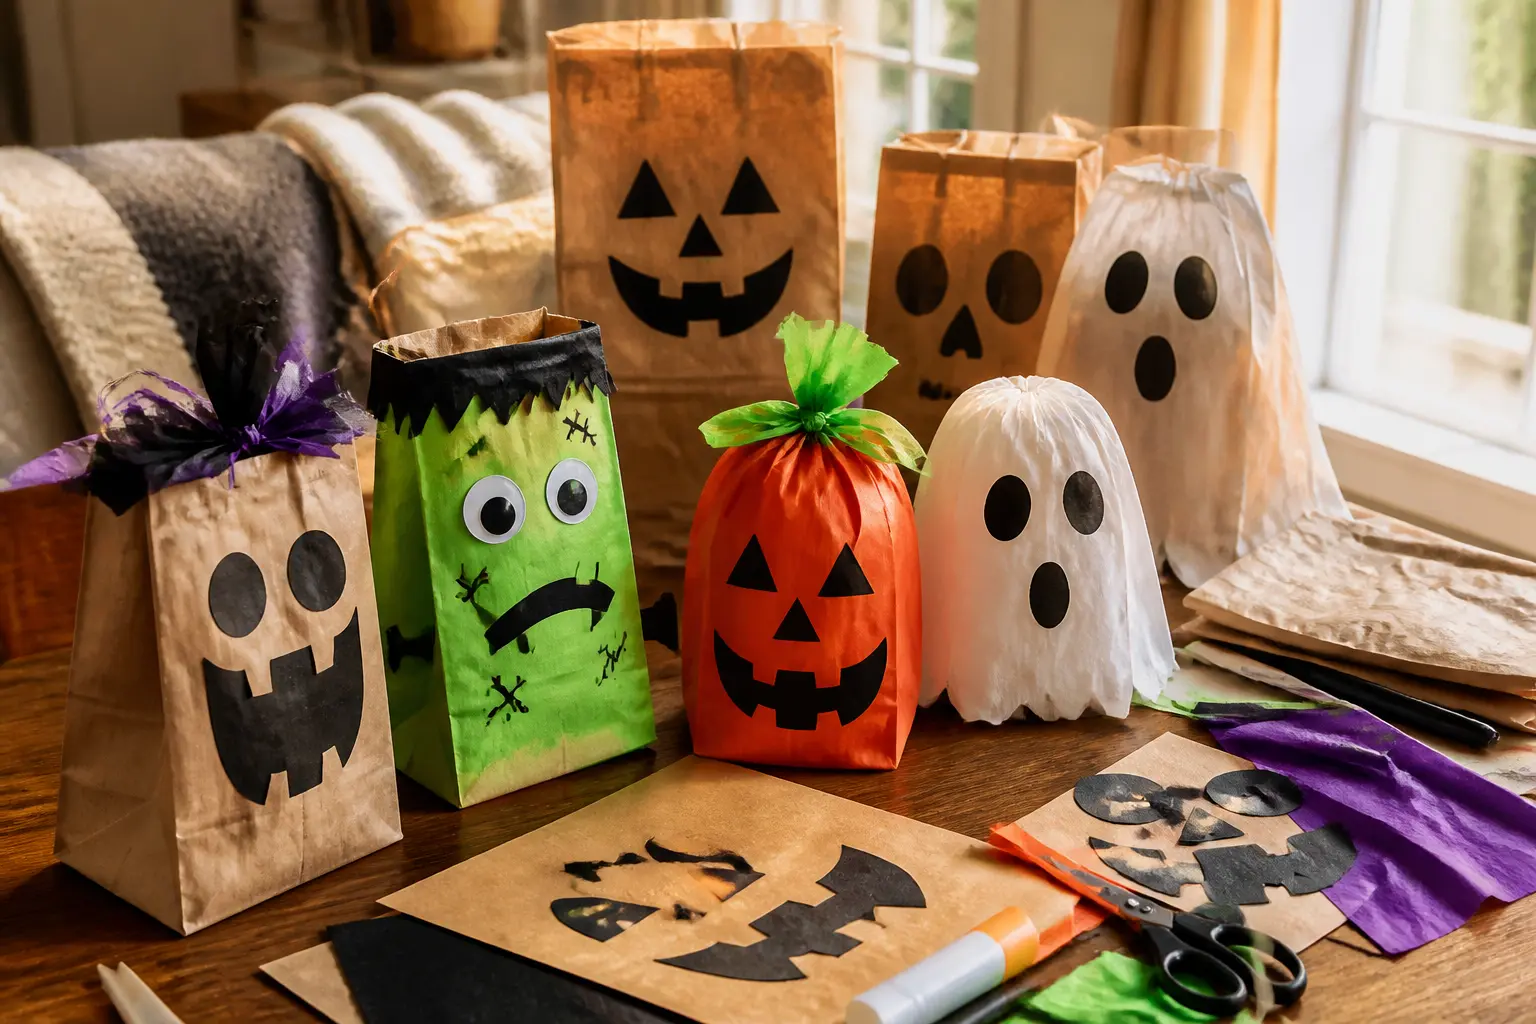
21 paper bag Halloween crafts that actually work: monster treat bags, witch broom bags, painted tric
Leave a Reply