

22 Classroom Halloween Activities With Free Printables That Fit One Lesson
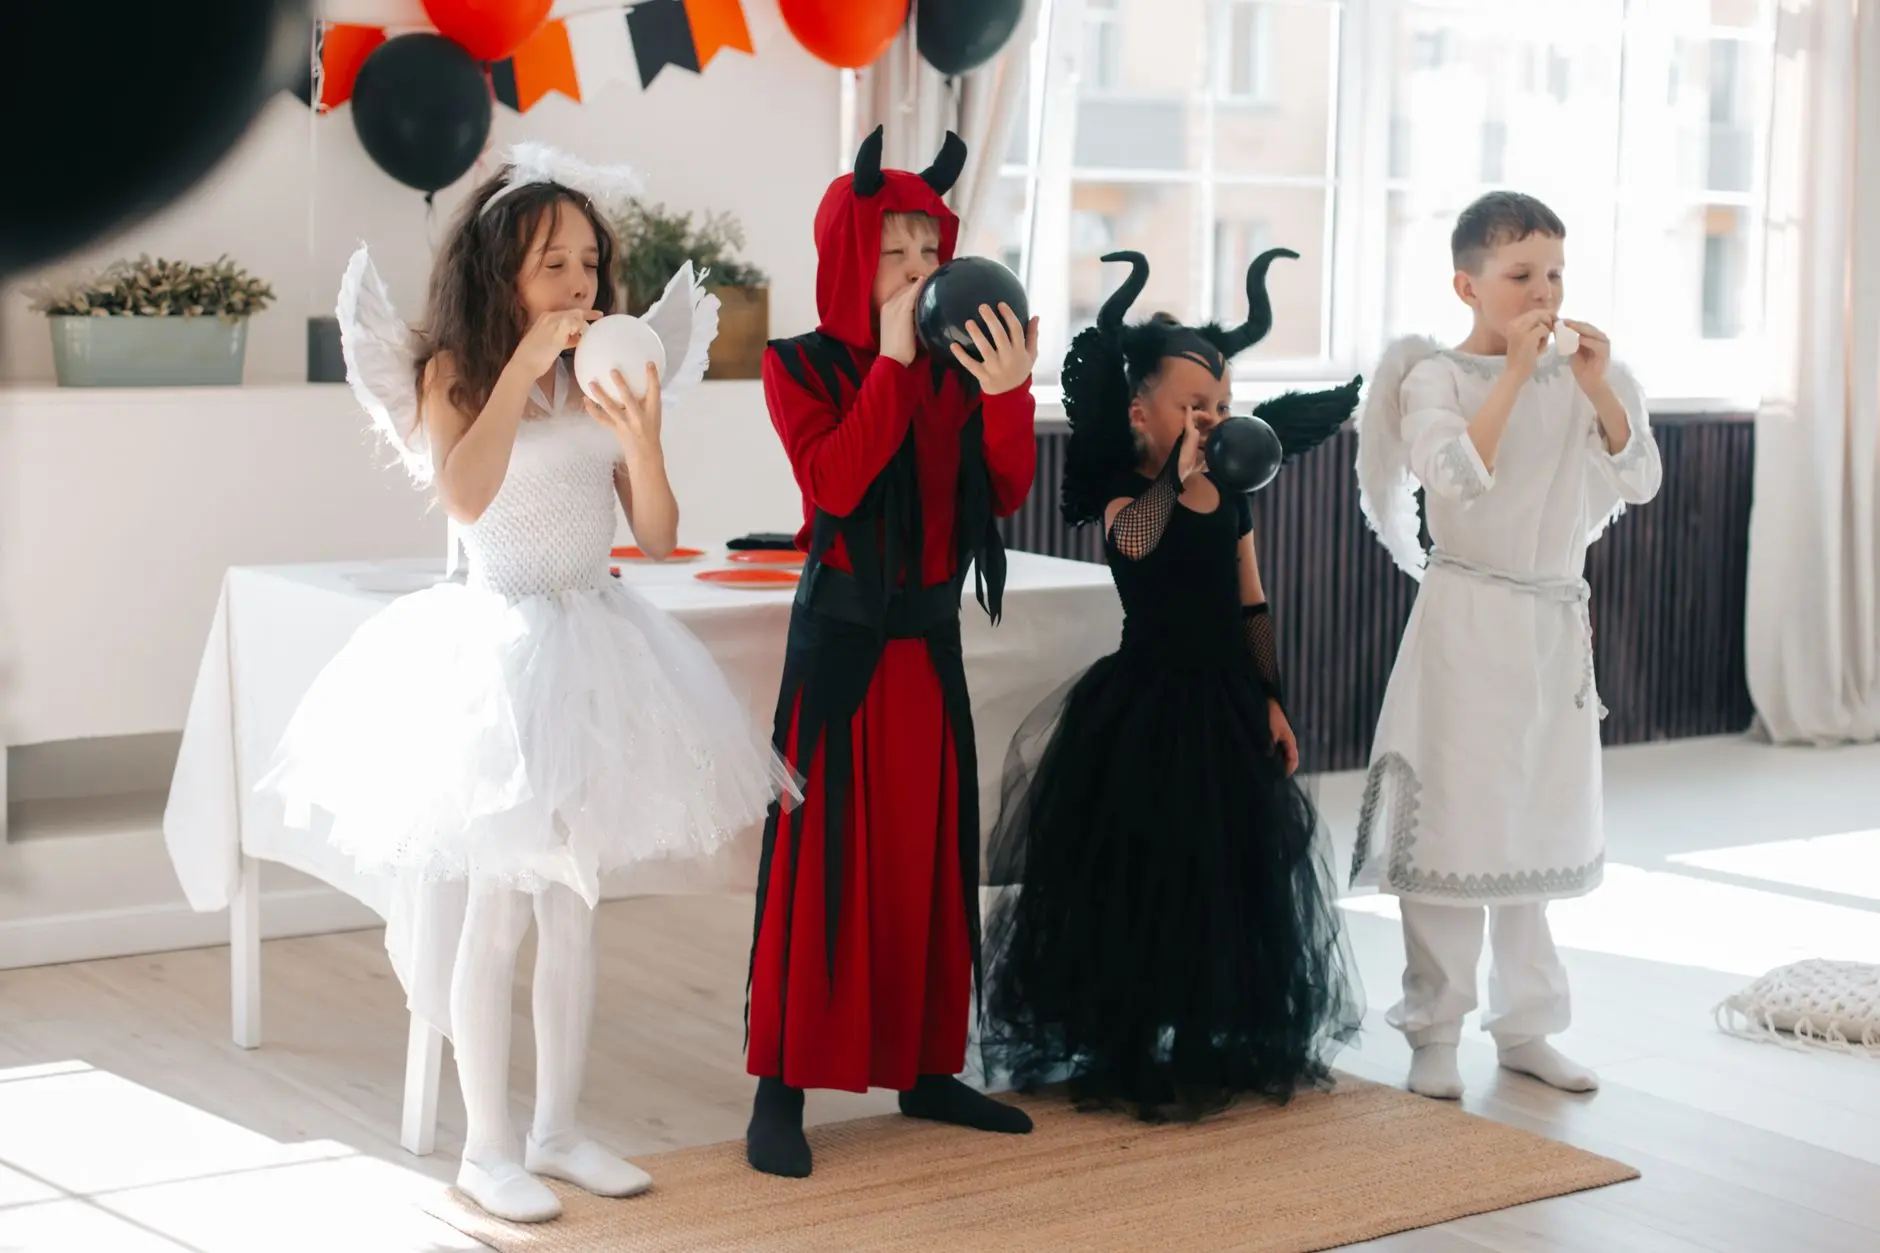
These halloween activities for kids classroom are built for exactly one lesson: thirty minutes, twenty-five children, plain paper, no laminator. Fourteen are printable sheets kids keep at the end. Eight need no printing at all, just a clear desk or a stretch of floor. Every item on the list is complete and ready to run.
This post contains affiliate links. If you buy through them, I may earn a small commission at no extra cost to you.
- Colour by Number Pumpkin (colour by number page, one per child)
- Musical Statues in the Hall (no printing needed)
- Halloween Word Building With Letter Tiles
- The Feely Box Passed Around Desks (no printing needed)
- Count and Graph the Sweets
- Paper Cup Ghost Bowling (no printing needed)
- Follow the Line, Bat to Cave
- The Costume Parade at the End (no printing needed)
- Spot the Difference
- The Class Story Written One Line Each (no printing needed)
- Match the Shadow
- Roll and Cover the Ghost (dice game board, one per pair)
- Shadow Puppets Against the Whiteboard (no printing needed)
- Cut and Glue the Costume
- Finish the Pattern
- The Sweet Sorting Race in Pairs (no printing needed)
- The Six Piece Paper Puzzle
- Draw the Rest of the Picture
- Halloween I Spy and Tally
- Trace the Words
- Sort the Pictures Into Two Groups
- The Craft Table With Card and Glue (no printing needed)
- Frequently Asked Questions
1. Colour by Number Pumpkin (colour by number page, one per child)
Each child gets a pumpkin outline divided into numbered sections. Numbers 1 to 8 each match a colour listed at the top of the sheet: orange for the main body, deep green for the stem, yellow for the lit triangle eyes, and so on. Children colour every section until the pumpkin is complete.
Hand out the sheet with a small set of crayons or coloured pencils. The activity runs independently for eight to ten minutes, making it a solid settling task at the start of a busy party lesson. It also works as an early-finisher sheet while other activities wrap up.
If a child does not have every colour, they may substitute or use a pattern instead. Remind the class that the key is at the top of the page, not memorised, so they should glance up rather than guess. Children take the finished picture home.
- Ages 4-8
- Settling the class at the start of the lesson
- Solo, no talking needed

🛍 Shopping guide
2. Musical Statues in the Hall (no printing needed)
The teacher plays spooky music, children dance freely in the hall or cleared classroom space, and when the music stops every child must freeze like a Halloween statue: arms out like a mummy, crooked like a witch, or stiff like Frankenstein. Anyone who wobbles or moves sits down for one round then rejoins.
No equipment is needed beyond a device and a speaker. A phone playlist of two-minute Halloween tracks works perfectly. The game runs for five minutes and burns off the energy that builds before a party. Keep rounds short, roughly twenty seconds of music followed by a five-second freeze.
If the hall is unavailable, push desks aside and use the classroom floor. Tell the class beforehand what shape they must freeze into: first round is mummies, second is witches, third is their own invention. That reduces the chaos of everyone choosing at once and makes the freezes funnier to look at.
- A phone or tablet with Halloween music
- A speaker loud enough for the room
- Two minutes to clear a small floor space
3. Halloween Word Building With Letter Tiles
The bottom third of the sheet is a grid of individual letters printed in bold inside dotted cut lines. The top two-thirds shows a list of ten Halloween words, each represented by a row of blank boxes, one box per letter. Children cut out the tiles and arrange them to spell each word, placing tiles in the matching boxes.
Each child needs a sheet, scissors, and a small flat surface. The activity takes about twelve minutes for most children. It is a literacy task disguised as a craft, and because the tiles are loose, children can self-correct without needing an eraser.
Warn the class not to cut until you give the signal, otherwise tiles fly everywhere before anyone is ready. Print a few spare sheets for children who lose a tile. The finished tiles and the word list sheet both go home together in an envelope or folded inside the sheet.
Pre-fold each sheet so the tile section is face-down. Children see the word list first and understand the task before they start cutting.

🛍 Shopping guide
4. The Feely Box Passed Around Desks (no printing needed)
A shoebox with a hand-hole cut in the lid contains five mystery objects chosen for their texture: a peeled grape described as an eyeball, cooked cold spaghetti as worms, a rubber bouncy ball, a dried corn cob as witch fingers, and a small sponge soaked in cold water.
Each child at their desk reaches in without looking, feels for five seconds, and whispers their guess to the teacher or writes it on a scrap of paper.
Prepare the box before class. The five objects take under ten minutes to assemble. Pass the box along rows, setting a ten-second limit per child to keep the activity moving across twenty-five desks.
Replace wet or deteriorating items between rows. Keep one backup grape and a spare spoonful of spaghetti. Children who are squeamish may pass and observe. Reveal all five objects at the end and ask the class to vote on which was the grossest.
- A shoebox with a hand-hole cut in the lid
- Peeled grapes, cold cooked spaghetti, a rubber ball, dried corn cob, wet sponge
- A marker to label the outside: ‘Do NOT peek’
5. Count and Graph the Sweets
The sheet shows a scatter of illustrated sweets at the top: lollipops, candy corn pieces, chocolate bars, gummy worms, and jelly beans, all mixed together. Children count each type and colour in a bar on the blank bar graph below, one square per sweet. The x-axis lists the sweet types and the y-axis is numbered 1 to 15.
One sheet per child. No additional materials needed beyond a pencil and a single coloured crayon or pencil for filling in the bars. The task takes six to eight minutes and covers counting and basic graphing in a halloween-themed wrapper.
The answer key is on a separate teacher copy: lollipops 4, candy corn 9, chocolate bars 3, gummy worms 6, jelly beans 5. Print one key for the teacher only and use it to give quick whole-class feedback at the end.
Children who finish early can circle the most common sweet and write one sentence about it in the space provided.
Covers a real maths objective (data handling) while feeling entirely like a party activity.

6. Paper Cup Ghost Bowling (no printing needed)
Ten white paper cups are stacked in a triangle on the floor at one end of the classroom aisle or hall. Each cup has a ghost face drawn on it in black marker: two dot eyes and an open oval mouth.
Children take turns rolling a small rubber ball along the floor from a taped line to knock the cups down.
Set up one lane per two or three rows of desks. Each child gets two rolls per turn. A volunteer child re-stacks the cups between turns. The whole rotation for twenty-five children takes about twelve minutes if turns are kept brisk.
The cups will dent over repeated rounds. Keep a spare set of ten. If the classroom floor is carpeted, switch to a slightly heavier ball or use a rolled-up pair of socks instead. Children who are waiting cheer and count the cups knocked down, so no one is idle between turns.
- 20 white paper cups (10 per lane)
- Black marker for ghost faces
- A small rubber ball or rolled socks
- Painter’s tape for the rolling line
🛍 Shopping guide
7. Follow the Line, Bat to Cave
Three cartoon bats sit on the left side of the page, each connected by a tangled curving path to one of three cave openings on the right. The paths cross and loop around each other in the middle.
Children trace each path with their finger first, then use a pencil to follow it, writing the matching cave number next to each bat.
One sheet per child, pencil only. The task takes three to five minutes, making it a good warm-up or quick filler. It builds pencil control and logical tracking, both useful for the younger end of primary.
The answer key lists which bat reaches which cave: Bat 1 reaches Cave 3, Bat 2 reaches Cave 1, Bat 3 reaches Cave 2. Print the key on the teacher copy only. If children finish early, they may colour the bats with a pencil or crayon.
- Ages 4-7
- Pencil control and fine motor warm-up
- Quick three-minute filler between activities

8. The Costume Parade at the End (no printing needed)
In the last five minutes of the lesson, every child who is wearing a costume (or a single costume accessory such as a headband, cape, or hat) walks a slow lap around the classroom while the rest of the class claps.
The teacher narrates each child’s costume briefly: “Here comes our spider, and next up is the very elegant vampire.” There is no winner and no vote, just a moment where every costume gets seen.
No preparation needed beyond clearing the outer aisle between desks. If the class is not in costume, children can hold up their finished artwork from the lesson as their parade prop. The parade takes four to six minutes for twenty-five children at a slow walk.
Keep the narration moving at a steady pace so the energy stays high and no child waits too long. If two children are in identical costumes, acknowledge the coincidence and let them parade together. This activity works best as the final item of the lesson, so children leave on a high note.
If costume accessories are not allowed in school, substitute: each child holds up their colour-by-number pumpkin as their parade ‘prop’ instead.
9. Spot the Difference
Two nearly identical Halloween scenes sit side by side on the sheet: a witch’s kitchen with a bubbling cauldron, a black cat, a spider on the ceiling, jars on a shelf, a broomstick in the corner, and a window showing a full moon.
Seven small details differ between the two pictures. Children circle each difference they find directly on the sheet.
One sheet per child, pencil or crayon for circling. Most children need six to ten minutes to find all seven. It sharpens visual attention and works silently, which makes it useful as a calming activity after something loud.
The answer key lists all seven differences for the teacher: 1. Cat has no collar in picture two. 2. One jar is missing from the shelf. 3. The moon is a crescent not a full circle. 4. The spider has six legs not eight. 5.
A star is added to the witch’s hat. 6. The cauldron liquid is a different shade. 7. The broomstick bristles point right not left. Post the key verbally at the end so the class can self-check.
Tell younger children how many differences to look for so they know when to stop. Say seven out loud before they begin.

10. The Class Story Written One Line Each (no printing needed)
The teacher writes the first line of a spooky story on the board: “On Halloween night, something very strange happened at the old house on the hill.” Each child adds exactly one sentence.
The teacher writes them in sequence on the board or a large sheet of paper taped to the wall, reading the growing story aloud after every fifth contribution.
No materials needed. Go around the room in row order so every child contributes once. The activity takes eight to ten minutes for a class of twenty-five at a relaxed pace. It is a quiet, seated exercise that builds narrative thinking and listening.
Children who are stuck can repeat the last sentence with one word changed, and that is fine. At the end, read the complete story aloud from start to finish in a dramatic voice. Leave it on the board for the rest of the day if possible.
11. Match the Shadow
Eight Halloween objects appear in full illustrated detail on the left side of the sheet: a cauldron, a broomstick, a jack-o-lantern, a spider, a bat, a witch hat, a ghost, and a black cat. On the right side, eight black silhouettes appear in a different order. Children draw a line from each object to its matching shadow.
One sheet per child, pencil only. The task takes four to six minutes. It is a visual discrimination activity that works well as a transition between two louder activities because it is quiet and self-contained.
The answer key lists the correct pairs by number: the objects are numbered 1-8 top to bottom on the left, and the silhouettes are lettered A-H top to bottom on the right. The correct pairs are: 1-E, 2-H, 3-B, 4-F, 5-A, 6-D, 7-G, 8-C. Print the key on the teacher copy only and read the answers aloud at the end.
Silhouette matching is harder than it looks, so it holds attention longer than children expect.

12. Roll and Cover the Ghost (dice game board, one per pair)
The game board is a large friendly ghost outline filled with numbered sections 1 to 6, each number appearing four times for a total of twenty-four sections.
Partners take turns rolling a standard die and covering the matching number on the ghost with a small counter, torn scrap of paper, or a drawn X. The first player to cover six sections wins, or they play until the ghost is fully covered.
One sheet per pair, one standard die per pair, plus counters or a pencil to mark sections. The game runs for five to eight minutes per pair. Because pairs play simultaneously, the whole class plays at once with no waiting.
If a number is already fully covered (all four of its sections taken), the player who rolled it loses that turn. This adds a small tactical element without complicating the rules. Children who finish early flip the sheet over and draw their own ghost on the blank back.
- One standard die per pair
- Small counters, cubes, or torn paper squares per pair

🛍 Shopping guide
13. Shadow Puppets Against the Whiteboard (no printing needed)
The classroom is dimmed and a lamp or projector light shines at the whiteboard. One child at a time stands between the light and the board, shapes their hands into a Halloween character (bat, spider, ghost, witch on a broom), and holds it still for five seconds while the class guesses what it is.
A portable LED lamp or a projector set to a blank white slide creates the beam. The activity takes six to eight minutes for one volunteer per row. Children who are waiting practise hand shapes quietly at their desks before their turn.
Teach two or three basic hand shapes to the whole class first: a flat hand waved slowly for a ghost, two index fingers up with fingers spread for a bat, one hand crawling across the other for a spider.
Children who struggle to invent their own shape use one of these. For a list of more classroom Halloween ideas to run alongside this one, see 16 Halloween Games And Activities For Kids That Are Actually Fun.
🛍 Shopping guide
14. Cut and Glue the Costume
The sheet shows a simple outline figure of a child in the centre, plus eight cut-out costume pieces printed around the edges inside dotted lines: a witch hat, a cape, a wand, a mask, boots, a spider brooch, a broom, and a pair of bat wings.
Children cut out the pieces they want and glue them onto the figure to create their own Halloween costume design.
Each child needs scissors, a glue stick, and their sheet. The activity takes eight to twelve minutes and is both a fine motor and a creative task. It works well mid-lesson when children need a hands-on break from pencil-and-paper work.
Tell the class they do not have to use all eight pieces, and they may cut a piece in half or trim it to fit. This avoids the frustration of pieces not lining up perfectly. The finished figure goes home as a piece of artwork. Run this activity on a desk covered with scrap paper to catch glue drips.
- One glue stick per child (or one per two children)
- Child safety scissors
- Scrap paper to protect desks

🛍 Shopping guide
15. Finish the Pattern
The sheet shows eight horizontal rows of Halloween pictures in repeating sequences: bat, ghost, bat, ghost, blank; pumpkin, spider, pumpkin, spider, pumpkin, blank, pumpkin; and so on, with each row increasing slightly in complexity. Children draw or write the missing picture in each blank space to complete the pattern.
One sheet per child, pencil only. The task takes five to seven minutes and covers early maths pattern recognition. Children who work quickly get an extension row at the bottom where they create their own pattern for a partner to finish.
The answer key lists the correct answer for each blank, row by row. Read the answers aloud after the class finishes so children can self-mark with a coloured pencil. Any child who draws a reasonable Halloween picture that genuinely fits the pattern receives credit even if the exact picture differs from the key.
For very young children, read the first two rows aloud as a class before they work independently.

16. The Sweet Sorting Race in Pairs (no printing needed)
Each pair of children gets a small pile of twenty mixed Halloween sweets or sweet wrappers (or illustrated cut-out cards of sweets if real sweets are not allowed).
On the teacher’s signal, pairs sort the pile into two groups as fast as possible using a rule the teacher calls out: chocolate versus non-chocolate, red versus not-red, or bigger than a thumb versus smaller. The pair that finishes first raises both hands.
Prepare one sorting pile per pair in advance. Wrappers from a mixed bag work well, or print and cut simple sweet picture cards on card stock. Three rounds of sorting with different rules takes about six minutes total.
Call a new sorting rule for each round rather than letting pairs choose, so the activity stays focused and the class does it together. Between rounds, ask one pair to explain how they decided a tricky item. This adds a quick verbal reasoning moment without slowing the pace.
🛍 Shopping guide
17. The Six Piece Paper Puzzle
The sheet shows a Halloween scene, a witch flying across a full moon, divided into six large jigsaw-style pieces by thick printed cut lines.
Children cut out all six pieces, shuffle them face-down, then turn them over and reassemble the scene as quickly as they can. Once assembled, they can glue the pieces onto a second sheet of plain paper to take home.
One sheet per child, scissors, and optionally a glue stick and a plain sheet for mounting. Cutting takes three minutes, solving takes one to three minutes. The activity works well as a wind-down task or a station activity.
The six-piece scale is deliberate: small enough that the task feels satisfying rather than daunting, large enough that the pieces do not get lost immediately. Children who solve it quickly shuffle and race again, or swap completed puzzles with a neighbour to solve someone else’s.
For more printable-friendly halloween activities for kids classroom, 15 Free Printable Halloween Party Games has a full sheet collection ready to print.
Write each child’s name on the back of their sheet before they cut, so pieces that fall on the floor are easily returned.

18. Draw the Rest of the Picture
A thick vertical line runs down the centre of the sheet. The left half shows half of a Halloween picture, drawn precisely to the centreline: half a pumpkin face with one eye, half a nose, half a zigzag mouth, and half the stem.
The right half is completely blank. Children use a pencil to draw the missing half, mirroring what they see on the left.
One sheet per child, pencil only. The task takes five to eight minutes. It is a symmetry exercise in disguise, building spatial reasoning and fine motor control without any numbers or letters. Children who finish early are invited to colour both halves with crayons.
Tell the class not to trace through the paper or hold it up to the light. The point is to observe carefully and draw freehand. Reassure younger children that the two halves do not need to be identical, just close. Display the finished sheets on the classroom door for the rest of the day before sending them home.
Symmetry drawing is a national curriculum objective at Key Stage 1, so this earns its place in a party lesson without sacrificing learning.

19. Halloween I Spy and Tally
A busy Halloween scene fills the top two-thirds of the sheet: a crowded street of trick-or-treaters, a haunted house, bats in the sky, spiders on webs, pumpkins on steps, black cats on walls, broomsticks leaning against fences, and candy buckets in hands.
Below the scene is a tally table with eight picture icons and a blank tally column for each. Children count every instance of each item in the scene and record the total using tally marks.
One sheet per child, pencil only. The task takes seven to ten minutes. Tally marks rather than just numbers reinforce a specific maths recording method and slow children down so they count more carefully.
The answer key gives the correct count for each item: bats 7, spiders 5, pumpkins 9, black cats 3, candy buckets 6, broomsticks 4, stars 8, ghosts 2. Print the key for the teacher only.
Read the answers aloud one by one at the end, asking for a show of hands before each reveal. Most children will have at least one different number and the disagreement generates a useful conversation about checking work.
- Ages 5-9
- Links to tally and data handling objectives
- Works as a calm individual activity after something active

20. Trace the Words
Ten Halloween words are printed in a large dotted handwriting font on lined rows, one word per line: GHOST, WITCH, SPIDER, PUMPKIN, CAULDRON, BROOMSTICK, SKELETON, VAMPIRE, HAUNTED, HALLOWEEN. Children trace each word once in pencil along the dotted outlines, then write it again freehand on the blank line below.
One sheet per child, pencil only. The task takes six to eight minutes at an average pace. It builds vocabulary alongside handwriting, and because every word is Halloween-themed, it holds attention better than a standard handwriting drill.
Use a font with clear lead-in and exit strokes if printing yourself, or a standard dotted school handwriting font. Children who trace in under four minutes write each word a third time in their neatest joined script, or draw a small picture next to each word. The sheet goes home and doubles as a spelling list.
For early writers, cover the bottom half and focus only on tracing. Reveal the write-your-own section once tracing is done.

21. Sort the Pictures Into Two Groups
Twelve small Halloween pictures are printed in a row across the top of the sheet: a ghost, a lollipop, a skeleton, a candy bar, a witch, a gummy worm, a bat, a candy corn, a cauldron, a chocolate coin, a black cat, and a lollipop.
Below are two large blank boxes labelled “Spooky Things” and “Sweet Things”. Children draw each picture into the correct box, or write the name of the item under the right heading.
One sheet per child, pencil or crayon. The task takes five to seven minutes. Sorting by category is a key early maths and science skill, and the spooky-versus-sweet split is intuitive enough that children can start without much explanation.
The answer key lists the correct groupings: Spooky Things: ghost, skeleton, witch, bat, cauldron, black cat. Sweet Things: lollipop, candy bar, gummy worm, candy corn, chocolate coin.
Note that some items could argue for either group, so brief the class before they start: “If you eat it, it goes in Sweet Things.” This avoids debate mid-activity. Check the answer key against your own sheet version and adjust if any pictures differ.
Sorting by a defined rule is a direct link to classification objectives in early science and maths.

22. The Craft Table With Card and Glue (no printing needed)
A table at the side of the classroom holds folded card, tissue paper in orange and black, googly eyes, pre-cut circles, and a pot of glue sticks.
Children visit the table in small groups during transitions between other activities and make one small Halloween creature to take home: a ghost from a folded white card, a pumpkin from an orange circle with a green strip stem, or a spider from a black circle with eight twisted paper legs.
No printing needed. Set up the table before the lesson with each material in a separate tray or pot. Lay out simple step-by-step picture instructions drawn on a card tent, so children can self-direct without queuing for teacher help. Five children at the table at a time keeps it manageable.
Keep a damp cloth on the table for glue-covered hands. Set a two-minute limit per visit so everyone gets a turn. Running the craft table as a station alongside other seated activities, rather than as a whole-class stop, means it never creates a bottleneck.
For more ideas that mix active and quiet halloween activities for kids classroom, 25 Not-Too-Scary Halloween Party Games for Kids covers the full range.
- Folded white card, orange and black card circles
- Tissue paper scraps in orange, black, white
- Googly eyes and glue sticks
- A simple picture instruction card propped on the table
🛍 Shopping guide
Frequently Asked Questions
How do I run halloween activities for kids classroom if I only have thirty minutes?
Pick one active opener (Musical Statues or Ghost Bowling), two or three printable sheets that run simultaneously at desks, and one quiet closer (the craft table or costume parade). That structure fills thirty minutes without any activity running over or under. Print the sheets the day before and have them face-down on desks before the class arrives.
Can I do these activities without a Halloween budget?
Most of these activities need only plain paper and pencils. The printable sheets cost nothing beyond printer ink and one sheet of A4 or Letter paper per child. The feely box, class story, shadow puppets, and costume parade need no materials at all.
Ghost bowling is the only activity that benefits from a small purchase, and a rolled pair of socks replaces the ball for free.
Which printable sheets work for the youngest children in Reception or Kindergarten?
Colour by Number Pumpkin, Follow the Line Bat to Cave, Draw the Rest of the Picture, and Trace the Words all work well for ages four to six.
The Cut and Glue Costume sheet also suits younger children well because it is creative rather than academic. Avoid the graphing sheet and tally sheet with very young children unless they have covered those skills already.
How many sheets should I print per child versus one shared copy?
Print one per child for: Colour by Number Pumpkin, Halloween Word Building With Letter Tiles, Count and Graph the Sweets, Follow the Line Bat to Cave, Spot the Difference, Match the Shadow, Cut and Glue the Costume, Finish the Pattern, The Six Piece Paper Puzzle, Draw the Rest of the Picture, Halloween I Spy and Tally, Trace the Words, and Sort the Pictures Into Two Groups.
Print one per pair for: Roll and Cover the Ghost (one sheet and one die per pair). Print one teacher copy only for all answer keys.
What if costumes are not allowed in school?
Replace the Costume Parade with a “show your artwork” parade instead, where every child holds up their colour-by-number pumpkin or cut-and-glue costume figure. The class still gets the movement and celebration of a parade without any child feeling left out for not having a costume.
How do I keep twenty-five children on task when they are excited?
Start with a quiet seated activity (Colour by Number or Trace the Words) to settle energy before the lesson moves into active games. Use a visible countdown timer on the board for every printable task. Active games like Musical Statues work better in the middle of the lesson once the class has warmed up, not at the very start.

15 Halloween team-building games for work that actually build teamwork — relays, deduction, trivia
72 Halloween truth or dare questions sorted by round, with free printable card sheets. Perfect for a
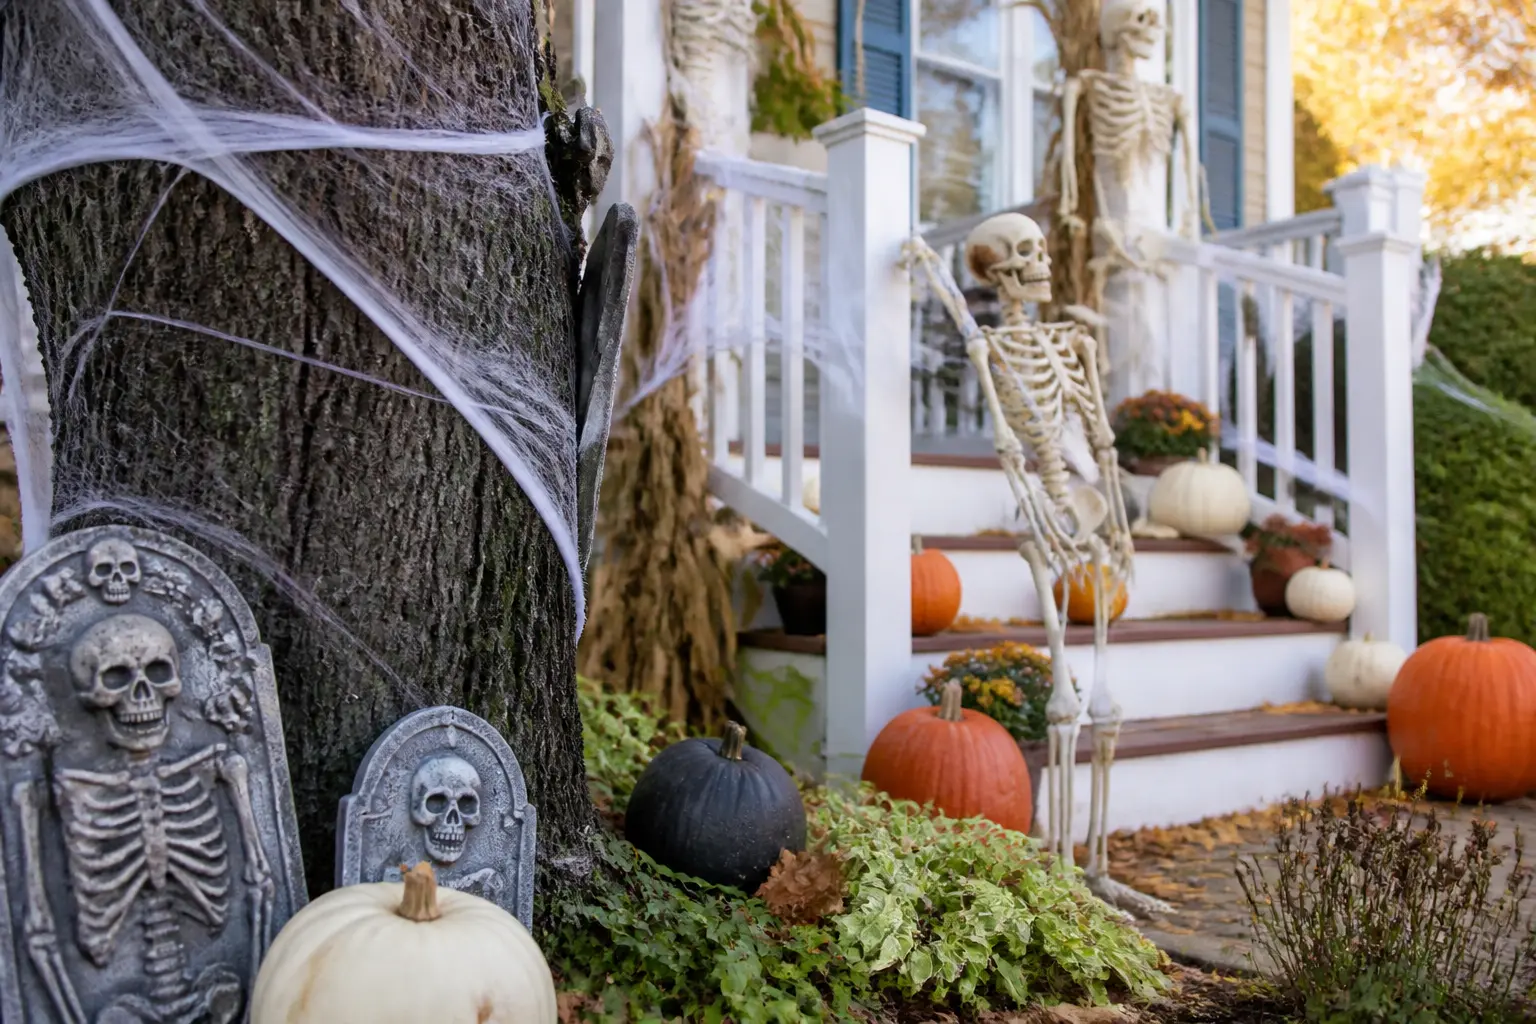
Turn scattered props into 15 Halloween yard decorations that each tell a story from the street. Ever
Leave a Reply