

28 Felt Christmas Ornaments Shaped Like Things That Are Not Usually Felt
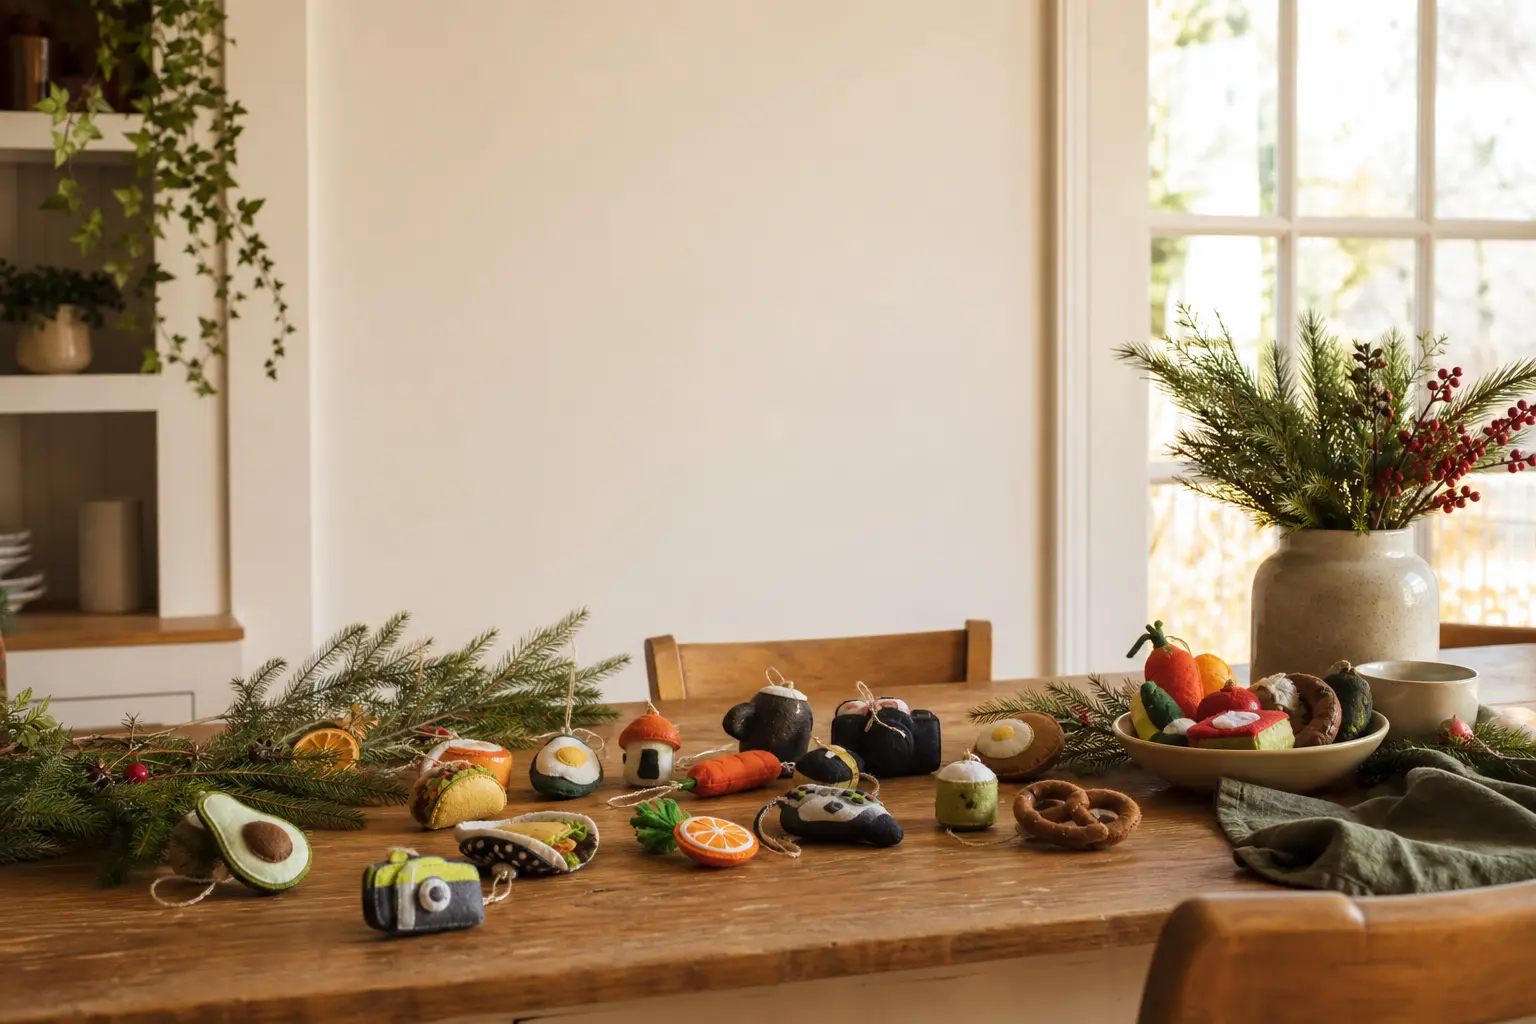
Felt christmas ornaments are everywhere, and so is the flat star, the flat mitten, the flat candy cane.
If you have made all of those and want something that actually earns a second look, the trick is not a new colour: it is a borrowed silhouette.
Take the shape of something felt never gets to be, render it flat and hand-stitched, and the material suddenly reads as clever rather than craft-fair.
Every ornament in this list steals its outline from a different object category: kitchenware, music, travel, nature, tools. The stitching does the heavy lifting that three-dimensional stuffing would normally do. No templates to print, no machine embroidery, no shapes that need turning inside out.
Just a good pair of scissors, some wool-blend felt sheets, and thread that contrasts just enough to show.
If you are building a whole tree around handmade pieces, these sit well alongside diy christmas ornaments in other materials. Want to see what works for younger hands? easy kids christmas ornaments covers that ground. Now, on to the twenty-eight ideas worth your good thread.
This post contains affiliate links. If you buy through them, I may earn a small commission at no extra cost to you.
Kitchen and Tea Table
The domestic object is an underused ornament silhouette. A teacup reads instantly from across a room, and a cake slice has geometry that plays well in felt layers. These four reward anyone who already owns multiple shades of cream and dusty rose.
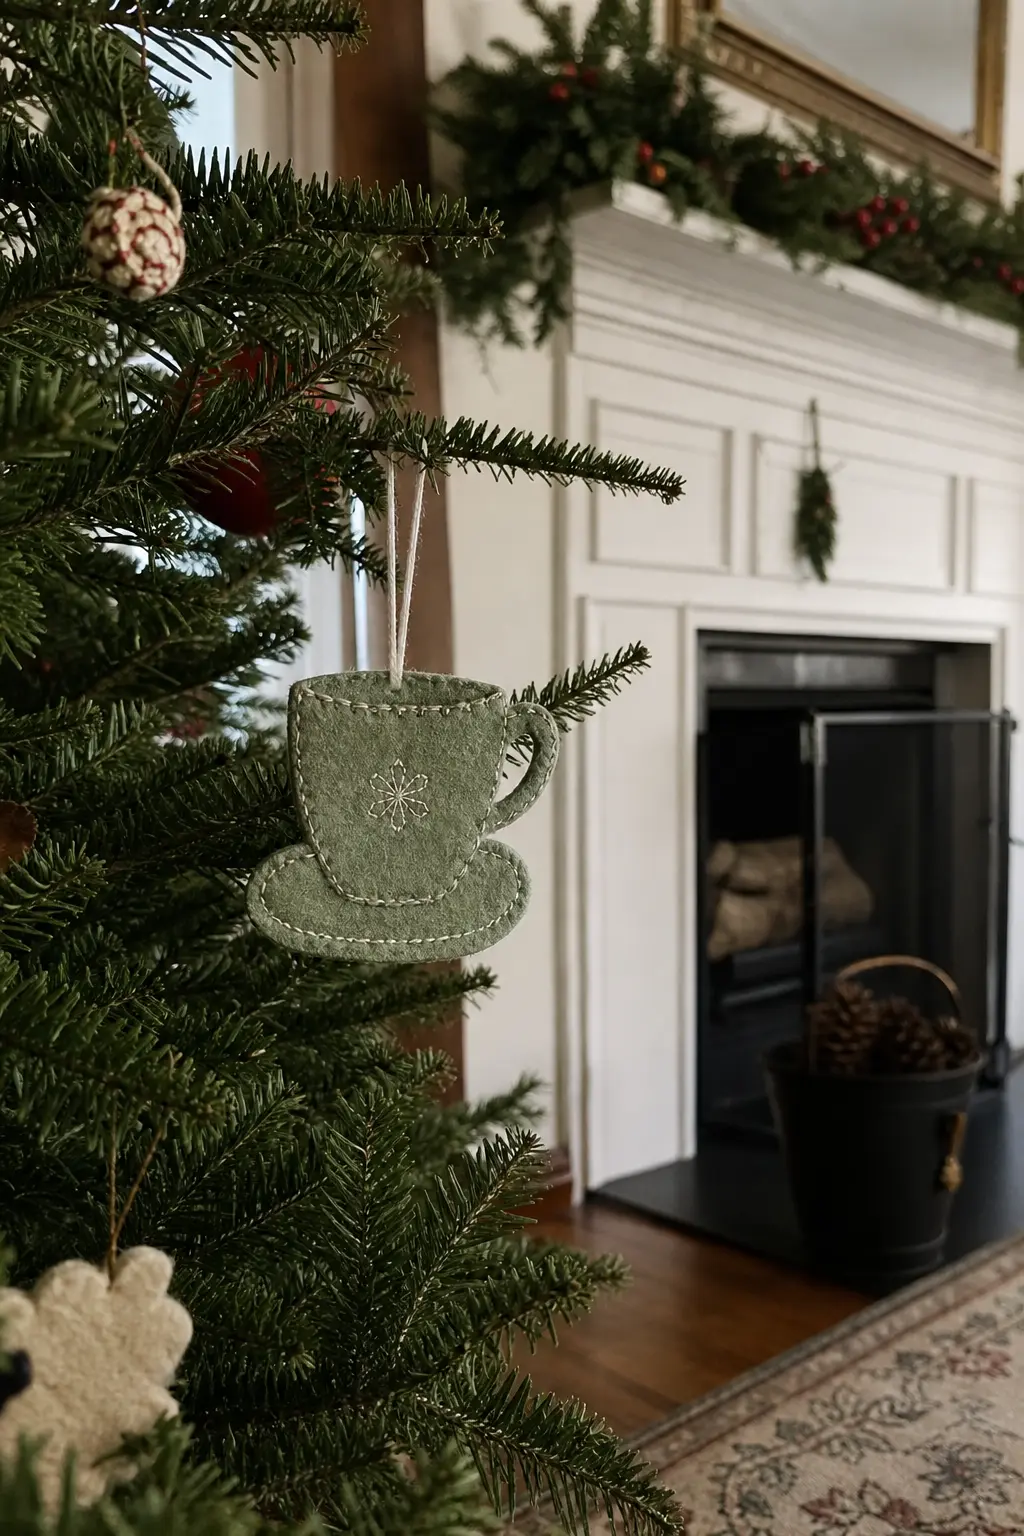
Felt Teacup and Saucer
Cut the cup body from one shade of dusty sage and the saucer from a shade slightly lighter. The shading is the whole illusion: it suggests a three-dimensional pour without any padding at all.
Backstitch a curved horizontal line across the lower third of the cup to imply roundness, then add a single oval of cream thread inside the rim to suggest liquid.
The handle is a separate felt strip, folded and stitched to the right edge before the backing layer goes on. Keep it flat and narrow. A cord loop sewn into the top centre hangs the whole piece; the saucer sits below the cup, stitched to it at two points so it stays level on the branch.
🛍 Shopping guide
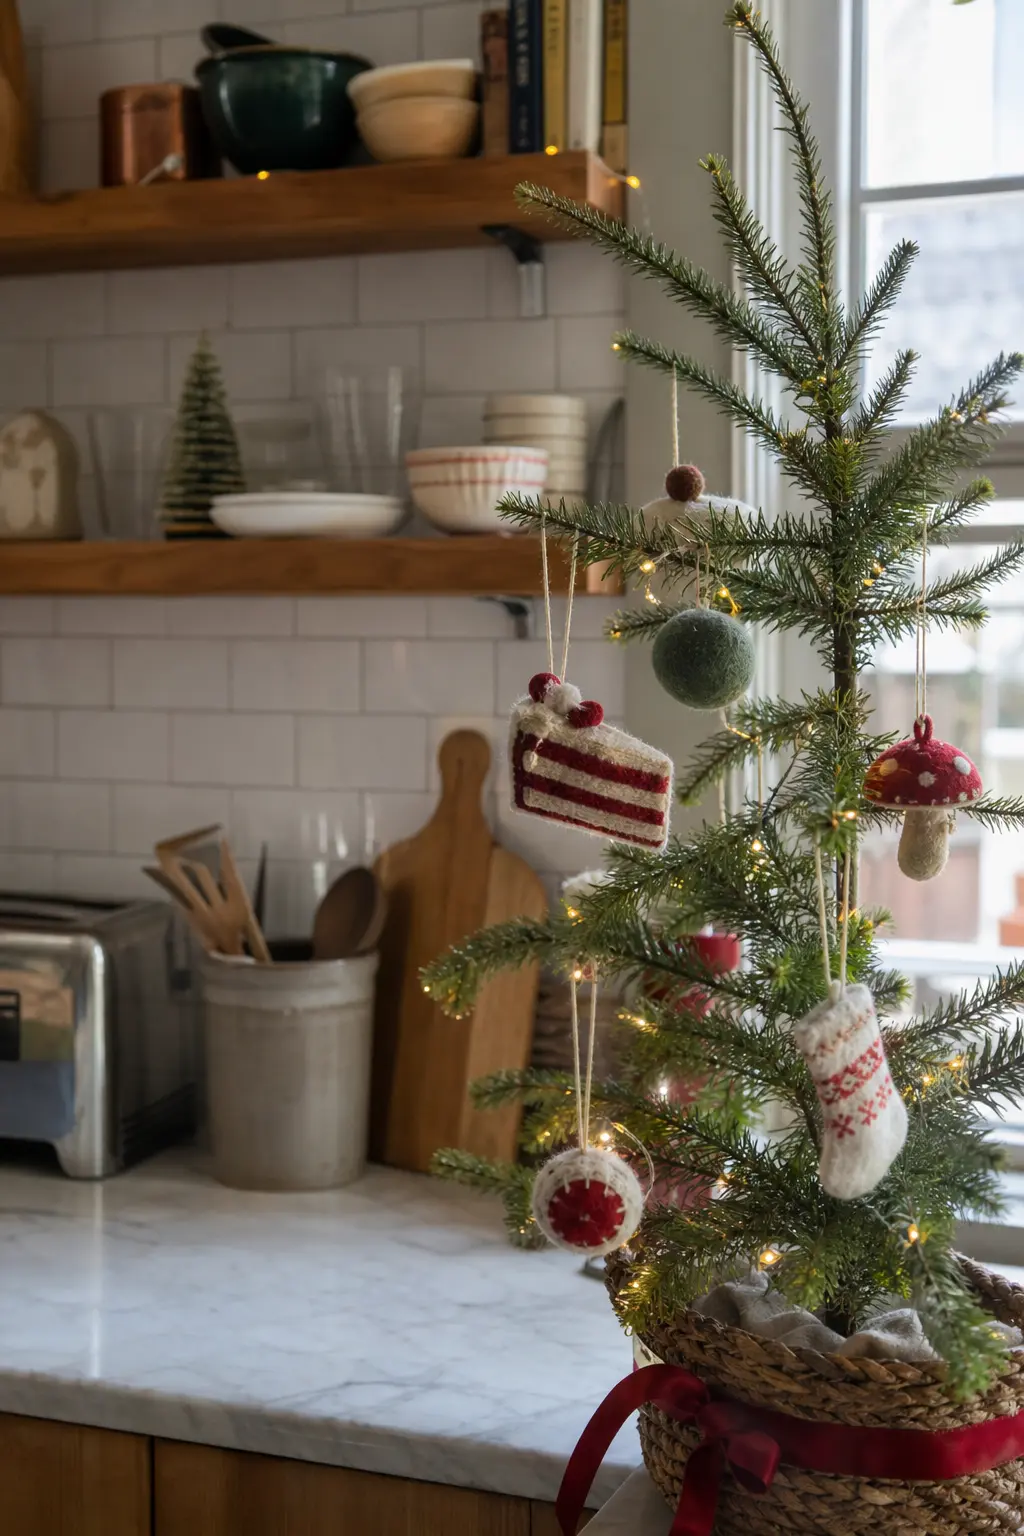
Layered Felt Cake Slice
A cake slice is a triangle with horizontal stripes, and felt handles that geometry perfectly. Cut three triangles of slightly different heights: the sponge layer in warm cream, the filling layer in a dusty raspberry, and a thin top layer in the same cream. Stack and tack them together along the two diagonal edges before adding any surface stitching.
The frosting drips are the detail that makes this ornament. Work them in a slightly thicker thread, carrying the stitch over the top edge and down the front face in uneven loops of two to five millimetres. The back layer is one clean triangle of the cream felt, whip-stitched around the perimeter to seal everything flat.
🛍 Shopping guide
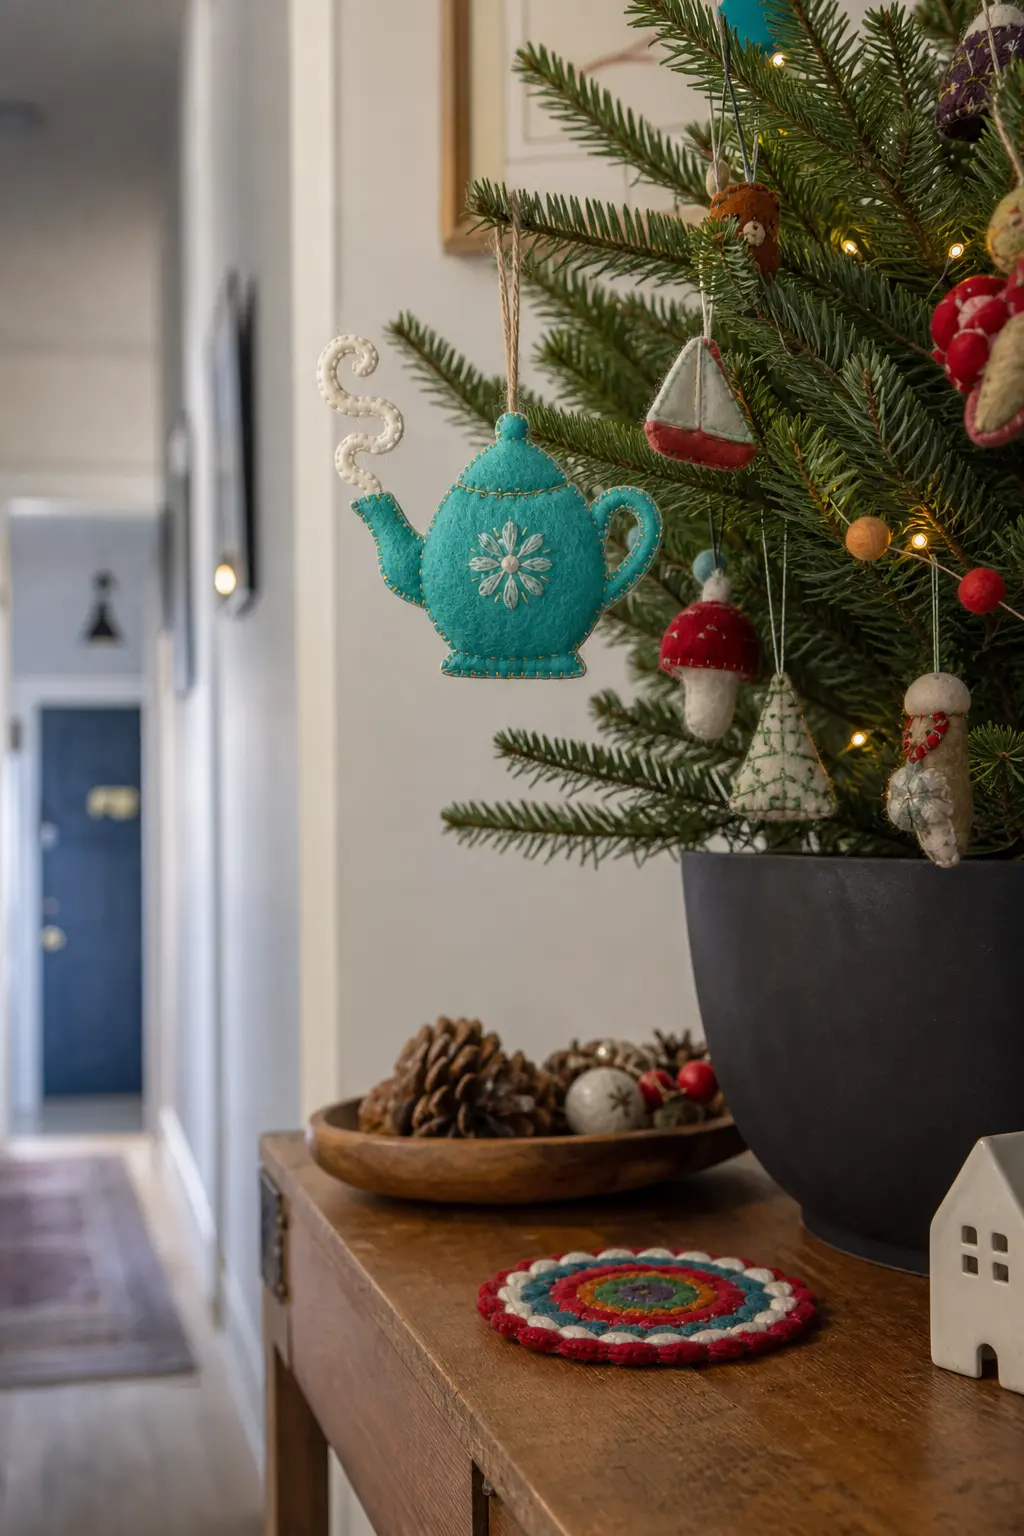
Felt Teapot with Steam Swirl
The teapot silhouette is one of the most graphic domestic shapes there is: a round body, a short spout angled left, a curved handle angled right, a flat lid with a small knob on top. Cut all of these from a single colour of deep teal felt and the shape reads at a glance.
The steam swirl is one continuous line of stem stitch that starts at the spout tip and curves upward in an S before the thread is fastened. Use a single strand of pale silver or white thread.
The simplicity of a one-colour ornament with one contrasting stitched detail is harder to achieve than a busy one, and it looks much better from a distance.
🛍 Shopping guide
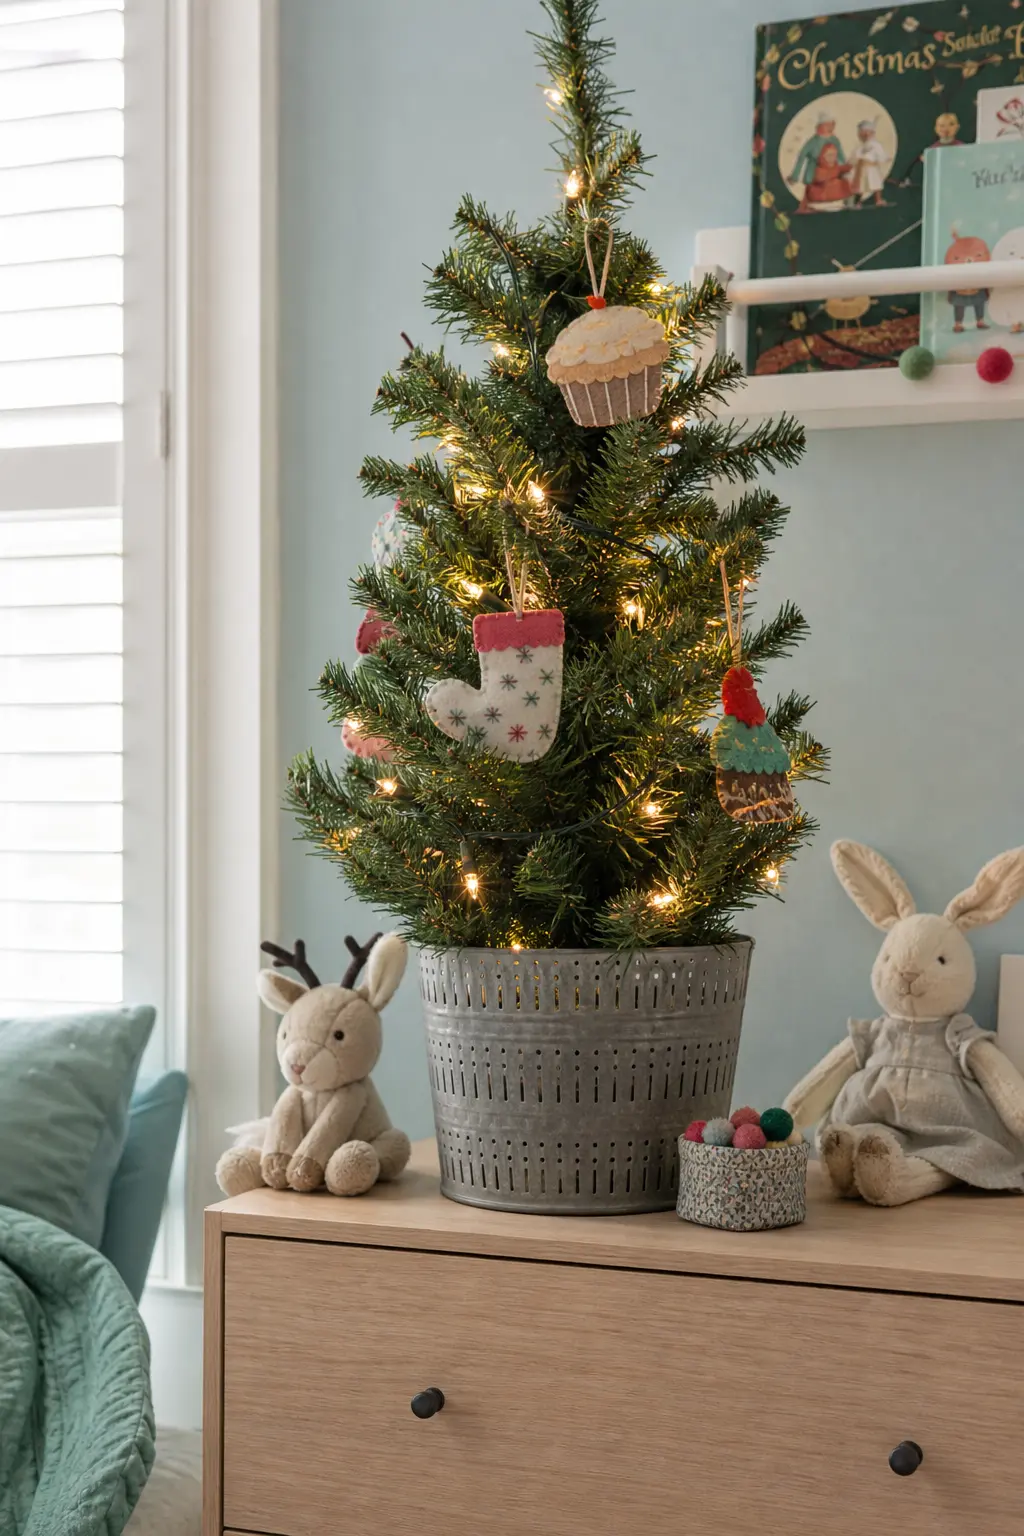
Felt Cupcake with Layered Frosting
The cupcake differs from the cake slice in its silhouette: a fluted base, then a domed frosting top that overhangs the case on both sides.
Cut the case from a warm terracotta felt and score it with vertical lines of running stitch to suggest the paper pleats. Cut the frosting dome from a pale blush felt, slightly wider than the case, so it creates a ledge.
Layer a second, smaller dome of the same blush on top of the first to give the frosting height without any stuffing. A single French knot in a bright contrasting thread sits on the apex as a cherry. The whole ornament is under ten centimetres tall and reads beautifully at the top of a tree where height is limited.
🛍 Shopping guide
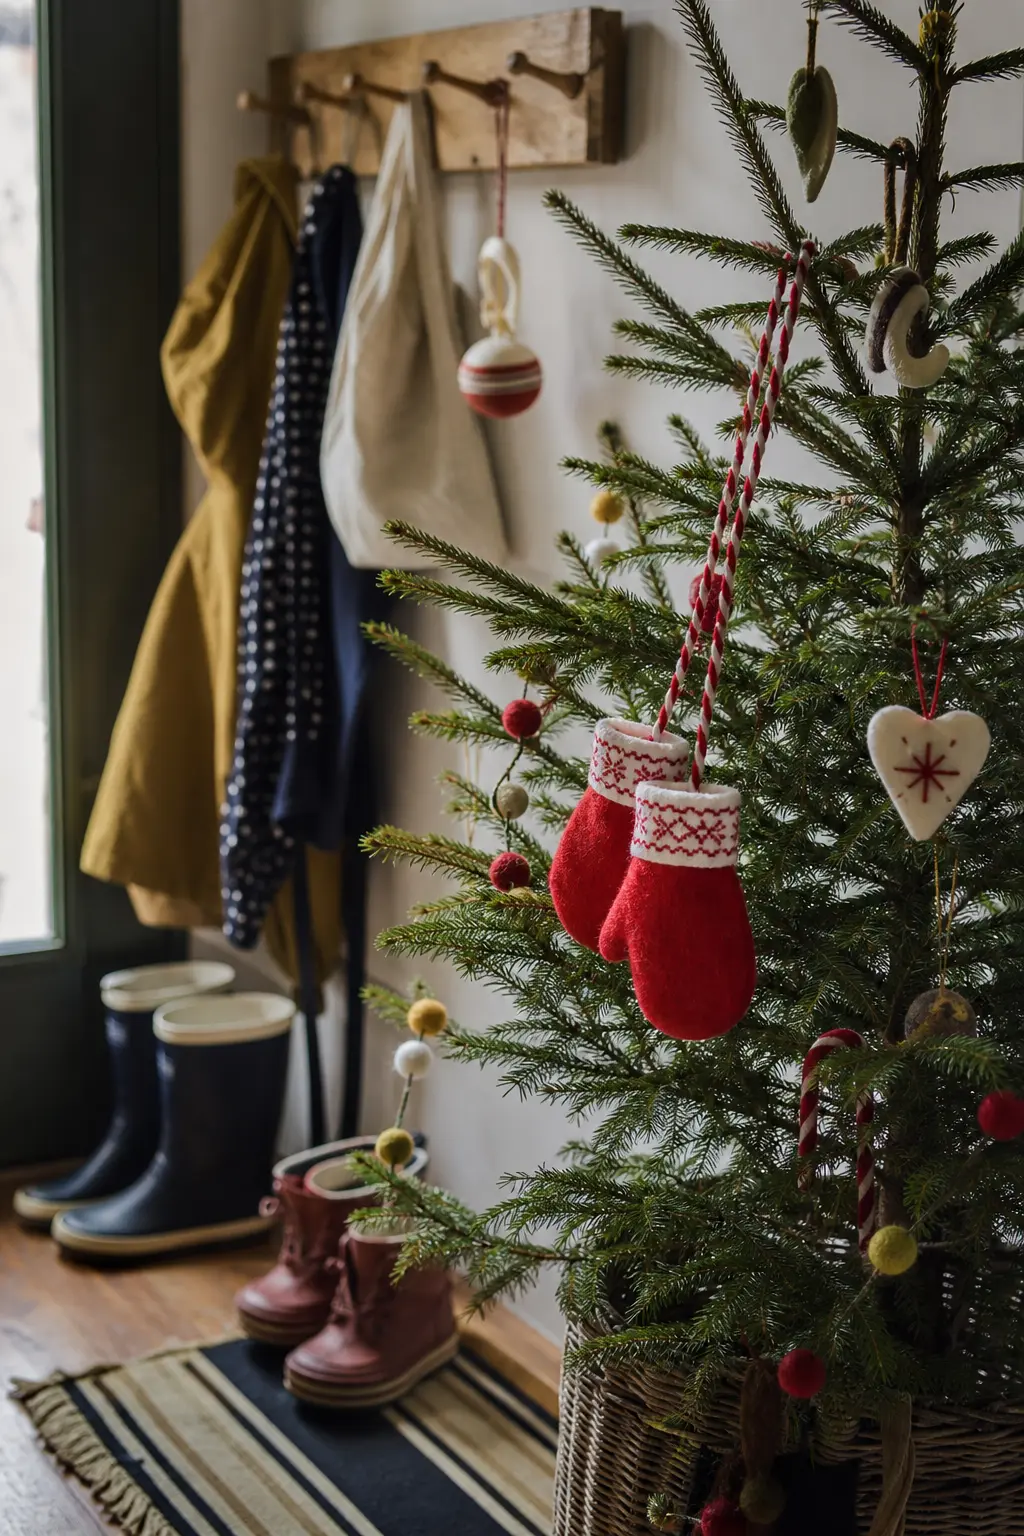
Felt Mitten Pair on a Cord
Two mittens joined by a cord is a domestic object shape that most people recognise immediately as belonging to a child’s winter coat.
Cut the pair from the same felt colour, work a row of running stitch around the cuff edge of each in a contrasting thread, and then join them with a length of twisted or braided cord long enough to let them hang separately on the tree, one on each side of the cord loop.
The interest is in the cuff detail: a band of a contrasting felt colour stitched across the base of each mitten and embellished with a simple geometric repeat in running stitch. Diamonds, or a simple wave, or a row of crossed stitches all work.
The cord itself is the hanging mechanism: loop it over the branch and let both mittens dangle, which is exactly how a child’s mittens hang from a coat hook.
🛍 Shopping guide
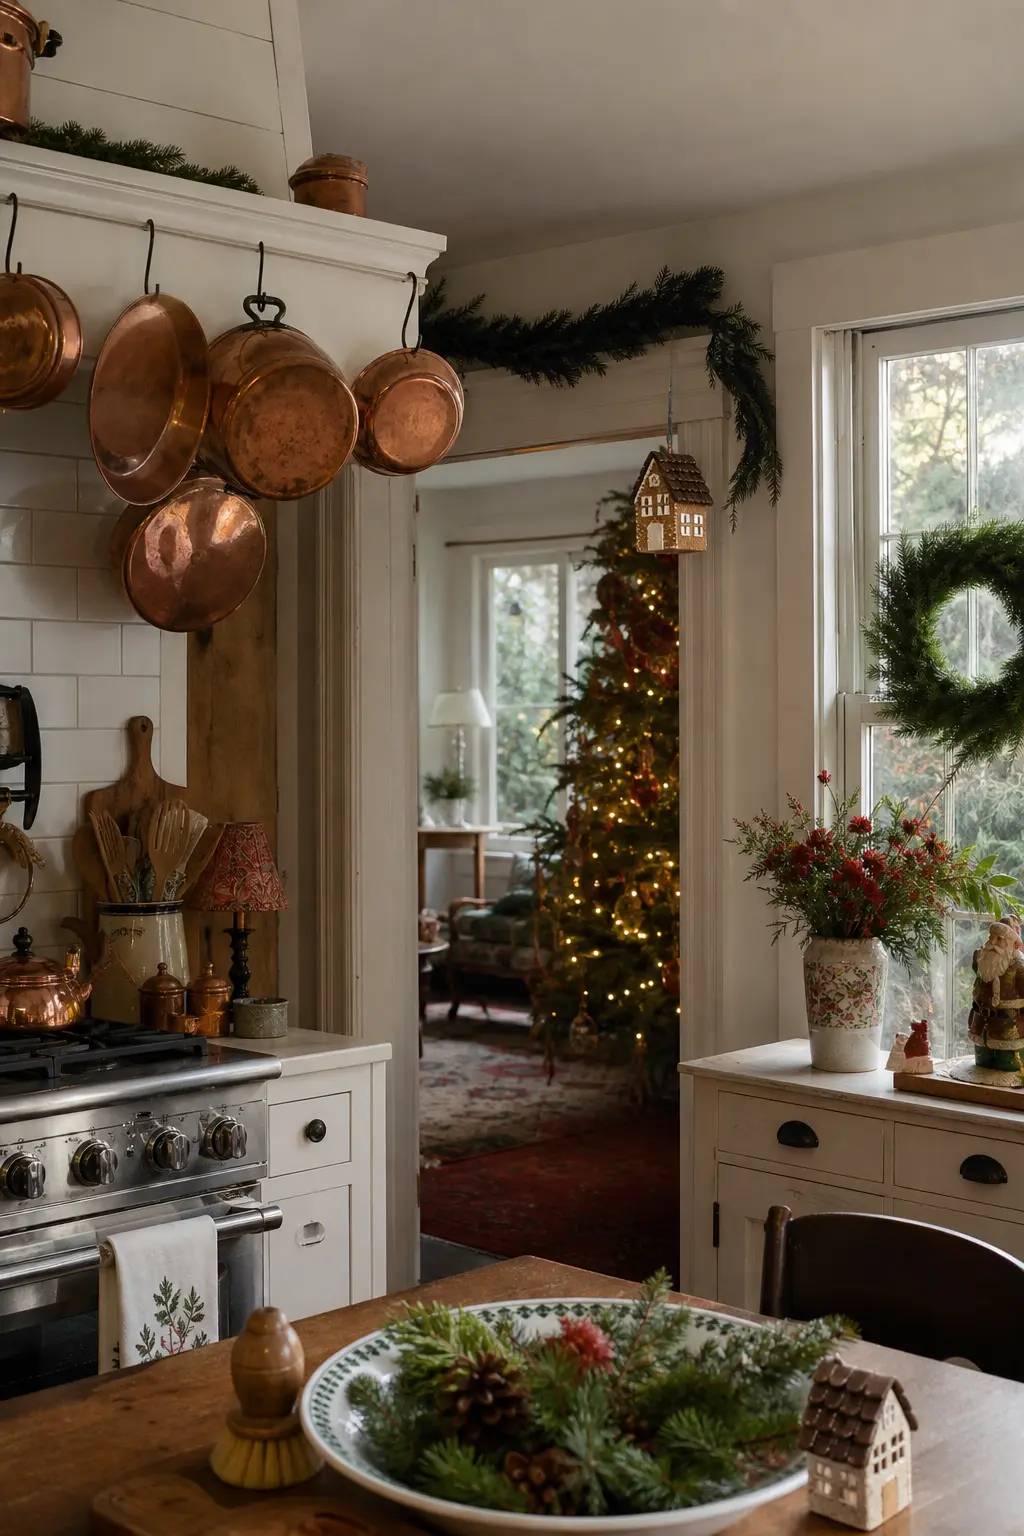
Felt Gingerbread House with Layered Shingles
This is a Christmas subject handled in an un-Christmas way. Cut the house body from a warm caramel or ginger felt.
Cut the roof separately in a darker brown felt, then cut small rectangular shingles from an even darker tone and layer them in overlapping rows from the roof ridge down to the eaves, each row stitched along its top edge only so the lower edge sits proud of the row below.
The door and window are small rectangles of cream felt tacked flat with a row of backstitch for the frame.
Icicle drips hang from the eaves as looped thread, not cut felt, which is faster and more convincing than trying to cut thin felt strips without fraying. Hang from a cord through the roof ridge.
The layered shingle technique is the same one used on the owl feathers: different object, identical method, which is why it is worth learning once.
🛍 Shopping guide
Music and Sound
Anything circular is a gift to felt work because you cut it once and the shape holds. The record player and the gramophone horn give you that circle plus a graphic silhouette that looks intentional rather than improvised.
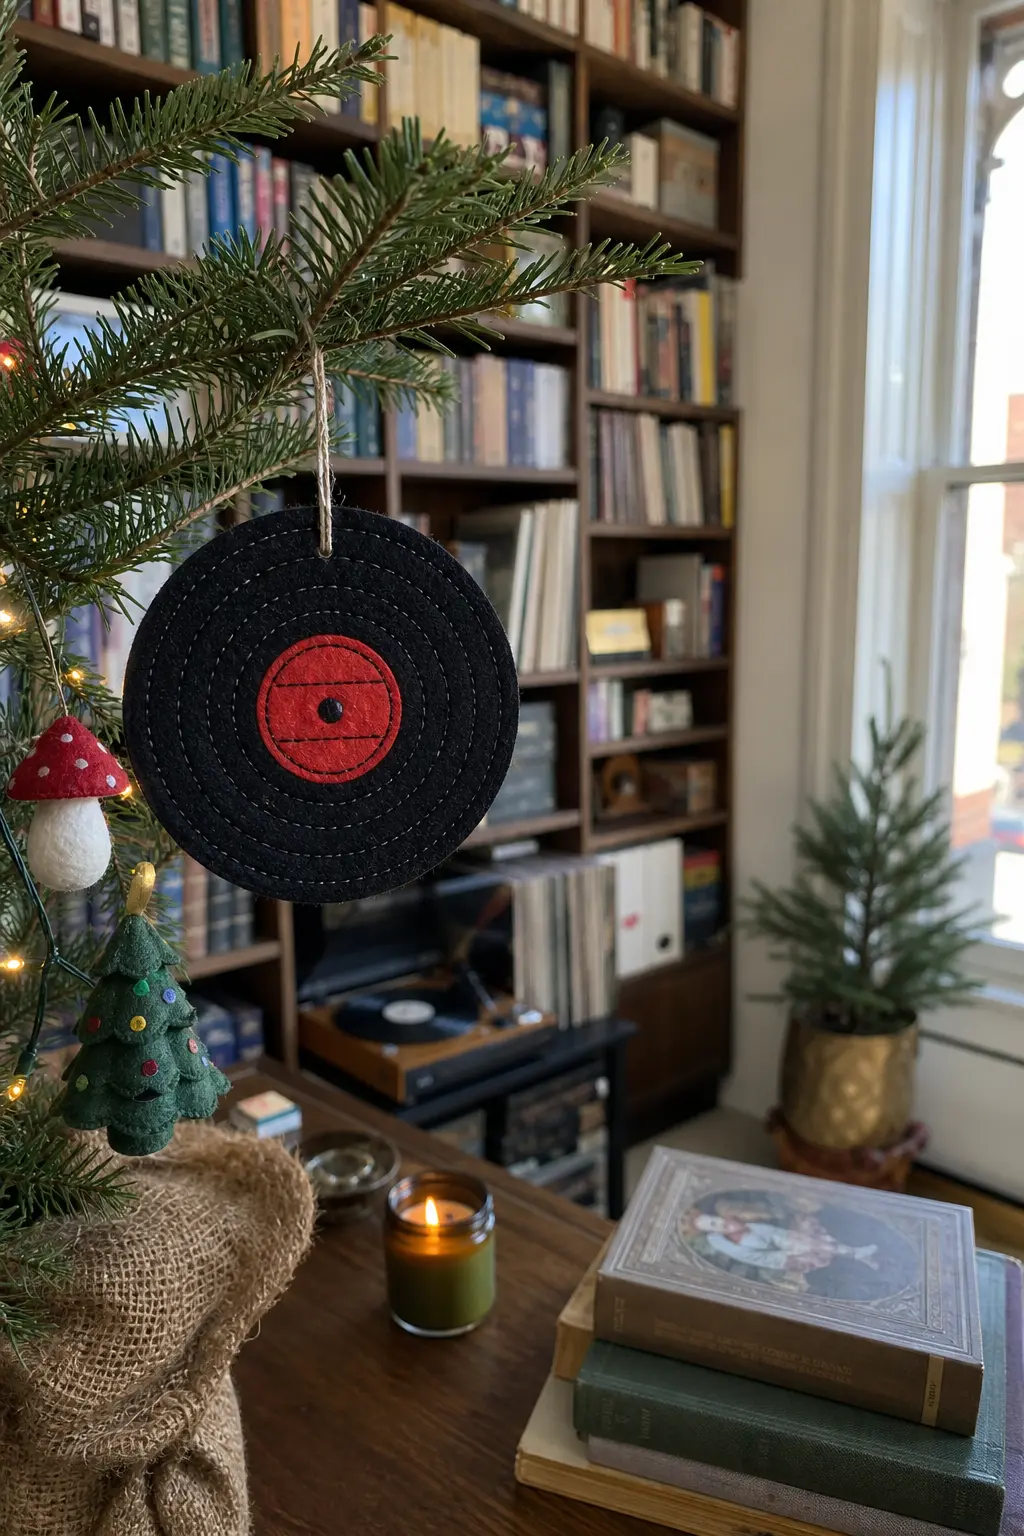
Felt Vinyl Record
Cut a circle of black felt approximately nine centimetres in diameter. Then cut a smaller circle of deep red felt for the label and tack it to the centre.
The grooves are the whole design: work five or six concentric circles of running stitch in dark grey thread, spacing them three millimetres apart, starting two millimetres outside the label edge and stopping five millimetres from the outer rim.
The hanging cord goes through a single hole punched at twelve o’clock with a leather punch, reinforced with a small felt washer on the reverse so the felt does not tear. This ornament rewards a matte black felt with no sheen, which reads more like vinyl and less like craft foam.
🛍 Shopping guide
Felt Record Player with Spinning Disc
The record player silhouette is a rectangle with rounded corners for the body, a smaller rectangle for the raised lid section, and a tonearm stitched in one continuous backstitch line that starts at a pivot point on the upper right and curves down to rest on the disc. Cut everything from charcoal grey felt.
The disc is a small circle of black felt stitched flat to the body with one central cross stitch holding it. The tonearm is stitched in a warm brass-coloured thread, two strands, to contrast against the charcoal.
A short length of black waxed cord through a top eyelet hangs the ornament. The whole shape is wider than it is tall, which makes it sit differently on a branch from most ornaments and reads as deliberate.

🛍 Shopping guide
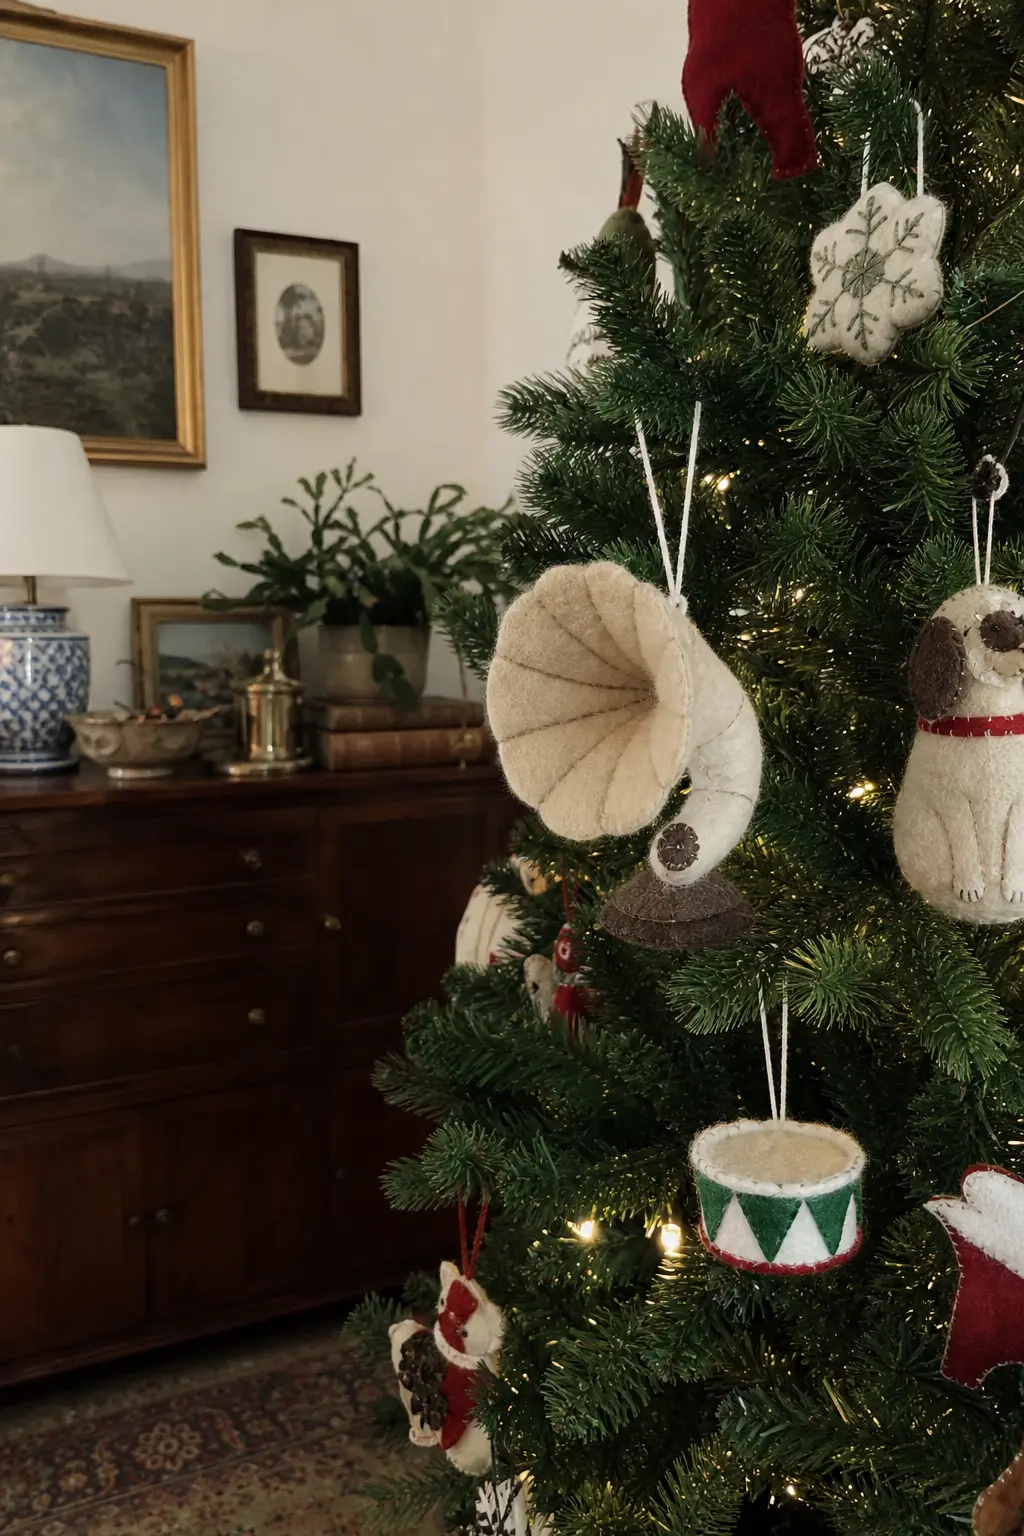
Felt Gramophone Horn
The gramophone horn is a trumpet shape: narrow at the base where it meets the machine body, flaring outward to a wide circular bell. Cut it from a single piece of warm ivory felt.
A spiral seam line stitched in a slightly darker thread, running from the narrow end to the outer edge of the bell, is the one detail that makes the shape read as three-dimensional and metallic rather than flat and soft.
The narrow base end gets a small rectangular felt tab stitched to it, suggesting the connection to the record player body that is not actually there.
Hanging cord goes through the widest point of the bell, so the horn hangs at an angle, wide end down, which is how it would sit in gravity. That tilt makes it look less like a random shape and more like the real thing.
🛍 Shopping guide
Cameras and Optical Things
Vintage camera shapes are graphic enough to read at ornament scale without fussy detail. The lens circle is the whole point, and a few straight stitches give you a shutter button and a strap lug without any bulk.
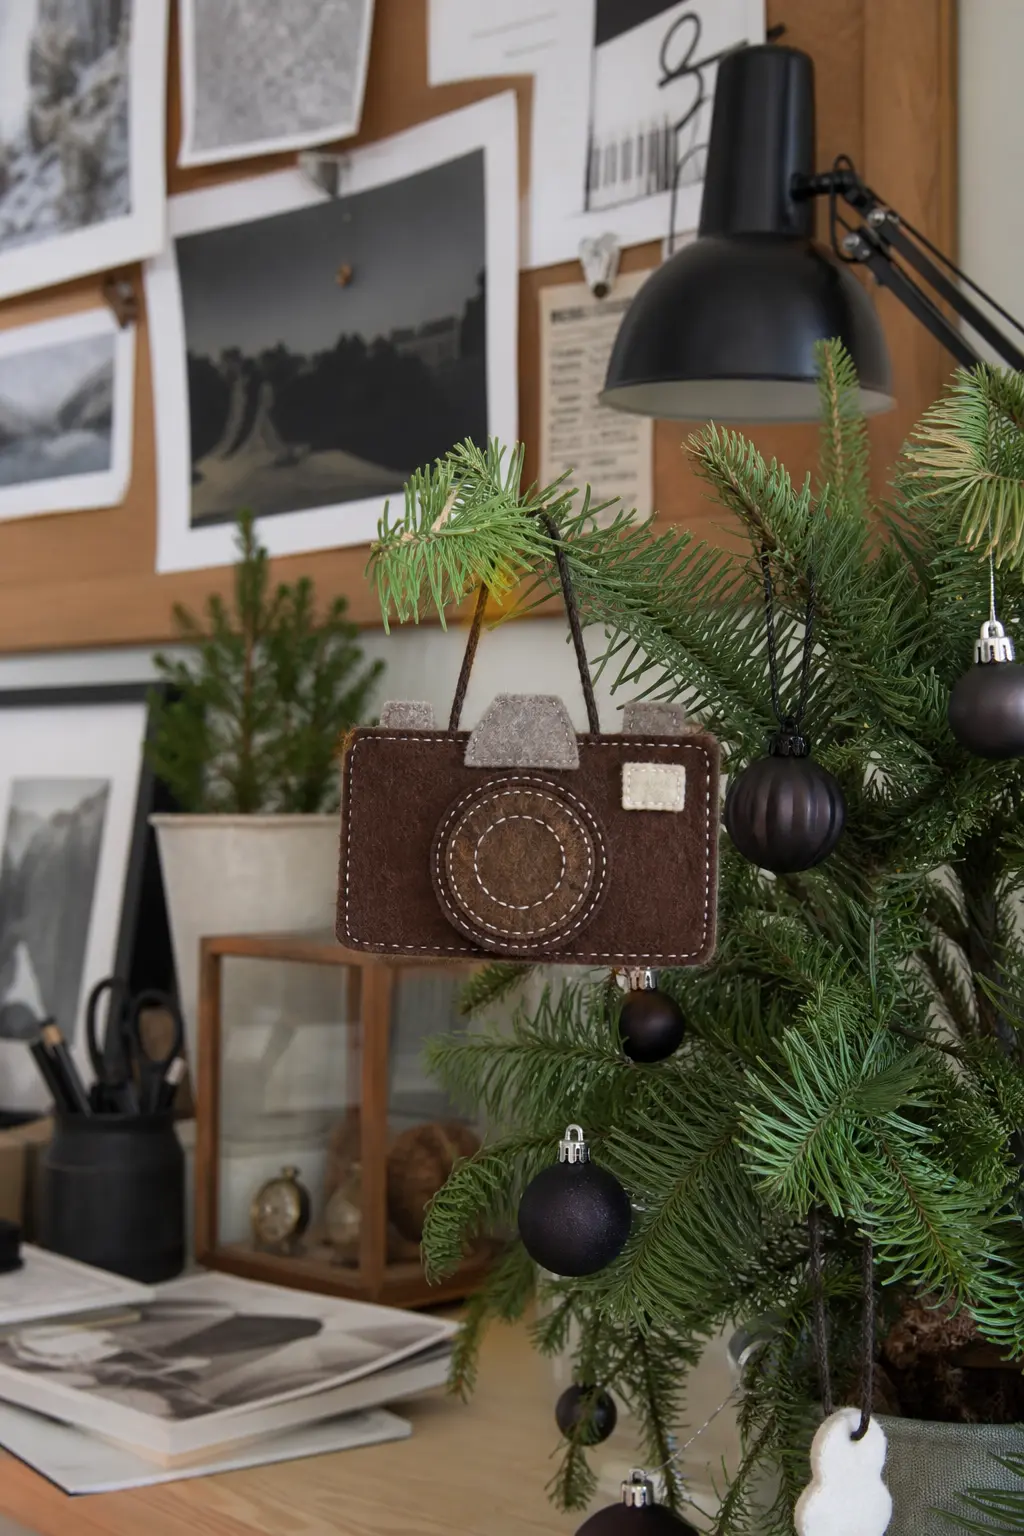
Felt Camera with Stitched Lens
Cut the body as a wide rectangle of olive or chocolate brown felt with gently rounded lower corners. The lens is a circle of a contrasting colour, stitched flat to the body centre-left.
Work a smaller circle inside the lens in a third colour to suggest depth, then add a single satin-stitch highlight: three parallel horizontal stitches of white thread at the eleven o’clock position inside the inner circle.
Two small rectangular felt tabs stitched to either side of the body suggest strap lugs.
A thin strip of leather cord or waxed linen threads through both tabs and ties at the top as the hanging loop, which doubles as the camera strap, making the design coherent rather than decorative.
The shutter button is a single French knot in silver thread on the top edge.
🛍 Shopping guide
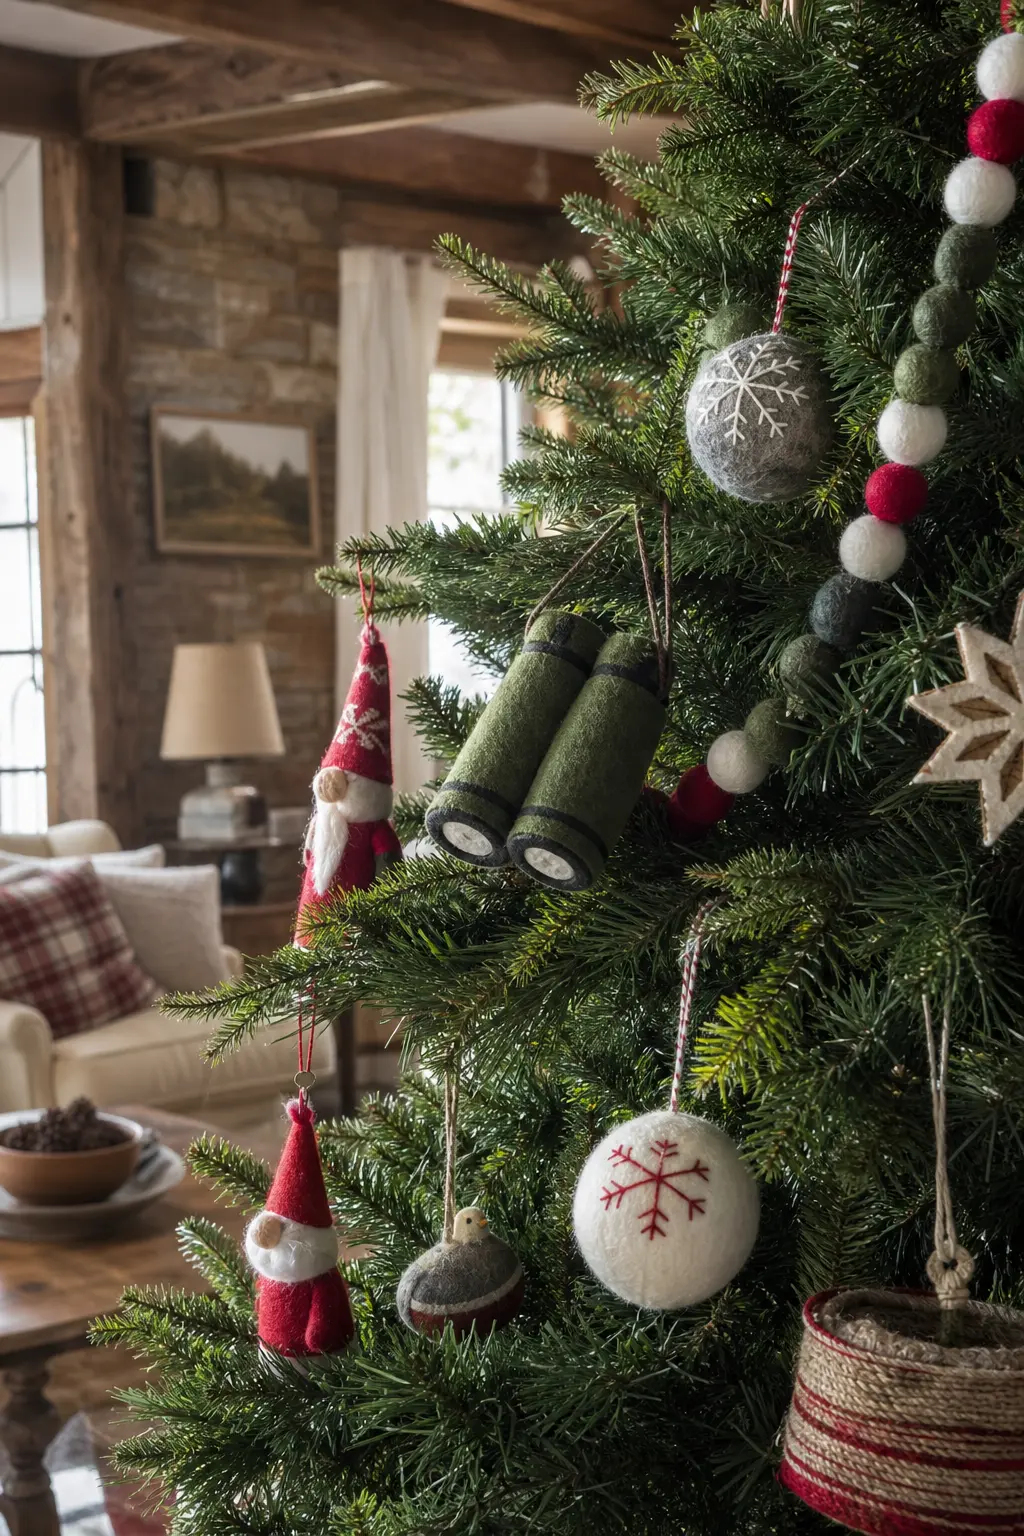
Felt Binoculars
Two cylinders side by side: that is the whole silhouette. Cut two identical ovals of forest green felt and join them along their touching edges with a neat row of whip stitch in a matching thread.
The bridge between them is a small rectangular strip stitched across the join. Each lens face gets a circle of pale grey felt stitched flat, with a four-point star of white thread at the centre suggesting reflection.
The hanging cord runs under the bridge strip and knots on the reverse, so from the front you see only the binoculars shape with a cord emerging from the top centre. That cord detail is the thing that makes the silhouette identifiable: without it, the shape could be almost anything. With it, the object is unmistakeable.
🛍 Shopping guide
Travel and Adventure
A suitcase, a globe, a hot air balloon, a lighthouse, a sailboat: each one has a silhouette so distinct that you could cut it from a single colour and still know what it is. Stitched detail is decoration, not explanation.
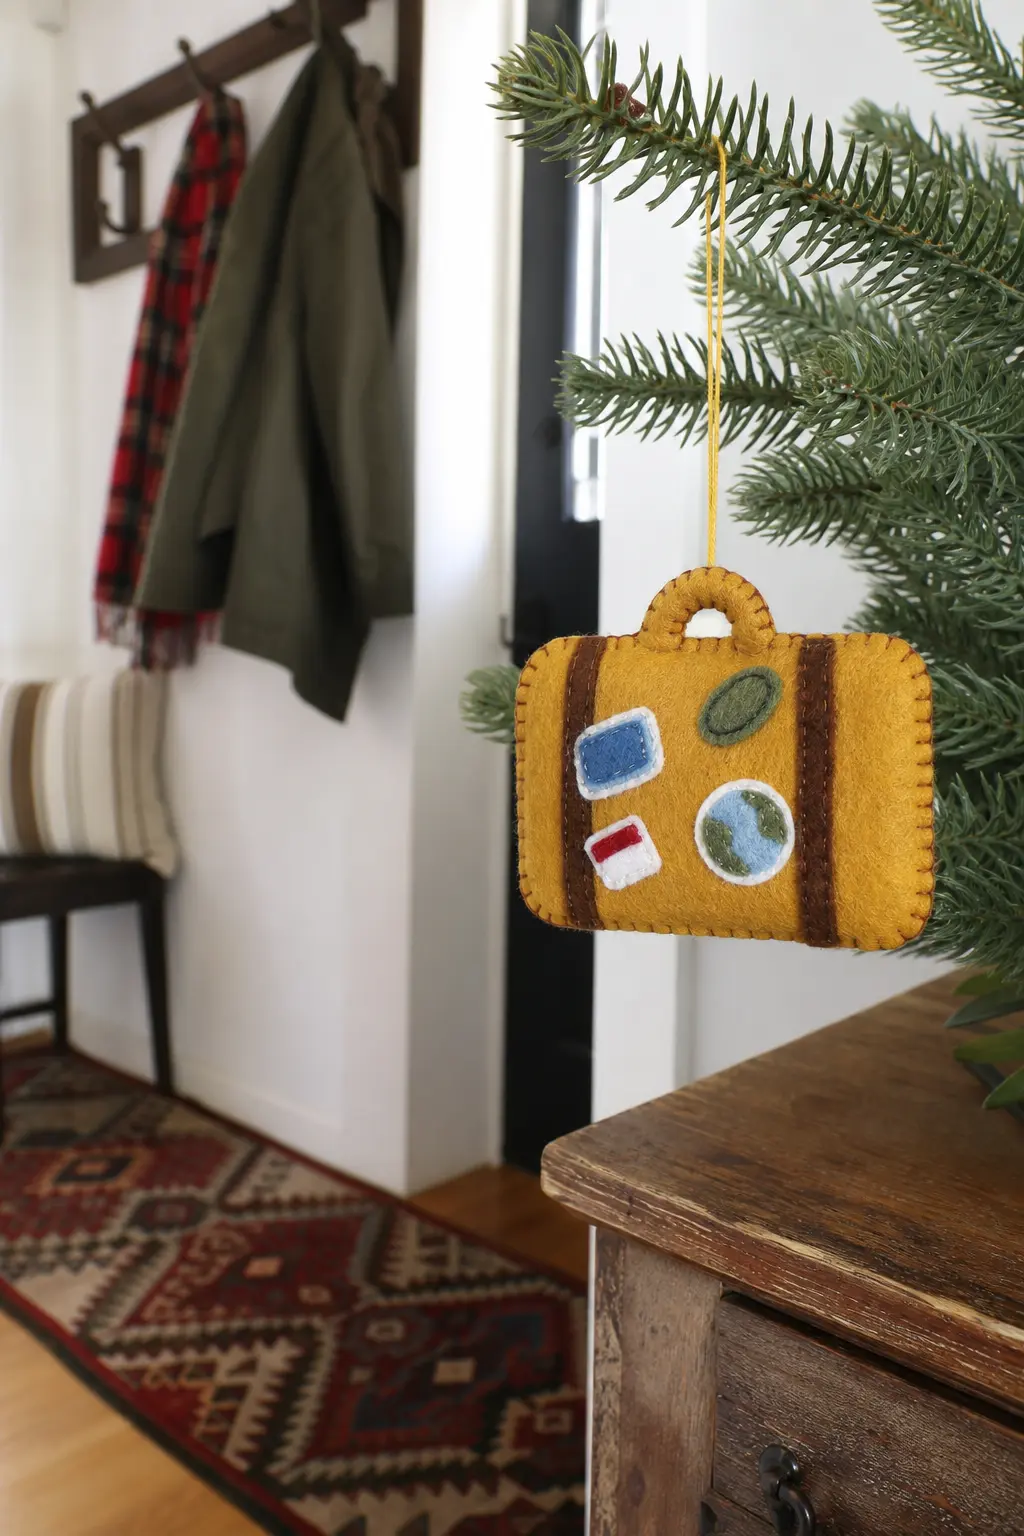
Felt Suitcase with Travel Stickers
A suitcase silhouette is a rectangle with a smaller rectangular handle bar at the top, two small circular wheels at the bottom corners, and a horizontal seam line stitched across the middle. Cut the body from a warm mustard felt.
The travel stickers are small ovals and rectangles of contrasting felt, tacked to the body surface with a single cross stitch each, slightly overlapping each other as real stickers would.
Keep the sticker colours deliberately limited: two or three, all muted, so the ornament does not become busy.
A row of running stitch around the perimeter of the whole ornament, worked in a thread one shade darker than the body felt, suggests the seam of the suitcase itself.
The hanging loop is a short piece of the same waxed cord as the handle shape, so the ornament looks like it is hanging by its own handle.
🛍 Shopping guide
Felt Globe with Stitched Continents
Cut a circle of deep navy or teal felt for the ocean layer. Then cut small, irregular land-mass shapes from a muted sage or ochre felt and tack each one flat to the circle surface, placing them approximately where the actual continents sit.
Outline each landmass with a single row of backstitch in a thread that matches the land felt, which gives each shape a clean edge without bulk.
A thin arc of pale thread stitched across the upper portion suggests a meridian line. The top of the circle gets a small rectangular tab of the same navy felt, folded and stitched, through which the hanging cord runs.
This ornament benefits from a slightly larger cutting size than the others in the set: ten to twelve centimetres in diameter reads better than eight, because the continent shapes need room to be legible.

🛍 Shopping guide
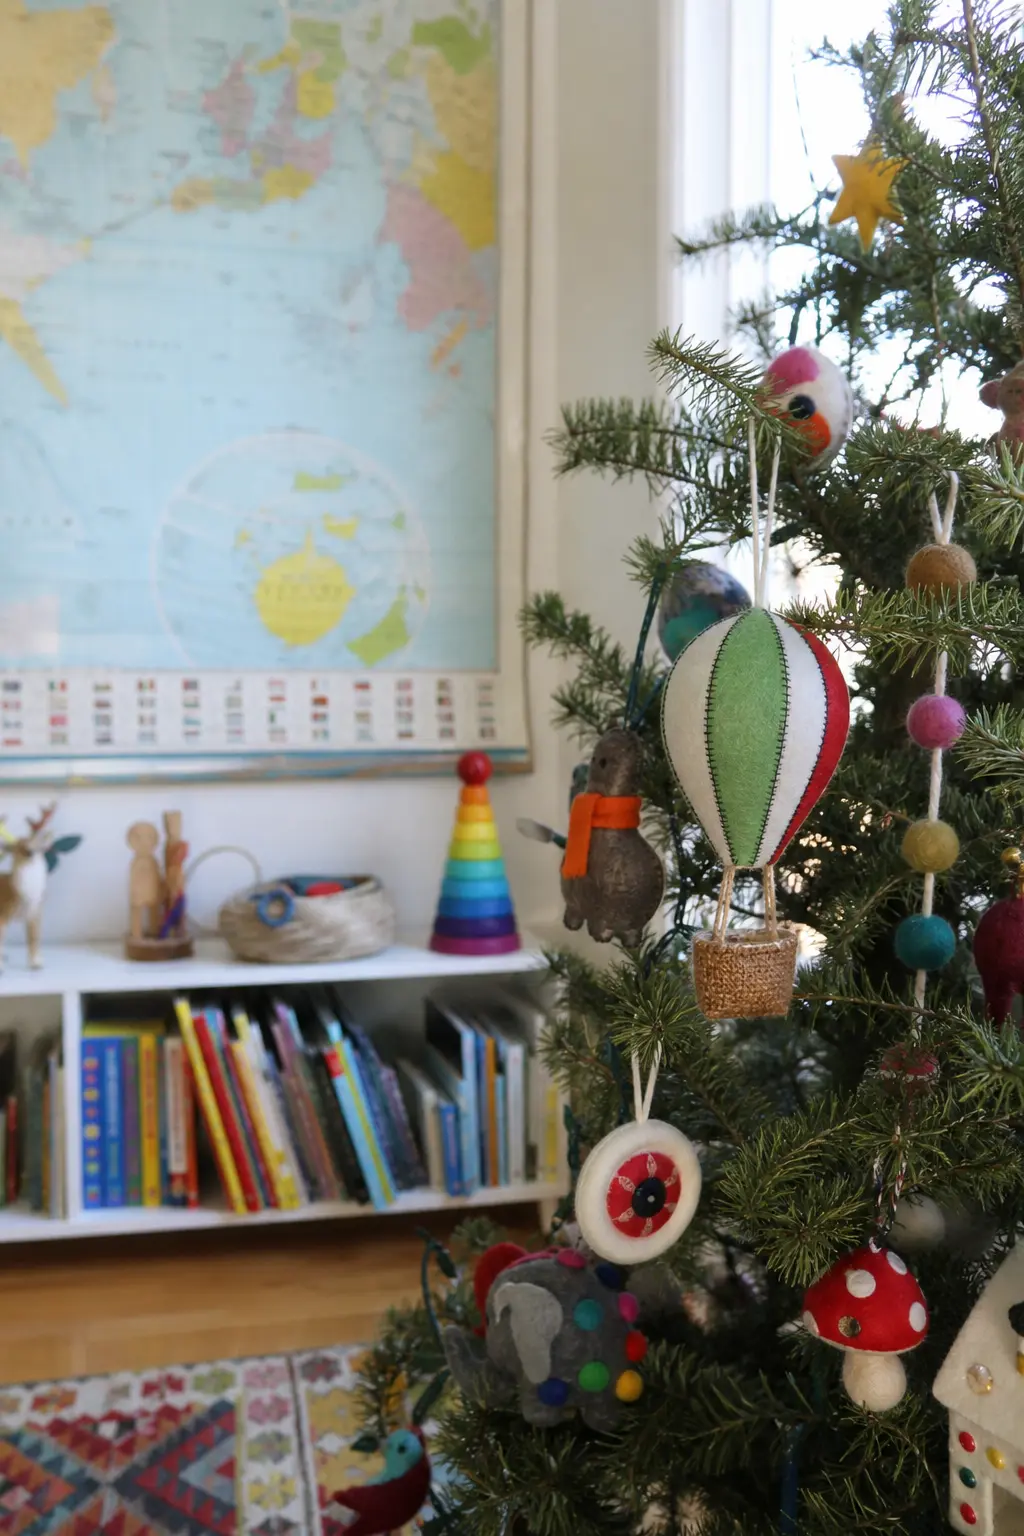
Felt Hot Air Balloon with Stitched Basket
The balloon is a large teardrop of felt in one base colour. Vertical panels stitched in contrasting thread colours divide it into four or five sections from crown to widest point, giving the illusion of a panelled envelope. Use two strands of embroidery thread for these lines so they are visible from across a room.
The basket is a small rectangle of a warm tan or brown felt stitched below the balloon, connected by three or four short vertical lines of backstitch for the ropes.
Keep the basket narrow, no more than half the width of the balloon base, so the proportions stay true.
Hang the whole piece from a cord stitched into the crown of the balloon, which means the ornament hangs balloon-up, basket-down, exactly as a real one would fly.
🛍 Shopping guide
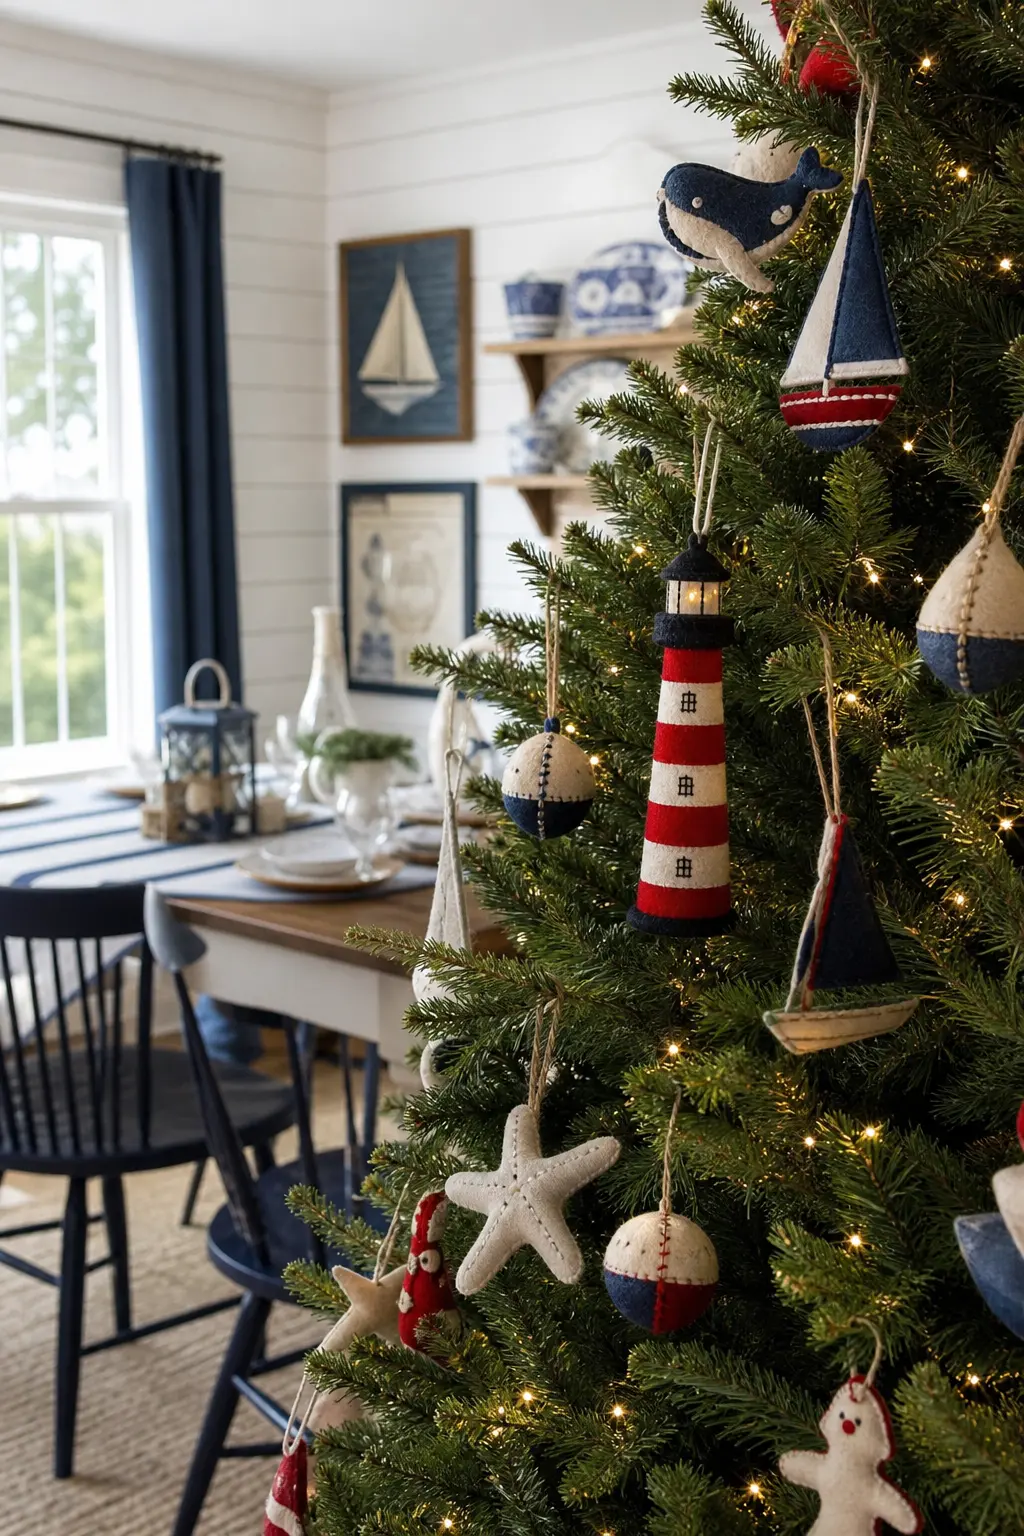
Felt Lighthouse with Striped Body
The lighthouse silhouette is a tall tapered rectangle, slightly narrower at the top, with a small lantern room cap cut from a contrasting colour.
The stripes are horizontal bands of alternating felt strips, cut narrowly and stitched to the body before the backing layer is applied. Three or four stripes are enough: more than five makes the ornament look striped rather than architectural.
The lantern room at the top gets a single horizontal row of long stitches in a warm yellow thread to suggest windows lit from inside. A small felt star or diamond shape sits at the very apex as the light itself.
Because the ornament is tall and narrow, it hangs well near the trunk of the tree where other ornaments leave vertical space free.
🛍 Shopping guide
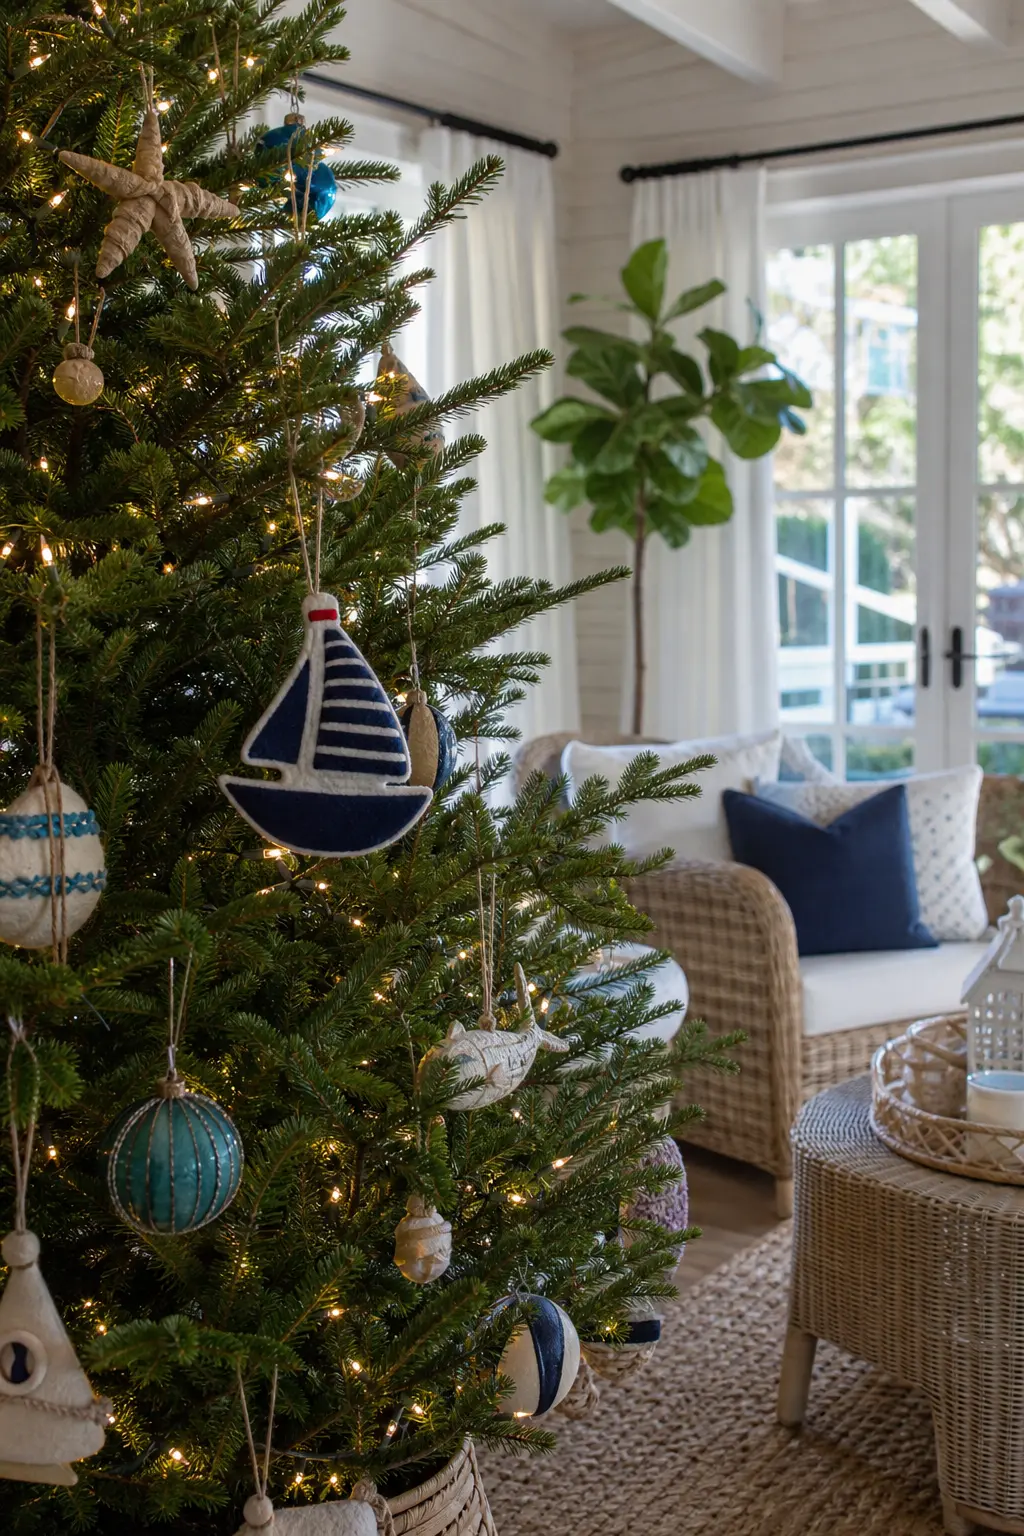
Felt Sailboat with Striped Sail
Cut the hull as a flat crescent shape in a deep navy felt: the flat edge at the top, the curve at the bottom.
Cut the mainsail as a tall triangle of white or cream felt and stitch it flat to the hull backing layer before the two main pieces are joined. A second, smaller triangle of a contrasting colour stitched in front of the mainsail becomes the jib.
The stripes on the sail are three or four horizontal rows of backstitch in a colour picked from the hull felt. The mast is a single line of backstitch in the same thread, running from the hull centre point to the sail apex.
A cord loop stitched into the top of the sail triangle hangs the ornament with the sail pointing up and the hull curve swinging below, which is the correct visual weight for the shape.
🛍 Shopping guide
Nature, Deliberately Off-Season
The cactus is the provocation of this whole list. Putting something aggressively non-wintry on a Christmas tree is a design move, not an accident. The mushroom cluster and the houseplant follow the same logic: unexpected shapes read as curated.
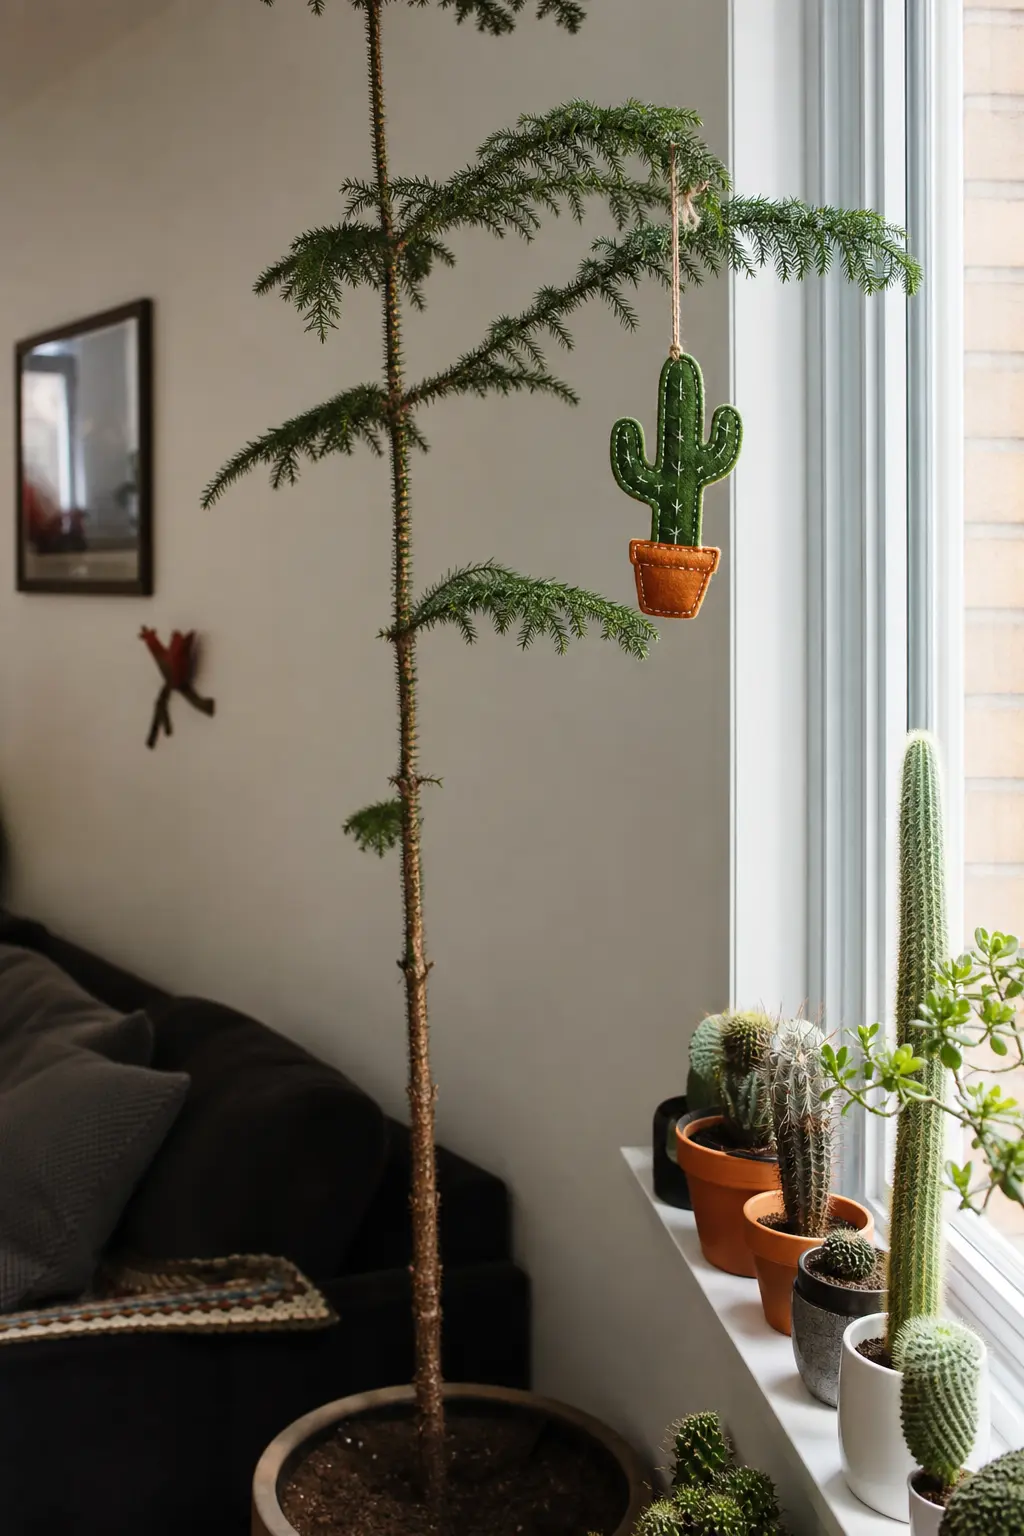
Felt Cactus in a Stitched Pot
This is the ornament that raises an eyebrow and then gets copied. Cut the cactus body from a warm medium green felt: a tall oval with two shorter arm ovals branching from the upper sides. The pot is a small trapezoid of terracotta felt stitched below, with a thin strip of a darker terracotta across the rim edge.
The cactus detail is all in the spine stitching: short radiating straight stitches in a pale thread, grouped in clusters of three or four across the surface of the cactus body and arms.
A single French knot at the crown of each arm adds a flower bud that keeps the ornament from looking too severe. The contrast between the off-season subject and the December setting is the whole point, and it earns a reaction every time.
🛍 Shopping guide
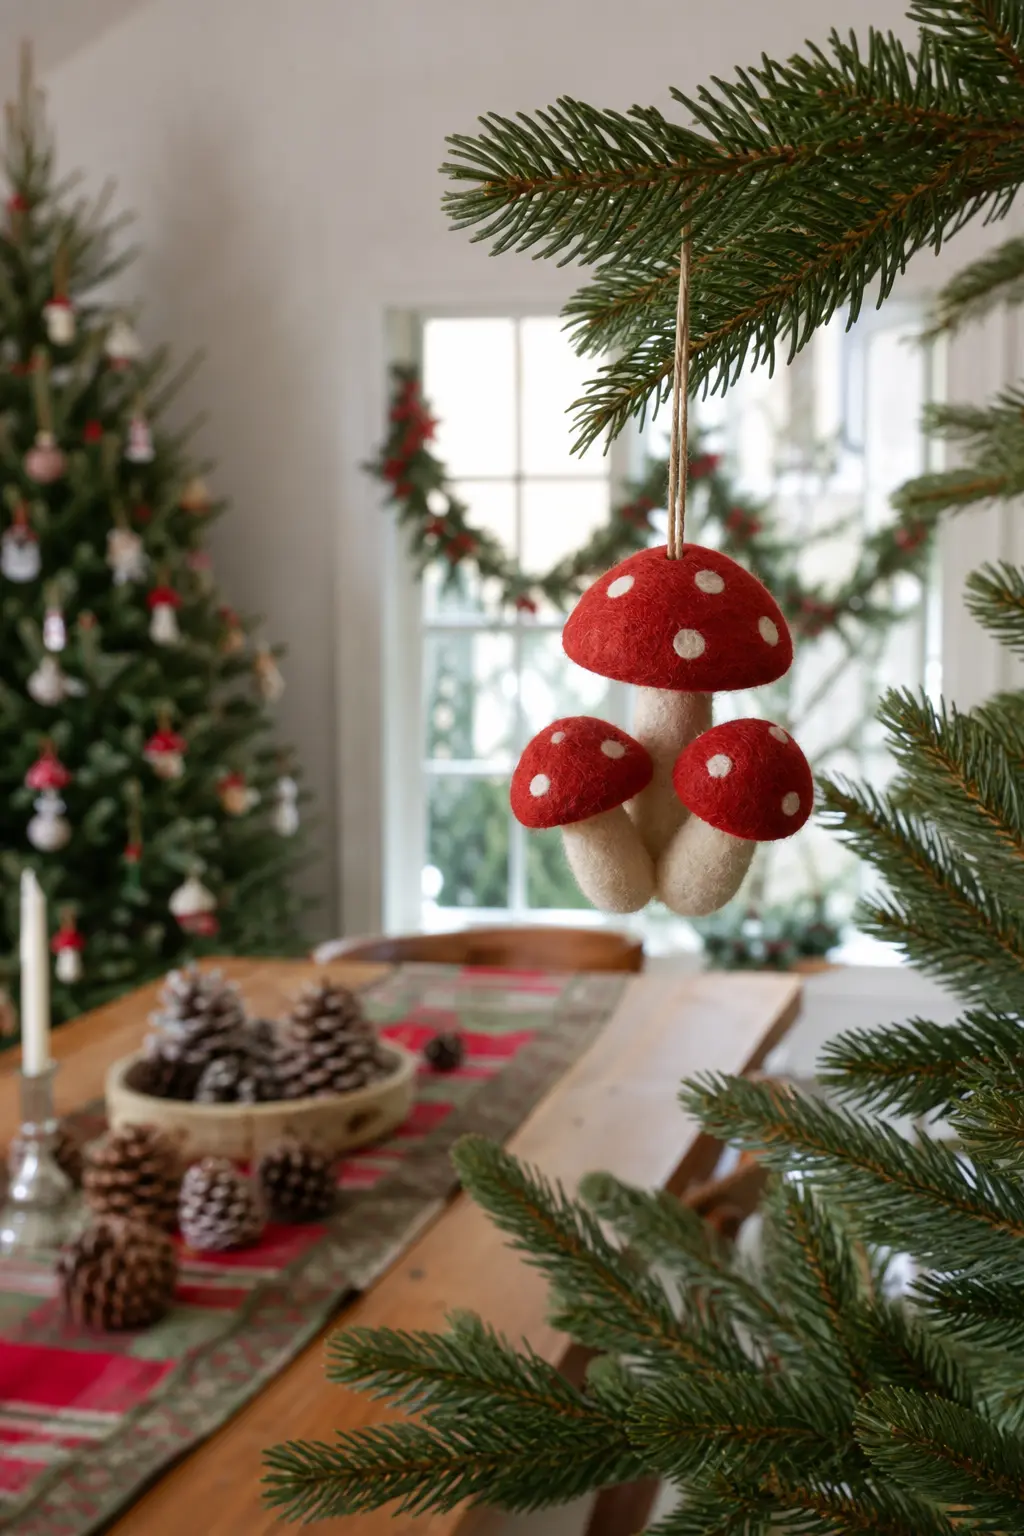
Felt Mushroom Cluster
Three mushrooms of different heights, cut as separate silhouettes and stitched together at their bases before the backing layer is applied. The tallest sits in the centre, the two shorter ones flank it.
Cut the caps from a warm rust or red felt and the stems from cream. Each cap gets small circles of white felt tacked to its surface, using a single stitch each, to suggest the spots.
The gills are a fan of straight stitches in a thread one shade darker than the cap felt, radiating from the stem attachment point downward under the cap edge.
You only need four or five gill lines per cap and they read clearly against the solid felt.
The cluster as a whole hangs from a cord attached to the centre cap at its apex, so the tallest mushroom points up and the group fans below.
🛍 Shopping guide
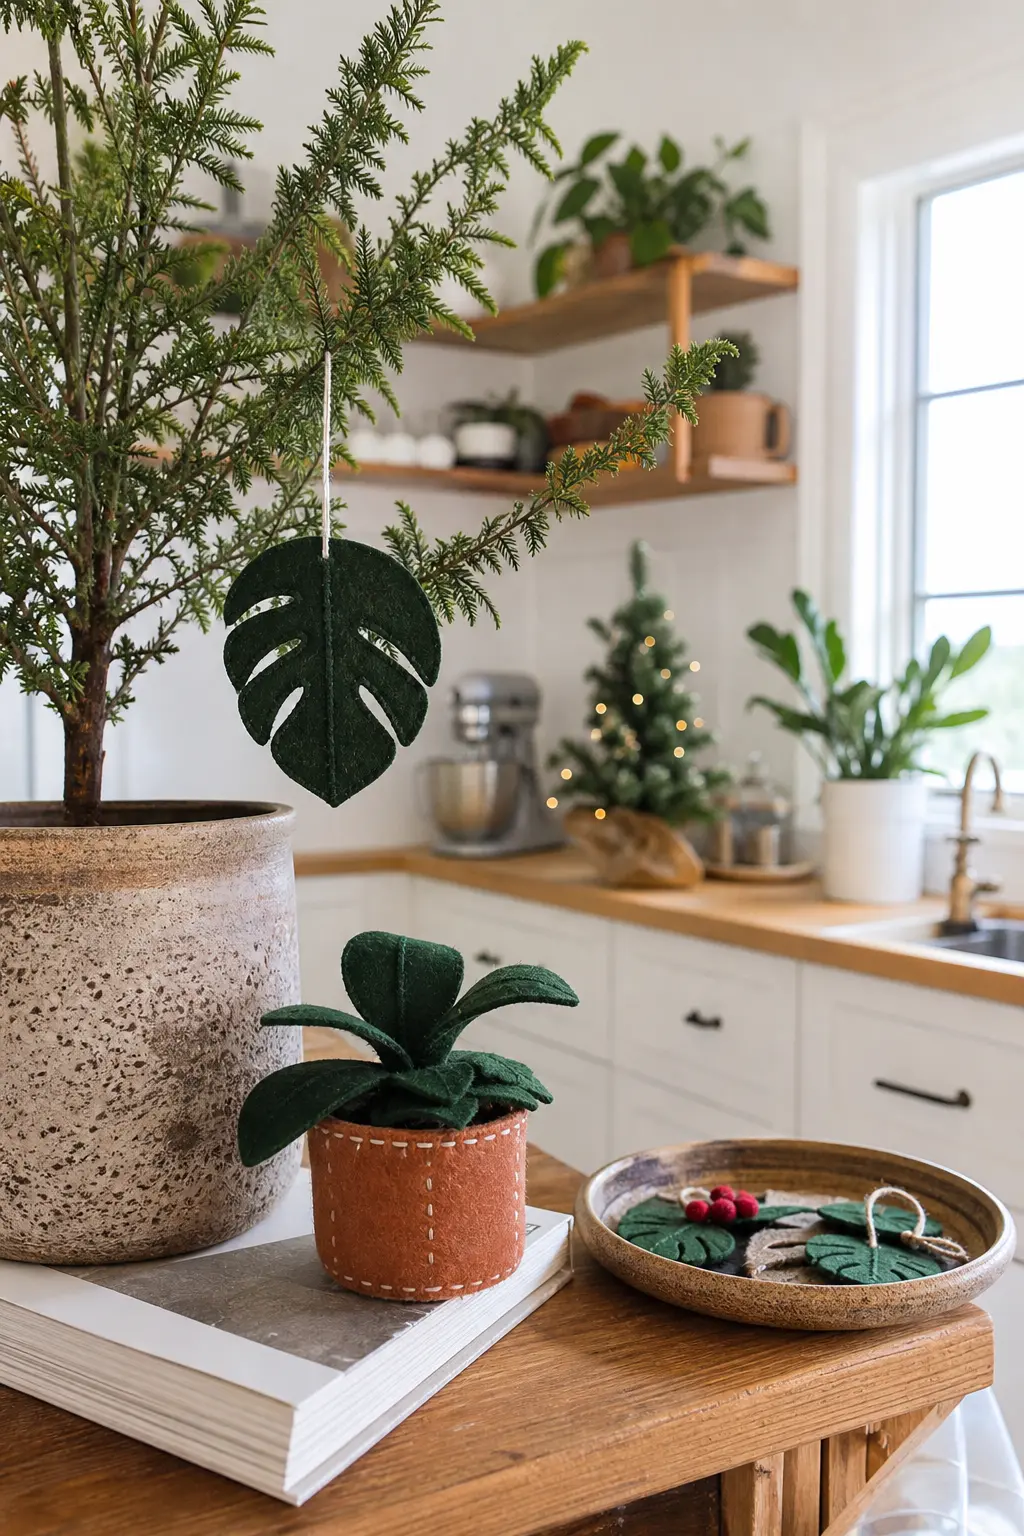
Felt Houseplant in a Stitched Pot
A monstera leaf is the most graphic houseplant silhouette available, and it translates directly to felt. Cut the main leaf shape from a deep jungle green felt and use small, sharp scissors to cut the characteristic splits and holes. This is where good scissors matter: blunt ones drag and compress the felt edges.
The pot is a simple rounded trapezoid in a warm clay felt stitched below the leaf stem.
Add a soil line of dark brown felt across the top of the pot and a single horizontal running stitch across the pot body to suggest the rim line.
The leaf hangs from a cord stitched into the stem base, so the leaf itself curves naturally above the pot, following gravity. No stuffing needed because the large flat leaf shape has enough visual weight on its own.
🛍 Shopping guide
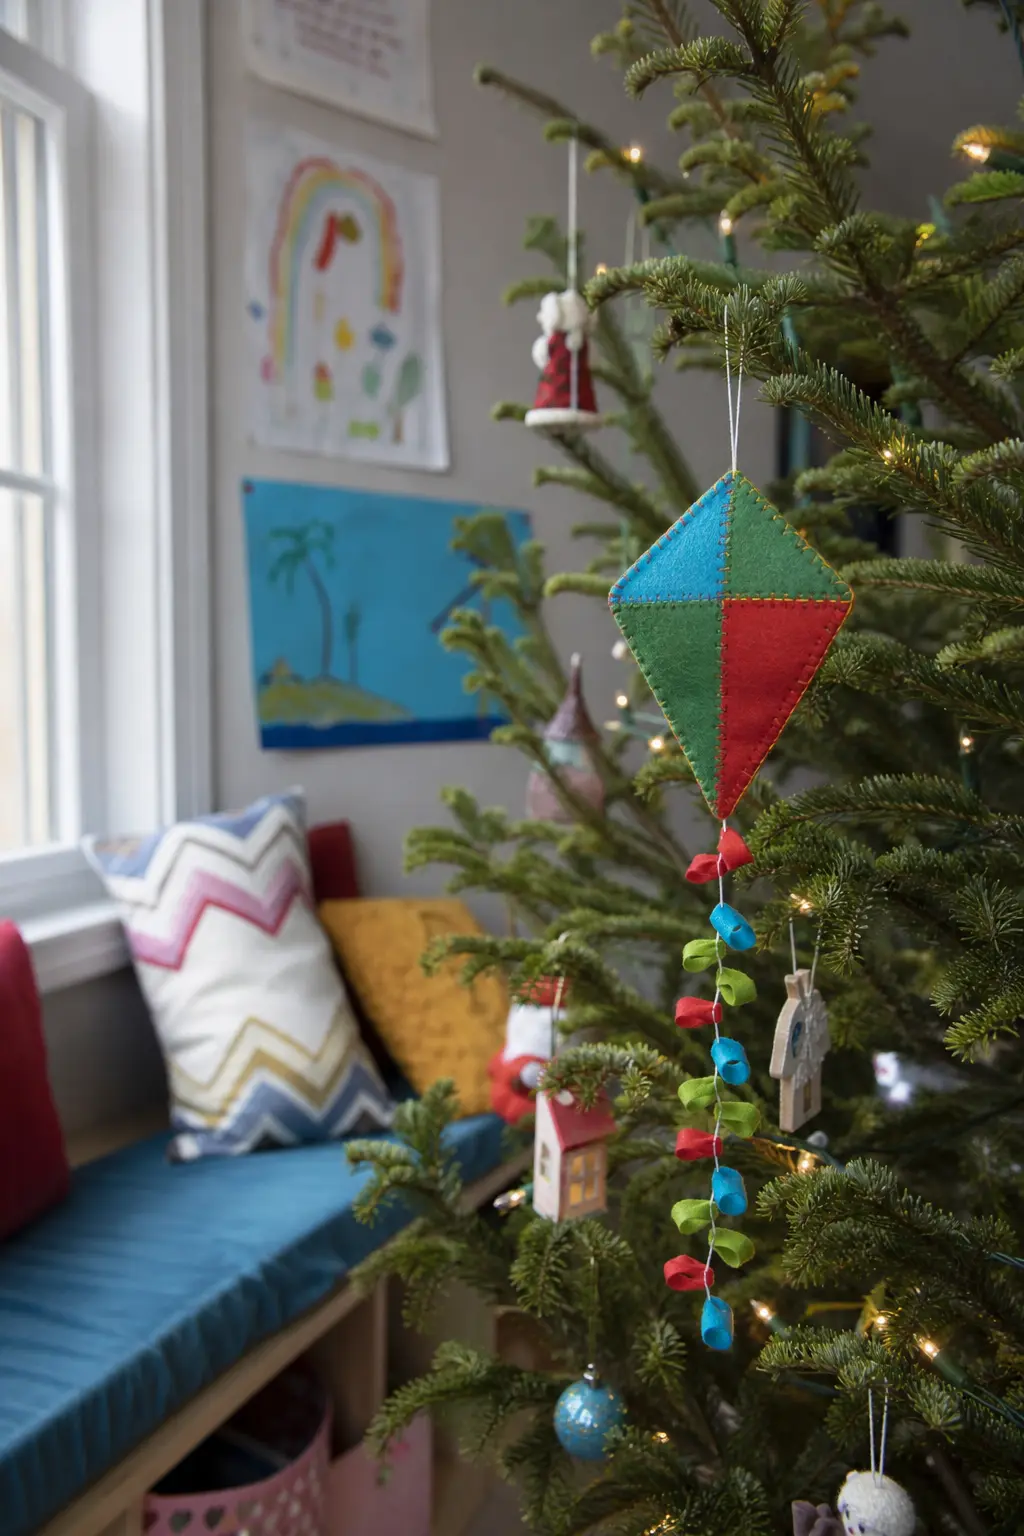
Felt Kite with Ribbon Loop Tail
A kite is a diamond divided into four triangles by two crossed lines, stitched in contrasting thread. Cut the diamond from a single colour of felt and work the two diagonal seam lines in a thread that contrasts strongly enough to be legible from across the room. Two strands, backstitch, is the right combination.
The tail is the feature that makes this ornament lively on a branch. Cut a length of narrow ribbon approximately fifteen centimetres long and tie three or four small loops along it at irregular intervals before stitching the top end to the kite’s lower point.
The ribbon moves with any air movement in the room, which no other ornament on this list does. Hang the kite from its top point so the diamond shape sits as a true diamond rather than a square.
🛍 Shopping guide
Creatures and Structures
An owl silhouette with layered wing feathers is more engineering than art: each felt layer overlaps the one below it by three millimetres and you whip-stitch each edge down before cutting the next. The birdcage is the opposite approach, all negative space held by a few straight lines of stem stitch.
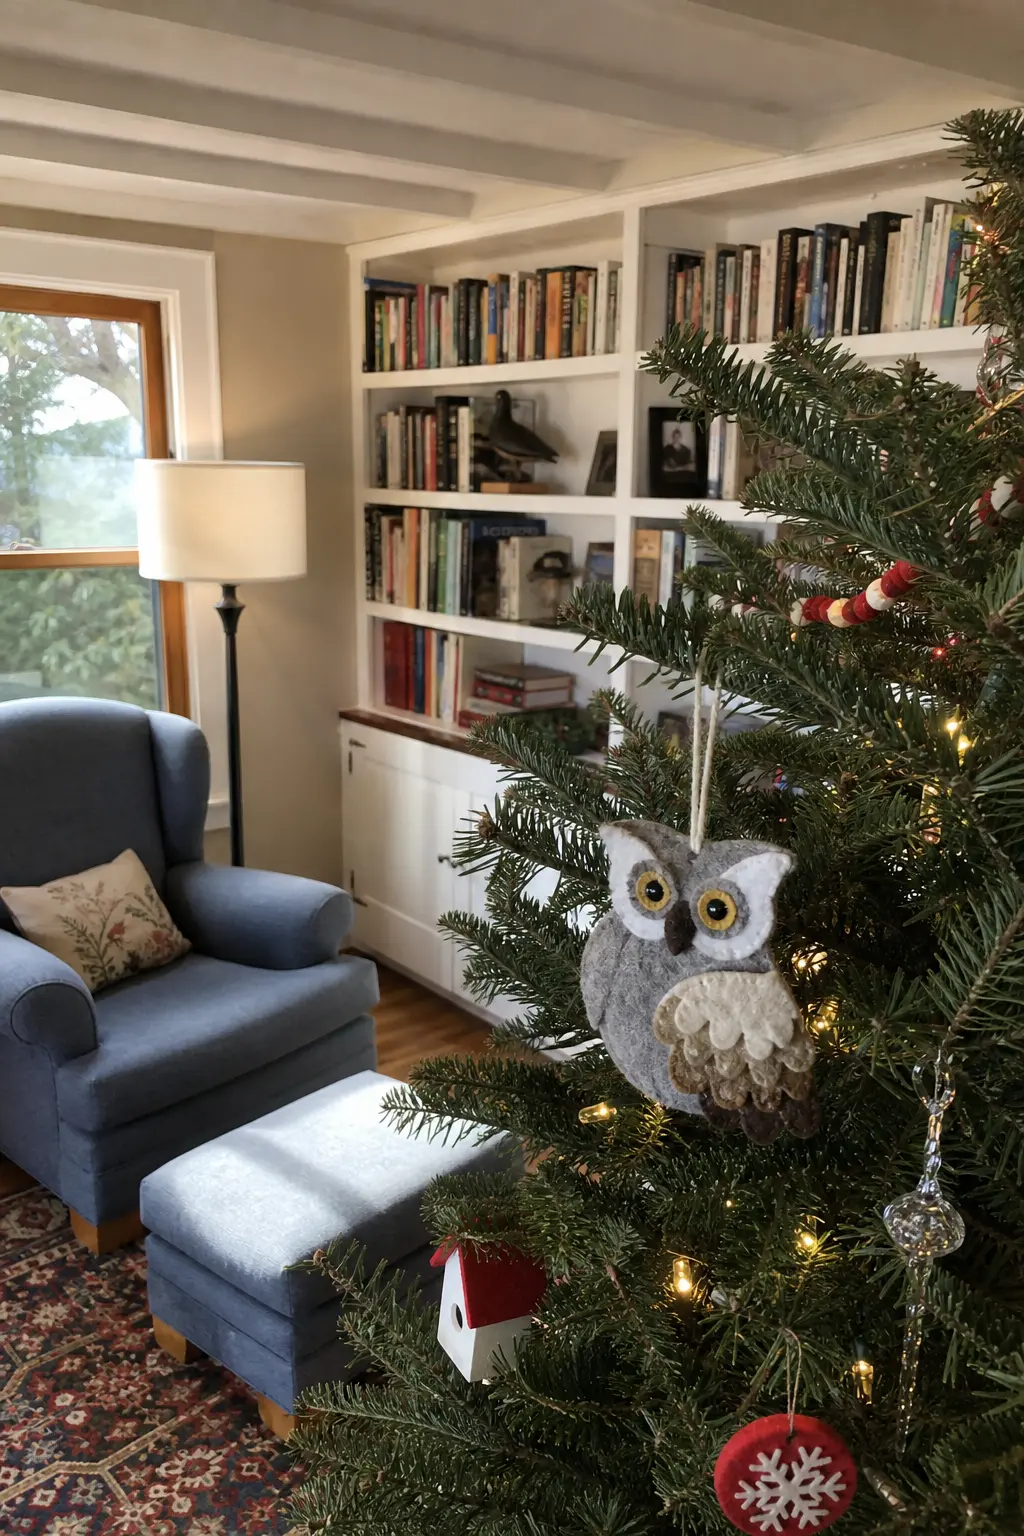
Felt Owl with Layered Wing Feathers
The owl body is a rounded teardrop of warm oat or grey felt.
The wings are the design work: cut five or six small oval or teardrop shapes per wing in a slightly darker felt and stitch them in overlapping rows, each row shifted slightly downward from the one above, so each feather overlaps the one below it by about three millimetres.
Whip-stitch the top edge of each feather and leave the lower edge free.
The face is a flat circle of cream felt stitched to the body centre, with two round button-sized circles of golden yellow felt for eyes and two small satin-stitch triangles below them for the beak.
The ear tufts are two small pointed tabs of the body felt, stitched to the crown. A cord through the crown hangs the owl upright. The layered feather technique is the most time-consuming thing on this list and also the most visually rewarding.
🛍 Shopping guide
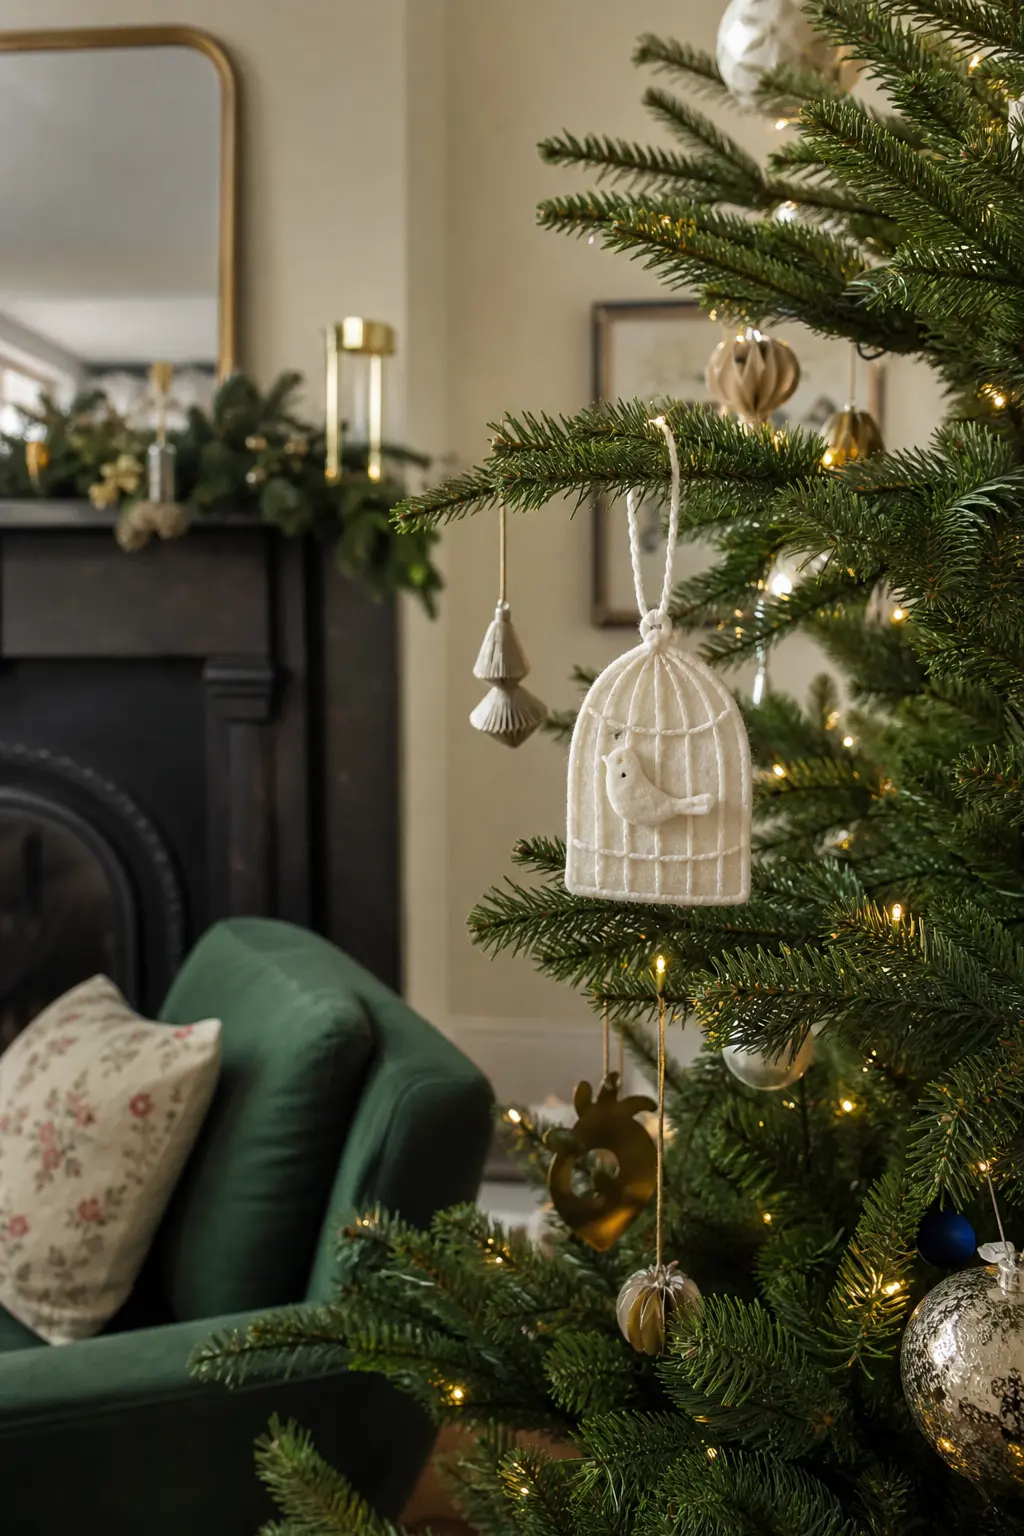
Felt Birdcage with Stitched Bird
The birdcage is all negative space: cut the outer dome and base from white felt, then stitch the vertical bars and horizontal rings in a pale grey thread using long straight stitches held at each crossing with a tiny cross stitch.
The stitched grid is the cage. Cut nothing out of the felt interior, because the felt behind the stitched bars reads as air and distance.
The bird inside is a small silhouette of cream or yellow felt, no more than two centimetres tall, tacked to the felt interior at the lower quarter of the cage. A single backstitch line for the perch it sits on completes the scene.
Hang the cage from a cord stitched to the apex of the dome. The illusion of a bird sitting inside a cage made of thread is the best surprise of this whole list.
🛍 Shopping guide
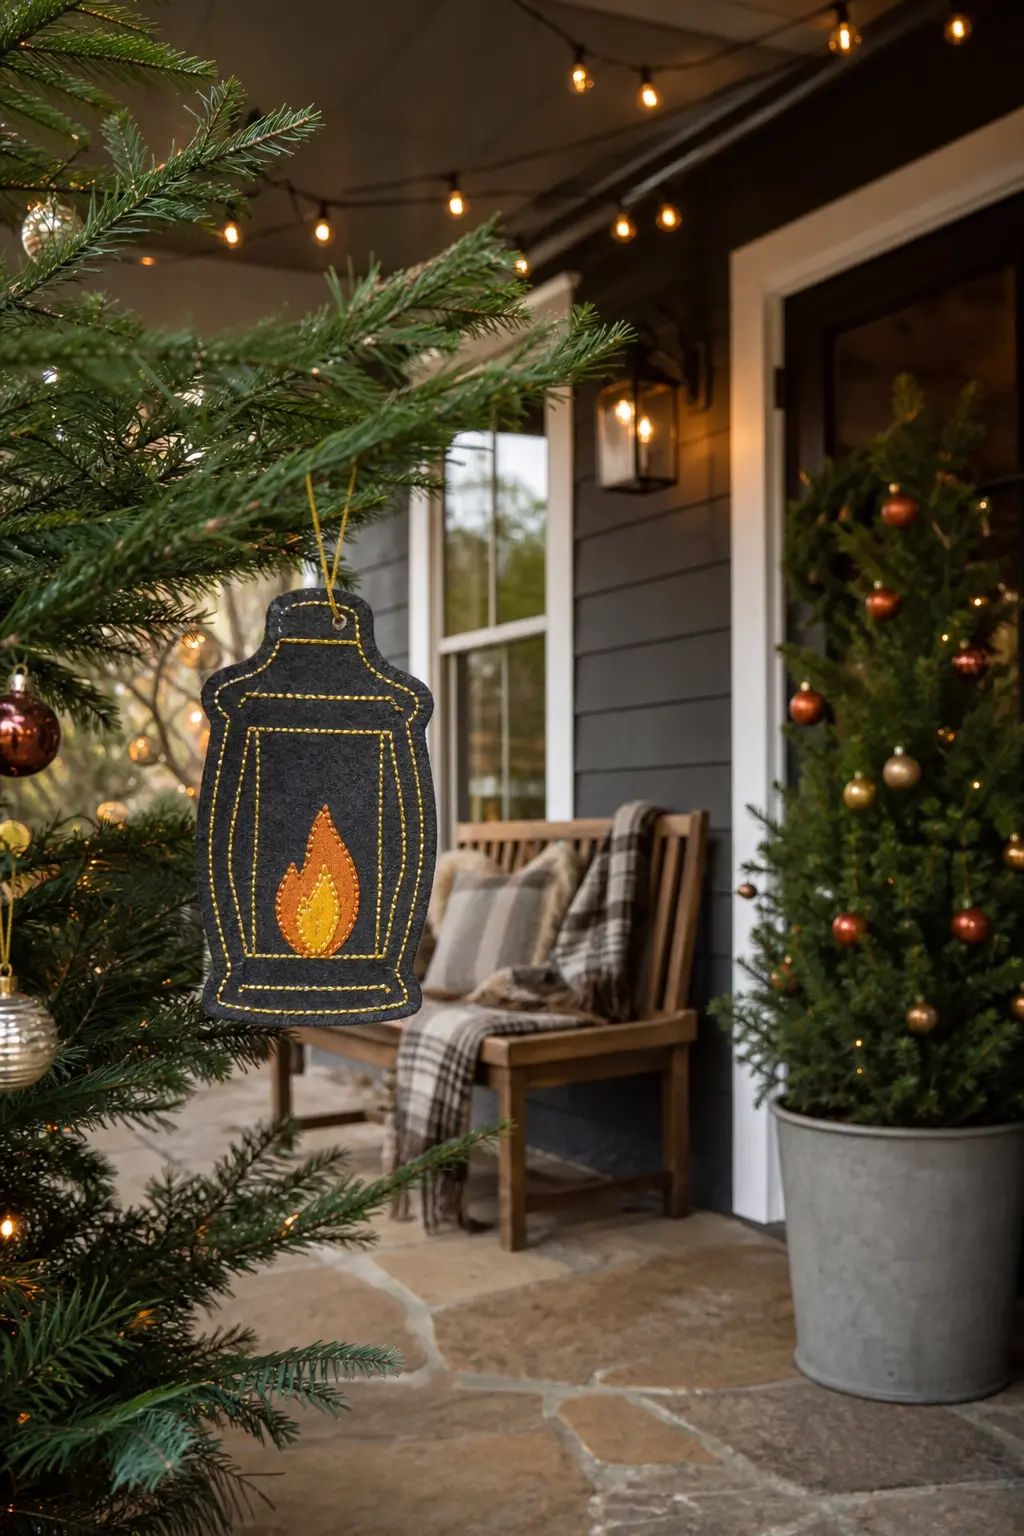
Felt Lantern with Stitched Flame
Cut the lantern body as a hexagon or square panel of a deep forest or black felt.
The structure lines, the vertical frame bars and the horizontal cap and base, are worked in a warm gold or brass thread in backstitch, creating the illusion of a metal frame around the felt.
The flame inside is a small teardrop of amber felt, stitched flat to the body centre with a French knot of bright orange at its base.
A small rectangular felt cap sits above the body, with a ring of cord stitched through it for hanging. The bottom of the lantern gets a small rectangular base tab.
Because the structural stitching does most of the work, this ornament looks more complex than it is: the whole thing assembles in about forty minutes, including the time it takes to plan the gold thread geometry.
🛍 Shopping guide
Tools and Creative Objects
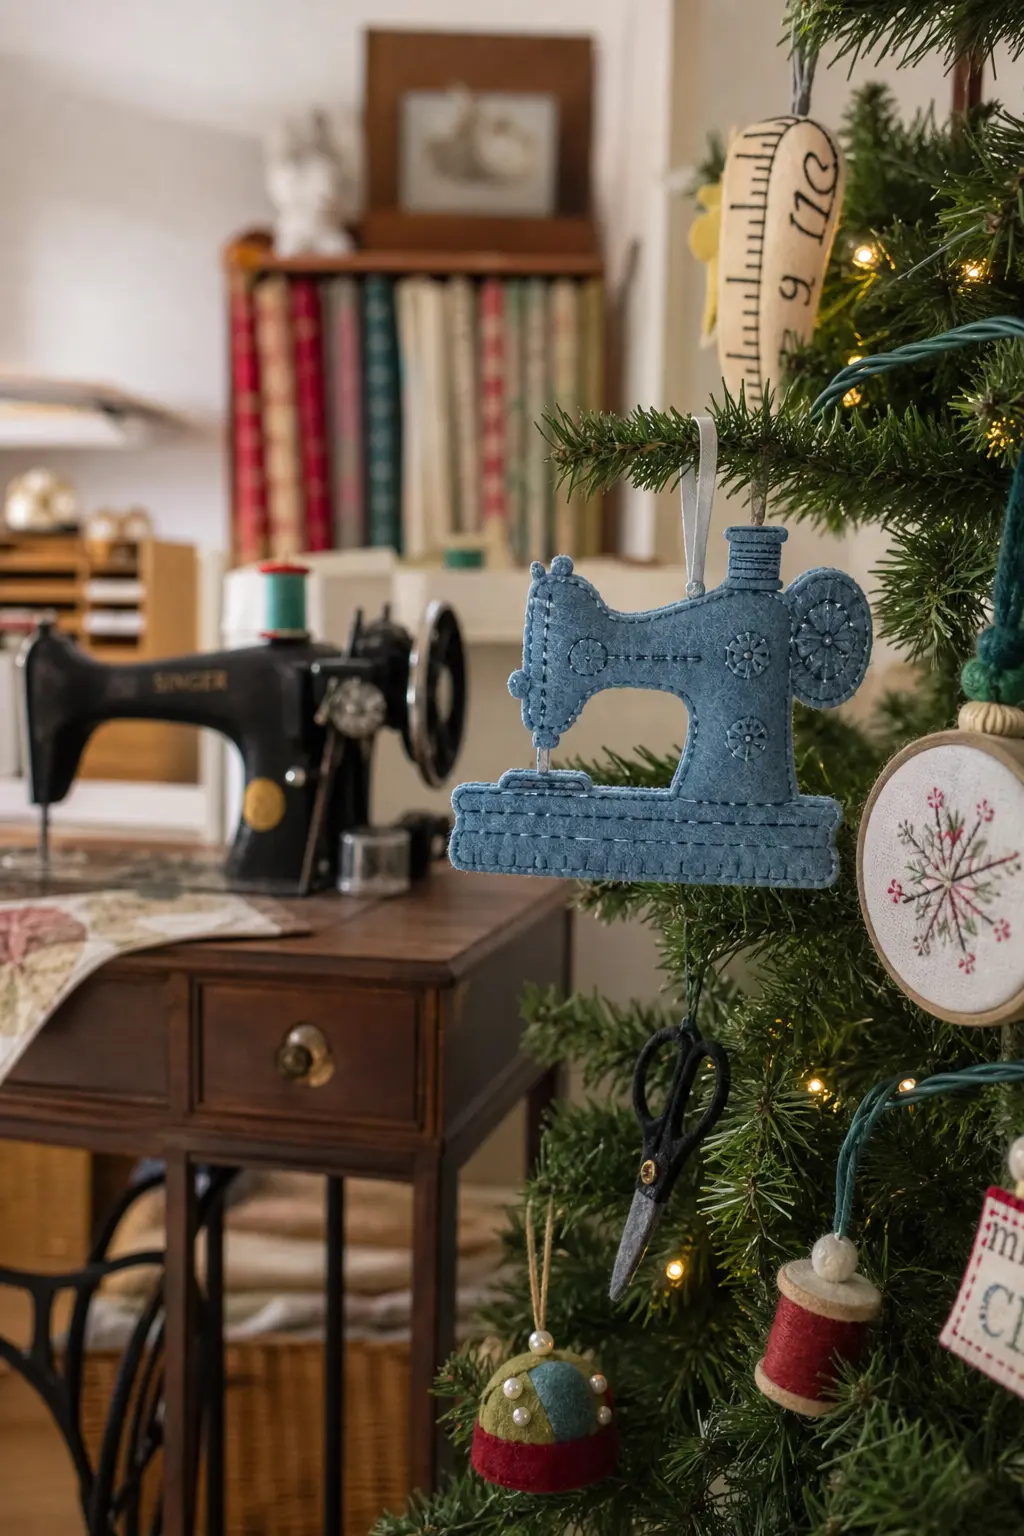
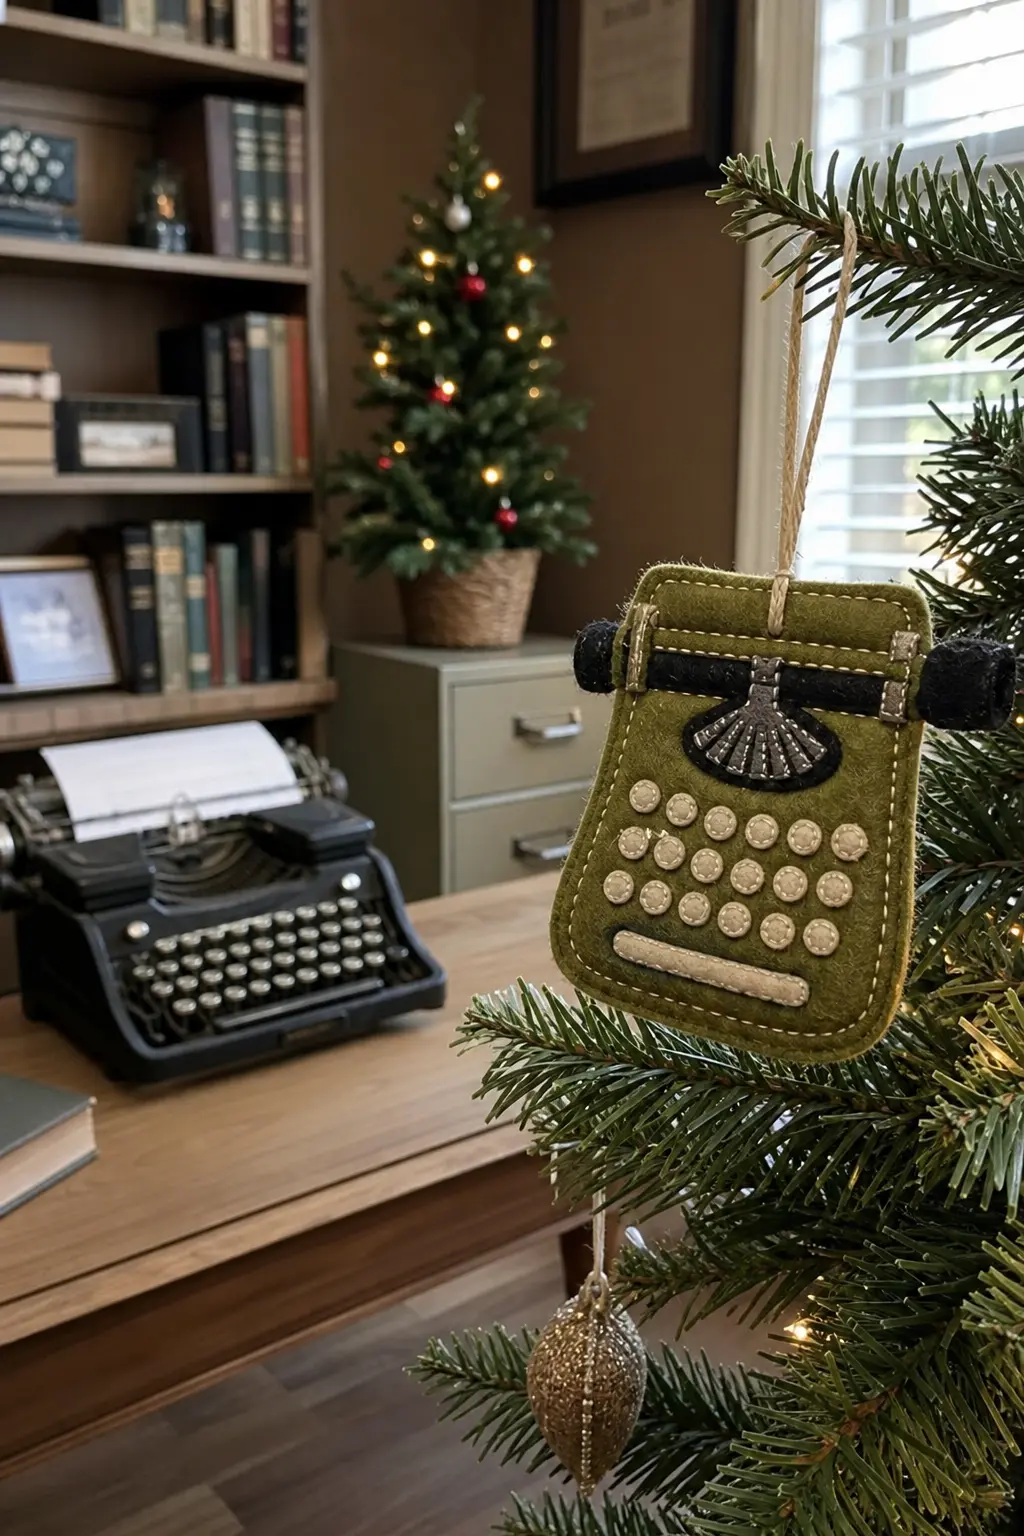
The sewing machine ornament hanging on a Christmas tree is a small joke that anyone who sews will appreciate immediately. The typewriter keys are the detail that rewards close inspection. These are the ornaments guests pick up to examine.
Felt Sewing Machine Silhouette
The sewing machine is the ornament made for the person who sews, and the best version of it is monochromatic.
Cut every piece from the same colour of felt: the body, the arm, the base, the wheel on the right side, and the small presser foot tab at the front. Assemble them by tacking each part to the backing layer before joining front to back.
All the detail is in the stitching, one colour only, one shade darker than the felt.
Outline the main body shapes, add a circle of stem stitch for the hand wheel, a small vertical rectangle for the needle bar, and a single horizontal stitch for the presser foot.
Working in one colour is the discipline that makes this ornament look designed rather than homemade. It hangs from a cord at the top of the arm curve.
🛍 Shopping guide
Felt Typewriter with Stitched Keys
The body is a wide flat rectangle of warm grey or olive felt with a raised paper guide bar cut from a slightly different colour and stitched across the top back edge.
The platen, the rolling cylinder where paper feeds through, is a narrow rectangle of felt in a darker tone stitched across the upper portion of the body. The carriage lever is a short backstitch line extending to one side.
The keys are the detail that rewards the maker. Cut small circles of felt, approximately half a centimetre each, and arrange them in three rows of five across the lower portion of the body, tacking each one with a single centre stitch.
The ornament is wide and low, which means it hangs best from a branch with horizontal reach. Hang it from two cords, one at each upper corner, so the wide shape hangs level rather than tilting.
🛍 Shopping guide
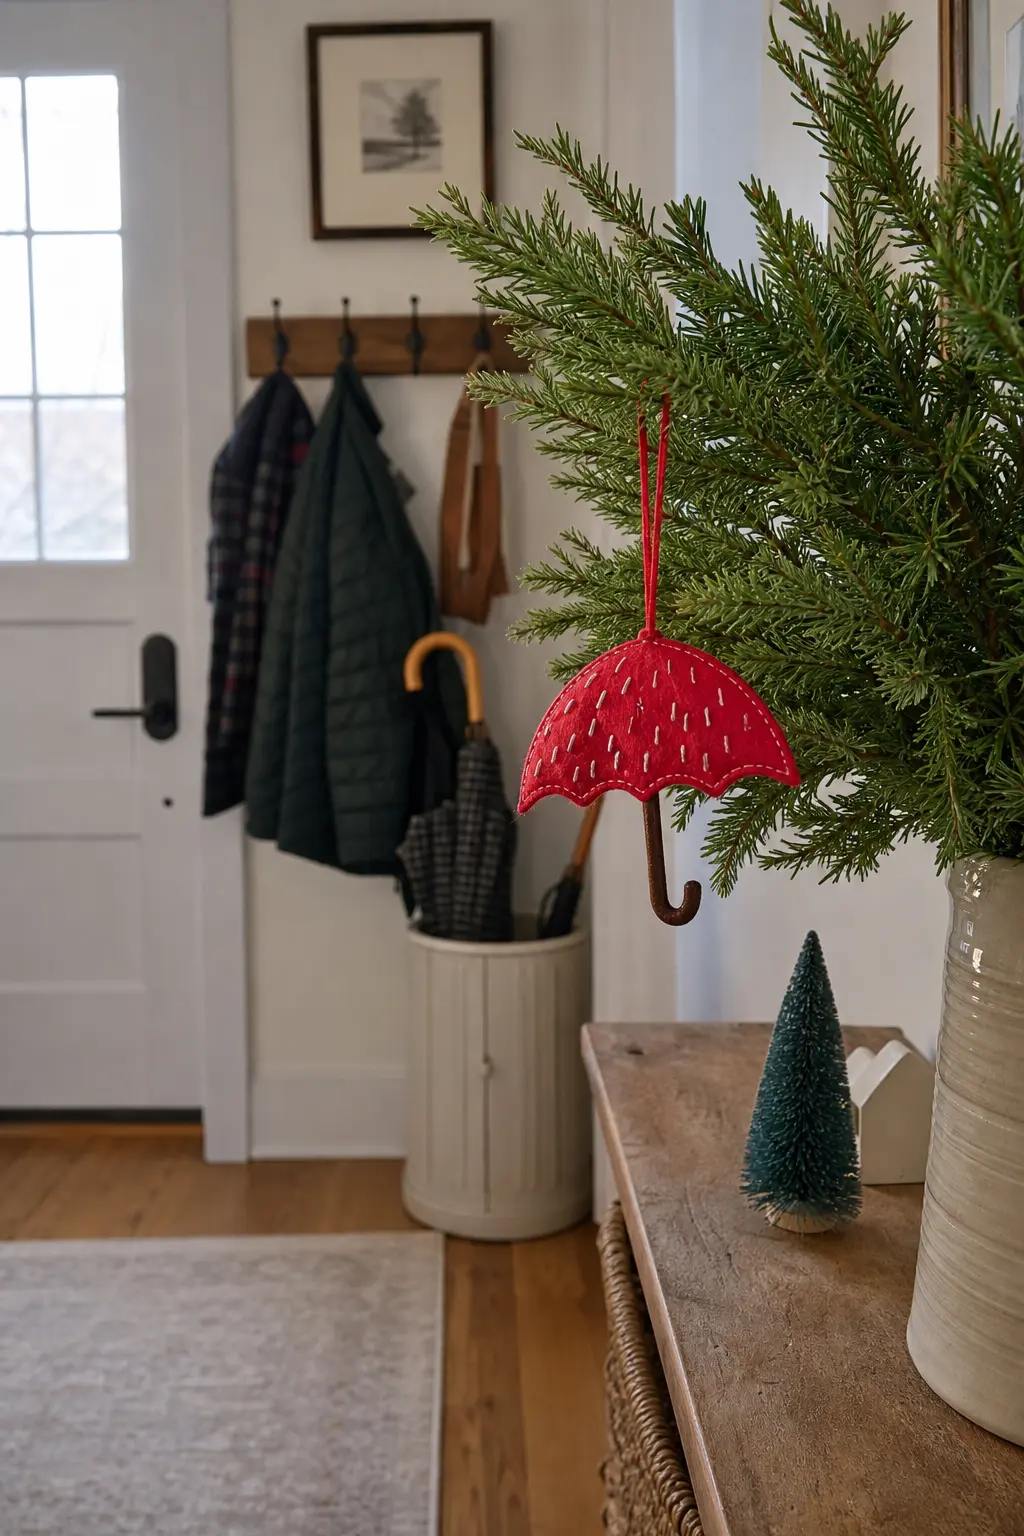
Felt Umbrella with Stitched Rain
The umbrella canopy is a dome of a vivid felt colour, poppy red or cobalt, with the handle a curved strip of a contrasting cream or caramel felt stitched below.
The canopy edges get a row of blanket stitch in a thread one shade lighter than the canopy felt, which suggests the scalloped edge trim of a fabric umbrella without cutting separate scallop shapes.
The rain is the witty detail. Work five or six short diagonal lines of backstitch in a pale grey or silver thread scattered across the background area inside the canopy curve, as though the rain is falling in front of the dome.
The stitching direction matters: all lines should angle the same way, as real rain does. This ornament is fast to make and distinctive on a tree full of more literal Christmas shapes.
🛍 Shopping guide
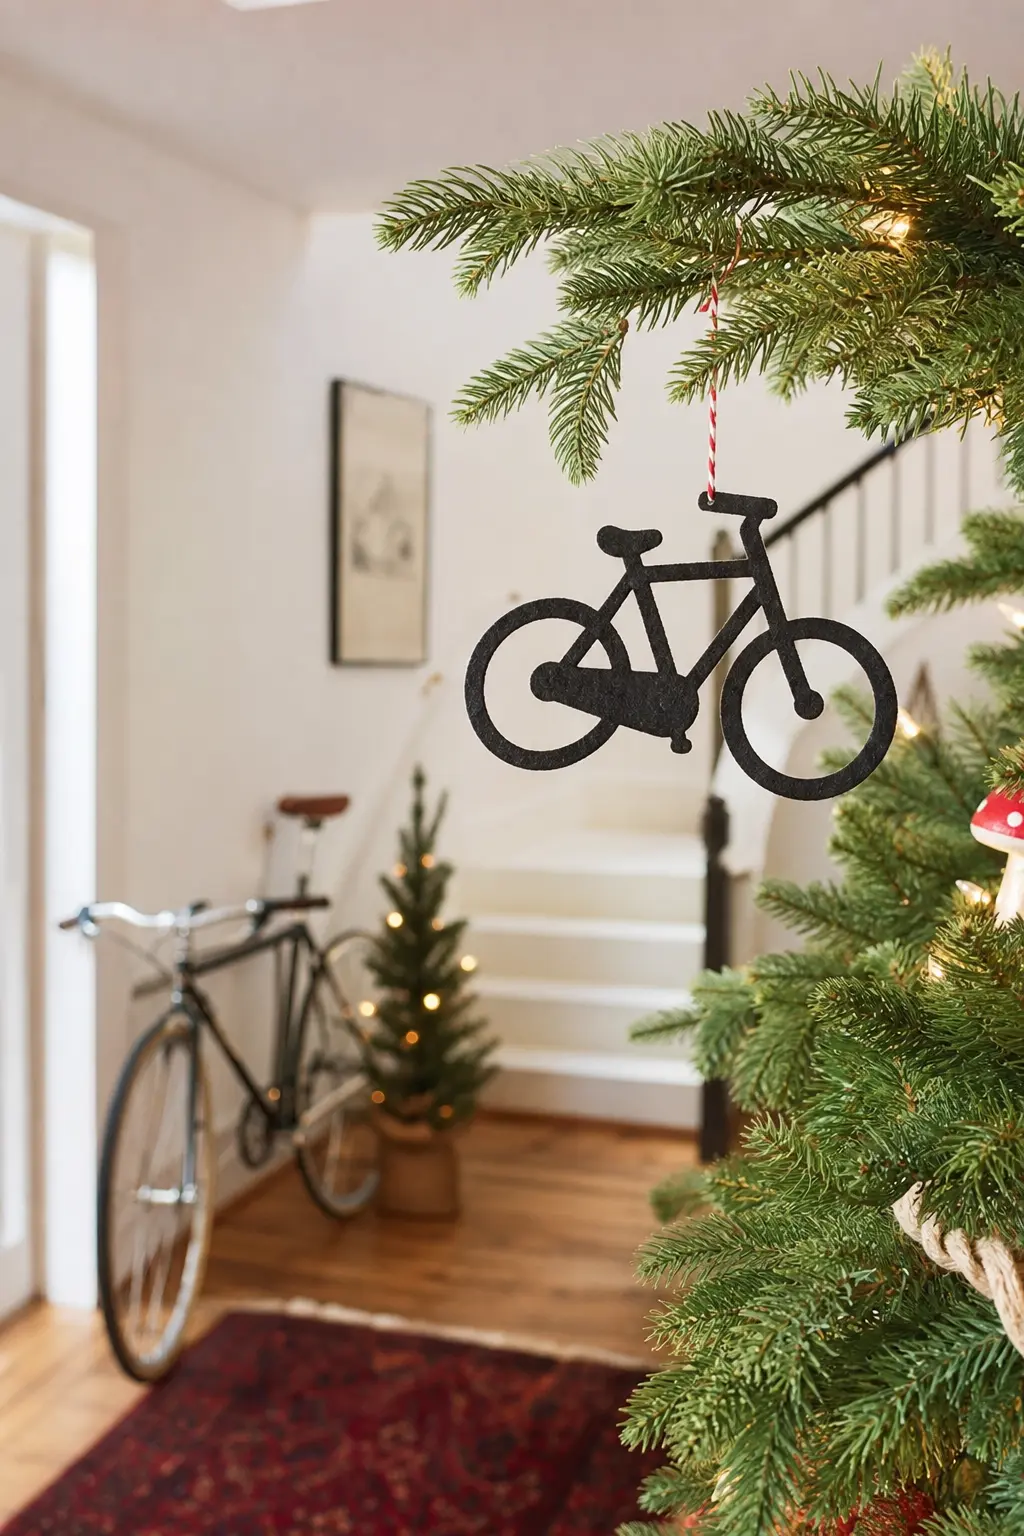
Felt Bicycle Silhouette
The bicycle is a test of patience and the most graphic result on this list. Cut two identical circles for wheels from a single colour of felt.
Cut the frame as a separate piece that joins the two wheels: the main triangle of the frame and the fork shape that holds the front wheel.
Tack all pieces to a backing layer of the same felt before joining, so the backing itself holds the geometry in place.
The wheel spokes are stitched, not cut: six straight stitches per wheel radiating from the centre, worked in the same thread as the frame colour.
A horizontal bar stitch for the handlebar, a small seat shape cut from a slightly darker felt and stitched above the rear wheel, and a single stitch for the chain line complete the ornament.
Hang from a cord through the top of the rear wheel arch. It is the ornament that people point at and say what is that, before recognising it.
🛍 Shopping guide
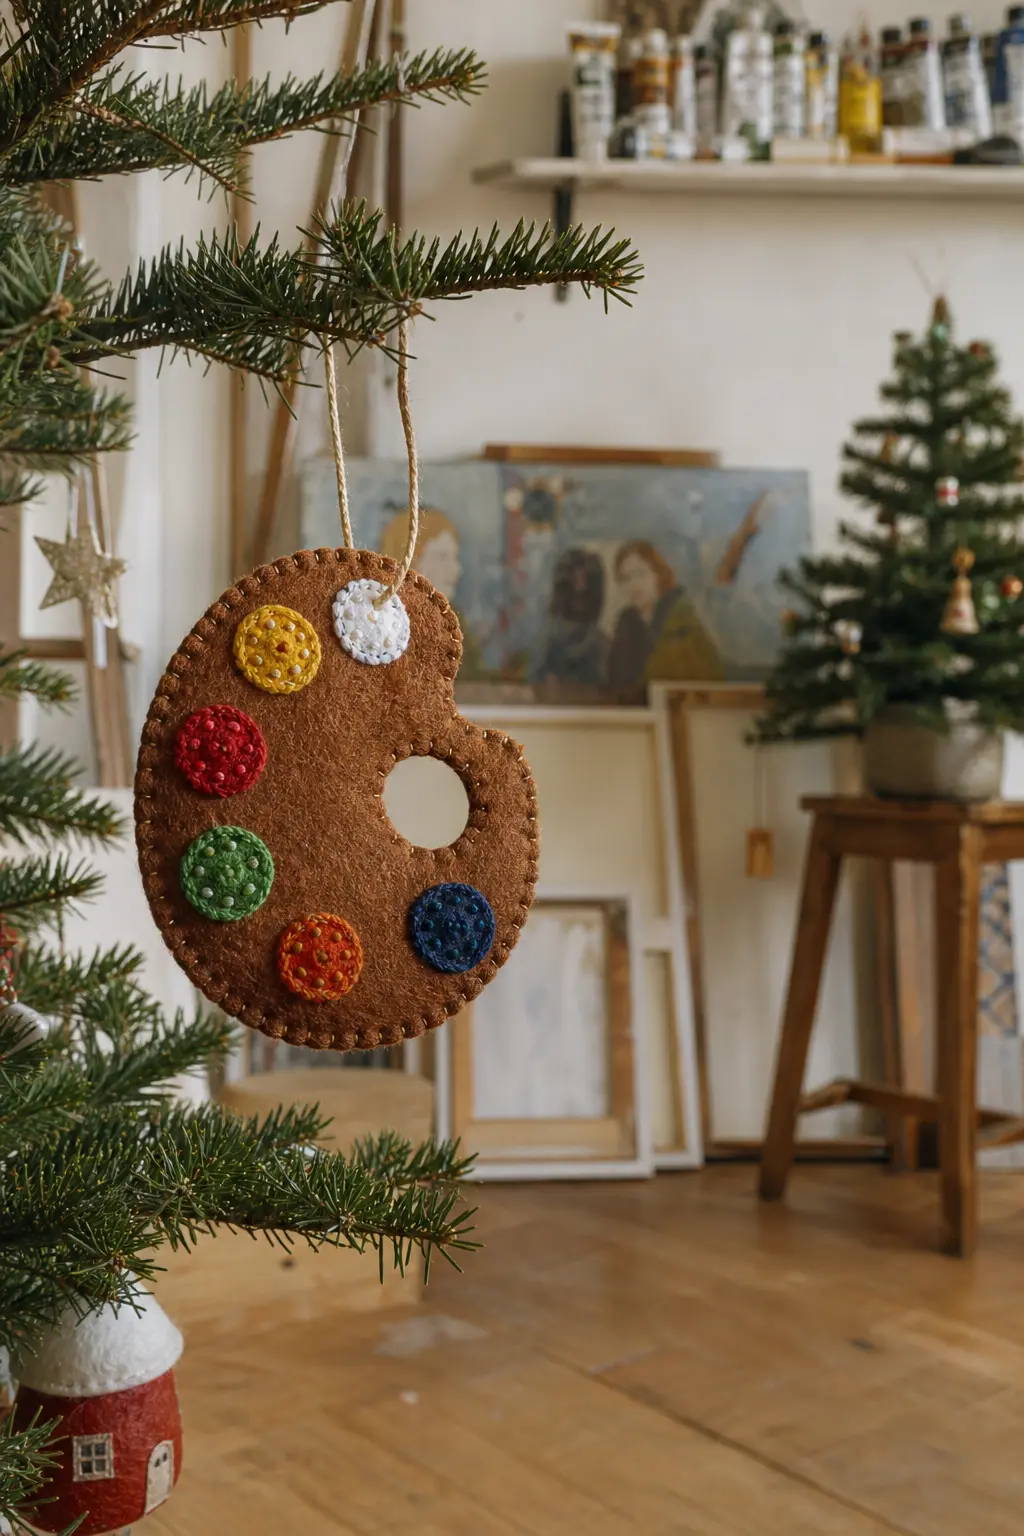
Felt Paint Palette with Stitched Dabs
A palette shape is an oval with a thumb hole, and felt cuts it cleanly in one pass with sharp scissors. Use a warm wood-toned felt for the palette base.
The dabs of colour are small circles of felt in different colours, each one stitched to the palette surface with a centre stitch and a French knot on top of the stitch to suggest a raised bead of paint.
Arrange five or six dabs around the top curve of the palette, leaving the centre and lower portion empty as a real palette would be. A few stitch lines of different coloured threads crossing the empty section suggest mixed colours being worked in.
Hang from a cord through the thumb hole: this is the only ornament in this list where the hanging point is structurally part of the object’s own shape.
🛍 Shopping guide
Felt Christmas Ornaments: Finishing, Hanging and Storing Them Well
Every ornament in this list hangs from either a length of waxed cord looped through a stitched eyelet or a ribbon tab sewn into the top edge before the two felt layers are joined. Pick one method and stay consistent across a set so the tree does not look improvised.
Backing each ornament with a second layer of felt, whip-stitched all the way around the perimeter, does two things: it stops the front layer from curling and it gives you a clean reverse when the tree turns. Use the same thread colour on the reverse as on the front so both sides look finished.
Storage is the part most people ignore. Flat felt ornaments stack beautifully between sheets of acid-free tissue in a shallow box.
Do not hang them in a bag: the cord loops tangle, the felt distorts, and next December you spend twenty minutes sorting instead of decorating. A flat box takes thirty seconds to open and close.
For more tree decoration ideas beyond felt, browse christmas baubles ideas and christmas tree ornaments for directions that use different materials on the same tree.
Frequently Asked Questions
Can you make felt Christmas ornaments without a template?
Yes. Most of the shapes in this list are simple enough to cut freehand: rectangles, circles, triangles and ovals do not need a template, just sharp scissors and a light pencil mark.
For more complex silhouettes like the bicycle or the sewing machine, sketch the shape onto paper first, cut it out, and use that paper shape as a single-use guide. No printing required.
Do felt Christmas ornaments need sewing?
Not strictly, but stitching is what gives these ornaments their detail and their durability. Fabric glue holds felt layers together adequately, but it cannot replicate the visual texture of backstitch, running stitch or French knots.
For the ornaments in this list, the stitching is the design, not just the construction. A glued ornament would be faster but would lose most of what makes the shape interesting.
What felt is best for Christmas ornaments?
Wool or wool-blend felt is consistently better than acrylic felt for ornaments. It cuts more cleanly, holds its shape longer, does not pill, and the colours stay true after years of storage.
It costs more per sheet but one sheet goes a long way at ornament scale. If the budget is tight, reserve the wool-blend for front layers and use acrylic only for backing layers that will not be seen.
How do I stop felt Christmas ornaments fraying?
Wool felt does not fray the way woven fabric does, which is its main advantage for this kind of work. The cut edge is stable. Acrylic felt can pill and stretch at the edge over time.
To keep all felt edges looking clean after repeated storage and hanging, run a thin bead of clear fabric sealant along any very thin or pointed cut edges, such as the tips of a kite or the top of a lighthouse, and let it dry flat before hanging.
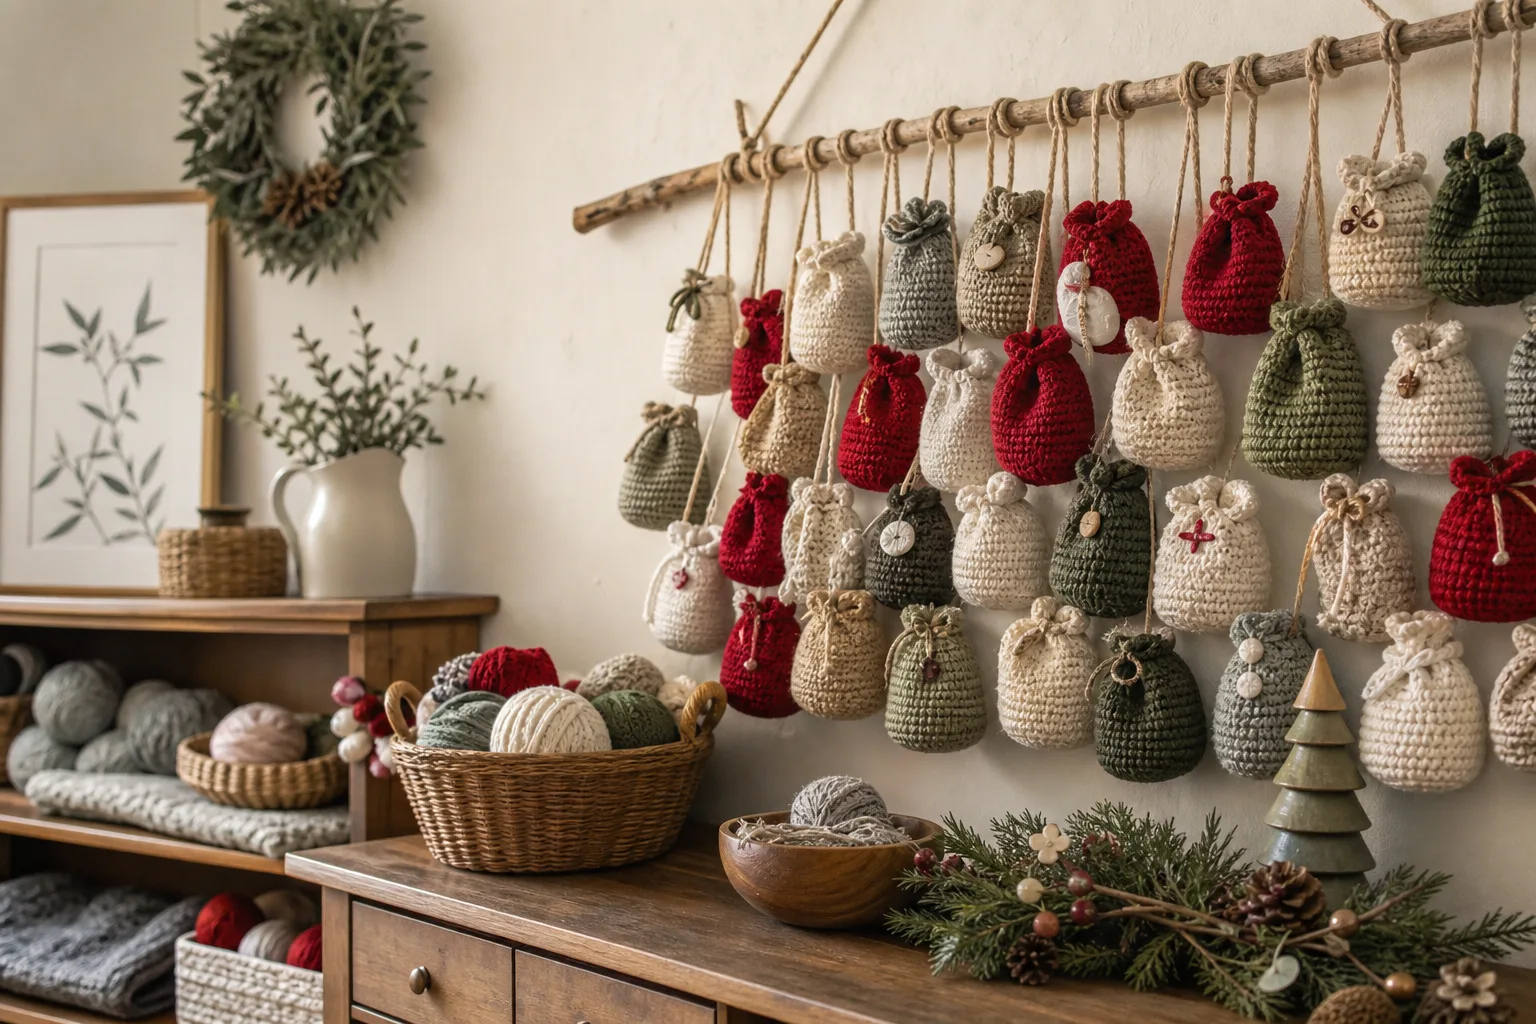
12 handmade advent calendars in crochet, felt and fabric, with cheap swaps, quick builds and exactly
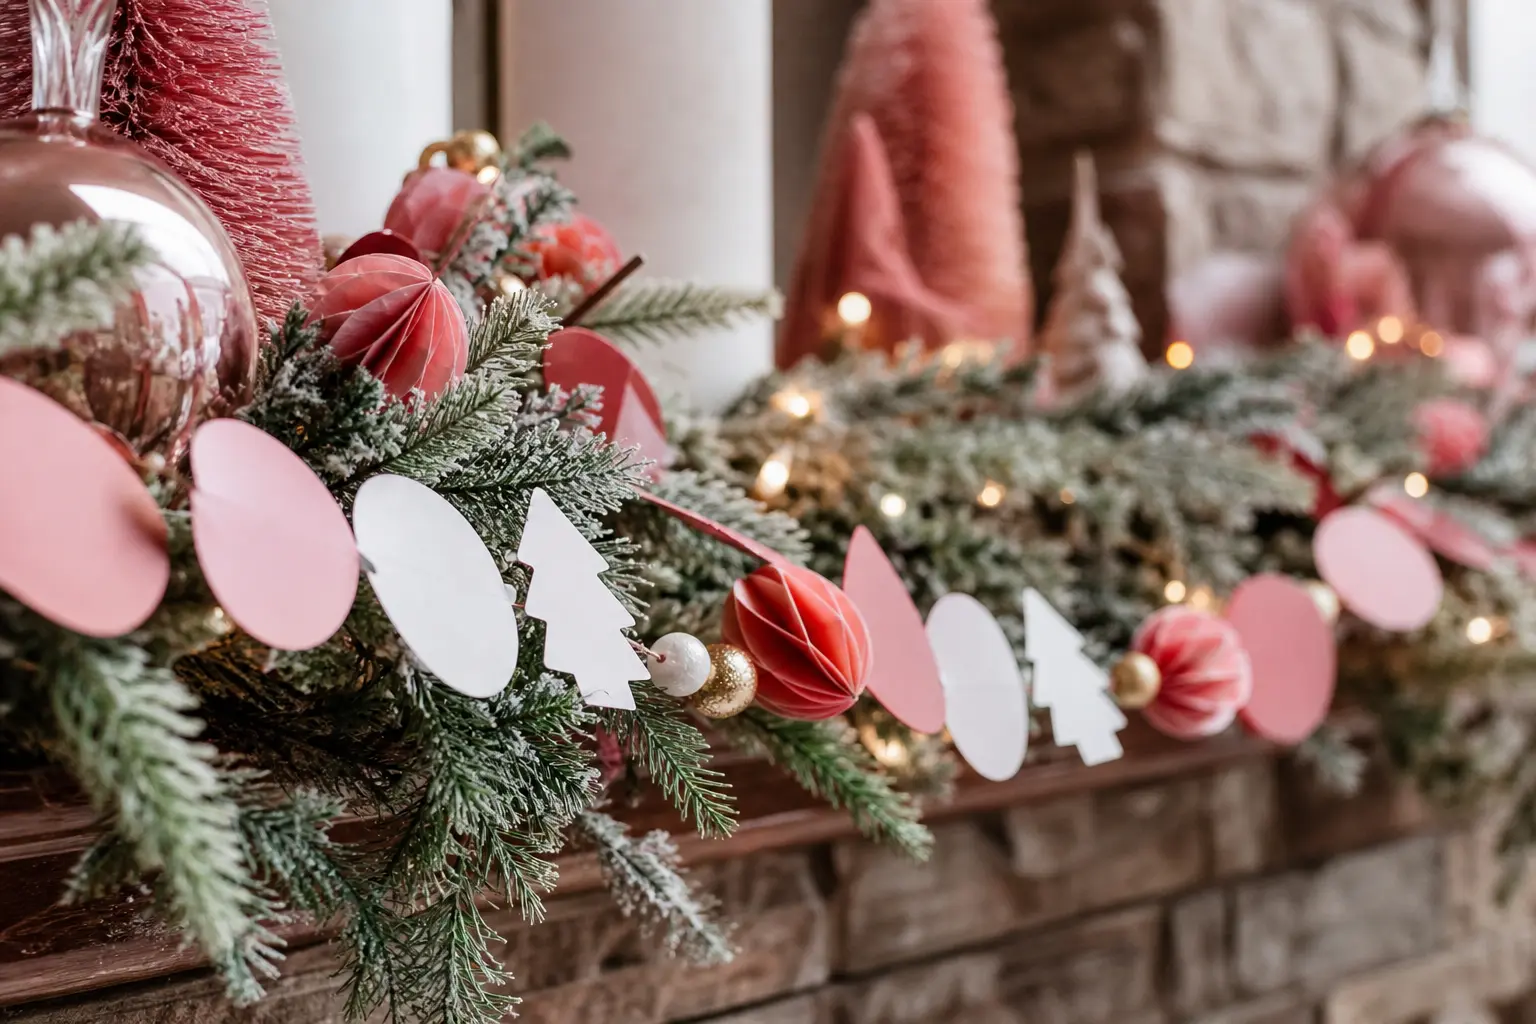
12 free printable Christmas garlands built around a pink christmas garland palette plus red, white,
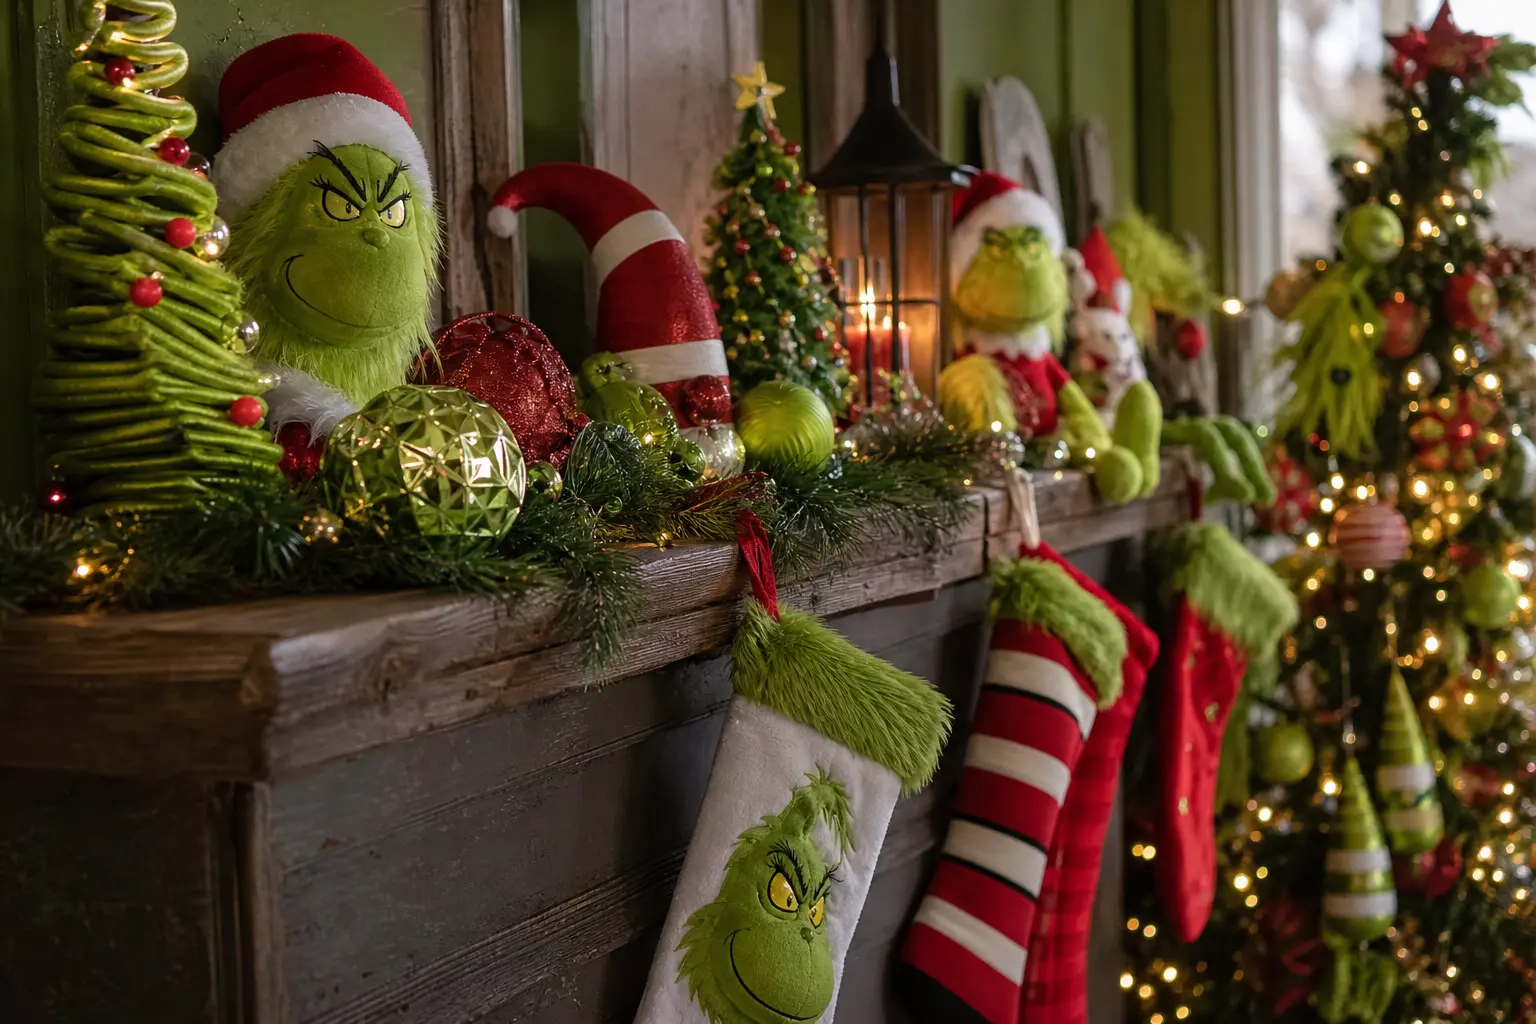
Turn the whole house into a cheeky Whoville: 24 lime-green, cherry-red ideas from the front walk to
Leave a Reply