

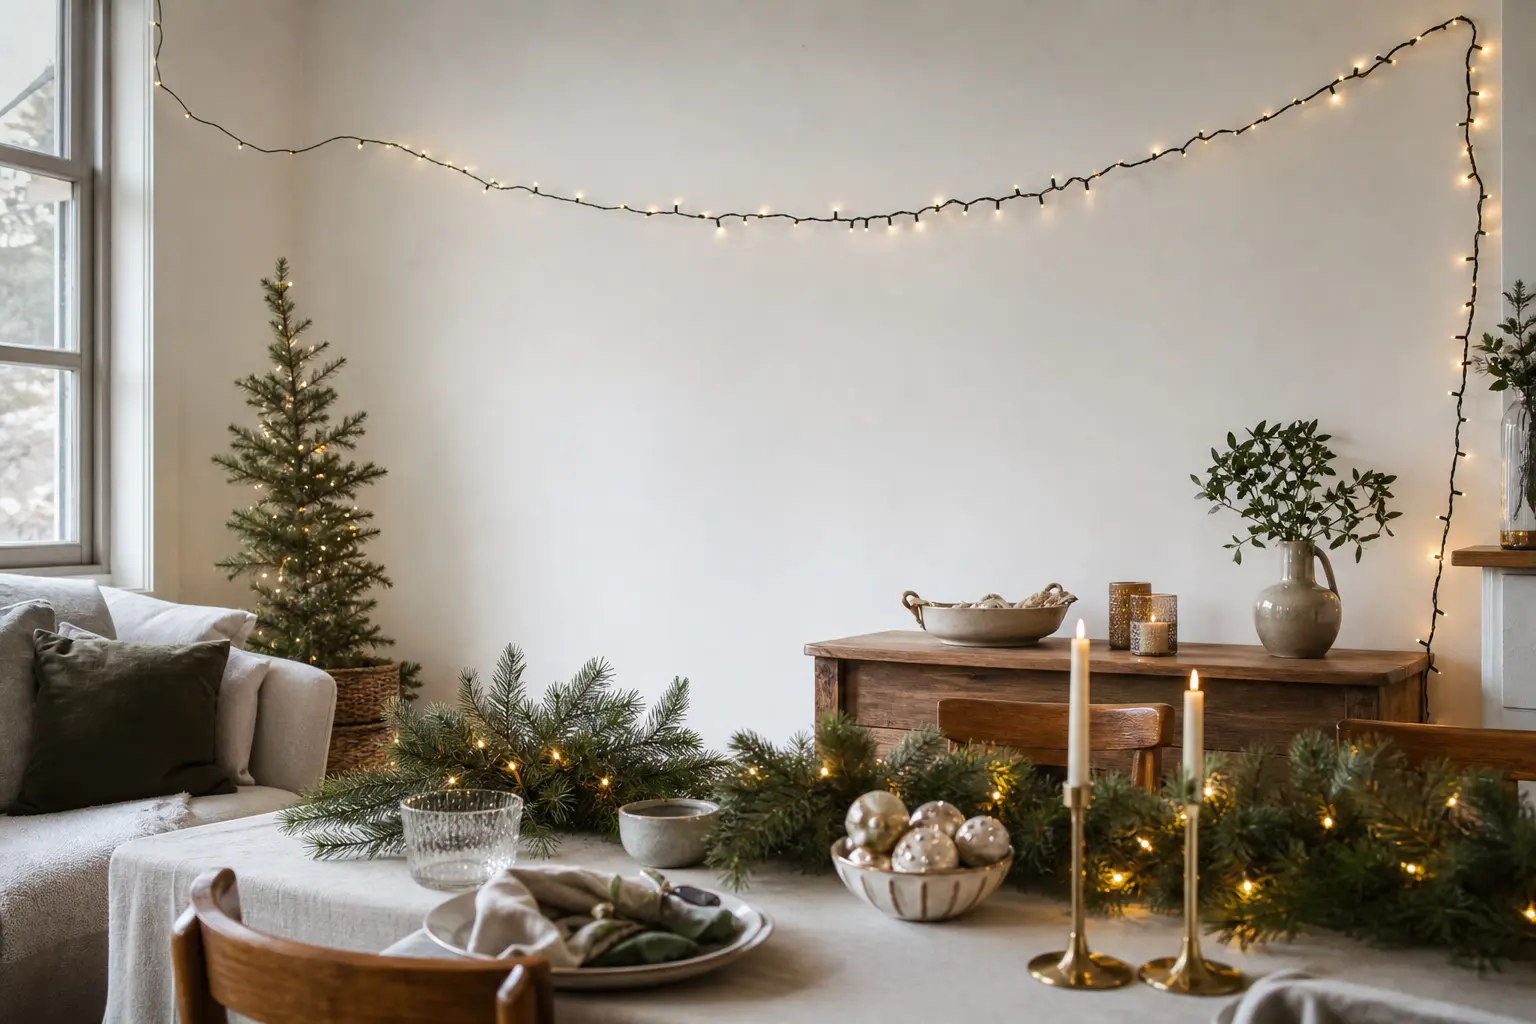
Every diy christmas lights outdoor project starts the same way: one socket, one extension lead of uncertain vintage, and a vague plan to make the front of the house look like something. Each of the 17 runs below tells you where it starts, how far it travels, and what it plugs into, and the battery and solar entries are flagged because those are the ones that need no socket at all.
The palette is warm white, brass and hunter green throughout. Cold white is not on the list. One colour temperature across the whole house is the single rule that makes a piecemeal install look deliberate, and it costs nothing to enforce before you buy.
Before any wire goes outside, check the socket cover, write the total load down, and keep spare fuses with the boxes. Those three habits belong at the top of every plan. For the wider picture of how lights sit inside a full scheme, the hub on outdoor christmas decor is worth reading first.
This post contains affiliate links. If you buy through them, I may earn a small commission at no extra cost to you.
Start at the Socket
These runs begin at the one outdoor socket, or at the extension lead that brings power to the threshold. Plan the load here, because this is the only place you control it. Write down the wattage of every set before you buy a second one, and stop adding when the total approaches the socket rating.
A timer plug goes in first, before any string. It protects the socket from being left on overnight, keeps the load honest, and means the display switches itself off whether anyone remembers or not.
The Socket Cover Check
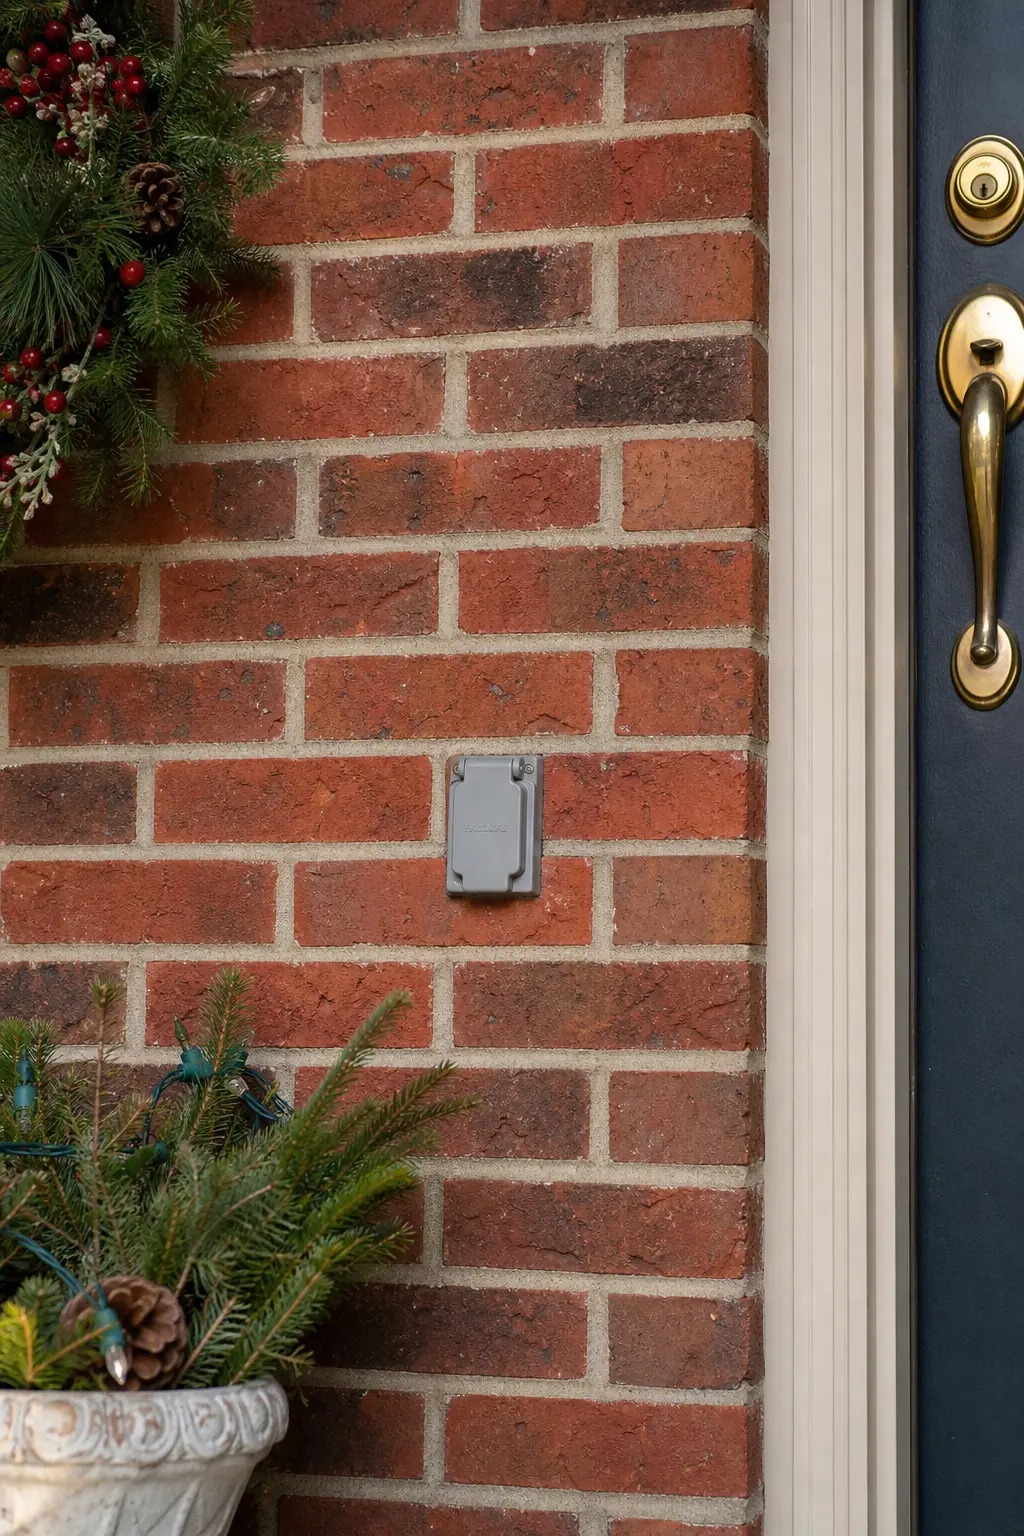
Start here, before any box is opened. An outdoor socket without a weatherproof cover is not ready for a plug, and a cover that no longer closes flush is not much better. This is a two-minute job that prevents a tripped breaker on the coldest night of December.
Replace a cracked cover before install day. They cost very little and attach in minutes. Note the socket’s rated amperage while the cover is off, because that number sets the ceiling for everything that follows.
🛍 Shopping guide
The Timer Plug at the Source
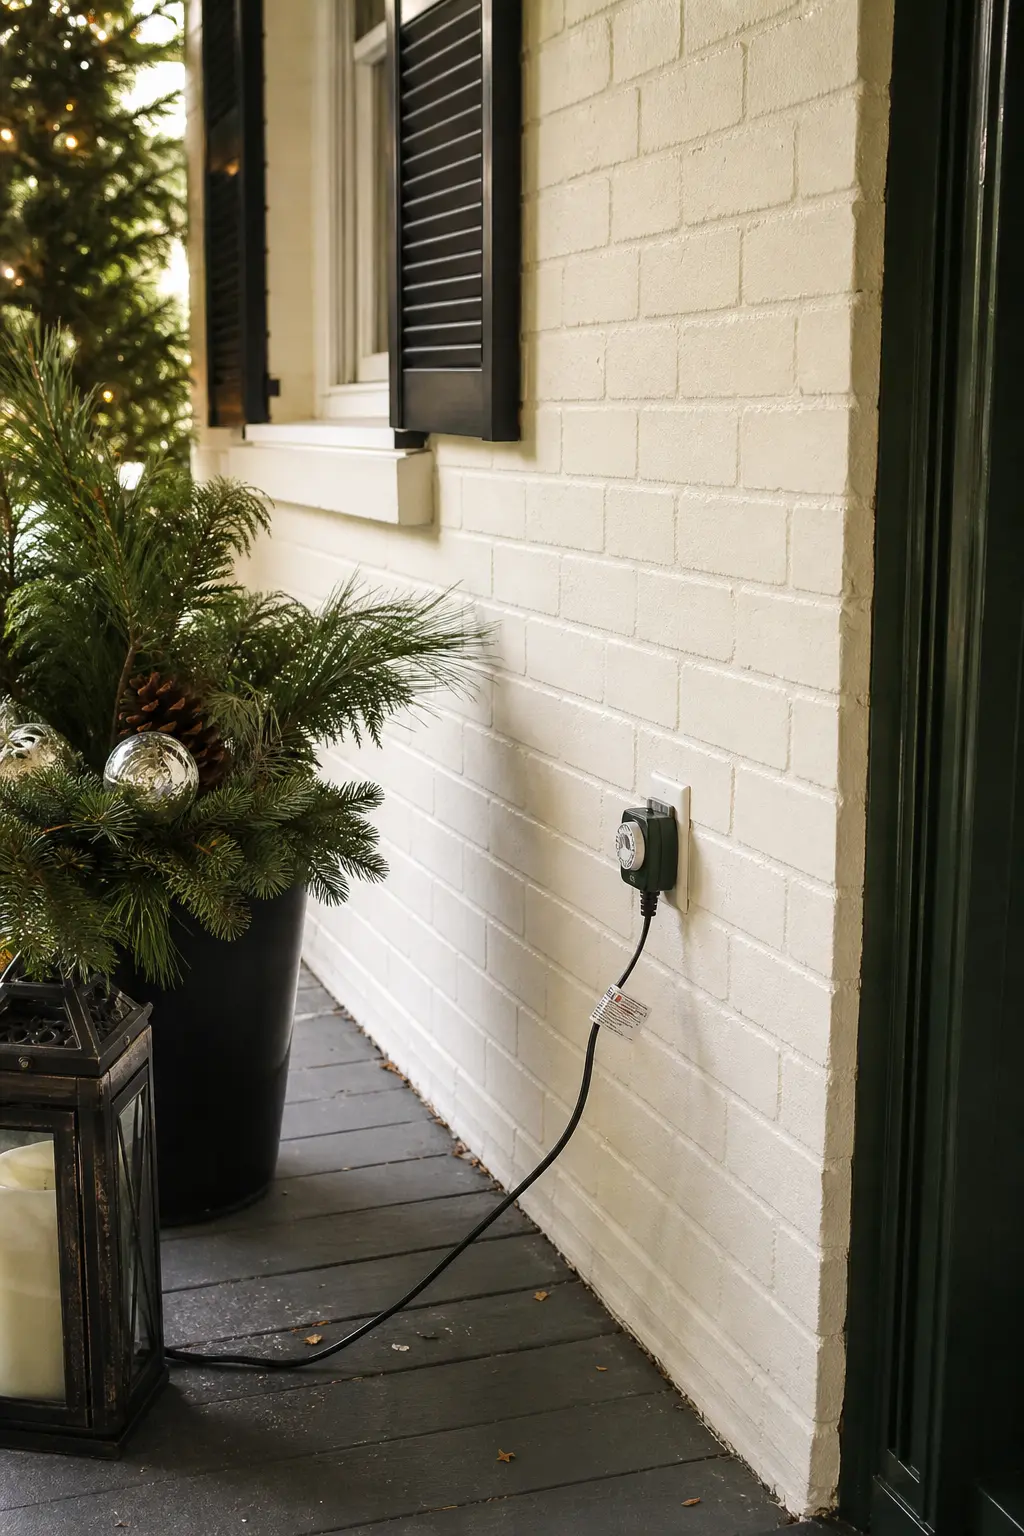
The timer plug goes into the socket before any string light touches it. Set it to switch on at dusk and off at midnight, or whatever suits the household. Every run on the circuit then follows that schedule without anyone having to remember.
Choose a timer rated for outdoor use, because it lives in or directly adjacent to the socket. A mechanical dial timer is reliable and cheap. A smart plug with a weather-rated enclosure works if the socket is under a porch roof. Write the wattage limit of the timer on the plan alongside the socket rating, and use whichever number is lower as your ceiling.
The Porch Ceiling of Drop Strands
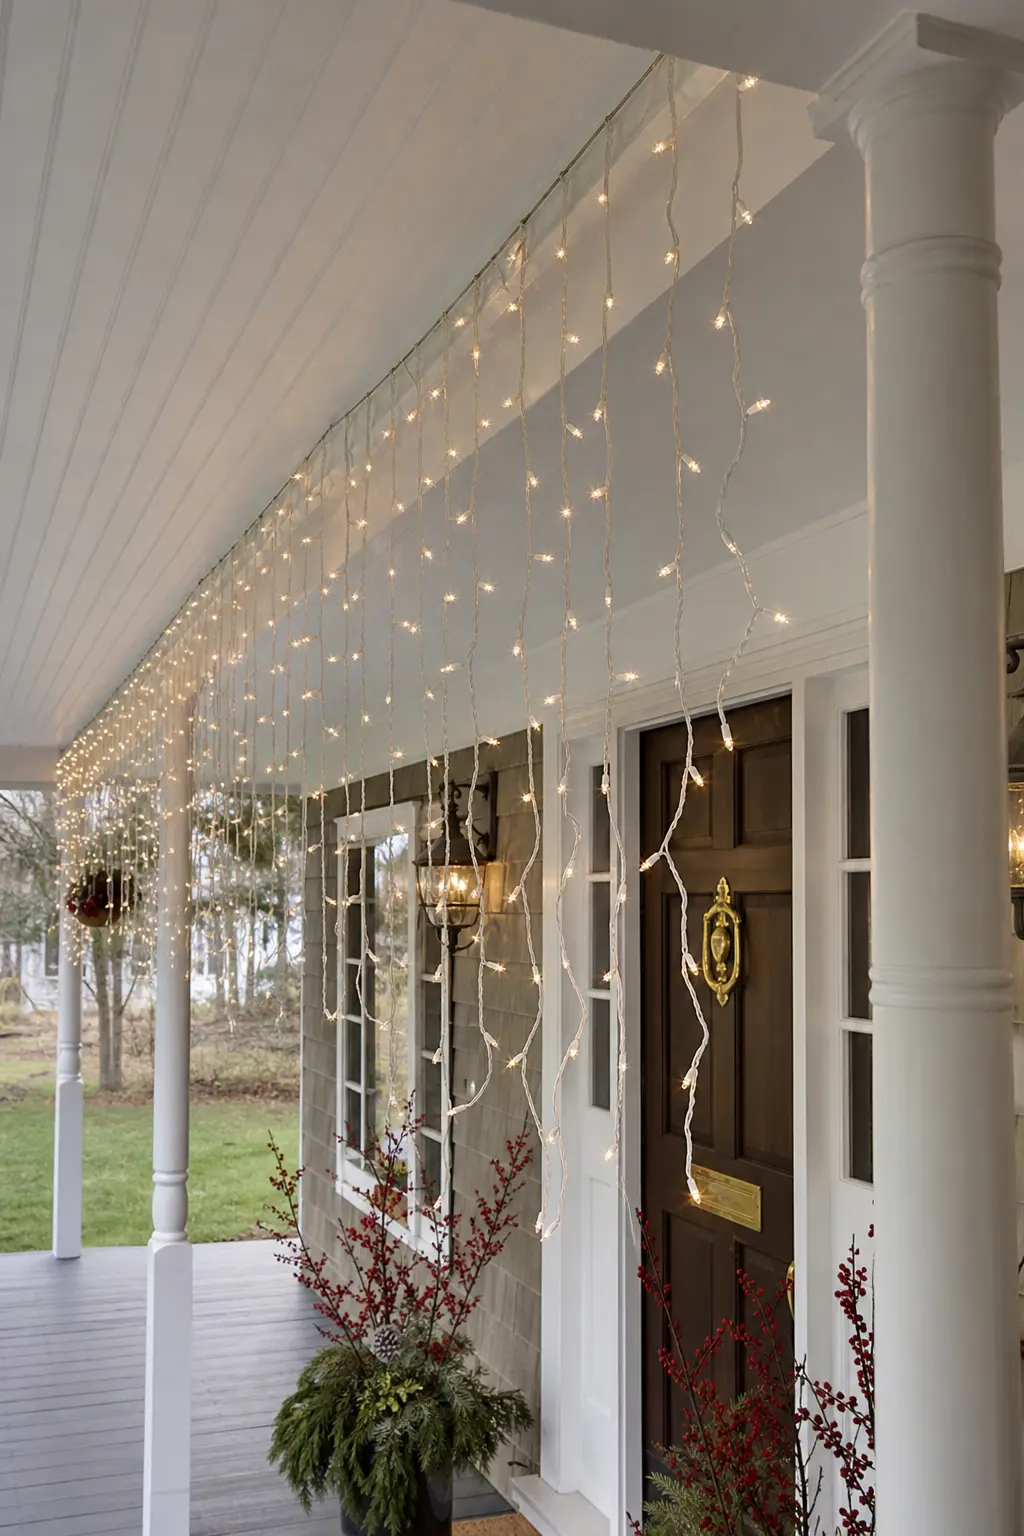
A covered porch ceiling lets you hang vertical drop strands straight down, creating a curtain of warm white light between the porch posts. Start the horizontal header cable along the ceiling beam nearest the socket and hang individual drop strands at equal intervals. The effect is dense without being heavy, and the porch roof keeps rain off the connections.
Use a mains curtain light set rated for outdoor use, checking that the IP rating covers the exposure level of your porch. Most covered porches qualify as IP44. Measure the drop length before buying: a standard porch post is around 2.2 metres, so 1.8-metre drops read well without touching the floor.
Solar and Battery Runs
Anything more than ten metres from the socket belongs on solar or batteries. That is not a style preference, it is a wiring rule: extension leads are not rated for daisy-chaining, and the further the run, the greater the temptation to add one more lead.
Solar stakes need five or six hours of winter light, which in December means an unshaded south-facing spot. Battery sets give you placement freedom in exchange for checking cells every two weeks. Both options earn a note in the plan so you do not accidentally buy a mains set for a position that has no socket within reach.
Framing the House
Roof lines, doorways and garage frames are the structural reads. People see them from the street before they see anything else. A single clean outline on the roofline beats scattered strings everywhere, and it uses less load.
The discipline here is the run that stops short on purpose. If the lead does not comfortably reach a corner without strain, stop before the corner. A deliberate finish looks considered. A strained lead pulling away from a clip does not.
The Roof Line Run
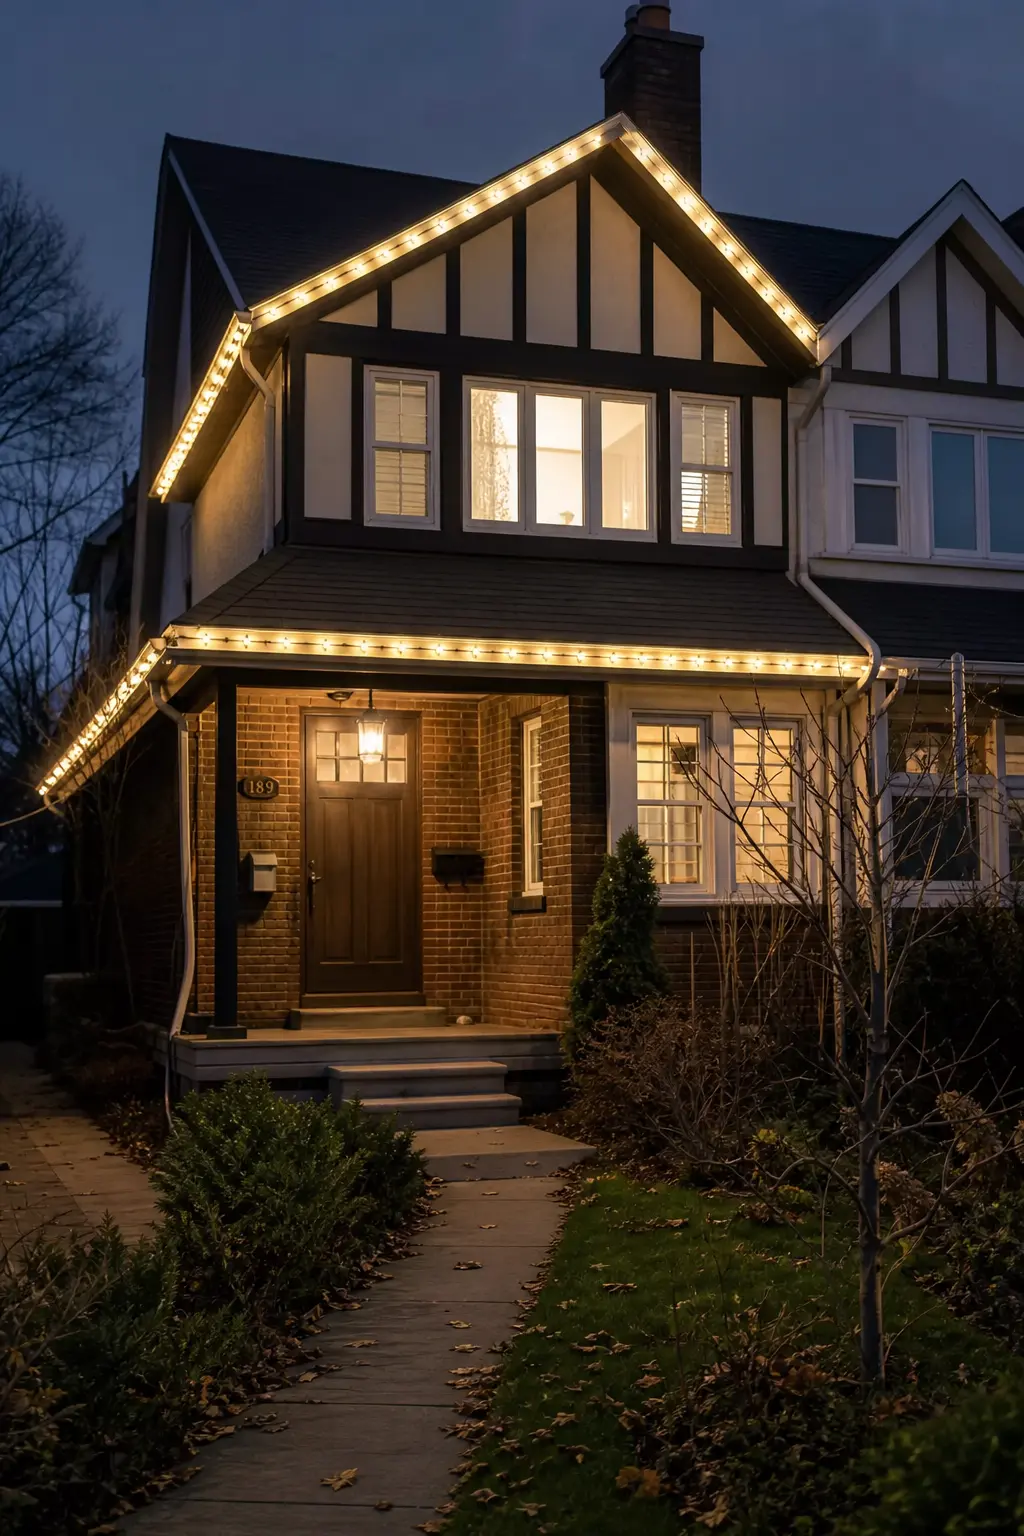
This is the mains run, and it earns its load. Start at the socket, clip the lead along the gutter line using purpose-made gutter clips (not staples, never through the cable), and follow the roofline to wherever the lead comfortably reaches. Stop there. Do not pull the cable taut to reach the corner.
Warm white connectable LED strings work best here: they start at the plug end and join section by section, so you only connect what you need. A 10-metre run on a typical terrace uses around 8 watts. Write that number on the plan. Cable clipped along a gutter line should lie flat, not arch away from the surface.
🛍 Shopping guide
The Garage Door Frame
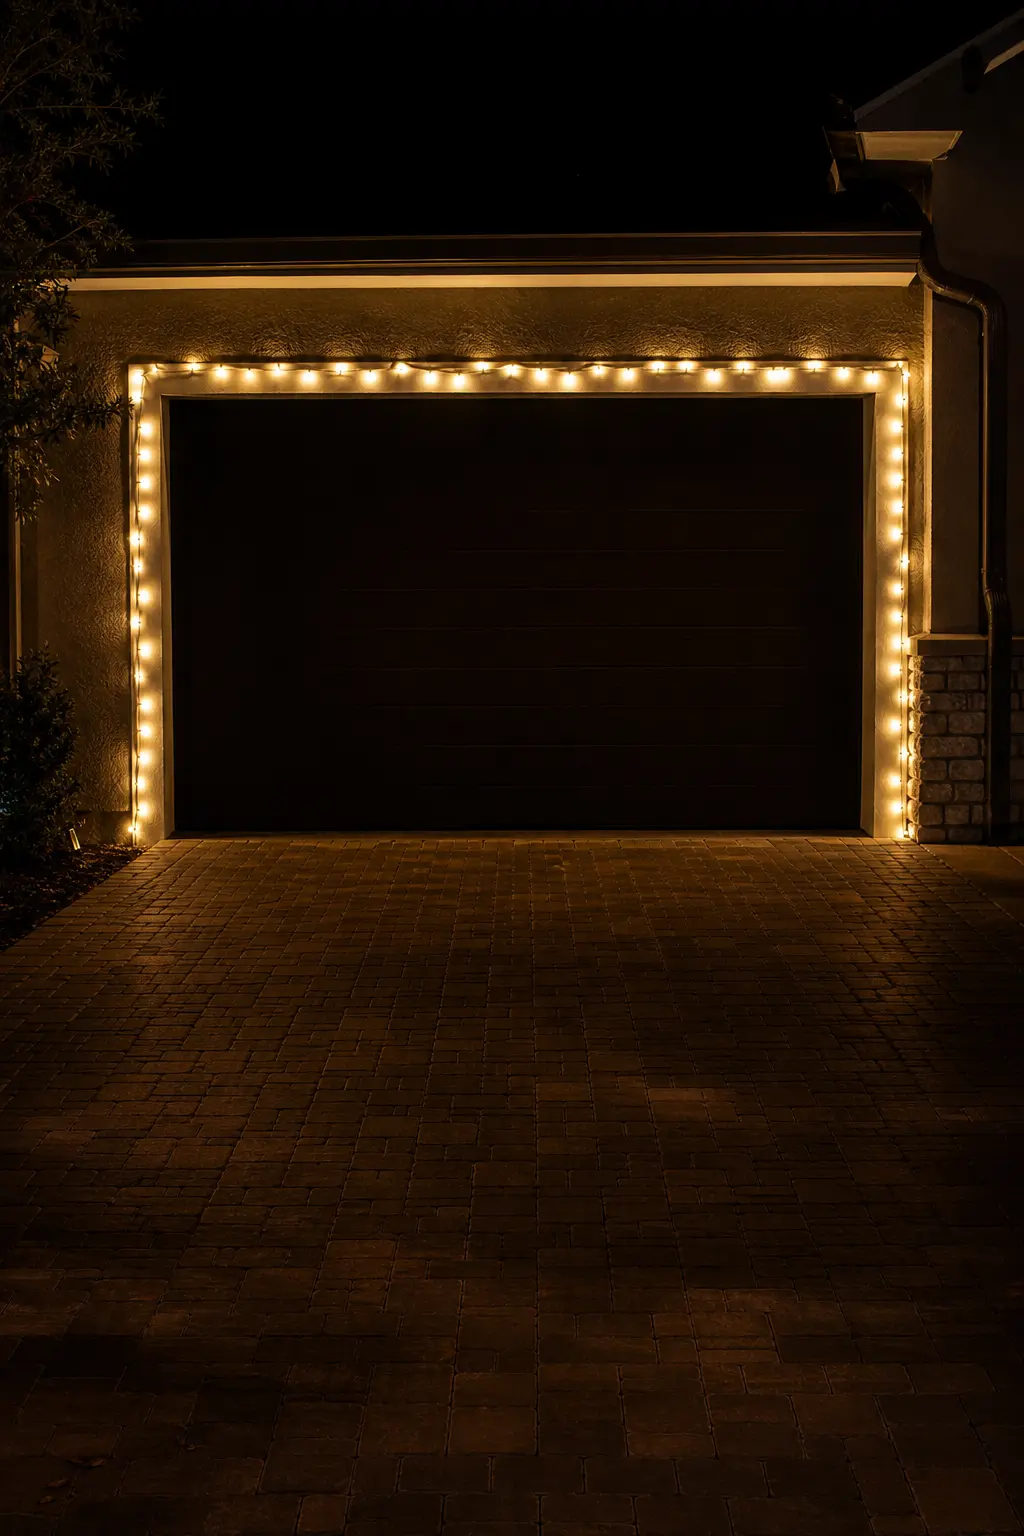
A garage door frame is a rectangle, and rectangles are easy to outline. Measure the perimeter before buying: a standard UK single garage door frame runs to roughly 9 metres. One 10-metre mains set covers it with a metre to spare for the lead to reach the socket.
Start the run at the bottom corner nearest the socket, work up one side, across the top, and down the other, then double the cable back along the bottom rail to return to the plug. That return run keeps the circuit tidy and avoids a loose tail. Clip at 30-centimetre intervals with removable adhesive clips made for smooth surfaces.
The Doorway Outline on a Battery Set
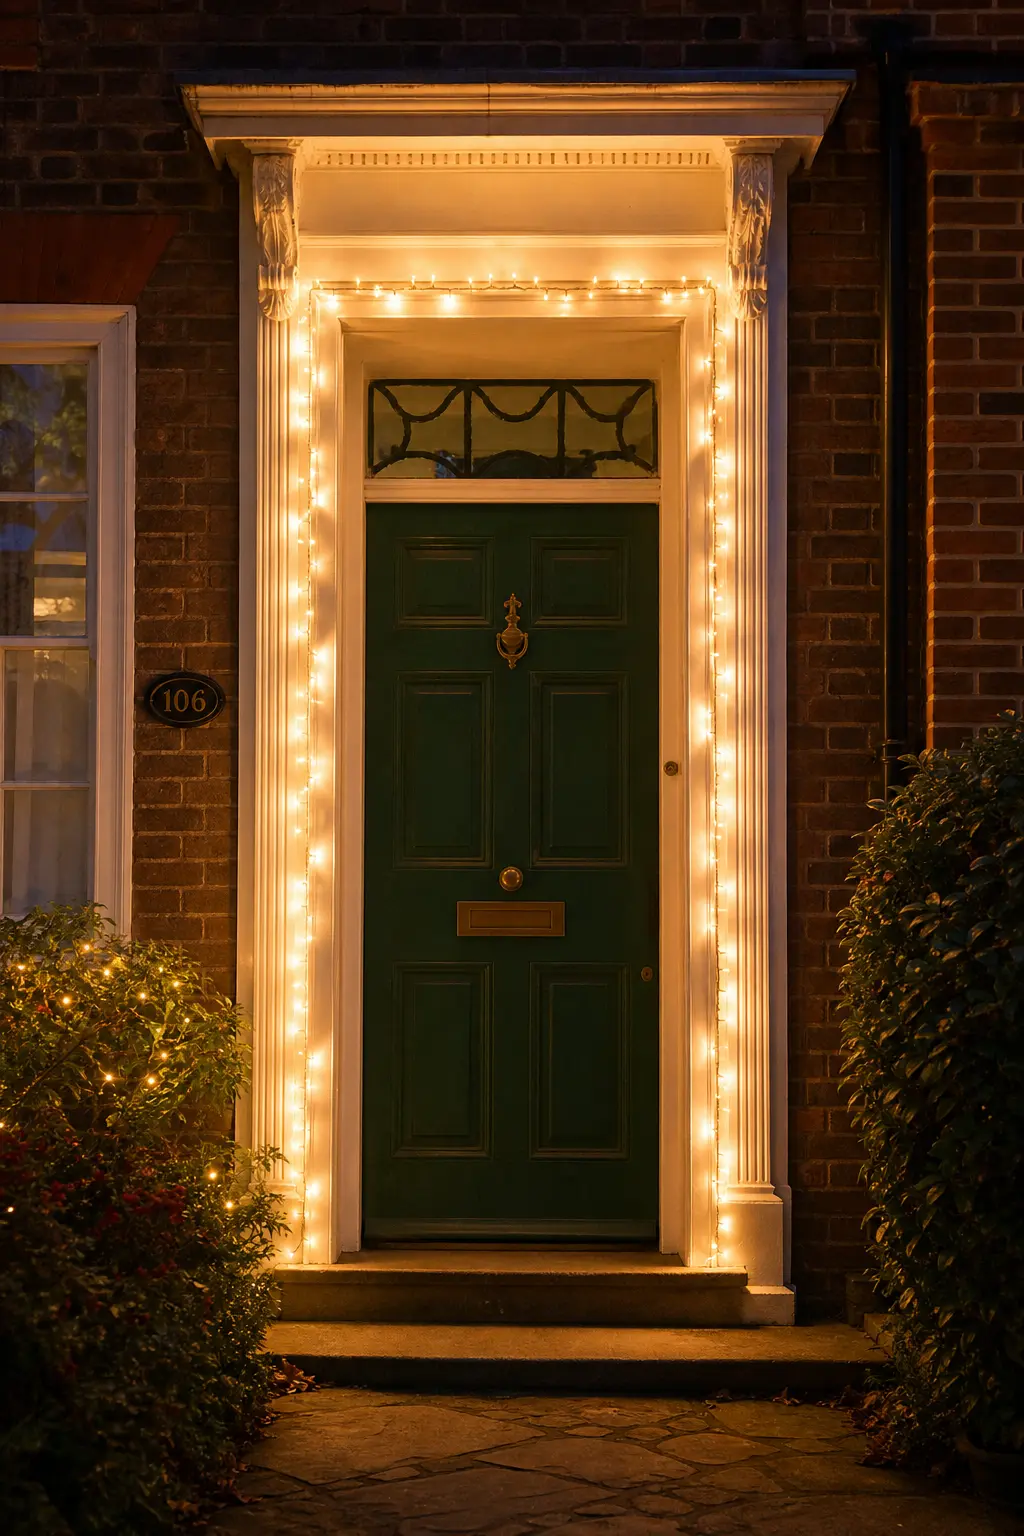
A front door surround is a natural frame, and a battery set makes it independent of the socket circuit entirely. Measure the door surround perimeter, add 30 centimetres for the battery pack tail, and buy accordingly. Most Victorian terrace door frames run to about 6 metres.
Run the string up one side of the frame, across the lintel and down the other side. Tuck the battery pack into the gap behind the door frame or into a small weatherproof box clipped to the wall. Set the built-in timer to match the main circuit so the house reads as one scheme.
🛍 Shopping guide
Railings, Steps and Low Lines
Railings, step edges and fence tops are the level between eye height and ground, and they are often ignored. A low warm-white line along a step edge is safer than a path of stakes when the steps are in daily use during install week. Light the front step last, once everything else is clipped and tested, so it is not walked over while you are still working.
The Railing Wrap
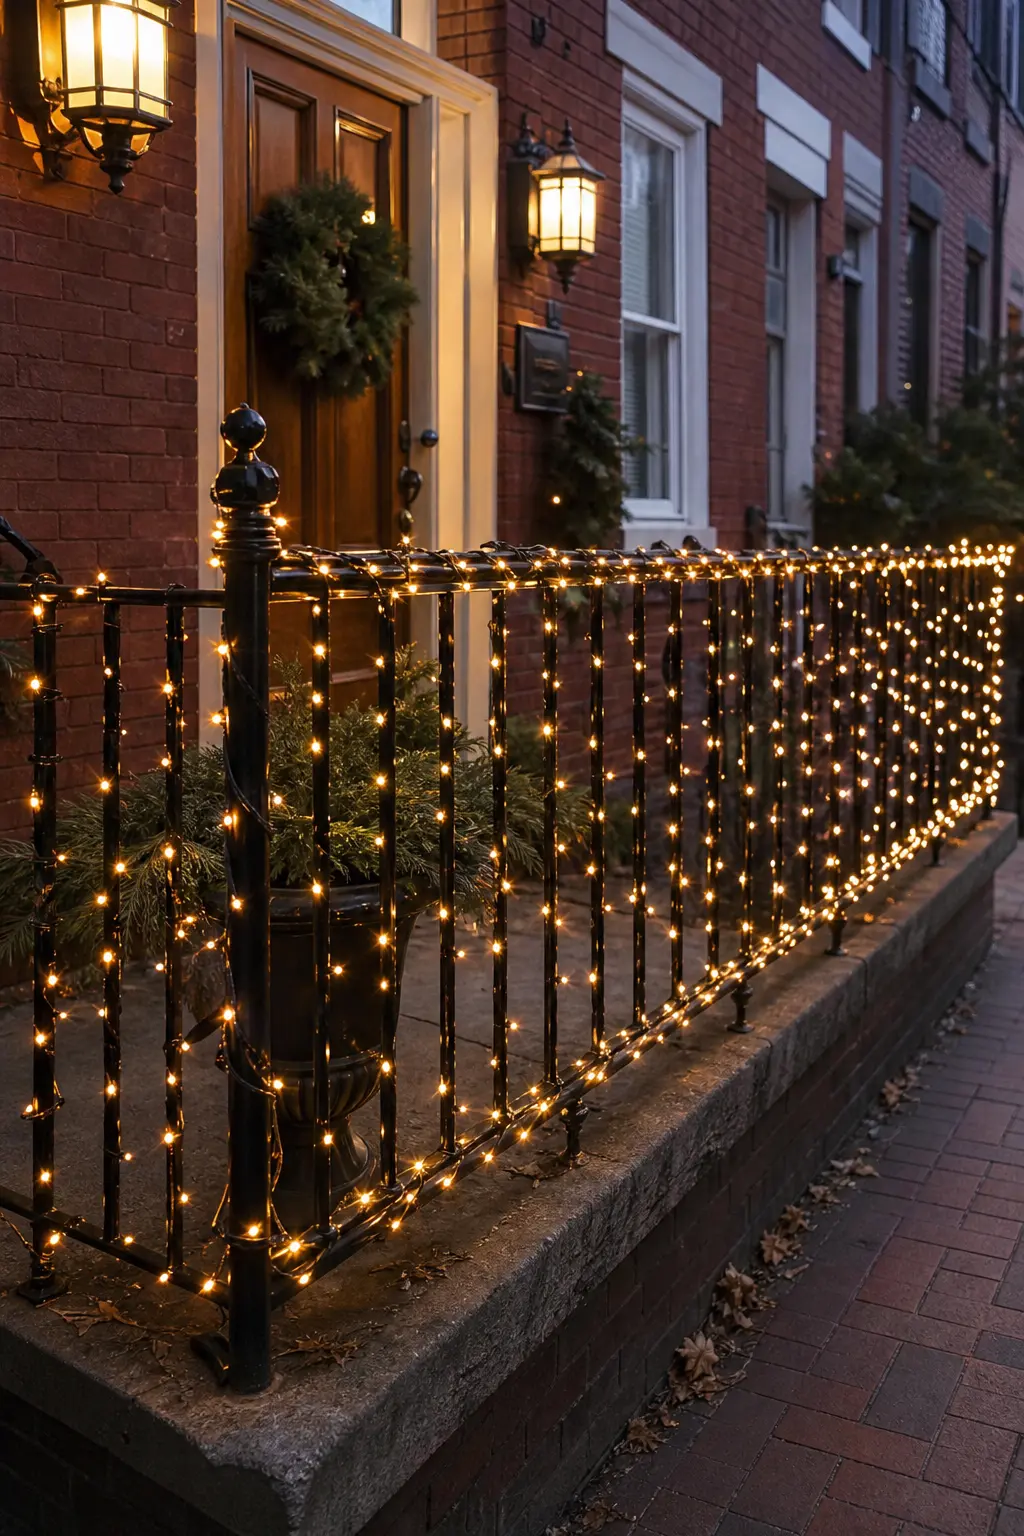
A front garden railing or balcony rail wraps quickly and returns to the same plug. The technique: start at the end nearest the socket, spiral the string around each upright as you move along, then spiral back along the top rail to finish at the start point. That doubling-back means one plug, no tail left hanging.
A 5-metre railing typically needs an 8 to 10-metre set to wrap properly, because the spiral eats length. Measure first. Use a mains set if the railing is within the safe reach of the socket lead, or a battery set if it is not.
🛍 Shopping guide
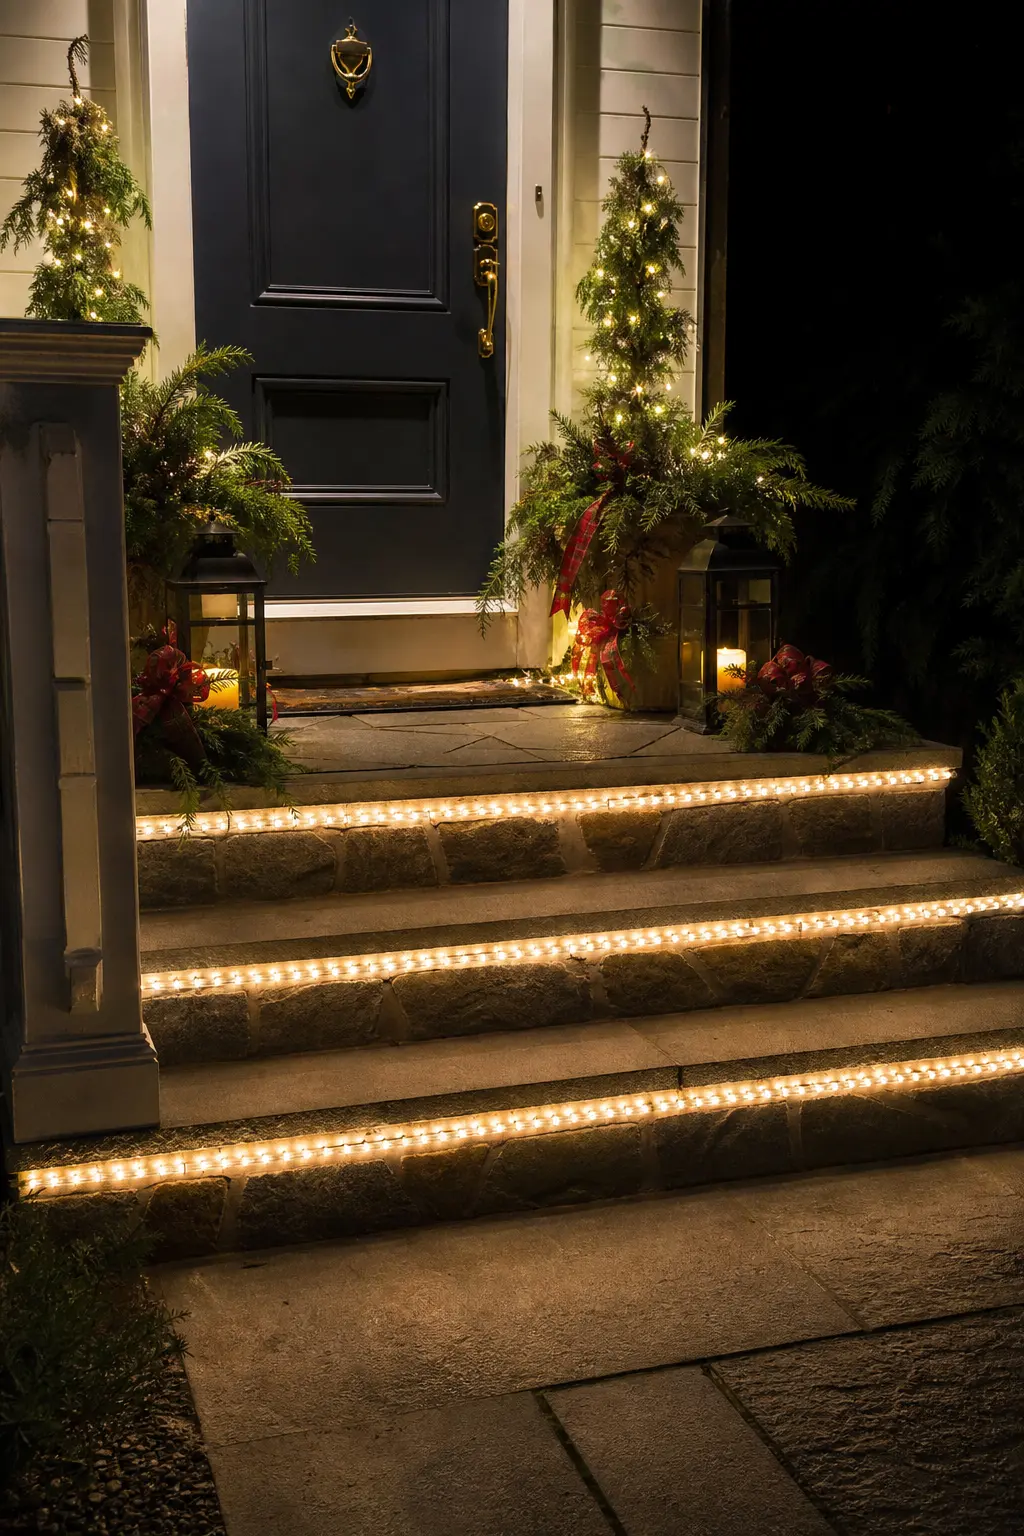
The Step Edge Run
A low warm-white line along the front of each step tread makes the staircase visible after dark and does not require anyone to look up. Use a battery-operated rope light or a low-profile LED strip rated for outdoor use, clipped to the step riser with adhesive clips.
Install this one last. The steps are in use throughout the rest of the install, and a lit cable at foot level is a trip hazard during work. Once everything else is clipped, tested and on the timer, come back to the steps.
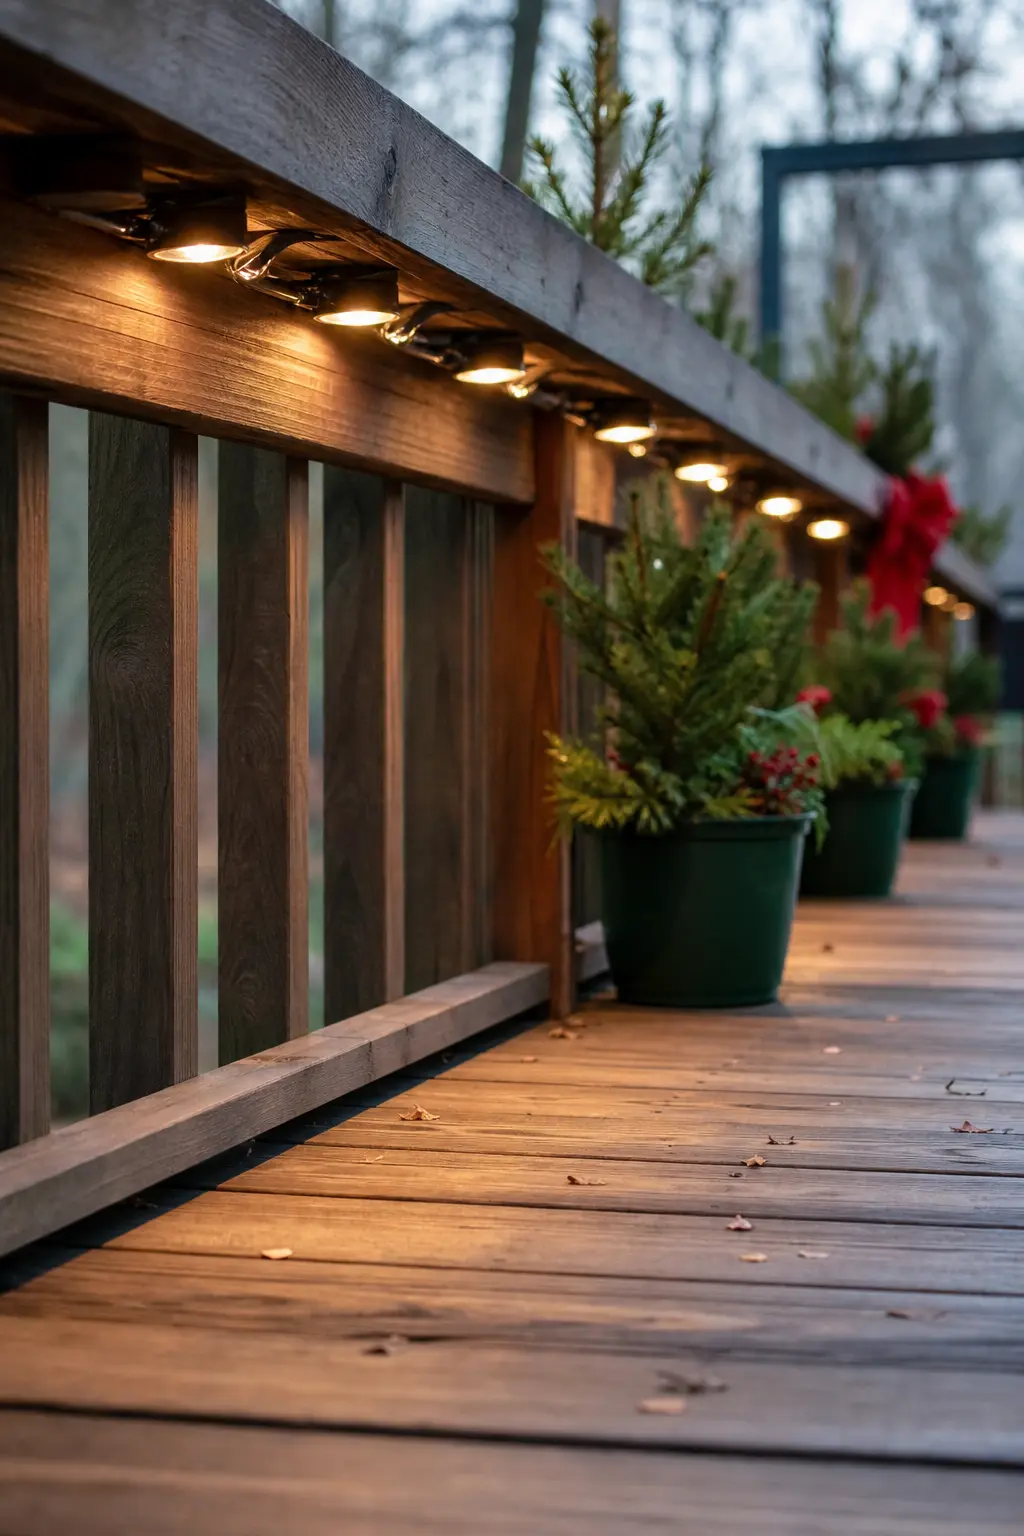
The Rail Underside for a Low Glow
Instead of wrapping a railing, clip a string to the underside of the top rail so the light points downward. The effect is a soft pool of warm light on the path below rather than a lit railing. It is more subtle and uses less string because there is no spiral.
Adhesive cable saddles hold the string flat against the underside. A battery set works here because the position is often awkward to reach with a mains lead. Check that the battery pack sits somewhere weather-protected, tucked against a post or under the bottom rail.
🛍 Shopping guide
Garden Runs Away from the House
Trees, hedges, planters and paths sit away from the wall, which means away from the socket. Every run in this group should be solar or battery unless the garden is genuinely small and the lead reaches cleanly. The neighbour’s side of the garden stays dark by design: one side of a lit hedge looks intentional, both sides looks like an accident.
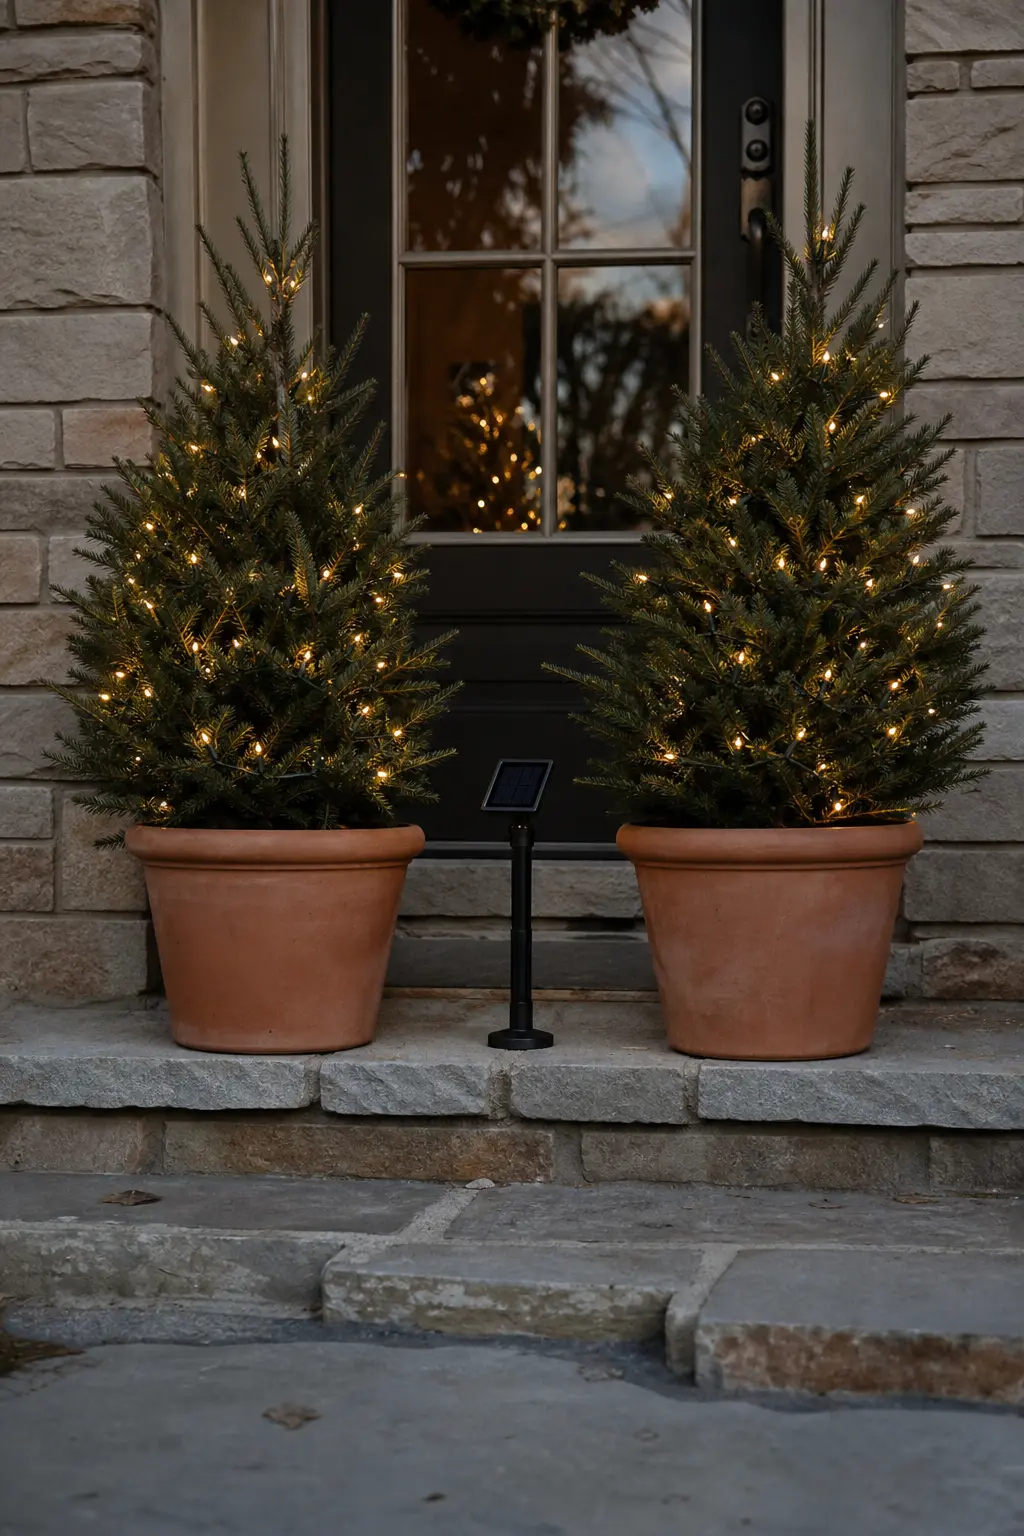
Two Planters on One Solar Stake
A single solar stake powers two planters when the string is long enough to loop from the first planter across to the second and back. Place the solar panel on top of the stake in the sunniest spot between the two pots, usually the gap between them, and run the string through both arrangements. No socket, no lead, no coordination with the main circuit needed.
Choose a solar stake with a built-in dusk-to-dawn sensor so it runs automatically. In winter, position it where it gets direct light until at least 2pm. Warm white on brass planters against hunter green foliage is the whole look, and the solar unit handles it without any load on the socket.
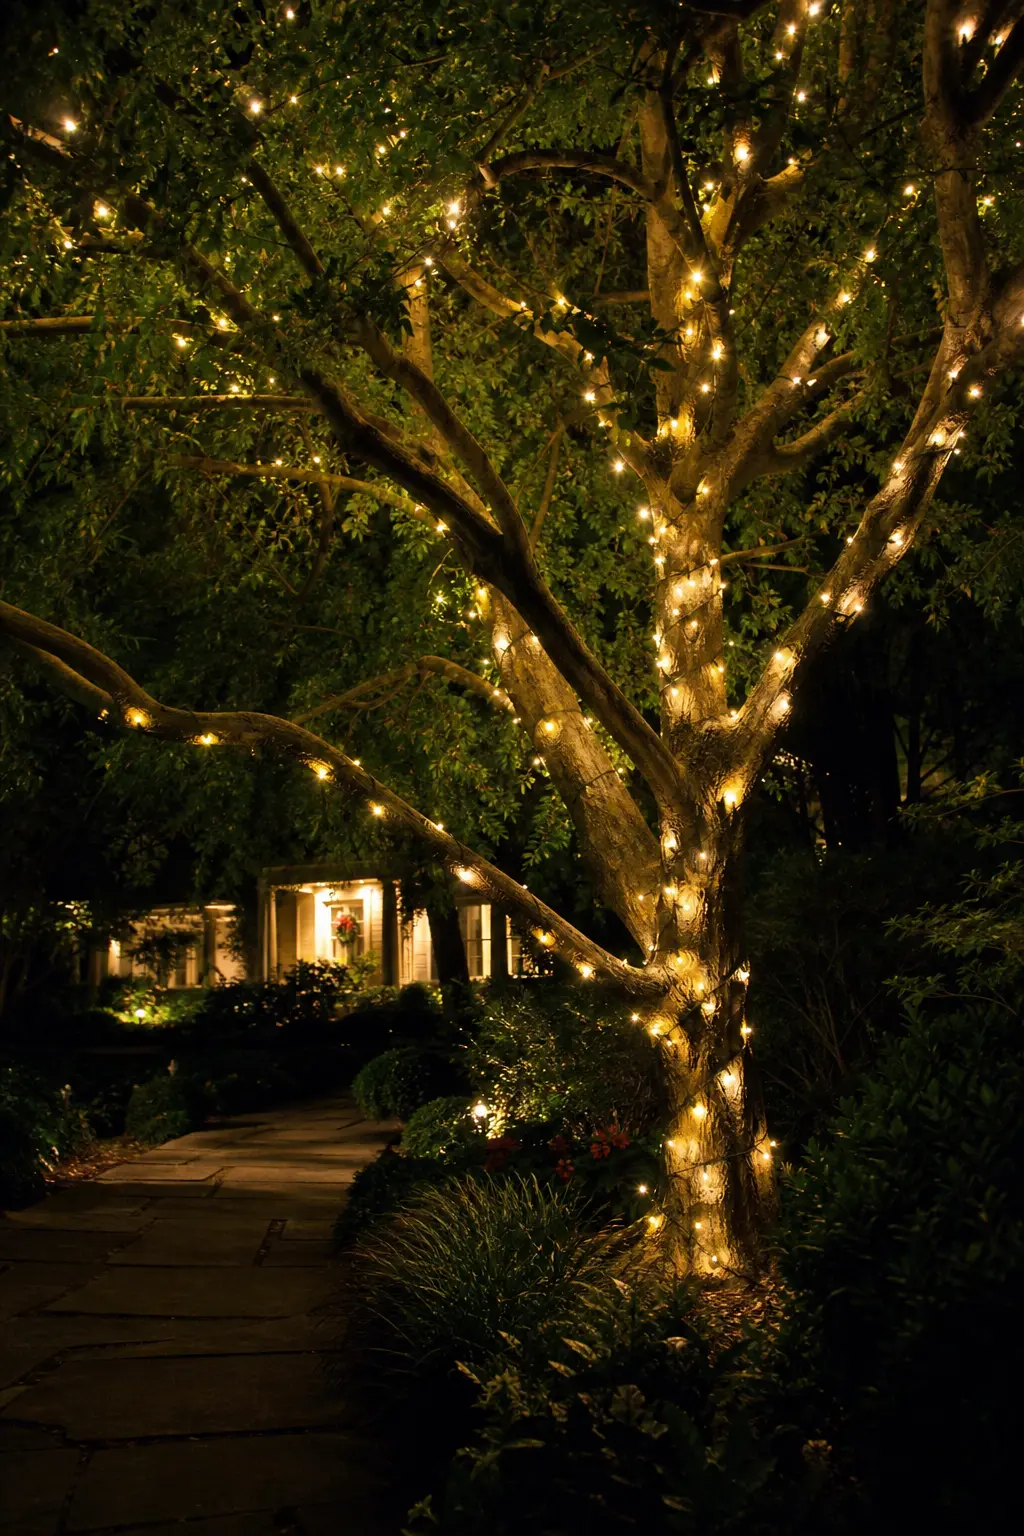
The Tree in the Garden Lit from the Base
Wrapping a garden tree from the base up uses a battery or solar set because the tree is almost certainly more than ten metres from the socket once the lead has to travel around paths and beds. Start the string at the base of the trunk, spiral upward through the main branches, and finish in the canopy. The battery pack sits in a small weatherproof pouch tied to the base of the trunk, hidden by the lowest foliage.
Calculate the string length by measuring the trunk circumference and multiplying by the number of wraps you want, then adding the branch length. For a medium garden tree, 20 metres of string is a starting point. Buy in sets of the same brand so the warm white temperature matches.
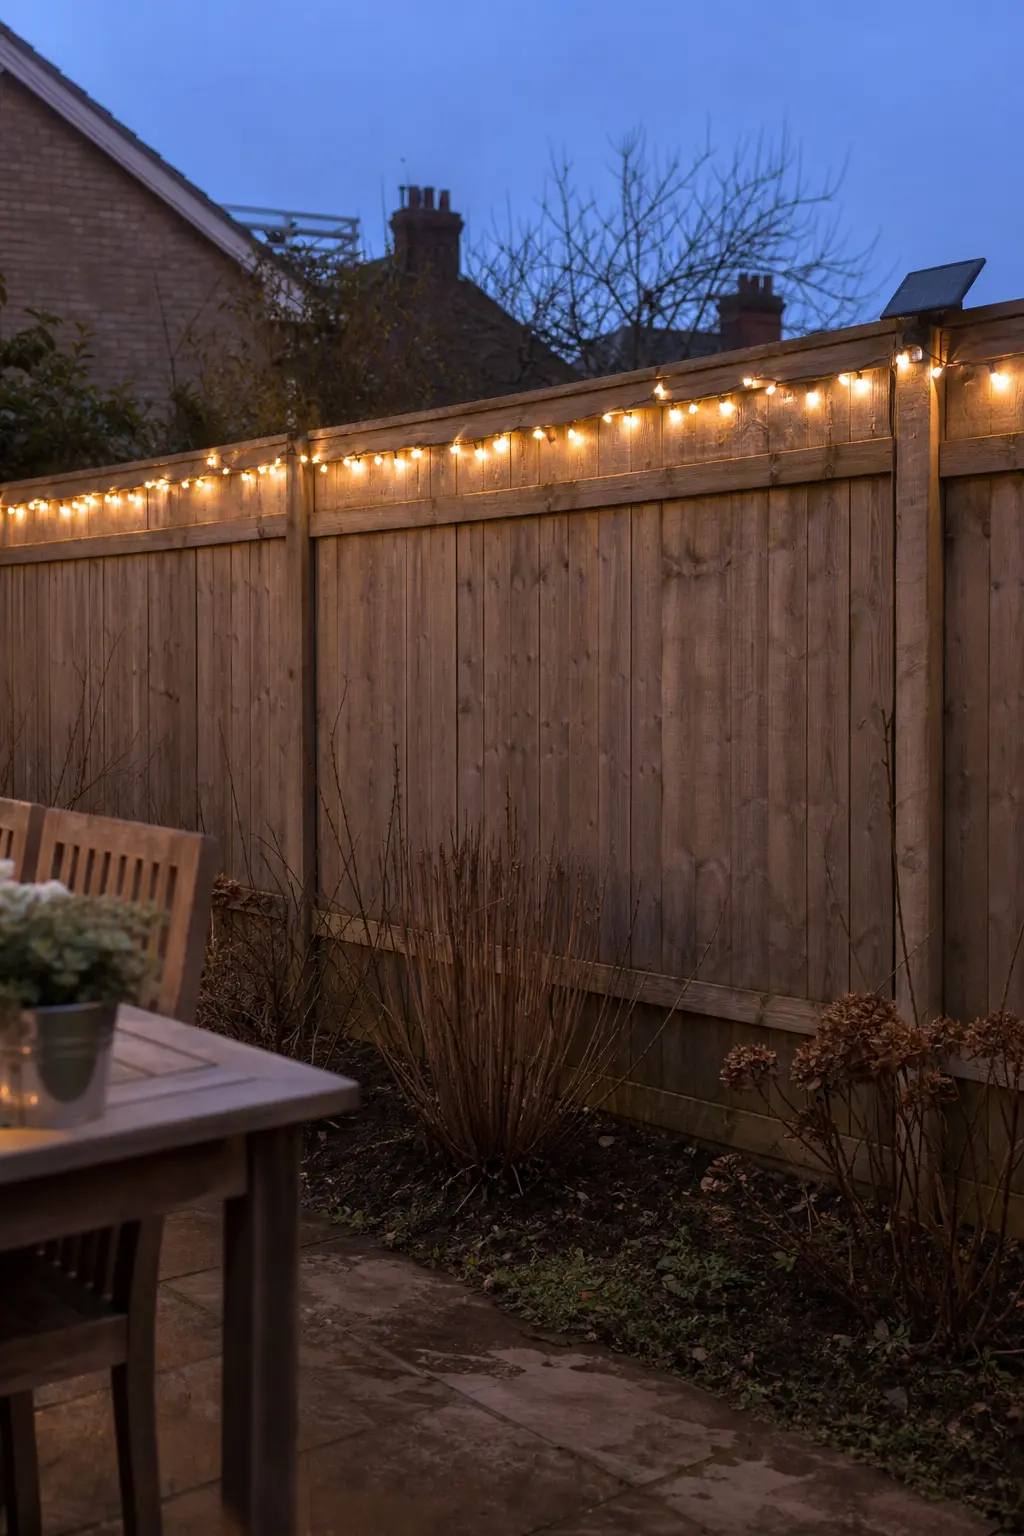
The Fence Run on Solar
A garden fence run on solar needs no socket and no lead crossing the lawn. Clip the string along the top of the fence panels using fence-top cable clips, position the solar panel at the point on the fence that gets the most winter sun (usually one end rather than the middle), and let it run on its dusk sensor.
The neighbour’s side of the fence stays dark. That is a deliberate choice, not an oversight: one illuminated face reads as a feature. Two illuminated faces means your neighbour is looking at a lit fence they did not ask for. Keep the run to your side of the panels only.
🛍 Shopping guide
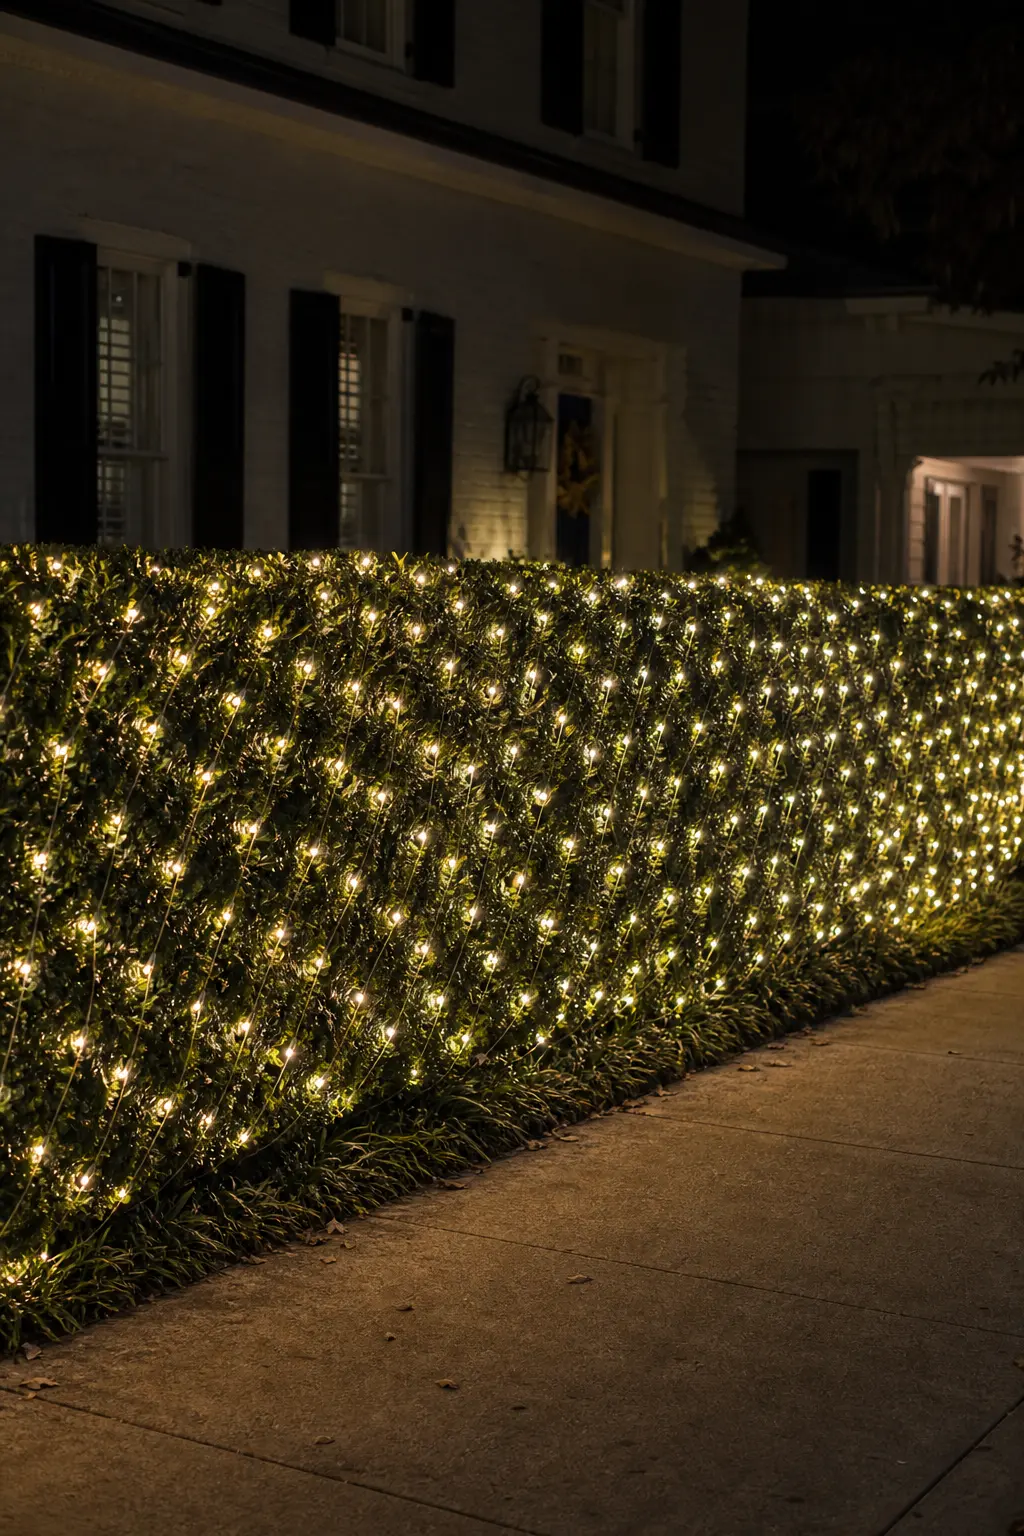
The Hedge Run
Lighting the hedge rather than the house gives the front garden depth without adding anything to the roofline or the socket load. Net lights draped over the face of the hedge are the quickest method. Measure the hedge face, buy net lights to fit, and connect them to a battery pack tucked behind the foliage at ground level.
A box hedge in hunter green with warm white net lights is the whole scheme. Nothing else needs to go on the hedge. One plane of light, consistently lit, beats scattered strings tucked into uneven foliage.
🛍 Shopping guide
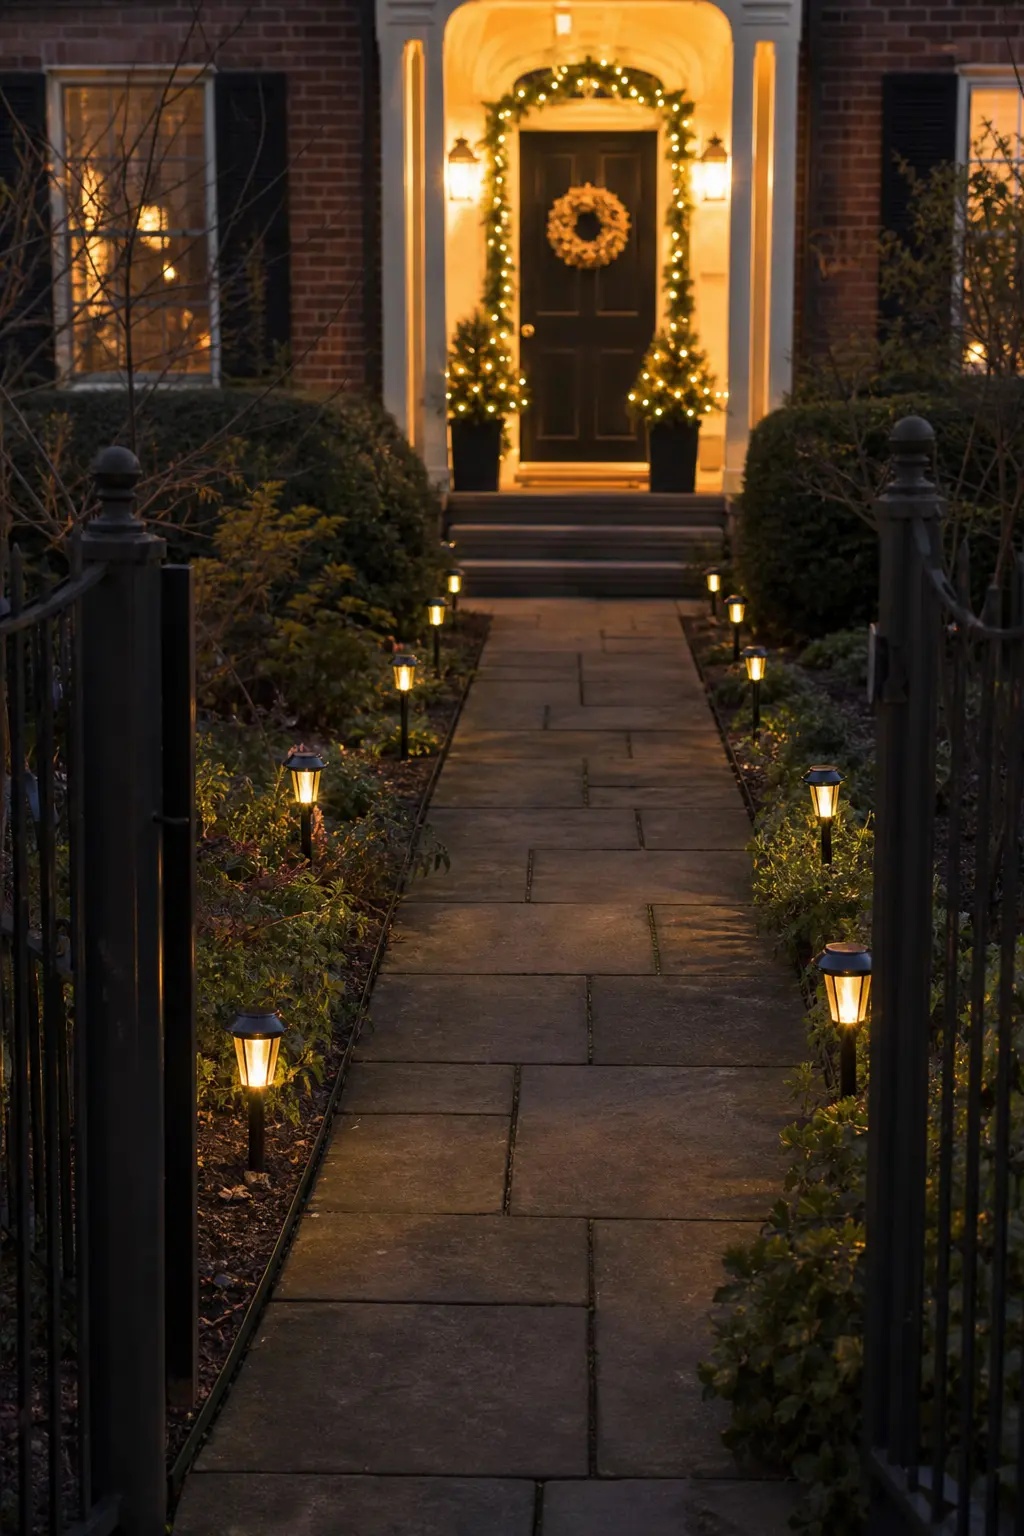
The Path of Solar Stakes
A path of solar stake lights marks the route to the front door and uses no socket. Space the stakes at roughly 60-centimetre intervals for a continuous line of light. Buy all stakes from the same range so the warm white temperature is identical across the whole run.
Aim the solar panels toward the sunniest part of the sky, even if that means they face slightly away from the path. In winter, panel angle matters more than tidiness. Charge new stakes fully for 48 hours before the first night, and check the path is clear of leaves that shade the panels during the day.
Focal Points and Finishing Details
One bright focal point outperforms even coverage. A lit branch bundle by the door, a lantern cluster, a single wreath with its own coin-cell set: these are the things guests notice and photograph. The rest of the circuit supports them without competing.
A spare set kept indoors is not wasteful, it is practical. A set that fails mid-December with no replacement means a gap in the circuit that is annoying to fix in the cold. Buy one extra, label it, put it in a drawer.
The Wreath Light on a Coin Cell
A wreath hung on the front door needs its own light source, and coin-cell fairy lights are the answer. They weigh almost nothing, the battery pack hides behind the foliage, and the circuit is completely separate from everything else. No socket, no lead, no timer conflict.
Buy a set with 20 to 30 warm white micro LEDs on a fine copper wire. Weave them through the wreath before hanging it. Coin cells last two to four weeks of nightly use, so check them at the midpoint of the season. Hunter green foliage and warm white micro LEDs need nothing else.

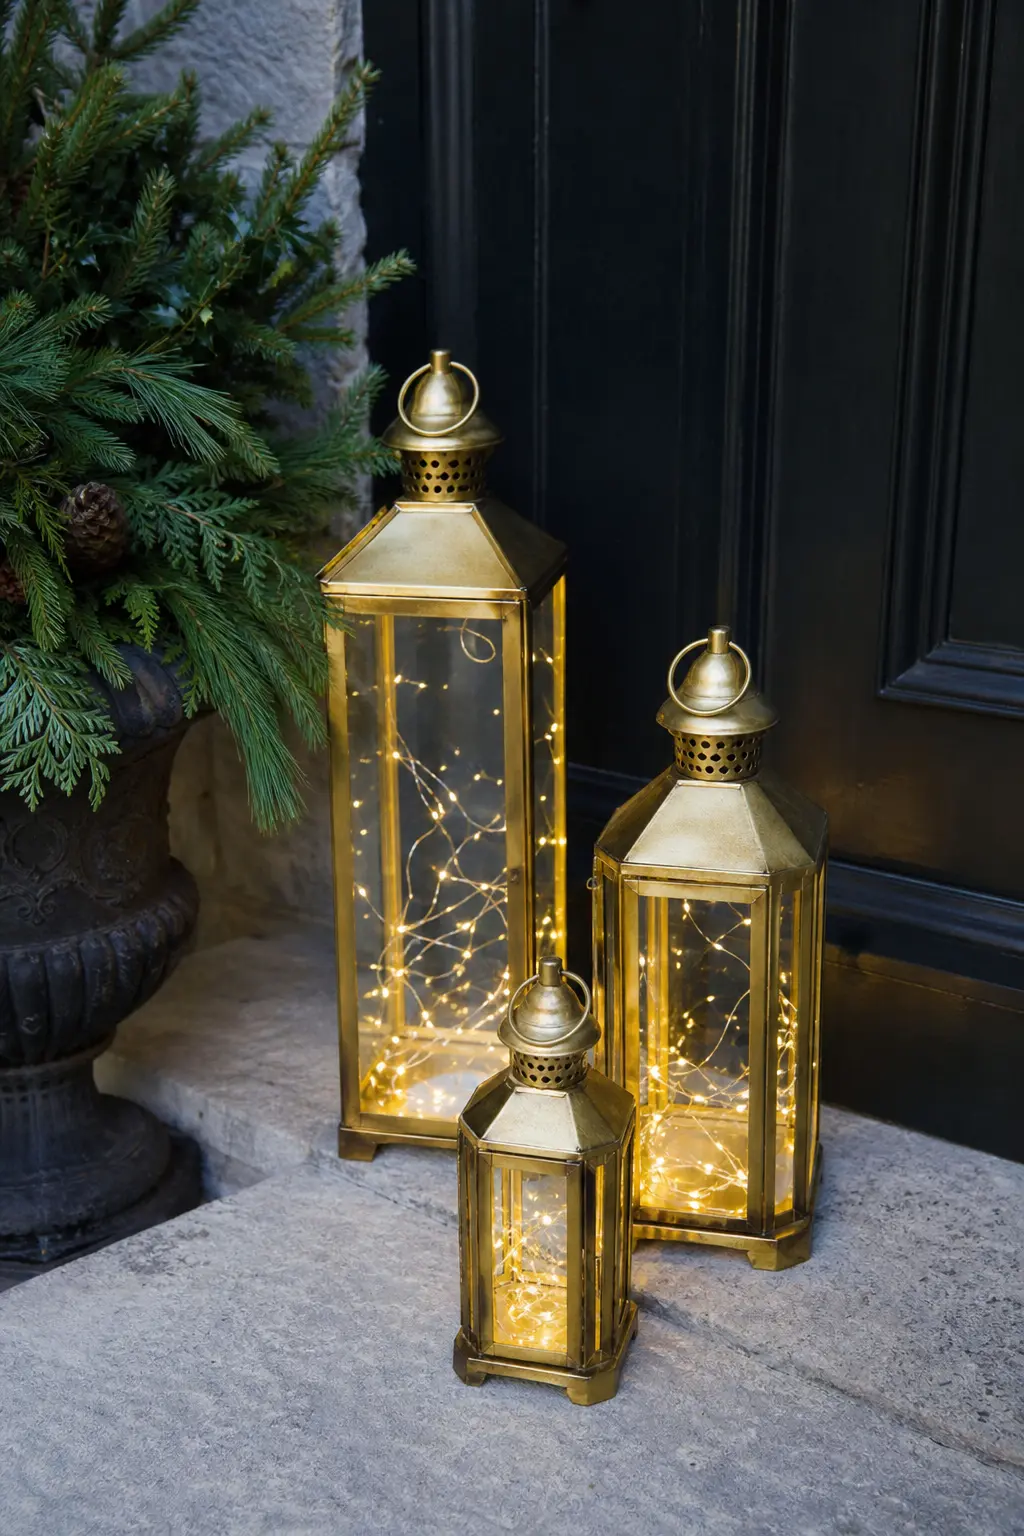
The Lantern Cluster on Batteries
Three lanterns of different heights grouped by the front door, each with a battery-operated warm white candle or fairy light inside, make a focal point that needs no socket at all. Brass or dark bronze lanterns hold warm white light in a way that chrome or silver does not. The battery packs sit at the base of each lantern, hidden from eye level.
Set each lantern’s timer to the same on and off time. Mismatched timers mean one lantern dies before the others, which is easy to fix but easy to avoid. A cluster of three is enough: a fourth lantern tips the arrangement from considered to crowded.
🛍 Shopping guide
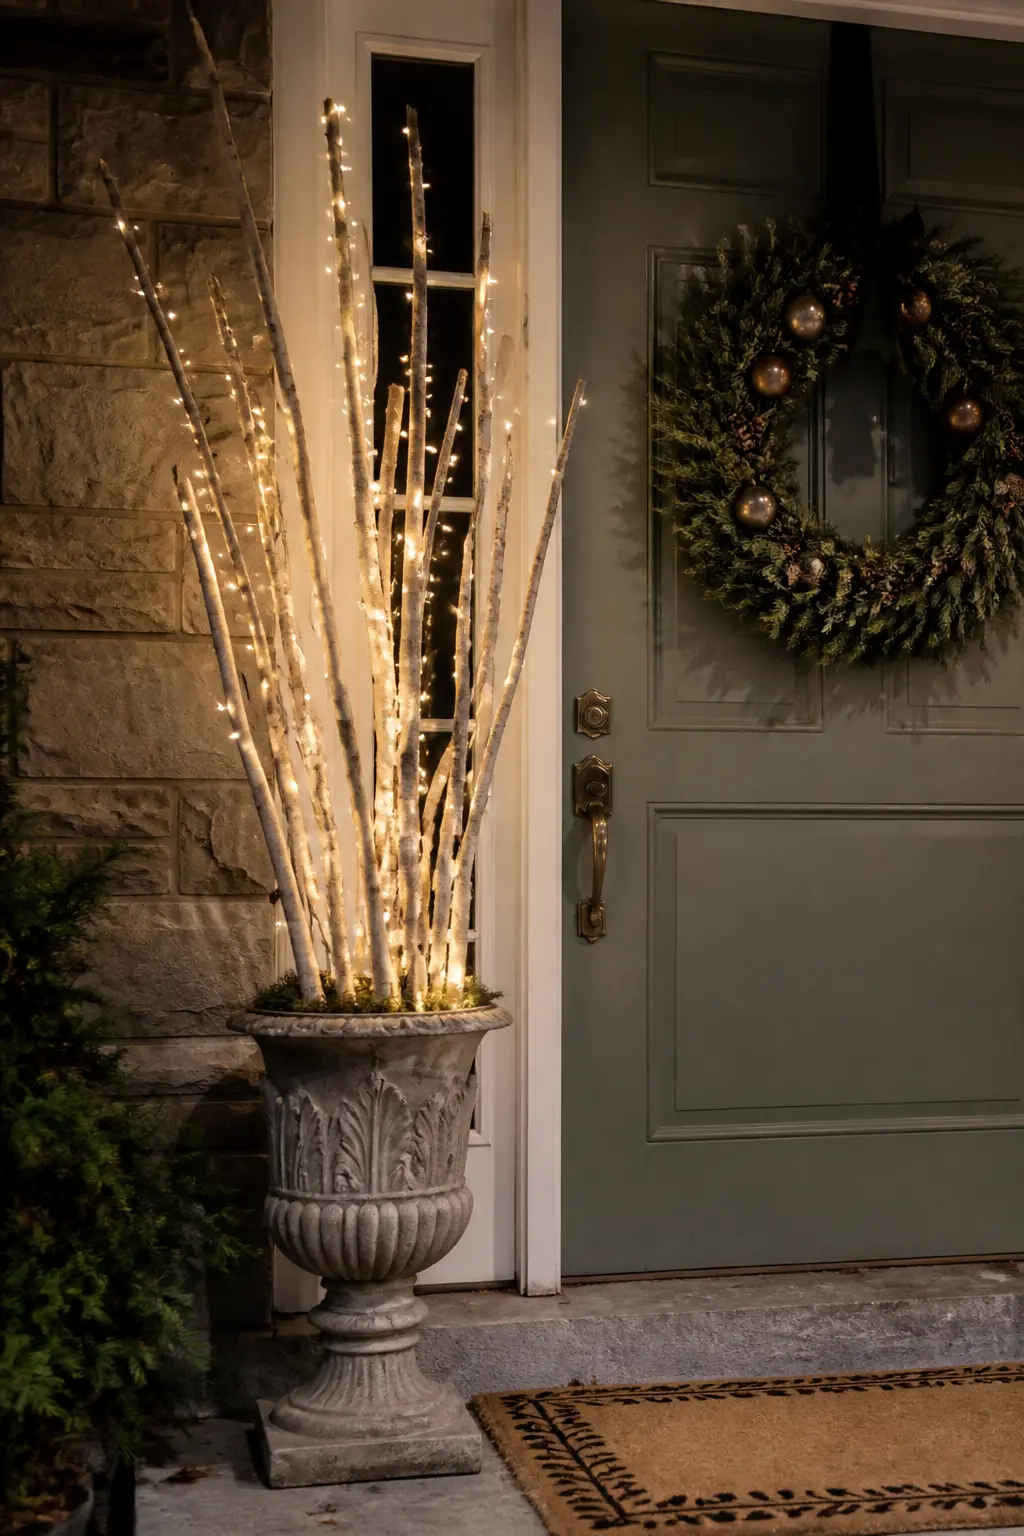
The Lit Branch Bundle by the Door
Gather five or six branches of similar length, stand them in a weighted planter or stone urn by the front door, and weave a battery warm white set through them from the base upward. The result is architectural, lasts the whole season without watering, and takes a battery set rather than a socket.
Birch twigs and contorted hazel both hold the lights well and look good bare. Spray the tips with a light coat of gold or leave them natural: both read as intentional against a front door in hunter green or navy. The battery pack tucks into the planter base under a handful of moss or pine cones.
🛍 Shopping guide
diy christmas lights outdoor
Before anything goes outside, the plan lives on paper. Socket location, rated load, lead length, each run’s power source, and the order of install (socket cover, timer plug, mains runs, then battery and solar last) all go on one list. That list is also where the total wattage lives, because the socket does not know how many sets you have added and will not warn you until something trips.
Warm white, brass fixings and hunter green foliage are a palette that works because it is narrow. Resist the copper-and-cool-white set on sale, even if it is cheaper. One colour temperature across the whole house is what makes a DIY install read as a decision rather than an accumulation. For more on pulling the whole exterior together, see outdoor christmas decor, and for the door and porch detail, christmas porch decorating ideas, diy christmas lantern and christmas door each cover their corner of the scheme.
Frequently Asked Questions
How many light sets can go on one plug?
Add up the wattage printed on each set’s packaging and keep the total below the socket’s rated amperage multiplied by the voltage (for a UK 13A socket, that is 3,120 watts maximum, though staying well under 2,000 watts is sensible practice). Modern warm white LED sets typically draw 8 to 20 watts each, so a socket can handle several runs. Write the total before you buy a new set, not after.
Can I use indoor lights outdoors?
No. Indoor fairy lights carry no IP rating for moisture resistance, and using them outside voids any safety certification. Always check the packaging for an IP44 rating or higher before installing any string light outside, even under a covered porch.
How do I run Christmas lights with no outdoor socket?
Battery and solar sets need no outdoor socket at all. Solar sets work for fences, paths and garden trees where the panel gets winter sun. Battery sets work for doorways, railings, wreaths and lanterns. For anything more than ten metres from the nearest indoor socket, plan on battery or solar from the start rather than extending a lead across the garden.
Do outdoor Christmas lights need a timer?
A timer is not a legal requirement, but it is the most practical thing on the list. A timer plug at the socket switches every mains run on and off automatically, protects against the set being left on all night, and keeps the total hours of use down so bulbs last longer. Set it once and the display runs itself for the whole season.

22 Christmas party games for family — grandkids to grandparents, nobody left out. Active, printabl

20 family party games indoor Christmas style — no yard, no mess, just living-room fun for everyone

32 work christmas party ideas for decorating, games, food and favors you can pull off right in the o
Leave a Reply