

29 DIY Christmas Decorations Easy Enough for the First Evening in December
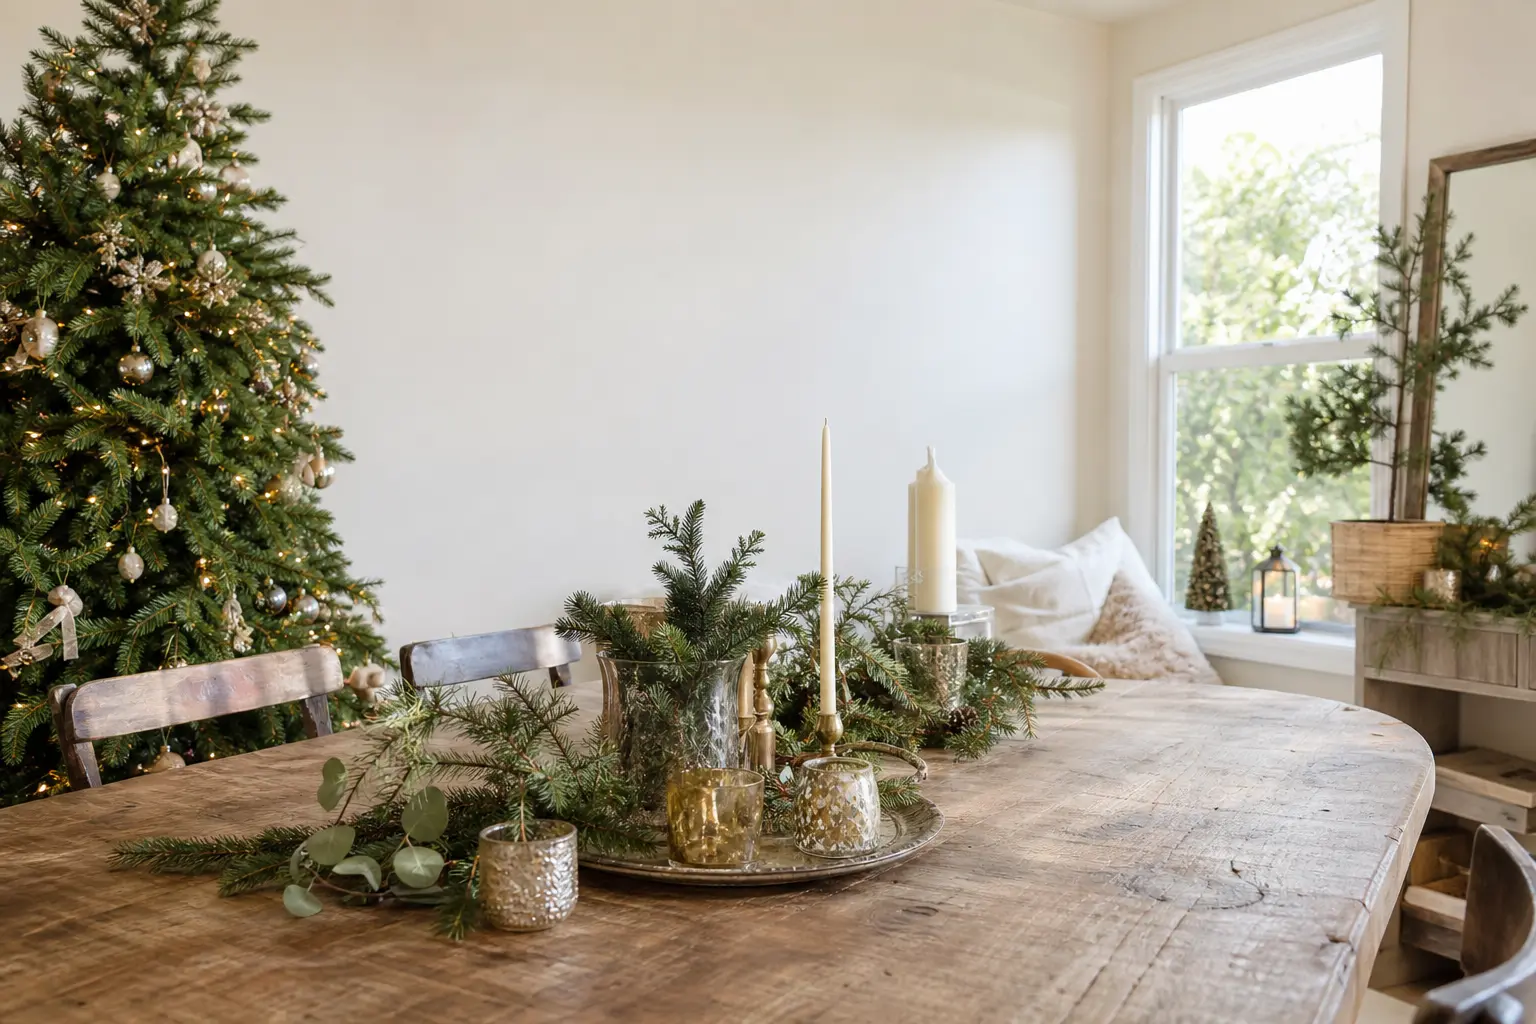
These diy christmas decorations easy enough to finish in one evening are ordered by how many materials they need, starting at two. No supplies bought in advance, no skills assumed, no glue gun required for most of them.
The list runs from the genuinely effortless to the slightly more involved, so you can stop whenever the sofa calls. Every item here has a real method, a real material count, and a real place to live in the room when you’re done.
If you want the bigger picture on styling your home for the season, the christmas decor hub is a good place to start. And once the room looks right, 18 Easy Christmas Party Games You Can Set Up in Minutes will fill it with noise.
This post contains affiliate links. If you buy through them, I may earn a small commission at no extra cost to you.
- Ribbon Bows on the Banister
- Paper Strip Chain
- Orange and Clove Pomander
- Branch in a Jug with Three Baubles
- Candle Wrapped in Twine
- Card Display on a Length of Ribbon
- Folded Paper Stars
- Painted Jam Jar Lantern
- Greenery Tucked Behind Picture Frames
- Tea Towel Over the Oven Rail
- Paper Doily Snowflakes Taped to the Window
- Bowl of Nuts and Citrus
- String of Dried Bay Leaves
- Brown Paper Wrapped Boxes as Props
- Scarf Draped Along a Shelf
- Newspaper Cone Trees
- Pegged Card Garland
- Cinnamon Sticks Tied to Napkins
- Stacked Books with a Candle on Top
- Foil Star on the Door
- Torn Fabric Strips on a Wreath Ring
- Single Sprig in a Bud Vase
- Plate Stack with Greenery Between
- Bauble in a Bowl of Salt
- Shoelace Bow on a Handle
- Twig Bundle by the Fireplace
- Fairy Lights in a Glass Jar
- Pinecones in a Glass Bowl
- diy christmas decorations easy: Where to Go Next
- Frequently Asked Questions
Ribbon Bows on the Banister
Two materials, zero skill, instant impact. A staircase banister dressed with wide satin or grosgrain bows reads as deliberately styled rather than hastily done. Tie one at the newel post, space three or four more evenly up the rail, and the whole hallway shifts. After the holidays, untie and roll the ribbon back onto its spool.
What You Need
- 5 metres of wired ribbon, 60 mm wide, in any colour
- Scissors
How to Make It
- Cut five lengths of ribbon, each about 90 cm long.
- Hold one length at its centre point and pinch it into a figure-of-eight loop, each loop roughly 15 cm across.
- Cut a short 10 cm strip from the remaining ribbon and wrap it tightly around the pinched centre, knotting it at the back. The bow should spring open and hold its shape on its own at this point.
- Press the wired edges of each loop outward so the bow looks full rather than flat.
- Tie each finished bow to the banister spindles using the short tails of the centre knot, pulling firmly so it does not slip down.
- Fluff the loops one final time. The finished bow should be round and generous, not lopsided.

🛍 Shopping guide
Paper Strip Chain
The oldest craft on this list and still the most satisfying. A chain of coloured paper loops costs almost nothing and fills an astonishing amount of empty wall or ceiling.
Use kraft paper cut into strips for something that looks intentional rather than primary-school, or raid the recycling bin and use whatever is in there. Store it flat in a folder or simply compost it at the end of December.
What You Need
- 6 sheets of A4 paper in two or three colours, or a kraft paper roll
- A glue stick or a small piece of sticky tape per link
- Scissors
How to Make It
- Cut the paper into strips roughly 2.5 cm wide and 20 cm long. An adult should do the cutting for young children. Aim for around 40 strips per metre of chain you want.
- Form the first strip into a loop and glue or tape the short ends together, overlapping them by about 1 cm. Hold for ten seconds until the bond holds.
- Thread the next strip through the first loop before closing it. This is the only step that trips people up: the strip must pass through the existing loop, not around it.
- Continue linking until the chain is as long as you want. A chain of 40 links covers roughly one metre.
- Hang between two thumbtacks or drape over a mantel. The finished chain should swing gently and lie flat rather than twisting back on itself. If it twists, the loops are too tight: loosen one or two and re-glue.

🛍 Shopping guide
Orange and Clove Pomander
A pomander smells like every Christmas film you have ever watched. Push whole cloves into an orange in lines, spirals or all-over patterns and set it anywhere a gentle scent is welcome: a fruit bowl, a bathroom shelf, a coat pocket.
It takes about forty minutes of meditative television-watching to finish one fully studded orange, and it will keep for several weeks in a cool room. Start it on the sofa.
What You Need
- 1 firm orange (thin-skinned varieties dry out faster and smell stronger)
- 1 jar of whole cloves (about 30 g is enough for one orange)
- A cocktail stick or toothpick for piercing the skin first
How to Make It
- Hold the orange in your non-dominant hand. Use the cocktail stick to pierce a small hole in the skin before pushing each clove in; this stops the clove head from snapping off and saves your thumb considerably.
- Push the cloves in head-up so the flat disc of each sits proud of the skin. They should be close enough that you can barely see the orange skin between them, but not so close they split the peel.
- Work in rows from top to bottom, or spiral from the stem end. A completely covered orange takes roughly 200 cloves.
- If you want to leave a ribbon channel, use a strip of masking tape as a guide before you begin, then remove it when the cloves are in.
- Set the finished pomander somewhere it can breathe. It will gradually harden and shrink over a week or two, growing more fragrant as it dries. It is done when it feels light for its size.

🛍 Shopping guide
Branch in a Jug with Three Baubles
Find a fallen branch on any winter walk, or snap a few stems from a shrub you were pruning anyway.
Stand it in a heavy jug or vase, hang three large baubles from the twigs, and you have something that looks as considered as a florist display. The branch is the decoration; the baubles are punctuation.
Take the baubles off at the end of the season and return the branch to the garden.
What You Need
- 1 branch or bundle of bare twigs, 60-80 cm tall
- 1 heavy jug, vase or ceramic pot, at least 20 cm deep
- 3 large glass or plastic baubles with hanging loops
- A handful of stones, dried pulses or gravel to weight the jug
How to Make It
- Drop the stones or gravel into the jug first so it will not tip. Fill it to about a third of its depth.
- Stand the branch in the jug, adjusting the angle until it leans the way you want. It should stand without you holding it before you hang anything on it.
- Hang one bauble near the top of the branch, one in the middle, and one lower down on a different side. Odd spacing looks more natural than symmetry here.
- Step back and check the balance. If the branch leans too far with the baubles on, add a little more ballast to the opposite side of the jug interior.
- Set on a side table, a hall floor, or beside a fireplace. The branch should be stable before you walk away from it.

🛍 Shopping guide
Candle Wrapped in Twine
A plain pillar candle wrapped in natural jute twine costs almost nothing and looks like a prop from a very good interiors shoot. The texture does all the work. Use it on a dining table, a windowsill or a mantelpiece.
Never leave a burning candle unattended, and never wrap the twine higher than halfway up the candle: the flame must stay well clear of any material.
What You Need
- 1 plain pillar candle, at least 8 cm tall and 6 cm wide
- 1 roll of natural jute twine
- A hot glue gun and glue sticks, or a strong all-purpose glue
How to Make It
- Start at the base of the candle. An adult should operate the hot glue gun throughout. Apply a short bead of hot glue along the bottom edge and press the end of the twine into it, holding for ten seconds.
- Wind the twine tightly and evenly around the candle, keeping each row pressed firmly against the one below so no wax shows between the rows.
- Add a tiny dot of glue every four or five rows to stop the twine from unwinding.
- Stop wrapping when you reach halfway up the candle. Apply a final bead of glue, press the twine end down and trim the tail flush. The wrapped section should feel solid and not shift when you press it.
- Let the glue cool fully before handling, about five minutes. The candle is ready to use. Never leave it burning unsupervised.

🛍 Shopping guide
Card Display on a Length of Ribbon
Christmas cards deserve better than a windowsill drift. Run a length of ribbon across a wall or along a mantelpiece and clip the cards to it with small wooden pegs.
The display grows through December as more cards arrive, and it comes down in a single tug on the sixth of January. Store the ribbon and pegs in a sandwich bag for next year.
What You Need
- 2 metres of ribbon, any width from 15 mm upward
- 12-15 small wooden or plastic pegs (dolly pegs or mini bulldog clips both work)
- 2 thumbtacks or two small nails to anchor the ribbon ends
How to Make It
- Decide where the ribbon will hang and fix a thumbtack or small nail at each end point. The ribbon can hang straight or drape in a gentle curve: both look good, but a slight droop is more forgiving of uneven card sizes.
- Tie one end of the ribbon to the first tack, looping it twice and knotting it firmly. Pull the ribbon taut enough to support cards without sagging dramatically, then tie the second end.
- Space the pegs along the ribbon before you attach any cards, to judge how many will fit comfortably.
- Clip cards to the pegs, mixing sizes and orientations. The display looks best when portrait and landscape cards alternate.
- Add new cards as they arrive by sliding a fresh peg onto the ribbon anywhere there is room.

🛍 Shopping guide
Folded Paper Stars
These six-pointed stars fold from a single strip of paper and look genuinely impressive for something that takes four minutes each. Use thick wrapping paper, old book pages or plain brown kraft paper.
A cluster of three different sizes hung at different heights in a window or from a light fitting is the quickest thing in this list that looks as though it took skill.
What You Need
- 3 strips of paper per star, each 2.5 cm wide and 28 cm long (A4 paper cut lengthways gives the right proportions)
- A glue stick
- Thread or thin ribbon for hanging
How to Make It
- Cut three strips 2.5 cm x 28 cm from one sheet of A4 paper. Fold each strip in half lengthways, crease it sharply, then fold it in half again in the same direction. You now have a narrow strip with four layers.
- Fold each narrow strip into a wide V shape, then fold the arms of the V back on themselves to make a zigzag. The strip should look like a flat lightning bolt. This is the step that confuses people: the zigzag is just one strip folded in thirds, and it does not need to be perfect.
- Arrange the three zigzag strips across each other like the spokes of a wheel, evenly spaced at 60-degree angles. Glue each strip where it crosses the others and hold for thirty seconds.
- When the glue holds, gently lift the tips of each point and tuck them under the adjacent strip to create the interlocked look. Press each tuck down with the glue stick and hold briefly.
- Thread a length of cotton or thin ribbon through one point and knot it for hanging. The finished star should be flat and symmetrical. If one point is fatter than the others, ease it gently with your fingers while the glue is still slightly tacky.

🛍 Shopping guide
Painted Jam Jar Lantern
A clean jam jar, a few minutes with a brush and some glass paint or even white emulsion, and you have a lantern that glows amber through the painted pattern when a tea light sits inside.
Polka dots, stripes or a rough snowflake scratched through wet paint with a cocktail stick all work. This is the one craft on the list that genuinely benefits from an imperfect hand: wobbly dots look charming.
For more ideas around candles and light, see christmas candles.
What You Need
- 1 clean glass jam jar, any size
- White or cream emulsion paint, or glass paint in any colour (a tablespoon is plenty)
- A medium paintbrush
- 1 tea light (battery-powered is safest inside a painted jar)
How to Make It
- Wash and dry the jar completely. Any grease or moisture will stop the paint adhering properly.
- Dip the brush and stipple or dab paint onto the outside of the jar in dots, stripes or a rough snowflake shape. You do not need to cover the whole surface: gaps let the light through and are part of the effect.
- For a scratched pattern, brush a thin layer of paint over the whole jar and immediately draw into it with the blunt end of a cocktail stick or the handle of the brush. Work quickly before the paint skins over.
- Leave to dry for at least 30 minutes. The paint will go from shiny and wet-looking to matte and firm. Do not rush this step or the paint will smear when you handle the jar.
- An adult drops a tea light into the jar and lights or switches it on. Set on a stable surface away from anything flammable. The glow through the painted gaps is the whole point, so dim the overhead light to see it properly.

🛍 Shopping guide
Greenery Tucked Behind Picture Frames
This is the fastest thing on the list, and the effect is completely out of proportion to the effort. Tuck a few sprigs of real or faux evergreen behind the top corners of picture frames: holly, ivy, eucalyptus or even rosemary from the kitchen windowsill.
No fixing, no tape, no tools. The frames hold the sprigs perfectly. Throw the real greenery into the compost in January; the faux sprigs go back in a box.
What You Need
- 6-8 small sprigs of real or faux evergreen, each 15-20 cm long (holly, ivy, eucalyptus, spruce or rosemary)
How to Make It
- Hold a sprig against the top corner of a picture frame and slide the stem behind the frame, between the frame and the wall. The frame lip should grip the stem enough to hold it without help.
- Adjust the sprig so the leafy end fans out over the corner of the frame. It should look as though it grew there, not as though it has been posted in.
- Repeat at the other corner of the same frame, and at the corners of other frames nearby. Three frames treated this way look like a deliberate vignette rather than an afterthought.
- Check that no sprig obscures anything in the picture you actually want to see. The greenery frames the image; it does not hide it.

🛍 Shopping guide
Tea Towel Over the Oven Rail
A Christmas-print tea towel hung over the oven rail or an oven handle is the easiest possible kitchen decoration and it actually does something useful.
Fold it so the print faces out fully, centre it symmetrically, and the kitchen looks dressed without a single piece of tape. Swap it back in January.
This is genuinely two seconds of effort; it earns its place here because no one thinks to do it.
What You Need
- 1 Christmas-print tea towel (linen or cotton, at least 45 x 65 cm for good drape)
How to Make It
- Fold the tea towel in half widthways so the print is on the outside of both halves.
- Drape it centred over the oven rail or oven door handle, smoothing it flat so both halves hang evenly.
- Adjust until the print is fully visible on both sides. The towel should hang without bunching at the fold.

🛍 Shopping guide
Paper Doily Snowflakes Taped to the Window
Paper doilies are snowflakes that already exist. The lace pattern of a round doily is indistinguishable from a cut-paper snowflake to anyone glancing up at a window, and they take thirty seconds each to put up.
A scatter of five or seven across a cold window, some overlapping, some separate, catches winter light beautifully. Use a tiny square of removable adhesive putty at the top so they peel off without damaging the glass.
What You Need
- 7 white paper doilies, any diameter from 15 to 25 cm
- Removable adhesive putty (like Blu-Tack) or removable tape
How to Make It
- Roll a small ball of adhesive putty, about the size of a pea, and press it to the back of one doily at the twelve-o’clock position.
- Press the doily onto a clean, dry window. Hold for five seconds. It should grip firmly enough to let go of it entirely.
- Arrange the remaining doilies across the window pane, varying the heights and letting two or three overlap at the edges. Odd numbers look better than even ones.
- Step outside if you can and check how they read from the street: the effect should look like a deliberate snow drift, not a haphazard collection of circles.
- To remove, peel from one edge gently. The putty will come away cleanly from both the glass and the doily if you work slowly.

🛍 Shopping guide
Bowl of Nuts and Citrus
A wooden or ceramic bowl filled with whole walnuts, clementines and a handful of dried orange slices is a table centrepiece that is also a snack. The colours, roughly orange and warm brown, work harder than any artificial arrangement.
Add a cinnamon stick or a bay sprig on top if you have them. The nuts and fruit are eaten before the month is out; the bowl returns to the kitchen.
What You Need
- A wide, shallow bowl, at least 25 cm across
- 200 g whole walnuts or mixed nuts in shells
- 6-8 clementines or satsumas
- A few dried orange slices or a cinnamon stick (optional but worth it)
How to Make It
- Place the clementines in the bowl first, grouping them in the centre so they form a raised mound.
- Pour the nuts around the clementines, filling the gaps between the fruit and the bowl edge.
- Lay a dried orange slice or two on top of the nuts, and rest a cinnamon stick across the highest point. The finished bowl should look generous and slightly overflowing, not sparse.
- Set on a dining table, sideboard or coffee table. It works hardest in a warm room where the citrus scent is released.

🛍 Shopping guide
String of Dried Bay Leaves
Fresh bay leaves dried flat press into something papery and beautiful within a week. Thread a length of twine through their stems with a large needle and you have a garland that is part herb, part decoration.
Hang it in the kitchen above the window or across a shelf. It keeps indefinitely and the leaves stay fragrant. Crumble them into a stew in spring if you remember.
What You Need
- 40-50 fresh bay leaves (from a garden or a supermarket herb bag)
- 1 metre of natural jute twine or thin string
- A large darning needle or tapestry needle
How to Make It
- Lay the bay leaves flat on a sheet of newspaper or a plate for at least a week before threading, so they dry without curling. If you use fresh leaves straight away they will curl badly after threading and the garland will look untidy. The passive drying week is the longest part of this project.
- Thread the needle with the full length of twine. Knot the twine at one end around the stem of the first bay leaf, tying twice so it cannot slip.
- Push the needle through the stem end of each subsequent leaf, spacing them about 2 cm apart. The leaves should all face the same way, like pages in a book.
- An adult should supervise the needle step for children. When all the leaves are threaded, tie the twine end around the last stem and trim the tail.
- Hang from two small nails or pins. The garland should hang straight and the leaves lie relatively flat. If they twist on the string, slide each leaf gently so it lies flat before the garland dries fully in place.

🛍 Shopping guide
Brown Paper Wrapped Boxes as Props
Stack two or three boxes wrapped in kraft brown paper under the tree or by the fireplace and they look like the kind of understated gift styling that turns up in every interiors magazine. The boxes do not need to contain anything.
Tie each one with a length of baker’s twine or a thin ribbon and the effect is complete. Unwrap and flatten the paper for the recycling bin in January.
What You Need
- 3 boxes of different sizes (shoeboxes, cereal boxes or any rigid cardboard box work well)
- 1 roll of kraft brown paper or recycled brown paper bags cut open
- Baker’s twine or thin ribbon, about 1.5 m per box
- Sticky tape
How to Make It
- Place one box upside down on the brown paper. Pull the paper up around the box and cut a piece large enough to fold over all six sides with about 4 cm overlap. Neat wrapping requires more paper than you think.
- Wrap each box as you would any gift: fold the long sides in first, crease the corners into neat triangles, and tape each fold flat. Tight, crisp corners make the whole arrangement look professional.
- Cut a length of twine or ribbon long enough to wrap around the box in both directions and tie in a bow on top. Pull it firmly before tying so it lies flat against the paper.
- Stack the boxes largest at the bottom, smallest on top, slightly offset so each box is visible. They should look like they were set down casually, not lined up with a ruler.

🛍 Shopping guide
Scarf Draped Along a Shelf
A chunky knitted or tartan scarf draped along the front edge of a shelf, mantel or bookcase is winter texture in the simplest form. Let the ends drape over the sides rather than tucking them in.
Fold the scarf so its most attractive side faces out. It takes longer to find the right scarf than to arrange it. Back into the wardrobe in January.
What You Need
- 1 chunky knit or tartan wool scarf, at least 150 cm long
How to Make It
- Fold the scarf in half lengthways so the most textured or patterned side faces out.
- Drape it along the shelf edge so equal lengths fall over each side. It should look relaxed, not tensioned.
- If the shelf has objects on it, tuck the scarf behind taller items and let it come forward between them so it weaves loosely through the display.
- Check from two metres away. The scarf should add warmth and softness; it should not look like something that slid there by accident. A gentle pull on one end so the drape is uneven is usually enough to make it look intentional.

🛍 Shopping guide
Newspaper Cone Trees
Roll a sheet of newspaper into a cone, tape it, stand it on its wide base and you have a tree. Make three different heights and group them on a windowsill, a side table or a stair tread.
Paint them with a little leftover white or green emulsion if you have it open, or leave them as-is for a more graphic, modern look. They are completely flat when you are done with them.
What You Need
- 3 sheets of newspaper or large magazine pages
- Clear tape or masking tape
- Scissors for trimming the base flat (adult step)
- White or green emulsion paint, optional (a tablespoon is enough)
How to Make It
- Lay one sheet of newspaper flat. Roll it diagonally from one corner toward the opposite corner, forming a long cone shape. The tighter you roll from the tip, the sharper and taller the cone will be.
- Tape the seam along the outside of the cone in two or three places so it holds its shape when you let go.
- Stand the cone on its wide end. An adult should trim the base with scissors so it sits flat without rocking. Hold the cone at arm’s length and check it looks like a tree from across the room before trimming.
- Make two more cones at different heights by rolling tighter or looser, or by using smaller sheets.
- If painting, brush one thin coat of emulsion over the outside and leave to dry on a sheet of spare newspaper. The paper will buckle slightly as it dries, which adds texture. Group all three when dry.

🛍 Shopping guide
Pegged Card Garland
String a length of twine between two hooks or nails and peg old Christmas cards to it in a row. Last year’s cards, this year’s cards, vintage cards bought from a charity shop: they all look good mixed together.
The variation in card sizes and colours is the point. Use it along a wall in a hallway, above a fireplace or strung across a window bay.
For more ways to keep guests entertained once the room is dressed, browse the christmas games for family collection.
What You Need
- 1.5-2 m of natural jute twine or thin string
- 10-15 wooden mini pegs or bulldog clips
- 2 hooks, nails or thumbtacks to anchor the ends
- 10-15 Christmas cards (last year’s work perfectly)
How to Make It
- Fix the anchors to the wall or surface at the height you want. A string at 180 cm from the floor sits above head height and does not interfere with the room.
- Tie one end of the twine firmly to the first anchor, looping it twice. Pull the twine to the second anchor and tie it with enough tension that it sags no more than a few centimetres at the midpoint.
- Peg one card at each end first to judge the spacing, then fill in the gaps. Alternate larger and smaller cards so the line has a rhythm to it rather than a uniform march.
- Stand back at the other end of the room and remove any card that looks out of place: a colour that clashes, a card that is much smaller than its neighbours. Edit rather than just add.

🛍 Shopping guide
Cinnamon Sticks Tied to Napkins
Lay a cinnamon stick along a folded napkin and tie it in place with a thin ribbon or a short length of twine. Every guest lifts the napkin and gets a face-full of warm spice before the meal has even started.
It takes under ten minutes to do a table of eight and it is the detail that makes a table setting look considered. Untie and keep the cinnamon sticks for mulled wine.
What You Need
- 8 whole cinnamon sticks (one per napkin)
- 8 linen or cotton napkins, folded
- 2 m thin ribbon or jute twine, cut into 8 equal lengths of about 25 cm each
How to Make It
- Fold each napkin in a simple rectangle and lay it on the plate or beside it.
- Place one cinnamon stick horizontally across the middle of the folded napkin.
- Wrap a length of ribbon around the napkin and cinnamon stick together, positioning the ribbon at the centre of the cinnamon stick so it does not slide off.
- Tie a simple bow on top, pulling firmly enough that the cinnamon stick stays put when the napkin is lifted. The bow should sit directly over the cinnamon stick, not beside it.
- Repeat for each place setting. Lay all eight before checking the table as a whole: adjust any bow that is off-centre.

🛍 Shopping guide
Stacked Books with a Candle on Top
Stack three books of slightly different sizes on a surface that needs height: a mantelpiece, a side table, a bedroom windowsill. Set a fat pillar candle or a cluster of three smaller candles on top.
The books lift the light source to where it does most good and the spines add colour and text. Choose books with beautiful spines or turn plain ones face-out. An adult should always handle the candle.
What You Need
- 3 hardback books of different heights
- 1 pillar candle or 3 small candles with a holder or plate beneath them
How to Make It
- Stack the books largest at the bottom, smallest on top. They should be stable: give the pile a gentle push before you put anything on it.
- Place a small plate or heat-proof saucer on top of the stack. This protects the book covers from any wax drips and keeps the candle stable.
- An adult sets the candle or candles on the plate. Check the candle cannot roll or tip; if it wobbles, press the base gently into a small piece of modelling clay on the plate to anchor it.
- Never leave the candle unattended and keep it at least 30 cm from curtains, books stacked any higher, and anything else that can catch light.

🛍 Shopping guide
Foil Star on the Door
Cut a five-pointed star from a sheet of gold or silver kitchen foil folded into several layers, tape it to the front door at eye level, and the house announces Christmas before anyone has rung the bell. The foil catches any light, day or night.
For more ways to dress the front of your home, see the christmas door guide. Cut it carefully: a neat star is what makes this look deliberate rather than rushed. Use a pencil and a ruler.
What You Need
- 2 sheets of heavy-duty kitchen foil, or one sheet of gold card
- A pencil and ruler
- Scissors (adult use)
- Removable tape or two dots of adhesive putty for hanging
How to Make It
- Fold the foil in half three times so you have eight layers. This gives the finished star rigidity so it does not crumple in the breeze.
- Draw a five-pointed star on the top layer with pencil and ruler. Aim for a star roughly 25-30 cm across: large enough to read from the pavement. A simple method: draw a circle, mark five equally spaced points around it, connect alternate points with straight lines to form the star.
- An adult cuts through all layers at once with sharp scissors, following the pencil line. Hold the layers firmly together while cutting or they will shift.
- Unfold the cut star carefully. The layers will separate into several identical stars; stack them together and press firmly so they behave as one piece.
- Attach to the door at eye level with removable tape or a dot of putty at each inner corner. Press firmly against the door surface. The star should sit flat against the door, not buckle outward.

🛍 Shopping guide
Torn Fabric Strips on a Wreath Ring
A plain wire or twig wreath ring from a craft shop becomes a full wreath when you tie strips of torn fabric around it. Use old cotton shirts, pillowcases or curtain fabric torn into strips about 2 cm wide and 20 cm long.
Torn edges fray slightly and the result looks textural rather than frugal. Work around the whole ring in an evening and hang it on the door or above a fireplace.
What You Need
- 1 wire or twig wreath ring, 25-30 cm diameter
- Old cotton fabric in two or three colours (a worn shirt or pillowcase is ideal), torn into strips about 2 cm x 20 cm
- You will need roughly 80-100 strips for a full ring
How to Make It
- Tear the fabric rather than cutting it: grip the fabric at the edge, snip a short 1 cm nick with scissors to start the tear, then pull sharply across the grain. The torn strip should have a soft, slightly frayed edge. An adult should snip the starting nick for young children.
- Fold one strip in half around a section of the ring, then thread both ends through the loop and pull to tighten, exactly as you would tie a fringe onto a scarf. This is a lark’s head knot and it is the only knot you need.
- Work around the ring, sliding each new strip tightly against the last. The strips should cover the ring completely so no wire or twig shows through.
- Mix the colours as you go, placing them in no particular order. Random mixing looks more natural than repeating a strict pattern.
- Hang from a loop of ribbon tied to the back of the ring at the twelve-o’clock position. The finished wreath should feel dense and springy when you squeeze it, not sparse or floppy.

🛍 Shopping guide
Single Sprig in a Bud Vase
One good stem in a small vase does more than a cluttered arrangement. A single sprig of holly with berries, a stem of eucalyptus, or one branch of frosted pine from a bunch does the job.
Use a small bottle, a vintage inkwell, a shot glass or any vessel with an opening narrower than the stem. Place it on a bedside table, a bathroom shelf or wherever a single note of nature fits. Change the water every two days.
What You Need
- 1 small bud vase, bottle or shot glass
- 1 sprig of greenery, 20-30 cm long (holly, eucalyptus, rosemary or pine)
- Water
How to Make It
- Fill the vase or bottle two-thirds full with cold water.
- Trim the stem of the sprig at an angle with scissors so it can take up water more easily. An adult should use the scissors for young children.
- Strip any leaves or needles from the bottom 5 cm of the stem so nothing rots below the waterline.
- Place the sprig in the vase. It should stand without support: if it leans, trim a little more from the base until it sits upright. A single stem that leans looks like it was forgotten; one that stands looks chosen.

🛍 Shopping guide
Plate Stack with Greenery Between
Stack two or three decorative plates in a display stand and tuck a flat sprig of greenery or a few dried flowers between each one so they peep out at the edges.
The effect is a layered botanical table centrepiece that looks like it was planned. Use plates you already own, no matter the pattern: the greenery unifies them. Lift the plates and compost the greenery at the end of the season.
What You Need
- 3 decorative plates, same size or graduated
- A plate stand or a folded cloth to stop them sliding
- 3-4 flat sprigs of greenery or dried flowers, 10-15 cm across
How to Make It
- Set the plate stand on the table or surface where the stack will live. If using a folded cloth instead, ensure it grips rather than slides.
- Place the first plate in the stand. Lay two sprigs of greenery across it, letting the leaves extend just beyond the plate rim in two or three places.
- Lower the second plate gently on top, pressing it flat. The greenery should be visible at the edge of the plate but not so thick that the plates tilt. If the stack wobbles, thin out the greenery slightly.
- Add the third plate with one more sprig between it and the second plate. Step back and check the stack is vertical and stable. Pull any sprig that has disappeared entirely toward the edge so it shows.

🛍 Shopping guide
Bauble in a Bowl of Salt
Pour coarse rock salt or table salt into a bowl, nestle a large glass bauble into it and set a tea light beside it. The salt catches the light and the bauble reflects everything in the room.
It is the kind of table decoration that looks expensive and took three minutes. Use a heavy ceramic or glass bowl so the salt does not tip. Tip the salt back into the bag at the end of December.
What You Need
- 1 wide ceramic or glass bowl, at least 15 cm across
- 200 g coarse rock salt or table salt
- 1 large glass or mirrored bauble, 8 cm+ diameter
- 1 tea light (battery-powered is safest on a table)
How to Make It
- Pour the salt into the bowl to a depth of about 3 cm. Spread it so it is level.
- Press the bauble gently into the surface of the salt at the centre of the bowl. It should sit without rolling; the salt grips it. If it still rolls, make a small hollow in the salt first, then lower the bauble in.
- An adult places a lit or switched-on tea light beside the bowl, not inside it. The reflection of the light in the bauble and the glitter of the salt together are the effect.

🛍 Shopping guide
Shoelace Bow on a Handle
Tie a fat, clean lace or a length of wide ribbon into a bow on a kitchen cupboard handle, a drawer pull or a wardrobe door handle.
This is so fast it barely counts as a craft, and the effect is the kind of small Christmas detail that people notice without being able to say why the room feels dressed.
A white or red ribbon on a dark handle is the best contrast. Untie it in ten seconds flat.
What You Need
- 1 length of ribbon or wide fabric lace, 50 cm long
How to Make It
- Thread the ribbon through or behind the door or drawer handle so equal lengths hang on each side.
- Tie a standard shoelace bow: cross the two ends once and pull tight, then form each end into a loop and tie the loops together once more. Pull the bow tight so it does not slip down the handle.
- Adjust the loops so they are roughly equal in size. A slightly floppy, uneven bow looks more charming than a rigid one, so do not fuss over perfection.

🛍 Shopping guide
Twig Bundle by the Fireplace
Gather a bundle of straight twigs or branches, all roughly the same length, and stand them in a tall vase, jug or ceramic pot beside the fireplace. Tie the bundle with a length of twine if the vessel’s opening is wide enough that they spread.
Add a few dried seed heads or berries tucked among the twigs if you have them. The bundle looks sculptural without any alteration and it is free if there are trees nearby. Lay it flat in the log store at the end of the season.
What You Need
- 8-12 straight twigs or branches, 60-80 cm long, roughly 1-2 cm in diameter
- 1 tall vase, jug or terracotta pot, at least 25 cm deep
- Gravel, dried lentils or small stones for ballast
- A length of jute twine to bundle (optional but useful in a wide vessel)
How to Make It
- Fill the vessel one-third deep with gravel or stones for ballast. Without ballast, a tall collection of twigs will tip the vessel.
- Gather the twigs into a loose bundle and lower them into the vessel. Let them spread naturally at the top: a fan of twigs reads better than a tight cylinder.
- If the vessel is wide and the twigs keep splaying too far, tie the bundle with twine about 10 cm above where they enter the vessel. The twine will be hidden by the rim.
- Step back and remove any twig that is noticeably shorter, thicker or bent in a direction that distracts. The bundle should look like it was gathered from one tree rather than assembled from several different sources.

Fairy Lights in a Glass Jar
Wait: this could tip into the excluded category of simply putting a bought thing in a vessel, so this version has a making step that changes how the light behaves.
Crumple a half-sheet of tissue paper loosely and push it into the jar before the lights, so the tissue diffuses the bulbs into a warm glow rather than a harsh scatter of dots. The tissue is the decoration; the jar is the vessel.
If you want more ideas on decorating with light, the christmas candles piece has a dozen more.
What You Need
- 1 large glass jar with a wide mouth, at least 15 cm tall (a Kilner jar or large pasta jar works well)
- A half-sheet of white or cream tissue paper
- 1 string of battery-operated warm-white fairy lights, 2-3 m long with a small battery pack
How to Make It
- Crumple the tissue paper loosely into a rough ball, then open it out slightly so it is crumpled but not compacted. You want a loose, airy mass.
- Push the tissue gently into the jar, spreading it around the inside walls rather than packing it to the bottom. It should sit about halfway up the jar.
- Push the light string into the jar on top of and around the tissue, coiling it loosely. Do not pack the lights tight or they will overheat: leave the bulbs spaced so air can circulate. An adult should handle the plug or battery pack.
- Tuck the battery pack over the jar rim or let it hang at the back where it is not visible. Switch on and check the tissue glows rather than showing individual bulbs. If you can see clear bulb shapes, add a little more tissue around the lights.

🛍 Shopping guide
Pinecones in a Glass Bowl
This earns its place by requiring a making step: before arranging the pinecones, tip them with gold or white craft paint using a dry brush so the top scales catch the light while the deep colour of the cone stays visible underneath.
An entirely plain pinecone in a bowl is the excluded category; a dipped or tipped one is a different object. Collect pinecones outside or buy a bag from a craft shop. They keep indefinitely.
What You Need
- 8-12 medium pinecones (5-8 cm long)
- A wide glass or ceramic bowl, at least 20 cm across
- Gold or white craft paint or emulsion (a tablespoon is plenty)
- A dry, stiff-bristled brush
How to Make It
- Pour a small amount of paint onto an old plate or piece of card. Dip just the very tip of the dry brush into the paint so only a tiny amount loads the bristles.
- Drag the brush lightly across the tops of the pinecone scales so the paint catches only the raised tips. The technique is the same as dry-brushing furniture: light pressure, barely any paint. If the whole scale turns gold, you have too much paint on the brush.
- Set each painted pinecone on a sheet of newspaper to dry. They are dry when they no longer feel tacky, usually 30 minutes.
- Arrange the dry pinecones in the bowl, packing them close enough that they support each other and none rolls out. Place the largest, most handsome cone at the top where it will be seen first.

🛍 Shopping guide
diy christmas decorations easy: Where to Go Next
Every idea in this list sits at the easier end of what diy christmas decorations easy actually means: minimal materials, no overnight waits, no power tools, and nothing that cannot be undone in January in under ten minutes. The crafts build on each other too.
The twine you wound around the candle is the same roll you used on the napkins. The greenery behind the picture frames came from the same bunch as the sprig in the bud vase.
Buying one bag of supplies opens six or seven of these projects at once.
If you enjoyed the diy christmas decorations approach of starting from almost nothing, the full christmas decor hub has the bigger room-by-room picture. The christmas door guide goes deeper on the entrance specifically, and the christmas candles piece covers everything from tapers to lanterns.
Once the room is done, 18 Easy Christmas Party Games You Can Set Up in Minutes will fill it with people.
Frequently Asked Questions
What are the easiest Christmas decorations to make?
The easiest Christmas decorations to make are ones that use what you already own: greenery tucked behind picture frames takes one material and five minutes, a scarf draped along a shelf takes two seconds, and a bowl of nuts and citrus takes five.
If you want to make something, ribbon bows on the banister and paper doily snowflakes on the window both come together in under ten minutes with no tools beyond scissors.
What DIY Christmas decorations need no glue gun?
Most of the decorations in this list need no glue gun at all.
Paper strip chains, folded paper stars, pegged card garlands, orange and clove pomanders, torn fabric strip wreaths, newspaper cone trees, bay leaf garlands, sock stockings, and all the arrange-and-drape items (scarf on a shelf, branch in a jug, bowl of citrus) use only scissors, tape, twine or nothing at all.
The candle wrapped in twine is the main item that benefits from hot glue, though a strong all-purpose adhesive works as a substitute.
How do I decorate for Christmas in one evening?
Start at the front door (a foil star takes fifteen minutes), move to the hallway (ribbon bows on the banister, sock stocking on a hook), then the main room (scarf on a mantel, twig bundle by the fireplace, branch in a jug, fairy lights in a glass jar, stacked books with a candle).
Finish at the dining table (cinnamon sticks on napkins, bowl of nuts and citrus). That is roughly eight distinct areas decorated in well under two hours, using no more than a bag of craft supplies.
What can I use for easy Christmas decorations at home?
The best easy Christmas decorations at home use things already in the house: old socks become stockings, a fallen branch becomes a tree, brown paper bags become wrapped box props, an old scarf becomes a mantel decoration, last year’s Christmas cards become a pegged garland.
For a small spend, jute twine, a bag of whole cloves, a roll of wired ribbon and a packet of battery fairy lights between them unlock at least ten different items from this list.
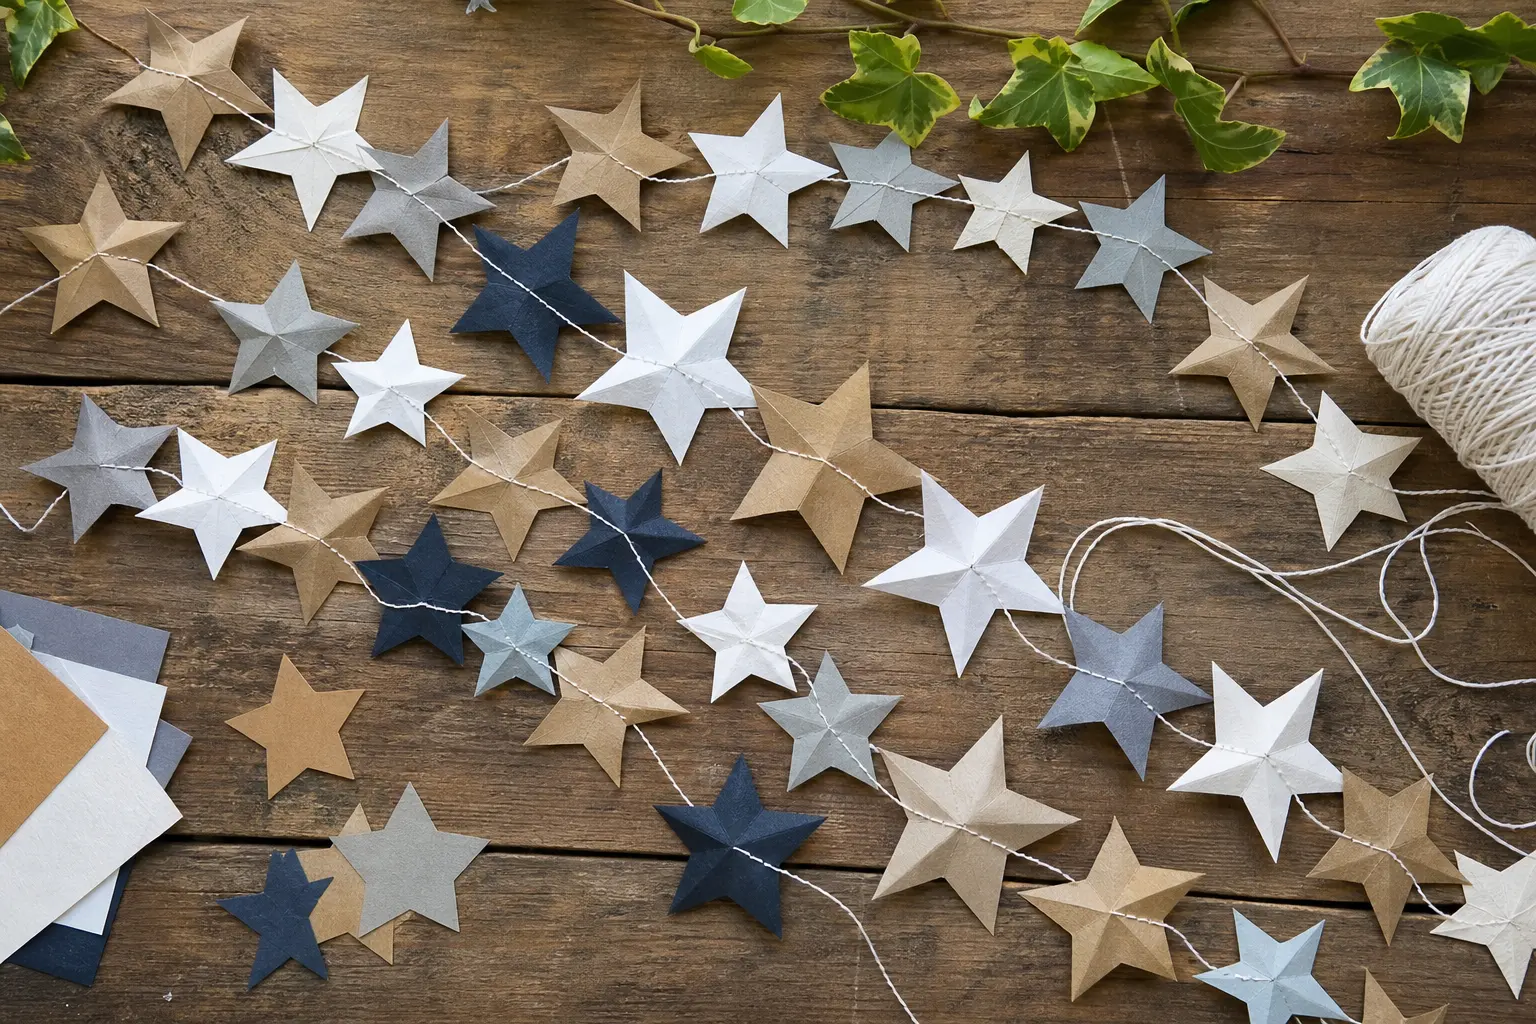
8 printable paper star garland designs to cut, punch and string at home, from gold classics to atomi
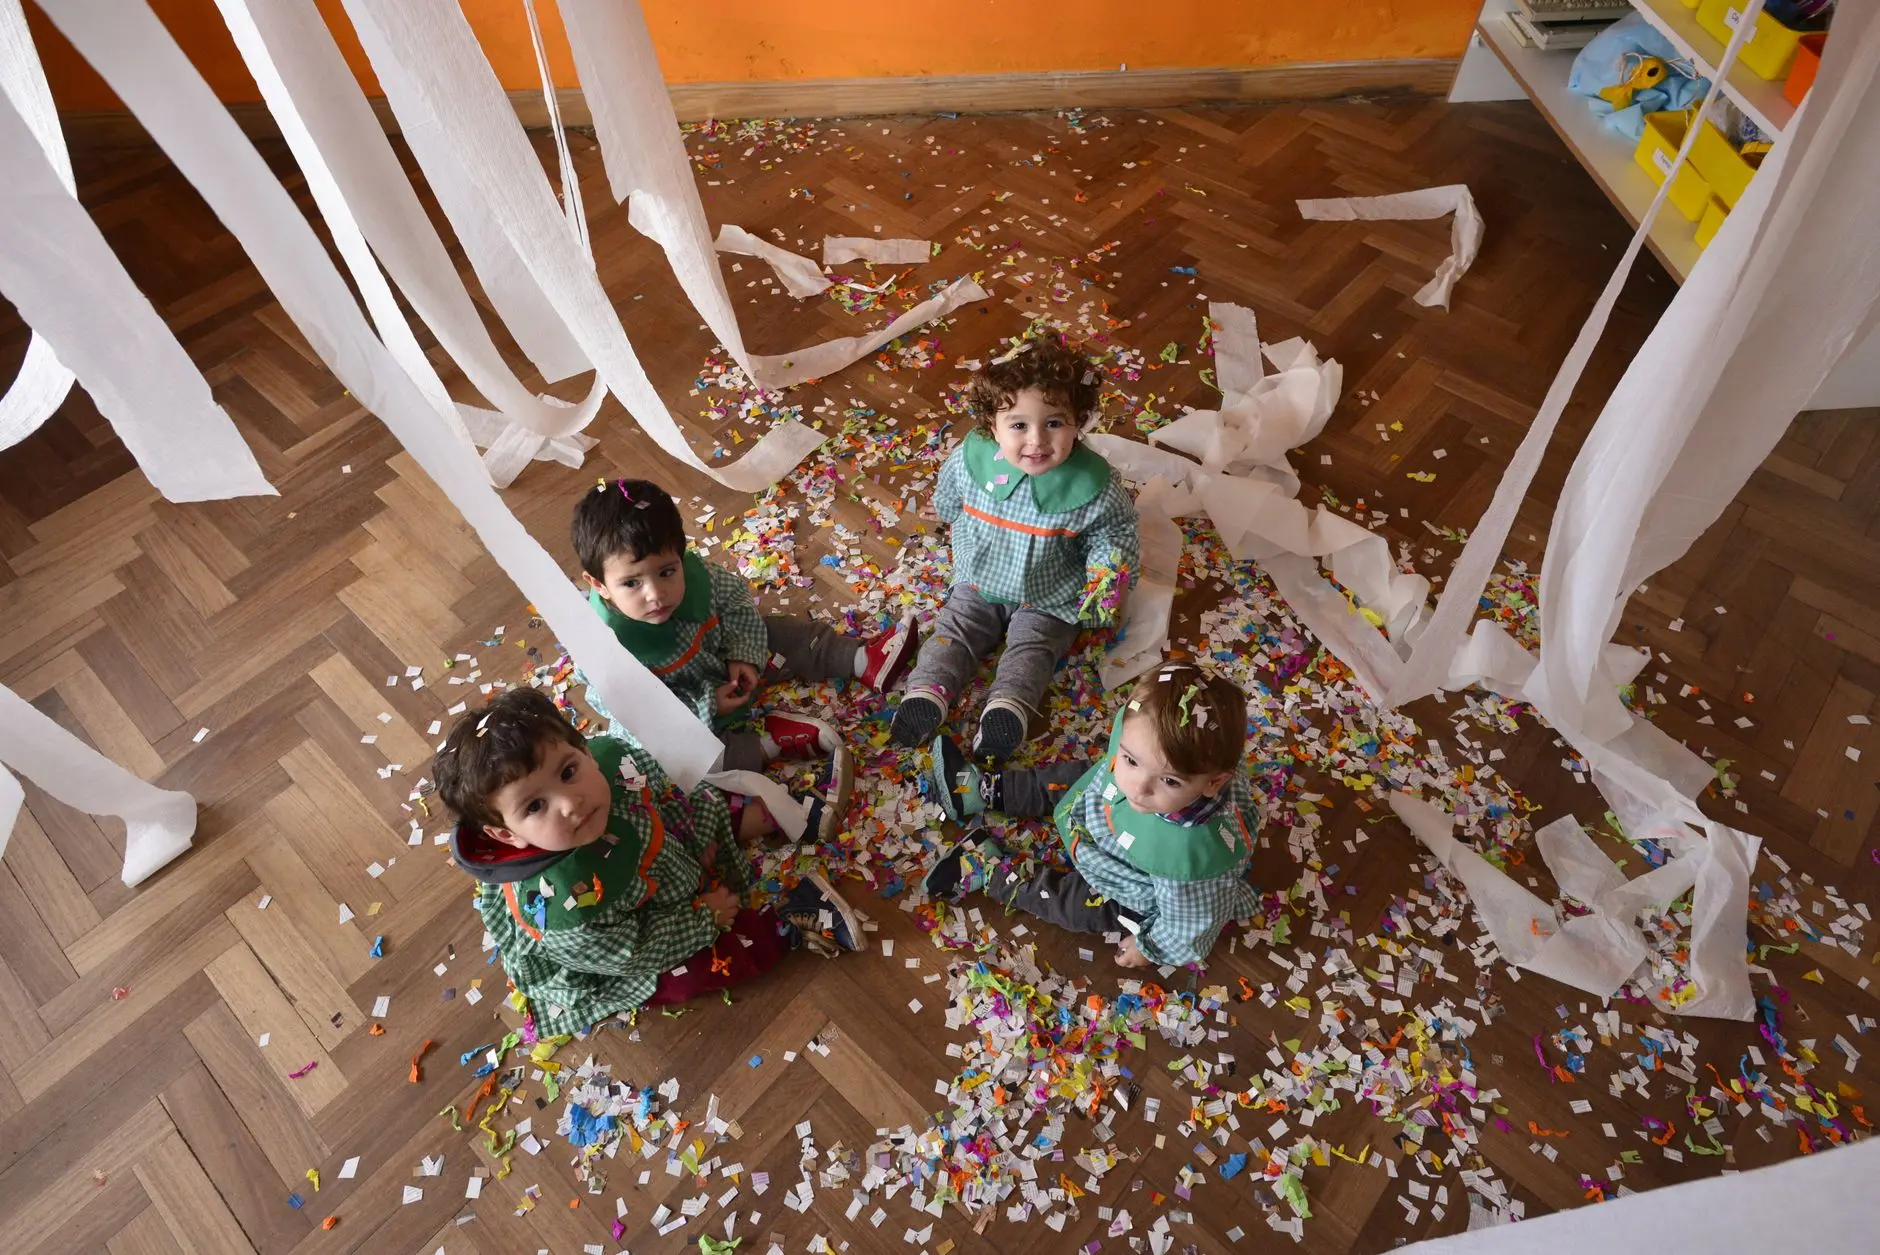
13 preschool christmas party games that last two minutes, need no rules and wipe clean. Free printab
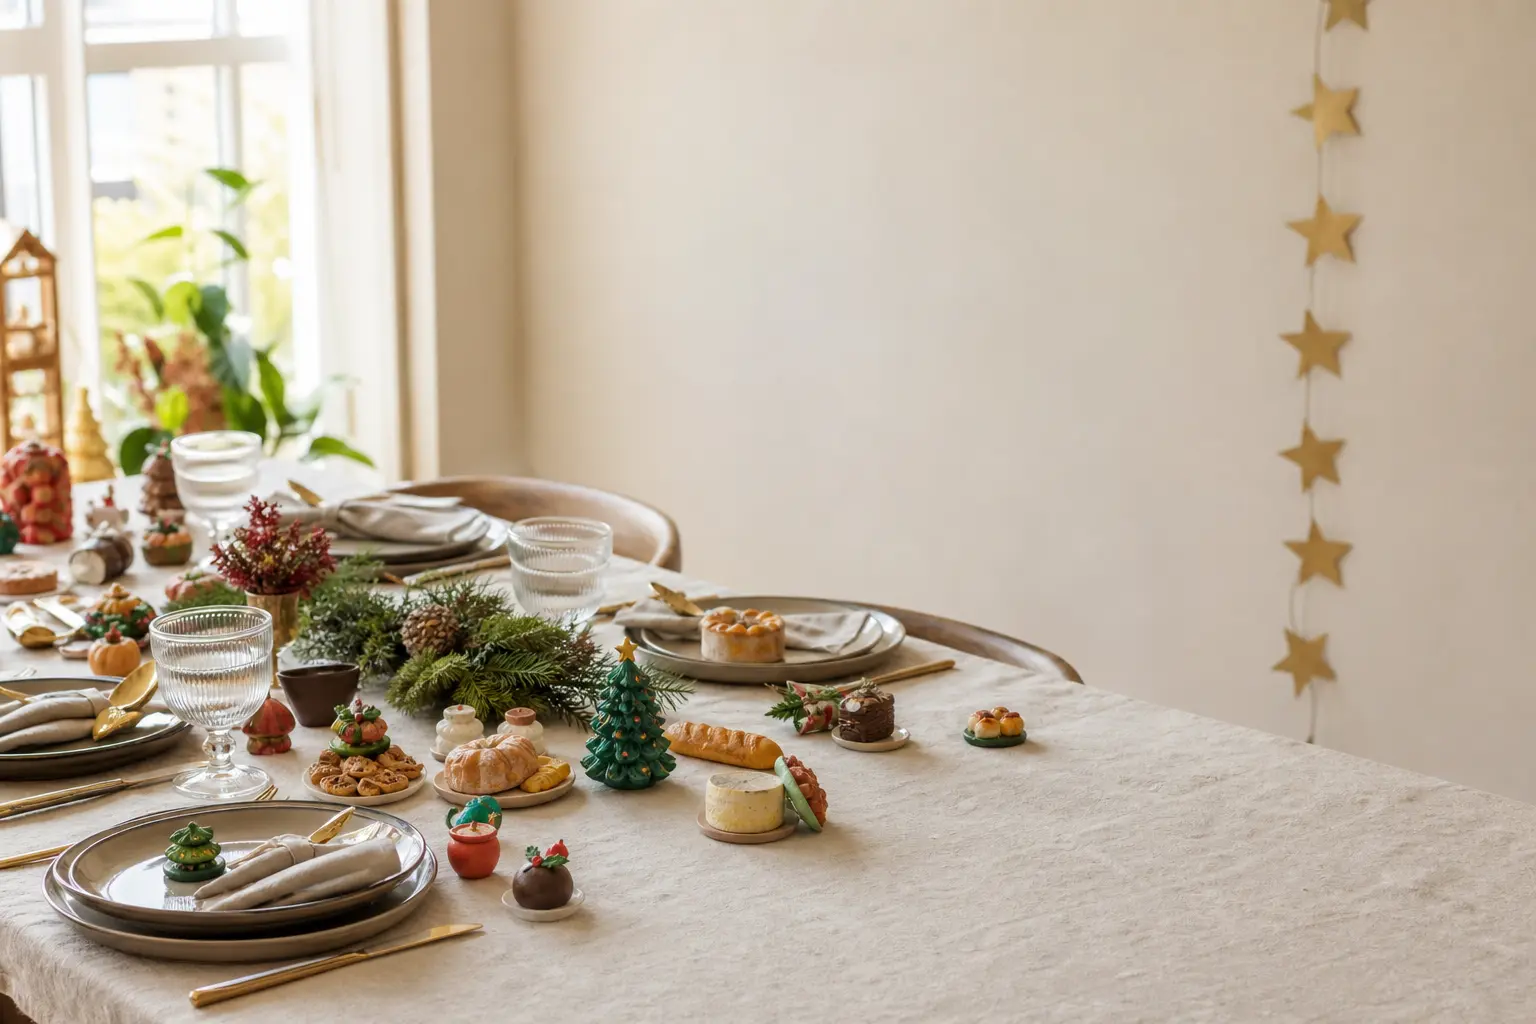
These 14 polymer clay Christmas projects each borrow a texture from outside the craft aisle: snowban
Leave a Reply