

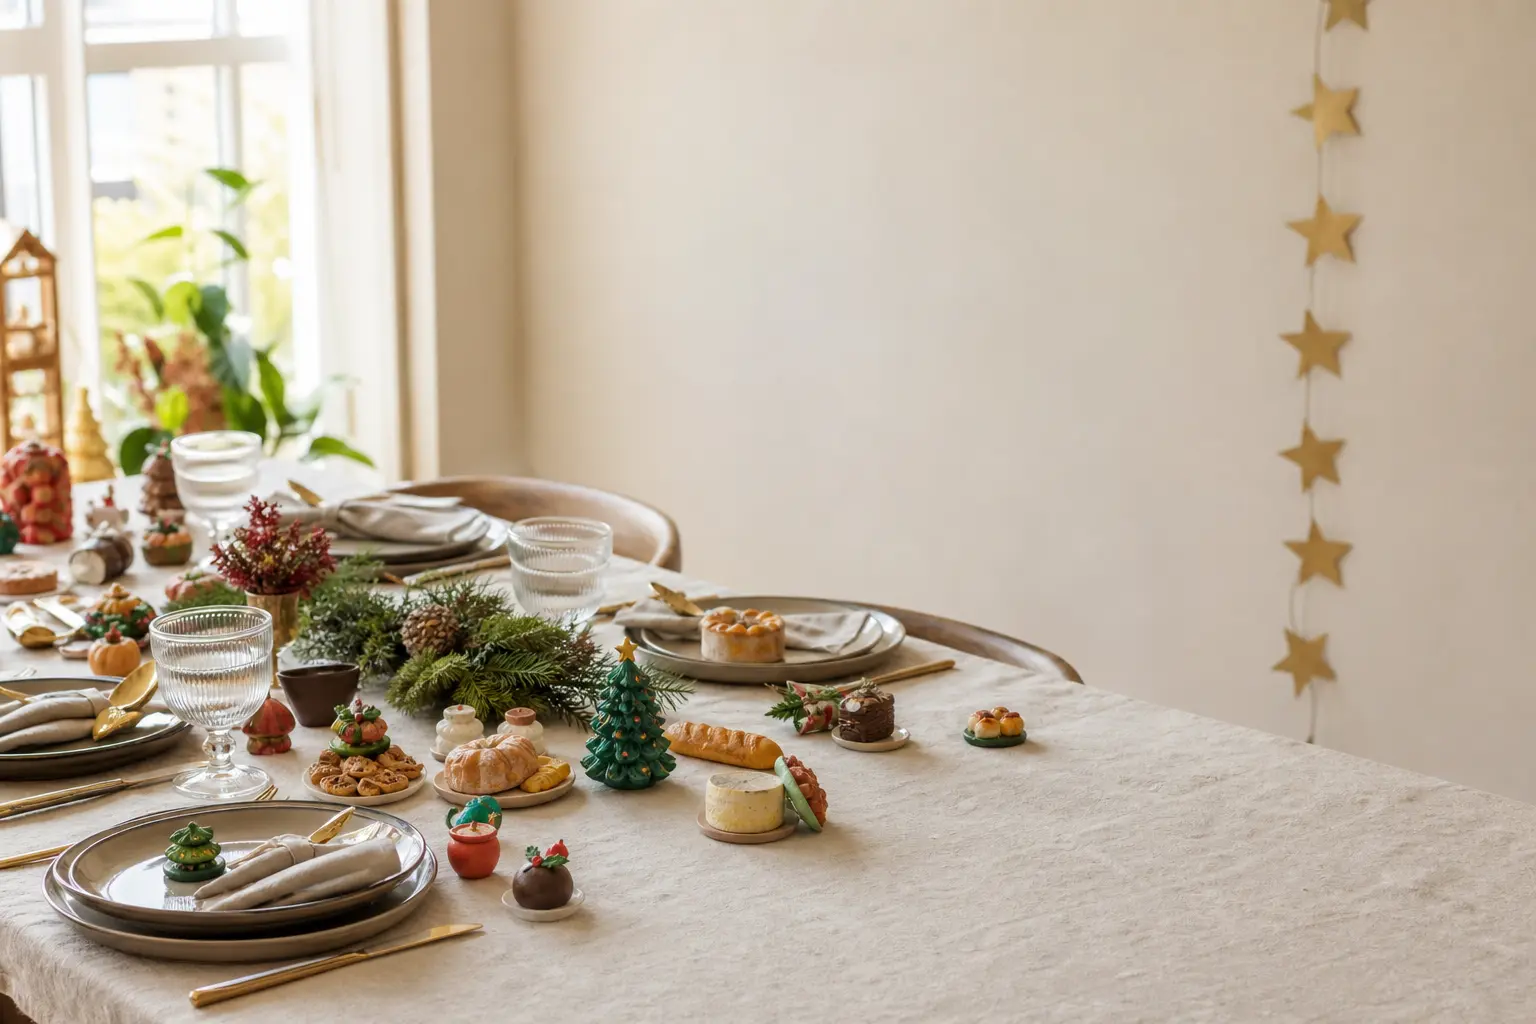
Polymer clay christmas projects are everywhere, and most of them are a flat disc with a stamped snowflake. These fourteen are different.
Each one reads as a real object first: a smooth river-worn stone, a sprig pinch pot, a peppermint bark tile, a snowdrift candle ring. You pick it up and turn it over before you realize what it is, and that is exactly the point.
If you are already browsing christmas crafts for something with a longer life than tissue paper, this is the list.
The whole collection runs on three base colours: white, raw umber (or a warm brown), and a deep forest green. Mix those three and you cover every piece here without buying twelve separate blocks.
A 57 g (2 oz) block of white will take you the furthest; pick up one block each of the other two. A pasta machine speeds conditioning but is never essential, and every technique here suits a genuine beginner.
This post contains affiliate links. If you buy through them, I may earn a small commission at no extra cost to you.
- Snowbank Ring Dish
- Terrazzo Effect Ornaments
- Wrapped Gift Place Card Holders
- Mercury Glass Marbled Baubles
- Tree Bark Coin Garland
- Pressed Sprig Pinch Pot
- Faux Stone Ornaments
- Peppermint Bark Tile Ornament
- Two-Tone Folded Dish
- Snowdrift Candle Holders
- Snowflake Stamp Buttons
- Wrapped Present Earrings
- Marbled Planet Bead Garland
- Frosted Scallop Shell Dish
- Frequently Asked Questions
Snowbank Ring Dish
This small dish sits on a bedside table or a bathroom shelf and looks, at a glance, like a lump of fresh snow with a hollow pressed into it.
The secret is in the glaze: a coat of white acrylic tinted with the palest blue and brushed on unevenly leaves the peaks bright and the recesses shadowed, exactly like real snow.
It holds a single ring or a stud earring without sliding, and after the season it earns its place year-round.
What You Need
- White polymer clay, 57 g (2 oz) block
- Small mixing bowl or round former, about 8 cm diameter
- Rolling pin or smooth glass
- White acrylic paint, 1 small tube
- Ultramarine blue acrylic paint, 1 small tube
- Gloss varnish for polymer clay, small bottle
- Fine paintbrush, size 4 or 6
- Baking sheet lined with parchment
How to Make It
- Condition the white clay by kneading it for three to four minutes until it is pliable and no longer crumbly at the edges. A warm room helps; if your hands are cold, press the block between your palms for a minute first.
- Roll the clay into a smooth ball about 5 cm across, then flatten one side lightly against your work surface so it sits without rocking. Press the flat side gently over the outside base of your bowl former so the clay drapes and picks up a gentle curved form. Lift it off.
- Flip it right way up and use your thumbs to press a shallow hollow into the centre: about 4 cm wide and 1 cm deep. Pinch the rim into soft, uneven peaks all the way around, like snow that has been scooped. No two peaks should be the same height. When the rim looks organic rather than neat, it is right.
- Place the dish on the lined baking sheet and bake according to your clay brand’s instructions, typically 130 C (265 F) for 30 minutes. An adult must handle the oven. Leave to cool completely on the tray, at least 30 minutes.
- Mix a tiny drop of ultramarine into a small amount of white acrylic paint until you have a colour that is barely perceptibly blue. Dry-brush this mix over the dish: load the brush, wipe most of it off on a paper towel, then stroke lightly across the peaks. The recesses stay white, the tips pick up the faintest blue. Let it dry for 20 minutes.
- Seal the whole dish with one coat of gloss varnish. The gloss reads as wet snow rather than matte powder, which is the effect you want. Leave flat to dry for at least 30 minutes before use.

Terrazzo Effect Ornaments
Terrazzo flooring is having a long moment, and these ornaments explain why: the random chip pattern makes every single one different.
Press tiny scraps of a second clay colour into a white base and the result looks more like a polished stone floor tile than anything from the craft aisle. Hang them on the tree or line them up on a mantelpiece shelf.
What You Need
- White polymer clay, 57 g (2 oz) block
- Raw umber polymer clay, 57 g (2 oz) block (or mix white and brown)
- Forest green polymer clay, small amount (a marble-sized piece per ornament)
- Circle cutter or round cookie cutter, 6 cm diameter
- Rolling pin or smooth glass
- Gold polymer clay or gold acrylic paint, small amount
- Toothpick or needle tool
- Thin ribbon or twine, 20 cm per ornament
- Baking sheet lined with parchment
How to Make It
- Condition the white clay and roll it to about 4 mm thickness. Cut a 6 cm disc with the cutter. This is your ornament base.
- Pinch off very small pieces of raw umber and green clay, roughly 3 to 8 mm across and irregular in shape. Think chip, not ball: flatten each piece slightly between finger and thumb so it has an angled edge, like a real aggregate chip.
- Press the chips into the white disc at random angles, leaving some white showing between each one. Press firmly enough that the chip sinks flush with the surface rather than sitting proud. Sixteen to twenty chips per disc looks right; more than that tips into noise.
- Roll the whole disc gently with your rolling pin once more to embed the chips fully and level the surface. The disc should look smooth from an arm’s length away.
- Use the needle tool or a toothpick to pierce a clean hole about 5 mm from the top edge. Adult handles the sharp tool if sharing with a younger helper.
- Bake on the lined sheet at your clay brand’s recommended temperature (typically 130 C / 265 F) for 30 minutes. Adult handles the oven. Cool completely.
- Thread ribbon through the hole and knot the ends together to form a hanging loop. For a gold edge, paint around the disc rim with gold acrylic paint using a fine brush and let dry 20 minutes.

🛍 Shopping guide
Wrapped Gift Place Card Holders
These tiny clay parcels sit at each place setting and hold a folded name card upright through a slit across the top. They look like miniature gifts, which is the whole trick: guests assume they are decorations until they spot their name.
Mix two colours into stripes for the ribbon effect rather than adding actual ribbon, which can peel after baking.
What You Need
- White polymer clay, 57 g (2 oz) block
- Forest green polymer clay, 30 g
- Craft knife with a fresh blade
- Ruler
- Baking sheet lined with parchment
- Place cards, cut to 4 x 6 cm, 200 gsm card
How to Make It
- Condition both clays separately. Roll each into a short log, then press the two logs side by side and twist them together loosely. Fold and twist again twice. This gives you a gently marbled block that will read as a wrapped parcel with ribbon, not as a plain colour.
- Pinch off a piece about the size of a large walnut and shape it into a small rectangular block: roughly 4 cm wide, 3 cm deep, and 2.5 cm tall. Flatten the base firmly so it will not tip.
- Roll two thin snakes of green clay, about 3 mm thick and 12 cm long. Lay one over the top of the parcel lengthways and one crossways, pressing them down gently where they cross at the centre top to mimic a ribbon and bow. For the bow, make two tiny loops from a third short snake and press them at the crossing point.
- Using the craft knife, cut a slot across the top of the parcel, about 2.5 cm long and 2 mm wide, pressing straight down through the ribbon decoration. An adult must do this step. The slot should be snug enough to grip a folded card edge.
- Bake on the lined tray at your clay brand’s temperature (typically 130 C / 265 F) for 30 minutes. Adult handles the oven. Cool completely before inserting cards, otherwise the slot may warp.
- Fold each place card in half and slide the folded edge into the slot. The card should stand firmly without glue.

🛍 Shopping guide
Mercury Glass Marbled Baubles
Real mercury glass has that slightly aged, fogged-mirror quality: silver with dark patches where the backing has worn.
You can fake it convincingly in clay by marbling silver and dark grey, then sealing with a high-gloss varnish and a final dusting of silver mica powder while the varnish is still tacky.
The result catches light the way antique glass does, and no one identifies it as clay on first look. These suit a grown-up tree or a wreath.
What You Need
- Silver polymer clay, 57 g (2 oz) block
- Black polymer clay, 30 g (or mix white and raw umber to a dark grey)
- Gloss varnish for polymer clay, small bottle
- Silver mica powder
- Soft brush, wide, for mica (a blusher brush works)
- Ornament hook wire, one per bauble
- Baking sheet lined with parchment
How to Make It
- Condition the silver and black clays separately. Twist them together in a short rope, fold in half, twist again. Do this four times only: you want distinct streaks, not a uniform grey. If you overwork it, the streaks vanish and the effect is lost.
- Roll the marbled clay into a smooth sphere about 4 cm in diameter. Work gently to avoid blending more than the four twists already did.
- Press the flat end of an ornament hook wire into the top of the sphere, pushing it about 1 cm deep. The wire should sit straight. Lay the sphere on the lined tray with the wire pointing upward.
- Bake at your clay brand’s recommended temperature (typically 130 C / 265 F) for 30 minutes. Adult handles the oven. Cool completely: a warm sphere will smear the varnish.
- Apply one coat of gloss varnish all over the sphere. While it is still tacky (about five minutes in), tap the blusher brush into the silver mica and dust it over the surface using light circular strokes. The mica clings to the tacky areas and slides off the drier spots, which creates the worn-silver variation that reads as mercury glass. Let this cure for at least 30 minutes before touching.
- Apply a second thin coat of gloss varnish over the mica to lock it in. Let dry fully, at least one hour, before hanging.

🛍 Shopping guide
Tree Bark Coin Garland
These flat clay coins have a ring-pattern pressed into them that reads as a cross-section of a birch log: pale cream with faint concentric lines and a rough outer edge.
Thread them on natural twine and the finished garland looks like something foraged rather than made. Hang it along a mantelpiece or drape it across a wreath frame. Store the coins flat in a zip bag between layers of tissue; they last indefinitely.
What You Need
- White polymer clay, 57 g (2 oz) block
- Raw umber polymer clay, small amount (a hazelnut-sized piece total)
- Rolling pin or smooth glass
- Round cutter or bottle cap, 4 cm diameter
- Ball-point pen cap or similar round-edged tool for pressing rings
- Natural jute twine, 1.5 m per garland of 12
- Toothpick or needle tool
- Baking sheet lined with parchment
How to Make It
- Condition the white clay and roll it to 5 mm thickness. Add a very small pinch of raw umber and fold it in just twice so you have the palest warm cream, not beige. The colour should read as birch wood rather than clay.
- Cut 12 discs with the cutter or bottle cap. Press each one slightly from the sides to make the edge irregular rather than perfect, like a sawn log face.
- For each disc, press the rounded end of your pen cap into the centre firmly, then press a slightly larger ring around it, then another, working outward. Four or five concentric rings per disc is plenty. Press firmly enough to leave a clear groove without cutting through the clay.
- Drag a toothpick from the centre outward in four or five places to suggest grain lines between the rings. These do not need to be uniform.
- Pierce a hole about 4 mm from the top edge of each coin. Adult handles the needle tool.
- Bake all coins on the lined tray at your clay brand’s temperature for 30 minutes. Adult handles the oven. Cool fully.
- Thread the twine through the holes, knotting either side of each coin so they space evenly about 3 cm apart. Tie a loop at each end for hanging.

🛍 Shopping guide
Pressed Sprig Pinch Pot
A real sprig of rosemary, a small fern frond, or a flat eucalyptus leaf pressed into unfired clay leaves a print so detailed it looks botanical rather than handmade.
This pinch pot sits on a desk holding paper clips or on a bathroom shelf holding a bar of soap, and the pressed sprig reads as deliberate decoration. Choose a flat plant with visible vein structure: the finer the veins, the better the print.
What You Need
- White or cream polymer clay, 57 g (2 oz) block
- One fresh sprig: rosemary, flat-leaved parsley, small eucalyptus or fern frond
- Rolling pin or smooth glass
- Matte varnish for polymer clay, small bottle
- Baking sheet lined with parchment
- Optional: a single drop of forest green acrylic paint, for antiquing the pressed lines
How to Make It
- Condition the clay and roll it into a smooth ball about 6 cm in diameter. Push both thumbs into the centre and pinch the walls upward and outward until you have a shallow bowl shape about 9 cm across. The walls should be roughly 5 mm thick: thinner than that and they crack during baking.
- Lay the sprig face-down on the inside base of the bowl. Press it firmly and evenly with the flat of your palm, then peel it away in one steady lift. A rosemary sprig leaves individual needle impressions; a fern frond leaves a lacy tracery. If the print looks faint, the clay may need a moment more of conditioning warmth.
- Smooth the rim with a wet fingertip if any cracks appeared during pinching. Wet the finger, not the clay directly.
- Bake on the lined tray at your clay brand’s recommended temperature for 30 minutes. Adult handles the oven. Cool completely.
- If you want the sprig detail to show more clearly, thin a single drop of green acrylic paint with a little water to a wash. Brush it over the inside of the dish and then immediately wipe it off with a damp cloth, leaving colour only in the pressed grooves. Let dry for 15 minutes.
- Seal with matte varnish. Gloss varnish would overpower the botanical quality of the piece.

🛍 Shopping guide
Faux Stone Ornaments
These ornaments look like river pebbles that have wandered onto the tree.
The trick is a two-stage finish: a base colour that blends three clays into a warm grey, then a sealer coat followed immediately by a patted-on layer of stone-effect spray paint (the kind sold for updating plant pots).
The spray adds the speckle that cement and granite both have, and it is the one step that makes people pick these up to check. These suit a natural, understated tree palette.
What You Need
- White polymer clay, 30 g
- Black polymer clay, 15 g
- Raw umber polymer clay, 10 g
- Matte stone-effect spray paint (grey or granite finish), one small can
- Matte varnish for polymer clay, small bottle
- Ornament hook wire, one per ornament
- Baking sheet lined with parchment
- Cardboard box for spray painting
How to Make It
- Condition the three clays and work them together until you have a warm mid-grey with no distinct streaks. Roll into smooth ovals about 4 cm long and 3 cm wide: more pebble than sphere.
- Press the ornament hook wire into the narrow top end of each oval, pushing about 1 cm deep.
- Bake on the lined tray at your clay brand’s temperature for 30 minutes. Adult handles the oven. Cool fully: the spray will not bond well to a warm surface.
- Inside the cardboard box (spray outdoors or in a well-ventilated room, adult handles this), hold the can about 25 cm away and apply a light mist of stone-effect spray over each ornament. Rotate to catch all sides. Let dry 30 minutes. A single light coat is enough: heavy coverage kills the speckle quality.
- Once the spray is dry to touch, apply one coat of matte polymer varnish to seal and protect. Let cure for one hour.

🛍 Shopping guide
Peppermint Bark Tile Ornament
A striped cane is the classic polymer clay technique, but sliced thin and laid as a flat tile it stops reading as craft and starts reading as a piece of actual peppermint bark, the kind you would break from a chocolate slab.
The stripes are red and white, the tile is irregular at the edges, and a gloss coat makes the surface look exactly like coated chocolate. It is one of those ornaments that gets picked up and almost put in a pocket.
What You Need
- White polymer clay, 30 g
- Red polymer clay, 30 g
- Craft knife with a sharp, clean blade
- Ruler or straight edge
- Gloss varnish for polymer clay, small bottle
- Thin ribbon, 20 cm
- Toothpick or needle tool
- Baking sheet lined with parchment
How to Make It
- Condition both clays. Roll each into a flat slab about 5 mm thick and roughly 8 x 5 cm. Stack the slabs: white, red, white, red, white, for five alternating layers. Press the stack together firmly so there are no air gaps between layers.
- Using a craft knife and ruler, adult handles the cutting: trim the edges of the stack so they are even, then cut the stack into slices about 3 mm thick, cutting across the layers so each slice shows stripes. Keep the blade as vertical as possible.
- Lay six slices side by side, stripes all running the same direction, and press them together gently to form a single striped tile roughly 7 x 5 cm. The tile should look like a flat slab.
- Break or cut the edges into an irregular shape: no right angles. Think broken chocolate slab, not a neat rectangle. Angle the craft knife and press rather than saw so the edges look snapped.
- Pierce a hole near one corner for hanging, using the needle tool. Adult handles the tool.
- Bake on the lined tray at your clay brand’s temperature for 30 minutes. Adult handles the oven. Cool completely.
- Apply two coats of gloss varnish, letting each dry for 20 minutes. The gloss is what makes it look edible. Thread ribbon through the hole and tie for hanging.

🛍 Shopping guide
Two-Tone Folded Dish
This small dish looks thrown on a wheel: two colours of clay blend at the centre and the walls fold softly outward as if they were poured and just set.
The folded edge is what makes it, and it takes about three minutes to achieve once the clay is conditioned. Set it on a coffee table for rings, or use it as a key drop by the door. It sits convincingly alongside ceramics.
What You Need
- White polymer clay, 30 g
- Forest green polymer clay, 30 g
- Rolling pin or smooth glass
- Small bowl or ramekin, about 10 cm diameter, as a former
- Matte or satin varnish for polymer clay, small bottle
- Baking sheet lined with parchment
How to Make It
- Condition both clays and press them together along one edge, then roll them out as a single slab to 4 mm thickness. Roll in one direction only: this keeps a clear gradient from white on one side to green on the other, with a blend zone in the middle. That gradient is the whole visual point of the piece.
- Drape the slab over the outside of the inverted bowl, white side centred on the base. Let it fall naturally: do not smooth or tuck it. The clay should form soft, irregular folds around the bowl’s equator.
- Trim around the edge with a craft knife to remove any excess clay that reaches past where you want the rim to sit. Adult handles the knife. Leave the folds intact: irregular is correct.
- Lift the clay carefully off the former and turn it right side up. Place it on the lined tray. The folded edge forms the lip of the dish.
- Bake at your clay brand’s recommended temperature for 30 minutes. Adult handles the oven. Cool on the tray before removing: it is fragile until cold.
- Seal with matte or satin varnish for a finish that reads as stoneware rather than plastic.

🛍 Shopping guide
Snowdrift Candle Holders
A ring of white clay pressed into soft peaks around the base of a tea light looks like snow piled against a lamp post: the candle sits in the hollow and the flame makes the clay glow slightly at the edges.
Use only tea lights inside these, never a taper, and keep the clay wall at least 1 cm away from the flame. Polymer clay does not burn at candle temperatures but it can discolour if placed directly against a flame.
What You Need
- White polymer clay, 57 g (2 oz) block per holder
- Tea light candle, metal-cased, as a sizing guide (remove before baking)
- White acrylic paint, 1 small tube
- Gloss varnish for polymer clay, small bottle
- Baking sheet lined with parchment
How to Make It
- Condition the white clay and roll it into a thick log about 20 cm long and 2 cm in diameter. Coil the log into a ring, pressing the ends together firmly to join them without a visible seam.
- Set the tea light metal case in the centre of the ring to check sizing: the ring should sit snugly around it with about 8 mm of clay wall showing above the candle rim. Remove the candle; it must not go into the oven.
- Pinch the outer surface of the ring into soft, irregular upward peaks using your thumb and index finger, as though pushing snow into a drift. No peak should be perfectly pointed: press the very tip slightly sideways so each one droops slightly. Work all the way around.
- Smooth the inside of the ring with a wet finger so it is flat and will hold the tea light casing without wobbling.
- Bake on the lined tray at your clay brand’s temperature for 30 minutes. Adult handles the oven. Cool completely.
- Dry-brush a little white acrylic paint over the peaks only to heighten the snow effect, then apply a coat of gloss varnish overall. Drop the tea light into the hollow to use.

🛍 Shopping guide
Snowflake Stamp Buttons
These tiny buttons look hand-thrown: a single snowflake stamp on a cream clay disc with two holes punched through. Sew them onto a knitted stocking, a cloth gift bag, or a fabric wreath.
They also work as gift toppers stitched through brown paper with a length of baker’s twine. The set takes under an hour start to finish, and a single stamp yields a whole season’s supply of buttons if you keep the clay conditioned.
What You Need
- Cream or white polymer clay, 57 g (2 oz) block
- Snowflake rubber or acrylic stamp, 1 (about 2 cm print size)
- Round cutter, 2.5 cm diameter (or a bottle cap of this size)
- Toothpick or 2mm hole punch for clay
- Cornstarch, small amount, to prevent stamp sticking
- Baking sheet lined with parchment
How to Make It
- Condition the cream clay and roll it to 3 mm thickness on a smooth surface. Dust the face of your stamp very lightly with cornstarch to prevent it sticking to the clay.
- Press the stamp firmly and evenly into the clay, pushing down without rocking. Lift straight up. The impression should be clean and even across the whole snowflake. If one side is deeper than the other, you rocked the stamp: roll that piece smooth again and retry.
- Cut a disc centred on the stamped impression using the round cutter. Press straight down and lift straight up.
- Use a toothpick to pierce two holes side by side, about 5 mm apart, in the centre of the button. Push through slowly and rotate slightly to keep the hole clean. Adult handles this step if sharing with a younger helper.
- Transfer all discs to the lined baking tray. Bake at your clay brand’s temperature for 20 minutes (thinner pieces need less time). Adult handles the oven. Cool completely before handling.
- The buttons need no sealing if the clay is a good brand, but a coat of matte varnish will sharpen the stamped detail.

🛍 Shopping guide
Wrapped Present Earrings
At about 1.5 cm square, these earrings are small enough to wear all December without anyone thinking they are a novelty. Two-tone clay folded into a tiny parcel, a snake of contrasting clay as a ribbon, and a flat ear wire pressed in before baking.
No glue required: the wire bakes in. Use lightweight ear wires to keep the weight reasonable, and check the finished earring weighs no more than a coin before gifting.
What You Need
- Forest green polymer clay, 15 g
- White polymer clay, 10 g
- Flat ear wires with a loop (not hooks), one pair
- Craft knife
- Ruler
- Matte or gloss varnish for polymer clay, small bottle
- Baking sheet lined with parchment
How to Make It
- Condition the green clay and shape it into two matching rectangular blocks, each 1.5 cm x 1.5 cm x 8 mm deep. Precise matching matters here because uneven earrings are noticeable when worn. Measure with a ruler rather than guessing.
- Roll a thin snake of white clay, about 1.5 mm thick. Cut two lengths of 1.5 cm each and two lengths of 1.5 cm each, then press one over the front of each green block lengthways and one crossways, mimicking a ribbon. At the crossing, press two tiny white loops to suggest a bow. Press all elements firmly so nothing will lift during baking.
- Press the loop of the ear wire into the top back corner of each block, pushing about 5 mm deep. The loop should sit flush with the clay so the earring hangs straight. Adult handles the sharp wire ends.
- Place both earrings loop-up on the lined tray (prop them against a folded piece of foil if needed to keep them upright).
- Bake at your clay brand’s temperature for 25 minutes. Adult handles the oven. Cool completely before touching the wire: the clay needs to harden fully around it.
- Apply one thin coat of your chosen varnish for durability. Matte reads as wrapped paper; gloss reads as lacquered wood. Both are good choices.

🛍 Shopping guide
Marbled Planet Bead Garland
These beads look like small planets: swirled in deep navy, forest green, and cream, they have the same cloudy depth as a marble or a Wedgwood piece.
Thread them on black or dark navy cord and they read as something astronomical rather than festive, which is exactly what a grown-up tree needs.
The marbling technique takes practice on the first bead, so condition an extra piece of clay and make a test bead before committing to the full set.
What You Need
- White polymer clay, 30 g
- Forest green polymer clay, 20 g
- Blue (navy or cobalt) polymer clay, 20 g
- Wooden skewer or knitting needle, 3 mm diameter, for piercing
- Black or navy cord or thin leather cord, 1.5 m for 16 beads
- Baking sheet lined with parchment
- Matte varnish, small bottle
How to Make It
- Pinch off equal-sized pieces of all three clays for each bead, roughly 1 cm across each. Press the three pieces together and twist them once only. Roll into a smooth ball between your palms. The ball should show distinct colour zones with a small amount of blending at the edges: two or three twists is the maximum before the colours begin to muddy. Stop when it looks like a tiny planet seen from space.
- Slide the skewer through the centre of the ball while it is still soft, rotating gently so the hole is clean and even. Remove the skewer and re-roll the ball very slightly to restore the round shape if the skewer flattened it.
- Repeat for all 16 beads, then lay them on the lined tray with the holes pointing upward so they do not flatten on one side.
- Bake at your clay brand’s recommended temperature for 25 to 30 minutes. Adult handles the oven. Cool completely on the tray.
- Apply a coat of matte varnish to each bead and thread on the cord while the varnish is not yet fully set (this works as a light resist, giving slight variation in sheen). Leave to cure fully before handling the garland.
- Tie a knot on either side of each bead to space them evenly, about 4 cm apart. Tie hanging loops at each end.

🛍 Shopping guide
Frosted Scallop Shell Dish
This small dish takes its form directly from a scallop shell. Press the clay over an actual scallop shell (or a silicone shell mould) to get the ribs and the curved base, then dust it with pearl mica powder while it is still raw.
After baking the powder fires into the surface and the whole piece has the iridescent depth of frosted glass. It holds a tapered candle, a small bundle of dried flowers, or simply sits as a curio on a shelf.
Store it in tissue; the mica surface is durable once sealed but does not love being knocked against hard things.
What You Need
- White polymer clay, 57 g (2 oz) block
- Pearl or iridescent white mica powder
- Scallop shell, large (about 10 cm across), as a mould, or a silicone scallop mould
- Cornstarch, to prevent sticking
- Soft brush (a blusher brush is ideal), for mica application
- Matte varnish for polymer clay, small bottle
- Baking sheet lined with parchment
How to Make It
- Dust the inside of the scallop shell lightly with cornstarch, wiping away any excess: too much will blur the rib detail.
- Condition the white clay and roll it into a slab about 5 mm thick. Lay the slab into the shell and press it firmly into all the ribs, working from the centre outward to avoid trapping air. Trim the excess clay from the edge using a craft knife or your fingers, following the shell’s natural scalloped edge. Adult handles the craft knife.
- Using the soft brush, tap mica powder liberally all over the clay surface while it is still raw. The powder will adhere and create a frosted, pearl-like surface. Do not rub, only tap: rubbing smears the mica and reduces the effect.
- Bake the clay inside the shell (the shell can go in the oven) at your clay brand’s temperature for 30 minutes. Adult handles the oven. Cool completely before removing the clay dish from the shell: peeling it out while warm can distort the ribs.
- Seal with one coat of matte varnish to lock the mica in place. Gloss would flatten the frosted quality, so matte is the right choice here.

🛍 Shopping guide
Frequently Asked Questions
Need diy christmas decorations easy enough to finish tonight? All 29 use two to four materials, take
15 Christian Christmas party games tied to the nativity story — perfect for church groups and fami

22 christmas party desserts that survive the car ride: bars, cups and bites with make-ahead tips, ex
Leave a Reply