

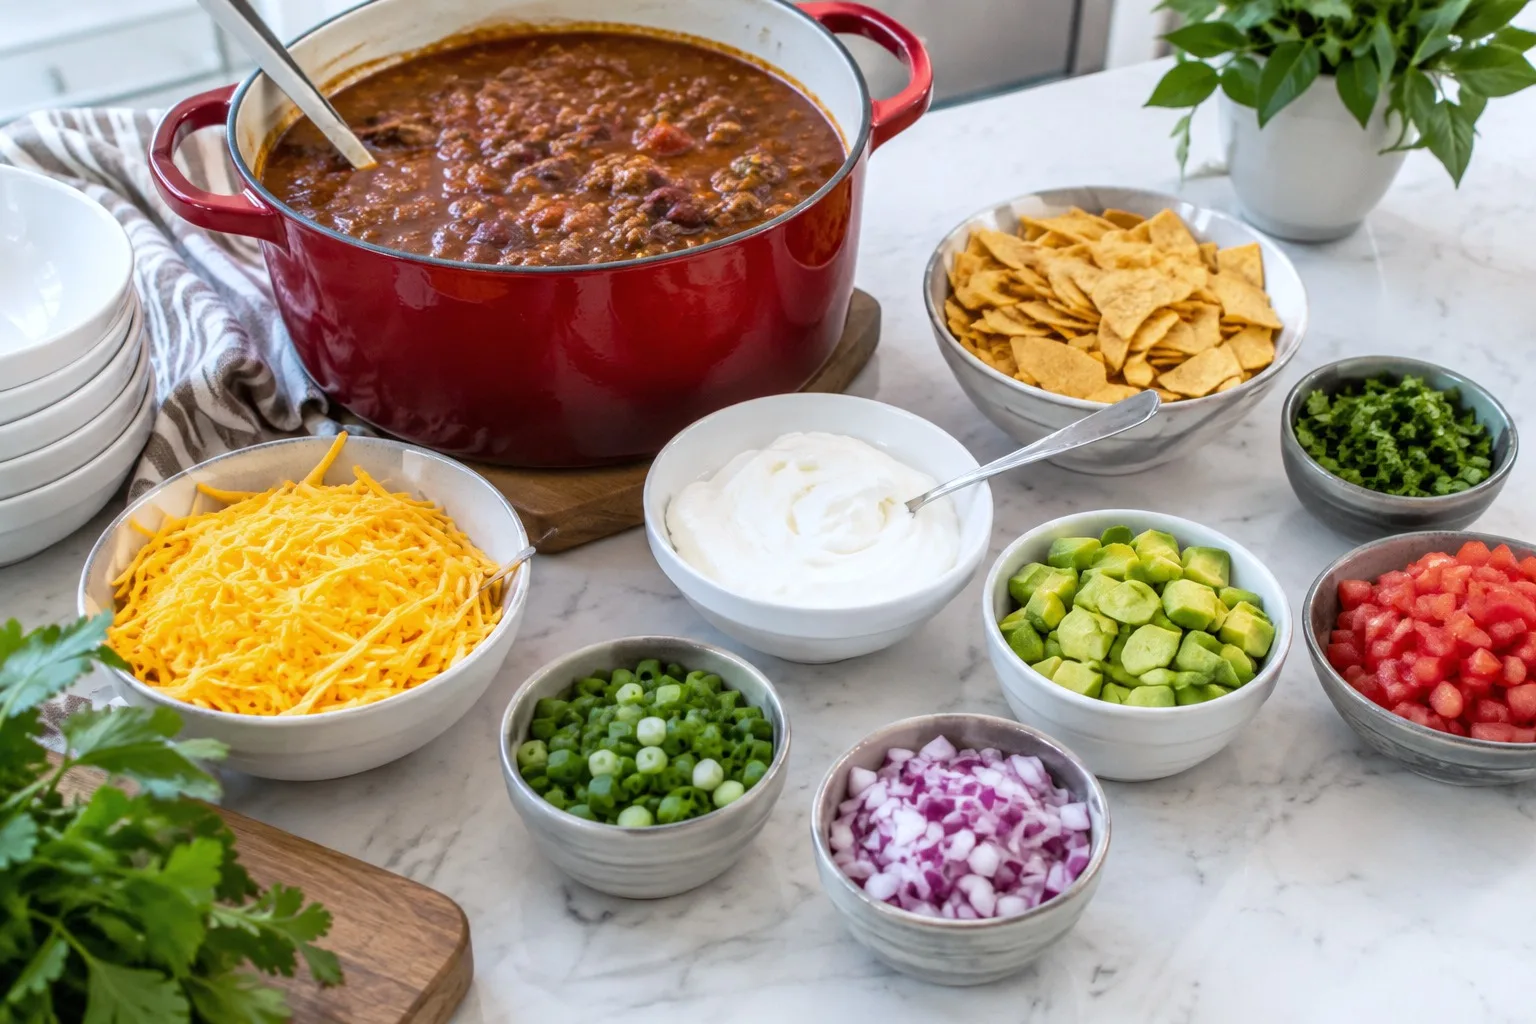
Twenty people, three slow cookers and a folding table that will not stay tidy past the first quarter: that is the real shape of a chili bar.
Nobody wants to stand at a stove stirring one pot while the game starts without them, so the whole point here is three chilis that mostly cook themselves and a wall of toppings that turns one base bowl into whatever each guest actually wants.
For twenty people treating chili as dinner, plan on roughly 1 to 1.5 cups per guest split across the three pots, which is why each chili recipe below makes about 3 quarts: enough for a generous first bowl from one or two pots with room for seconds.
If the spread runs alongside wings, nachos and dips the way most game day tables do, you can trim closer to 1 cup a head and lean harder on the toppings. For the rest of the table, 24 Super Bowl Party Food Ideas for a Crowd That Came Hungry fills in what sits next to the chili pots.
One chili here simmers with a bottle of beer, so keep that pot a step away from anyone who is not drinking, or swap in the broth option noted in the recipe.
Dairy shows up often (cheese, sour cream, cream cheese, butter), and the cornbread and crackers carry gluten, so label the bowls if anyone at the table needs to know at a glance.
None of this needs a tablecloth strategy or a theme. Three labeled slow cookers, fifteen small bowls with their own spoons, and a stack of real bowls big enough to hold a proper scoop of each: that is the whole production.
If the room also needs something to do between bowls, 16 Super Bowl Party Games With Free Printables for People Who Came for the Food covers that without pulling anyone away from the table, and 20 Super Bowl Party Ideas for a Game Day Everyone Remembers has the rest of the setup.
This post contains affiliate links. If you buy through them, I may earn a small commission at no extra cost to you.
Table of Contents
- Classic Beef Chili
- White Chicken Chili
- Three-Bean Chili
- Jalapeno Cheddar Cornbread Muffins
- Quick Pickled Jalapenos
- Chili-Lime Tortilla Chips
- Pico de Gallo
- Chunky Guacamole
- Lime Crema
- Mexican Street Corn Salad
- Cilantro Lime Rice
- Pickled Red Onions
- Ranch Oyster Crackers
- Candied Bacon Crumble
- Honey Butter
- Frequently Asked Questions
Classic Beef Chili
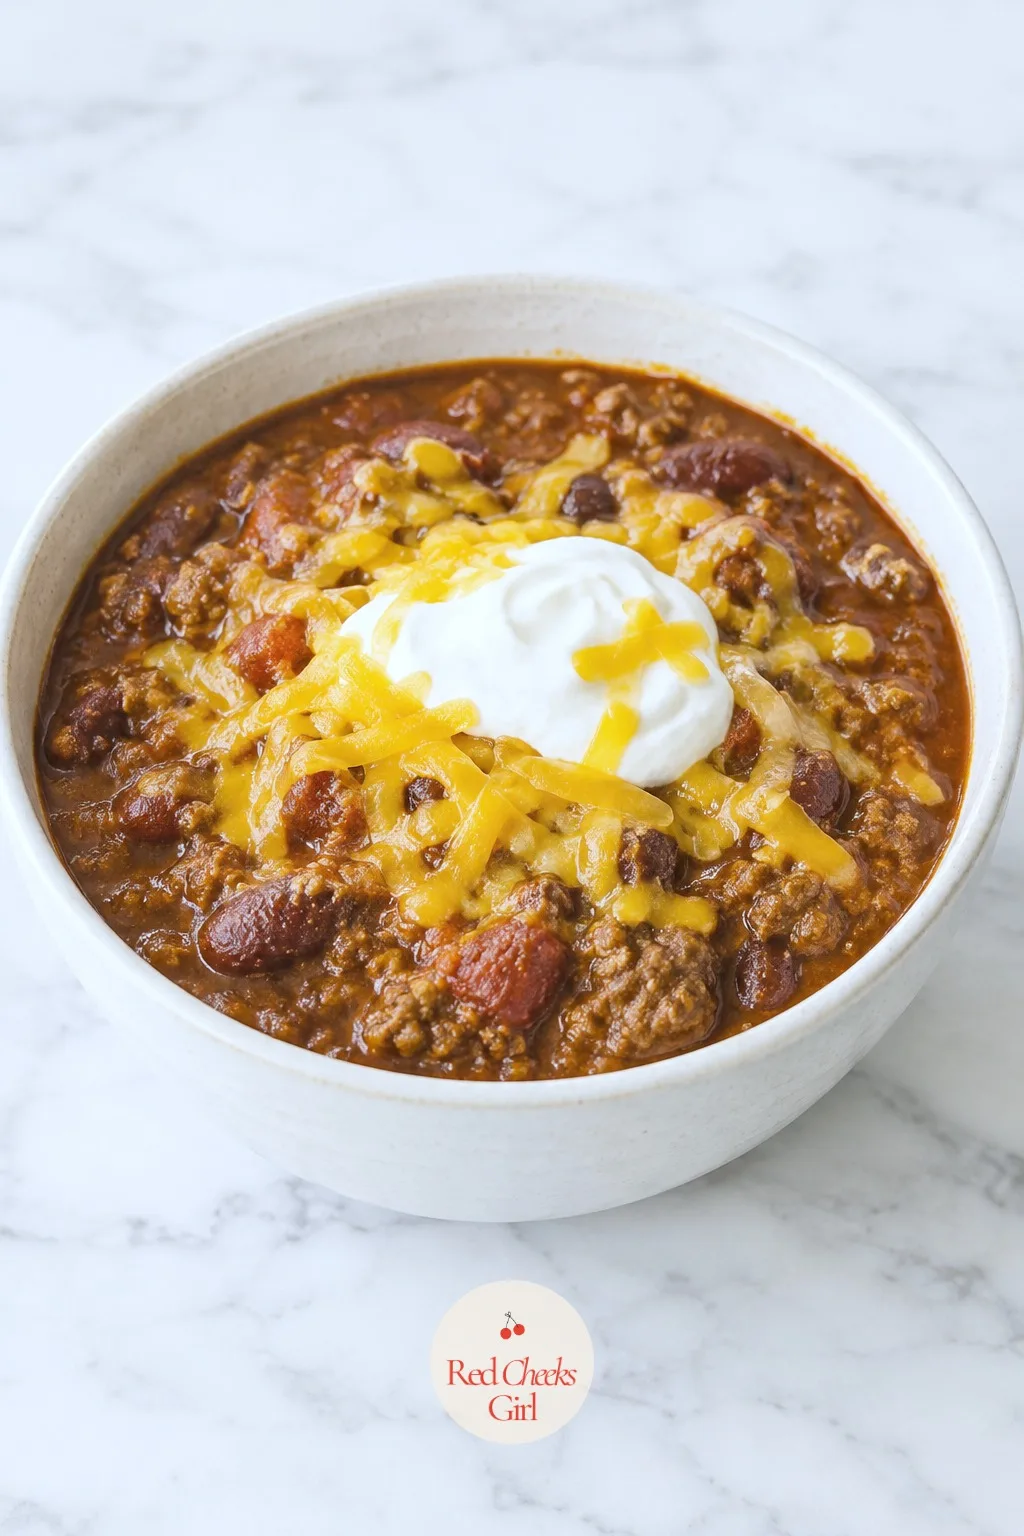
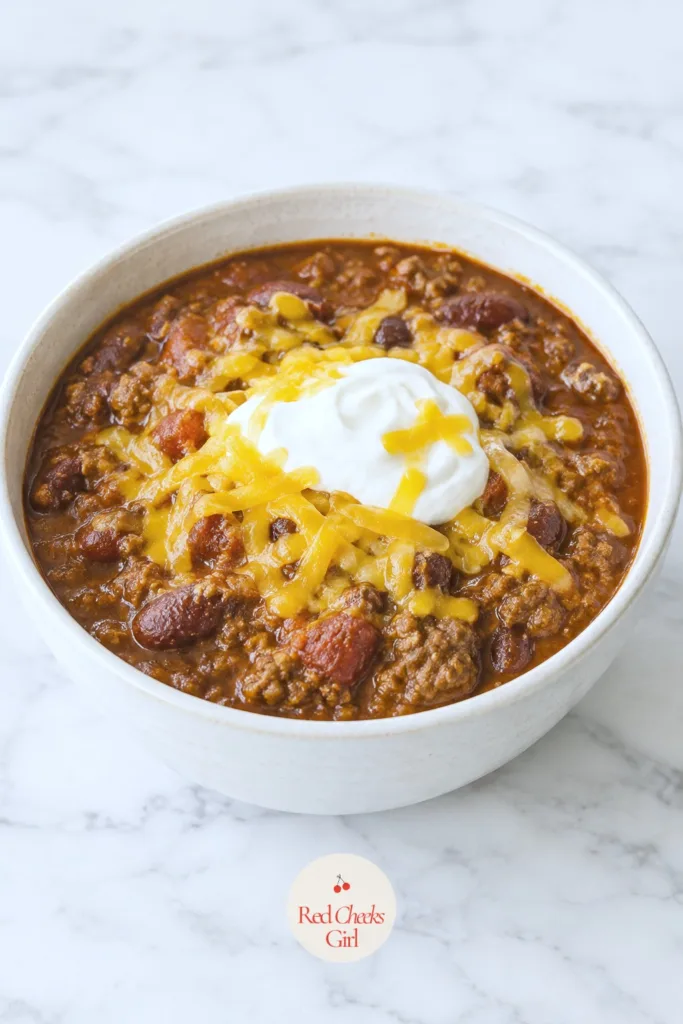
This is the pot that empties first, and it should: it is the one people compare every other chili to for the rest of their lives, unfairly or not. Brown the beef properly and do not rush the simmer; a thin, soupy chili reads as unfinished no matter how good the spices are underneath.
Beer deepens the broth without tasting like beer by the time it is done, but swap it for beef broth if the pot needs to stay strictly non-alcoholic. Either way this one holds its shape on the warm setting for hours, which matters more than almost anything else on game day.
Serve it from the slow cooker itself with the lid propped open and a ladle resting across the rim so nobody has to ask where it is.
Classic Beef Chili
Ingredients
- 3 pounds ground beef 80/20
- 2 tablespoons vegetable oil
- 2 large yellow onions diced
- 6 cloves garlic minced
- 3 tablespoons chili powder
- 1 tablespoon ground cumin
- 2 teaspoons smoked paprika
- 1 teaspoon dried oregano
- 1/2 teaspoon cayenne pepper optional
- 2 teaspoons kosher salt plus more to taste
- 1 teaspoon black pepper
- 2 28 ounce cans crushed tomatoes
- 2 15 ounce cans tomato sauce
- 1 12 ounce bottle beer, or 1 cup beef broth for an alcohol-free pot
- 2 15 ounce cans kidney beans, drained and rinsed
- 2 tablespoons brown sugar
- 2 tablespoons masa harina whisked with 1/4 cup water
Instructions
- Heat the vegetable oil in a large skillet over medium-high heat and brown the ground beef in batches, breaking it into small crumbles with a wooden spoon, about 8 to 10 minutes, until no pink remains; drain off excess fat.
- Add the diced onions and minced garlic to the skillet and cook for 4 to 5 minutes, stirring occasionally, until the onion turns soft and translucent.
- Sprinkle in the chili powder, cumin, smoked paprika, oregano, cayenne, salt and black pepper; stir and toast the spices for 1 minute until they smell fragrant rather than raw.
- Transfer the beef and onion mixture to a 6-quart slow cooker.
- Pour in the crushed tomatoes, tomato sauce, beer (or broth) and kidney beans, then stir everything together until evenly combined.
- Cover and cook on low for 6 to 7 hours, or on high for 3 to 4 hours, until the beef is fork-tender and the chili has thickened enough to coat the back of a spoon.
- About 30 minutes before serving, whisk the masa harina with the water until smooth, stir it into the chili, and cook on high, uncovered, for 20 to 30 minutes more, until visibly thickened.
- Taste and add more salt if needed, then switch the slow cooker to the warm setting and stir every 30 minutes while guests serve themselves.
Good to Know
🛍 Shopping guide
White Chicken Chili
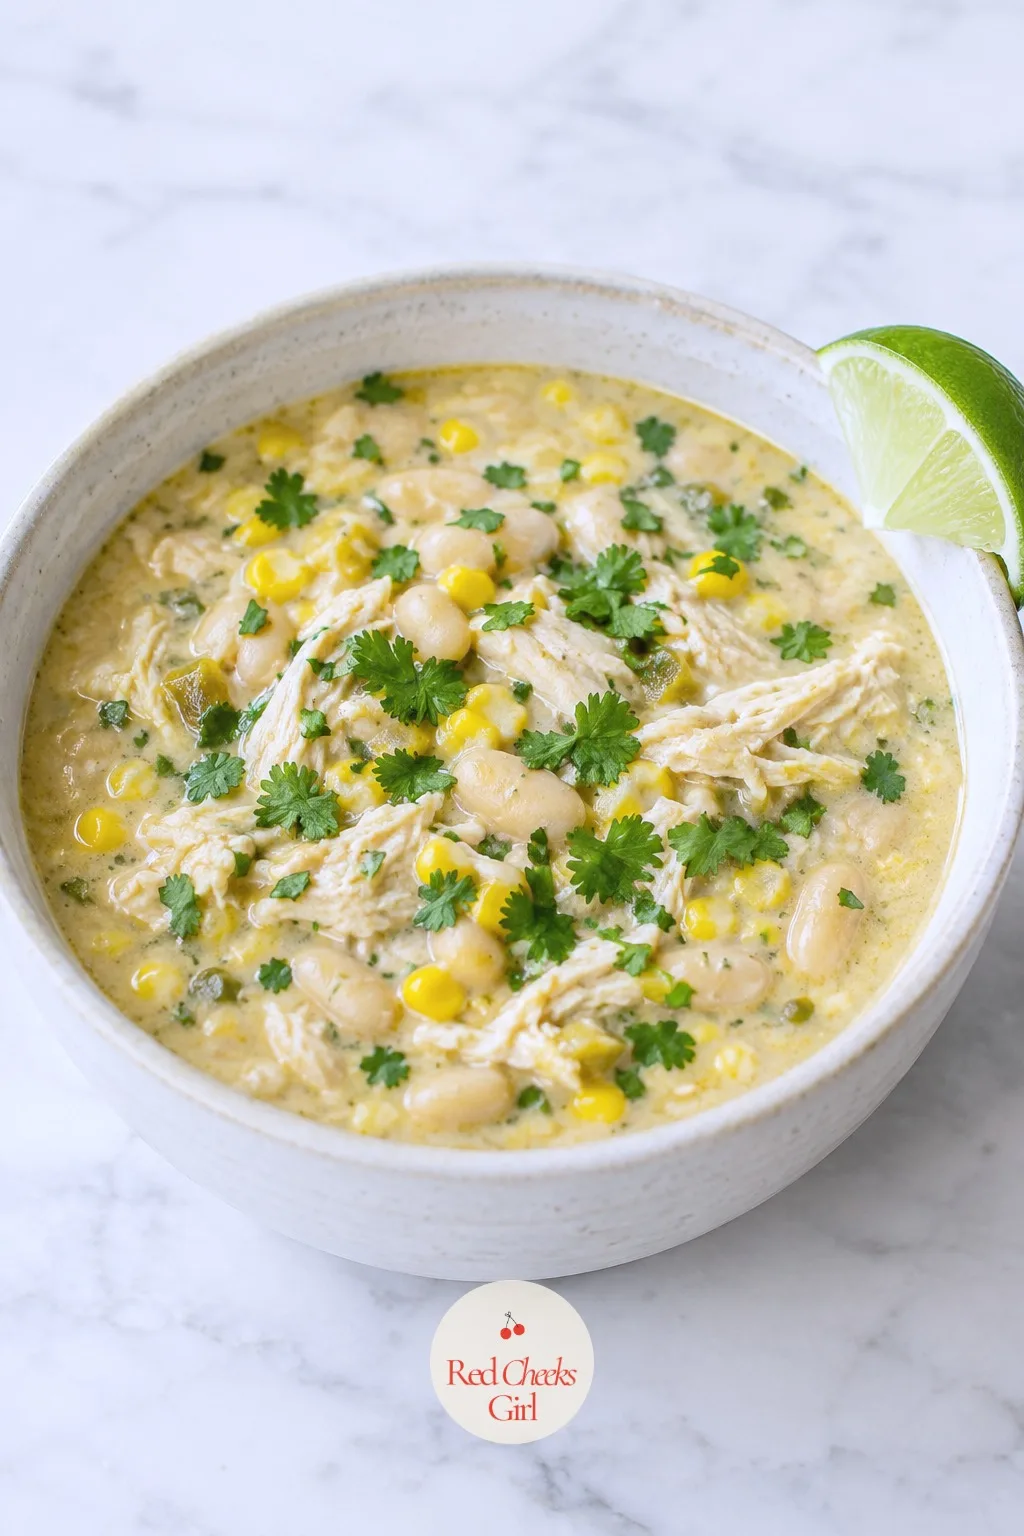
This is the pot for anyone who says chili is too heavy, too red, too much. It still fills a bowl properly, but the broth stays pale and creamy instead of tomato-thick, which makes it the first one to run out among people who did not think they wanted chili at all.
Cream cheese is the trick that makes it taste richer than the ingredient list suggests. Add it in small pieces and stir between each one, or it clumps instead of melting into the broth the way it should.
Shred the chicken with two forks right in the pot rather than dirtying a cutting board twice; nobody at a game day table is grading your technique.
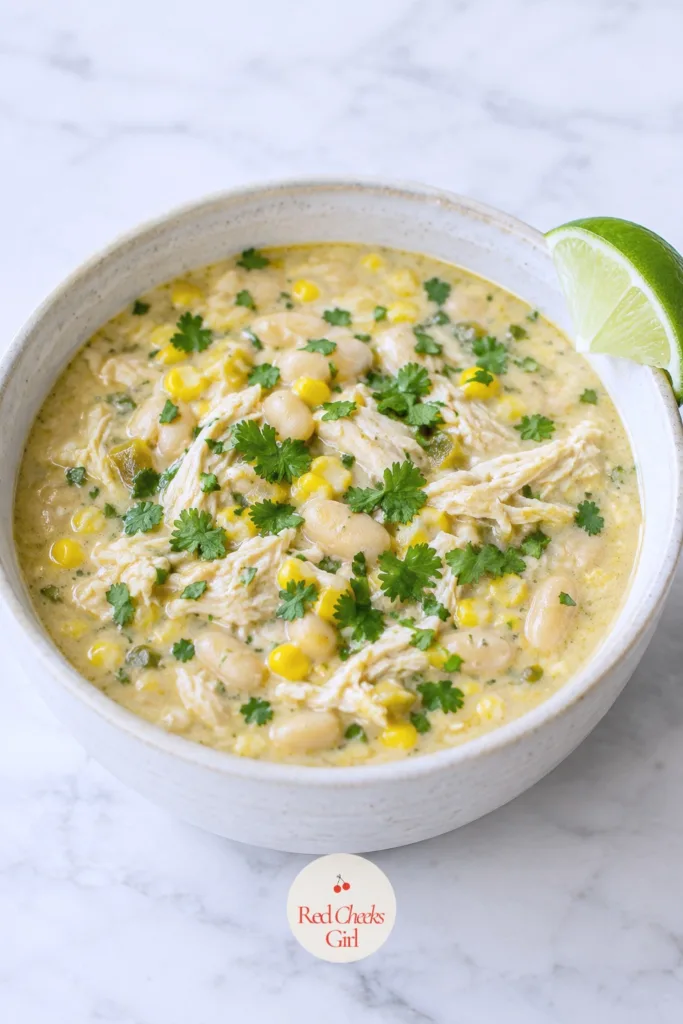
White Chicken Chili
Ingredients
- 3 pounds boneless skinless chicken thighs
- 2 tablespoons olive oil
- 1 large yellow onion diced
- 4 cloves garlic minced
- 2 4 ounce cans diced green chiles
- 2 teaspoons ground cumin
- 1 teaspoon dried oregano
- 1/2 teaspoon ground coriander
- 1/4 teaspoon cayenne pepper
- 6 cups chicken broth
- 3 15 ounce cans great northern beans, drained and rinsed
- 1 cup frozen corn kernels
- 8 ounces cream cheese softened and cut into cubes
- 1 cup heavy cream
- 2 teaspoons kosher salt
- juice of 2 limes
Instructions
- Heat the olive oil in a skillet over medium heat and cook the diced onion and garlic for 3 to 4 minutes until softened.
- Transfer the onion mixture to a 6-quart slow cooker, then add the chicken thighs, green chiles, cumin, oregano, coriander, cayenne and chicken broth.
- Cover and cook on low for 5 to 6 hours, or on high for 3 hours, until the chicken shreds easily with two forks.
- Lift the chicken onto a cutting board, shred it into bite-sized pieces, and return it to the slow cooker.
- Stir in the great northern beans and frozen corn, then cover and cook on low for another 20 minutes until the corn is heated through.
- Add the cubed cream cheese a few pieces at a time, stirring after each addition until fully melted and the broth looks creamy rather than streaky.
- Pour in the heavy cream and salt, stir to combine, and cook uncovered on low for 10 more minutes so the chili comes back to a gentle simmer.
- Stir in the lime juice right before serving so the chili stays bright rather than dull, then hold on the warm setting.
Good to Know
🛍 Shopping guide
Three-Bean Chili
Somebody at every game day table does not eat meat, and handing that person a plate of plain chips while everyone else eats chili is not hospitality. This pot fixes that without tasting like a consolation prize: smoky from the chipotle, thick from mashed beans rather than flour, and genuinely good enough that meat eaters go back for seconds.
Three kinds of bean keep the texture interesting instead of mushy. Mash just a cup of them against the side of the slow cooker near the end; that alone does the thickening job a roux would do elsewhere.
Label this pot clearly on the table so vegetarian guests do not have to ask.
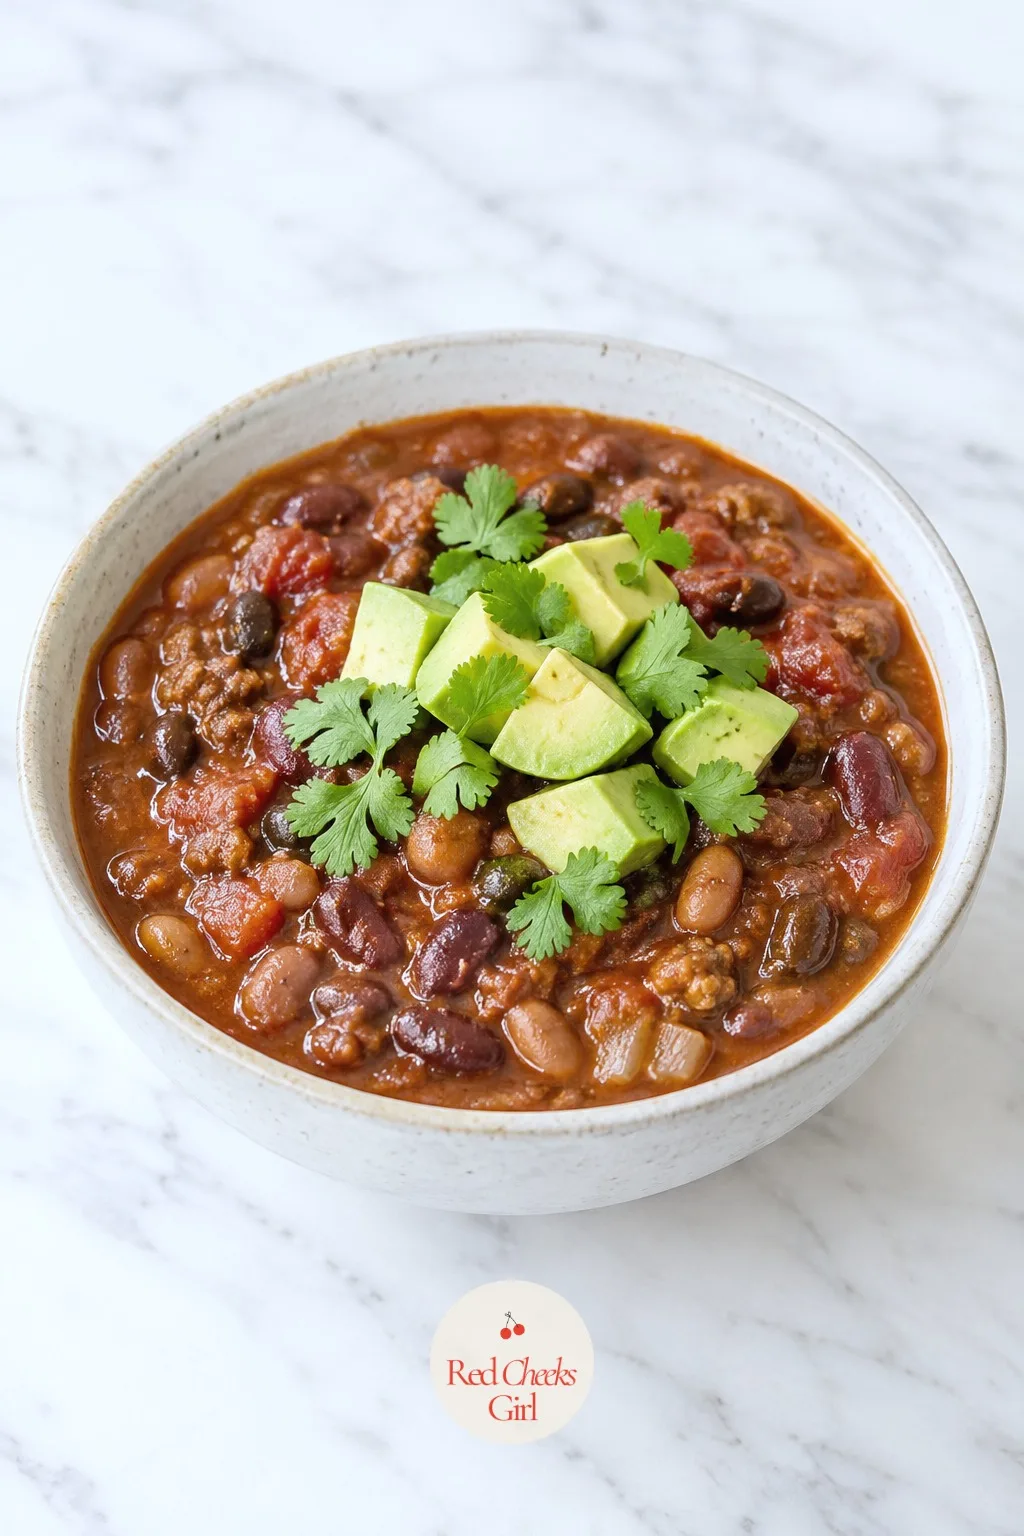

Three-Bean Chili
Ingredients
- 2 tablespoons olive oil
- 2 yellow onions diced
- 2 red bell peppers diced
- 4 cloves garlic minced
- 1 15 ounce can black beans, drained and rinsed
- 1 15 ounce can pinto beans, drained and rinsed
- 1 15 ounce can kidney beans, drained and rinsed
- 2 28 ounce cans diced tomatoes, with their juice
- 2 tablespoons chili powder
- 1 tablespoon ground cumin
- 1 teaspoon smoked paprika
- 1 chipotle pepper in adobo sauce minced, plus 1 teaspoon adobo sauce
- 2 cups vegetable broth
- 1 1/2 teaspoons kosher salt
- 1/2 teaspoon black pepper
Instructions
- Heat olive oil in a large skillet over medium heat and cook the diced onions and bell peppers for 5 to 6 minutes until softened and starting to turn golden at the edges.
- Add the garlic and cook for 1 more minute until fragrant.
- Transfer the vegetables to a 6-quart slow cooker and add the black beans, pinto beans, kidney beans, diced tomatoes, chili powder, cumin, smoked paprika, minced chipotle, adobo sauce and vegetable broth.
- Stir well, then cover and cook on low for 4 to 5 hours, or on high for 2 to 3 hours, until the peppers are completely tender and the chili smells deeply smoky.
- Uncover and mash about 1 cup of the beans against the side of the slow cooker with a spoon, then stir back in; this thickens the chili without any extra flour or starch.
- Season with salt and black pepper, tasting as you go since the canned beans carry their own sodium.
- Switch to the warm setting and let the chili sit uncovered for 10 minutes to settle before guests start serving themselves.
Good to Know
Jalapeno Cheddar Cornbread Muffins
Plain cornbread is fine. This version is the one that disappears before the second quarter ends, because a muffin travels better than a wedge when hands are full of a chili bowl and a phone showing the score.
Do not overmix the batter once the wet and dry ingredients meet; a few lumps are the difference between a tender crumb and something dense enough to use as a coaster. Scatter a little extra cheese and jalapeno on top before baking so each muffin looks as good as it tastes.
Bake these the morning of the party and warm them in a low oven for ten minutes right before guests arrive; fresh-baked smell does more for a room than any decoration could.

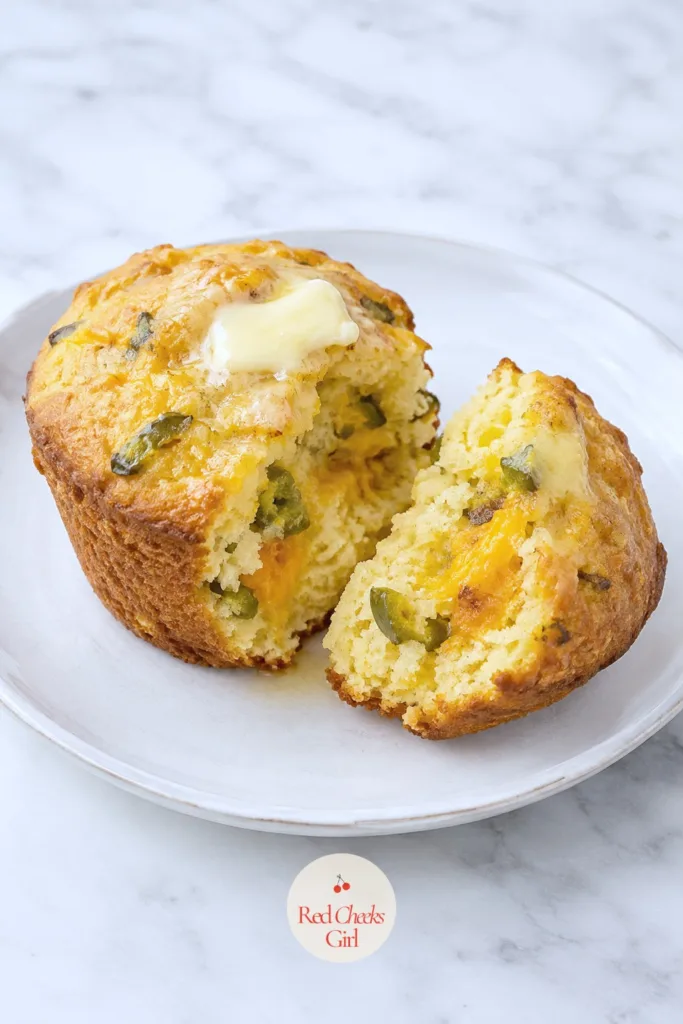
Jalapeno Cheddar Cornbread Muffins
Ingredients
- 1 1/2 cups yellow cornmeal
- 1 1/2 cups all-purpose flour
- 1/3 cup granulated sugar
- 1 tablespoon baking powder
- 1 teaspoon kosher salt
- 2 large eggs
- 1 1/2 cups buttermilk
- 1/2 cup vegetable oil
- 1 1/2 cups shredded sharp cheddar cheese
- 2 jalapenos seeded and finely diced
Instructions
- Preheat the oven to 400 F and line two 12-cup muffin tins with paper liners or coat with nonstick spray.
- In a large bowl, whisk together the cornmeal, flour, sugar, baking powder and salt until evenly blended.
- In a separate bowl, whisk the eggs, buttermilk and vegetable oil until smooth.
- Pour the wet ingredients into the dry ingredients and stir with a spatula just until no dry streaks remain; a few lumps are fine and overmixing makes tough muffins.
- Fold in the shredded cheddar and diced jalapenos, reserving a small handful of each to scatter on top.
- Divide the batter evenly among the 24 muffin cups, filling each about three-quarters full.
- Scatter the reserved cheese and jalapeno over the tops.
- Bake for 16 to 18 minutes, rotating the pans halfway through, until the tops spring back when pressed lightly and a toothpick inserted in the center comes out clean.
- Cool the muffins in the tins for 5 minutes, then transfer to a wire rack to cool for another 10 minutes before serving.
Good to Know
🛍 Shopping guide
Quick Pickled Jalapenos
Jarred pickled jalapenos from the store are perfectly fine, and nobody will say otherwise to your face. But the homemade version costs almost nothing, takes ten minutes of actual work, and tastes noticeably brighter, with a vinegar bite that cuts through a rich bowl of beef chili instead of just sitting on top of it.
These need real chilling time before they are ready, so make them a day or two ahead if the schedule allows; they only improve with a little patience in the fridge.
Set out a small spoon in the bowl so they do not turn into a finger food by accident.
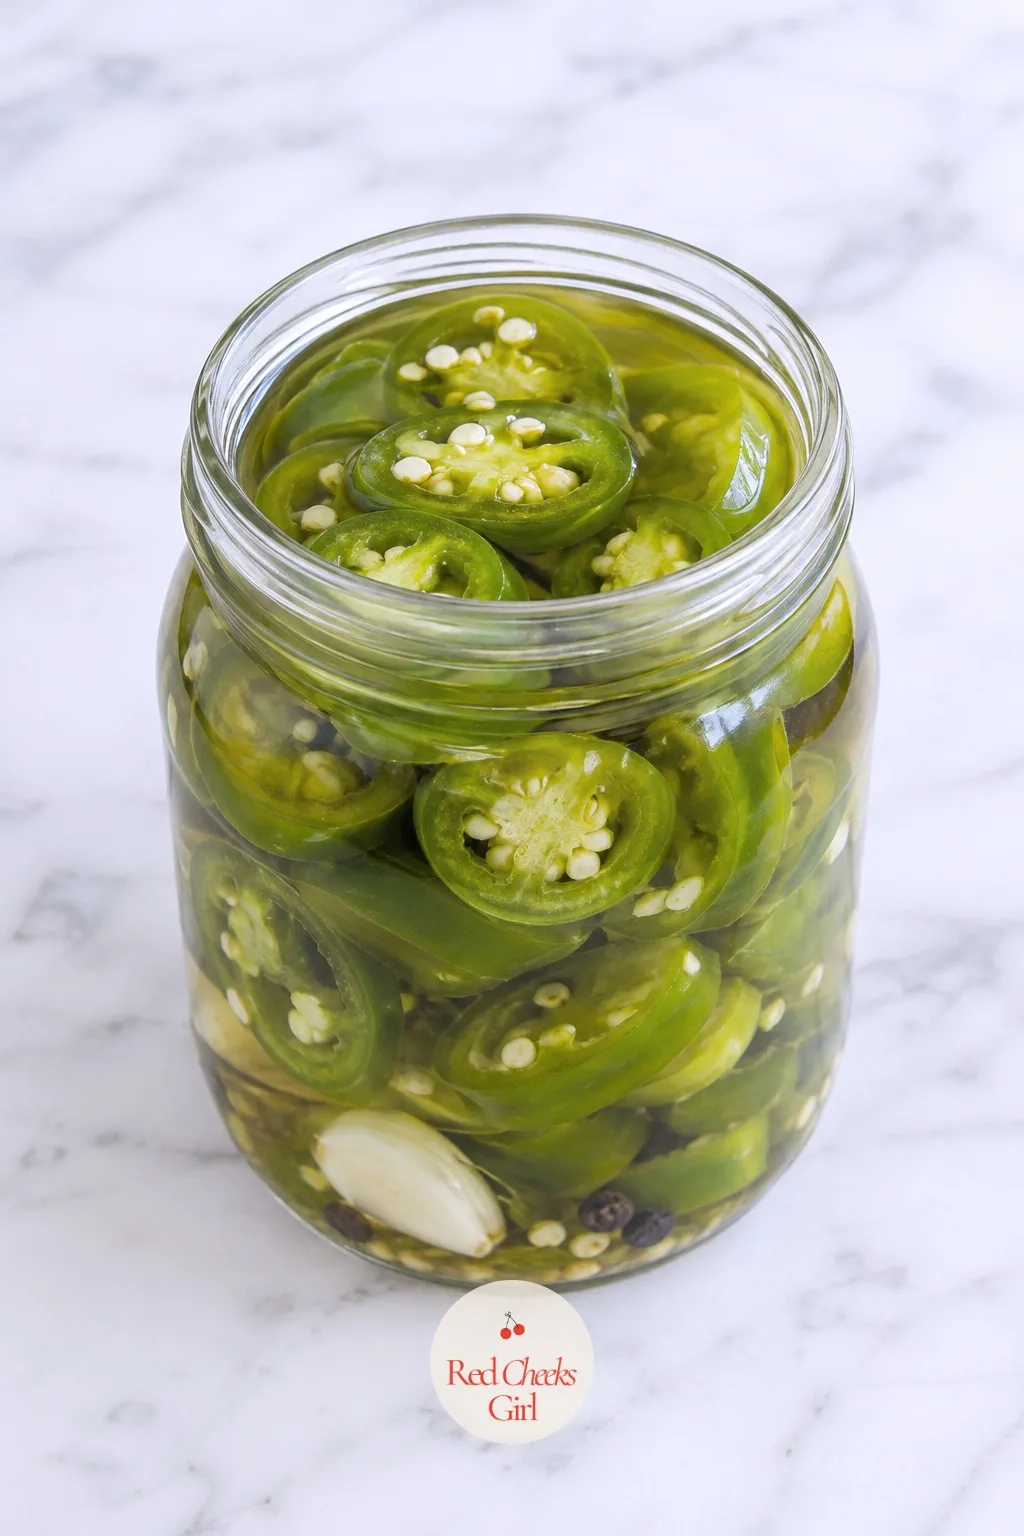
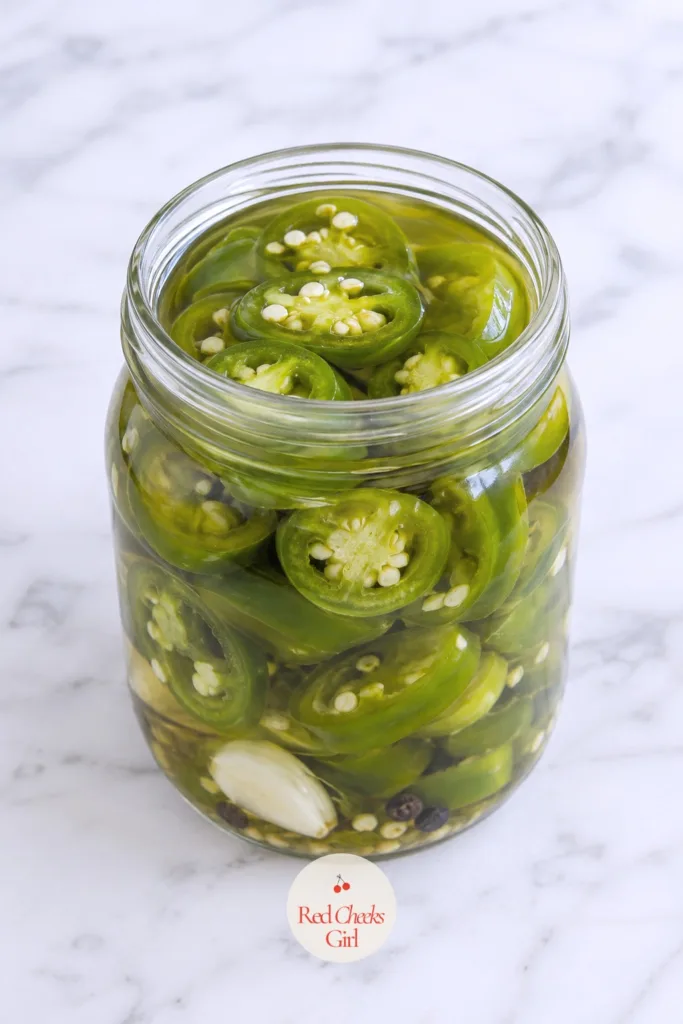
Quick Pickled Jalapenos
Ingredients
- 1 pound fresh jalapenos sliced into thin rounds
- 1 cup white vinegar
- 1 cup water
- 2 tablespoons granulated sugar
- 1 tablespoon kosher salt
- 2 cloves garlic smashed
- 1 teaspoon black peppercorns
Instructions
- Pack the sliced jalapenos into two clean pint jars along with the smashed garlic and peppercorns, dividing evenly.
- Combine the vinegar, water, sugar and salt in a small saucepan and bring to a boil over medium-high heat, stirring until the sugar and salt dissolve.
- Pour the hot brine over the jalapenos, filling the jars until the peppers are fully submerged.
- Let the jars cool on the counter, uncovered, for 15 minutes.
- Seal the jars and refrigerate for at least 1 hour, though the flavor sharpens and mellows nicely after a full day.
- Drain a portion into a small serving bowl with a slotted spoon before setting out on the chili bar, keeping the rest chilled for refills.
Good to Know
🛍 Shopping guide
Chili-Lime Tortilla Chips
Bagged chips do the job, but corn tortillas cut into wedges and baked fresh taste like a different food entirely: lighter, less greasy, and genuinely crisp rather than merely crunchy. If the morning is already full, a good bag of thick-cut tortilla chips is a completely reasonable swap and nobody will hold it against the host.
Spread the wedges in a single layer with room between pieces; crowd the pan and they steam instead of crisping, which is the one mistake that ruins this.
Toss them with the chili-lime seasoning while they are still warm so it actually sticks.

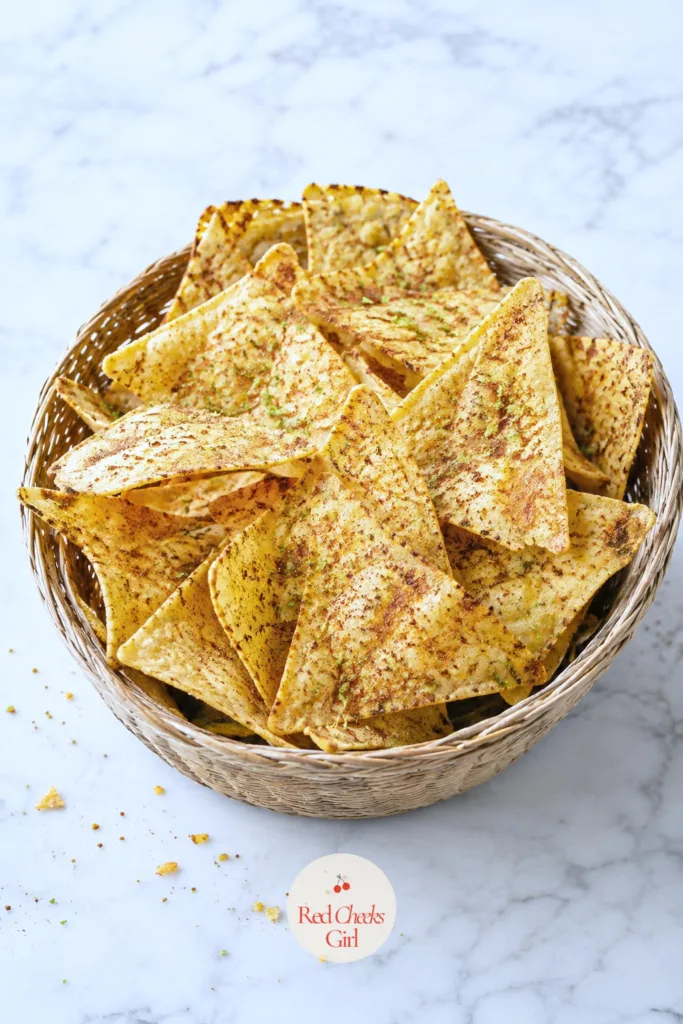
Chili-Lime Tortilla Chips
Ingredients
- 16 corn tortillas cut into 6 wedges each
- 1/4 cup vegetable oil
- 1 teaspoon chili powder
- 1 teaspoon kosher salt
- zest of 2 limes
Instructions
- Preheat the oven to 400 F and set out two large baking sheets.
- Toss the tortilla wedges with the vegetable oil in a large bowl until every piece is lightly coated.
- Spread the wedges in a single layer across the baking sheets without overlapping, so they crisp instead of steam.
- Bake for 8 to 10 minutes, flipping once halfway through, until the edges curl and turn golden brown.
- While still warm, toss the chips with the chili powder, salt and lime zest in a large bowl.
- Let cool for 5 minutes on the sheet; the chips crisp further as they sit. Pile into a basket for serving.
Good to Know
Pico de Gallo
This is the topping that keeps a rich bowl of chili from feeling heavy by the second helping. Fresh tomato, raw onion and a hit of lime do the work that nothing simmered for hours can do: they wake the whole bowl back up.
Give it fifteen minutes to rest before serving so the salt and lime actually pull juice out of the tomatoes rather than just sitting on top of them. If the bowl collects liquid at the bottom, tip it off before setting it out so the chili bar stays tidy rather than watery.
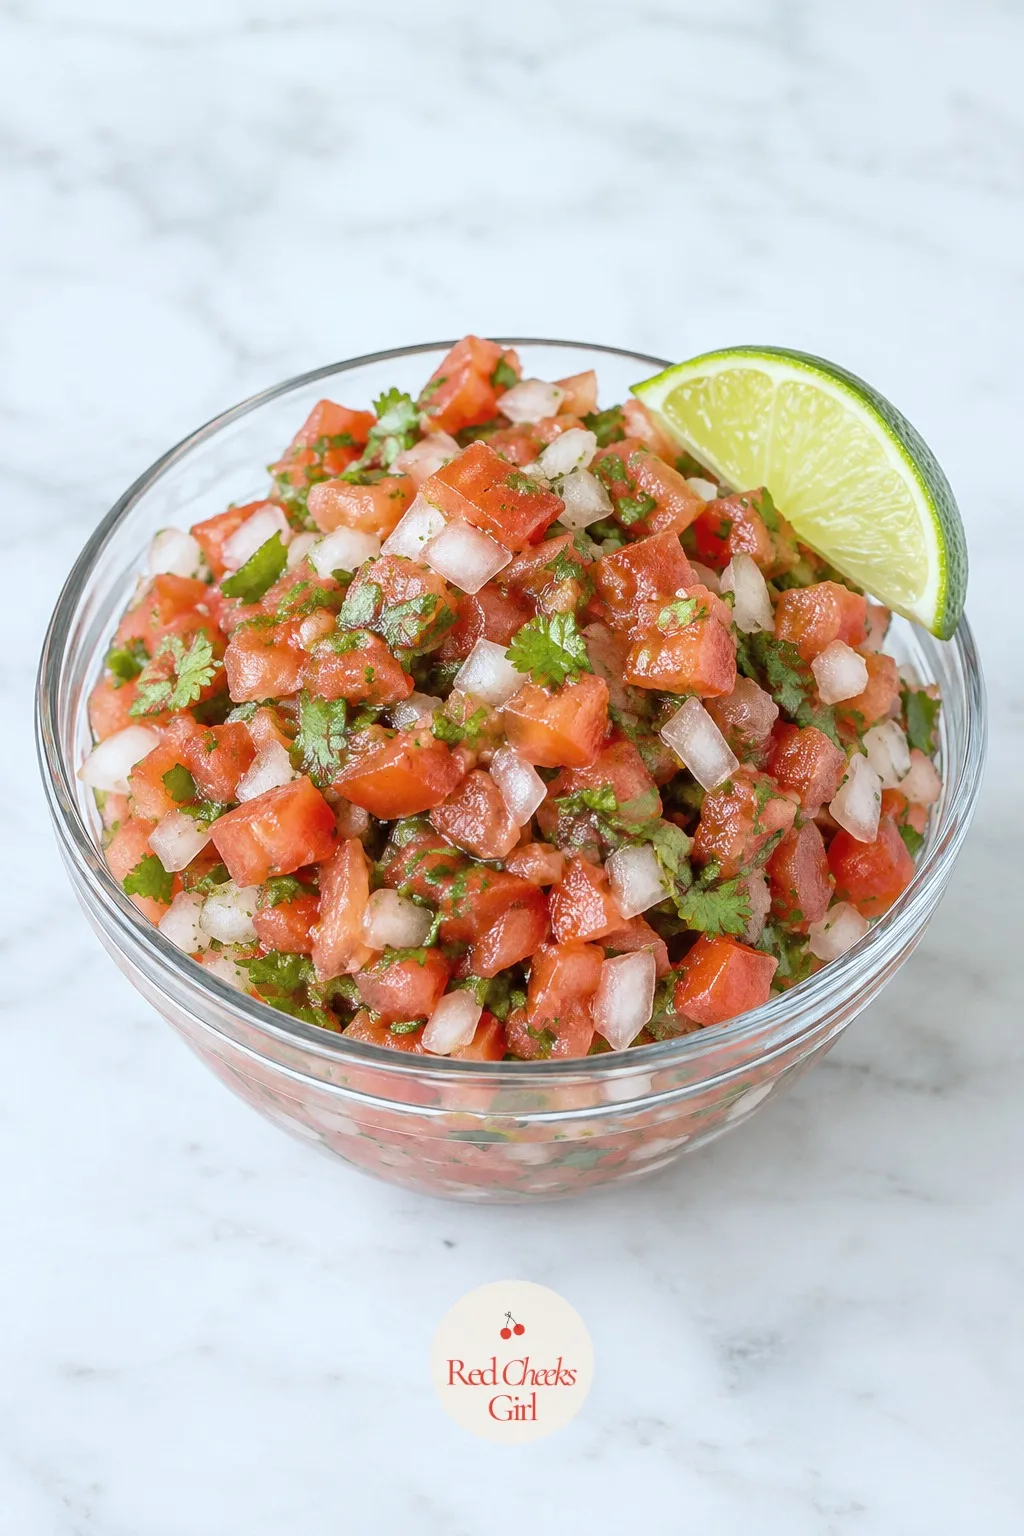
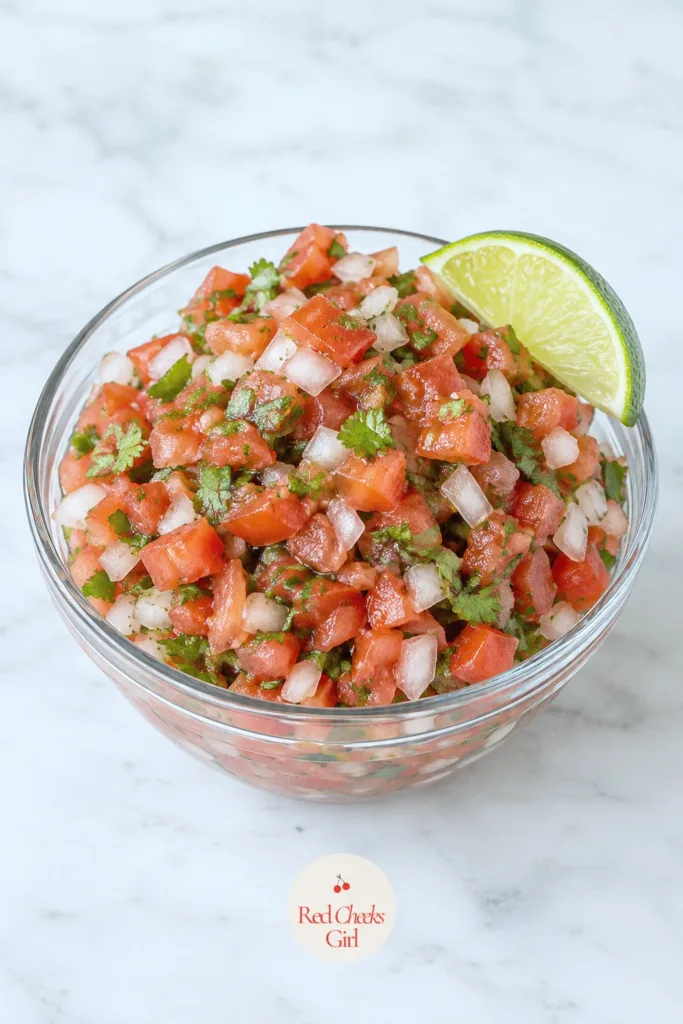
Pico de Gallo
Ingredients
- 6 Roma tomatoes diced
- 1 small white onion finely diced
- 2 jalapenos seeded and minced
- 1/2 cup chopped fresh cilantro
- 2 limes juiced
- 1 teaspoon kosher salt
Instructions
- Combine the diced tomatoes, onion, jalapenos and cilantro in a medium bowl.
- Pour in the lime juice and sprinkle with salt, then stir gently to combine without crushing the tomatoes.
- Let the mixture rest at room temperature for 15 minutes so the flavors come together.
- Taste and add more salt or lime juice if the mix needs brightening.
- Drain off any excess liquid that pools at the bottom before transferring to a serving bowl.
Good to Know
Chunky Guacamole
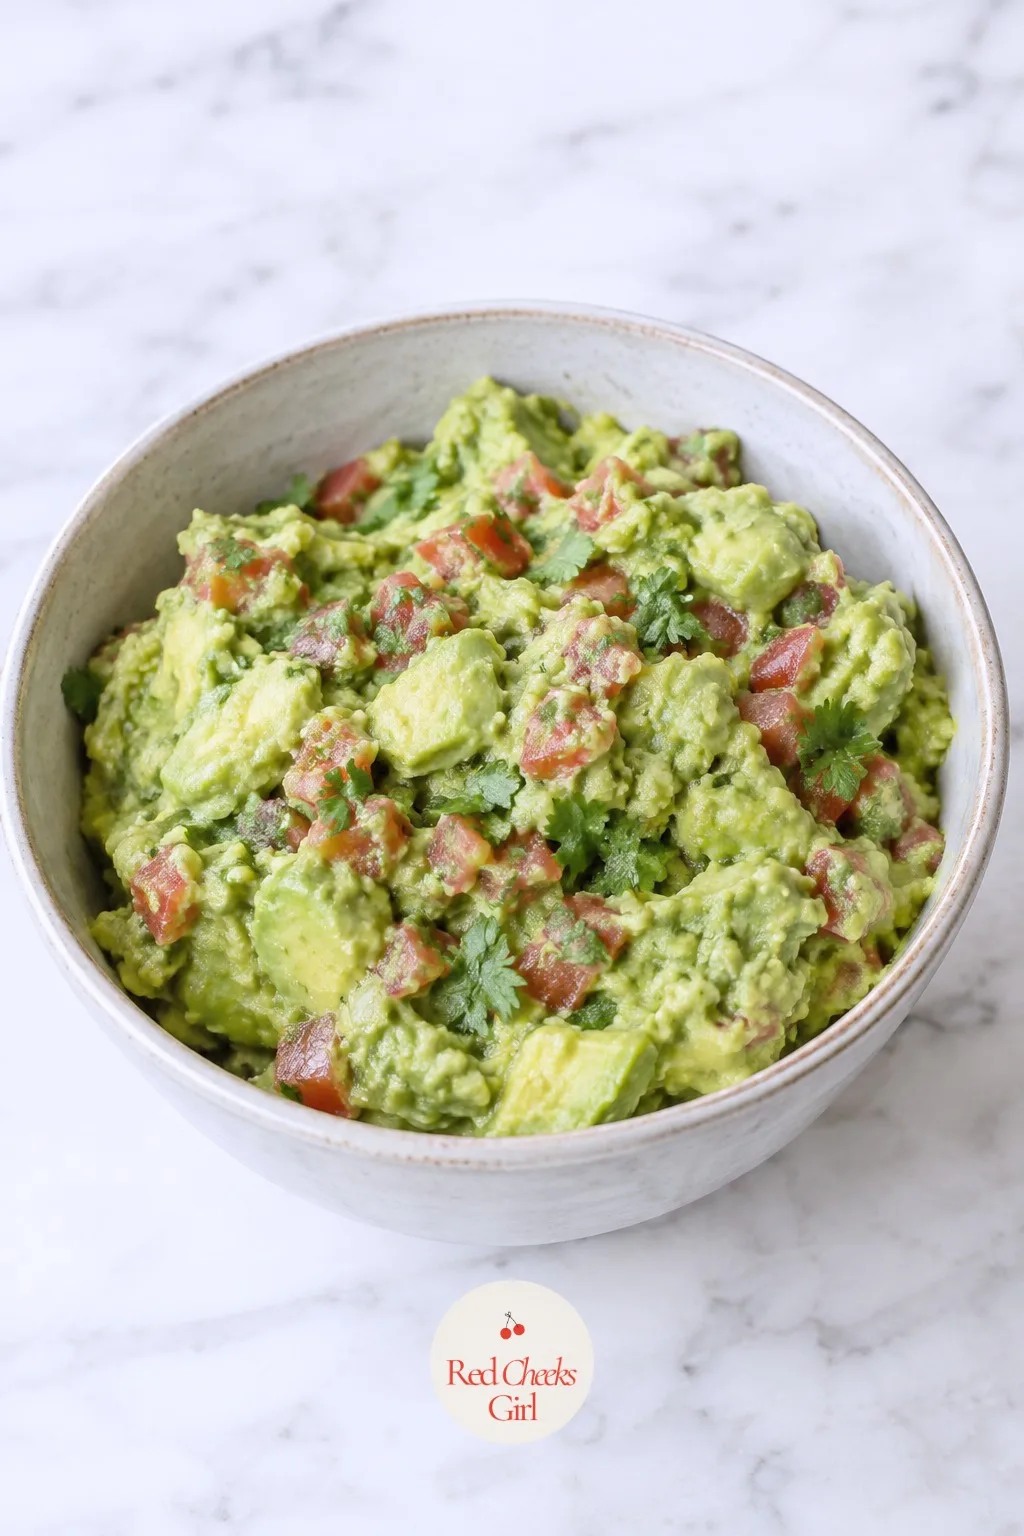
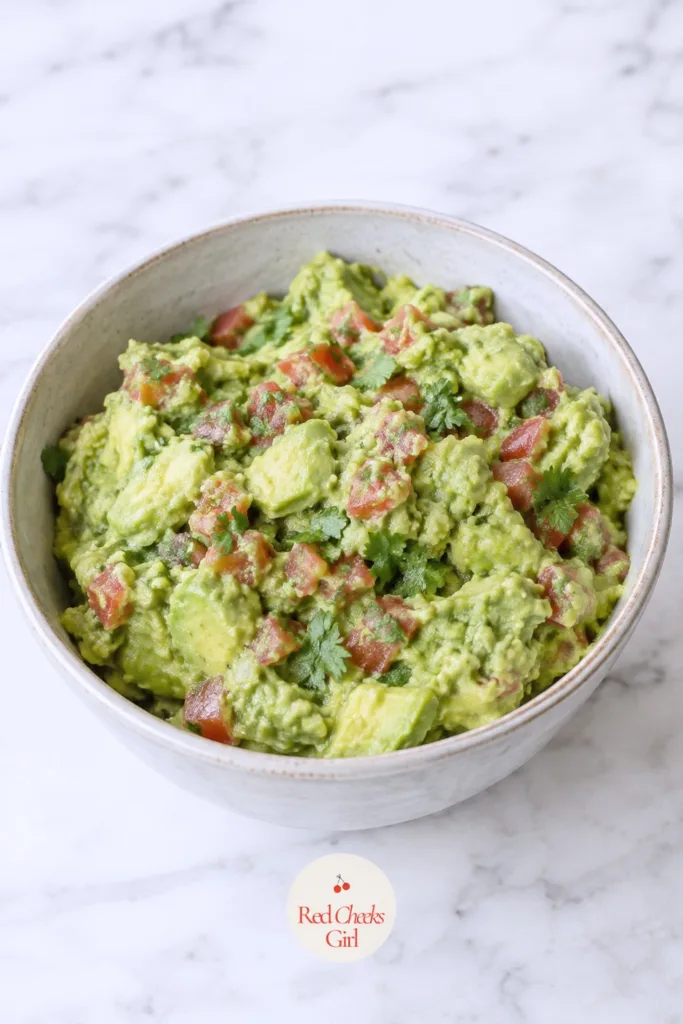
Smooth guacamole is for chip dipping. This one stays rough on purpose, with real chunks of avocado that hold up when spooned over a hot bowl of chili instead of melting straight into the broth.
Buy avocados a few days ahead and let them ripen on the counter; a rock-hard avocado the morning of the party is the single most common guacamole disaster. Press plastic wrap flush against the surface once it is made, that one move is what keeps it green instead of brown while the rest of the spread comes together.
Chunky Guacamole
Ingredients
- 6 ripe avocados halved and pitted
- 1/2 small red onion finely diced
- 1 jalapeno seeded and minced
- 1/3 cup chopped fresh cilantro
- 2 limes juiced
- 1 teaspoon kosher salt
- 1 Roma tomato diced, optional
Instructions
- Scoop the avocado flesh into a large bowl and mash roughly with a fork, leaving some chunks for texture.
- Fold in the red onion, jalapeno, cilantro and diced tomato if using.
- Add the lime juice and salt, stirring just until combined.
- Taste and adjust salt or lime, keeping in mind the chili itself is already seasoned.
- Press plastic wrap directly onto the surface of the guacamole until ready to serve; this keeps it from browning while you finish the rest of the spread.
Good to Know
Lime Crema
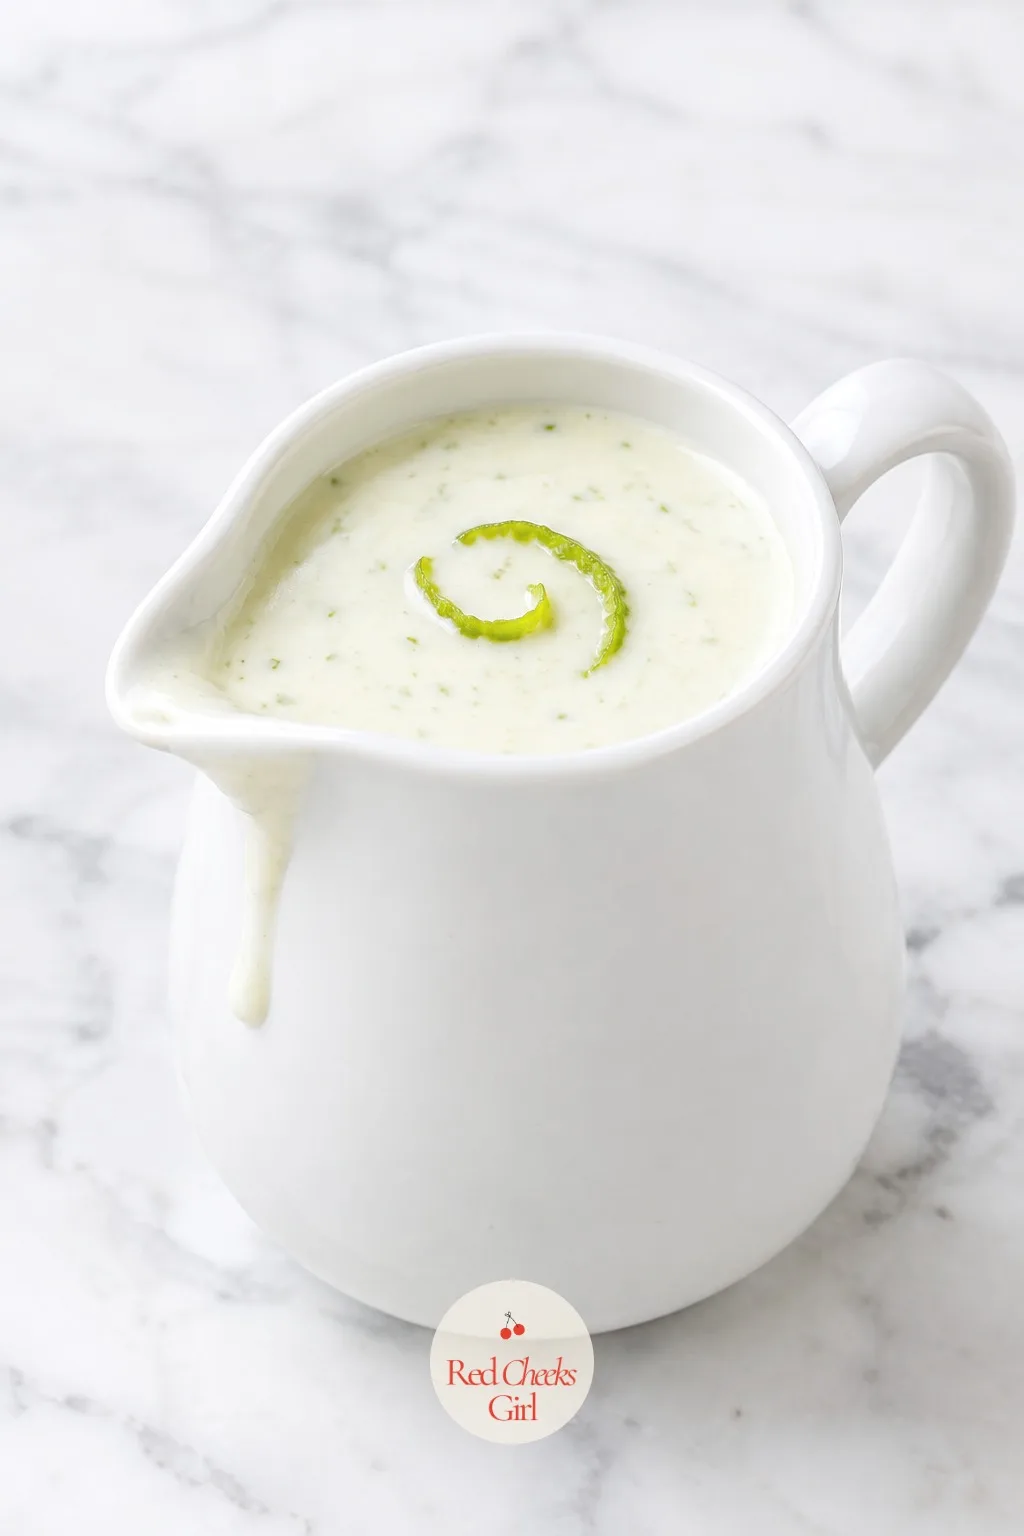
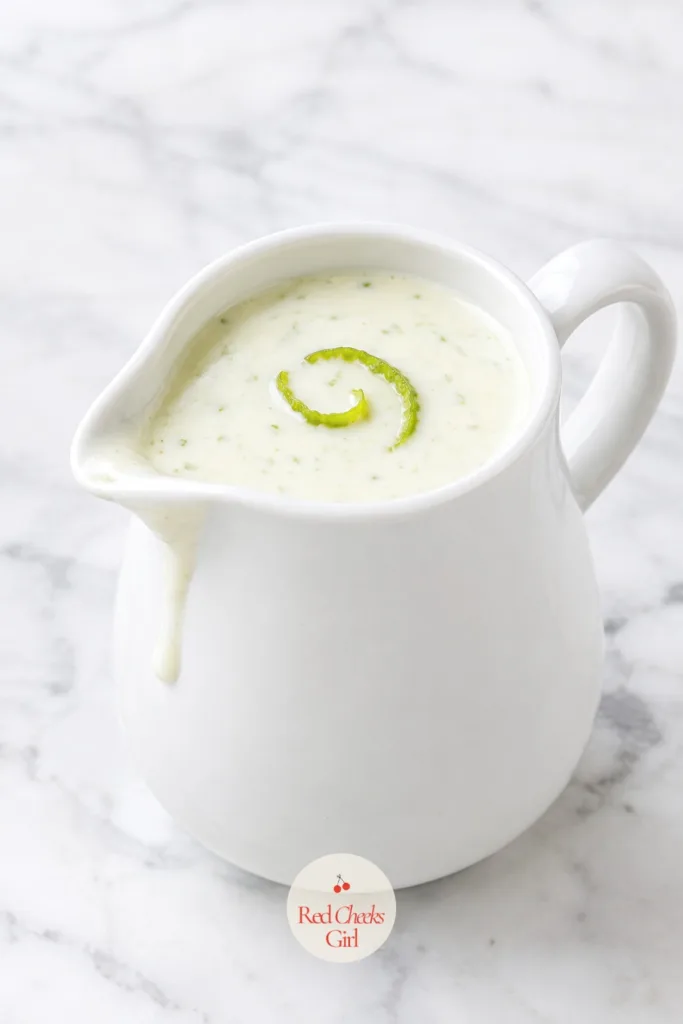
Plain sour cream sits heavy on a bowl of chili. Thin it with lime juice and a little milk and it turns into something you drizzle rather than dollop, which spreads further across twenty bowls and looks far more deliberate for almost no extra effort.
Keep it loose enough to run off a spoon in a thin ribbon. A squeeze bottle makes this genuinely effortless at the table, no spoon required and no drips down the side of the bowl.
Lime Crema
Ingredients
- 1 cup sour cream
- 2 tablespoons fresh lime juice
- 1 teaspoon lime zest
- 1/4 teaspoon kosher salt
- 1 to 2 tablespoons milk as needed to thin
Instructions
- Whisk the sour cream, lime juice, lime zest and salt together in a small bowl until smooth.
- Add the milk, a teaspoon at a time, until the crema is loose enough to drizzle from a spoon rather than plop.
- Cover and refrigerate for at least 15 minutes so the flavors settle.
- Spoon into a squeeze bottle or small pitcher for easy drizzling over bowls at the bar.
Good to Know
Mexican Street Corn Salad
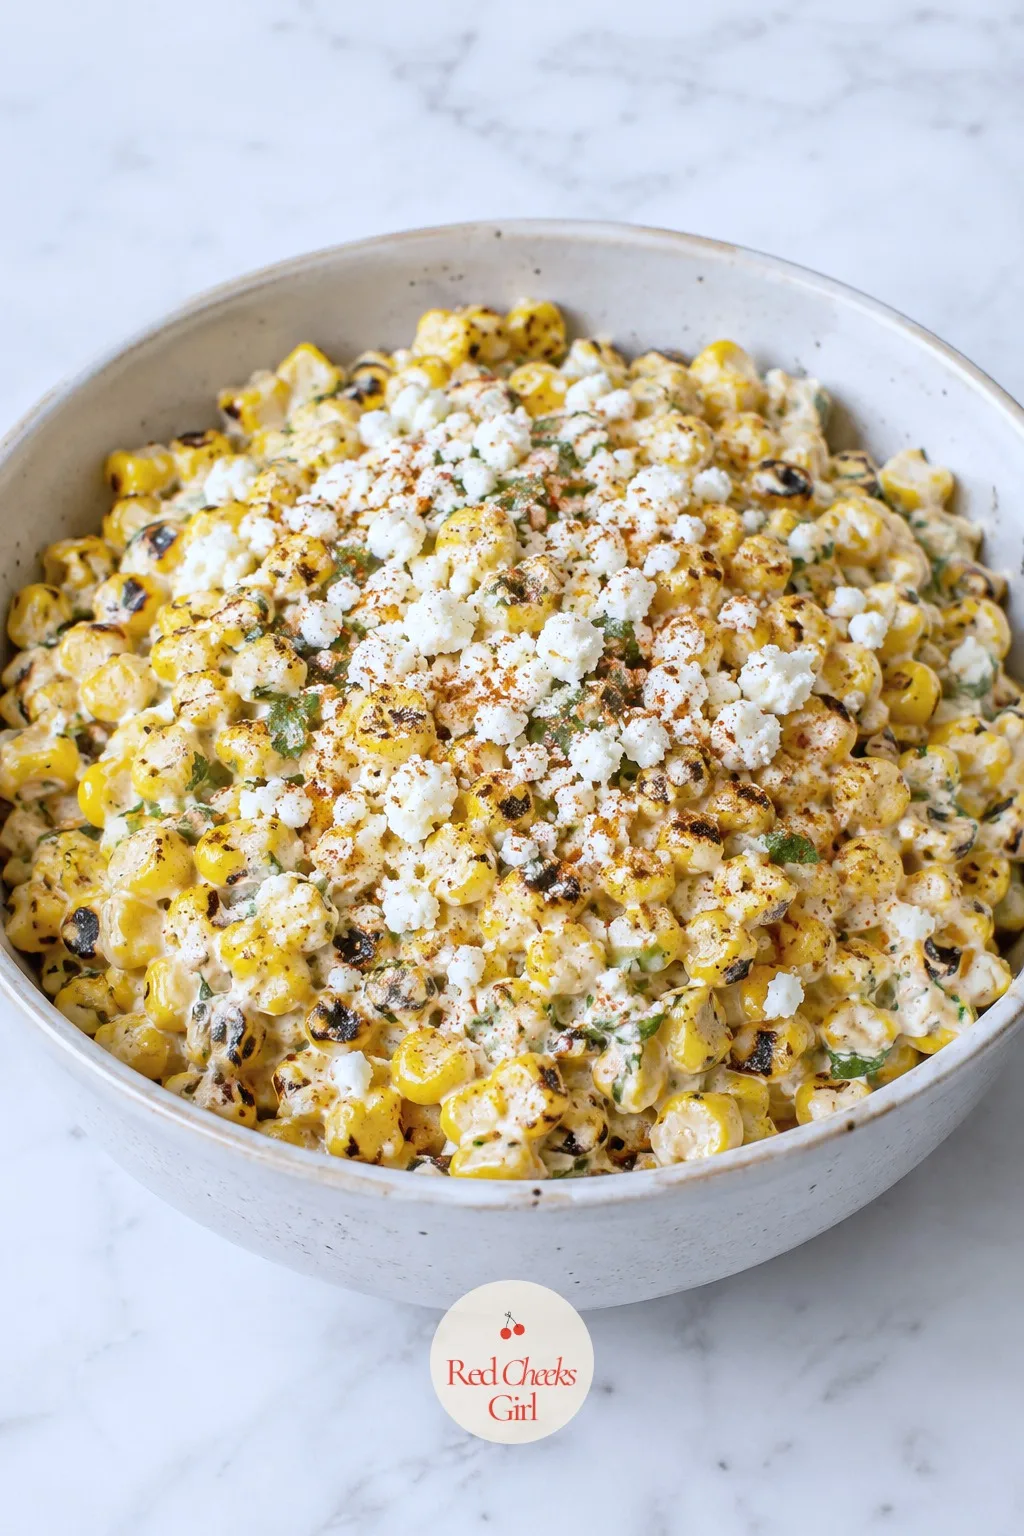
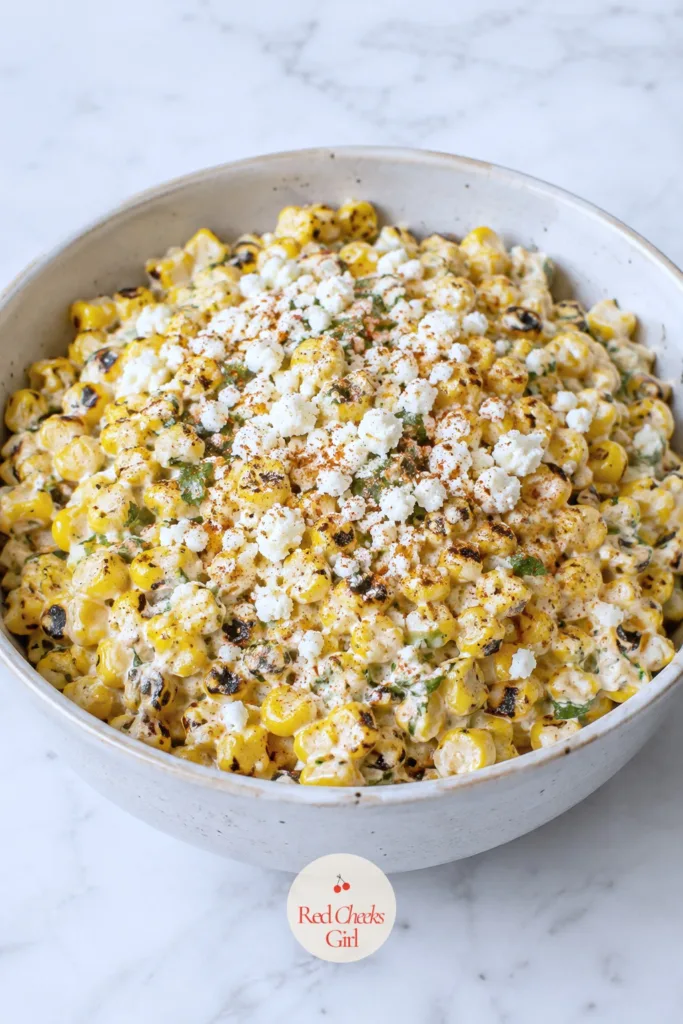
This is the side that gets asked about by name the next day. Charring the corn first, rather than just mixing it in raw, gives it a smoky backbone that holds its own against three different chilis instead of disappearing into the bowl.
Let the corn cool for a few minutes before adding the mayonnaise; stir it in too hot and the mayo breaks instead of coating. A final dusting of cotija right before serving keeps the top looking freshly made even an hour in.
Mexican Street Corn Salad
Ingredients
- 6 cups corn kernels fresh, frozen and thawed, or canned and drained
- 2 tablespoons butter
- 1/2 cup mayonnaise
- 1/2 cup crumbled cotija cheese plus more for topping
- 1 teaspoon chili powder plus more for topping
- 1/4 cup chopped fresh cilantro
- juice of 2 limes
- 1/2 teaspoon kosher salt
Instructions
- Melt the butter in a large skillet over medium-high heat and add the corn in a single layer.
- Cook the corn undisturbed for 3 to 4 minutes to let it char slightly on one side, then stir and cook another 3 to 4 minutes until lightly browned in spots.
- Transfer the hot corn to a large bowl and let cool for 5 minutes so it does not melt the mayonnaise.
- Stir in the mayonnaise, cotija, chili powder, cilantro, lime juice and salt until everything is evenly coated.
- Taste and adjust lime or salt, then transfer to a serving bowl.
- Finish with an extra dusting of cotija and chili powder just before setting it out.
Good to Know
Cilantro Lime Rice
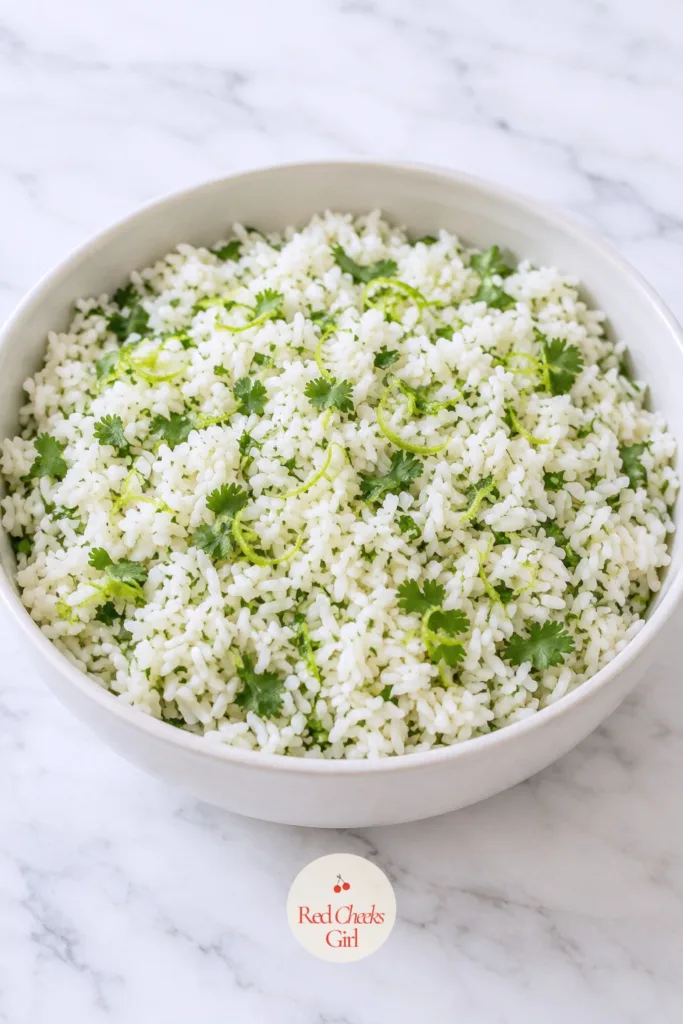
Chili on its own is dinner, but a scoop of rice underneath turns a bowl into something that actually stretches twenty servings further and gives the bean chili a reason to feel like a full plate rather than a side.
Rinse the rice before cooking; skip that step and the grains clump instead of staying separate. Fold the lime and cilantro in off the heat so the herb stays green and does not cook down to a dull color.

Cilantro Lime Rice
Ingredients
- 3 cups long-grain white rice rinsed
- 4 1/2 cups water
- 1 teaspoon kosher salt
- 2 tablespoons butter
- 1/2 cup chopped fresh cilantro
- juice of 3 limes
- zest of 1 lime
Instructions
- Combine the rinsed rice, water and salt in a large saucepan and bring to a boil over high heat.
- Stir once, cover, reduce the heat to low, and simmer for 18 to 20 minutes, until all the water is absorbed and small steam holes appear on the surface.
- Remove from the heat and let the rice rest, covered, for 5 minutes.
- Add the butter and fluff the rice gently with a fork until melted through.
- Fold in the cilantro, lime juice and lime zest.
- Transfer to a wide serving dish so the rice cools quickly and does not clump, then keep covered until serving.
Good to Know
Pickled Red Onions
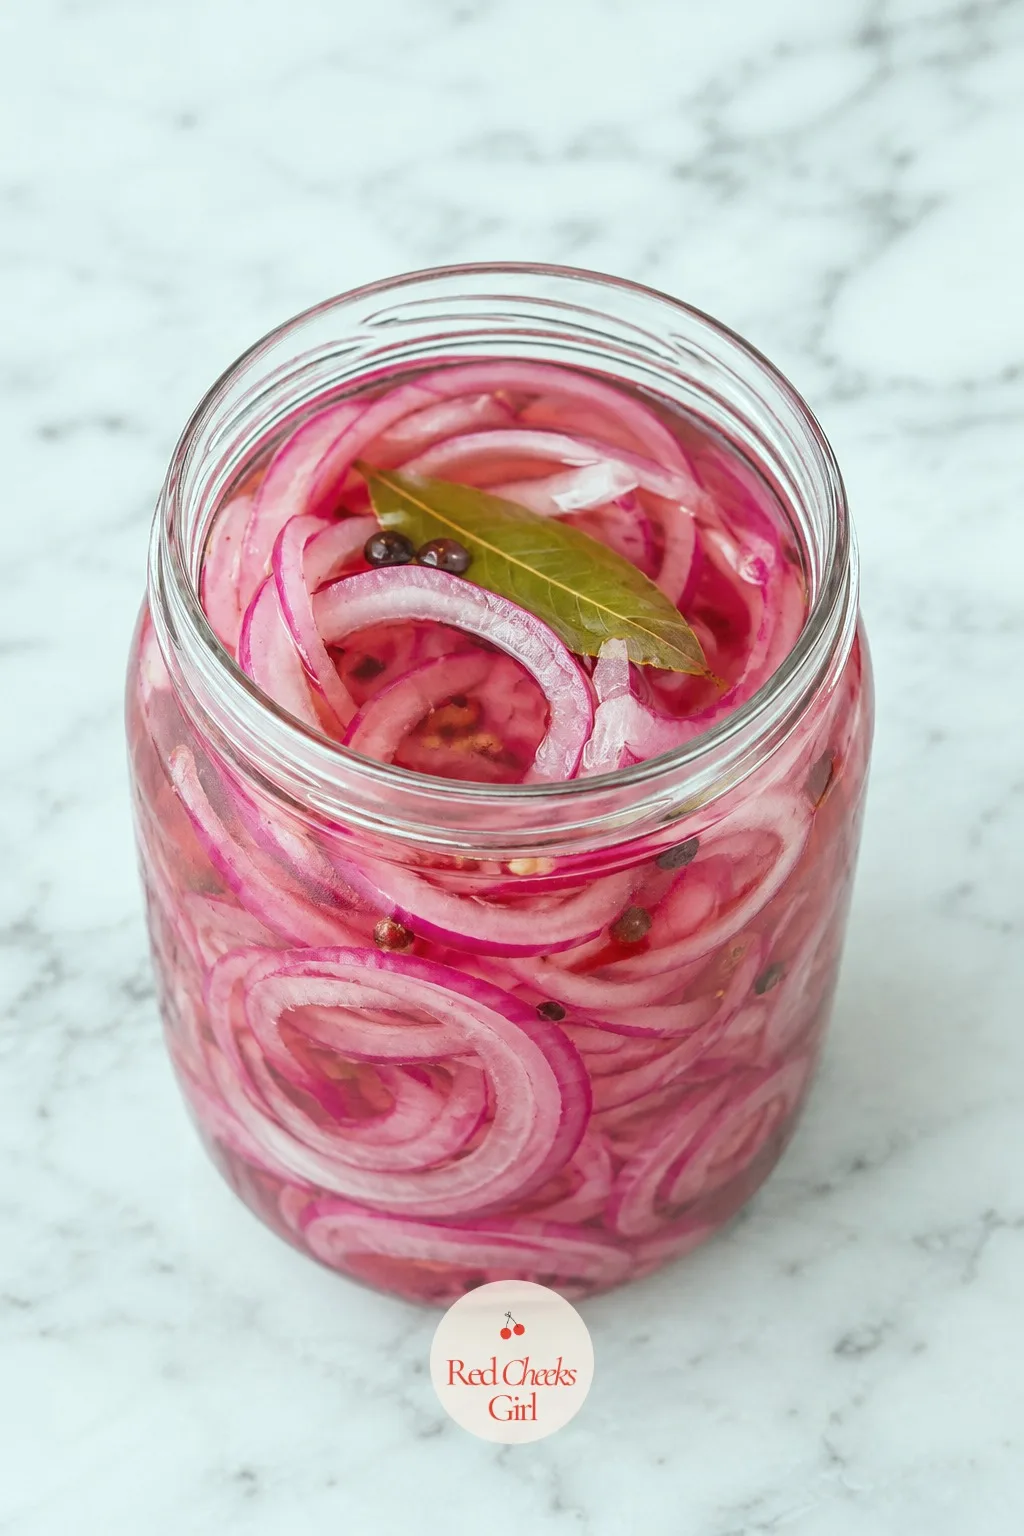
Raw red onion is sharp enough to take over a whole bowl. Fifteen minutes in a hot vinegar brine softens that bite and turns the onion a bright, almost unreasonable pink that makes every topping bar look more finished than it actually is.
These need real fridge time, so start them well before guests arrive. The color alone is doing half the decorating work here, no extra effort required beyond the jar.
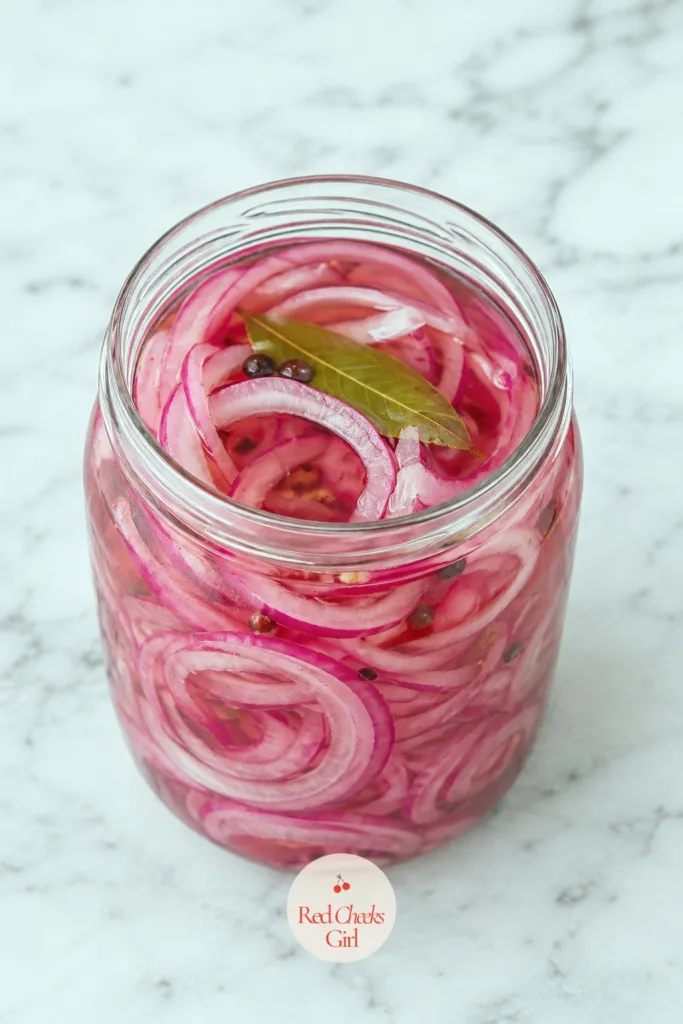
Pickled Red Onions
Ingredients
- 2 large red onions thinly sliced
- 1 cup red wine vinegar
- 1/2 cup water
- 2 tablespoons granulated sugar
- 1 1/2 teaspoons kosher salt
- 1 bay leaf
Instructions
- Pack the sliced red onions into a clean quart jar.
- Combine the vinegar, water, sugar, salt and bay leaf in a small saucepan and bring to a boil, stirring until the sugar dissolves.
- Pour the hot brine over the onions until fully covered.
- Let cool on the counter for 10 minutes, then seal and refrigerate for at least 30 minutes, until the onions turn bright pink and taste tangy rather than sharp.
- Lift out with a fork or slotted spoon for serving, keeping the jar chilled between refills.
Good to Know
Ranch Oyster Crackers
Saltines crumbled over chili are a tradition for a reason, but seasoned oyster crackers do the same softening job with more flavor and far less mess on the table. They crunch, then thicken the chili right where they land, exactly the way a good topping should.
Bake these low and slow rather than hot and fast; a quick blast in a hot oven browns the outside before the oil has a chance to soak all the way through, leaving the inside bland.
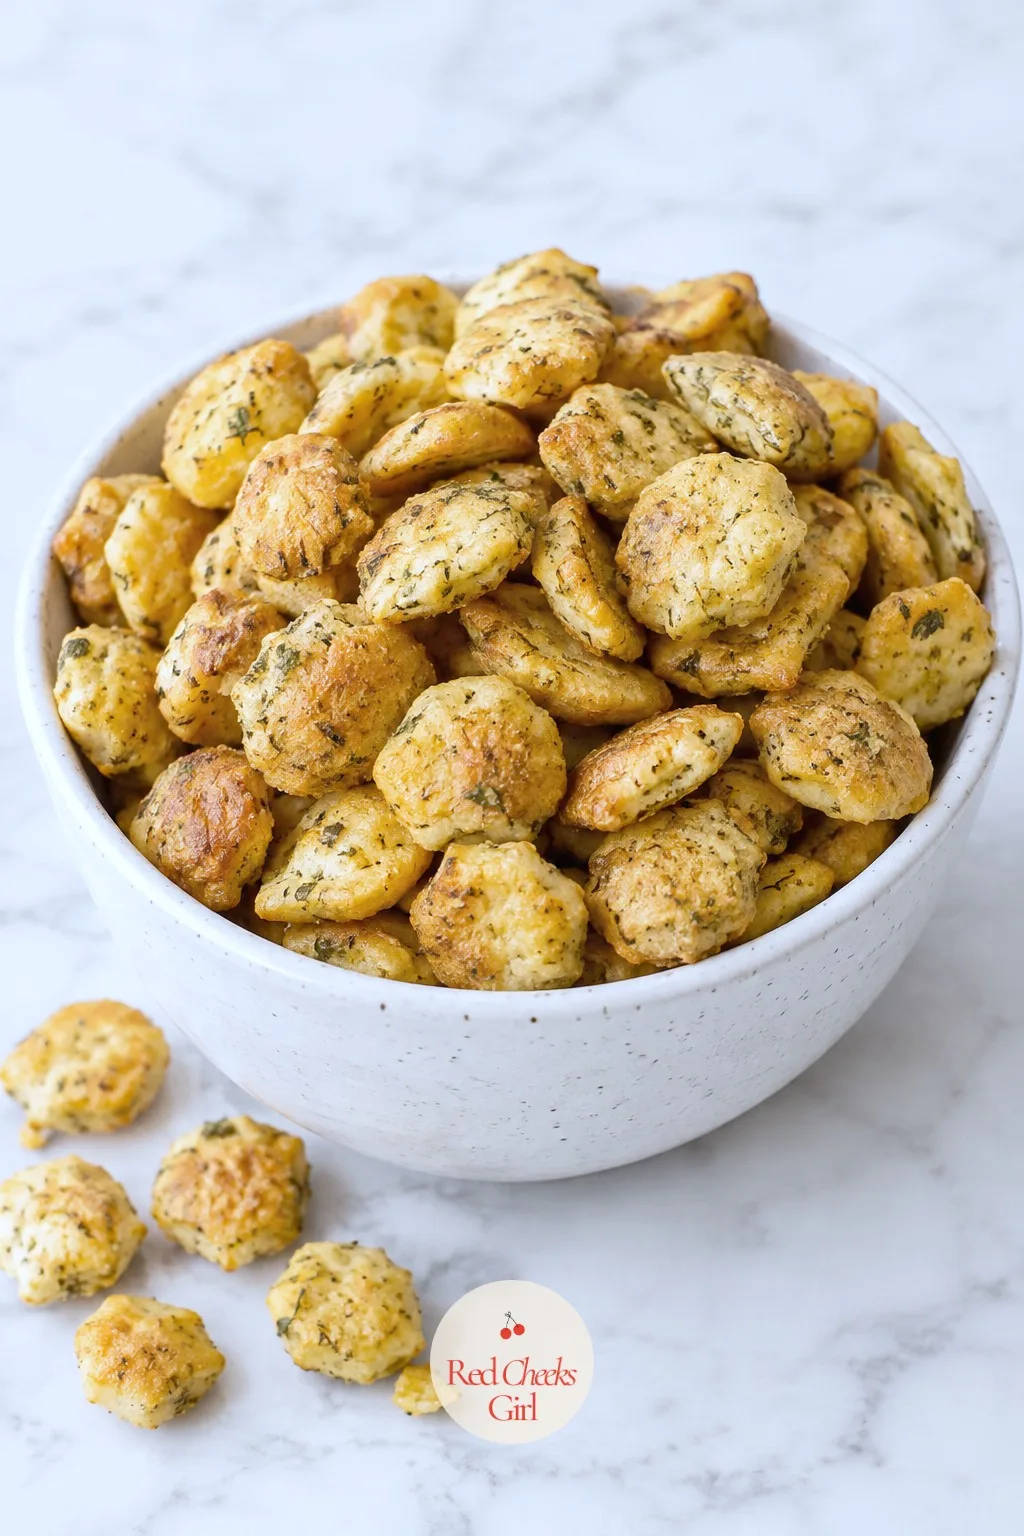
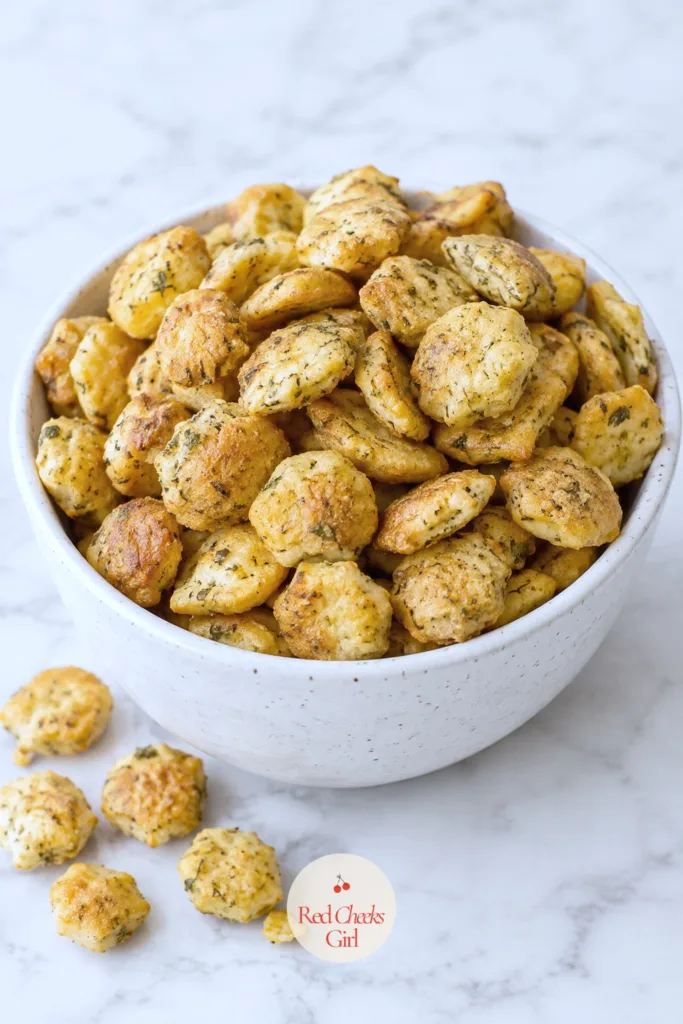
Ranch Oyster Crackers
Ingredients
- 2 10 ounce bags oyster crackers
- 3/4 cup vegetable oil
- 1 1 ounce packet ranch seasoning mix
- 1/2 teaspoon garlic powder
- 1/4 teaspoon cayenne pepper optional
Instructions
- Preheat the oven to 250 F and spread the oyster crackers in a single layer across a large rimmed baking sheet.
- Whisk the vegetable oil, ranch seasoning, garlic powder and cayenne together in a small bowl.
- Pour the oil mixture over the crackers and toss with a spatula until every cracker is lightly glossed.
- Bake for 20 minutes, stirring once halfway through, until the crackers smell toasted and feel dry rather than oily to the touch.
- Cool completely on the sheet, about 15 minutes, before pouring into a serving bowl; they crisp further as they cool.
Good to Know
Candied Bacon Crumble
This is the topping that turns a reasonable bowl of chili into a slightly indulgent one, and it costs almost nothing beyond a pound of bacon and a cup of pantry brown sugar. Baking it on a rack rather than straight on the sheet is what makes it crisp all the way around instead of soggy underneath.
Let it cool completely before crumbling; warm candied bacon bends instead of snapping, and you want that snap.
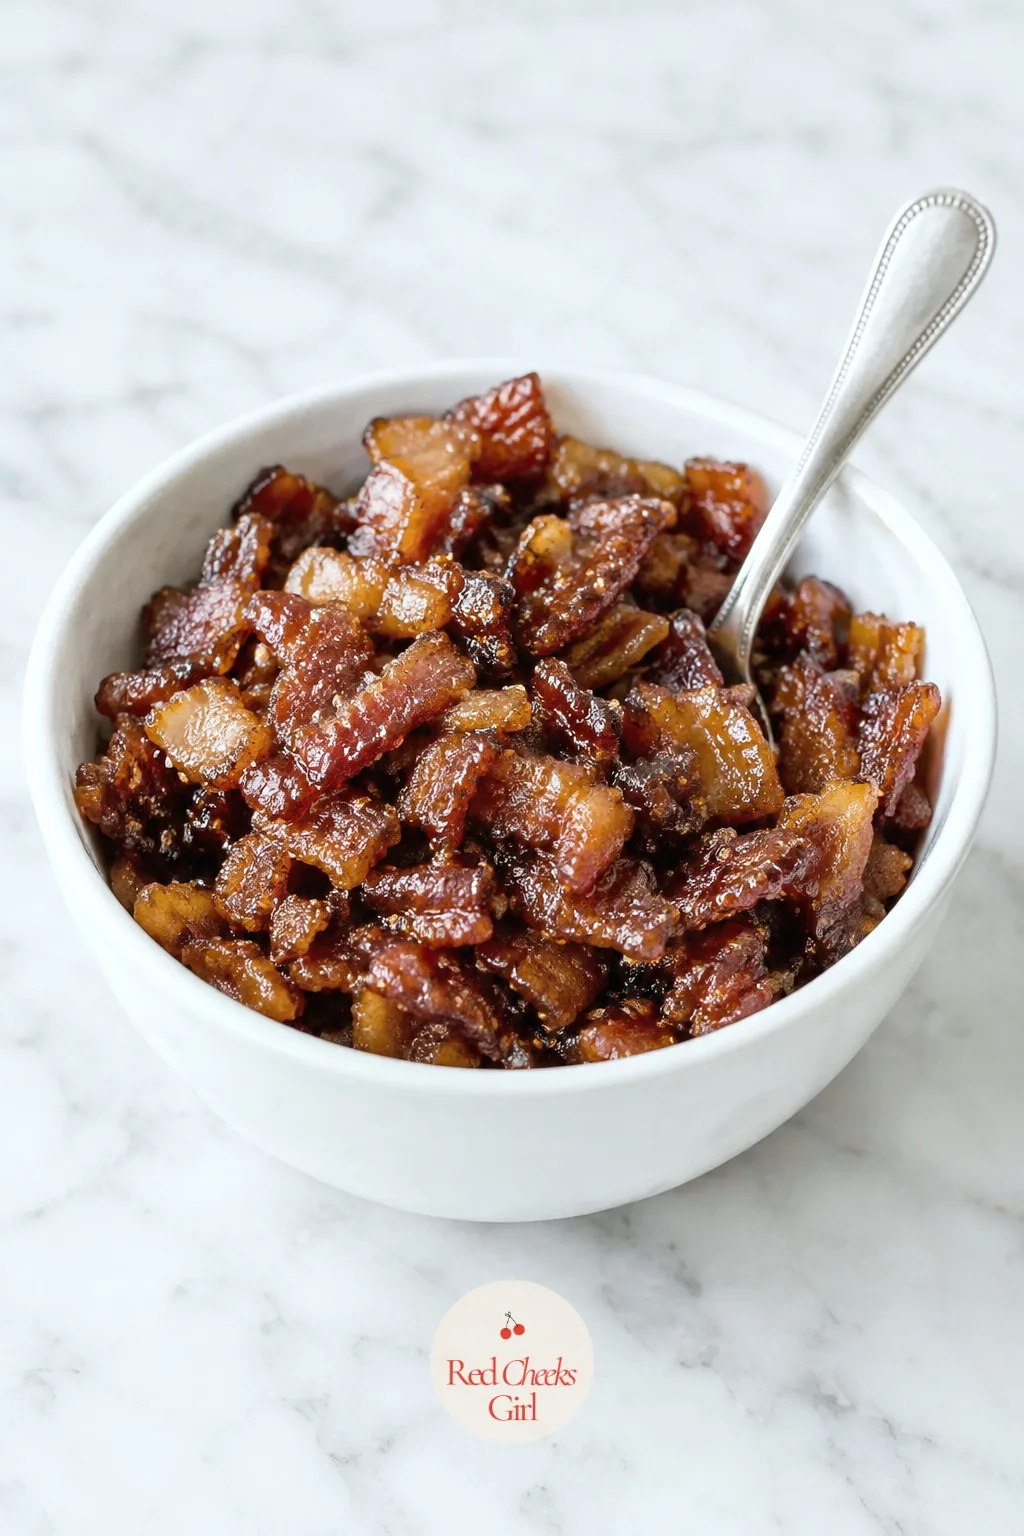
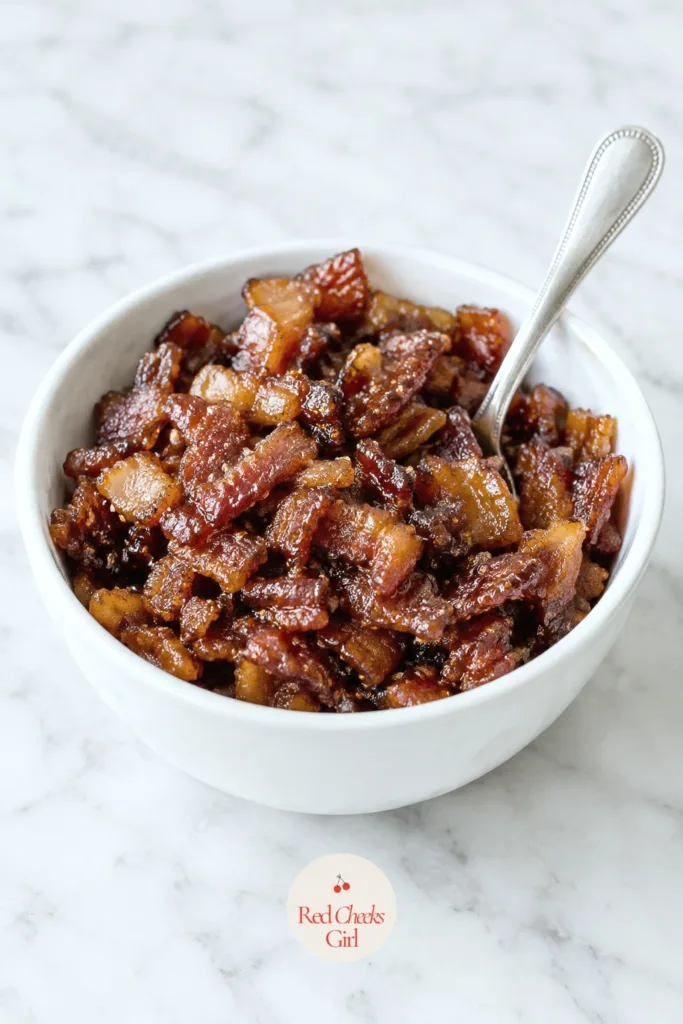
Candied Bacon Crumble
Ingredients
- 1 pound thick-cut bacon
- 1/3 cup packed brown sugar
- 1/2 teaspoon black pepper
- 1/4 teaspoon cayenne pepper optional
Instructions
- Preheat the oven to 400 F and line a rimmed baking sheet with foil, then set a wire rack on top.
- Arrange the bacon strips in a single layer on the rack.
- Mix the brown sugar, black pepper and cayenne in a small bowl, then press a thin layer onto the top side of each strip.
- Bake for 18 to 20 minutes, until the bacon is deep brown and the sugar has melted into a sticky glaze.
- Cool on the rack for 10 minutes; candied bacon firms up as it cools and turns brittle at the edges.
- Crumble or chop into small bits and transfer to a serving bowl with a small spoon.
Good to Know
Honey Butter
This has nothing to do with the chili itself and everything to do with the cornbread muffins sitting next to it. A small crock of honey butter turns a plain muffin into the thing people quietly go back for twice, after they have already said they are full.
Beat it until genuinely fluffy rather than just stirred together; that extra minute with a hand mixer is what makes it spreadable straight from the fridge instead of rock hard.
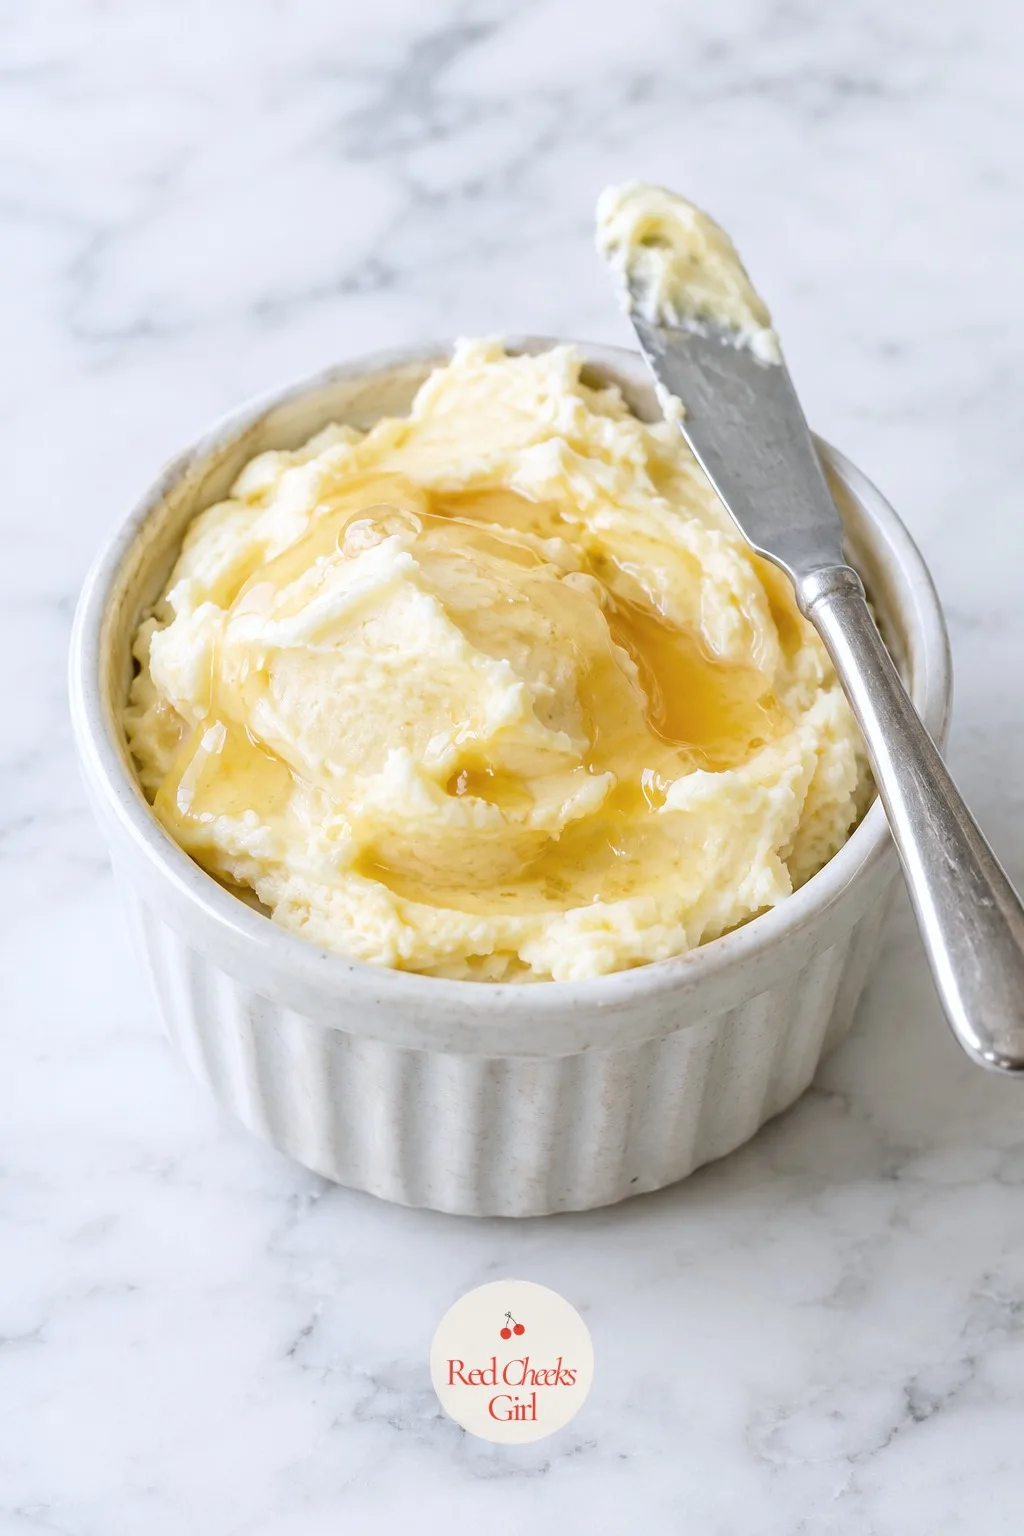
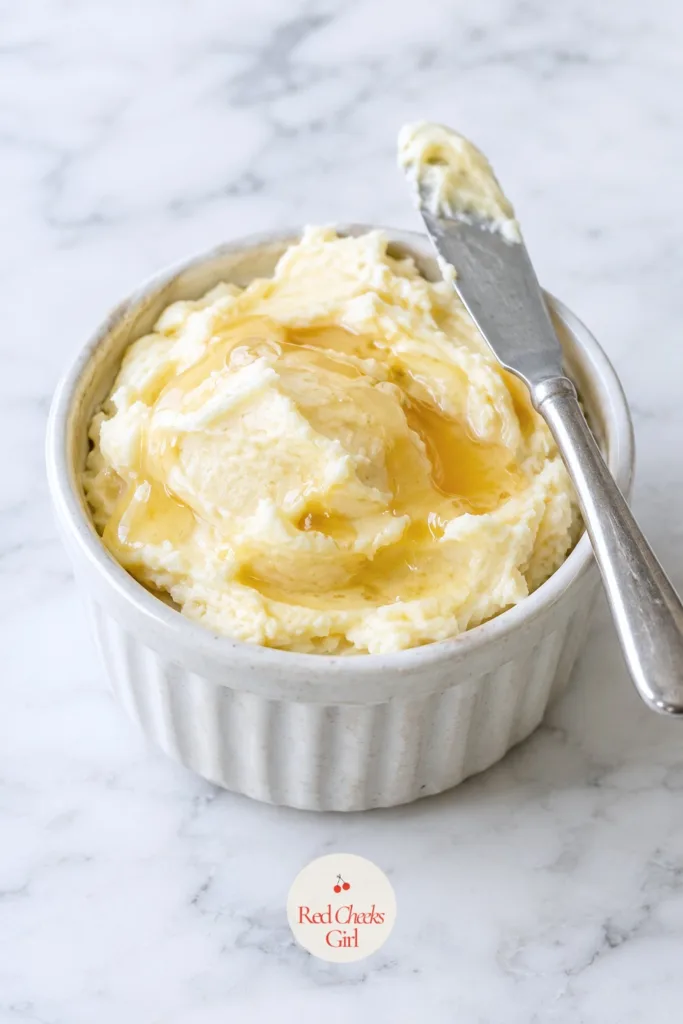
Honey Butter
Ingredients
- 1 cup unsalted butter softened
- 1/3 cup honey
- 1/4 teaspoon kosher salt
Instructions
- Beat the softened butter in a bowl with a hand mixer on medium speed for 1 minute until smooth and lightened in color.
- Drizzle in the honey and add the salt, then beat for another minute until fully combined and fluffy.
- Scrape into a small serving crock or ramekin.
- Chill for 10 minutes to firm slightly, or serve immediately at room temperature alongside the warm cornbread muffins.
Good to Know
Frequently Asked Questions
How much chili should I make for a crowd of twenty?
Plan on roughly 1 to 1.5 cups of chili per guest when it is the main course, split across the three pots so each slow cooker holds about 3 quarts.
How many toppings does a chili bar need?
Six to eight toppings covers most parties, but with three different chilis going closer to ten to twelve gives every pot a full range to pair with.
Can I make the chili and toppings ahead of time?
Yes, cook all three chilis a day or two ahead and reheat them in the slow cookers; make fresh toppings like pico de gallo and guacamole the morning of the party.
How do I keep three pots of chili warm during a long party?
Keep each slow cooker on its low or warm setting, stir every 30 minutes, and thin with a splash of broth if any pot thickens too much while sitting out.
Can you run a chili bar with only one chili instead of three?
Yes, one chili plus a full topping bar still works fine; three chilis simply cover more dietary preferences without much more hands-on work than making one large pot.
What sides go best with a chili bar?
Cornbread, rice and tortilla or corn chips are the classic starches that round out a bowl, alongside oyster crackers for guests who want extra crunch without extra spice.

So I used to wake up, chug coffee on an empty stomach, check my email immediately, and then wonder w

17 Halloween breakfast ideas that look spooky and taste great: ghost pancakes, monster toast, mummy
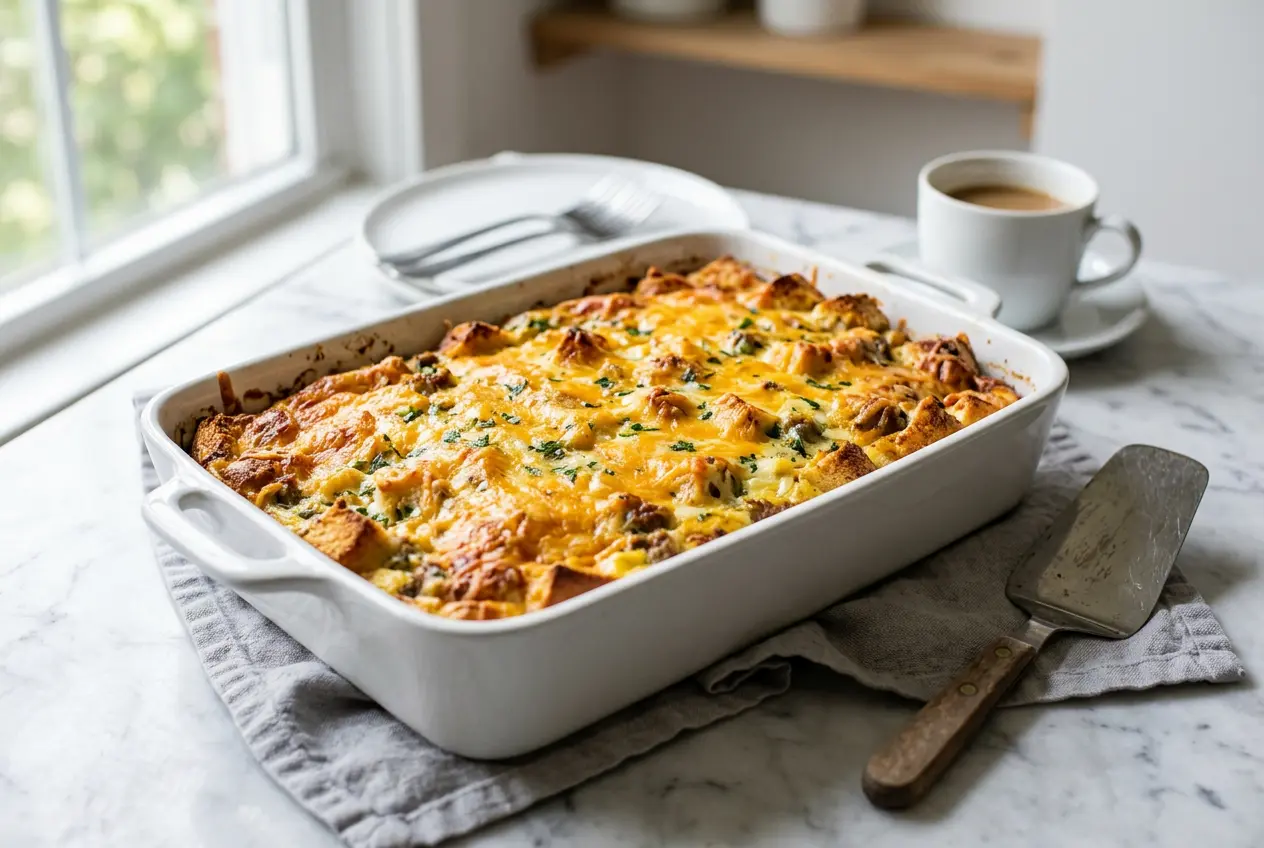
8 high protein breakfast casseroles for meal prep. Includes sweet and savory options, low calorie, q
Leave a Reply