

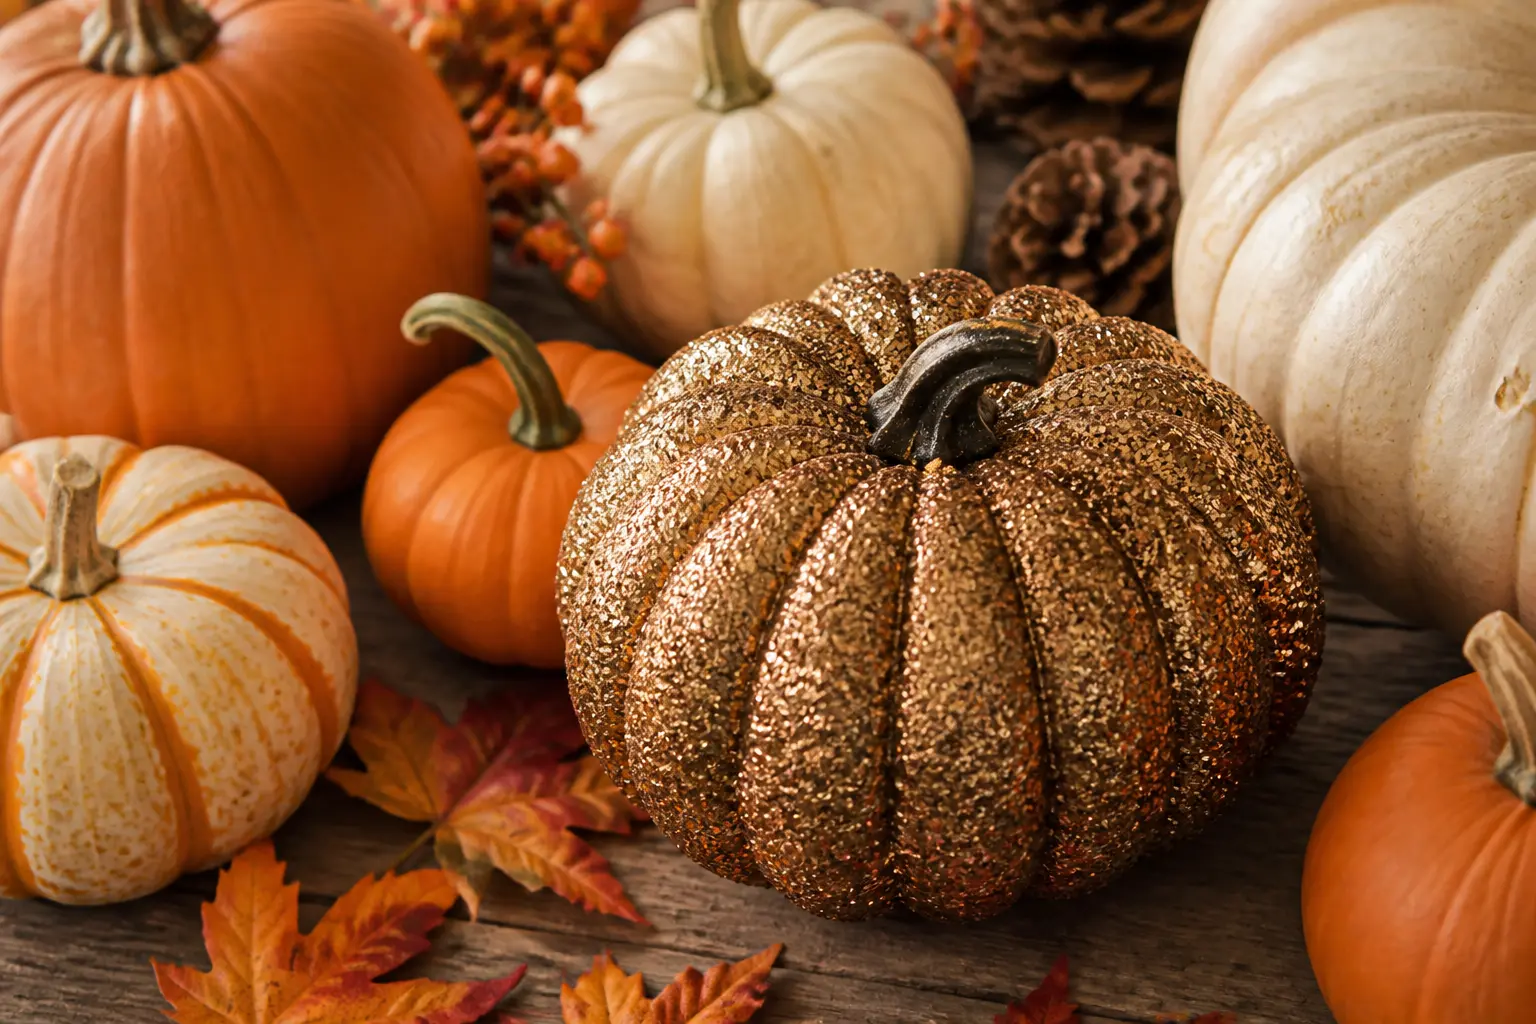
Glitter pumpkins have a reputation problem. The idea is beautiful, the execution turns into a crime scene, and the finished thing looks like it survived a craft-store explosion rather than a careful afternoon. That is the version nobody wants on her mantel.
Every design here is a finished object worth displaying, from a pumpkin covered stem to base in sealed gold to one with nothing more than a dusting of glitter pressed into the crevices. The last four entries cover the methods that keep glitter fixed in place, because a great design means nothing if it sheds on the tablecloth. For more ways to work pumpkins into your autumn decorating, 15 Pumpkin Crafts That Go Way Past a Basic Jack-o-Lantern and 30 Fall Home Decor Ideas That Move Through the Whole House are worth a look alongside this one.
Real pumpkins, foam pumpkins, or craft-store faux gourds all work with these designs. Paint first, seal always, and read the method entries before you start any of the others.
This post contains affiliate links. If you buy through them, I may earn a small commission at no extra cost to you.
Fully Covered Glitter Pumpkins
These are the pumpkins that stop a room. Every square centimetre of the surface carries glitter, which means the base coat colour does serious work: it fills any gap the glitter misses, so the finish reads as solid rather than patchy.
Prep matters more here than anywhere else. Two coats of paint, fully dry, before a single grain of glitter touches the surface.
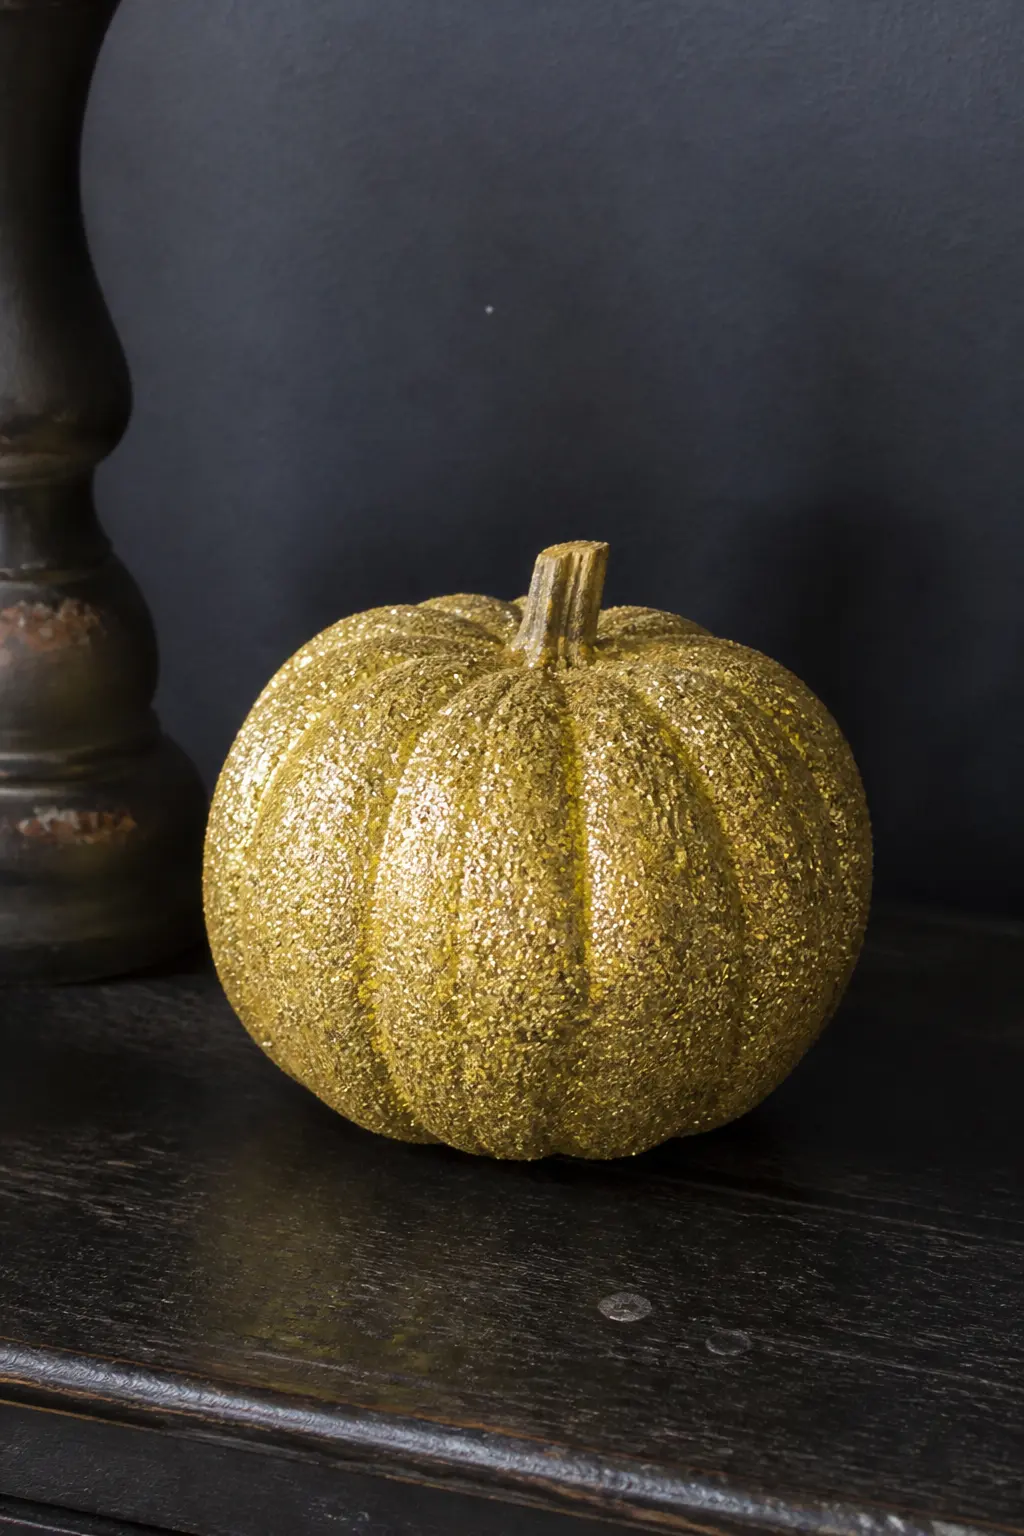
Gold Glitter Pumpkin Over a Black Base
Paint the pumpkin matte black and let it cure for a full day. The black base fills every gap between glitter grains, so the surface reads as a solid sheet of gold rather than a patchy dusting over orange.
Apply craft glue in sections, pour fine gold glitter generously, tap off the excess, and move to the next section before the first dries. Seal with a second coat of diluted glue or matte varnish once the whole surface is covered and dry.
🛍 Shopping guide
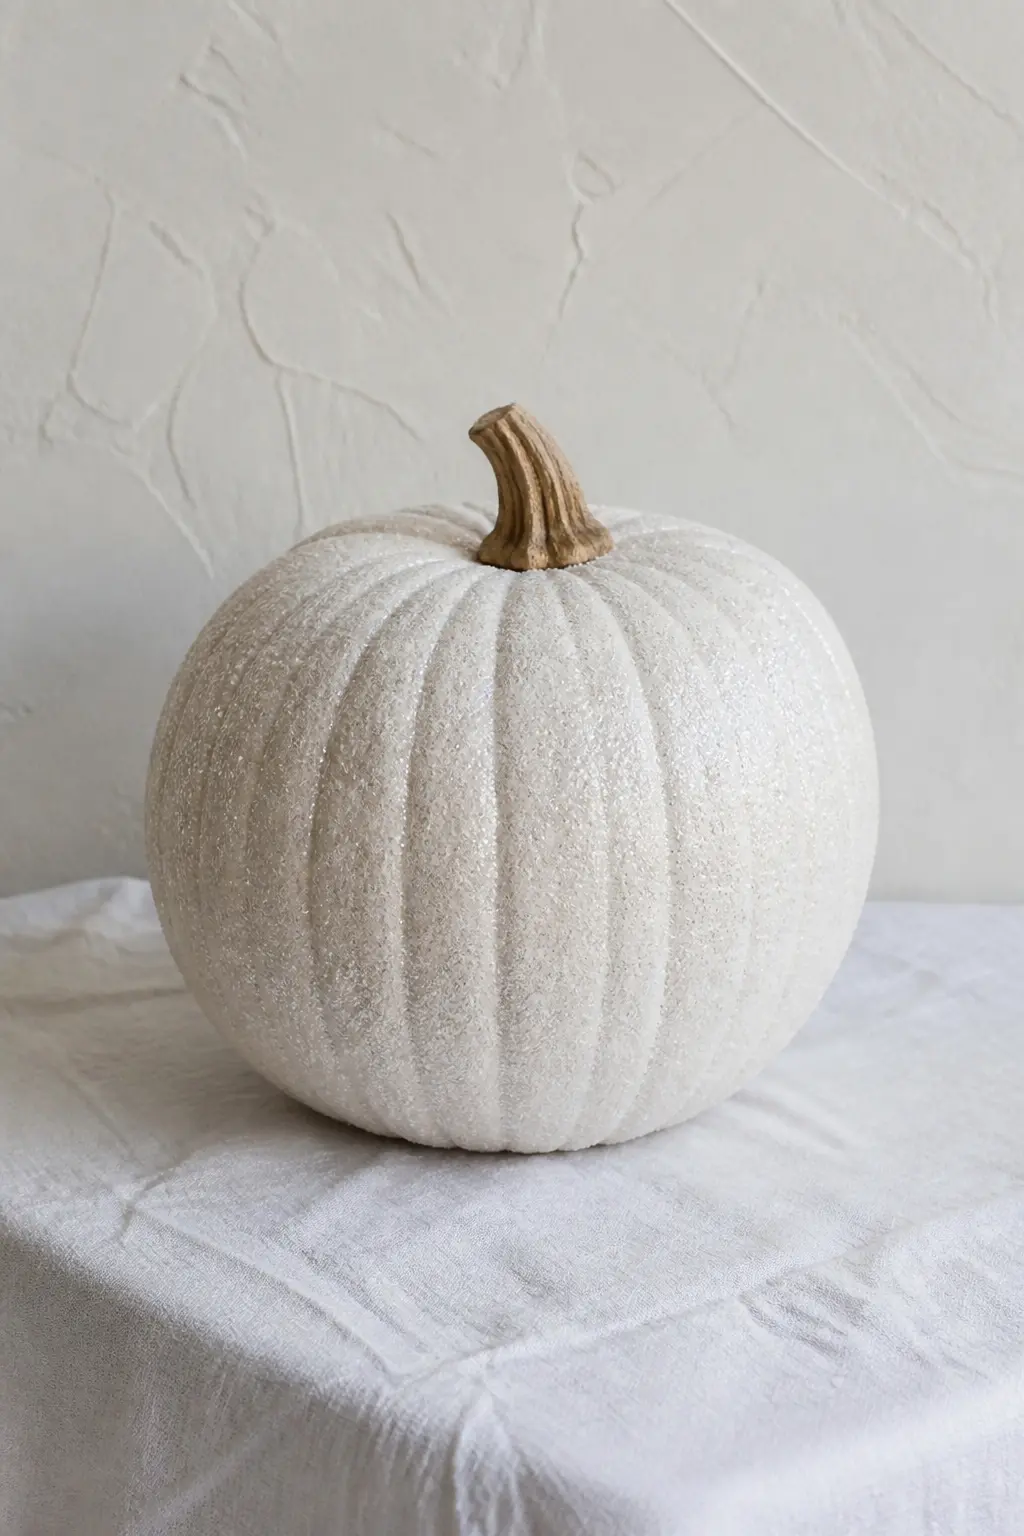
White Glitter Pumpkin on a White Base
Paint the pumpkin bright white, two coats. The white base under white glitter creates a snow-globe effect: the surface reads as softly luminous rather than shiny, and the stem in its natural tan colour gives the only contrast.
Ultra-fine white glitter works better here than chunky. Chunky reads as confetti. Ultra-fine reads as frost.
🛍 Shopping guide
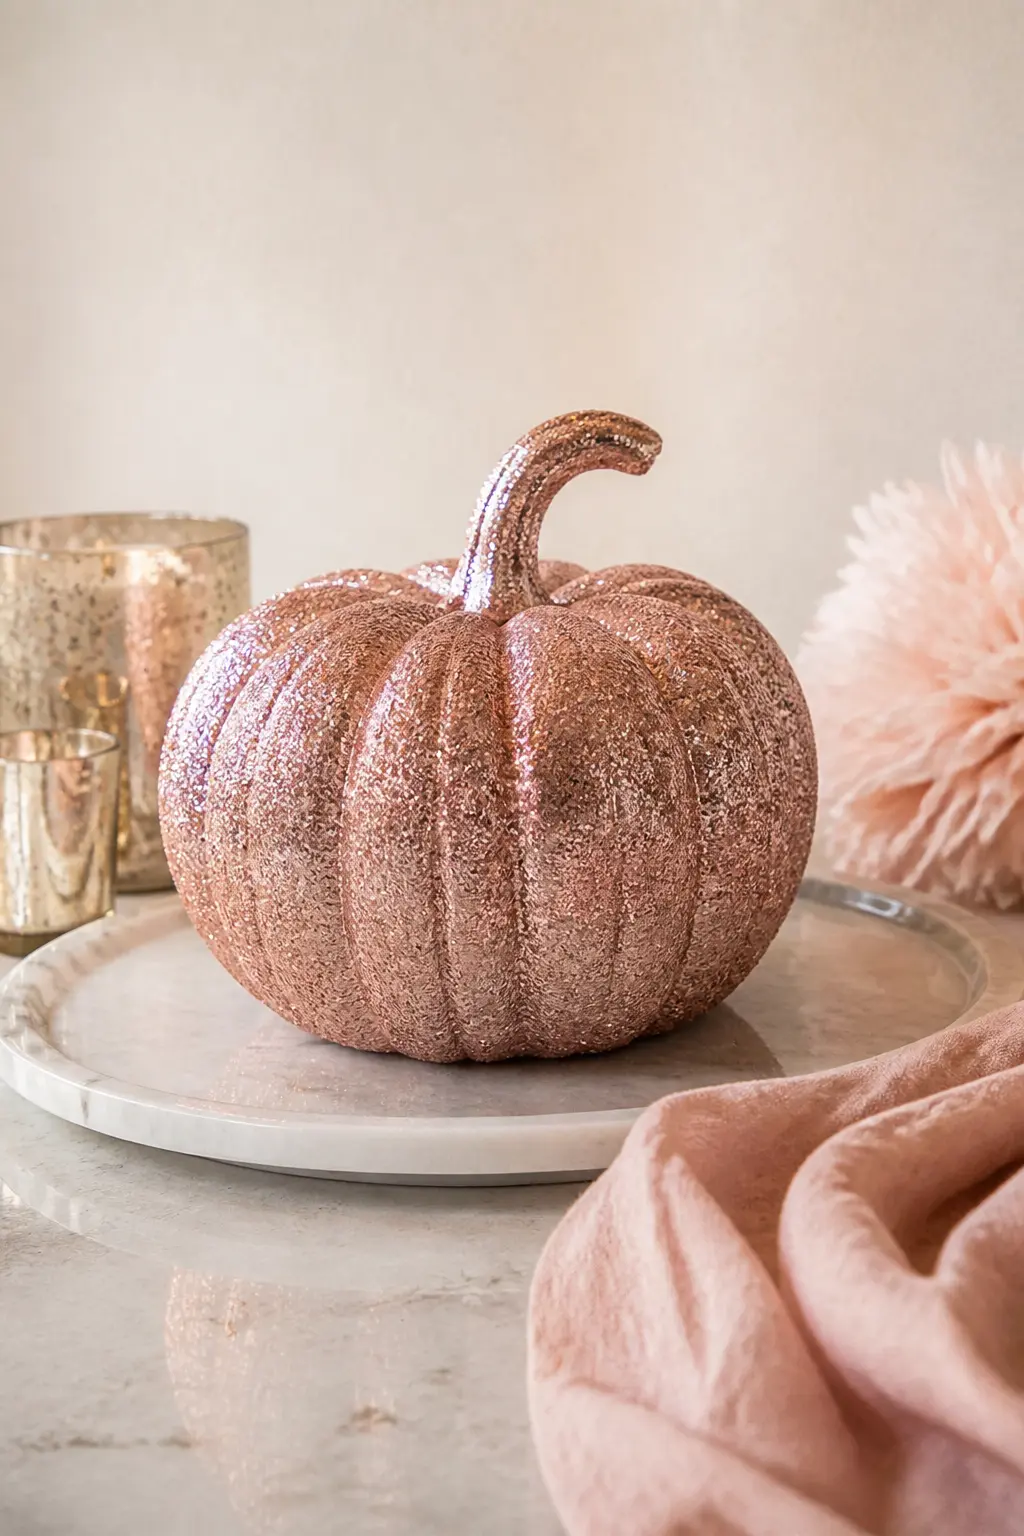
Rose Gold Glitter Pumpkin Over a Blush Base
Mix blush pink and a drop of white to get a soft base coat, then cover the whole surface with rose gold glitter while the final coat of glue is still tacky. The blush underneath warms any thin spots in the glitter layer, so the finish looks intentional rather than worn.
Rose gold glitter in fine grain reads more sophisticated than the chunky version. Save chunky for the accent designs.
🛍 Shopping guide
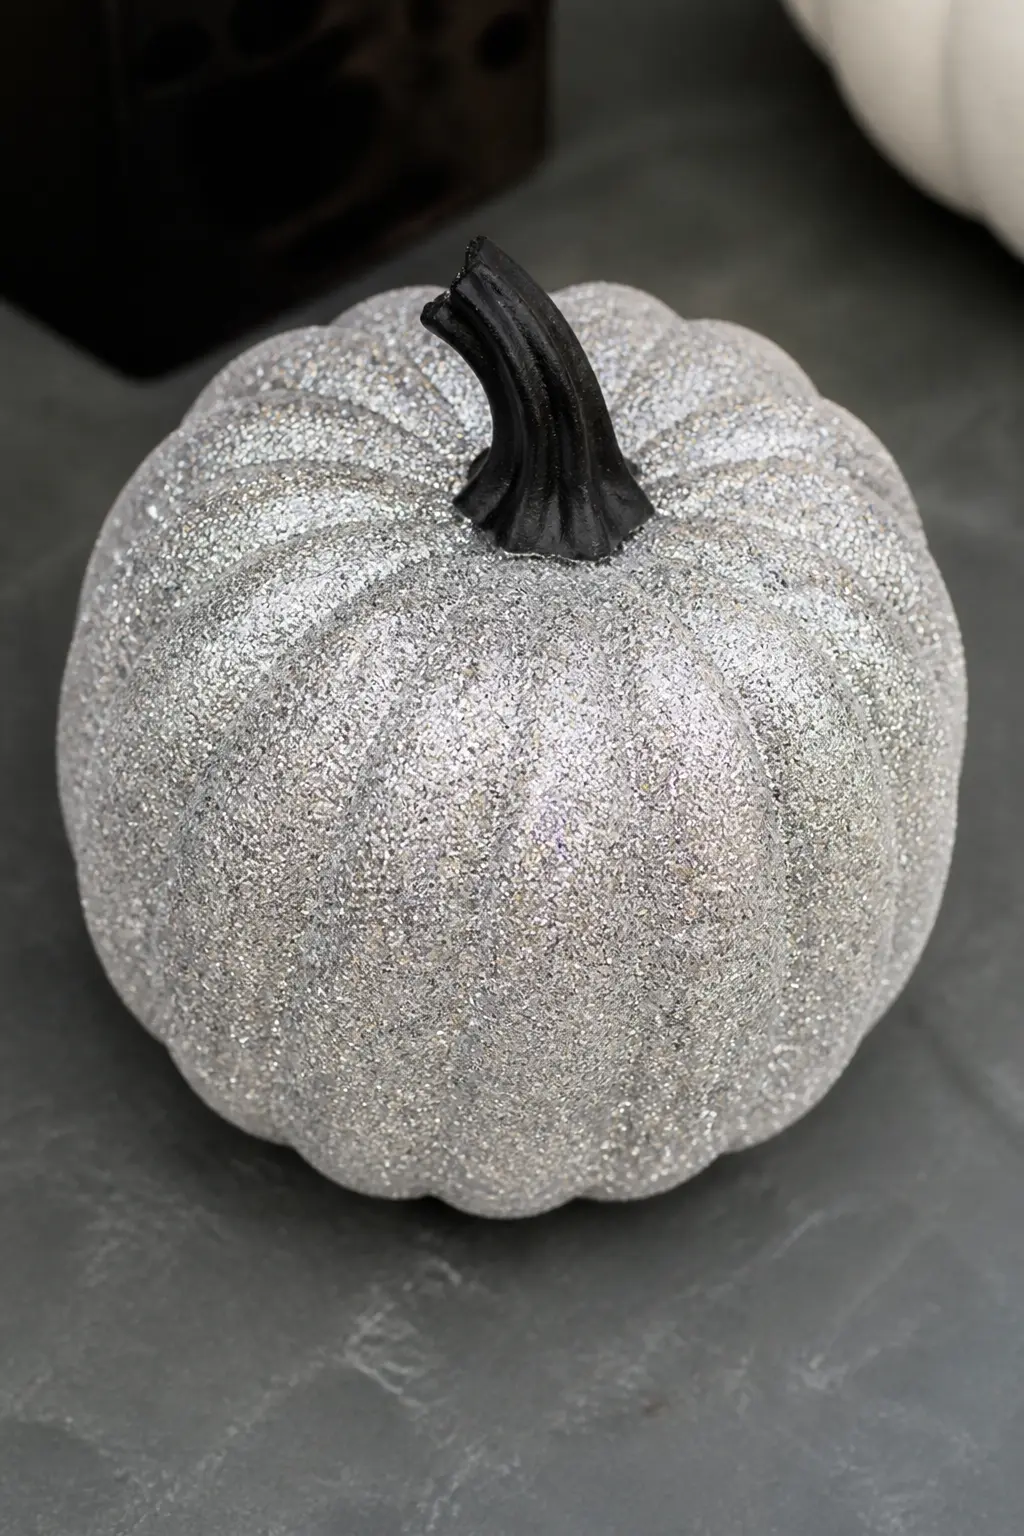
Silver Glitter Pumpkin With a Black Painted Stem
Paint the stem matte black and the body of the pumpkin a mid-grey before applying fine silver glitter over the body only. The painted black stem gives the finished piece a graphic, modern quality that keeps it from reading as Halloween kitsch.
Tape the base of the stem before you start on the body so the glitter line stays clean where the two sections meet.
🛍 Shopping guide
Partial Glitter and Dipped Designs
Restraint is underrated. Covering only half the pumpkin, or only the ridges, makes the glitter look deliberate rather than accidental, and it uses far less of the stuff. The contrast between the matte painted surface and the glittered section is the whole point.
Tape, a steady hand, and a fine brush give you clean lines. Work in sections and let each one dry before moving to the next.
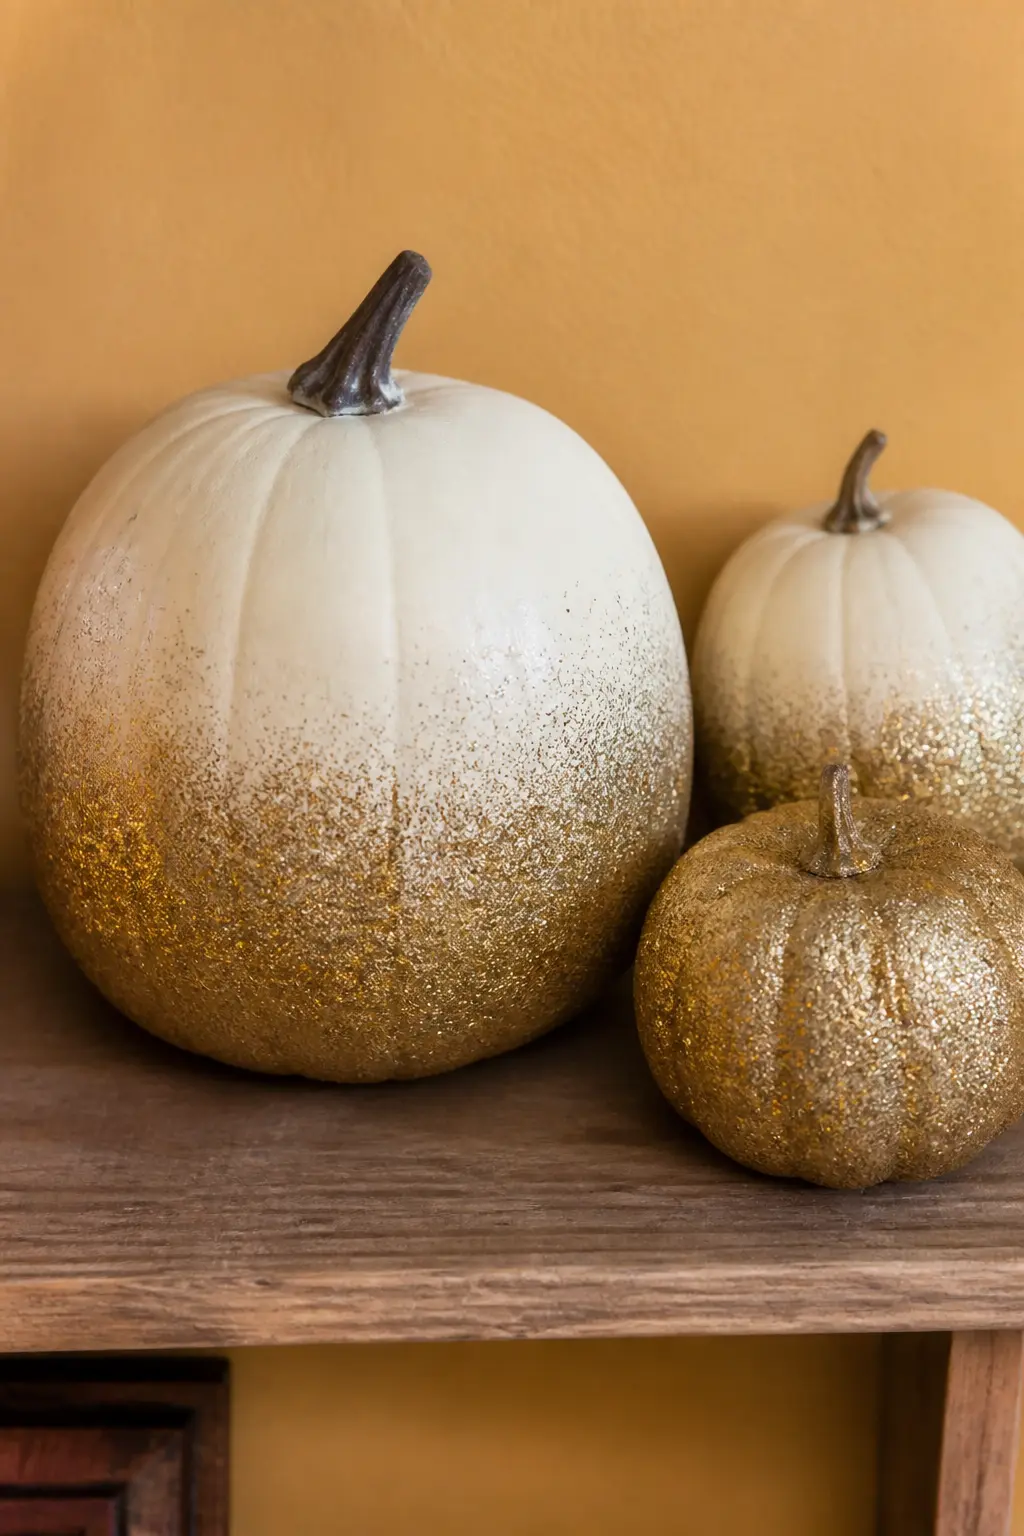
Gold Glitter Gradient From Base to Bare Top
Paint the pumpkin cream or pale gold, then apply glue most heavily at the very base, fading to a dry brush higher up and nothing at all at the top. Pour gold glitter over the whole thing and tap off the excess: the glitter sticks only where the glue is, which creates a natural gradient.
The bare top section shows the painted base and reads as a deliberate ombre, not as a spot you missed.
🛍 Shopping guide
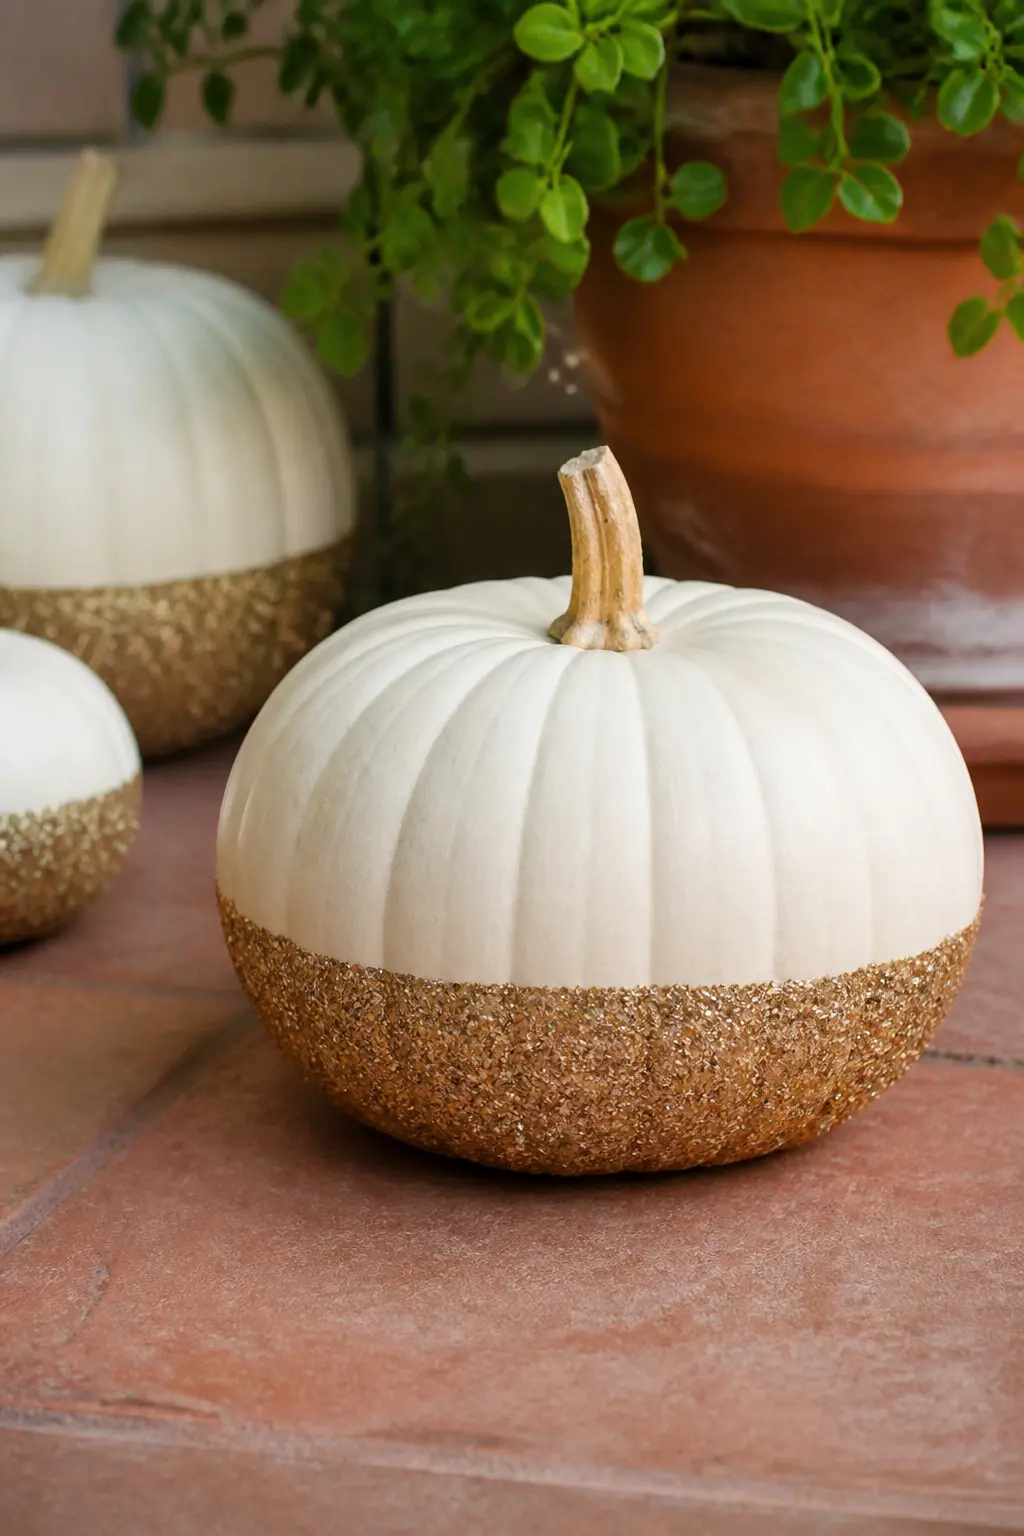
Cream Pumpkin Dipped in Gold Glitter on the Bottom Half
Paint the whole pumpkin cream. Draw a freehand line around the middle with a chalk pencil, brush glue below that line only, then set the pumpkin base-down in a tray of gold glitter and press gently. The dipped look reads as clean and purposeful when the line sits at or slightly below the equator of the pumpkin.
A chalk pencil line wipes off any area the glitter does not reach.
🛍 Shopping guide
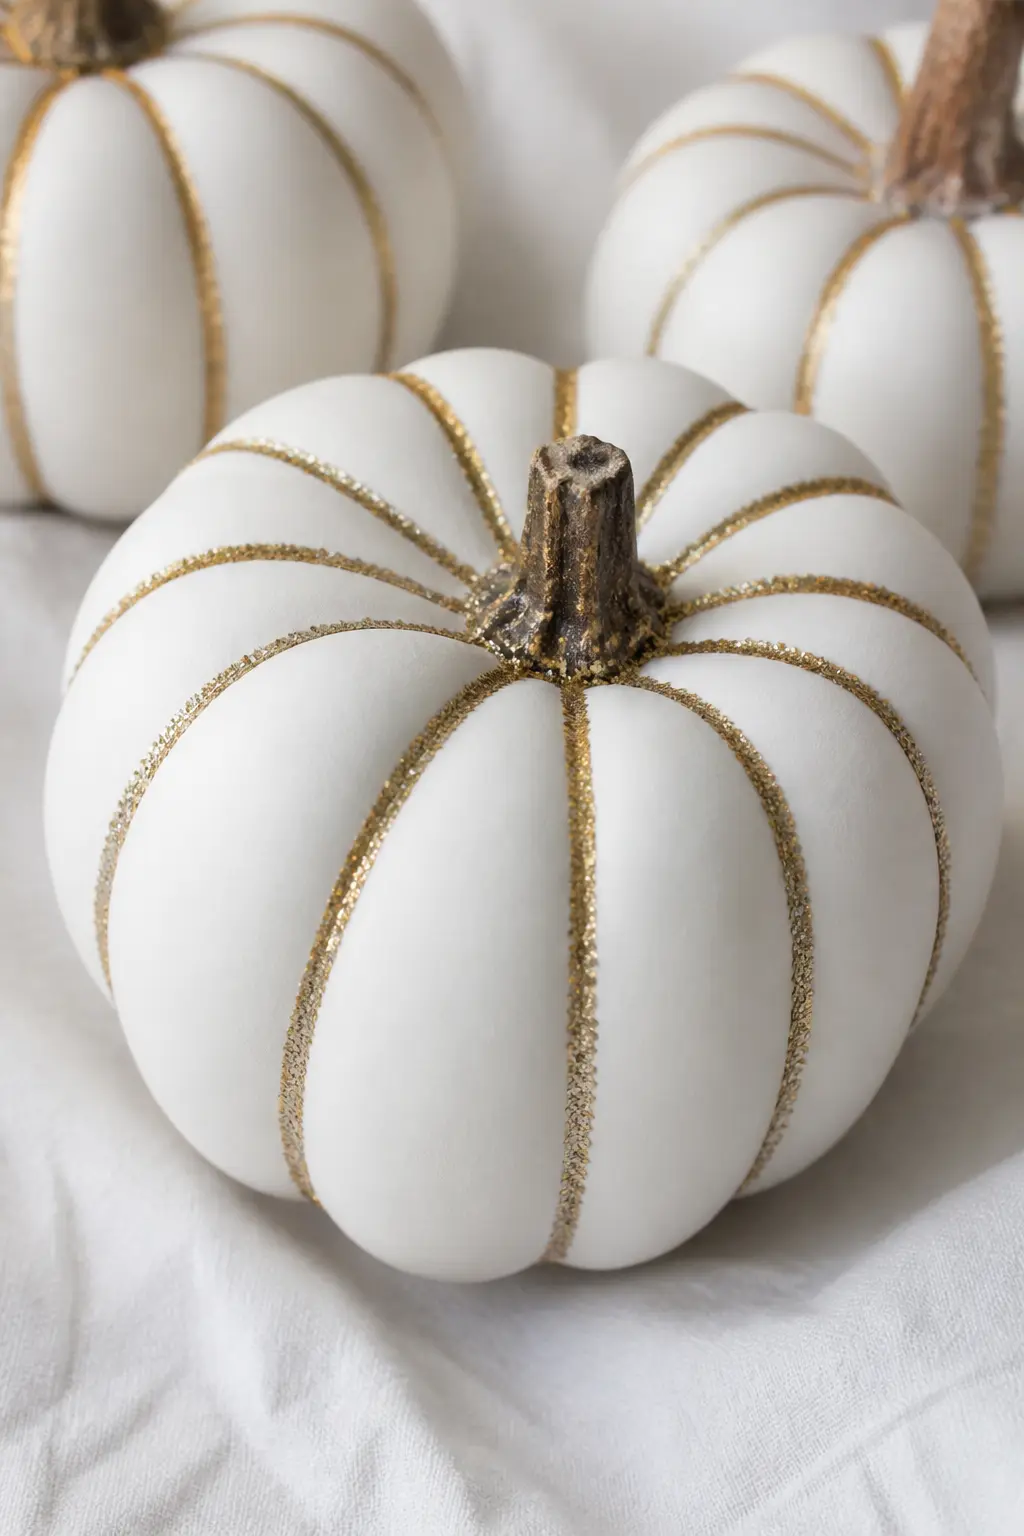
White Pumpkin With Glitter Only on the Ridges
Paint the pumpkin matte white. Use a fine brush to apply craft glue only along the raised ridges, then dust with fine gold or silver glitter and tap off the excess. The matte valleys between the ridges stay bare, which makes the shape of the pumpkin itself part of the design.
A fine detail brush gives more control than a foam brush here. Work one ridge at a time and let each one dry before turning the pumpkin.
🛍 Shopping guide
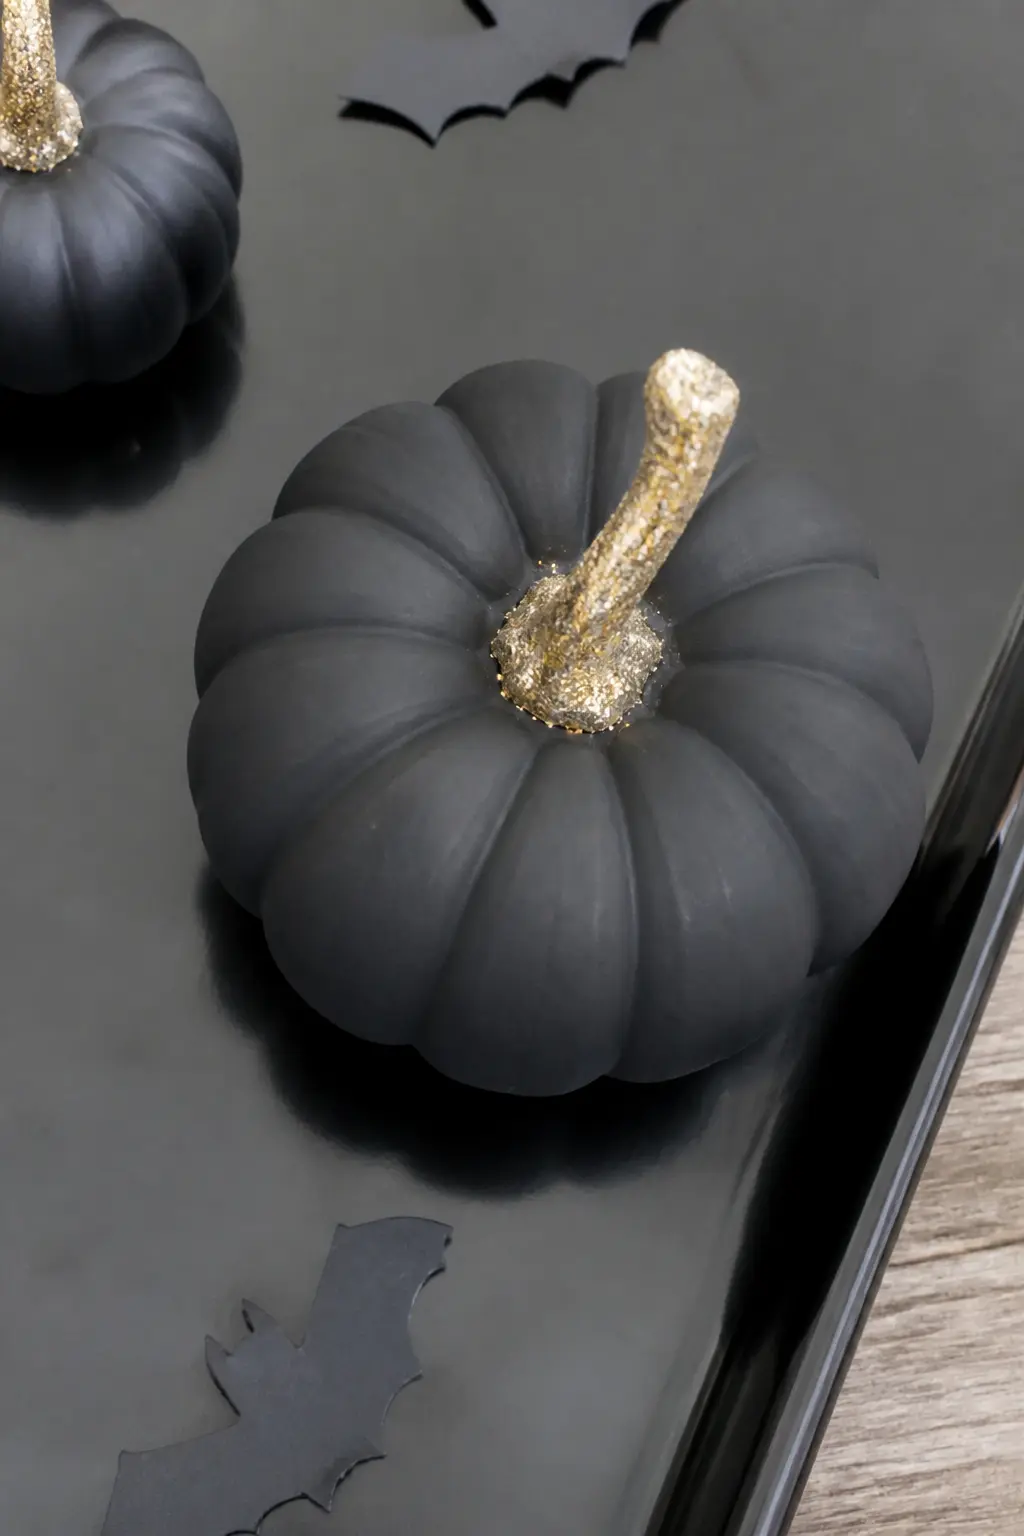
Black Pumpkin With Only the Stem in Gold Glitter
Paint the entire pumpkin matte black including the stem, let it dry fully, then brush glue on the stem only and coat it in fine gold glitter. The result is stark and graphic: a dark body with one bright architectural detail at the top.
Tape the base of the stem before you glitter so the transition line stays sharp. A real stem with its natural ridges and curves catches the glitter beautifully.
Graphic and Pattern Designs
These pumpkins use glitter the way a painter uses a highlight: to pick out a shape, not to flood the whole surface. Polka dots, stripes, checkerboards, and geometric lines all read clearly against a contrasting matte base.
Painter’s tape is your best tool here. Press the edges down firmly, apply the glue and glitter, let it set completely, then pull the tape slowly at a low angle. Rushing that last step is where crisp lines turn ragged.
White Pumpkin With One Glittered Section Like a Slice
Paint the pumpkin white. Use painter’s tape to mask off all but one natural section of the pumpkin, defined by two adjacent ridges, then fill that single section with gold glitter glue. When the tape comes off, one segment of the pumpkin sparkles while the rest stays matte white.
The natural segmented shape of the pumpkin does the geometric work. You are just filling one of those segments.
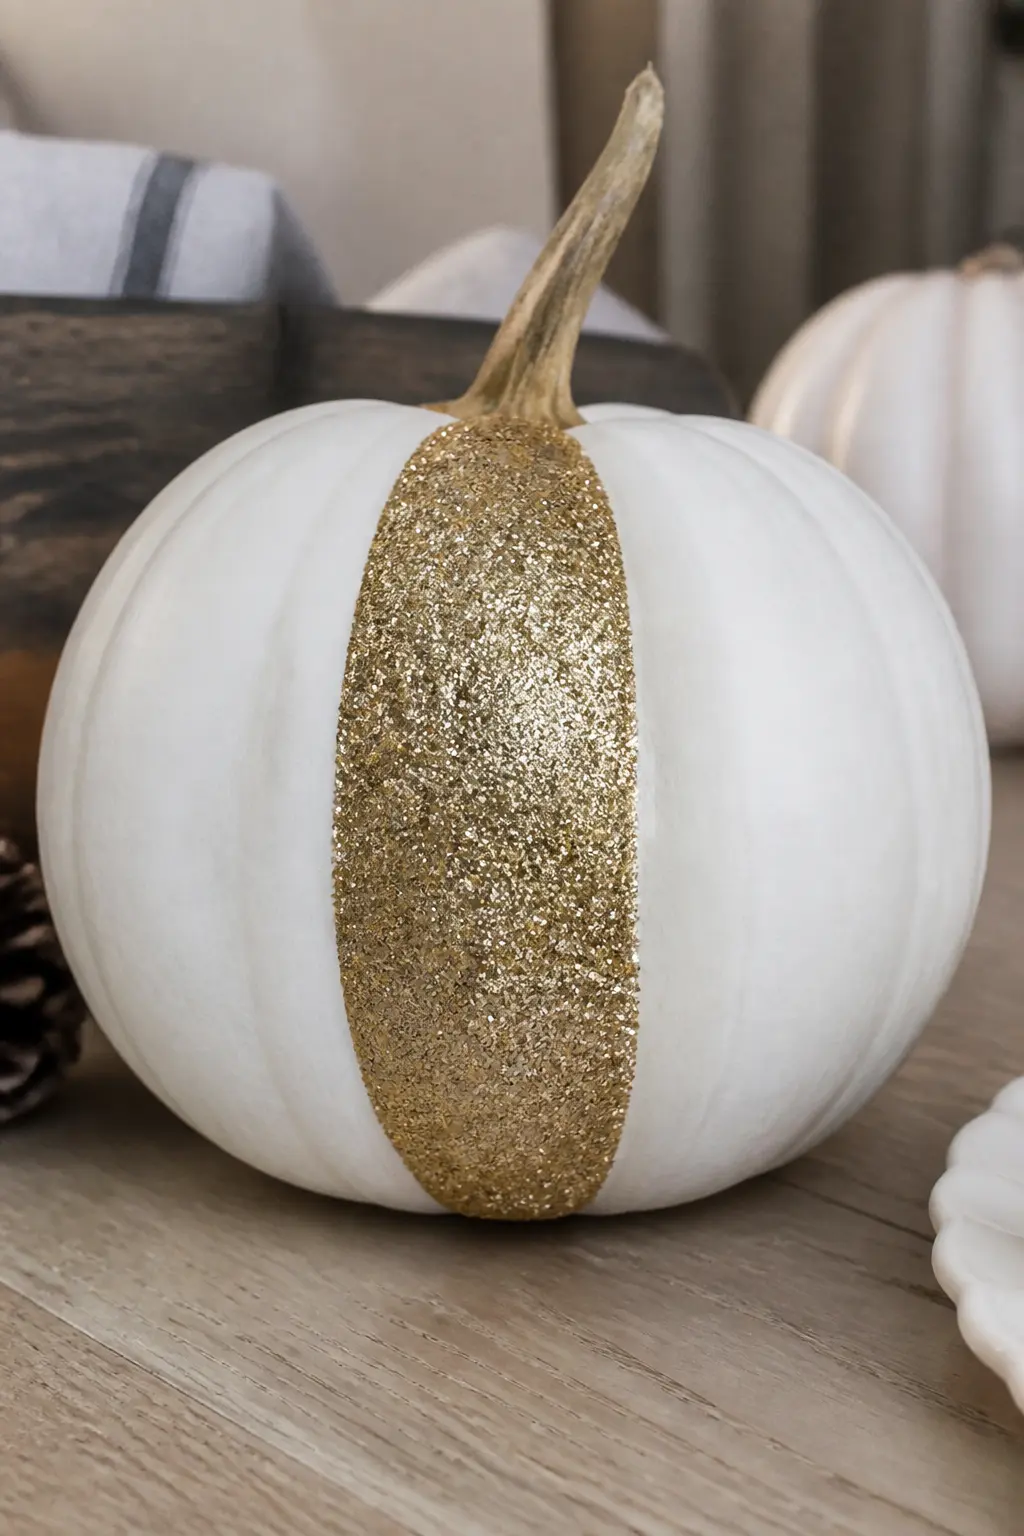
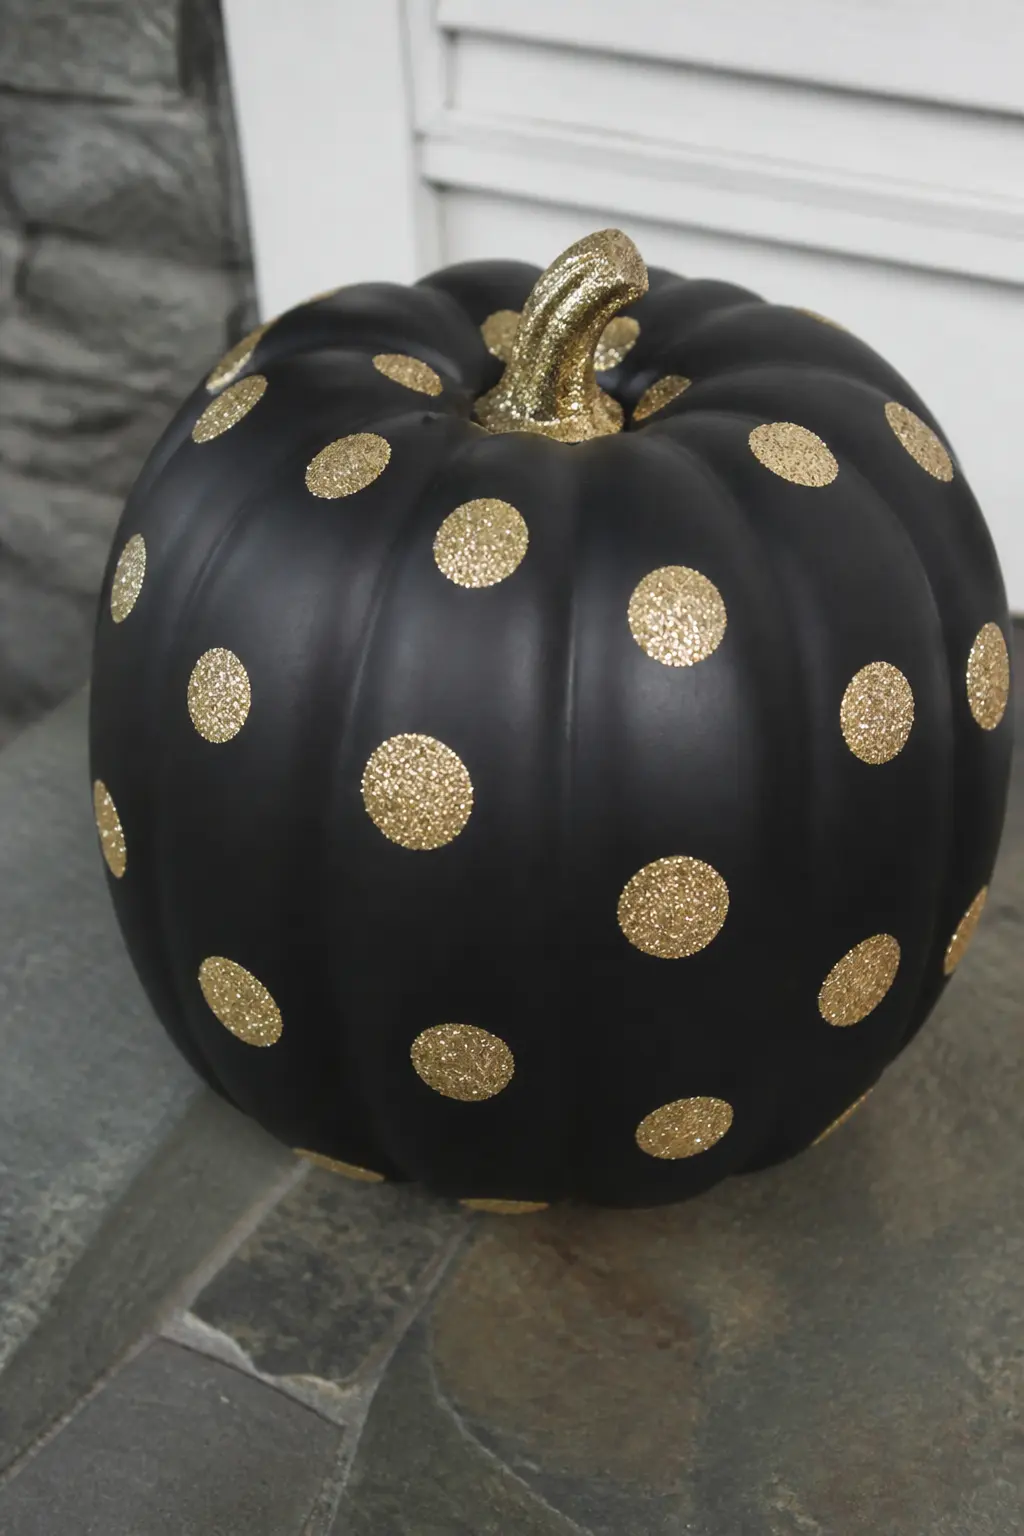
Matte Black Pumpkin With Gold Glitter Polka Dots
Paint the pumpkin matte black. Use a round craft sponge or the eraser end of a pencil dipped in glue to stamp evenly spaced circles across the surface, then pour fine gold glitter over the whole thing. The glitter sticks only to the circles and taps cleanly off the matte black between them.
Space the dots by eye rather than measuring. Perfect spacing reads as printed. Slightly imperfect spacing reads as handmade, which is warmer.
🛍 Shopping guide
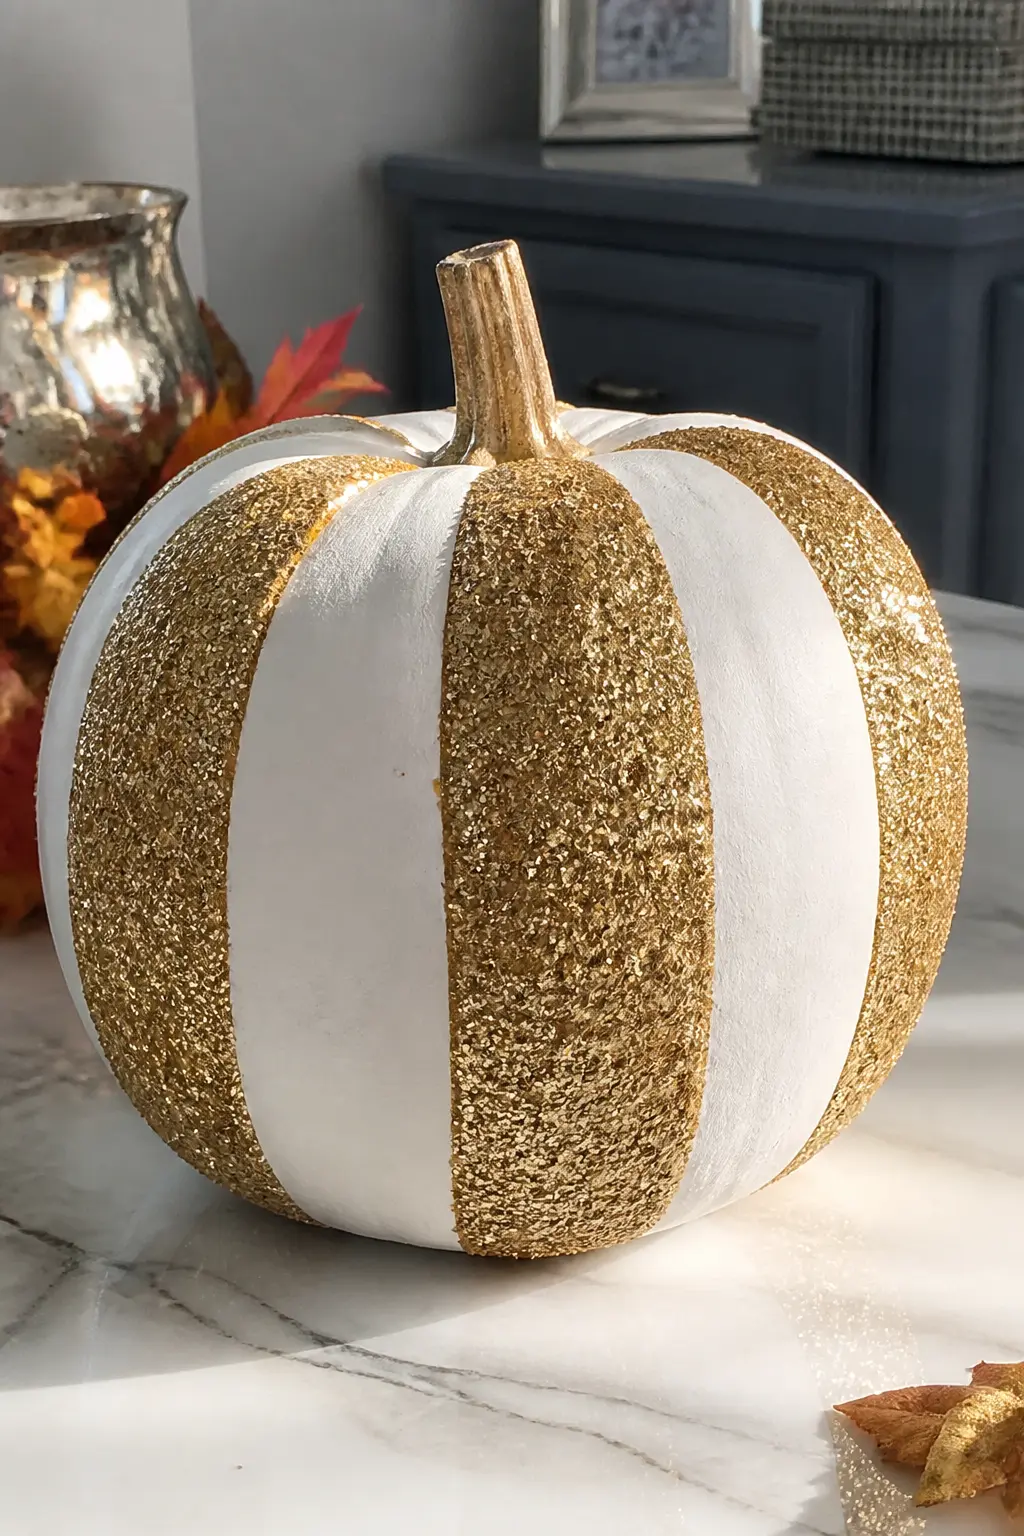
White Pumpkin With Gold Glitter Stripes Masked With Tape
Paint the pumpkin white. Apply strips of painter’s tape vertically, leaving alternating sections exposed, then brush glue on the exposed sections and coat in fine gold glitter. Pull the tape while the glue is still slightly tacky for the cleanest line.
Odd-numbered stripes look more dynamic than even. Three glitter stripes and four white stripes is a good starting point.
🛍 Shopping guide
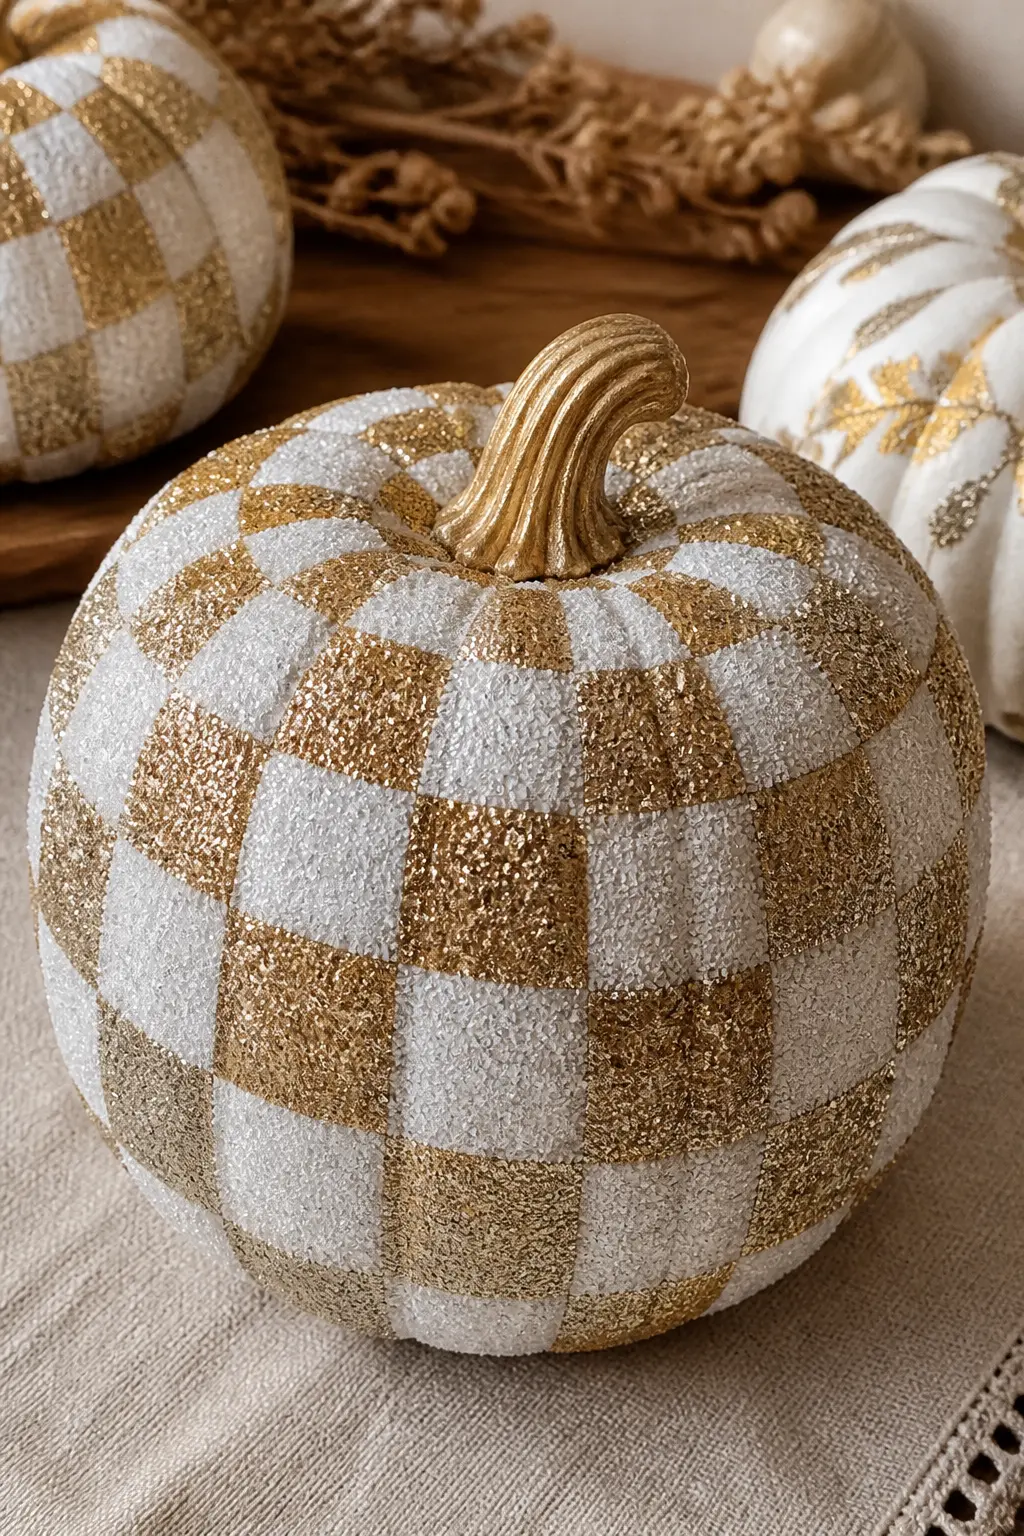
Cream Pumpkin With a Gold and White Glitter Checkerboard
Paint the pumpkin cream. Draw a grid in chalk pencil, then fill alternating squares with gold glitter glue and white glitter glue, working one colour at a time and letting each fully dry before starting the next. The chalk lines wipe away from any areas the glitter does not cover.
Keep the squares small. Large squares on a curved surface warp and read as trapezoids. A grid of one-centimetre squares holds its shape around the curve of the pumpkin.
🛍 Shopping guide
Illustrated and Silhouette Designs
A crescent moon, a spider web, a ghost, a single word: these are the designs that make someone ask where you bought it. The glitter fills a drawn or transferred shape rather than sitting on a flat ground, which gives the image depth and a slight raised texture.
Transfer paper or a chalk pencil lets you sketch the shape lightly before you commit to glue. Fine glitter works best inside a clean outline. Chunky glitter spills over edges and blurs the image.
Navy Pumpkin With a Silver Glitter Crescent Moon and Matte Stars
Paint the pumpkin deep navy, two coats. Draw a crescent moon shape with a chalk pencil, fill it with silver glitter glue, and let it dry. Add small five-pointed stars around it with a white paint pen only, no glitter on the stars. The matte stars keep the design from looking busy.
Fine silver glitter in the moon reads as celestial. Chunky glitter reads as disco. Use fine.

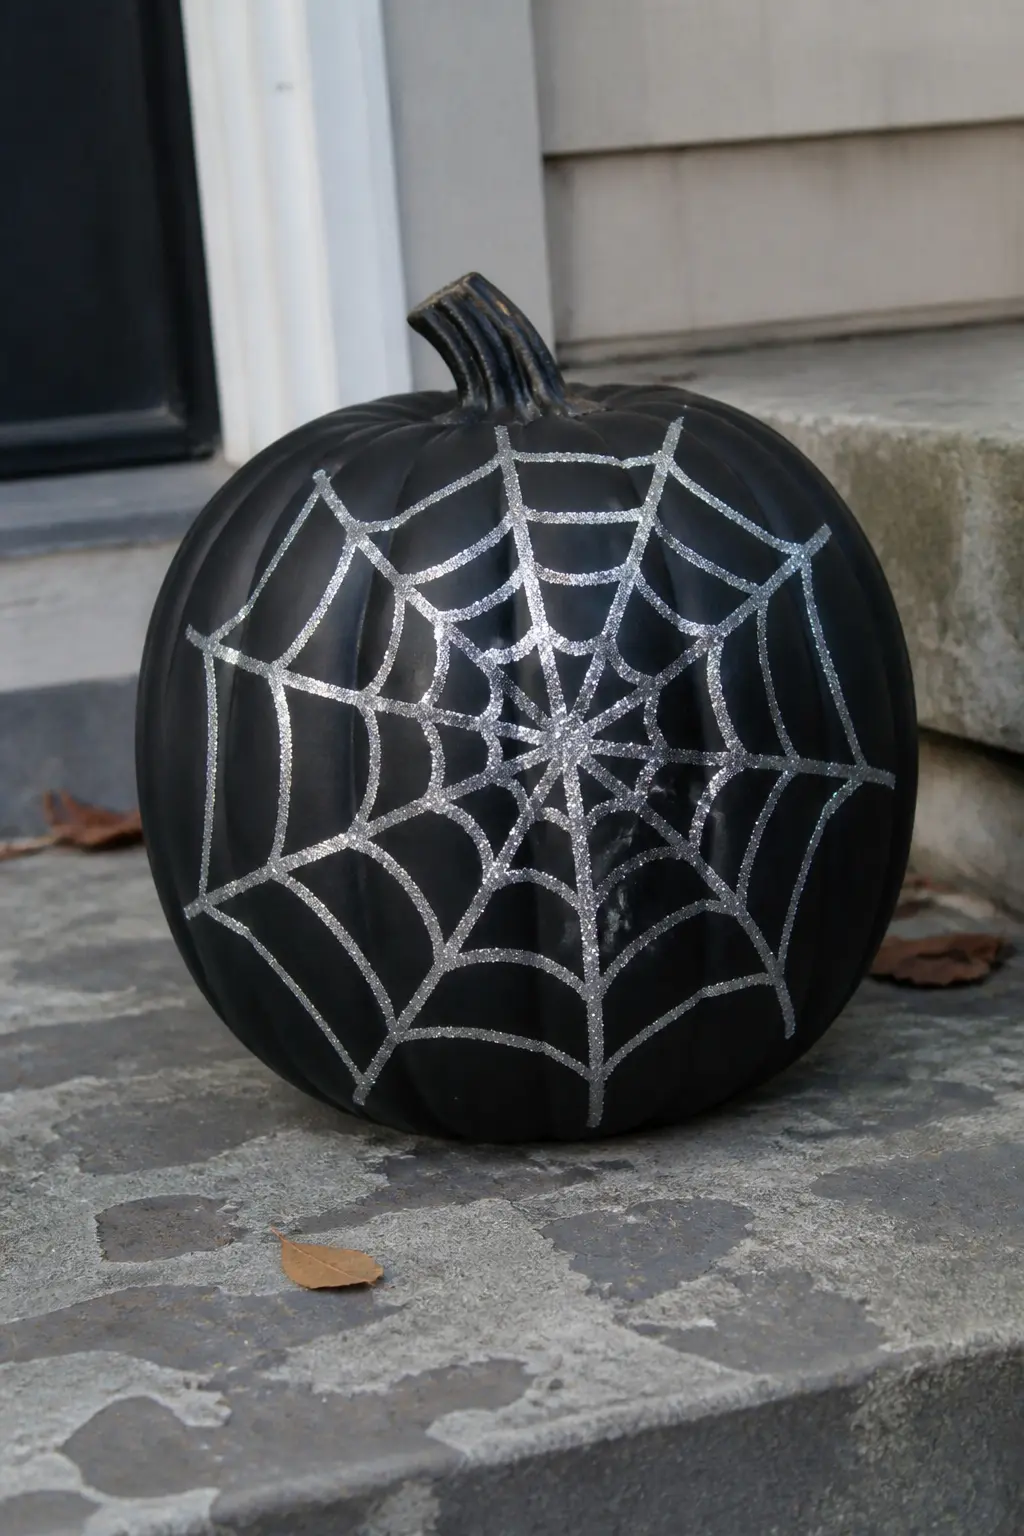
Black Pumpkin With a Silver Glitter Spider Web
Paint the pumpkin matte black. Draw a spider web with a chalk pencil, starting from a central point and adding radiating lines, then connecting them with curved arcs. Trace over the chalk lines with a fine-tip glue bottle and pour fine silver glitter immediately.
The web design works best on a medium or large pumpkin where the lines have room to breathe. On a small pumpkin the web closes up and loses definition.
🛍 Shopping guide
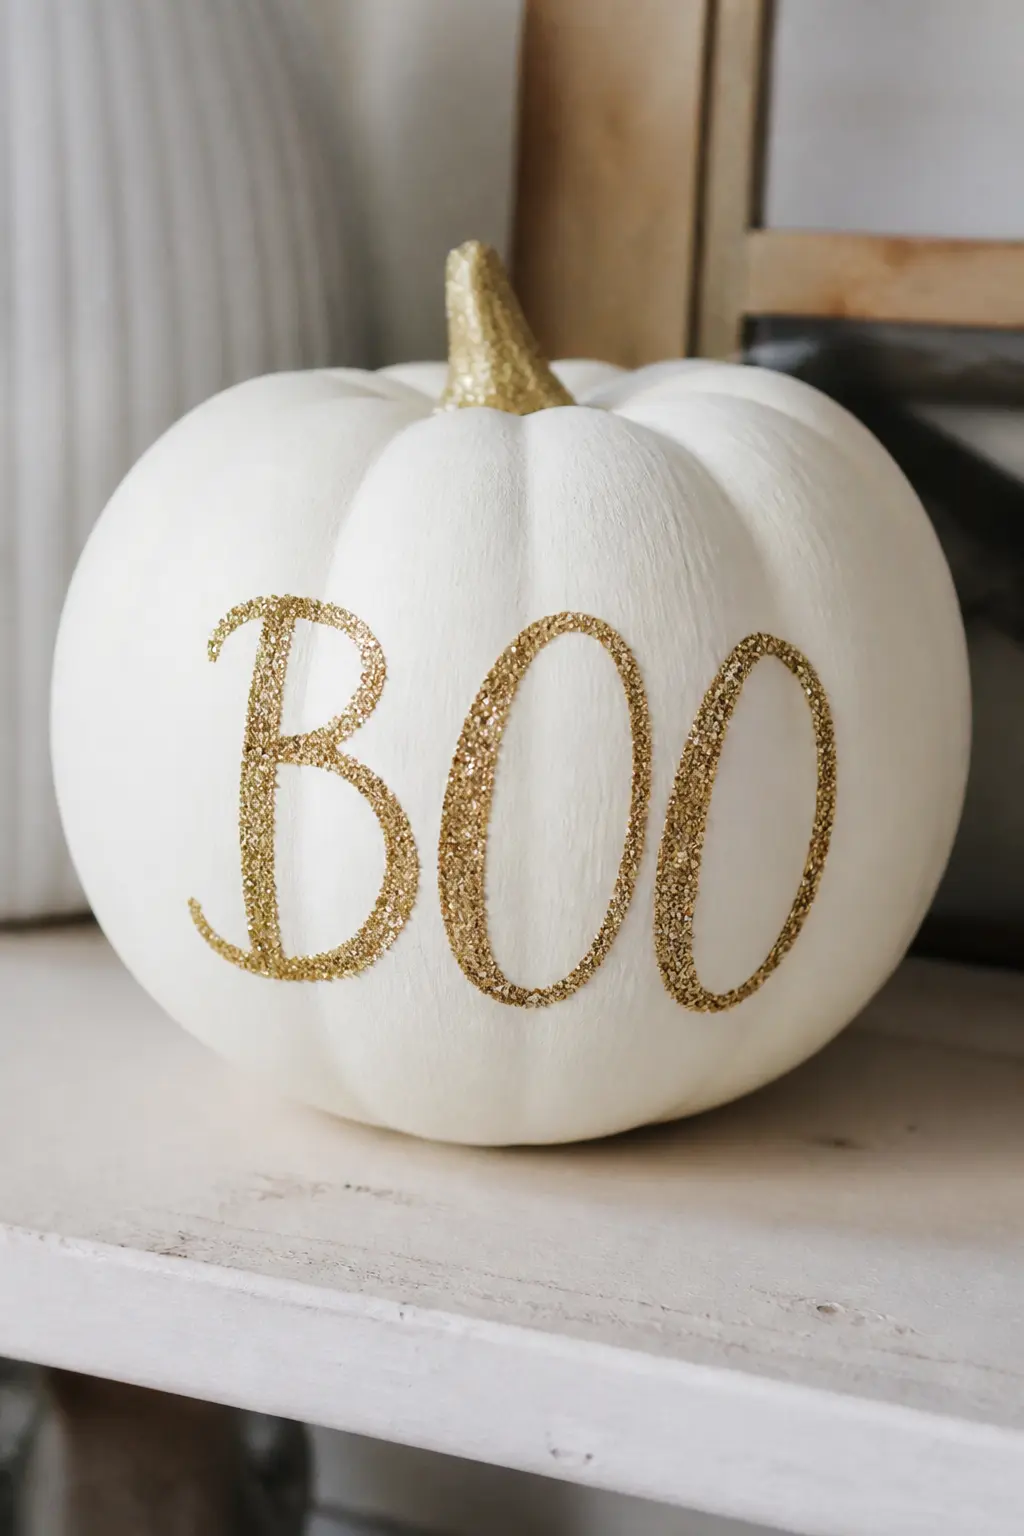
White Pumpkin With a Hand-Lettered Word in Gold Glitter
Paint the pumpkin matte white. Write a single word, such as BOO, FALL, or a surname initial, directly onto the surface with a fine-tip glue bottle or a brush loaded with glue, then pour fine gold glitter over the letters and tap off the excess. The word sits raised and sparkling against the flat white.
Keep the lettering simple and large. Serif fonts and elaborate scripts lose definition in glitter. Block capitals or a loose brushstroke script both read clearly.
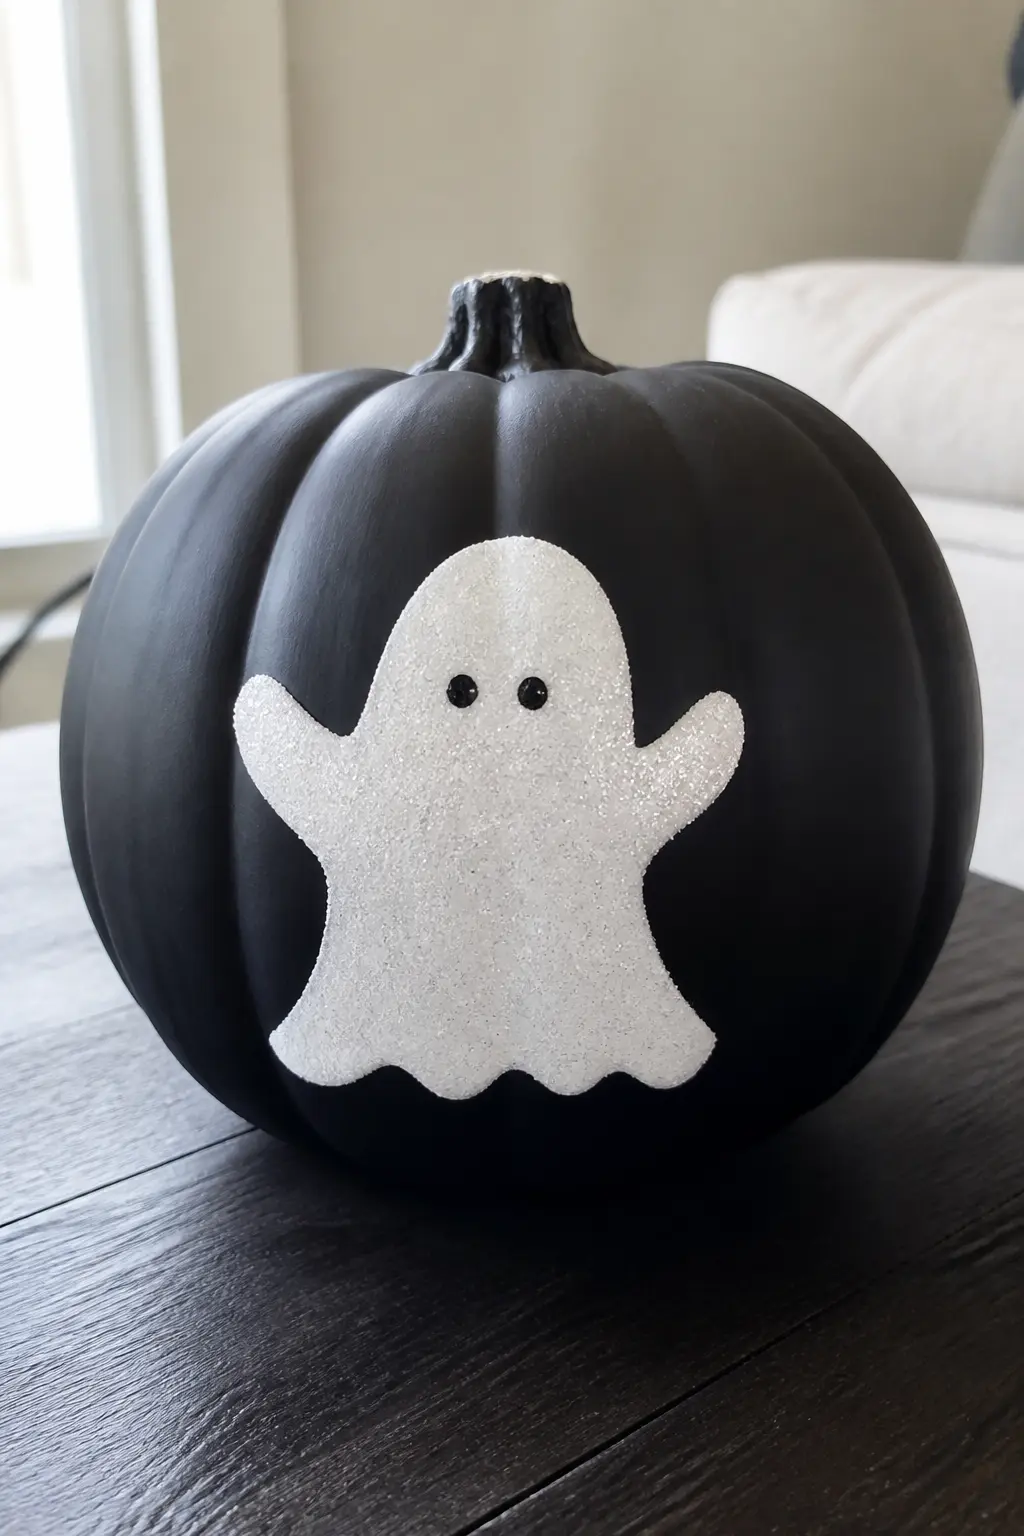
Black Pumpkin With a White Glitter Ghost Silhouette
Paint the pumpkin matte black. Cut a ghost silhouette from paper as a stencil, hold or tape it to the front of the pumpkin, and dab glue inside the shape with a sponge. Remove the stencil carefully and pour ultra-fine white glitter over the glued area. Two tiny black dot eyes painted with a detail brush finish the design.
The ghost silhouette reads instantly and needs no other decoration. One image, one pumpkin, full stop.
🛍 Shopping guide
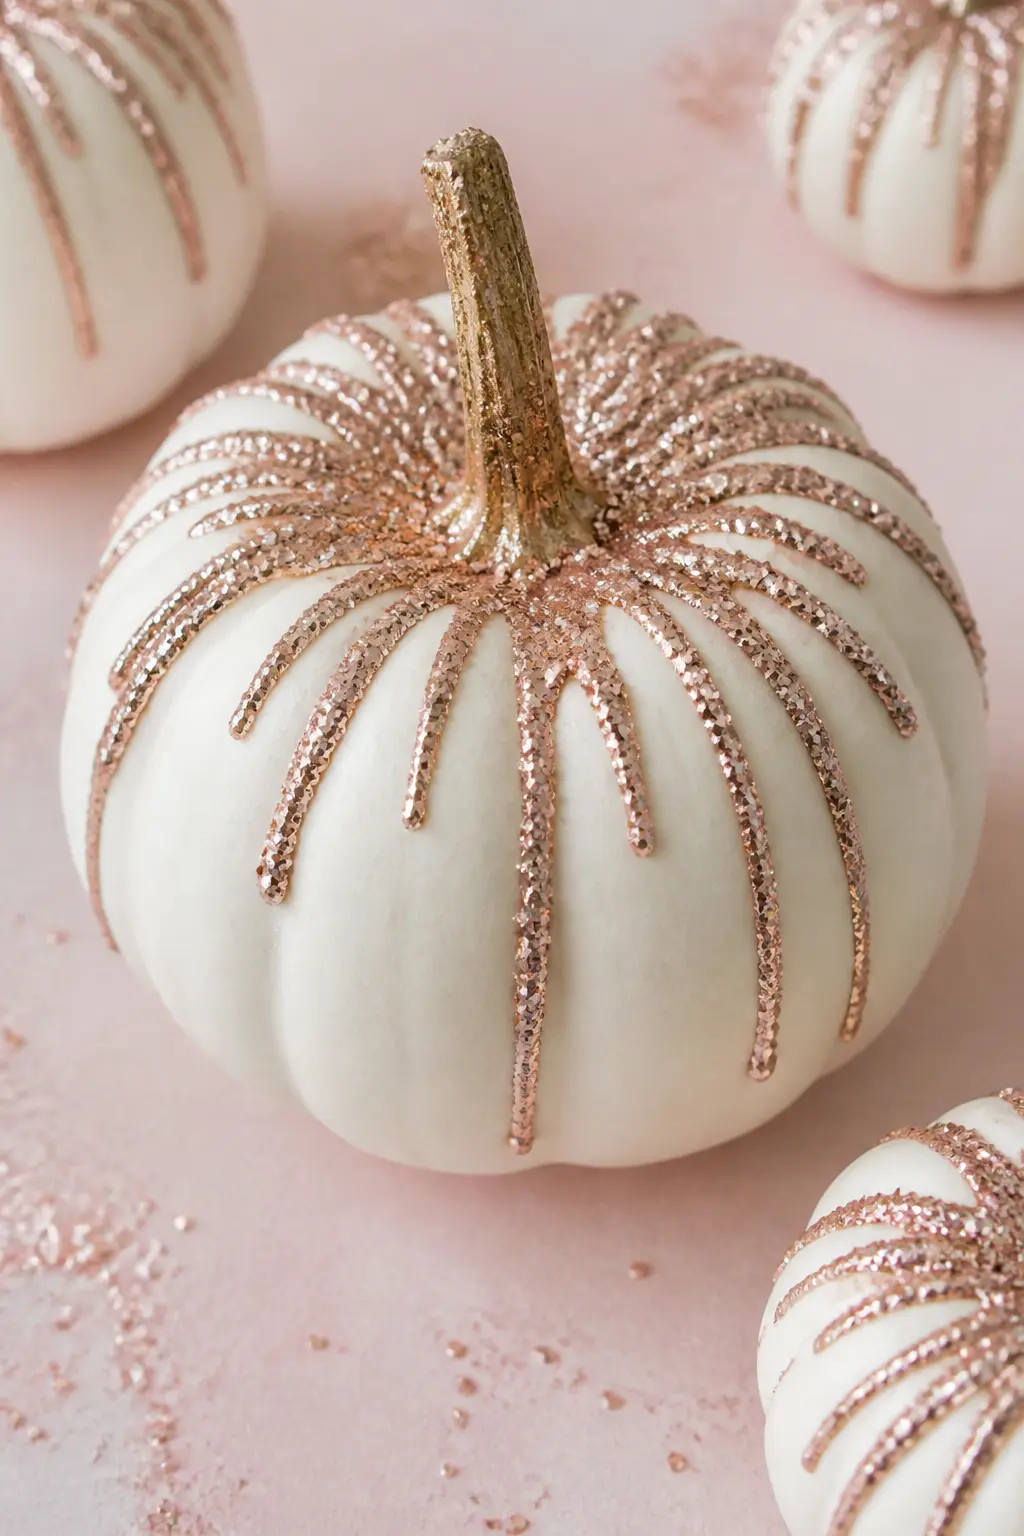
White Pumpkin With Rose Gold Glitter Drips Running From the Stem
Paint the pumpkin matte white. Mix rose gold glitter with a small amount of clear glue to make a thick paste, then load it into a piping bag or a precision-tip bottle and pipe drip shapes running down from the stem, varying the length so some drips reach the equator and others stop earlier. The paste holds the drip shape as it dries.
Work while the pumpkin is upright so gravity helps the drips sit naturally. Do not let any single drip reach the base or the design looks unfinished.
🛍 Shopping guide
Minimal Glitter Designs
One accent. That is the whole brief for this group. A glittered bow at the stem, rhinestones along a single curve, glitter pressed only into the natural crevices of the pumpkin skin: these designs are the easiest to execute well and the hardest to overdo, which is exactly the combination you want.
The matte painted surface does most of the visual work. The glitter is a punctuation mark, not a paragraph.
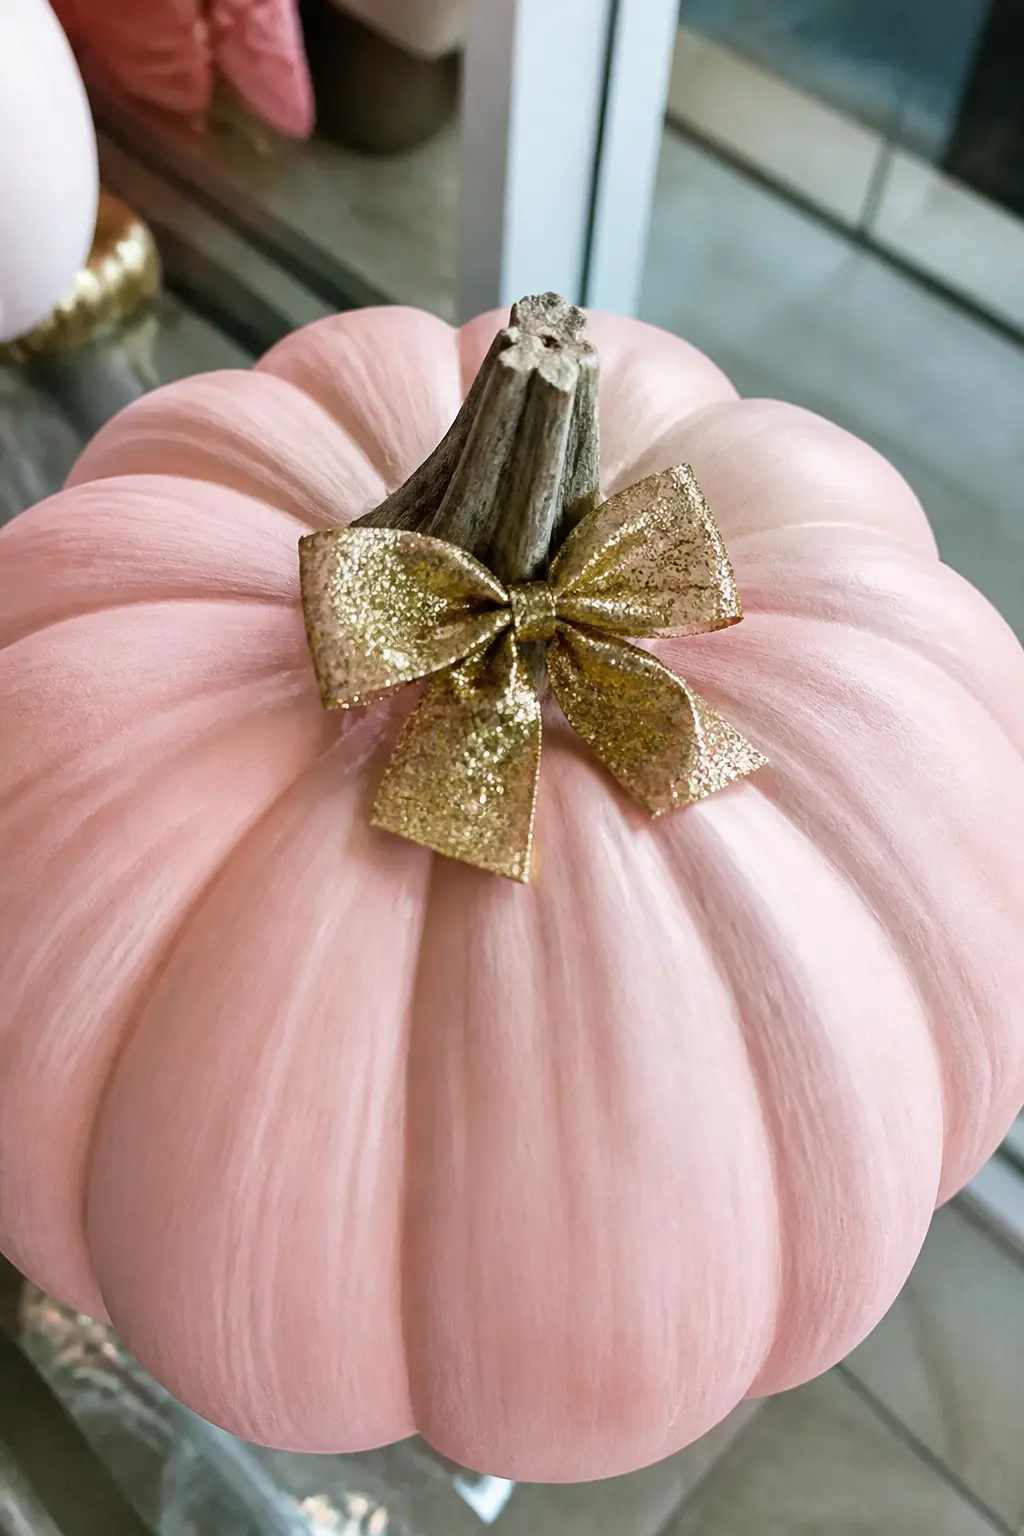
Blush Pumpkin With a Single Gold Glitter Bow at the Stem
Paint the pumpkin blush pink, two even coats. Cut a small bow from heavy card stock or felt, coat it in craft glue, press fine gold glitter into it, seal it, and glue it to the base of the stem once dry. The bow is the only glitter on the pumpkin.
The restraint is the point. One sparkling bow on a soft pink pumpkin reads as a considered object, not a craft project.
🛍 Shopping guide
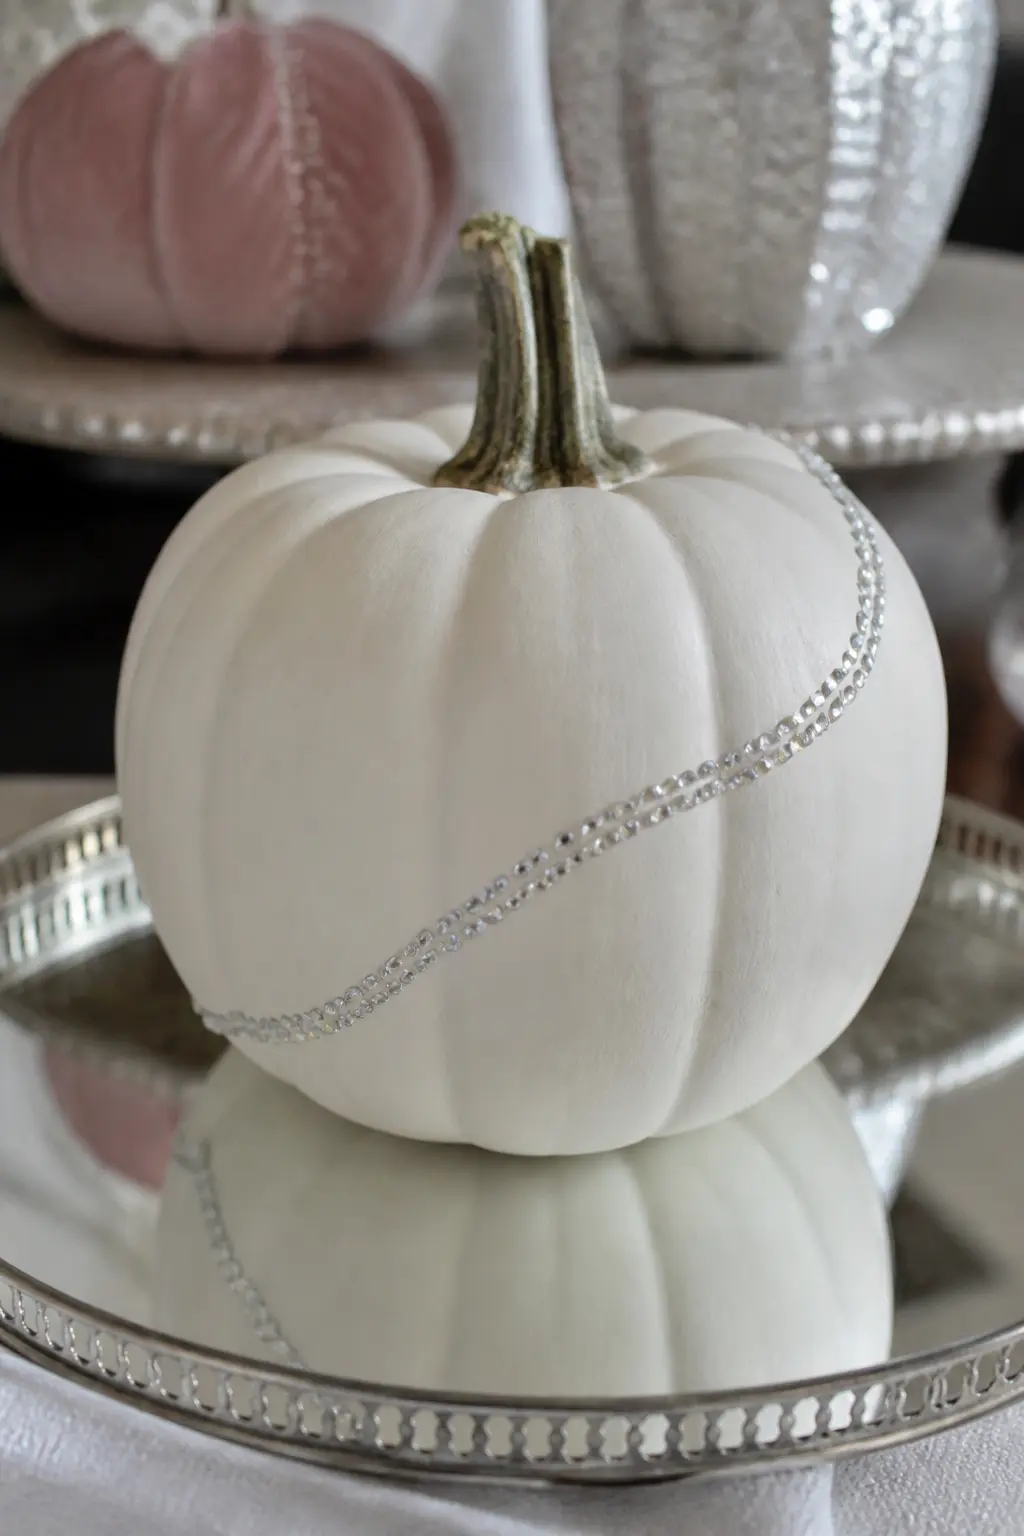
White Pumpkin With Rhinestones in a Curving Line Only
Paint the pumpkin matte white. Draw a single sweeping curved line across the front with a chalk pencil, then glue flat-back rhinestones along that line only, spacing them evenly. No glitter, no paint accent, just the rhinestones and the white surface.
The rhinestones catch light the way glitter does but they stay in place and never shed. This design suits a foam pumpkin better than a real one because the surface is more stable for adhesive.
🛍 Shopping guide
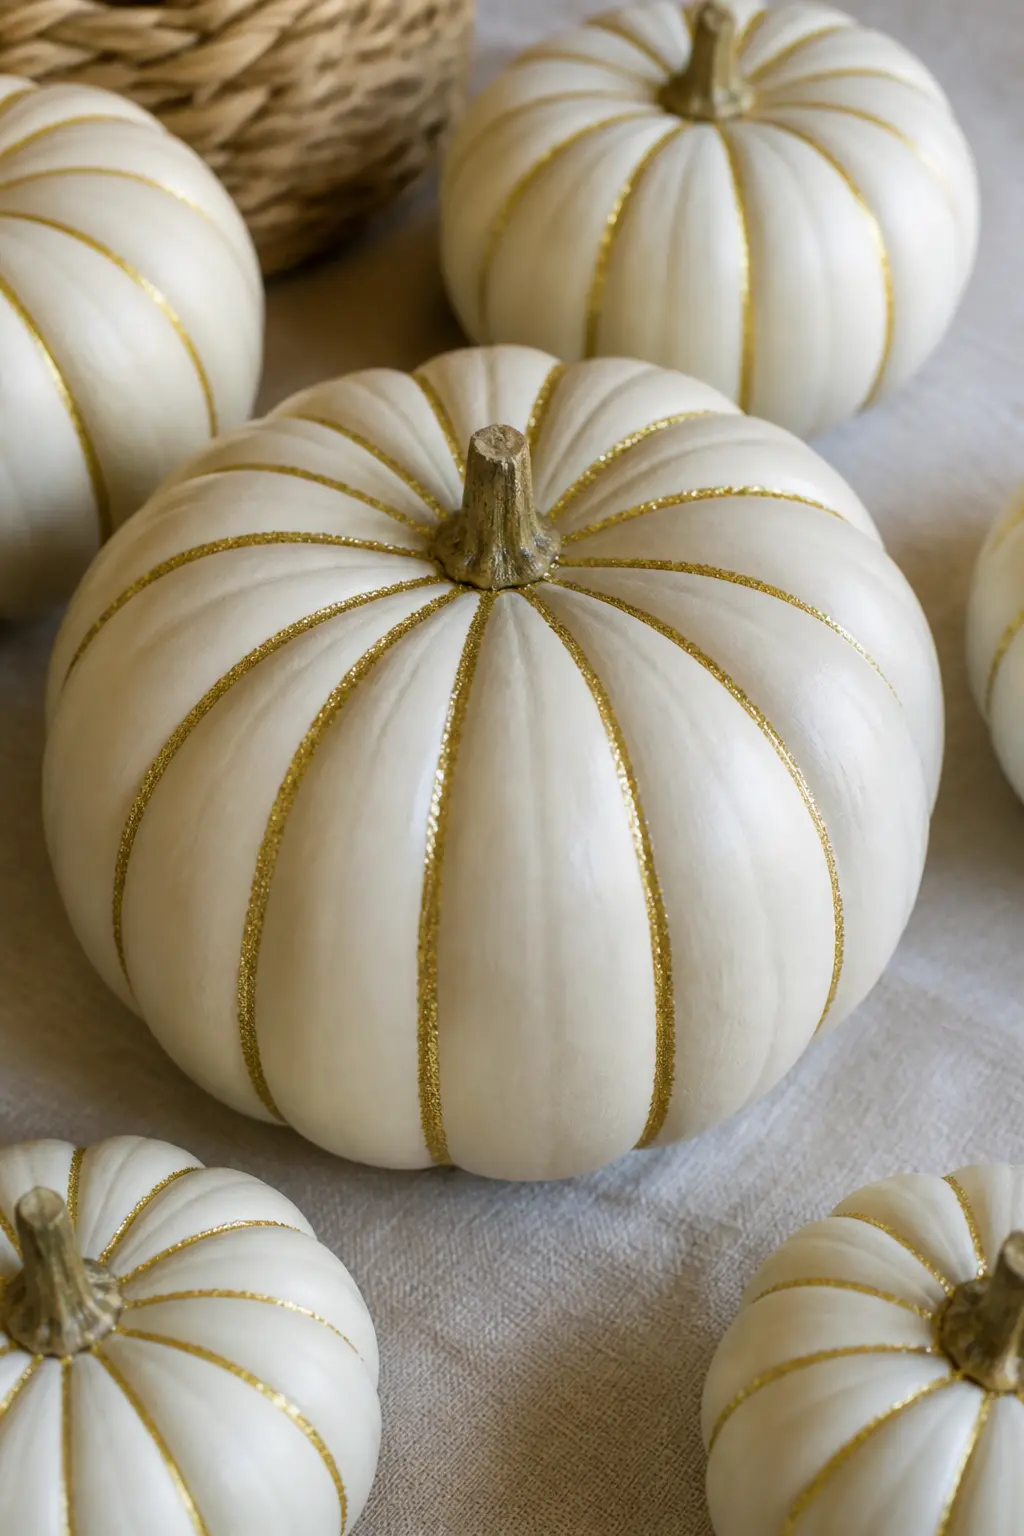
Cream Pumpkin With Gold Glitter in the Crevices Only
Paint the pumpkin cream. Use a dry, fine brush to work a small amount of glitter glue only into the natural crevices between the ridges, not on the ridges themselves and not on the flat body. The glitter settles into the grooves and picks up the light from below like gilded veins.
Less glue is better here. The crevices are narrow and fill quickly. A dry brush with a tiny amount of glue gives more control than a wet one.
🛍 Shopping guide
Styled Groups and Vignettes
One glitter pumpkin among several plain ones reads more expensive than a whole shelf of glitter. The plain ones frame it. The eye goes straight to the sparkle, which is exactly what you want from a shelf or mantel vignette.
Scale matters in a group. Graduated sizes, or pumpkins at different heights on a stack of books or a wooden tray, keep the arrangement from looking flat.
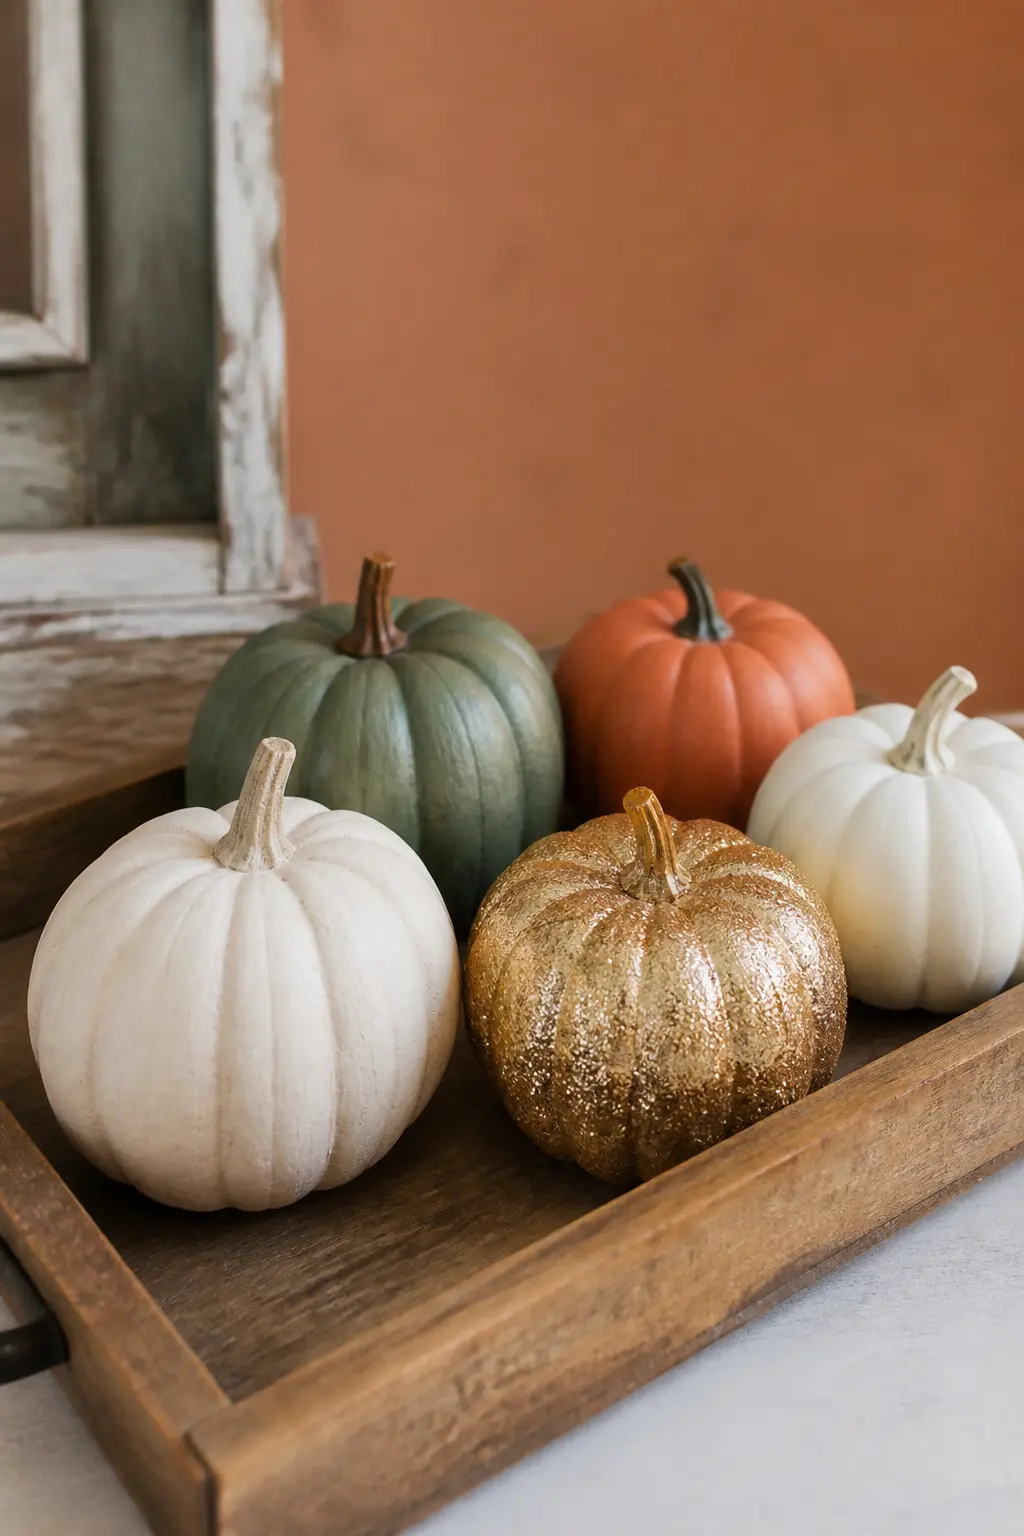
One Fully Glittered Pumpkin Among Plain Painted Ones
Group three or five painted pumpkins in cream, terracotta, and deep green on a tray or shelf, then place one fully gold-glittered pumpkin among them. The plain ones make the glitter pumpkin look intentional rather than excessive. The glitter pumpkin makes the plain ones look rich rather than unfinished.
Put the glitter pumpkin slightly off-centre in the group. Dead centre looks staged. Off-centre looks styled.
🛍 Shopping guide
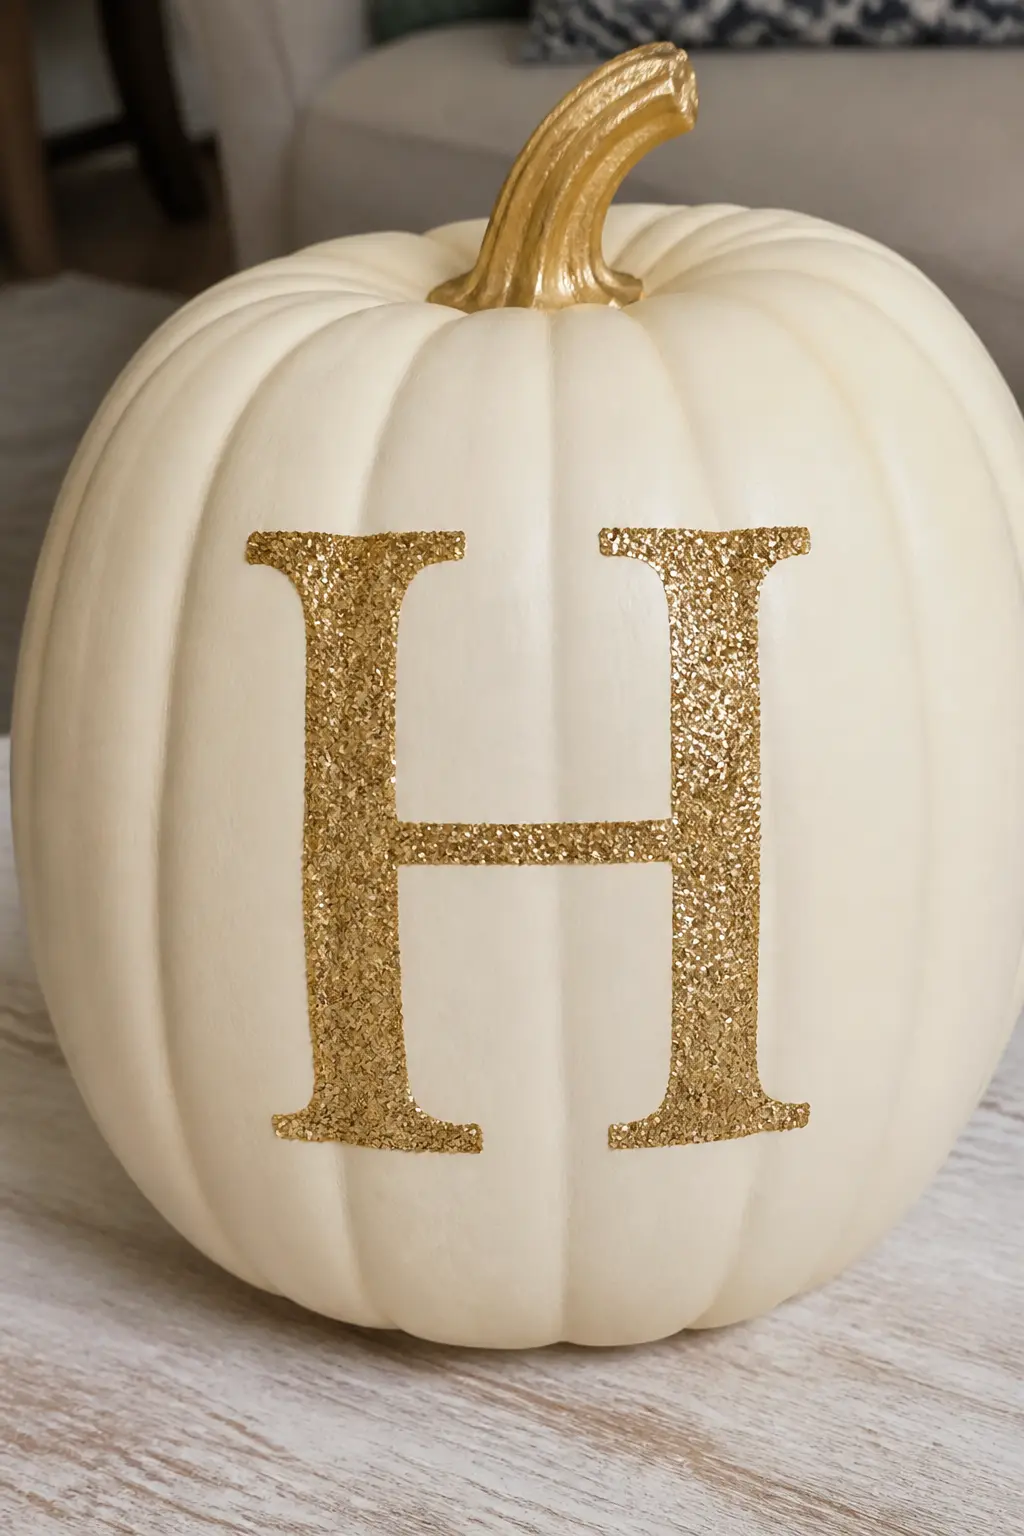
Cream Pumpkin With a Gold Glitter Monogram
Paint the pumpkin cream. Print a large block letter at the right scale, transfer it to the pumpkin front with chalk paper, then trace over the outline with a precision glue bottle and fill the interior with fine gold glitter. A clean monogram reads as a personalised gift or a family name display.
A single initial works better than two or three letters on a pumpkin. Multiple letters crowd the surface and lose legibility in glitter texture.
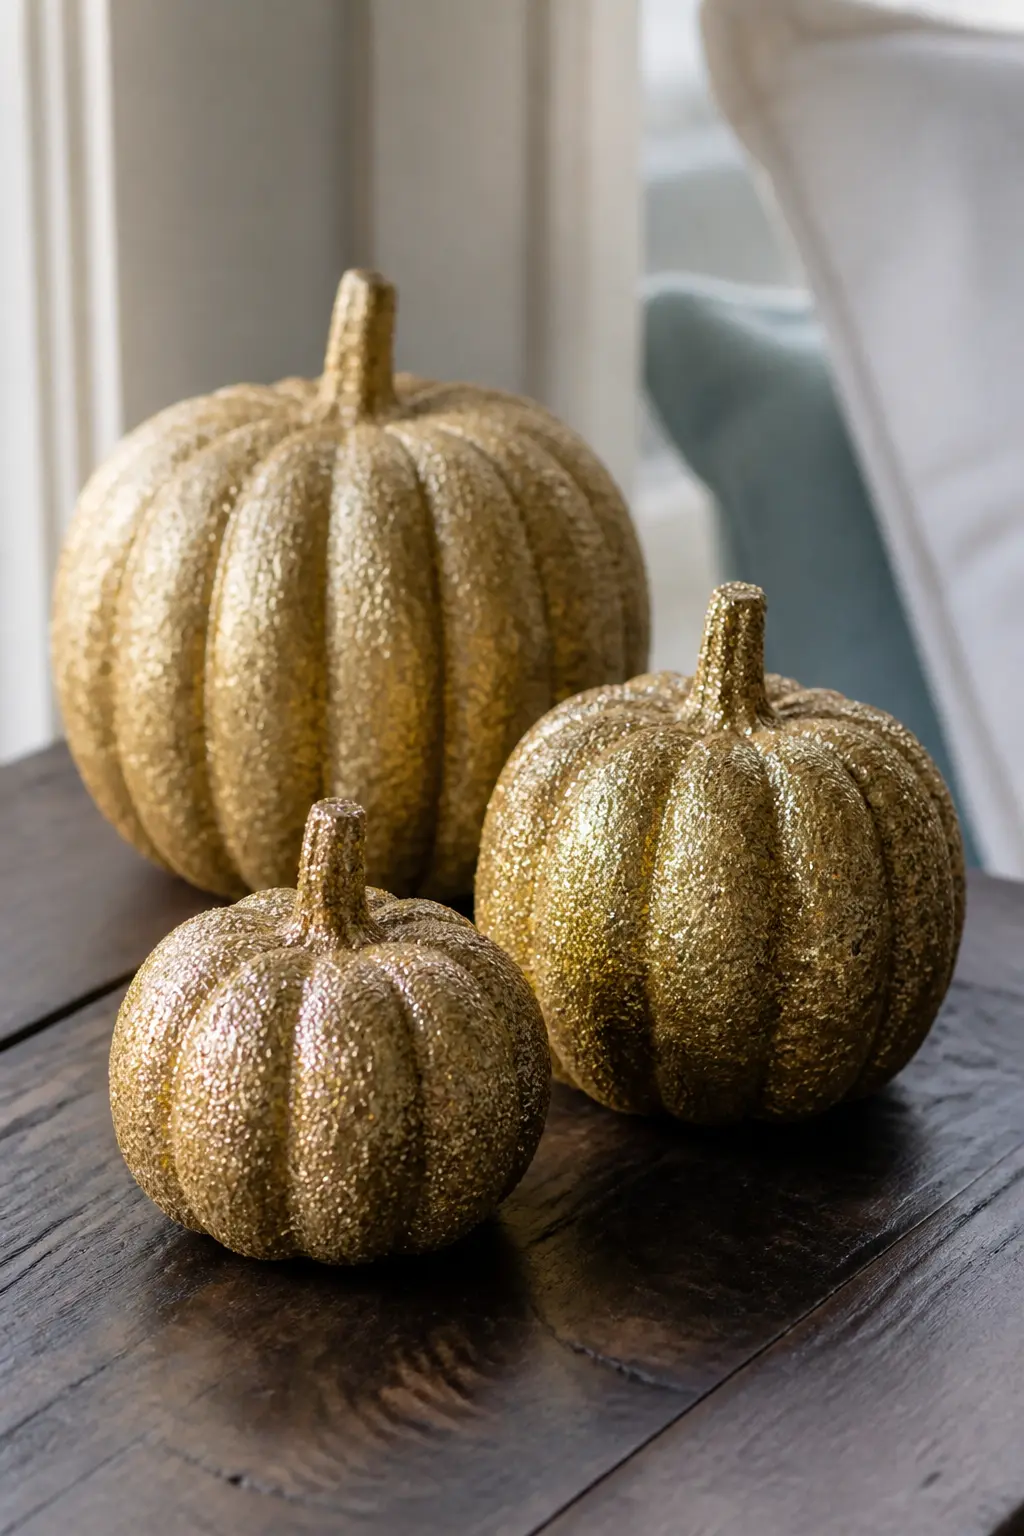
Set of Three Glitter Pumpkins in Graduated Sizes, Same Gold
Cover three pumpkins in the same fine gold glitter, the same density, the same base coat, but in small, medium, and large. The uniformity of colour makes the size graduation look composed rather than random, and the group reads as a single decorating decision rather than three separate purchases.
Line them up from largest to smallest on a surface with a slight height variation, such as a stack of books or a raised tray, to give the grouping a visual step.
🛍 Shopping guide
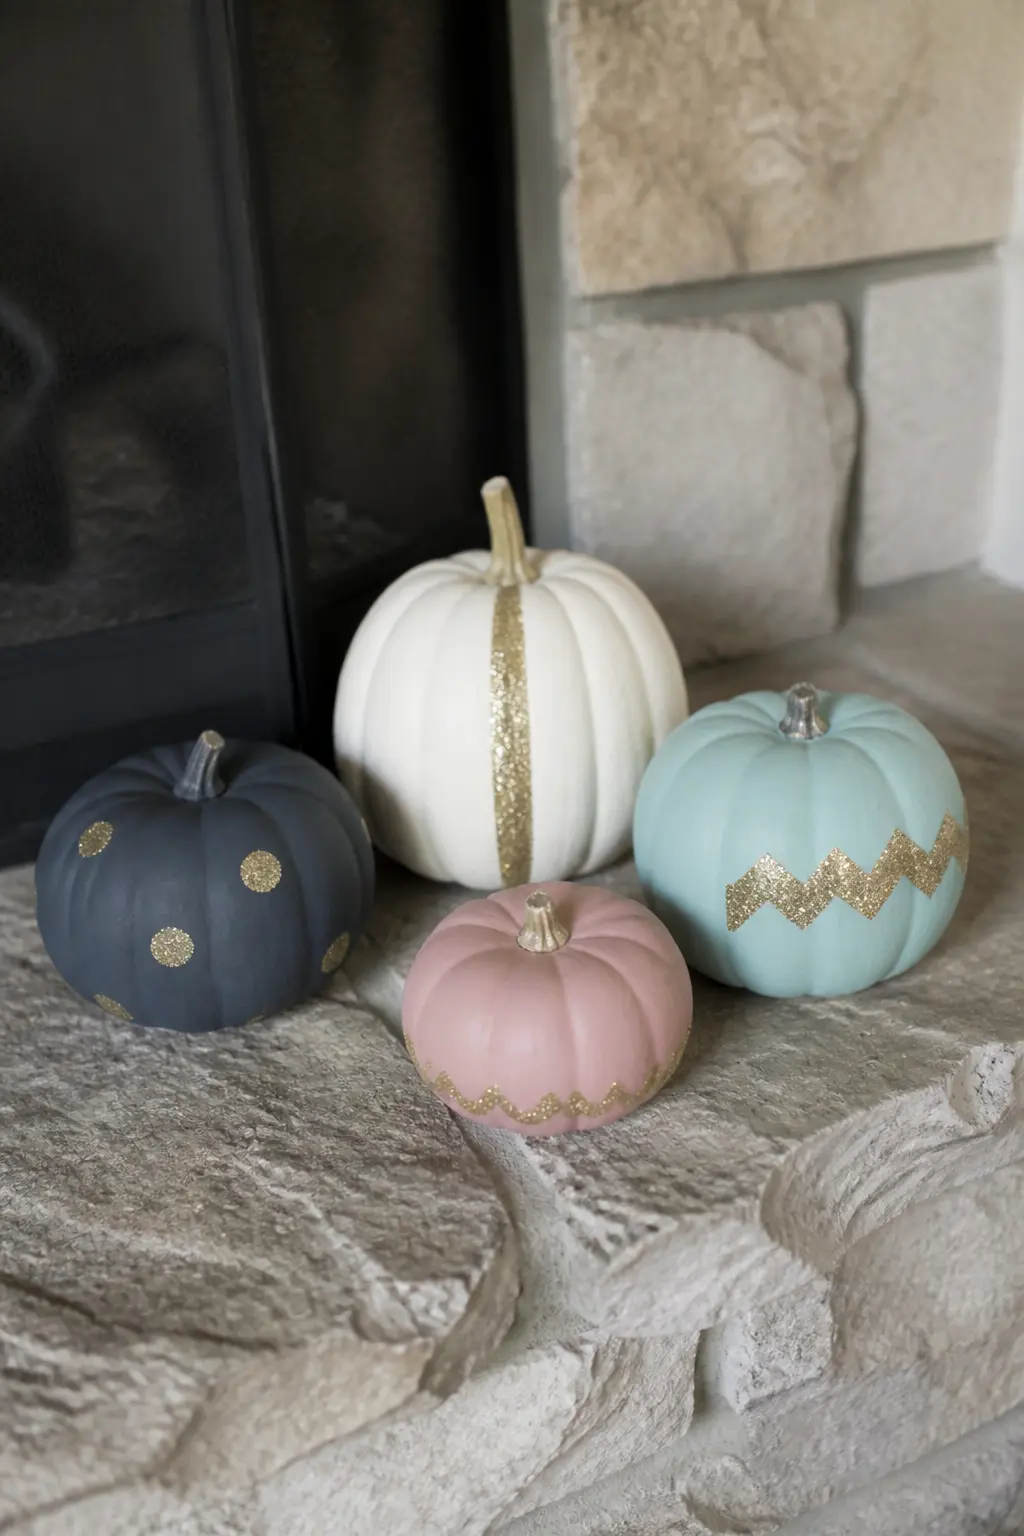
Set of Matte Painted Pumpkins Each With One Glitter Accent
Paint four or five pumpkins in different matte colours and give each one a single different glitter accent: one has a glitter stem, one has a glitter polka dot, one has a glitter monogram, one has a glitter crescent moon. Each pumpkin is distinct but the consistent scale of the glitter accent unifies the group.
This approach uses very little glitter overall and works well if you already have several plain painted pumpkins from a previous season.
🛍 Shopping guide
No-Loose-Glitter Alternatives
If the very idea of pouring glitter still makes you anxious, this section exists for you. Sequins glued in rows, glitter already mixed into the paint, and adhesive vinyl filled with glitter inside clean cut lines all deliver a sparkle finish without a single loose grain of glitter floating free in your living room.
These finishes are also the most durable of the lot, which matters if the pumpkin goes somewhere with foot traffic, small children, or a curious cat.
White Pumpkin With Chunky Gold Glitter Pressed On
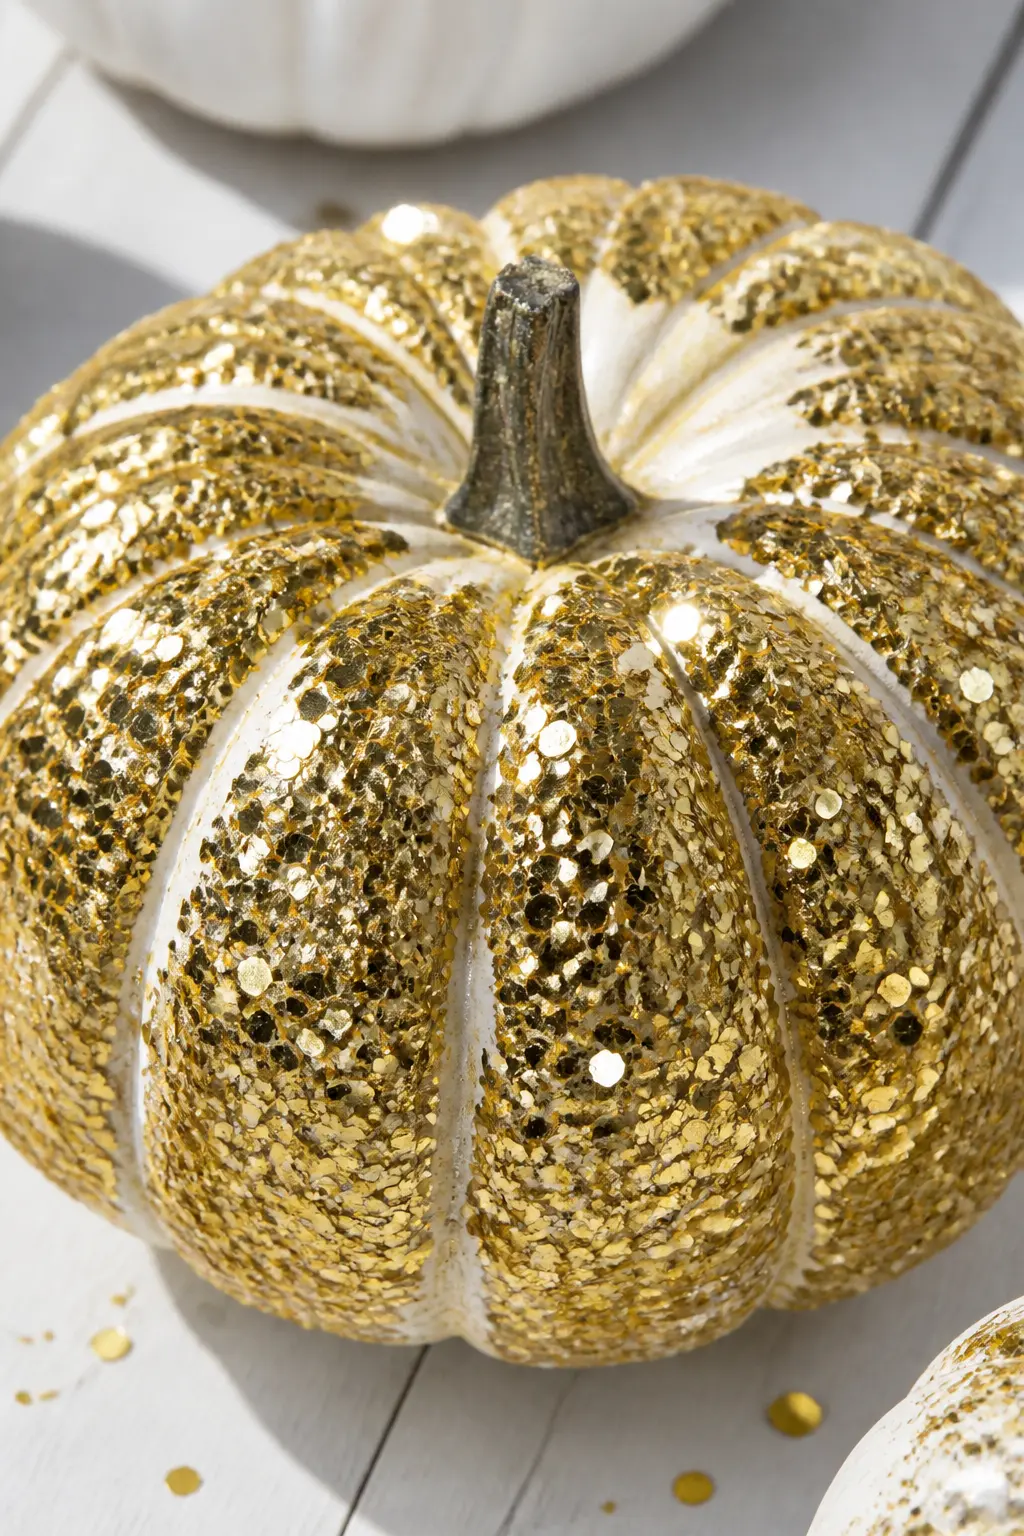
Paint the pumpkin white. Brush a generous layer of thick craft glue on a section, press chunky gold glitter flakes into it with your fingers or a palette knife rather than pouring and tapping, and hold each area for thirty seconds. The pressing action buries the glitter into the glue so far fewer grains sit loose on the surface.
Chunky glitter pressed this way catches light differently from fine glitter, more like a sequin than a shimmer. Seal with a clear matte varnish once completely dry.
🛍 Shopping guide
Black Pumpkin With Glitter Mixed Into the Paint
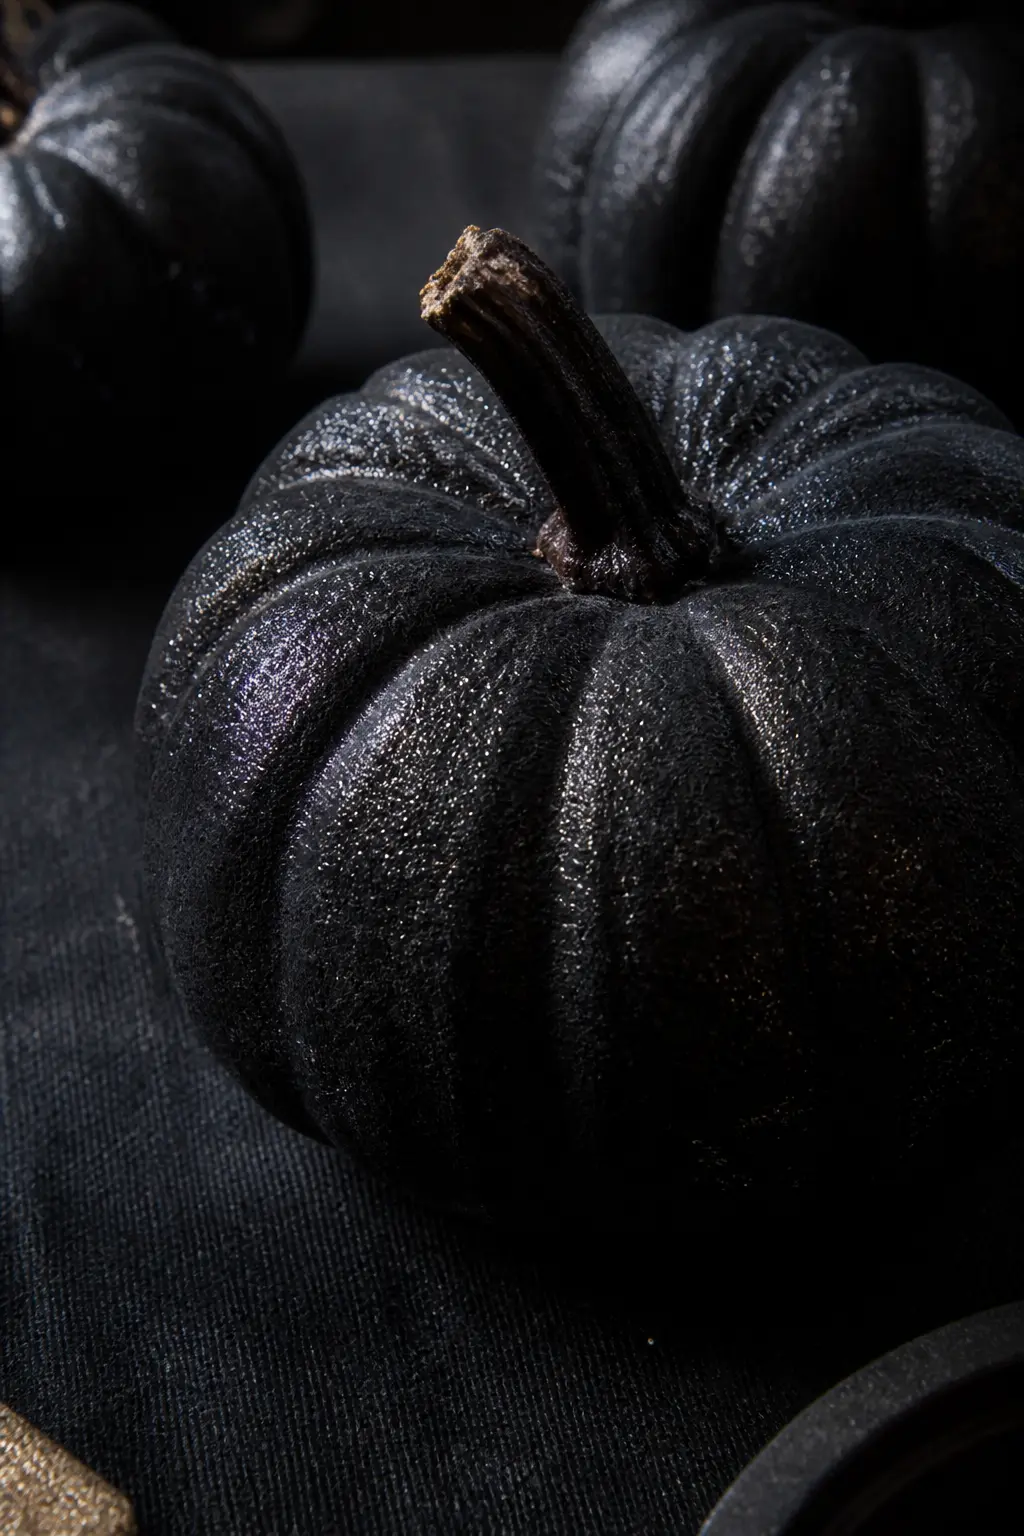
Mix fine black or charcoal glitter directly into matte black paint until the mixture is roughly one part glitter to four parts paint. Apply it as a top coat over a dry black base. The glitter is suspended in the paint and cannot shed because it has nowhere to go once the paint dries.
The effect is subtle: the pumpkin looks matte from a distance and glitters only when light catches it at an angle. That restraint is exactly what makes it look expensive.
🛍 Shopping guide
Pink Pumpkin With Sequins Glued in Rows
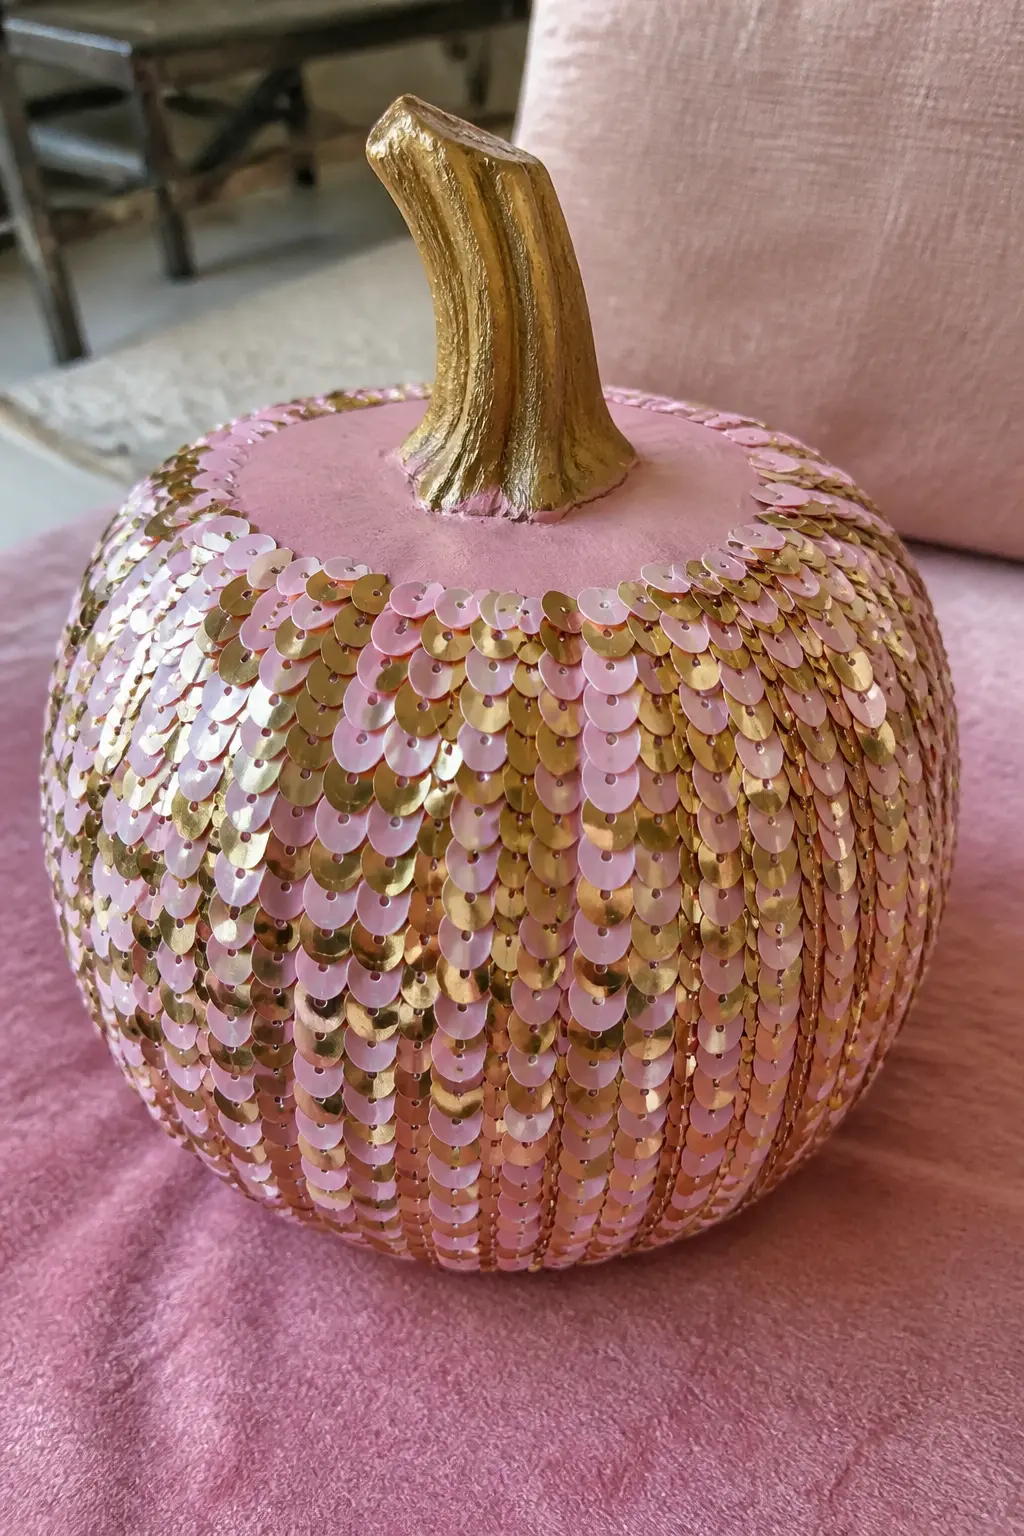
Paint the pumpkin candy pink. Starting at the base, glue rows of flat sequins in ascending horizontal lines, overlapping slightly like fish scales, using a strong gem adhesive and tweezers to place each one. Stop two rows from the top so the stem emerges from a plain painted collar.
Sequins glued flat cannot shed. They are also easier to work with in sections than loose glitter, and the finished surface has a tactile quality that glitter cannot match.
🛍 Shopping guide
White Pumpkin With Adhesive Vinyl Bat Shape Glittered Inside the Lines
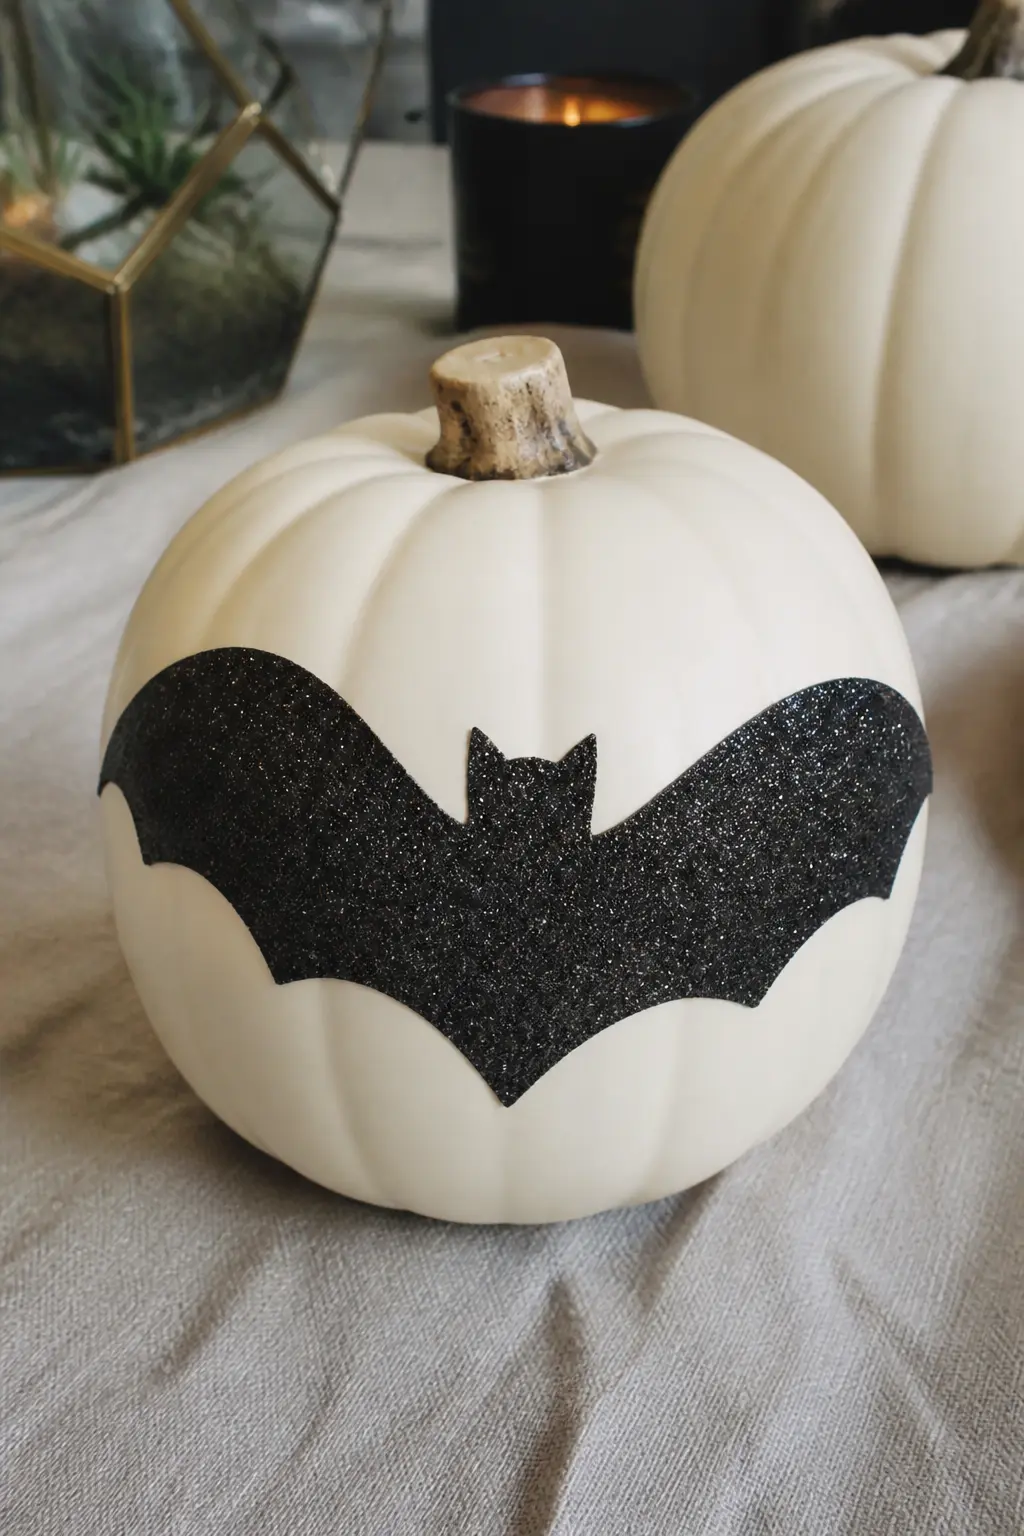
Paint the pumpkin white. Cut a bat silhouette from adhesive vinyl, press it firmly onto the front of the pumpkin, and peel the interior of the bat shape away, leaving the border adhered. Fill the exposed interior with glitter glue, let it dry, then peel the vinyl border away. The glitter sits inside a perfectly clean line.
Adhesive vinyl from a cutting machine gives the cleanest result, but a sharp craft knife and a printed template work almost as well on a smooth surface.
🛍 Shopping guide
The Four Methods That Make Glitter Stay Put
Read this section before you start any of the designs above, because the method changes how you apply the glitter, how long you wait, and what you seal with at the end.
None of them is difficult. All four are faster than cleaning glitter off a sofa.
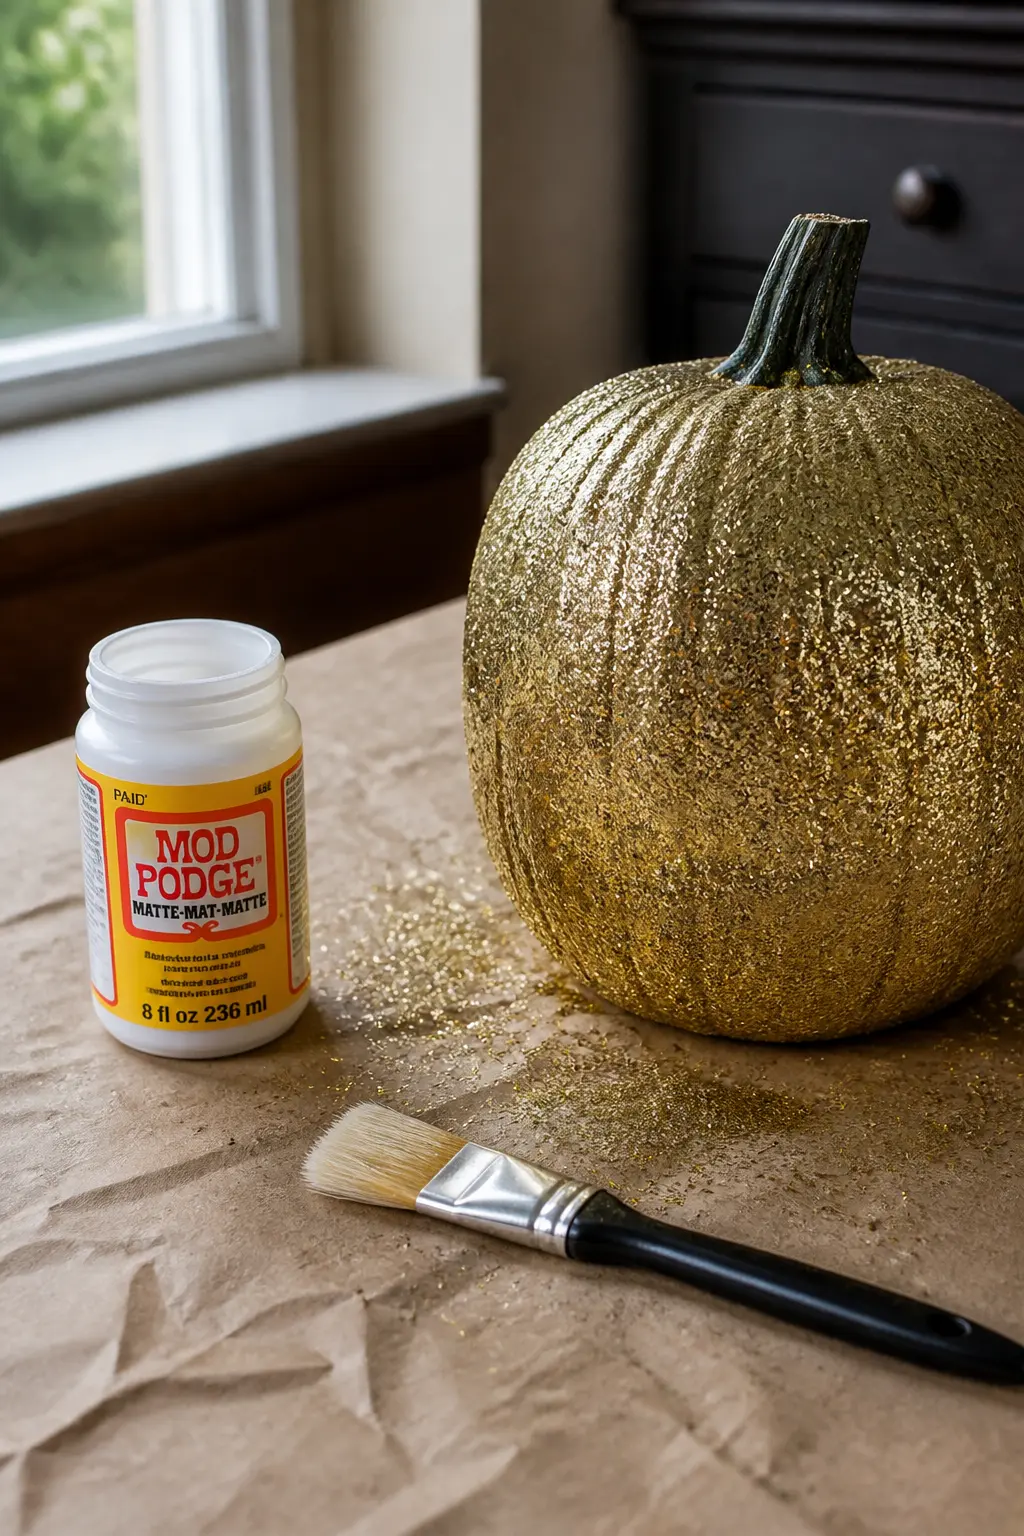
Method: Mod Podge Brushed On, Glitter Poured Over, Sealed With a Second Coat
Brush a generous, even layer of Mod Podge onto the painted surface. Pour glitter over it immediately, tap off the excess, and let it cure for at least two hours, not just until it feels dry to the touch. Then brush a second, thinner coat of Mod Podge over the top to lock every grain in place.
This is the most accessible method because Mod Podge is widely available and the double-coat sealing step is forgiving. The finish is slightly satin. Use matte Mod Podge if you want the glitter to sparkle without looking laminated.
The main mistake people make is skipping the second coat. One coat of glue under the glitter is not enough to seal it. The second coat over the top is the step that stops the shedding.
🛍 Shopping guide
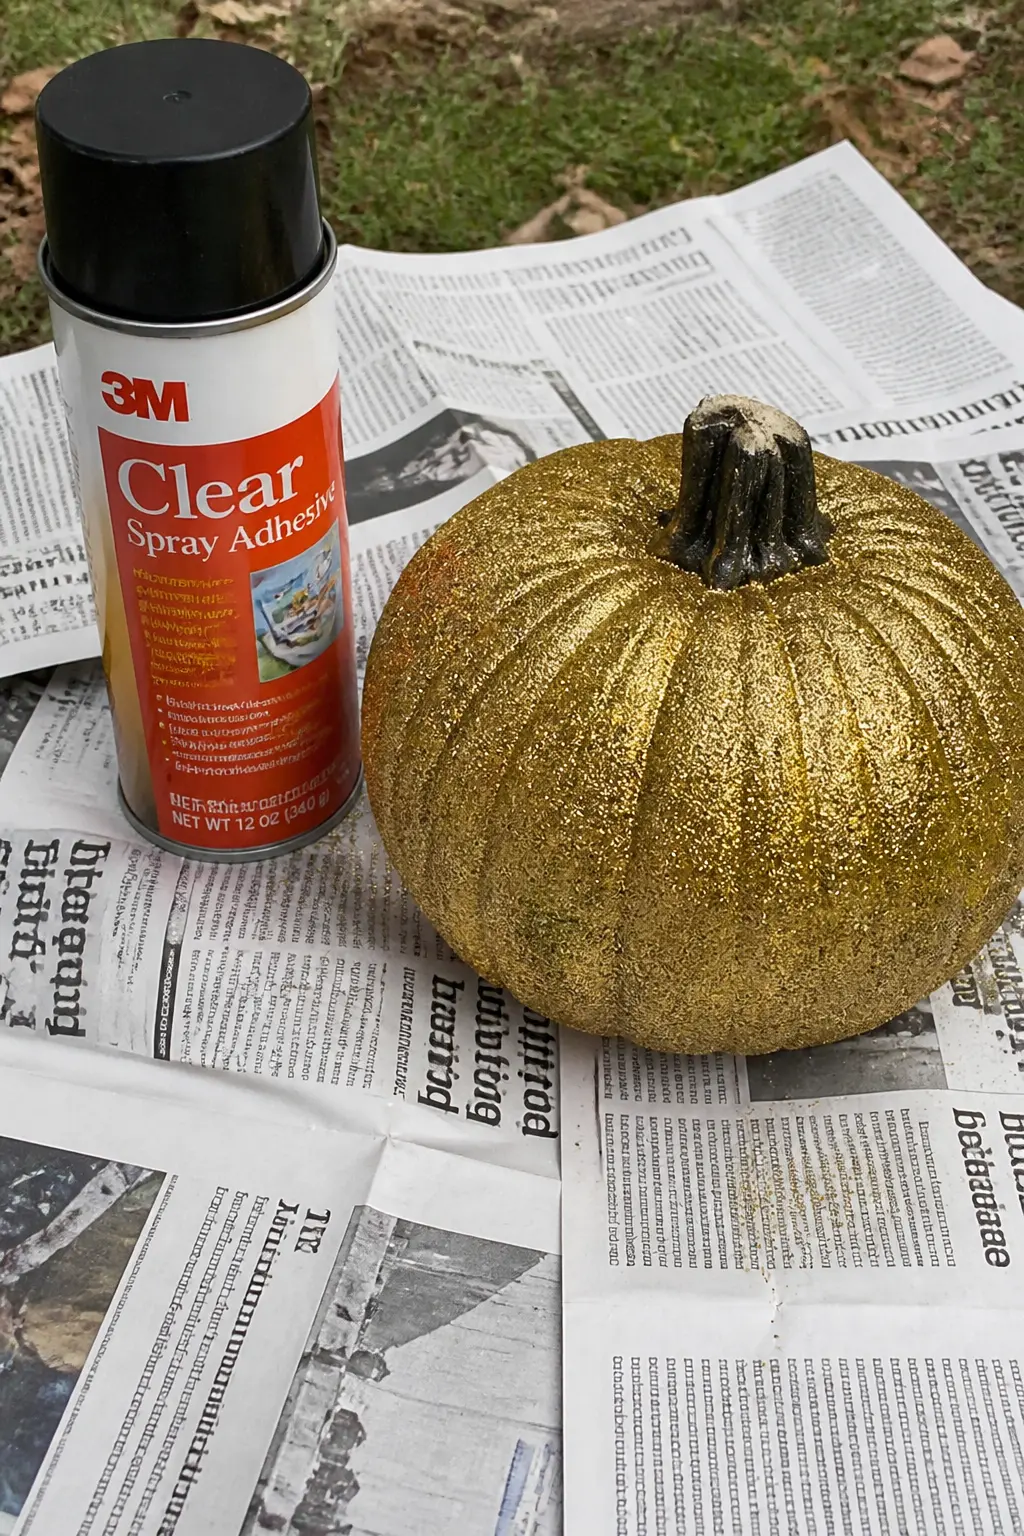
Method: Spray Adhesive for an Even Surface Rather Than Brushed Glue
Hold a can of craft spray adhesive thirty centimetres from the painted pumpkin and spray in a single sweeping pass. Work one section at a time, rotating the pumpkin. Pour glitter over each section immediately after spraying, tap off the excess, and move to the next.
Spray adhesive gives a more even surface than a brush because it applies in a uniform mist with no streaks or thick patches. The result is a flat, smooth glitter layer rather than a textured one. Let it cure for four hours, then seal with a matte varnish spray.
Work outdoors or in a well-ventilated space. Lay newspaper generously underneath the pumpkin, not just a sheet: spray adhesive carries further than it looks.
🛍 Shopping guide
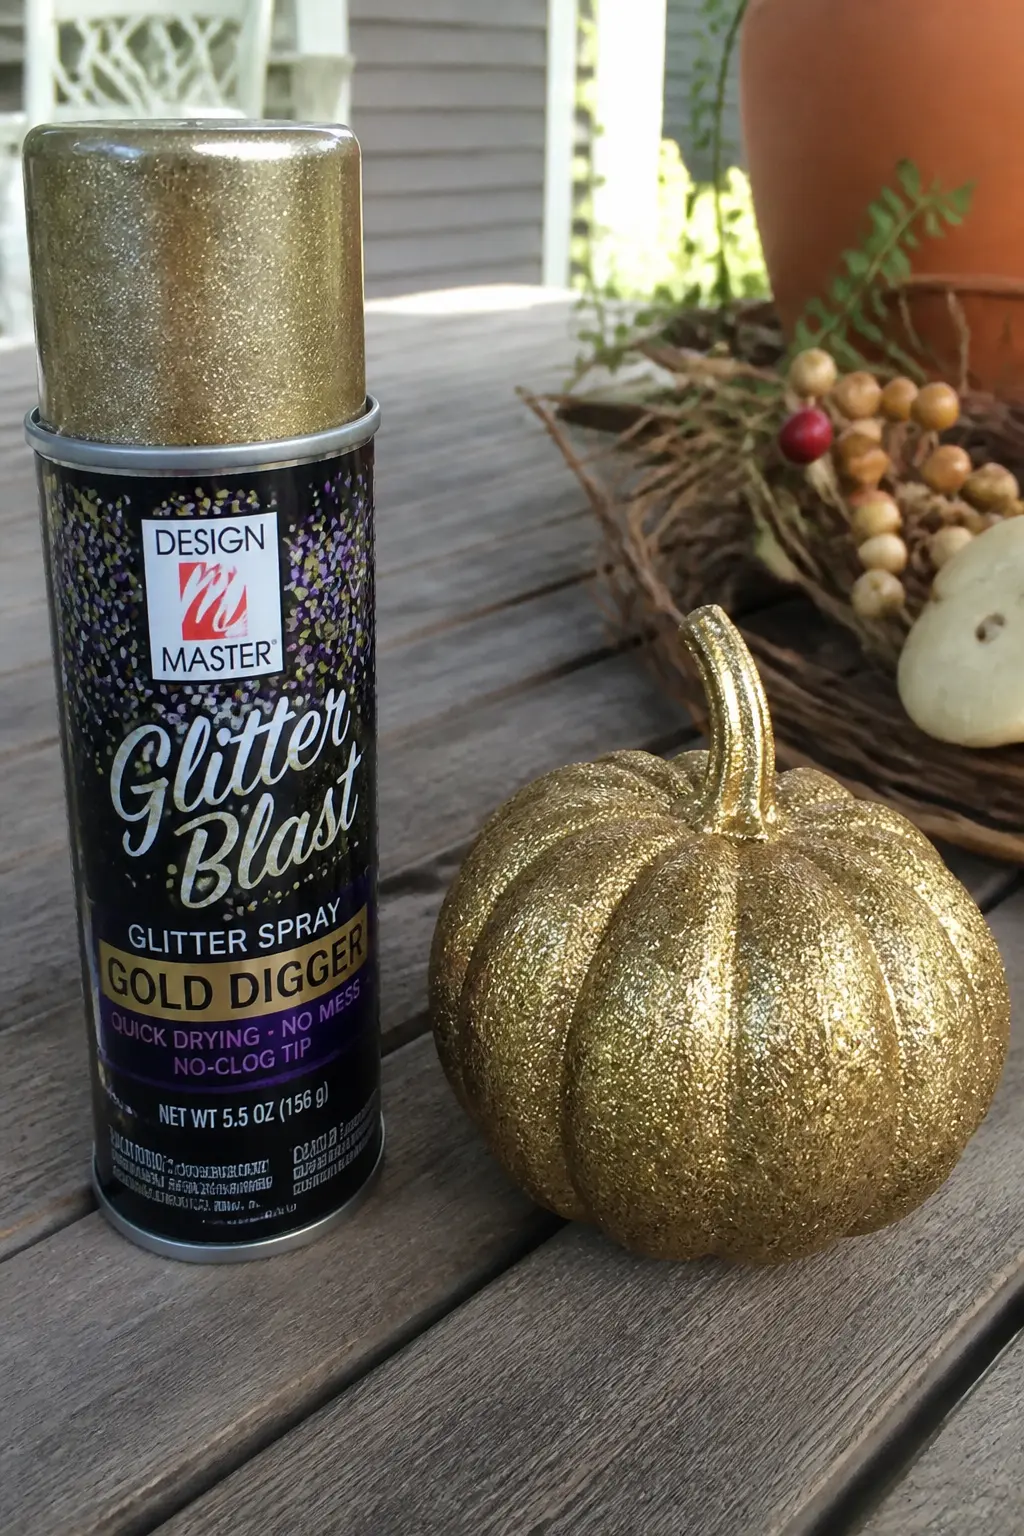
Method: Glitter Blast Spray, Which Needs No Sealing
Glitter blast sprays, sold under several brand names, deposit fine glitter in a carrier that dries to a fixed film. Spray directly onto a painted pumpkin in light, overlapping passes, and the glitter is bonded to the surface as the carrier dries. No separate adhesive, no separate sealer.
This method is the fastest and the cleanest. There is no loose glitter to spill, no brush to clean, and the finish is consistent across the whole surface. The range of colours is narrower than craft glitter jars, but gold and silver are always available.
The one limitation: glitter blast sprays are harder to use for partial or pattern designs because you cannot easily mask a curved surface perfectly. Use this method for fully covered pumpkins.
🛍 Shopping guide
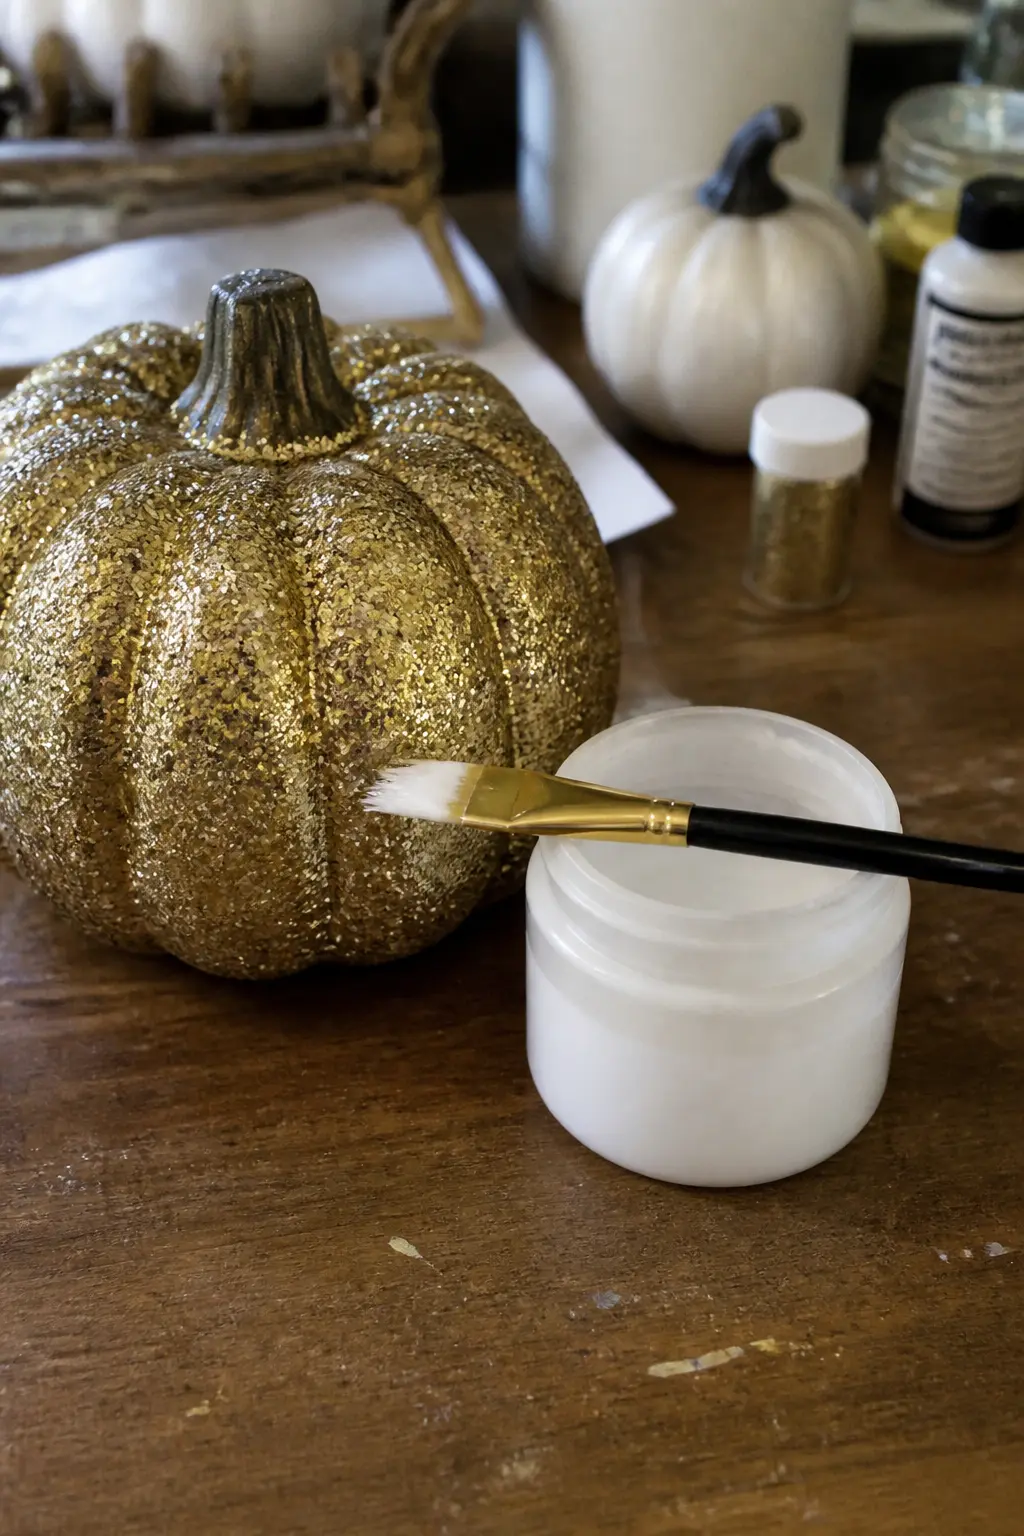
Method: Matte Varnish Over Finished Glitter So It Sparkles Without Looking Wet
Once any glitter application is completely dry, apply a thin coat of matte varnish over the entire surface. The matte varnish locks the glitter in place and removes the wet-looking shine that glue alone often leaves, giving the glitter a dry, refined sparkle rather than a glossy shellac effect.
This sealing step works on top of any of the three methods above and is strongly recommended as a final step on any pumpkin that will be handled or moved regularly. Brush-on matte varnish gives more control than spray on detailed or partial designs.
Use a soft brush and work quickly in one direction only. Going back and forth over varnish that is beginning to set drags it and creates streaks. One thin coat is enough. Two thin coats are better than one thick one.
🛍 Shopping guide
Frequently Asked Questions
What is the best way to stop a glitter pumpkin from shedding?
Seal it. A second coat of Mod Podge over the dried glitter, a matte varnish spray, or a brush-on matte varnish all lock the glitter in place. Glue under the glitter alone is not enough: the sealing coat over the top is the step that stops the shedding.
Do glitter pumpkins work on real pumpkins or only foam ones?
Both work. Foam pumpkins are more stable for adhesive designs such as rhinestones and vinyl, and they last indefinitely. Real pumpkins degrade after a few weeks, which limits how long the design will look good. For a display piece you want to reuse, foam is the better base.
What paint should you use under glitter on a pumpkin?
Chalk paint or matte acrylic both work well. They adhere without a primer on both foam and real pumpkins and dry fast enough to let you apply glitter on the same day. Gloss paint is not recommended because the glue does not grip a smooth shiny surface as well.
How do you get clean edges on a glitter pattern?
Painter’s tape, pressed firmly at the edges, applied before any glue touches the surface. Pull the tape while the glue is still slightly tacky, not after it has cured hard. A fully dried glue layer chips and cracks at the tape edge when removed.
What is the difference between fine glitter and chunky glitter on a pumpkin?
Fine glitter gives a smooth, uniform shimmer that reads as luxurious on a fully covered pumpkin and stays legible inside detailed patterns. Chunky glitter gives a faceted, dimensional sparkle that suits larger areas and pressed designs. For patterns, lettering, or fine detail work, fine glitter is always the right choice.
Can glitter pumpkins go outside?
Briefly, in dry weather. Rain, dew, and humidity will loosen even a sealed glitter surface over time, and a real pumpkin left outdoors will also degrade faster than one kept inside. For a front-door display, bring the pumpkin in overnight and in wet weather.
22 Halloween crafts for elementary kids that use real techniques and materials you can grab in one s
Printable Halloween cards ready to send: 14 painted, friendly designs for every person on your list.

18 DIY Halloween masks to make for kids and adults, from papier-mache celestial forms to layered lea
Leave a Reply