

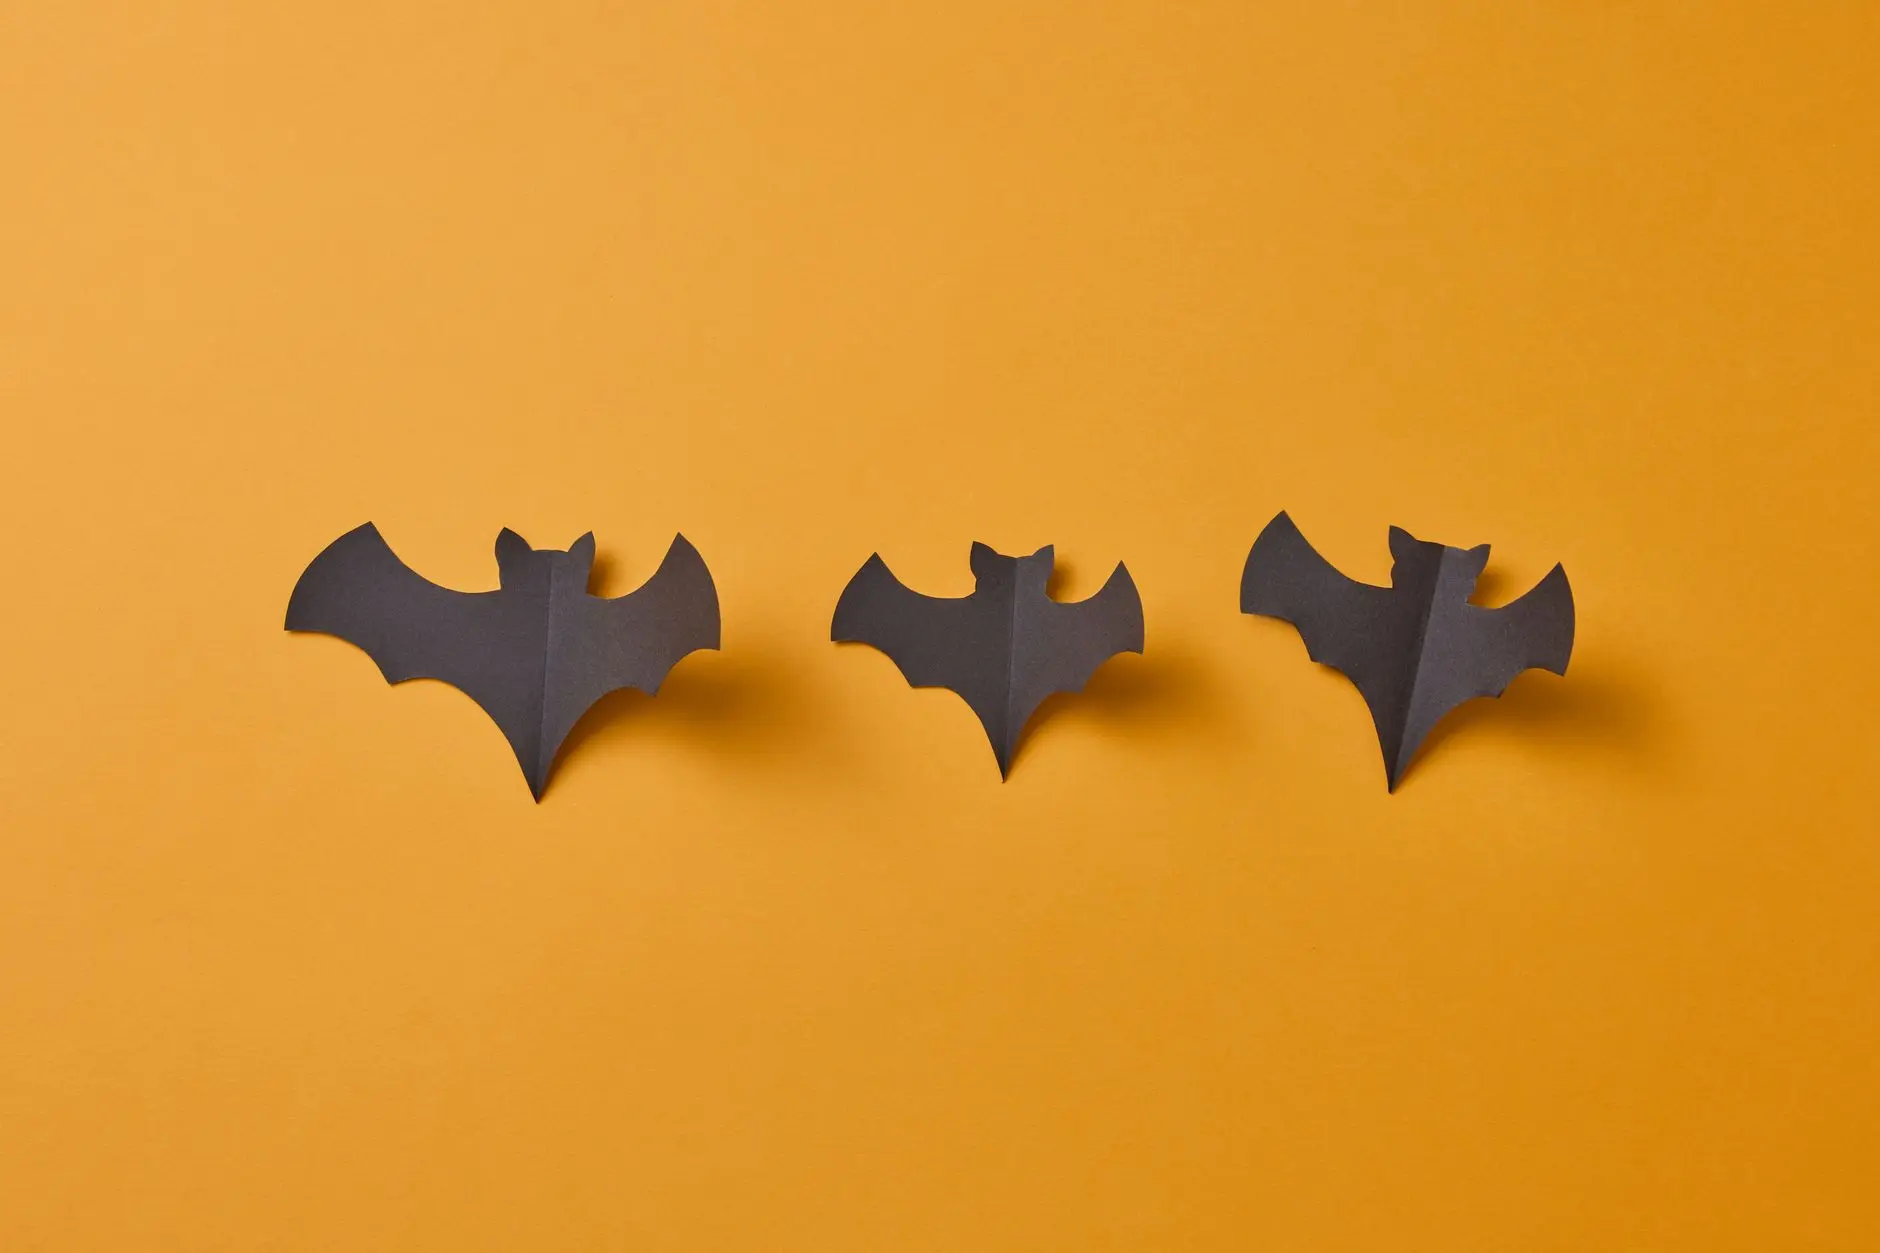
Preschool halloween crafts live or die by one number: how long will clearing up take. These 14 crafts are sorted from no mess at all straight through to full aprons-on, with an honest clean-up time on every single one.
Pick the craft that fits the energy you actually have, not the one that looked good on a grid at 11 pm.
Everything here suits ages three to five. Nothing has pieces smaller than four centimetres, nothing needs hot glue, and nothing leans into frightening imagery. A friendly ghost, a cheerful pumpkin, a round-eyed bat: that is the whole brief.
If you are looking for something to pair with these, 25 Not-Too-Scary Halloween Party Games for Kids runs off the same table, and 16 Halloween Crafts for Toddlers With Nothing Small Enough to Swallow covers the under-threes sitting beside your group.
This post contains affiliate links. If you buy through them, I may earn a small commission at no extra cost to you.
Magnet Ghost Pebbles
These little ghosts live on the fridge long after Halloween, which is exactly the kind of payoff a one-minute craft deserves. Each pebble gets a simple marker face, a magnet on the back, and that is genuinely the whole project.
Smooth, palm-sized white pebbles work best because the marker glides and the shape already reads as a ghost. Clean-up time: zero minutes, because nothing gets wet.
What You Need
- 6 smooth white pebbles, each at least 5 cm across
- 1 black marker, medium tip
- 6 self-adhesive magnetic discs, at least 2 cm diameter
How to Make It
- Hold a pebble flat side up. Draw two round eyes and a small open mouth on the widest part. The face should sit roughly centred, with the rounded top of the stone reading as the ghost’s head. Repeat on each pebble.
- Peel the backing from one magnetic disc and press it firmly onto the flattest face of the pebble, centring it so the pebble will hang level. Hold it in place for ten seconds. Repeat for each one.
- Press the finished pebbles onto the fridge. Store them in a small bowl between uses so the magnets do not pick up crumbs.

🛍 Shopping guide
Sticker Pumpkin Face
The smartest thing about this craft is that it is completely reversible. A child who sticks the eyes on sideways can peel them right off and start again, which makes it one of the most genuinely stress-free preschool halloween crafts in the whole list.
Pre-cut an orange pumpkin shape from card before the session and the children do all the rest themselves. Clean-up time: zero minutes.
What You Need
- 1 orange card pumpkin cutout per child, roughly A5 size, pre-cut by an adult
- 1 sheet of large foam stickers per child, assorted shapes in black and yellow (stars, circles, squares all work)
How to Make It
- Hand each child a pumpkin cutout and their sheet of stickers. Ask them to peel a sticker for each eye. Two matching round ones look classic, but two completely different shapes look charming too.
- Press the eye stickers onto the upper half of the pumpkin. Add a nose sticker below, then a row of teeth stickers along the bottom curve, or a single wide smile shape if the sticker sheet has one.
- Step back and look at the face. Anything that does not look right peels straight off and repositions. When it looks right, press each sticker down firmly. Display flat or hang with a loop of tape on the back.

🛍 Shopping guide
Window Cling Scene
Window clings peel on, peel off, and leave no mark on the glass, which is why they earn a spot on the no-mess end of this list.
A set of Halloween clings gives children a scene to build: pumpkins along the sill, bats climbing toward the top corner, a moon somewhere in the middle. The window itself becomes the display. Clean-up time: thirty seconds to peel them back into their packet.
What You Need
- 1 pack Halloween reusable window clings (pumpkins, bats, moon shapes, no frightening faces)
- 1 clean, dry window or glass door
How to Make It
- Tip the clings onto a flat surface and help children sort them into groups: round pumpkin shapes in one pile, bat shapes in another, moons and stars in a third. This makes placing feel intentional rather than random.
- Starting at the bottom of the window, press pumpkin clings onto the lower glass, smoothing out any bubbles with a fingertip. Work upward with bats, then place the moon near the top. The clings cling to themselves if they fold, so keep them flat as you handle them.
- Move any cling that does not look right by peeling it from one corner and repositioning. To store, press the clings back onto their original backing sheet and return to the packet.

🛍 Shopping guide
Paper Chain Garland
A paper chain earns its place because the finished thing looks genuinely good strung across a mantelpiece or along a window frame, and the making part is perfect for three-year-olds practising the pinch-and-press of a glue stick. Pre-cut the strips before the session and the children handle nothing sharper than paper. Clean-up time: one minute to gather any spare strips.
What You Need
- 20 orange paper strips, each 21 cm x 3 cm, pre-cut by an adult
- 20 black paper strips, each 21 cm x 3 cm, pre-cut by an adult
- 1 glue stick per child
How to Make It
- Take one orange strip and curl it into a ring so the two short ends overlap by about 2 cm. Run the glue stick across the overlap on the inside face, press the ends together, and hold for five seconds. The ring should hold its shape without springing open.
- Thread a black strip through the finished orange ring before closing it into its own ring in the same way. Alternate orange and black as the chain grows. This is the step that feels fiddly for small hands: show a child how to hold the open ring steady with one finger while threading the next strip through.
- Keep linking strips until the chain reaches the length you want. Drape it as you go to check the length rather than guessing. Store flat in a zip bag or roll loosely and secure with a single strip of tape.

🛍 Shopping guide
Cotton Ball Ghost
Black paper makes every fluffy white cotton ball glow, which is why this simple ghost looks better than it has any right to.
The finished piece sits somewhere between a painting and a collage, and it dries completely flat so it stacks with the rest of the artwork for the journey home. A glue stick keeps everything neat. Clean-up time: two minutes to gather stray cotton balls.
What You Need
- 1 sheet black card, A4, 160 gsm
- 10 to 15 cotton balls per child
- 1 glue stick per child
- 2 small circles of white paper per child, roughly 2 cm diameter, for eyes (pre-cut by an adult)
- 1 small black dot sticker per child for the mouth, at least 1 cm diameter
How to Make It
- Turn the black card portrait. Using the glue stick, draw a wide vertical oval in the top two-thirds of the card: this is the ghost’s body. Keep the strokes thick so there is plenty of tack. The glue will look shiny on the card, which makes it easy to see where you have covered.
- Press cotton balls onto the glue, starting at the top and working down. Pull a few cotton balls gently apart to make them flatter and wider for the lower edge, so the ghost tapers slightly rather than ending in a hard line. Press each one down firmly.
- Once the body is covered, glue the two white paper circles near the top of the ghost for eyes and press the black dot sticker below them for the mouth. Leave flat to dry for ten minutes. The cotton stays put once the glue dries; store the finished piece flat in a folder.

🛍 Shopping guide
Torn Paper Pumpkin
Tearing tissue paper is genuinely satisfying at age three, and the slightly uneven texture of torn edges gives the finished pumpkin more warmth than any perfectly cut version could. Print or draw a pumpkin outline on white card before the session. The children do the tearing and the sticking. Clean-up time: two minutes to sweep tissue scraps into the bin.
What You Need
- 1 pumpkin outline printed or drawn on white card, A4, per child (pre-prepared by an adult)
- 10 to 12 orange tissue paper squares per child, roughly 5 x 5 cm
- 1 glue stick per child
- 1 green paper rectangle per child, roughly 3 x 6 cm, for the stem (pre-cut by an adult)
How to Make It
- Tear each tissue square into smaller irregular pieces, roughly the size of a large postage stamp. The tearing does not need to be neat: ragged edges are the whole point, and children this age enjoy the process. Pile the pieces to one side.
- Run the glue stick across a section of the pumpkin outline, keeping inside the lines. Press torn tissue pieces onto the glue, overlapping them slightly. Work in sections, glueing a patch and then covering it before the glue dries. When the whole outline is covered, the orange should look full and slightly raised.
- Glue the green stem rectangle to the top of the pumpkin. Leave flat to dry for ten minutes. The tissue may wrinkle slightly as it dries: this adds to the texture rather than spoiling it. Store flat.

🛍 Shopping guide
Dot Marker Bats
Dot markers, sometimes called bingo daubers, are the best tool in preschool art because they require almost no coordination and produce a satisfying result every single time. A printed bat outline gives children a clear target, and the repeated pressing motion is genuinely calming.
The finished bat has a stippled, graphic look that could hang on any wall. Clean-up time: two minutes to recap markers and bin the sheet.
What You Need
- 1 large bat outline printed on white card, A4, per child (wings spread, roughly 15 cm across, pre-printed by an adult)
- 1 black dot marker per child (or dark purple as an alternative)
How to Make It
- Place the bat outline flat on a protected surface. Show the child how to press the dot marker straight down and lift it cleanly: a stamping action, not a dragging one. A dragging action smears the ink and produces streaks rather than dots, so it is worth demonstrating once.
- Work across the wings from one side to the other, pressing dots close together until the whole wing area is filled. Move to the body and fill that in the same way. The dots will overlap slightly, which is fine and gives the bat a nice dense look.
- Leave the sheet completely flat to dry for ten to fifteen minutes. Dot marker ink is water-based and dries quickly, but lifting it too soon smears the dots. Once dry, the bat can be cut out by an adult if you want to hang it, or displayed as a flat sheet.

🛍 Shopping guide
Cardboard Tube Mummy
A toilet roll mummy is one of those crafts that looks surprisingly finished for the effort it takes. The wrapping action, pulling strips around a tube and pressing the ends down, suits three-year-old hands well.
Stand the finished mummies in a row along a windowsill and they look like a proper Halloween display. Clean-up time: two minutes to gather spare strips. Store upright in a cup.
What You Need
- 1 cardboard tube per child (toilet roll core, roughly 11 cm tall)
- 8 to 10 strips of white paper per child, each roughly 2 cm x 20 cm, pre-cut by an adult
- 1 glue stick per child
- 2 round paper eyes per child, roughly 2 cm diameter, in white with a black pupil drawn on, pre-cut by an adult
How to Make It
- Run a thin stripe of glue along one long edge of a paper strip. Press one end against the tube near the top and wind the strip around at a slight diagonal, pressing as you go. The strip should overlap itself a little and not sit perfectly flat: slight bunching and angles look more like real bandages. Glue the other end down when you reach it.
- Continue wrapping strips around the tube, overlapping them and varying the angles slightly, until the tube is mostly covered but a small gap remains near the top front. This gap is where the eyes will go, so keep it clear.
- Glue the two paper eyes into the gap and press them flat. The mummy is finished. Stand it upright: if it tips, press the base gently flat on a hard surface. Store upright or lying in a box.

🛍 Shopping guide
Yarn and Glue Spider Web
This is the first craft on the list that needs a covered table, so lay down a few sheets of scrap paper before you start.
The web is made by pressing lengths of white yarn onto a glue-coated card, which sounds fiddly but is actually very forgiving: a slightly wobbly web looks more realistic than a perfect one. The single large bead spider sitting in the middle ties it together.
Clean-up time: five minutes to peel dried glue from fingers and wipe the table.
What You Need
- 1 sheet black card, A4, 160 gsm, per child
- Roughly 60 cm of white yarn per child
- 1 glue stick per child
- 1 large black wooden bead, at least 2 cm diameter, per child (the spider body)
- 2 short lengths of black pipe cleaner, each 8 cm, per child (legs, pre-cut by an adult)
How to Make It
- Cover the black card generously with the glue stick: the whole surface, not just a patch. Work fast before the glue dries. The card should look evenly shiny.
- Cut the yarn into pieces of varying lengths, from about 8 cm up to 20 cm. Lay one long piece from one corner of the card toward the opposite corner. Lay a second from the other two corners, crossing the first in the middle. Add shorter pieces radiating out from the centre and one or two curved pieces to suggest the concentric rings of a web. Press each piece down firmly. If a piece will not stick, add a dab of extra glue under it.
- Thread both pipe cleaner lengths through the hole in the bead so four legs stick out on each side. Bend the ends up slightly. Press the bead spider into the centre of the web with a dot of glue. Leave flat to dry for twenty minutes. The yarn and bead will both hold once the glue has fully dried. Display on a wall with a small piece of sticky tack on the back.

Sponge Print Bats
Sponge printing is the best introduction to printmaking for this age group because the pressure needed is light, the shape is obvious, and the repeat rhythm across the paper is satisfying to watch build up.
Cut the bat sponge shapes before the session so the children go straight to printing. Set up one shallow plate of black paint per two children and protect the table well: this is genuinely a ten-minute craft but a five-minute clean-up. Clean-up time: five minutes.
What You Need
- 1 kitchen sponge per two children, cut into a bat shape roughly 6 cm across by an adult
- Black tempera or washable paint
- 1 shallow plate or tray per two children for the paint
- 1 sheet white or cream paper, A3, per child
- Wet paper towels for hands
How to Make It
- Pour a thin layer of paint into the plate, just deep enough to coat the sponge without pooling. Press the bat sponge flat into the paint, lift it, and press it once onto a scrap piece of paper first to check the print is clear and not blobby. If the print is too heavy, blot the sponge on the scrap paper once more before moving to the good sheet.
- Press the sponge bat firmly onto the paper, hold for two seconds, and lift straight up. Move to a new spot and repeat, turning the sponge slightly each time so the bats face different directions. Fill the paper with as many prints as the child wants, overlapping them if they like the look of that.
- Leave the prints completely flat to dry for twenty minutes. Tempera paint dries quickly but smears badly if stacked while wet. Once dry, the finished sheet can hang as a Halloween display or be cut up by an adult to make gift wrap.

🛍 Shopping guide
Paper Plate Pumpkin
A paper plate is already pumpkin-shaped and pumpkin-sized, which does most of the design work for you. Orange paint on a white plate, a green paper stem, and the result is cheerful and immediately recognisable.
The only wait is the drying time, which is the longest part of this ten-minute project. Hang finished pumpkins from a length of string across the classroom window for a display that takes thirty seconds to put up.
Clean-up time: five minutes to wash brushes and wipe the table.
What You Need
- 1 white paper plate per child, 22 cm diameter
- Orange washable paint
- 1 flat paintbrush per child, roughly 2 cm wide
- 1 green card rectangle per child, roughly 3 x 8 cm, pre-cut by an adult, for the stem
- 1 glue stick per child
How to Make It
- Place the paper plate face up. Using the flat brush, paint the whole front surface orange. Work from the centre outward in broad strokes. One coat is usually enough if the brush is well loaded: hold it up between coats and if the bristles look nearly dry, load more paint. A thin, streaky coat will need a second pass once the first is dry.
- Leave the plate completely flat to dry for twenty to thirty minutes. This is the longest part. The paint should feel dry to the touch and not transfer onto a finger when pressed lightly. Stacking wet plates ruins both of them, so keep them separated.
- Once the orange is fully dry, run the glue stick along one short edge of the green card stem and press it firmly to the top back of the plate so it stands up above the rim. Hold for twenty seconds. The stem should stand upright. Punch a hole at the top of the stem with a hole punch if you want to hang the pumpkin, and thread a short length of string through.

🛍 Shopping guide
Handprint Ghost
The handprint is the whole shape: fingers pointing downward are the ghost’s wispy tail, the palm is the head, and the result is one of those crafts that parents keep for years.
Work with one child at a time for the print itself, then let them add the eyes independently once the paint dries. Aprons are non-negotiable here. Clean-up time: five minutes, mostly wiping hands immediately after printing and rinsing the paint plate.
What You Need
- 1 sheet black card, A4, 160 gsm, per child
- White washable paint
- 1 shallow plate for paint
- Wet wipes or a damp cloth for immediate hand cleaning
- 2 round black sticker dots per child, at least 1.5 cm diameter, for eyes
How to Make It
- Pour a thin layer of white paint into the shallow plate. An adult should hold the plate steady. Ask the child to spread their hand flat, fingers together and pointing downward, and press their palm and fingers into the paint. Lift the hand and check the coating: it should be even and white, not thick and blobby. Blot once on scrap paper if there is too much paint on the palm.
- Turn the black card so the short edge is at the top. An adult helps the child press their paint-coated hand firmly onto the card with fingers pointing down toward the bottom edge. Hold for three seconds, then lift straight up. Wipe the child’s hand immediately with a wet wipe. The handprint ghost should appear with the palm as the head and five fingers trailing below.
- Leave the print flat to dry for twenty minutes. Once completely dry, the child places the two black dot stickers onto the palm area as eyes. Keep the eyes close together and near the top of the palm for the best ghost expression. Store flat.

Pumpkin Slime Tray
This is the one you make when you have decided mess does not matter today. The slime is made in the tray, explored in the tray, and the tray does all the containing.
It is not a craft with a take-home product: it is twenty minutes of sensory play with a Halloween colour palette and a satisfying texture that sits between gooey and solid.
The pumpkin seeds pressed into the surface give children something purposeful to do with their hands. Clean-up time: ten minutes. Aprons and a covered table are genuinely necessary here.
What You Need
- 120 ml orange craft glue (PVA tinted with a few drops of orange food colouring, or pre-coloured orange craft glue)
- 4 tablespoons cornflour
- A handful of large pumpkin seeds, cleaned and dried, at least 1 cm long
- 1 shallow plastic tray per two to three children, roughly 30 x 20 cm
How to Make It
- Pour the orange craft glue into the shallow tray. Sprinkle the cornflour over the top. An adult should do the initial stirring with a spoon until the mixture begins to pull away from the sides and hold its shape when pressed. The mixture is ready when it feels firm when you press quickly and flows slowly when you hold it up: this is the classic cornflour-and-glue non-Newtonian texture.
- Let the children take over at this point. They can press the pumpkin seeds into the surface, drag fingers through, watch it heal itself, and pick it up and let it drip. The activity is the exploration, not the result.
- To clean up, scoop the slime into a zip bag and bin it (do not pour it down the drain). Wipe the tray with dry paper towels first to remove the bulk, then wipe with a damp cloth. Hands wash clean with warm water and soap.

Group Handprint Mural
This is the craft that a whole class makes together on the last session before half-term, and it rolls up and goes onto next year’s wall if you store it right.
Every child adds their handprints to one long piece of paper, and an adult adds the finishing details once the paint dries. The result looks genuinely impressive for the effort involved.
Clear the floor or a full table, tape the paper down well, and plan for ten minutes of washing up. This is the most involved project on the list, but it is also the one children remember. Clean-up time: ten minutes.
What You Need
- 1 roll of white lining paper or art paper, cut to roughly 150 cm x 60 cm for a group of ten children
- Orange washable paint and black washable paint
- 2 shallow plates, one per colour
- Wet wipes or a damp cloth, one pack
- Low-tack masking tape to secure the paper
How to Make It
- Tape the paper flat to the floor or a long table, one strip of masking tape at each corner and one along each long edge so it does not shift during printing. Pour the paints into their plates. An adult guides each child to the paper in turn, coating their palm in orange paint and pressing a handprint palm-up across the lower section to create a row of pumpkin shapes, fingers pointing upward as stems. Wipe each child’s hand immediately after their print.
- Once the orange prints are done, coat children’s palms in black and have them press bat handprints in the space above, fingers pointing downward this time. Allow the prints to overlap slightly for a fuller composition. Wipe hands immediately after each print.
- Leave the mural flat to dry for thirty minutes. Once completely dry, an adult can add details with a black marker: a face on each orange pumpkin print, small eyes on each black bat. Peel the tape off carefully. Roll the mural loosely around a cardboard tube and secure with a rubber band to store.

Frequently Asked Questions
What are the best preschool Halloween crafts for a group of 20 children?
The crafts that work best at a table of 20 are the ones with no drying bottlenecks and minimal equipment per child.
Sticker Pumpkin Face, Dot Marker Bats, and Paper Chain Garland all work well at scale because each child needs only their own sheet or cutout and a simple tool. Prepare everything the night before and set each place before children arrive.
Which of these Halloween crafts have zero clean-up time?
Magnet Ghost Pebbles, Sticker Pumpkin Face, and Window Cling Scene all have zero clean-up time because nothing gets wet. The paper chain garland takes about one minute to gather spare strips. These four are the ones to reach for when you genuinely cannot face any mess today.
Are these crafts safe for three-year-olds?
Every craft in this list is designed for ages three to five. Nothing has pieces smaller than four centimetres, nothing uses hot glue or sharp tools, and no imagery is frightening.
Some crafts note that an adult should handle a specific step, such as pre-cutting paper strips or applying paint to a child’s hand: those notes are in the method so you can see exactly what stays with the adult.
Can these preschool Halloween crafts be made at home, not just in a classroom?
All 14 crafts work at home. The no-mess options suit a kitchen table with no preparation. The moderate-mess crafts need a covered table and a roll of paper towels. The aprons-on crafts need a bit more space and an apron each, but none require a classroom setup or specialist equipment.
What can children do with the finished crafts?
The magnet pebbles go straight onto the fridge. The window clings go on the glass. The paper plate pumpkins and handprint ghosts hang on a wall. The paper chain garland drapes across a mantelpiece or window frame. The slime tray is purely a sensory activity with no take-home product. The group mural rolls up for the classroom wall.
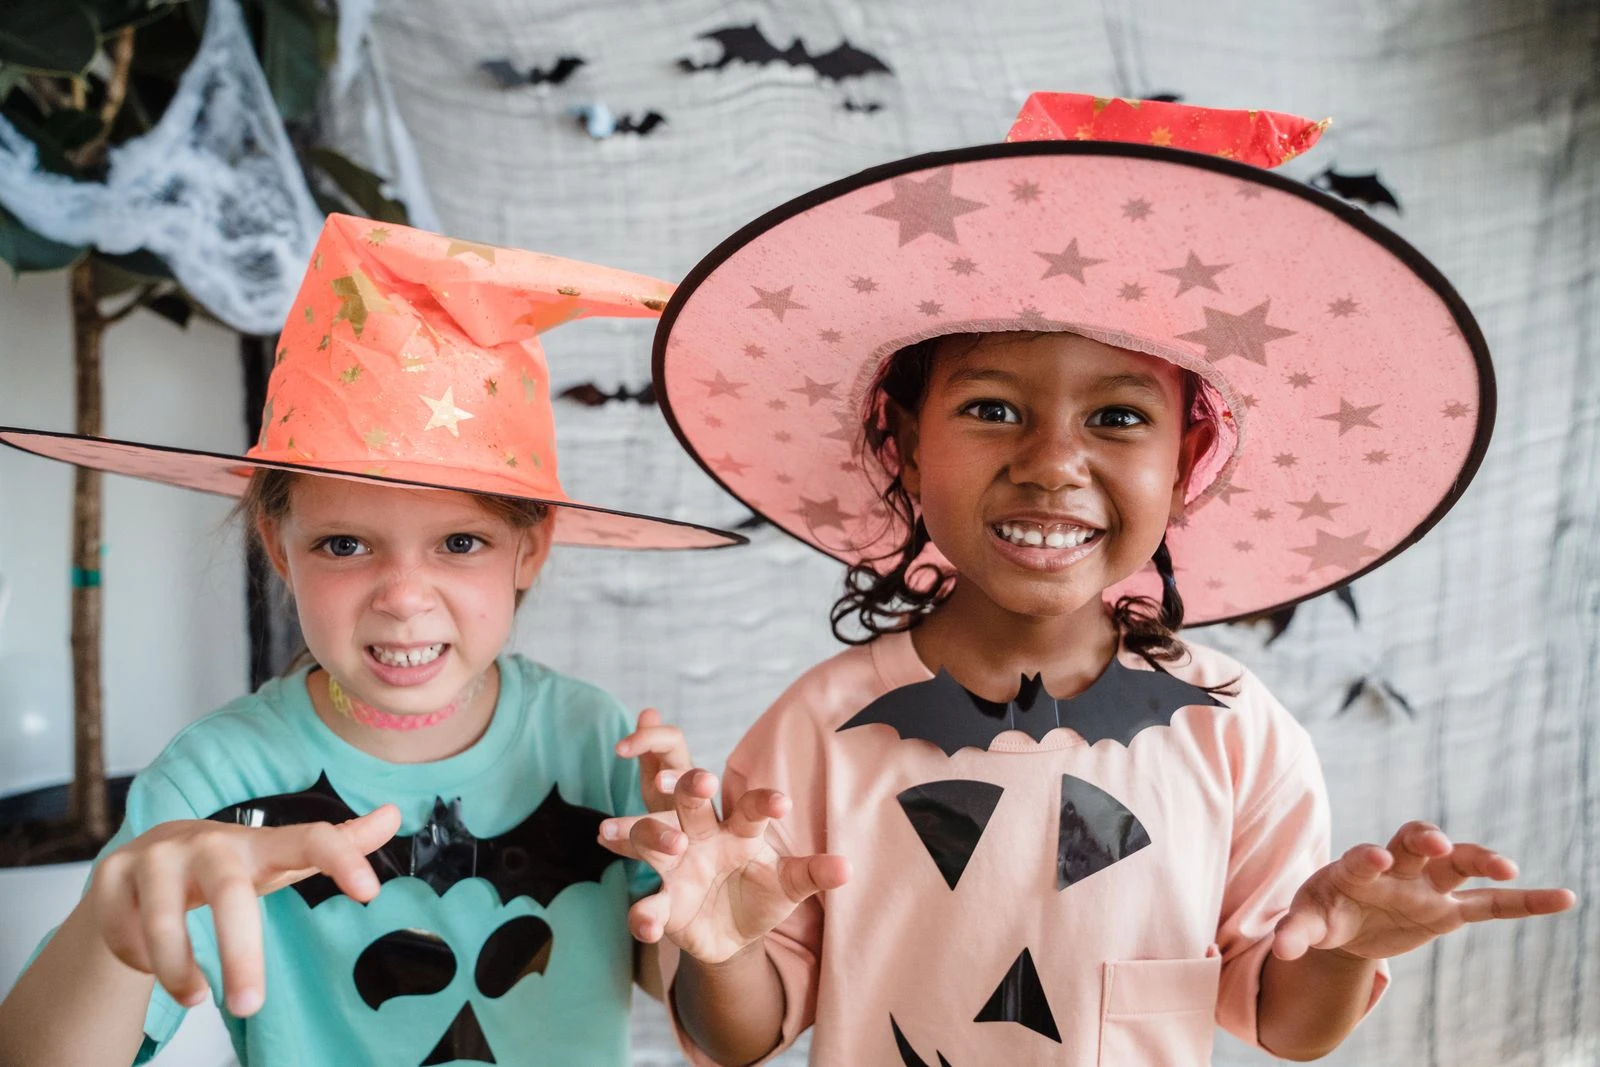
25 halloween party games for kids that are high-energy, not too scary, and totally unforgettable. Pr
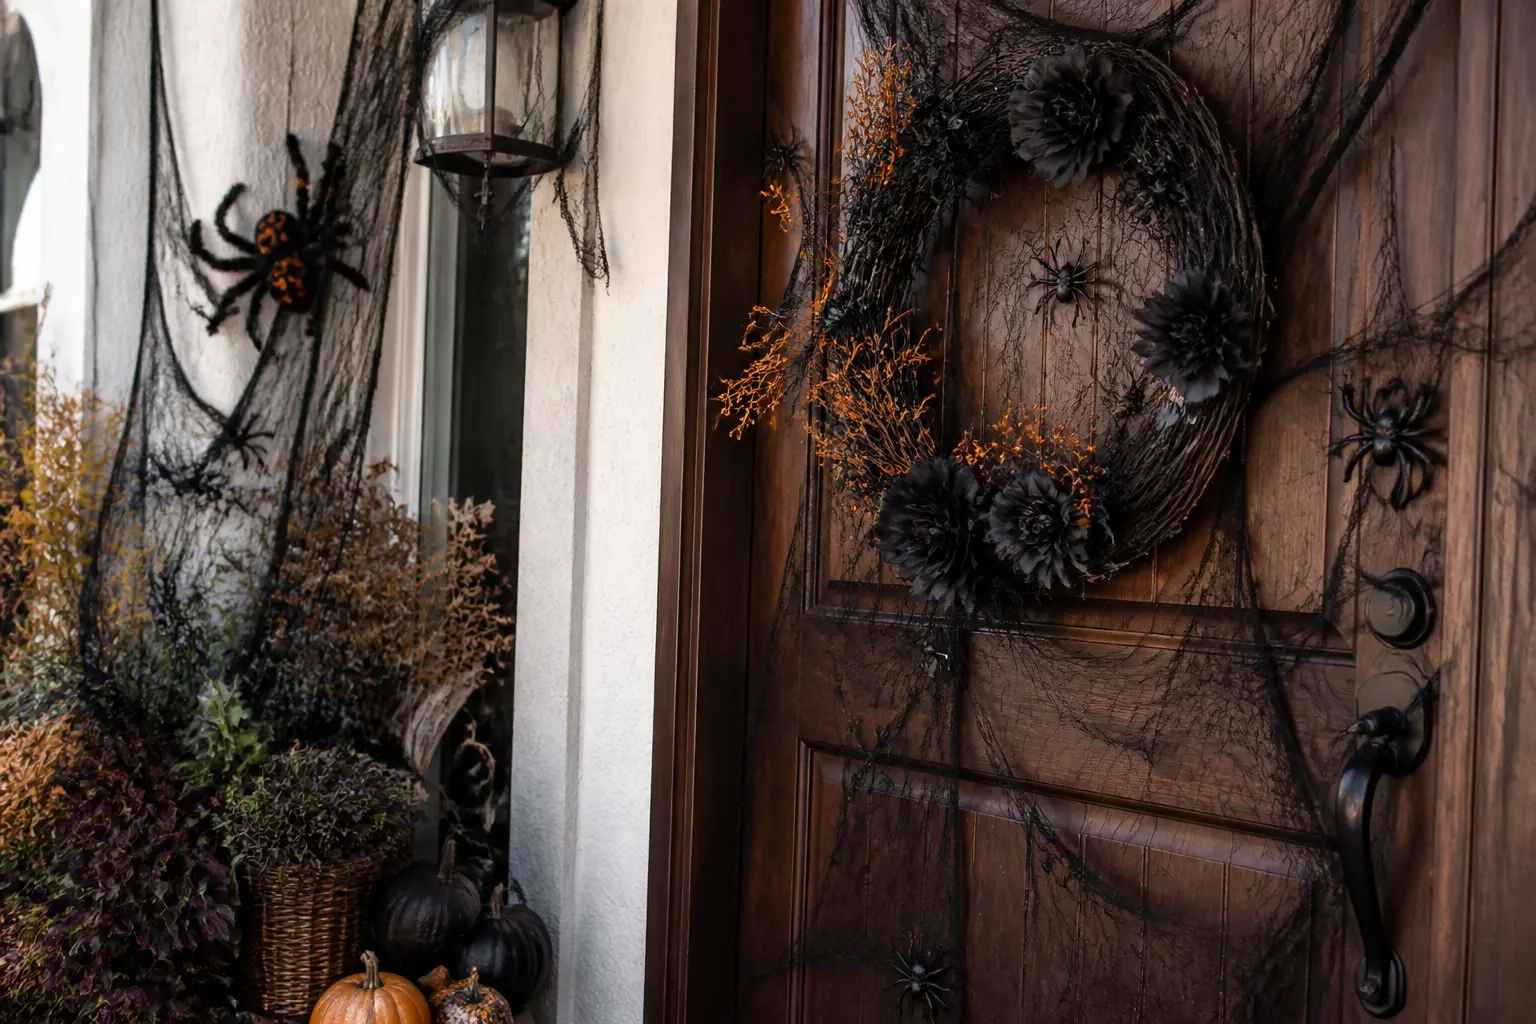
27 halloween door decorations contest ideas that read boldly from across the hall, use cheap materia

Find the right Halloween treats for breakfast, parties, movie night or candy-free snacking, with 9 g
Leave a Reply