

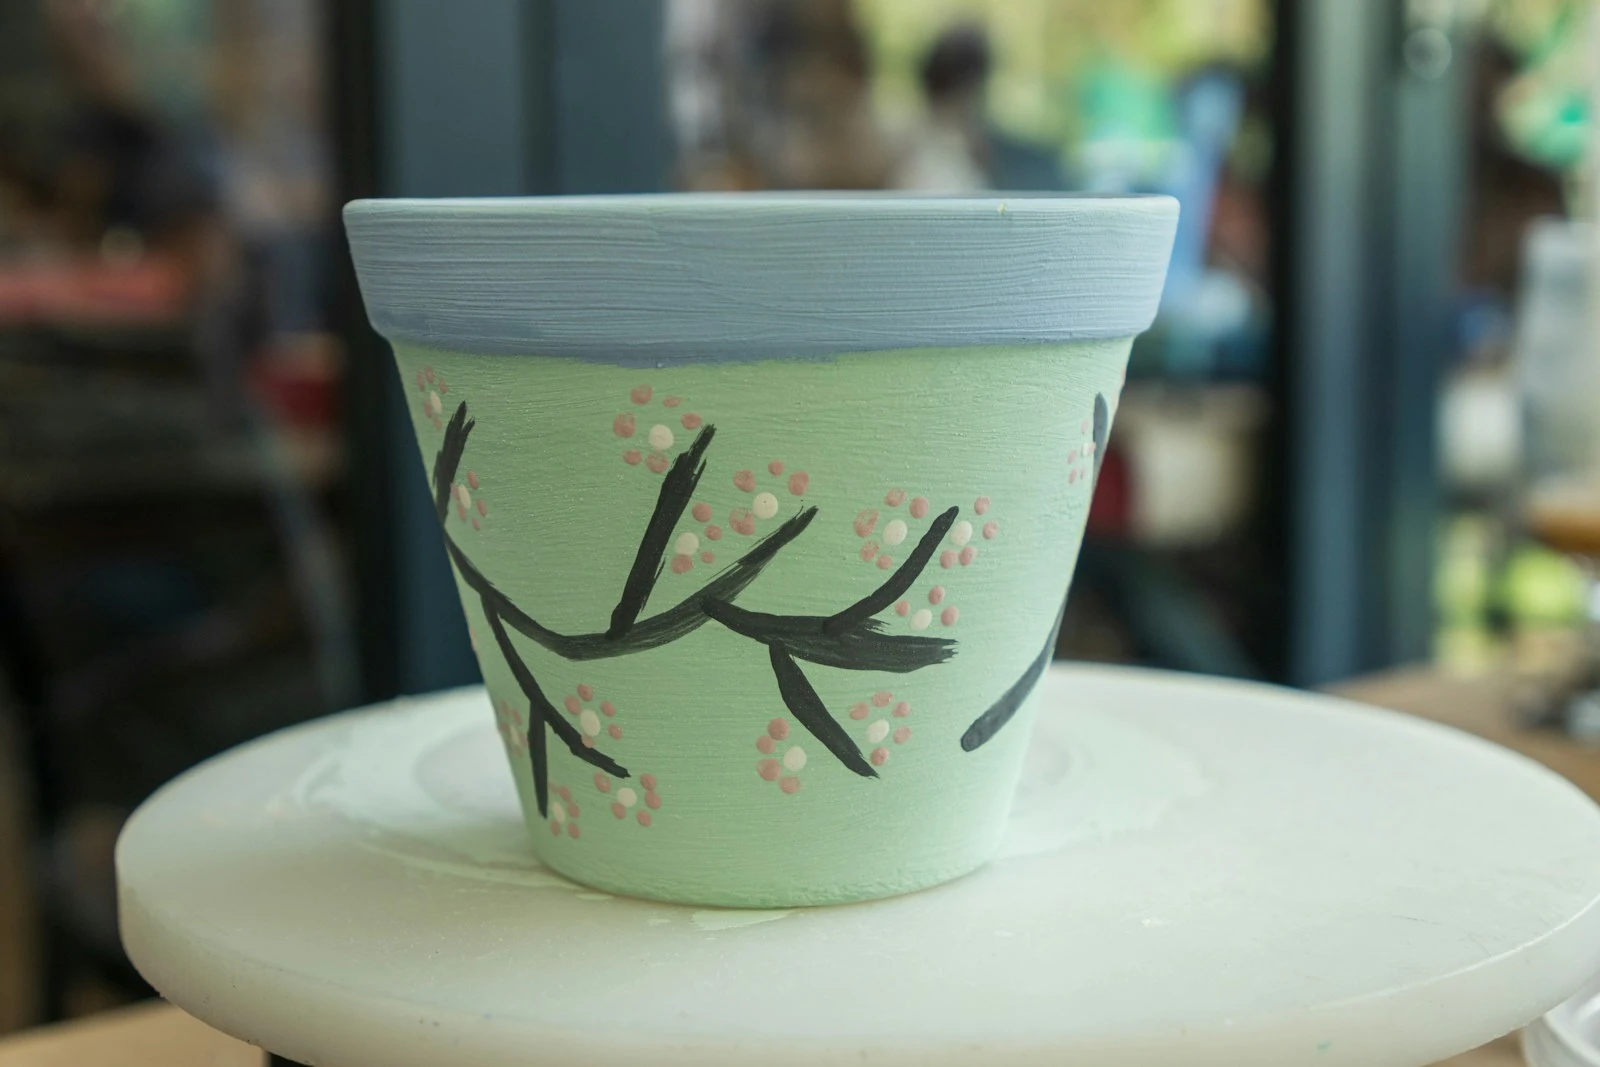
I painted my first terracotta pot with nail polish and a sponge. Not a real sponge brush — a kitchen sponge I cut into a rough triangle. The pot came out looking like something from an actual boutique and I spent maybe $2 on supplies I already had.
That was three years ago. I’ve probably done 40 pots since then. Some are on my porch. Some are in my kitchen. Two are currently on my bathroom counter holding q-tips and cotton rounds because the look works there too.
Here’s what I’ve figured out about terracotta pot painting: the less perfect you try to be, the better it usually turns out.
This post contains affiliate links. If you buy something through these links, I may earn a small commission at no extra cost to you. I only recommend things I’d actually use.
Before You Paint Anything
One thing that will ruin your results: skipping the seal step. Terracotta is porous. If you paint directly onto a raw pot and then water it or put it outside, the paint flakes off within a season. Seal first, then paint, then seal again when you’re done.
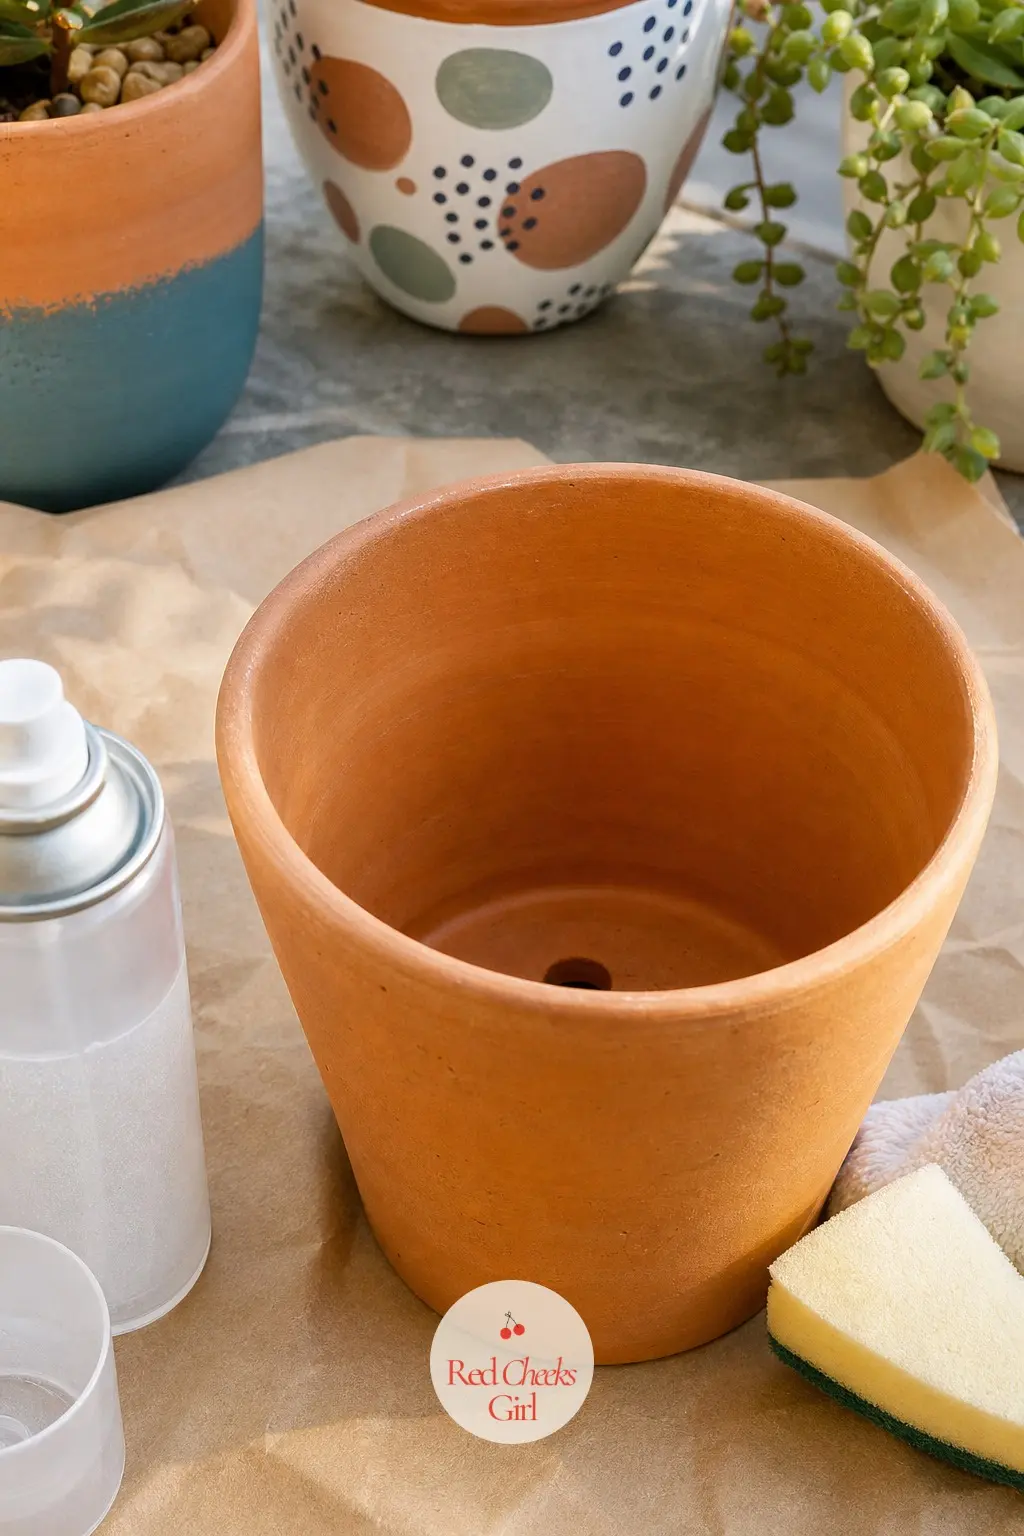
The cheapest way is a quick coat of clear acrylic spray sealer before you start. Ten minutes and $6 at the craft store. Worth it every single time.
Also: clean the pot. A damp cloth, let it dry completely. That’s it. You don’t need to sand or prime unless the pot has old flaking paint on it already.
1. The Colorwash (Easiest One on This List)
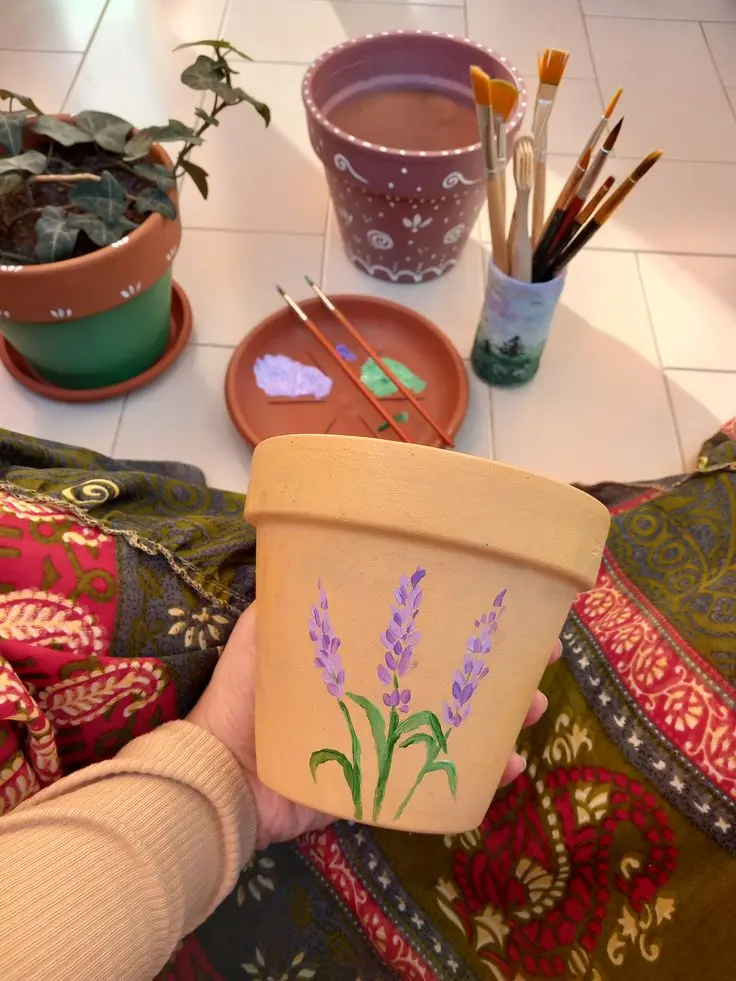
This is the one I recommend to literally everyone who says they can’t paint. You water down acrylic paint — like, really water it down, almost tea-colored — and brush it over the pot in random strokes. The terracotta shows through. It looks intentional and kind of expensive. It takes about 8 minutes.
Colors that work best for this: dusty sage, warm terracotta tones layered over the natural clay, muted lavender, chalky white. Avoid neons and anything too bright — the diluted effect looks muddy with saturated colors.
You can layer two colors. Let one dry, do the next. The overlap where they meet looks almost marbled without any effort.
Grab a set of basic acrylic craft paints and you have enough colors to try different combinations for months.
2. Dipped Pots
Half the pot stays natural terracotta. The other half gets painted solid. You don’t even need tape — the line doesn’t have to be perfect. A slightly uneven edge looks handmade, which is the point.
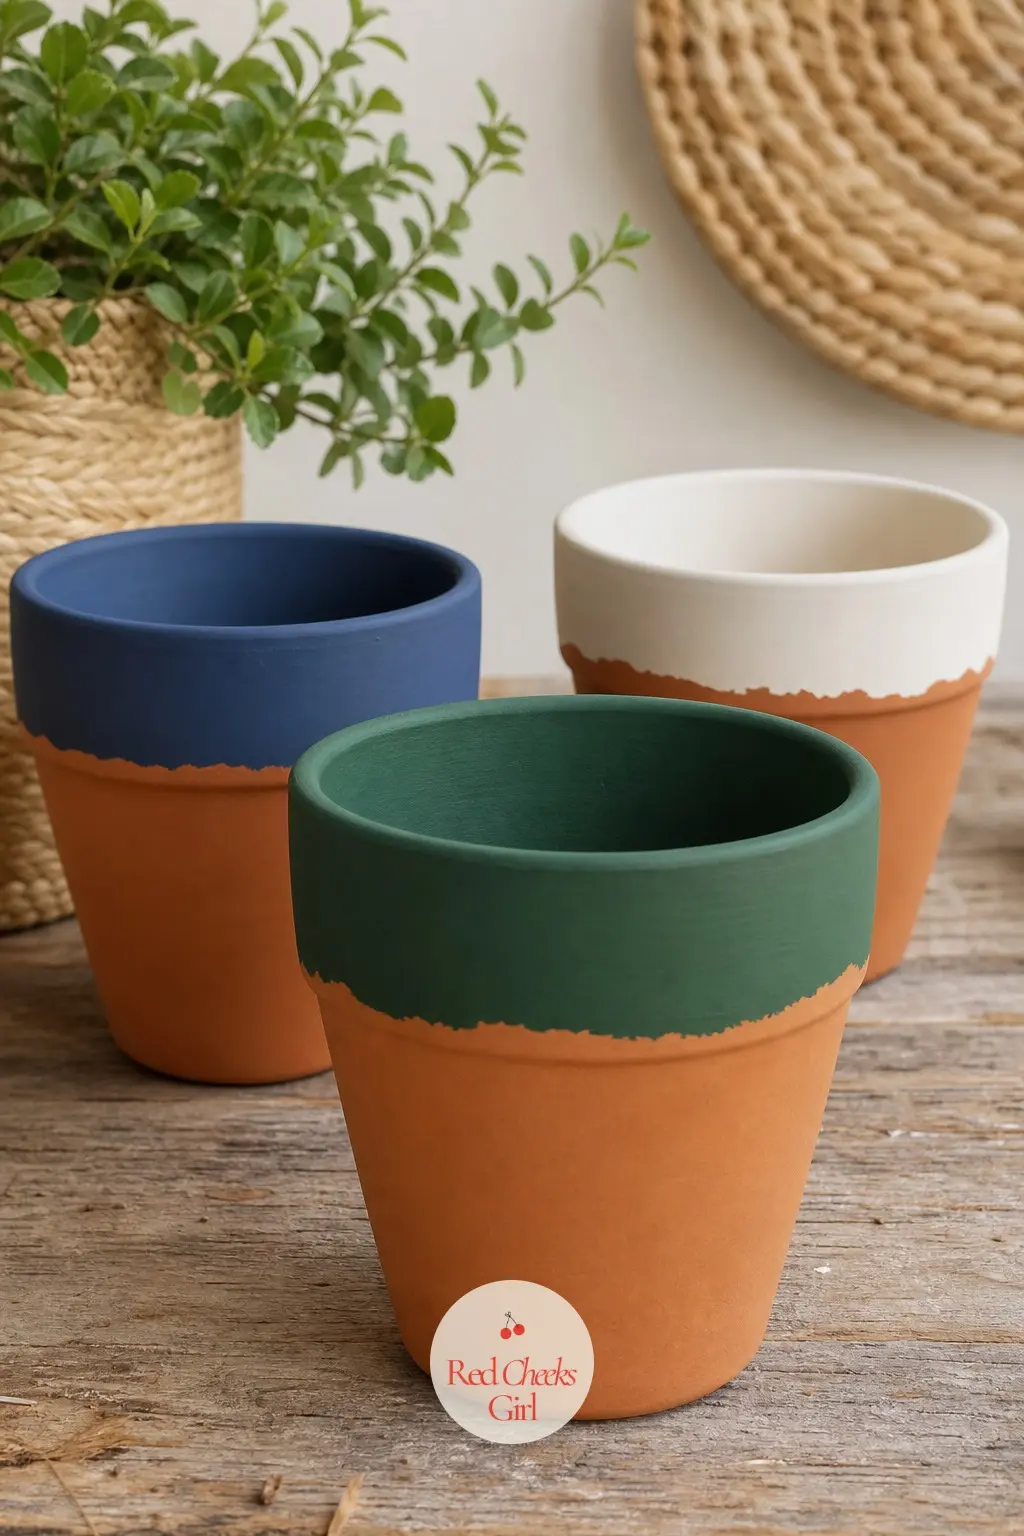
Turn the pot upside down and paint the bottom half. When it dries, flip it right-side up and paint the top rim and inside edge to match. That’s the whole technique.
I did a set of three — one in deep hunter green, one in cream, one in matte black — and they’ve been on my kitchen windowsill for two years. Still look good.
3. Polka Dots With a Pencil Eraser
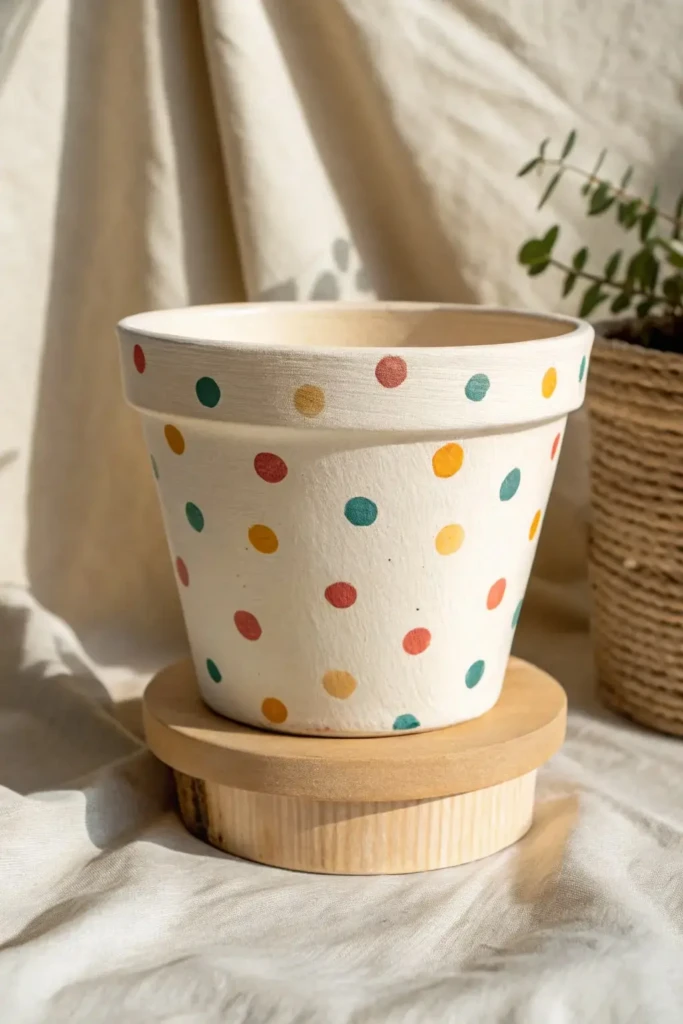
The eraser on the end of an unused pencil makes a perfect small dot. A wine cork makes a bigger one. A marker cap makes a medium one. That’s it. That’s the whole technique.
Dip in paint, stamp. Don’t reload every single time — let the dots vary slightly in coverage. It looks more intentional that way.
White dots on a terracotta base look really good. Black dots on white look graphic and clean. Multicolored dots on a dark background are fun for a kids’ room or garden.
4. Geometric Tape Designs
Painter’s tape + one solid paint color = geometric look that people will genuinely ask you about.
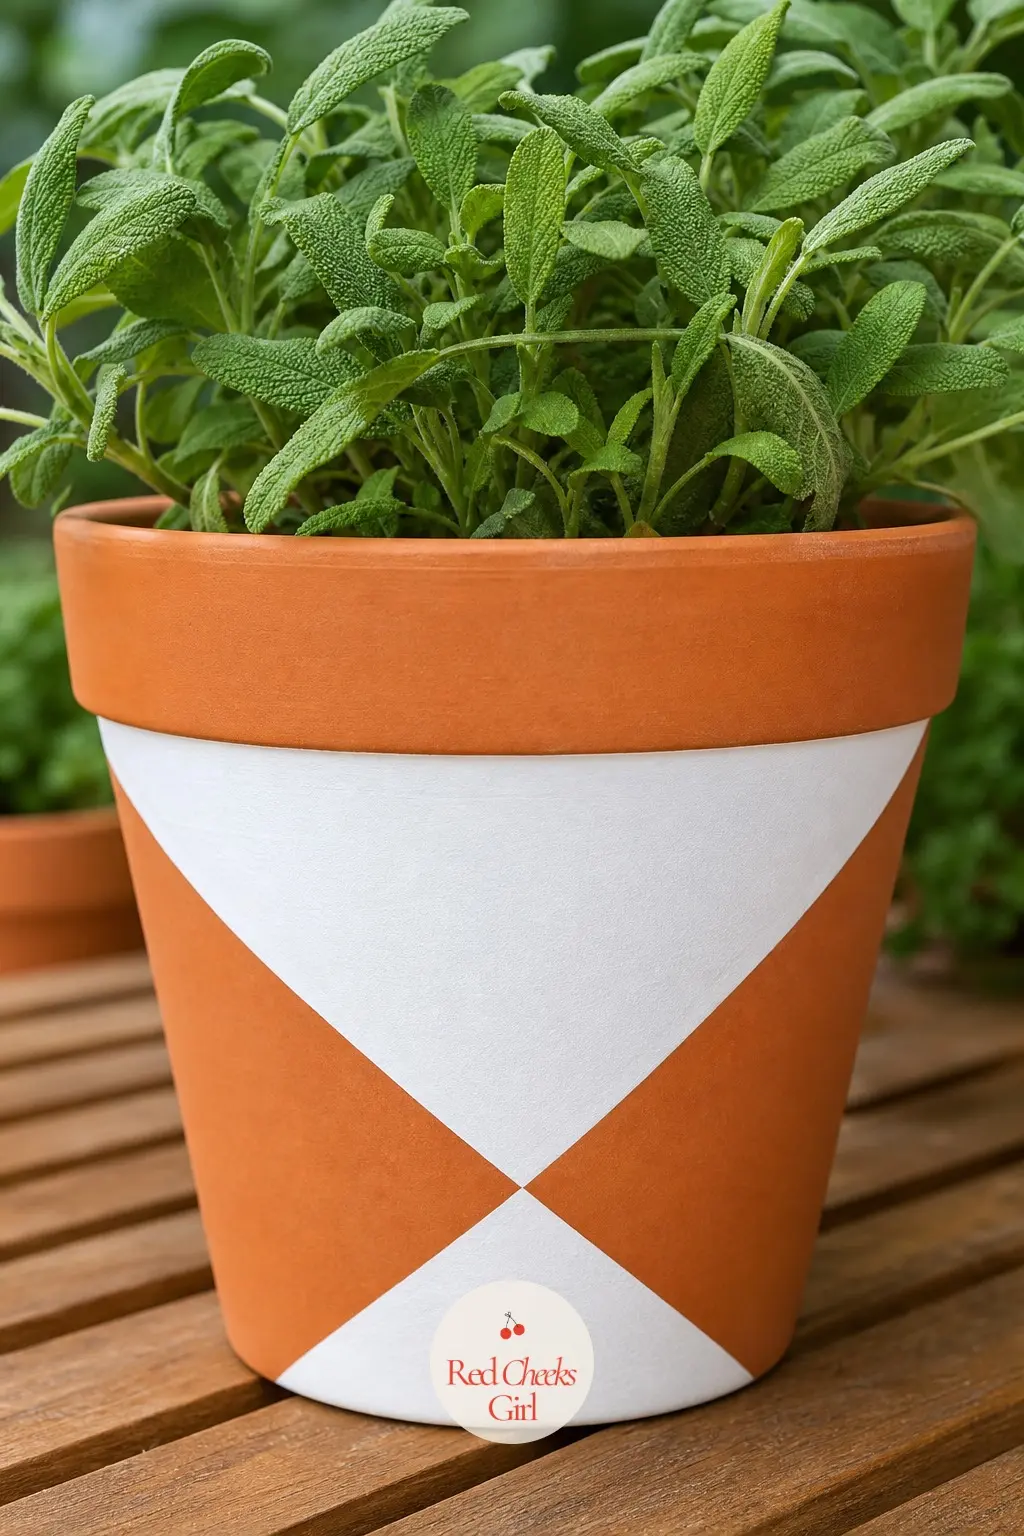
You can go simple: tape off thick diagonal stripes. Or go slightly more involved: tape off a triangle shape and paint inside it. The key is pressing the tape edges down really firmly so paint doesn’t bleed under them. I run my fingernail along every edge.
Remove the tape while the paint is still slightly wet — not fully dry. This gives cleaner lines.
Painter’s tape comes in multiple widths and it’s cheap. A roll lasts for probably 20 pots.
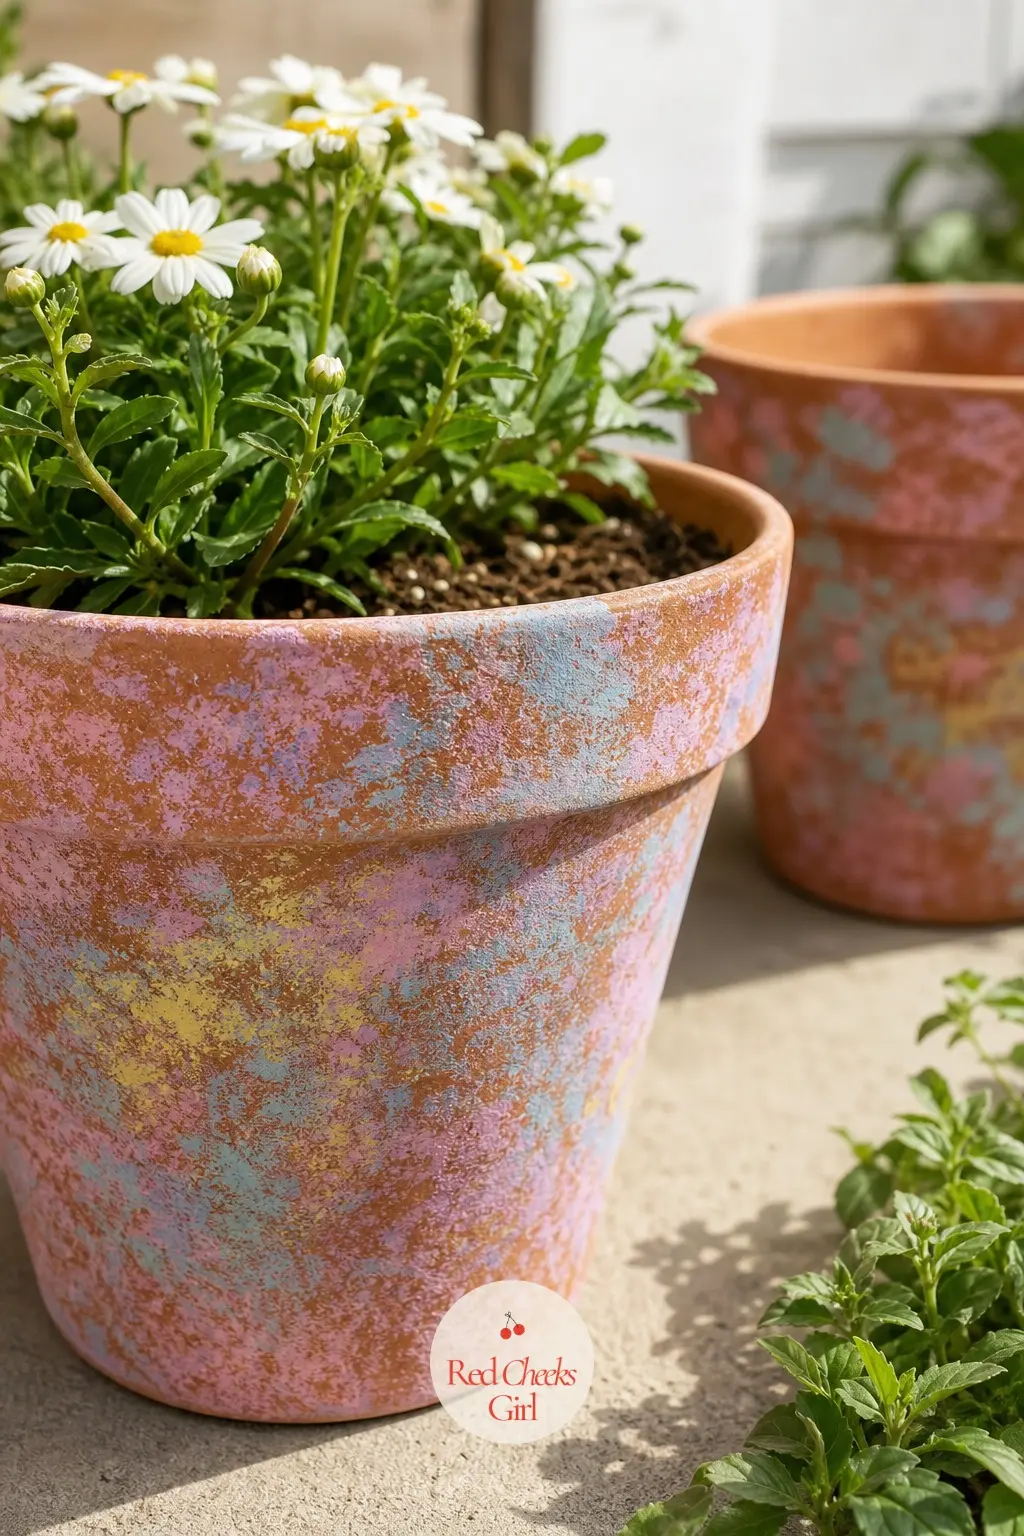
5. Speckled/Splatter Finish
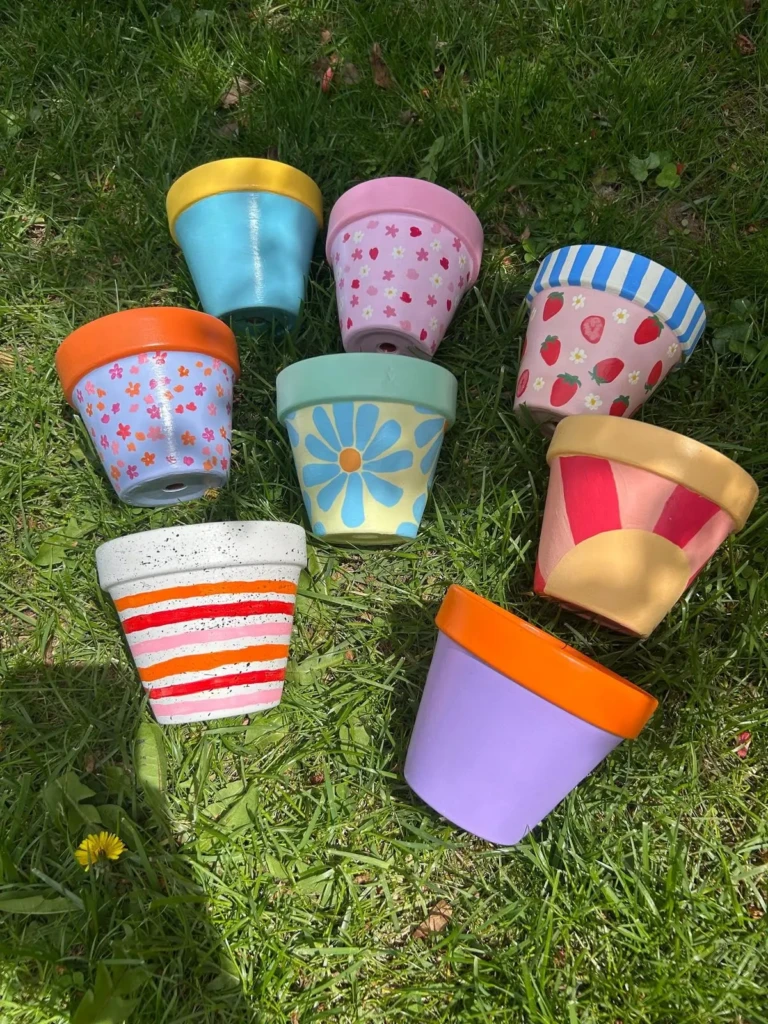
Load a brush with fairly thin paint. Hold the pot over newspaper. Flick the brush toward it. That’s it.
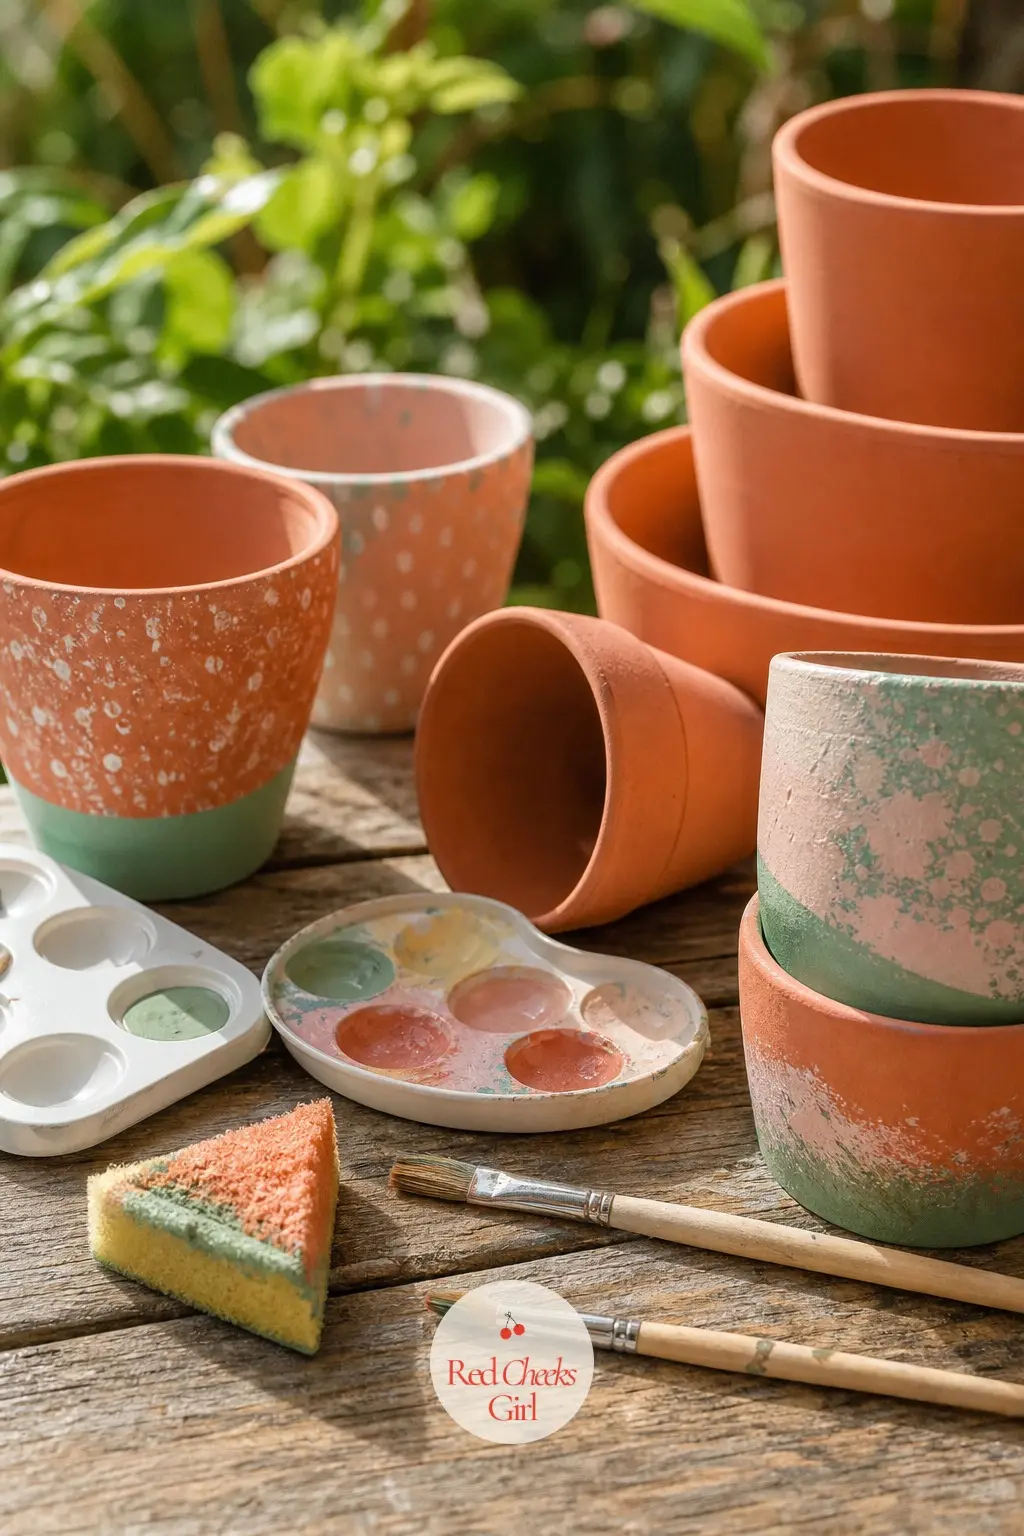
I know it sounds chaotic but the results are consistently good. Gold speckling on a dark navy pot looks like something from an expensive garden shop. White spatter on terracotta looks like a vintage find. The randomness IS the technique — you can’t mess it up.
Two things that help: use thin paint (add a little water), and don’t load the brush too heavily on each dip or you get big blobs instead of small specks.
6. Hand-Stamped Patterns With Foam
Foam stamps from the craft store, or cut your own shapes out of a foam sheet — leaves, simple florals, moons, stars. Even basic geometric shapes. Dip in paint, press to pot, lift.
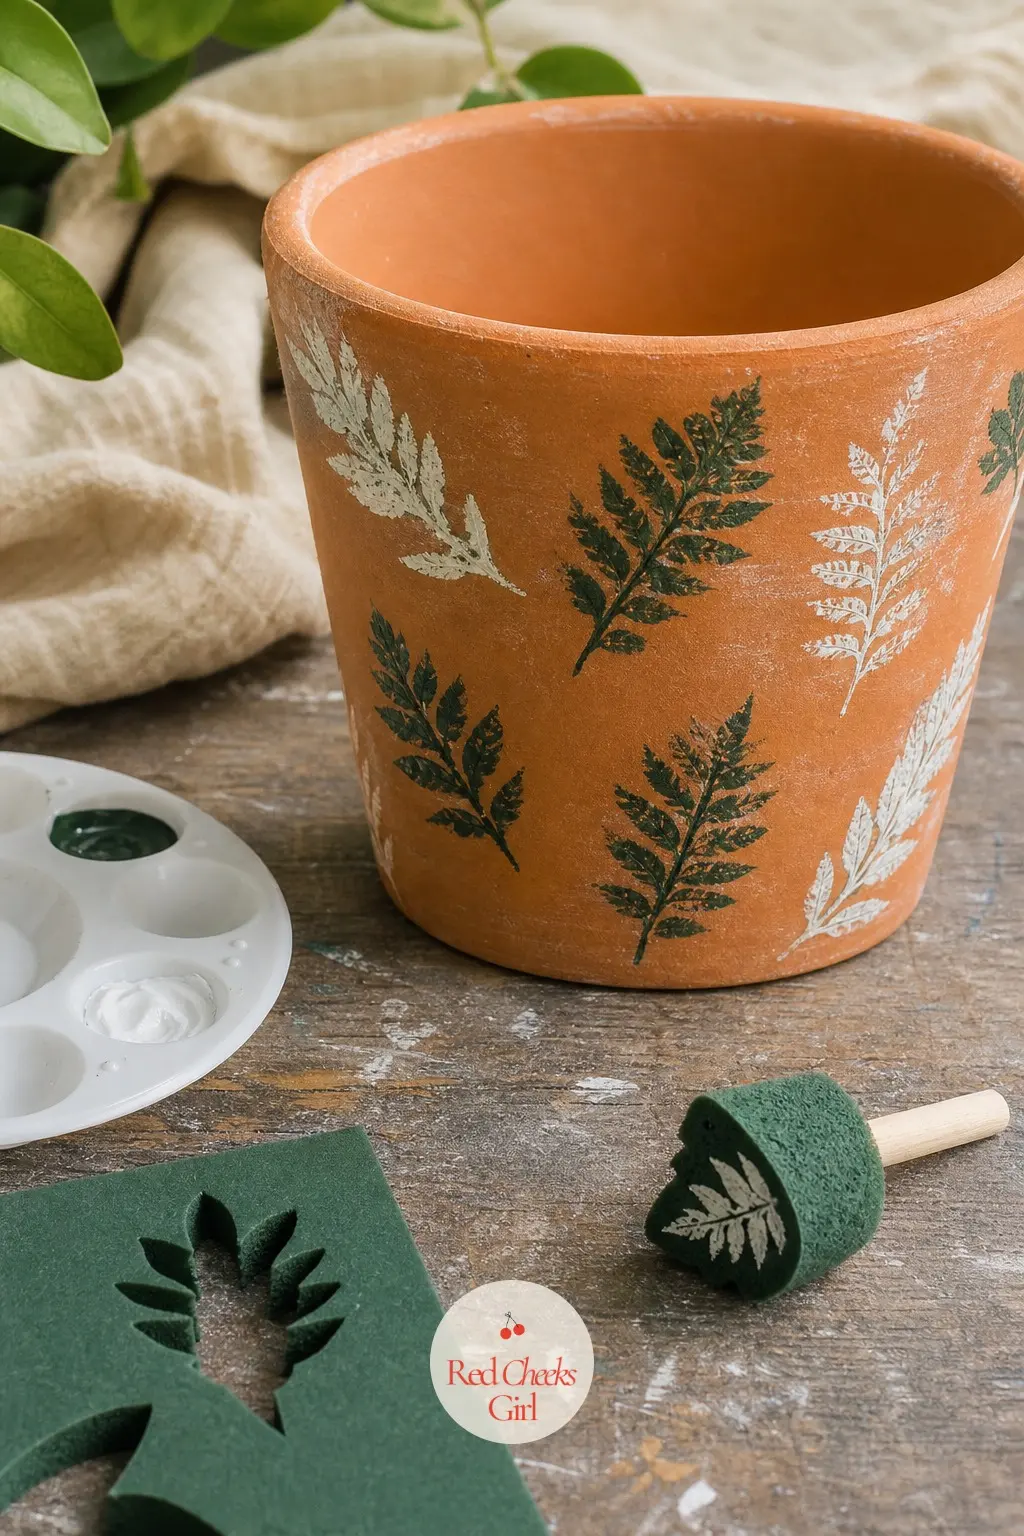
This is actually more forgiving than it looks. Uneven coverage on the stamp print looks hand-pressed and charming. You’re not going for perfection.
For a botanical look: make a simple leaf stamp and repeat it randomly around the pot in varying shades of green. Looks like actual art.
7. Ombre Blending
Two colors, a cheap flat brush, and patience while the paint is still wet. That’s the supply list.
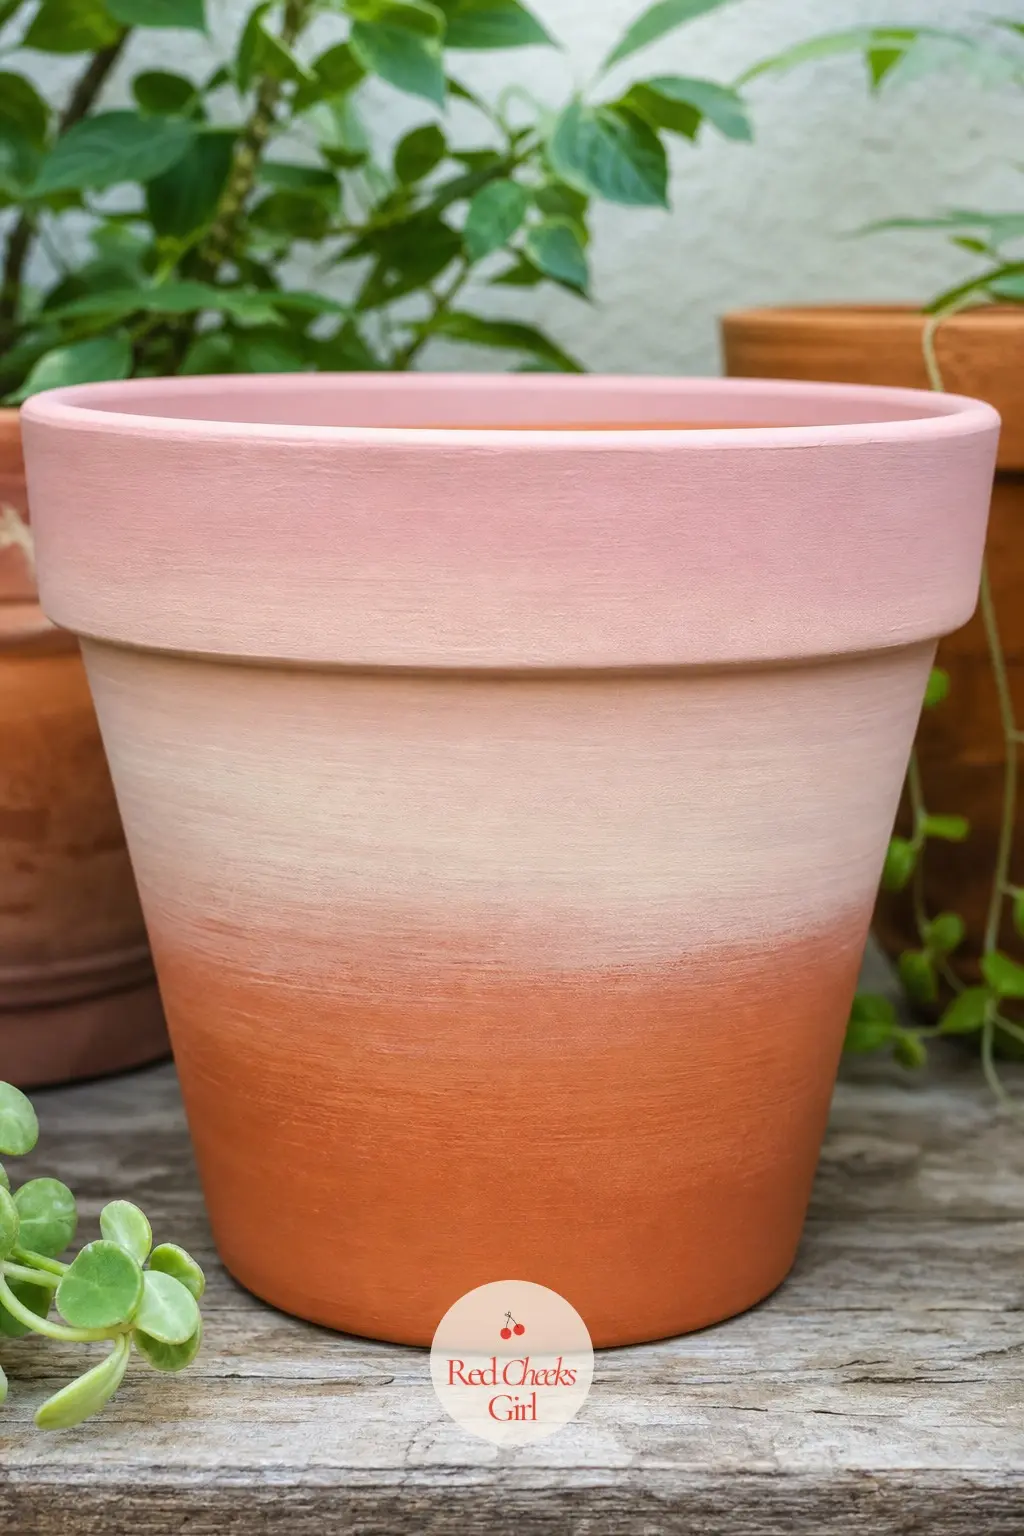
Start with your base color at the bottom, put your second color at the top, and blend the middle section while everything is wet. Use loose horizontal strokes back and forth where the colors overlap. You’ll get a gradient. It won’t be perfect. That’s fine — subtle unevenness reads as hand-painted, which is exactly what you want.
Colors that blend well together: sage to cream, dusty pink to mauve, navy to pale blue, terra cotta orange to dusty pink.
The trick is working fast enough that the paint doesn’t dry before you blend. Mix a tiny bit of water into each color before you start.
8. Marker Art on a White Base
Paint the whole pot white. Let it fully dry. Then use paint markers or even Sharpies to draw on it.
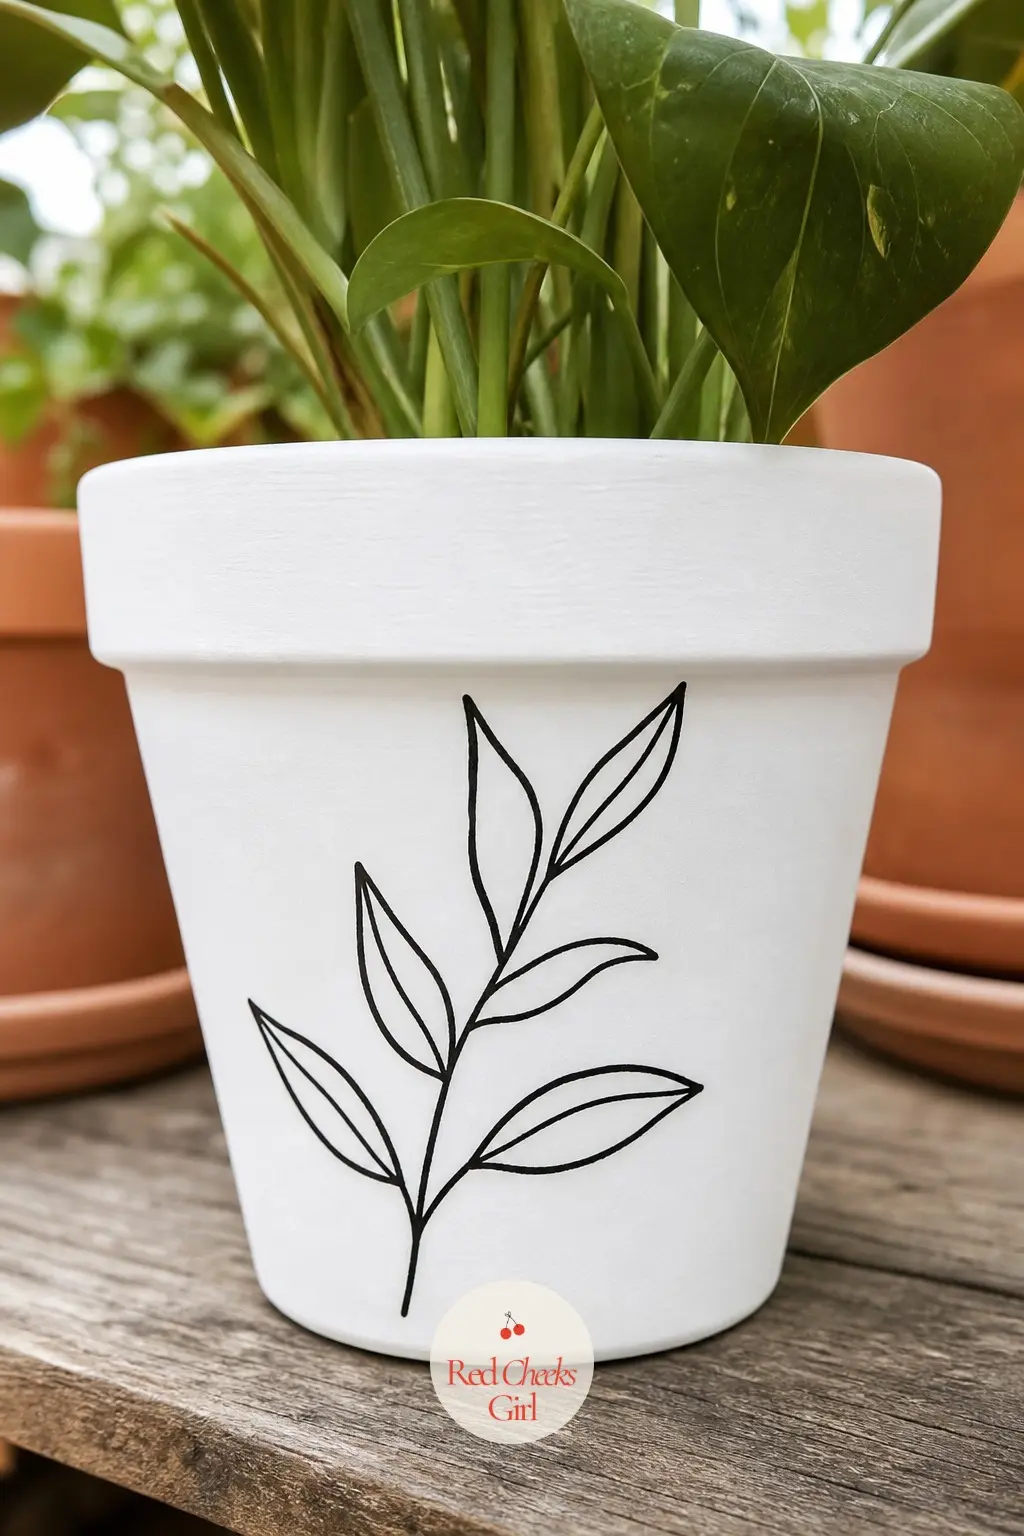
This one is where even actual not-an-artist people get great results. Simple line drawings — a single leafy branch, a sun, abstract wavy lines, a simple face. The white base makes everything look intentional. Even wonky lines look like they were meant to be that way.
Paint pens in fine and medium tip give you the most control. Gold and black on white look especially good.
If you mess up: let it dry, paint white over it, try again. No one will know.
9. Layered Texture With a Sponge
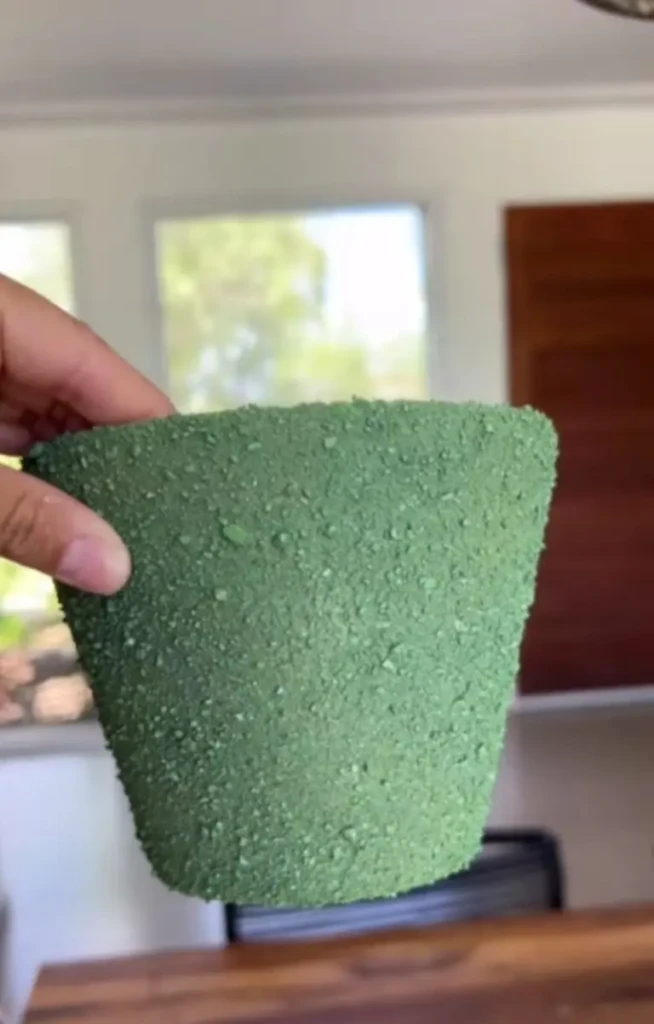
This is the nail-polish-and-sponge method I started with, elevated slightly.
Paint the pot a solid base color first. Then take a small piece of sponge (literally tear off a small chunk from a regular sponge), dab it in a second color, and tap it over the base coat. The irregular texture you get looks like a faux finish from a home decor store. Layer a third color lightly over that if you want more depth.
Works beautifully with earth tones — base in cream, sponge in warm terracotta, final layer in deep rust. Also great for metallic effects: base coat in black, then sponge on gold. The variation is what makes it look expensive.
What to Do With Them Once They’re Dry
Seal them. Clear acrylic spray in matte finish is my preference — glossy tends to make craft projects look cheaper, not more polished. Two coats, let each dry fully.
For outdoor pots: seal especially well and consider a waterproofing sealant if they’re in a rainy spot. Even then, terracotta pot painting is a seasonal project — they may need touching up year to year. I don’t mind that. It gives me an excuse to try a new design.
If you’re just doing indoor pots as décor pieces (no plants, no water), one seal coat is plenty.
What You Actually Need to Get Started
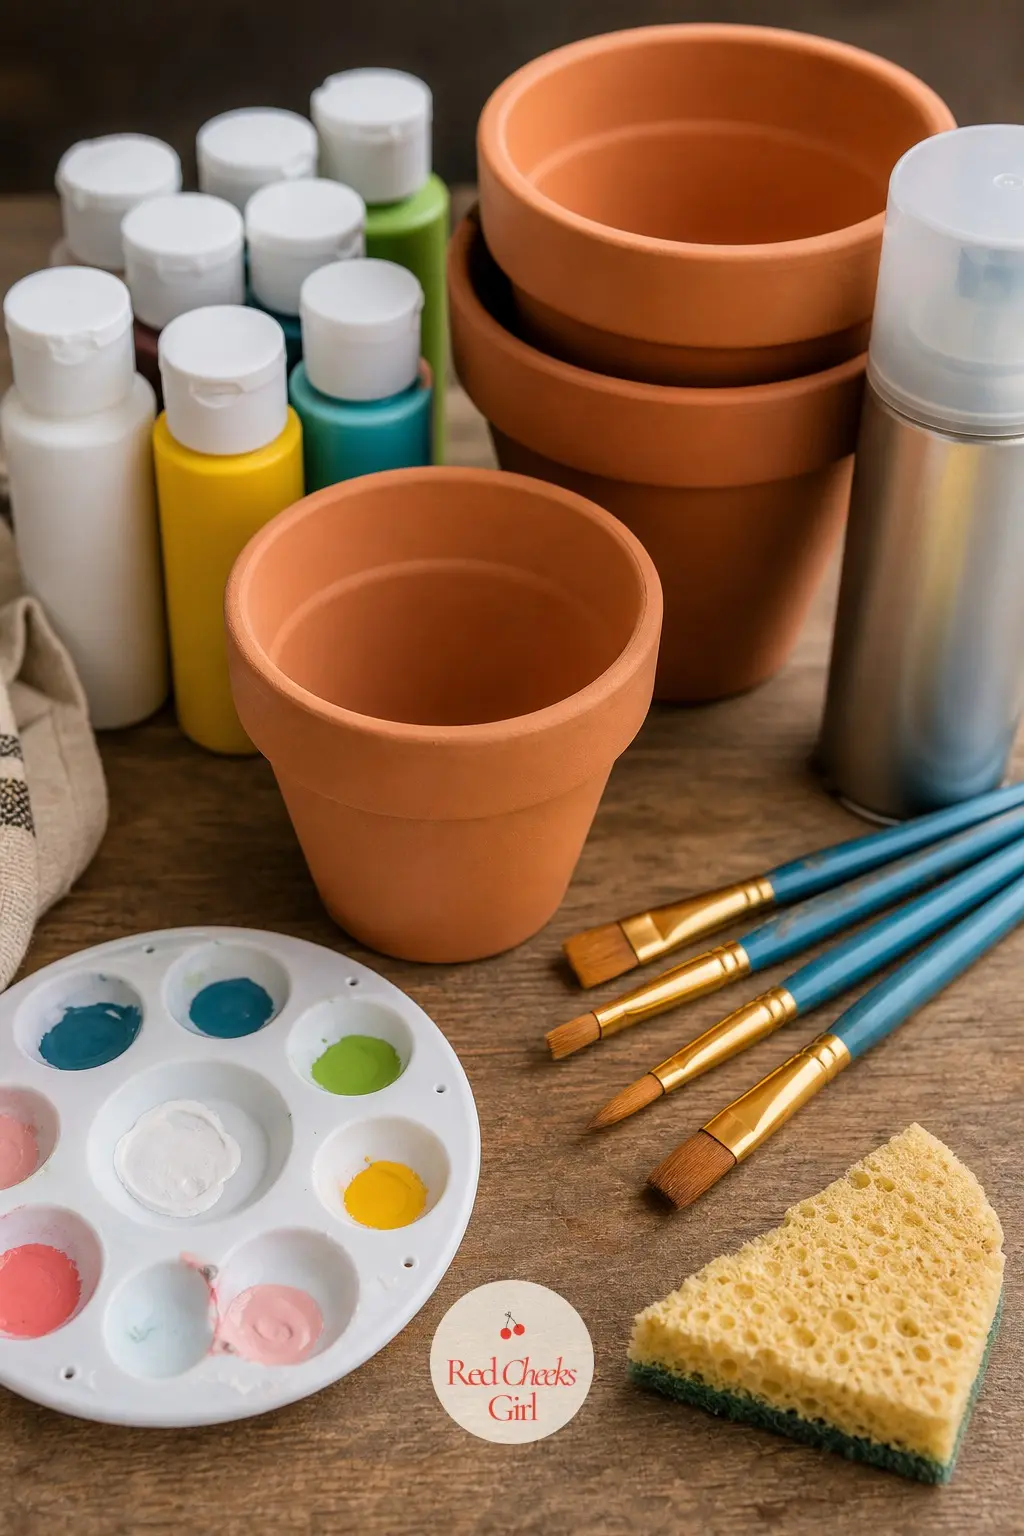
You don’t need much. A few acrylic craft paints in 4–6 colors, a basic brush set, sealer spray, and a pot or two. Honestly, if you have craft paint somewhere in a drawer already, start there. Terracotta pots run $1–$4 at any garden center, so the stakes are extremely low.
This is one of those crafts that’s genuinely relaxing to do, not just described as relaxing. If you’re looking for more ideas to fill a slow afternoon, 7 Crafty Hobbies That Are Surprisingly Relaxing has a bunch of others in the same category. And if you want to see whether this kind of project could turn into something more, 21 Easy Painting Projects That Generate Passive Income is worth a look — painted pots actually sell well.
For the actual creative afternoon: 50 Fun Things Everyone Loves: Your Ultimate Guide to Weekend Activities has ideas for what to do alongside this, if you want to make a whole afternoon of it. And 5 Ways to Make Your Weekends More Meaningful — pot painting genuinely fits into that, especially if you do it outside in the spring.
FAQ
What kind of paint works best for terracotta pot painting? Regular acrylic craft paint works well and it’s cheap. The main things: seal the pot before and after, and use a matte sealer at the end so it doesn’t look plasticky.
Do I need to prime terracotta pots before painting? Not usually. A coat of clear sealer before painting is better than primer — it keeps the paint from being absorbed unevenly. If you want a very bright or precise color, a coat of white paint first can help, but it’s not required.
Will painted pots hold up outside? Yes, if you seal them properly. I’d still bring them in or touch them up each spring. Terracotta is porous and seasonal weather will do some work on them eventually, even sealed.
Can I use chalk paint instead of acrylic? Yes and it actually looks really good — chalk paint has that natural matte texture that works well with terracotta. Still seal it when you’re done, chalk paint is even more vulnerable to moisture than regular acrylic.
What if the design doesn’t come out the way I pictured? Paint over it when it dries. Seriously. White base coat, let it dry, start again. I’ve done this at least a dozen times. The pot doesn’t know.
15 egg carton crafts for kids ages 5-10 using one recycled item: caterpillars, flowers, bats, boats,
The first time the temperature dropped below 50°F this year, I pulled out every candle I had and
My basil plant has died four times. Not four times total — four times this winter alone. I kep
Leave a Reply