

Retro Paper Christmas Decorations: 10 Free Printable Kitschy Garlands Straight Out of a 1950s Living Room
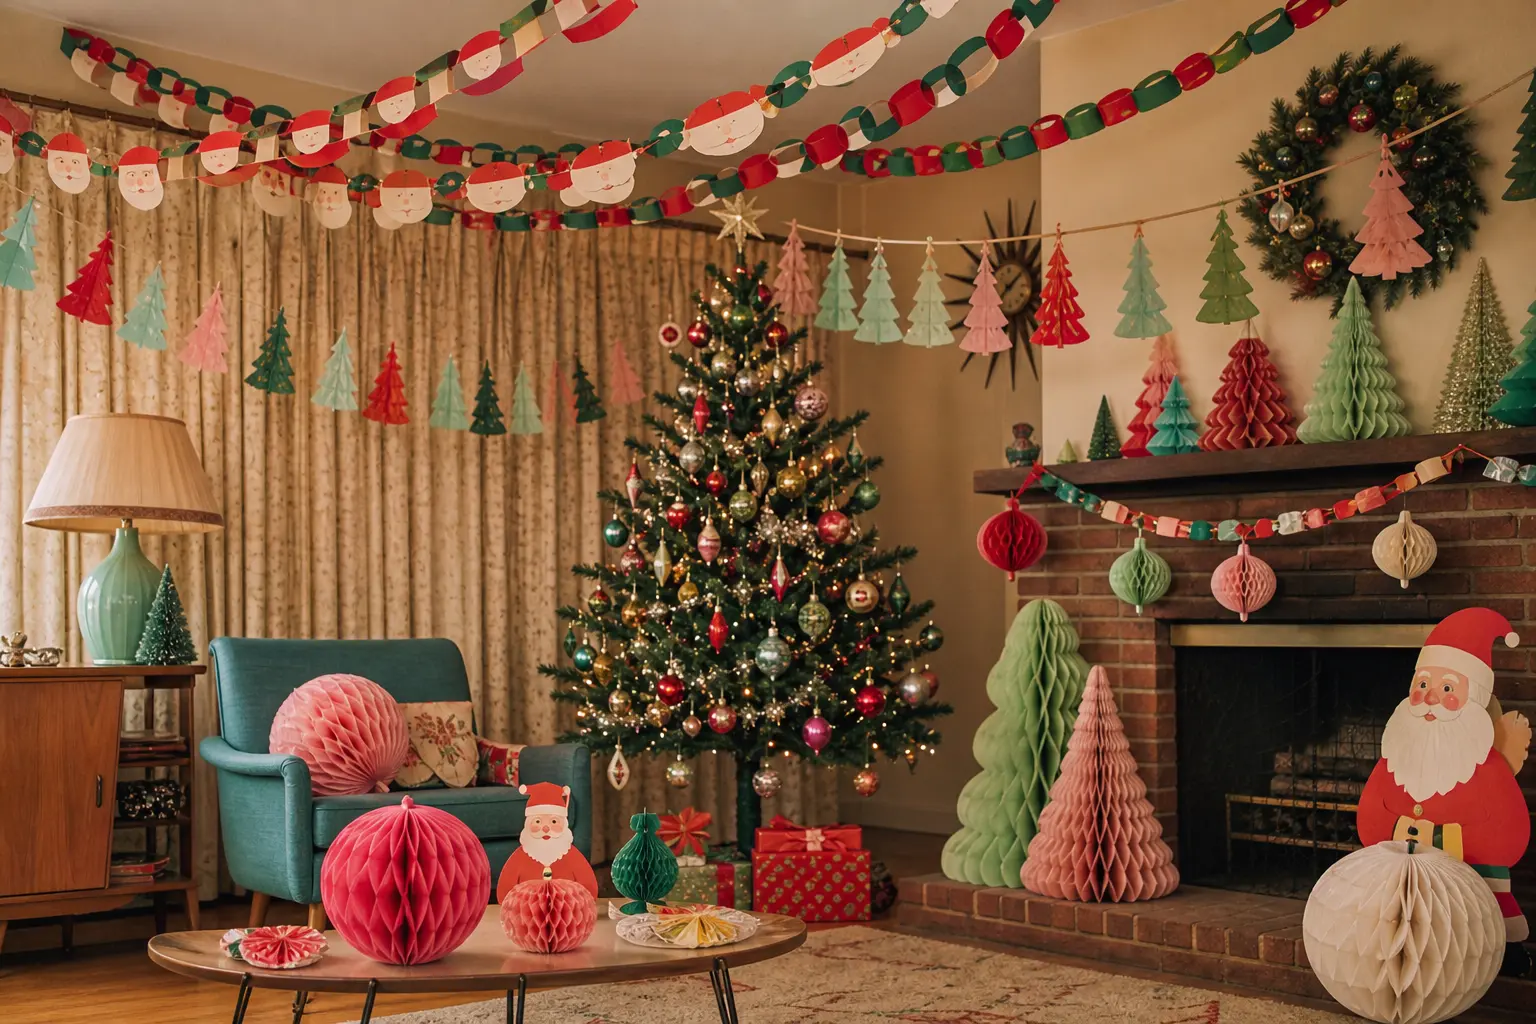
This set of paper christmas decorations skips the usual red and green and goes straight to the living room your grandmother decorated: atomic starbursts, aluminum trees, a poodle in a scarf. Ten garlands, every one with its own printable sheet and its own colour story, so you print exactly the look you want and nothing else. Mix a paper chain with a shape garland and the mantel reads like a set, not a pile of leftover craft supplies.
To make any of them you need a printer, a few sheets of white cardstock, scissors or a craft knife, a glue stick and some cotton string. Nothing here needs a Cricut or a trip to a specialty shop, and nothing needs burlap, glitter glue or a hot glue gun left running unattended. If you want more printable garlands once these are hung, 18 Printable Paper Christmas Garlands Starring Nutcrackers, Gingerbread Men and Vintage Santas is the obvious next stop.
Budget an evening for a full mantel length of any single garland here, less if you print two or three sheets and call it done over the bannister instead. The chains take longer because every ring is one more loop of glue; the shape garlands go faster because the cutting is the only slow part. Either way, a cup of coffee and one holiday film gets you to the finish line.
This post contains affiliate links. If you buy through them, I may earn a small commission at no extra cost to you.
The Chains You Just Keep Looping
These three are classic paper chains: patterned strips cut from the printable sheet, glued end to end into rings that lock into each other. They are the easiest things on this list to get wrong by rushing, and the easiest to get right by going slow on the glue.
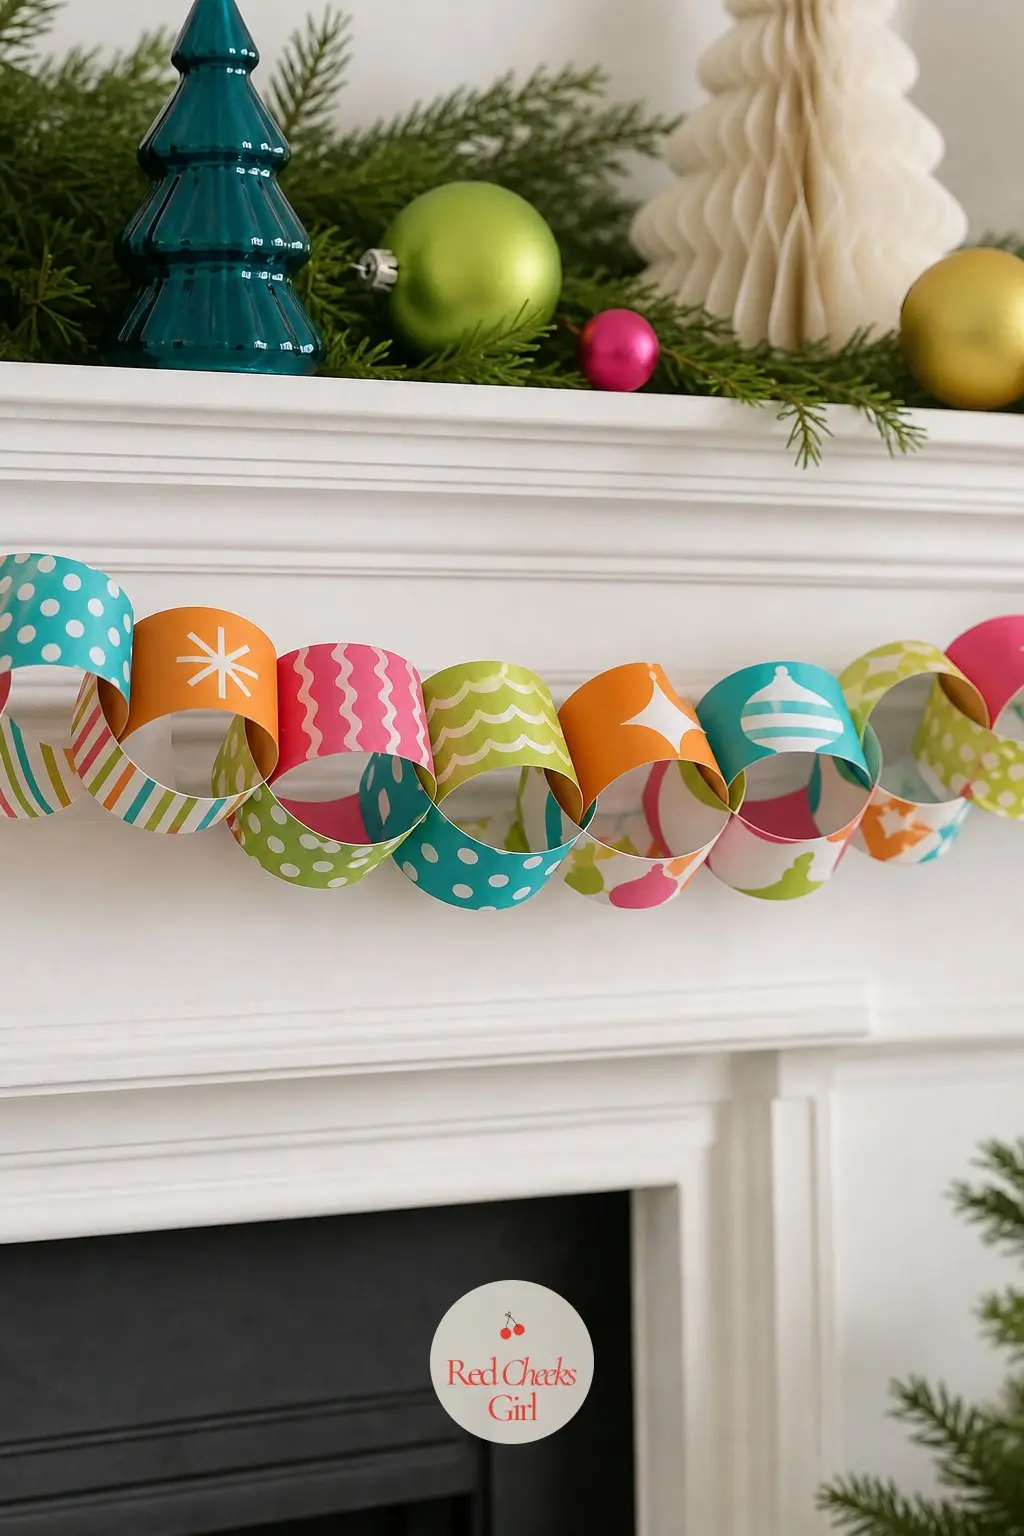
Multicolor Retro Bulbs
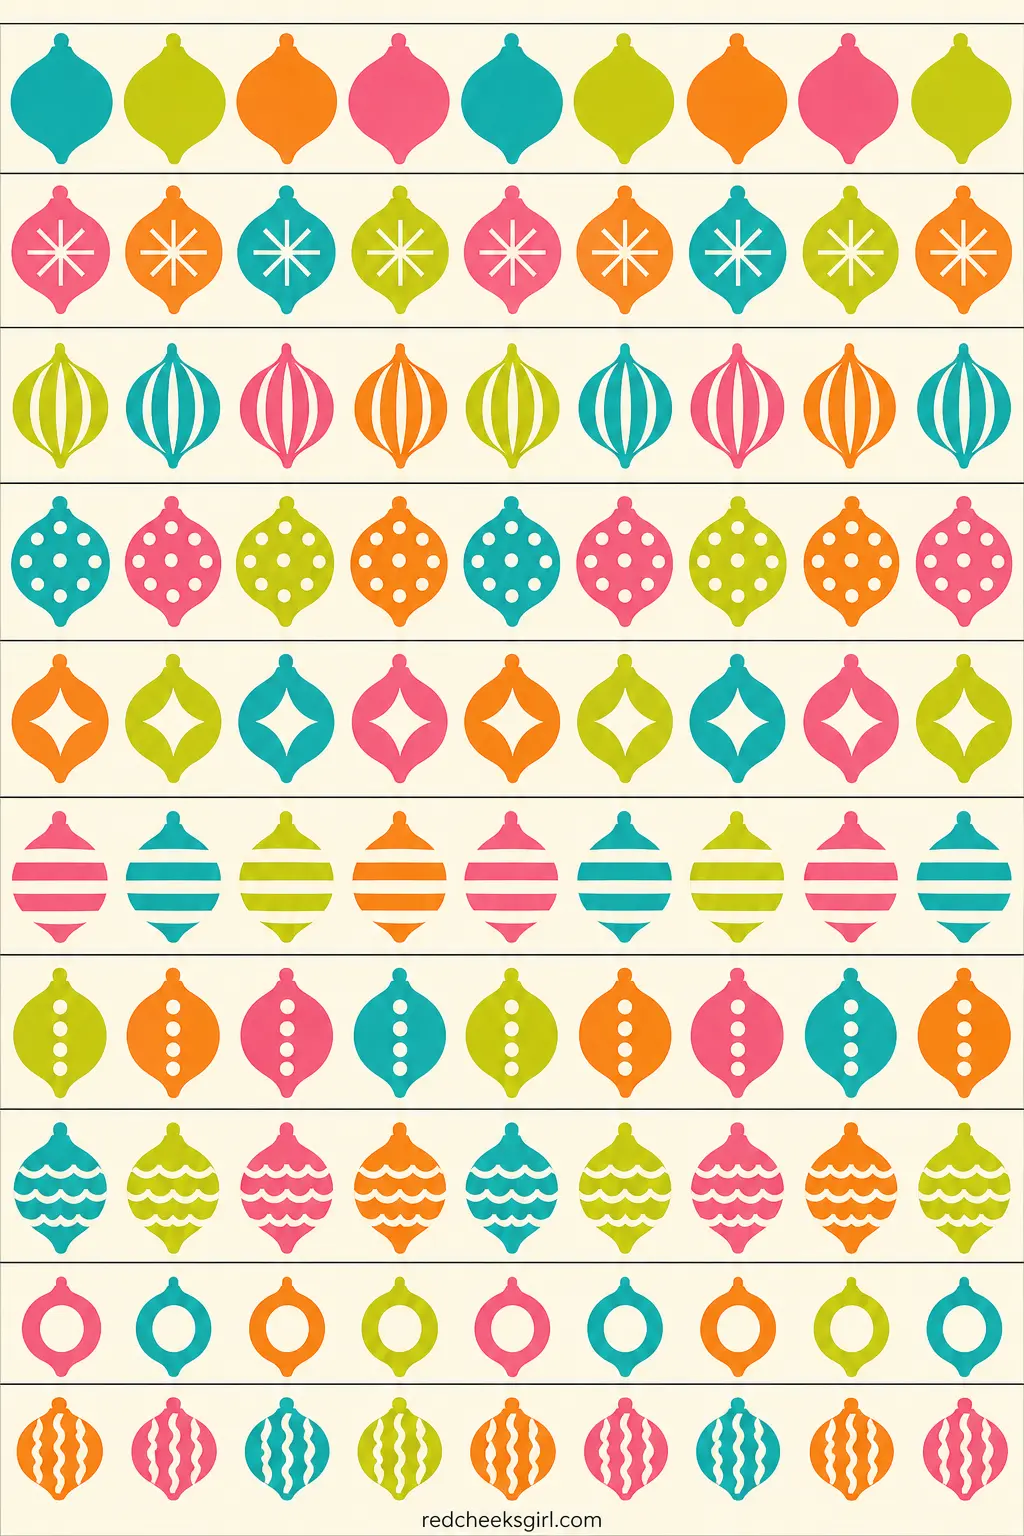
This chain reads as a string of old-fashioned C9 bulbs the second the rings close: turquoise, chartreuse, tangerine and hot pink stripes in a chubby bulb-silhouette print, strung along a mantel or looped around a doorway the way lights used to hang. It suits a room that already has colour in it; a plain white room will make it the whole decoration, which is also fine.
Cut the sheet along the strip lines, then loop the first strip into a ring and glue the overlap, about half an inch, before threading the next strip through and gluing its own ends. Keep going until the chain reaches your length, then tie off each end with a loop of string.
One honest note: thin strips leave a gap of white between rings, so if yours looks sparse, swap to the thicker strip option on the sheet rather than fight it with more glue. One printed sheet makes about two feet of finished chain, so budget three or four sheets for a full mantel.
✂️ What you need to print it
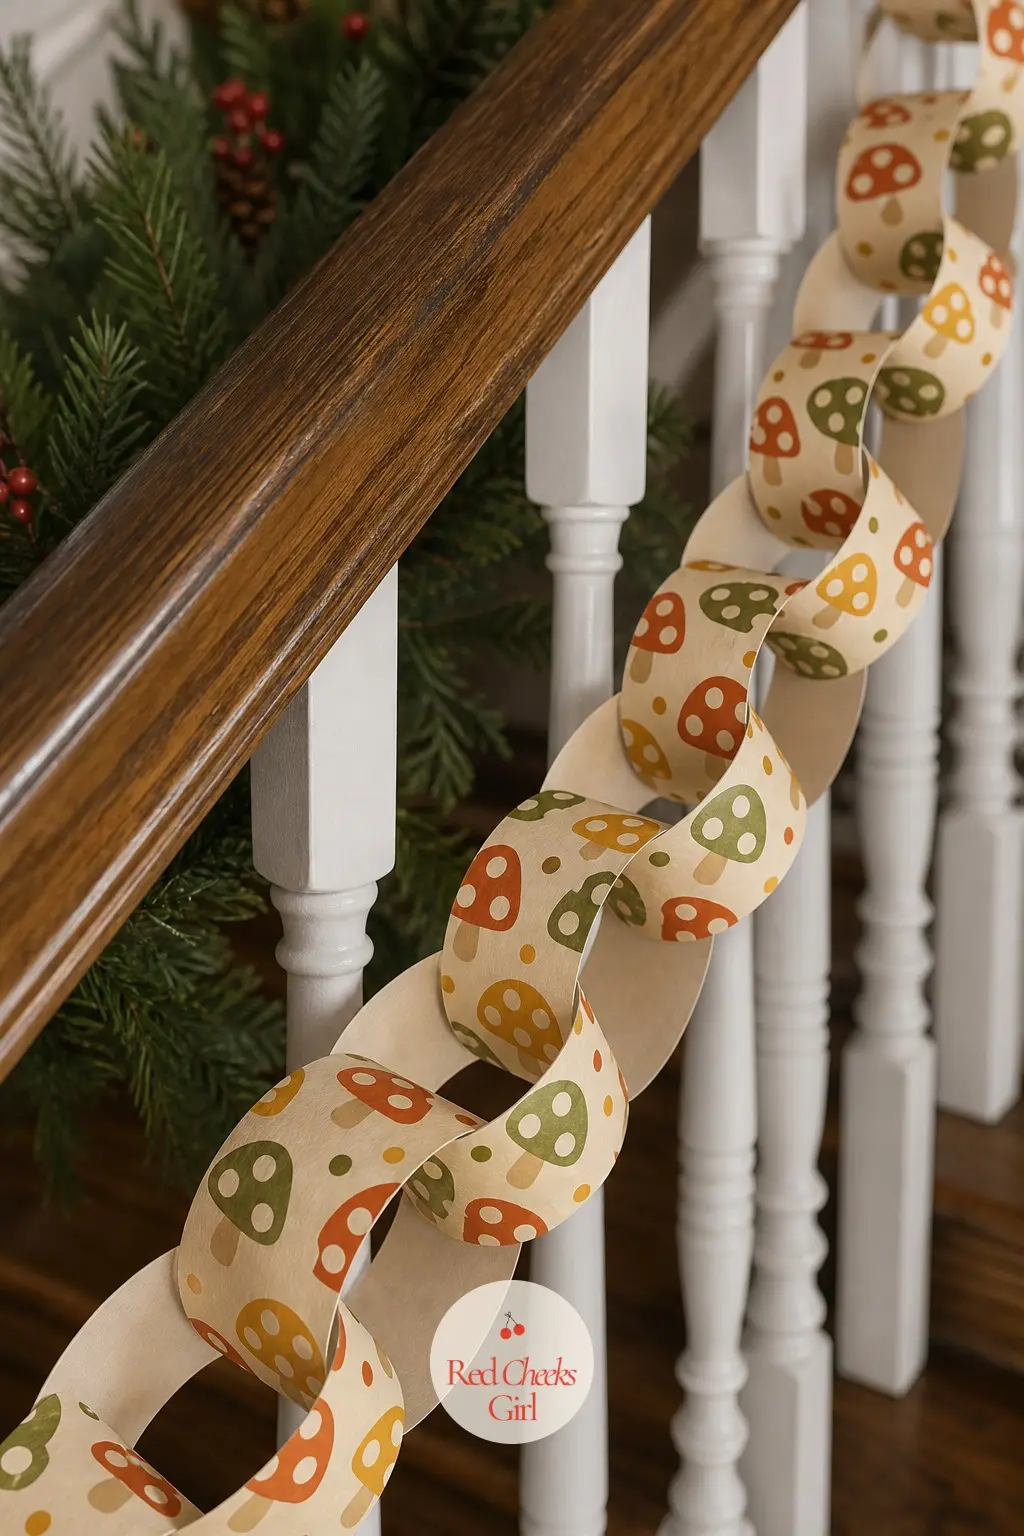
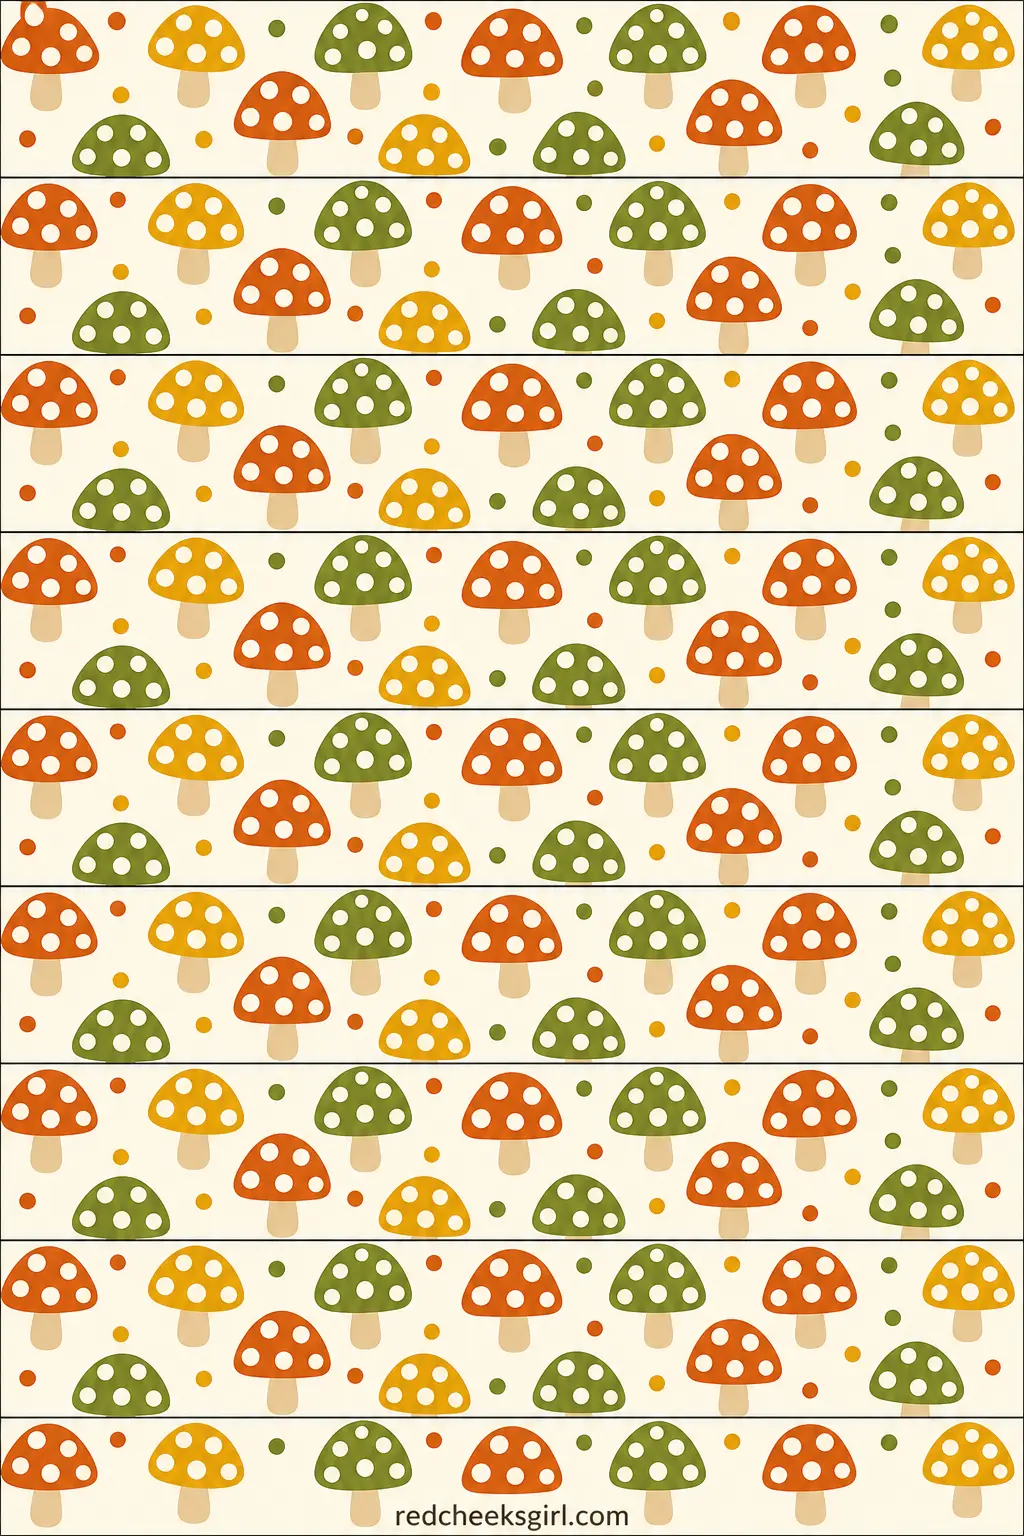
1970s Mushrooms
Burnt orange, mustard and avocado polka-dot mushroom caps run the length of this chain, the kind of print that showed up on canisters and curtains before it showed up on paper. It sits well along a stair rail or across a kitchen doorway, somewhere a little earthier than the bright bulb chain above.
The assembly is identical to any paper chain: loop, glue the overlap, thread the next strip through, glue again, repeat until the chain is as long as the space needs.
Where this one goes wrong is colour fatigue: if every strip uses all three colours in the same order, the chain reads as one long smear rather than a pattern. Alternate which colour leads on each strip as you cut, and keep a loose count so no two strips in a row match exactly.
✂️ What you need to print it
Retro Ribbon Candy
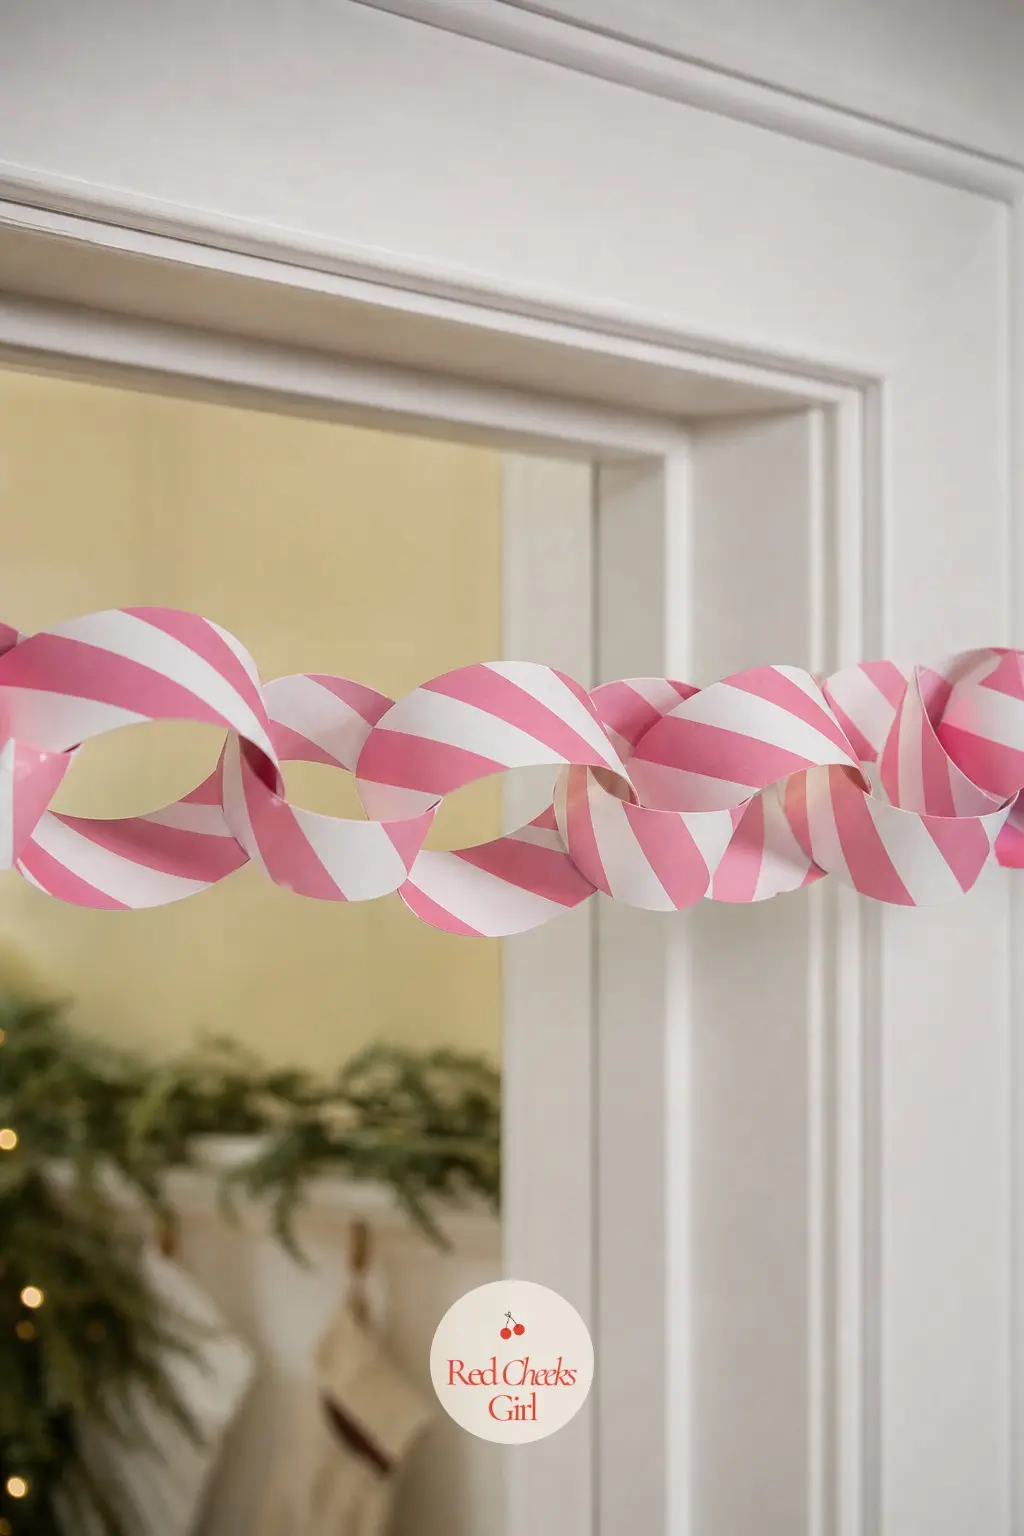
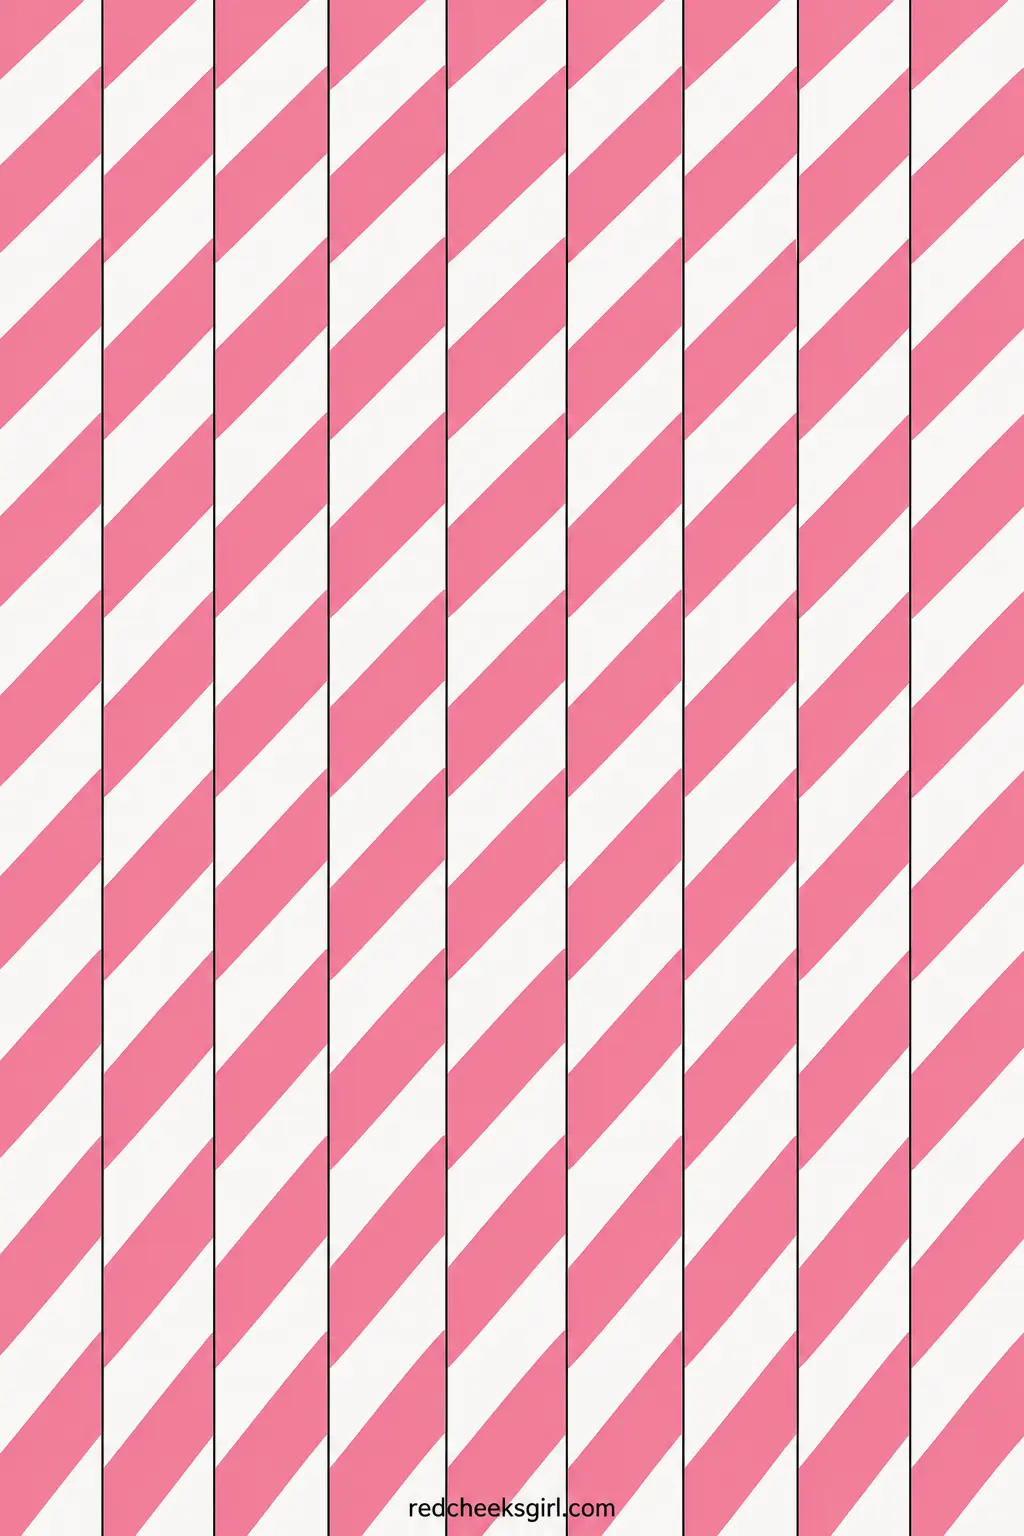
Diagonal peppermint stripes in pink and white, the same twist you find on actual ribbon candy, fill every strip of this chain. It is the sweetest-looking of the three and suits a console table or a child’s doorway more than a formal mantel.
Assembly follows the same loop-and-glue rhythm as the other two chains here: one ring, glued at the overlap, then the next strip threaded through before it is glued shut.
Because the stripe runs on a diagonal, line up the printed angle before you cut each strip so the candy-twist pattern continues smoothly from one ring into the next; a strip cut from the wrong end of the sheet will break the stripe and show as a seam.
✂️ What you need to print it
The Shiny Space-Age Shapes
Nothing says the era like a shape with rays coming off it. These two lean hard into the chrome-and-chartreuse mood of a 1950s rec room, strung flat on string rather than looped into rings.
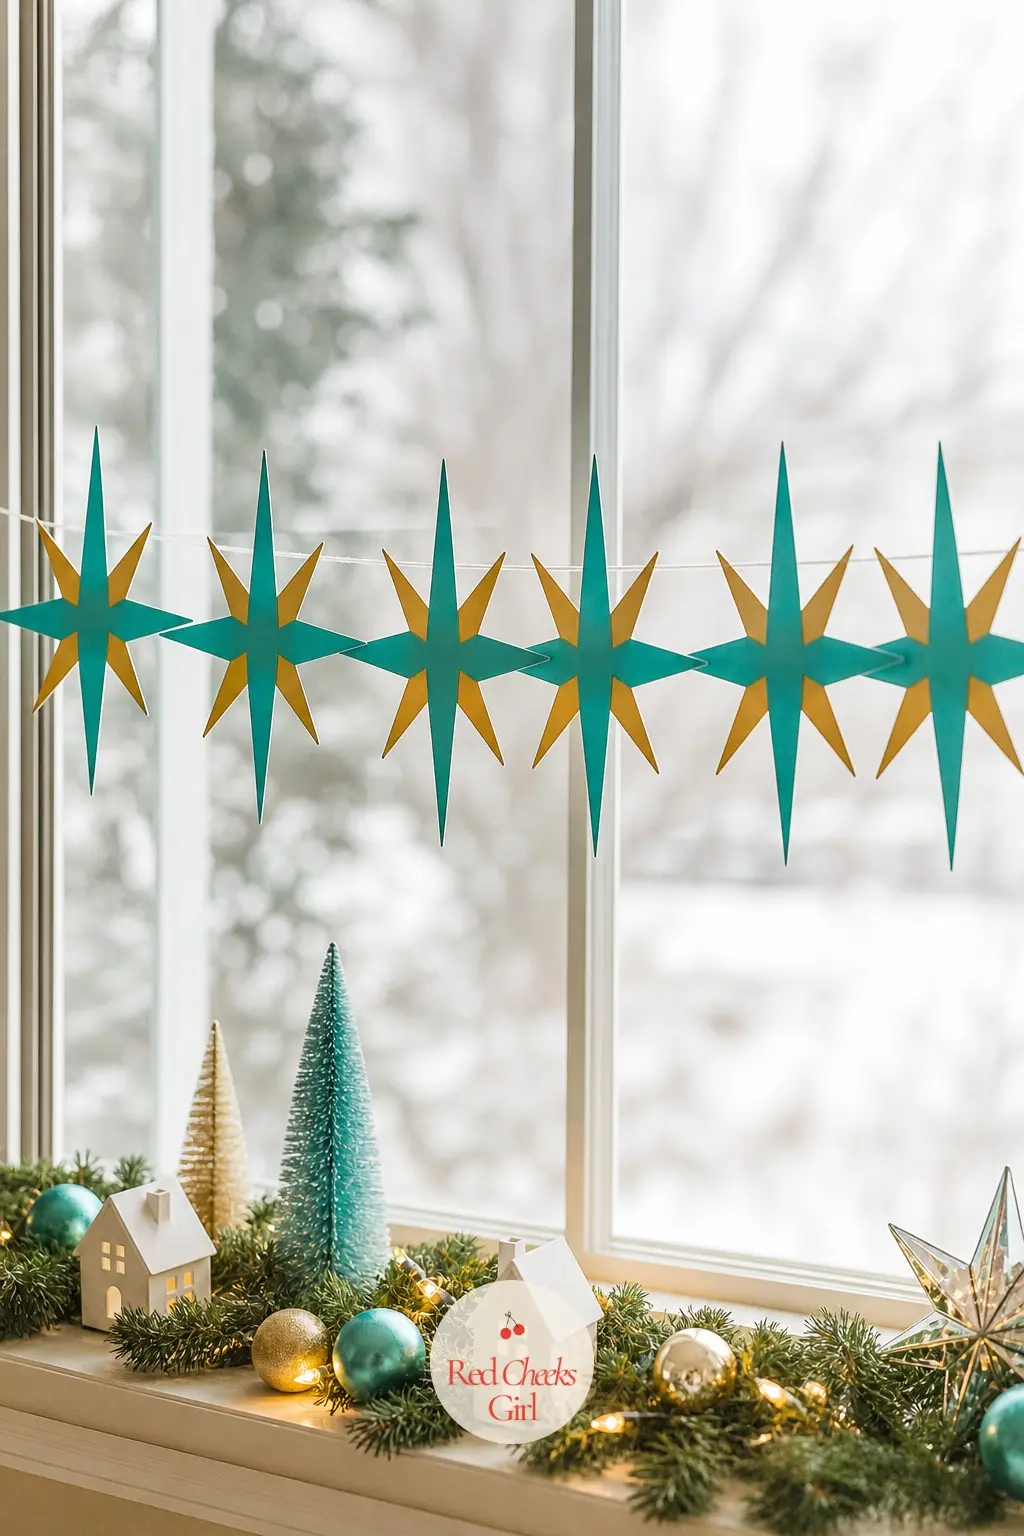
1950s Atomic Starburst
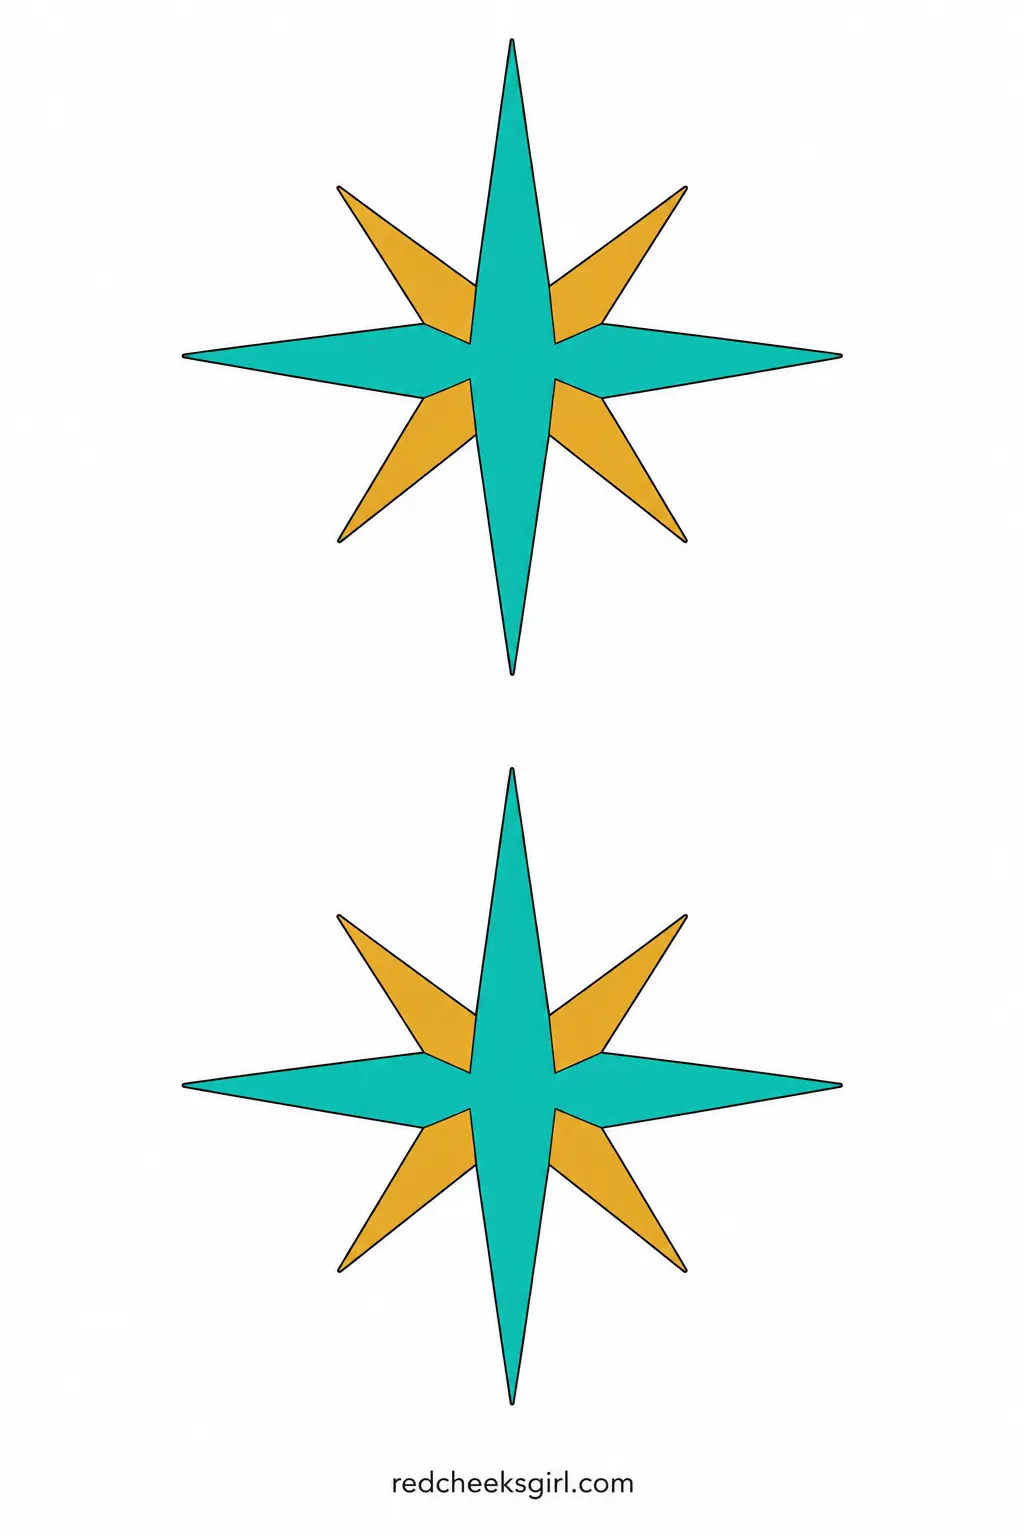
A spiky, symmetrical starburst in turquoise and gold, the shape that ended up on everything from clocks to tablecloths that decade. Hung as a run of them on string, it reads as a proper mid-century garland rather than a single ornament, and it suits a window or a bare wall more than a crowded mantel.
Print the sheet and cut around the two starbursts, keeping the point tips sharp with small scissor snips rather than one long cut. Pierce a small hole wherever you like near one point on each shape, thread string through, and space the copies evenly as you print more sheets to fill the length you need.
The points are the whole shape, so a dull blade or rushed scissors round them off fast; sharpen up or swap blades before you start. One sheet gives two starbursts, so a mantel-length run needs four or five printed sheets.
✂️ What you need to print it
Silver Aluminum Trees
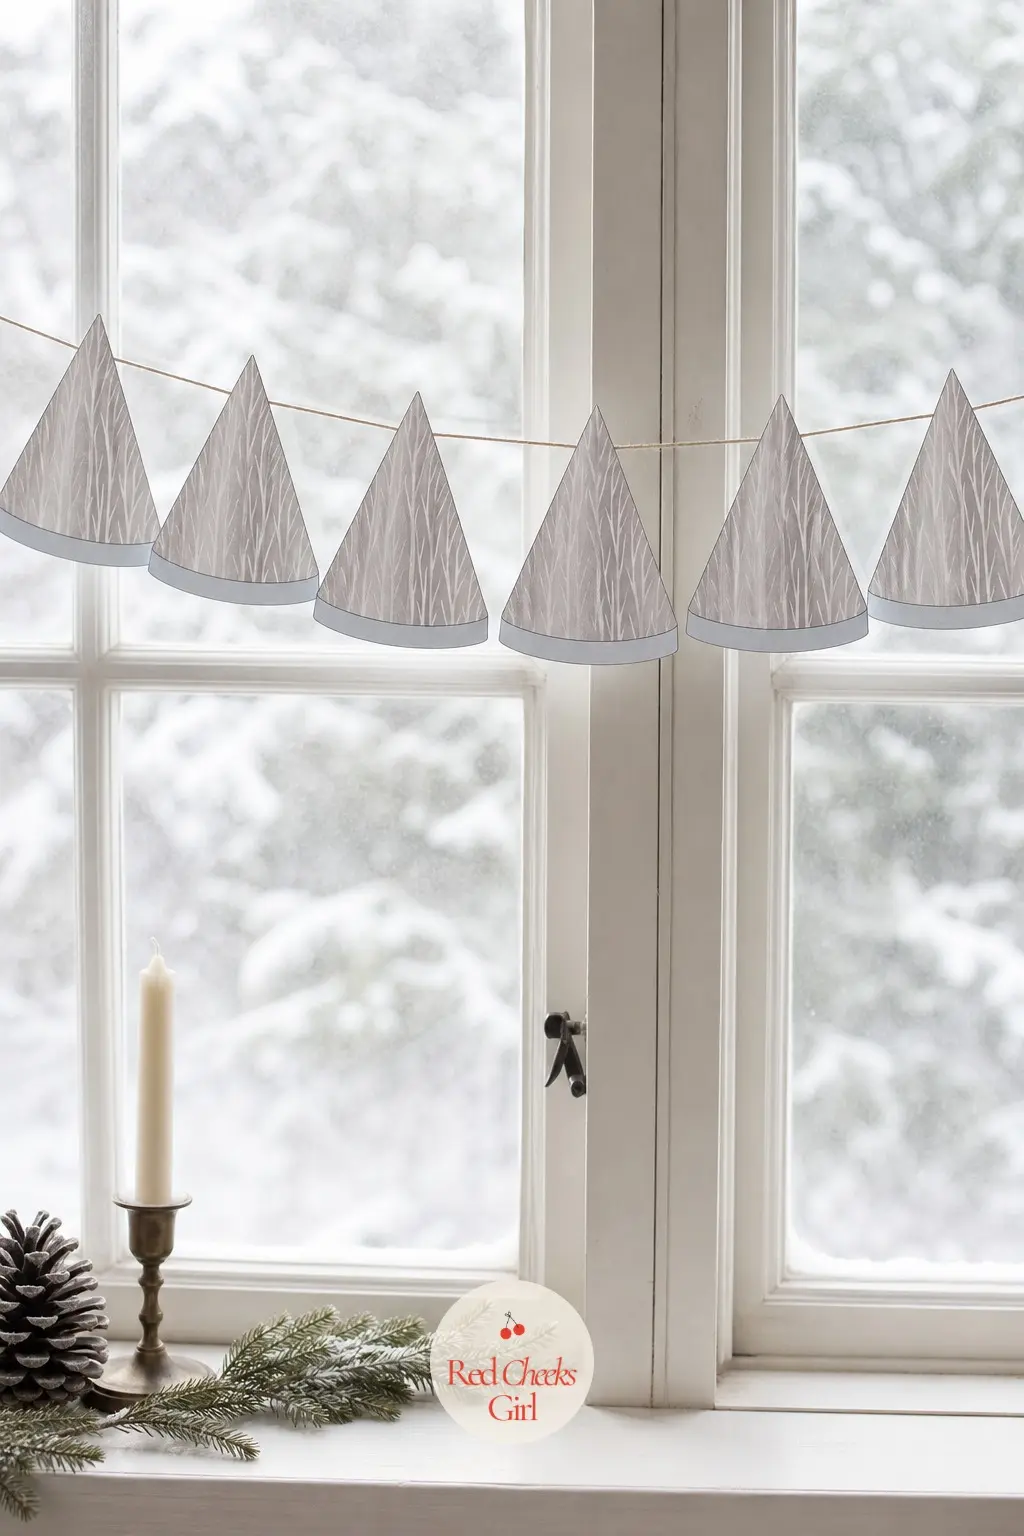
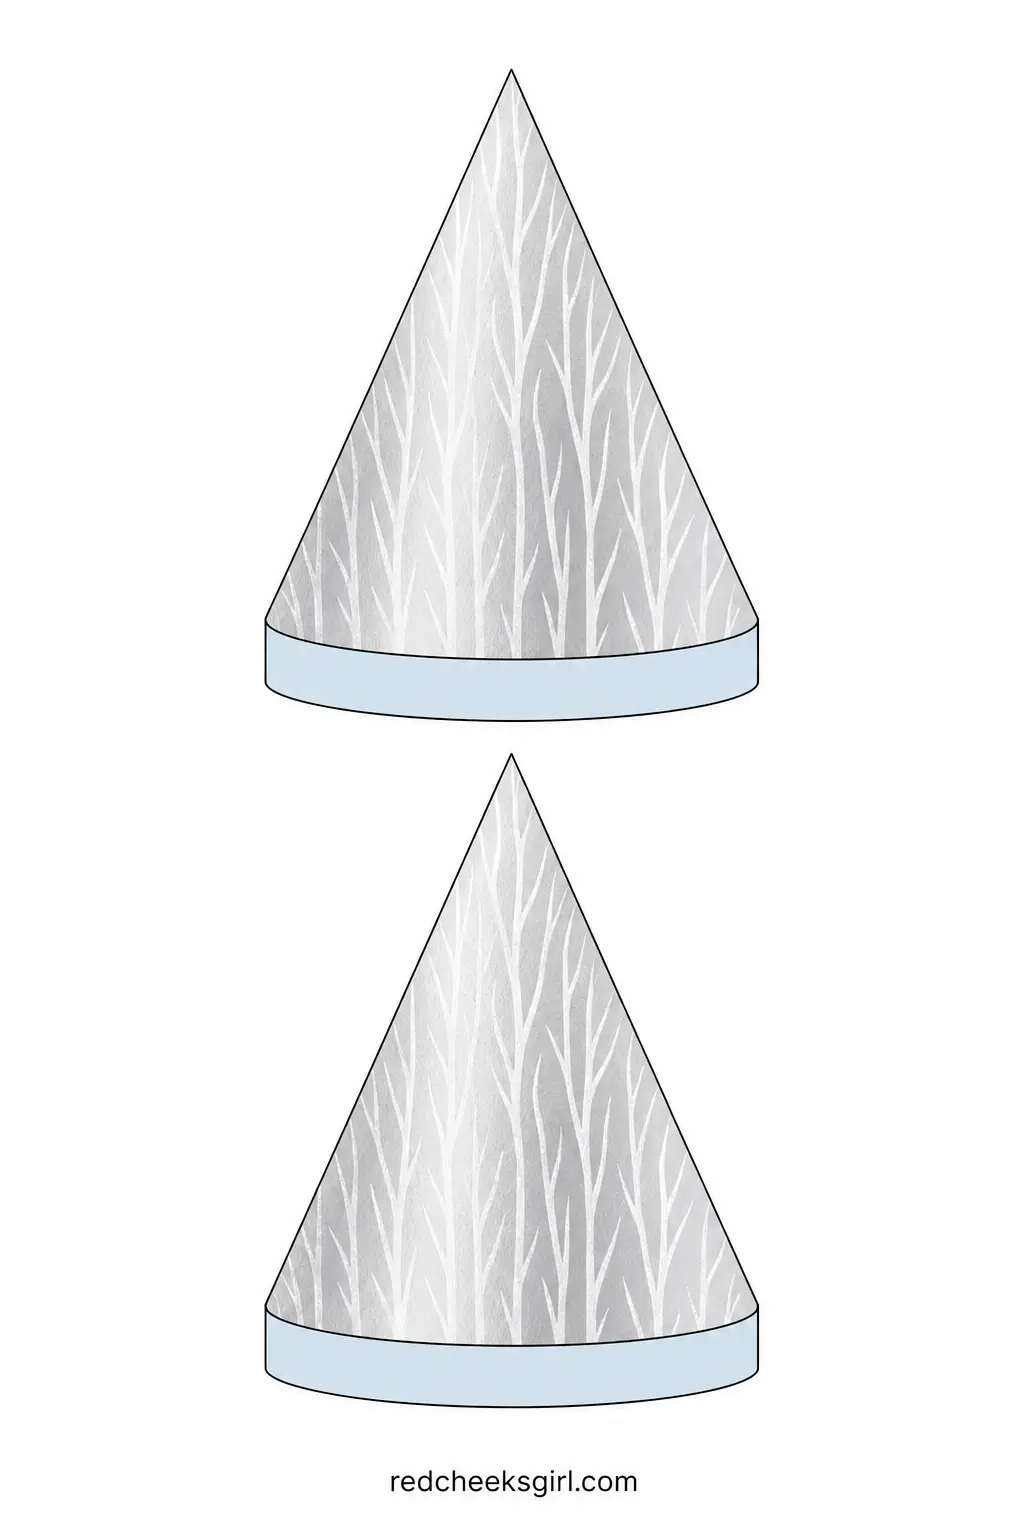
A simple cone-shaped tree in silver and pewter, drawn with the faint vertical streaks of real aluminum foil branches, pale ice blue at the base where a stand would sit. Strung as a repeating line it suits a window that gets evening light, since the metallic print catches it the way the real trees once did under a colour wheel.
Cut around both tree shapes, pierce a hole near the top of each, and thread them onto string with even gaps. Print as many sheets as the length calls for; two trees per sheet keeps the cutting manageable in one sitting.
Skip this one if your printer runs flat on metallics, since a silver that prints grey loses the whole point of the shape. A quick test print of one sheet before committing to the full run saves the ink and the disappointment.
✂️ What you need to print it
The Ornament Look-Alikes
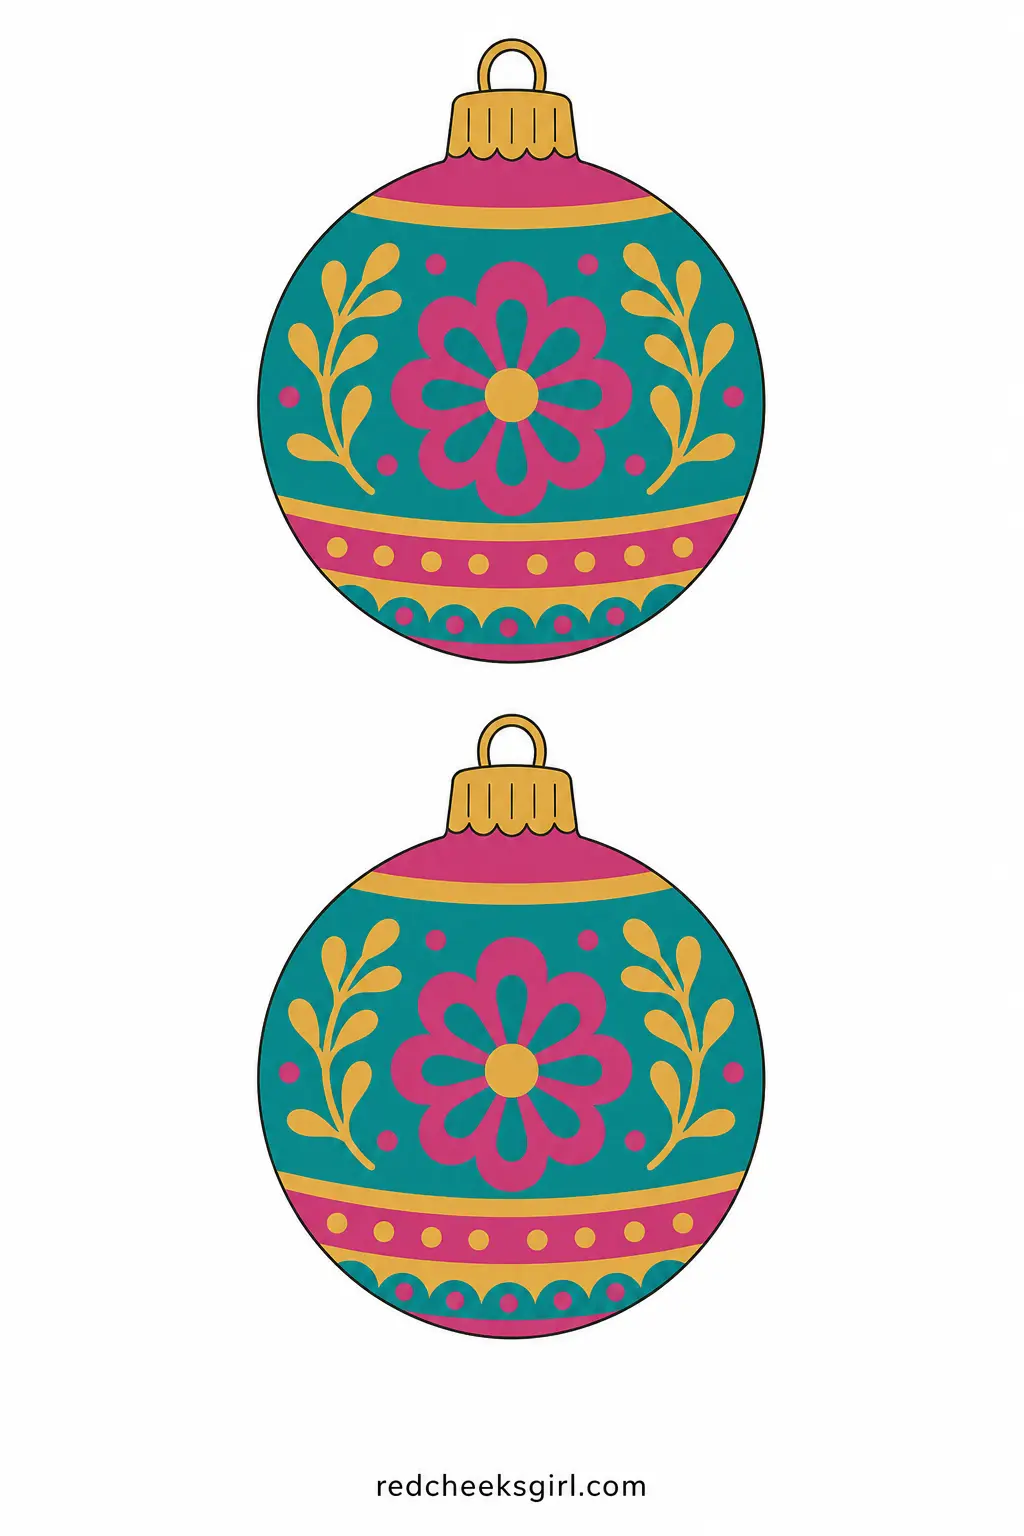
This one borrows the silhouette of the glass ball it is named for, painted the way a hand-blown ornament actually looked on a tree from that decade: jewel colours, a metallic cap, no two quite matching on purpose.
Mid-Century Glass Baubles
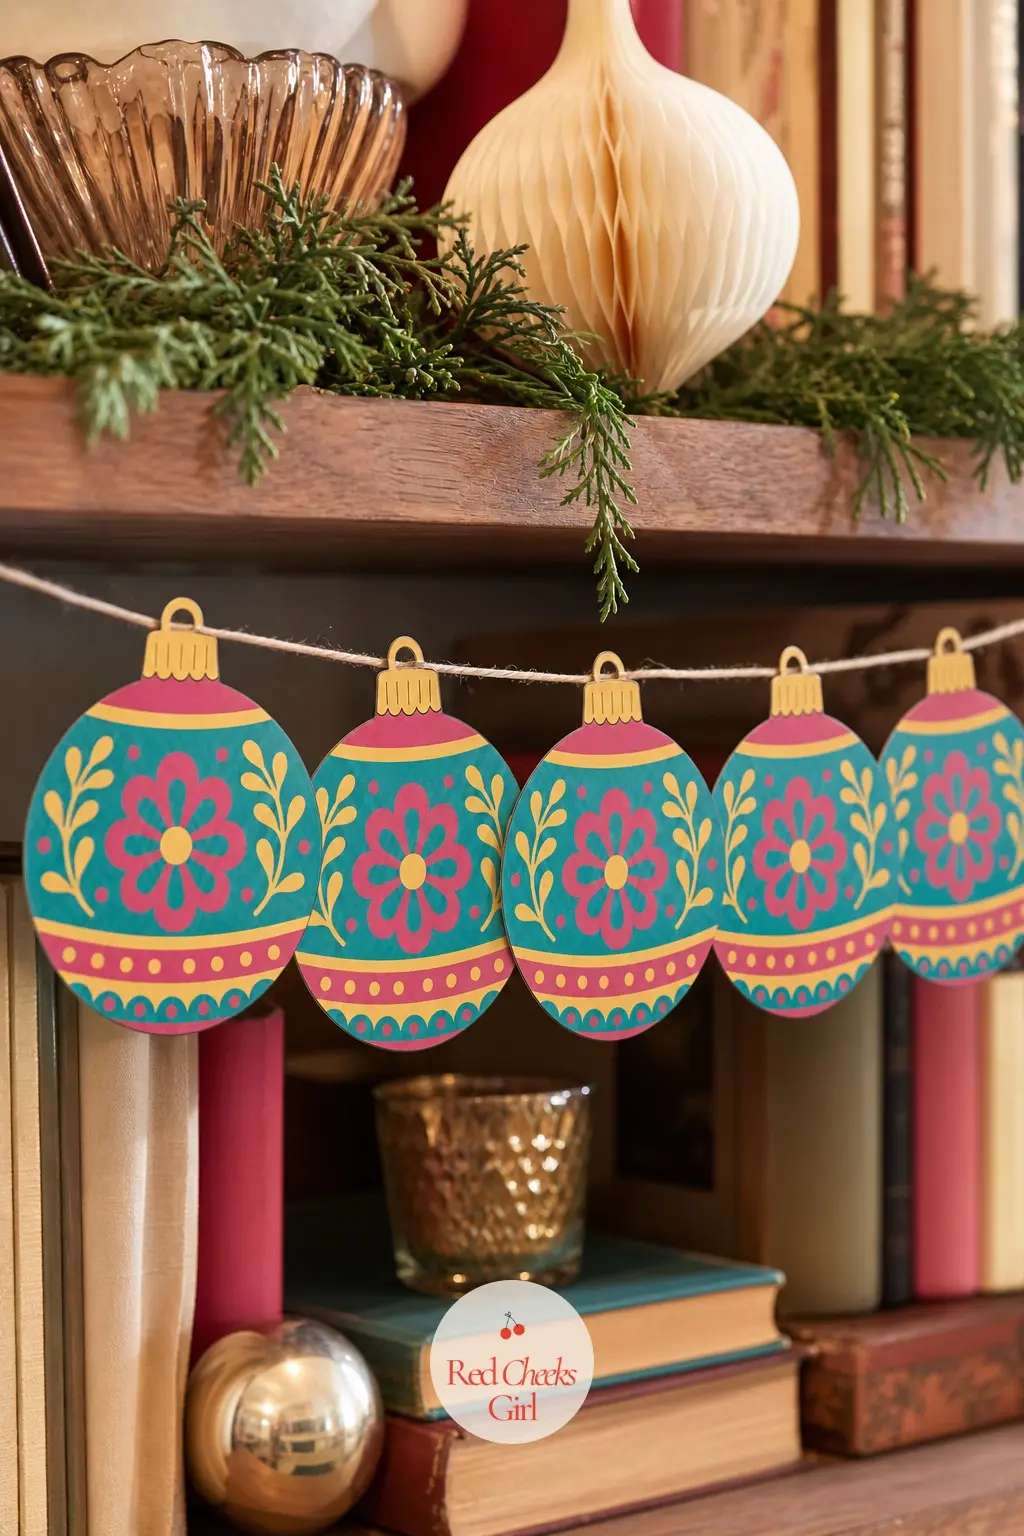
A rounded ornament shape painted in teal, amber and magenta with a little gold cap at the top, the way real hand-blown glass balls looked before they all turned uniform. Strung in a line it works anywhere a strand of ornaments would, including right on the tree itself if you want a paper layer under the real baubles.
Cut around both shapes, including the small cap at the top, then pierce a hole through the cap itself so the string sits naturally where a real ornament hook would go. Space copies evenly as you print and string more sheets.
The cap is the fiddly part: cut it too thin and it tears off in your fingers before the string goes through, so leave it slightly wider than it looks like it needs to be.
✂️ What you need to print it
The Faces Everyone Remembers From the Tree
A face is forgiving: round, friendly, easy to draw symmetrically because the features sit on a centre line. These two were the ones that got passed hand to hand at the church bazaar every year.
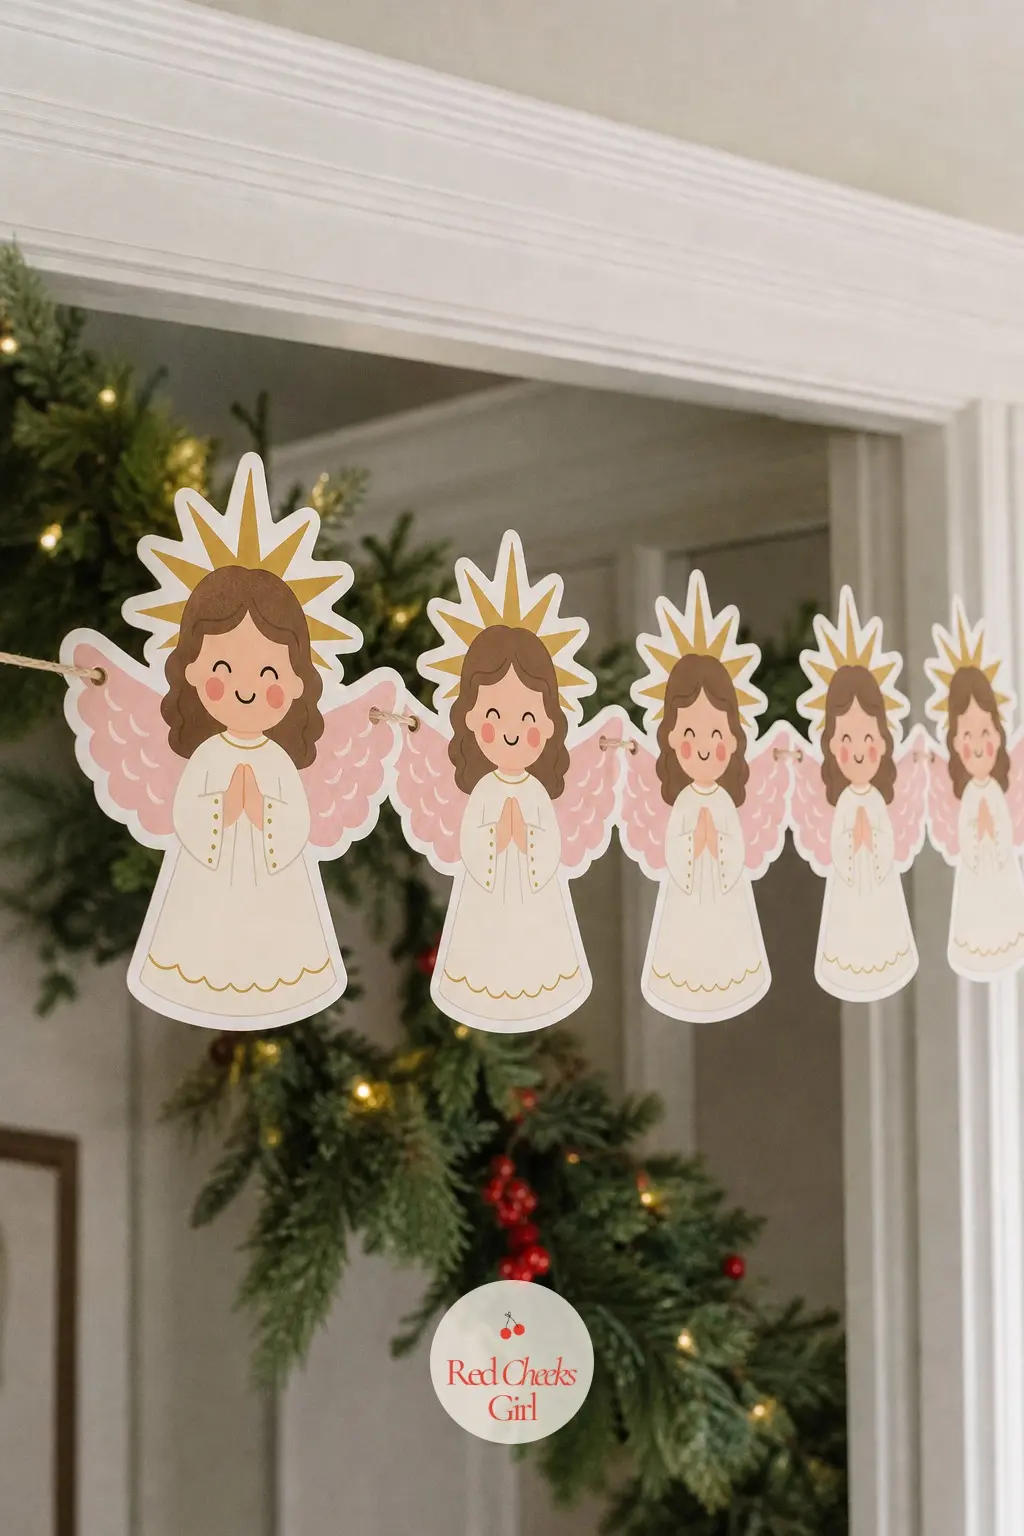
Kitschy Angel
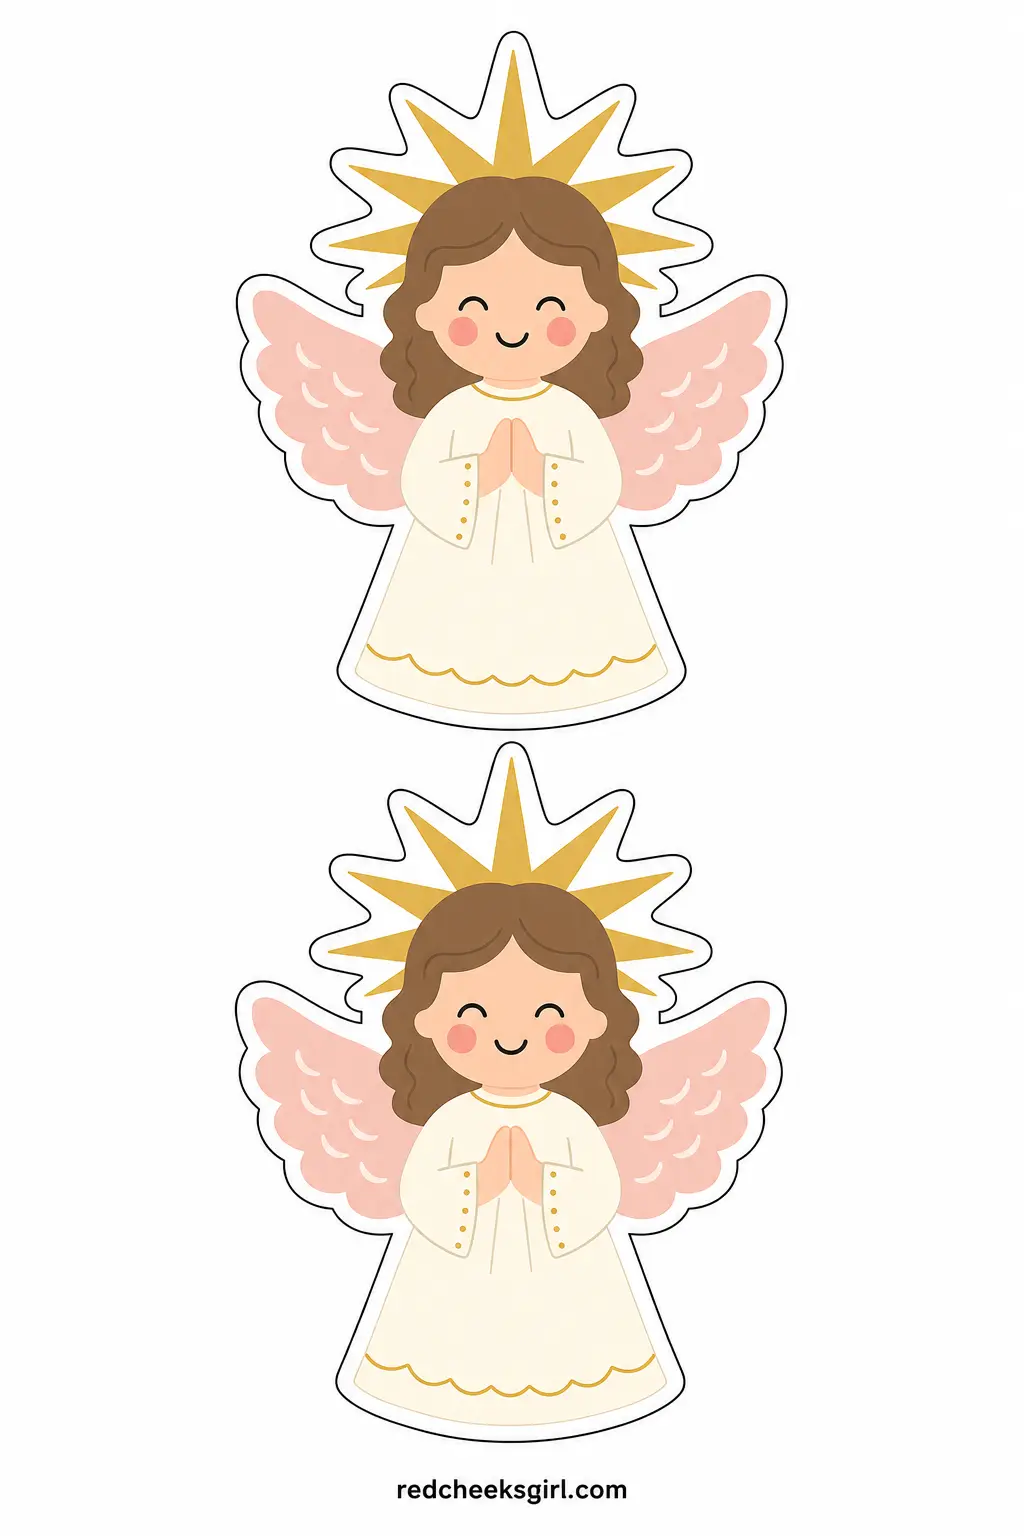
A round, rosy-cheeked angel face with a gold starburst halo and pastel pink wings, the kind that sat on top of the tree every year whether anyone loved her or not. A line of them on string suits a doorway or a child’s room more than a formal living room.
Cut around both angel shapes, taking the halo points slowly since they are the sharpest part of the outline. Pierce one small hole near the top of the halo on each and string them with even spacing.
Keep an eye on symmetry as you cut: an angel with one wing larger than the other is the first flaw anyone’s eye catches once a few are hung in a row, so trim slowly and check both sides against each other before moving to the next shape.
✂️ What you need to print it
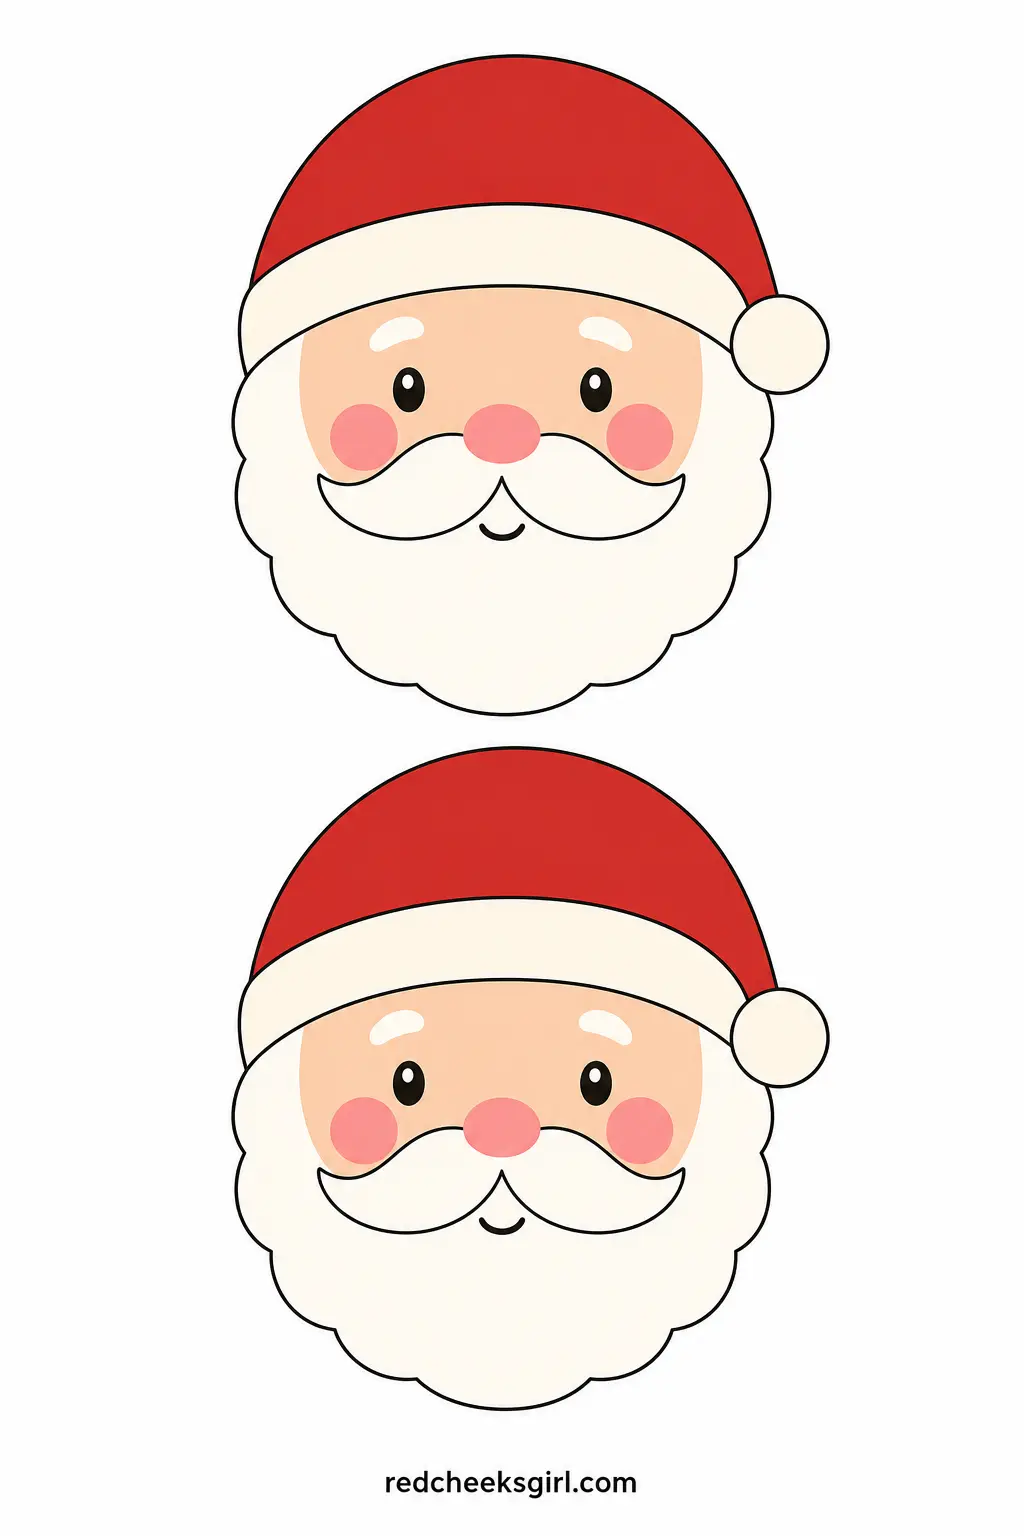
Vintage Santa Face
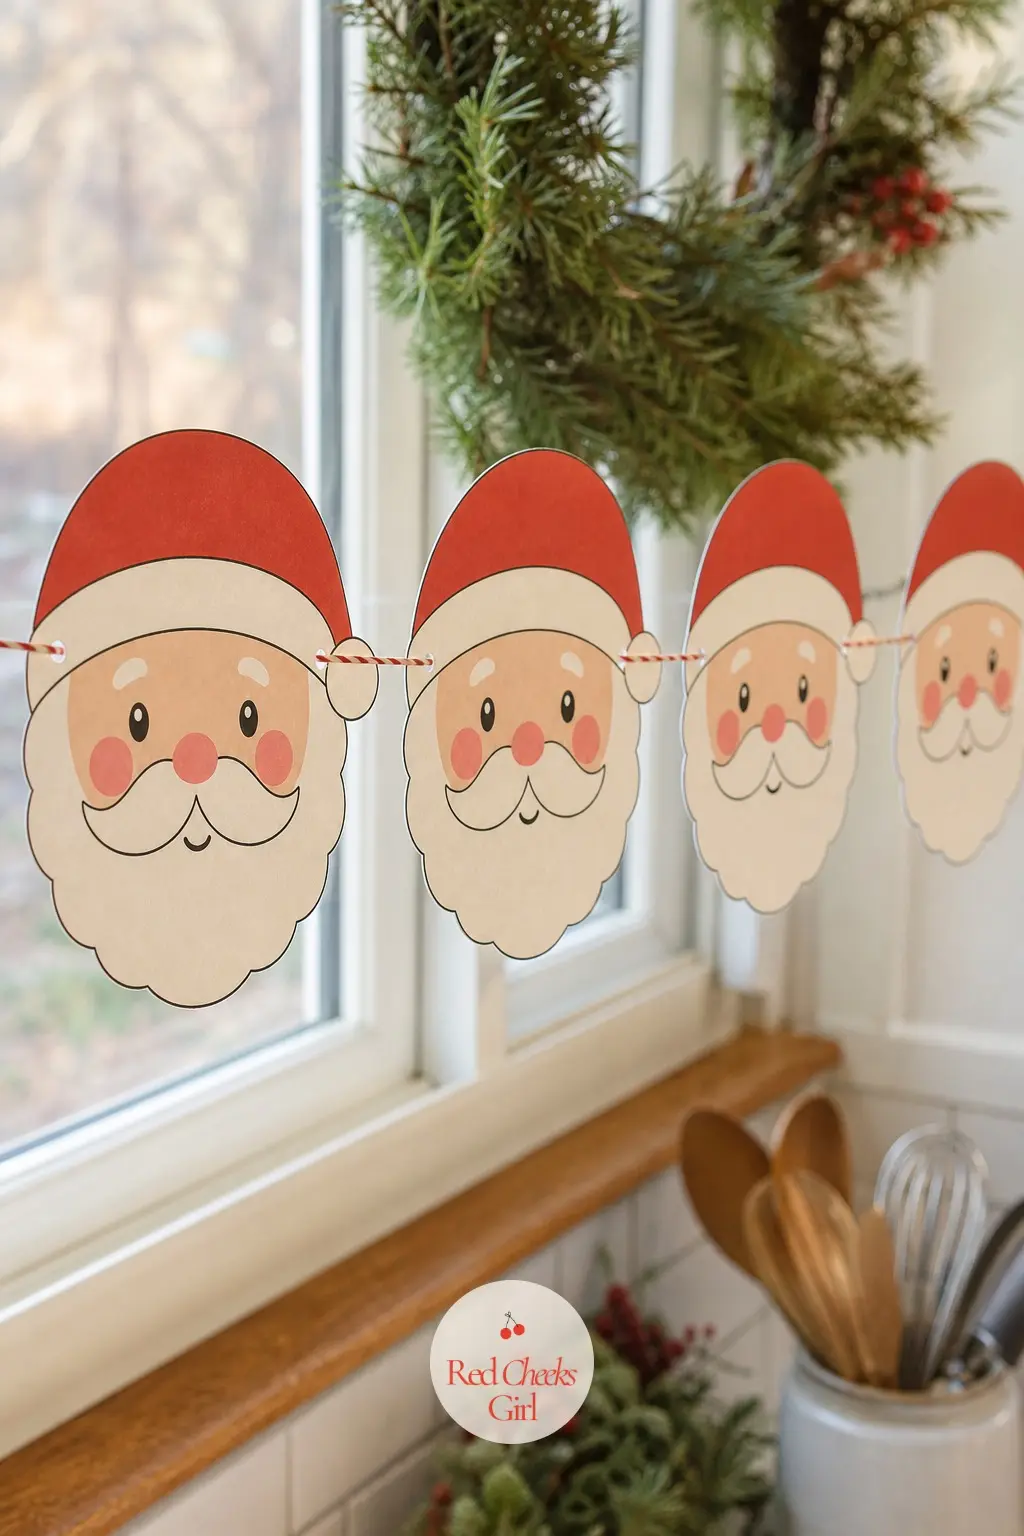
A round, friendly Santa face in red and cream with pink cheeks, closer to a greeting card illustration than a department store mall Santa. Strung in a row it suits a front hall or a kitchen window, somewhere guests see it on the way in.
Cut around both face shapes, following the curve of the hat brim carefully since it is the widest part of the outline. Pierce a hole near the top of the hat point on each and thread with string, spacing copies evenly.
The beard is drawn in a single soft shape rather than individual curls, so a careless cut there flattens the whole expression; slow down specifically on that one curve and the rest of the face cuts easily.
✂️ What you need to print it
The Critters With Personality
The two with legs. A reindeer in full stride and a poodle in a scarf both ask for more cutting patience than a bauble, but they are the two your guests photograph first.
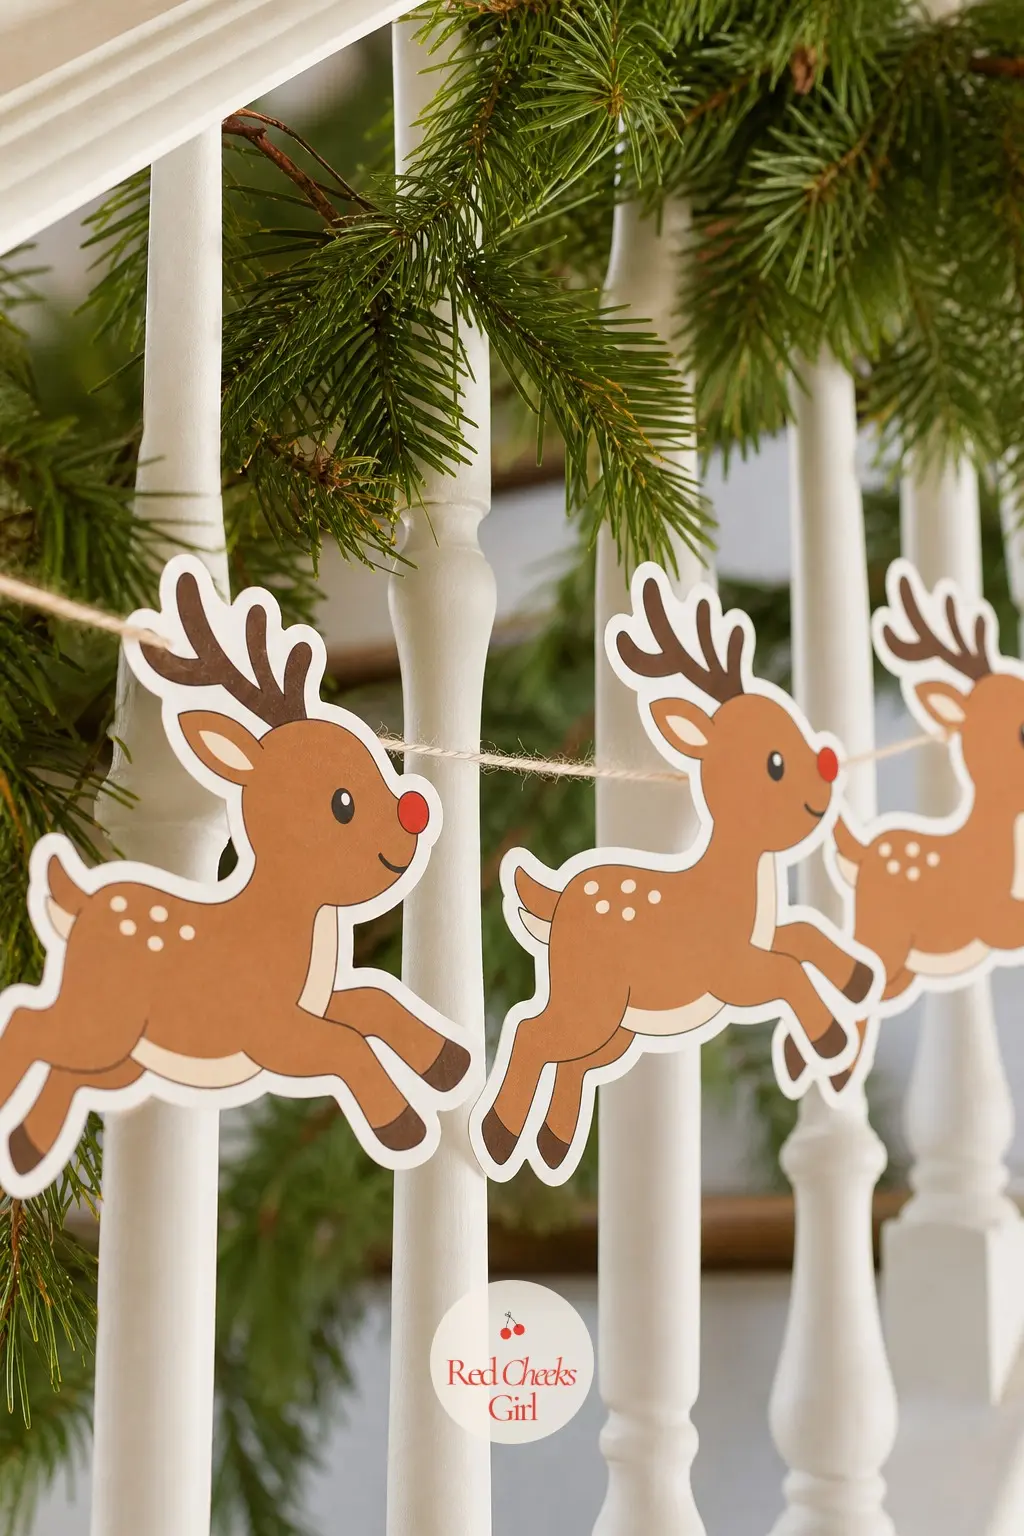
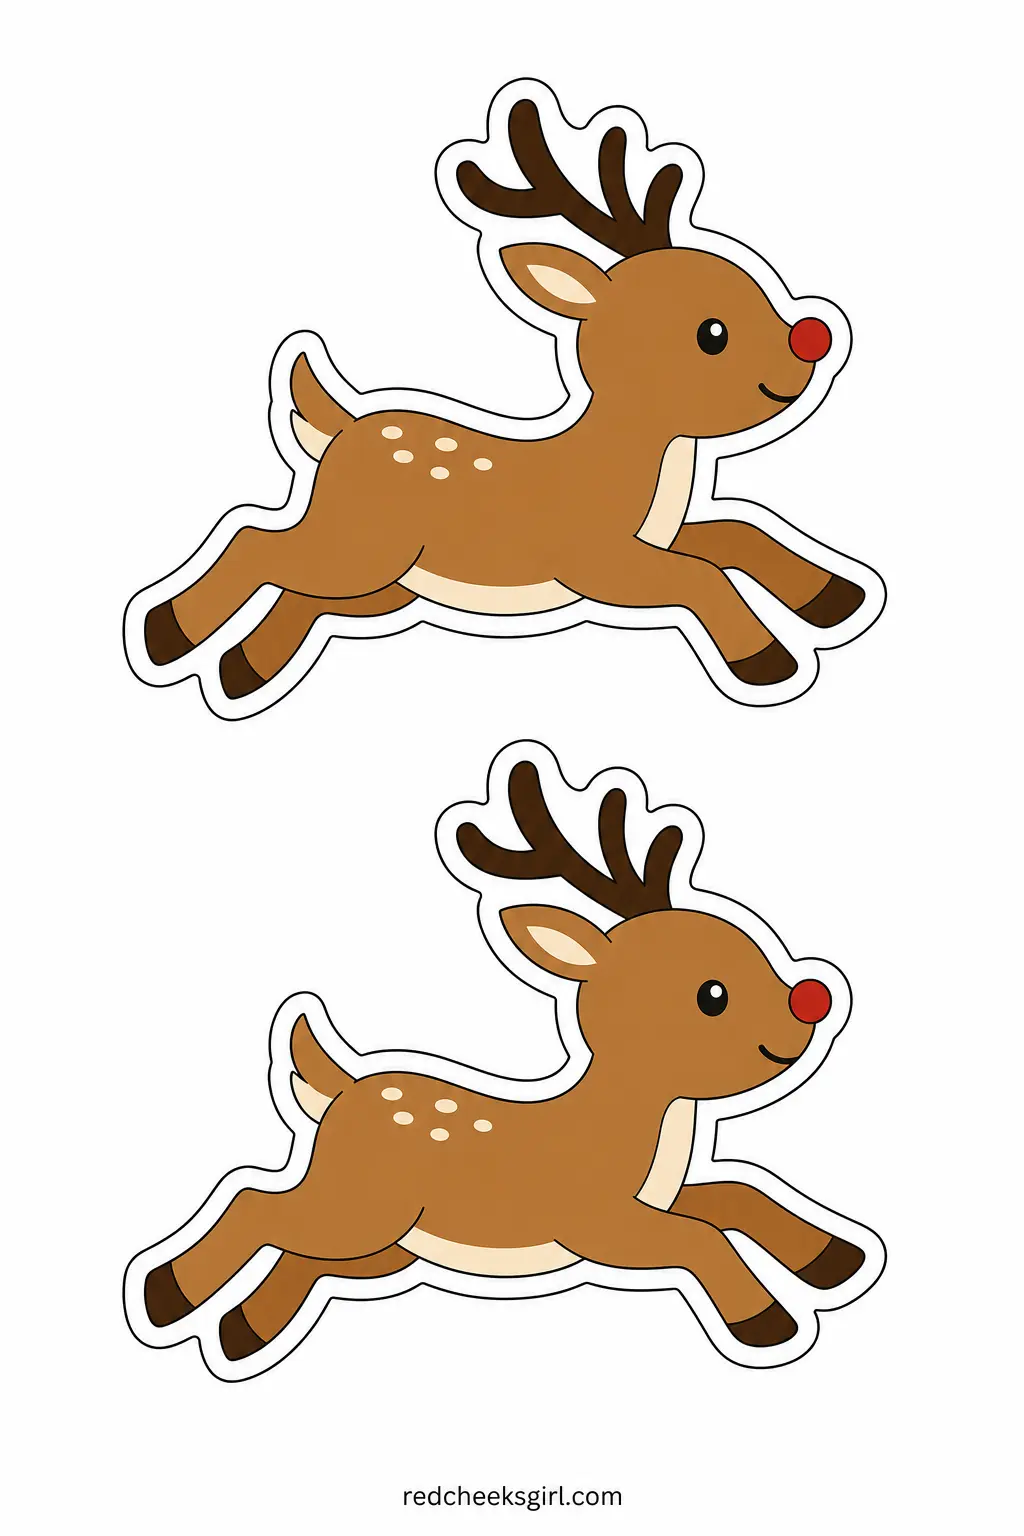
Retro Reindeer
A reindeer mid-stride in caramel brown with a cream belly and one small red nose, drawn in profile the way it shows up on mid-century wrapping paper. Because the body and legs run wider than they run tall, the shape lies on its side on the printable to use the full width of the sheet, which also happens to be how it hangs most naturally on a long string.
Cut around both reindeer carefully at the legs, the one part of the outline thin enough to snap if you rush it. Pierce a hole near the back of each and string them so they appear to run in one direction along the garland.
The legs eat the most paper relative to the size of the shape, so print a spare sheet or two beyond your count in case one leg tears on the first attempt.
✂️ What you need to print it
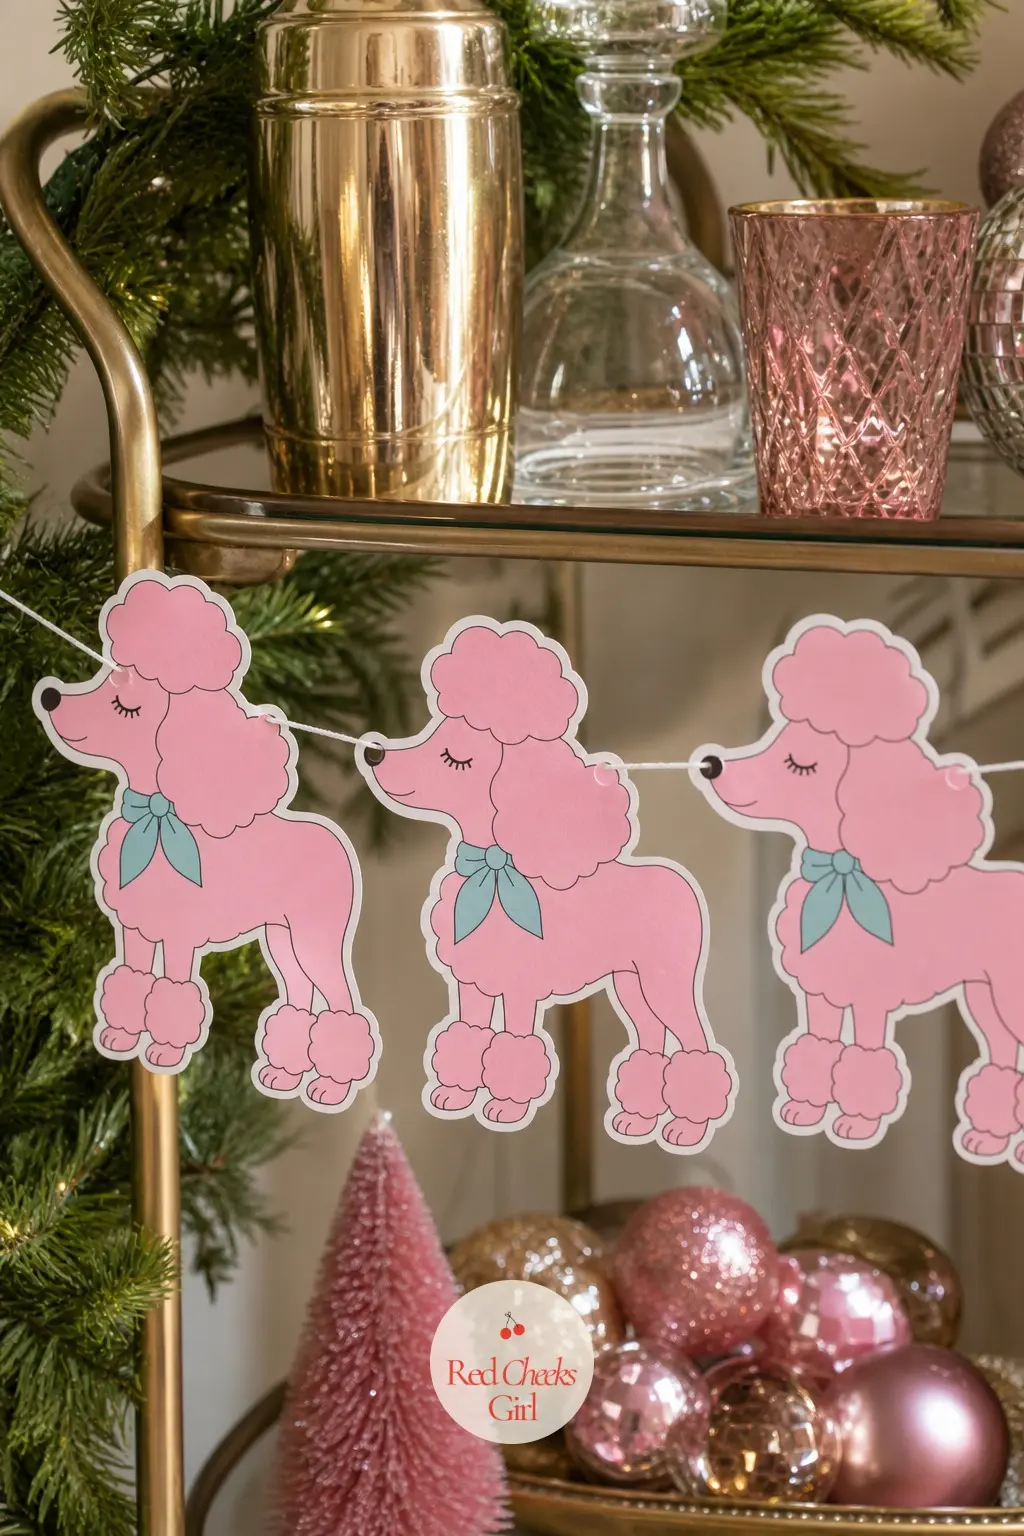
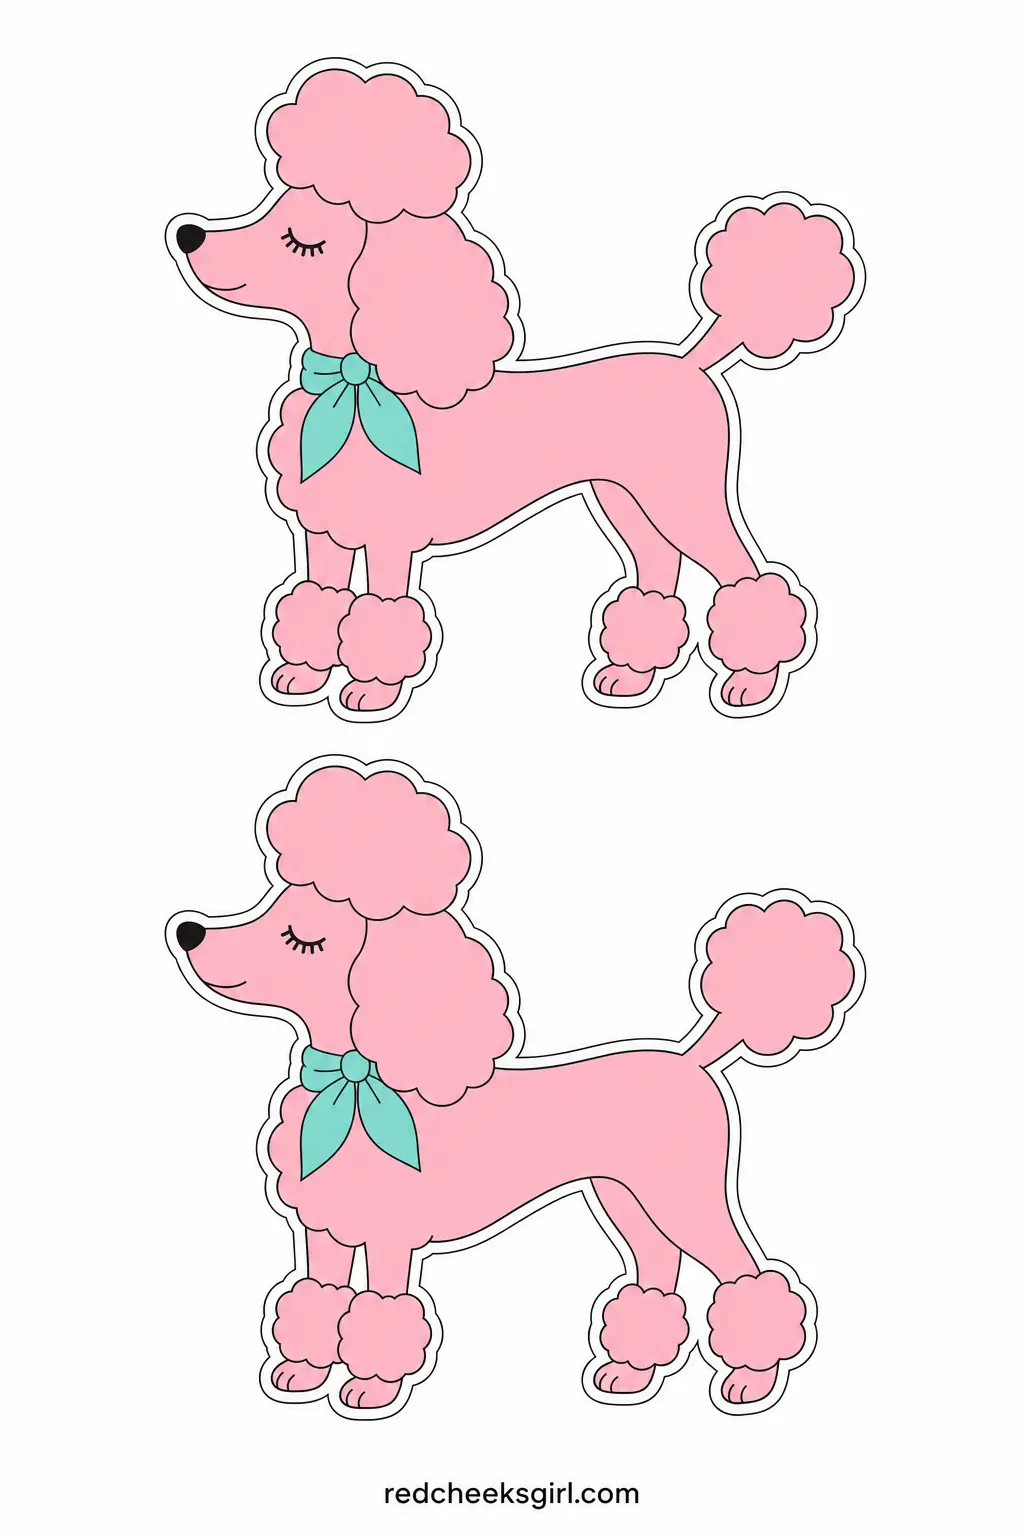
Pink Poodle in a Scarf
A pink poodle standing in profile with a fluffy pompom tail and an aqua scarf knotted at the neck, the one entry here that leans more kitsch than Christmas and reads as pure 1950s novelty. It suits a bar cart, a bathroom, or anywhere the rest of the room is already in on the joke.
Because the standing body runs wider than it is tall, the poodle lies on its side on the sheet, the same way it will hang once strung. Cut around both poodles, taking the pompom tail and ear slowly since they are the roundest, most fragile parts of the line.
This is the shape most likely to lose its ear tip to a rushed cut, so trim a wide margin around it on the first pass and come back for the fine edge once the bulk of the paper is clear.
✂️ What you need to print it
Frequently Asked Questions
How do you make a paper chain garland for Christmas?
Cut the printable sheet along its strip lines, curl the first strip into a ring and glue the overlap, then thread the next strip through that ring before gluing its own ends shut. Repeat down the sheet, alternating which colour or pattern leads on each strip, until the chain reaches the length you need.
What size do you cut the strips for a paper chain?
Most home versions land around one inch tall, with the length running anywhere from six to ten inches depending on how chunky you want each ring. Every printable sheet here keeps every strip the exact same size so the rings all lock together evenly once they are cut.
How many strips or sheets do you need for a full garland?
As a rough guide, fifty to seventy rings makes a garland in the fifteen to twenty foot range, which covers most mantels and stair rails with some to spare. Count your strips per sheet, then multiply up from there rather than guessing partway through.
What paper works best for printable Christmas decorations?
Plain white cardstock printed at home gives you the cleanest colour and holds its shape far better than regular printer paper, which goes limp once glue touches it. Matte cardstock reads softer on a chain; glossy photo paper makes the shape garlands look closer to the original artwork.
Why does my paper chain look see-through or gappy?
A chain with gaps usually came from strips cut too thin for the size of the loop, which leaves white space between rings once they are glued. Cutting the strips a touch wider, or interlocking two rings vertically with one horizontally, closes that gap without changing the pattern.
Can you use patterned paper instead of plain colours?
Yes, and it is exactly what turns a basic chain into one that looks designed rather than thrown together: a printed pattern that keeps the same scale from strip to strip reads as a cohesive set once the rings are glued. That is the whole idea behind printing the sheets in this set rather than cutting plain coloured paper.
Vintage christmas mantle decor built from inherited pieces: 17 grouping ideas ordered from a nearly

18 stunning Christmas cake ideas built on this year's biggest trends — vintage Lambeth piping, but

Perfect last-minute teacher gifts await—discover 19 quick, budget-friendly Christmas ideas that sh
Leave a Reply