

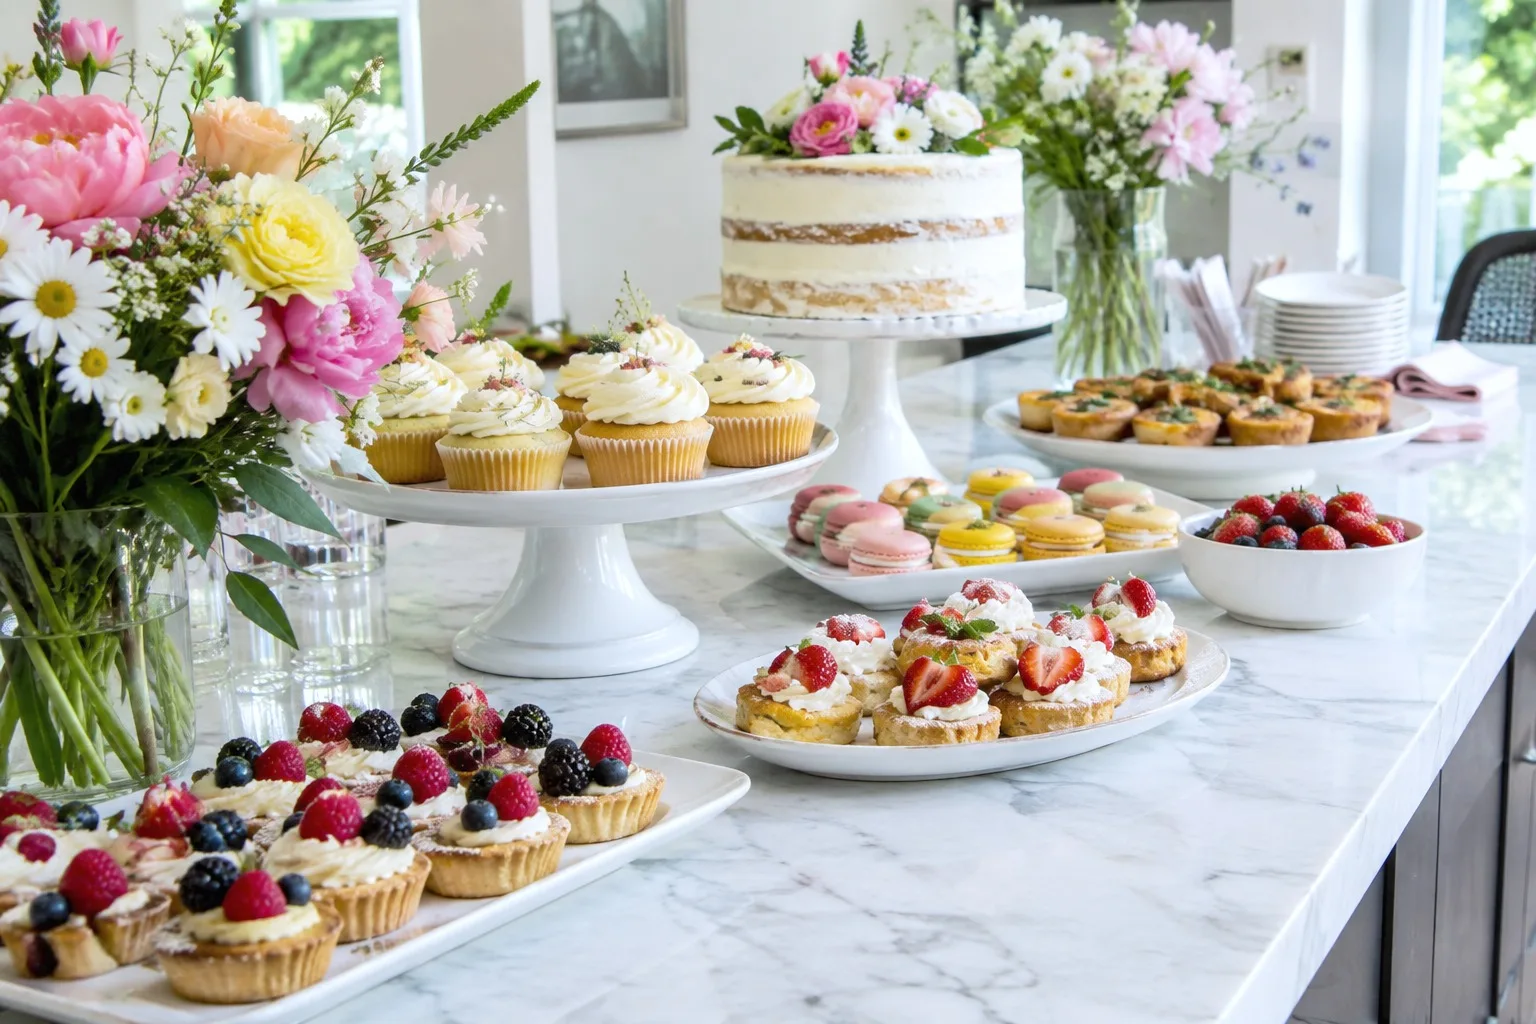
A garden birthday for eight to ten people sounds like a lot of cooking until you notice that nothing on this table needs a stove once the gate opens. Every dish below gets built, chilled and plated the day before, so the only job left on the day itself is carrying trays outside and topping up the ice.
The spread runs the real shape of a garden party menu: skewers and a flower-shaped hummus platter to start, a baguette sandwich and an herby orzo salad to make it a proper meal, chicken skewers with a cool lemon yogurt sauce, then mini fruit tarts and cupcakes piped with buttercream flowers to close it.
Lemonade and sangria sit in their own glass dispensers so nobody has to play bartender between courses.
A few dishes carry dairy, gluten, egg or fish (the smoked salmon rounds), so mention that to anyone with an allergy before the platters go out. The sangria is for the adults only: keep it on its own end of the table, away from the lemonade, and pour it with the same care you would any wine.
If the birthday in question carries a rounder number, the ideas in our piece on unique 50th birthday party ideas layer well onto this same outdoor table.
This post contains affiliate links. If you buy through them, I may earn a small commission at no extra cost to you.
Table of Contents
- Caprese Skewers with Salami Roses
- Flower-Shaped Hummus Platter with Garden Vegetables
- Vegetable Cups with Herb Dip
- Baguette Sandwiches
- Herby Orzo Salad
- Lemon Yogurt Chicken Skewers
- Melon and Prosciutto Bites
- Marinated Olives and Feta Cups
- Smoked Salmon Cucumber Rounds
- Mini Fruit Tarts
- Lemon Shortbread Cookies
- Cupcakes with Buttercream Flowers
- Sparkling Lemonade in a Glass Dispenser
- Garden Party Sangria in a Glass Dispenser
- Frequently Asked Questions
Caprese Skewers with Salami Roses
Skewers always look like more trouble than they are, and that is the whole trick here: twenty minutes of rolling little salami coils, and the platter reads like a florist got involved.
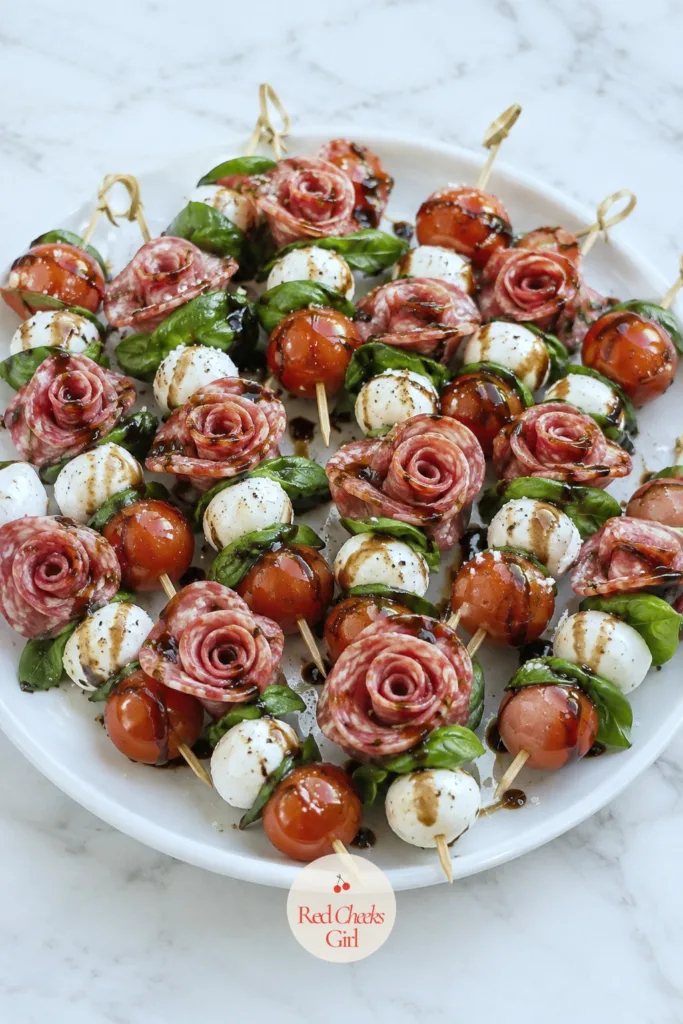
Each stick carries a cherry tomato, a folded basil leaf, a pearl of mozzarella and a tiny salami rose at the tip, so every bite is the whole caprese in one mouthful, no fork needed.
Hold the oil and balsamic glaze until the last ten minutes outside, or the tomatoes weep and the basil edges go dark before anyone has taken one.
Leave the salami off a third of the skewers if a vegetarian friend is coming; the tomato, basil and mozzarella still carry the flavor on their own.
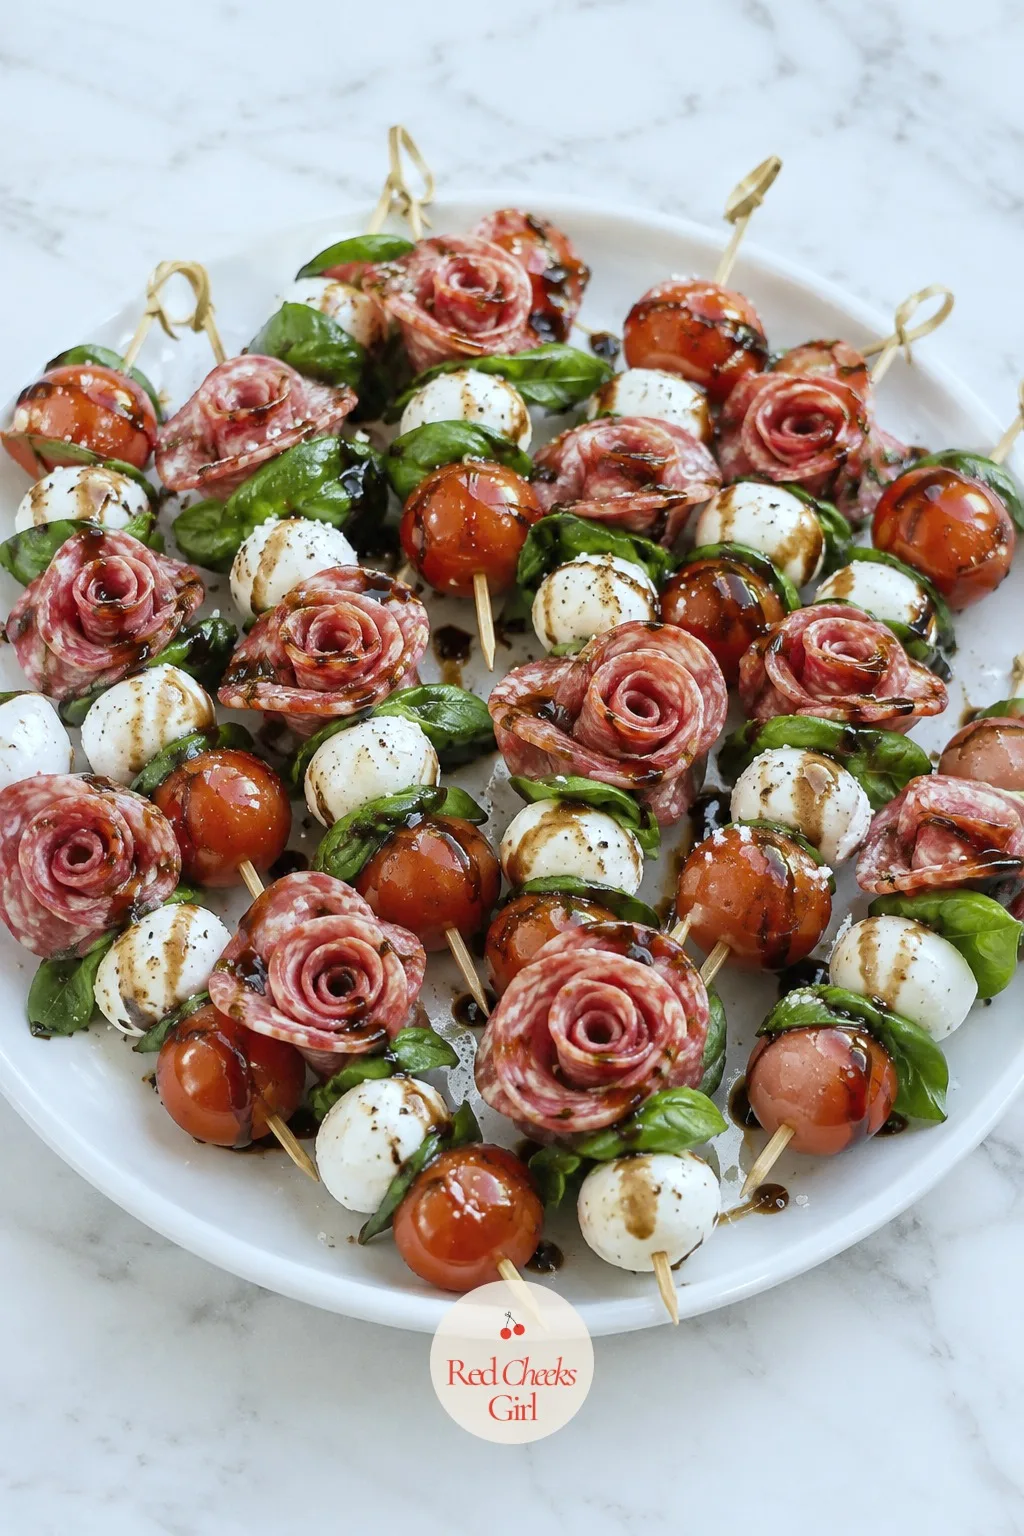
Caprese Skewers with Salami Roses
Ingredients
- 24 cherry tomatoes
- 8 ounces fresh mozzarella pearls about 24
- 24 fresh basil leaves
- 24 thin slices salami about 4 ounces
- 2 tablespoons extra-virgin olive oil
- 2 tablespoons balsamic glaze
- 1/4 teaspoon flaky salt
- 24 six-inch wooden skewers
Instructions
- Set out 24 six-inch wooden skewers on the counter so they are ready to load.
- Fold each slice of salami in half, then roll it from one end into a tight coil so it opens like a small rose; set the roses aside on a plate.
- Rinse the cherry tomatoes and pat them dry so the skewers do not weep liquid onto the platter.
- Thread one cherry tomato onto a skewer, slide a folded basil leaf behind it, then add a mozzarella pearl.
- Press a salami rose onto the tip of the skewer so it stands upright and faces outward.
- Repeat with the remaining 23 skewers, laying each one flat on a tray as you finish.
- Arrange the skewers on a round platter in a sunburst pattern, roses pointing out, cover loosely with plastic wrap, and refrigerate up to 24 hours.
- Just before serving, drizzle the olive oil and balsamic glaze over the skewers and scatter the flaky salt on top.
Good to Know
Flower-Shaped Hummus Platter with Garden Vegetables
She will ask if you made the hummus yourself, and you do not have to answer that honestly: the whole trick is in the shaping, not the recipe. Spread it into a circle, swirl a shallow well in the center, and ring it with vegetables cut to stand like petals.
It works because nobody wants to be the first person digging into a plain bowl of dip; a flower gives everyone permission to pick at the edges first. Keep the vegetables in cold water until the last twenty minutes so they still snap when bitten.
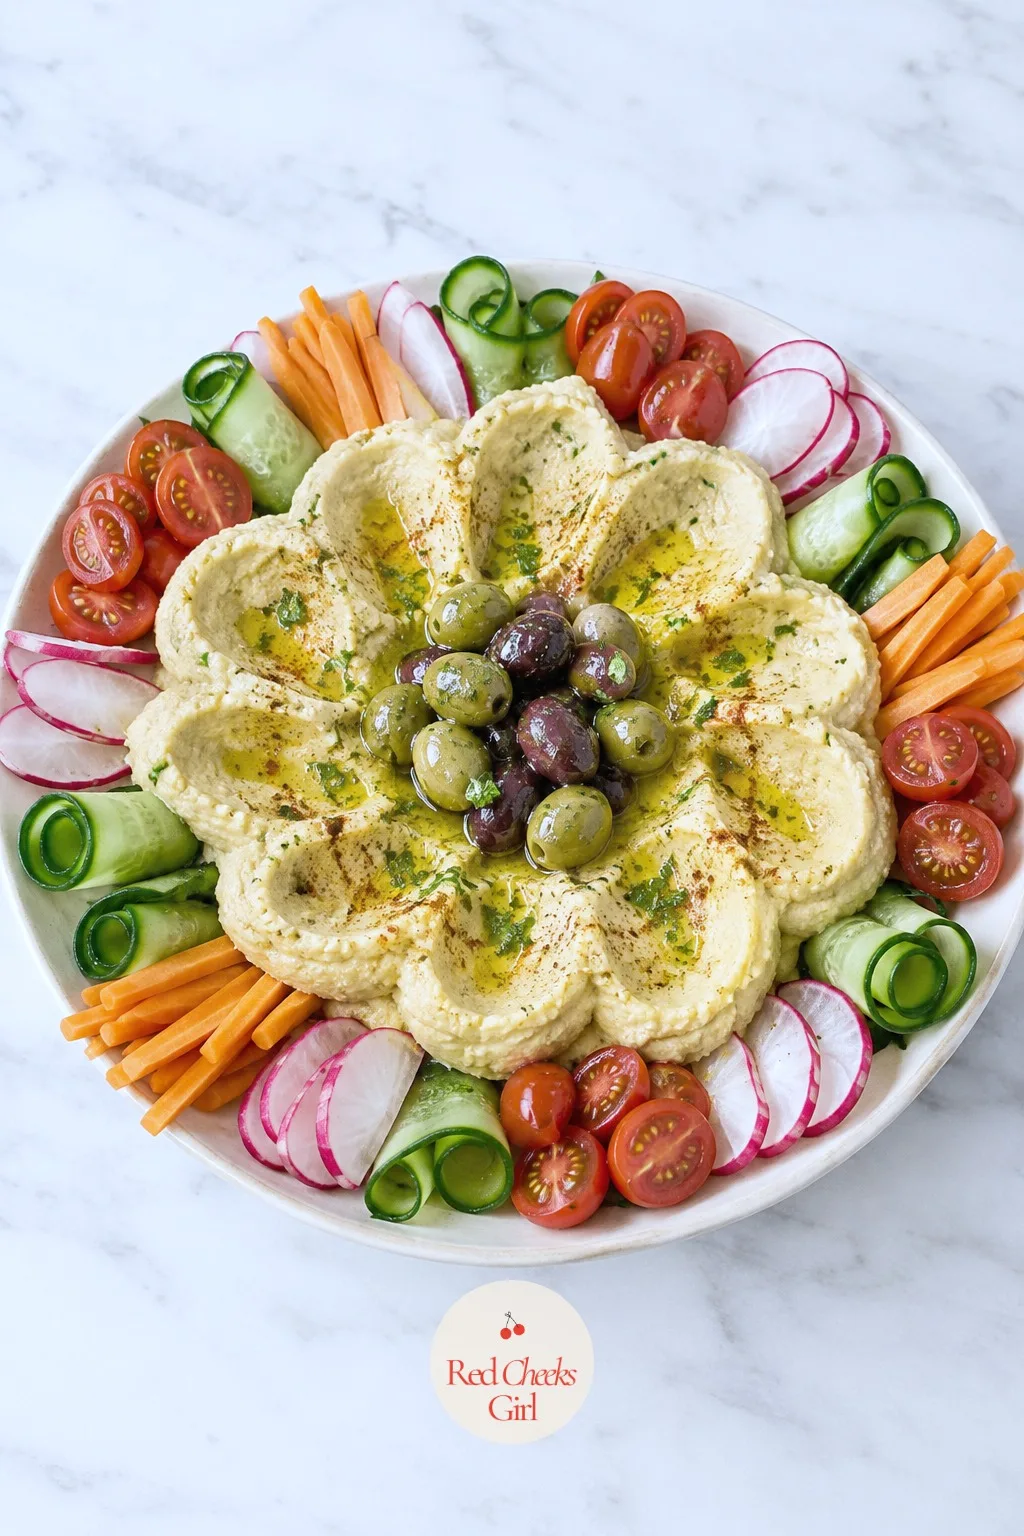
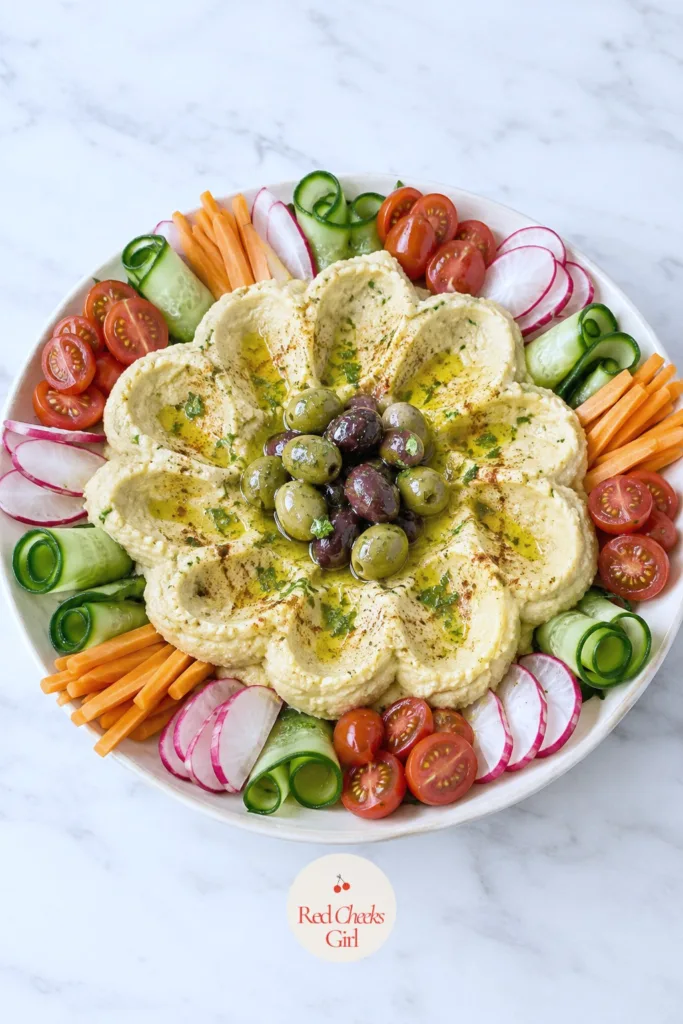
Flower-Shaped Hummus Platter with Garden Vegetables
Ingredients
- 2 cups hummus store-bought or homemade
- 2 tablespoons extra-virgin olive oil
- 1/2 teaspoon smoked paprika
- 1 tablespoon chopped fresh parsley
- 1 cup cherry tomatoes halved
- 1 English cucumber sliced into thin ribbons with a peeler
- 6 radishes sliced paper-thin
- 2 carrots cut into thin sticks
- 1 cup sugar snap peas
- 1 yellow bell pepper cut into strips
- 10 pitted kalamata olives
- Pita chips or crackers for serving
Instructions
- Spoon the hummus onto a large round platter and use the back of a spoon to spread it into an even circle about 10 inches across.
- Press the spoon into the center and swirl outward so you leave a shallow well in the middle and slightly raised ridges toward the edge, like petal lines.
- Pour the olive oil into the center well and dust the paprika and parsley over the top.
- Halve the cherry tomatoes and tuck them cut-side up around the inner ring so they sit like the first row of petals.
- Layer the cucumber ribbons just outside the tomatoes, overlapping them slightly so they curve like petals.
- Alternate the radish slices and carrot sticks around the next ring, pressing each piece gently into the hummus so it holds in place.
- Finish the outer edge with the snap peas and bell pepper strips standing upright, and set the olives in the center well.
- Cover loosely and refrigerate up to 8 hours; add the pita chips around the base only once the platter is on the table so they stay crisp.
Good to Know
🛍 Shopping guide
Vegetable Cups with Herb Dip
Nobody wants to hover near a shared bowl balancing a glass of sangria, so give everyone their own cup instead. A short glass, a spoonful of dip, a handful of sticks standing up like a tiny bouquet: she picks it up and walks away, which is the whole point outdoors.
The dip is a simple yogurt and herb mix that firms slightly in the fridge, so the vegetables stay upright instead of sliding sideways. If you would rather skip the shopping for ten separate cups, line them up in small mason jars instead; they hold just as well and look just as deliberate.
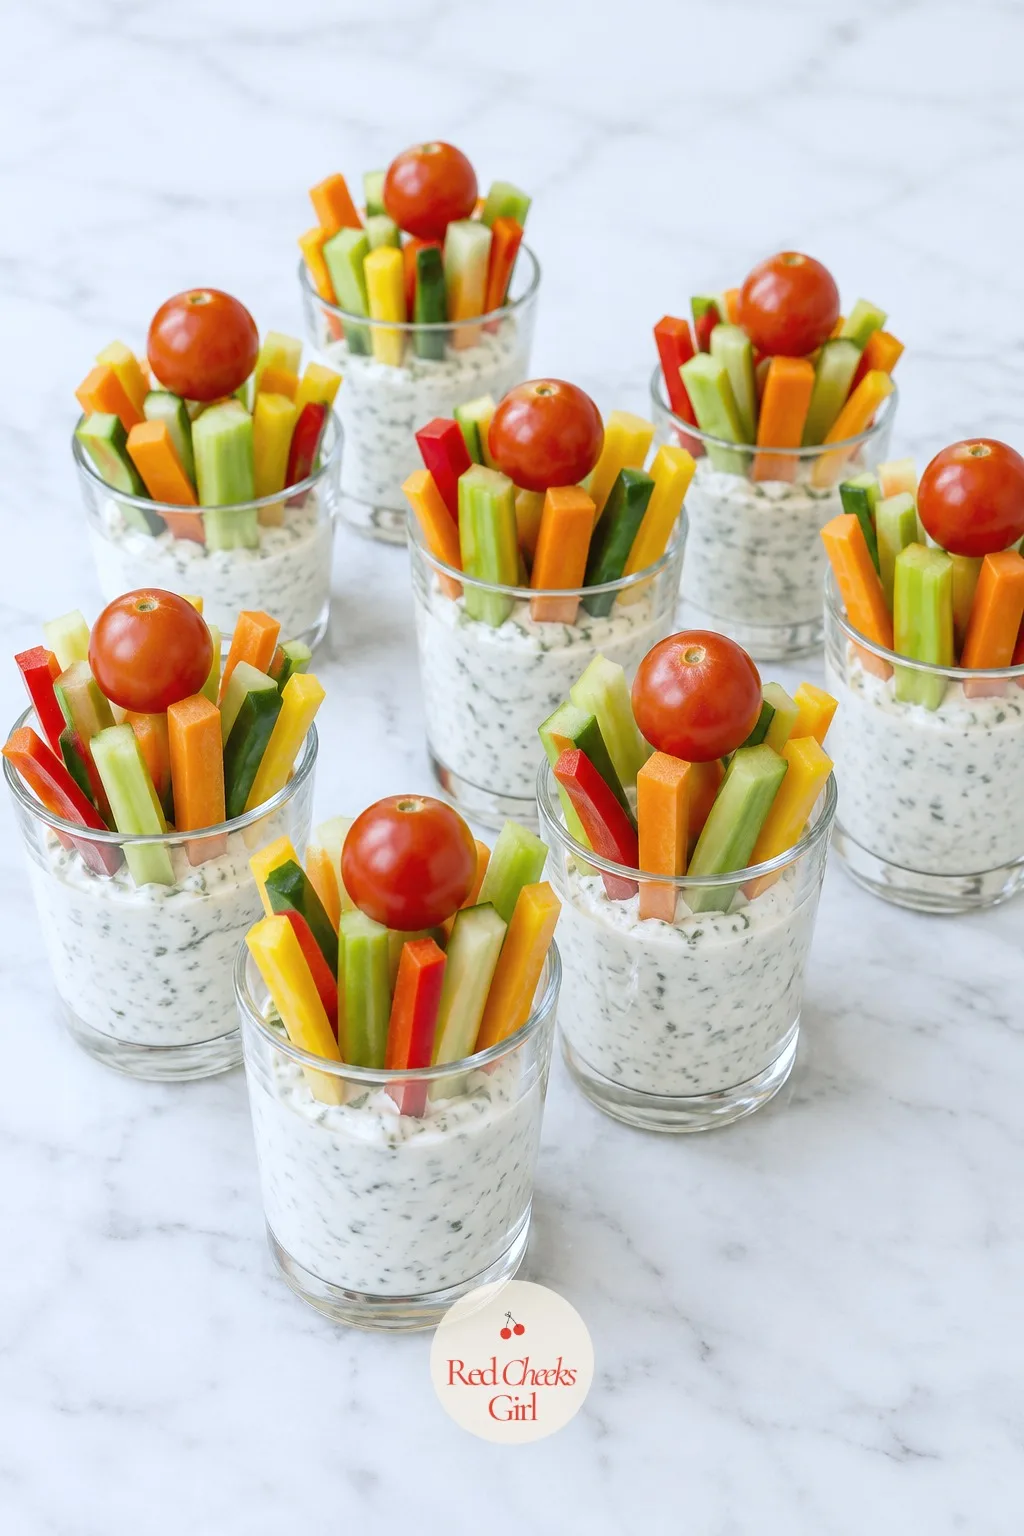
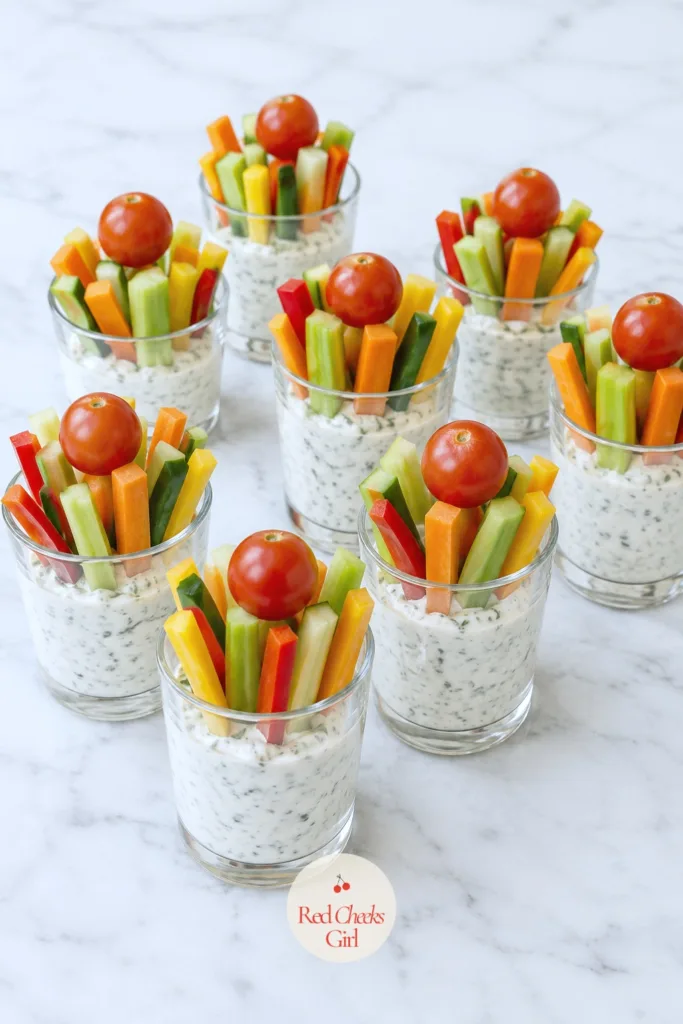
Vegetable Cups with Herb Dip
Ingredients
- 1 cup plain Greek yogurt
- 1/2 cup mayonnaise
- 2 tablespoons chopped fresh dill
- 1 tablespoon chopped fresh chives
- 1 small garlic clove grated
- 1 tablespoon lemon juice
- 1/2 teaspoon salt
- 1/4 teaspoon black pepper
- 3 carrots cut into thin sticks
- 3 celery stalks cut into thin sticks
- 1 English cucumber cut into thin sticks
- 1 red bell pepper cut into thin strips
- 10 cherry tomatoes
- 10 clear 4-ounce cups
Instructions
- Whisk the Greek yogurt, mayonnaise, dill, chives, garlic, lemon juice, salt, and pepper together in a bowl until smooth.
- Cover the dip and refrigerate it for at least 30 minutes, which gives the garlic and herbs time to mellow into the yogurt.
- Cut the carrots, celery, cucumber, and bell pepper into sticks about 4 inches long, slightly taller than the cups.
- Spoon about 2 tablespoons of the chilled dip into the bottom of each clear cup.
- Stand 4 to 5 vegetable sticks upright in each cup, mixing the colors so no two sticks of the same vegetable sit side by side.
- Press one cherry tomato into the top of each cup so it peeks just above the rim.
- Line the cups up on a tray, cover loosely, and refrigerate up to 6 hours before the party.
- Set the cups out on the table in a tight cluster so they read as one bouquet rather than ten separate snacks.
Good to Know
🛍 Shopping guide
Baguette Sandwiches
She skips the big spread half the time because reaching for a fork while standing on grass is its own small disaster. A sliced baguette sandwich solves that: pick it up, eat it, no plate balancing required.
Build the whole baguette the day before and chill it wrapped and whole; the bread actually slices cleaner once the filling has had time to settle into it. Slice only on the morning of the party so the cut edges still look fresh under the sun.
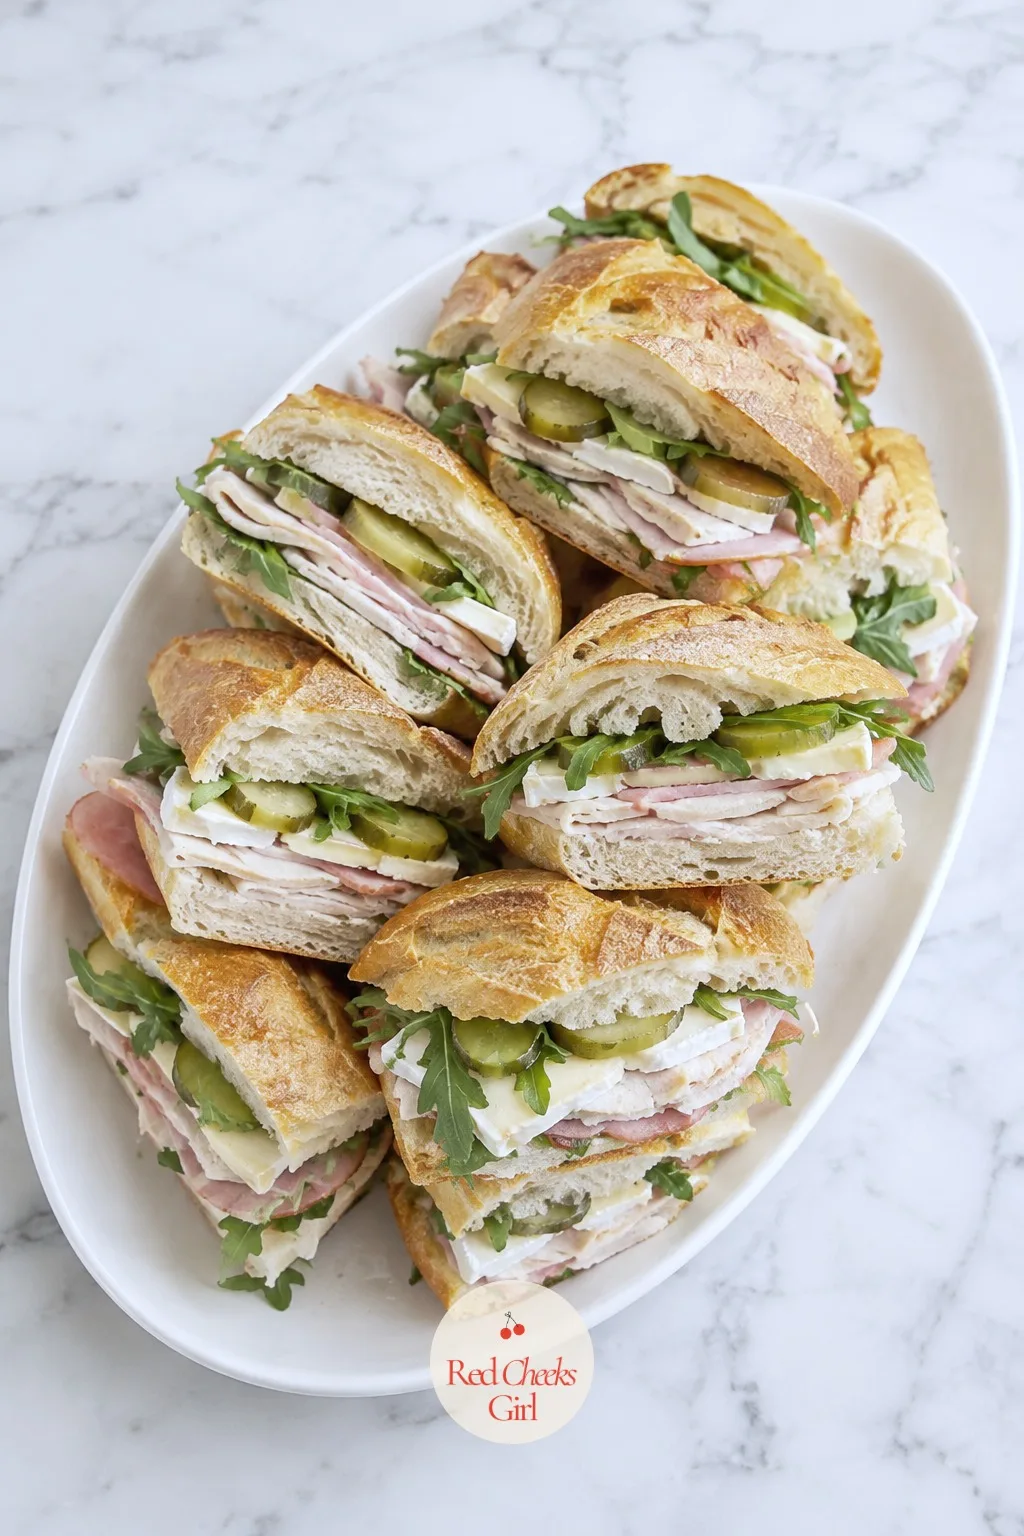
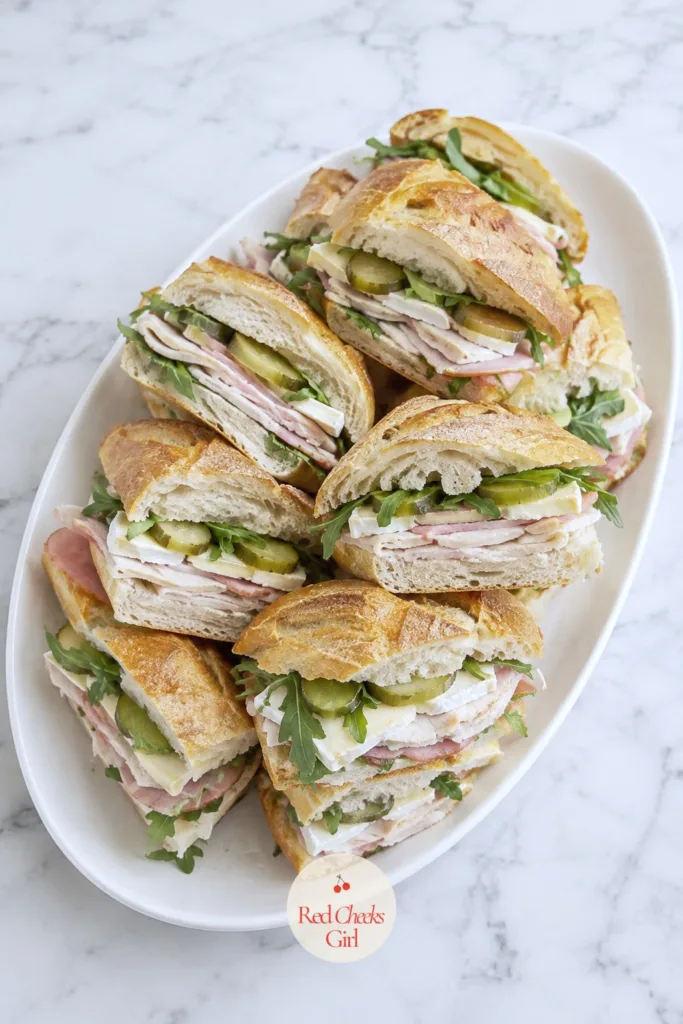
Baguette Sandwiches
Ingredients
- 2 French baguettes about 24 inches each
- 4 tablespoons salted butter softened
- 2 tablespoons Dijon mustard
- 8 ounces thinly sliced ham
- 8 ounces thinly sliced turkey
- 6 ounces brie thinly sliced
- 2 cups baby arugula
- 1/4 cup sliced cornichons
Instructions
- Slice each baguette in half lengthwise without cutting all the way through, so it opens like a book.
- Spread the softened butter over one cut side and the Dijon mustard over the other.
- Layer the ham, turkey, and brie evenly down the length of each baguette.
- Scatter the arugula and cornichon slices over the meat and cheese.
- Close the baguette, press down firmly along its length with your palm, and wrap it tightly in plastic wrap.
- Refrigerate the wrapped baguettes for at least 1 hour, which lets the bread take the shape of the filling and makes clean slices possible.
- Unwrap and slice each baguette on a sharp diagonal into pieces about 2 inches wide.
- Arrange the pieces cut-side up on a long platter so the layers show.
Good to Know
Herby Orzo Salad
Pasta salads have a bad reputation for going gluey, and this one earns a better one by resting overnight instead of fighting the clock. The orzo actually drinks up more lemon and oil the longer it sits, so you are not racing the party, you are working with it.
Fold in the fresh herbs at the end, not the start, or they bruise into a dull green before anyone sees the platter. A spoonful of this next to the chicken skewers turns finger food into an actual meal.
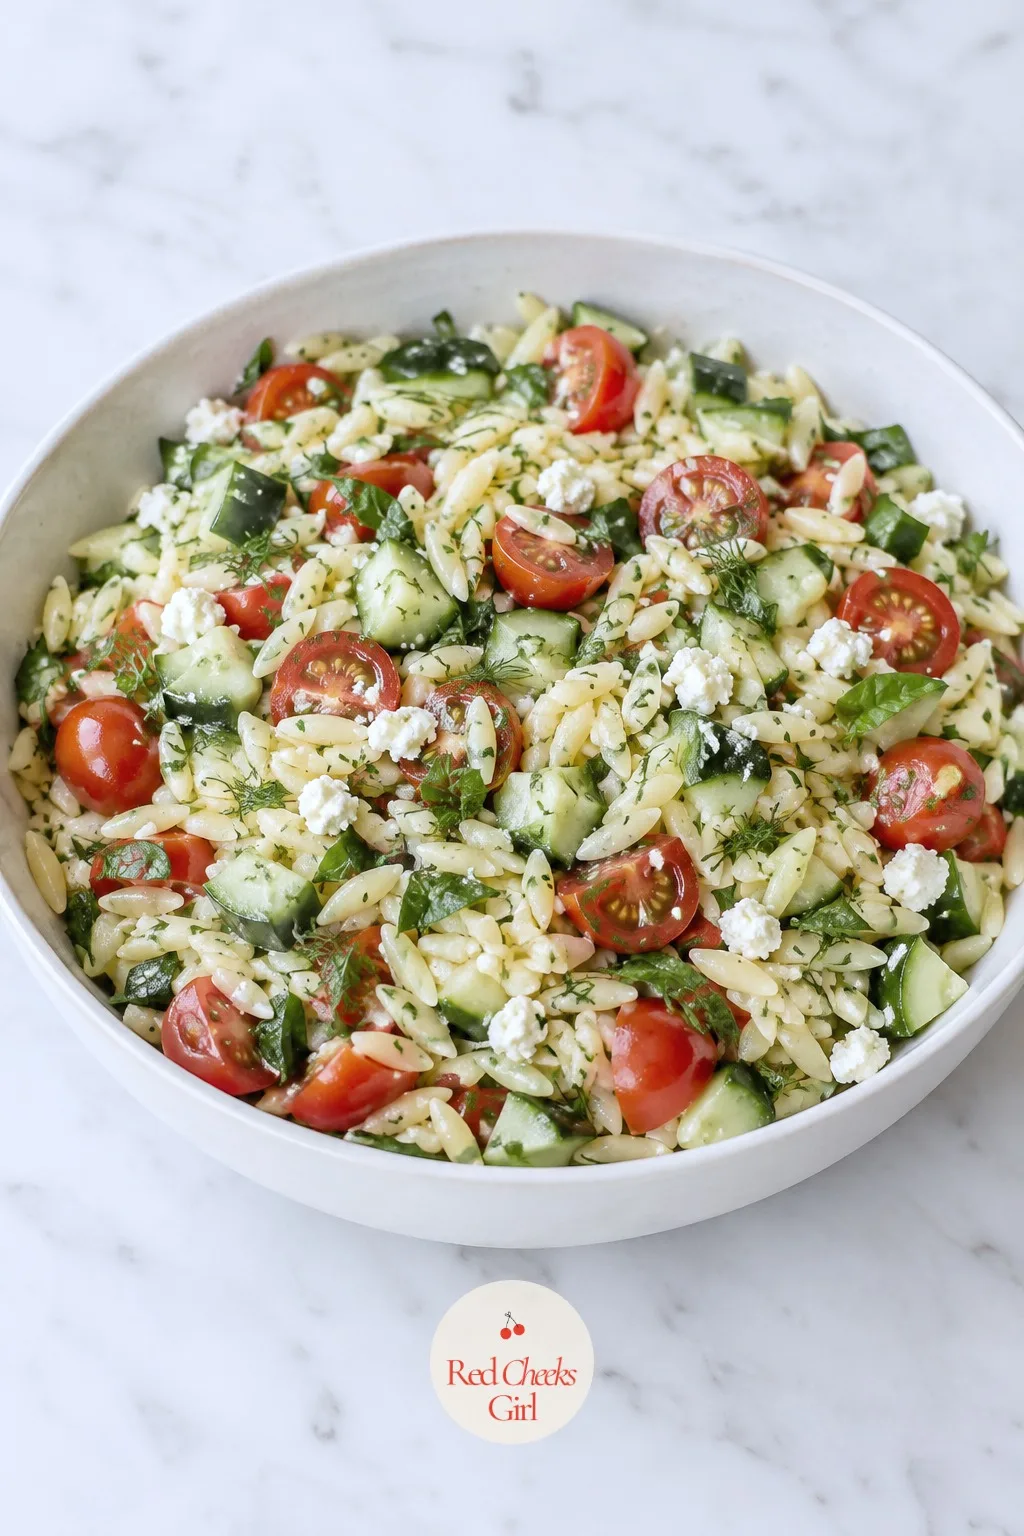
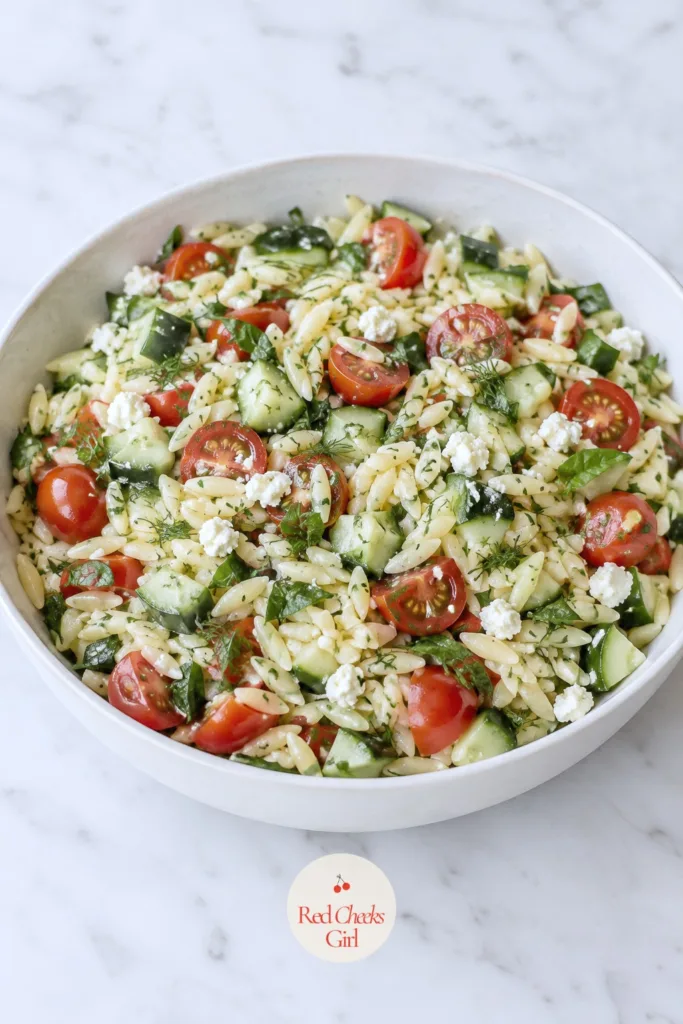
Herby Orzo Salad
Ingredients
- 1 pound orzo pasta
- 1/3 cup extra-virgin olive oil
- 3 tablespoons lemon juice plus 1 tablespoon reserved
- 1 teaspoon lemon zest
- 1 cup cherry tomatoes halved
- 1 cucumber diced small
- 1/2 cup crumbled feta
- 1/4 cup chopped fresh basil
- 1/4 cup chopped fresh mint
- 2 tablespoons chopped fresh dill
- 1/4 cup chopped fresh parsley
- 1/4 red onion very thinly sliced
- 3/4 teaspoon salt
- 1/4 teaspoon black pepper
Instructions
- Bring a large pot of salted water to a boil and cook the orzo according to the package time, until it is tender but still has a slight bite.
- Drain the orzo and spread it on a sheet pan to cool for 10 minutes, which stops it from clumping into a solid block.
- Whisk the olive oil, 3 tablespoons lemon juice, lemon zest, salt, and pepper together in a small bowl to make the dressing.
- Toss the cooled orzo with half the dressing in a large bowl so the pasta absorbs it before the other ingredients go in.
- Fold in the cherry tomatoes, cucumber, feta, and red onion.
- Add the basil, mint, dill, and parsley, and toss gently so the herbs do not bruise.
- Pour in the remaining dressing, taste, and adjust the salt if the feta has not already covered it.
- Cover and refrigerate at least 20 minutes before serving, stirring in the reserved tablespoon of lemon juice and giving it one more toss just before it goes on the table.
Good to Know
Lemon Yogurt Chicken Skewers
She wants something that feels like a real main course without anyone standing over a grill mid-party, and this is the answer: cook it the afternoon before, serve it cold or at room temperature, and nobody notices the difference.
The yogurt marinade does double duty, tenderizing the chicken and becoming the base of the dipping sauce once you split it in two. Let the skewers cool uncovered before they go in the fridge, or the sauce turns watery against the warm meat.
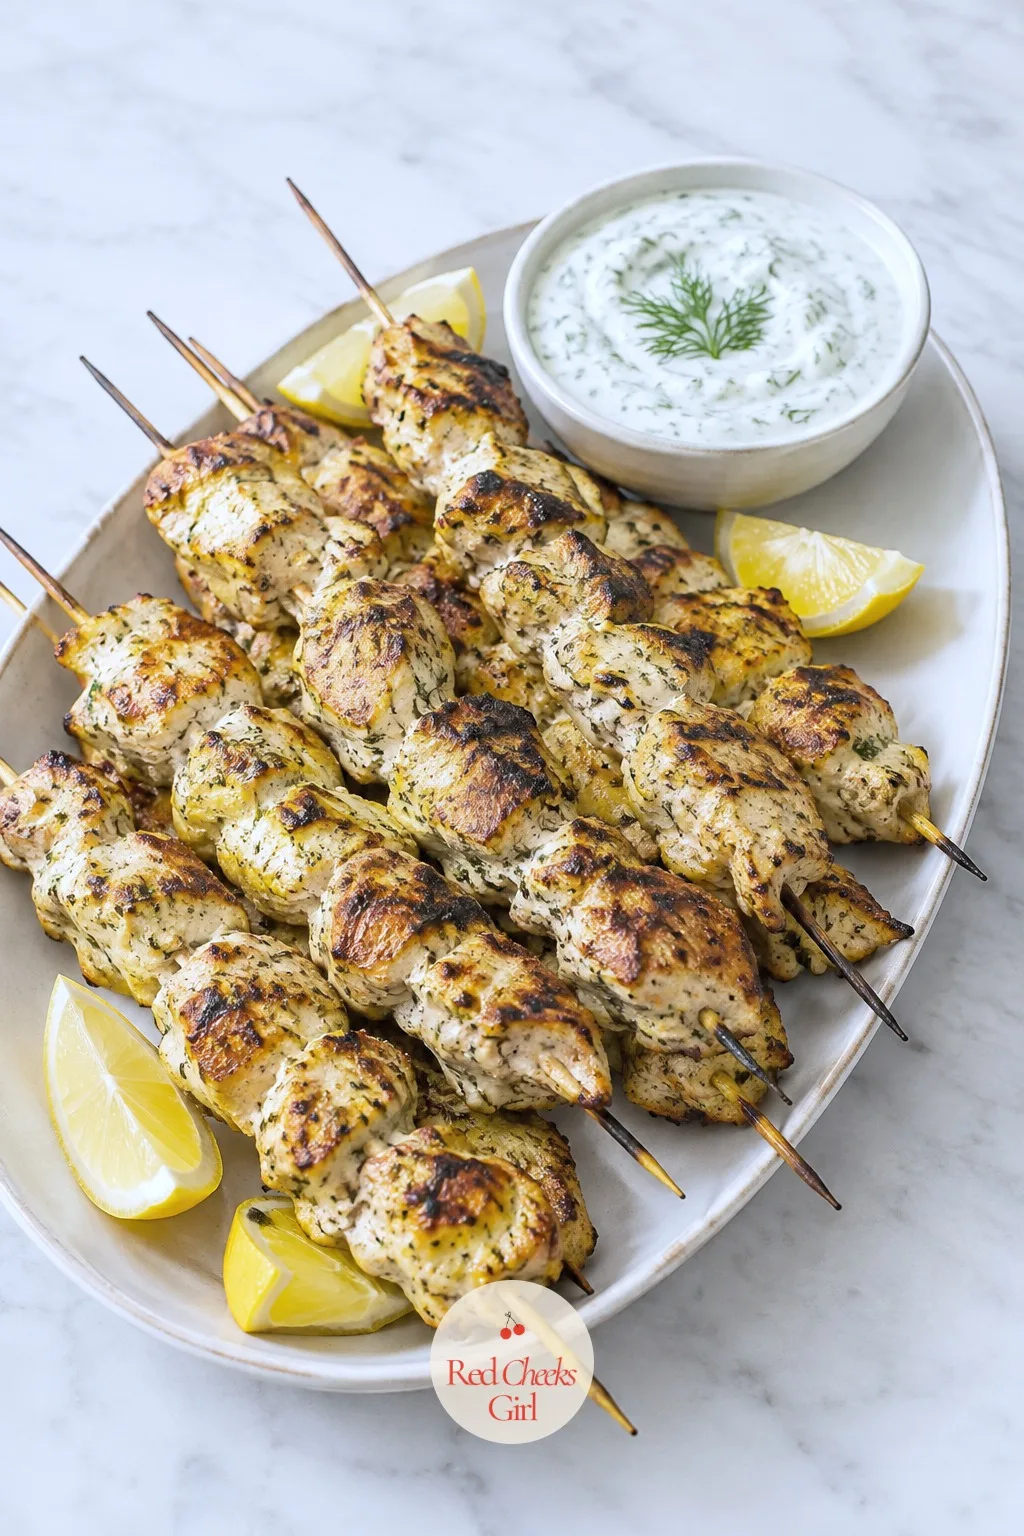
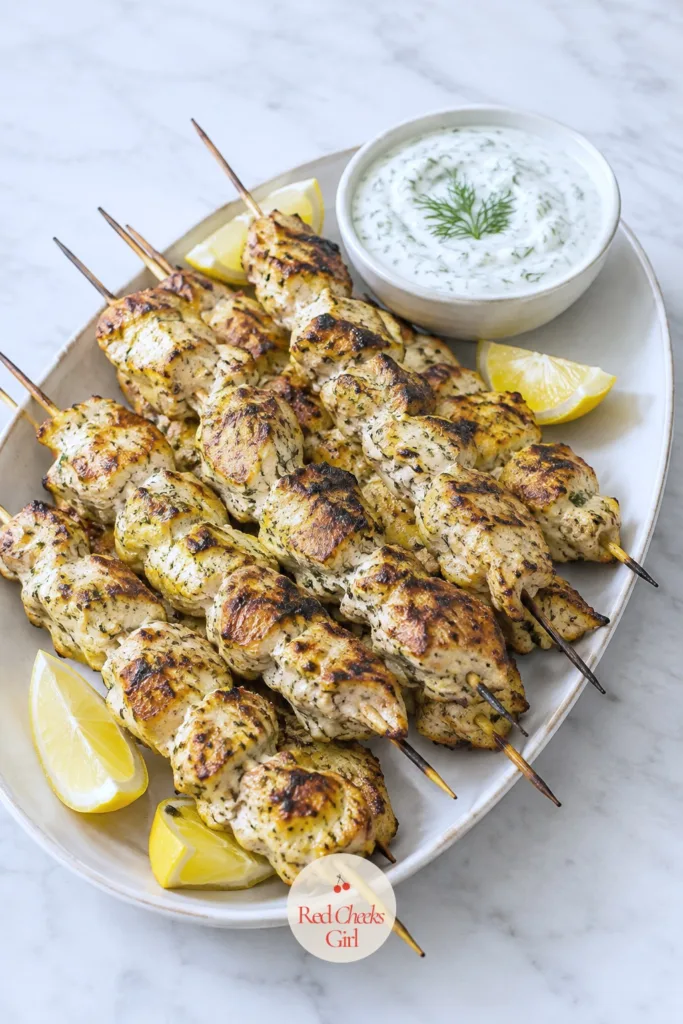
Lemon Yogurt Chicken Skewers
Ingredients
- 2 pounds boneless skinless chicken breast, cut into 1-inch cubes
- 1 cup plain Greek yogurt divided
- 2 garlic cloves grated
- 2 tablespoons lemon juice divided
- 1 tablespoon lemon zest divided
- 2 tablespoons olive oil
- 1 teaspoon dried oregano
- 1 teaspoon salt
- 1/4 teaspoon black pepper
- 1 tablespoon chopped fresh dill
- 10 skewers 10-inch, wooden or metal
Instructions
- Whisk 1/2 cup of the yogurt with the garlic, 1 tablespoon lemon juice, half the lemon zest, the olive oil, oregano, salt, and pepper in a large bowl.
- Add the chicken cubes and toss until every piece is coated, then cover and refrigerate for at least 4 hours, or up to overnight.
- If using wooden skewers, soak them in water for 20 minutes before threading so they do not scorch.
- Thread 4 to 5 pieces of chicken onto each skewer, leaving a little space between pieces so the heat reaches all sides.
- Heat a grill or grill pan to medium-high and cook the skewers for 5 to 6 minutes per side, until the chicken is opaque throughout and a thermometer in the thickest piece reads 165 degrees F.
- Transfer the cooked skewers to a plate and let them cool to room temperature, about 20 minutes.
- Stir the remaining yogurt with the remaining lemon juice and zest and the dill to make the dipping sauce.
- Cover the skewers and the sauce separately and refrigerate until serving; they are meant to be eaten cold or at room temperature, not reheated.
Good to Know
Melon and Prosciutto Bites
This is the one that disappears first, and it costs almost nothing in effort: melon, a ribbon of prosciutto, a folded mint leaf, a pick through the middle. Sweet and salty does the rest of the work.
Build these the morning of rather than the night before. Melon releases juice the longer it sits, and the prosciutto softens from crisp-edged to limp if it waits too long under plastic wrap.
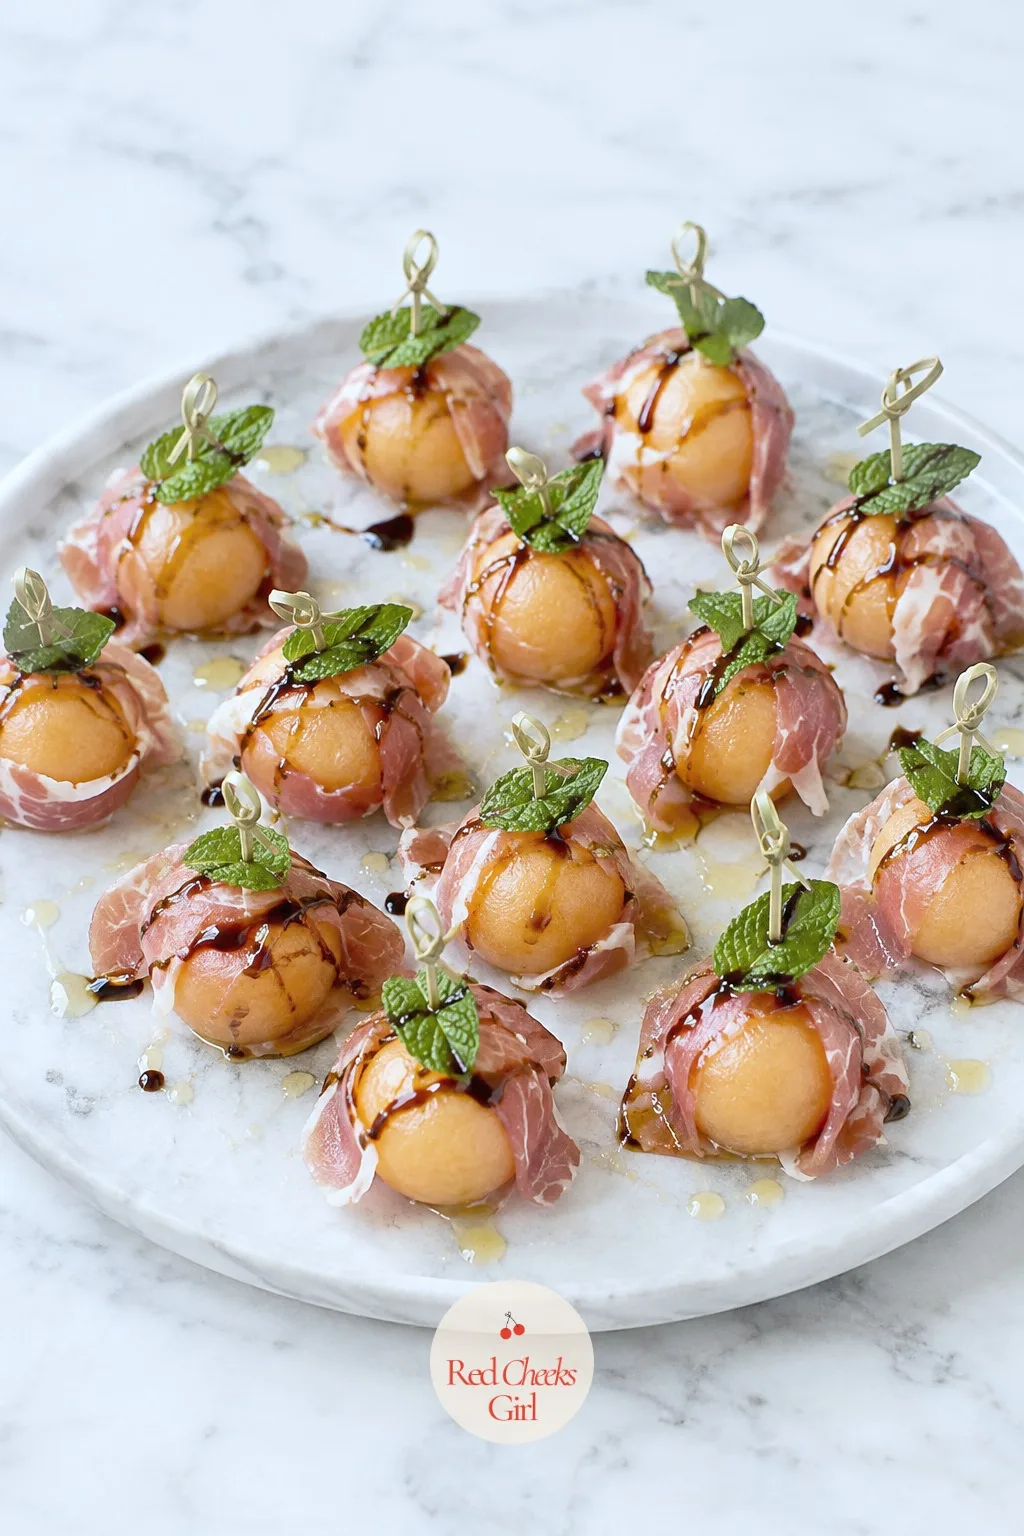
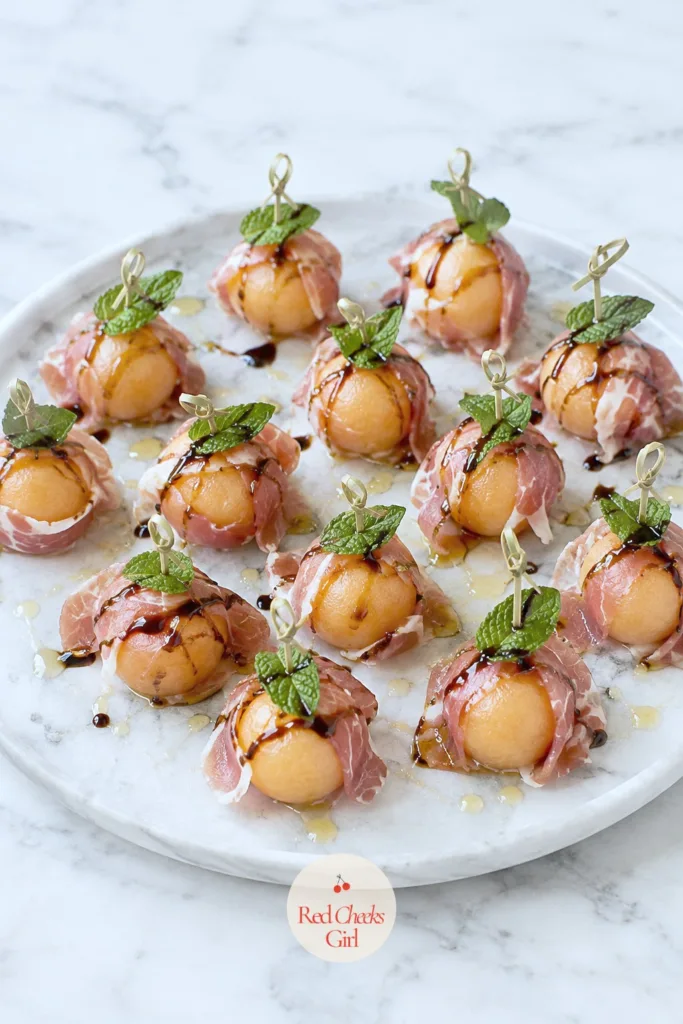
Melon and Prosciutto Bites
Ingredients
- 1 ripe cantaloupe or honeydew melon
- 6 ounces thinly sliced prosciutto
- 20 fresh mint leaves
- 2 tablespoons honey
- 1 tablespoon balsamic glaze
- 20 small cocktail picks
Instructions
- Cut the melon in half, scoop out the seeds, and use a melon baller to scoop 20 even balls.
- Pat the melon balls dry with a paper towel so the prosciutto sticks without sliding off.
- Tear the prosciutto into 20 strips, about 1 inch wide.
- Wrap one strip of prosciutto around each melon ball and fold a mint leaf against the side as you wrap.
- Secure each bite with a cocktail pick pushed through the prosciutto, mint, and melon together.
- Arrange the bites on a platter in a single layer, cover, and refrigerate up to 4 hours.
- Just before serving, warm the honey for 10 seconds in the microwave so it loosens, then drizzle it over the bites along with the balsamic glaze.
- Taste one bite before the others go out, checking that the melon is sweet and the prosciutto salty enough to balance it; add a pinch of flaky salt if needed.
Good to Know
Marinated Olives and Feta Cups
Something needs to sit on the table that asks nothing of you on the day, and this is it: made two days out, it only improves while you handle everything else.
Bring it to room temperature before serving so the olive oil loosens back up; cold from the fridge, it tastes flatter than it is. Small forks beside the cups save fingers from the brine.
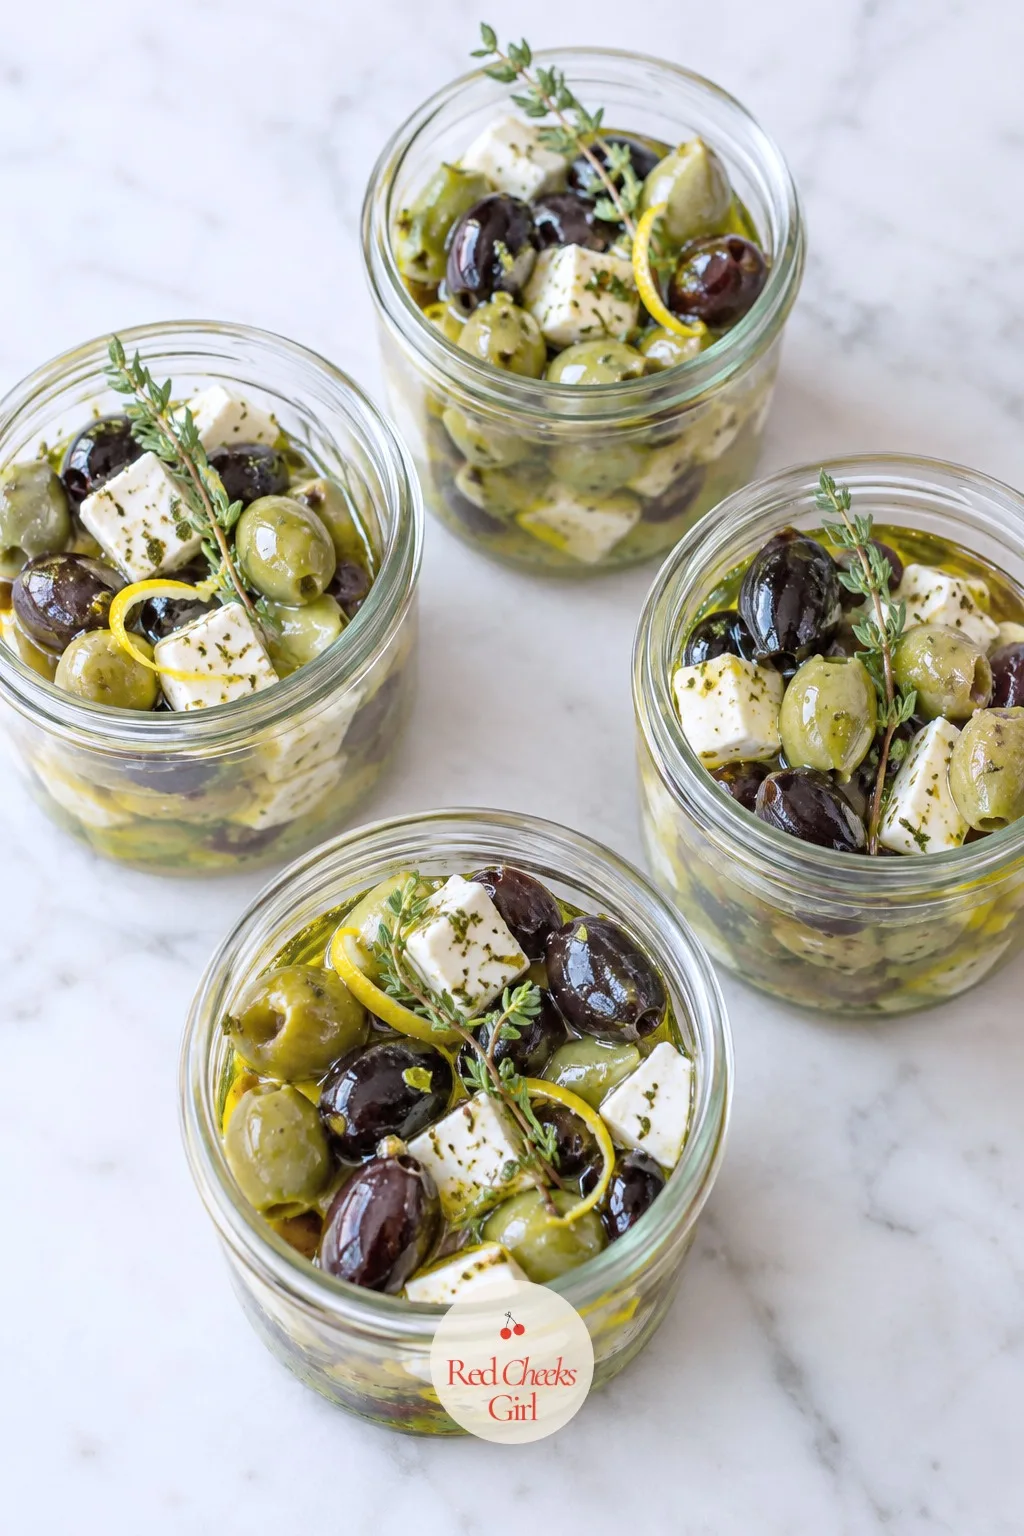
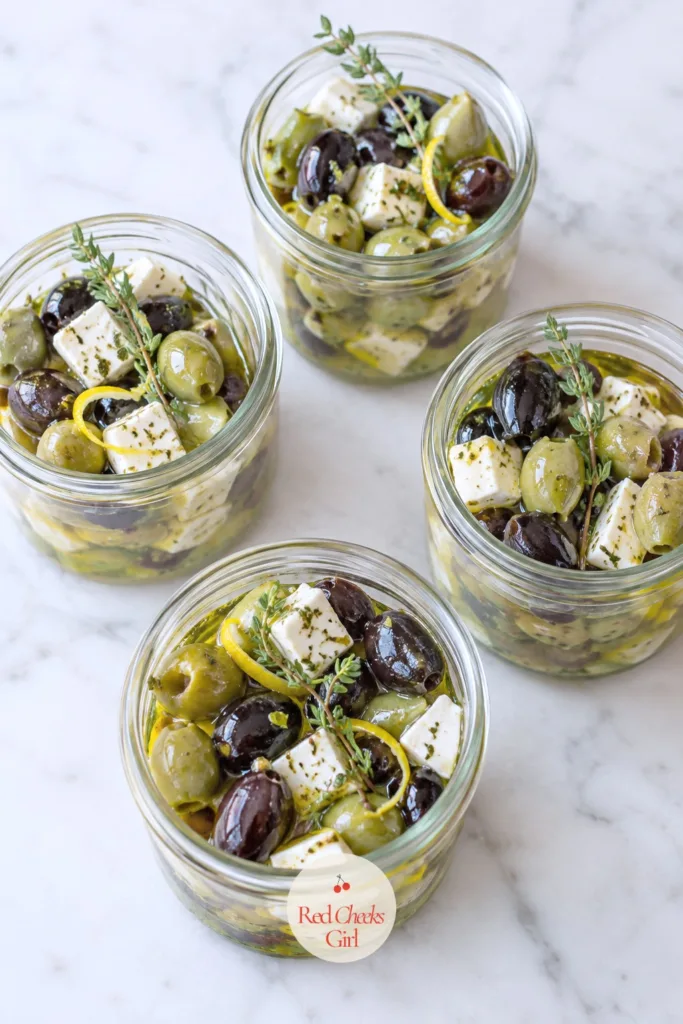
Marinated Olives and Feta Cups
Ingredients
- 2 cups mixed green and kalamata olives drained
- 8 ounces feta cut into cubes
- 1/3 cup extra-virgin olive oil
- 1 teaspoon lemon zest
- 1 tablespoon lemon juice
- 2 garlic cloves thinly sliced
- 1 teaspoon dried oregano
- 1/2 teaspoon crushed red pepper flakes
- Fresh thyme sprigs for garnish
Instructions
- Combine the olives, feta, olive oil, lemon zest, lemon juice, garlic, oregano, and red pepper flakes in a bowl and stir gently so the feta cubes stay whole.
- Cover and marinate in the refrigerator for at least 2 hours, or up to 2 days, stirring once halfway through.
- Bring the mixture to room temperature for about 20 minutes before serving, which wakes the olive oil back up.
- Spoon the olives and feta evenly into 10 small cups or jars, dividing the oil at the bottom among them too.
- Tuck a small thyme sprig into each cup for garnish.
- Set the cups on a tray with small forks or cocktail picks alongside, since the feta is easiest to eat speared rather than with fingers.
Good to Know
Smoked Salmon Cucumber Rounds
Cold, pink, a little briny against the cucumber: this is the one that reads as effort without asking for any actual cooking. The rounds assemble in under half an hour.
Salt the cucumber lightly and let it sit on paper towels for ten minutes first, or the rounds weep water into the cream cheese and the platter looks tired by the time guests arrive. Contains fish and dairy, so mark it for anyone asking.
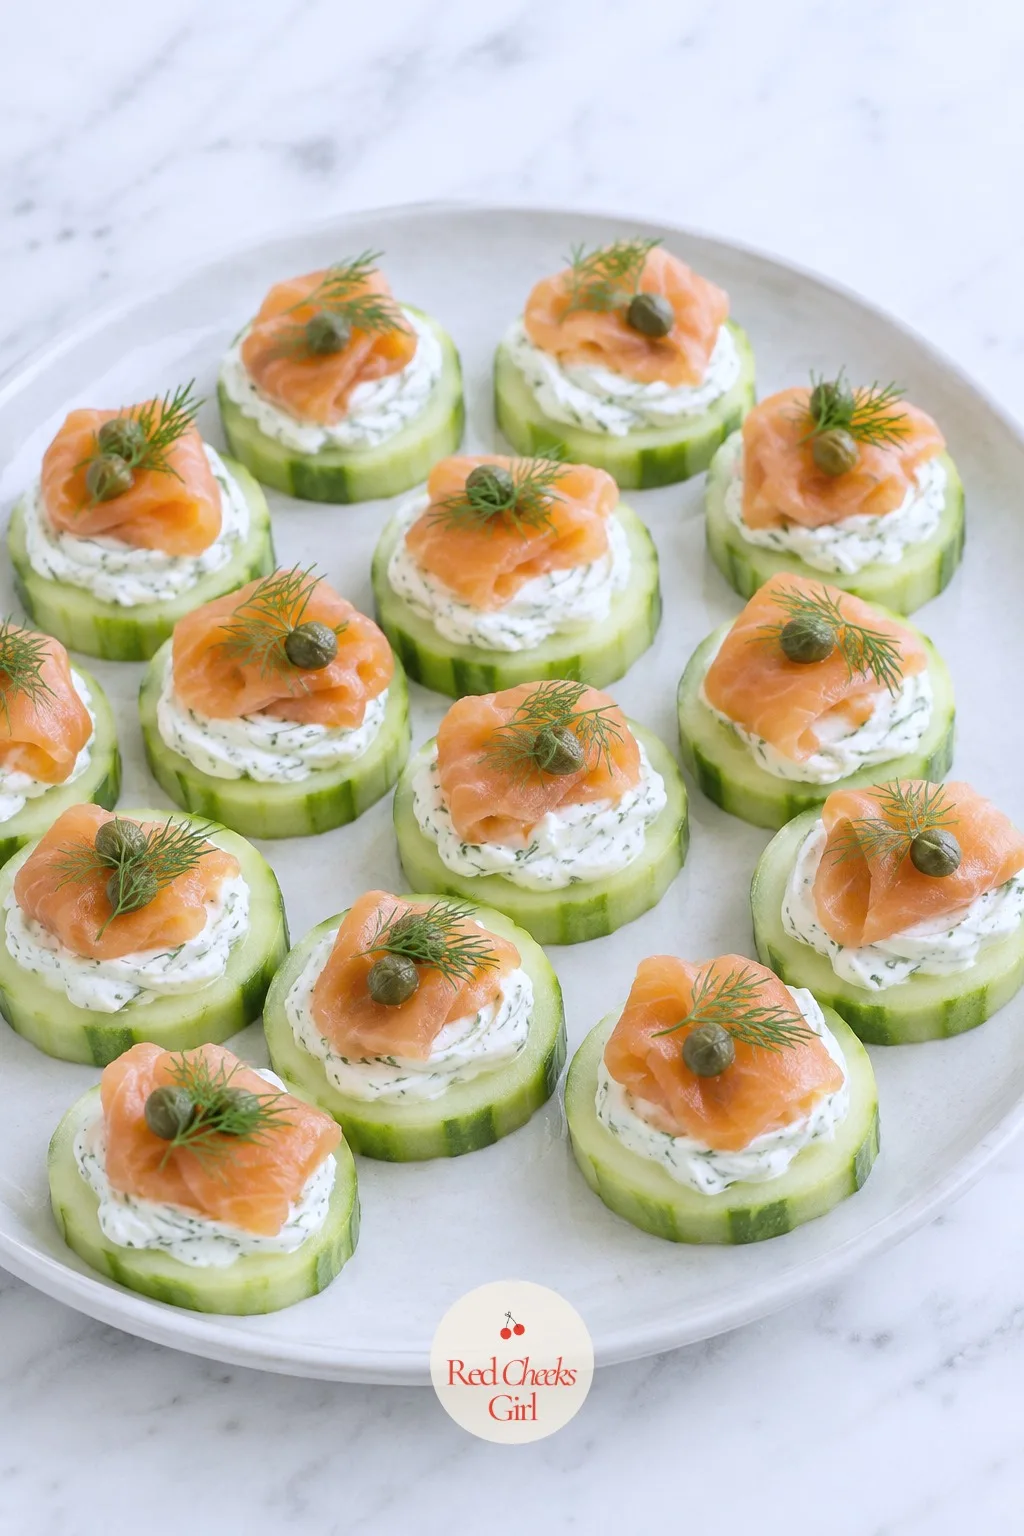
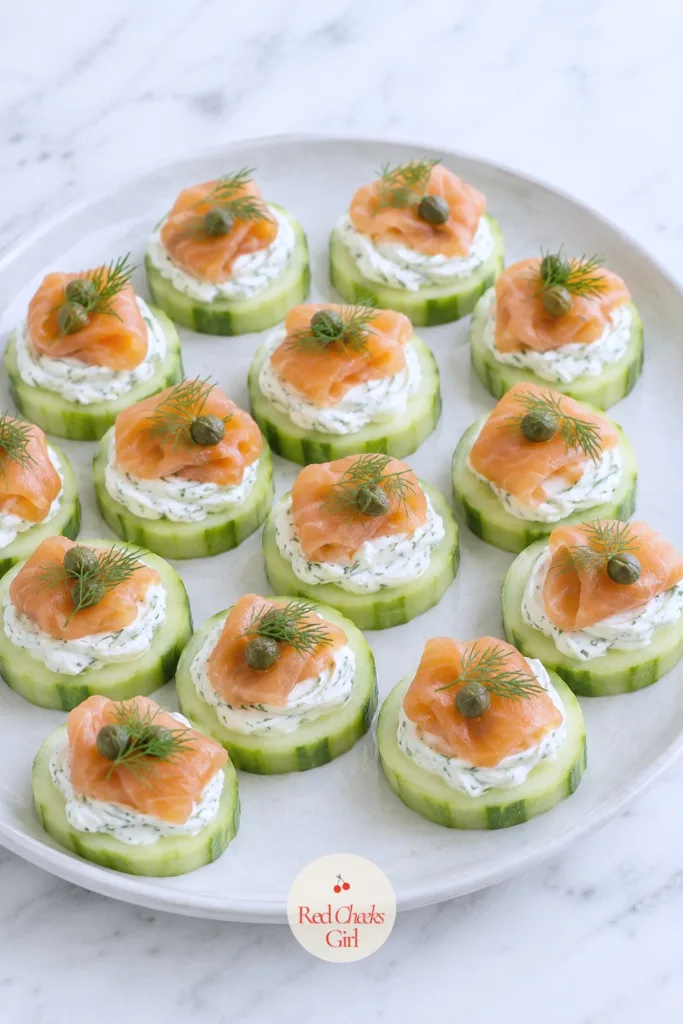
Smoked Salmon Cucumber Rounds
Ingredients
- 1 large English cucumber
- 8 ounces cream cheese softened
- 1 tablespoon chopped fresh dill plus extra sprigs for garnish
- 1 teaspoon lemon zest
- 4 ounces smoked salmon cut into small strips
- 1 tablespoon capers drained
- Black pepper to finish
Instructions
- Slice the cucumber into rounds about 1/3 inch thick, discarding the two curved end pieces.
- Pat the rounds dry with a paper towel so the cream cheese does not slide off.
- Beat the cream cheese with the chopped dill and lemon zest until smooth and spreadable.
- Spoon or pipe about a teaspoon of the cream cheese mixture onto each cucumber round.
- Fold a strip of smoked salmon into a loose ribbon and set it on top of the cream cheese.
- Add 2 or 3 capers to each round and finish with a small dill sprig.
- Arrange the rounds on a platter in rows, cover loosely, and refrigerate up to 4 hours before serving.
- Grind black pepper over the platter just before it goes outside, since pepper loses its bite if it sits too long under plastic wrap.
Good to Know
Mini Fruit Tarts
These look like the dessert table hired someone, and the secret is store-bought shells filled and glazed at home. Nobody checks whether you baked the base.
Keep the tarts chilled right up until they reach the table; the pastry cream softens fast in direct sun, and a warm tart loses its clean spiral of fruit. Contains gluten, dairy and egg.
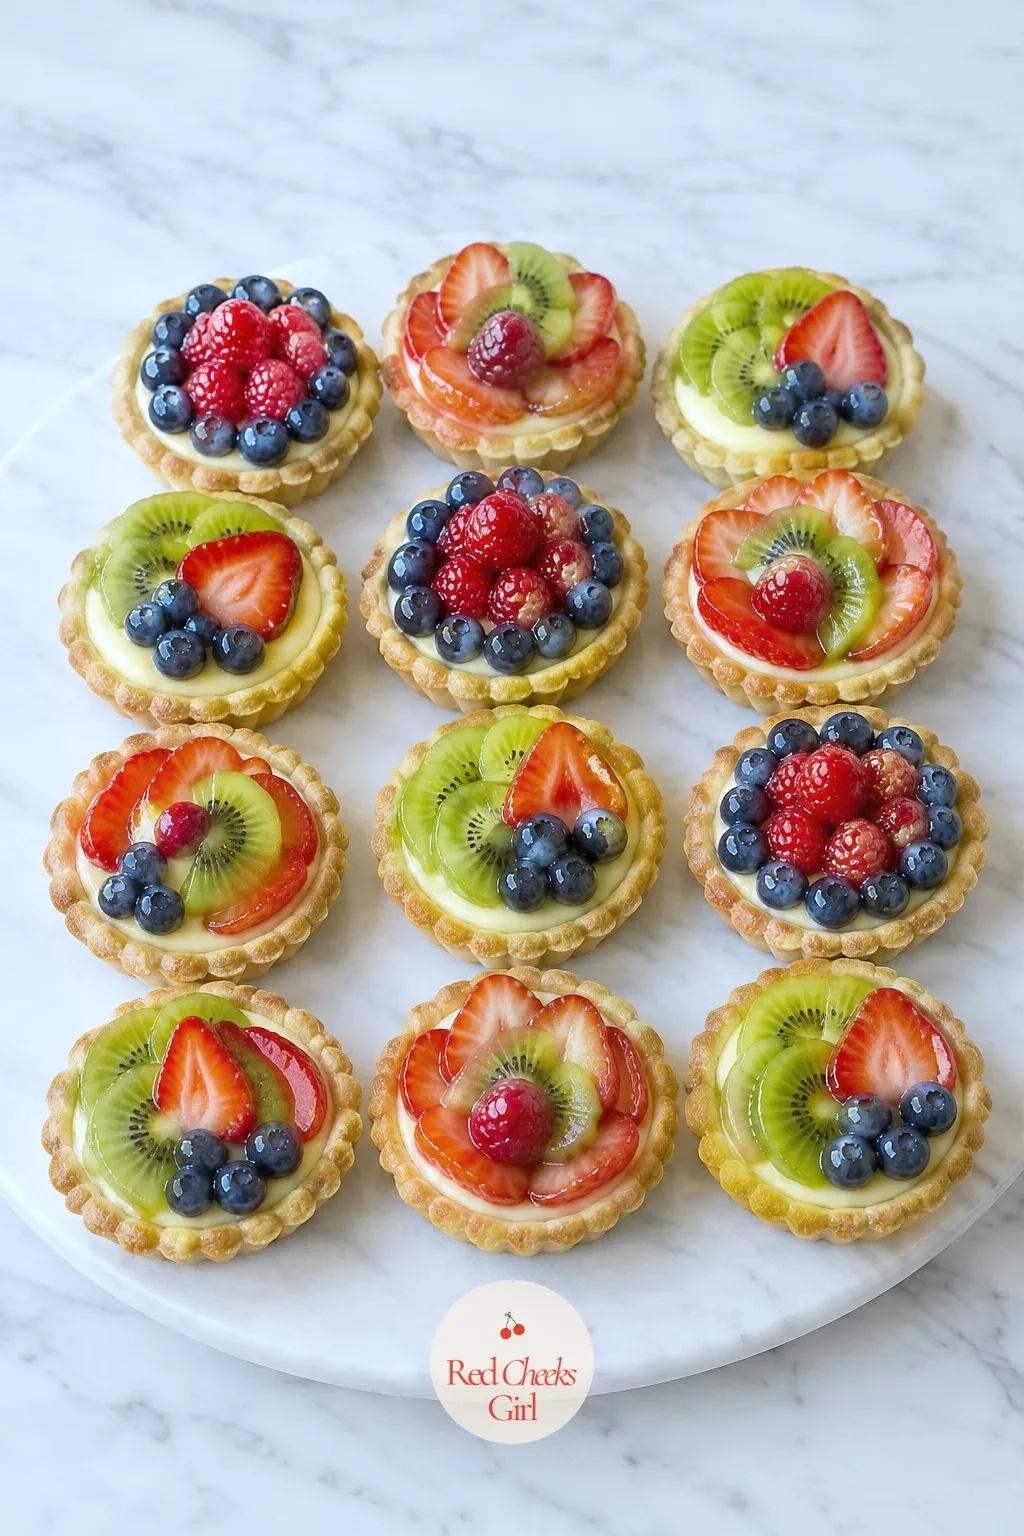
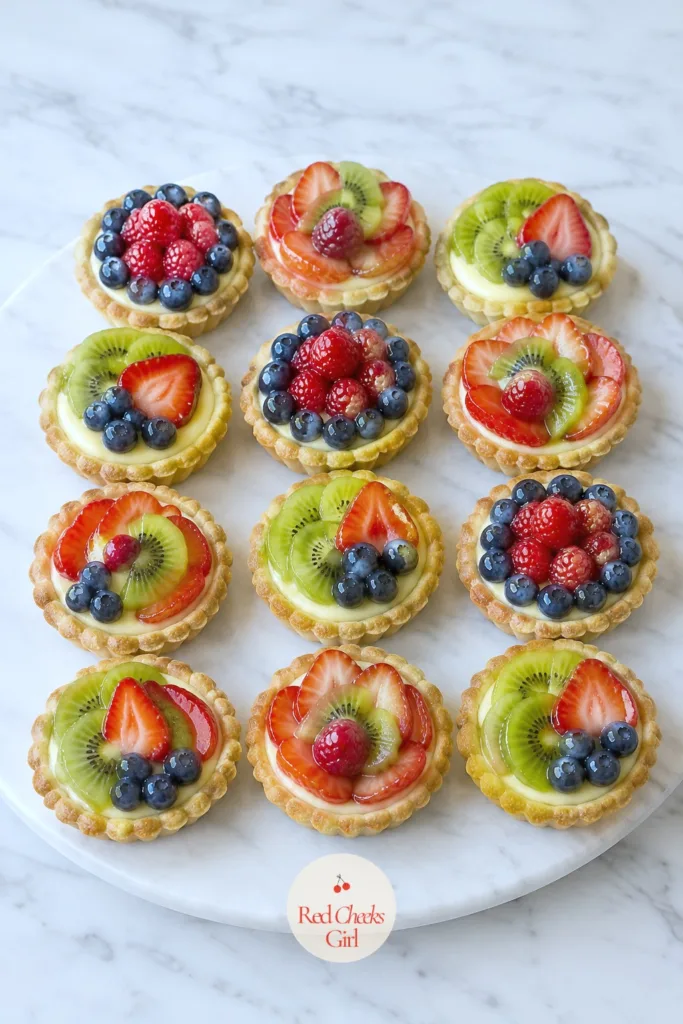
Mini Fruit Tarts
Ingredients
- 12 mini tart shells store-bought shortbread or phyllo cups
- 1 1/2 cups cold pastry cream or vanilla pudding
- 1 cup mixed berries raspberries, blueberries, sliced strawberries
- 1 kiwi thinly sliced
- 2 tablespoons apricot jam
- 1 teaspoon water
Instructions
- If the tart shells are frozen, let them thaw at room temperature for 10 minutes before filling.
- Spoon about 2 tablespoons of pastry cream into each shell, smoothing the top with the back of the spoon.
- Arrange the berries and kiwi slices on top of each tart in a tight spiral, starting from the outer edge.
- Warm the apricot jam with the water in a small saucepan over low heat for about 1 minute, stirring until it loosens into a glaze.
- Strain the glaze through a fine sieve to remove any lumps of fruit.
- Brush a thin layer of the warm glaze over the fruit on each tart, which keeps the berries from drying out and gives them a shine.
- Transfer the tarts to a parchment-lined tray and refrigerate at least 30 minutes, until the glaze sets to the touch.
- Keep the tarts chilled right up until they go on the dessert table.
Good to Know
🛍 Shopping guide
Lemon Shortbread Cookies
Something needs to not be fruit or frosting on the dessert table, and a pale, buttery round does the job quietly. Lemon zest keeps it from tasting plain next to the tarts and cupcakes.
The dough log freezes well for a month, so slice and bake only what the party needs and keep the rest for later. Contains gluten and dairy.
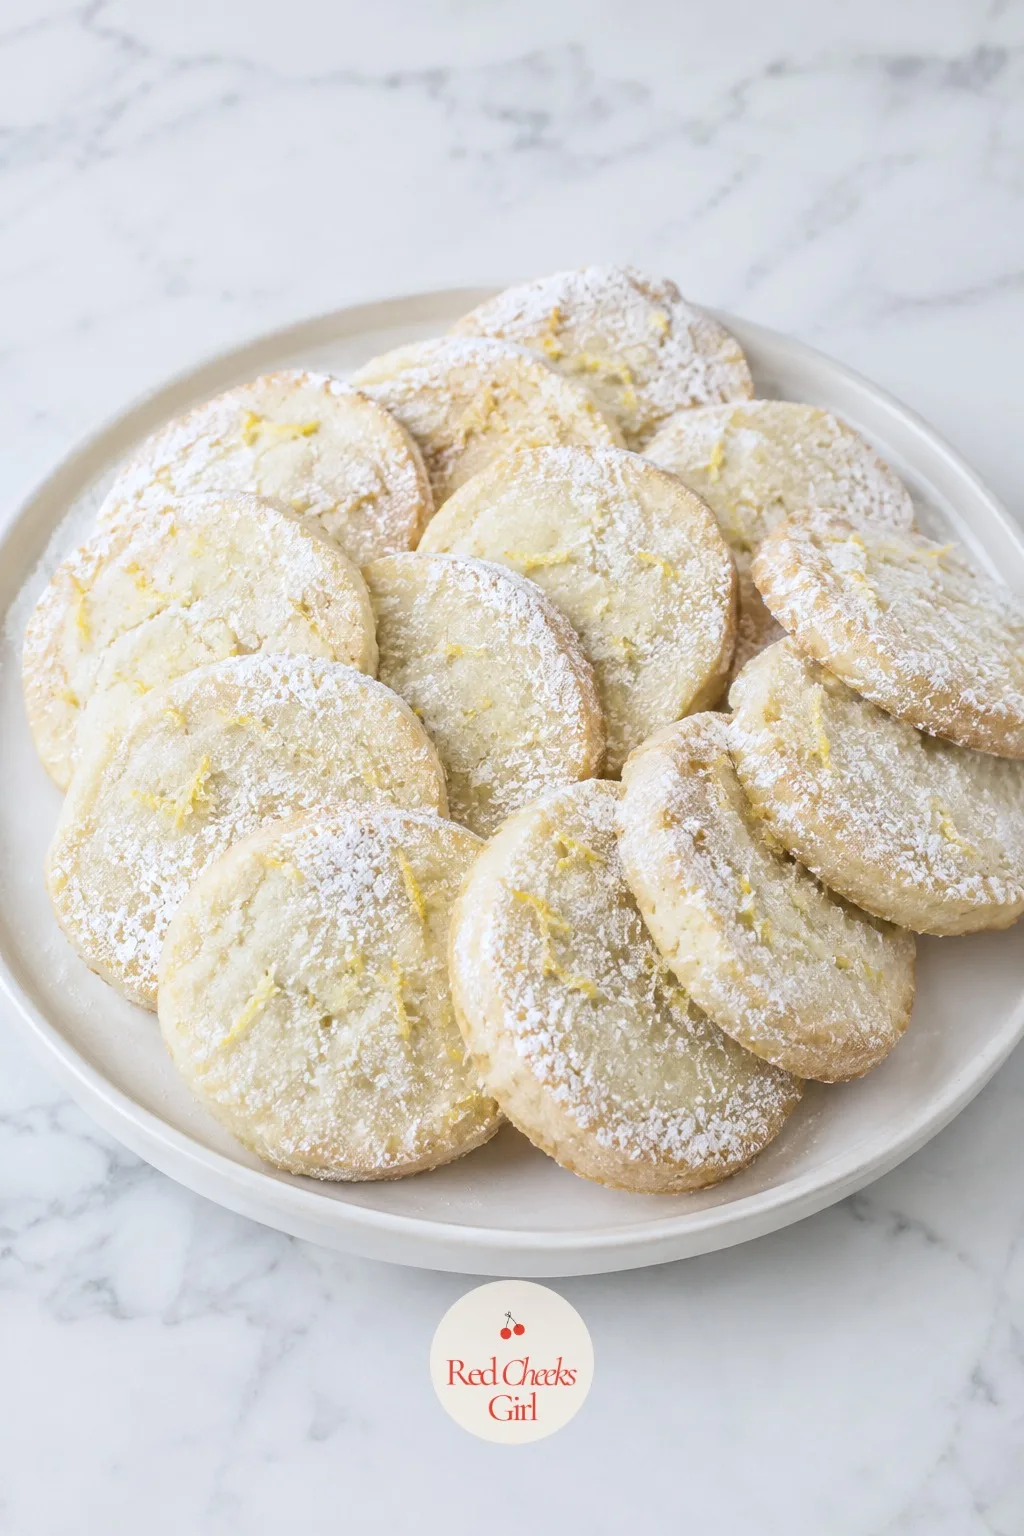
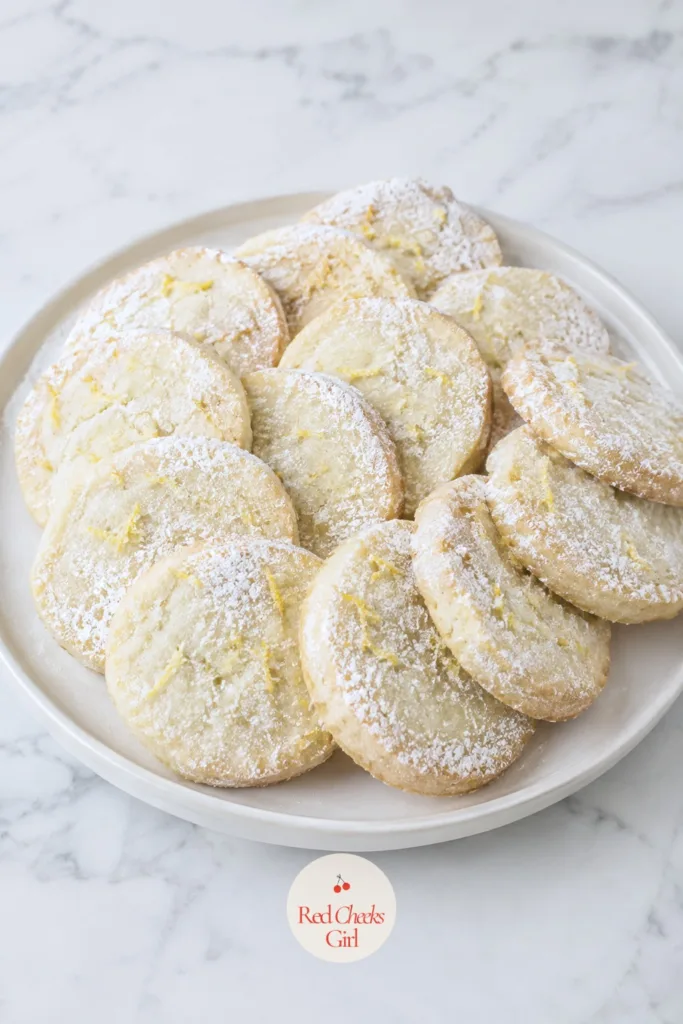
Lemon Shortbread Cookies
Ingredients
- 1 cup unsalted butter softened
- 2/3 cup granulated sugar
- 2 tablespoons lemon zest
- 1 teaspoon vanilla extract
- 2 1/4 cups all-purpose flour
- 1/4 teaspoon salt
- Powdered sugar for dusting
Instructions
- Beat the butter, sugar, and lemon zest together in a large bowl until the mixture turns pale and fluffy, about 3 minutes.
- Mix in the vanilla extract.
- Add the flour and salt and mix just until the dough comes together; overmixing makes the cookies tough.
- Shape the dough into a log about 2 inches thick, wrap it in plastic, and refrigerate at least 1 hour, until firm enough to slice cleanly.
- Preheat the oven to 350 degrees F and line two baking sheets with parchment paper.
- Slice the chilled log into rounds about 1/4 inch thick and space them 1 inch apart on the sheets.
- Bake for 12 to 14 minutes, until the edges turn pale gold while the centers stay soft; they firm up as they cool.
- Let the cookies cool on the sheet for 5 minutes, then move them to a wire rack to cool completely.
- Dust the cooled cookies with powdered sugar just before arranging them on a platter.
Good to Know
Cupcakes with Buttercream Flowers
A full birthday cake outdoors is a transport problem and a heat problem at once. Cupcakes solve both: smaller, sturdier, and every single one gets its own little flower.
Pipe the flowers the night before, not the morning of; buttercream firms in the fridge and the petals hold their shape far better cold than soft. Contains gluten, dairy and egg.
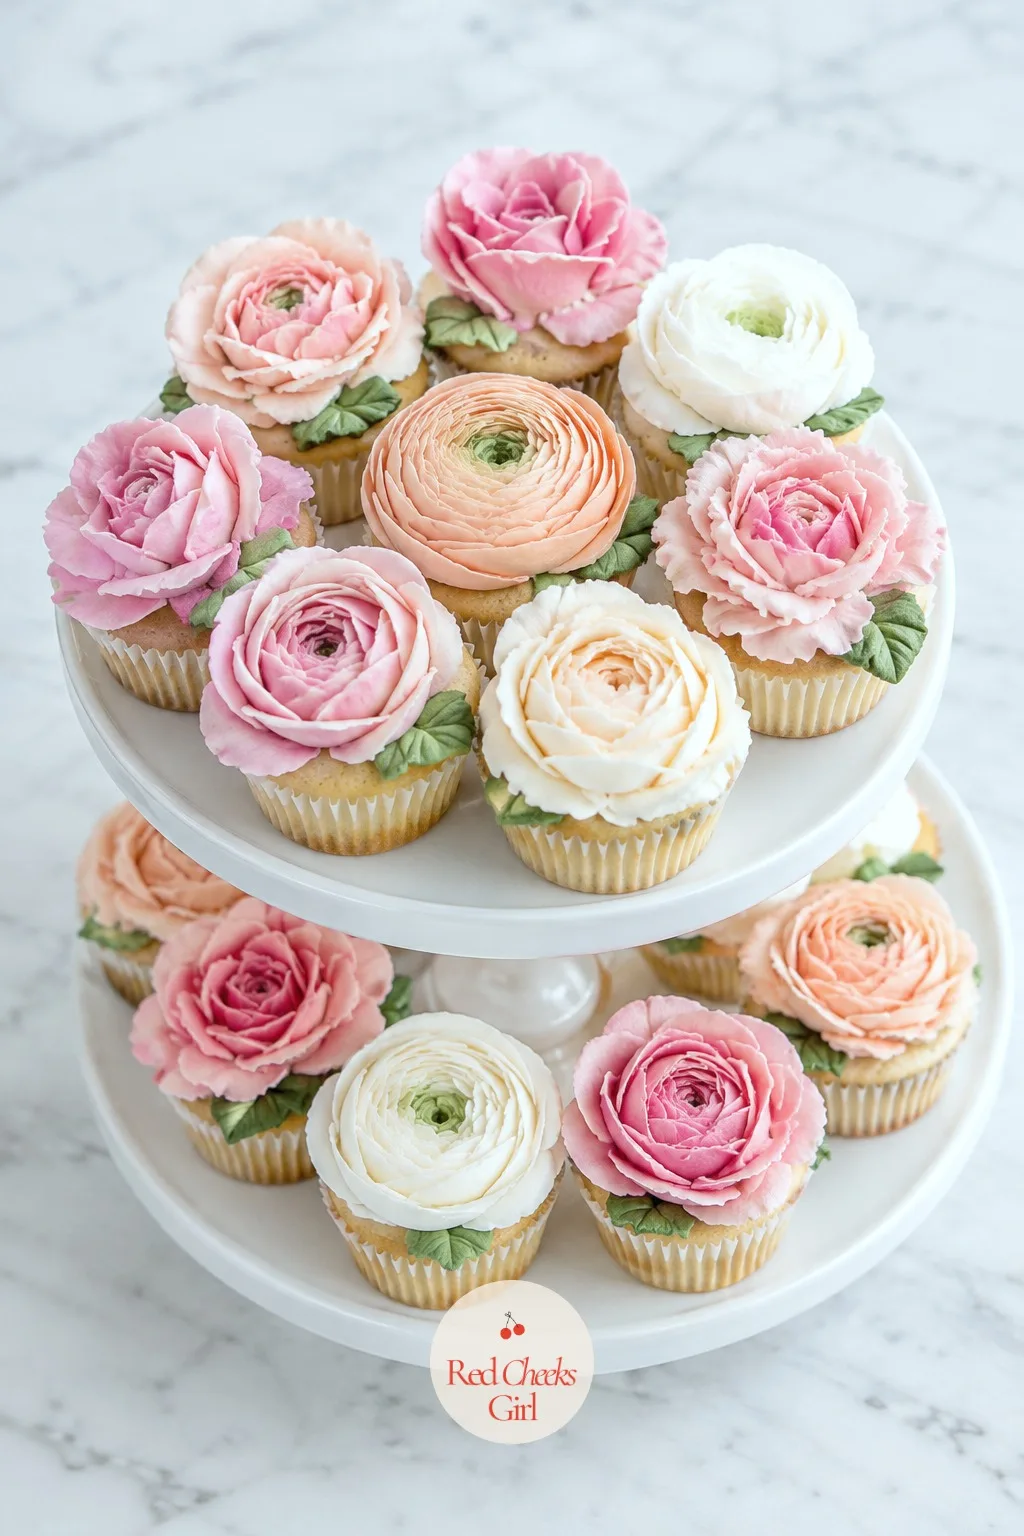
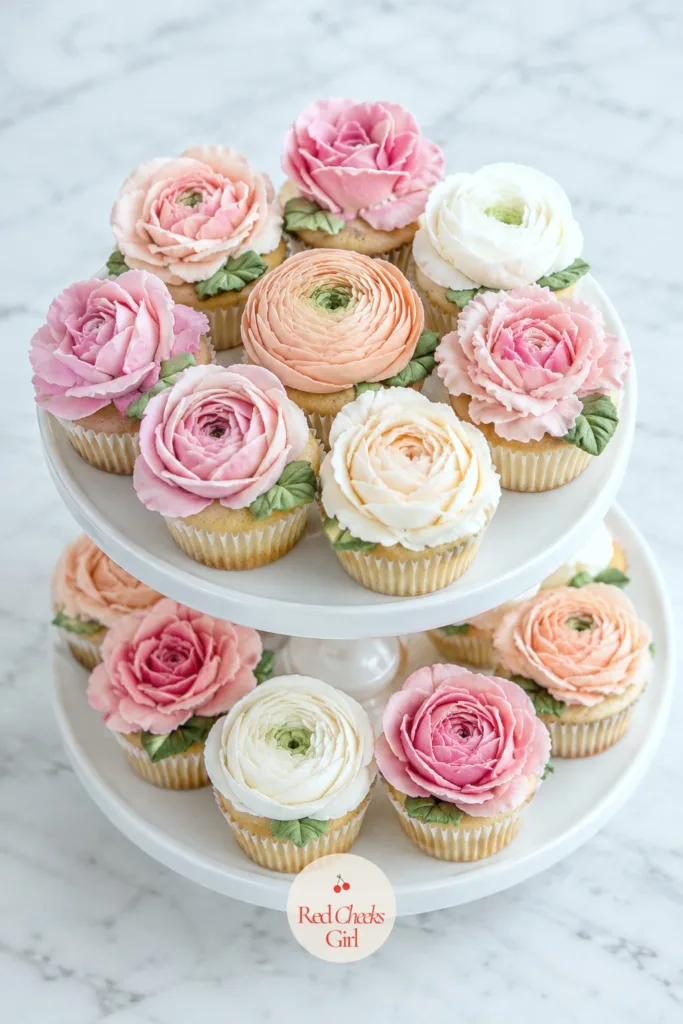
Cupcakes with Buttercream Flowers
Ingredients
- 1 3/4 cups all-purpose flour
- 1 1/2 teaspoons baking powder
- 1/4 teaspoon salt
- 1/2 cup unsalted butter softened
- 1 cup granulated sugar
- 2 large eggs
- 1 teaspoon vanilla extract
- 1/2 cup whole milk
- 2 cups unsalted butter softened, for buttercream
- 5 cups powdered sugar
- 2 tablespoons heavy cream
- Gel food coloring several colors
Instructions
- Preheat the oven to 350 degrees F and line two muffin tins with 24 paper liners.
- Whisk the flour, baking powder, and salt together in a bowl.
- Beat the 1/2 cup butter and granulated sugar together until pale and fluffy, about 3 minutes, then beat in the eggs one at a time and the vanilla.
- Add the flour mixture in three additions, alternating with the milk, mixing just until smooth after each addition.
- Divide the batter evenly among the liners, filling each about two-thirds full.
- Bake for 18 to 20 minutes, until a toothpick inserted into the center comes out clean and the tops spring back when touched.
- Cool the cupcakes in the tin for 5 minutes, then move them to a wire rack to cool completely before frosting.
- Beat the 2 cups butter until smooth, then add the powdered sugar in batches, alternating with the cream, until the buttercream holds a stiff peak.
- Divide the buttercream into small bowls and tint each one with gel food coloring.
- Fit piping bags with petal and leaf tips, and pipe a ring of petals around the center of each cupcake, turning your wrist as you go so each petal overlaps the last.
- Add a small dot of yellow buttercream in the center of each flower and a leaf or two at the base.
- Refrigerate the finished cupcakes for 15 minutes to firm up the piping before transporting or displaying them outside.
Good to Know
Sparkling Lemonade in a Glass Dispenser
Somebody always wants a drink without the wine, and this covers it without feeling like an afterthought. The syrup does the work days ahead; the fizz only goes in at the last minute.
Make the lemon syrup up to five days ahead and keep it in the fridge. Add the sparkling water only once the dispenser is actually on the table, so it stays lively right up until the last glass!
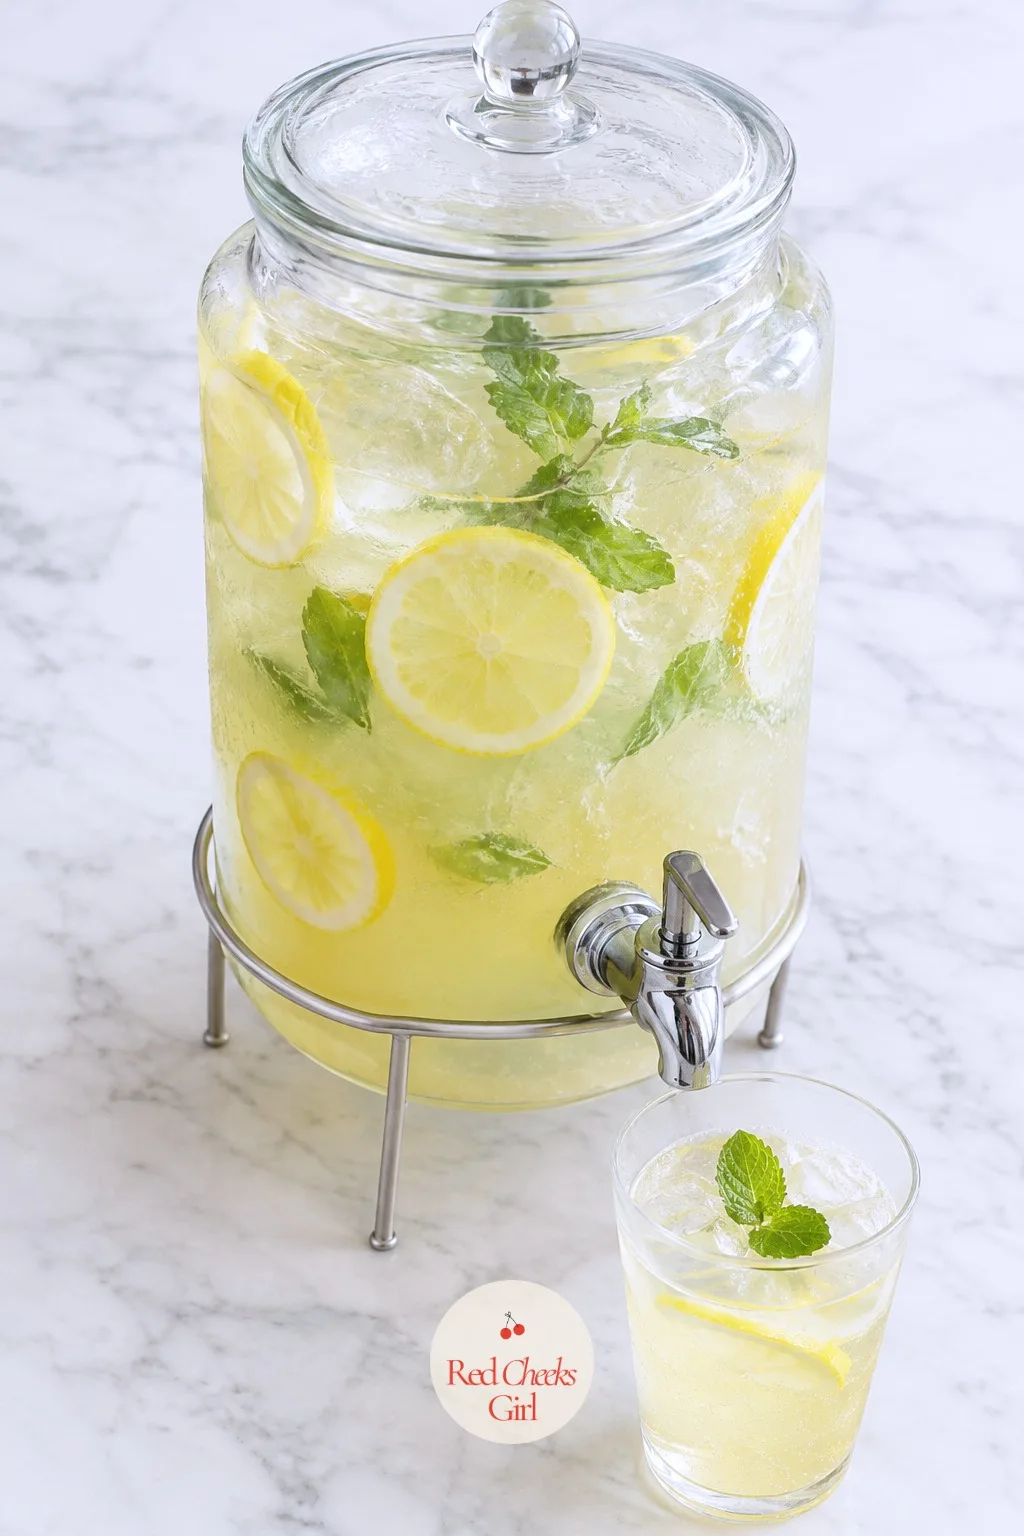
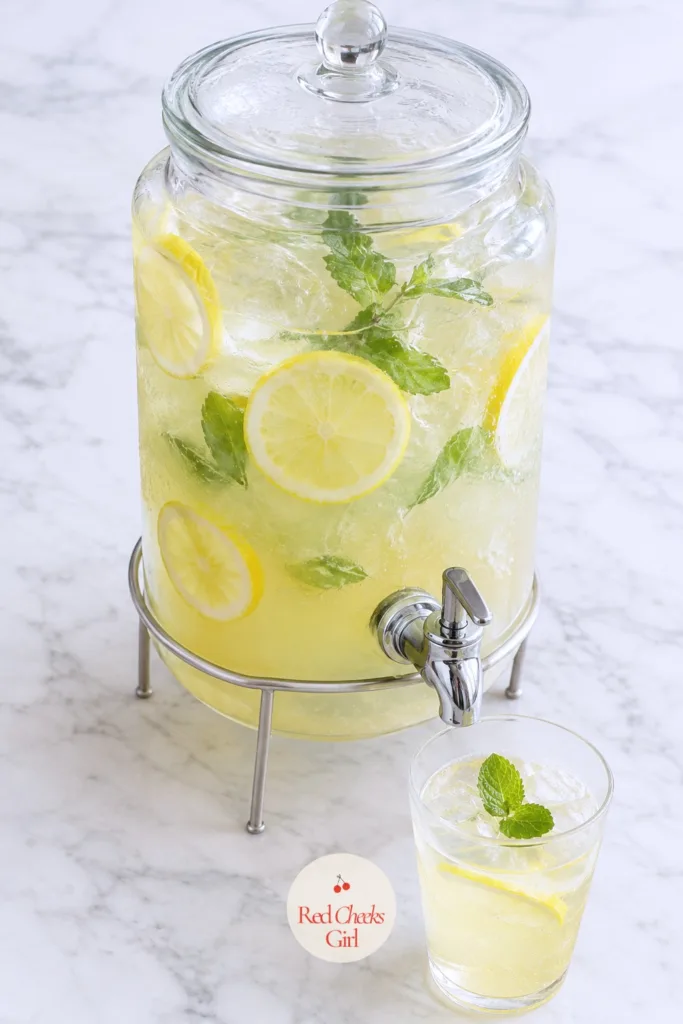
Sparkling Lemonade in a Glass Dispenser
Ingredients
- 1 cup granulated sugar
- 1 cup water
- 1 1/2 cups fresh lemon juice about 8 lemons
- 6 cups cold sparkling water or club soda
- 1 lemon thinly sliced
- Fresh mint sprigs
- Ice
Instructions
- Combine the sugar and water in a small saucepan and warm over medium heat, stirring, until the sugar fully dissolves and the liquid looks clear, about 3 minutes.
- Remove the syrup from the heat and let it cool to room temperature, about 20 minutes.
- Stir the lemon juice into the cooled syrup.
- Pour the lemon syrup into a 3-quart glass beverage dispenser.
- Just before serving, top the dispenser with the cold sparkling water and stir once gently with a long spoon so you do not knock out the bubbles.
- Float the lemon slices and mint sprigs on top.
- Fill glasses with ice first, then pour the lemonade over so it stays fizzy longer.
Good to Know
🛍 Shopping guide
Garden Party Sangria in a Glass Dispenser
This one is for the adults only, and it carries alcohol, so keep it clearly apart from the lemonade and pour it with the same care you would any glass of wine.
Make the base two days out and let the fruit steep in the fridge; sangria only gets better left alone. Top it with sparkling water at the very last minute if you want it lighter and slightly fizzy, not before.
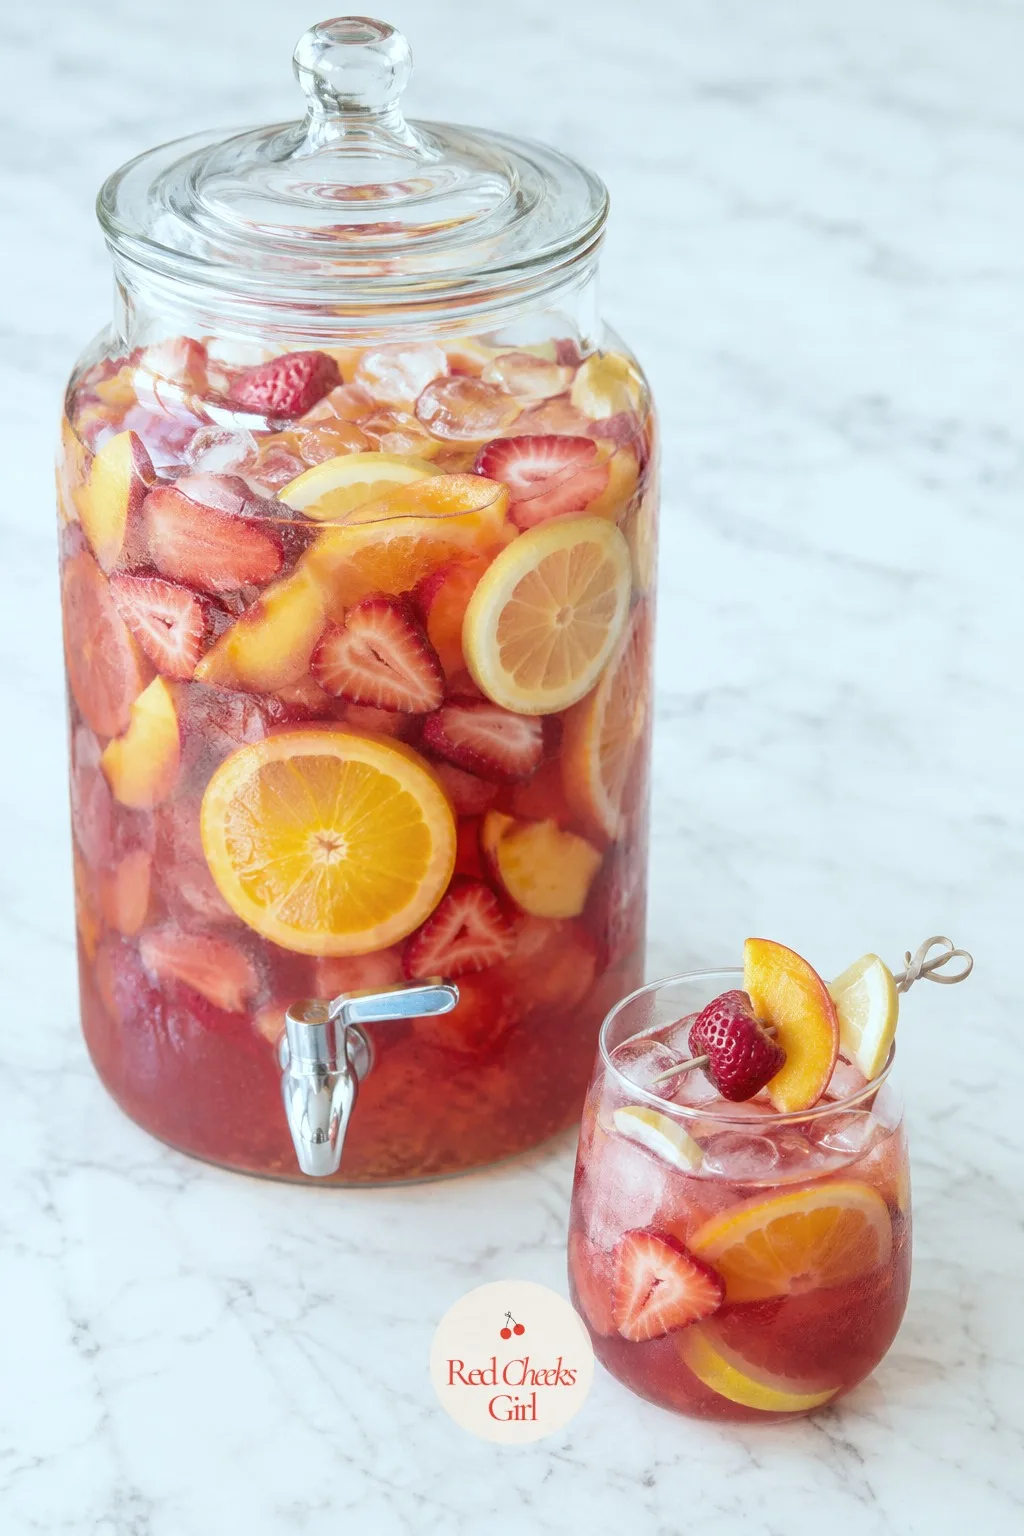
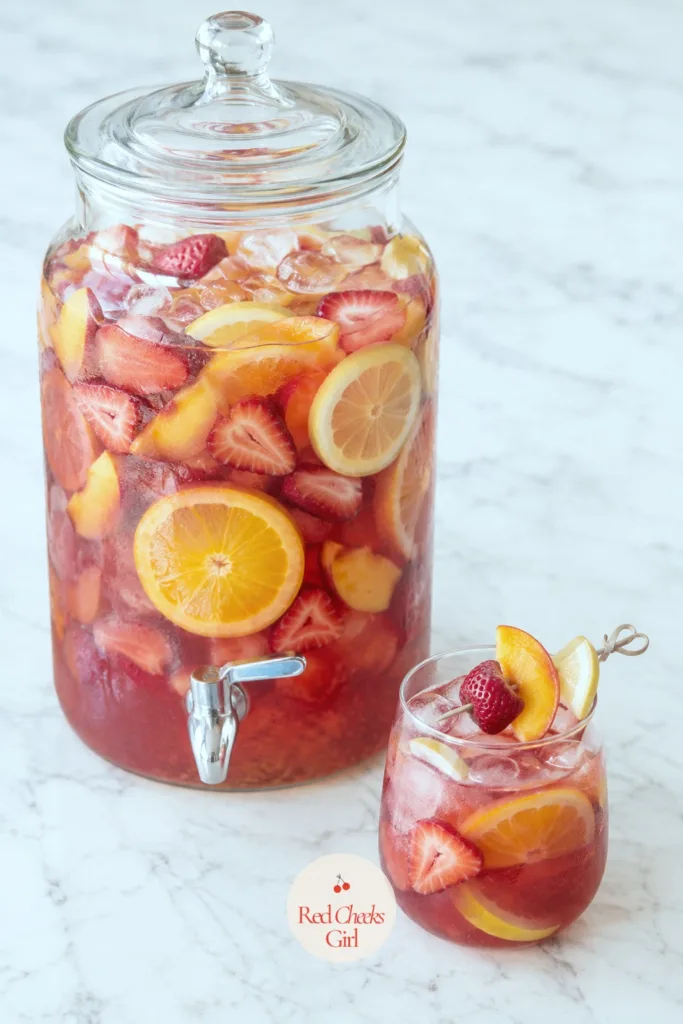
Garden Party Sangria in a Glass Dispenser
Ingredients
- 1 bottle 750 ml dry rosé or white wine
- 1/2 cup brandy
- 1/4 cup orange liqueur
- 1/4 cup simple syrup plus more to taste
- 1 orange sliced into rounds
- 1 lemon sliced into rounds
- 1 cup sliced strawberries
- 1 peach sliced
- 2 cups chilled sparkling water or club soda optional, added at serving
- Ice
Instructions
- Pour the wine, brandy, orange liqueur, and simple syrup into a 3-quart glass beverage dispenser.
- Add the orange, lemon, strawberries, and peach slices.
- Stir gently with a long spoon so the fruit settles through the liquid rather than floating in a clump.
- Cover the dispenser and refrigerate for at least 4 hours, or up to 2 days, so the fruit has time to release its juice into the wine.
- Taste before serving; if the sangria tastes sharp, stir in more simple syrup a tablespoon at a time.
- If you want it lighter and slightly fizzy, top the dispenser with the sparkling water right before guests arrive.
- Serve over ice in wine glasses, spooning a little of the soaked fruit into each glass.
Good to Know
🛍 Shopping guide
Frequently Asked Questions
How much food should I plan per guest for a garden party?
Plan on 8 to 12 bite-sized pieces per guest across the whole spread for a two to three hour party. For eight to ten friends, that means doubling most of the smaller recipes here rather than tripling the big ones.
How far in advance can I make a garden party menu?
Nearly everything on a make-ahead garden menu holds for 24 to 48 hours covered in the fridge. Save only the final assembly, like piping cupcake flowers or drizzling glaze, for the morning of the party.
How do I keep food safe outside in warm weather?
Keep cold dishes on ice or in a shaded spot and bring platters out in smaller batches rather than setting the whole spread out at once. Anything with mayonnaise, cream cheese or yogurt should not sit above 70 degrees for more than two hours.
What non-alcoholic drink works besides lemonade?
Infused water with cucumber or berries, iced herbal tea, or a sparkling juice spritz all work well alongside the lemonade dispenser. Keep at least one alcohol-free pitcher on the table so nobody has to ask.
How do I stop buttercream flowers from melting outside?
Chill the piped cupcakes firm before they leave the fridge and keep them in shade once outside, since direct sun softens buttercream within minutes. A cooler with ice packs works as a holding spot until serving time.
Can I use store-bought shortcuts without the platter looking store-bought?
Yes, store-bought tart shells, hummus and baguettes all work fine as long as you dress, glaze or arrange them yourself. The shaping and garnish are what make a dish look intentional, not whether you baked the base.
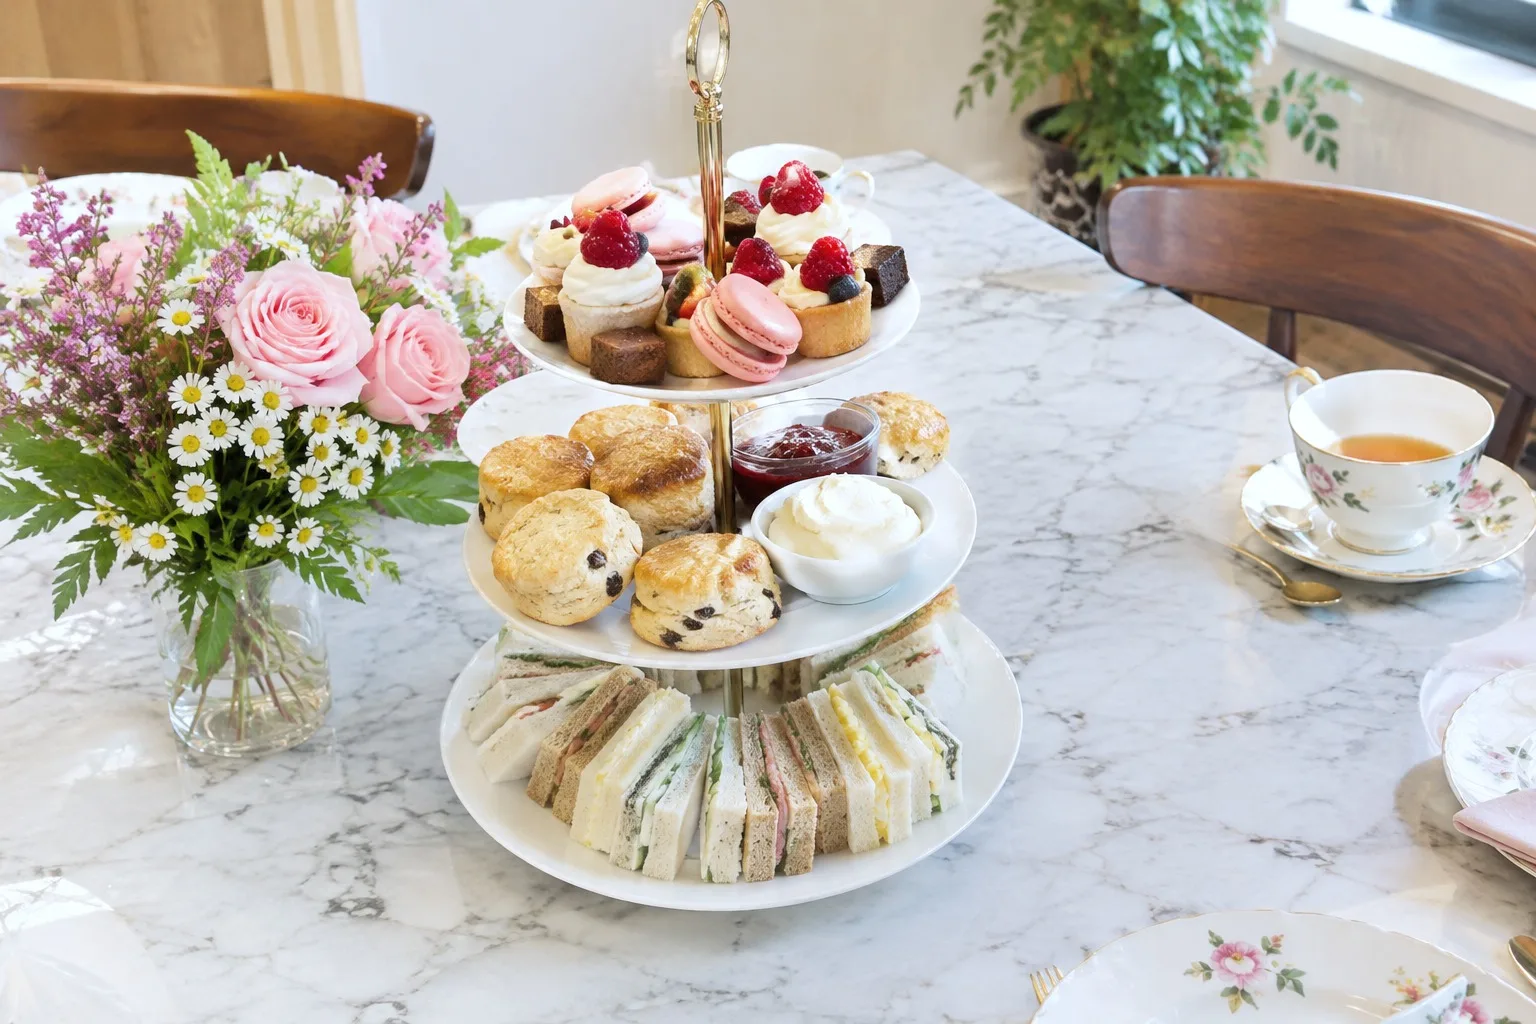
18 tea party food recipes for her birthday afternoon tea with friends: sandwiches, scones, tarts and
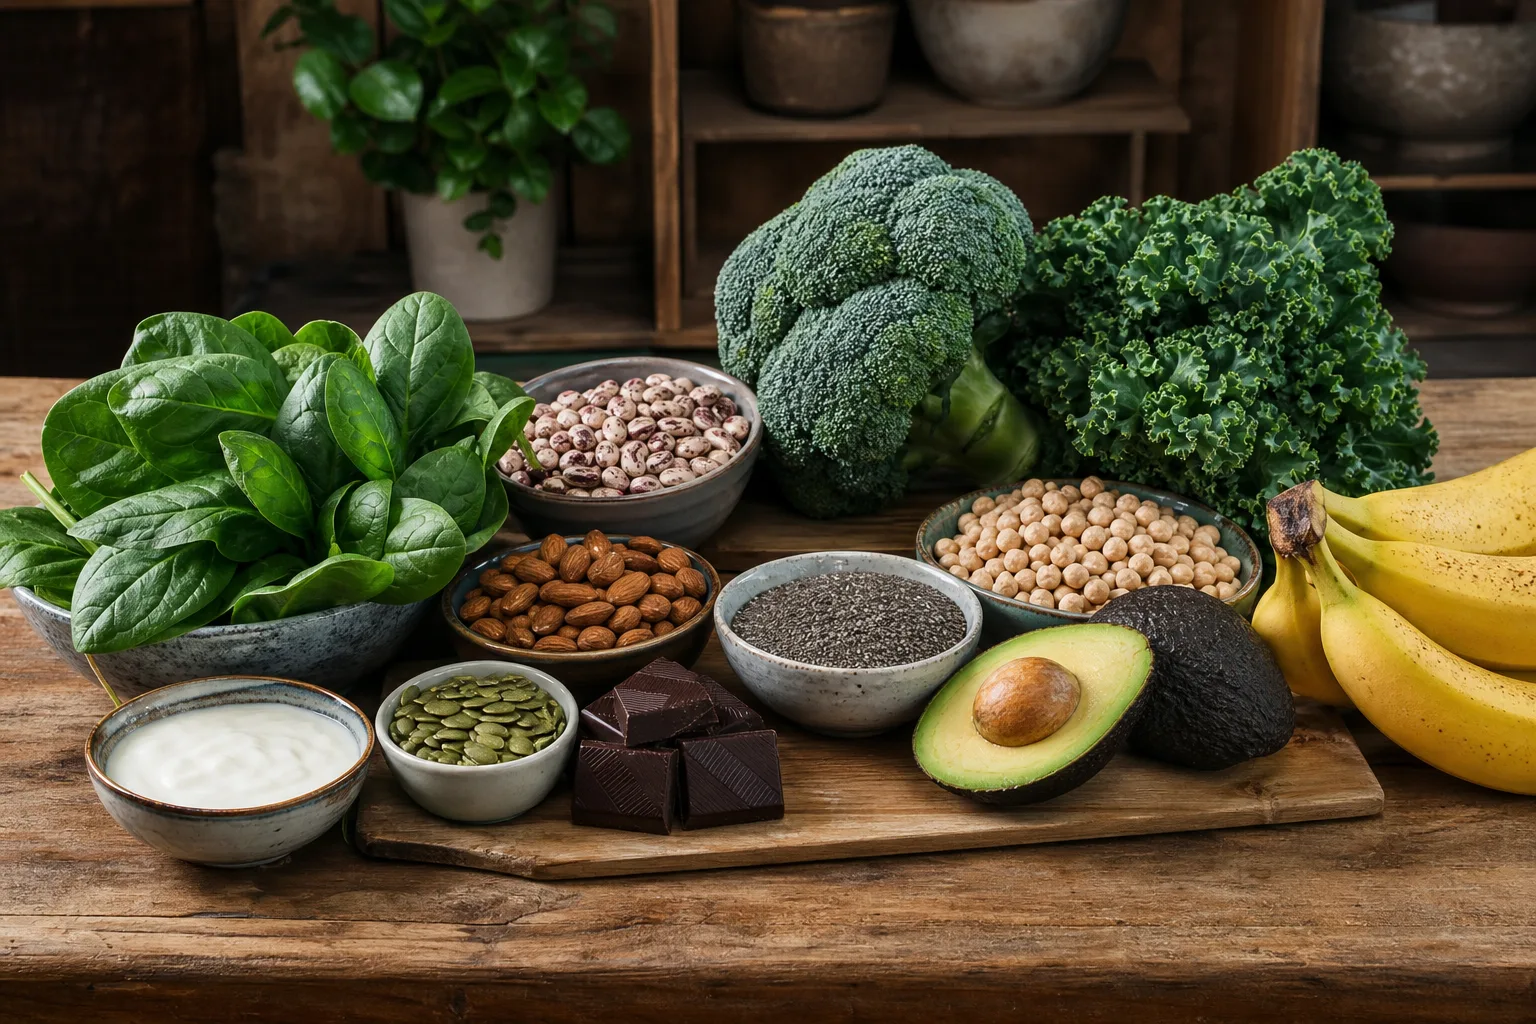
22 magnesium rich foods, from pumpkin seeds to dark chocolate, with the easiest way to serve each on
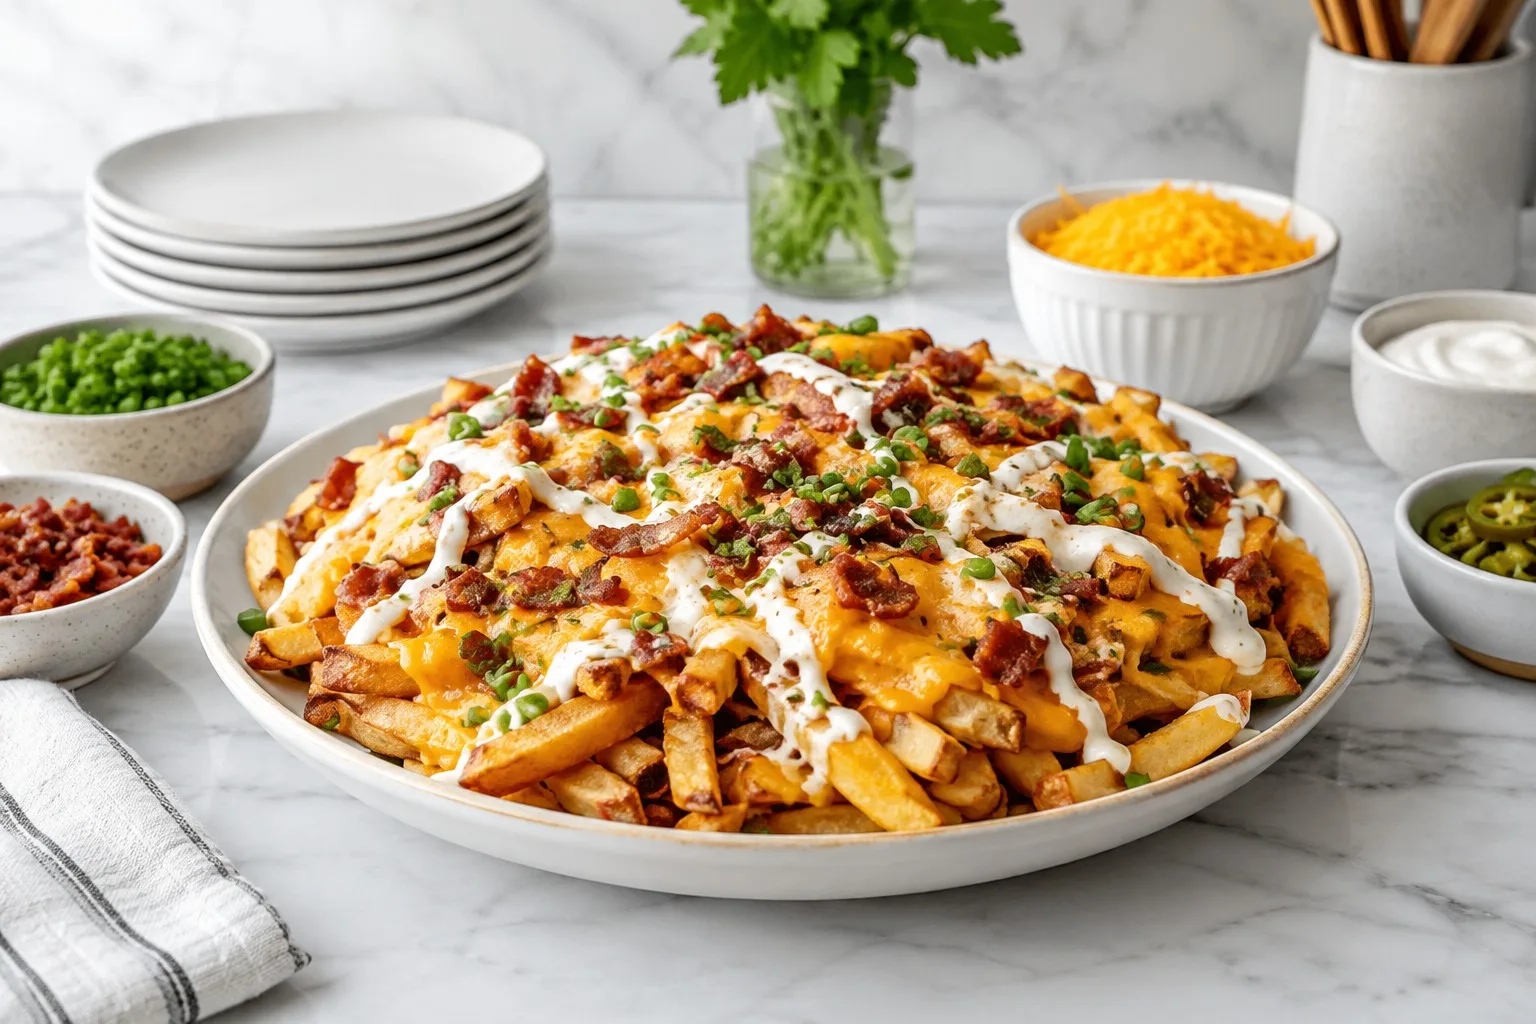
12 loaded fries recipes for a build-your-own fry bar: chili cheese, birria, street corn, buffalo chi
Leave a Reply