

15 Fancy DIY Soap Recipes You Can Make at Home (No Lye Required for Most of These)
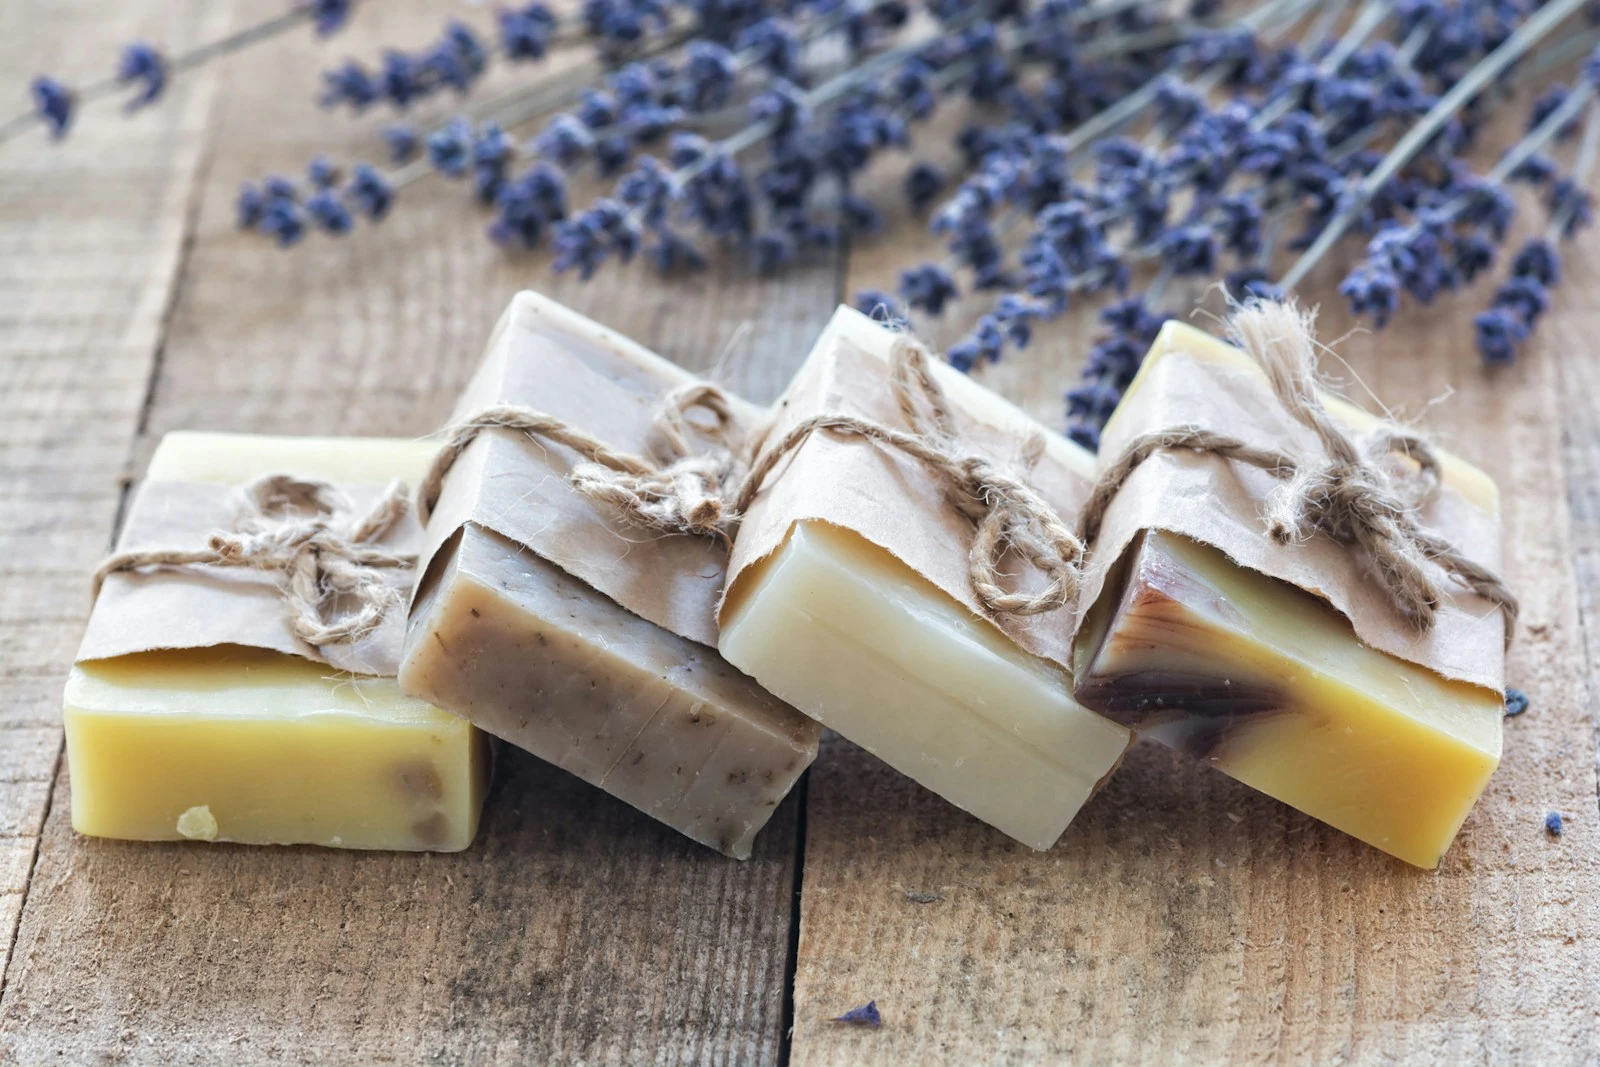
I bought a bar of “luxury” soap at a boutique last fall. $14. It smelled incredible, lasted about three weeks, and when it was gone I just stood there staring at my empty shower shelf feeling slightly betrayed.
Then I made my own version for roughly $2 a bar and honestly? Mine smelled better.
These 15 fancy DIY soap recipes are the ones I’ve actually tested — some are melt-and-pour (beginner-friendly, no lye needed), a few are cold process if you’re ready to go deeper. All of them look like something you’d find wrapped in tissue paper at a market.
This post contains affiliate links. If you buy something through these links, I may earn a small commission at no extra cost to you. I only recommend things I’d actually use.
Before You Start: The Two Methods Explained Fast
Melt-and-pour: You buy a pre-made soap base, melt it, add your stuff, pour it. No lye handling, no cure time, ready in a few hours. Perfect for most of the recipes here.
Cold process: You mix oils with lye (sodium hydroxide) to create soap from scratch. The chemistry is actually satisfying once you get it, but lye is caustic — wear gloves, eye protection, work in a ventilated space, and never use aluminum bowls. Cold process soap needs 4–6 weeks to cure before use.
Most of these 15 recipes use melt-and-pour. I’ll flag the cold process ones clearly.
The Fancy DIY Soap Recipes
1. Rose Milk and Honey Bar
Makes: 4 bars (~450 g total batch)
- Goat milk melt-and-pour soap base — 400 g
- Raw honey — 10 g (about 1.5 tsp)
- Rose essential oil — 5 ml (~100 drops)
- Vitamin E oil — 2 ml (~40 drops)
- Dried rose petals — 2 g (for topping)
- Pink cosmetic mica colorant (optional) — 1 g
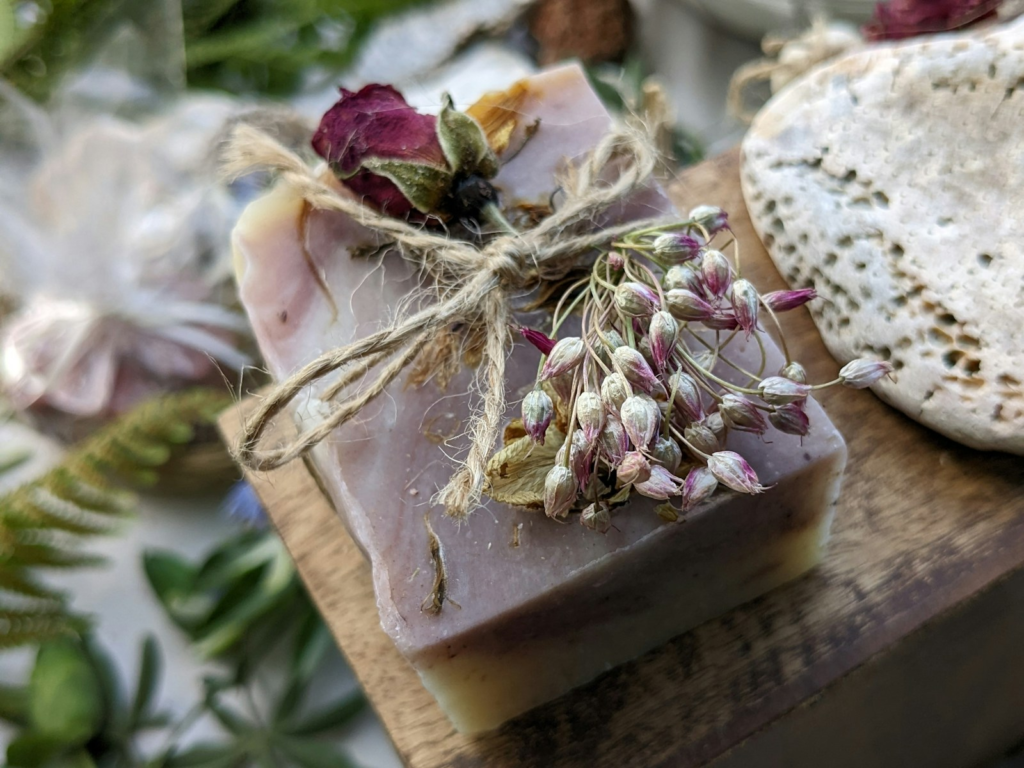
This one looks like it came from a Parisian apothecary. The milk base makes the lather incredibly creamy, and dried rose petals on top do all the visual work.
You need: Goat milk melt-and-pour base, rose essential oil, a few drops of vitamin E oil, dried rose petals, honey (about 1 tsp per pound of base), pink cosmetic colorant (optional).
Melt your base, stir in honey off heat (high heat kills honey’s skin benefits), add a few drops of rose oil, pour about 80% into your mold, let it skin over for 5 minutes, then arrange rose petals on top and pour the rest. The petals get suspended in the middle — way more dramatic than just dropping them on top.
Cost per bar: About $1.80.
2. Charcoal and Tea Tree Detox Bar
Makes: 4 bars (~450 g total batch)
- Clear melt-and-pour soap base — 340 g
- White melt-and-pour soap base (for swirl) — 90 g
- Activated charcoal powder (cosmetic grade) — 4 g (~1 tsp)
- Tea tree essential oil — 5 ml (~100 drops)
- Isopropyl alcohol 70% — in a spray bottle to bond layers
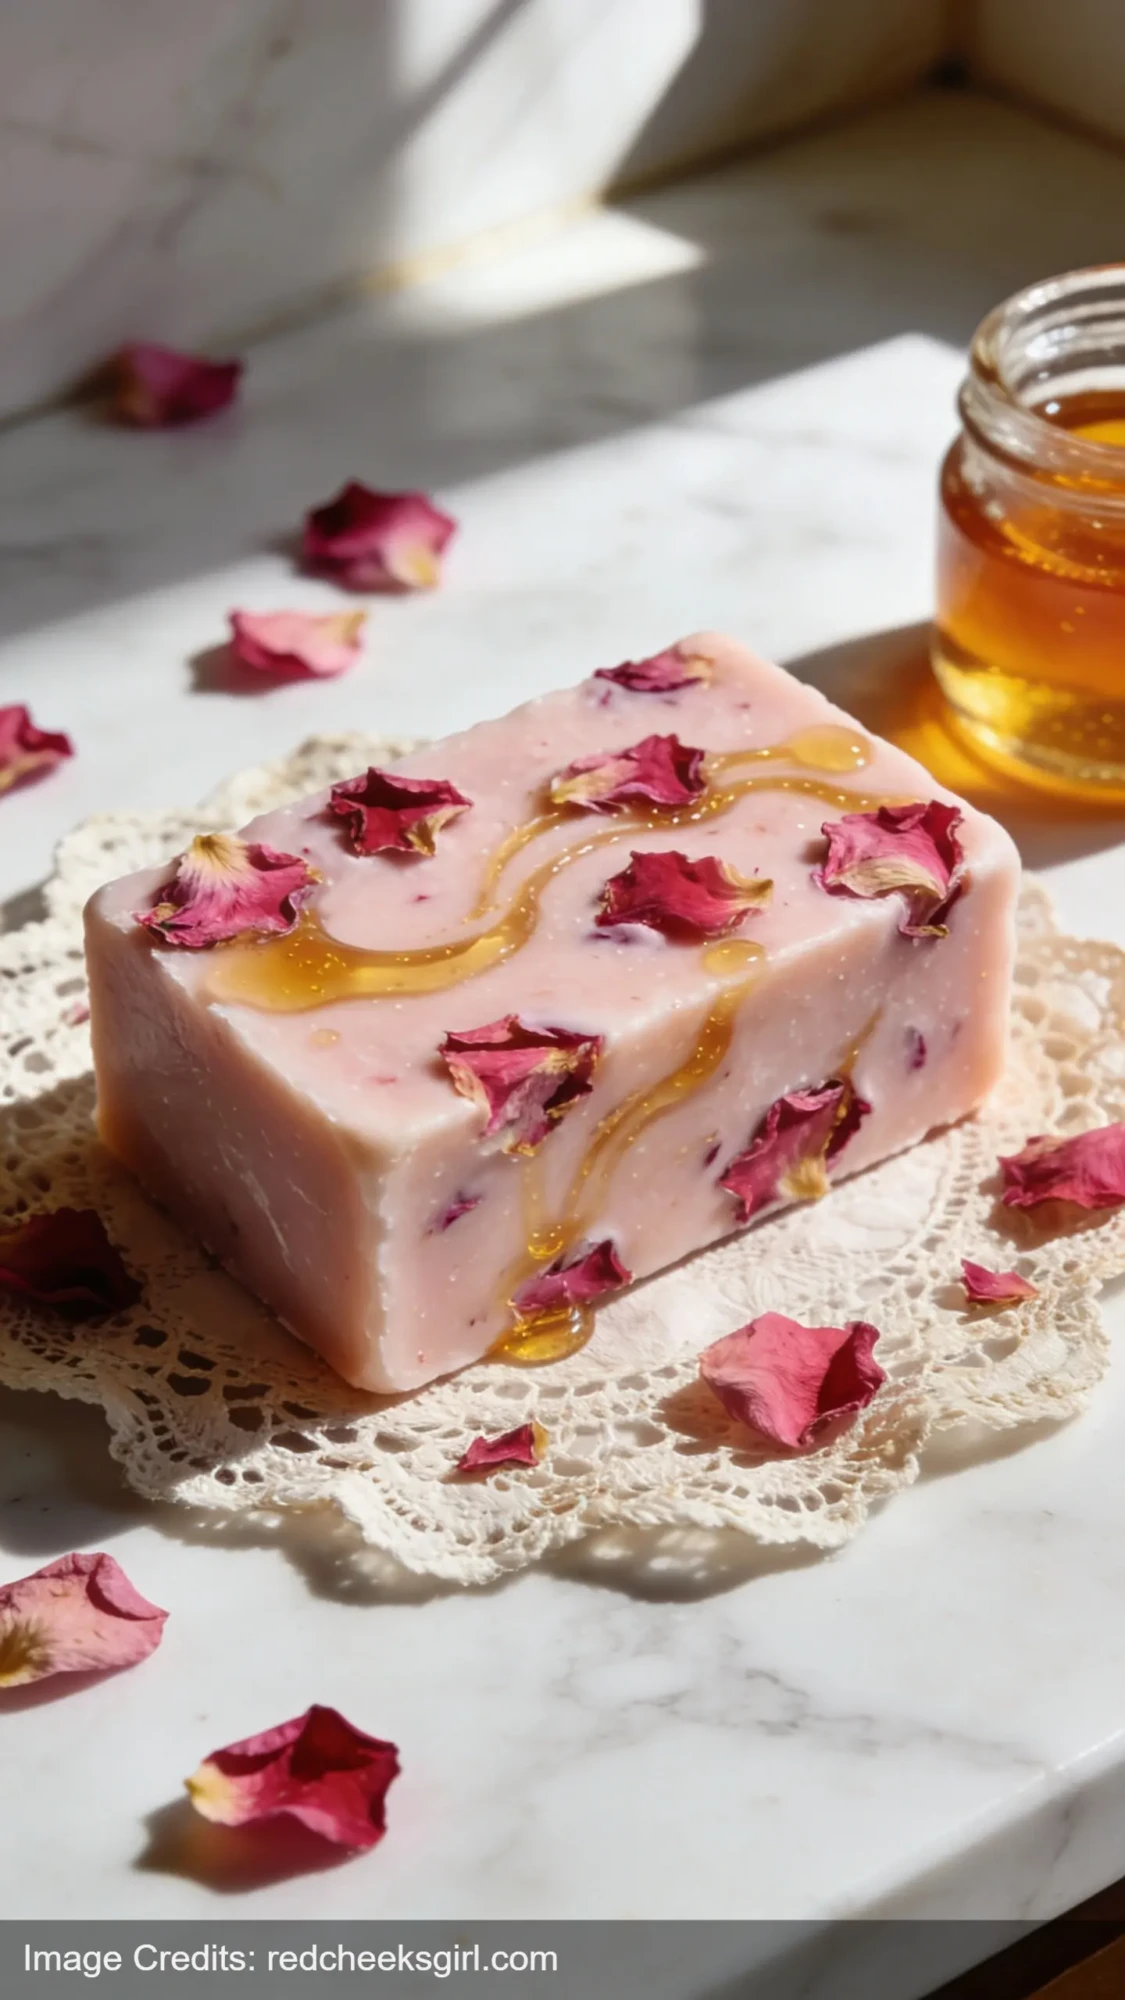
This is my most-requested recipe when people come over and notice it on the bathroom shelf. It looks expensive — matte black with a gray swirl — and the tea tree actually does something for congested skin.
You need: Clear melt-and-pour base, activated charcoal powder (1 tsp per pound), tea tree essential oil, white soap base for swirling.
Melt clear base, add charcoal, stir until fully incorporated (it looks muddy at first, keep stirring). In a separate container, melt white base. Pour black into mold, then drizzle white in figure-8 patterns and drag a toothpick through. Works every time.
A note on activated charcoal: This is for cosmetic use — not the kind from your grill.
3. Lavender and Oat Calming Bar
Makes: 4 bars (~450 g total batch)
- Shea butter melt-and-pour soap base — 400 g
- Colloidal oatmeal — 20 g (about 2 tbsp)
- Lavender essential oil — 5 ml (~100 drops)
- Dried lavender buds — 2 g (for topping)
- Purple cosmetic mica (optional) — 0.5 g
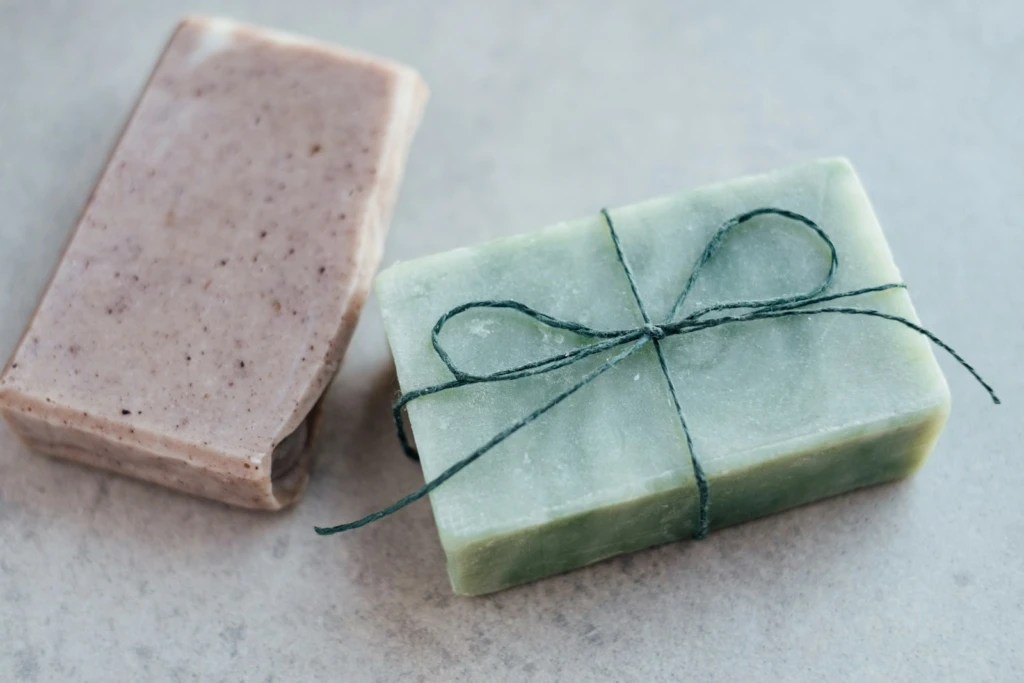
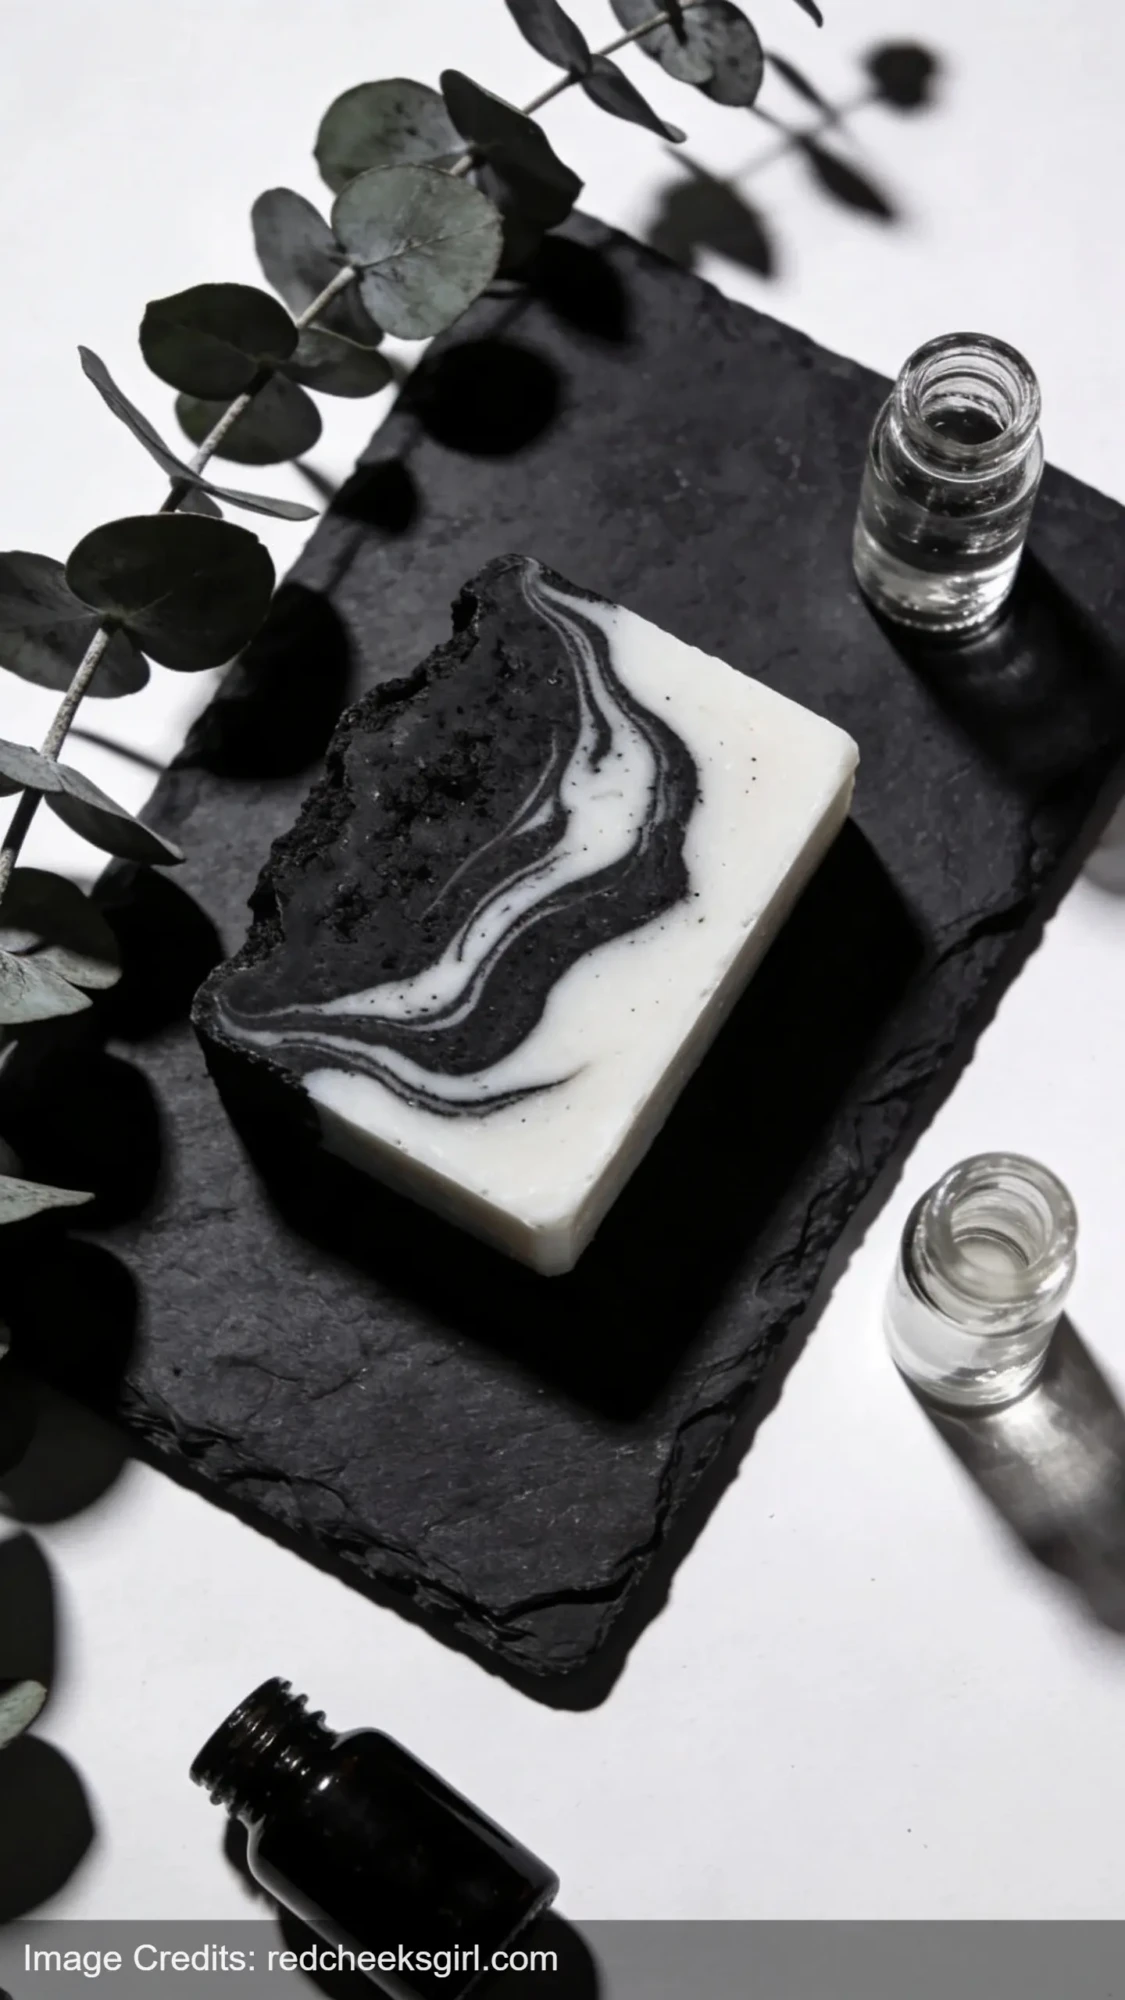
I started making this specifically for baths in winter when my skin gets dry and irritable. Colloidal oatmeal is genuinely soothing — there’s solid dermatological research behind it, not just vibes.
You need: Shea butter melt-and-pour base, lavender essential oil, colloidal oatmeal (2 tbsp per pound), dried lavender buds.
Add oatmeal off heat — if you add it while the base is too hot it settles at the bottom before the soap sets. Pour into individual molds, top with three or four lavender buds. Simple, but it always looks like it cost more than it did.
4. Gold Shimmer Champagne Bar
Makes: 4 bars (~450 g total batch)
- Clear melt-and-pour soap base — 400 g
- Champagne fragrance oil — 6 ml (~120 drops)
- Gold mica powder — 2 g (~1 tsp)
- Edible gold leaf flakes (optional) — a pinch (~0.1 g)
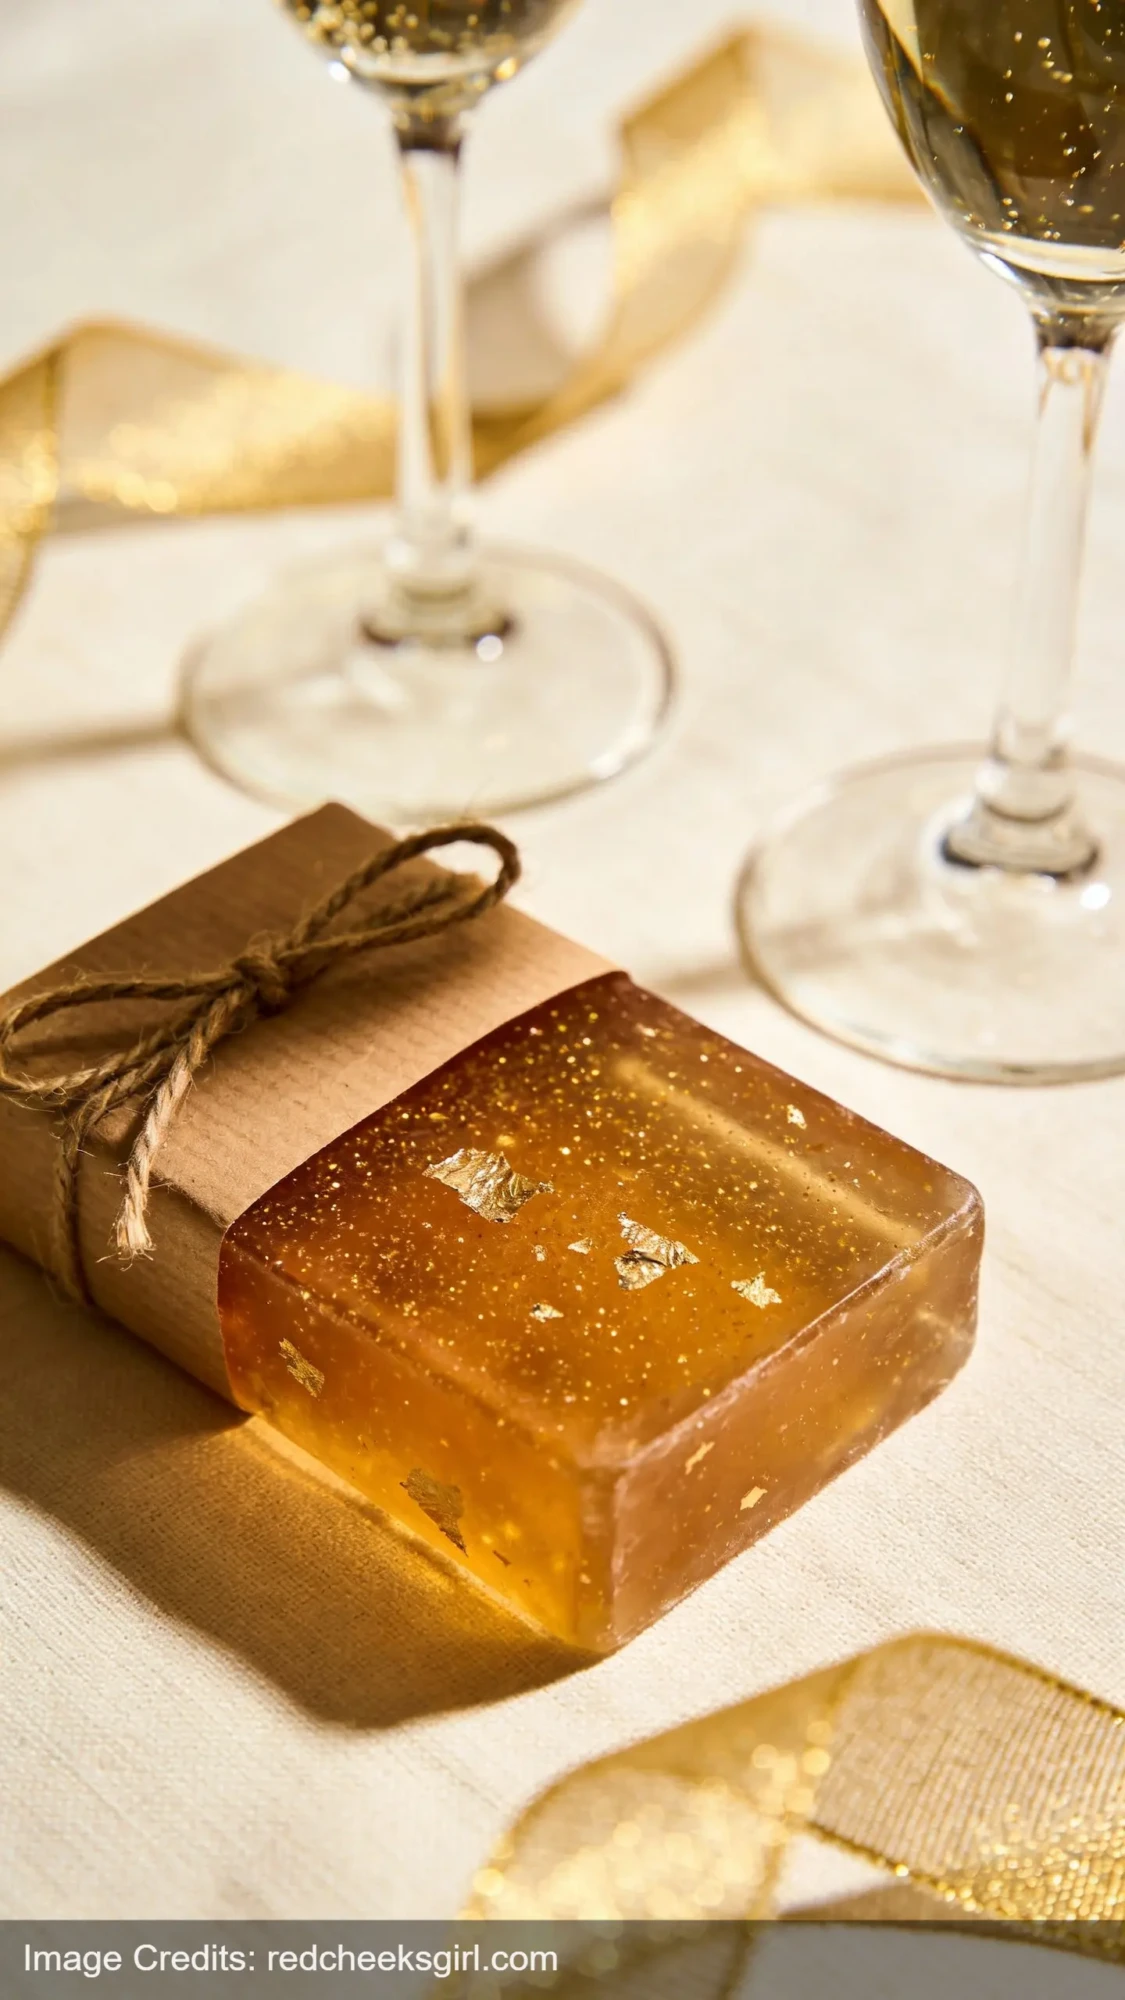
Perfect gift soap. Wrap this in brown kraft paper with a piece of twine and it looks like something from a high-end boutique. The gold shimmer makes the whole thing.
You need: Clear melt-and-pour base, champagne fragrance oil, gold mica powder, gold leaf flakes (optional).
One thing: mica powder and lye do not play well together in cold process. Stick to melt-and-pour for this one. Add gold mica directly to melted base, stir thoroughly — it’ll disperse evenly. If you drop a few gold leaf flakes in before pouring, they swirl around beautifully as the soap sets.
If you love making things like this to give as gifts, my DIY Mother’s Day gift basket guide has some good pairing ideas.
5. Eucalyptus and Sea Salt Scrub Bar
Makes: 4 bars (~550 g total batch)
- Coconut oil melt-and-pour soap base — 400 g
- Fine dead sea salt — 120 g (about 1/2 cup)
- Eucalyptus essential oil — 6 ml (~120 drops)
- Dried eucalyptus leaves (optional, for topping) — 1 g
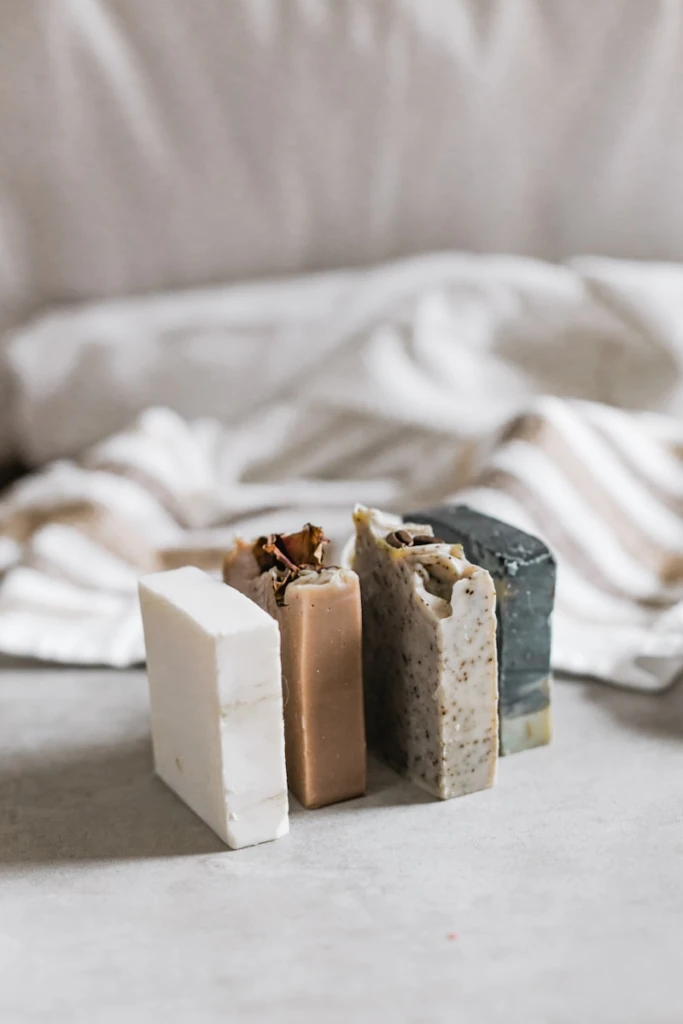
This is technically a hybrid — bar soap that also exfoliates. Dead sea salt is the key. It creates a crunchy texture before the bar gets wet and dissolves into a slightly gritty, spa-like lather.
You need: Coconut oil melt-and-pour base, eucalyptus essential oil, fine dead sea salt (1/2 cup per pound), optional dried eucalyptus.
Important: salt bars harden fast. Have your molds ready before you start melting. Pour when the base is just barely liquid — around 120–125°F — or your salt sinks straight to the bottom before it sets.
6. Turmeric Brightening Bar (Cold Process)
Makes: 4-5 bars | Cure: 4-6 weeks | Always run through a lye calculator first.
- Olive oil — 225 g (50%)
- Coconut oil — 135 g (30%)
- Castor oil — 45 g (10%)
- Shea butter — 45 g (10%)
- Sodium hydroxide (lye) — 63 g (5% superfat)
- Distilled water — 160 g
- Turmeric powder — 2 g (~1 tsp)
- Sweet orange essential oil — 9 g (~3% of oil weight)
Cold process — requires lye.
Turmeric has been used for skin brightening in Ayurvedic skincare for centuries. This bar goes orange-yellow when mixed, softens to a warm gold as it cures. It’s striking.
You need: Olive oil (50%), coconut oil (30%), castor oil (10%), shea butter (10%), lye, distilled water, turmeric powder (1 tsp per pound of oils), orange essential oil.
Run your recipe through a lye calculator (SoapCalc is free and good) before starting. Use a stick blender to get to light trace, add turmeric, blend to medium trace, pour. Cure 4–6 weeks.
7. Vanilla Swirl Bar
Makes: 4 bars (~450 g total batch)
- Shea butter or goat milk melt-and-pour base — 400 g (split into 2 x 200 g)
- Vanilla fragrance oil — 8 ml (~160 drops)
- Cream/ivory cosmetic colorant — 1 g (for one half only)
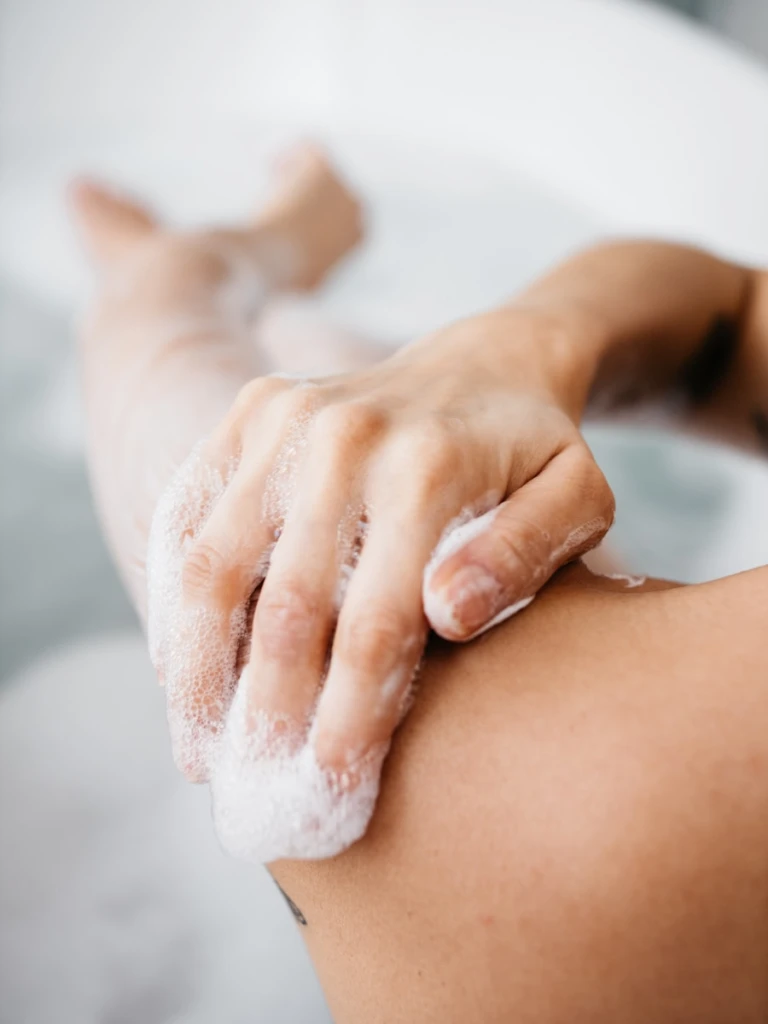
Heads up before you make this: vanilla discolors soap to brown. It’s completely normal, not a failure, and the warm caramel color actually looks intentional and beautiful.
You need: Shea butter or goat milk melt-and-pour base, vanilla fragrance oil, cream colorant for one layer, leave one layer uncolored.
Pour half your base uncolored, wait 10 minutes for it to partially set, pour the cream-colored layer on top. The two layers stay distinct and the vanilla scent is cozy enough to make standing in your shower feel like a small luxury. Which is really all we’re after here.
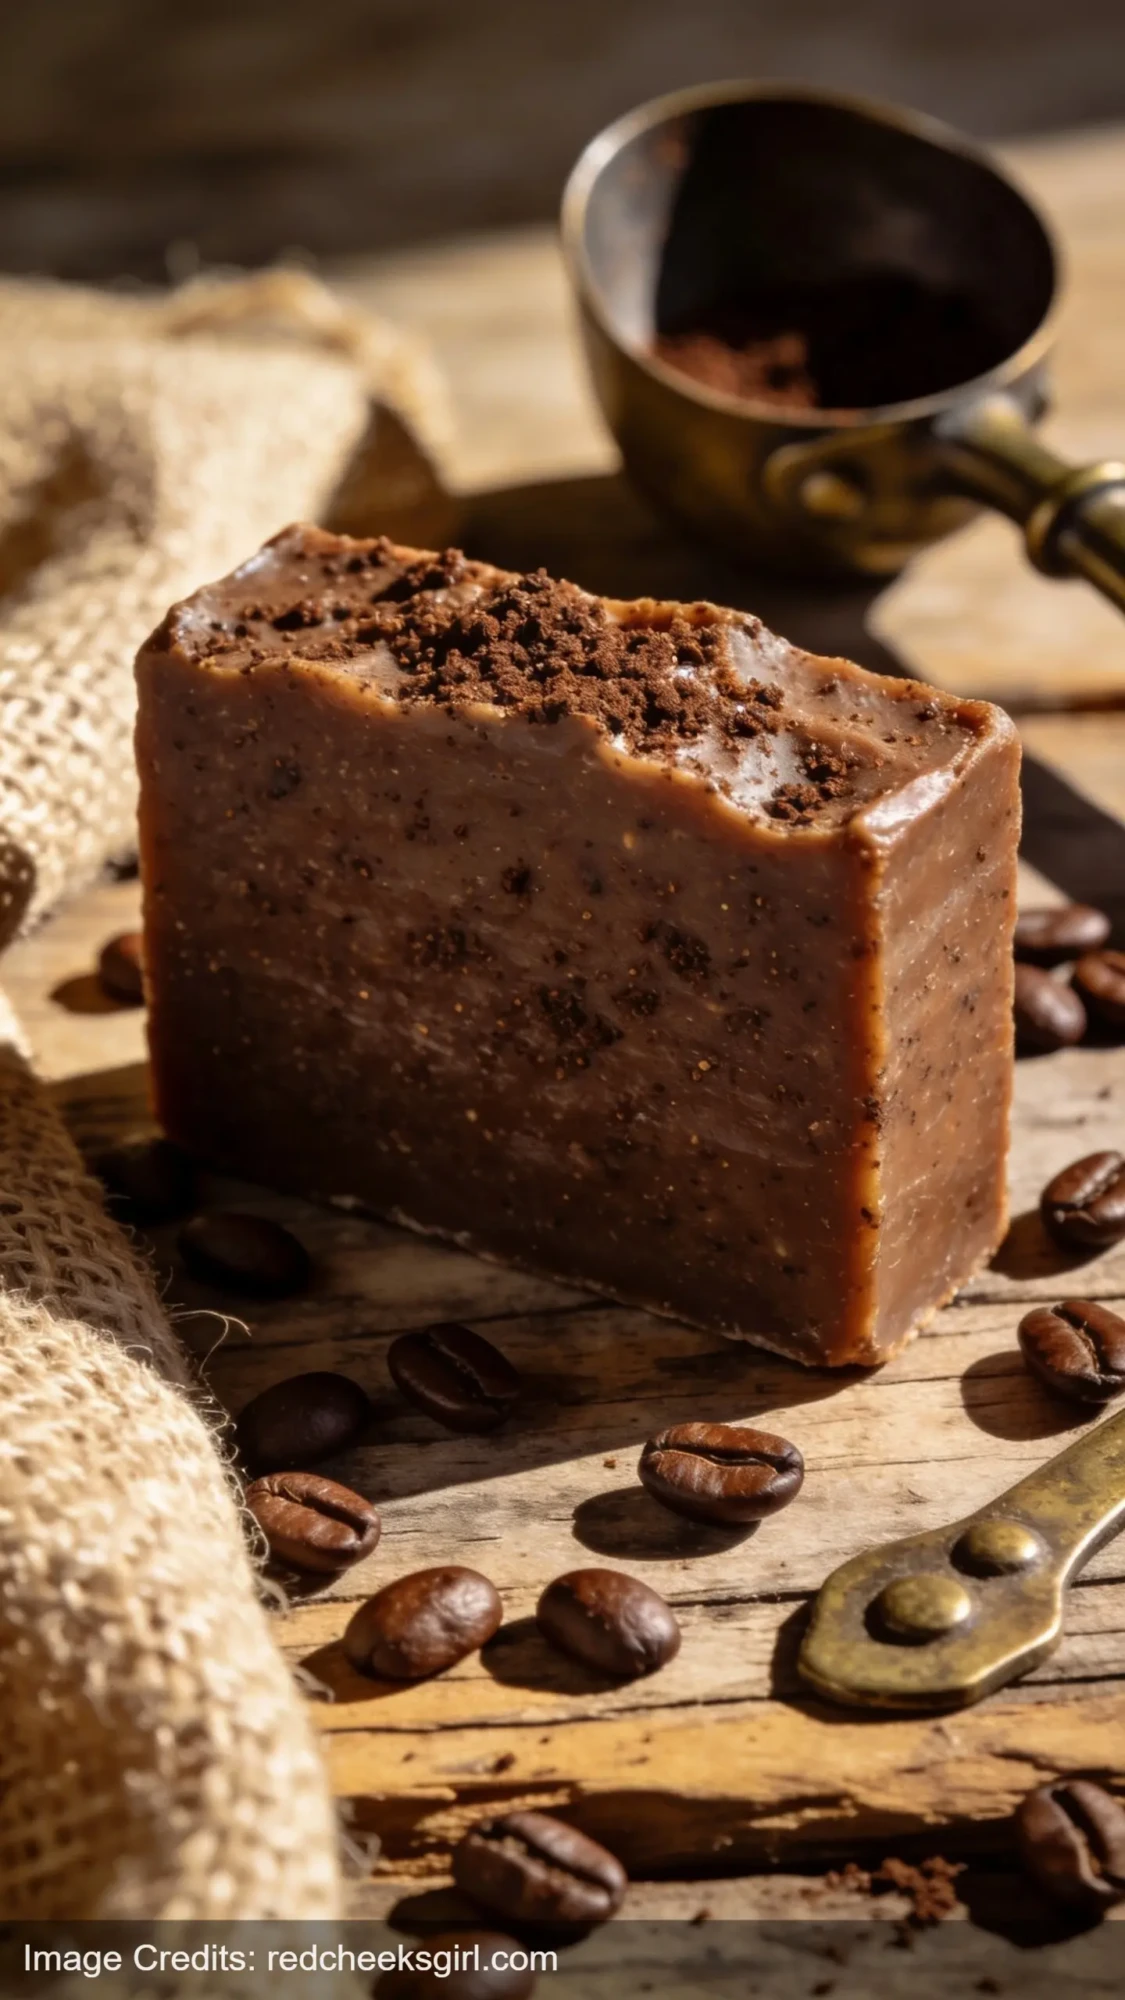
8. Coffee Body Scrub Bar
Makes: 4 bars (~510 g total batch)
- Clear melt-and-pour soap base — 400 g
- Medium-fine coffee grounds (used or fresh) — 30 g (~3 tbsp)
- Vanilla or coffee fragrance oil — 6 ml (~120 drops)
- Brown soap colorant — 1 g
Ground coffee as an exfoliant is genuinely great — the caffeine supposedly helps with circulation, and the texture does something really satisfying on rough elbows and heels. Also, your bathroom smells like a café for the next 20 minutes.
You need: Clear melt-and-pour base, used or fresh coffee grounds (3 tbsp per pound), vanilla or coffee fragrance oil, brown soap colorant.
Use medium-fine grounds — too coarse and it feels unpleasant, too fine and you lose the scrub effect. This is one I make in big batches and keep in a basket in the shower. Gets used up fast.
This pairs well with a proper self-care reset — I wrote about 35 self-care activities that actually help you feel better if you’re building out a whole routine.
9. Floral Garden Embed Bar
Makes: 4 bars (~450 g total batch)
- Clear melt-and-pour base (outer bar) — 300 g
- White melt-and-pour base (flower embeds) — 80 g
- Pink melt-and-pour base (flower embeds) — 40 g
- Floral fragrance oil (jasmine, rose, or peony) — 6 ml (~120 drops)
- Pink cosmetic mica (for embed color) — 0.5 g
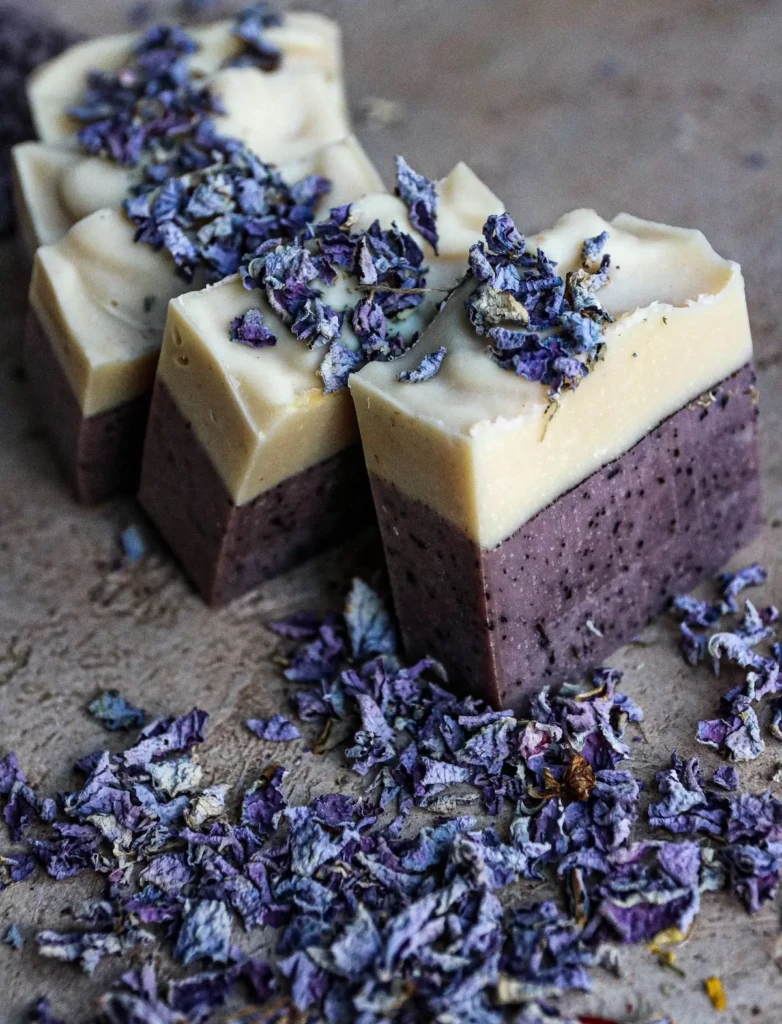
This one is the most visually impressive. You’re making tiny flower-shaped soap embeds and suspending them inside a clear bar. It looks almost too pretty to use.
You need: Clear melt-and-pour base, white and pink melt-and-pour base for embeds, silicone flower molds, floral fragrance oil (jasmine, peony, or rose all work well).
Make your embeds first. Let them fully harden — at least an hour. Then melt your clear base, cool it to just above setting point (around 115°F), arrange your flowers in the mold, pour carefully so they don’t float to the top. If they shift, let the base set around them rather than trying to push them back.
These make incredible homemade gifts — take a look at 15 Mother’s Day gift crafts to make at home for more pairing and packaging ideas.
10. Mint Chocolate Bar
Makes: 4 bars (~450 g total batch)
- Cocoa butter melt-and-pour soap base — 400 g
- Peppermint essential oil — 6 ml (~120 drops)
- Chocolate fragrance oil (optional) — 2 ml (~40 drops)
- Brown soap colorant — 1.5 g
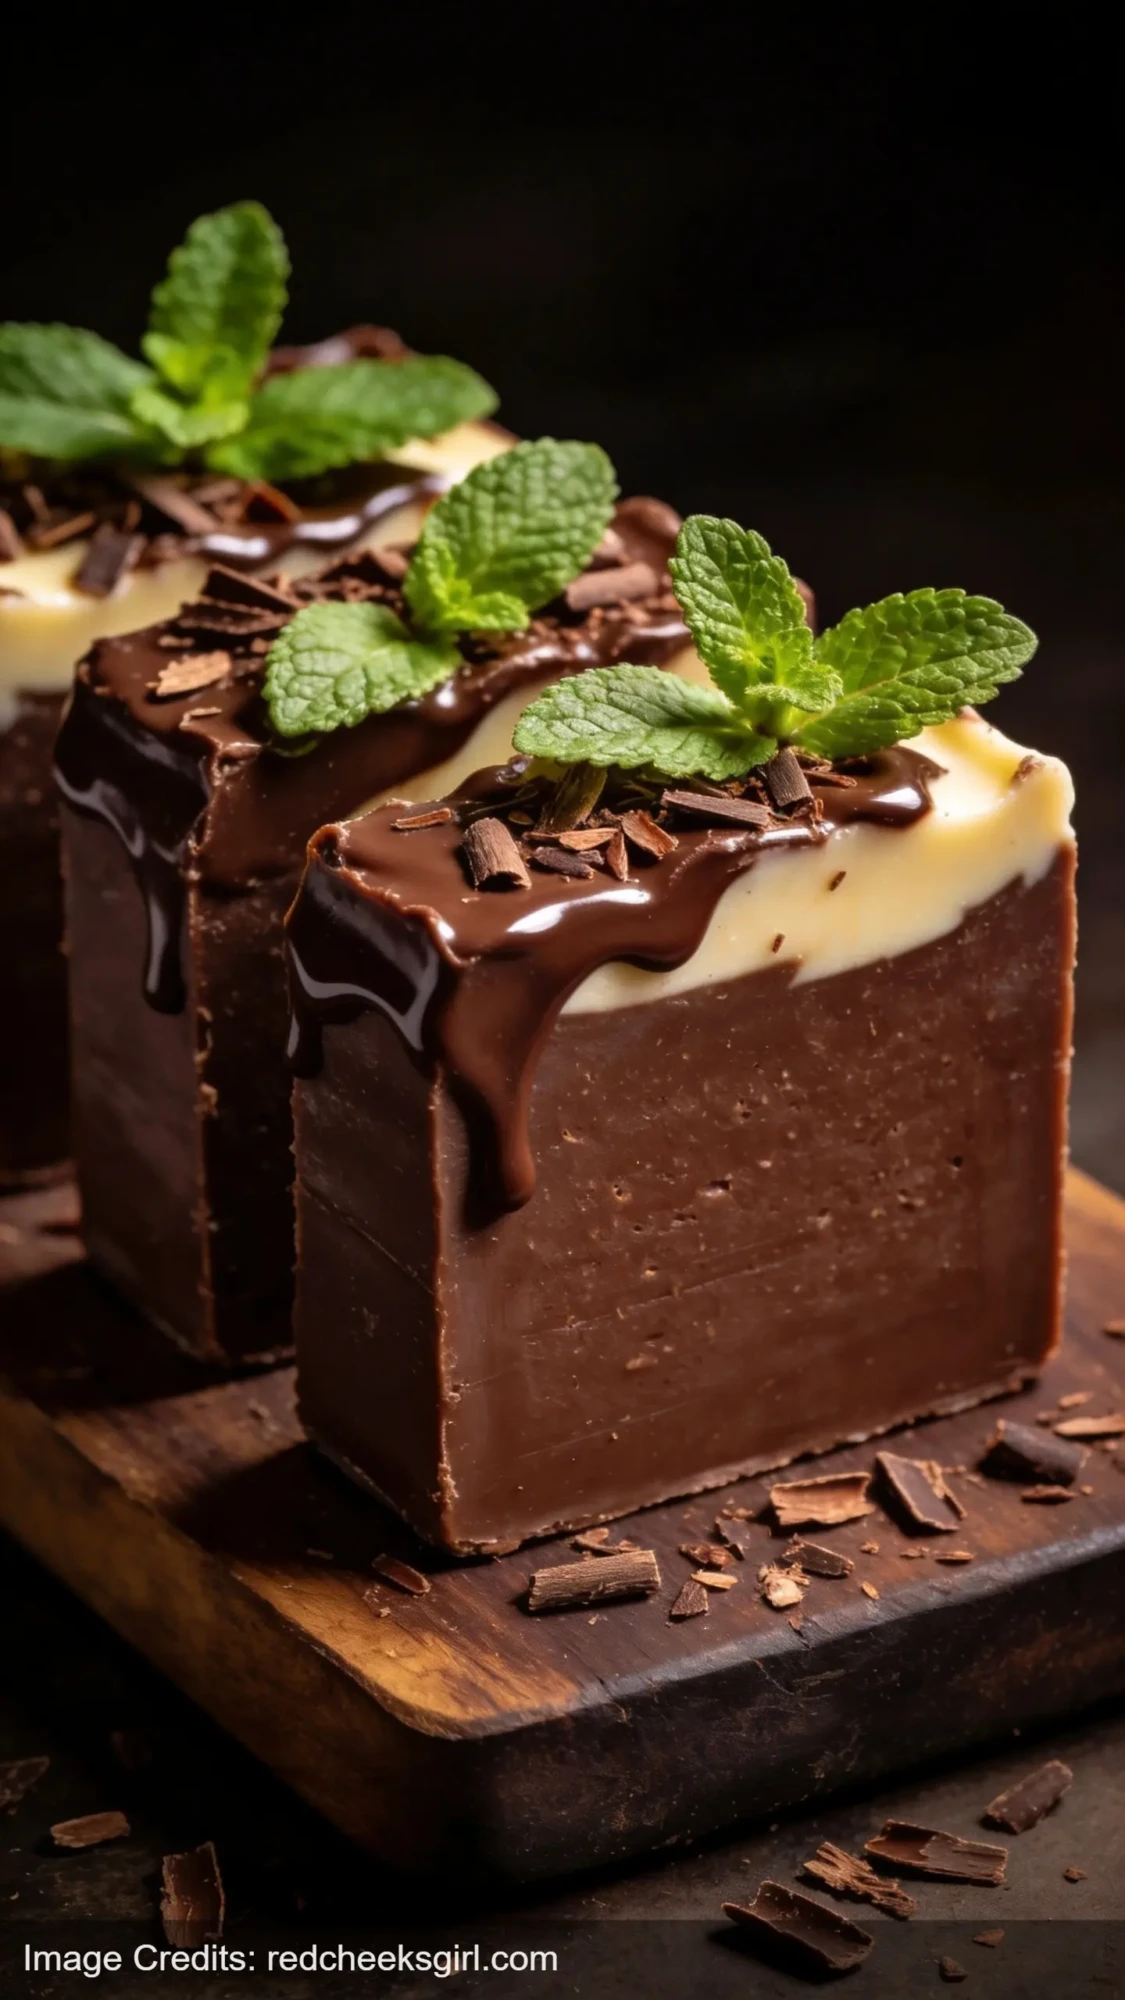
People think this is chocolate. It is not chocolate. It is soap that is brown and mint-scented and genuinely confusing to guests in the best way. My sister tried to sniff it and then immediately questioned herself.
You need: Cocoa butter melt-and-pour base (this gives the warmth to the color), peppermint essential oil, brown soap colorant, optionally a few drops of chocolate fragrance oil if you want to fully commit to the bit.
Thick, creamy lather. The peppermint tingle is real. Brown base with a cocoa butter sheen looks exactly like a chocolate bar when you unmold it.
11. Whipped Soap in a Jar (Not a Bar — But Counts)
Makes: ~2 x 240 ml jars
- Melt-and-pour soap base (clear or white) — 300 g
- Shea butter — 50 g
- Arrowroot powder — 20 g (~2 tbsp)
- Essential oil of choice — 6 ml (~120 drops)
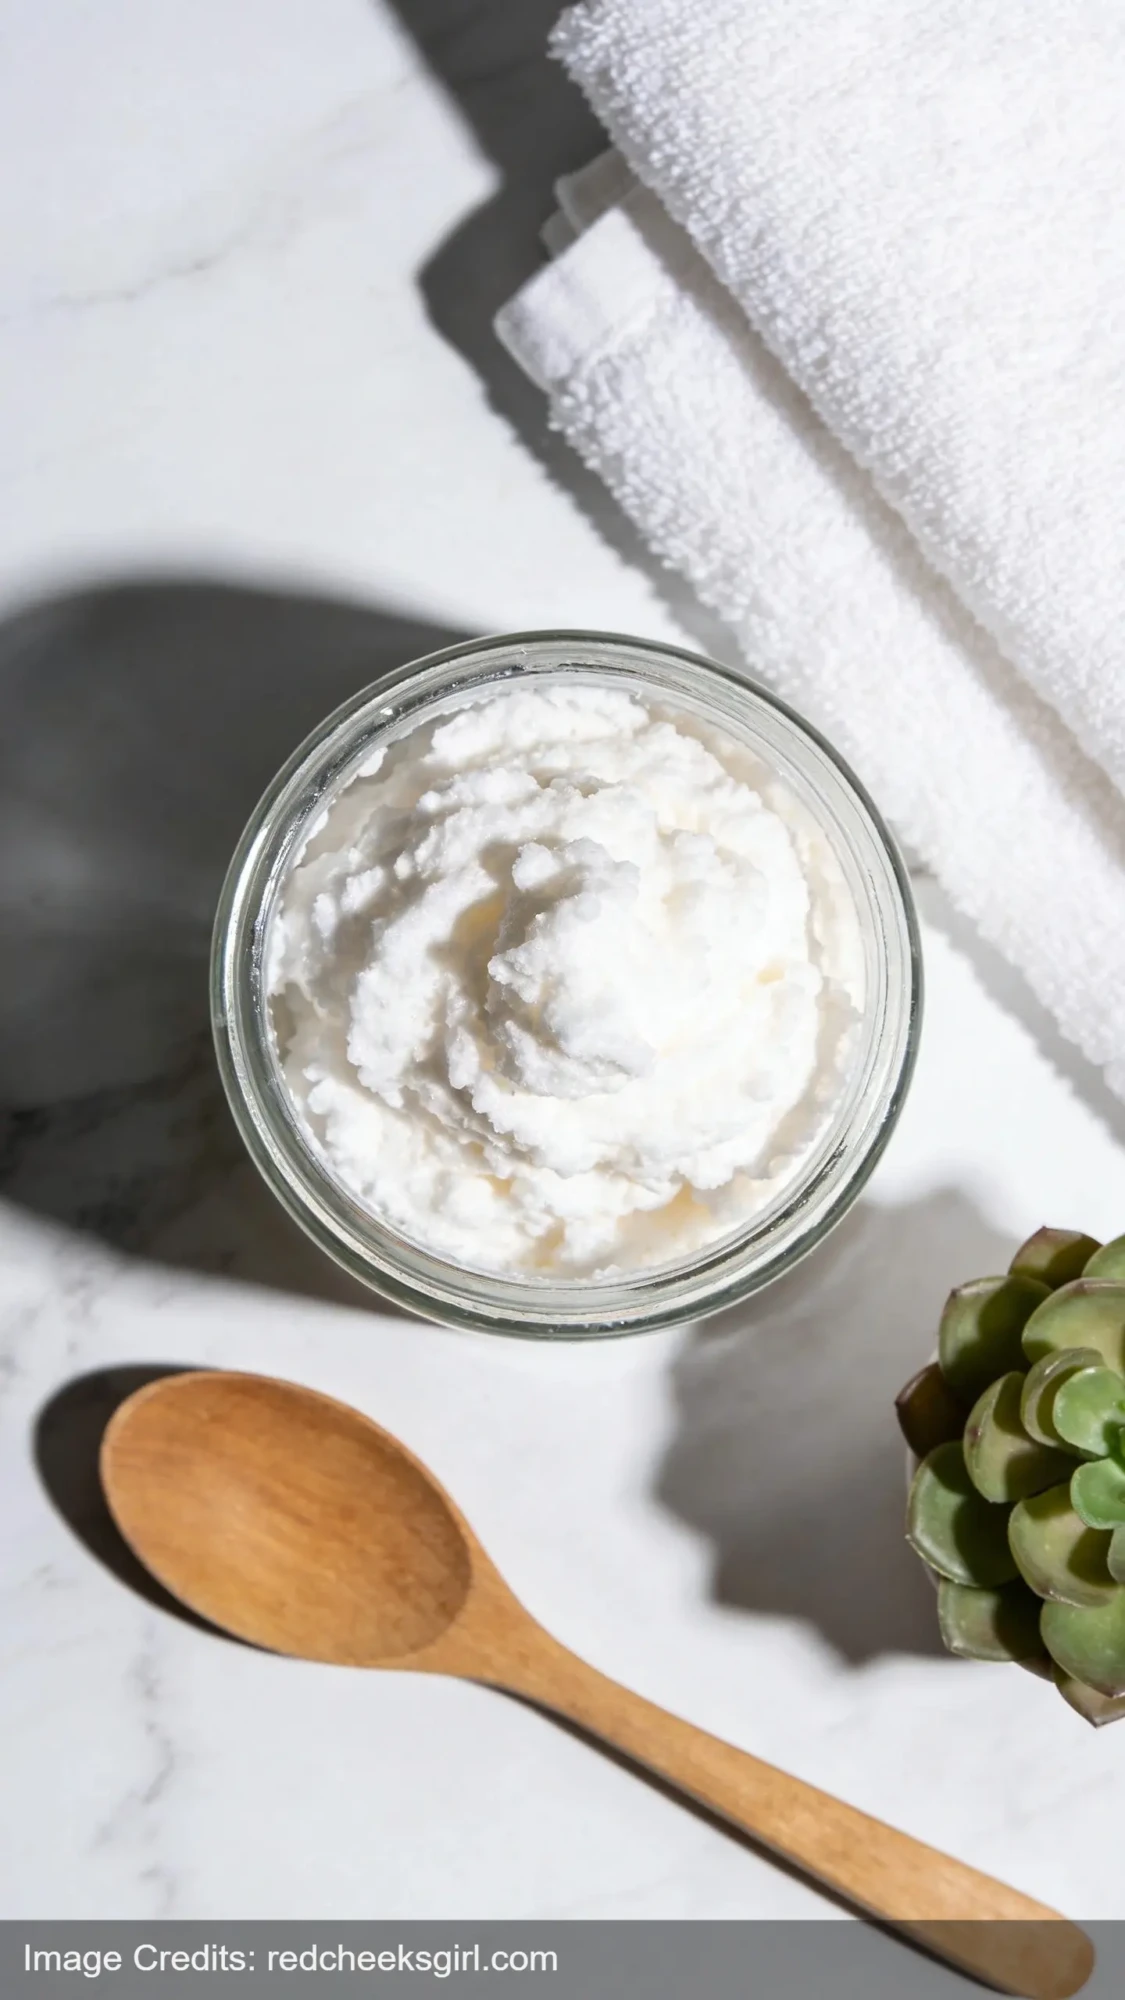
Whipped soap is different from regular soap — lighter, airier texture, used like a body wash or shaving soap. You scoop it with your fingers.
You need: Melt-and-pour soap base, shea butter, arrowroot powder (gives body to the whip), your choice of essential oils, electric hand mixer.
Melt and cool your base to almost-solid (around 80°F). Whip with a hand mixer until it’s fluffy and stiff — like whipped cream. Fold in arrowroot, add fragrance, scoop into jars. Keeps for several weeks.
This is one where packaging matters. Put it in a clear glass jar with a label and it looks legitimately like a product.
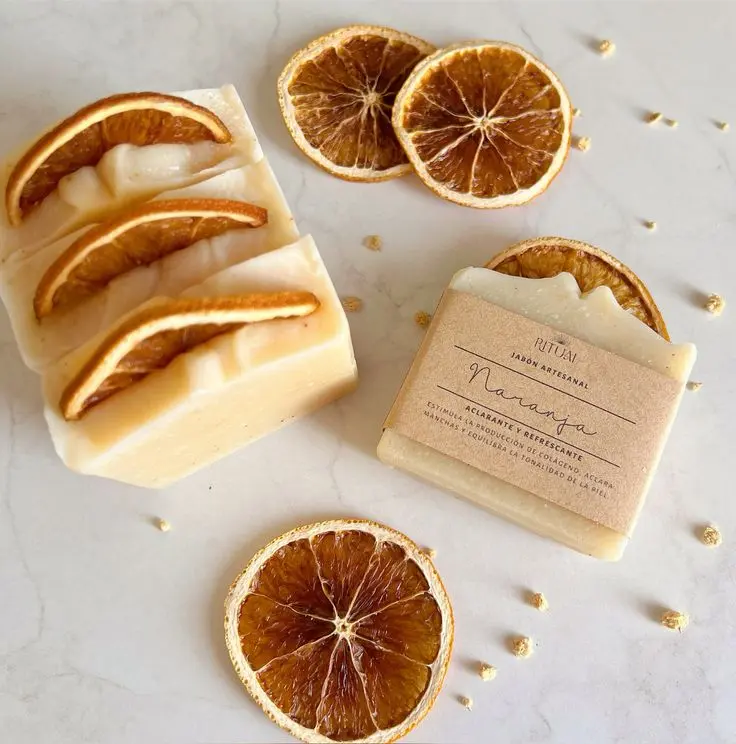
12. Citrus Sunshine Bar (Cold Process)
Makes: 4-5 bars | Cure: 4-6 weeks | Run through a lye calculator first.
- Olive oil — 180 g (40%)
- Coconut oil — 180 g (40%)
- Sunflower oil — 90 g (20%)
- Sodium hydroxide (lye) — 63 g (5% superfat)
- Distilled water — 160 g
- Sweet orange essential oil — 9 g
- Lemon essential oil — 5 g
- Yellow cosmetic mica — 1 g
- Orange cosmetic mica — 1 g
- Dried lemon peel strips (for topping) — 2 g
Cold process — requires lye.
Citrus essential oils are notoriously unstable in cold process — they fade fast. The trick is anchoring them with a fixative like benzyl benzoate or simply using high amounts and accepting that the scent fades to a soft background note.
You need: Palm-free base oils (olive, coconut, sunflower), lye, distilled water, sweet orange + lemon essential oils (use more than you think — about 3% fragrance load), yellow and orange micas.
Pour half uncolored, half with yellow mica, do a simple in-the-pot swirl, pour into mold. Top with dried lemon peel strips. Bright, summery, and the color holds beautifully through cure.
13. Clay and Neroli Luxury Bar
Makes: 4 bars (~450 g total batch)
- Olive oil melt-and-pour soap base — 400 g
- White kaolin clay — 8 g (~1 tbsp)
- Liquid carrier oil for mixing clay (sweet almond or jojoba) — 5 ml
- Neroli essential oil (or fragrance oil) — 4 ml (~80 drops)
- White cosmetic colorant — 1 g
This is the one I make for myself. White kaolin clay gives the bar a silky slip that regular soap doesn’t have — it glides on skin differently. And neroli (orange blossom) is one of those scents that smells genuinely expensive.
You need: Olive oil melt-and-pour base, white kaolin clay (1 tbsp per pound), neroli essential oil or fragrance oil, white colorant.
Mix kaolin clay with a teaspoon of liquid oil first — it prevents clumping when you add it to the melted base. Neroli is pricier than most essential oils but a little goes a long way. The bar looks pure white and clean and smells like something that should cost $20.
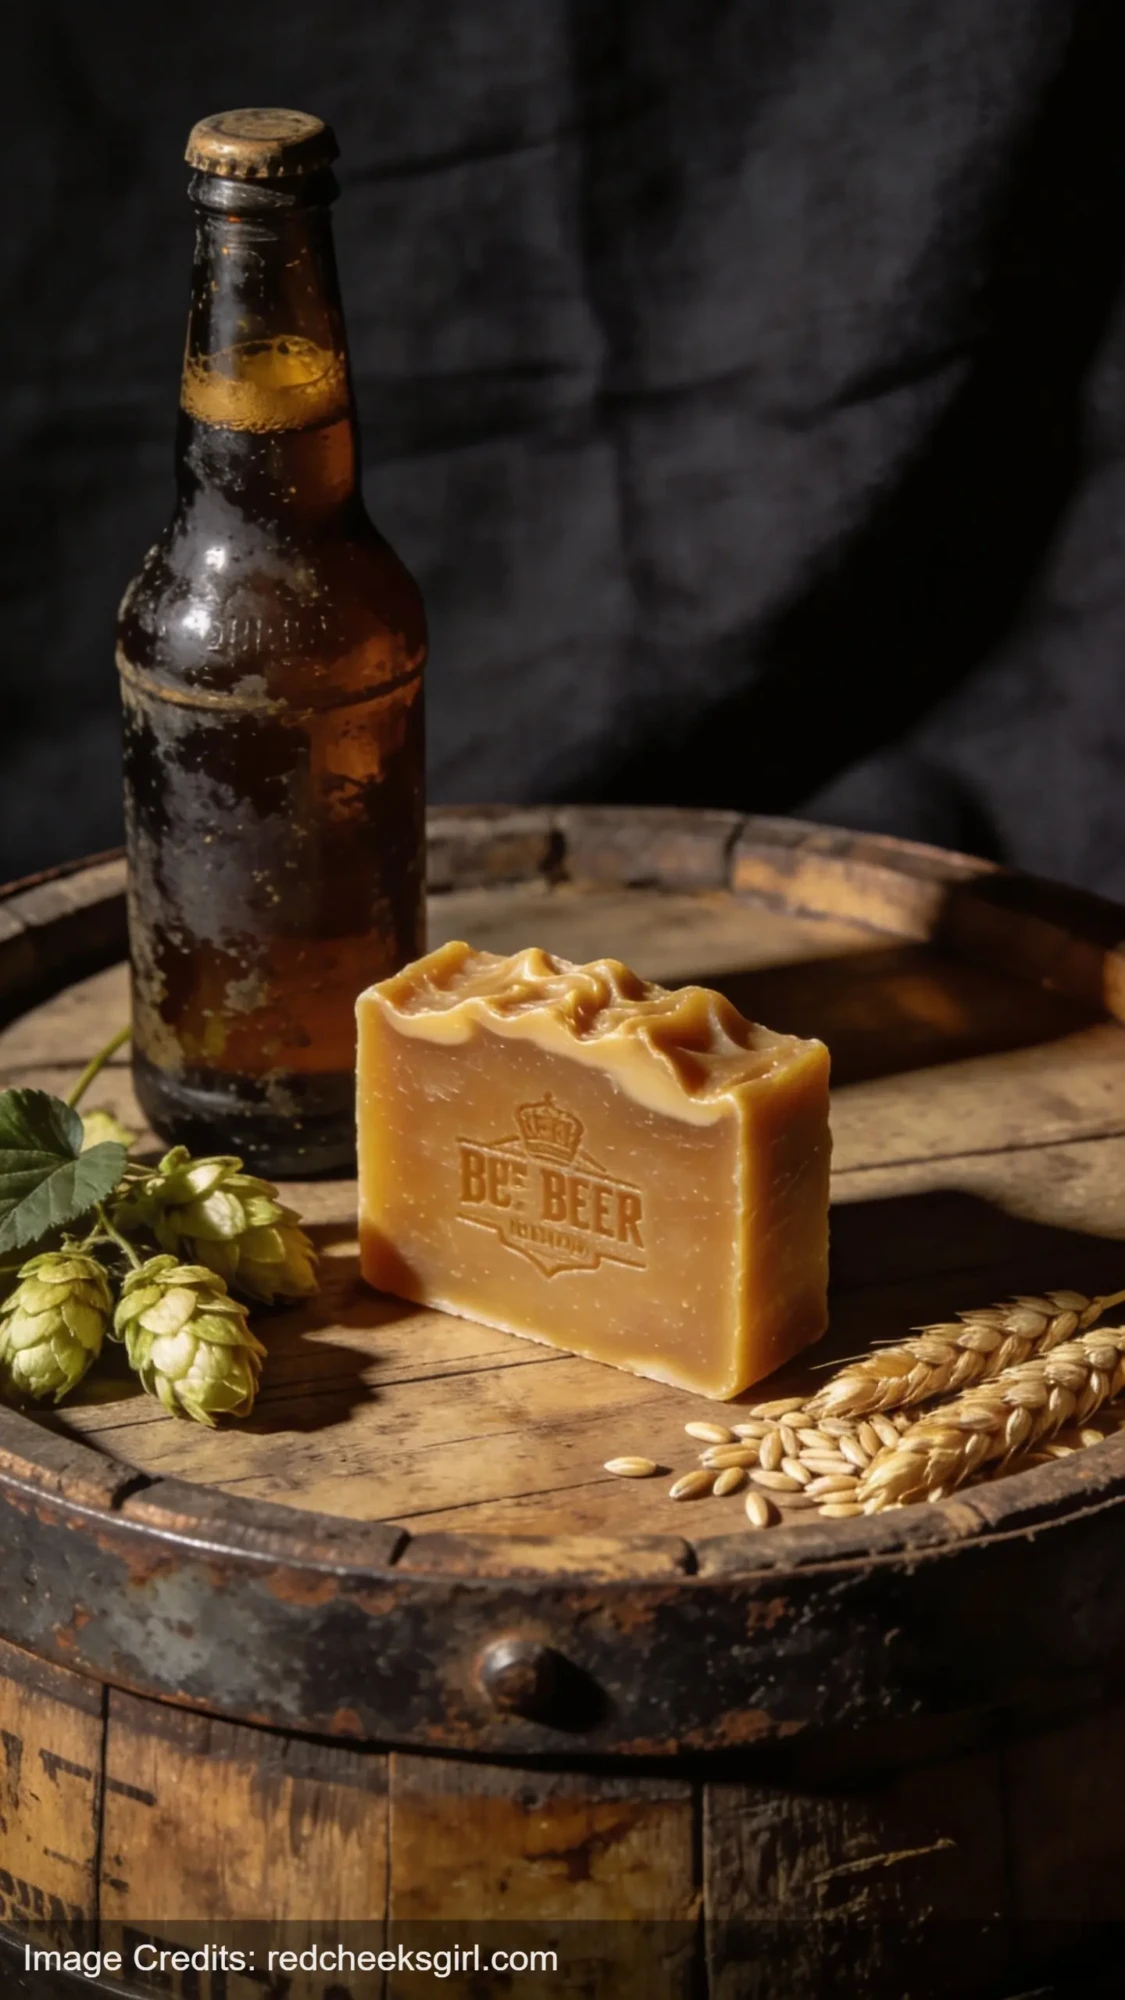
14. Beer Soap (Yes, Really)
Makes: 4 bars (~450 g total batch)
- White melt-and-pour soap base — 350 g
- Flat beer (left open overnight to go completely flat) — 50 ml
- Hops fragrance oil (optional) — 4 ml (~80 drops)
- Gold or amber soap colorant — 1 g
Beer in soap sounds weird and it is weird but it also produces the most luxurious lather I’ve made. The sugars in beer create big, creamy bubbles.
You need: White melt-and-pour base, flat beer (let it go flat completely overnight — carbonation causes volcanoes), hops fragrance oil (optional), brown or gold colorant.
Use room-temperature, flat beer as part of your liquid — substitute it for about 20% of the water you’d normally use to thin your melted base if needed. Don’t overheat. The sugar content makes it sensitive to high temperatures.
Dark ales give a warmer, earthier scent. Light lagers stay neutral. Either way, this one’s always a conversation starter.
15. Himalayan Pink Salt Bar (Cold Process)
Makes: 6-8 bars | Cure: 4 weeks minimum | Run through a lye calculator first.
- Coconut oil — 360 g (80%) — essential for lather in salt bars
- Castor oil — 45 g (10%)
- Shea butter — 45 g (10%)
- Sodium hydroxide (lye) — 66 g (20% superfat — salt bars need higher superfat)
- Distilled water — 130 g
- Fine Himalayan pink salt — 450 g (1:1 ratio to total oil weight)
- Essential oil of choice — 9 g (~3% of oil weight)
Cold process — requires lye.
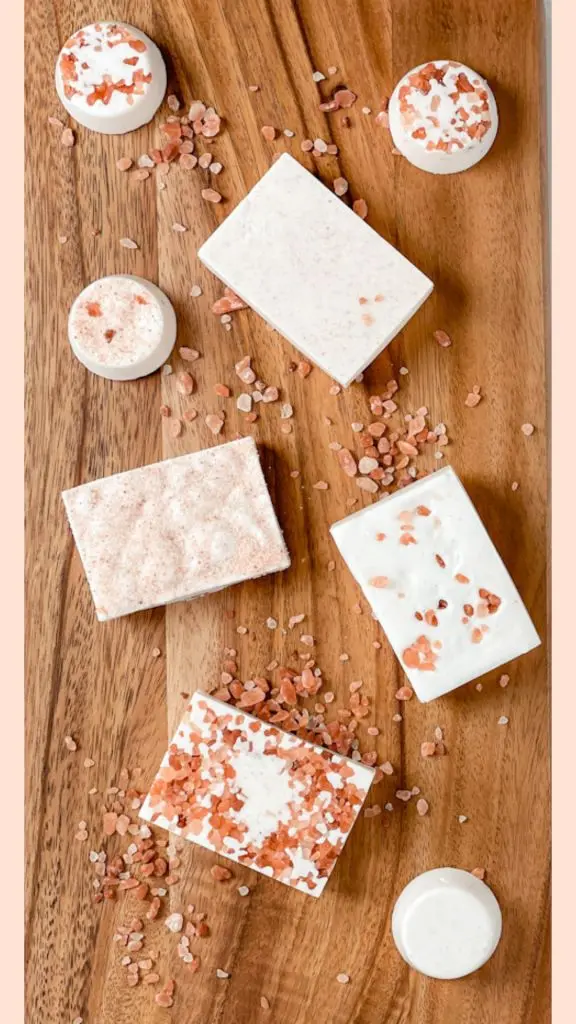
Salt bars are their own category. They’re hard as a rock when cured, produce a creamy, low-lather bar that feels more like a skin treatment than soap, and last forever — mine have gone three months without disappearing.
You need: A high-coconut-oil base (70–80% coconut oil — unusual, but salt bars need it for lather), lye, water, Himalayan pink salt (1:1 ratio to oils by weight — yes, that much), essential oils of choice.
Cut immediately after pouring — within 30–45 minutes of molding. Salt bars harden extremely fast and if you wait they become impossible to slice. Pink salt makes the finished bar naturally speckled and rosy.
If you’re thinking about making these to sell — which is honestly a natural next step when you realize how good homemade soap looks — the Ultimate Guide to Starting a Candle Business has a lot of overlapping advice on pricing, packaging, and selling handmade products.
Supplies Worth Having Before You Start
A few things that make the whole process easier:
- Silicone loaf soap mold — flexible, easy unmolding, works for most bar shapes
- Melt-and-pour soap base variety pack — good for testing different bases without committing to a large quantity
- Cosmetic mica powder set — covers colorant for basically all of these
- Essential oil set for soap making — lavender, eucalyptus, peppermint, tea tree cover most recipes
- Digital kitchen scale — weight measurements are way more accurate than volume for soap, especially cold process
FAQ
Do I need special equipment for melt-and-pour soap? Not really. A microwave-safe measuring cup or pitcher, a scale, a thermometer, and a silicone mold are the basics. Things like a stick blender, mica pigments, and embeds are extras that come later.
Can I use regular food coloring in soap? Technically yes in melt-and-pour, but it bleeds and fades fast. Cosmetic-grade micas and soap colorants last much longer and give cleaner results.
How long does homemade soap last? Melt-and-pour: 1–2 years if stored properly (cool, dry, away from direct sun). Cold process: 1 year, though bars with high olive oil content can last longer. Salt bars: nearly indefinitely if kept dry.
Is DIY soap actually cheaper? Per bar, yes — once you have supplies. The startup cost for a full melt-and-pour setup is $40–$70. After that, bars cost $1.50–$3 each depending on ingredients. Compare that to $8–$14 for boutique soap.
My soap has white film on the outside. Did I do something wrong? That’s soda ash on cold process, or condensation on melt-and-pour. Neither affects performance or quality. You can shave a thin layer off cold process bars or spritz them with isopropyl alcohol right after pour to prevent it.
Can I make these to sell? Yes, but check your local cottage industry laws and labeling requirements. In the US, handmade soap has specific FDA labeling rules. And if the selling idea sounds interesting — making other handmade products into a side income is genuinely worth looking into, same way a lot of creative DIY projects turn into something more.
Start with the Rose Milk bar or the Charcoal one — they’re both low-risk and look great even if something’s slightly off. Once you’ve made two or three batches, you’ll have a feel for timing and temperature, and the fancier ones get a lot less intimidating.

Imagine turning your kitchen spices into a profitable business with these 19 irresistible homemade b

Ambitious women can build wealth through these 15 proven passive income strategies that generate mon
Discover 18 beginner woodworking projects that generate serious income within weeks, not the expensi
Leave a Reply