

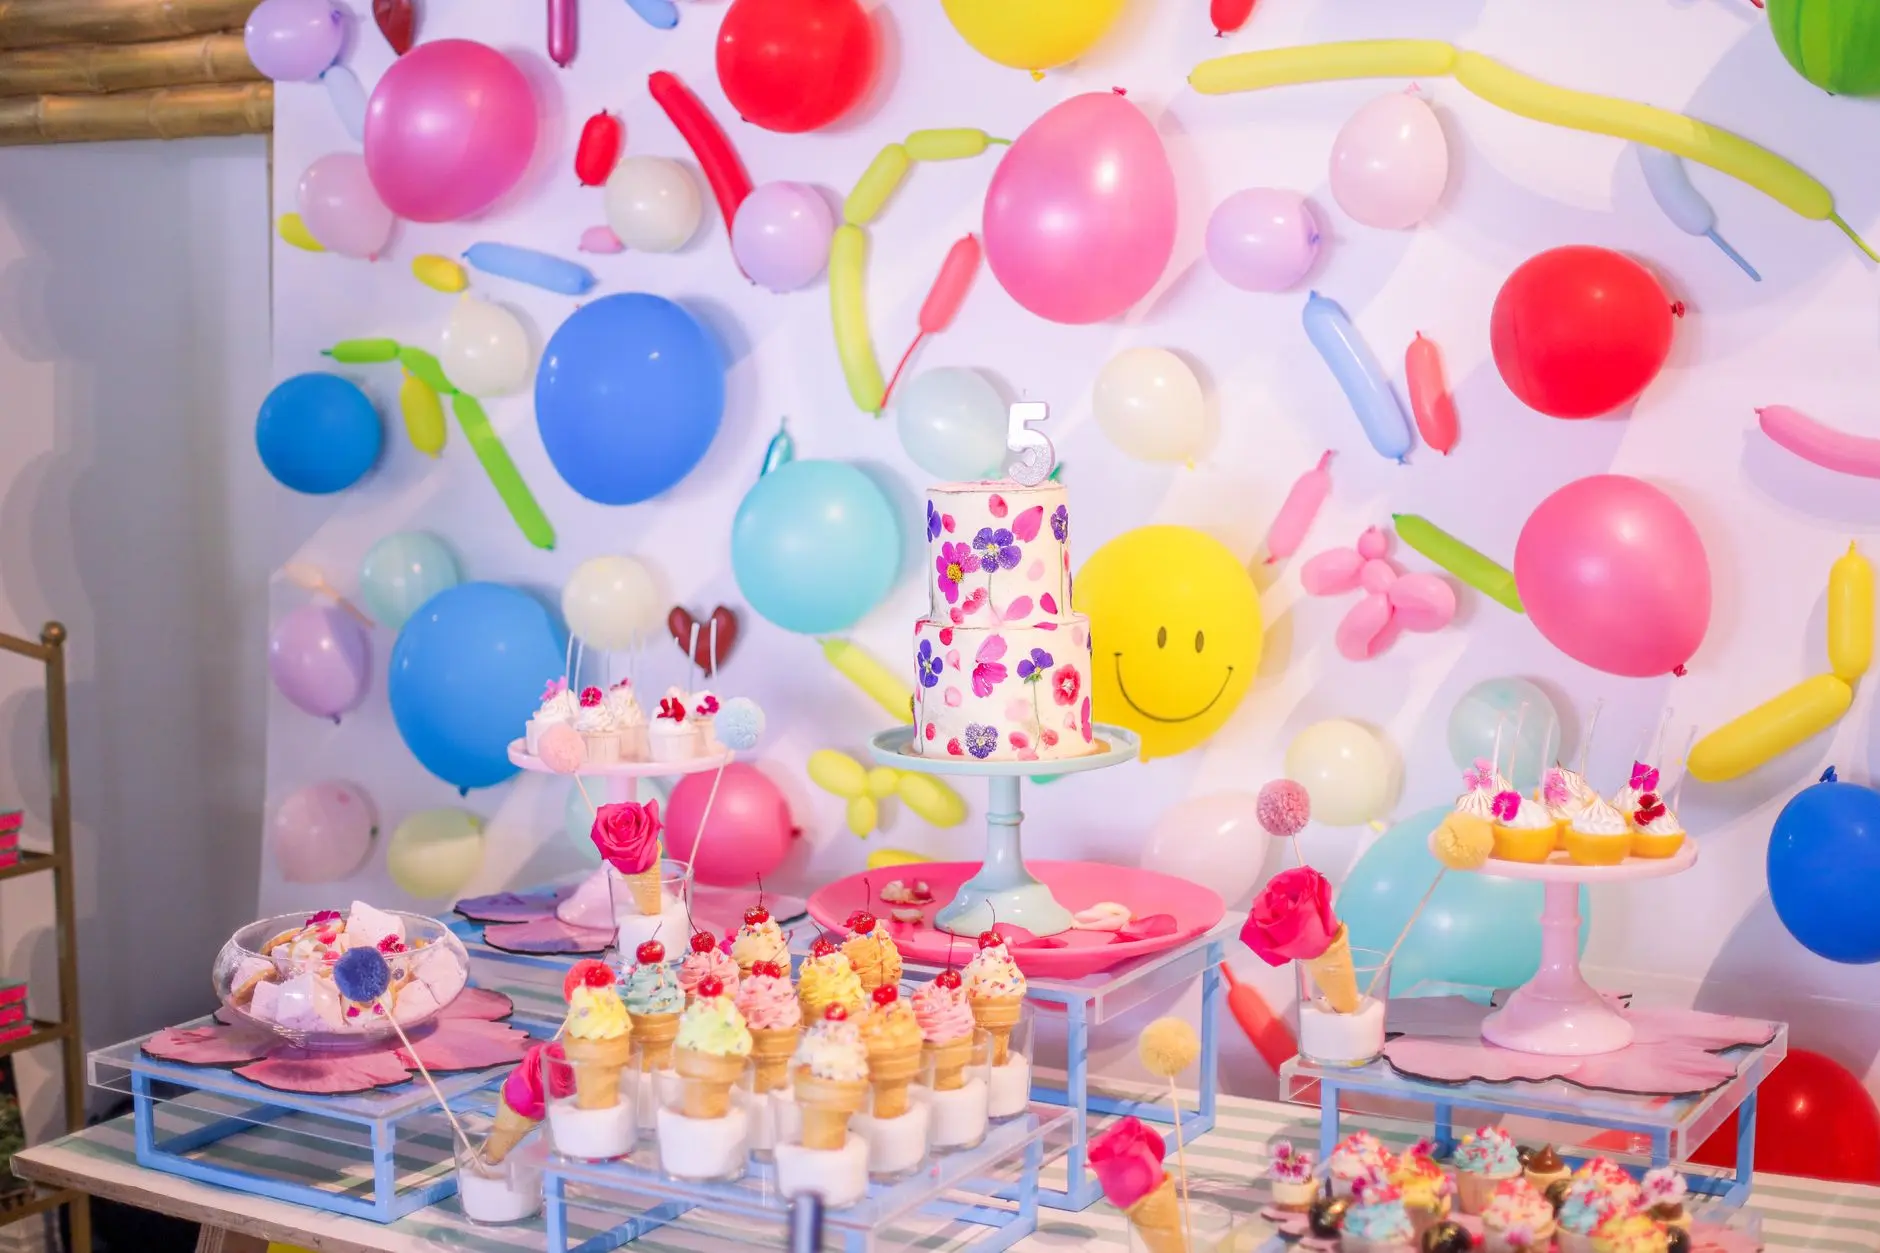
A birthday lands on Tuesday and you find out Monday afternoon. These classroom birthday treats are built for that exact situation: no refrigeration, no plates, no cutting at the table, and enough colour or crunch that the birthday child feels genuinely celebrated. Every recipe here wraps for a class of thirty, keeps at least several days, and travels from your bag to a desk in one move. Note that two recipes contain common allergens (nuts in the party mix, dairy in the biscuit sandwiches and cheese bundles): check your school’s allergy policy before choosing. For ideas on what to do after the treats are handed out, 25 Birthday Party Games for Kids has a full list that burns off the sugar nicely.
This post contains affiliate links. If you buy through them, I may earn a small commission at no extra cost to you.
- Popcorn Bags Tied With Ribbon
- Rice Krispie Squares Cut and Bagged
- Chocolate Dipped Pretzel Rods
- Cereal Bars Rolled and Sliced
- Party Mix Cones of Cereal and Dried Fruit
- Marshmallow Pops Rolled in Sprinkles
- Yoghurt Covered Raisin Bags
- Biscuit Sandwiches With Icing Between
- Banana and Oat Bites in Paper Cases
- Fruit Leather Rolled and Tied
- Breadstick and Cheese Bundles
- Frequently Asked Questions
Popcorn Bags Tied With Ribbon
Popcorn is the most forgiving treat in this list. Air-popped and tossed with a little butter and a lot of rainbow sprinkle sugar, each bag is a small burst of colour before anyone even opens it. The ribbon does real work here: it seals the bag, labels which flavour it is, and gives the birthday child something to hand out with a flourish. Make these up to five days ahead and the corn stays crisp inside a sealed bag.
A swap tip worth keeping: skip the butter entirely and use coconut oil at the same quantity for a subtly sweeter result that also keeps a day longer at room temperature. For thirty bags you will need two large batches of popping.
Ingredients
- 300 g (about 10 oz) popcorn kernels
- 60 g unsalted butter, melted
- 80 g caster sugar
- 2 tsp rainbow nonpareil sprinkles
- 1 tsp fine sea salt
- 1/2 tsp vanilla extract
- 30 clear cellophane treat bags (approx. 10 x 25 cm)
- 30 lengths of brightly coloured ribbon, each 30 cm
Instructions
- Pop the kernels in batches in a large lidded saucepan over medium-high heat with 1 tbsp neutral oil per batch. Shake the pan until popping slows to one pop every two seconds, then tip into a very large bowl.
- Stir the melted butter, sugar, salt and vanilla together in a small bowl until the sugar partly dissolves.
- Pour the butter mixture over the warm popcorn in a thin stream, tossing constantly with two large spoons so every kernel gets a light coating.
- Scatter the sprinkles over immediately and toss once more so the colour distributes before the coating sets.
- Leave to cool for ten minutes, then divide the popcorn evenly among the thirty cellophane bags, filling each about two-thirds full.
- Twist the top of each bag tightly and tie with a length of ribbon, finishing with a simple bow.

Rice Krispie Squares Cut and Bagged
These are the treat every child already knows, which means there is zero hesitation at a desk. The visual hook is the layer: press pink-tinted mix into half the pan, let it firm briefly, then press white mix on top so every cut square shows two clean bands of colour. Cutting into thirty portions is easier than it sounds from a standard 33 x 23 cm tin, which gives a 5 x 6 grid of thirty identical rectangles.
Make these up to three days ahead and bag them the night before. The squares stay soft inside the bag and do not crumble during the hand-out pass.
Ingredients
- 90 g unsalted butter, divided into two 45 g portions
- 600 g mini marshmallows, divided into two 300 g portions
- 360 g puffed rice cereal, divided into two 180 g portions
- 1 tsp pink gel food colouring
- 1/2 tsp vanilla extract (for each layer)
- Non-stick cooking spray
- 30 clear zip-lock snack bags
Instructions
- Line a 33 x 23 cm baking tin with baking paper and spray lightly with cooking spray.
- Melt 45 g butter in a large saucepan over low heat. Add 300 g marshmallows and stir until completely melted. Stir in 1/2 tsp vanilla, then add the pink gel colouring and mix until the colour is even.
- Remove from heat, add 180 g puffed rice cereal and fold quickly until every piece is coated. Press the pink mixture into the prepared tin in an even layer using a buttered spatula. Let it sit for ten minutes.
- Repeat with the remaining butter, marshmallows, vanilla and cereal, leaving out the colouring so the second layer is white.
- Press the white layer firmly on top of the pink. Let the whole slab cool and set at room temperature for at least twenty minutes.
- Lift out using the baking paper, cut into 30 rectangles in a 5 x 6 grid, and place each square in a zip-lock snack bag.

Chocolate Dipped Pretzel Rods
The visual hook here is pure contrast: the salty, knobbled pretzel rod two-thirds buried in glossy chocolate, then rolled in bright sprinkles while the chocolate is still wet. Each one looks finished and festive with almost no effort. Melt the chocolate in a tall, narrow heatproof jug so you can dip rather than spoon, which gives a clean line every time.
These keep beautifully for up to a week in a cool, dry cupboard once the chocolate is fully set. Wrap each rod in a small cello bag twisted at both ends, or stand thirty of them upright in a box lined with tissue paper for easy distribution.
Ingredients
- 30 pretzel rods
- 400 g good-quality milk or dark chocolate chips
- 100 g white chocolate chips
- 4 tbsp rainbow sprinkles
- 4 tbsp coloured sugar crystals
- 30 small cello bags
- Twist ties or ribbon to close bags
Instructions
- Melt the milk or dark chocolate chips in a tall heatproof jug set in a pan of barely simmering water, stirring until smooth. Remove from the heat.
- Line two baking sheets with baking paper. Pour the sprinkles and sugar crystals onto separate shallow plates.
- Dip each pretzel rod into the melted chocolate, turning to coat the lower two-thirds. Hold it over the jug for a few seconds to let excess drip off.
- Immediately roll the chocolate-coated section through the sprinkles or sugar crystals, pressing lightly so they stick.
- Lay the dipped rods on the lined baking sheets and leave at room temperature until the chocolate is completely set, about thirty minutes.
- Melt the white chocolate in a small bowl over hot water, then drizzle over the set rods with a spoon for an extra decorative stripe.
- Once fully set, slide each rod into a cello bag and twist or tie the top.

Cereal Bars Rolled and Sliced
These use a no-bake honey-and-nut-butter binder to hold oats and puffed cereal together in a tight log, which you roll in cling film, chill briefly to firm, then slice into thirty rounds. The cross-section is the visual: a confetti of cereal pieces held in a golden matrix, each slice looking like a proper thing rather than a broken chunk. Coloured cereal loops give the best effect.
The logs keep wrapped in the fridge for a week, so you can make them Sunday evening and slice to order Monday morning. Wrap each slice in a square of wax paper twisted at the ends.
Ingredients
- 200 g rolled oats
- 150 g coloured cereal loops (such as a fruit-flavoured ring cereal)
- 120 g honey
- 120 g smooth peanut butter or sunflower seed butter
- 60 g light brown sugar
- 50 g mini chocolate chips
- 1 tsp vanilla extract
- 1/4 tsp fine salt
- Wax paper or cling film for rolling
Instructions
- Combine the rolled oats and cereal loops in a large bowl and set aside.
- Place the honey, nut butter and brown sugar in a small saucepan over medium-low heat. Stir constantly until the sugar dissolves and the mixture is smooth and just beginning to bubble, about three minutes.
- Remove from the heat, stir in the vanilla and salt, then pour over the oat and cereal mixture immediately.
- Mix everything together thoroughly. Add the mini chocolate chips and fold in once the mixture has cooled slightly so the chips do not melt completely.
- Divide into three equal portions. Roll each portion into a tight log about 4 cm in diameter using cling film, twisting the ends firmly.
- Refrigerate the logs for at least one hour until firm. Slice each log into ten rounds (about 1.5 cm thick) using a sharp knife.
- Wrap each round in a square of wax paper and twist the ends to seal.

Party Mix Cones of Cereal and Dried Fruit
A paper cone holds the mix upright on a desk without spilling, which is the clever part. The mix itself is all colour and crunch: puffed corn, pretzels, dried cranberries, yoghurt-covered raisins and candy-coated chocolate pieces tumble together in proportions that put something interesting in every scoop. Check allergens here, as this recipe includes mixed nuts as an optional add-in: leave them out for nut-free classrooms and increase the pretzel quantity instead.
Make the mix up to two weeks ahead and store in an airtight container. Scoop into paper cones and tape them the day before.
Ingredients
- 200 g corn puff cereal
- 150 g small pretzels
- 100 g dried cranberries
- 100 g yoghurt-covered raisins
- 80 g candy-coated chocolate pieces
- 60 g sunflower seeds (or mixed nuts, school permitting)
- 30 paper ice-cream cones or rolled paper cones
- Small stickers or tape to seal the cones
Instructions
- Combine the cereal, pretzels, cranberries, yoghurt raisins, candy pieces and seeds in a very large bowl and toss well so the colours distribute evenly.
- Set out the thirty paper cones on a tray. Using a large spoon or small scoop, fill each cone to about 1 cm below the rim, packing slightly so it holds its shape.
- Fold the top of each cone over once or press a small sticker across the opening to keep the mix inside during transport.
- Stand finished cones point-down in a box or muffin tin for easy carrying to class.

🛍 Shopping guide
Marshmallow Pops Rolled in Sprinkles
Two large marshmallows threaded on a lollipop stick, dipped in a thin candy coating and rolled in multicoloured sprinkles while still tacky: that is the whole recipe, and it takes about thirty minutes for thirty pops. The sprinkles are the visual, a dense coat of colour that makes each pop look almost too cheerful to eat. Use white candy melts as the base so every colour of sprinkle reads clearly against it.
These keep for five days in a cool, dry spot. Stand them in a block of polystyrene or a long baking tin filled with sugar to keep them upright while the coating sets, then lay them flat in a box lined with tissue.
Ingredients
- 60 large marshmallows
- 30 lollipop sticks (15 cm)
- 300 g white candy melts
- 1 tsp coconut oil (to thin the coating)
- 120 g assorted rainbow sprinkles
- 60 g star-shaped sprinkles or confetti quins
Instructions
- Thread two large marshmallows onto each lollipop stick, pushing them snugly together so they do not spin.
- Melt the candy melts with the coconut oil in a heatproof bowl over a pan of barely simmering water, stirring until completely smooth. Transfer to a narrow, deep cup.
- Dip each marshmallow pop into the melted candy coating, turning to cover completely. Lift out and let the excess drip back into the cup for a few seconds.
- Immediately roll the wet coating through the sprinkle mixture, pressing lightly so they adhere all over.
- Stand each pop upright in a polystyrene block or a sugar-filled container until the coating is fully set, about fifteen minutes.
- Lay the finished pops flat in a tissue-lined box for transport and hand-out.

🛍 Shopping guide
Yoghurt Covered Raisin Bags
This is the simplest recipe in the collection. Buy good-quality yoghurt-covered raisins, portion them into thirty small zip-lock bags, and make each bag look special with a printed label or a strip of washi tape across the seal. The visual hook is the raisins themselves: the matte white coating with its soft, yielding bite is a texture children find endlessly pleasant. A 750 g bag of yoghurt raisins gives a generous portion per child once divided into thirty bags.
These require no preparation beyond portioning. The bags keep for up to three weeks in a sealed container, making this the longest-shelf-life option in the whole list.
Ingredients
- 750 g yoghurt-covered raisins
- 30 small zip-lock snack bags
- Printed labels or washi tape for decoration
Instructions
- Measure approximately 25 g of yoghurt raisins into each zip-lock bag (a small kitchen scale speeds this up considerably).
- Seal each bag and lay it flat, then press a printed label or a strip of coloured washi tape across the seal for a finished look.
- Stack the bags in an airtight tin or box until needed.

Biscuit Sandwiches With Icing Between
Two plain round biscuits with a thick swipe of brightly coloured buttercream pressed between them: that is the sandwich, and the icing peeking out from the edge is the visual hook. Use a piping bag to put a neat circle of icing on the base biscuit, press the lid on firmly, and the filling comes right to the edge in a clean ring of colour. Pink, yellow and blue icing, alternated across thirty sandwiches, turns the whole batch into something that looks intentional and cheery.
Dairy is present in the buttercream: check allergy lists. Assembled sandwiches keep for four days in a cool, dry spot in sealed bags. Note that this recipe requires basic storecupboard biscuits and no baking.
Ingredients
- 60 plain round biscuits (digestives or similar, about 7 cm diameter)
- 200 g unsalted butter, softened
- 400 g icing sugar, sifted
- 3 tbsp whole milk
- 1 tsp vanilla extract
- Pink, yellow and blue gel food colouring
- 30 individual treat bags
Instructions
- Beat the softened butter with an electric hand mixer until pale and fluffy, about two minutes.
- Add the icing sugar in two batches, beating well after each addition. Add the milk and vanilla and beat for one more minute until very smooth.
- Divide the buttercream evenly among three small bowls. Colour one pink, one yellow and one blue using a toothpick of gel colouring at a time until you reach a bright, clear shade.
- Fit a piping bag with a round nozzle and fill with one colour. Pipe a circle of icing onto the flat side of a biscuit, stopping about 3 mm from the edge.
- Press a second biscuit flat-side-down onto the icing, squeezing gently so the filling reaches the rim. Repeat across all thirty sandwiches, alternating colours.
- Allow the icing to firm for five minutes, then place each sandwich in an individual treat bag and seal.

Banana and Oat Bites in Paper Cases
These are the one baked recipe in the collection, and they earn their place because they contain nothing artificial and sit perfectly in a mini muffin case, which is their own tray and their own packaging. The visual hook is the golden-brown dome speckled with chocolate chips against the white paper case. Bake on Saturday, cool fully, and store in a single layer in a tin: they keep four days at room temperature.
For a class of thirty, the recipe makes exactly thirty mini bites from a standard batch. Allergen note: contains oats (check for coeliac pupils) and optional dairy from the chips.
Ingredients
- 3 very ripe bananas (about 300 g peeled weight)
- 180 g rolled oats
- 60 g honey or maple syrup
- 60 g smooth peanut or sunflower butter
- 1 tsp vanilla extract
- 1/2 tsp ground cinnamon
- 1/4 tsp fine salt
- 60 g mini chocolate chips
- 30 mini muffin paper cases
Instructions
- Preheat the oven to 180 C (160 C fan). Line a 30-cup mini muffin tin with the paper cases.
- Mash the bananas thoroughly in a large bowl until almost completely smooth.
- Add the oats, honey, nut butter, vanilla, cinnamon and salt. Stir until fully combined, then fold in the chocolate chips.
- Scoop the mixture into the prepared cases using a small cookie scoop or a tablespoon, filling each case to just below the rim.
- Bake for 18 to 20 minutes until the tops are set and lightly golden at the edges.
- Cool completely in the tin before transferring. The cases act as the individual serving and the wrapper.

Fruit Leather Rolled and Tied
Storebought fruit leather sheets, cut into strips and rolled into tight spirals tied with a short length of twine or ribbon, look completely different from the flat packaged version and feel much more special. The visual hook is the jewel colour: strawberry is deep red, mango is amber, and mixed-berry is a near-purple that glows against a white paper wrapper. Buy sheets of at least two colours and alternate them in the box so each child’s roll is a different shade.
Cut and roll up to a week ahead and store in a sealed tin. No cooking, no mixing, five minutes of real work per batch.
Ingredients
- 30 full fruit leather sheets (at least two flavours: strawberry, mango or mixed berry)
- 30 lengths of thin ribbon or baker’s twine, each 20 cm
Instructions
- Peel each fruit leather sheet from its backing, keeping the backing paper underneath as a work surface.
- Cut each sheet into a rectangle roughly 10 x 20 cm if not already that shape, trimming any uneven edges with scissors.
- Roll each rectangle tightly from the short end into a compact cylinder.
- Tie a length of ribbon or twine around the centre of each roll, finishing with a small bow or simple knot.
- Stand the finished rolls on end in a tin or lay them in rows in a box until distribution day.

Breadstick and Cheese Bundles
This is the savoury option, and a classroom that is tired of sweet things will love it. Two thin breadsticks and a small sealed portion of spreadable cheese (the foil-wrapped triangle kind) bundled together and tied with kitchen twine make a neat, self-contained snack. The visual hook is the bundle itself: the slim brown sticks parallel, the white foil wedge wedged between them, tied with a stripe of green or red twine. It looks assembled rather than thrown together. Dairy is present in the cheese: check allergy lists.
Assemble up to three days ahead and store loosely in a box so the breadsticks do not snap. Each child dips and spreads independently at their desk, no knife needed since the foil-wrapped triangle peels open cleanly.
Ingredients
- 60 thin breadsticks (grissini style)
- 30 individually foil-wrapped cheese portions (soft spreadable type, such as a cream cheese wedge)
- 30 lengths of kitchen twine, each 30 cm
Instructions
- Lay two breadsticks parallel on your work surface, about 1 cm apart.
- Place one foil-wrapped cheese portion across the centre of the two sticks.
- Cut a 30 cm length of twine and wrap it twice around the breadsticks and cheese at the centre point, pulling firmly enough to hold the bundle together without snapping the sticks.
- Tie the twine in a simple knot or bow. Repeat for all thirty bundles.
- Lay the finished bundles in a shallow box in a single layer for transport. Do not stack or the breadsticks will break.

Frequently Asked Questions
How far in advance can I make classroom birthday treats?
It depends on the recipe. Yoghurt raisin bags last up to three weeks sealed, party mix cones keep for two weeks, and chocolate-dipped pretzel rods hold for up to ten days. Baked items like banana and oat bites and assembled things like biscuit sandwiches are best made within four days of handing out.
Do any of these classroom birthday treats contain common allergens?
Yes. The cereal bars and popcorn bags contain dairy (butter). The biscuit sandwiches and breadstick bundles contain dairy. The cereal bars can contain peanuts if you use peanut butter, so swap to sunflower seed butter in nut-free schools. The banana and oat bites contain oats, which affects coeliac pupils. Always check your school’s allergy register before choosing a recipe.
How do I wrap treats for a class of thirty without buying special equipment?
Zip-lock snack bags and cling film handle most of these recipes. Cellophane bags tied with ribbon are inexpensive in bulk. For the party mix, paper ice-cream cones seal with a single sticker. Wax paper squares twisted at the ends work for the cereal bars and any round item.
Which of these treats needs no prep at all?
The yoghurt covered raisin bags require only portioning and sealing, which takes about ten minutes for thirty bags. The fruit leather rolls take ten minutes of rolling and tying with no cooking or mixing involved.
Can I make a larger batch of any of these if two birthdays fall in the same week?
Yes, all eleven recipes scale up straightforwardly. The Rice Krispie squares, pretzel rods and marshmallow pops are the easiest to double because they use simple ratios and set without baking. For the banana and oat bites, use two mini muffin tins and bake both trays on the same oven shelf.

There’s a jar of instant coffee sitting in my cabinet that I’ve had since approximately
12 no-fuss birthday party treats that assemble fast, look beautiful at different heights and fill ev
My stomach spent most of last winter being… unhappy. Bloating by noon, that weird heavy feeli
Leave a Reply