

Alice in Wonderland Birthday Party: A Curiouser and Curiouser Celebration for Girls
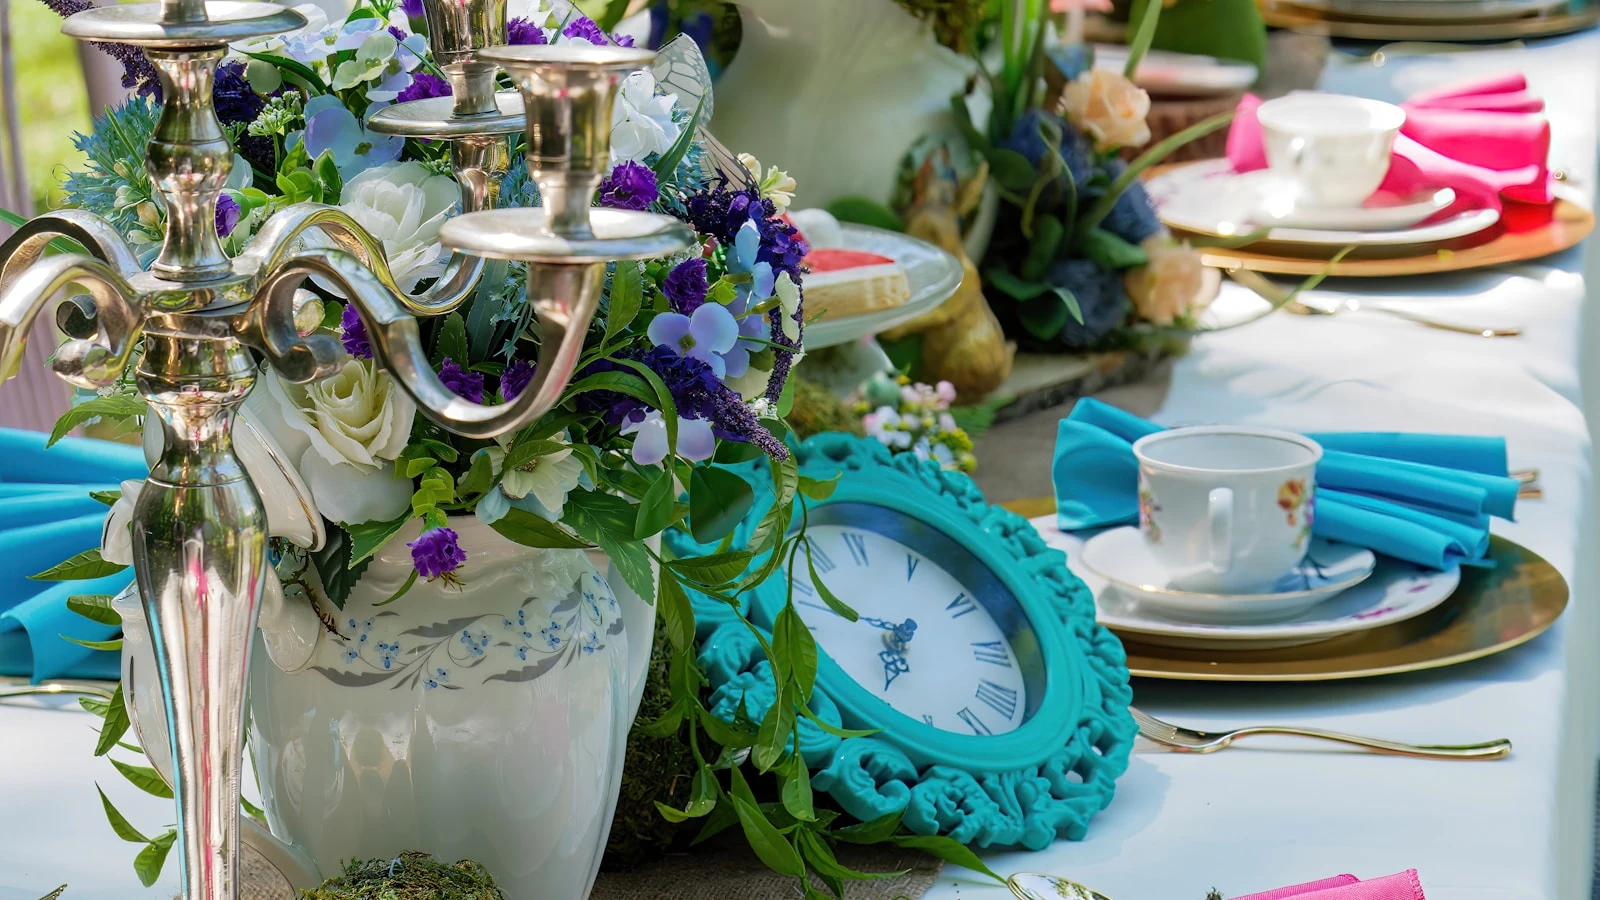
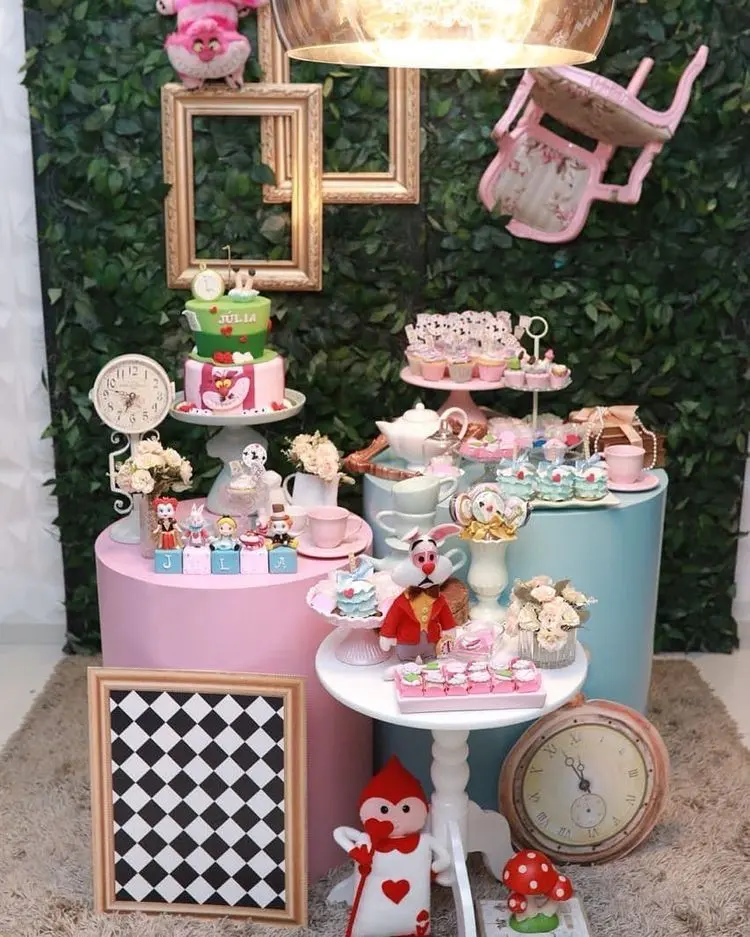
Mismatched teacups stacked on a table covered in white lace. A clock frozen at six. Playing cards clipped along a string of twinkle lights. Tiny mushrooms tucked between tiered cake stands.
That’s the image. And once you see it, you can’t stop thinking about it.
Alice in Wonderland is one of those rare themes that works just as hard for a 7-year-old as it does for a tween turning 12 — which is genuinely unusual. Most “princess party” themes age out fast. This one doesn’t. The visual language of Wonderland is rich enough that you can dial it sweet and soft or moody and dramatic, and either version looks stunning with barely any money spent.
The secret weapon is the thrift store. I’ll get to that in a second, but it’s the thing that makes this whole party accessible.
This post contains affiliate links. If you buy something through these links, I may earn a small commission at no extra cost to you. I only recommend things I’d actually use.
First: Which Wonderland Are You Throwing?
This matters before you buy a single thing, because the two versions look completely different.
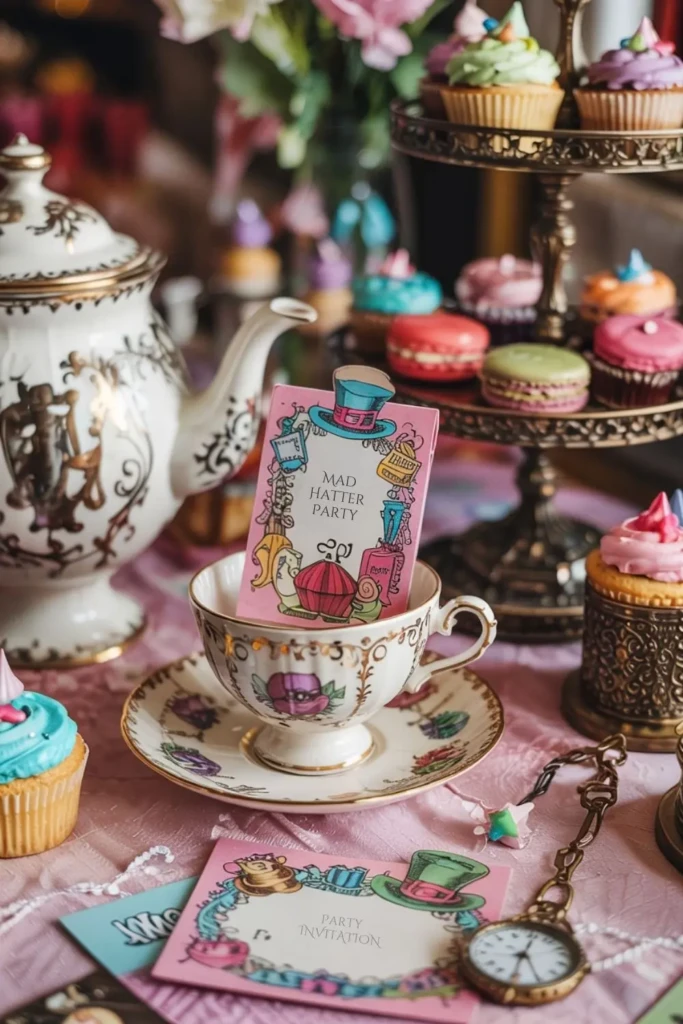
The pastel whimsy version — soft blush pinks, mint greens, pale lavender, gold accents. Delicate. Dreamy. Looks like a watercolor illustration came to life. Perfect for younger girls (5–8) and anyone who loves a soft, feminine aesthetic.
The dark moody version — deep teal, burgundy, black, playing card red and black, gold. More dramatic. More editorial. Still magical but in a gothic storybook way. This one photographs beautifully for tweens who’d rather be “cool” than “cute.”
Pick one palette and stick to it. Mixing both looks muddy. The good news: almost every DIY and activity in this guide works for either — you’re just swapping out colors.
The Thrift Store Unlocks Everything (Seriously, Go First)
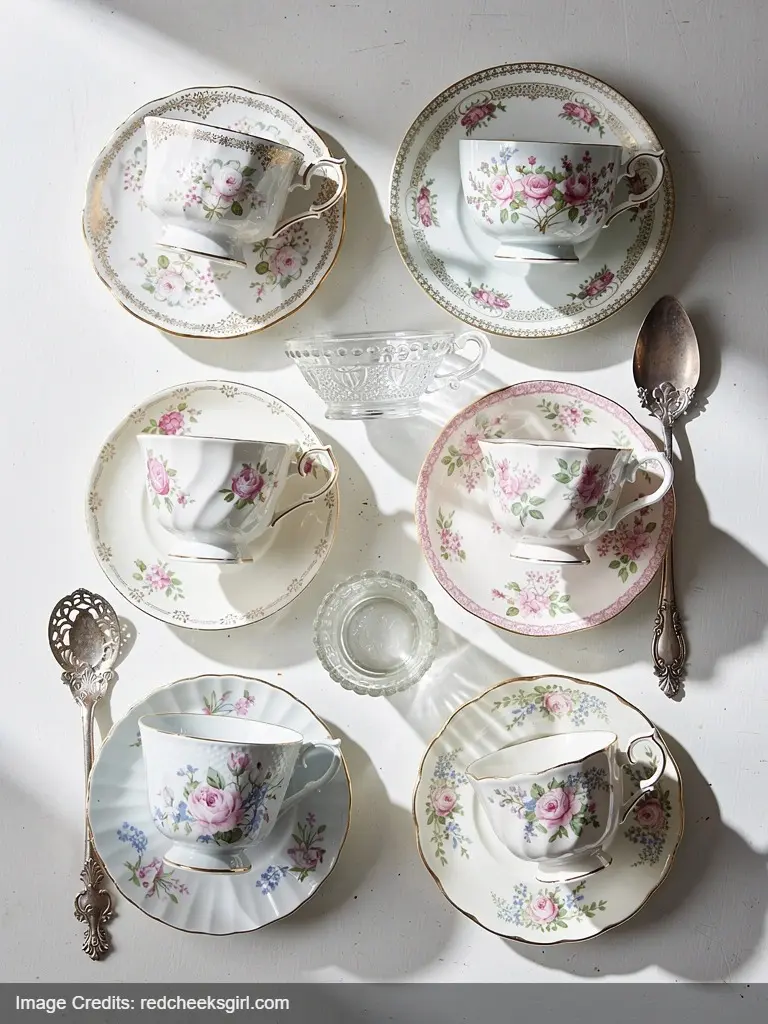
Before you touch Amazon. Before you buy anything. Go to your nearest thrift store and spend 20–30 minutes in the dish and home goods section.
You’re looking for:
- Mismatched teacups and saucers (different patterns, different sizes, different eras)
- Old teapots — chipped ones are even better
- Cake stands, any height, any color
- Random candlesticks
- Odd little vases
You probably won’t spend more than $10–15. That pile of weird dishes becomes your centerpiece, your favor station, your whole tablescape. Nobody is walking into that party and thinking “budget.” They’re thinking “where did she even find all of this.”
Goodwill, Savers, local church rummage sales — all good. If you have two weeks, Facebook Marketplace also regularly has people selling entire dish sets for nothing.
This is the move that makes the whole aesthetic work.
The Mad Hatter Tea Party Table
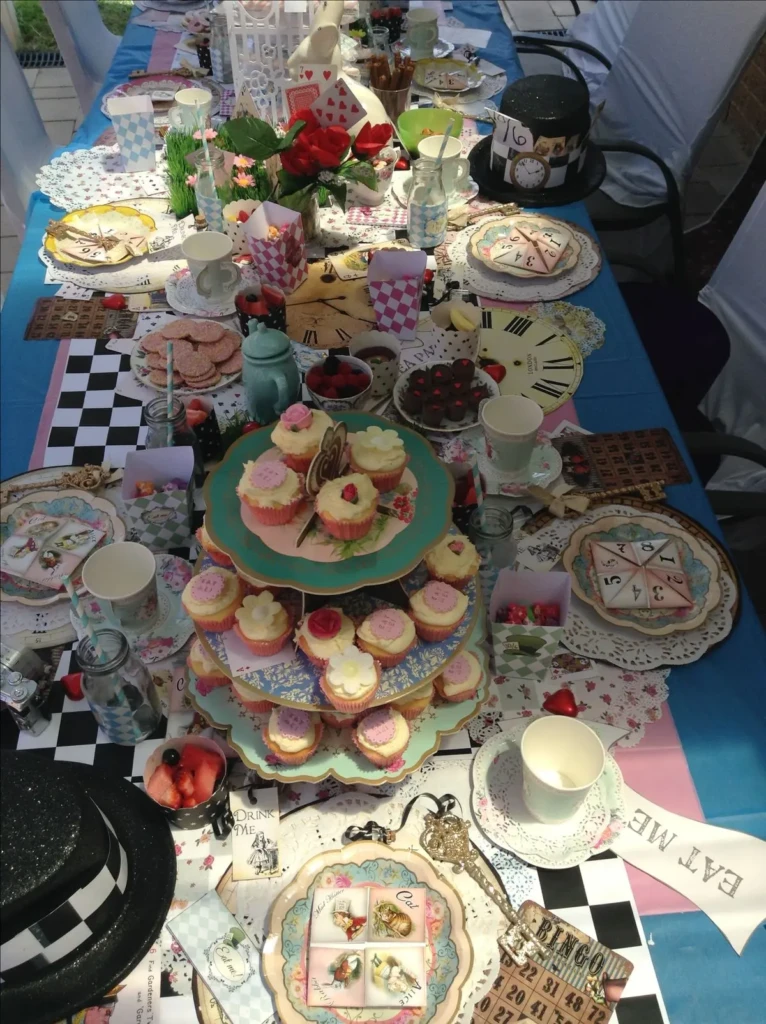
This is the heart of the party. Everything else is secondary.
Lay down a white tablecloth (or cream, or black for the moody version). Now stack your thrifted mismatched china in a way that looks slightly chaotic — on purpose. Stack teacups inside teacups. Prop a teapot at an angle on a folded napkin. Use cake stands at different heights to give it vertical interest.
The label trick. Print “Eat Me” and “Drink Me” labels and attach them to literally everything. The little cake, the cookie tray, the lemonade pitcher, the candy bowl. Printable label sheets work perfectly — print on cardstock, cut them out, attach with twine or a toothpick. This is what makes a regular food table look like Wonderland.
Scatter clocks. Old alarm clocks from the thrift store, printable clock faces folded into place cards, even decorative clock props — stop time at 6:00 everywhere. Label one “Time for Tea” if you’re feeling it.
Playing cards. Sticking playing cards between dishes, around centerpieces, fanned out in little holders — it’s the easiest detail that pays off the most. A standard deck of playing cards costs almost nothing and goes a long way.
For the pastel version: add fresh or faux florals — roses, peonies, wildflowers — tucked into every corner. For the moody version: lean into black candlesticks, deep red roses, and nothing soft.
“You’re Invited to a Very Important Date” — Invitations
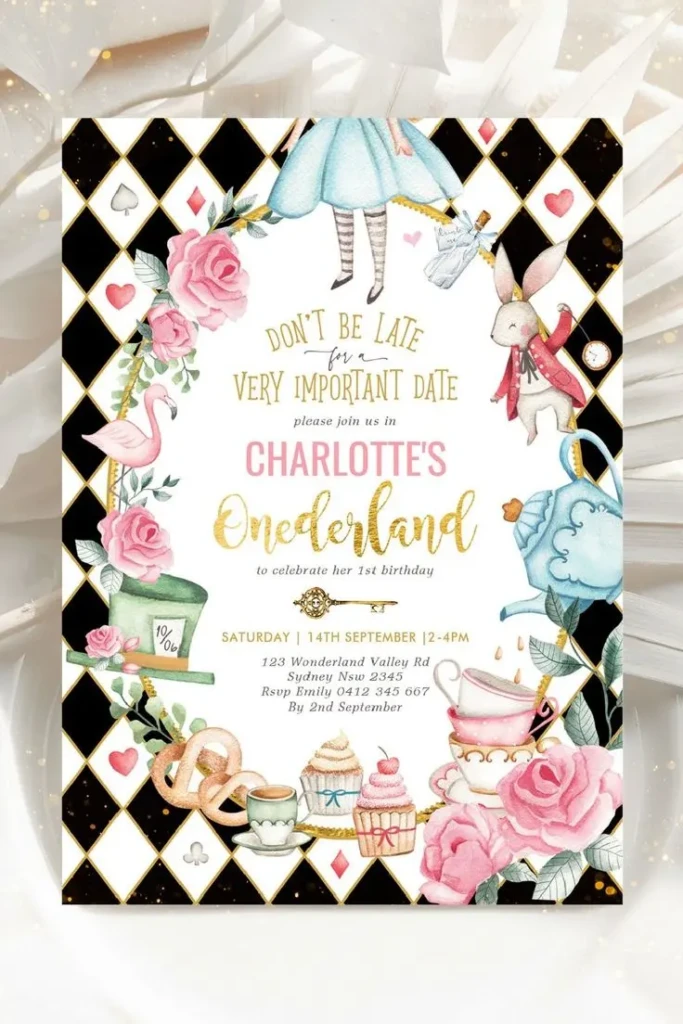
The Mad Hatter’s line writes the invitation for you.
Digital version (free): Canva has Alice in Wonderland templates you can customize. Use the phrase “You’re invited to a very important date” as the headline. Include the time as “Tea time: 3 o’clock sharp.” List RSVP as “Don’t be late.”
DIY paper version: Print invitations on kraft cardstock and tie them with twine through a small hole in the corner. Tuck a playing card inside the envelope — the Ace of Spades or any face card. That’s it. That’s the whole thing.
Wording that works:
You’re invited to a very important date. [Birthday girl’s name] is turning [age] and cordially requests your presence at a Mad Hatter Tea Party. [Date] | [Time] | [Address] RSVP by [date] — don’t be late. The Queen won’t have it.
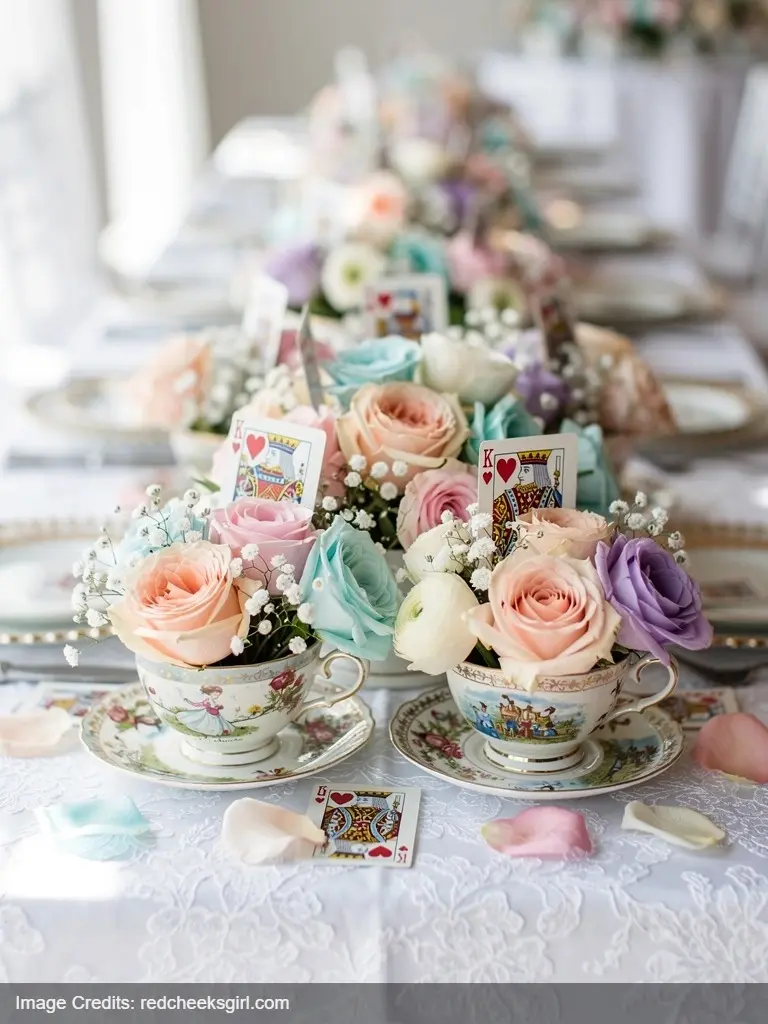
Teacup Centerpieces
Simple. Quick. Gorgeous.
Take a thrifted teacup (ideally with saucer). Fill it with floral foam or just pack in some moss. Stick in a few faux or fresh flowers — roses work best. Add a small playing card or a “Eat Me / Drink Me” flag.
Place one at every seat, or cluster 3–4 together as your main centerpiece. If you have a mix of sizes, use the big teapot as the anchor and surround it with smaller cups.
These also double as take-home favors if you add a little “Thanks for coming to my Tea Party” tag underneath.
The Cake
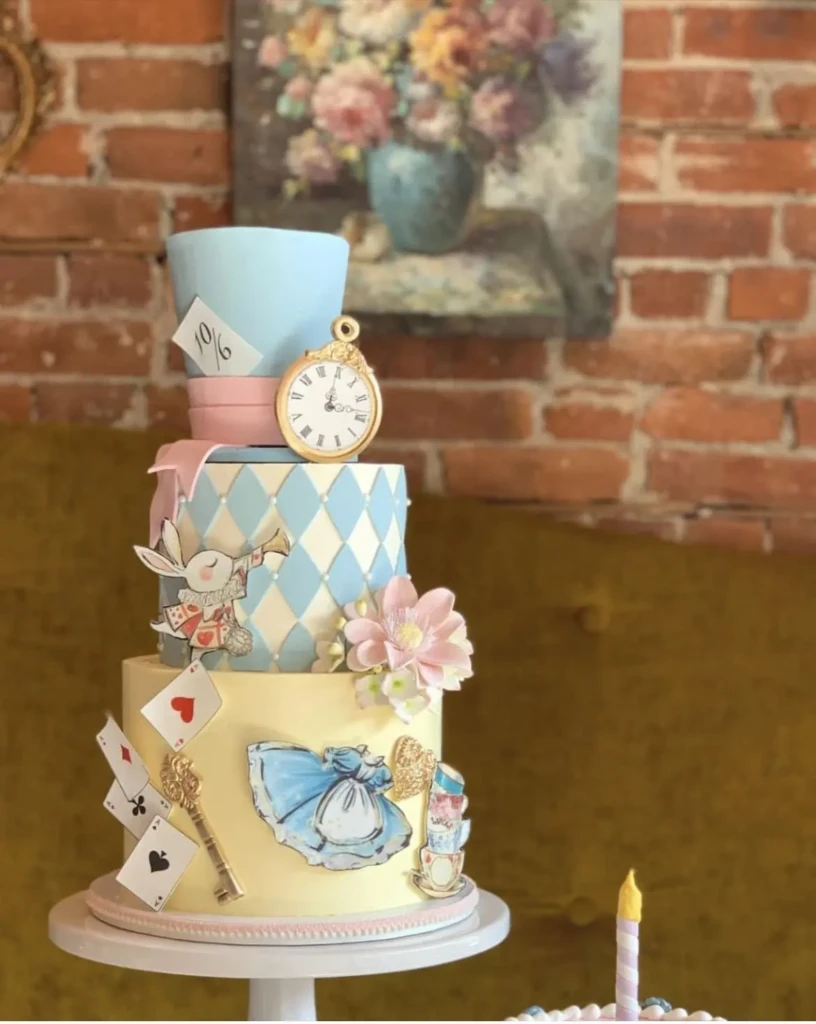
Two options depending on your budget:
DIY option: A simple white layered cake with fondant or white chocolate clock faces on the sides. Instructions from Sally’s Baking Addiction’s fondant tutorial walk you through making clock decorations without any special equipment. Add a sugar rose on top, a playing card between layers, and done.
Bakery brief: If you’re ordering, send this to your bakery exactly:
2–3 tier cake, white or cream fondant. Clocks on the sides (frozen at 6:00). Playing card detail somewhere — either edible card prints on the tiers or actual playing cards between layers. Roses on top in [your palette color — either blush or deep red]. “Eat Me” written somewhere, either as a tag or on the cake itself.
Most bakeries have done an Alice cake before and will know exactly what you mean.
Flamingo Croquet
This one’s a crowd favorite and it’s easier to set up than it looks.
Buy a croquet set and tie small pink flamingo printouts (or flamingo decorations) to the mallets. Write “Queen’s Croquet Ground” on a little chalkboard sign nearby. If you want to go further, plastic pink flamingo yard stakes scattered around the playing area finish it off completely.
Kids love this game. The flamingo detail makes it memorable. It’s also one of those activities that photographs well, which matters.
Queen of Hearts Tarts
These require almost zero skill.
Buy refrigerated pie crust or pre-made mini tart shells. Fill with strawberry jam or strawberry curd. Cut a small heart shape from the remaining pastry or fondant and press it on top before baking (or after, if using faux tops).
Add a “The Queen’s Tarts” label to the tray. Done. They look like they took two hours and they took maybe 20 minutes.
For tweens who are more into the savory side, mini heart-cut puff pastry with jam is just as good and even faster.
Playing Card DIY Banner
This took me about 30 minutes and it’s one of the most-commented things on any Wonderland table.
Buy two decks of playing cards (or print a playing card PDF template). Punch a hole in the top two corners of each card. Run a length of twine or ribbon through the holes. Alternate cards face-up and face-down if you want a more chaotic Wonderland feel, or face them all forward for something cleaner.
Hang above the table, across a doorway, or behind the cake.
The whole thing costs about $3 in materials if you already have twine. Looks like something from a party styling shoot.
Favor Bags
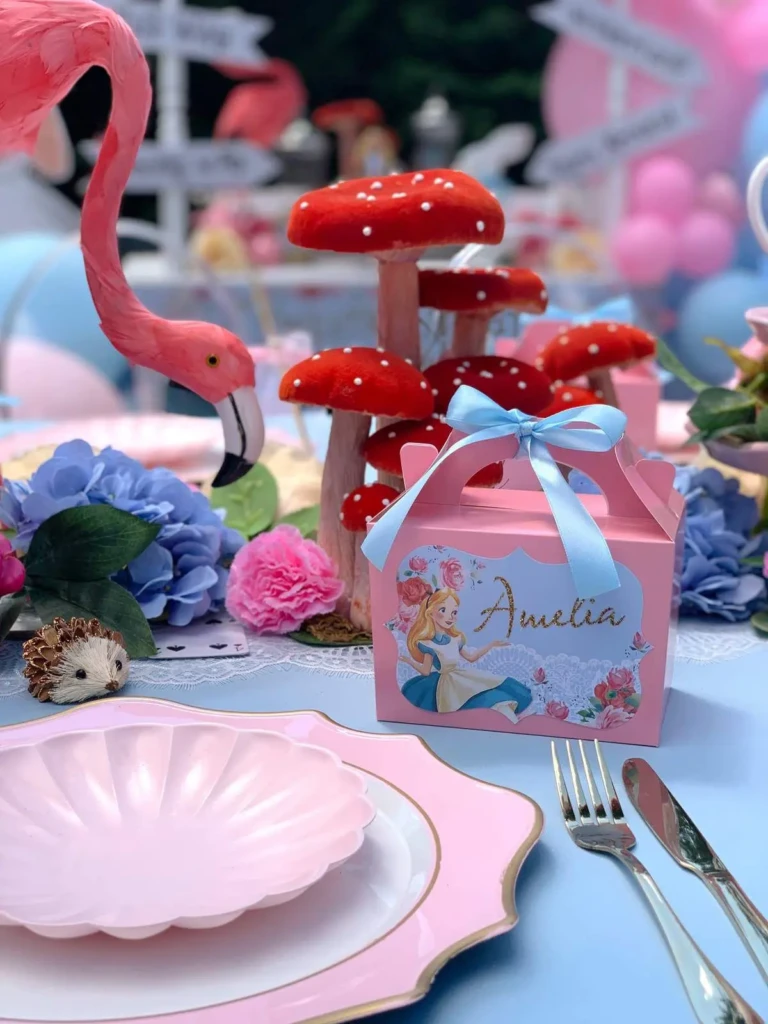
Brown kraft bags are the move here — they look right for either palette.
What to put inside:
- A few wrapped candies (mushroom-shaped candies exist and are perfect)
- A small playing card
- A tea bag in its own little envelope
- A “Curiouser and Curiouser” printable tag on the outside
For the tag, Canva lets you make a simple rectangular label in about 5 minutes. Font: anything vintage or slightly swirly. Text: “Curiouser and curiouser… thanks for coming!” + birthday girl’s name and date. Print on cardstock, cut, hole-punch, tie with twine.
That’s it. The twine and kraft bag does most of the aesthetic work already.
“Eat Me / Drink Me” Labels — The Whole Food Table
Print a sheet of these ahead of time and attach to everything. The game is: nothing on the food table is just “food.” Everything is a Wonderland item.
Some ideas:
- “Eat Me” cakes and cookies
- “Drink Me” lemonade, pink lemonade, sparkling juice
- “Don’t Be Late” tea sandwiches
- “Off with Their Heads” strawberries (cut the tops)
- “The Queen’s Roses” anything pink
- “Mad Hatter’s Mushroom Puffs” cream puffs
- “Cheshire Cat Smiles” banana slices
You can find free printable Eat Me Drink Me labels on Etsy and Pinterest — search “Alice in Wonderland party printables” and you’ll find full sets, often free.
The Final Details That Tie It Together
A few smaller things that make the atmosphere:
A “Down the Rabbit Hole” sign at the entrance (front door or party room doorway). Cheap to DIY on cardboard.
Mushroom decorations — paper mushroom cutouts or even painted styrofoam mushrooms from the craft store tucked into the centerpiece or around the yard.
The right music. Disney’s 1951 Alice in Wonderland soundtrack on Spotify, or a “whimsical tea party” playlist. It runs in the background and does more work than you’d expect.
A photo corner. Hang the playing card banner, put a chalkboard sign that says “Curiouser and Curiouser,” scatter a few mismatched hats or props. Every kid will want a photo there.
If your daughter is a tween who’s into aesthetics, check out these feminine hobbies that make you feel like a princess for more themed ideas she might love year-round.
If you’re planning something earlier in the year, these spring birthday activities for women have some ideas that translate perfectly into a whimsical outdoor Wonderland setting.
And if the moody, maximalist direction is more your style, these winter birthday party ideas have the same dark-romantic energy as the moody Wonderland palette — worth a look for decor inspo.
For the thrift store haul specifically, these thrifting secrets for designer looks on a dime will help you spot the best china and props fast.
FAQ
How far in advance should I start planning an Alice in Wonderland birthday party? Four to six weeks out is comfortable. The thrift store haul is the one thing that benefits from time — if you start early you can pop in a couple of times and build a better mismatched collection without stress. Printables and invitations can be done the week before.
What age is this theme best for? Genuinely 5 through 13. Younger kids love the whimsy and the tea party format. Tweens respond to the darker, more editorial version — especially if they’ve seen the Tim Burton film or are into cottagecore aesthetics. It’s one of the few themes that doesn’t feel “babyish” at 11 or 12.
Do I need to follow the story closely? No. The aesthetic does the work. Most people associate the vibe — clocks, teacups, playing cards, mushrooms — without needing story accuracy. You don’t have to explain who the Cheshire Cat is. Just lean into the visual language.
Can this work for an outdoor party? Yes and the flamingo croquet almost requires outdoor space. Just weigh down your paper decorations if there’s wind, and keep the food table in shade so labels don’t curl. The moody palette actually looks great outdoors in lower light.
What’s the most important thing to get right? The table. Everything else can be minimal if the Mad Hatter table looks magical. One beautiful, layered table with mismatched china, tiered stands, and Eat Me labels does more than a hundred small details scattered around.
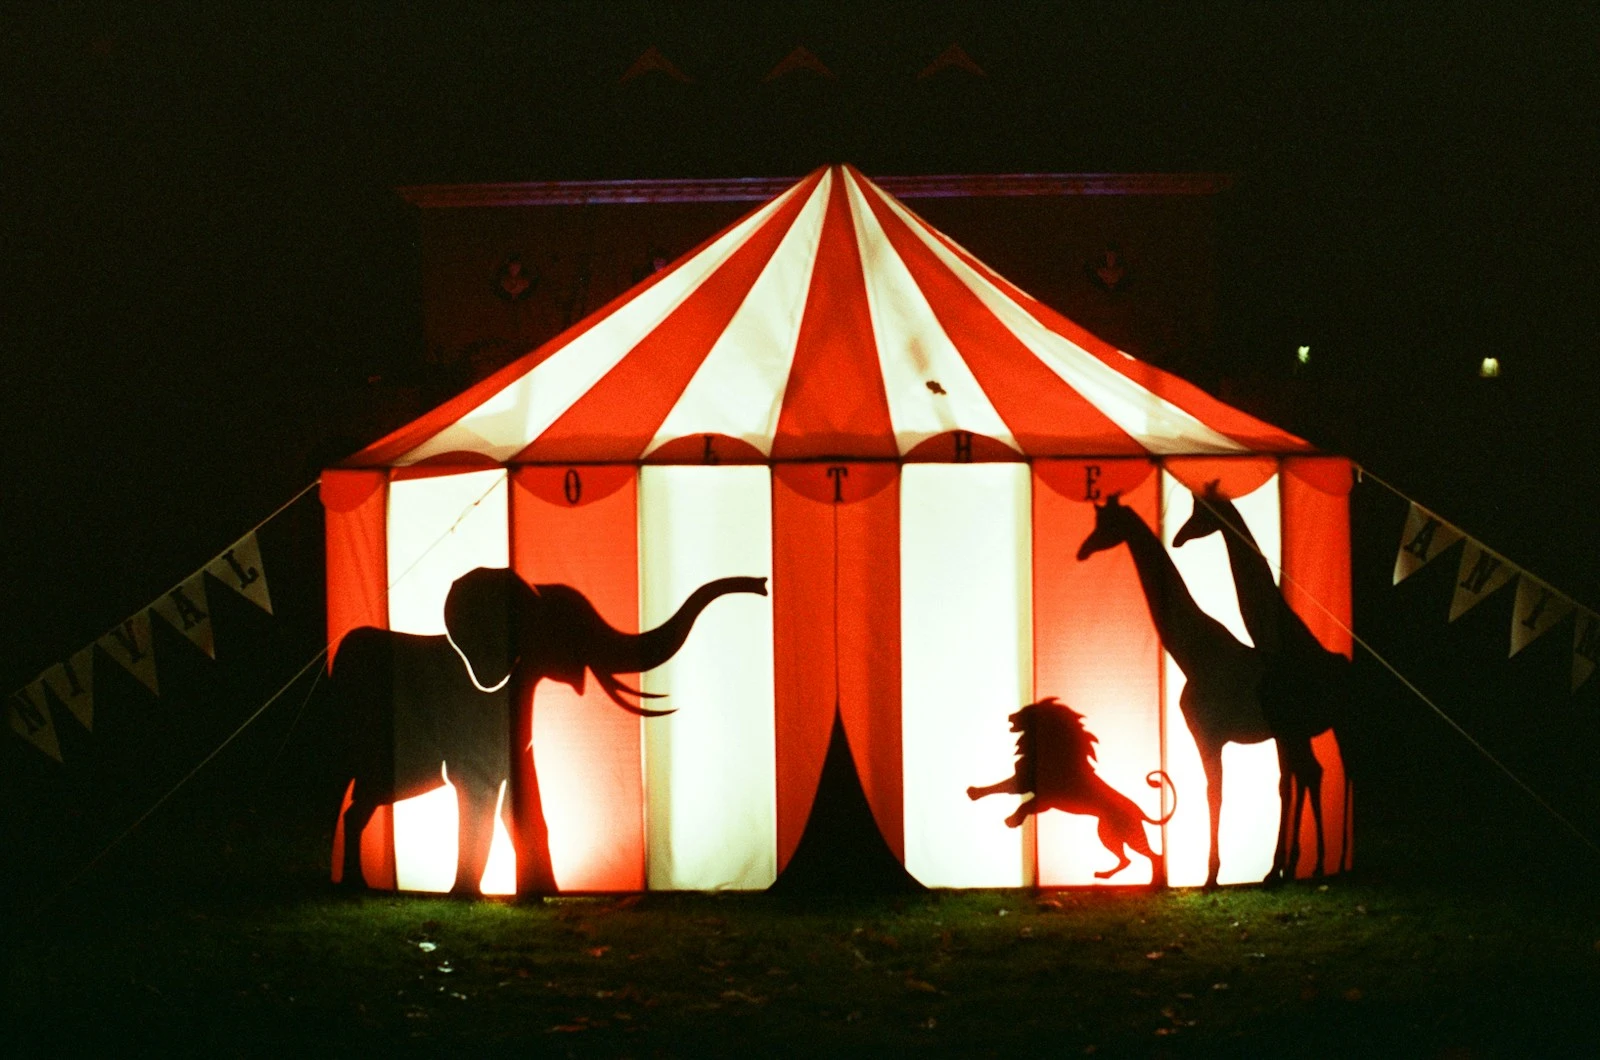
Before anything else — what kind of circus are you throwing? Because there are two very differ
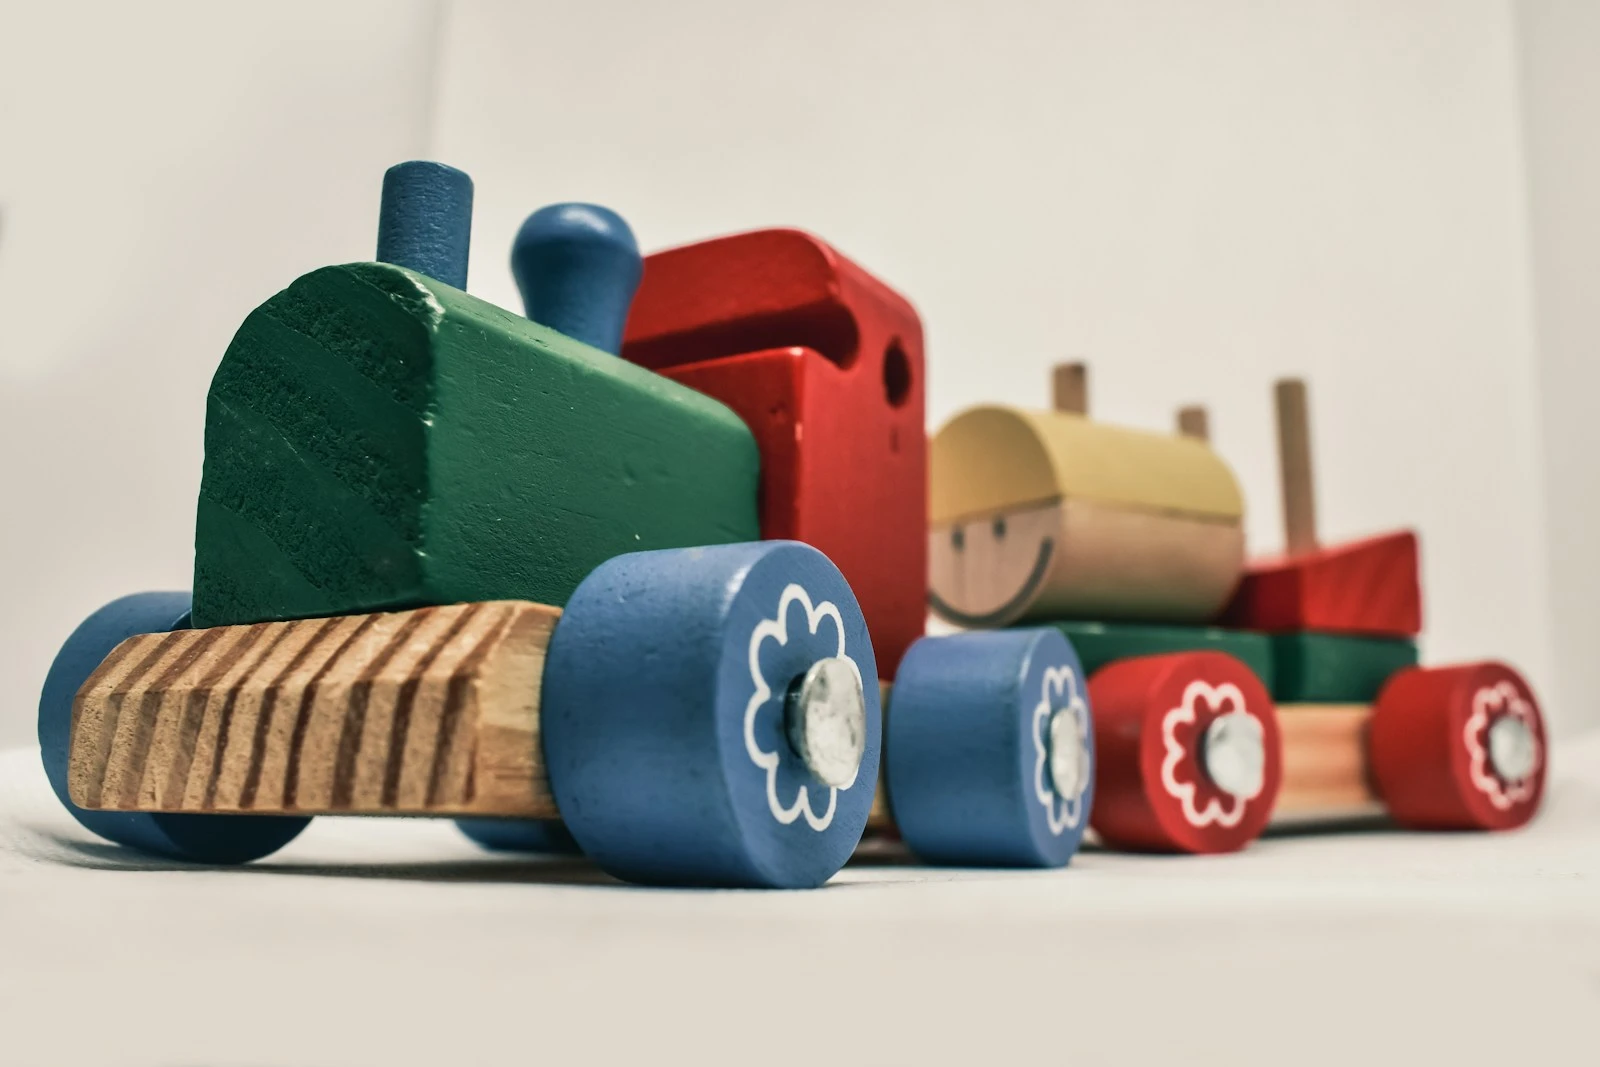
My son turned two in October, and for about four months before that, every single morning started th
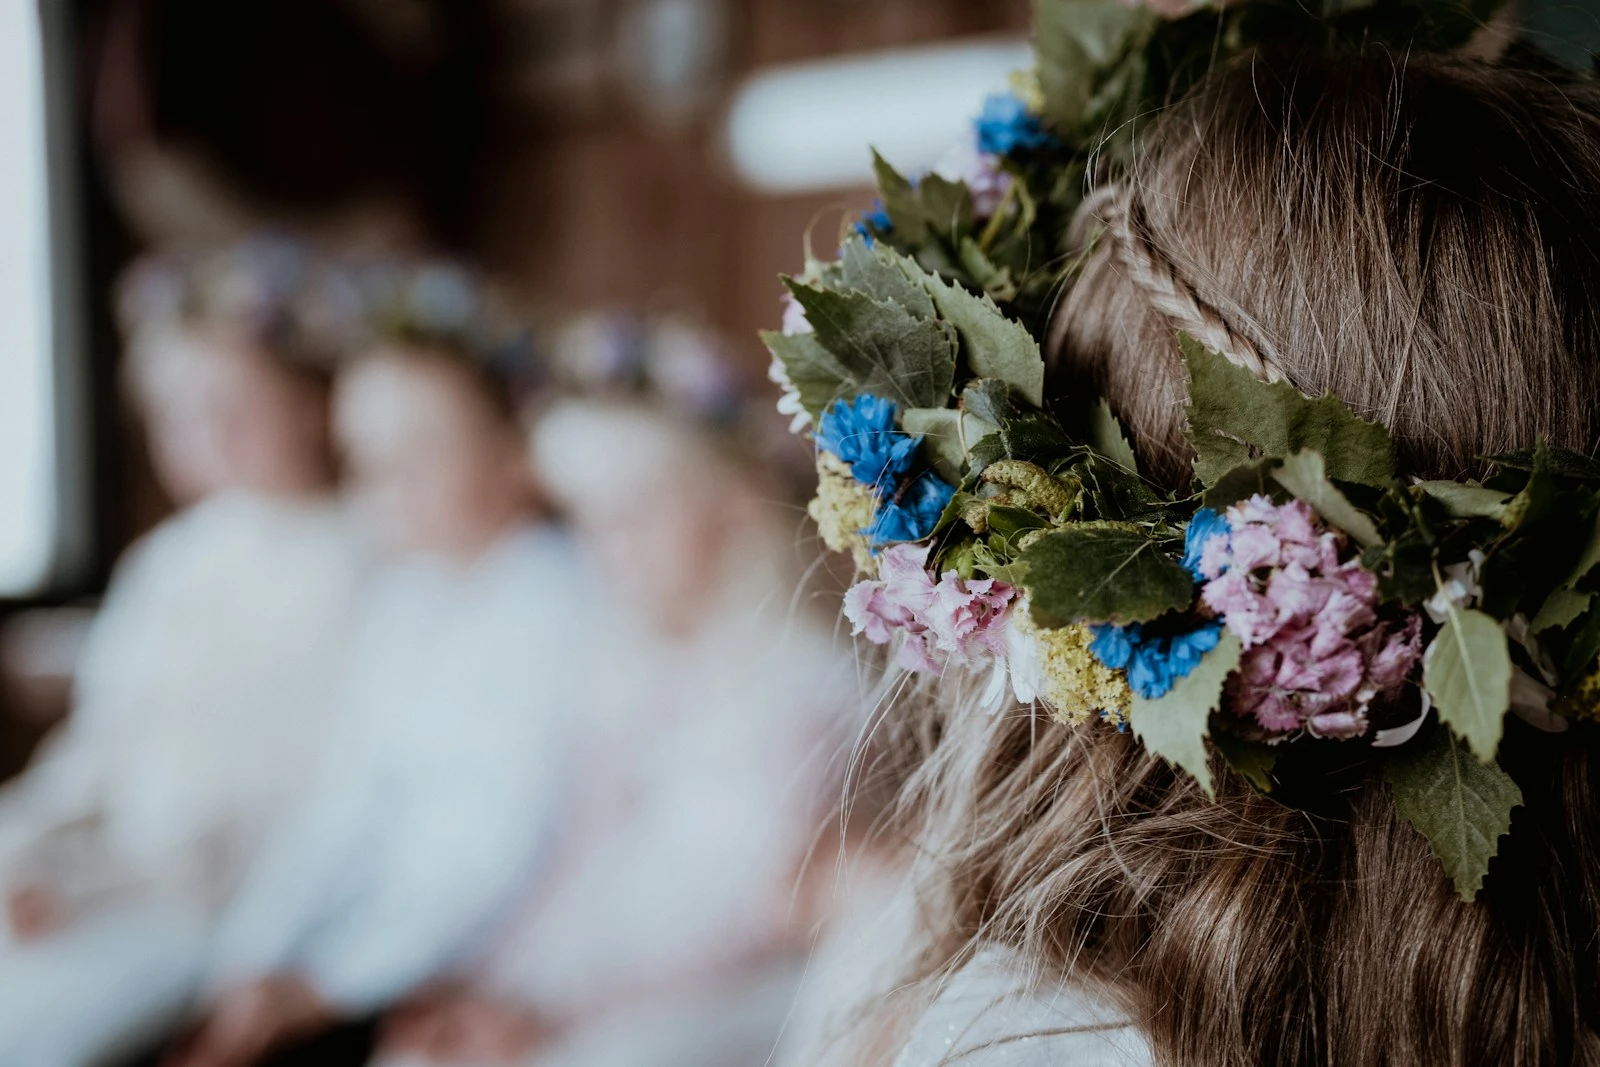
The longest day of the year only comes once. You might as well make it feel like something. Midsomma
Leave a Reply