

15 Low Calorie Dinner Recipes: Healthy Dinners Full of Flavor and Color
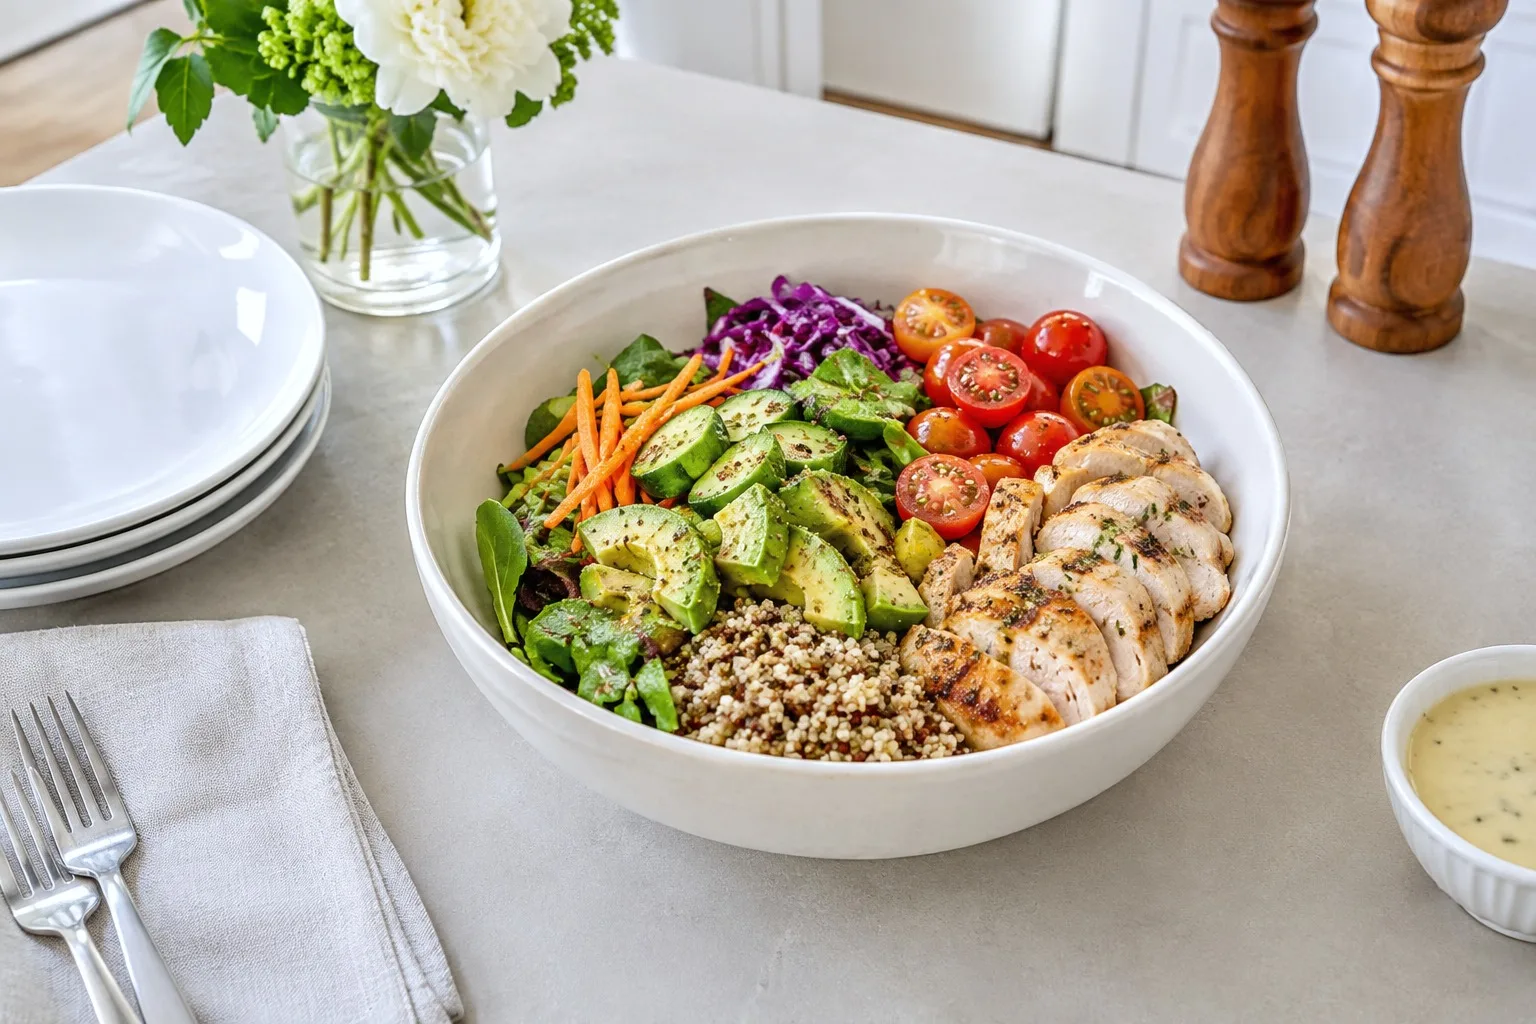
Light does not have to mean a sad little salad and a hungry nine o’clock. The fifteen dinners here lean on lemon, ginger, chili and fresh herbs instead of cream and cheese, and every single one still lands on the plate looking like something you would order out.
Most nights here sit in the 300 to 500 calorie range that actually keeps a body full, because. The trick is protein: paired with vegetables that take up real space on the plate.
A few of these use eggs, dairy, soy, shellfish-free fish or gluten in a tortilla, so check the ingredient list if anyone at the table is managing an allergy.
If the whole week needs the same treatment, 25 Healthy Habits to Start This Week and 15 Healthy 100 Calorie Snacks You Can Grab on the Go, Pack in a Bag and Eat Without Guilt cover the hours around these dinners.
Start at the top for the dish that earns a compliment at the table, and work down toward the fifteen minute version for the night nothing in you wants to cook.
This post contains affiliate links. If you buy through them, I may earn a small commission at no extra cost to you.
Table of Contents
- Chicken Souvlaki Plate with Tzatziki and Salad
- Honey Mustard Salmon with Snap Peas
- Miso Glazed Cod with Bok Choy
- Grilled Chicken with Mango Salsa
- Lemon Garlic Cod with Asparagus
- Beef and Broccoli
- Sheet Pan Chicken Fajitas
- Cauliflower Crust Pizza with Vegetables
- Thai Turkey Basil Stir Fry
- Ginger Chicken Soup with Greens
- Spaghetti Squash with Fresh Marinara and Basil
- Cabbage and Chicken Stir Fry
- Zucchini Noodles with Pesto and Cherry Tomatoes
- Turkey Taco Lettuce Cups
- Tomato and Egg Stir Fry
- Frequently Asked Questions
Chicken Souvlaki Plate with Tzatziki and Salad
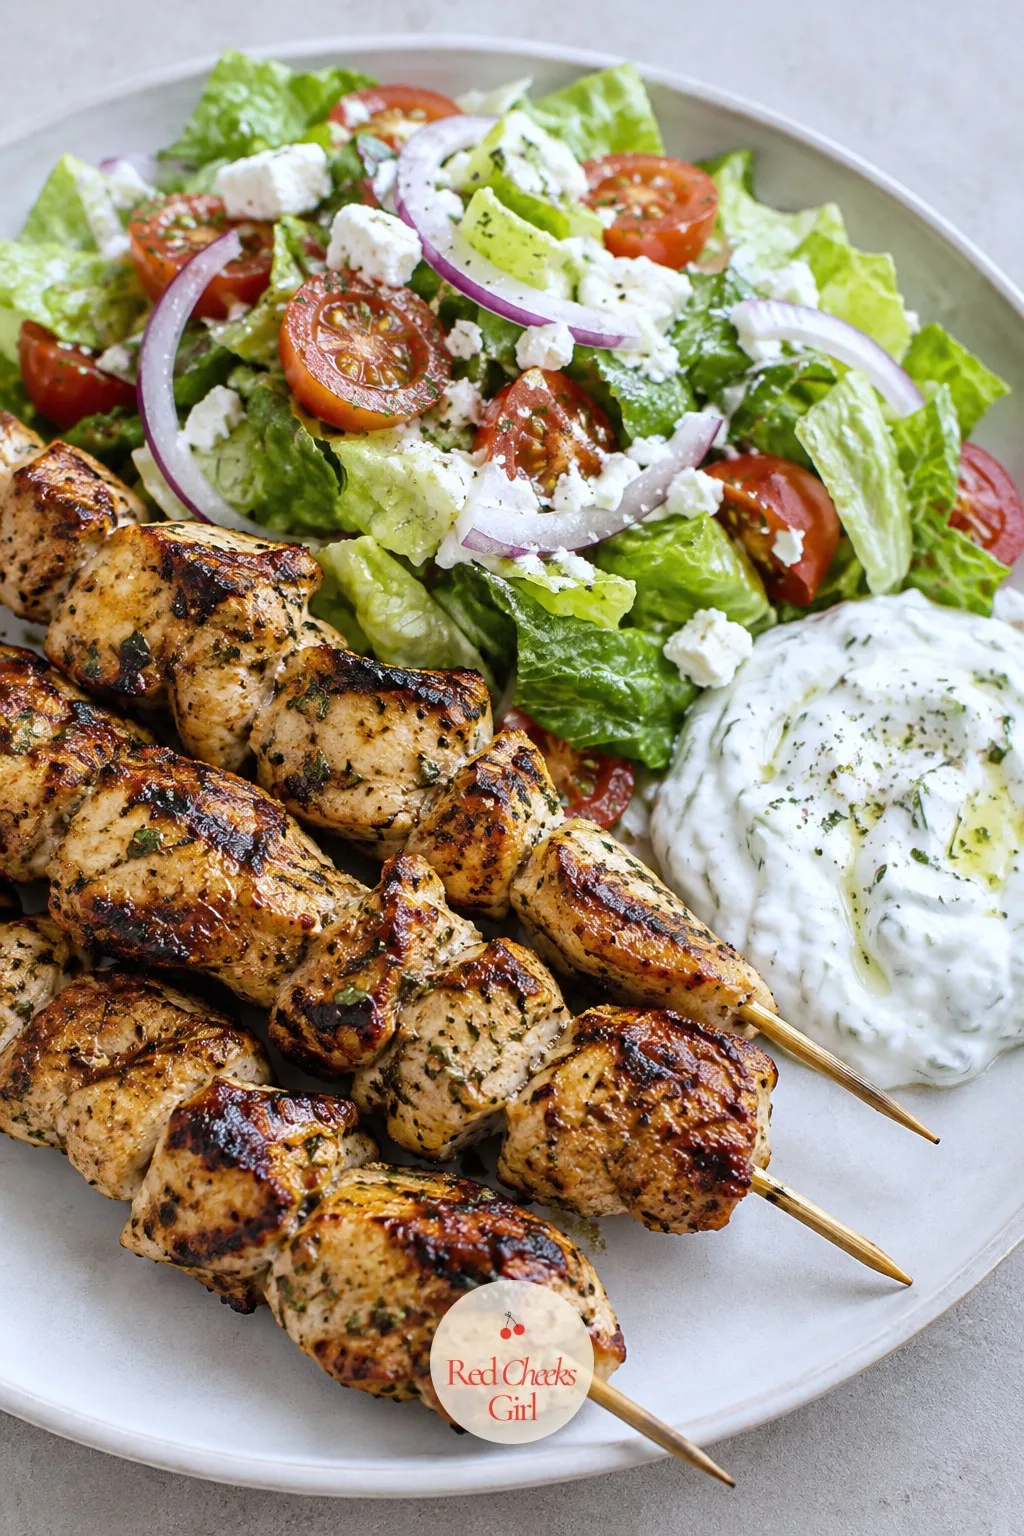
This is the one that looks like you booked a table somewhere with a view of the water. A platter of charred skewers, cool tzatziki and a crisp salad reads as effort, and really it is twenty minutes of marinating doing all the work while you do something else.
The chicken stays filling because it is the whole plate: protein on the skewer, fiber in the romaine and tomato, and a yogurt sauce that adds creaminess without the calories of a heavier dressing. Watch the grill, not the clock, the chicken is done when it browns on all sides and the center stops looking translucent.
Serve it family style on one big platter if the evening calls for it, or plate individually for a dinner that still feels like a small occasion on a Tuesday.
Chicken Souvlaki Plate with Tzatziki and Salad
Ingredients
- 1 1/2 pounds boneless skinless chicken breast cut into 1-inch cubes
- 3 tablespoons olive oil divided
- 3 tablespoons fresh lemon juice about 1 large lemon
- 4 cloves garlic minced, divided
- 2 teaspoons dried oregano
- 1/2 teaspoon salt divided
- 1/4 teaspoon black pepper
- 1 cup plain Greek yogurt
- 1/2 cup grated cucumber squeezed dry
- 1 tablespoon chopped fresh dill
- 1 teaspoon red wine vinegar
- 2 cups chopped romaine lettuce
- 1 cup cherry tomatoes halved
- 1/2 cup thinly sliced red onion
- 1/4 cup pitted kalamata olives
- 1/4 cup crumbled feta cheese
- 8 wooden or metal skewers
Instructions
- In a medium bowl, whisk 2 tablespoons olive oil, lemon juice, half the garlic, oregano, 1/4 teaspoon salt and pepper. Add chicken cubes, toss to coat, cover and marinate in the refrigerator for 30 minutes (up to 4 hours for deeper flavor).
- While chicken marinates, stir together Greek yogurt, grated cucumber, remaining garlic, dill, red wine vinegar and a pinch of salt in a small bowl. Cover and chill the tzatziki until serving, it should taste bright and cool, not watery.
- Soak wooden skewers in water for 15 minutes if using, to keep them from scorching on the grill.
- Toss romaine, cherry tomatoes and red onion in a large bowl with remaining 1 tablespoon olive oil and a pinch of salt. Set the salad aside, do not dress it more than 10 minutes before serving or the lettuce will wilt.
- Thread the marinated chicken onto the 8 skewers, leaving a little space between each cube so the heat reaches all sides.
- Heat a grill pan or outdoor grill to medium-high, about 400°F. Lightly oil the grates.
- Grill the skewers for 10 to 12 minutes, turning every 3 minutes, until the chicken is browned on all sides and reaches an internal temperature of 165°F on an instant read thermometer.
- Let the skewers rest on a plate for 3 minutes, the juices settle back into the meat instead of running onto the plate.
- Scatter the olives and feta over the salad just before serving.
- Divide the salad and skewers among plates and serve with a generous spoonful of tzatziki alongside.
Good to Know
🛍 Shopping guide
Honey Mustard Salmon with Snap Peas
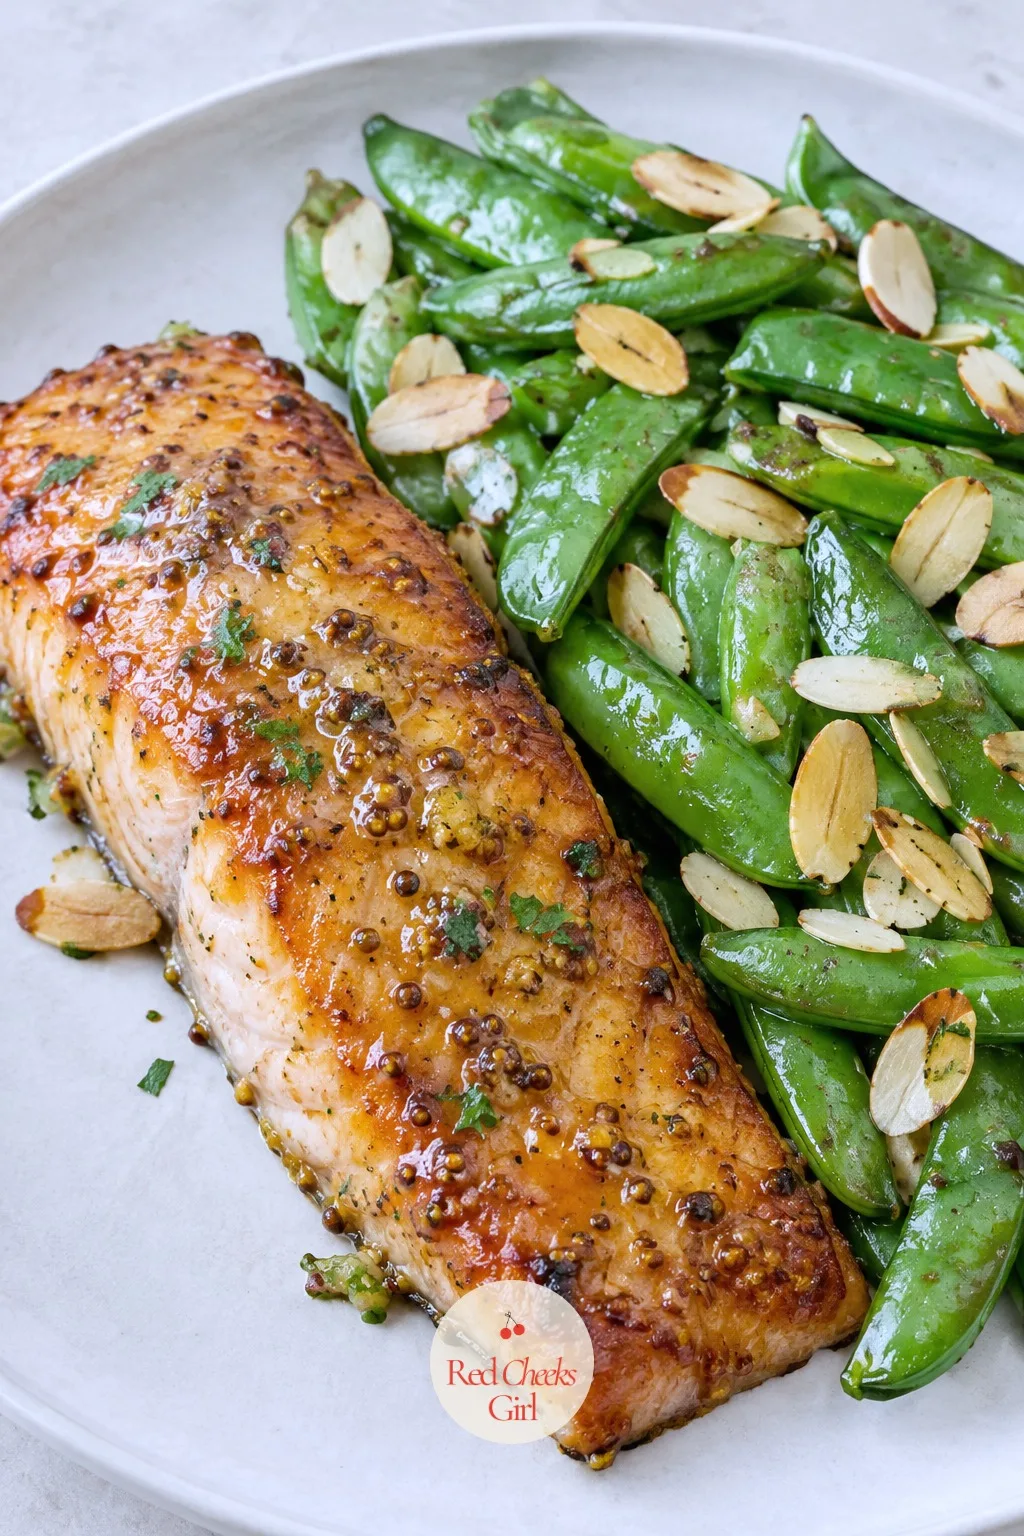
Salmon glazed and sticky, snap peas still squeaking, all off one sheet pan: this is the dinner that convinces anyone fish is boring that they were simply doing it wrong. The glaze goes on twice, which is the whole secret to the shine.
Salmon brings healthy fat and close to 30 grams of protein a fillet, so a small plate of this genuinely carries you to breakfast. If salmon is not her thing, a firm white fish like halibut takes the same glaze and roughly the same time in the oven.
Keep the fillets skin side down if you bought them that way, it protects the flesh from the direct heat and peels off clean after cooking if you would rather skip it.
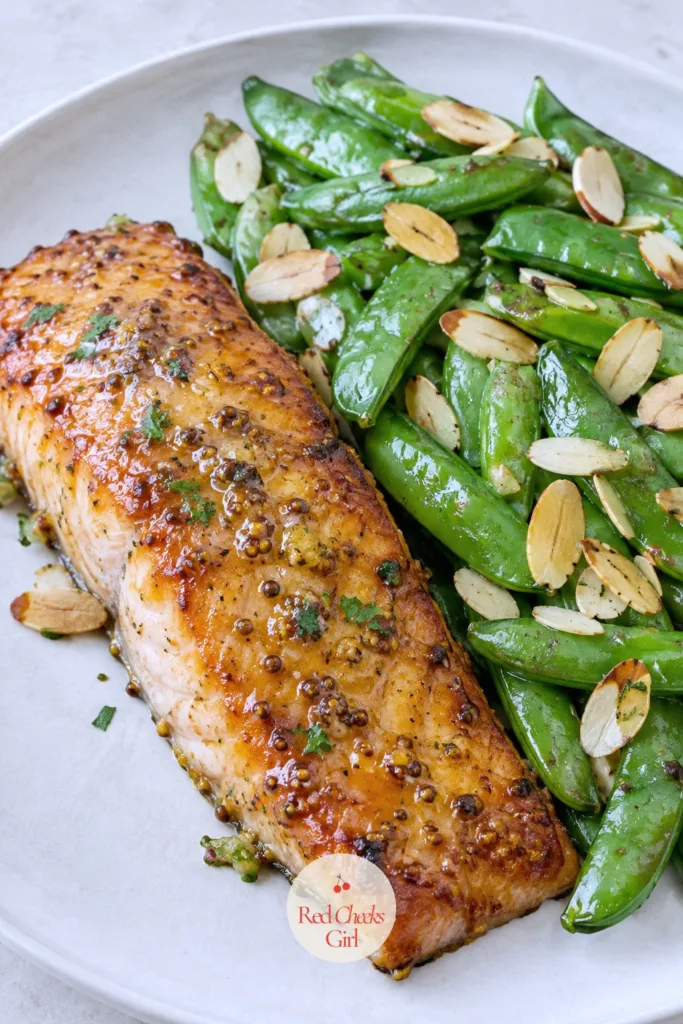
Honey Mustard Salmon with Snap Peas
Ingredients
- 4 salmon fillets 5 oz each
- 2 tablespoons honey
- 2 tablespoons Dijon mustard
- 1 tablespoon olive oil
- 2 cloves garlic minced
- 1 tablespoon fresh lemon juice
- 1/4 teaspoon salt
- 1/4 teaspoon black pepper
- 3 cups sugar snap peas trimmed
- 1 teaspoon sesame oil
- 1 tablespoon sliced almonds optional
- Lemon wedges for serving
Instructions
- Preheat the oven to 400°F and line a rimmed sheet pan with parchment paper.
- In a small bowl, whisk honey, Dijon mustard, olive oil, garlic, lemon juice, salt and pepper until smooth, this is the glaze and it should coat the back of a spoon.
- Pat the salmon fillets dry with a paper towel, this helps the glaze stick instead of sliding off, and place them on one side of the sheet pan.
- Brush two thirds of the honey mustard glaze over the salmon, reserving the rest for basting partway through.
- Toss snap peas with sesame oil and a pinch of salt, then spread them on the other side of the sheet pan.
- Roast for 10 minutes, then brush the salmon with the remaining glaze and roast another 2 to 4 minutes, until the salmon flakes easily with a fork and the thickest part reaches 145°F.
- Scatter sliced almonds over the snap peas during the last 2 minutes of roasting, if using, so they toast lightly without burning.
- Serve the salmon and snap peas straight from the pan with lemon wedges on the side.
Good to Know
🛍 Shopping guide
Miso Glazed Cod with Bok Choy
Cod on its own can taste like not much of anything, which is exactly why it takes a glaze this well. Miso brings salt and a deep savoriness that caramelizes under the broiler in a way that looks like it came from a restaurant kitchen, not a Tuesday one.
The protein is lean and the bok choy adds volume without many calories at all, so the plate reads generous while staying light. Pull the fish the moment it flakes, cod goes from perfect to dry in under two minutes under a hot broiler.
No mirin in the pantry: a teaspoon of rice vinegar stirred with a teaspoon of sugar makes a passable stand-in for the glaze.
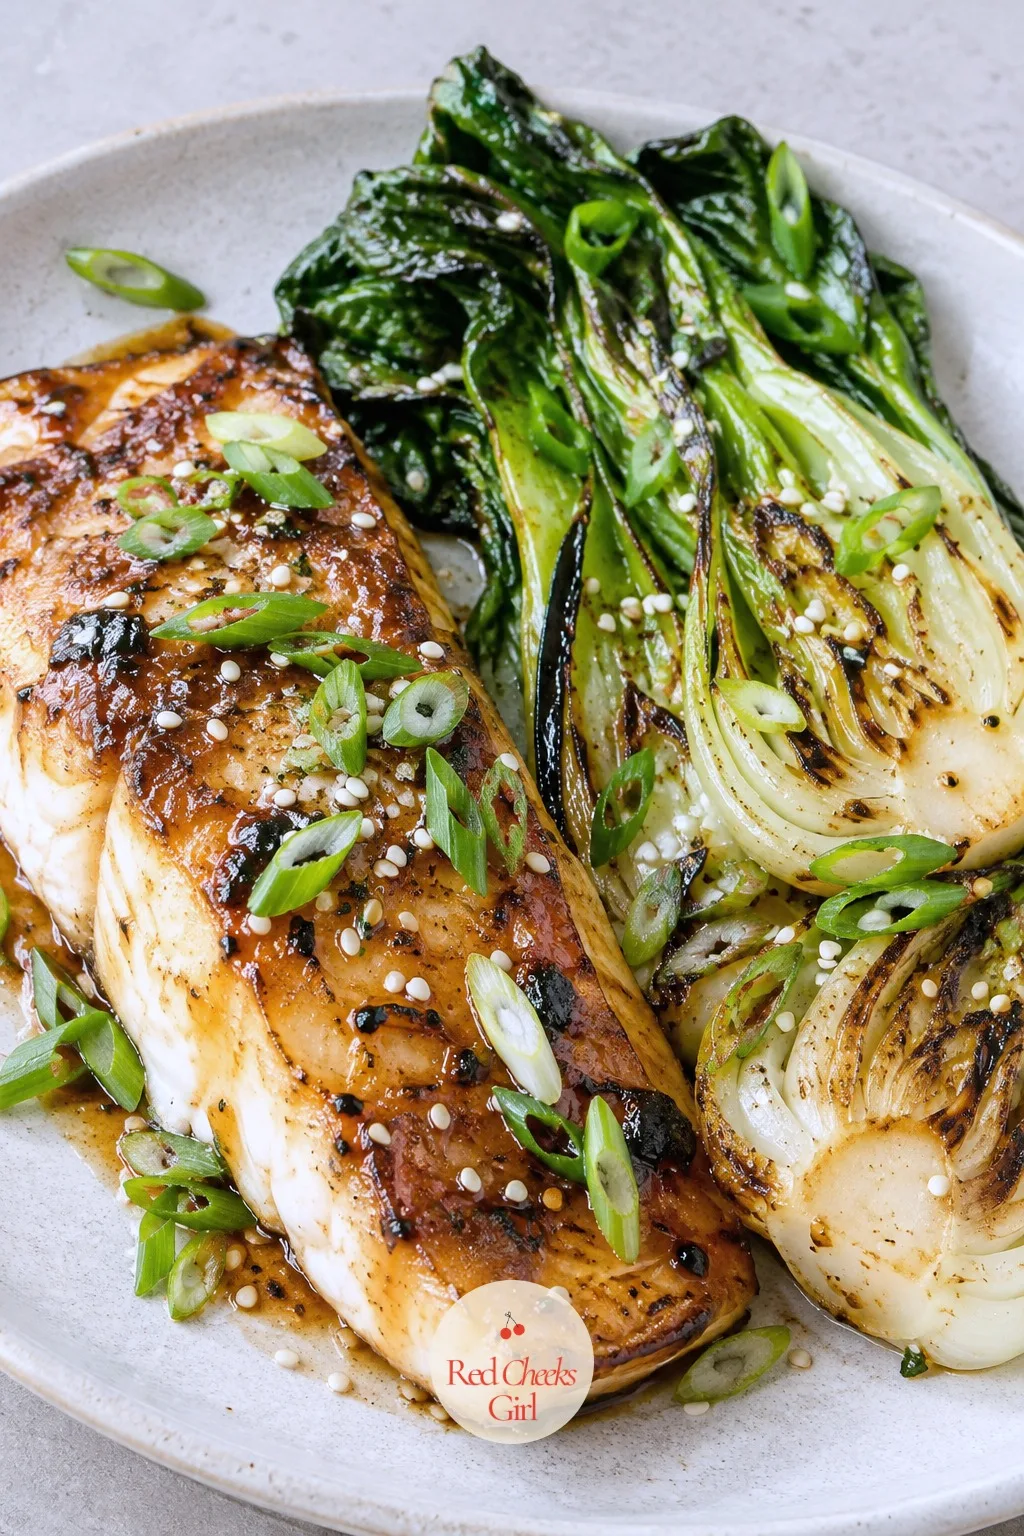
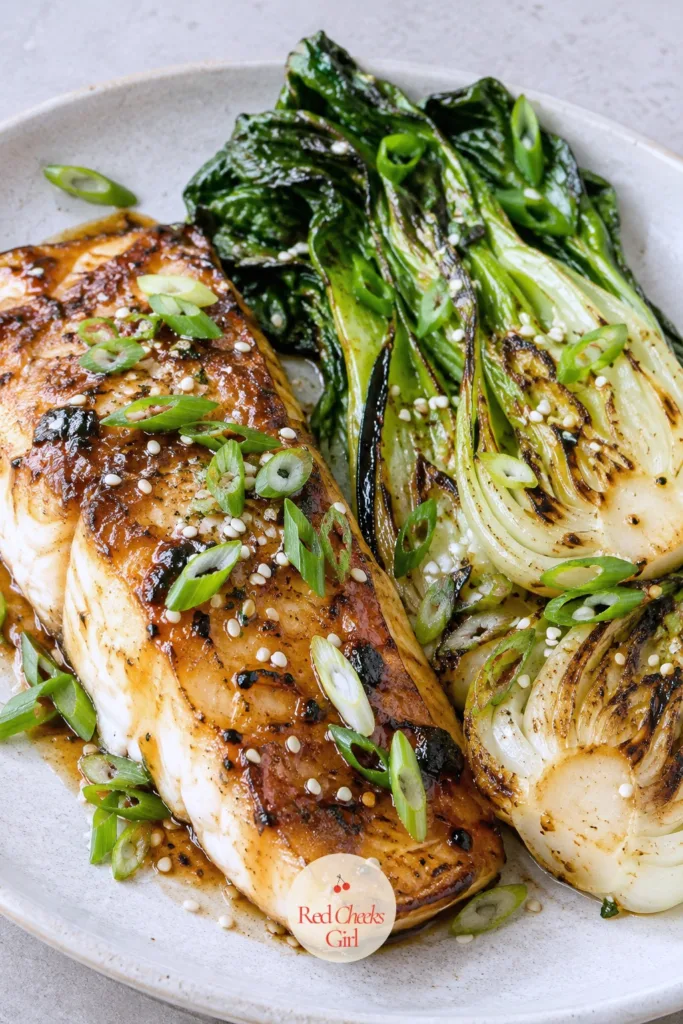
Miso Glazed Cod with Bok Choy
Ingredients
- 4 cod fillets 5 to 6 oz each
- 3 tablespoons white miso paste
- 2 tablespoons mirin
- 1 tablespoon low sodium soy sauce
- 1 tablespoon rice vinegar
- 1 teaspoon sesame oil
- 1 tablespoon brown sugar
- 4 baby bok choy halved lengthwise
- 1 tablespoon vegetable oil
- 2 scallions thinly sliced
- 1 tablespoon toasted sesame seeds
- 1 teaspoon grated fresh ginger
Instructions
- In a small saucepan over low heat, whisk miso paste, mirin, soy sauce, rice vinegar, sesame oil and brown sugar until smooth and slightly glossy, about 2 minutes. Remove from heat and let cool slightly.
- Pat the cod fillets dry and place them in a shallow dish. Pour two thirds of the miso mixture over the fillets, turning to coat, and let marinate at room temperature for 15 minutes.
- Preheat the broiler to high and position a rack 6 inches from the heat. Line a sheet pan with foil and lightly oil it.
- Toss halved bok choy with vegetable oil, grated ginger and a pinch of salt, then arrange around the edges of the sheet pan.
- Lift the cod from the marinade, letting excess drip off, and place in the center of the pan.
- Broil for 6 to 8 minutes, watching closely, until the glaze is bubbling and caramelized at the edges and the cod flakes easily with a fork.
- If the bok choy needs more color, flip the pieces cut side down for the last 2 minutes under the broiler.
- Brush the reserved miso glaze over the hot cod as soon as it comes out of the oven, it should sizzle slightly on contact.
- Scatter scallions and sesame seeds over the cod and bok choy just before serving.
Good to Know
🛍 Shopping guide
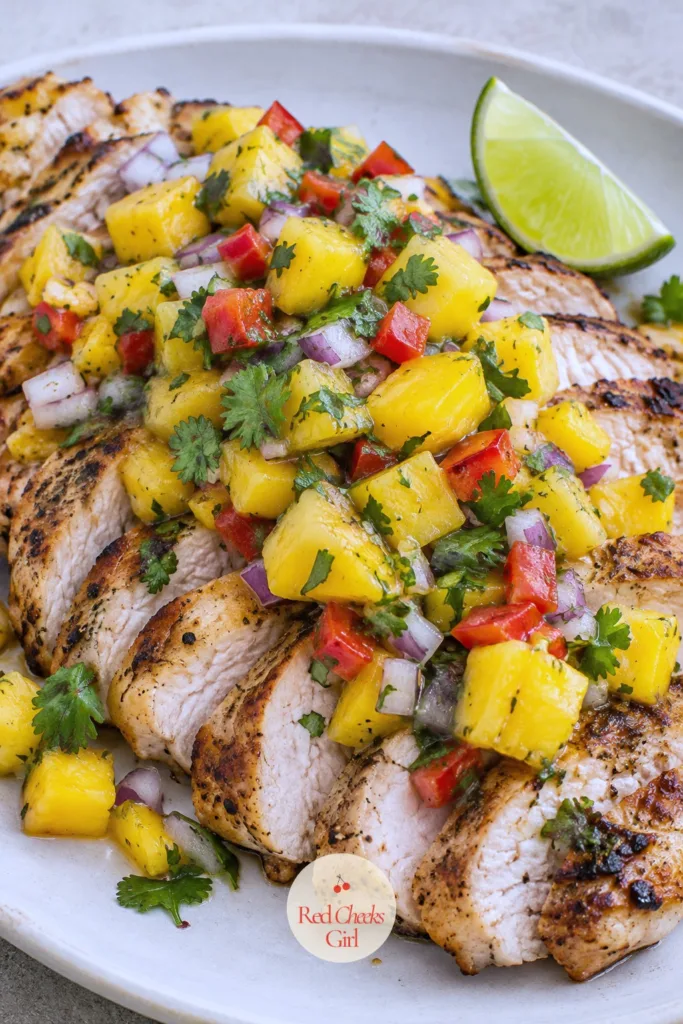
Grilled Chicken with Mango Salsa
Say against this one that grilled chicken is what you eat when you are being punished, and this plate argues back. The mango salsa is the whole point, sweet against the char, with enough jalapeno to keep it from tasting like dessert.
Pound the chicken to an even thickness before it hits the grill, it is the one step that stops the thin end drying out while the thick end is still raw in the middle. The fruit and protein together keep this filling well past the usual two hour post-dinner slump.
No grill, no problem: a ridged grill pan on the stove gets the same marks and the same char in the same amount of time.
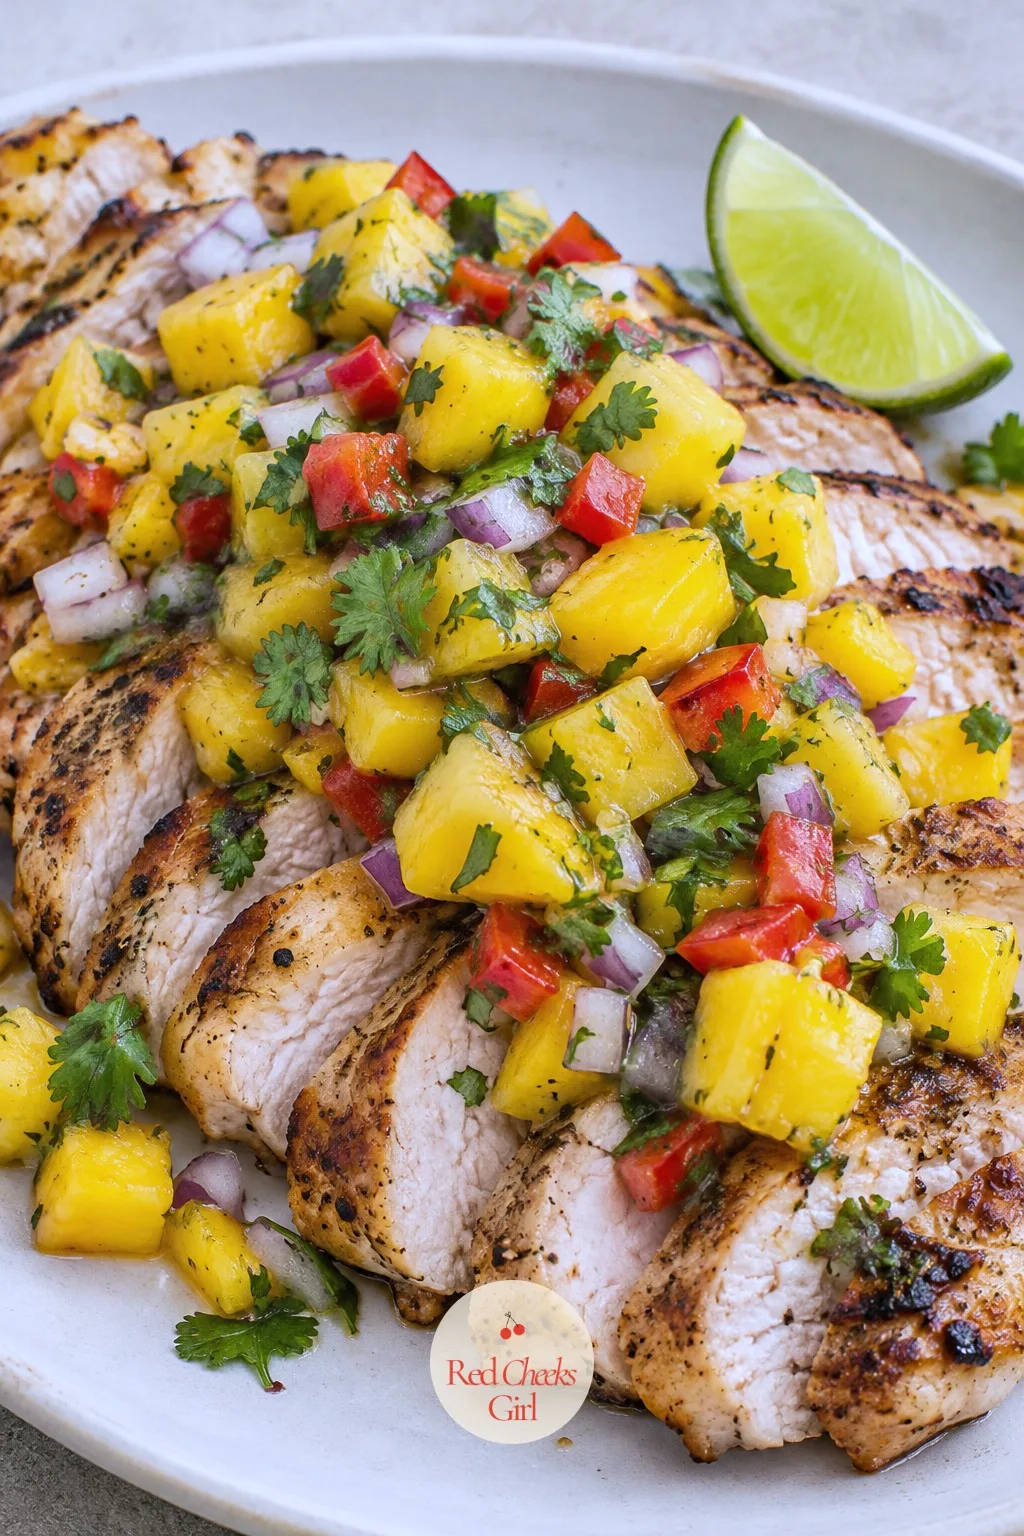
Grilled Chicken with Mango Salsa
Ingredients
- 4 boneless skinless chicken breasts 6 oz each, pounded to even thickness
- 2 tablespoons olive oil divided
- 2 teaspoons ground cumin
- 1 teaspoon chili powder
- 1 teaspoon garlic powder
- 1/2 teaspoon salt
- 1/4 teaspoon black pepper
- 2 limes divided
- 1 ripe mango diced
- 1/2 red bell pepper finely diced
- 1/4 cup finely diced red onion
- 1 small jalapeno seeded and minced
- 2 tablespoons chopped fresh cilantro
Instructions
- Pat chicken breasts dry and rub with 1 tablespoon olive oil, cumin, chili powder, garlic powder, salt and pepper on both sides. Let sit at room temperature for 10 minutes while the grill heats.
- In a medium bowl, combine mango, red bell pepper, red onion, jalapeno, cilantro, juice of 1 lime and remaining 1 tablespoon olive oil. Stir gently and set aside so the flavors come together.
- Heat a grill or grill pan to medium-high, about 400°F, and brush the grates with oil.
- Grill the chicken for 5 to 6 minutes on the first side, without moving it, until clear grill marks form.
- Flip and grill the second side for 5 to 6 minutes more, until the internal temperature reaches 165°F on an instant read thermometer and the juices run clear.
- Transfer the chicken to a cutting board and let it rest for 5 minutes, this keeps the juices inside instead of pooling on the board.
- Slice the chicken on a slight angle into thick strips.
- Fan the slices on plates, spoon the mango salsa generously over the top, and serve with the remaining lime cut into wedges.
Good to Know
🛍 Shopping guide
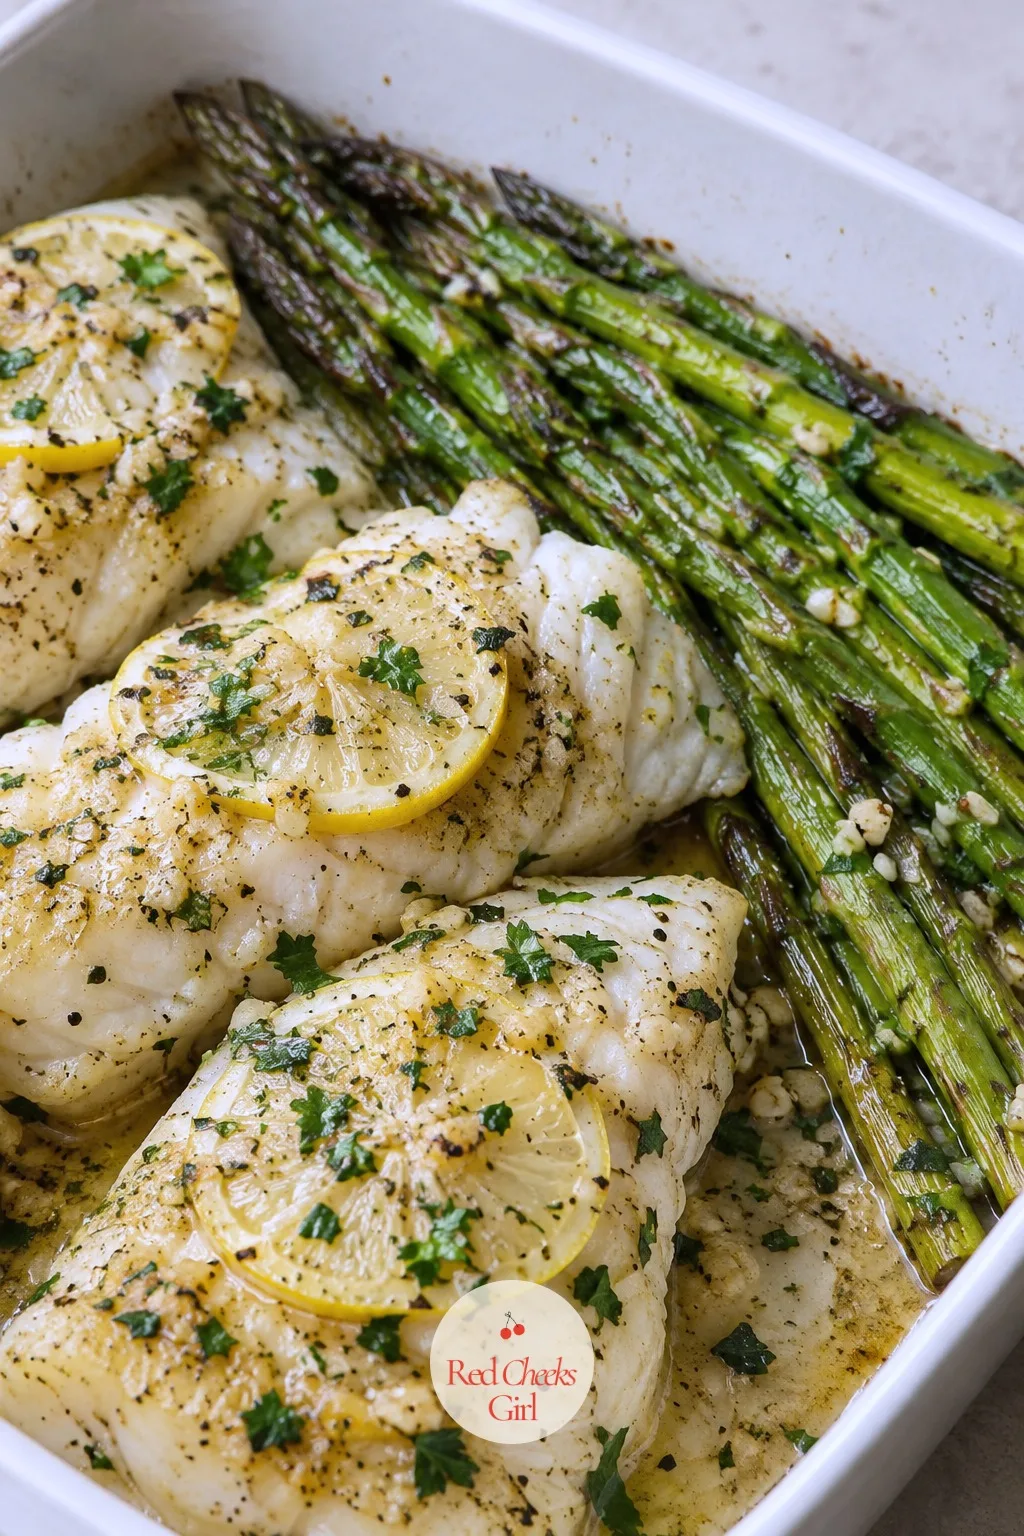
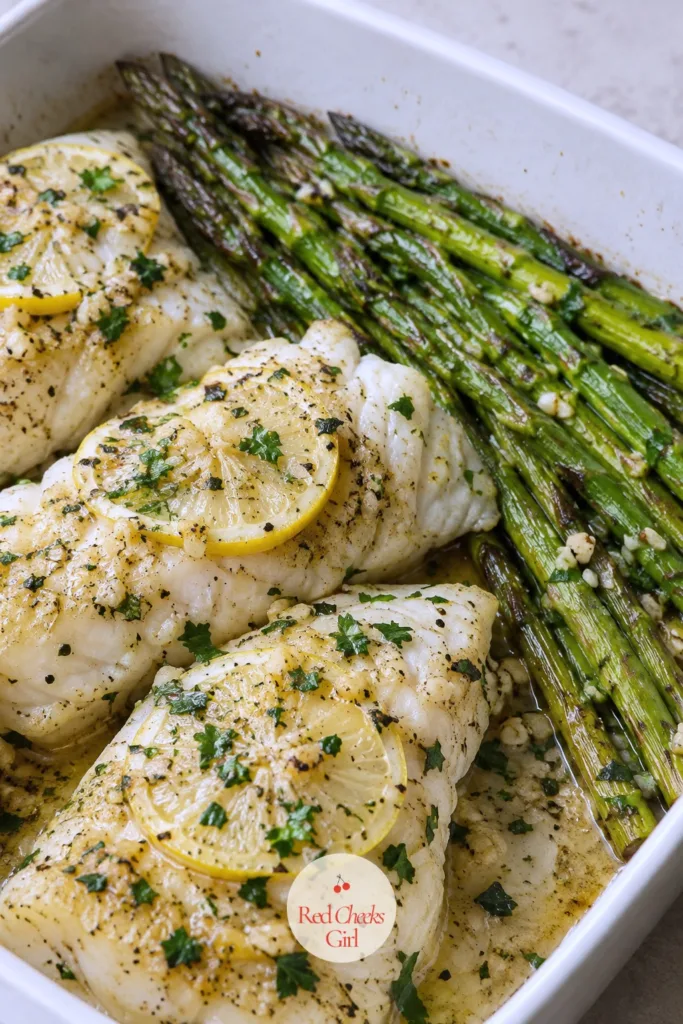
Lemon Garlic Cod with Asparagus
This is the one for the night you want dinner to taste bright without thinking too hard about it. One dish, one oven, bare minimum dishes after, and the whole kitchen smells like lemon by the time it is done.
Cod is one of the leanest fish on the shelf, and pairing it with asparagus means fiber and volume for almost no calories added. Pierce the asparagus with a knife tip at the thickest spot to check it, it should give with almost no resistance.
Swap in green beans or broccolini if asparagus is out of season, the timing in the oven stays almost identical.
Lemon Garlic Cod with Asparagus
Ingredients
- 4 cod fillets 5 to 6 oz each
- 1 bunch asparagus about 1 pound, woody ends trimmed
- 3 tablespoons olive oil divided
- 4 cloves garlic minced
- 1 lemon zested and juiced
- 1/2 teaspoon salt divided
- 1/4 teaspoon black pepper
- 1/4 teaspoon red pepper flakes optional
- 2 tablespoons chopped fresh parsley
Instructions
- Preheat the oven to 400°F and lightly oil a 9x13 inch baking dish.
- Toss asparagus with 1 tablespoon olive oil and a pinch of salt, then spread it in a single layer along one side of the baking dish.
- Pat the cod fillets dry and place them on the other side of the dish.
- In a small bowl, stir together remaining 2 tablespoons olive oil, garlic, lemon zest, half the lemon juice, remaining salt, pepper and red pepper flakes.
- Spoon the garlic lemon mixture evenly over the cod fillets, letting a little run onto the asparagus.
- Bake for 12 to 15 minutes, until the cod turns opaque and flakes easily with a fork and the asparagus is bright green and just tender when pierced with a knife.
- Drizzle the remaining lemon juice over the cod as soon as it comes out of the oven.
- Scatter parsley over the top and serve directly from the baking dish.
Good to Know
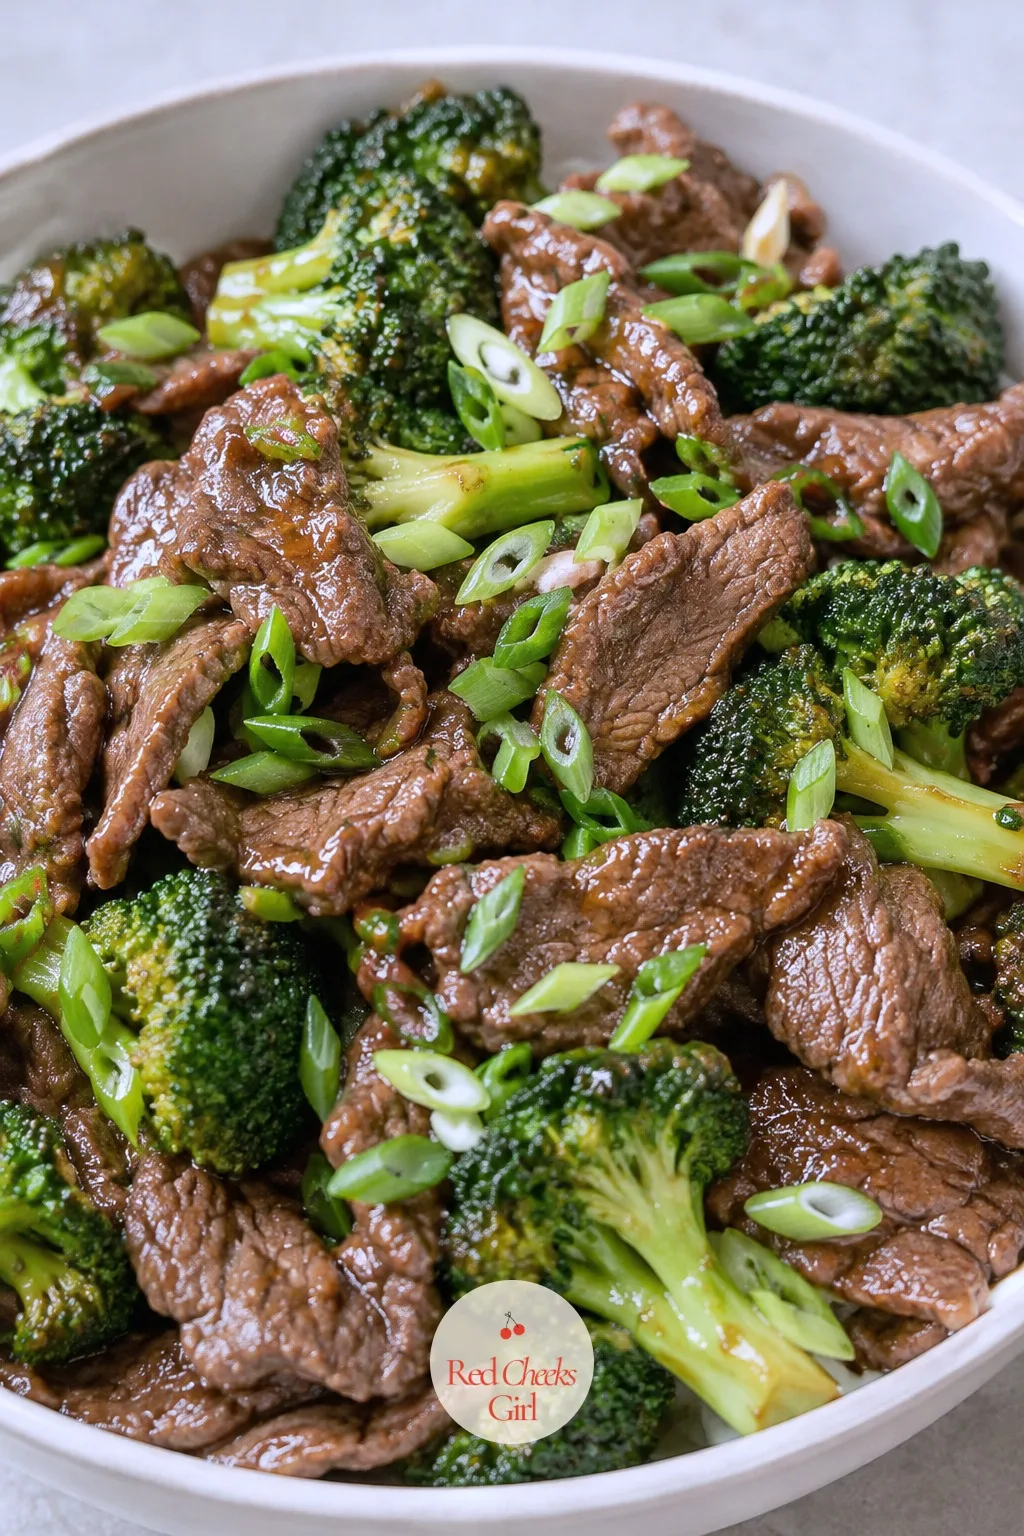
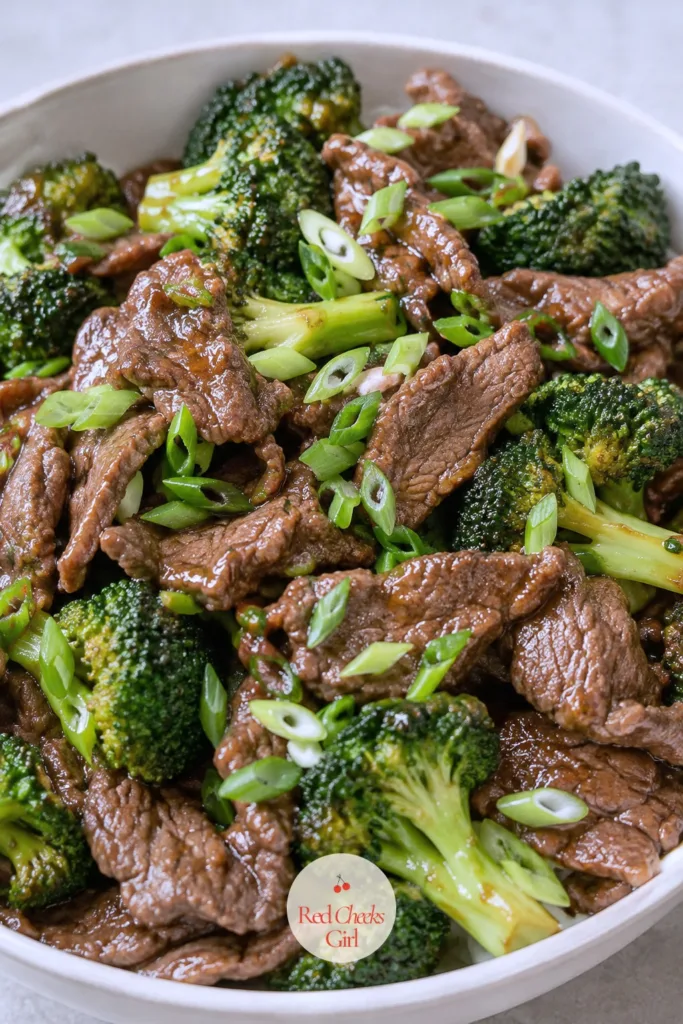
Beef and Broccoli
The takeout container version of this is swimming in oil by the time it reaches your door. This one gets the same glossy sauce and the same tender beef, built in a wok at home for a fraction of the calories and a fraction of the sodium.
Slicing the flank steak thin and against the grain is what makes it tender instead of chewy, look at the grain lines before you cut and slice across them. Cornstarch on the beef is doing double duty: it tenderizes and it thickens the sauce as everything cooks together.
Serve over a small scoop of brown rice or cauliflower rice depending on how light the rest of the week has been.
Beef and Broccoli
Ingredients
- 1 pound flank steak thinly sliced against the grain
- 1 tablespoon cornstarch
- 3 tablespoons low sodium soy sauce divided
- 1/4 cup beef broth
- 1 tablespoon oyster sauce
- 1 tablespoon brown sugar
- 1 teaspoon sesame oil
- 2 tablespoons vegetable oil divided
- 4 cups broccoli florets
- 3 cloves garlic minced
- 1 tablespoon grated fresh ginger
- 2 scallions sliced, for garnish
Instructions
- In a medium bowl, toss sliced steak with cornstarch and 1 tablespoon soy sauce until evenly coated. Let sit for 10 minutes, this helps the beef sear instead of steam.
- In a small bowl, whisk remaining soy sauce, beef broth, oyster sauce, brown sugar and sesame oil to make the sauce.
- Steam or blanch broccoli florets for 2 minutes, until bright green and just crisp tender, then drain and set aside.
- Heat 1 tablespoon vegetable oil in a large skillet or wok over high heat until it shimmers.
- Add the beef in a single layer and sear for 1 to 2 minutes per side, until deeply browned, then transfer to a plate.
- Add remaining 1 tablespoon oil to the skillet along with garlic and ginger, stir for 30 seconds until fragrant but not browned.
- Return the beef to the skillet, add broccoli and pour in the sauce.
- Toss everything over high heat for 2 minutes, until the sauce thickens enough to coat the back of a spoon and clings to the beef and broccoli.
- Scatter scallions over the top and serve immediately while the sauce is still glossy.
Good to Know
🛍 Shopping guide
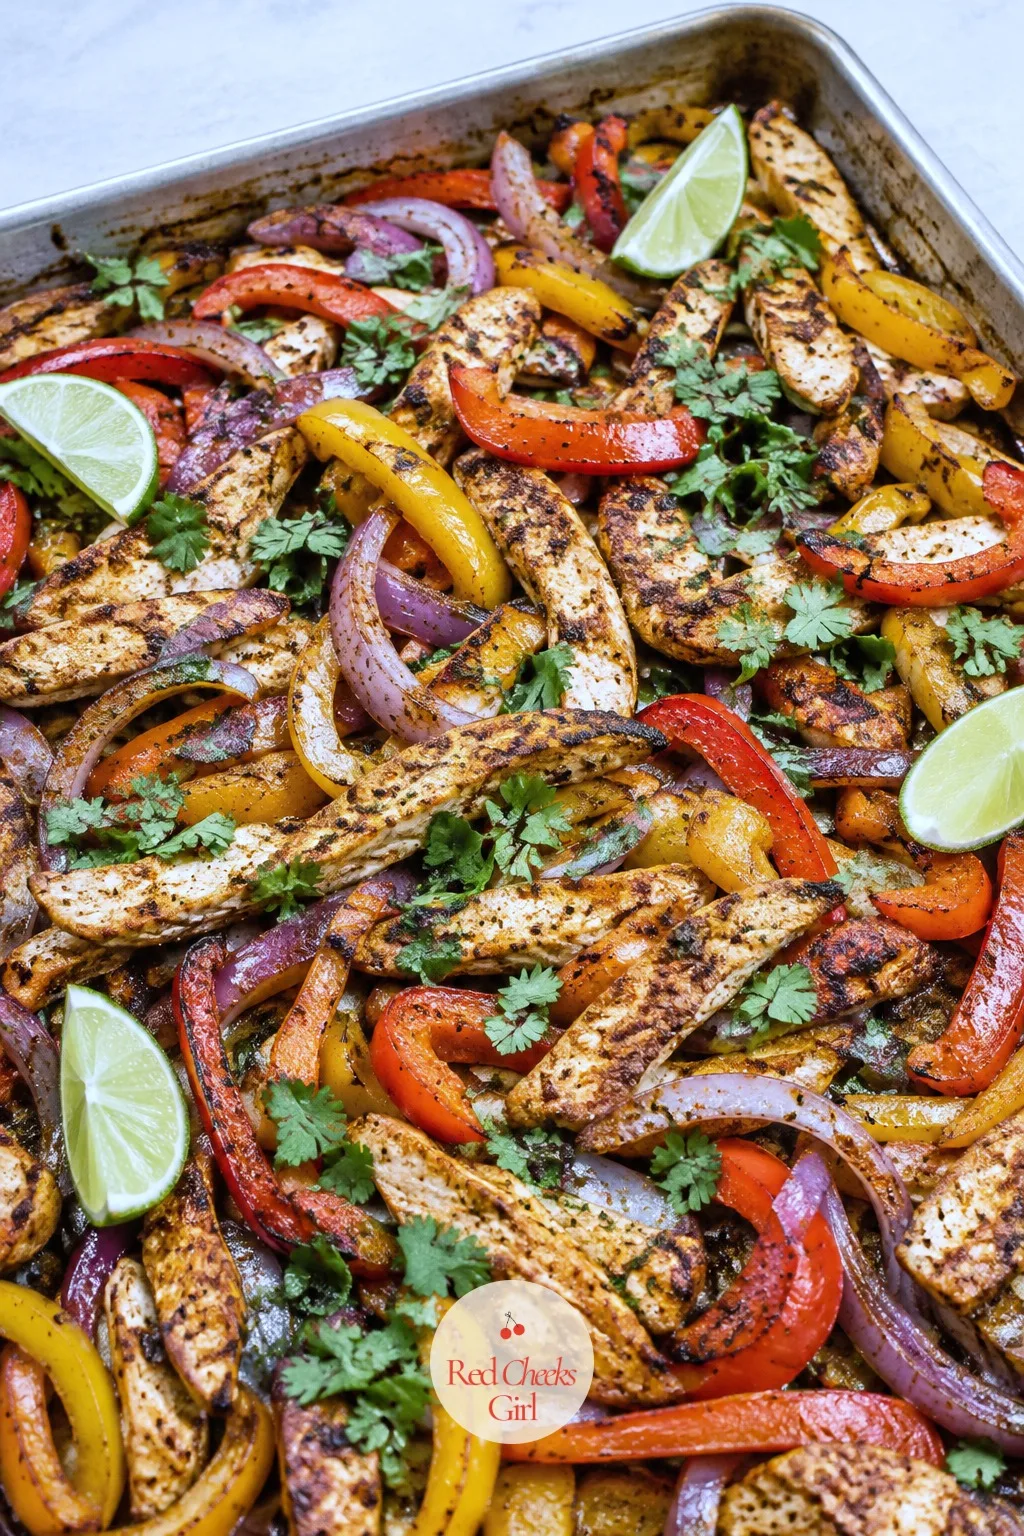
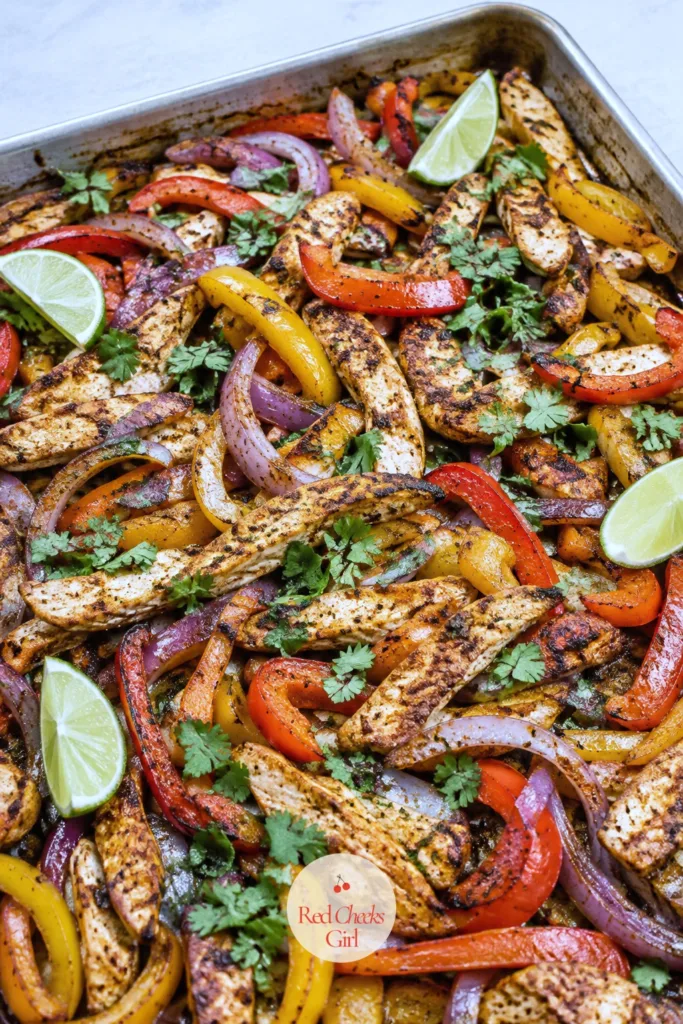
Sheet Pan Chicken Fajitas
This is the dinner for the night the kitchen needs to clean itself up. Everything goes on one pan, everything comes out charred at the edges, and the only decision left is tortilla or lettuce.
Chicken breast and two kinds of pepper mean this stays filling without the heavy sour cream and cheese a restaurant plate piles on. Do not crowd the pan, peppers packed too tight steam instead of char, so split the vegetables across two pans if the first one looks full.
For the whole week mapped out the same way, the 14-Day Cortisol-Balancing Meal Plan (That Won’t Make You Eat Like a Rabbit) builds nights exactly like this one into a full rotation.
Sheet Pan Chicken Fajitas
Ingredients
- 1 1/2 pounds boneless skinless chicken breast sliced into strips
- 2 bell peppers sliced
- 1 large red onion sliced
- 2 tablespoons olive oil
- 2 teaspoons chili powder
- 1 teaspoon ground cumin
- 1 teaspoon smoked paprika
- 1/2 teaspoon garlic powder
- 1/2 teaspoon salt
- 1 lime cut into wedges
- 8 small corn tortillas or large lettuce leaves
- 1/4 cup chopped fresh cilantro
Instructions
- Preheat the oven to 425°F and line a large rimmed sheet pan with parchment paper.
- In a large bowl, toss chicken strips, bell peppers and red onion with olive oil, chili powder, cumin, smoked paprika, garlic powder and salt until everything is evenly coated.
- Spread the mixture in a single layer on the sheet pan, crowding it will steam the chicken instead of browning it, so use two pans if needed.
- Roast for 18 to 20 minutes, stirring once halfway through, until the chicken reaches 165°F on an instant read thermometer and the peppers are charred at the edges.
- While the fajitas roast, warm the tortillas in a dry skillet for 20 seconds per side, or wrap them in foil and place in the oven for the last 5 minutes.
- Squeeze half the lime over the sheet pan as soon as it comes out of the oven.
- Scatter cilantro over the chicken and vegetables.
- Serve straight from the pan with warm tortillas or lettuce leaves and the remaining lime wedges for filling at the table.
Good to Know
🛍 Shopping guide
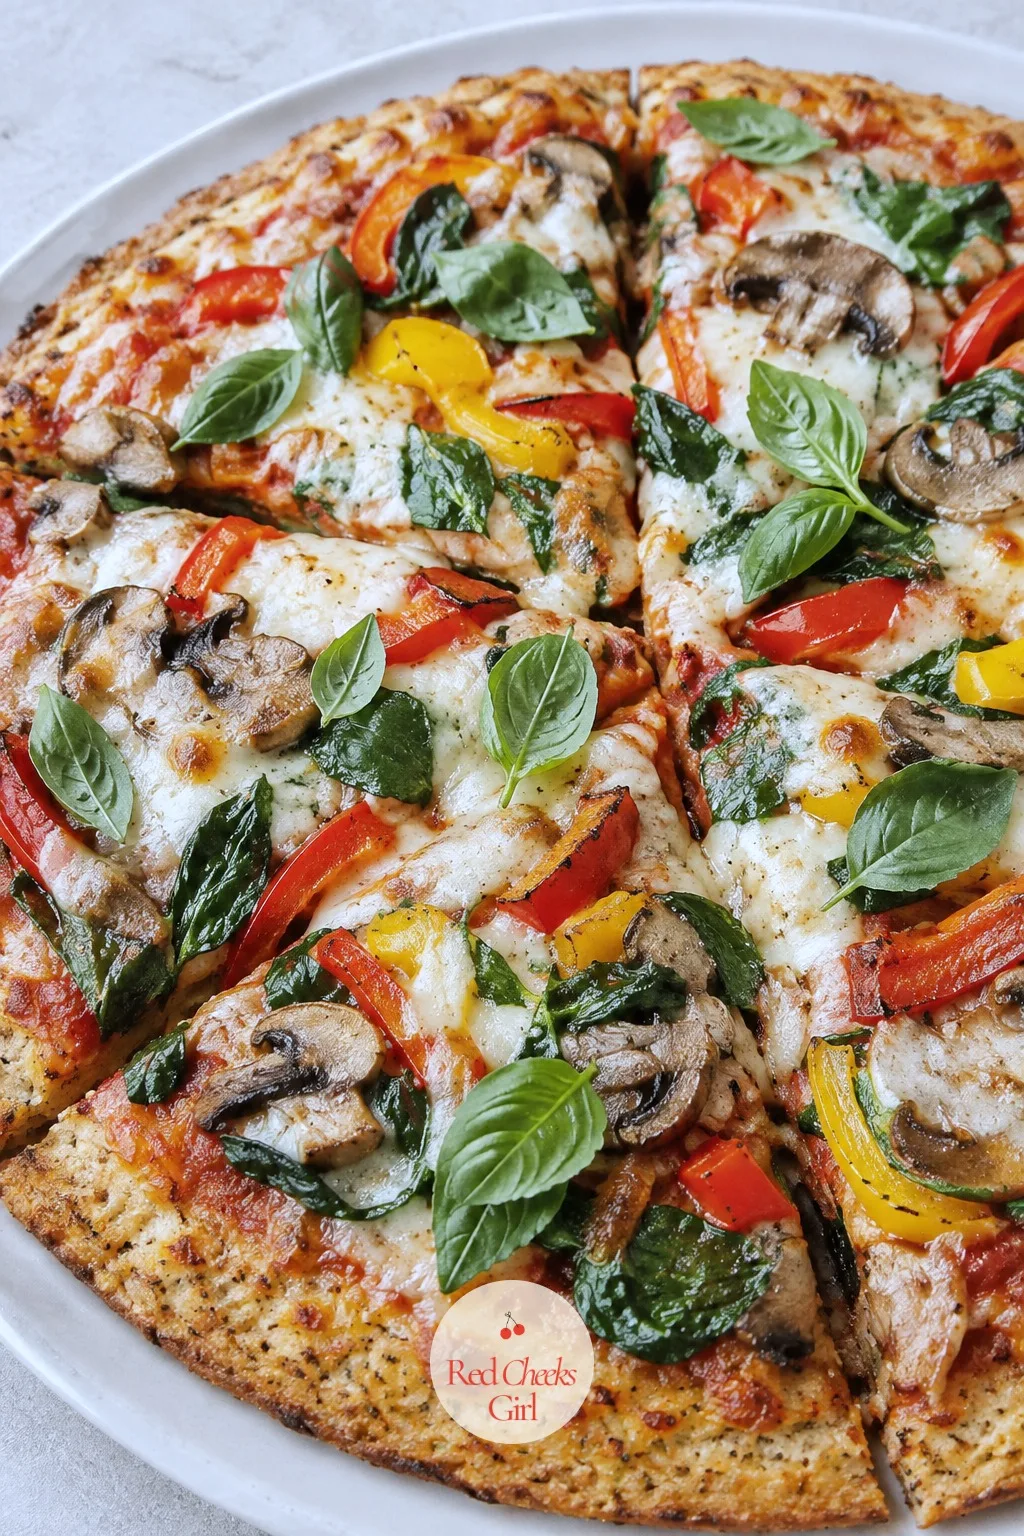
Cauliflower Crust Pizza with Vegetables
Pizza night does not have to come off the diet. This one swaps the flour crust for cauliflower bound with egg and cheese, and the base holds up well enough to pick up by the slice, which is the only real test that matters.
Wringing the cauliflower dry is the one step that cannot be skipped, skip it and the crust turns soggy no matter how long it bakes. Loaded with mushrooms, pepper and spinach, one slice carries more vegetables than most dinner plates manage.
Bake the crust fully before adding toppings, that first bake is what gives it the structure to hold the sauce and cheese without going limp in the middle.
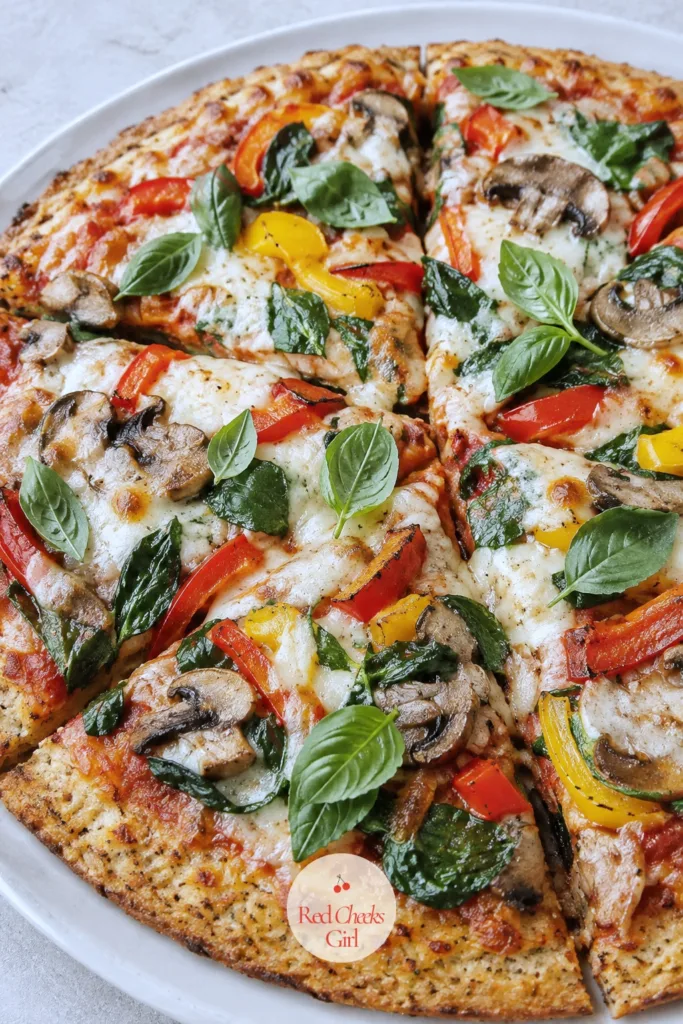
Cauliflower Crust Pizza with Vegetables
Ingredients
- 1 12 oz bag riced cauliflower, or 3 cups fresh riced cauliflower
- 1 large egg
- 1 cup shredded mozzarella divided
- 1/4 cup grated Parmesan
- 1 teaspoon dried Italian seasoning
- 1/4 teaspoon salt
- 1/2 cup low sugar marinara sauce
- 1/2 cup sliced mushrooms
- 1/2 red bell pepper thinly sliced
- 1/4 cup thinly sliced red onion
- 1 cup baby spinach
- 1/4 teaspoon red pepper flakes optional
- Fresh basil leaves for serving
Instructions
- Preheat the oven to 425°F and line a pizza pan or baking sheet with parchment paper.
- Microwave the riced cauliflower in a covered bowl for 5 minutes, or steam it, until fully softened.
- Spread the cooked cauliflower on a clean kitchen towel and let it cool for 5 minutes, then gather the towel and wring out as much liquid as possible, this step decides whether the crust holds together or falls apart.
- In a medium bowl, mix the wrung out cauliflower with the egg, 1/2 cup mozzarella, Parmesan, Italian seasoning and salt until a thick dough forms.
- Press the mixture onto the lined pan into a 10 inch circle, about 1/4 inch thick, with slightly raised edges.
- Bake the crust for 15 to 18 minutes, until it is deeply golden and firm enough to lift at the edge without cracking.
- Remove the crust from the oven and let it rest for 3 minutes, it continues to firm up as it cools slightly.
- Spread marinara sauce over the crust, leaving a 1/2 inch border.
- Scatter mushrooms, bell pepper, red onion and spinach evenly over the sauce, then top with the remaining 1/2 cup mozzarella.
- Return the pizza to the oven and bake for 8 to 10 minutes, until the cheese is melted and bubbling and the vegetables have softened slightly.
- Let the pizza rest for 3 minutes before slicing, this keeps the toppings from sliding off when you cut it.
- Scatter fresh basil leaves over the top and slice into 6 wedges to serve.
Good to Know
🛍 Shopping guide
Thai Turkey Basil Stir Fry
Fifteen minutes, one pan, and a smell that pulls everyone into the kitchen before it is even plated. This leans hard on fish sauce and fresh basil, the two ingredients doing most of the heavy lifting in any good Thai kitchen.
Ground turkey keeps it lean while the green beans add the crunch and bulk that turn a stir fry from a snack into dinner. Add the basil off the heat, at the very end, stirred in whole so it wilts without turning dark and bitter.
Adjust the chili to taste at the start, one Thai chili is noticeably hotter than a whole jalapeno, so start light and taste before adding more.
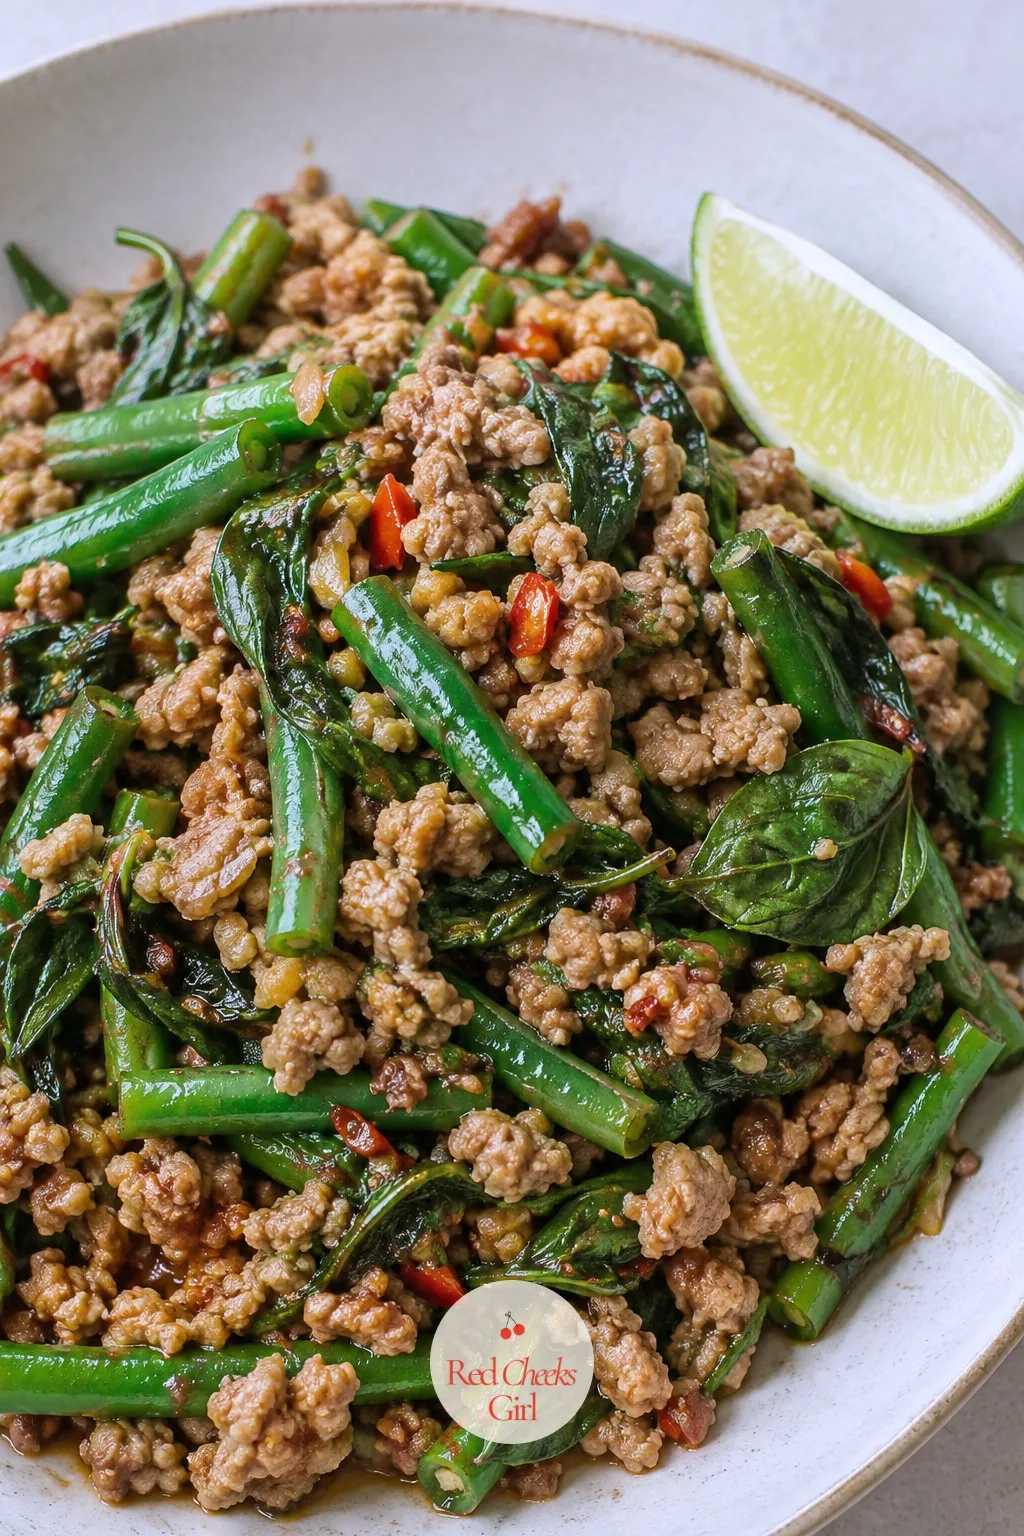
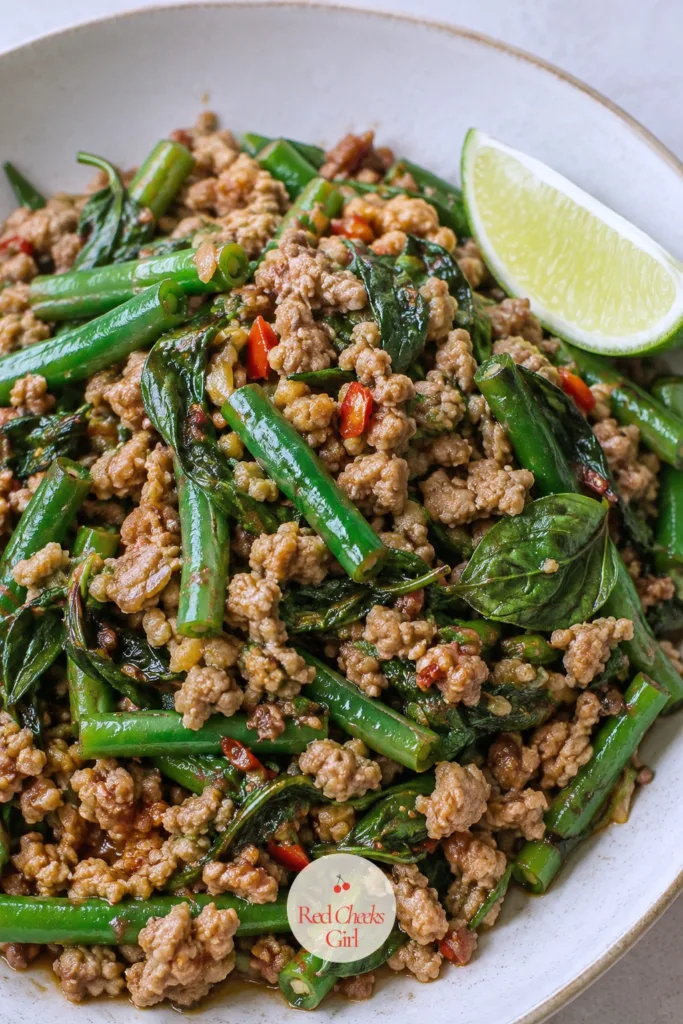
Thai Turkey Basil Stir Fry
Ingredients
- 1 pound ground turkey
- 1 tablespoon vegetable oil
- 4 cloves garlic minced
- 2 Thai chilies or 1 jalapeno thinly sliced (adjust to taste)
- 1 tablespoon fish sauce
- 1 tablespoon low sodium soy sauce
- 1 teaspoon brown sugar
- 2 tablespoons water
- 1 cup green beans trimmed and cut into 1 inch pieces
- 1 cup loosely packed Thai basil leaves
- 1 lime cut into wedges
Instructions
- In a small bowl, whisk fish sauce, soy sauce, brown sugar and water to make the sauce, set aside.
- Heat vegetable oil in a large skillet or wok over high heat until it shimmers.
- Add garlic and chilies and stir constantly for 20 to 30 seconds, until fragrant but not browned.
- Add ground turkey, breaking it up with a spatula, and cook for 5 to 6 minutes, until no pink remains and the meat is lightly browned.
- Add green beans and the sauce, and stir fry for 2 to 3 minutes, until the beans are crisp tender and the liquid has mostly cooked off.
- Remove the skillet from heat and fold in the Thai basil leaves, stirring just until they wilt from the residual heat, this keeps their flavor bright instead of cooked flat.
- Serve immediately with lime wedges on the side.
Good to Know
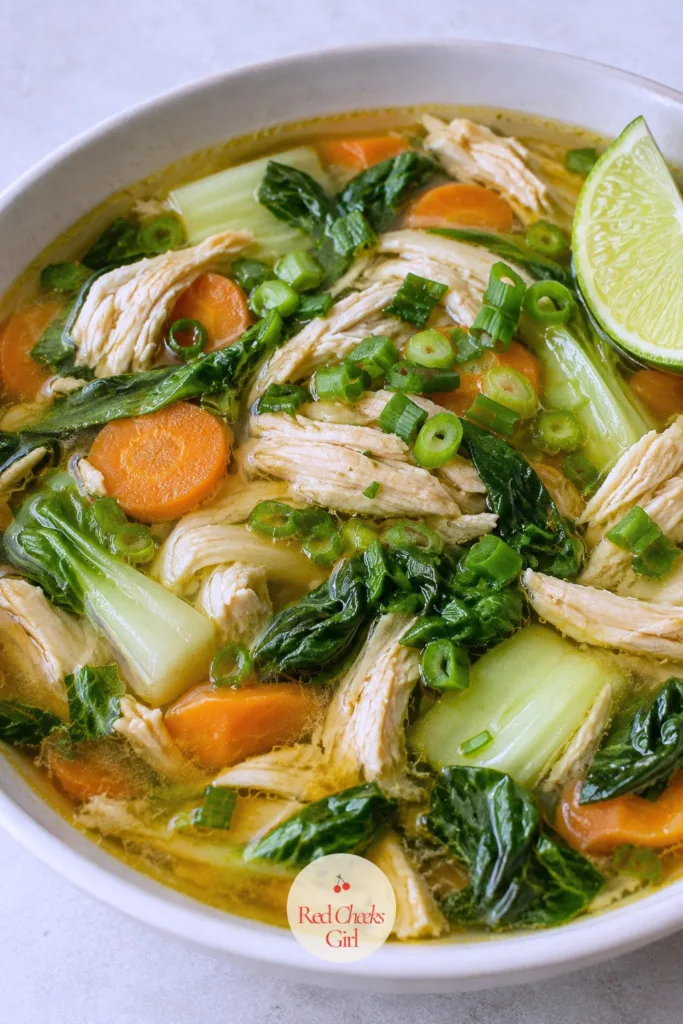
Ginger Chicken Soup with Greens
This is the bowl for the night that calls for something warm and a little medicinal, in the best sense. Fresh ginger does the work a bouillon cube never could, and the greens go in at the very end so they stay a true bright green, not the dull olive of overcooked spinach.
Shredding the chicken instead of dicing it means every spoonful gets a bit, and broth this light still carries enough protein from the chicken to count as a full dinner, not a starter. For colder weeks, 20 Winter Dinner Recipes for Cold Nights at Home rounds out a few more bowls exactly like this one.
Keep the lid only partly on while it simmers, a full seal can cloud the broth as the fat emulsifies in in.
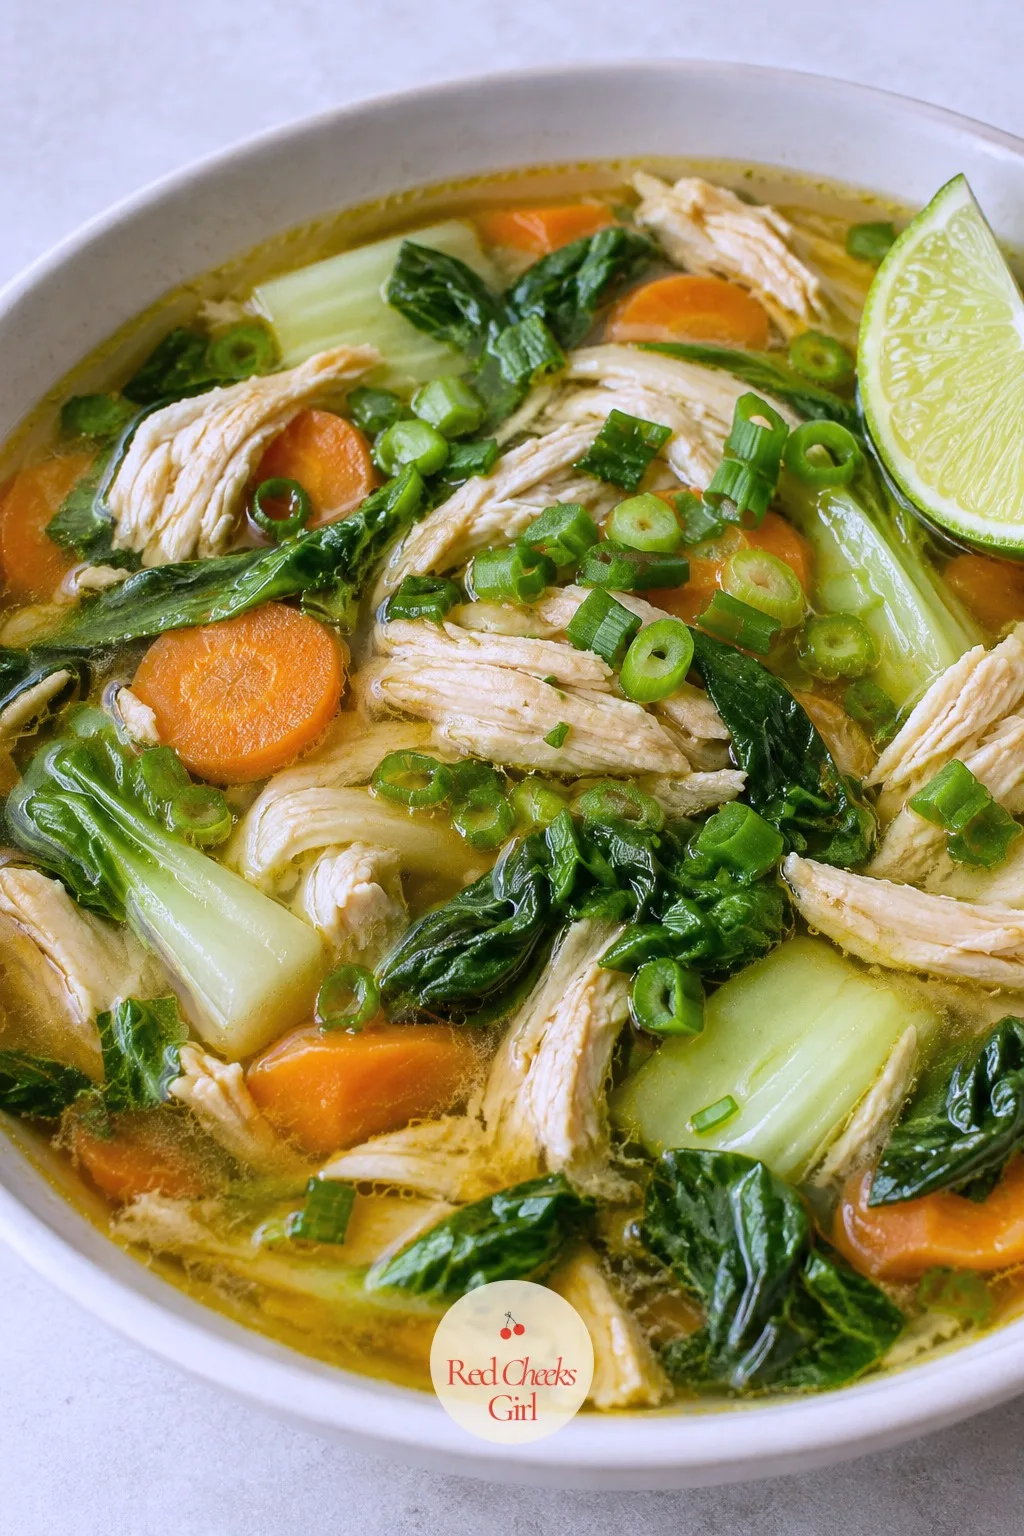
Ginger Chicken Soup with Greens
Ingredients
- 1 tablespoon vegetable oil
- 1 small onion diced
- 3 cloves garlic minced
- 2 tablespoons grated fresh ginger
- 6 cups low sodium chicken broth
- 1 pound boneless skinless chicken breast
- 2 carrots sliced
- 1 tablespoon low sodium soy sauce
- 4 cups chopped bok choy or spinach
- 2 scallions sliced
- 1 lime cut into wedges
- Pinch of salt and black pepper
Instructions
- Heat vegetable oil in a large pot over medium heat. Add onion and cook for 3 minutes, until softened and translucent.
- Add garlic and ginger and stir for 30 seconds, until fragrant.
- Pour in chicken broth and bring to a gentle boil over medium-high heat.
- Add the whole chicken breasts and carrots, then reduce heat to a simmer and cover partially.
- Simmer for 15 to 18 minutes, until the chicken reaches 165°F on an instant read thermometer and shreds easily with two forks.
- Lift the chicken out onto a cutting board and shred it into bite sized pieces using two forks.
- Stir the soy sauce into the pot, then return the shredded chicken to the soup.
- Add bok choy or spinach and simmer for 2 minutes, just until the greens wilt but stay bright green.
- Ladle the soup into bowls, top with scallions, and serve with lime wedges for squeezing in at the table.
Good to Know
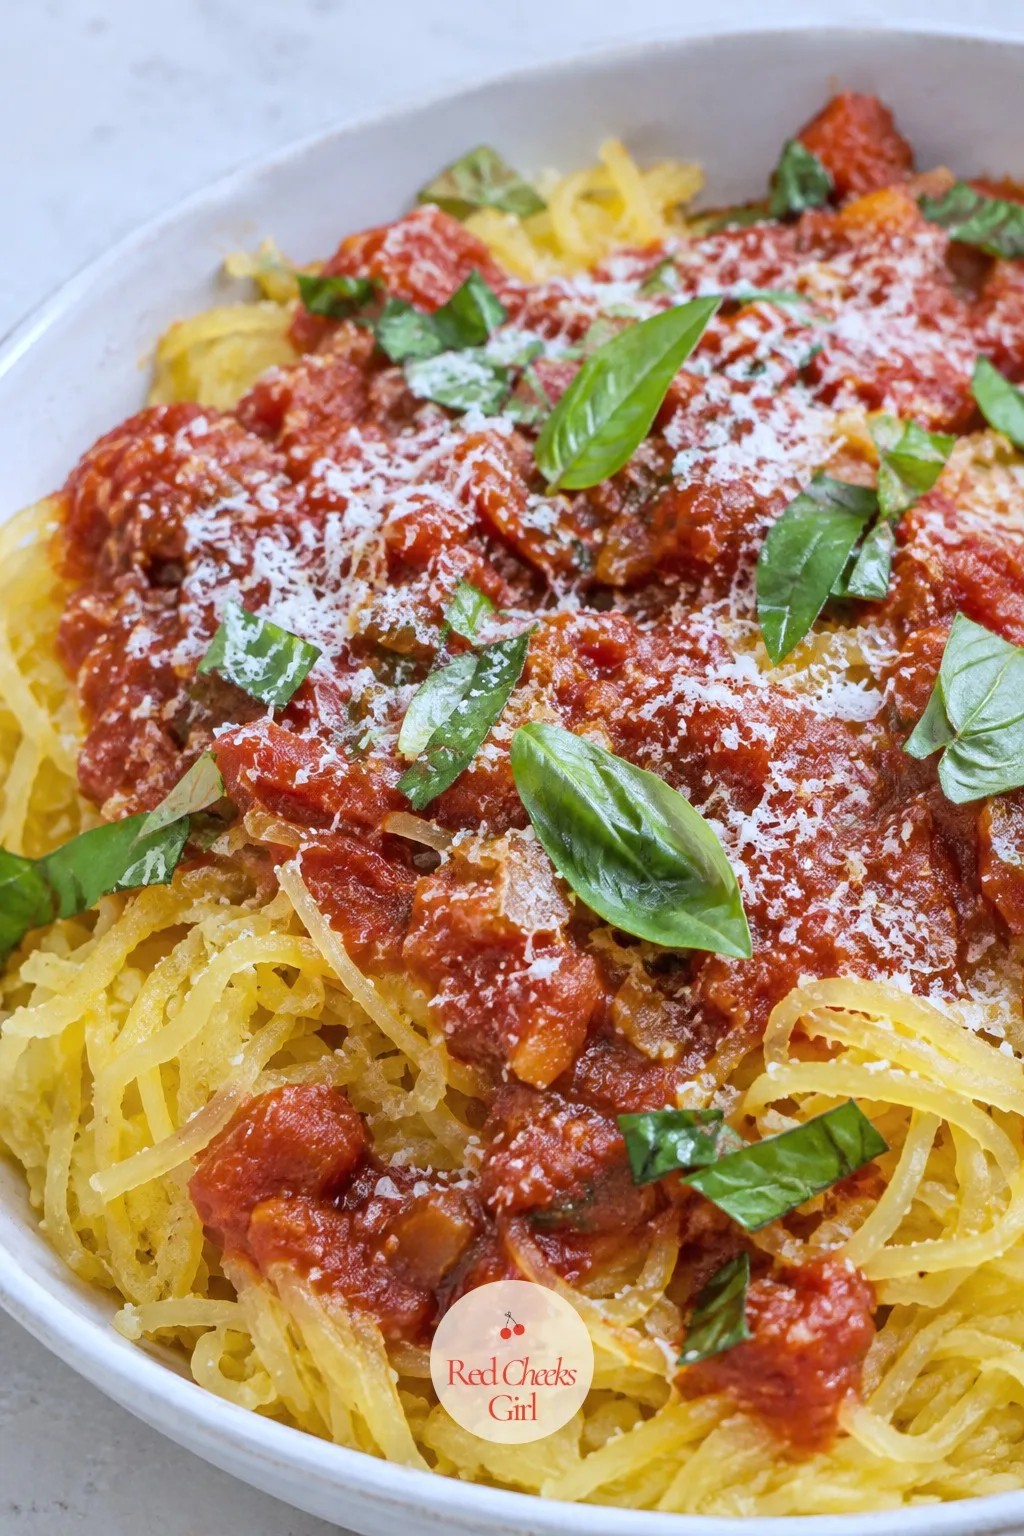
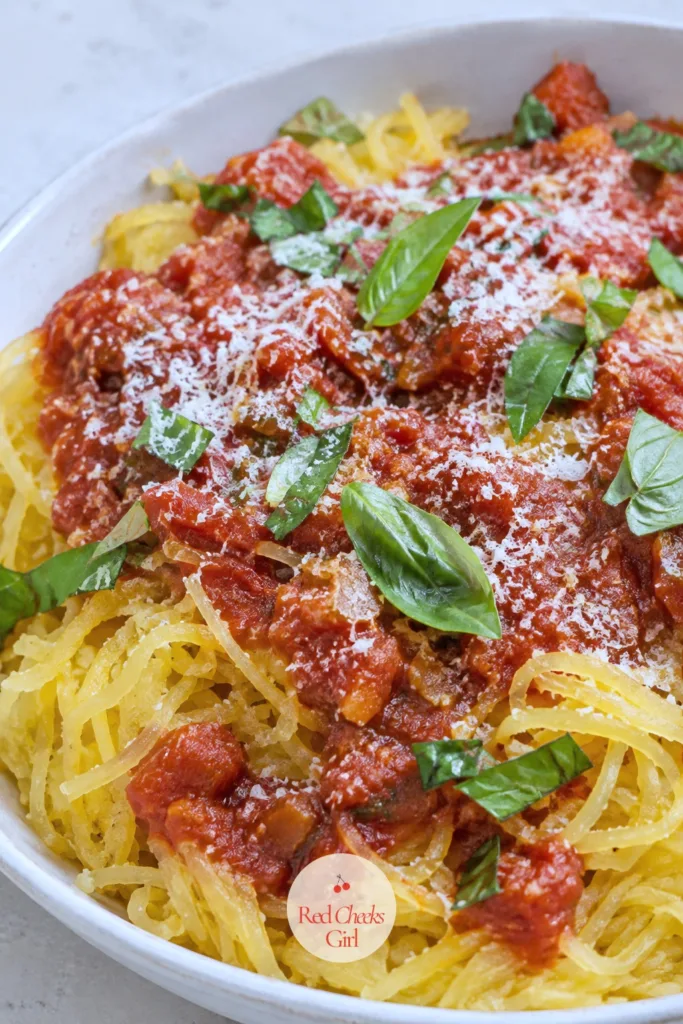
Spaghetti Squash with Fresh Marinara and Basil
Pasta cravings do not vanish just because dinner is meant to be light, and this is the answer that actually satisfies them. Roasted until the strands pull apart on their own, spaghetti squash takes on a texture close enough to the real thing that nobody at the table complains.
The marinara simmers while the squash roasts, so nothing sits idle and dinner is ready the moment both finish. Scrape the flesh lengthwise with a fork, scraping across the strands instead breaks them into mush instead of noodles.
One whole squash stretches across four plates and keeps well, so a double batch of sauce makes this an easy lunch the next day too.
Spaghetti Squash with Fresh Marinara and Basil
Ingredients
- 1 spaghetti squash about 3.5 pounds, halved lengthwise and seeded
- 2 tablespoons olive oil divided
- 1/2 teaspoon salt divided
- 1/4 teaspoon black pepper
- 1 small onion diced
- 3 cloves garlic minced
- 1 28 oz can crushed tomatoes
- 1/2 teaspoon dried oregano
- 1/4 cup chopped fresh basil plus extra for serving
- 2 tablespoons grated Parmesan optional
Instructions
- Preheat the oven to 400°F and line a baking sheet with parchment paper.
- Brush the cut sides of the squash with 1 tablespoon olive oil and sprinkle with 1/4 teaspoon salt and the pepper.
- Place the squash halves cut side down on the baking sheet.
- Roast for 35 to 40 minutes, until a fork slides easily into the flesh and the edges start to turn golden.
- While the squash roasts, heat remaining 1 tablespoon olive oil in a saucepan over medium heat. Add onion and cook for 4 minutes, until softened.
- Add garlic and cook for 30 seconds, until fragrant.
- Pour in crushed tomatoes, oregano and remaining 1/4 teaspoon salt, and simmer for 15 minutes, stirring occasionally, until the sauce thickens enough to coat the back of a spoon.
- Remove the squash from the oven and let it cool for 5 minutes, just until safe to handle.
- Using a fork, scrape the flesh of the squash lengthwise into strands directly into serving bowls, it should separate easily into noodle like threads.
- Spoon the marinara over the squash strands, stir in fresh basil, and finish with Parmesan if using.
Good to Know
🛍 Shopping guide
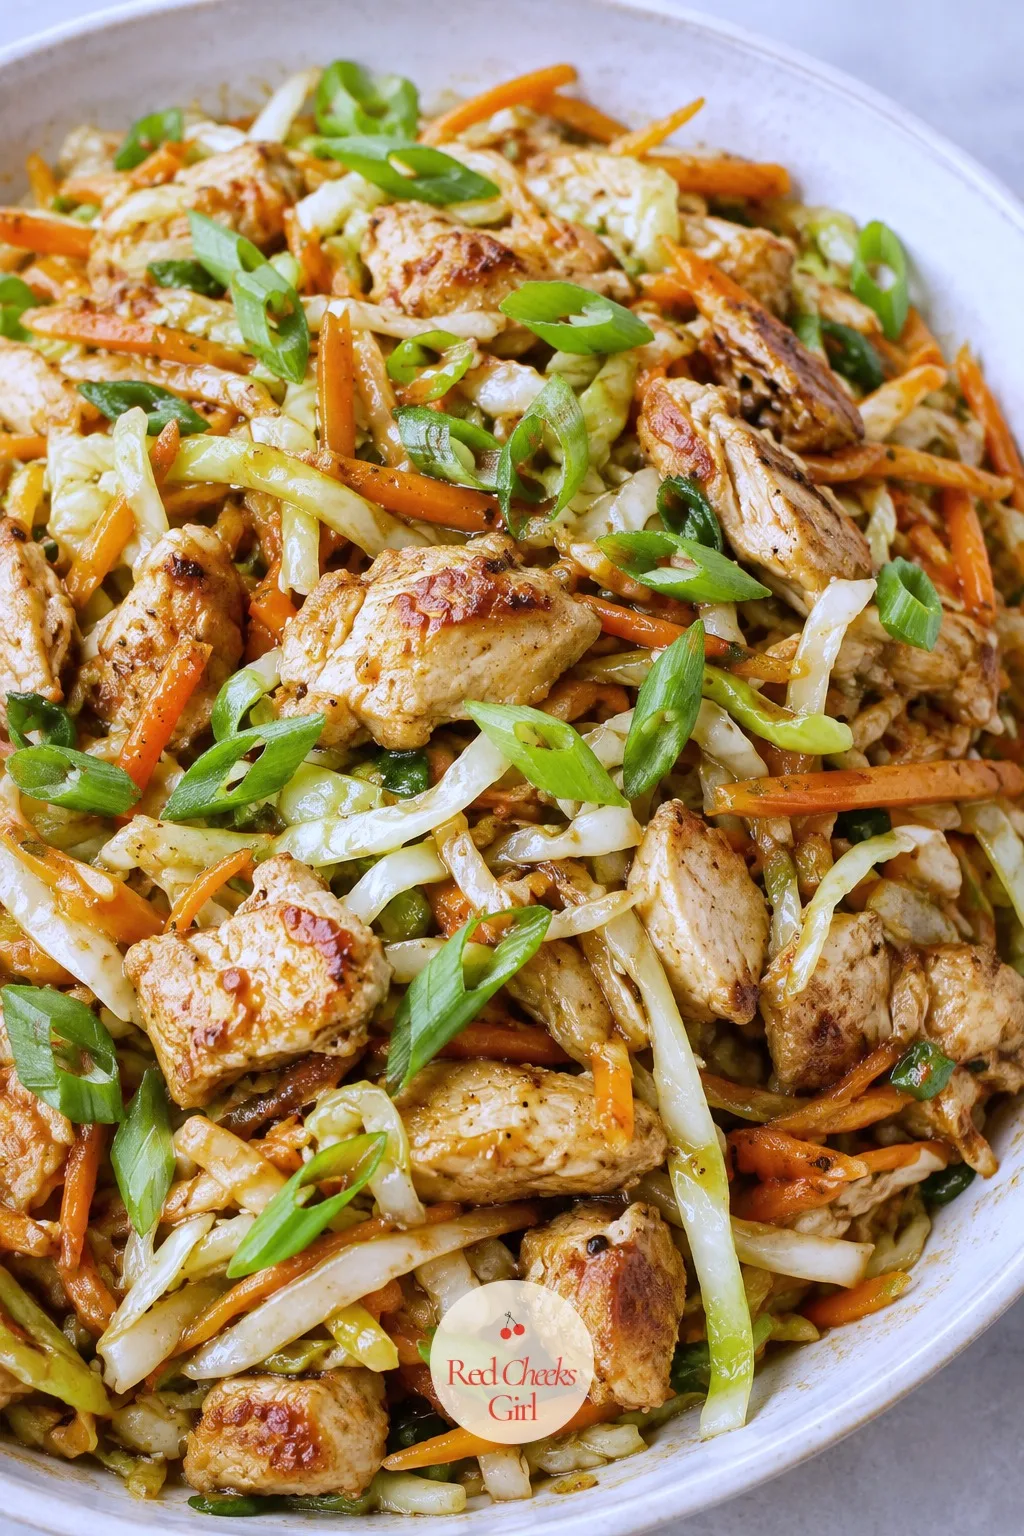
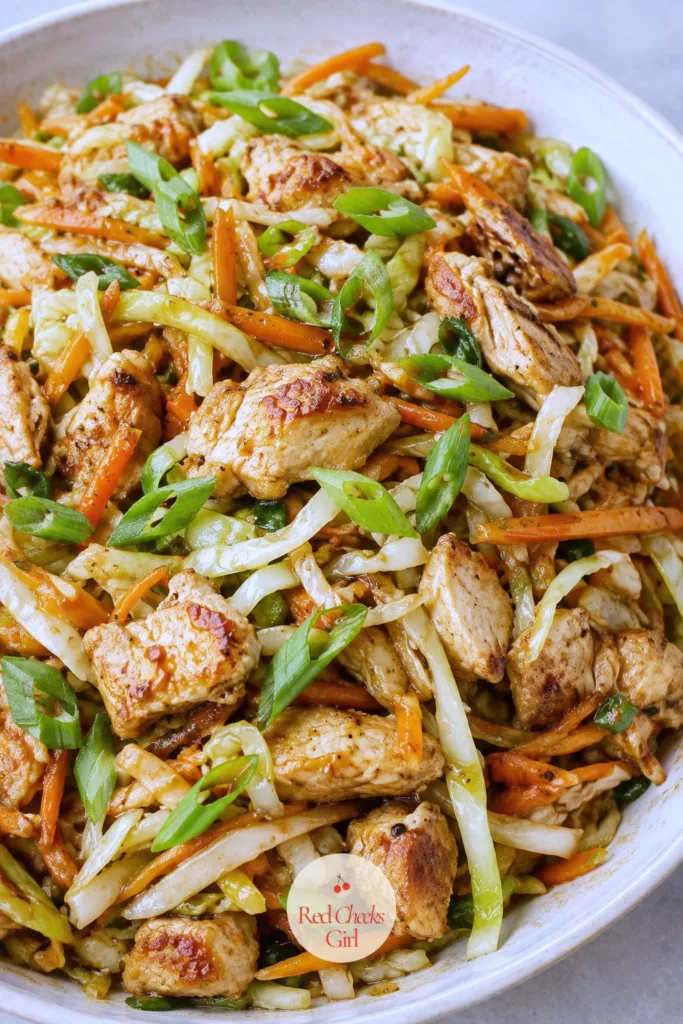
Cabbage and Chicken Stir Fry
Cabbage does not get much credit, but shredded and stir fried it turns almost sweet and holds onto a glossy sauce better than most leafy greens ever could. This is the stir fry to lean on when the produce drawer looks a little thin.
A whole head of cabbage costs almost nothing and cooks down into a generous pile of food, which is exactly how this stays filling without piling on calories. Keep the heat high the whole time, cabbage over low heat turns watery instead of staying crisp at the edges.
Chicken thigh works here too if breast feels dry, just add an extra minute or two per side to make sure it cooks through.
Cabbage and Chicken Stir Fry
Ingredients
- 1 pound boneless skinless chicken breast thinly sliced
- 1 tablespoon cornstarch
- 2 tablespoons low sodium soy sauce divided
- 1 tablespoon rice vinegar
- 1 teaspoon sesame oil
- 1 teaspoon honey
- 2 tablespoons vegetable oil divided
- 4 cups thinly sliced green cabbage
- 1 carrot julienned
- 3 cloves garlic minced
- 1 tablespoon grated fresh ginger
- 2 scallions sliced
Instructions
- In a medium bowl, toss chicken with cornstarch and 1 tablespoon soy sauce until coated. Let it sit for 10 minutes.
- In a small bowl, whisk remaining soy sauce, rice vinegar, sesame oil and honey to make the sauce.
- Heat 1 tablespoon vegetable oil in a large skillet or wok over high heat.
- Add the chicken in a single layer and cook for 3 to 4 minutes per side, until golden and cooked through to 165°F, then transfer to a plate.
- Add remaining 1 tablespoon oil to the skillet along with garlic and ginger, stir for 30 seconds until fragrant.
- Add cabbage and carrot, and stir fry for 3 to 4 minutes, until the cabbage wilts but still has a slight crunch.
- Return the chicken to the skillet, pour in the sauce, and toss everything for 1 to 2 minutes, until the sauce coats every piece and turns glossy.
- Scatter scallions over the top and serve hot, straight from the skillet.
Good to Know
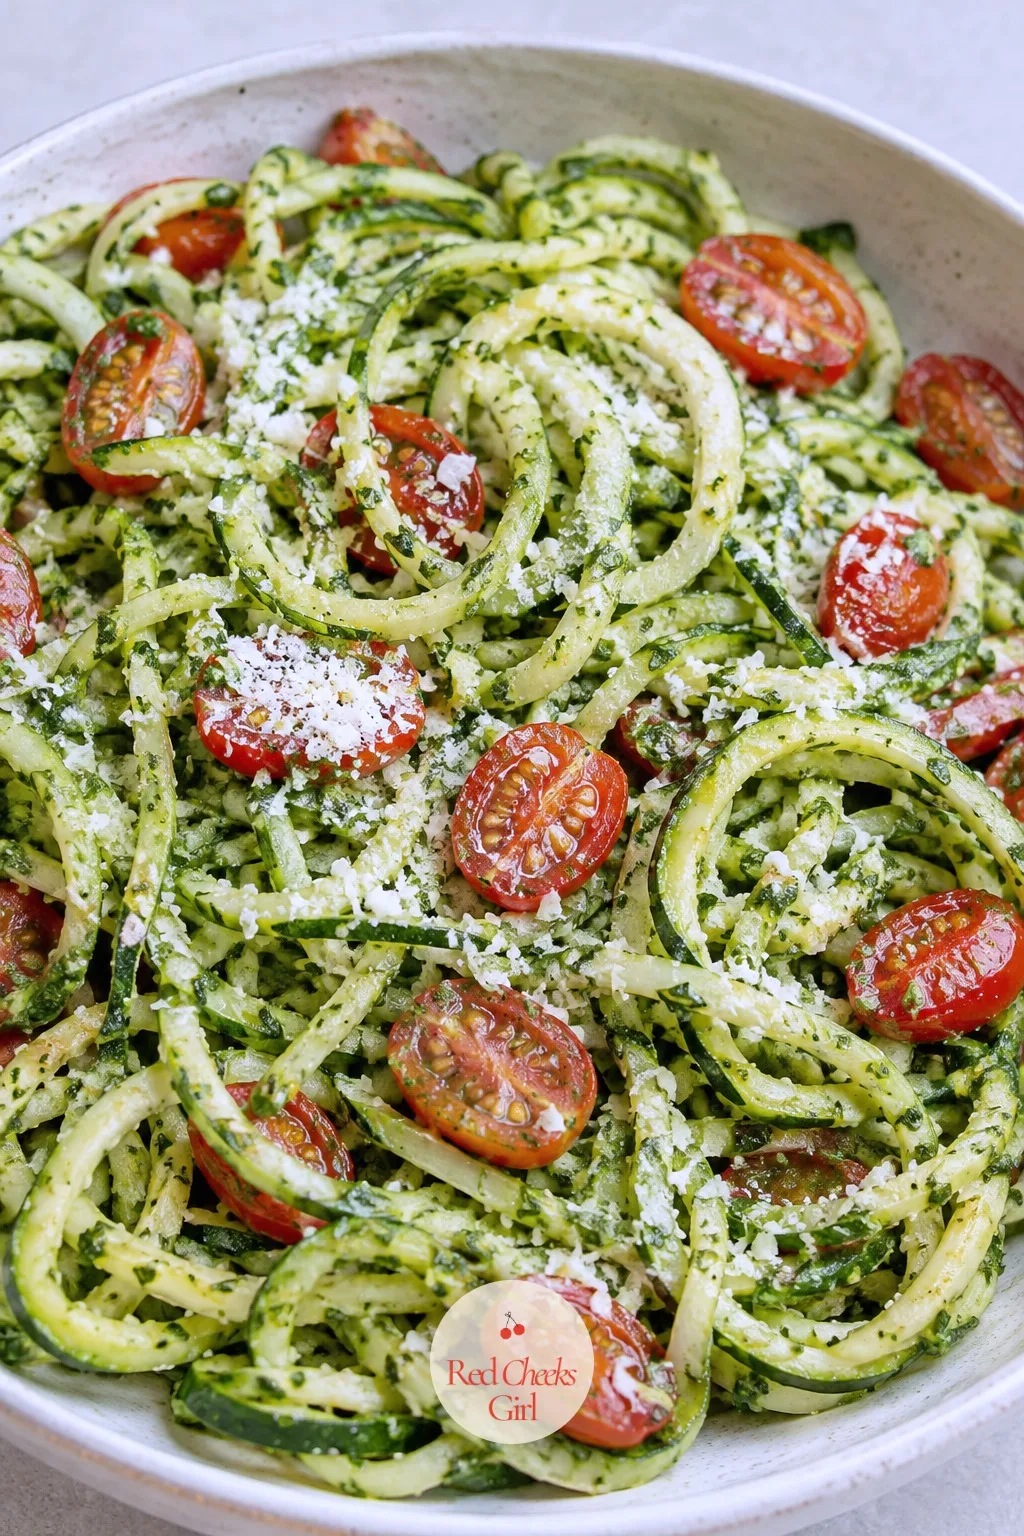
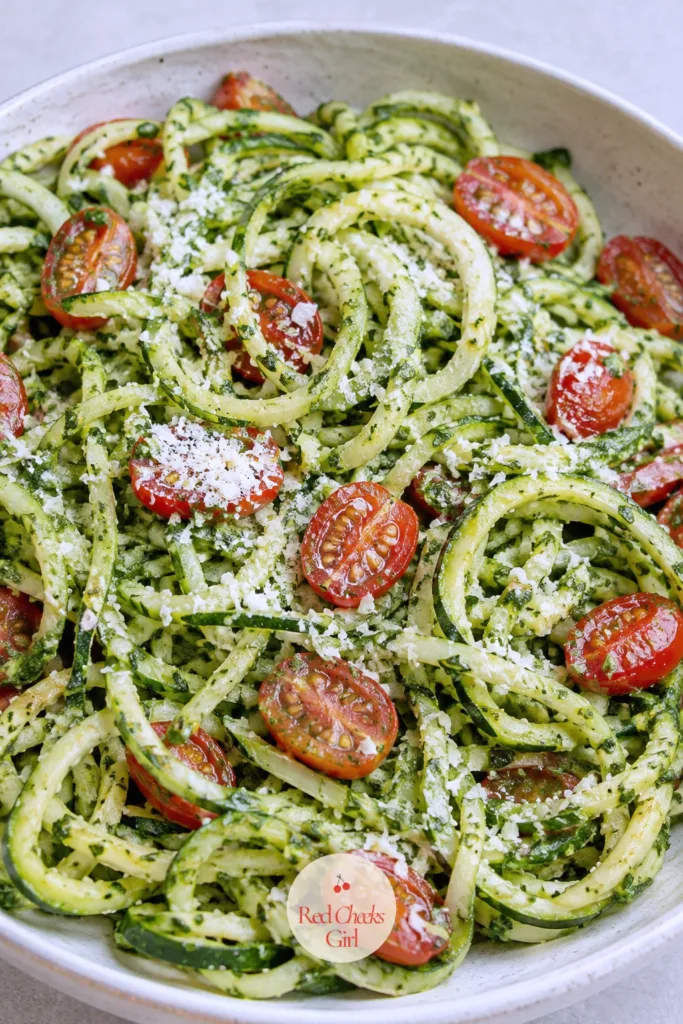
Zucchini Noodles with Pesto and Cherry Tomatoes
If pasta feels off the table most nights, this closes that gap without the bloated feeling after. Fresh basil pesto, made right in the food processor, clings to the zucchini strands the same way it would to spaghetti.
Salting the noodles before cooking draws out excess water, which is the step most people skip and the reason their zucchini noodles always turn soupy. Keep the pan time short, zucchini overcooked for even two extra minutes turns limp instead of staying al dente.
Spiralize a few extra zucchini while the tool is already out, raw noodles keep in the fridge for two days for a faster version tomorrow.
Zucchini Noodles with Pesto and Cherry Tomatoes
Ingredients
- 4 medium zucchini spiralized into noodles
- 1/2 teaspoon salt divided
- 2 cups fresh basil leaves
- 1/4 cup pine nuts
- 2 cloves garlic
- 1/3 cup grated Parmesan plus extra for serving
- 1/3 cup olive oil
- 1 cup cherry tomatoes halved
- Black pepper to taste
Instructions
- Place the zucchini noodles in a colander, toss with 1/4 teaspoon salt, and let them sit for 10 minutes, this draws out extra moisture so the dish does not turn watery.
- In a food processor, combine basil, pine nuts, garlic, Parmesan and remaining 1/4 teaspoon salt. Pulse until finely chopped.
- With the processor running, slowly stream in olive oil until the pesto is smooth and thick enough to coat a spoon.
- Pat the zucchini noodles dry with paper towels or a clean kitchen towel.
- Heat a large skillet over medium heat for 1 minute, then add the zucchini noodles and toss for 1 to 2 minutes, just until warmed through and slightly softened, they should still have bite.
- Remove from heat and toss the warm noodles with the pesto and cherry tomatoes until evenly coated.
- Divide among plates, finish with black pepper and extra Parmesan, and serve immediately while the noodles are still warm.
Good to Know
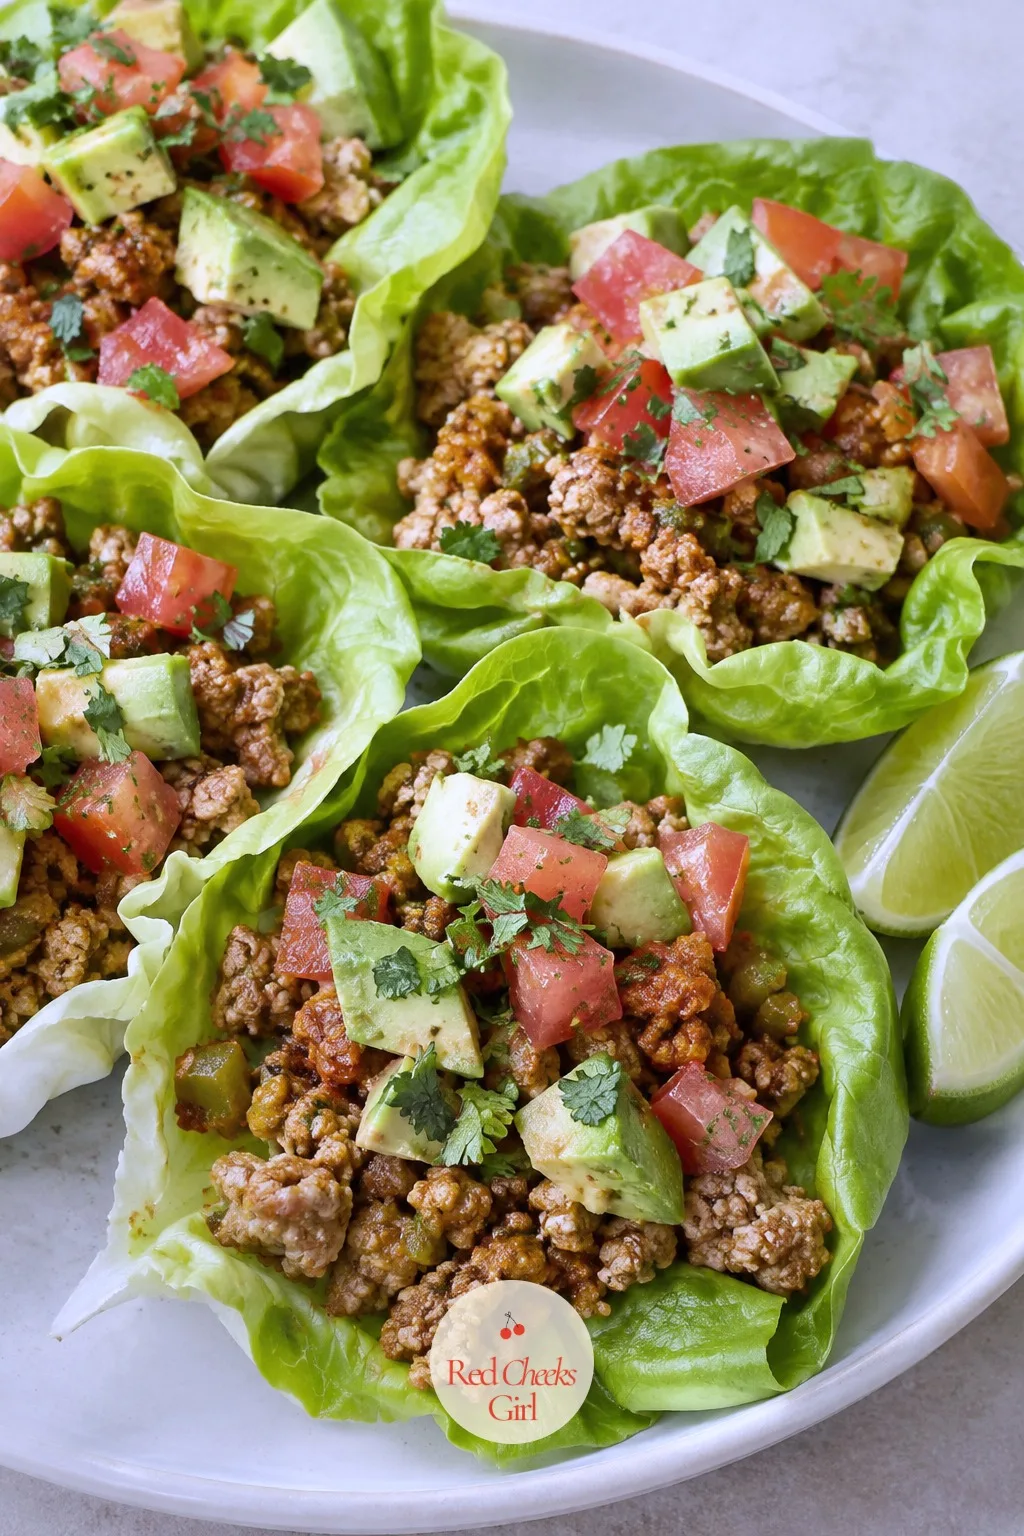
Turkey Taco Lettuce Cups
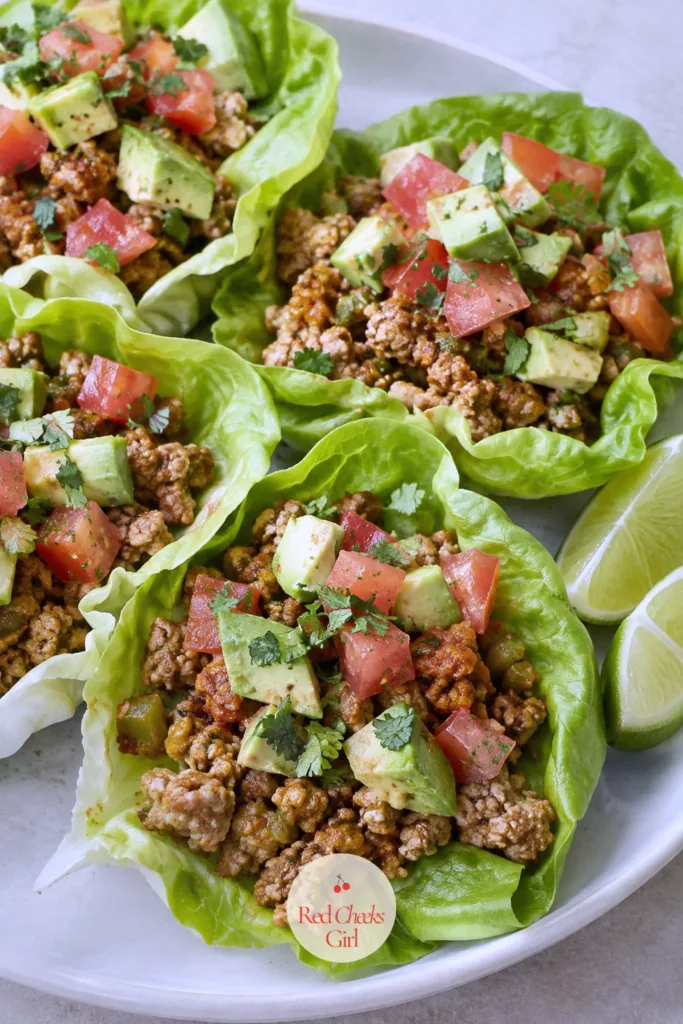
Taco night without the shell still tastes like taco night, and the butter lettuce does something a hard shell never could: it stays crisp through the whole meal instead of cracking apart on the second bite.
The seasoned turkey is the filling building block here, loaded with avocado and tomato for a meal that fills a plate without filling a tortilla basket beside it. Simmer the filling just until the liquid clings instead of pools, a wet filling is the fastest way to a soggy lettuce cup.
Set the toppings out in separate bowls and let everyone build their own, it turns a weeknight dinner into something closer to a party.
Turkey Taco Lettuce Cups
Ingredients
- 1 pound ground turkey
- 1 tablespoon olive oil
- 1/2 small onion diced
- 2 cloves garlic minced
- 1 tablespoon chili powder
- 1 teaspoon ground cumin
- 1/2 teaspoon smoked paprika
- 1/4 teaspoon garlic powder
- 1/4 teaspoon salt
- 1/4 cup water
- 12 butter lettuce leaves
- 1 avocado diced
- 1 cup diced tomato
- 1/4 cup shredded cheddar optional
- Lime wedges for serving
Instructions
- Heat olive oil in a large skillet over medium heat. Add onion and cook for 3 minutes, until softened.
- Add garlic and cook for 30 seconds, until fragrant.
- Add ground turkey, breaking it up with a spatula, and cook for 5 to 6 minutes, until no pink remains.
- Stir in chili powder, cumin, smoked paprika, garlic powder, salt and water. Simmer for 3 minutes, until the liquid mostly absorbs and the mixture clings together instead of looking wet.
- Lay the lettuce leaves on a serving platter, cup side up.
- Spoon the turkey filling into each lettuce leaf.
- Top each cup with avocado, tomato and cheddar if using, and serve with lime wedges for squeezing over the top.
Good to Know
Tomato and Egg Stir Fry
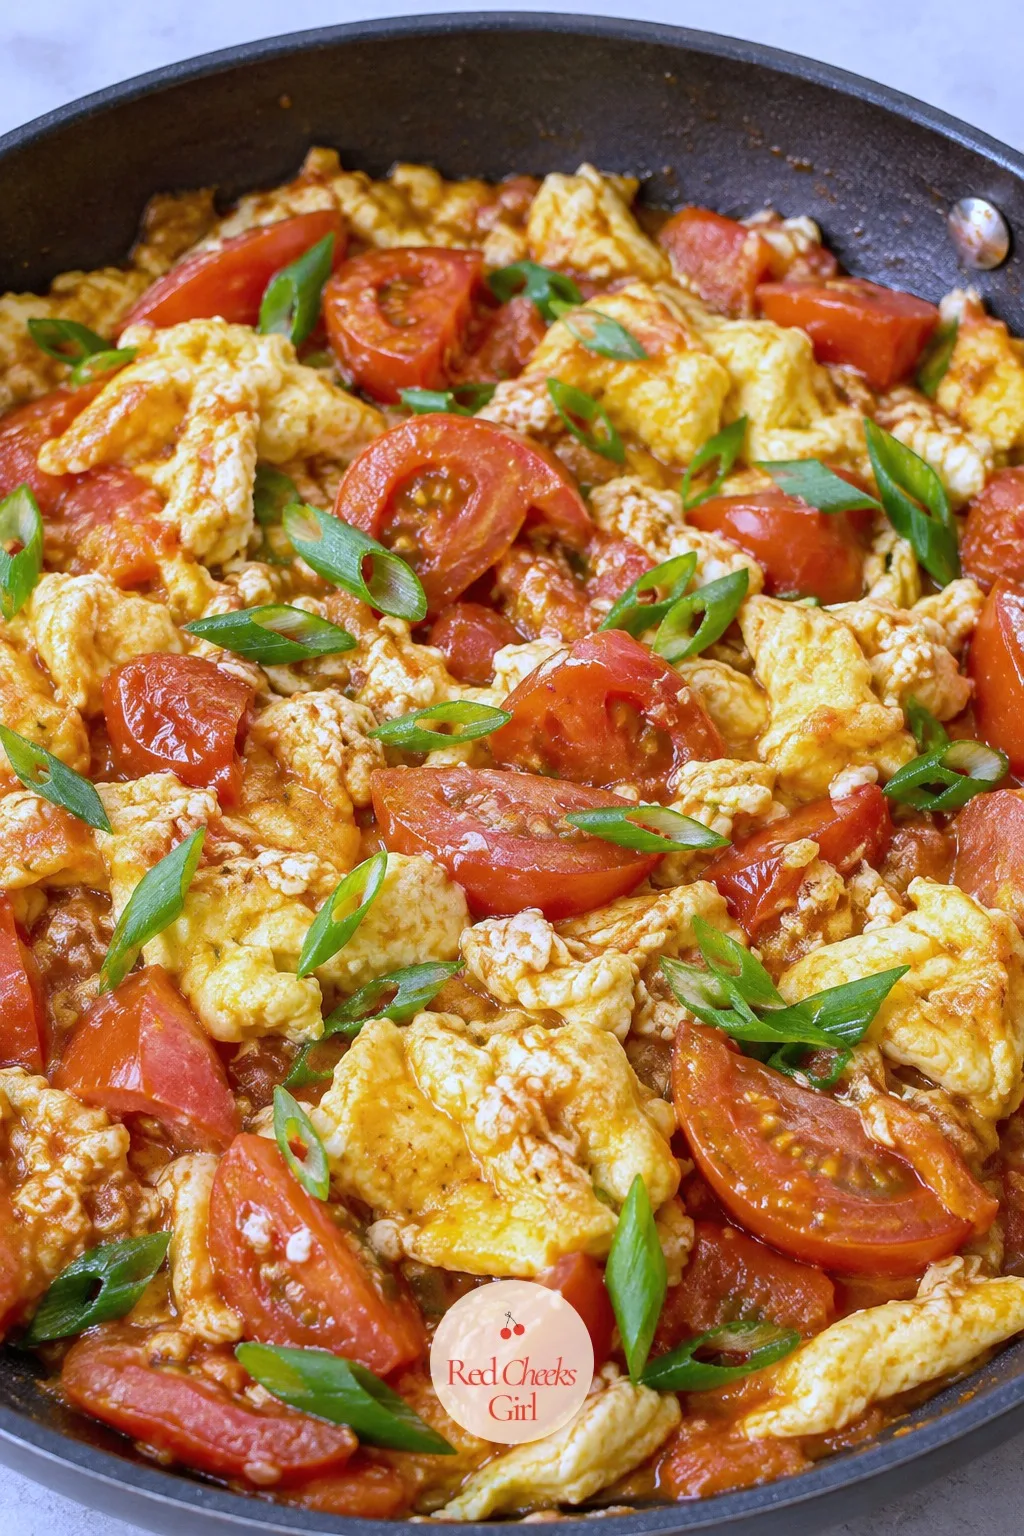
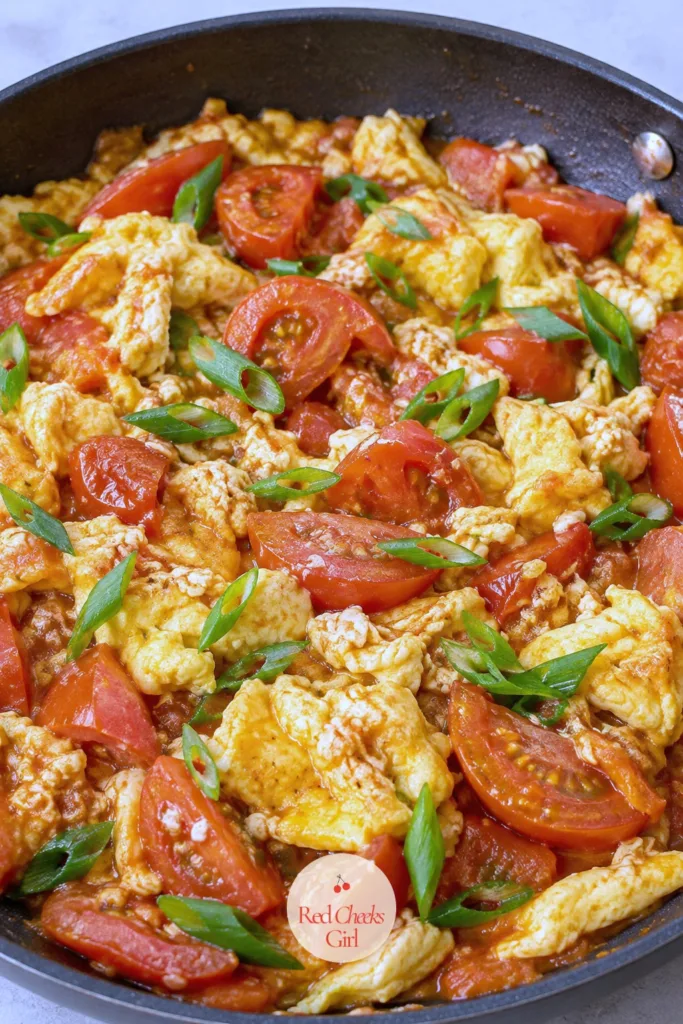
Four ingredients, one skillet, maybe eight minutes total, and the simplest dinner in the whole list earns its spot by actually tasting like something. Soft curds of egg and sweet, saucy tomato, that is the entire dish, and it does not need to be more than that.
Eggs bring protein for very little cost, while the tomatoes break down into a light sauce that coats everything without a drop of cream. Scramble the eggs only until just set and pull them out, they finish cooking again later and overcooking them twice turns them rubbery.
Spoon it over a small bowl of rice on a hungrier night, or eat it straight from the pan on a lighter one.
Tomato and Egg Stir Fry
Ingredients
- 4 large eggs
- 1/4 teaspoon salt divided
- 2 medium tomatoes cut into wedges
- 1 tablespoon vegetable oil divided
- 1 clove garlic minced
- 1/2 teaspoon sugar
- 1 teaspoon soy sauce
- 1 scallion sliced
- 1/4 teaspoon sesame oil
Instructions
- In a bowl, whisk eggs with a pinch of salt until smooth and slightly frothy.
- Heat 1/2 tablespoon vegetable oil in a nonstick skillet over medium-high heat. Pour in the eggs and let them sit undisturbed for 20 seconds, then gently scramble into large soft curds for about 1 minute, until just set. Transfer to a plate.
- Add remaining 1/2 tablespoon oil to the skillet along with garlic, stir for 15 seconds until fragrant.
- Add tomato wedges, remaining salt and sugar, and cook for 2 to 3 minutes, until the tomatoes soften and release their juices, forming a light sauce.
- Return the eggs to the skillet along with soy sauce, and gently fold everything together for 1 minute, just until warmed through, the eggs should stay soft, not rubbery.
- Drizzle with sesame oil, scatter scallion over the top, and serve immediately over a small bowl of rice if desired.
Good to Know
🛍 Shopping guide
Frequently Asked Questions
How many calories should a low calorie dinner have?
Most nutrition guides put a low calorie dinner between 300 and 500 calories, since. The right number still depends on your total daily target.
What makes a low calorie dinner actually filling?
Protein and fiber do the real work: aim for 25 to 35 grams of lean protein plus a plate that is half non-starchy vegetables like broccoli, zucchini or bell peppers for lasting fullness.
Can you meal prep low calorie dinners ahead of time?
Yes, most stir fries, soups and sheet pan dinners keep well in sealed containers in the fridge for three to four days and reheat without losing much texture, apart from salads and fresh herbs.
What vegetables work best for low calorie dinners?
Non-starchy vegetables add volume for very few calories: broccoli, zucchini, bok choy, cauliflower, cabbage, bell peppers and asparagus all work well roasted, stir fried or grilled.
Is it safe to eat low calorie dinners every night?
Yes, as long as dinner stays above roughly 300 calories and includes enough protein, eating lighter dinners nightly is considered safe and sustainable rather than restrictive.
15 Mediterranean chicken recipes built on lemon, olive oil, herbs and vegetables, from a stuffed sho
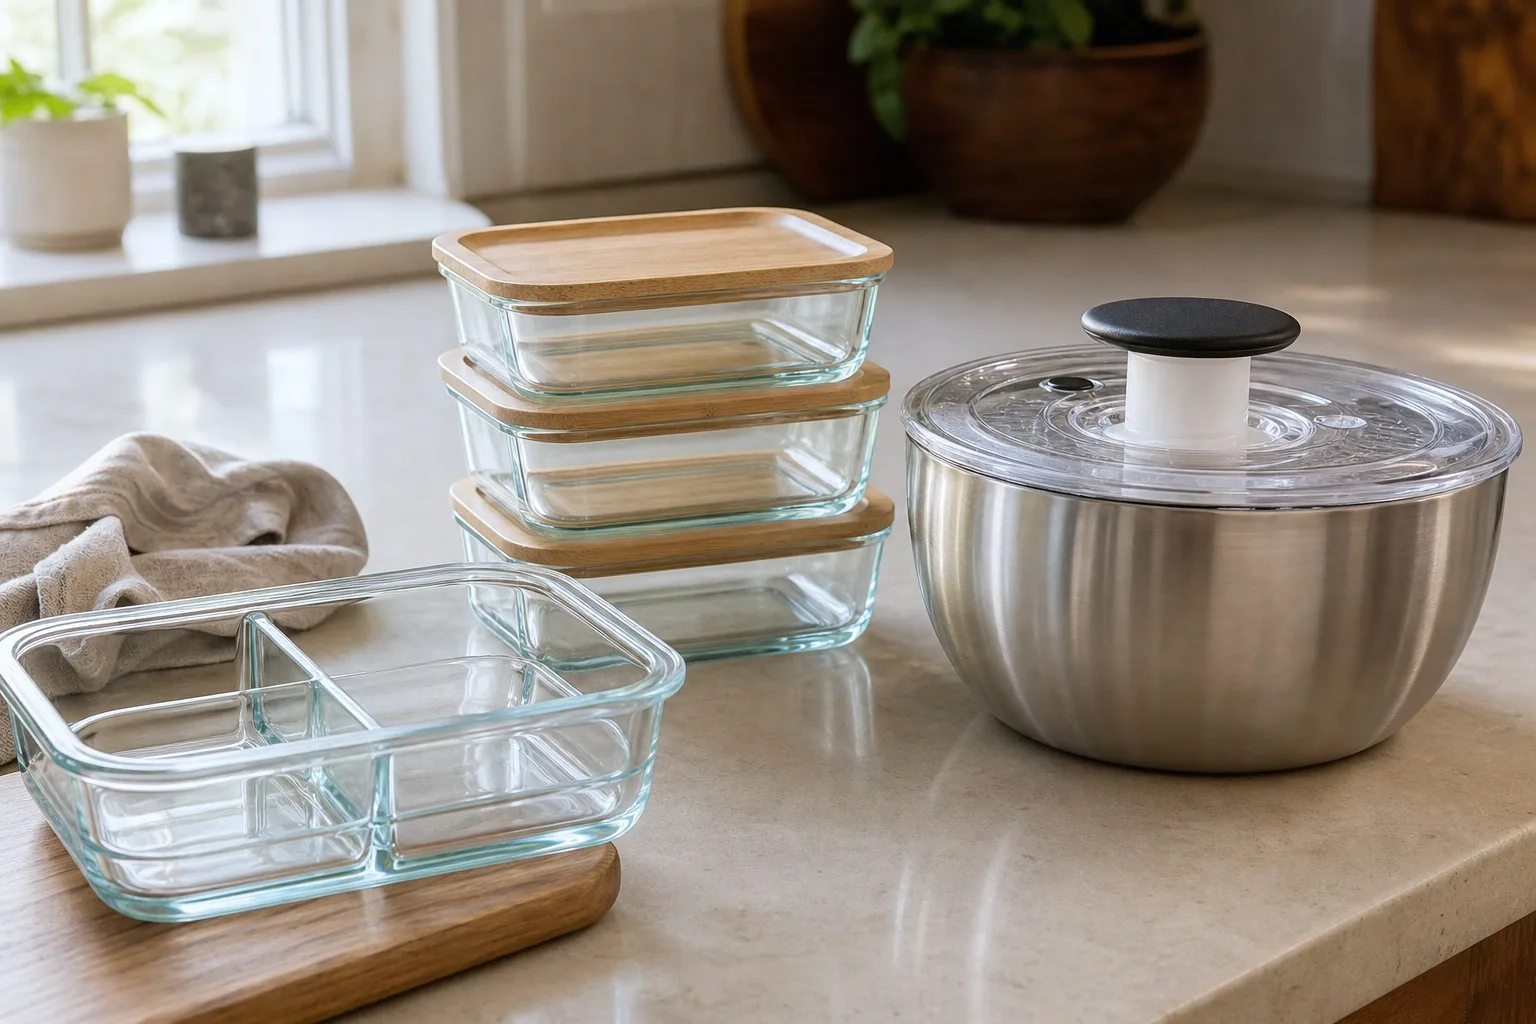
Non toxic kitchen swaps in glass, wood and silicone that replace plastic storage, utensils and bags,
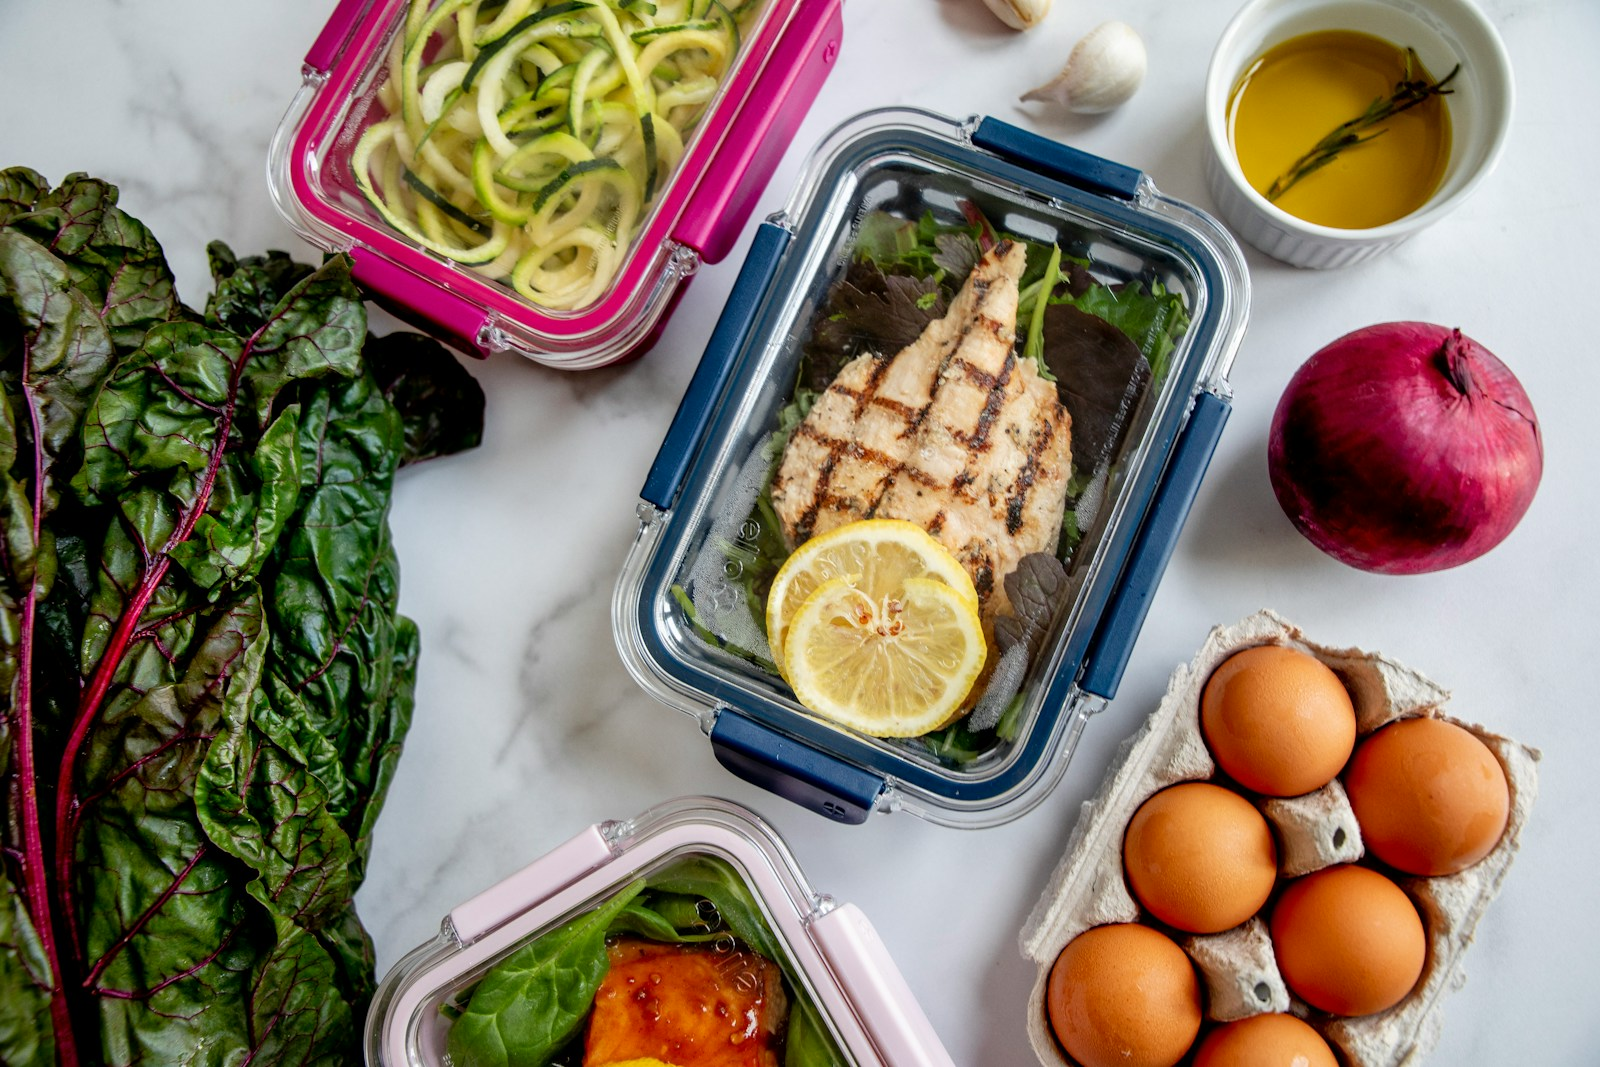
14-Day Cortisol-Balancing Meal Plan (That Won’t Make You Eat Like a Rabbit) High cortisol leve
Leave a Reply