

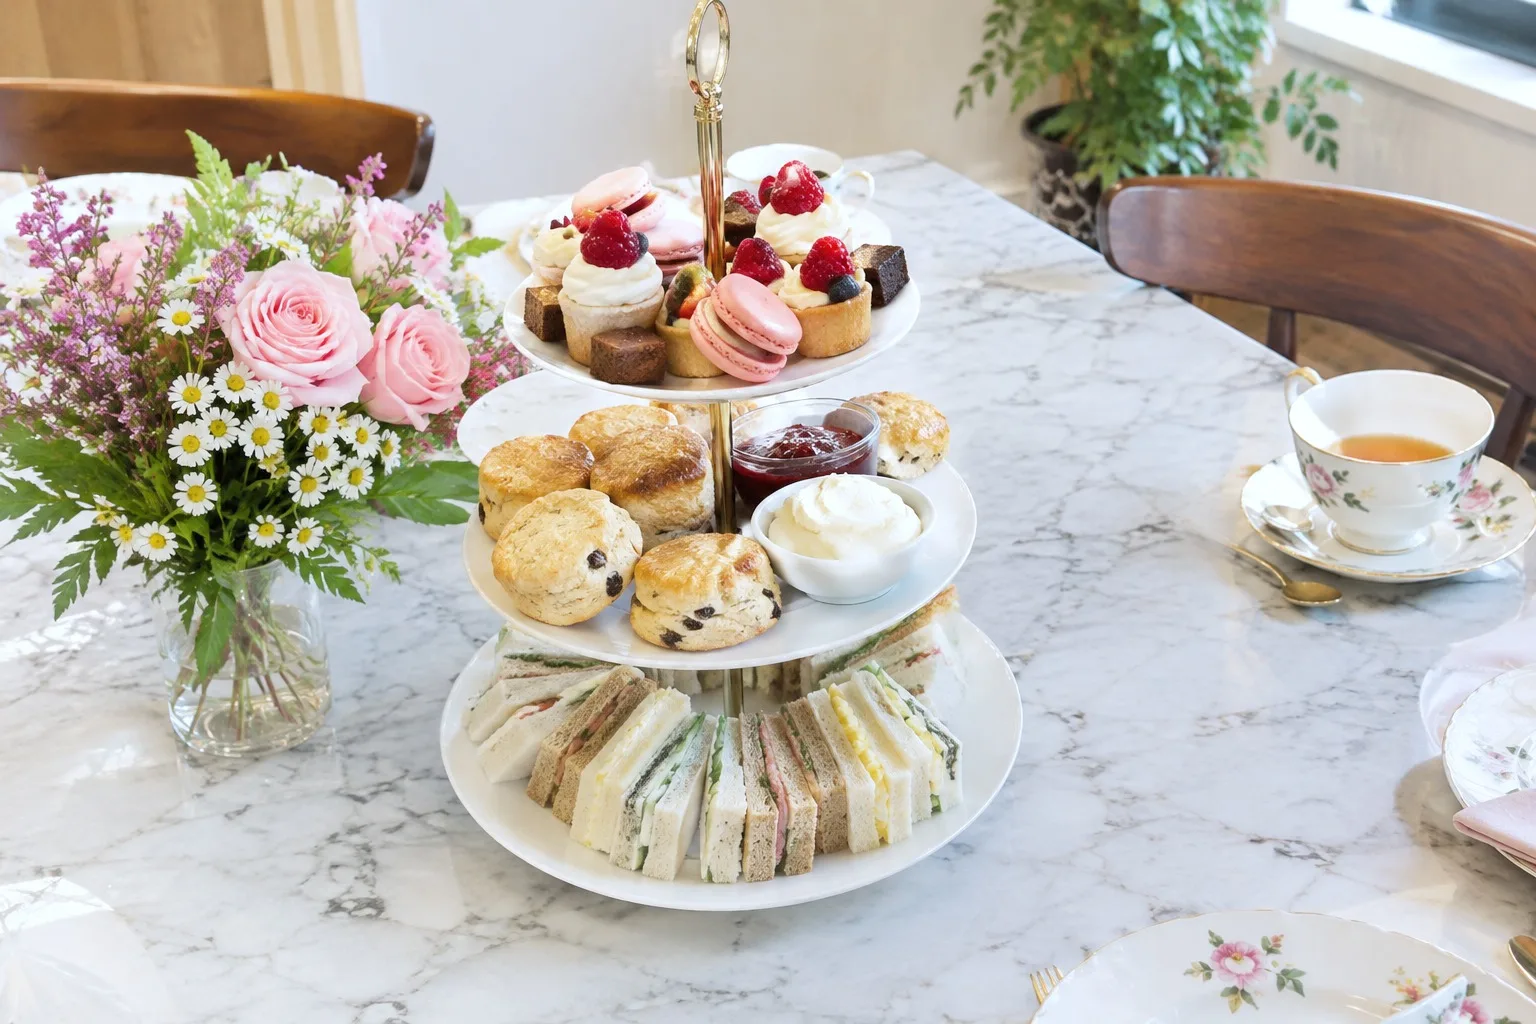
Six to ten women around a table for two hours is its own kind of pressure: too little food and the afternoon feels thin, too much and half of it goes stale on the counter. Eighteen recipes below solve that math, built the way a proper afternoon tea is built: savory first, sweets after, nothing that needs a fork.
Everything here sits happily on a plate if you do not own a tiered stand, and climbs onto one beautifully if you do.
Expect eggs, dairy, wheat and gluten throughout, fish in the smoked salmon, tree nuts in the chicken salad and the shortbread, and coconut in one sweet near the end; flag these to anyone with allergies before she sits down.
Once the sandwiches are gone, you can line up 16 tea party games for an elegant afternoon to keep the table busy before the cake course arrives. And if the rest of her day still needs shape, 21 25th birthday ideas for her that feel like a milestone worth dressing up for cover the parts this list does not touch.
This post contains affiliate links. If you buy through them, I may earn a small commission at no extra cost to you.
Table of Contents
- Cucumber Tea Sandwiches
- Heart-Shaped Strawberry Tea Sandwiches
- Egg Salad Finger Sandwiches
- Chicken Salad on Brioche
- Smoked Salmon on Rye
- Ham and Dijon Pinwheel Sandwiches
- Watercress and Cream Cheese Tea Sandwiches
- Mini Quiches
- Deviled Eggs with Fresh Chives
- Mini Sausage Rolls
- Scones with Jam and Cream
- Lemon Curd Tarts
- Mini Victoria Sponges
- Petit Fours
- Battenberg Cake Bites
- Rose and Pistachio Shortbread
- Coconut Ice Squares
- Welsh Cakes with Butter
- Frequently Asked Questions
Cucumber Tea Sandwiches
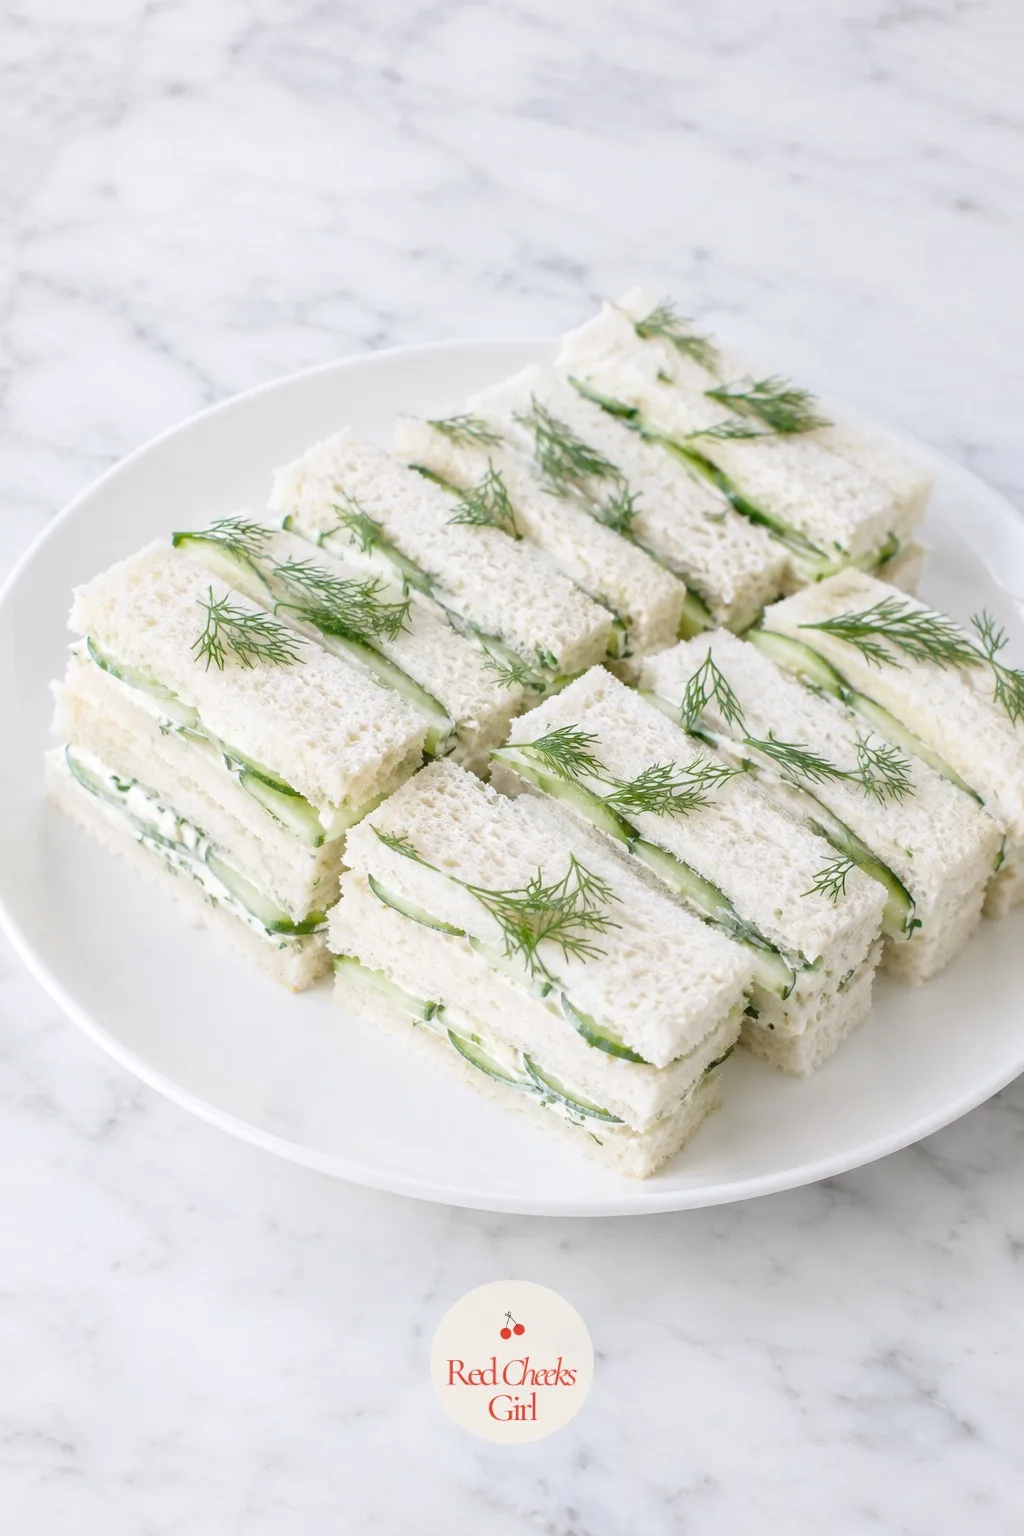
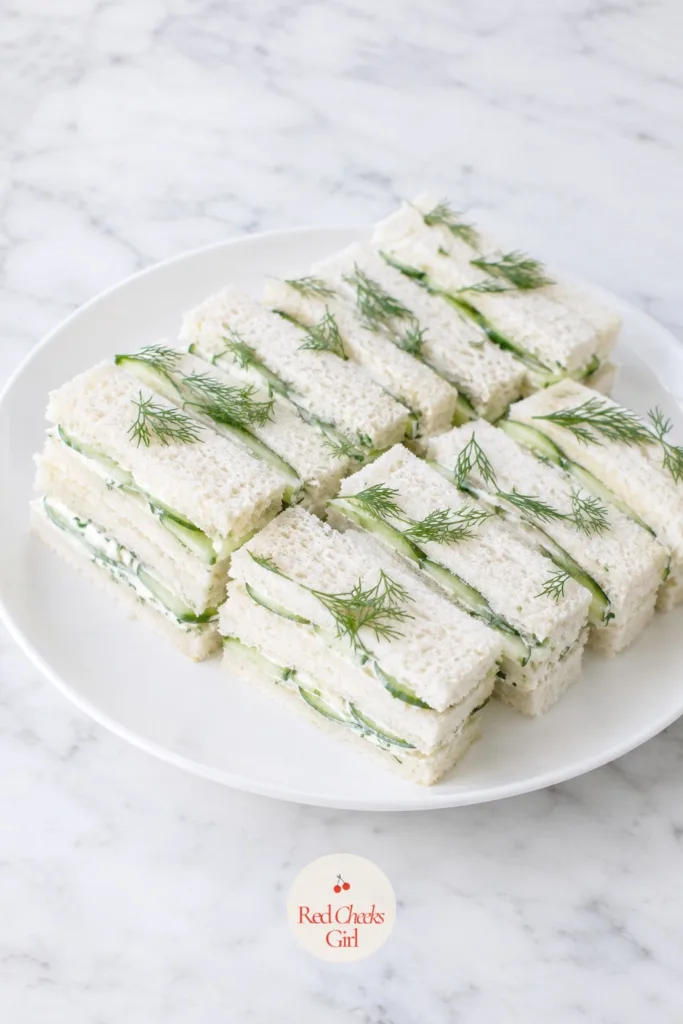
This is the one guest expects before she even sits down, and the one that goes wrong fastest if the cucumber weeps into the bread. Salt it first, pat it dry, and the sandwich stays crisp instead of soft and sad by hour two.
Cut thin, these look elegant rather than stingy. A little dill in the cream cheese keeps the flavor from going flat, and white pepper gives it a quiet heat you taste rather than see.
Cucumber Tea Sandwiches
Ingredients
- 16 slices soft white sandwich bread
- 8 oz cream cheese softened
- 4 tablespoons unsalted butter softened
- 1 English cucumber
- 1 teaspoon fine salt divided
- 2 tablespoons fresh dill finely chopped
- 1/4 teaspoon white pepper
Instructions
- Peel the cucumber and slice it into rounds about 1/8 inch thick with a sharp knife or mandoline.
- Lay the rounds on a double layer of paper towel, sprinkle with 1/2 teaspoon salt, and let them sit for 15 minutes until they look glossy and slightly limp.
- Pat the cucumber dry with fresh paper towel to remove the water that beaded on top.
- Beat the cream cheese, butter, dill, white pepper and the remaining 1/2 teaspoon salt together until smooth and completely lump-free.
- Spread the mixture edge to edge on all 16 slices of bread, so every bite gets some.
- Layer the dried cucumber over 8 of the slices, overlapping the rounds slightly so there are no gaps.
- Top each with a second slice, cream cheese side down, and press gently so the sandwich holds together.
- Trim the crusts off with a long serrated knife, wiping the blade between cuts for a clean edge.
- Cut each sandwich into 3 even fingers, arrange on a platter, cover with a lightly dampened paper towel, and refrigerate for 30 minutes before serving.
Good to Know
🛍 Shopping guide
Heart-Shaped Strawberry Tea Sandwiches
This is the sandwich that photographs itself, and the only one on the table with any real sweetness before the sweets course starts. Keep the strawberries blotted dry; a weepy berry is the fastest way to a soggy heart.
Honey softens the cream cheese so it spreads without tearing the bread. Make these last among the sandwiches and serve them within the hour; fruit does not hold the way egg salad does.


Heart-Shaped Strawberry Tea Sandwiches
Ingredients
- 8 slices soft white bread
- 4 oz cream cheese softened
- 2 tablespoons honey
- 1/2 teaspoon vanilla extract
- 1 cup fresh strawberries hulled and thinly sliced
- 1 heart-shaped cookie cutter about 2.5 inches
Instructions
- Beat the softened cream cheese with the honey and vanilla until fluffy and pale, about 2 minutes with a hand mixer.
- Hull the strawberries and slice them into rounds about 1/8 inch thick.
- Lay the bread slices flat and cut 2 hearts from each slice with the cutter, for 16 hearts total.
- Spread a thin, even layer of the honey cream cheese over half of the hearts, right to the points.
- Blot the strawberry slices briefly on paper towel so they do not weep onto the bread.
- Arrange 3 to 4 strawberry slices on each frosted heart, slightly overlapping, keeping them inside the edge.
- Top each with a plain heart, cream cheese side down, and press the edges gently to seal.
- Transfer to a parchment-lined tray and chill for 15 minutes so the layers settle and hold their shape.
- Move to the stand just before guests arrive: strawberries soften the bread if they sit much longer than an hour.
Good to Know
Egg Salad Finger Sandwiches
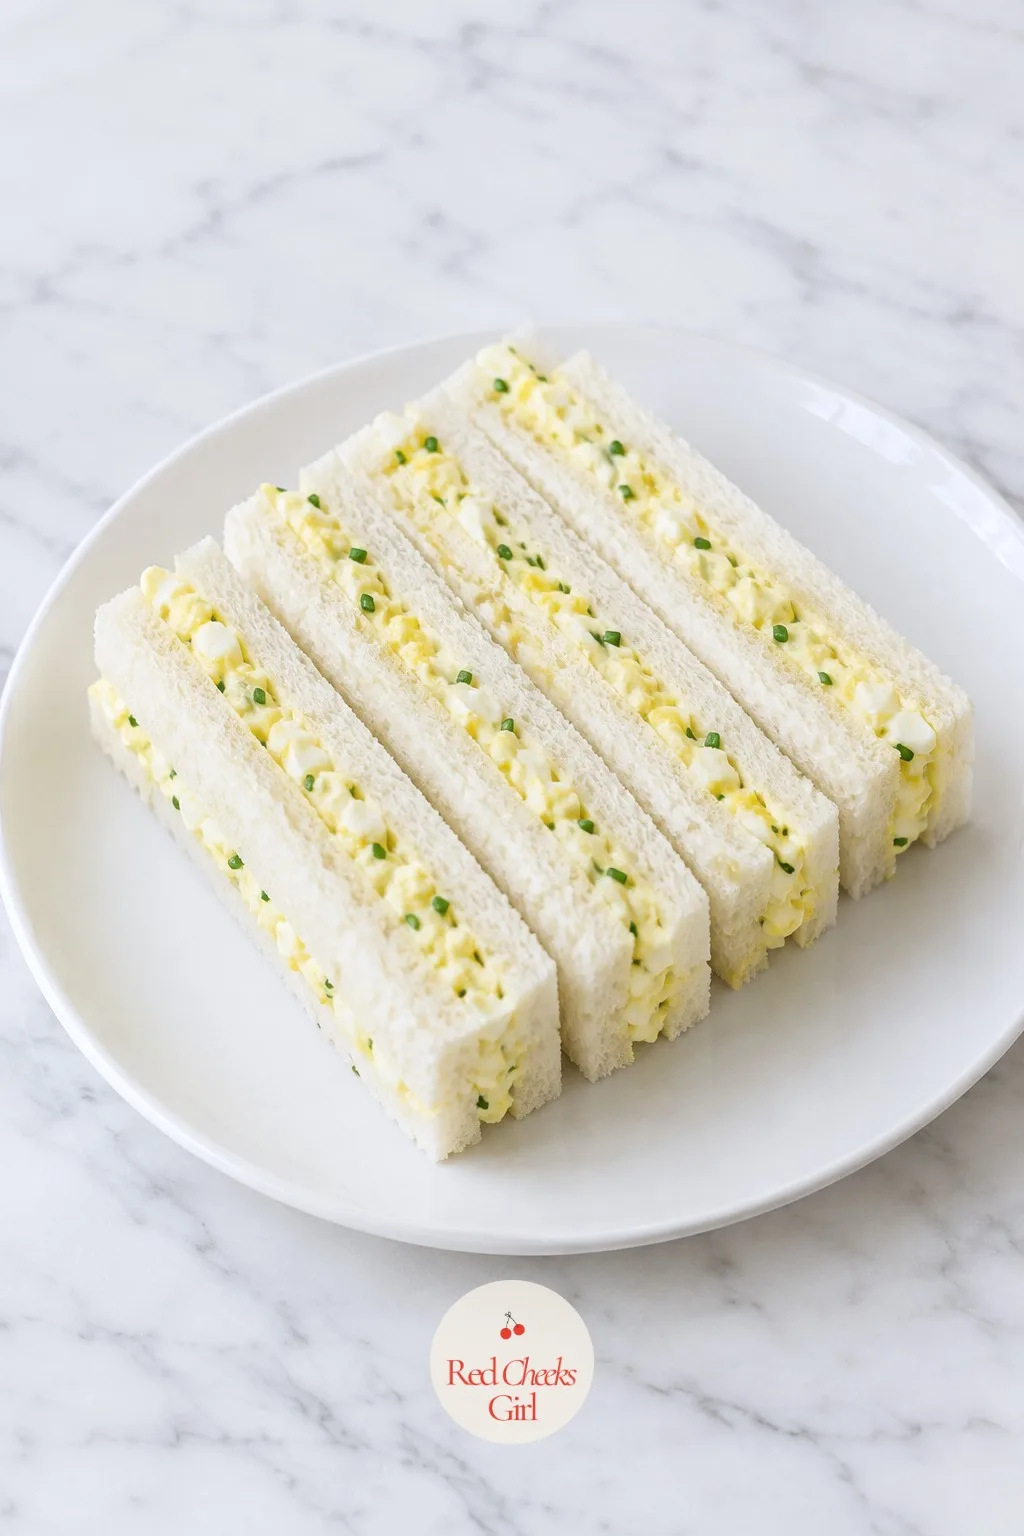
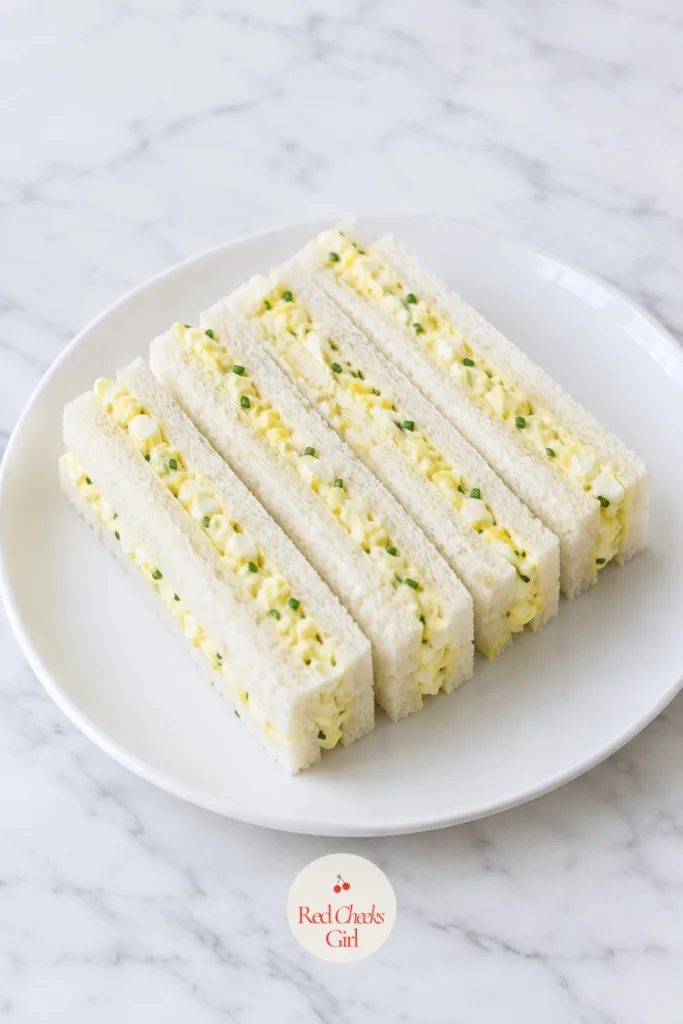
Nobody argues with egg salad, which is exactly why it belongs early on the tray. The only real risk is a gray ring around the yolk, and that is just a timer problem.
Chop the eggs small rather than mashing them; the texture reads as refined instead of baby food. These hold beautifully in the fridge, so they are the sandwich to make first if you are short on hands the morning of.
Egg Salad Finger Sandwiches
Ingredients
- 8 large eggs
- 1/3 cup mayonnaise
- 1 tablespoon Dijon mustard
- 2 tablespoons celery finely diced
- 1 tablespoon fresh chives chopped
- 1/2 teaspoon salt
- 1/4 teaspoon black pepper
- 16 slices soft white or whole wheat bread
- 2 tablespoons unsalted butter softened
Instructions
- Place the eggs in a saucepan, cover with cold water by 1 inch, and bring to a boil over high heat.
- Cover, remove from the heat, and let the eggs sit in the hot water for 11 minutes for fully set yolks with no gray ring.
- Drain and plunge the eggs into a bowl of ice water for 5 minutes to stop the cooking and loosen the shells.
- Peel the eggs and chop them into small, even pieces with an egg slicer or knife.
- Fold in the mayonnaise, Dijon, celery, chives, salt and pepper until just combined; the mixture should hold together on a spoon without being wet.
- Butter one side of all 16 bread slices, a thin barrier that keeps the filling from soaking in.
- Spread about 1/4 cup egg salad over 8 of the buttered slices, all the way to the edges.
- Top with the remaining slices, butter side down, and press down lightly.
- Trim the crusts with a serrated knife, then cut each sandwich into 3 fingers.
- Arrange on a plate, cover and refrigerate for up to 2 hours before serving so the fingers stay neat when picked up.
Good to Know
Chicken Salad on Brioche
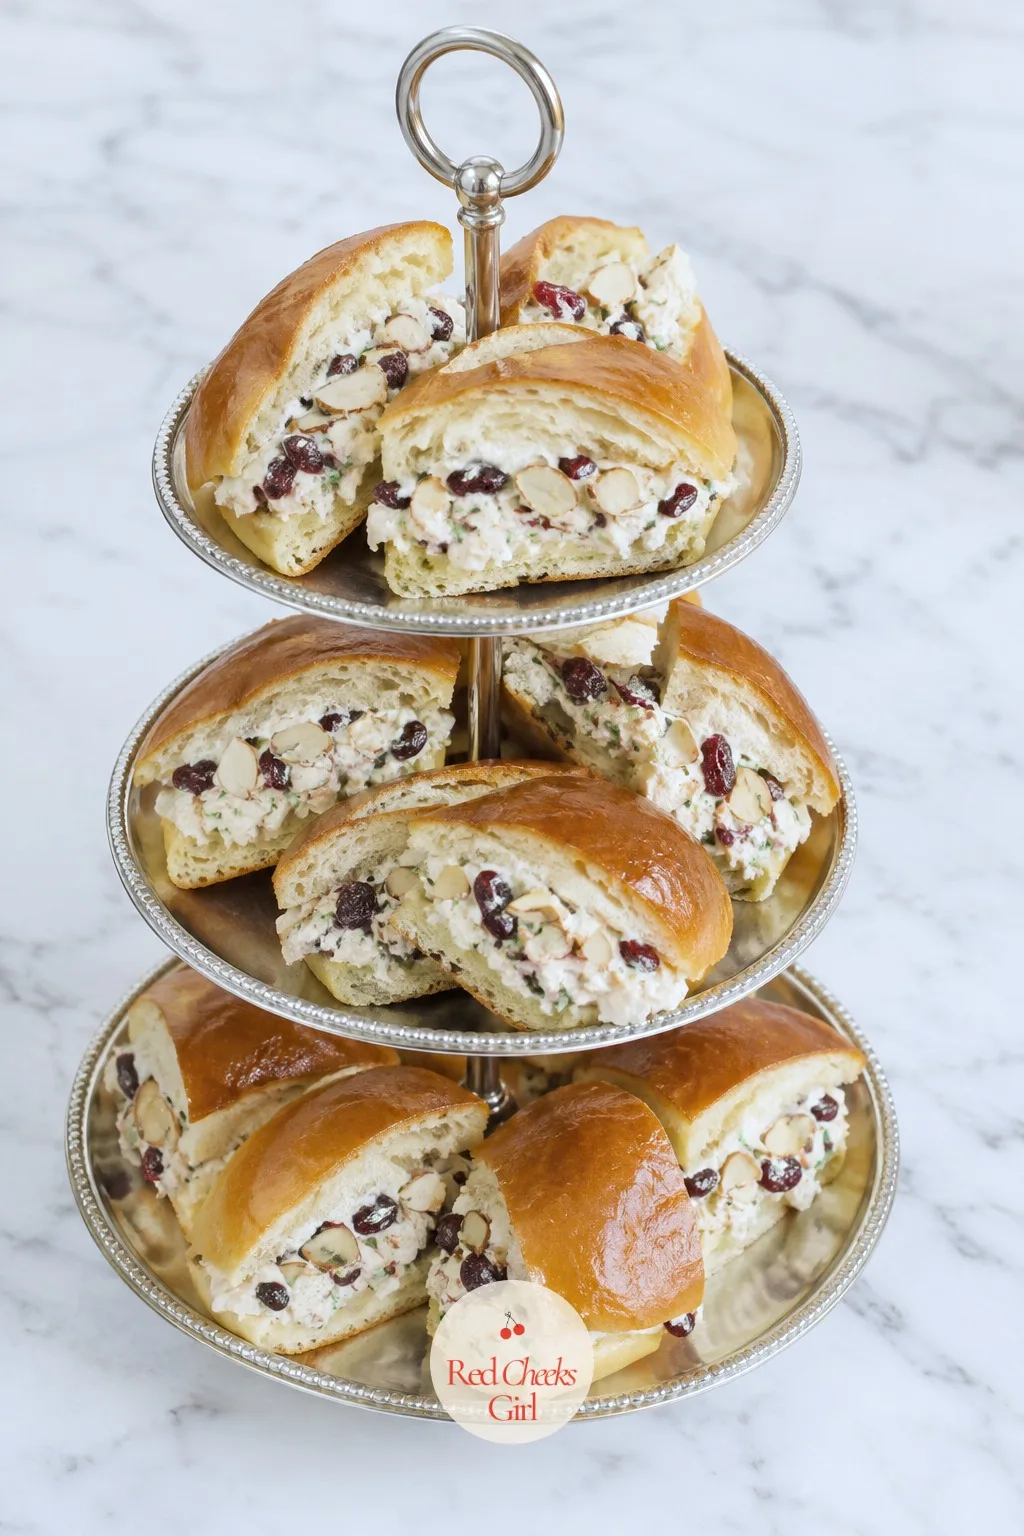
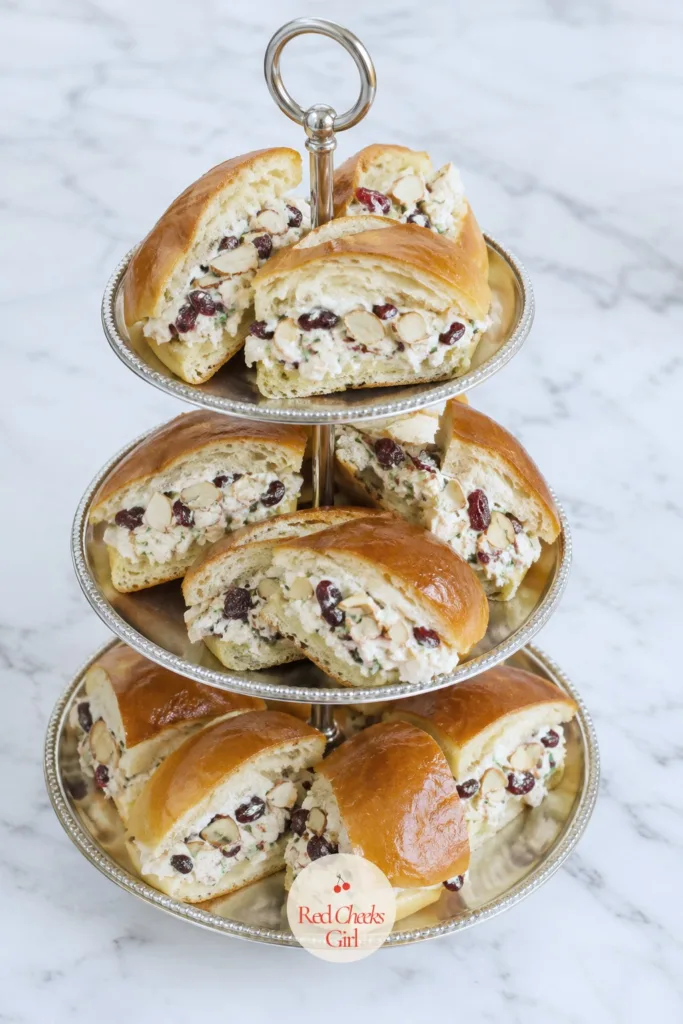
This is the sandwich that satisfies someone who skipped lunch, without looking out of place next to the dainty ones. A little dried fruit and toasted almond keeps it from tasting like leftover chicken dinner.
Brioche is softer than sandwich bread, so a thin scrape of butter underneath is non-negotiable; it is the only thing standing between the filling and a damp roll by the time guests reach for seconds.
Chicken Salad on Brioche
Ingredients
- 2 cups cooked chicken breast finely diced
- 1/3 cup mayonnaise
- 1 tablespoon lemon juice
- 1/4 cup celery finely diced
- 2 tablespoons dried cranberries chopped
- 2 tablespoons toasted sliced almonds chopped
- 1/2 teaspoon salt
- 1/4 teaspoon black pepper
- 8 small brioche rolls split, or 16 slices brioche loaf
- 2 tablespoons unsalted butter softened
Instructions
- Combine the diced chicken, mayonnaise, lemon juice, celery, cranberries, almonds, salt and pepper in a bowl.
- Stir until every piece of chicken is coated and the mixture clumps together when pressed with a spoon.
- Cover and refrigerate the chicken salad for at least 1 hour so the flavors settle and the texture firms up.
- If using a brioche loaf, slice it about 1/2 inch thick; if using rolls, split each one horizontally.
- Butter the cut sides of the brioche lightly; a thin layer is enough to stop any sogginess.
- Spoon about 2 tablespoons of chicken salad onto the bottom half of each roll or slice.
- Press down gently so the filling reaches the edges without spilling over.
- Close the sandwiches, then trim rolls in half on the diagonal for a neater bite if using full-size rolls.
- Arrange on a plate and keep chilled until 15 minutes before serving, so the butter has not gone hard and brittle.
Good to Know
Smoked Salmon on Rye
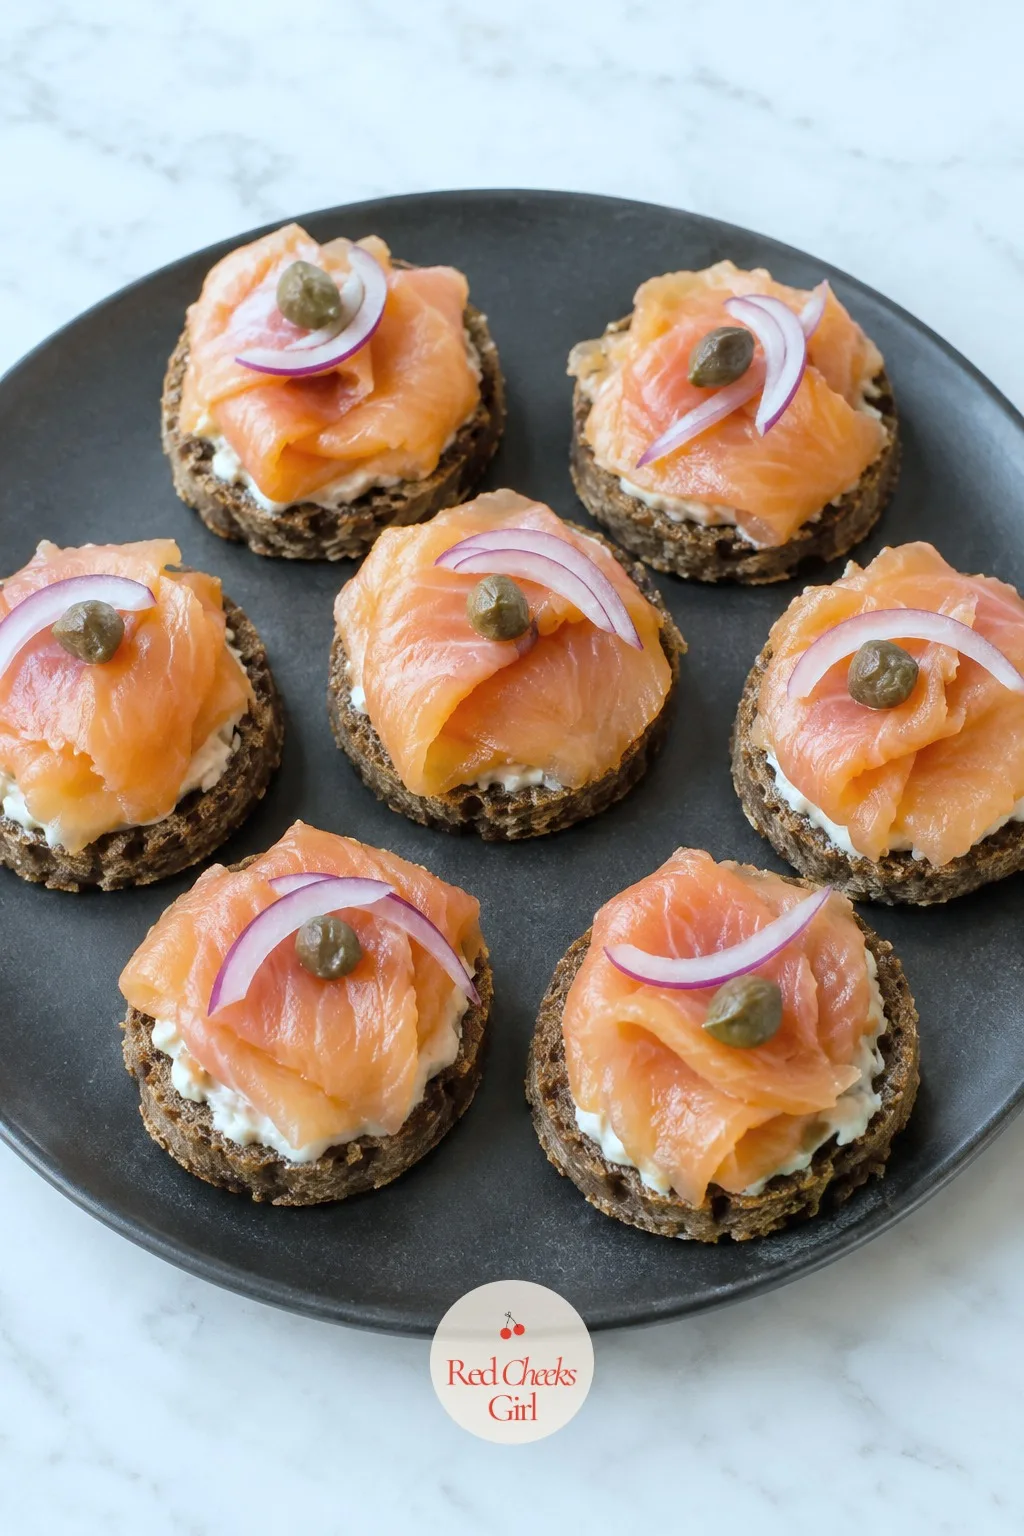
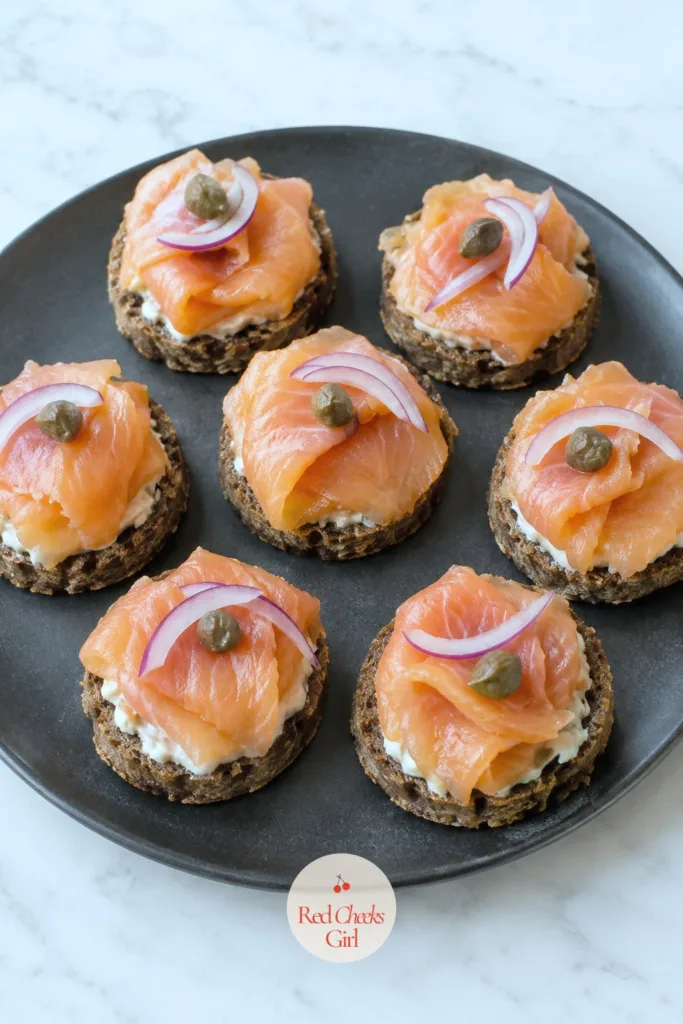
This is the grown-up sandwich on the tray, the one that makes the spread look like it cost more effort than it did. Open-faced means no crusts to trim and no bread going soft from a second layer.
Fold the salmon rather than laying it flat; it gives the bite some height and stops it looking like a single pink sheet. Add the pepper at the last minute so it stays sharp instead of bleeding into the cheese.
Smoked Salmon on Rye
Ingredients
- 10 slices cocktail rye bread small rounds or squares
- 4 oz cream cheese softened
- 1 tablespoon fresh lemon juice
- 1 tablespoon fresh dill chopped, plus small sprigs for garnish
- 4 oz thinly sliced smoked salmon
- 1/4 small red onion sliced paper-thin
- 1 tablespoon capers
- cracked black pepper for topping
Instructions
- Beat the cream cheese with lemon juice and chopped dill until smooth and easy to spread.
- Spread a thin layer of the dill cream cheese on each slice of cocktail rye, right to the edges.
- Cut or fold the smoked salmon into pieces slightly smaller than the bread, so it sits inside the border.
- Drape one piece of salmon over each slice in loose folds rather than flat, for height and texture.
- Top with 1 or 2 slivers of red onion, arranged so they peek out rather than cover the salmon.
- Scatter a few capers over each piece and finish with a small dill sprig.
- Add a light crack of black pepper just before serving, not earlier, so it does not weep color into the cream cheese.
- Arrange in a single layer on a plate and serve within 2 hours of assembling for the best texture.
Good to Know
Ham and Dijon Pinwheel Sandwiches
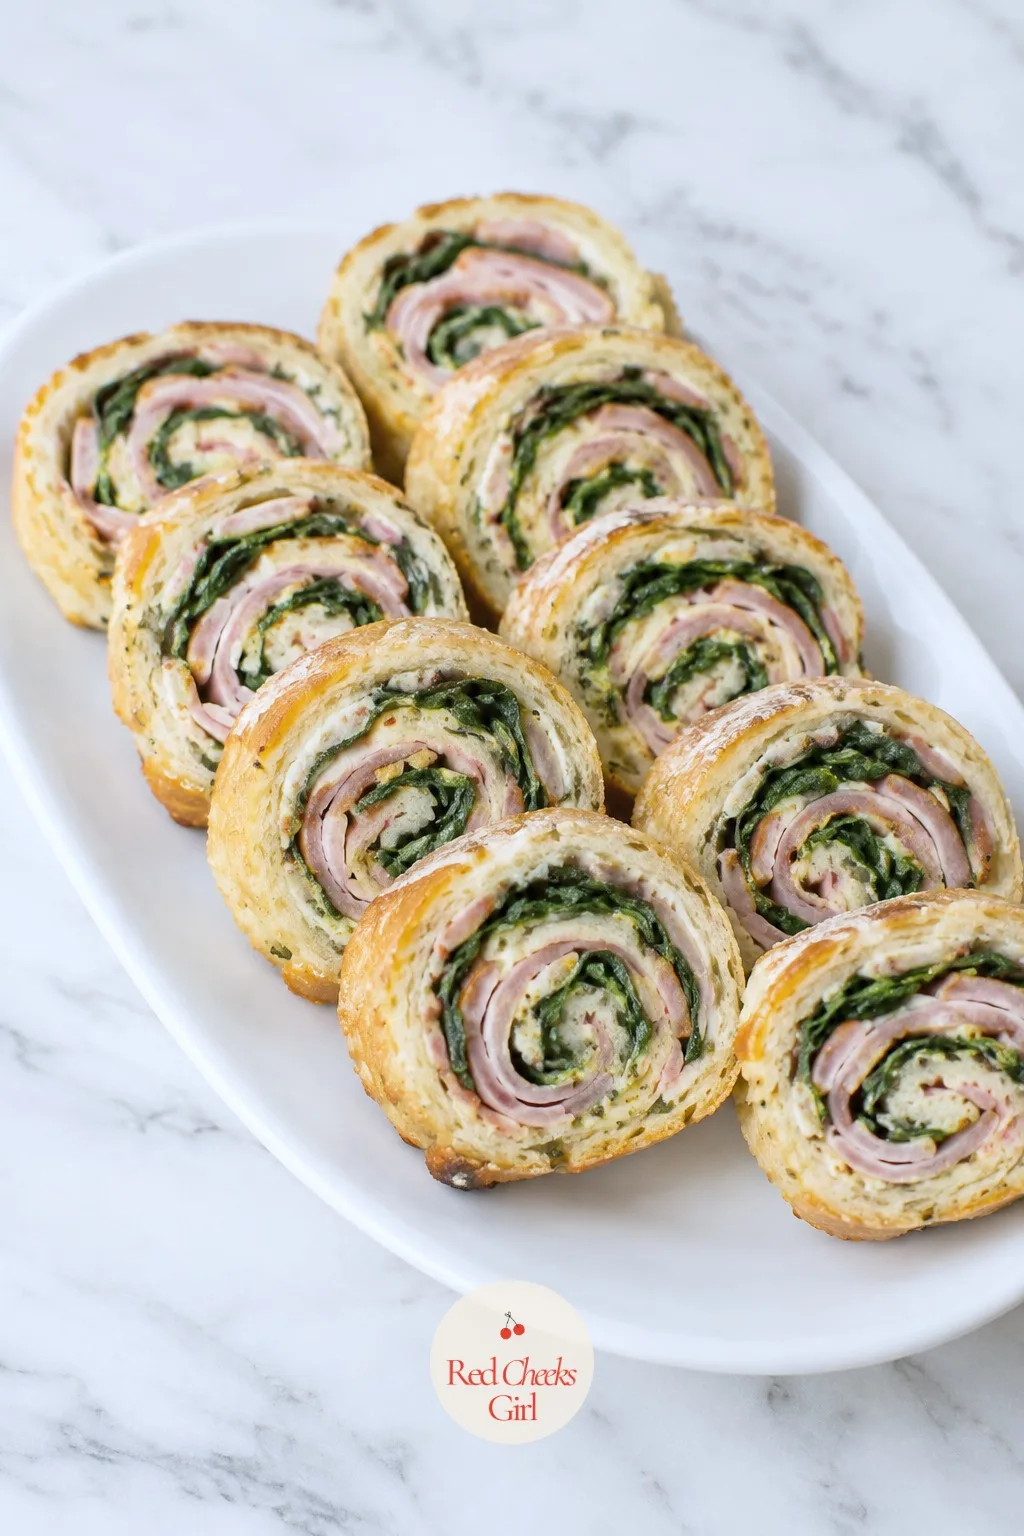
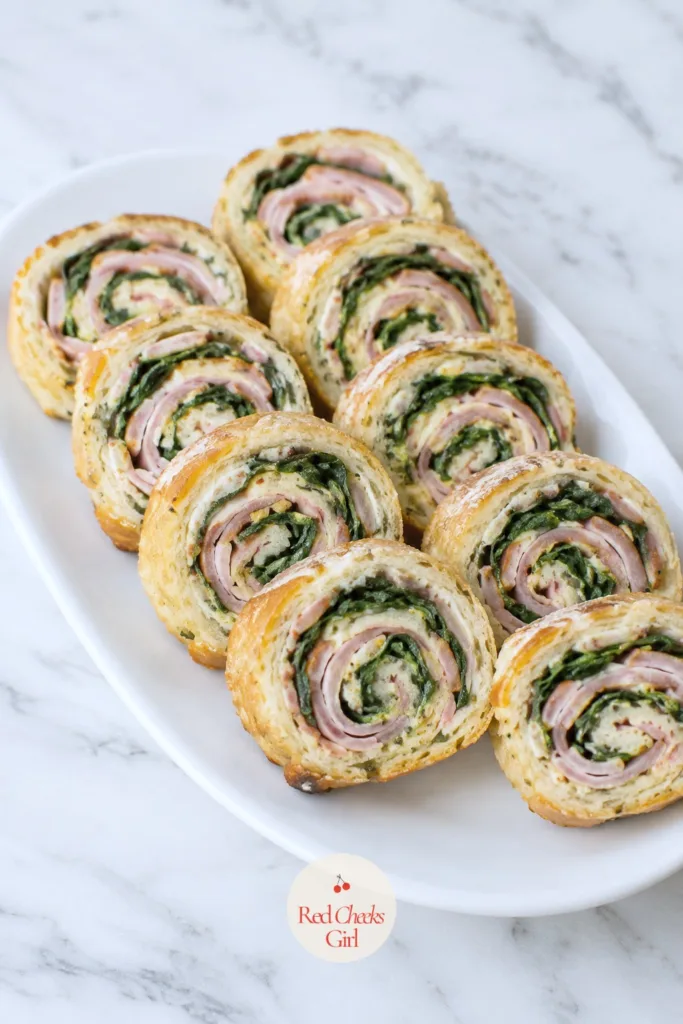
Pinwheels earn their place for one reason: they look like more work than they are. A few hours in the fridge and a sharp knife do most of the job for you.
Spinach gives the spiral some color against the ham and cheese, so the slice looks deliberate rather than beige. If anyone at the table skips gluten, this is the easiest one to swap for a gluten-free wrap without anyone noticing a difference on the plate.
Ham and Dijon Pinwheel Sandwiches
Ingredients
- 4 large flour tortillas 10-inch
- 6 oz cream cheese softened
- 2 tablespoons Dijon mustard
- 1 tablespoon honey
- 8 oz thinly sliced deli ham
- 1 cup baby spinach leaves patted dry
Instructions
- Beat the cream cheese, Dijon and honey together until smooth and easy to spread, with no streaks of mustard left visible.
- Lay each tortilla flat and spread the mixture in an even layer right to the edges.
- Cover each tortilla with a layer of ham, slightly overlapping the slices so there are no gaps.
- Scatter baby spinach leaves over the ham, pressing them down gently so they stick to the filling.
- Starting from one edge, roll each tortilla up tightly into a log, keeping the pressure even along the length.
- Wrap each log tightly in plastic wrap, twisting the ends like a candy wrapper.
- Refrigerate the wrapped logs for at least 2 hours, or overnight, until firm enough to hold a clean slice.
- Unwrap and trim the ragged ends off each log with a sharp knife.
- Slice each log into rounds about 3/4 inch thick and arrange cut side up on a plate; the spiral should look crisp, not squashed.
Good to Know
Watercress and Cream Cheese Tea Sandwiches
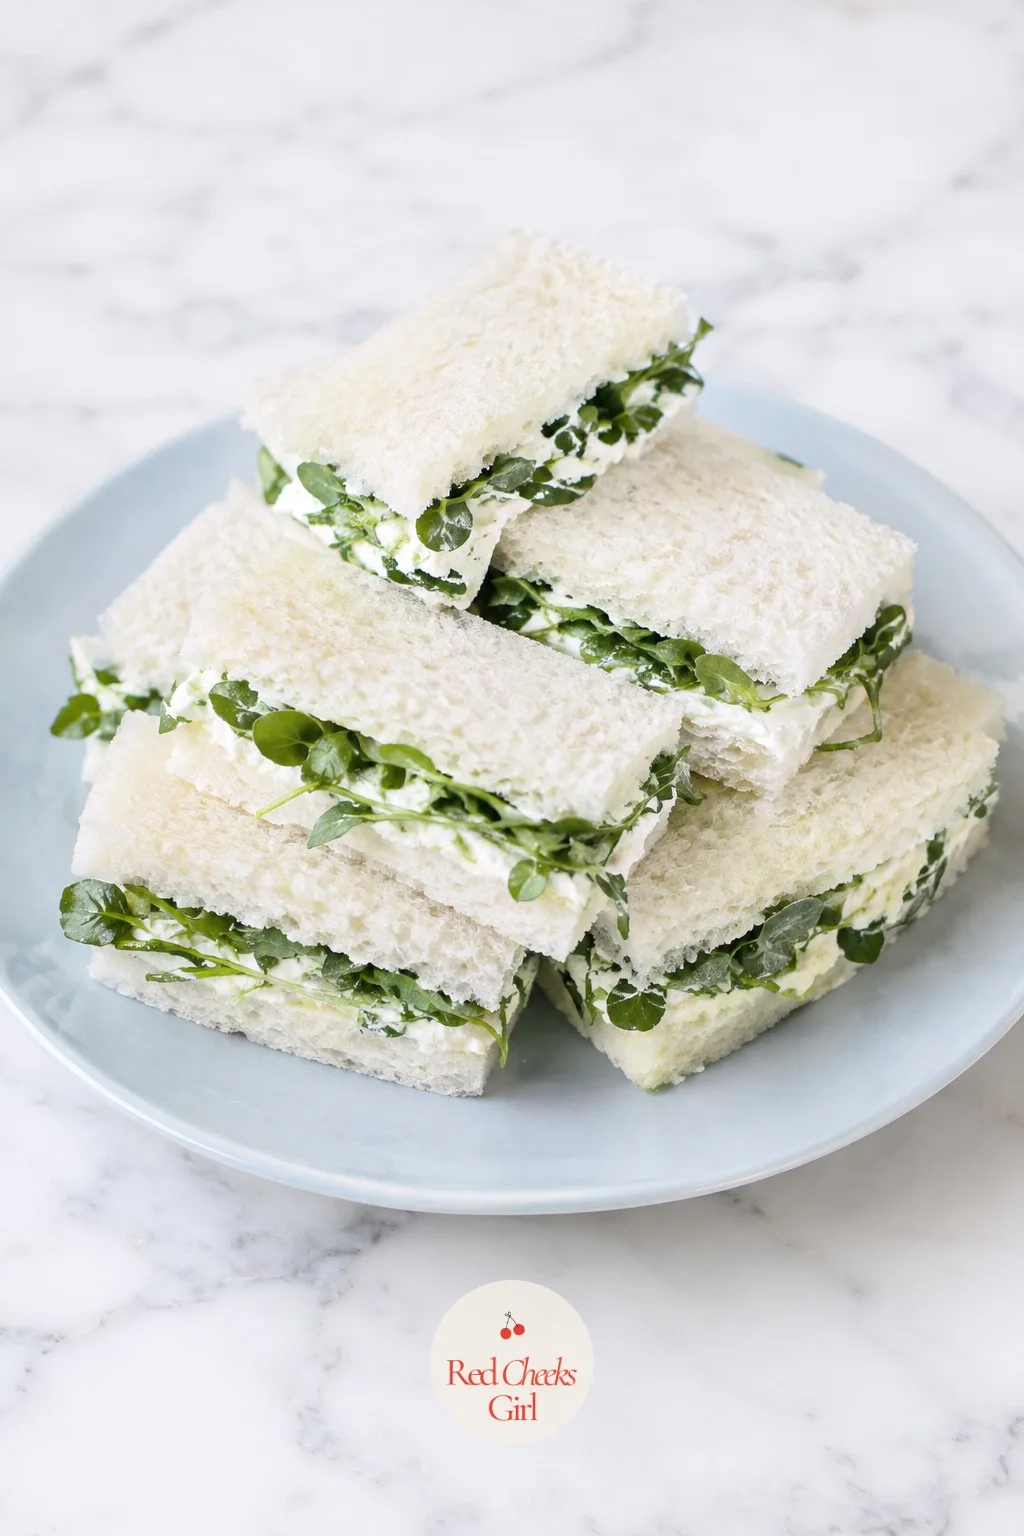
This is the quiet, old-fashioned one next to the showier sandwiches, and it earns its spot with peppery bite instead of looks. Watercress has a short memory, though: build it close to serving time.
If watercress is hard to find, baby arugula does the same sharp, green job. Either way, this sandwich wants to be eaten within the hour, not stacked on a tray at noon for a two o’clock party.
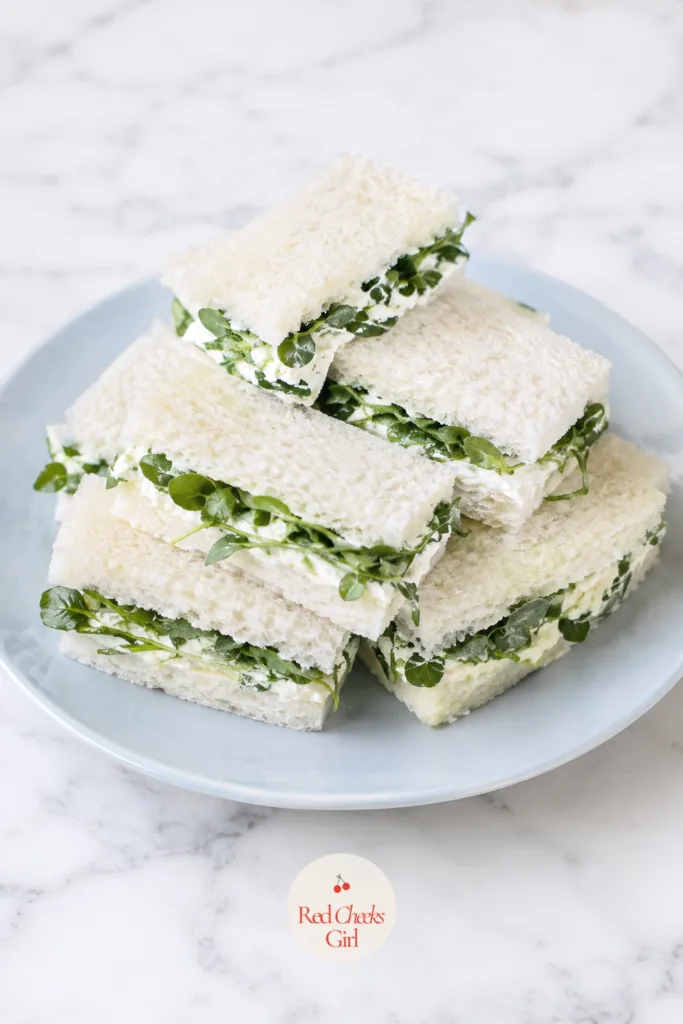
Watercress and Cream Cheese Tea Sandwiches
Ingredients
- 16 slices soft white bread
- 8 oz cream cheese softened
- 1 tablespoon mayonnaise
- 2 cups watercress washed and dried, tough stems removed
- 1/4 teaspoon salt
- 1/4 teaspoon black pepper
Instructions
- Beat the cream cheese and mayonnaise together with the salt and pepper until smooth and spreadable.
- Spread the mixture edge to edge on all 16 slices of bread.
- Pick through the watercress and discard any thick stems, keeping only the leafy sprigs.
- Lay a generous, even layer of watercress over 8 of the slices, letting a little peek past the crust.
- Top with the remaining slices, cream cheese side down, and press gently so the leaves stay in place.
- Trim the crusts off with a serrated knife for a clean, square edge.
- Cut each sandwich into 3 fingers, so the green shows along one cut side of each piece.
- Arrange on a platter and serve within 1 hour: watercress wilts and turns the bread soft if it sits much longer.
Good to Know
Mini Quiches
This is the one hot thing on an otherwise cold tray, and it earns the oven time by filling guests up without anyone noticing dinner is still hours away. A standard muffin tin and a box of pie dough do all the heavy lifting.
Bacon and Gruyere is the safe crowd-pleaser; ham and cheddar works just as well if that is what the fridge has. Serve warm if you can manage the timing, but they hold up fine at room temperature too.


Mini Quiches
Ingredients
- 1 to 2 sheets refrigerated pie dough cut into 24 rounds
- 6 large eggs
- 1/2 cup heavy cream
- 1/2 cup whole milk
- 1/2 teaspoon salt
- 1/4 teaspoon black pepper
- 1 cup shredded Gruyere or cheddar cheese
- 1/2 cup cooked crumbled bacon or diced ham
- 2 tablespoons chives chopped
Instructions
- Preheat the oven to 375°F and lightly grease a 24-cup mini muffin tin.
- Cut 24 rounds from the pie dough with a 2.5-inch cutter, re-rolling scraps as needed.
- Press one round into each muffin cup, pushing it up the sides to form a small shell.
- Scatter a little cheese and bacon or ham into the bottom of each shell.
- Whisk the eggs, cream, milk, salt and pepper together until no streaks of egg white remain.
- Stir in the chives, then pour the custard into each shell, filling to just below the rim.
- Slide the tin into the oven and bake for 18 to 20 minutes.
- Check doneness by looking for a light golden top and a center that no longer jiggles when the tin is tapped.
- Remove from the oven and let the quiches rest in the tin for 5 minutes; they will deflate slightly, which is normal.
- Run a thin knife around each quiche to loosen it, then lift out onto a wire rack.
- Let them cool for 10 minutes more before stacking, so the bottoms do not go soggy from trapped steam.
- Serve warm or at room temperature, arranged on a plate or the bottom tier of a stand.
Good to Know
🛍 Shopping guide
Deviled Eggs with Fresh Chives
Deviled eggs are the sandwich course’s one finger food that does not involve bread, which makes it the natural bridge piece on a savory tray. Piped filling looks far more finished than a spoonful dropped in.
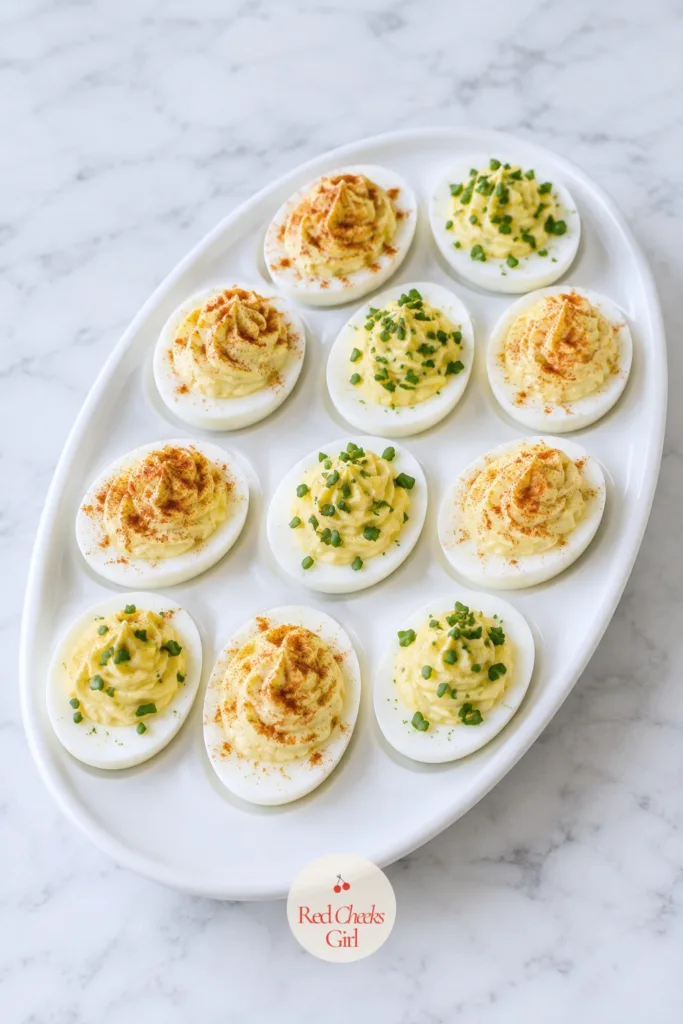
Split the batch between chives and paprika for two looks on one plate without doubling the work. They chill well, so this is one you can finish an hour before anyone arrives and forget about.
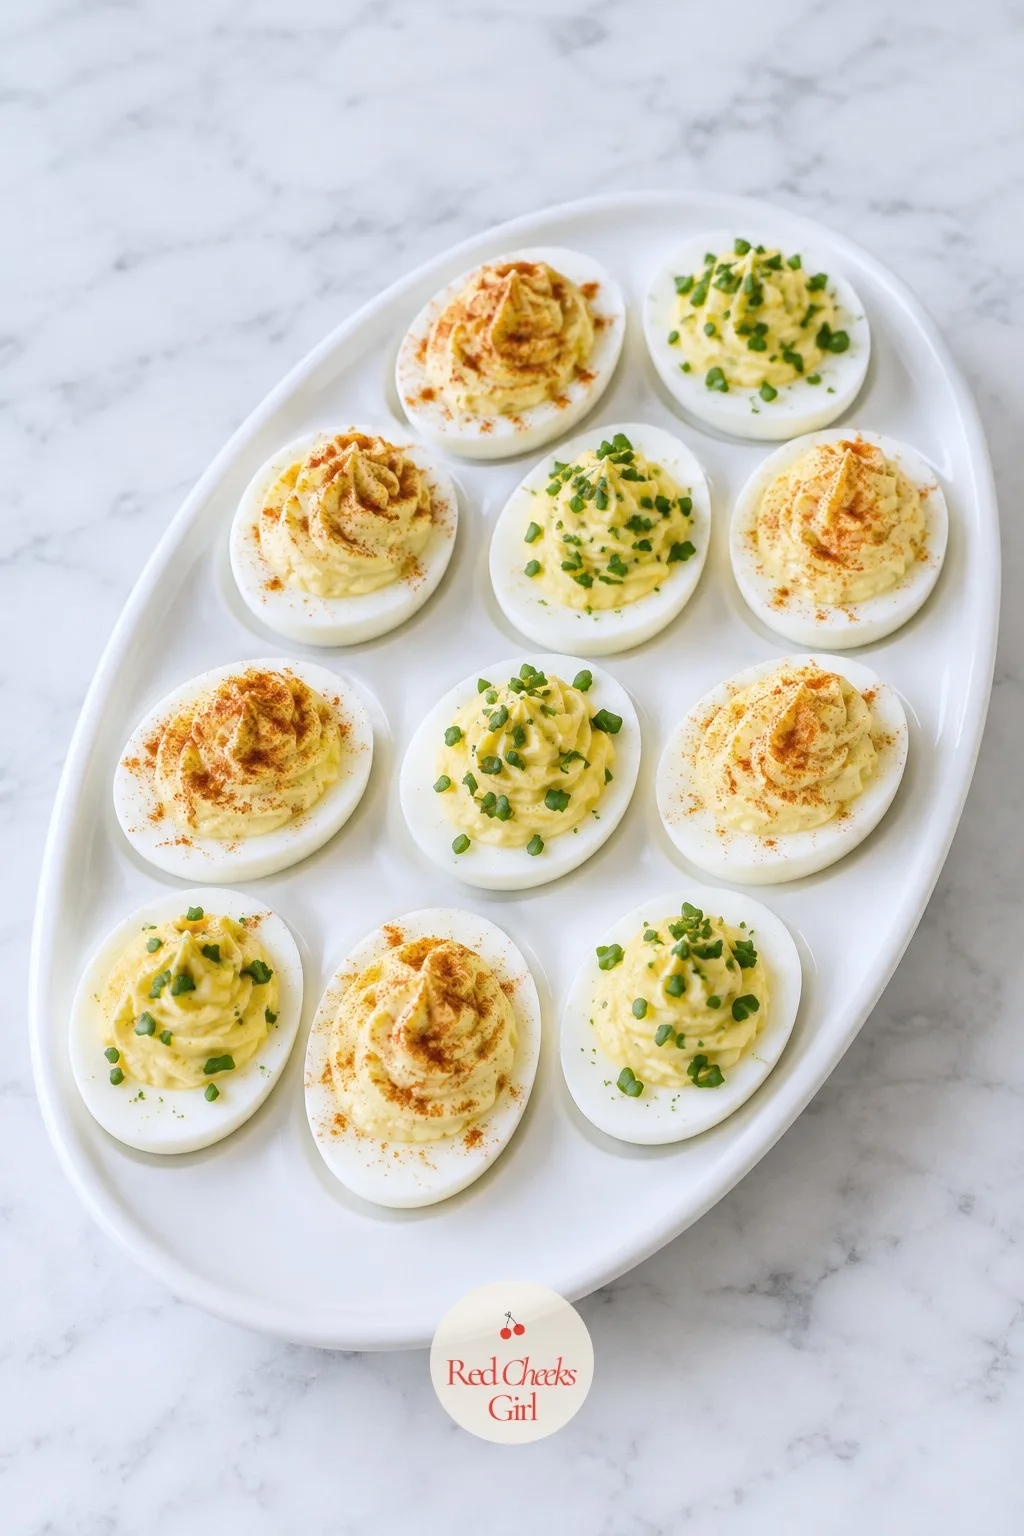
Deviled Eggs with Fresh Chives
Ingredients
- 12 large eggs
- 1/3 cup mayonnaise
- 1 teaspoon Dijon mustard
- 1 teaspoon white vinegar
- 1/4 teaspoon salt
- pinch cayenne pepper
- 2 tablespoons fresh chives finely chopped
- paprika for dusting
Instructions
- Place the eggs in a saucepan, cover with cold water by 1 inch, and bring to a boil.
- Cover, remove from the heat and let stand for 11 minutes, then drain and plunge into ice water for 5 minutes.
- Peel the eggs and slice each one in half lengthwise.
- Scoop the yolks into a bowl, keeping the whites intact on a tray.
- Mash the yolks with a fork until no lumps remain, then stir in mayonnaise, mustard, vinegar, salt and cayenne.
- Beat the filling until smooth and light, about 1 minute, so it pipes easily.
- Spoon the filling into a piping bag fitted with a star tip, or a zip-top bag with one corner snipped off.
- Pipe a generous swirl into each egg white half, starting from the outside and building up to a peak in the center.
- Sprinkle chives over half the eggs and a light dusting of paprika over the rest, for two finishes on one plate.
- Chill for at least 30 minutes before serving so the filling firms up and holds its shape when picked up.
Good to Know
Mini Sausage Rolls
This is the one savory bite that leans more pub than parlor, and tables are always glad it is there. Puff pastry does the dressy work while the filling stays plain and familiar.
Sage and a grated onion keep the sausage from tasting one-note. Cut these small: a full-size sausage roll looks out of place next to everything else on a tiered stand.
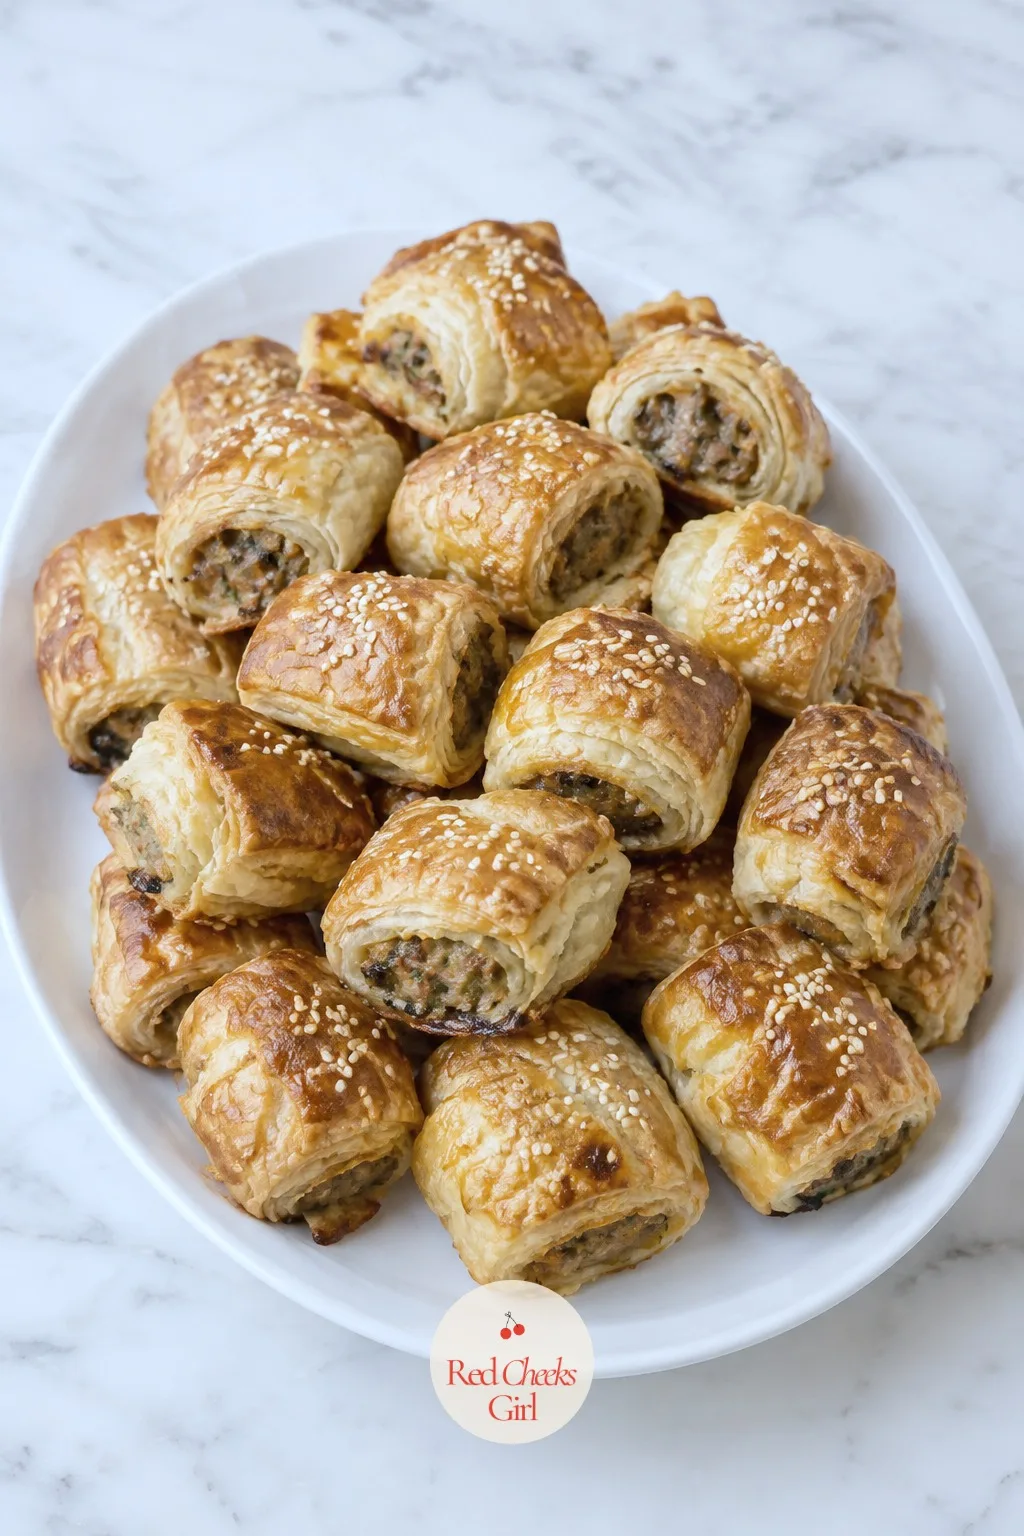

Mini Sausage Rolls
Ingredients
- 1 pound ground pork sausage casings removed
- 1/2 cup fresh breadcrumbs
- 1 small onion finely grated
- 1 teaspoon dried sage
- 1/2 teaspoon salt
- 1/4 teaspoon black pepper
- 1 sheet puff pastry thawed
- 1 egg beaten, for egg wash
- 1 tablespoon sesame seeds optional
Instructions
- Preheat the oven to 400°F and line a baking sheet with parchment paper.
- In a bowl, mix the sausage, breadcrumbs, grated onion, sage, salt and pepper until evenly combined.
- Roll the puff pastry sheet out slightly on a floured surface and cut it into 2 long strips.
- Shape half the sausage mixture into a log down the center of each strip.
- Fold one side of the pastry over the filling, then the other, pressing the seam to seal.
- Brush the seam with a little egg wash to lock it shut, then turn the log seam side down.
- Brush the tops with the remaining egg wash and sprinkle with sesame seeds if using.
- Slice each log into pieces about 1.5 inches long with a sharp knife.
- Arrange the pieces seam side down on the baking sheet, leaving a little space between each.
- Bake for 20 to 22 minutes, turning the sheet halfway through, until the pastry is deep golden and puffed.
- Check doneness by cutting one open: the filling should be opaque with no pink and the pastry crisp and flaky in layers.
- Let the rolls rest for 5 minutes on the sheet before moving to a plate, so the filling is not scalding on the first bite.
Good to Know
Scones with Jam and Cream
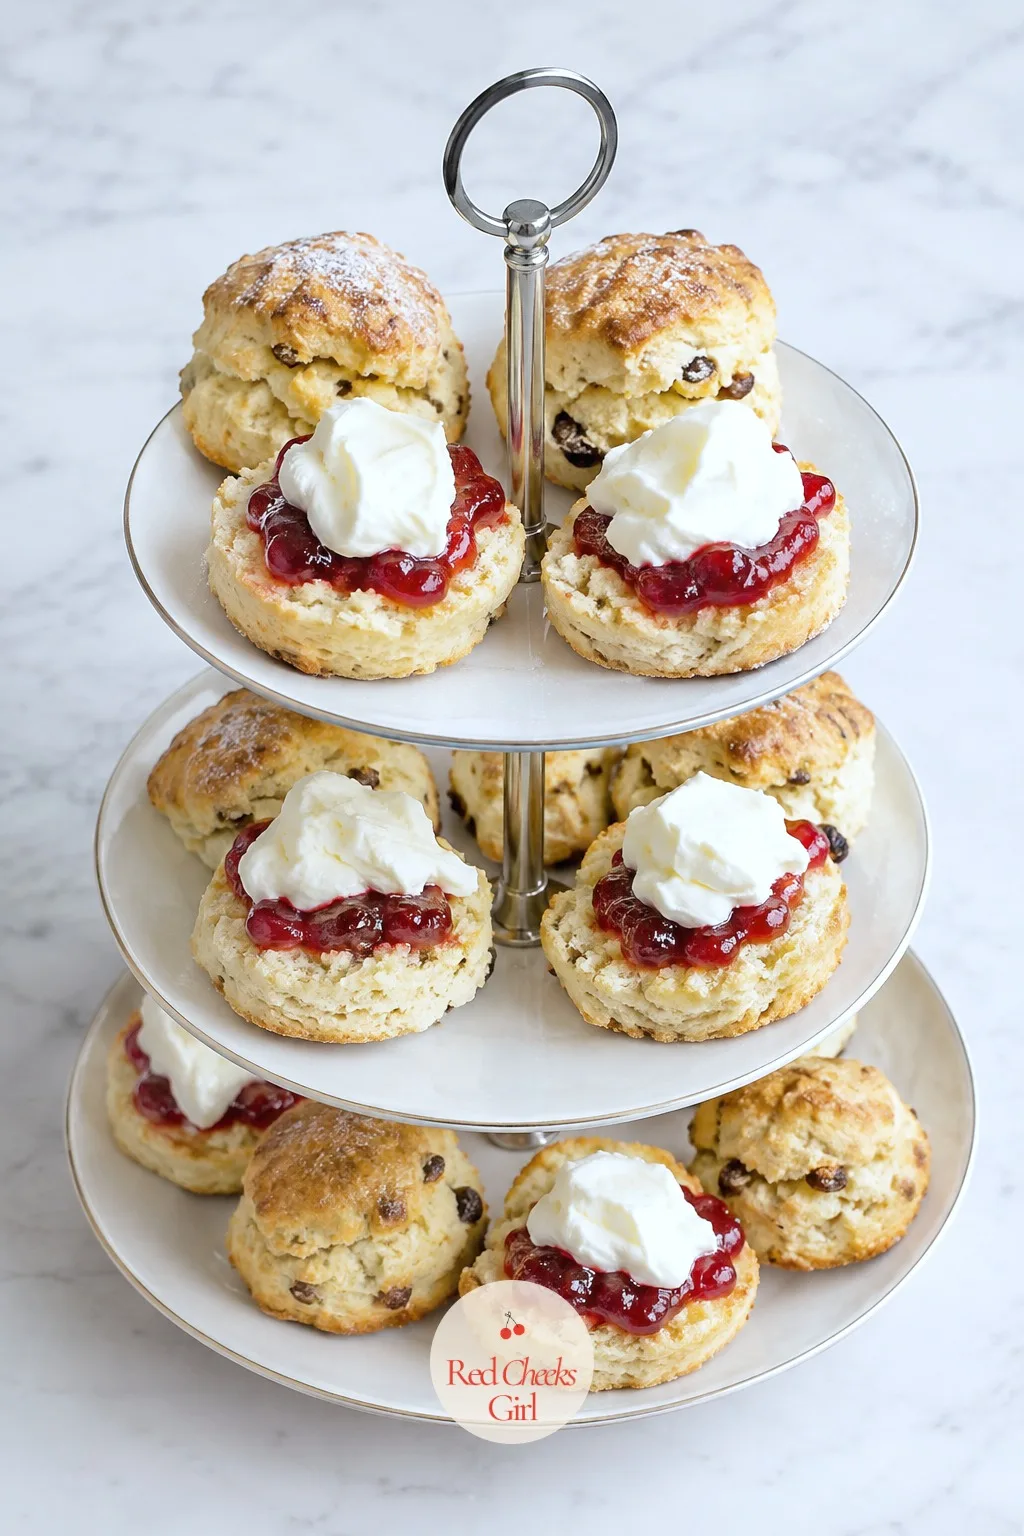
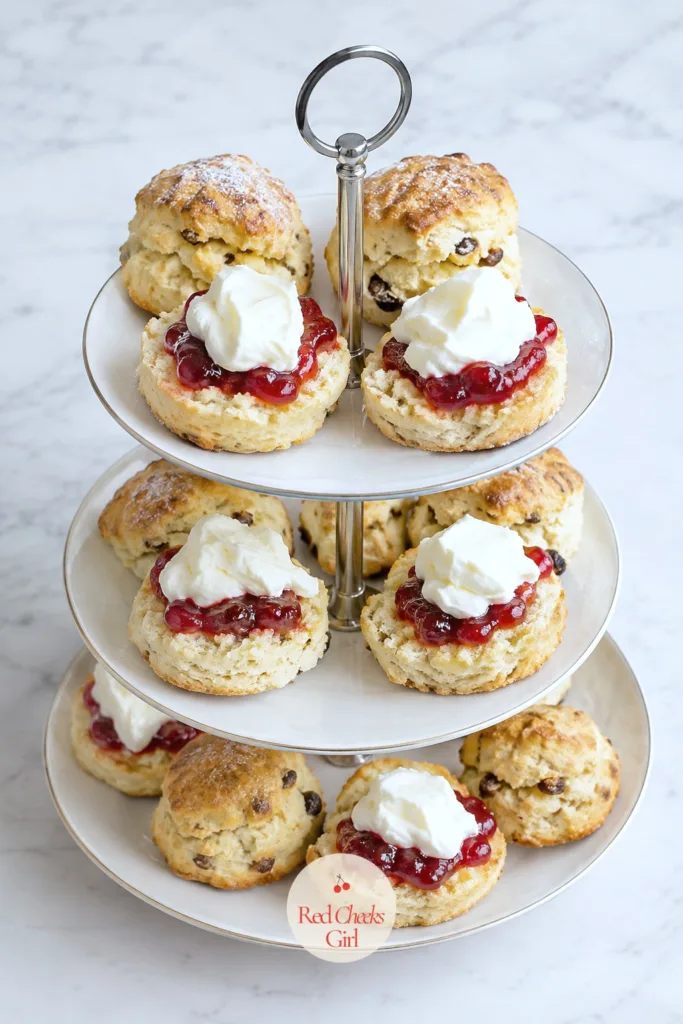
This is the middle tier of the whole afternoon, and the one dish where everyone has an opinion about the right order: jam first or cream first. Either way, bake them the same day; a scone loses its point by the next morning.
Cold butter is the entire trick here. If it melts into the dough before it hits the oven, the scone turns dense instead of tall and flaky.
Scones with Jam and Cream
Ingredients
- 2 cups all-purpose flour
- 1/4 cup granulated sugar
- 1 tablespoon baking powder
- 1/4 teaspoon salt
- 6 tablespoons cold unsalted butter cubed
- 2/3 cup cold heavy cream plus more for brushing
- 1 large egg
- 1 teaspoon vanilla extract
- strawberry or raspberry jam for serving
- clotted cream or lightly whipped heavy cream for serving
Instructions
- Preheat the oven to 400°F and line a baking sheet with parchment paper.
- Whisk the flour, sugar, baking powder and salt together in a large bowl.
- Cut the cold butter into the flour with a pastry cutter or your fingers until the mixture looks like coarse crumbs with some pea-sized pieces.
- Whisk the cream, egg and vanilla together in a small bowl, then pour it into the flour mixture.
- Stir gently with a fork just until a shaggy dough comes together; stop as soon as no dry flour remains.
- Turn the dough out onto a floured surface and pat it into a round about 1 inch thick.
- Cut into 12 wedges with a sharp knife, or stamp out rounds with a 2.5-inch cutter, re-patting scraps once.
- Transfer the scones to the baking sheet, spacing them 2 inches apart, and brush the tops lightly with cream.
- Bake for 15 to 18 minutes, rotating the sheet halfway through.
- Check doneness by looking for tall, golden-topped scones that sound slightly hollow when tapped on the bottom.
- Cool on the sheet for 5 minutes, then move to a wire rack for 10 minutes more before splitting.
- Split each scone in half, top with a spoonful of jam and a dollop of clotted cream, and serve while still a little warm.
Good to Know
🛍 Shopping guide
Lemon Curd Tarts
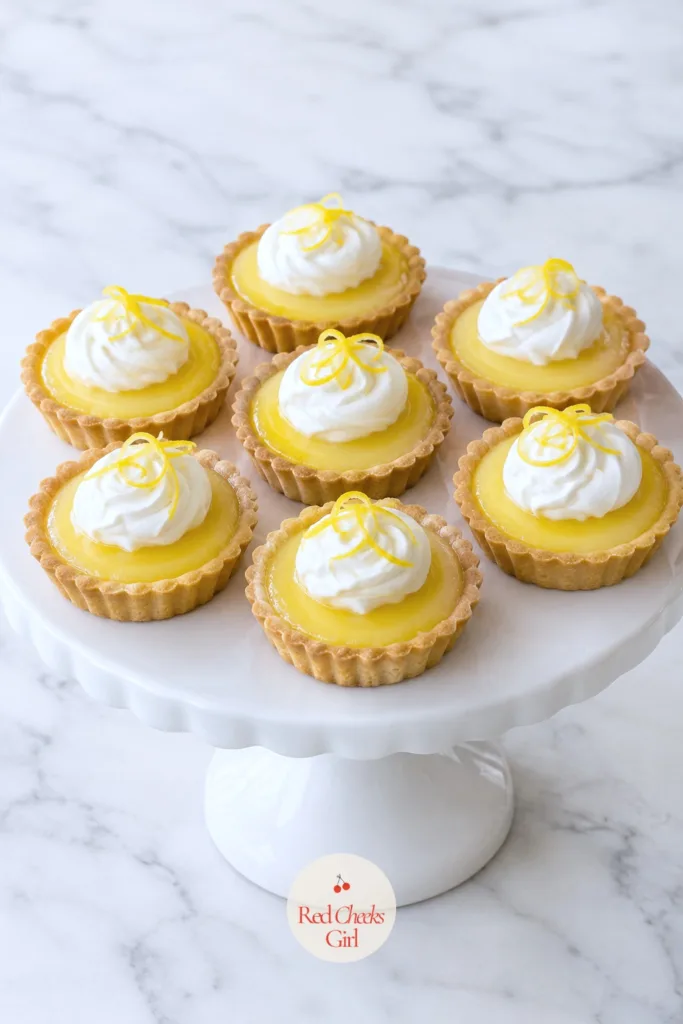
Here is where the table turns sweet, and this tart is the sharpest thing on it, which is exactly the point after several rounds of cream and jam. The curd is the whole recipe; the shell is just a vehicle.
Patience over the double boiler matters more than heat. Rush it and the eggs scramble; take it slow and the curd turns glossy and thick enough to hold a swirl of cream on top.

Lemon Curd Tarts
Ingredients
- 12 mini tart shells about 2.5 inches, store-bought or homemade shortcrust
- 4 large egg yolks
- 1/2 cup granulated sugar
- 1/3 cup fresh lemon juice
- 1 tablespoon lemon zest
- 4 tablespoons unsalted butter cubed
- whipped cream for garnish
- extra lemon zest for garnish
Instructions
- If baking your own shells, bake them blind at 375°F for 12 to 14 minutes until pale gold, then cool completely.
- Whisk the egg yolks, sugar, lemon juice and zest together in a heatproof bowl.
- Set the bowl over a saucepan of gently simmering water, making sure the bowl does not touch the water.
- Whisk constantly for 7 to 9 minutes, until the curd thickens enough to coat the back of a spoon.
- Test doneness by running a finger down the back of the spoon: the line should hold without the curd running back in.
- Remove from the heat and whisk in the butter, a few cubes at a time, until glossy and smooth.
- Strain the curd through a fine sieve into a bowl to catch any bits of cooked egg.
- Press plastic wrap directly onto the surface of the curd and chill for at least 1 hour, until fully cold and set.
- Spoon or pipe the cold curd into the baked tart shells, filling each almost to the rim.
- Top each tart with a small swirl of whipped cream and a curl of lemon zest just before serving.
Good to Know
🛍 Shopping guide
Mini Victoria Sponges
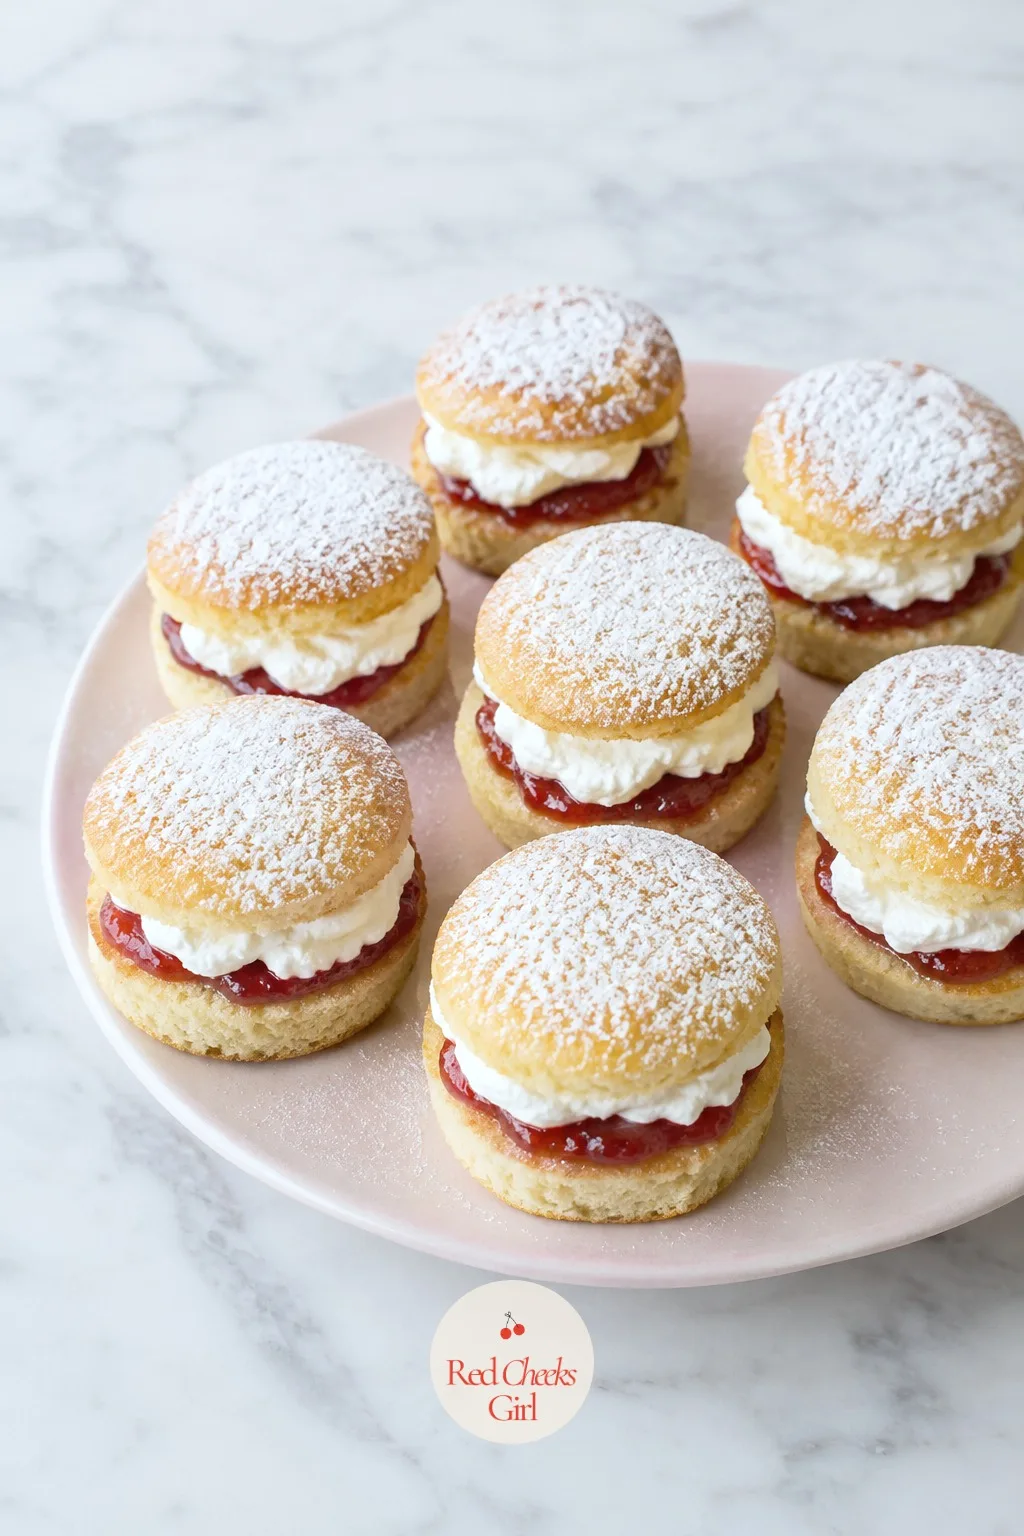
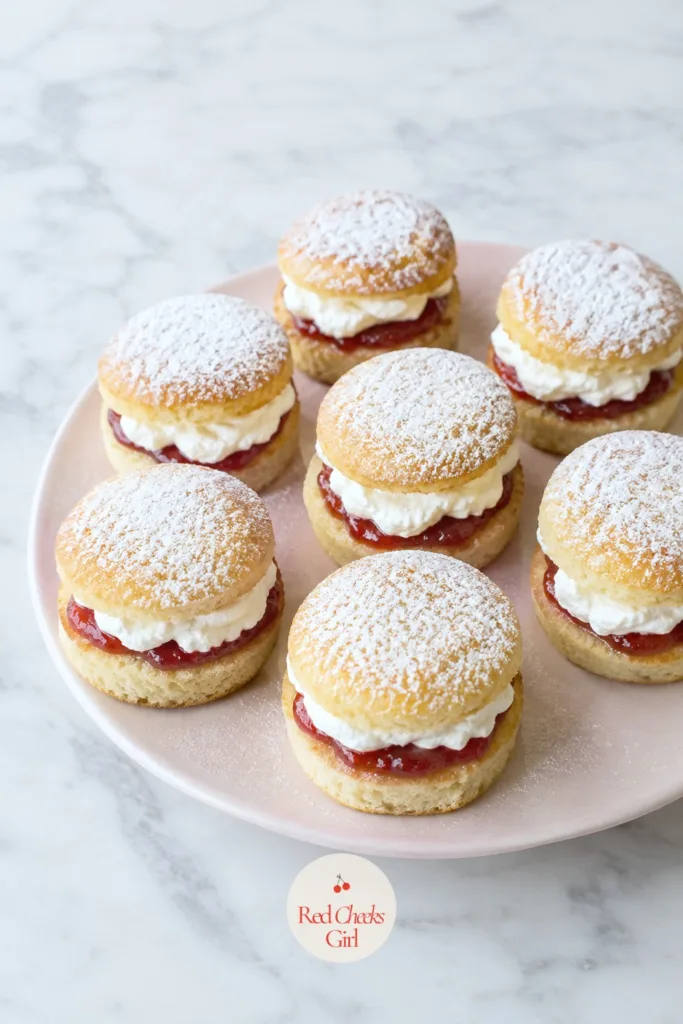
This is the small, perfect bite version of the cake every afternoon tea is really built around. Individual sponges mean no slicing in front of guests and no argument over who gets the corner piece.
Jam first, then cream, pressed together just enough that a little peeks out the side. That peek is the whole visual trick: it tells the eye there is filling before anyone takes a bite.
Mini Victoria Sponges
Ingredients
- 1 cup all-purpose flour
- 1 teaspoon baking powder
- 1/2 cup unsalted butter softened
- 1/2 cup granulated sugar
- 2 large eggs
- 1 teaspoon vanilla extract
- 1/3 cup raspberry or strawberry jam
- 1/2 cup heavy cream whipped to soft peaks
- powdered sugar for dusting
Instructions
- Preheat the oven to 350°F and grease a 12-cup muffin tin, or line with paper liners.
- Whisk the flour and baking powder together in a small bowl and set aside.
- Beat the butter and sugar together until pale and fluffy, about 3 minutes with a hand mixer.
- Add the eggs one at a time, beating well after each, then mix in the vanilla.
- Fold in the flour mixture in two additions, stirring just until no dry streaks remain.
- Divide the batter evenly among the muffin cups, filling each about two-thirds full.
- Bake for 16 to 18 minutes, until the tops spring back when pressed lightly and a toothpick comes out clean.
- Cool the sponges in the tin for 5 minutes, then turn out onto a wire rack to cool completely, about 30 minutes.
- Once cool, slice each sponge in half horizontally with a serrated knife.
- Spread a teaspoon of jam over the bottom half of each sponge.
- Pipe or spoon a swirl of whipped cream over the jam, then replace the top half, pressing down very lightly so the filling just peeks out at the sides.
- Dust with powdered sugar just before serving, so it does not melt into the cream while the sponges wait.
Good to Know
Petit Fours
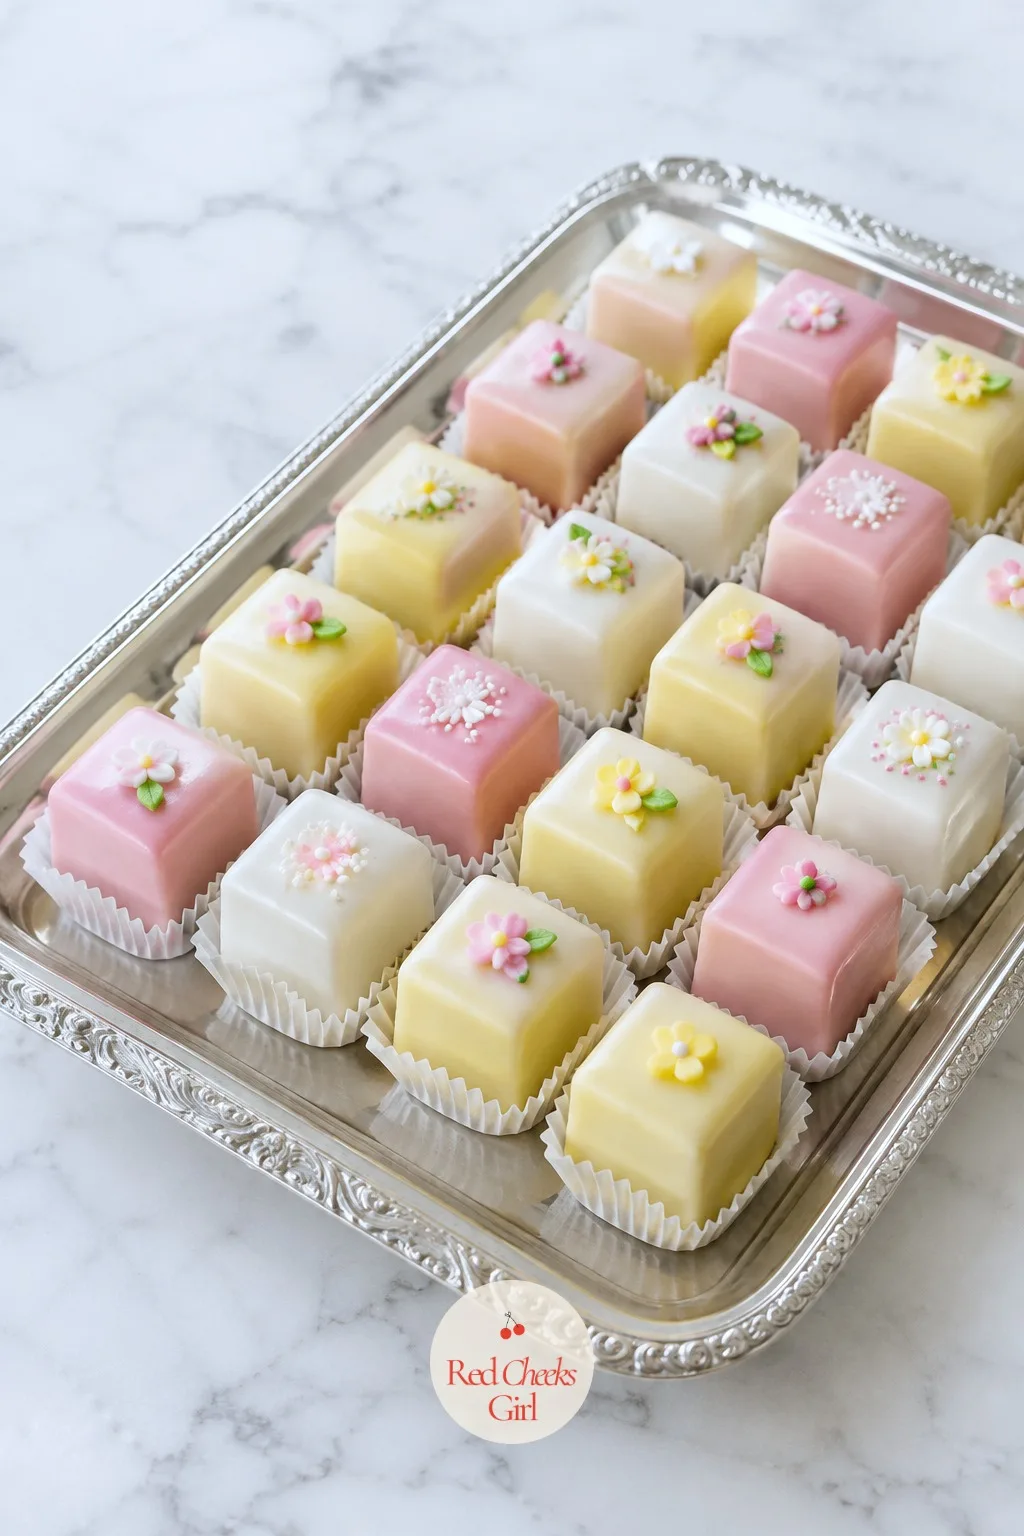
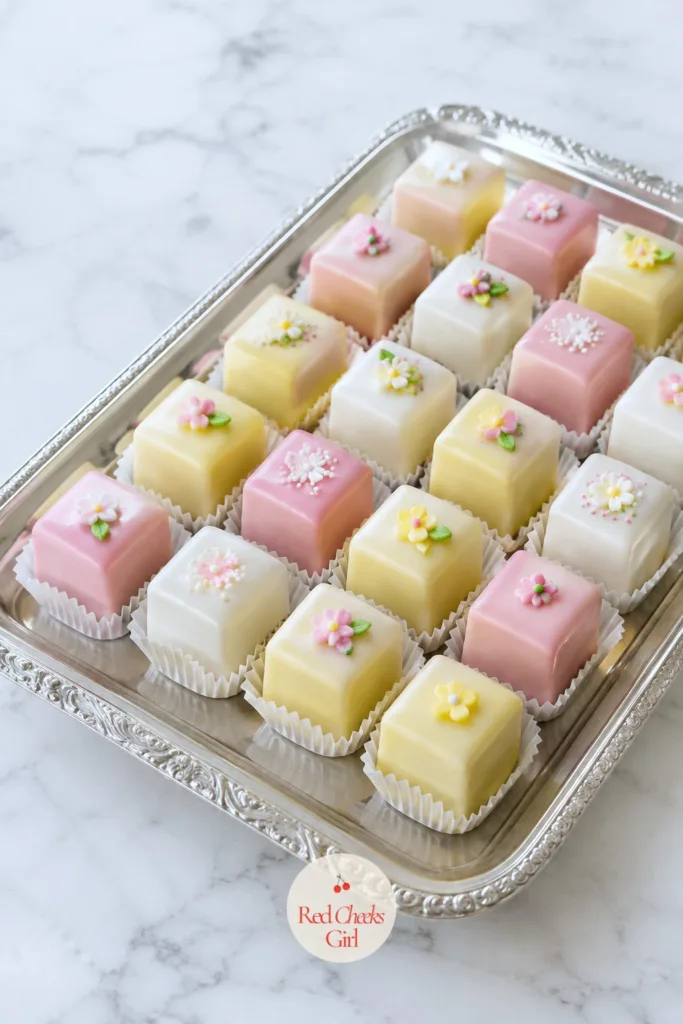
These are the fussiest thing on the whole table, and the one dish worth saving the easy route for: a store-bought pound cake dressed up well looks exactly as good as one baked from scratch.
If she wants an actual cake too, not just bites, there are 21 21st birthday cake ideas for her with a little sparkle worth a look before the party.
Petit Fours
Ingredients
- 1 loaf pound cake store-bought or homemade, about 9x5 inch
- 1/3 cup apricot jam warmed and strained
- 3 cups powdered sugar
- 3 tablespoons water plus more as needed
- 1 tablespoon light corn syrup
- food coloring optional
- small sugar decorations or silver dragees for topping
Instructions
- Trim the crust off all sides of the pound cake with a long serrated knife, so you are left with a clean rectangle.
- Slice the cake horizontally into 2 even layers.
- Brush the warmed apricot jam over the bottom layer, then replace the top layer and press gently.
- Chill the cake for 30 minutes so it firms up and cuts cleanly.
- Trim the sides square, then cut the cake into 24 small cubes or rectangles, about 1.5 inches each.
- Place the cubes on a wire rack set over a baking sheet, spaced apart so icing can drip freely.
- Whisk the powdered sugar, water and corn syrup together until smooth and pourable, like heavy cream; add water a teaspoon at a time if it is too thick.
- Divide and tint the icing with food coloring if using, keeping one batch plain if you want a mix of colors.
- Pour the icing slowly over each cube, covering the top and sides completely in one pass.
- Let the icing set for 20 minutes, then add a small sugar decoration or dragee to the top of each while it is still slightly tacky.
- Let the petit fours sit uncovered for at least 1 hour, until the icing is fully set and no longer wet to the touch, before arranging on a stand.
Good to Know
🛍 Shopping guide
Battenberg Cake Bites
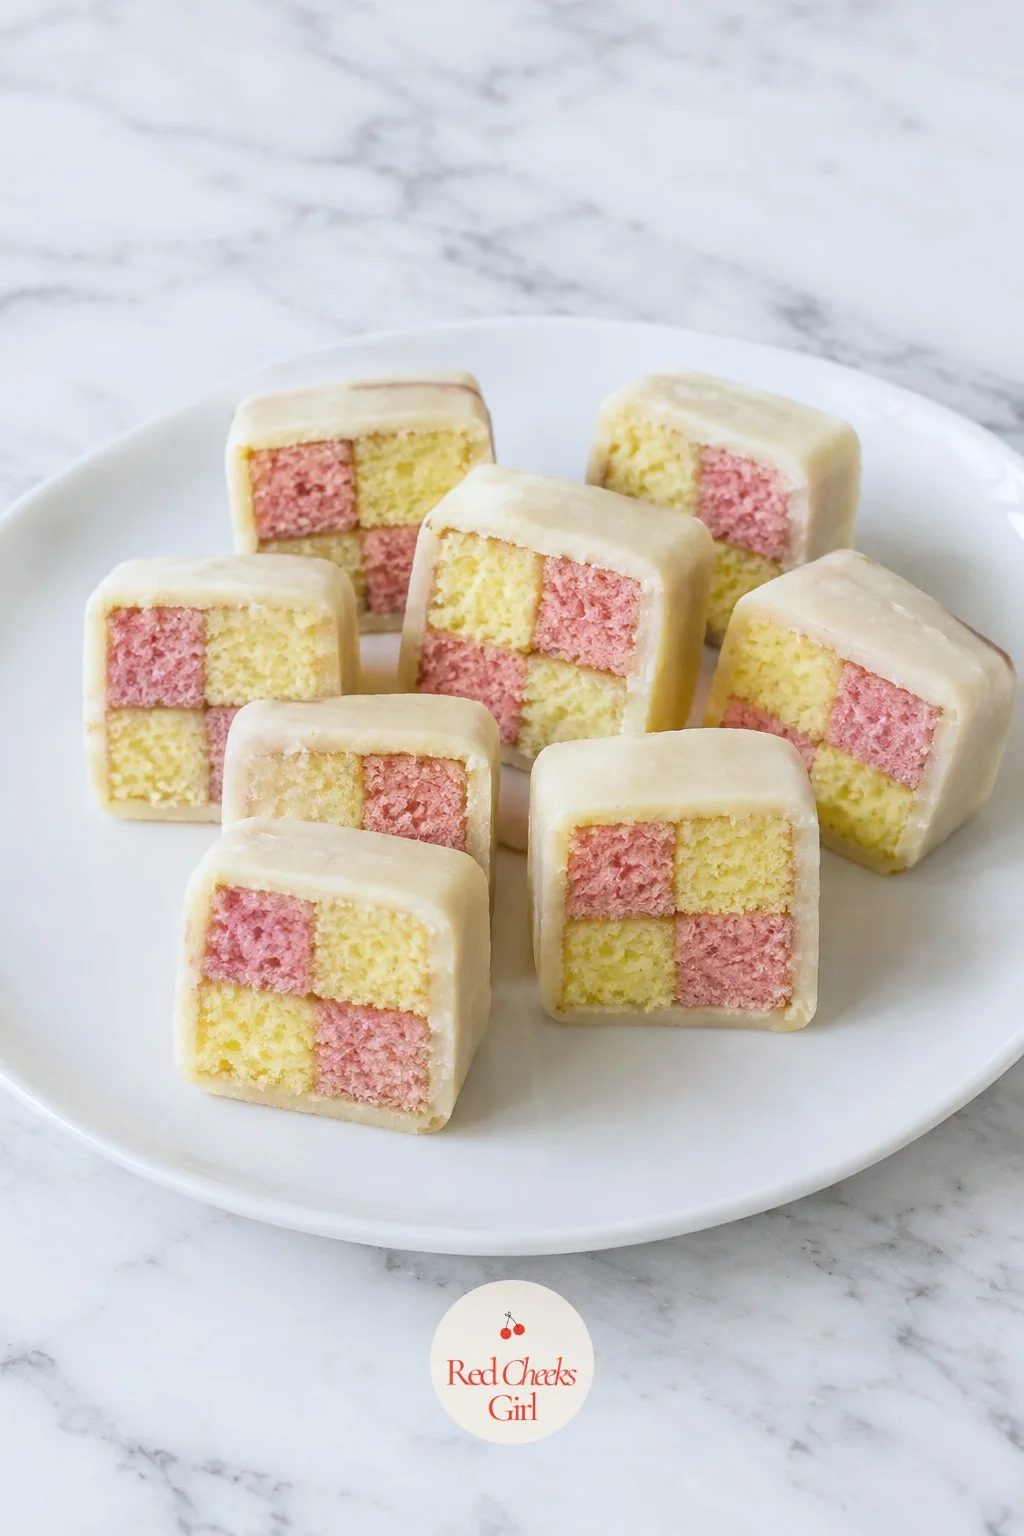
This is the cake that looks like it needs a diploma to make, and it does not. A parchment divider down the middle of the pan does the hardest part for you.
Marzipan wraps the whole thing like a little parcel, so the checkerboard stays a surprise until the first cut. Slice these at the very end, right before they go on the stand, so each piece still shows crisp pink and yellow squares.
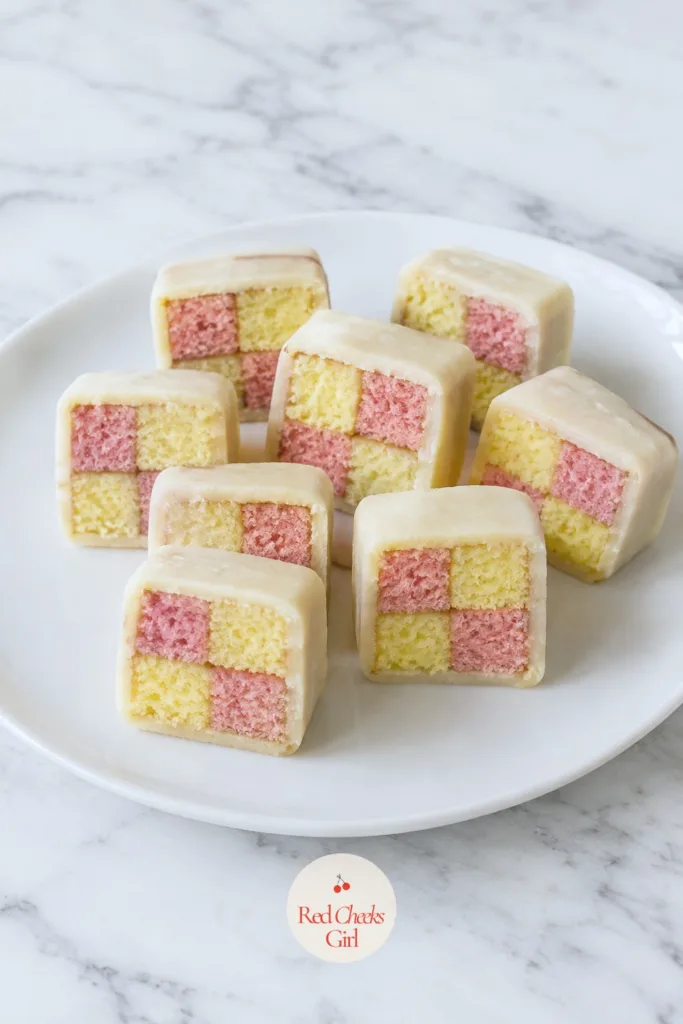
Battenberg Cake Bites
Ingredients
- 1 cup unsalted butter softened
- 1 cup granulated sugar
- 4 large eggs
- 1 3/4 cups all-purpose flour
- 2 teaspoons baking powder
- 1 teaspoon almond extract
- pink gel food coloring
- 1/3 cup apricot jam warmed
- 8 oz marzipan rolled thin
Instructions
- Preheat the oven to 350°F and grease an 8-inch square pan, then line it with a parchment divider down the middle to create 2 separate lanes.
- Beat the butter and sugar together until pale and fluffy, about 3 minutes.
- Add the eggs one at a time, beating well, then mix in the almond extract.
- Fold in the flour and baking powder until just combined.
- Divide the batter evenly into 2 bowls, tinting one bright pink and leaving the other plain.
- Spoon each color into its own lane of the prepared pan, smoothing the tops level.
- Bake for 25 to 28 minutes, until a toothpick inserted in the center of each lane comes out clean.
- Cool in the pan for 10 minutes, then turn out onto a wire rack to cool completely, about 45 minutes.
- Trim each cake to the same height, then slice each into 2 long strips so you have 4 strips total, 2 pink and 2 plain.
- Brush the sides of the strips with warm apricot jam and stack them in a checkerboard pattern, alternating colors, pressing gently to stick.
- Roll the marzipan out on a sugared surface into a sheet long enough to wrap around the cake block, brush the outside with more jam, then wrap the marzipan around it, pressing the seam closed and trimming any excess.
- Chill for 20 minutes to firm up, then slice into 16 bites, revealing the checkerboard in each piece.
Good to Know
Rose and Pistachio Shortbread
This is the cookie that smells like a perfume counter in the best way, and it is the easiest sweet on the whole table to make ahead. No oven drama, no last-minute icing, just a chilled log and a sharp knife.
Go light on the rose water; a little reads as floral, too much tastes like soap. The pistachio crust on the outside is what makes each slice look finished without any extra work.
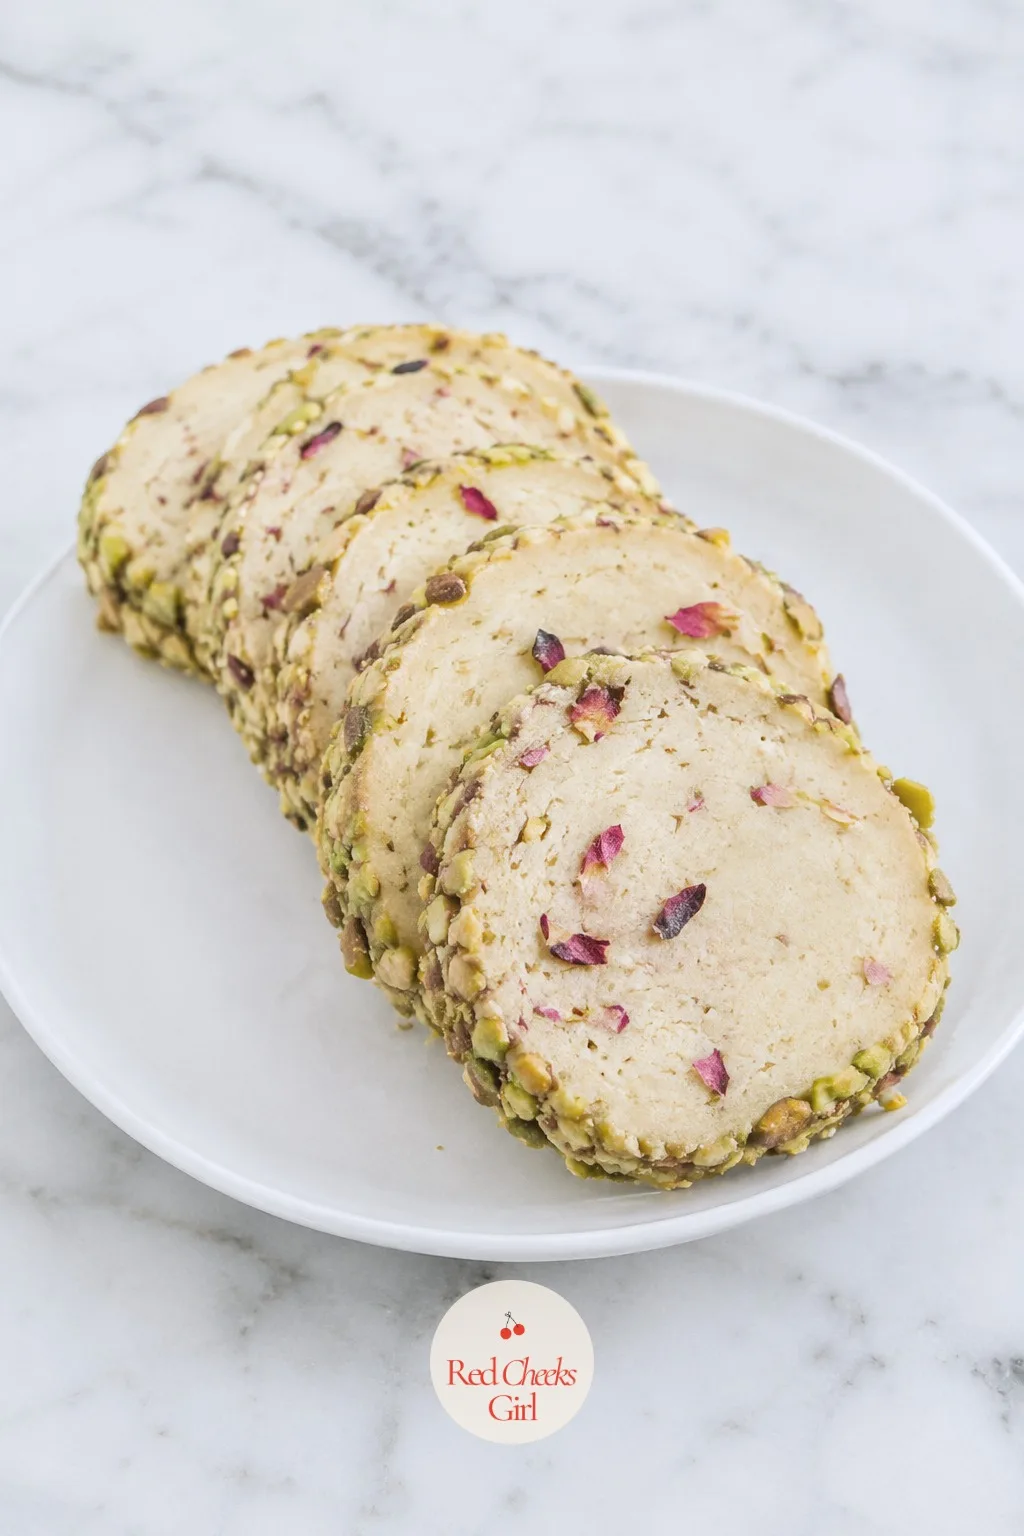
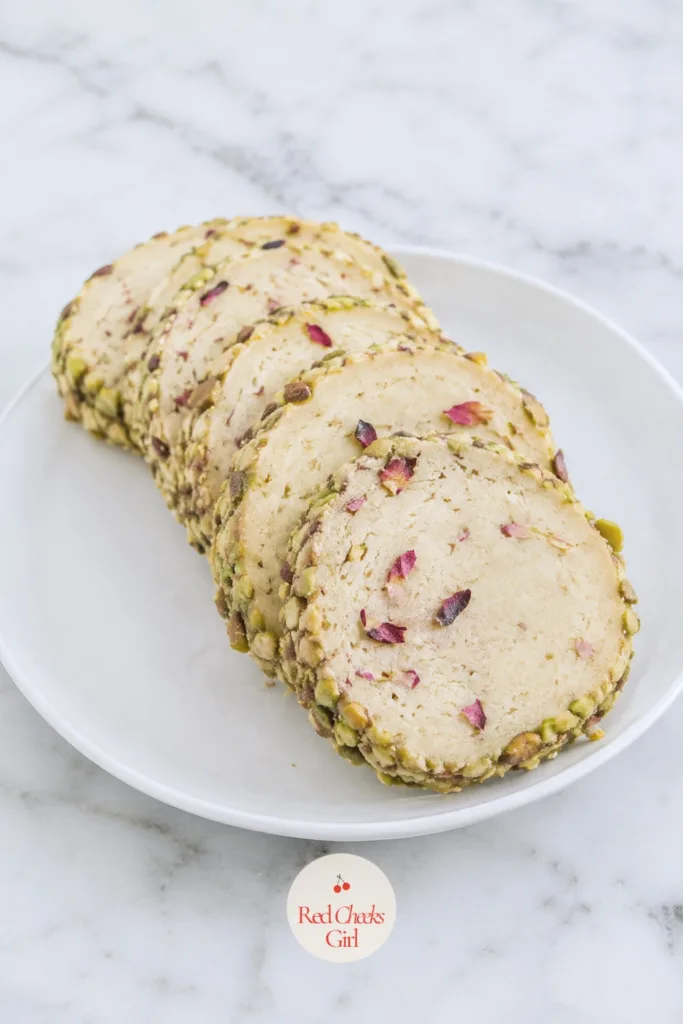
Rose and Pistachio Shortbread
Ingredients
- 1 cup unsalted butter softened
- 1/2 cup powdered sugar
- 2 cups all-purpose flour
- 1/4 teaspoon salt
- 1/2 teaspoon rose water
- 1/3 cup shelled pistachios finely chopped
- 2 tablespoons granulated sugar for rolling
Instructions
- Beat the butter and powdered sugar together until smooth and creamy, about 2 minutes.
- Mix in the rose water.
- Add the flour and salt, mixing on low speed just until a soft dough forms.
- Fold in half the chopped pistachios by hand.
- Shape the dough into a log about 2 inches across, rolling it in granulated sugar and the remaining pistachios so they stick to the outside.
- Wrap tightly in plastic wrap and chill for at least 1 hour, or until firm enough to slice cleanly.
- Preheat the oven to 325°F and line a baking sheet with parchment paper.
- Slice the log into rounds about 1/3 inch thick and arrange them 1 inch apart on the sheet.
- Bake for 14 to 16 minutes, until the edges are just turning pale gold while the centers stay light.
- Cool on the sheet for 5 minutes, then move to a wire rack to cool fully, about 15 minutes, before stacking.
Good to Know
Coconut Ice Squares
No oven, no mixer, just a bowl and a bit of kneading: this is the sweet to make the night before when the rest of the list has you tired. Pink and white layers look deliberate for almost no effort.
It is a dense, sugary little square, closer to fudge than cake, so one or two per guest is plenty. Cut it small and the tray never looks empty.
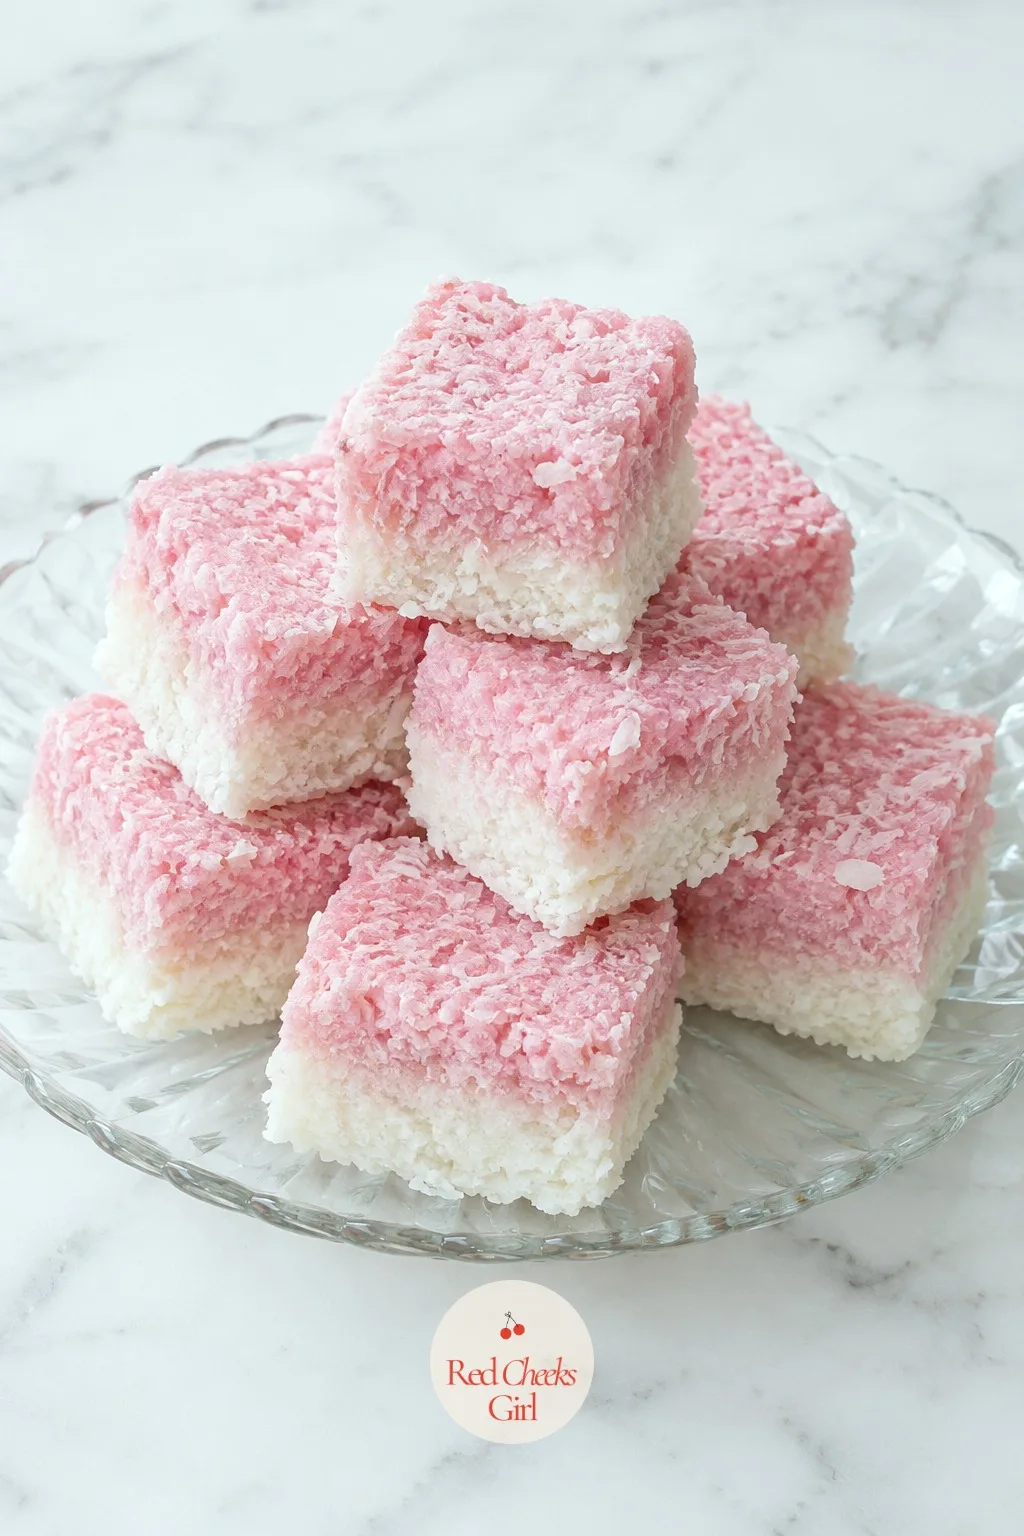
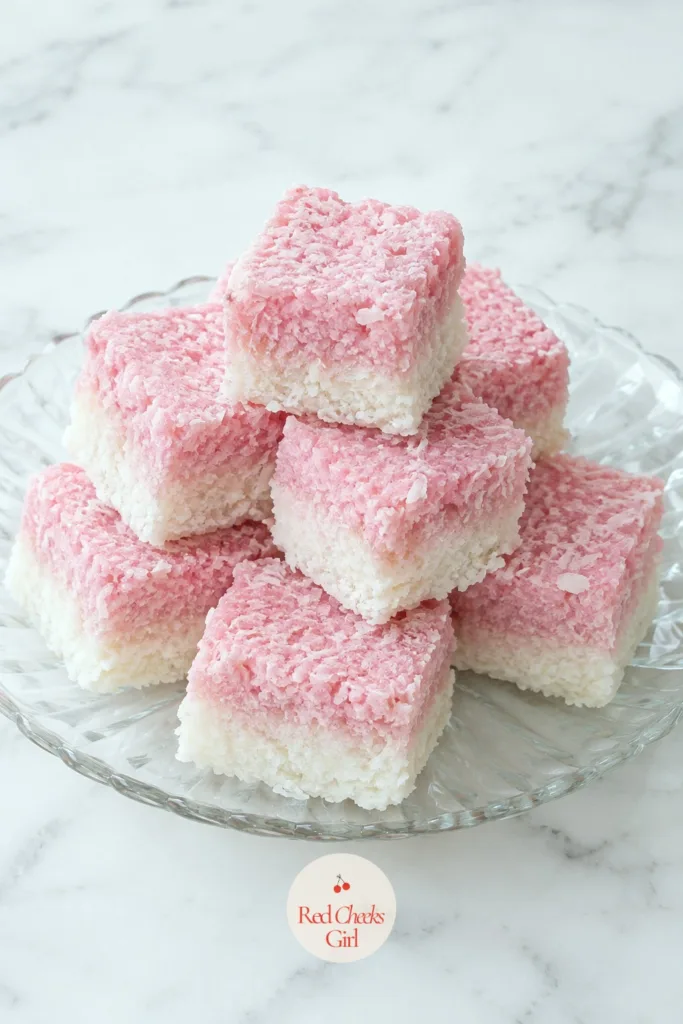
Coconut Ice Squares
Ingredients
- 4 cups powdered sugar
- 2 cups shredded coconut
- 1 can 14 oz, sweetened condensed milk
- 1 teaspoon vanilla extract
- pink gel food coloring
Instructions
- Line an 8-inch square pan with parchment paper, leaving an overhang on two sides.
- Mix the powdered sugar and shredded coconut together in a large bowl.
- Pour in the condensed milk and vanilla, stirring until the mixture is thick and holds together when pressed.
- Divide the mixture in half.
- Knead a few drops of pink food coloring into one half until the color is even throughout.
- Press the white half firmly into the bottom of the lined pan in an even layer.
- Press the pink half on top, smoothing it level with the back of a spoon or your palm.
- Chill for at least 2 hours, until firm enough to hold a clean cut.
- Lift out using the parchment overhang and cut into 24 squares with a sharp knife, wiping the blade between cuts.
Good to Know
Welsh Cakes with Butter
These are the sweet closer, cooked on the stovetop rather than in the oven, which means the kitchen is free right when you need it most for everything else. A little nutmeg and a handful of currants is all they need.
Serve them warm with a pat of butter melting on top if you can time it; at room temperature with a dusting of sugar, they are nearly as good and far less fuss.
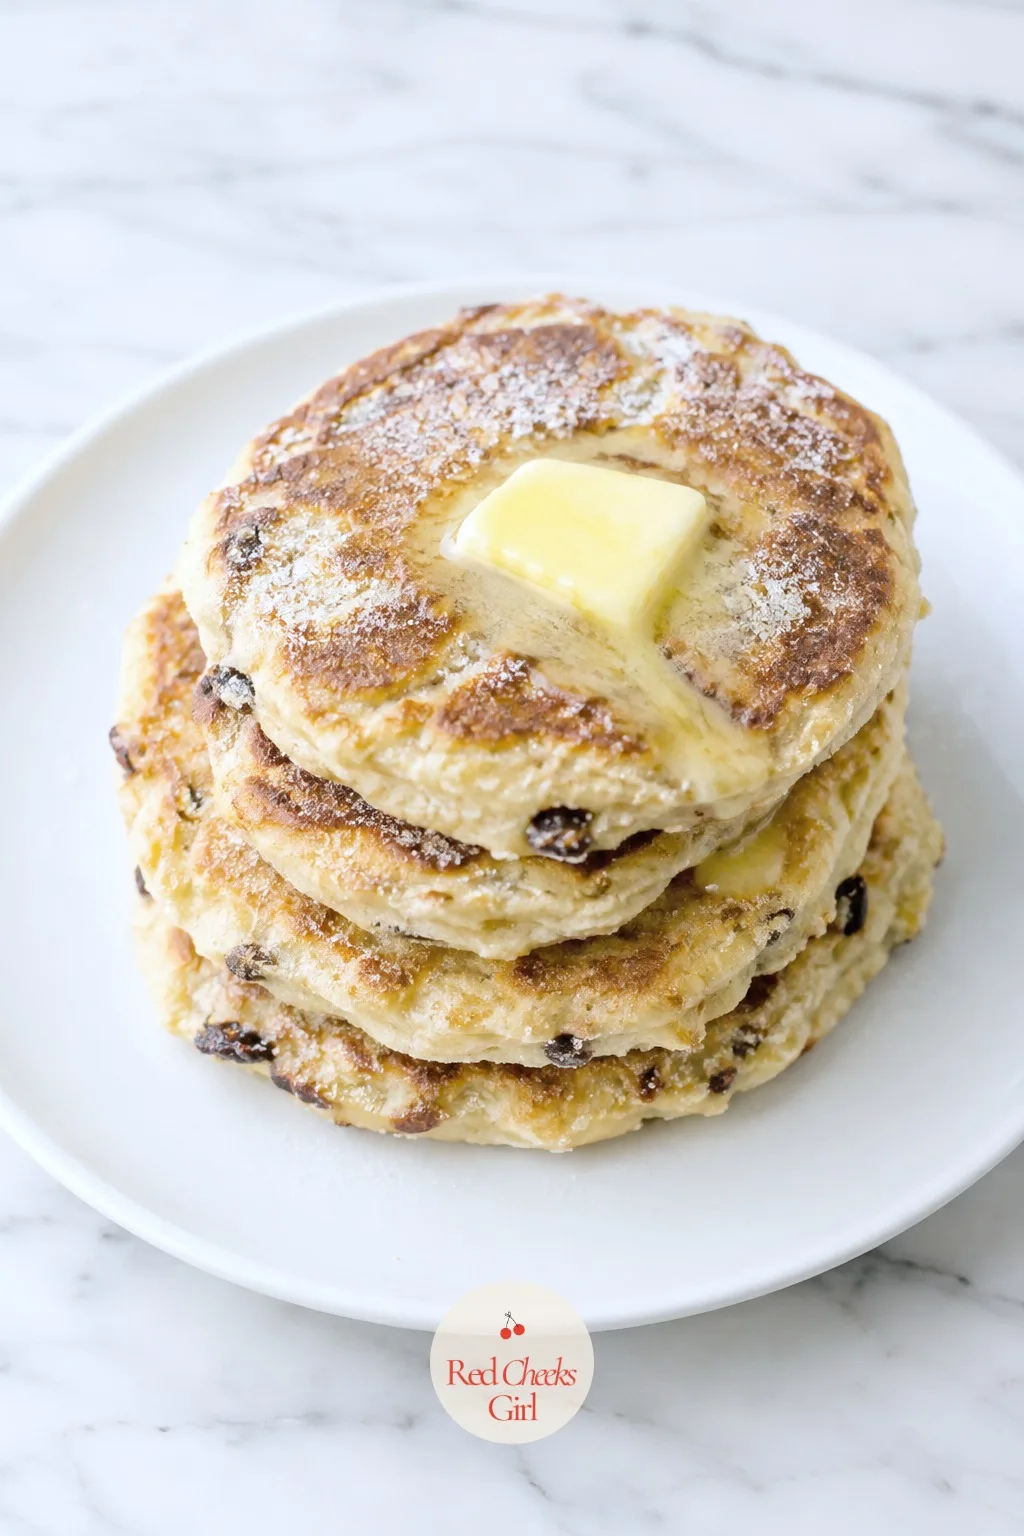
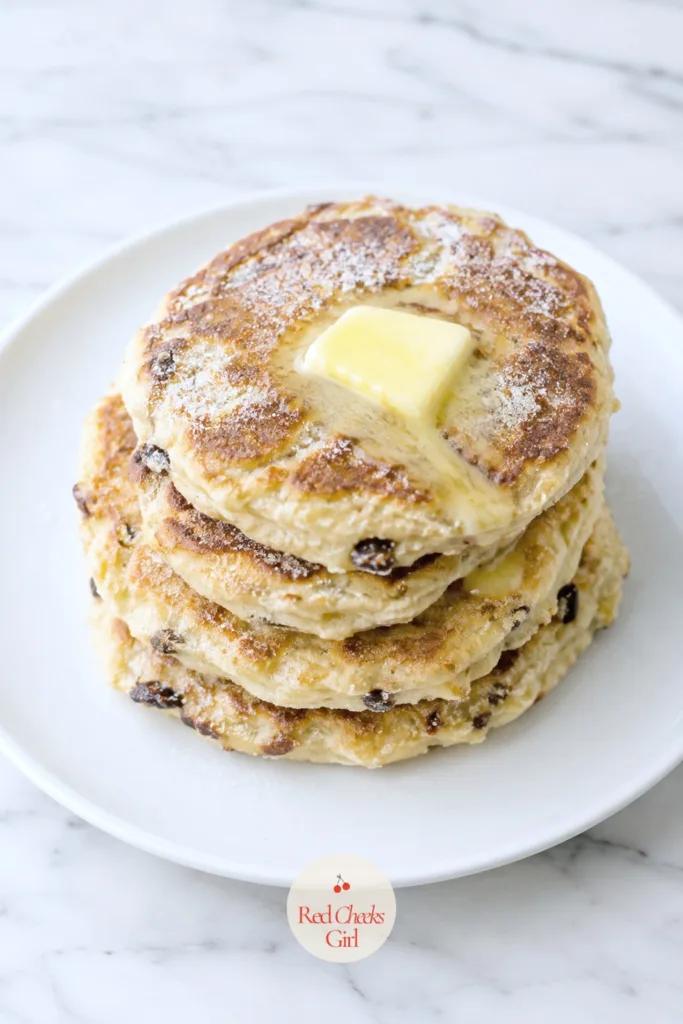
Welsh Cakes with Butter
Ingredients
- 2 cups all-purpose flour
- 1/2 teaspoon baking powder
- 1/4 teaspoon salt
- 1/2 teaspoon ground nutmeg
- 6 tablespoons cold unsalted butter cubed, plus more for the griddle and serving
- 1/3 cup granulated sugar plus more for dusting
- 1/3 cup currants or raisins
- 1 large egg
- 2 to 3 tablespoons milk
Instructions
- Whisk the flour, baking powder, salt and nutmeg together in a large bowl.
- Cut the cold butter into the flour until the mixture looks like coarse crumbs.
- Stir in the sugar and currants.
- Beat the egg with 2 tablespoons milk, then stir it into the flour mixture, adding the extra milk only if needed to bring the dough together.
- Turn the dough out and pat it to about 1/4 inch thick on a floured surface.
- Cut into rounds with a 2.5-inch cutter, gathering and re-patting scraps once.
- Heat a griddle or heavy skillet over medium-low heat and melt a little butter across the surface.
- Cook the cakes in batches for 3 to 4 minutes per side, until deep golden brown and cooked through in the center.
- Check doneness by breaking one open: the inside should look dry and cakey, not doughy or pale.
- Transfer to a wire rack and dust with granulated sugar while still warm.
- Serve warm or at room temperature with a little extra butter alongside, within a few hours of cooking for the best texture.
Good to Know
Frequently Asked Questions
How many tea sandwiches do I need per person?
Plan on two to three finger sandwiches of each filling, per person, across the whole spread. For six to ten guests trying several kinds, that works out to roughly three to four sandwiches per person overall.
How far ahead can I make tea sandwiches?
Most fillings like egg salad or chicken salad can be made one to two days ahead and refrigerated. Assembled sandwiches with sturdy, low-moisture fillings hold up to 24 hours ahead if covered tightly and chilled.
Can tea sandwiches be frozen?
Some can: sturdy fillings like chicken salad or ham freeze reasonably well wrapped tightly in plastic. Cucumber, egg salad and anything with fresh herbs or watercress do not freeze well and turn watery on thawing.
What tea pairs best with tea party food?
Earl Gray and other black teas work with nearly everything on the table, since their tannins stand up to both savory sandwiches and sweet pastries alike. Offer a decaf or herbal option too for caffeine-sensitive guests.
What’s the difference between afternoon tea and high tea?
Afternoon tea is the light, mid-afternoon spread of sandwiches, scones and sweets described here, traditionally eaten off a tiered stand. High tea is a heartier, early-evening meal, historically eaten at a table rather than a low tea tray.
If you’re craving something sweet without the carbs weighing you down, you’re in for a t
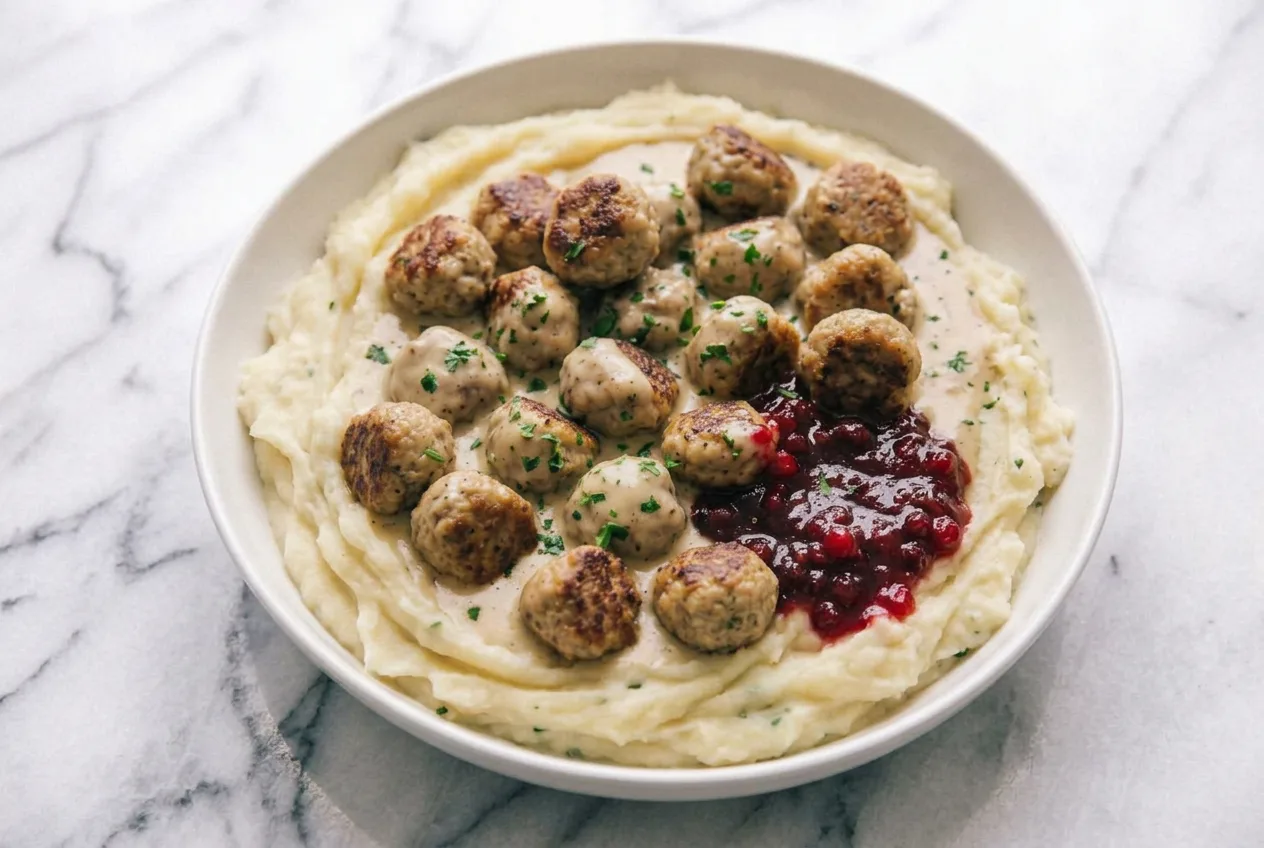
Swedish meatballs simmer in creamy gravy, served over buttery mashed potatoes with lingonberry sauce
So I used to wake up, chug coffee on an empty stomach, check my email immediately, and then wonder w
Leave a Reply