

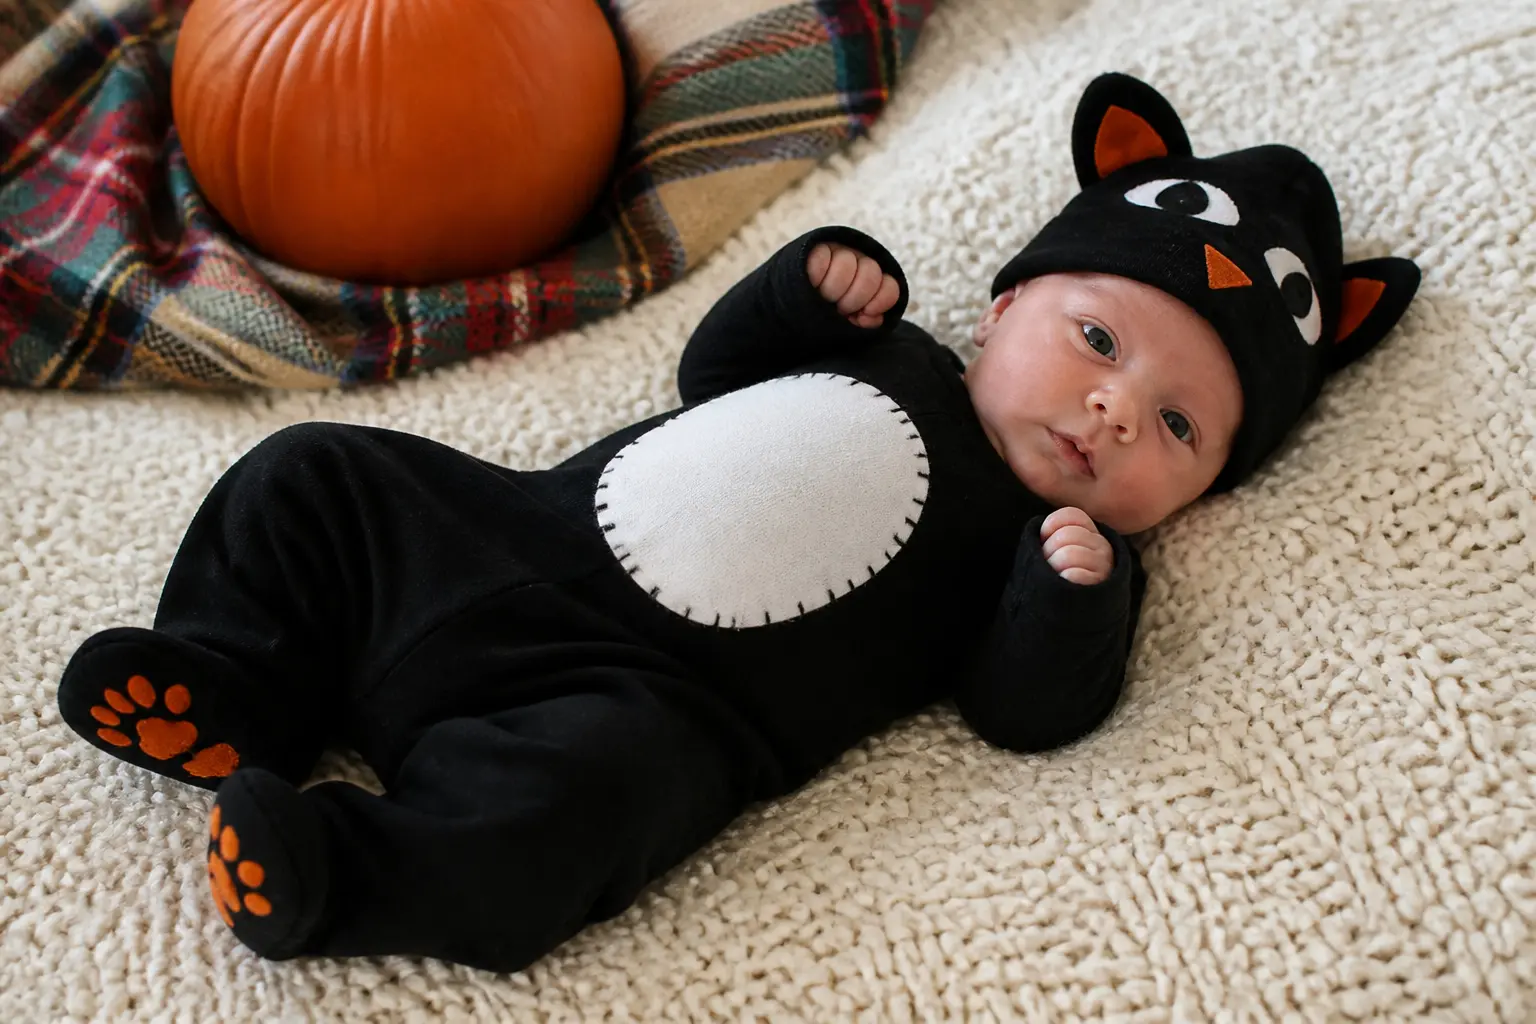
Newborns have one opinion about costume construction: comfort, full stop. Anything itchy, tight around the neck, or relying on a hat staying put for more than four seconds is a non-starter. The good news is that the costumes that look best in photos are also the simplest ones to make.
Every idea here builds on a plain onesie or romper you already own. The “costume” part is a single clever layer on top: a felt bib, a knotted headband, a prop held loosely in one fist. Nothing requires a sewing machine, and the total spend on most of them sits well under fifteen dollars. For more Halloween inspiration once you have the costume sorted, 30 Unforgettable Halloween Party Ideas and Games has the rest of the night covered.
The 17 costumes below are grouped by the kind of onesie base they need, so you can go straight to the section that matches what is already in the drawer.
This post contains affiliate links. If you buy through them, I may earn a small commission at no extra cost to you.
White Onesie Base
A plain white onesie is the most useful thing in a newborn wardrobe, and here it does triple duty. Each costume in this section adds exactly one layer on top: a felt piece, a headpiece, or a prop. Nothing touches the neck seam twice.
Little Old Lady
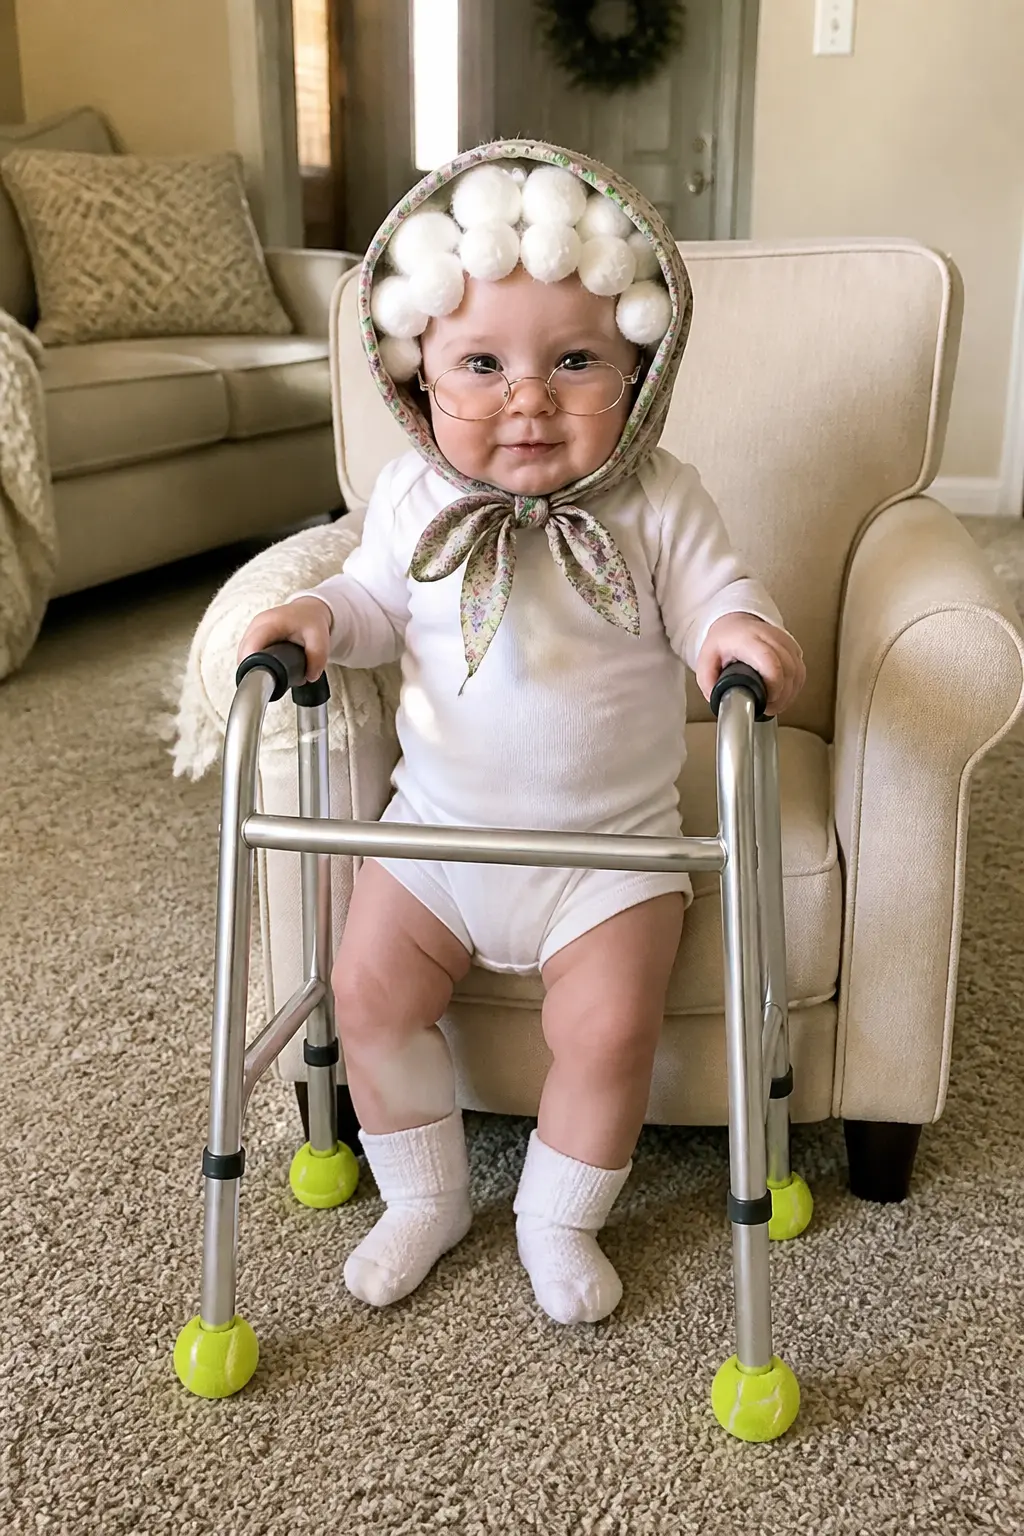
A white or pale grey onesie is the blank canvas. Glue or safety-pin a strand of large chunky beads around the collar. Add a floral silk scarf tied loosely over the head, and tuck a few cotton balls underneath along the hairline to fake a white curl or two.
The finishing touch is a pair of miniature wire-rimmed glasses, either toy frames with the lenses popped out or a craft-wire loop bent into shape. Prop a tiny toy walker or a folded walking stick from a craft dowel in front of the baby for the photo, then put it straight out of reach.
Photograph the baby sitting supported in a real armchair, not on the floor, so the whole scene reads at a glance.
🛍 Shopping guide
Doughboy Baker
All white, head to toe, is the whole trick. A white onesie, white knit leggings, and a white chef’s hat do the heavy lifting. Cut a small oval from blue felt, write the bakery name on it in white fabric pen, and attach it to the hat with a safety pin.
For the photo, sit the baby on a clean kitchen counter in front of the stove, not the stove itself, and place a small wooden rolling pin or spoon loosely in both hands. The background context sells it instantly.
Skip the hat if it will not stay on. A white headband with a small pom-pom at the top reads just as well, and it is harder to pull off.

🛍 Shopping guide
Tiny Lamb
Hot-glue white pom-poms across the front of a white onesie in a loose cluster, leaving the arms and legs bare. Add white knee-high socks with a small pink satin bow tied at the ankle of each one. For the head, use a cream or white fleece baby bonnet with two small ear shapes cut from the same fleece and stitched or glued to the sides.
Finish with a second pair of tiny pink bows clipped to the ears. The whole costume is soft against skin, and every single piece is either knit or fleece, so there is nothing to scratch or chafe.
This one photographs best when the baby is held against a parent’s chest or upper arm, so the pom-pom texture fills the frame close-up.

🛍 Shopping guide
Black Onesie Base
Black knit is the stealth ingredient in half the cleverest newborn costumes. It reads as a full costume body on its own, so the only job left is one small accessory that names the character. Keep it minimal and the photo does the rest.
Skeleton
A black onesie with white fabric paint or iron-on bone shapes printed across the chest and limbs is the whole costume. You can buy a purpose-printed skeleton sleepsuit, or trace simple rib and spine shapes onto white felt and iron-on adhesive, then press them flat.
A white newborn knit beanie finishes the look: it reads as the skull without any face paint involved. No face paint on a newborn, ever.
For the photograph, lay the baby in a white-sheeted crib and scatter a handful of black paper bat cutouts around the mattress edge. The contrast is strong and the image looks deliberate rather than accidental. This is the one costume where a crib shot works, because the black and white graphic reads well from directly above.

🛍 Shopping guide
Tiny Bat
Cut two wing shapes from black felt, each about the size of a large hand. Attach them to the back of a black onesie with three or four small safety pins along the spine, so they fan out on either side. They do not need to be perfectly symmetrical: a slightly lopsided bat is still a bat.
Add a simple black headband with two small felt ear triangles glued upright on top. That is the entire costume. The baby needs to be propped sitting or held upright for the wings to show, so plan the photo around a supported seated position.

🛍 Shopping guide
Baby Vampire
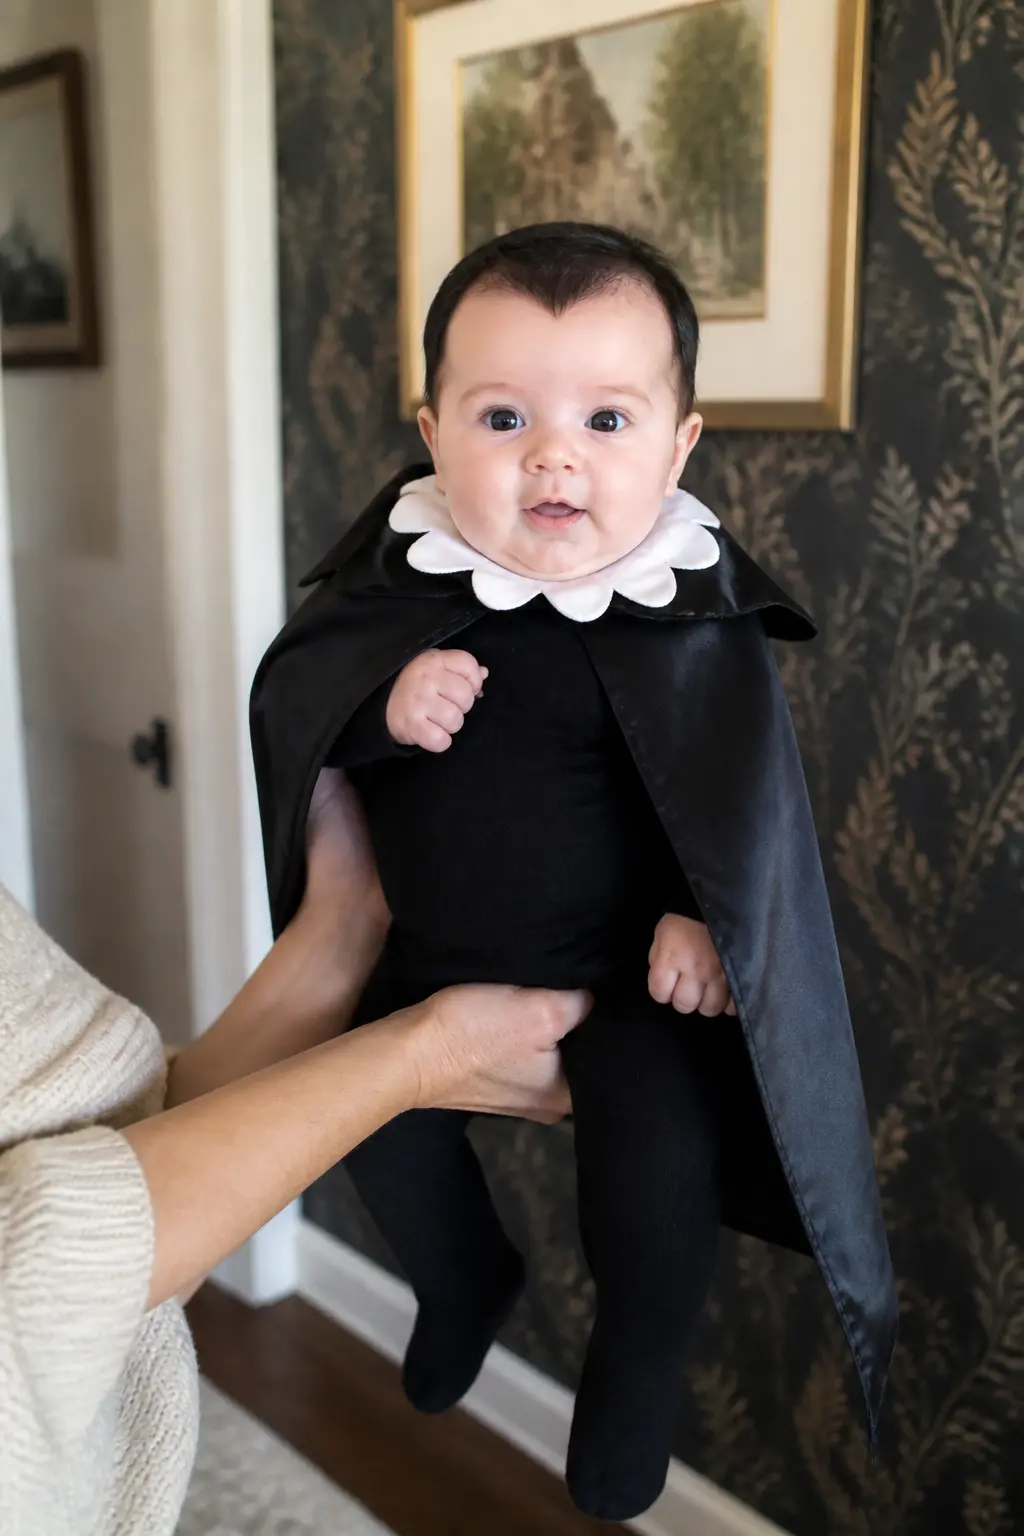
Dress the baby in a black onesie and snap a short black satin cape around the shoulders. The cape can be cut from a single rectangle of black satin, hemmed on three sides and gathered at the top with a safety pin through a piece of ribbon tied at the neck over the onesie collar, never directly against the skin.
A small white felt collar cut in a scalloped shape sits between the cape and the chest. Slick any hair with a tiny dab of hair gel into a centre point at the forehead if there is enough hair to work with. Skip the gel on a bald baby: the cape and collar do all the work anyway.
🛍 Shopping guide
Neutral Romper Base
Cream, oat, and warm tan rompers photograph beautifully against autumn backgrounds and work for woodland creatures, food costumes, and anything with a vintage feel. They are also the base that flatters newborn skin tones in every colour temperature of light.
Fawn
A brown or rust-spotted romper is the base: look for one with organic dot or spot print, which reads as fawn markings without any alteration. Add a cream or champagne tulle skirt slipped over the bottom half, tied at the waist with a ribbon over the romper snaps so it is easy to remove for a nappy change.
A felt antler headband with small round ears and a fawn nose tip painted with a brown face-safe crayon completes the look. Keep the face detail to a minimum: a dusting of fine dots across the nose bridge with a brown cosmetic pencil is enough, and it wipes off in seconds.
Photograph the baby near a real fireplace or a whitewashed brick wall. The warm stone and the warm brown of the romper read beautifully together.

🛍 Shopping guide
Cupcake
A cream or oat romper is the cupcake wrapper. Cut a wide bib shape from pink felt with a scalloped top edge to suggest frosting, and sew or glue small rectangles of red, yellow, and green felt onto it as sprinkles. Attach it to the front of the romper with two safety pins at the shoulders.
A large pink bow headband on the head finishes the look. That is it. The costume photographs beautifully against a bright blanket or a colourful quilt, where the contrast between the warm cream romper and the saturated background pops.
This is one of the fastest costumes on the list. From cutting to dressed baby, it takes about twenty minutes.

🛍 Shopping guide
Acorn
Dress the baby in a warm brown or caramel onesie and pull on cream knit trousers or leggings underneath. The “cap” of the acorn is a tan or khaki beanie hat, and if you can find one with a small stem-shaped button or knot at the top, the read is instant.
No further construction needed. The costume works best photographed low to the ground in an autumn setting: a pile of real fallen leaves, a wooden porch step, or a wicker basket lined with a cream knit blanket. The naturalness of the setting does the heavy lifting.

🛍 Shopping guide
No-Sew Felt Add-Ons
Felt does not fray, costs almost nothing, and attaches with a single safety pin or a dab of fabric glue. The costumes in this section are built entirely from a base layer plus one felt piece. Make it the night before and spend the time you saved on the photo setup instead.
If you enjoy the crafting side, 16 Halloween DIY Crafts That Look Like You Bought Them has more projects worth an evening.
Garden Gnome
The hat is the costume. Cut a tall cone from red felt, roll it, and secure the seam with fabric glue or a line of hot glue run along the inside. Size it to sit snugly on the head without pressing down, so the point tilts slightly to one side on its own. That tilt is the charm.
Dress the baby in a plain cream or oat onesie. Cut a long rectangle of white felt, fold it in thirds lengthways, and place it under the baby’s chin like a beard for the photo. You are holding it, not attaching it. One hand in frame is fine: it grounds the image.
A terracotta pot or a small garden trowel placed next to the baby as a prop ties the whole scene together. Shoot on a back porch or in front of a brick wall.

Pea in a Pod
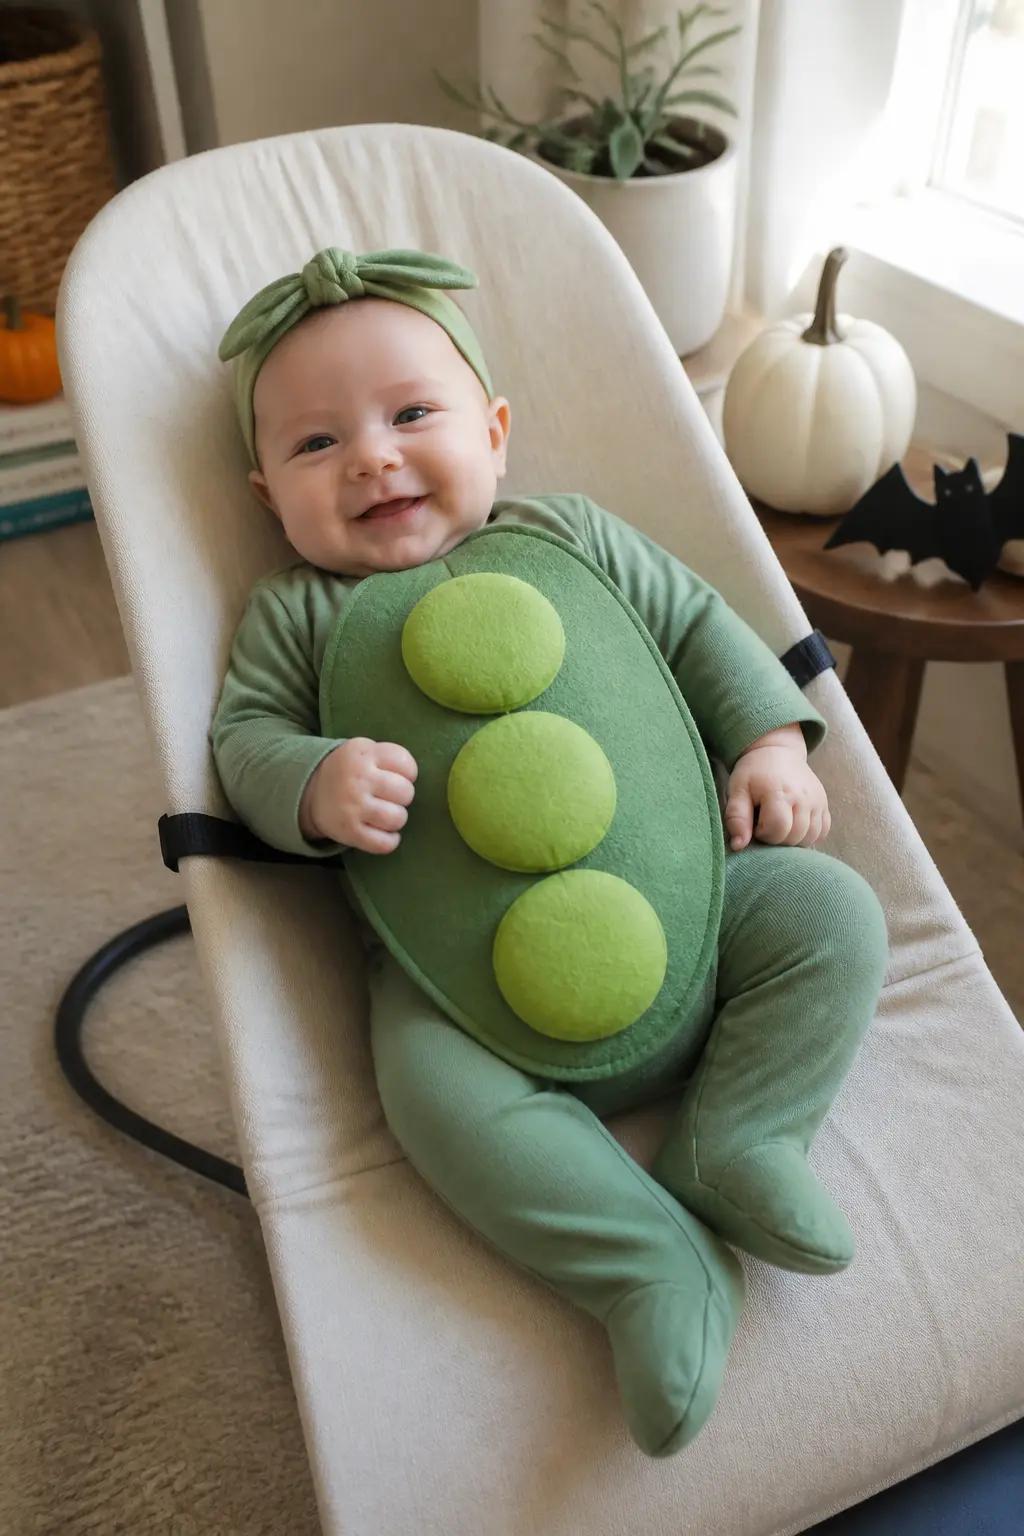
Cut a wide oval pod shape from green felt, big enough to drape across the baby’s chest and lap. Cut three or four circle “peas” from a slightly different shade of green felt and glue them onto the pod in a row. Pin the pod to the front of a plain green or white onesie.
A matching green headband keeps the palette consistent. The whole thing takes one felt sheet in two tones and a safety pin. Position the baby reclined at a slight angle in a bouncer chair, which makes the pod shape visible from the front without needing anyone to hold it in place.
🛍 Shopping guide
Sunflower
Cut a ring of long petal shapes from yellow felt and attach them around the inside of a wide headband to frame the baby’s face. The face is the centre of the sunflower: no further decoration needed on the body. Dress the baby in a plain green onesie to suggest the stem.
Photograph the baby face-on in a spot with strong natural window light. The yellow petals catch the light and the green base grounds the image. A windowsill, a wooden step, or a simple white wall all work. Keep the background bare so nothing competes with the petal frame.

🛍 Shopping guide
Tiny Wizard
Make a cone hat from deep navy or midnight purple felt, the same method as the gnome but taller and narrower. Glue on a handful of gold star stickers or cut tiny star shapes from gold felt and glue them on instead for a more tactile finish. Add a half-circle cloak cut from the same felt, gathered at the top and tied loosely around the shoulders with a ribbon, again over the onesie collar not against bare skin.
Dress the baby in a plain white onesie underneath so the dark cloak reads clearly. Place a small wooden dowel painted gold in the baby’s hand for the photo and remove it immediately after. Photograph against a dark or moody background: a navy wall, a velvet sofa, or an evening-lit hallway.

🛍 Shopping guide
Prop-Led Costumes
Some costumes live entirely in one small object held near the baby for the photo: a tiny pumpkin, a wooden spoon, a magnifying glass. The baby wears a plain onesie. The prop tells the whole story. Shoot fast, because the prop will be in someone’s mouth within thirty seconds.
Pumpkin Patch Pumpkin
Dress the baby in an orange onesie and add a green knit beanie with a small brown stem shape glued to the top. That is the complete costume. The prop is the setting: place the baby in or among real pumpkins at a pumpkin patch or arranged on a front step, so the costume becomes part of a larger composition.
The green hat stem is the only construction. Cut a short stubby rectangle from brown felt and curl it slightly before gluing it to the hat crown. Keep it small: an over-sized stem will flop and obscure the baby’s face in the photo.

🛍 Shopping guide
Taco
Cut a large half-circle from tan or warm beige felt to suggest a tortilla shell. Glue strips of green felt (lettuce), red felt (tomato), and yellow felt (cheese) along the curved inner edge. Safety-pin the whole piece to the front of the onesie at the shoulders, so it drapes open like a shell being held upright.
Dress the baby in a plain cream onesie underneath. The costume works best photographed from slightly above so the layered filling is visible. A plain wood floor or a white countertop makes the colours pop without distraction.
This one gets loud reactions at the door and takes about fifteen minutes to make.

🛍 Shopping guide
Little Monster
Use a bright lime green or vivid teal onesie and glue two large googly eyes (the craft-store foam kind, not the hard plastic rattling ones) to a plain headband. Cut a jagged mouth shape from red felt and pin it loosely to the chest of the onesie just for the photo: a wide toothy grin shape works, or keep it simple with a curved strip.
The prop is a sign. Cut a small rectangle of card, write “MONSTER” on it in bold block letters, and lean it against the baby or prop it in front of a bouncer. The sign names the costume so nothing else has to work too hard. Photograph close and slightly from the front to catch both the eyes on the headband and the baby’s actual expression underneath.

🛍 Shopping guide
Wrapped Mummy
Wrap the baby loosely in a white gauze muslin swaddle in the usual swaddling position. Pull one diagonal corner up and across to suggest a wrapping that circles the upper chest, and tuck it in gently. Nothing is tied, knotted, or tight.
The only addition is two small circles cut from white felt with black pupils drawn on, placed just above the muslin edge to suggest eyes peering out. Hold them in place with a single small strip of double-sided tape on the felt back, pressed lightly to the muslin, not the baby’s skin. The baby is fully and warmly wrapped, which makes this an ideal newborn costume for a chilly October evening.
Photograph from directly above looking down into the swaddle, or from slightly to the side so the face is visible. A white or pale grey background keeps the image clean.

🛍 Shopping guide
Frequently Asked Questions
What age can a newborn safely wear a Halloween costume?
From birth, as long as the costume is made from soft, breathable fabric with no loose parts, tight elastic, or anything near the face. The costumes here are all built on onesie bases for exactly that reason. Remove any prop or headpiece between photos.
How do you keep a hat on a newborn for photos?
You mostly do not. Shoot with the hat on first, take your five frames, then let it go. A wide soft headband is more reliable than a hat for any baby under three months. If the hat is essential to the costume, use one with a chin tie made from a flat ribbon, not elastic, and keep the session under ten minutes.
Is face paint safe on a newborn?
No face paint on a newborn. Even products labelled hypoallergenic can irritate very new skin. Use a soft cosmetic pencil for minimal detail only on babies over three months, test on the inner wrist first, and keep it well away from the eyes and mouth.
How do you DIY a newborn Halloween costume without sewing?
Felt, safety pins, and fabric glue handle everything here. Felt does not fray, so cut edges need no finishing. Attach pieces to the onesie with small safety pins at the shoulder or collar so they come off fast at nappy-change time. Fabric glue works for anything staying on the hat or headband rather than the wearable layer.
What is the cheapest DIY newborn Halloween costume?
The swaddled mummy, the acorn, and the pea-in-a-pod all cost under five dollars in new materials, and less if you already have a muslin swaddle or a plain onesie in the right colour. One pack of assorted felt sheets from a craft store covers three or four of the costumes in this list.
Where is the best place to photograph a newborn Halloween costume?
Natural window light in a real room, close to the baby. A bouncer chair, a wicker basket, a porch step, or a parent’s arms all work. Avoid flash directly on a newborn’s face. Late morning gives the warmest, softest light for autumn skin tones and costume colours.
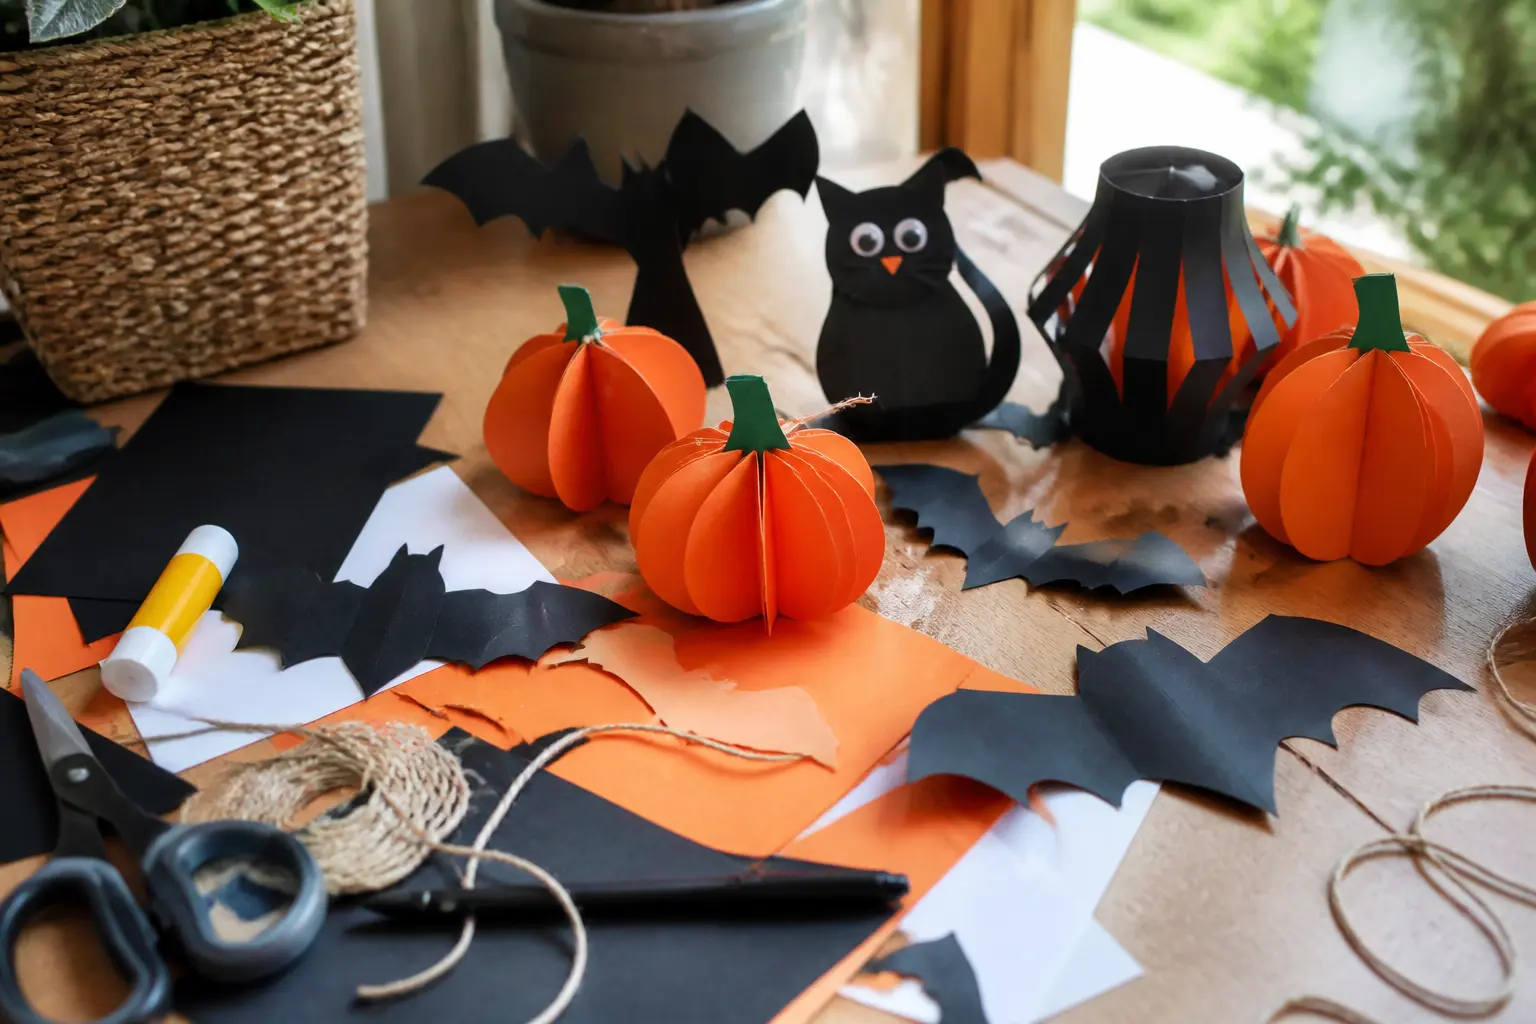
33 Halloween paper crafts for kids that actually work: glitter webs, ghost cards, witch hats, handpr
28 DIY Halloween games for kids that cost almost nothing and set up fast. Clever, low-mess ideas you
32 halloween outdoor decorations scaled for a real lawn, not just a porch. Stage tombstones, fog, li
Leave a Reply