

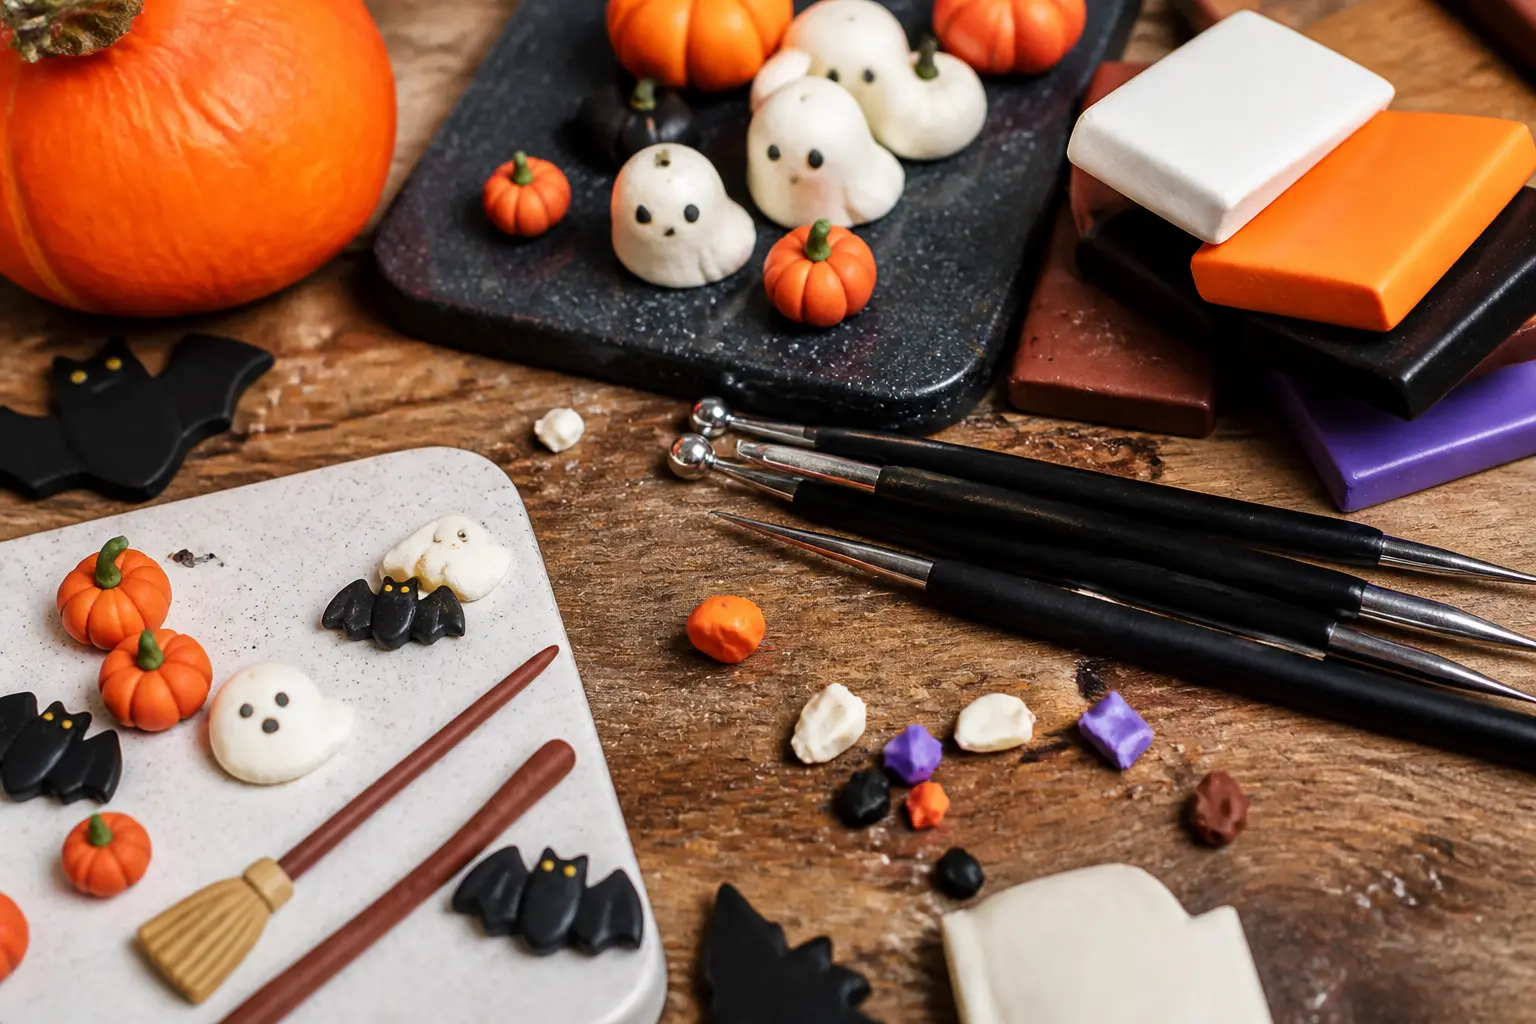
Polymer clay is the one craft material that rewards a beginner on the first try and still challenges an experienced maker a year later. You need a pack of clay, a craft blade and your existing kitchen oven. That is the full equipment list.
The 11 ideas below sit firmly in the moody, botanical-spooky corner of Halloween that has nothing to do with plastic skeletons or neon orange. Think matte black, burnt terracotta, dusty sage and cream, scaled down to jewellery and ornament size so the detail does the talking. Every single one bakes at 130 C (265 F) for around 30 minutes and cools on the tray.
And if guests need something to do while clay cools, 20 No-Cringe Adult Halloween Party Games has you covered.
This post contains affiliate links. If you buy through them, I may earn a small commission at no extra cost to you.
Wearable Charms and Earrings
Wearable pieces are the fastest win in polymer clay because small means short bake time and low clay cost. A finished pair of earrings uses less than a quarter of one standard block. Start here if you have never touched the medium before.
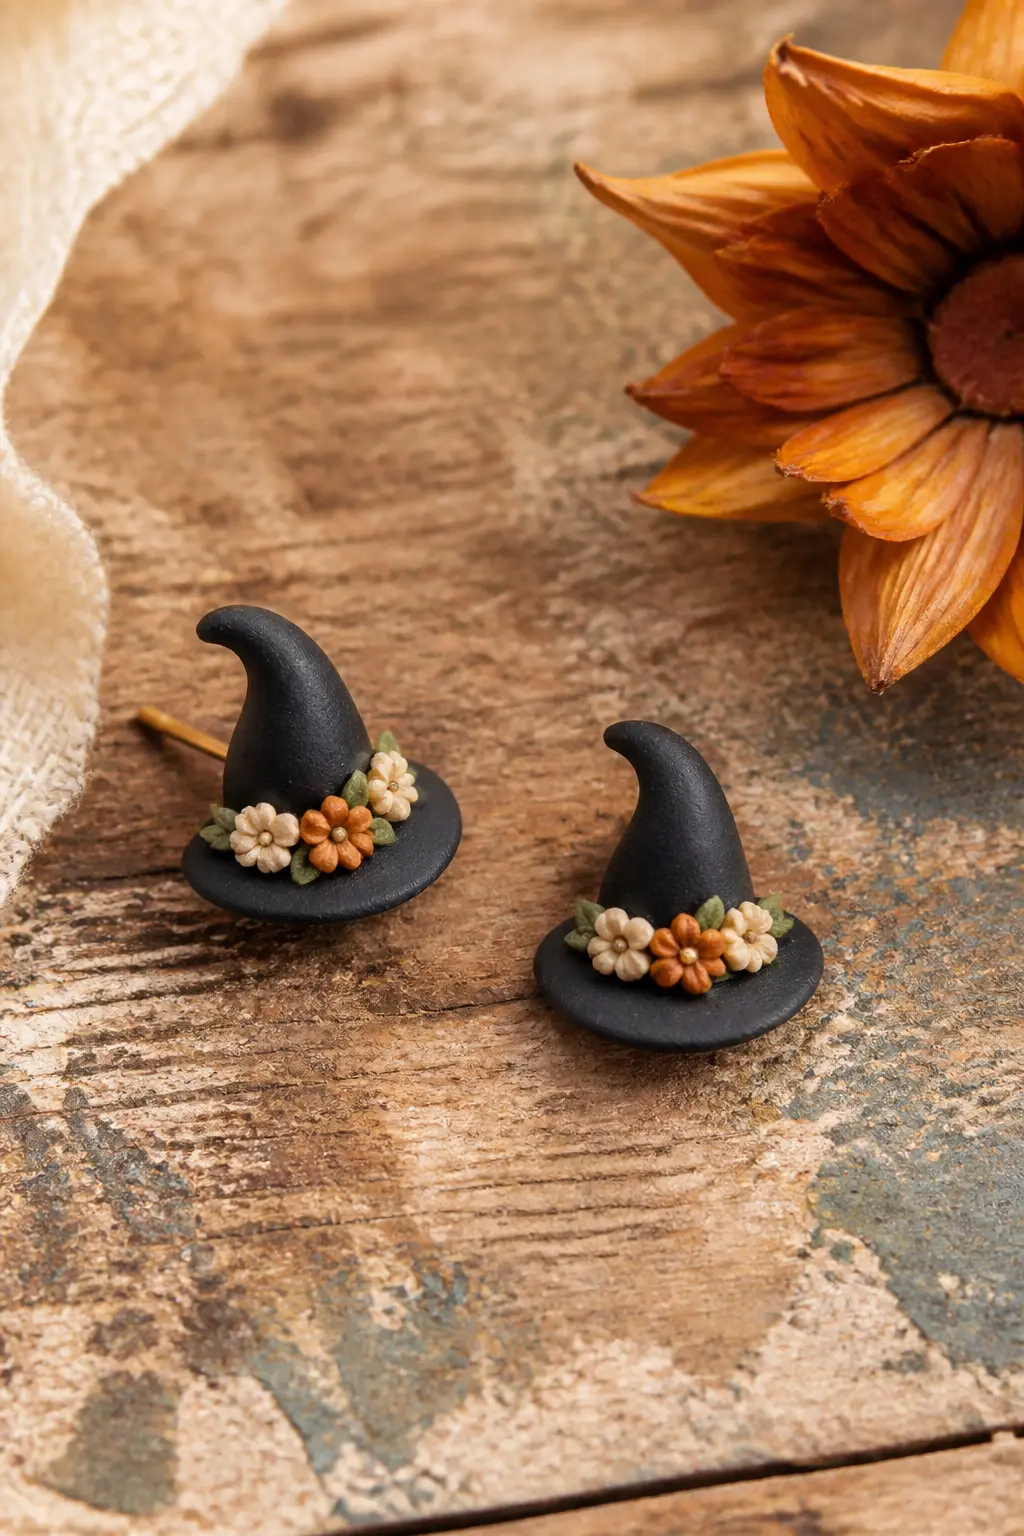
Witch Hat Stud Earrings With Tiny Floral Band
Roll black clay to about 3 mm thickness and cut two mirror-image hat silhouettes freehand: a wide curved brim and a tall tapered cone. Blend the join with a silicone-tipped tool so no seam shows. The brim curls very slightly at the outer edge if you lift it with a fingernail before baking.
The band is the detail that lifts the piece. Roll tiny snakes of cream and burnt orange clay, flatten them into petal shapes no bigger than a sesame seed, and press them along the hat brim in a loose cluster. Add a single even-smaller moss-green leaf on each side. Press a flat-pad stud finding into the back of each hat, bake, and the finding is permanently set.
Seal with a matte varnish once cool. A gloss finish works against the folk-art tone of this particular design.
🛍 Shopping guide
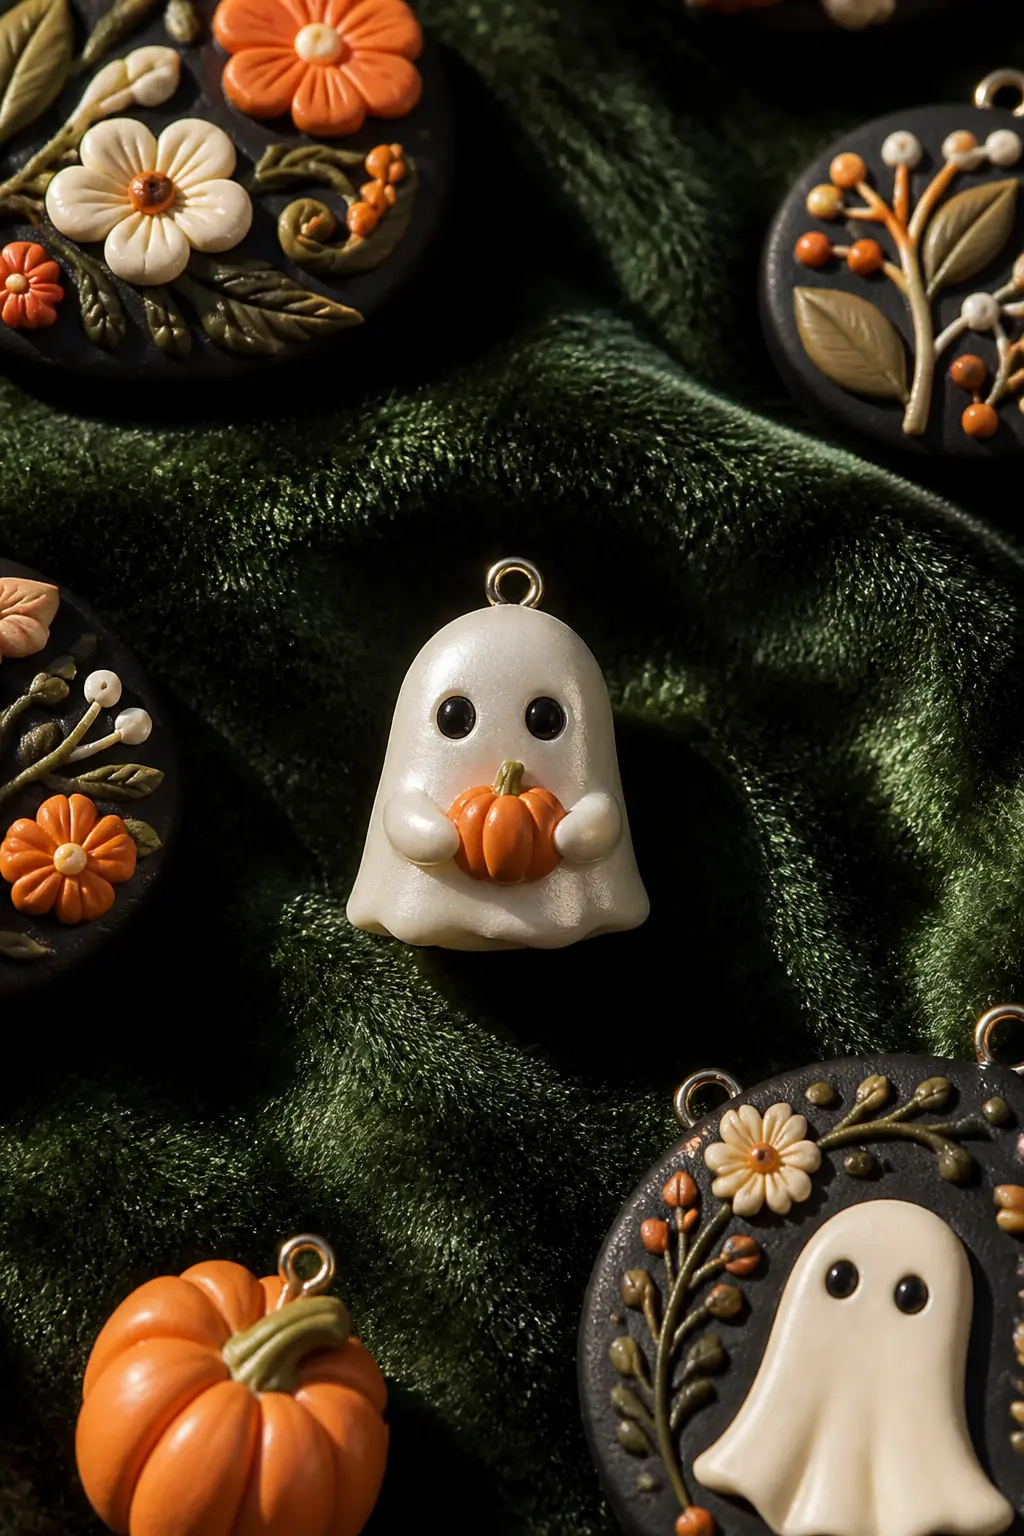
Ghost Holding a Pumpkin Charm
Shape a small teardrop of pearl-white clay into a ghost body: round at the top, slightly wavy at the hem. Mark two small oval eyes with the tip of a round tool, pressing only deep enough to create shadow, not punching all the way through. Press a tiny ball of orange clay, segmented with a blade, into the front of the figure as the pumpkin it holds.
Pierce a hole at the top of the ghost before baking and thread it onto a cable-chain necklace or a lobster-clasp phone charm once cool. The white clay benefits from a single light coat of translucent gloss varnish to give it a faintly luminous quality, which reads very well against a dark outfit.
🛍 Shopping guide
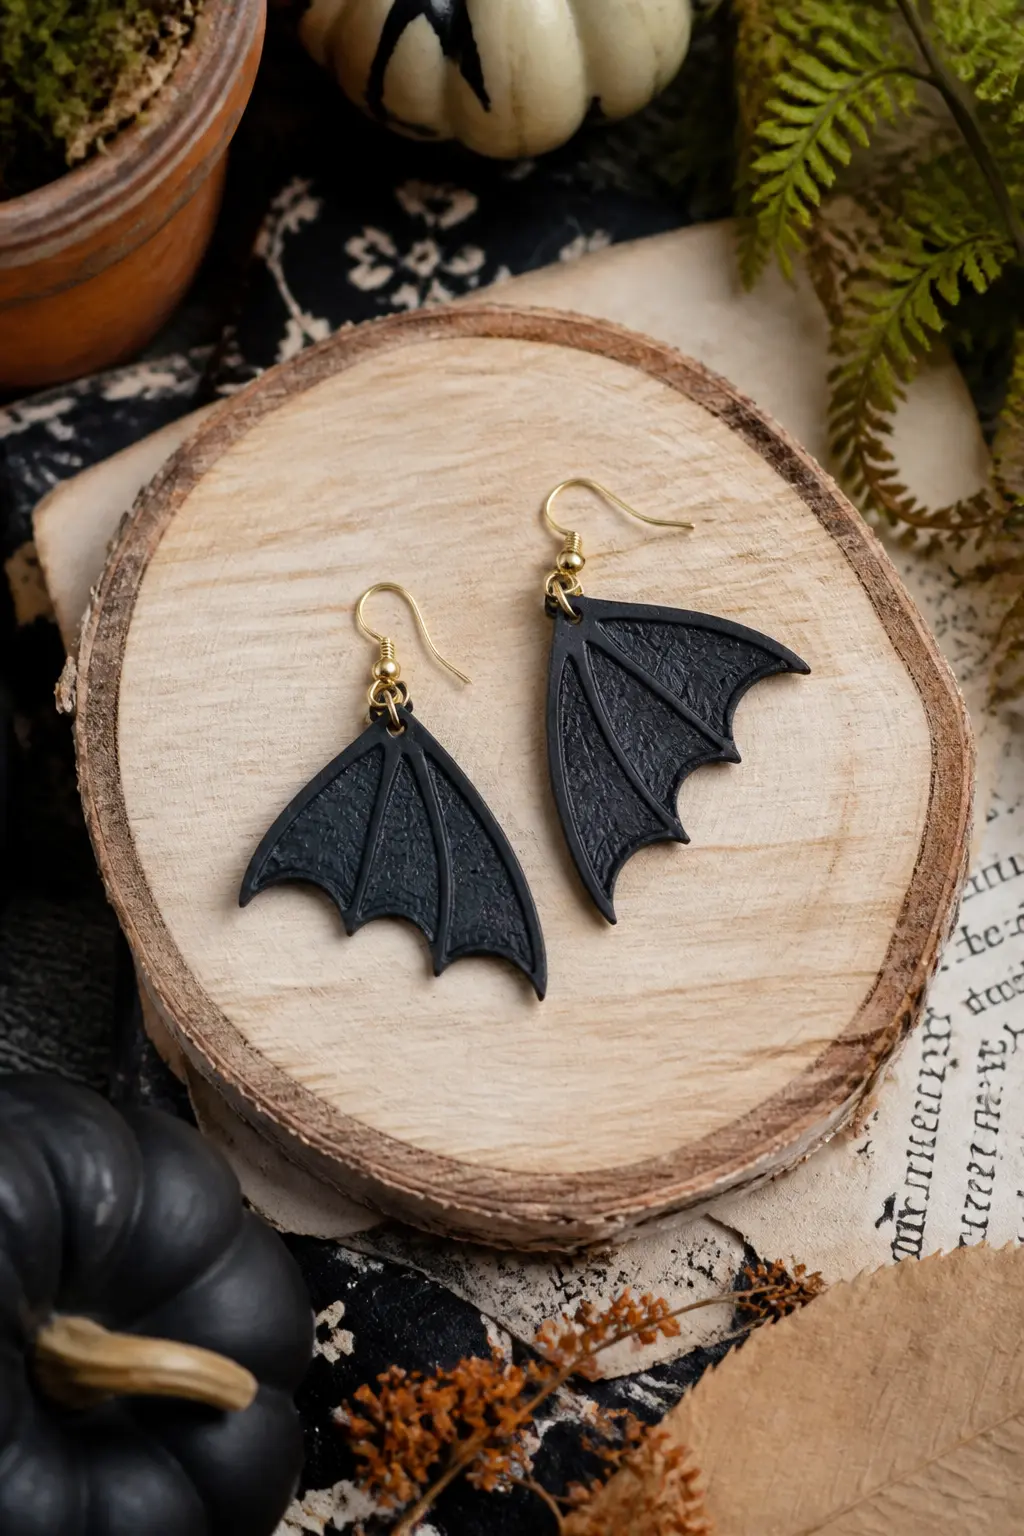
Botanical Bat Wing Earrings
Cut two bat wings from a sheet of black clay using a template you draw on paper and cut out yourself: roughly a wide M shape with curved lower edges. The asymmetry of a hand-cut template gives the finished piece its character. Do not try to make both wings identical.
Before baking, press tiny dried flower petals or a leaf skeleton lightly into the clay surface, then lift them away. They leave an impression, not a colour transfer, which reads as a subtle botanical texture in matte black. Attach a jump ring at the inner tip of each wing and hang from a French ear wire.
The leaf-texture trick requires zero extra materials because you use the pressed piece as a stamp and discard it. It is the kind of detail that makes people assume the piece cost three times what it did.
🛍 Shopping guide
Black Cat Silhouette Keychain
Draw a sitting cat profile on paper: a rounded body, two pointed ears, a long curling tail. Cut the paper template out and use it to cut the shape from a sheet of black clay rolled to 4 mm thickness. The tail curls back up to touch the body, which structurally reinforces the piece so the tail does not snap off after baking.
Add two tiny green clay eyes and a thin moon crescent in cream clay on the body surface for decoration. Pierce a hole at the top of the head. After baking and cooling, attach a key ring with a short length of chain and a single jump ring. The finished piece is robust because the compact silhouette has no thin protruding elements other than the ears, which are short and sturdy enough to survive a bag.

🛍 Shopping guide
Stacked and Sculptural Pendants
Stacking forms, one on top of another, is how you build dimension without armature wire or a second bake. The trick is keeping each element slightly smaller than the one below it, so the whole thing tapers and holds its own weight before it cures.
Stacked Pumpkin Tower Drop Earrings
Three pumpkins, each one smaller than the one below, stack into a single drop earring that moves when worn. Roll balls of clay in burnt orange, soft terracotta and dusty cream, then press five shallow vertical lines into each one with the back of a craft blade to create the segments. Add a tiny pinched stem of raw sienna clay at the top of each pumpkin.
Stack them while still raw by pressing gently, making sure the contact points are clean. Thread a head pin up through all three before baking, leave 5 mm of wire above the top pumpkin, and form a wrapped loop after baking. Attach to a simple ear wire.
The earring reads at a distance as a charm, not a sculpture, which is exactly what you want: legible from across the room, detailed up close.

🛍 Shopping guide
Dried Floral Skull Pendant
Roll a ball of cream clay and gently elongate it into a basic skull form: a larger upper dome and a narrower jaw. Press two almond-shaped eye sockets with a rounded tool, and a small rectangular nose cavity. Keep the form simple: the decoration does the work, not anatomical accuracy.
Press tiny dried petals, a sprig of dried chamomile or a fragment of dried lavender directly into the clay around the eye sockets and along the cheekbones before baking. They bake in place and become permanently embedded, which gives the surface a textured, organic quality very different from painted-on flowers. Thread a bail onto the raw clay before baking, seal with matte varnish once cool, and hang on a long brass chain.
This is the piece that sits in the grown-up Halloween category: something a jewellery collector would wear in October and not feel costumed. The dried botanicals do all of that work.

🛍 Shopping guide
Flat Statement Brooches
A brooch works differently from an earring: it needs a flat back and a pin finding, but it also gives you more canvas. Work on a tile so the underside stays smooth, and press a brooch-back finding into the raw clay before baking so it bonds as it cures.
Halloween Scene Brooch: Witches Cabinet
Start with a rectangle of black clay about 5 cm by 4 cm, smoothed on a tile. Build a miniature arched cabinet frame directly on the surface using thin logs of brown clay: two uprights, a curved top, and two small shelf ledges inside. Press texture into the wood logs with the edge of a toothpick to read as grain.
On the shelves, place tiny pumpkins in orange, a small cream potion bottle with a stopper, and a moon crescent punched from white clay with the tip of a drinking straw. Scatter tiny white dot details across the black background to suggest stars or dust. Press a bar-pin brooch back into the clay and bake the whole tile flat.
This is the piece people ask about first when they see it. Keep the background matte and the small objects in satin finish so the depth reads clearly.

🛍 Shopping guide
Monster Popsicle Fridge Magnets
Roll an oval of green or orange clay about 4 cm long and 2 cm wide. Flatten it slightly so it sits close to a surface. Press a wooden craft stick into the bottom third before baking, leaving the lower half of the stick exposed as the popsicle handle. Add googly-style eyes using two tiny balls of white clay with even-smaller black centres, and mark a mouth with a blade.
A green oval becomes a monster or a Frankenstein figure with a few strokes of brown clay for hair. An orange oval becomes a jack-o-lantern with a pressed triangle nose and jagged mouth. Glue a disc magnet to the back with strong adhesive once the piece is fully cool, never while warm since heat affects magnet strength.
These are the piece you make for the kitchen in October and feel no guilt about leaving up until November. Low commitment, high payoff.

🛍 Shopping guide
Mini Ornaments and Garland Pieces
Ornaments need one thing earrings do not: a hole. Pierce it with a toothpick before baking, not after, and make the hole slightly larger than you think you need because clay shrinks very slightly and you do not want to fight a wire through a tight cure. String finished pieces on black cotton twine or a thin jute cord for an instant garland.
Pumpkin Spice Latte Mug Miniature Ornament
Form a squat cylinder of black clay for the mug body, press a thin handle onto the side and add a tiny pumpkin face in orange clay on the front. Top the mug with a swirl of cream clay shaped like whipped foam, then add a miniature cinnamon stick made from a rolled log of raw sienna clay pressed with a toothpick to create bark texture.
Pierce a hole through the top of the foam swirl before baking, thread with black twine once cool, and you have an ornament that reads as October-specific without being aggressively Halloween. It works on a black cotton garland, tied to a gift, or hanging from a window latch.
Make six at once since the repetitive forming of the mug body goes quickly once you have the shape in muscle memory. A set of six takes about 45 minutes of active work plus bake time.

🛍 Shopping guide
Haunted House Window Ornament
Cut a small arched rectangle from black clay, about 4 cm tall. Score a cross in the centre to suggest windowpanes. Press a thin frame of brown clay around the arch edge to read as wood trim, and add two tiny shutters cut from the same brown clay, left slightly ajar on one side. A sliver of midnight blue clay fills the window behind the cross bars.
At the base of the arch, press two miniature pumpkins and a small leafy vine made by rolling very thin snakes of moss-green clay. Pierce a hole at the top and bake flat. The finished piece is under 5 cm tall and works beautifully strung on a garland with other ornaments or tied to an autumn wreath with black jute.

Desk and Shelf Sitters
A piece that stands on its own needs a flat, stable base. Press the bottom edge of the raw sculpture onto a smooth tile before baking, which flattens it just enough to sit without rocking. No stand, no glue, no fuss.
Crescent Moon and Mushroom Shelf Sitter
Form a crescent moon from cream clay, about 6 cm across at its widest. Flatten the back so it stands on its own two tips. At the base of the inner curve, build a cluster: one tall mushroom with a dusty terracotta cap spotted with tiny white clay dots, one smaller mushroom, and two rounded leaves in moss green pressed flat against the moon surface.
The piece bakes in a single session because everything is attached before it goes in. Stand it on a folded strip of foil in the oven to support the tips while the clay cures, and remove the foil carefully once cooled. The foil trick takes 30 seconds to set up and saves you a lopsided moon.
On a shelf it reads as autumn decor, not specifically Halloween, which means you keep it out longer. That is not a workaround: it is the point.

🛍 Shopping guide
Frequently Asked Questions
Can you bake polymer clay in a regular kitchen oven?
Yes. Set the oven to 130 C (265 F), place the piece on a ceramic tile or baking tray, and bake for 30 minutes per 6 mm of thickness. Use an oven thermometer because built-in dials are often inaccurate, and scorching the clay is the main thing to avoid. Ventilate the kitchen during and after baking.
Which polymer clay brand works best for small detailed pieces?
Premo Sculpey and Fimo Professional both hold fine detail well and stay firm enough to roll thin without cracking. Fimo Soft is slightly more pliable, which suits beginners. Avoid cheaper dollar-store clays for detailed work because they often crack after baking.
Do you need special tools to start?
Dedicated sculpting tools add precision but are not required for a first project.
How do you attach findings like ear studs or brooch backs without glue?
Press the finding into the raw clay before baking: the clay cures around it and the bond is very strong. This works for flat-pad stud findings, bar-pin brooch backs and bail pendants. For keyrings and jump rings, attach after baking using a wrapped loop of wire rather than glue.
How do you keep small earring pairs symmetrical?
Cut both pieces from a single rolled sheet using the same paper template rather than free-forming each one separately. Mirror the template for the second piece. Tiny differences in the finished pair are a feature of handmade work, but a template keeps them readable as a pair.
What sealer should you use on finished Halloween polymer clay pieces?
A matte water-based varnish suits most of the earthy, folk-art pieces in this style. Use a gloss coat only where you deliberately want luminosity, such as on a white ghost charm or a potion bottle detail. Avoid nail polish as a sealer: it can stay tacky and react with the clay over time.
Free printable Halloween alphabet coloring pages, A to Z, all friendly and fun. One letter per sheet
28 purple painted pumpkin ideas sorted by depth of shade, from soft lavender to near-black aubergine
31 blue and orange fall decor ideas that swap beige for something with actual personality: velvet, c
Leave a Reply