

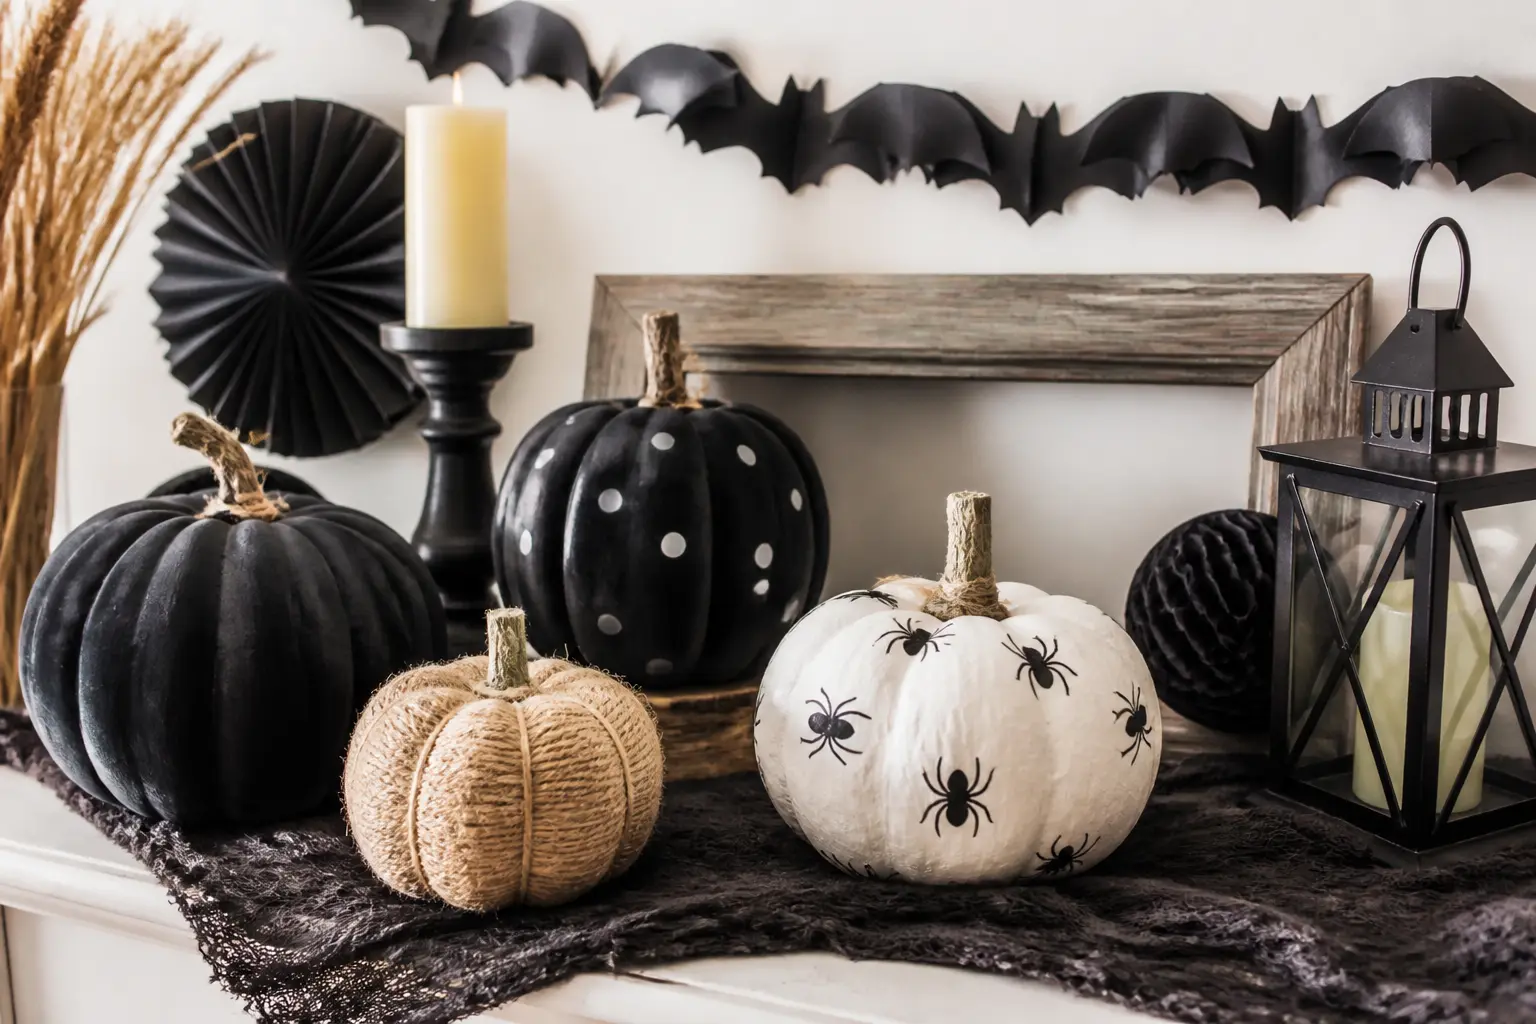
Every October the same question surfaces: how do you make the place look genuinely spooky without buying a cartload of plastic from the seasonal aisle. The answer is already in your cupboards, recycling bin and linen closet.
Every project here starts from something most households keep on hand: old bedsheets, toilet paper tubes, empty cans, cardboard boxes. Nothing requires a craft store run, a power tool or a specialty resin. If you want to add to the atmosphere with games once the room is dressed, 20 No-Cringe Adult Halloween Party Games and 30 Unforgettable Halloween Party Ideas and Games are worth a look.
Sixteen projects follow, grouped by the kind of effect they create. Pick one section or raid all of them. Either way, no extra spending required.
This post contains affiliate links. If you buy through them, I may earn a small commission at no extra cost to you.
Floating Figures and Fabric Ghosts
Fabric-based decorations do the heavy lifting in a room because they move. A slight draft and the whole corner comes alive. These four projects share the same logic: drape something soft, give it a face, get it off the flat surface.
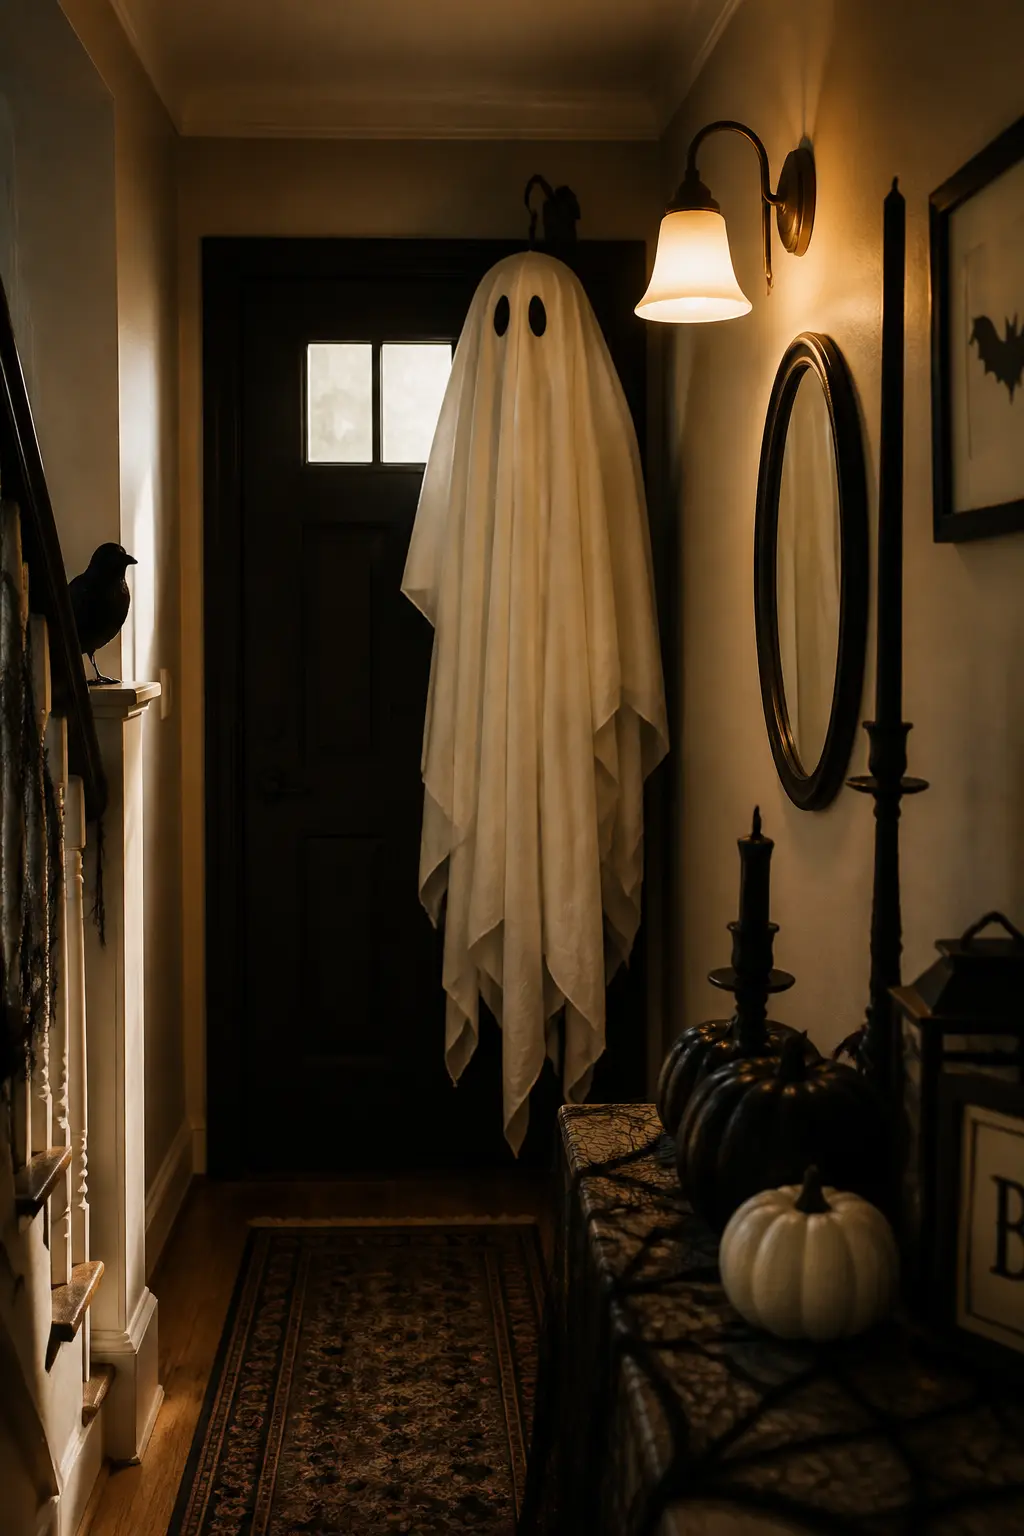
Bedsheet Ghost
Pull out the oldest white bedsheet you own, the one that already has a stain or a thin patch. Stuff a foam ball or an inflated balloon under the centre, gather the fabric around it, and secure it tight with a rubber band. That round head is what makes the shape read as a ghost rather than laundry.
Draw two oval eyes with a black permanent marker. Keep them wide-set and slightly asymmetric: too neat and it looks like a logo rather than a haunting. Hang the ghost from a tree branch, a curtain rod or a coat hook using fishing line or a strip of the sheet itself.
Stake several at different heights along a path and the effect multiplies. Use a partially deflated balloon to get a slightly misshapen head, which reads as more unsettling than a perfect sphere.
Sock Ghost
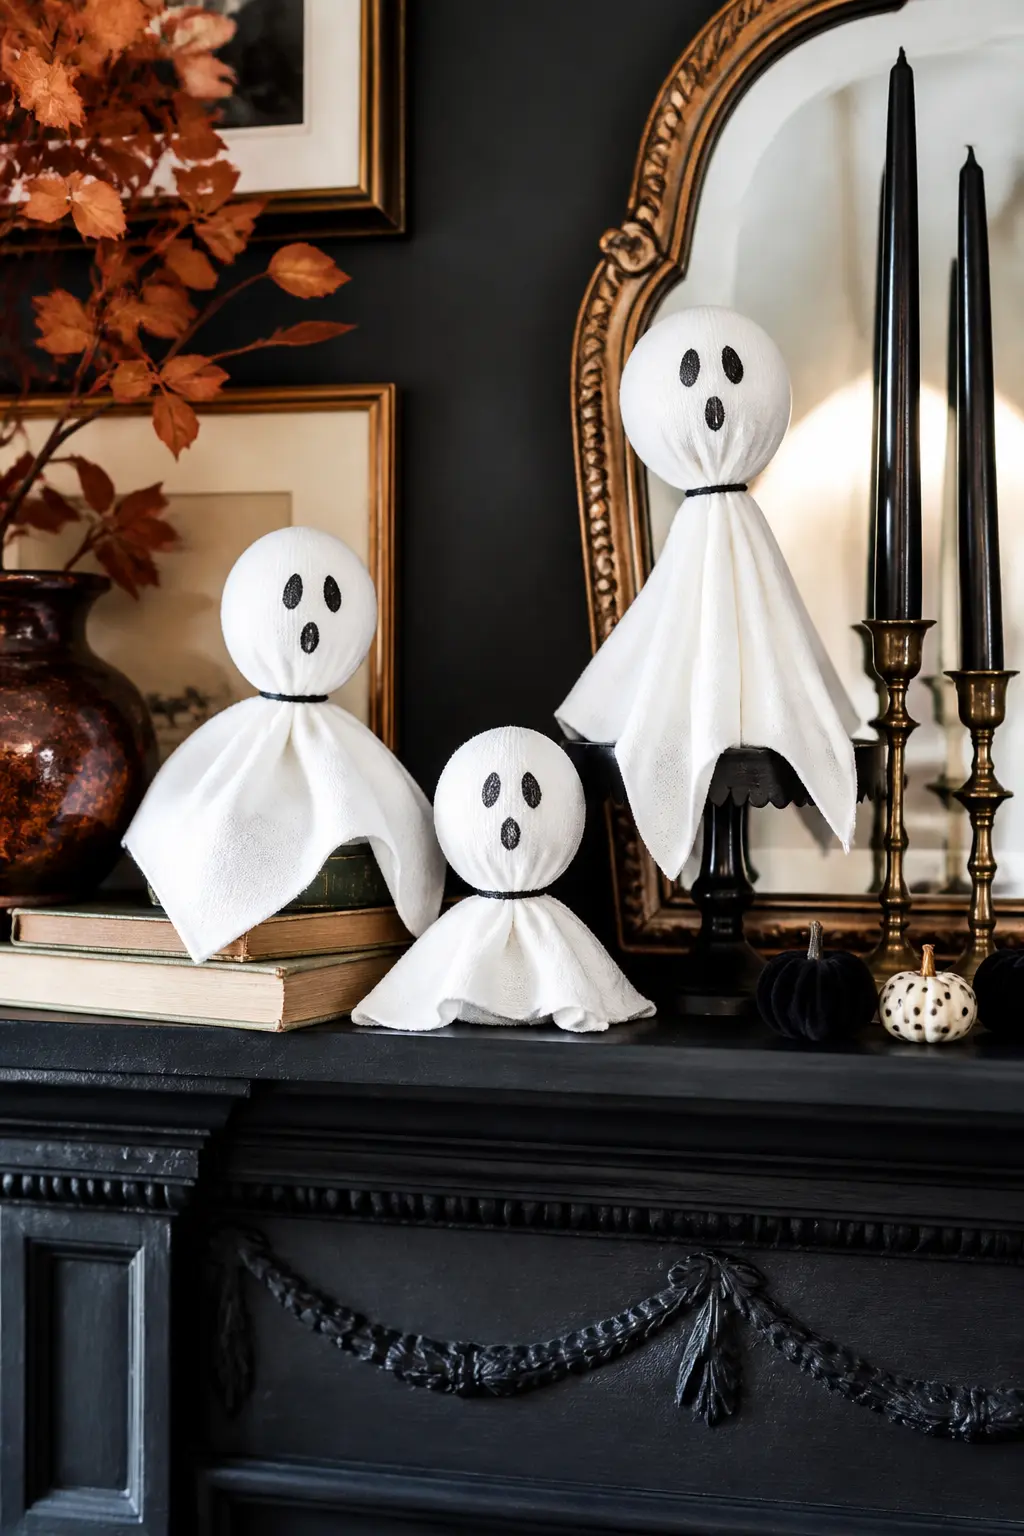
A long white sock stuffed with cotton batting from an old pillow or a worn-out stuffed animal becomes a table ghost in under five minutes. Pack the toe end full enough to hold a round shape, then gather the fabric and tie it off firmly with a rubber band just below the stuffed head.
Draw the face on the stuffed bulge with a black marker: two dots for eyes and a small open oval for a mouth give it a startled expression that reads well at a distance. Trim the excess sock below the rubber band into irregular strips so it flutters.
Sit three on a mantelpiece at staggered heights using small wads of stuffing to prop them. They cost nothing and take about four minutes each.
Coffee Filter Ghost Garland
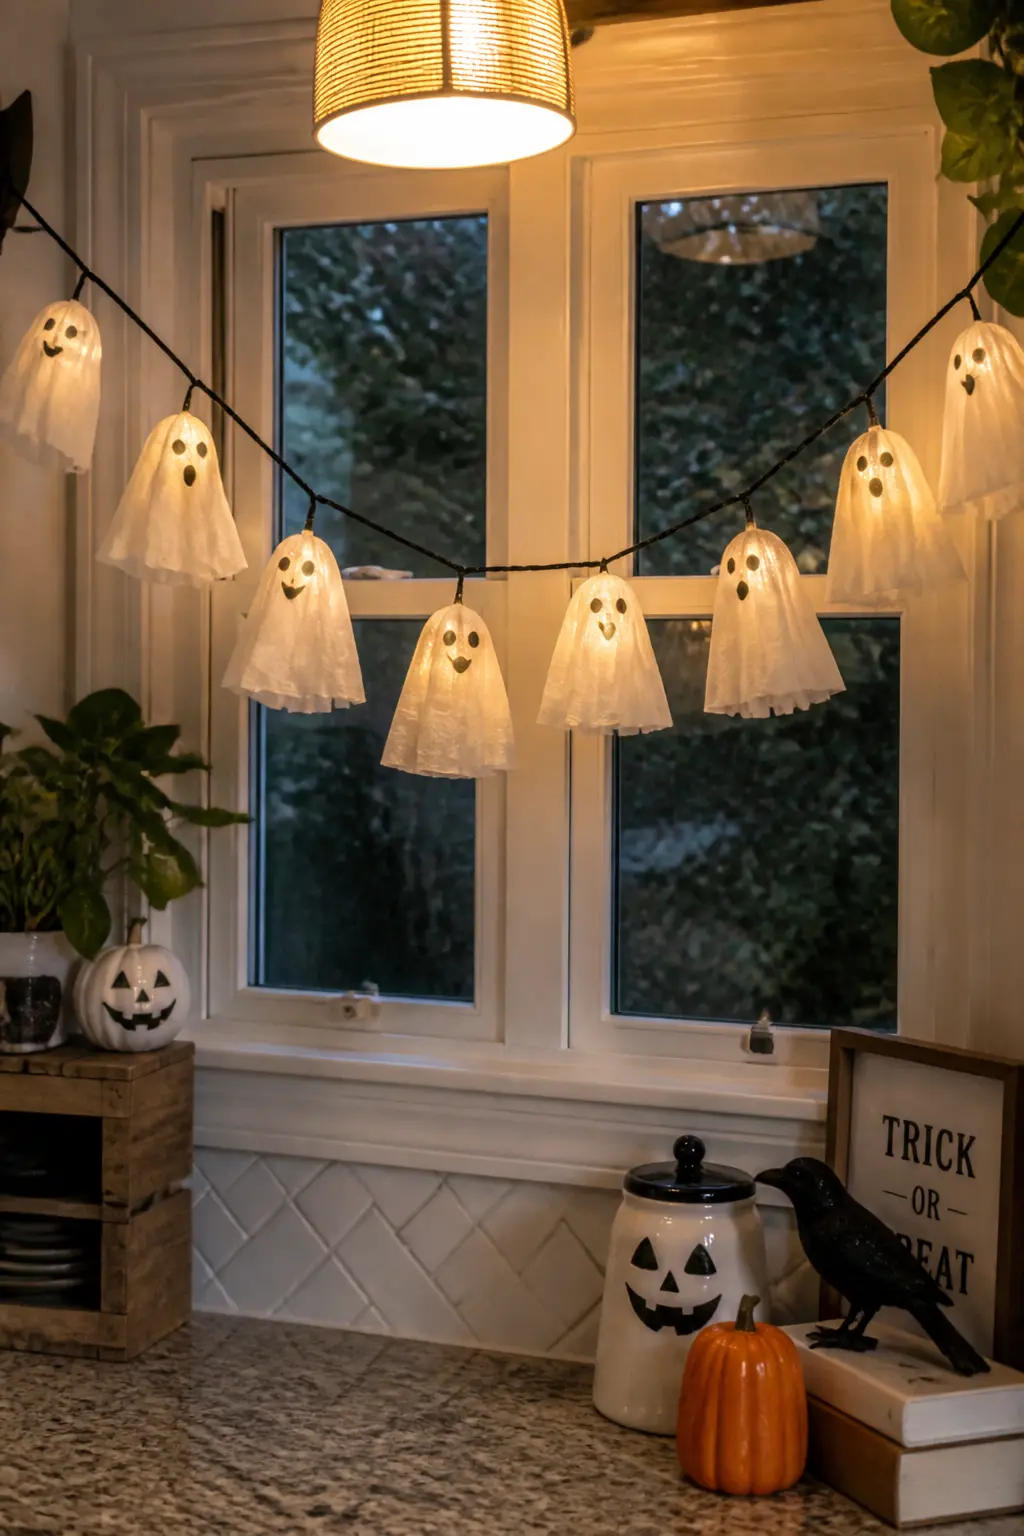
Basket-style coffee filters pinch naturally into a ghost silhouette when you gather the flat bottom and let the pleated sides flare out. Pinch twenty of them, draw a small face on each with a black marker, then glue them at the pinch point along a length of kitchen string.
Space them about four inches apart. The garland spans a window, a doorframe or a mantel shelf and moves with any air current in the room. Coffee filters are slightly translucent, so a lamp behind the garland throws a soft glow through each ghost.
For extra texture, crumple each filter gently before you pinch it so the surface looks more like draped fabric than a flat cone.
🛍 Shopping guide
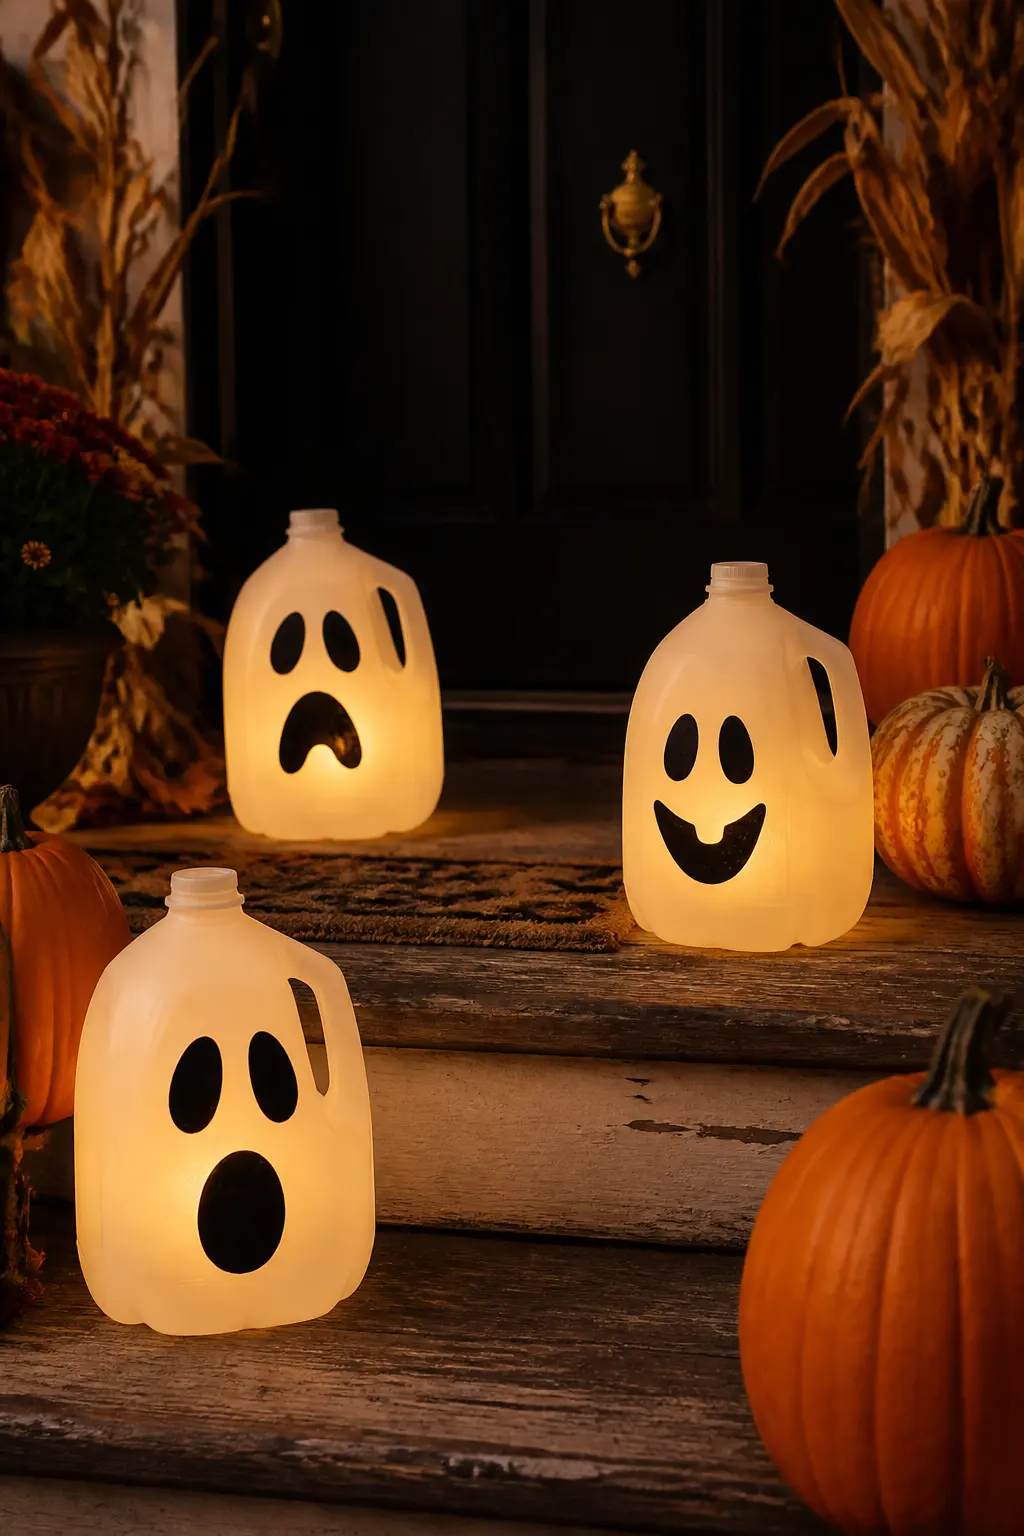
Milk Jug Ghost Lantern
A rinsed one-gallon milk jug diffuses battery light beautifully because the white plastic is just opaque enough to soften the glow without blocking it. Draw a ghost face directly onto the jug with a black permanent marker: the handle side is the back, so the face goes on the opposite panel.
Cut a small hole in the back panel near the base, just large enough to slide a battery-powered tea light or a compact string light through. Set the jug on the porch steps or line several along a windowsill.
Groups of three read better than a single jug. Vary the face expressions slightly on each one so they look handmade rather than identical.
🛍 Shopping guide
Bats: Cardboard, Cork and Carton
Bats are the most forgiving Halloween motif: the silhouette reads instantly even when the execution is rough. These four use three different base materials, so they look deliberately varied rather than mass-produced.
Make a flock of them. One bat on a wall is a craft project; twenty bats on a ceiling is a room.
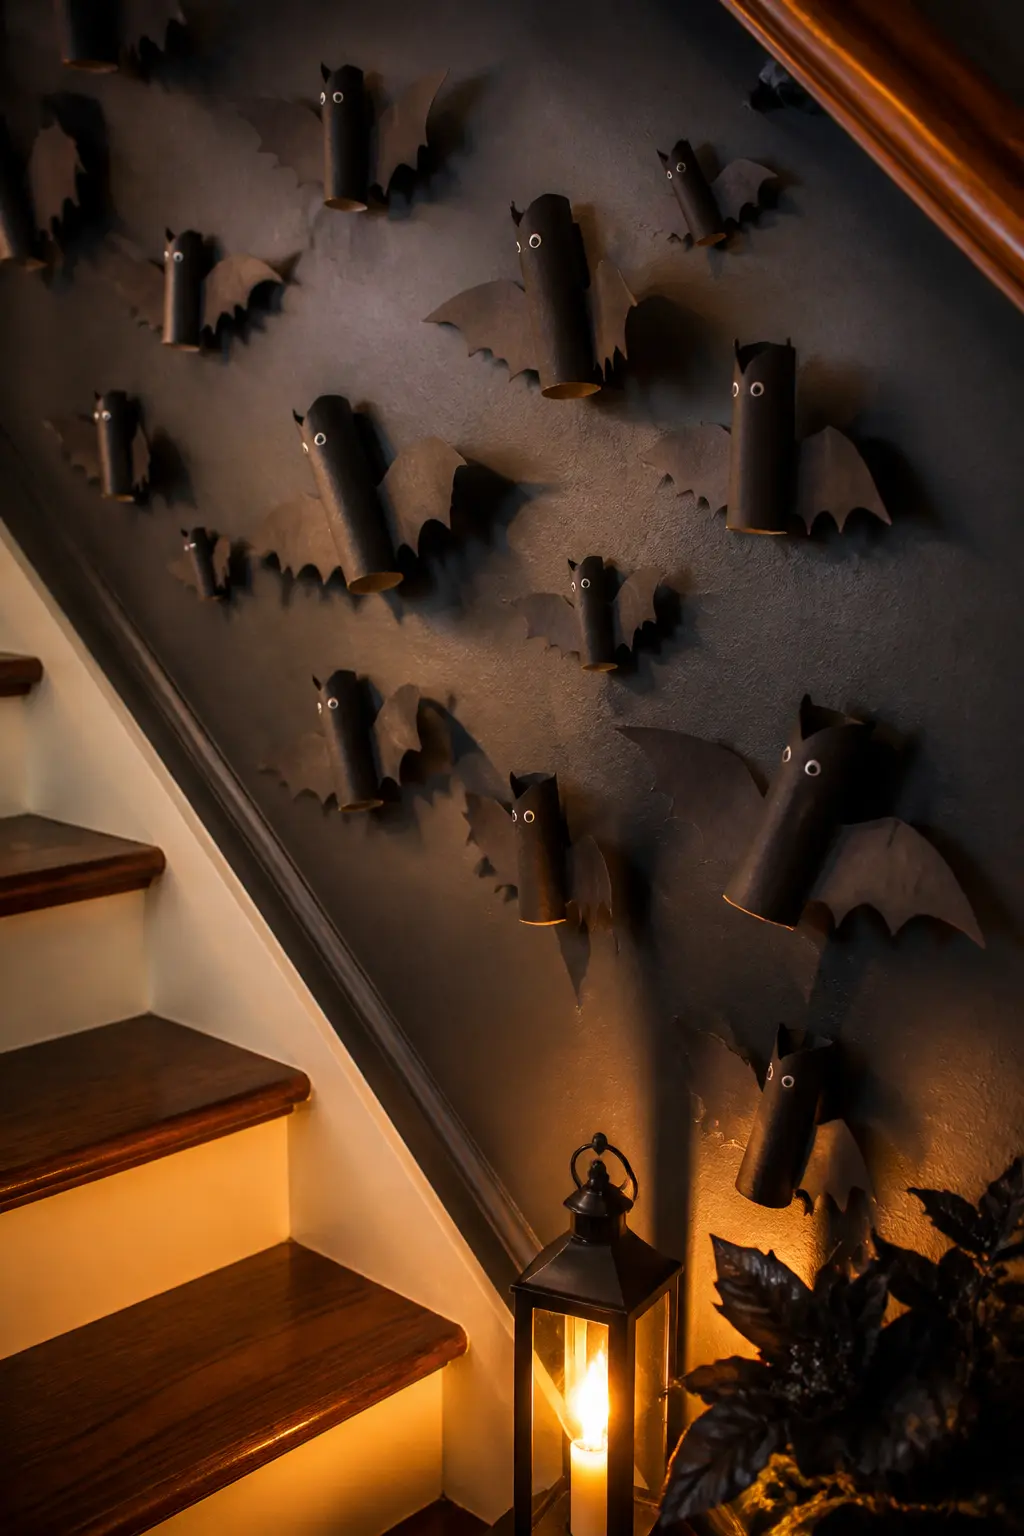
Toilet Paper Roll Bats
Save cardboard tubes from toilet paper or paper towels and paint them black with whatever latex paint is left in the garage. One coat is usually enough. While the tube dries, cut wing shapes from a sheet of black paper or card: two elongated triangles with a slightly scalloped lower edge give a more convincing bat outline.
Glue the wings to the sides of the tube with craft glue or a hot glue gun. Fold the top two corners of the tube inward and press them flat to form pointed ears. The tube body stays round and becomes the bat’s head.
Pin or tape these directly to the wall in a loose cluster. Vary the angle of each bat so the flock looks mid-flight rather than parked.
🛍 Shopping guide
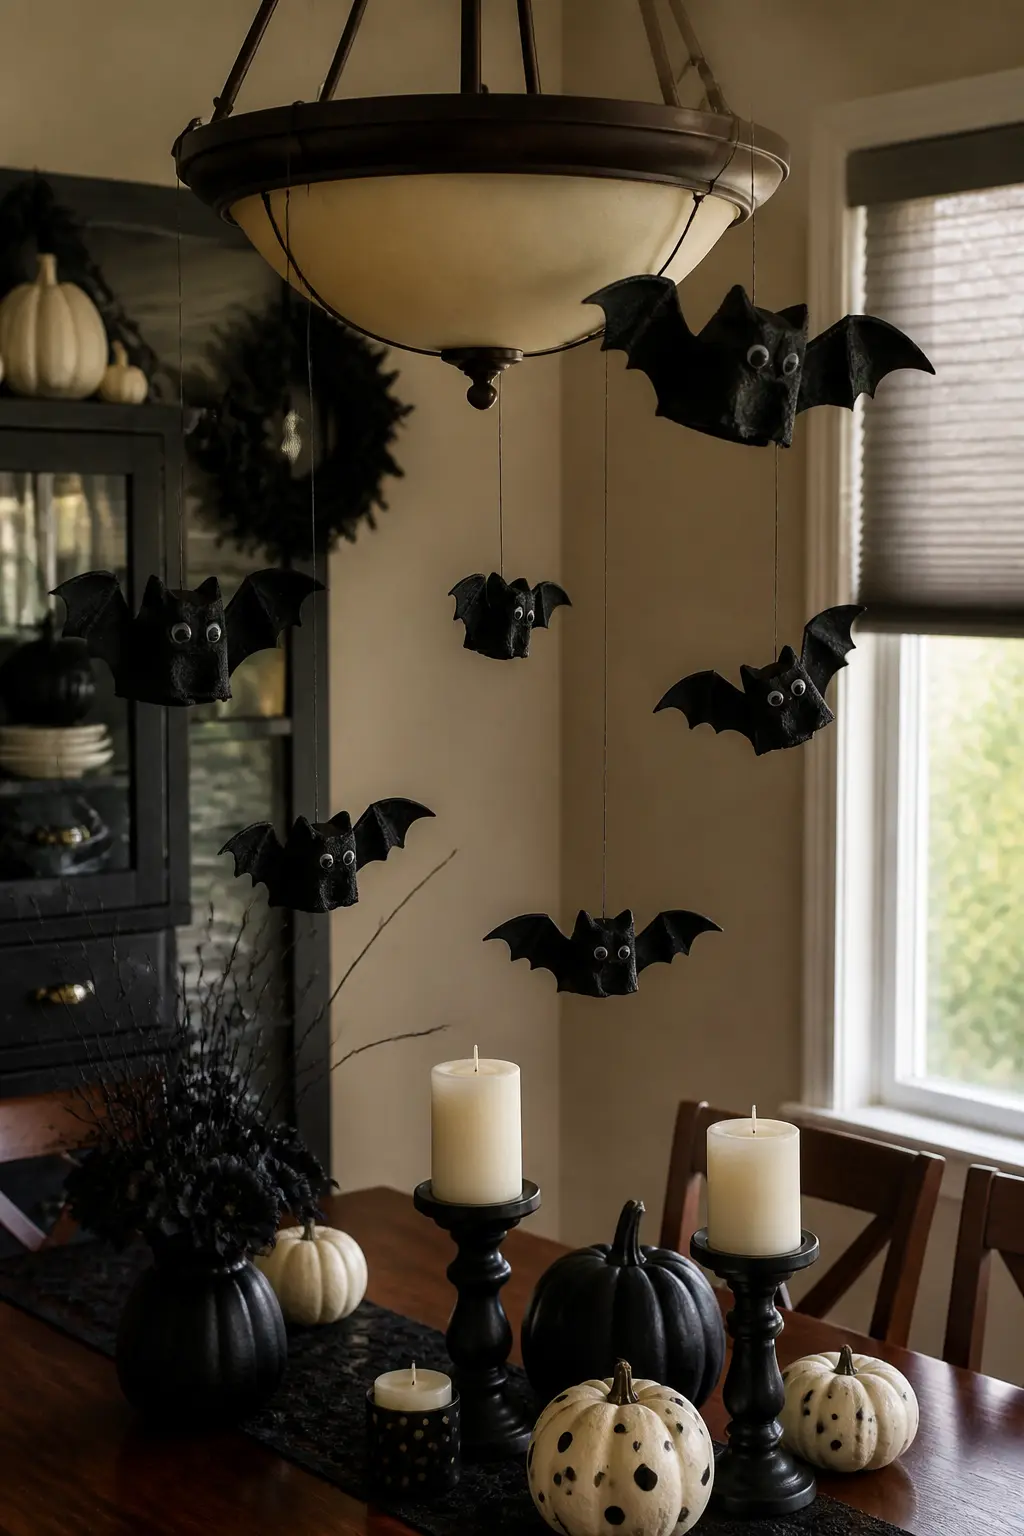
Egg Carton Bats
Cut individual egg cups from a cardboard egg carton, snipping closely around the base of each cup so you get a clean dome shape. Paint each dome black, inside and out, and let them dry on a sheet of newspaper.
Cut wings from black paper, two per bat, and glue them to the flat underside of the dome so they extend on either side. Two small googly eyes on the front of the dome complete the face. The raised texture of the cardboard gives these bats more visual interest than a flat paper bat would.
Hang them with black thread from a ceiling light fitting, a curtain rod or a plant hook. They spin slowly in moving air, which adds to the effect.
🛍 Shopping guide
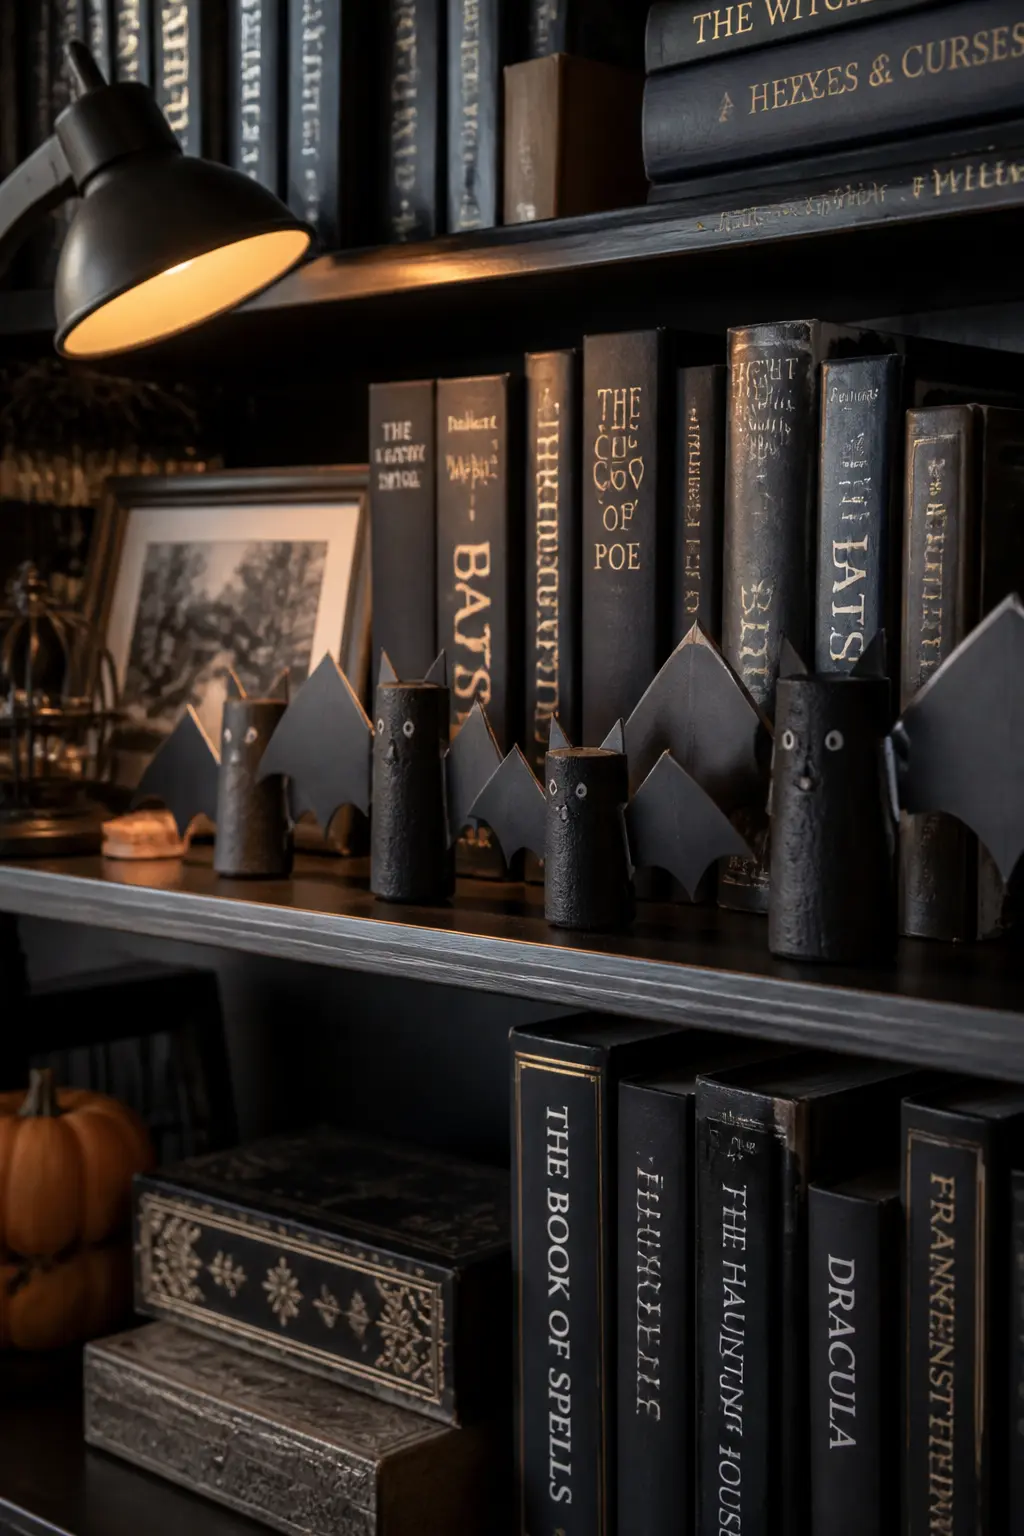
Wine Cork Bats
Wine corks painted black make bat bodies that have real weight and texture. Paint each cork on all sides and let it dry on its end. Cut wings from black paper or thin card, two per cork, with a gentle arch cut into the lower edge of each wing to suggest the membrane between the fingers.
Glue the wings flat onto one side of the cork and let them set. Add two tiny paper triangles at the top of the same end for ears. A pair of small googly eyes or two dots of white paint finish the face.
Arrange them along a shelf, balance them on the rim of a vase or line them along a windowsill. They are dense enough to stay where you put them without adhesive.
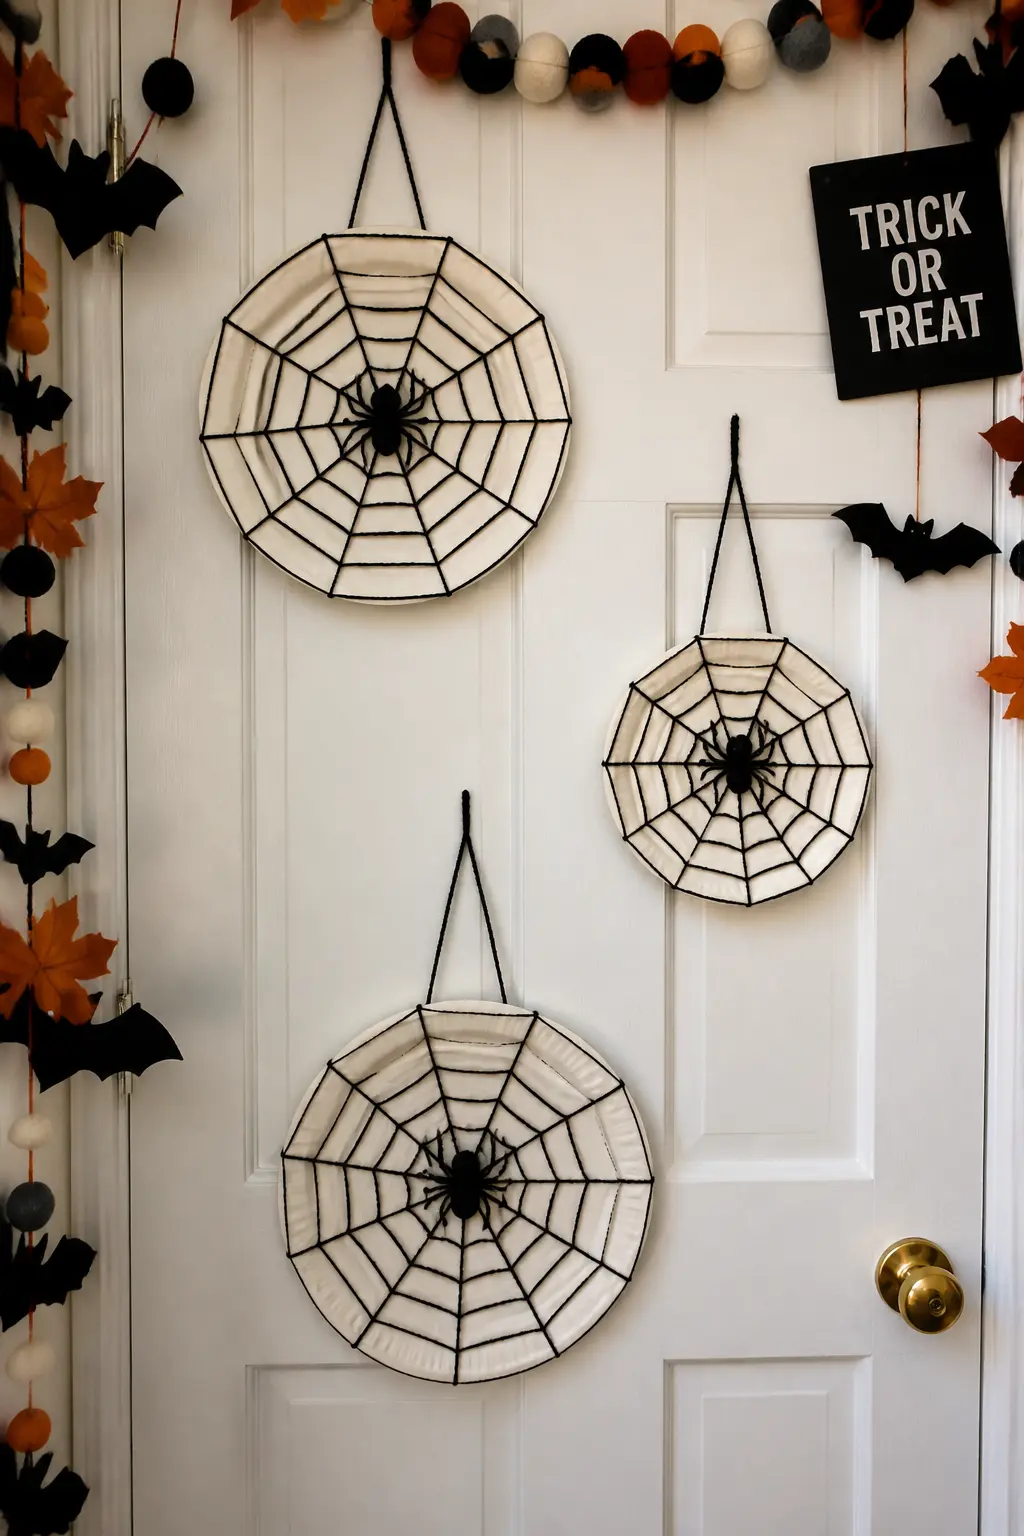
Paper Plate Spider Web
Cut the entire flat centre out of a standard paper plate so you are left with a circular ring. Punch six to eight evenly spaced holes around the inside edge of the ring using a single-hole punch or a skewer. Thread a length of black yarn through one hole, then weave it across the open centre to the opposite hole and back, continuing until the yarn fills the ring in a rough spoke-and-spiral web pattern.
Tie off the end and trim. The plate ring frames the web and makes it sturdy enough to hang on a door, window or wall without collapsing.
A small plastic spider from the back of a drawer or a spider shape cut from black paper set in the centre of the web finishes the piece. Make three at different sizes for a window arrangement.
🛍 Shopping guide
Lanterns and Lit Effects
Battery tea lights and leftover string lights do most of the Halloween atmosphere work. The structures here just shape and colour the glow. None of them involve wiring or open flames.
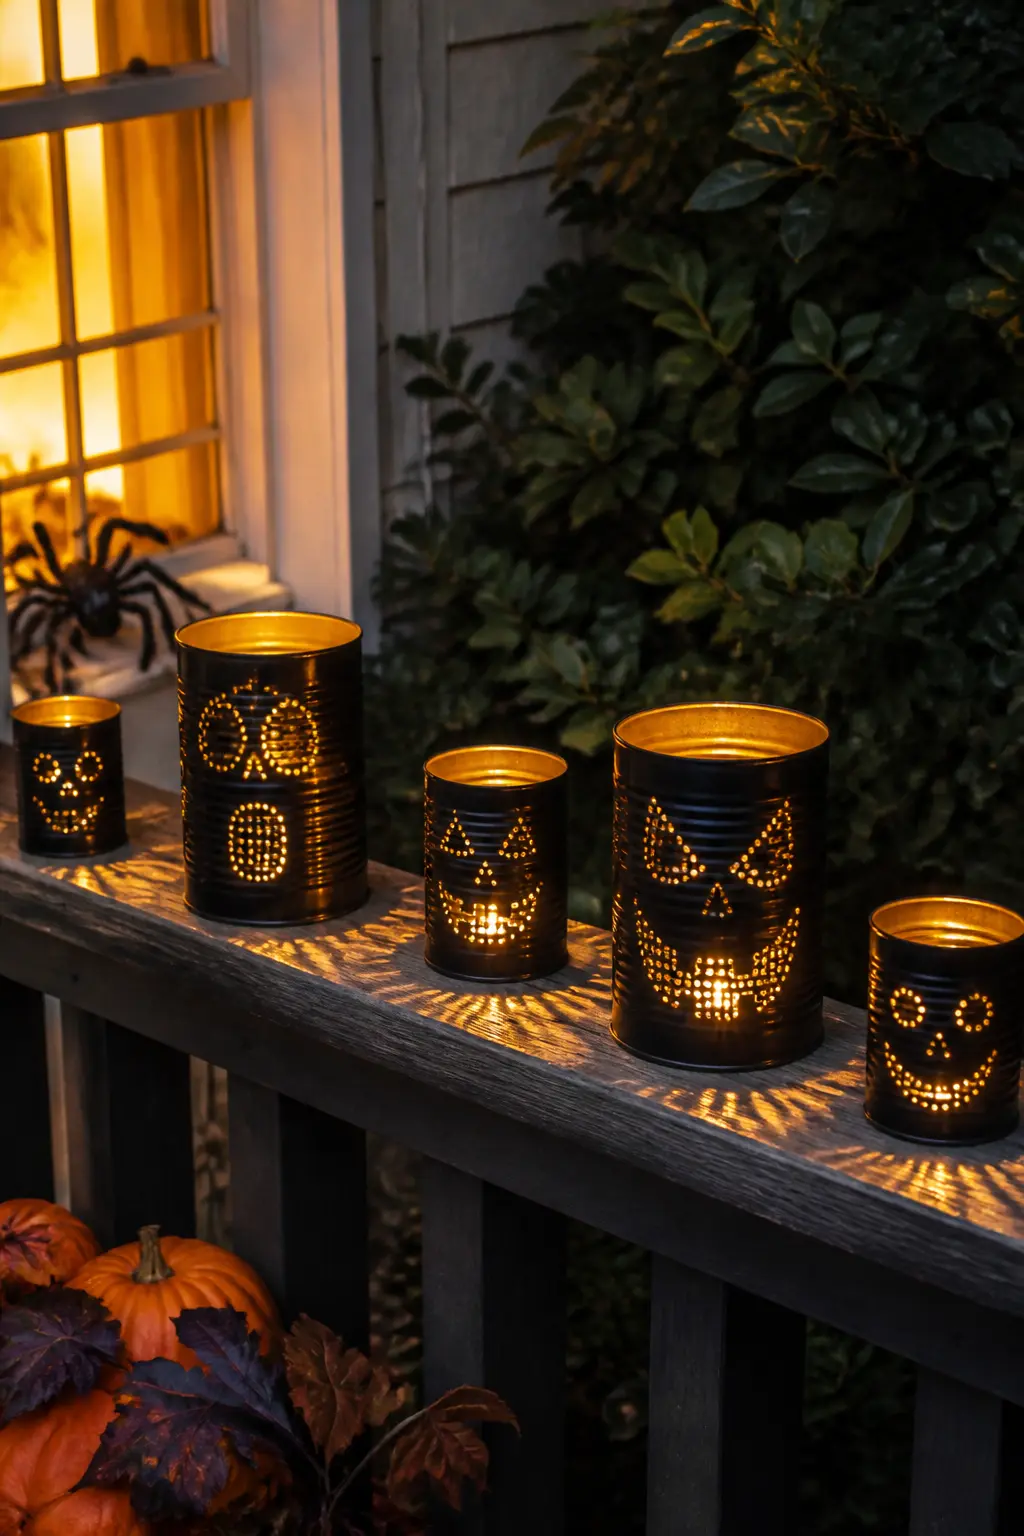
Tin Can Lanterns
Fill a clean tin can with water and freeze it solid. The ice keeps the metal rigid while you hammer small nail holes in a pattern across the surface. Sketch the face lightly on the outside with a marker before you start, then follow the lines with the nail. Punched holes in concentric circles make a surprisingly sophisticated alternative to a face.
Once you have finished, let the ice melt, dry the can completely and set a battery tea light inside. The light escapes through the hole pattern in a constellation of small dots.
Line several along a porch rail or cluster them on a table at different heights using books underneath to raise some. Remove the labels before freezing for a cleaner look.
🛍 Shopping guide
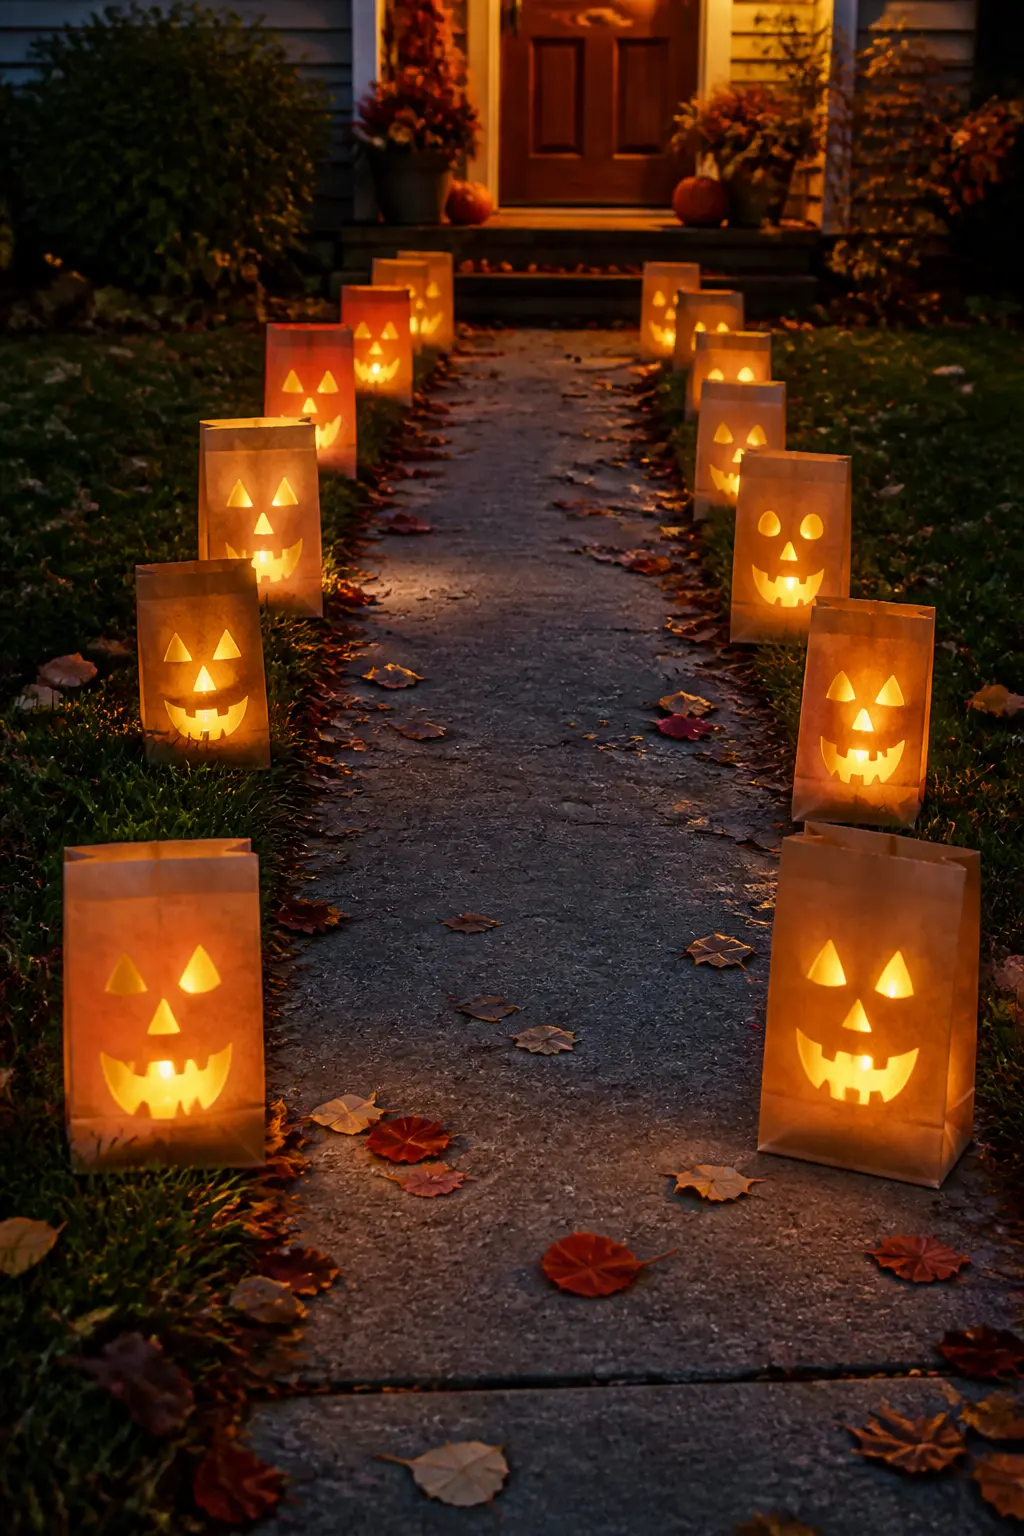
Paper Bag Lanterns
Brown or white paper lunch bags make instant luminaries. Use a craft knife or sharp scissors to cut a jack-o-lantern face, a skull or a simple triangle-eye pattern into each bag. Pour about an inch of dry sand or plain rice into the bottom of each bag so it sits flat and will not tip.
Set a battery tea light inside, fold the top of the bag down once or leave it open. Line them along a path, a window ledge or the front steps.
Ten bags take about twenty minutes to cut and set up. They look best when the surrounding lights are low so the glow inside each bag reads clearly. Roll the top edge down one fold to frame the face cutout more neatly.
Plastic Bottle Ghost Lights
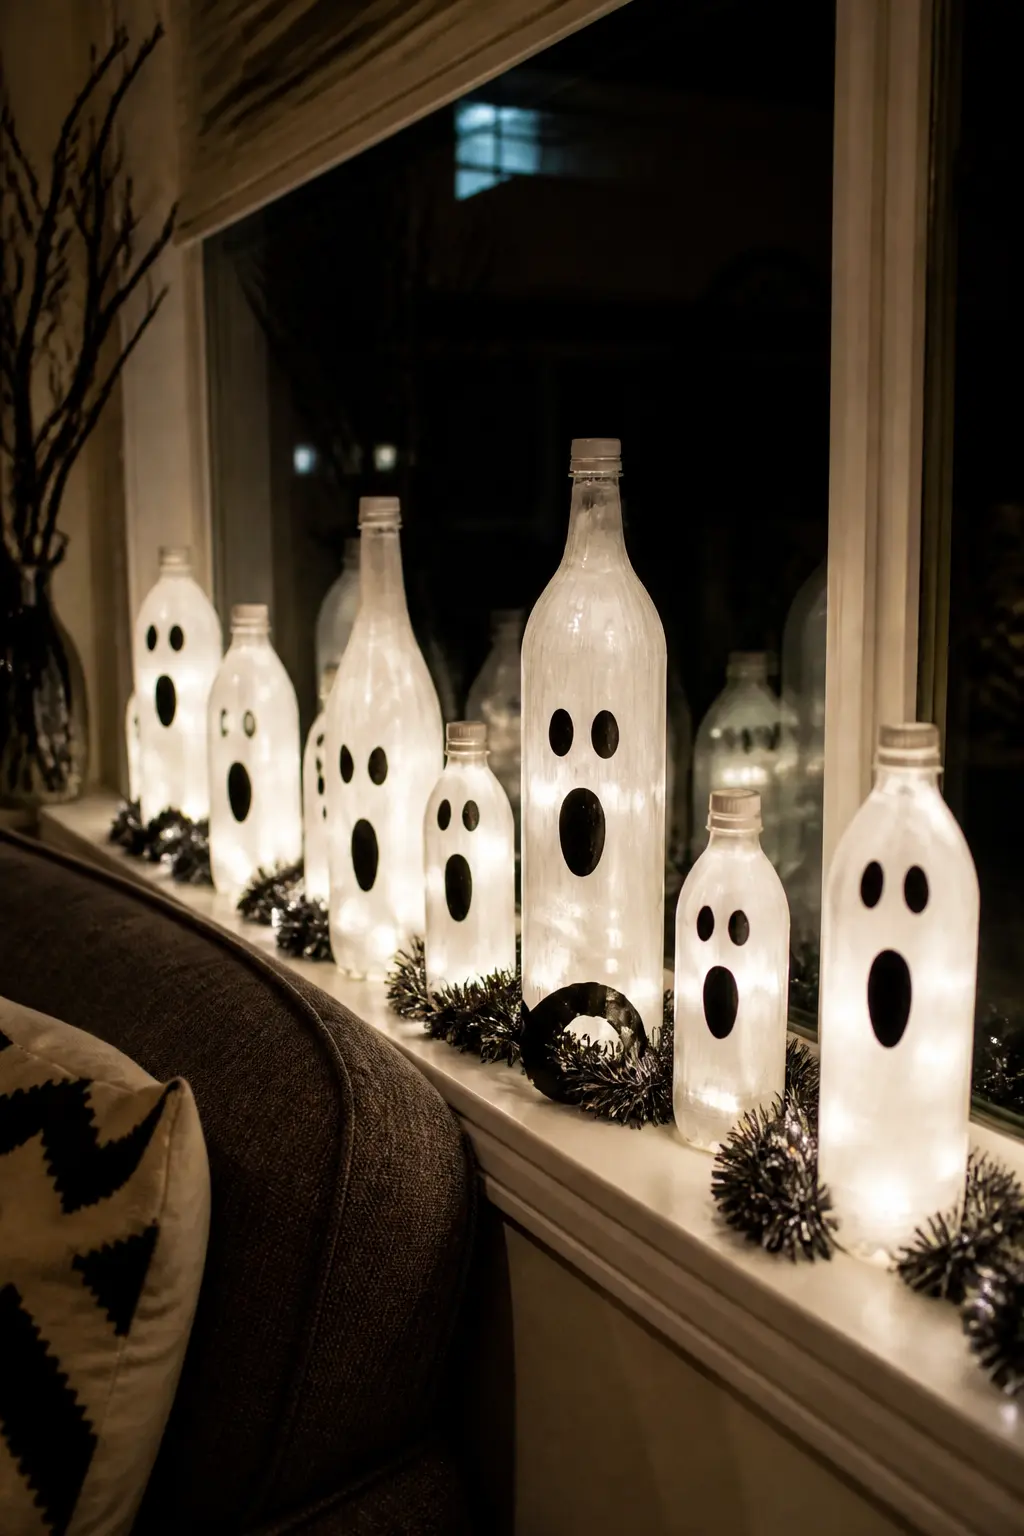
Clear plastic bottles with the labels removed become ghost lanterns once the inside is coated white. Spray white paint into the bottle through the open neck, swirl it to coat the interior and let it dry with the bottle upside down so the paint does not pool. The outside stays clear, the inside glows opaque white.
Draw a ghost face on the outside with a black permanent marker. Thread one bulb from a string of battery-powered fairy lights through the bottle neck into the interior of each bottle.
The whole string of bottles then glows in a line. Drape them along a windowsill, a mantel or an outdoor shrub. The ghost faces glow from within rather than sitting in front of a light source, which reads as more eerie.
Newspaper Papier-Mache Pumpkin
Mix plain flour and water to a thin paste. Tear newspaper into strips about an inch wide and coat each strip in the paste before laying it over an inflated round balloon. Build up four or five layers and let each layer dry before adding the next. The whole form takes a day or two to cure fully.
Once it is rigid, pop the balloon through the neck and pull it out. Paint the form orange with any leftover interior paint. Add a face with black paint or marker, and push a short stick or a rolled paper tube into the neck hole as a stem.
The result is a lightweight pumpkin that costs nothing and looks genuinely handmade in a way that reads as intentional rather than apologetic.
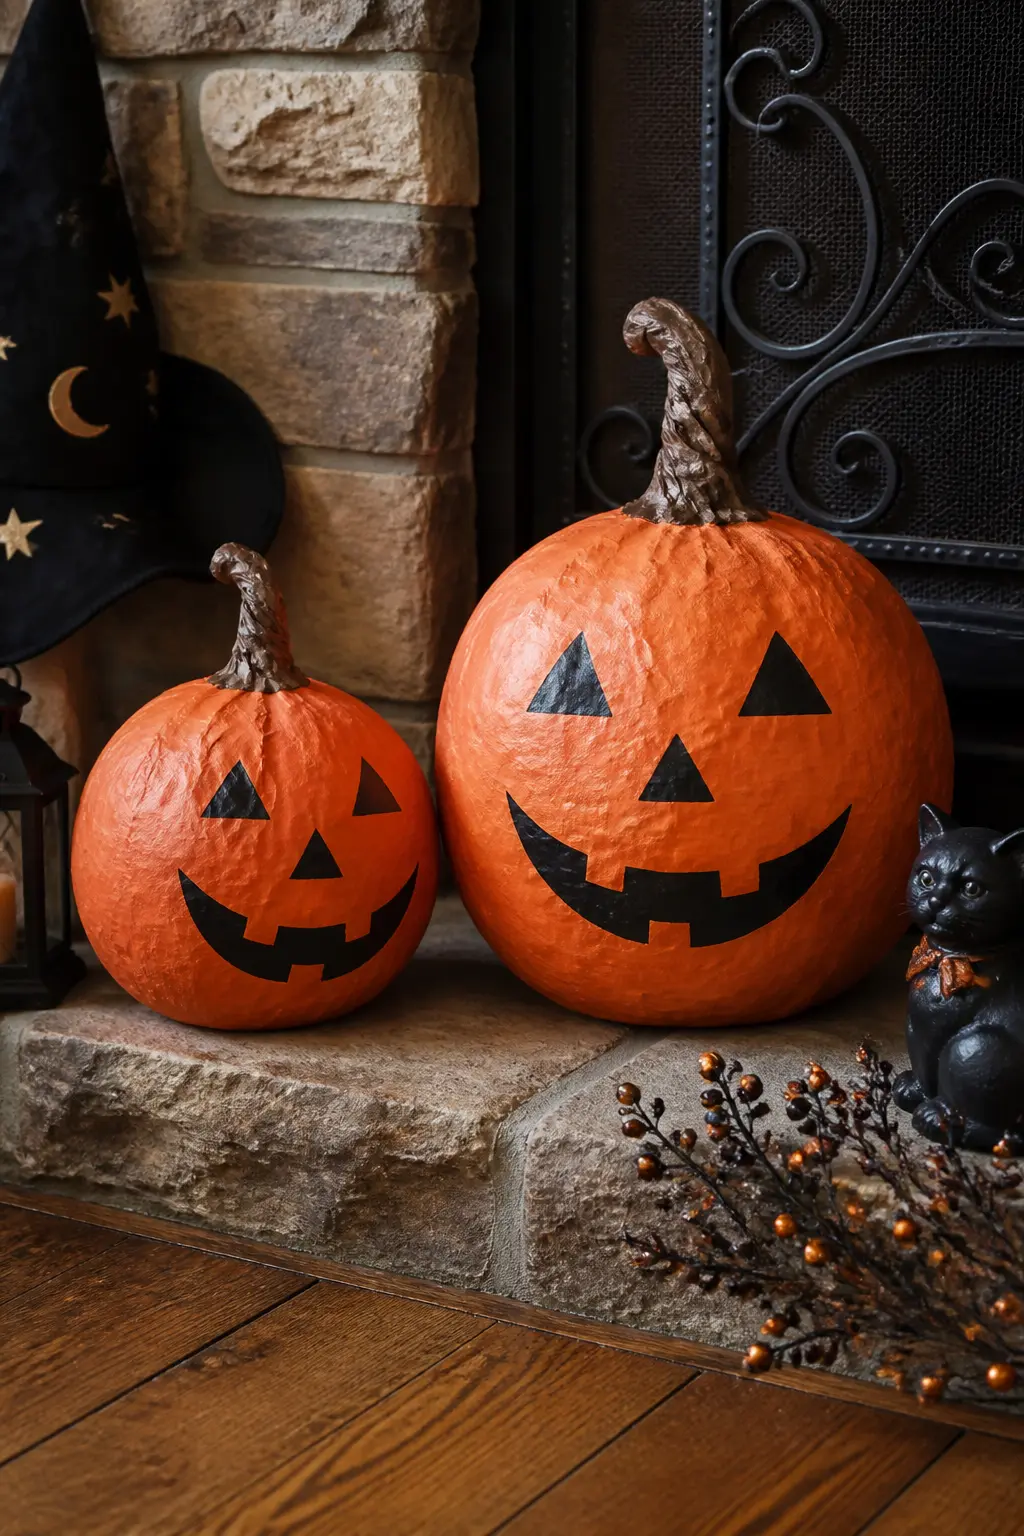
Table and Surface Dressing
The table is the easiest surface to transform because it stays still and every detail reads up close. These projects work together or separately, and none of them require a tablecloth you would not ordinarily own.
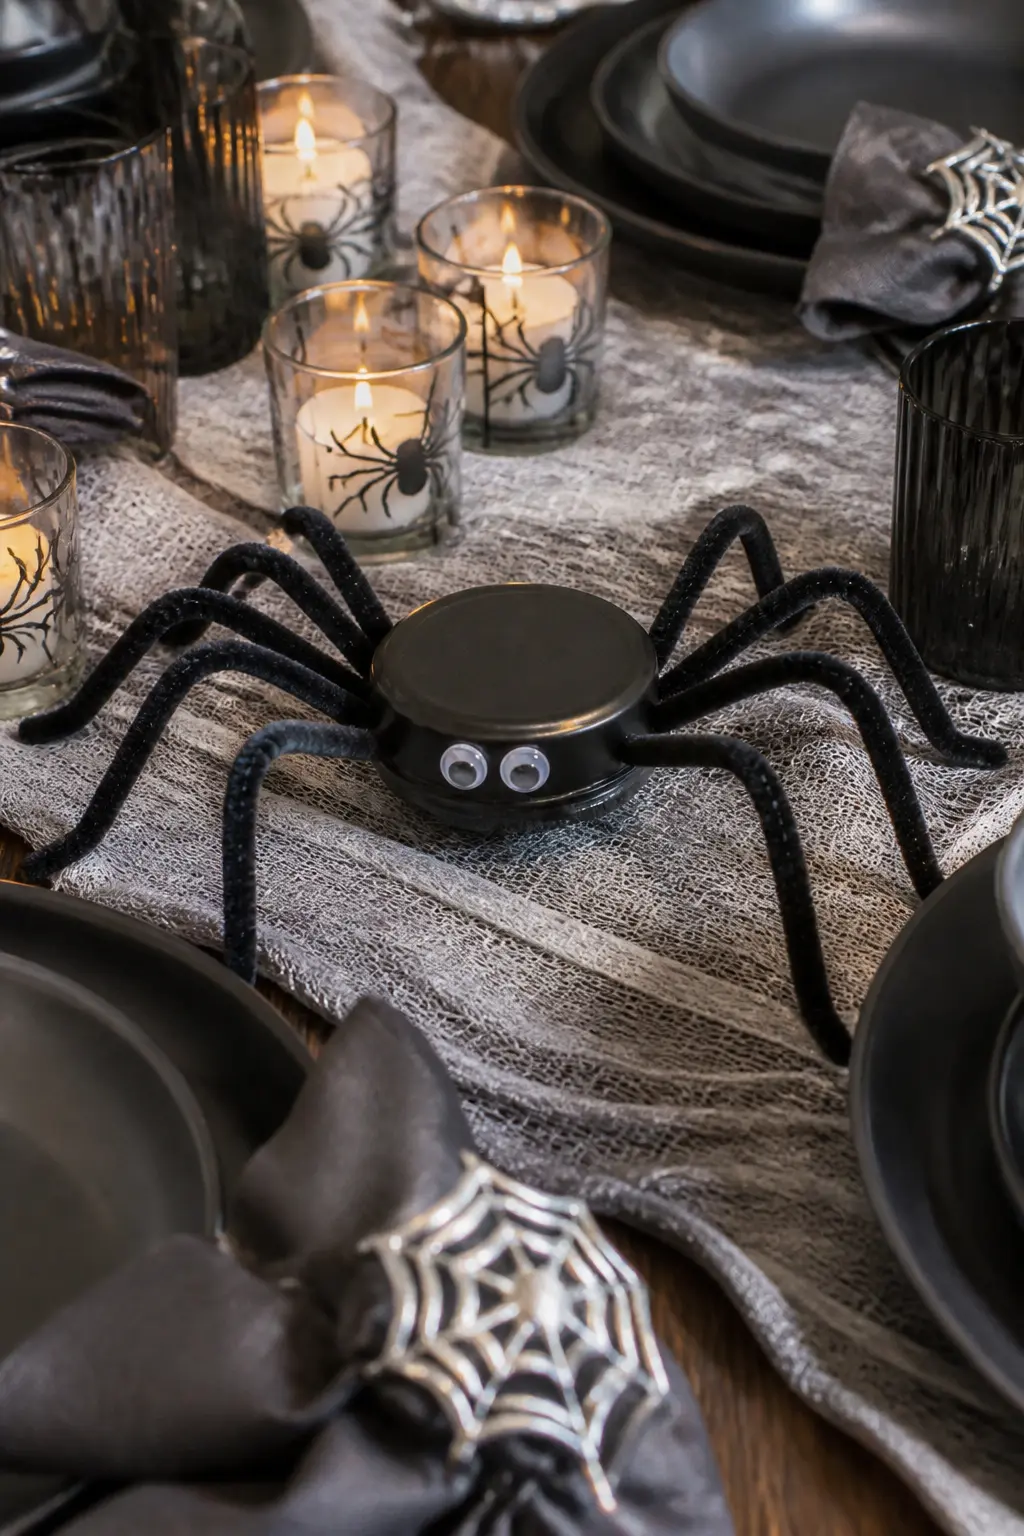
Jar Lid Spider
A wide-mouth mason jar lid or any spare metal lid painted black becomes a spider body in minutes. Let the paint dry, then push six to eight black pipe cleaners through two small holes punched through the centre of the lid so equal lengths extend from each side. Bend each leg at two points to suggest the jointed angle of a spider leg.
Glue two googly eyes or two white paper circles with black dots onto the top of the lid. The spider is flat-bottomed, so it sits on a table or shelf without any support. Set it inside a jar, on a plate or on the edge of a bowl as part of the table decoration.
Muslin Table Runner
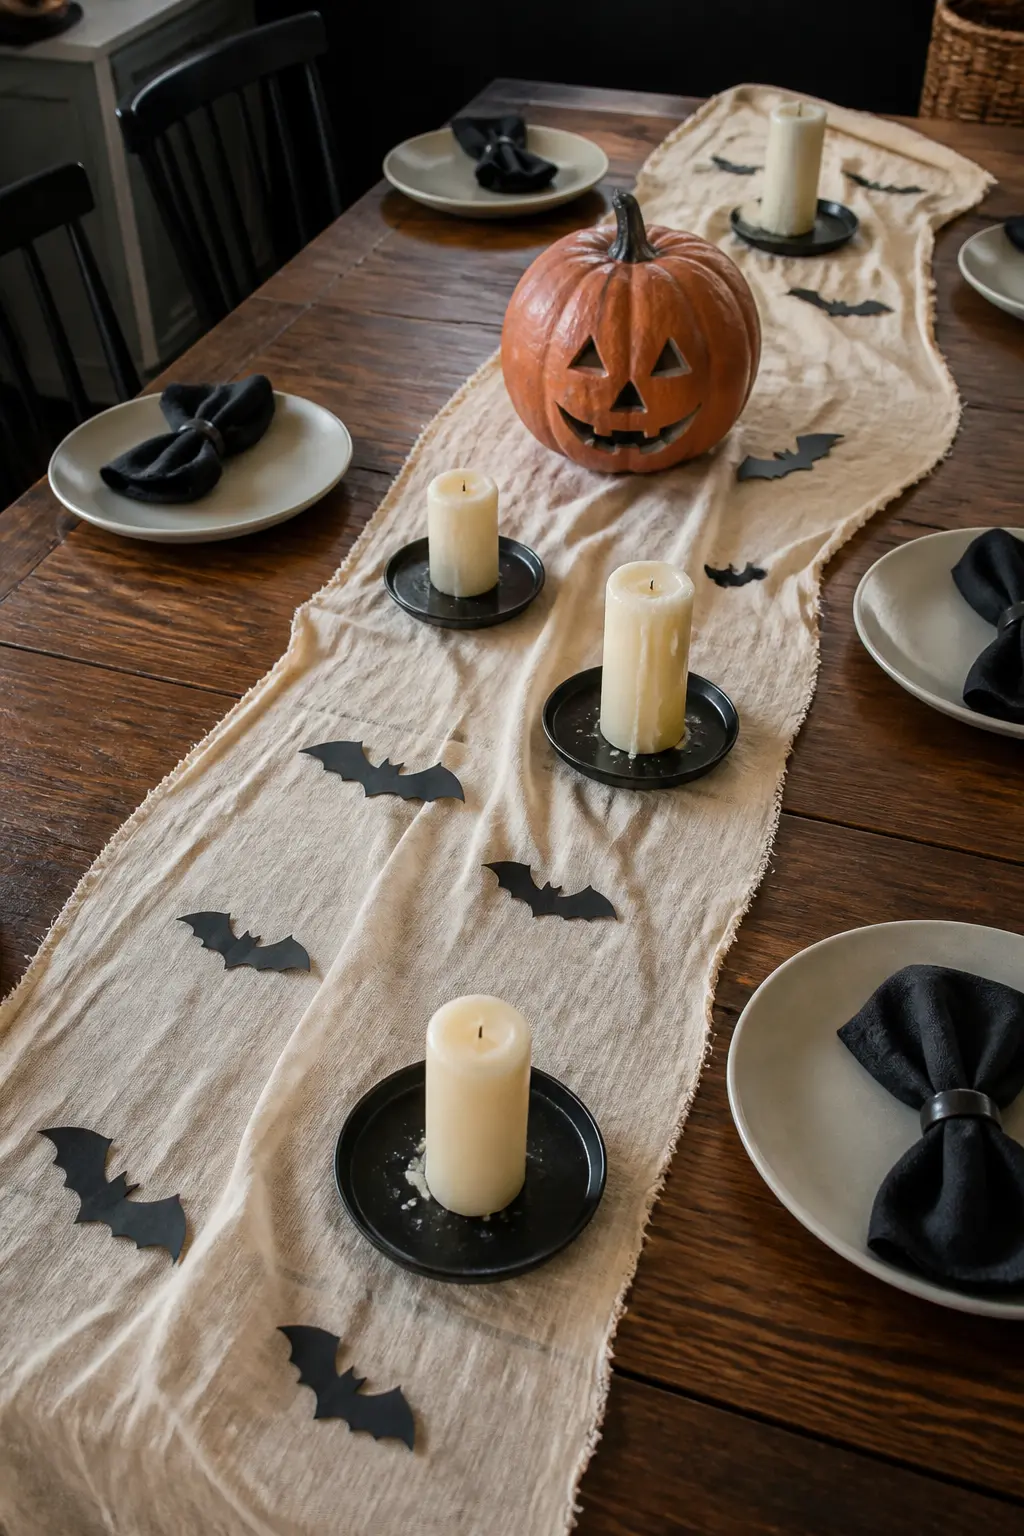
Buy a length of unbleached muslin from a fabric remnant bin, or use a piece cut from an old curtain lining. Brew a strong pot of black tea, pour it into a shallow tray and submerge the fabric for thirty minutes, agitating it occasionally. The longer it soaks, the deeper the tobacco-brown tone.
Pull it out, wring it gently and dry it flat or on a hanger. Do not iron it: the wrinkles and slight variations in colour are exactly what make it look aged rather than new.
Tear the long edges with your hands rather than cutting them. Lay the runner off-centre along the table so one end drapes over the edge. The effect is gothic without being theatrical, and it pairs with anything from candles to carved pumpkins.
🛍 Shopping guide
Yard and Window Statement Pieces
Bigger cardboard projects earn their square footage. Cut them once, paint them, and they last several seasons if you store them flat.
Cardboard Tombstones
Break down large cardboard boxes and trace tombstone shapes freehand: a rectangle with a rounded or pointed top, about eighteen inches tall for a path-side stake and up to three feet for a statement piece against a wall. Cut them out with a craft knife using a cutting mat or a thick stack of newspapers underneath.
Paint the front and back with gray paint, which can be a mixed grey made from leftover white and black. Let the first coat dry and apply a second for opacity. Use a black marker or a small brush dipped in black paint to letter inscriptions and add shading around the edges for a weathered effect.
Push a sharpened garden stake through the base and tape it firmly to the back with strong packing tape, then stake into soil. Lean larger tombstones against the house wall for a graveyard row effect.

🛍 Shopping guide
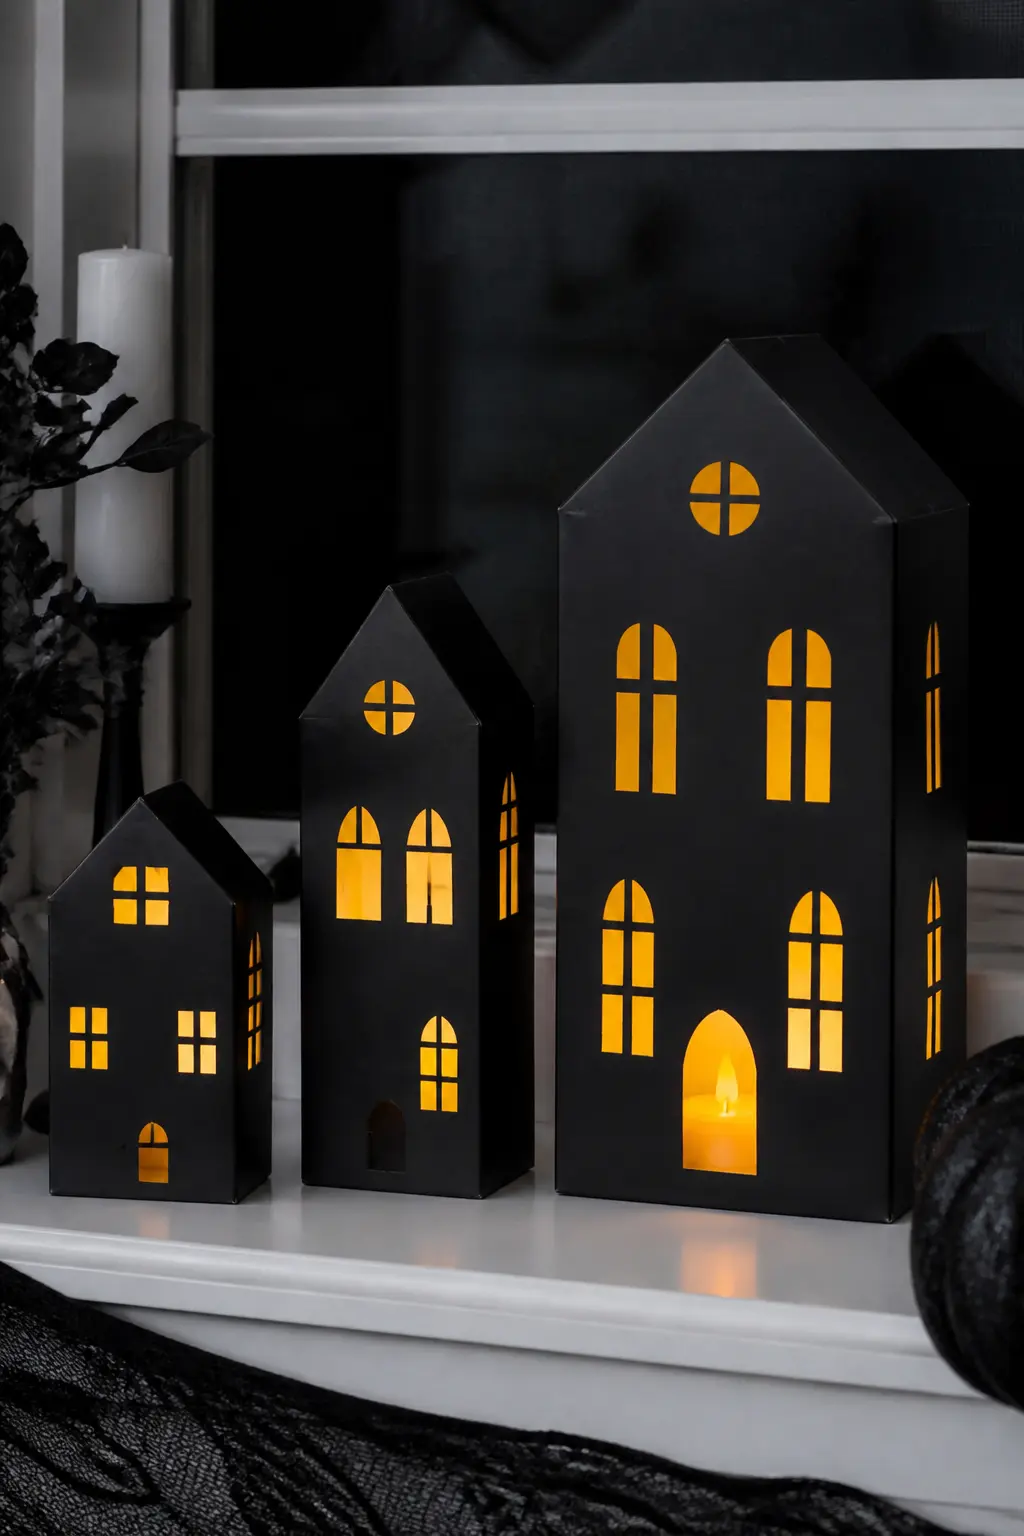
Cereal Box Haunted House
A tall cereal box becomes a haunted house silhouette with a craft knife and black paint. Use the knife to cut small window shapes into the front of the box before you paint it: squares, arches and one circular attic window work well together. Cut a door shape at the base that is hinged on one side so it stands slightly open.
Paint the entire outside of the box black. Cut small rectangles of yellow paper or tissue paper and glue them inside the box behind each window cutout. When you set a battery tea light inside the box, the yellow paper glows as if the windows are lit from within.
Build a small village of three or four boxes in different sizes, setting them on a windowsill or a shelf with the window behind them dark for maximum contrast. The tea light goes in the largest box and shines through all of them if you arrange them close together.
Finishing Notes
A few things that tie the room together without adding another project: pull every battery-powered light you own onto one circuit so you can turn the whole effect on at once. Group the lanterns at different heights rather than lining them up in a row. Lay the muslin runner off-center so it drapes over one edge of the table.
Black bin liners taped over windows block streetlight and make every candle effect read three times stronger. That costs nothing and takes four minutes. Sometimes the best decoration is subtraction, not addition.
Frequently Asked Questions
What are the easiest homemade Halloween decorations for someone who does not craft?
The milk jug ghost lantern and the sock ghost both take under five minutes and require nothing beyond a marker and a rubber band. The muslin table runner is also zero-skill: soak, dry, tear, lay. Start with one of those three if you want results with no learning curve.
How do I make homemade Halloween decorations look intentional rather than makeshift?
Group similar things rather than scattering them. Three milk jug lanterns together read as a design decision; one on its own reads as an afterthought. Black paint and battery candlelight are the two great uniifiers: when everything is either black or warmly lit, it looks curated.
Can any of these homemade Halloween decorations survive being used outdoors?
Tin can lanterns, cardboard tombstones and milk jug ghost lanterns all hold up outside in dry weather. Cardboard projects will not survive rain, but a covered porch or a dry evening works fine. Bring paper-based decorations in if there is any chance of moisture overnight.
How far in advance can I make these decorations?
The papier-mache pumpkin needs four days at minimum for layering, drying and painting, so start that one first. Painted cardboard projects need at least one overnight dry. Everything else, including the lanterns, garlands and fabric ghosts, can be assembled the same day. A useful approach: make the structural pieces a week out and do the quick projects the morning of the party.
What if I do not have black paint for the bat projects?
Mix whatever dark paint you have on hand with a small amount of any other colour to deepen it. Navy plus black marker over the top reads as black at party-light levels. Alternatively, cut bat shapes from black bin liners or black construction paper and skip paint entirely.

15 fun halloween icebreaker games to warm up strangers fast — zero prep, big laughs, perfect for p

16 fabric pumpkin DIY ideas using velvet, boucle, felt and more. Full instructions, materials lists

15 Halloween team-building games for work that actually build teamwork — relays, deduction, trivia
Leave a Reply