

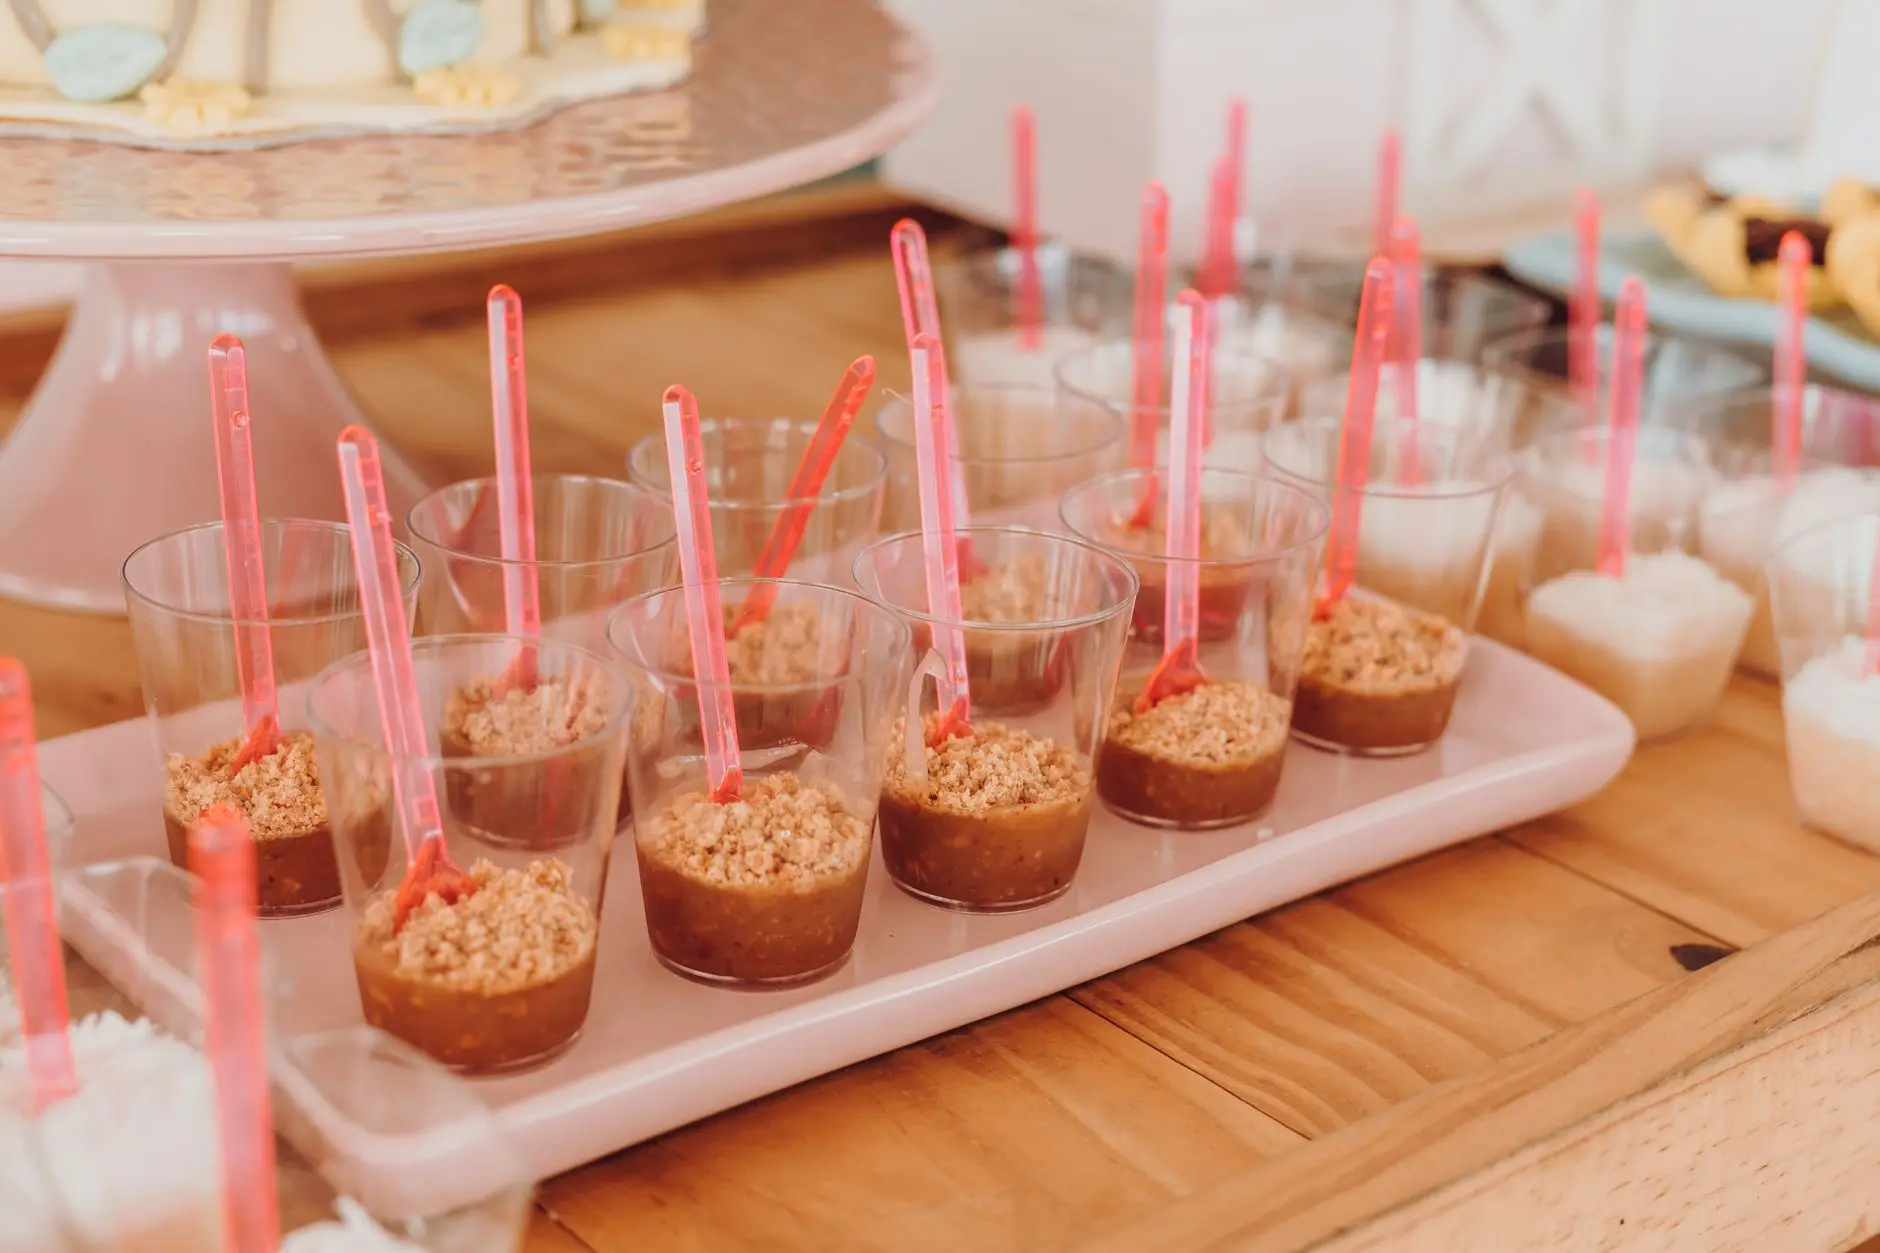
The cake is sorted. The table is bare. These 12 birthday party treats fill the gaps without an oven, without a pastry diploma and without a last-minute panic. Every one has a visual hook: layers, colour, gloss or crunch. Every one sits at a slightly different height so the spread reads like a proper scene rather than a flat row of plates. Mixed crowd, all ages, no alcohol anywhere on this list.
Allergen note: several recipes contain dairy, gluten or nuts. Check each one before you build your table. Most items here can be made the day before and refrigerated, which is the real secret to a calm party morning. For ideas on keeping guests entertained while they graze, see 25 Birthday Party Games for Kids That Burn Off the Sugar and 20 Birthday Party Games for Adults That Aren’t Awkward.
This post contains affiliate links. If you buy through them, I may earn a small commission at no extra cost to you.
- Berry and Cream Layer Glasses
- Chocolate Bark Broken Into Shards on a Board
- Marshmallow Pops Standing in a Jar
- Truffles Boxed in Rows
- Fruit Skewers Fanned on a Platter
- No Bake Cheesecake Jars
- Biscuit Sandwiches Stacked in a Tower
- Chocolate Dipped Strawberries on a Tiered Stand
- Jelly Cups Set in Clear Glasses
- Popcorn Cones Standing in a Rack
- Salted Caramel Dipping Pots With Fruit
- Iced Biscuits Laid Out in a Grid
- Frequently Asked Questions
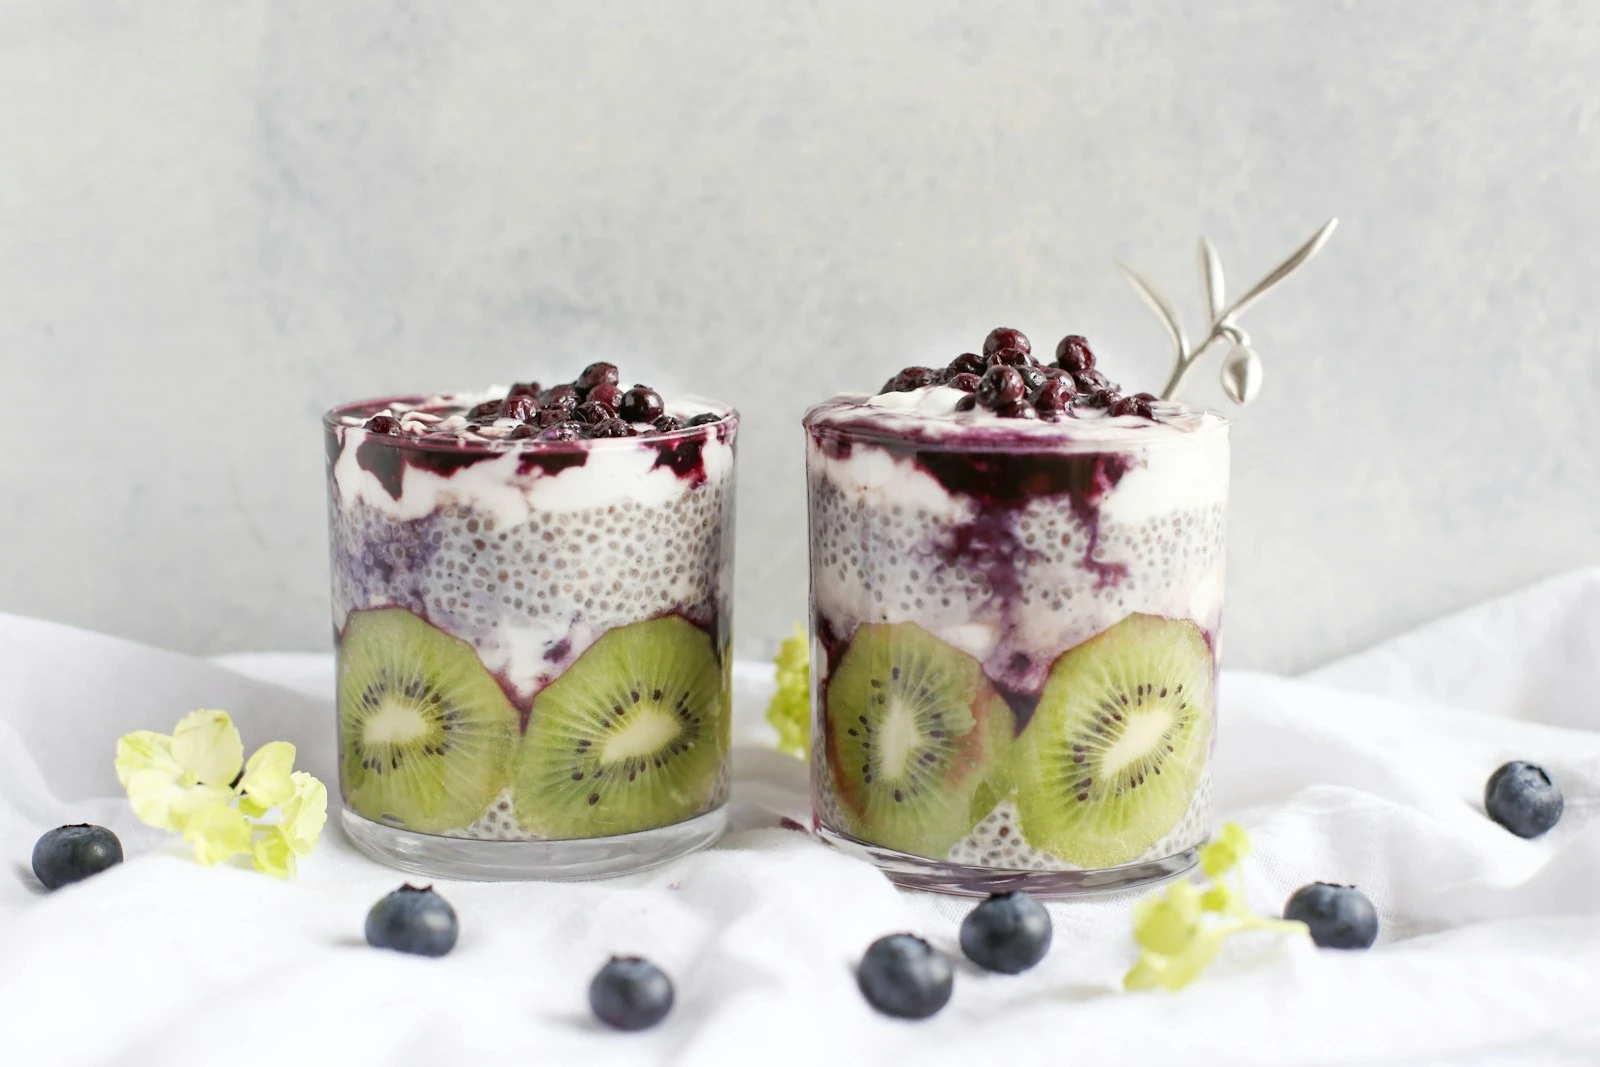
Berry and Cream Layer Glasses
These tall glasses do all the visual work. Scarlet strawberries, ivory cream and deep-purple blueberries stack in clean stripes, so every guest can see the layers from across the table. Use clear plastic cups if you are worried about breakage, or small glass tumblers for a more polished look.
Make them up to four hours ahead and keep them covered in the fridge. Swap raspberries for the strawberries if that colour reads better against your palette.
Ingredients
- 500 ml (2 cups) double cream (heavy cream)
- 3 tablespoons icing sugar (powdered sugar)
- 1 teaspoon vanilla extract
- 300 g (10 oz) fresh strawberries, hulled and sliced
- 200 g (7 oz) fresh blueberries
- 200 g (7 oz) fresh raspberries
- 10 small shortbread biscuits, crumbled (optional base layer)
- 1 tablespoon lemon zest, finely grated
Instructions
- Whip the double cream, icing sugar and vanilla together in a large bowl until the cream holds soft peaks. Do not overbeat.
- If using shortbread, divide the crumbs evenly among 10 glasses and press them lightly into the base.
- Spoon a layer of whipped cream over the crumbs, filling each glass about one-third of the way up.
- Add a layer of sliced strawberries, pressing them gently against the glass wall so the colour shows through.
- Add a second cream layer, then a layer of blueberries, then a final cream layer.
- Top each glass with a few raspberries and a pinch of lemon zest. Refrigerate until serving.

🛍 Shopping guide
Chocolate Bark Broken Into Shards on a Board
A large wooden board covered in jagged shards of chocolate is one of the most striking things you can put on a table. The contrast between the dark chocolate base, the bright freeze-dried berries and the pale pistachios does all the decorating for you. Break it into uneven pieces so it looks deliberately dramatic, not accidentally dropped.
Bark keeps at room temperature for three days, which makes it a brilliant make-ahead item. Contains dairy and nuts. Use dairy-free chocolate to make it vegan.
Ingredients
- 400 g (14 oz) good-quality dark chocolate (70% cocoa), roughly chopped
- 200 g (7 oz) good-quality white chocolate, roughly chopped
- 40 g (1.5 oz) freeze-dried raspberries or strawberries
- 40 g (1.5 oz) shelled pistachios, roughly chopped
- 2 tablespoons rainbow sprinkles or gold sprinkles
- 1 teaspoon flaky sea salt
- 30 g (1 oz) dried cranberries
- 1 teaspoon coconut oil, divided
Instructions
- Line a large baking sheet (at least 30 x 40 cm) with non-stick baking paper.
- Melt the dark chocolate with half a teaspoon of coconut oil in a heatproof bowl set over barely simmering water, stirring until completely smooth. Pour onto the lined tray and spread to a roughly even layer about 5 mm thick.
- Melt the white chocolate with the remaining coconut oil in the same way. Drizzle it in ribbons over the dark chocolate.
- Use a skewer or toothpick to swirl the two chocolates together in four or five wide strokes. Do not over-mix or you will lose the contrast.
- Scatter freeze-dried berries, pistachios, cranberries, sprinkles and flaky salt evenly over the surface while both chocolates are still wet.
- Slide the tray into the fridge for at least 30 minutes until the bark is completely firm. Lift it off the paper and break it into irregular shards. Arrange on a board.

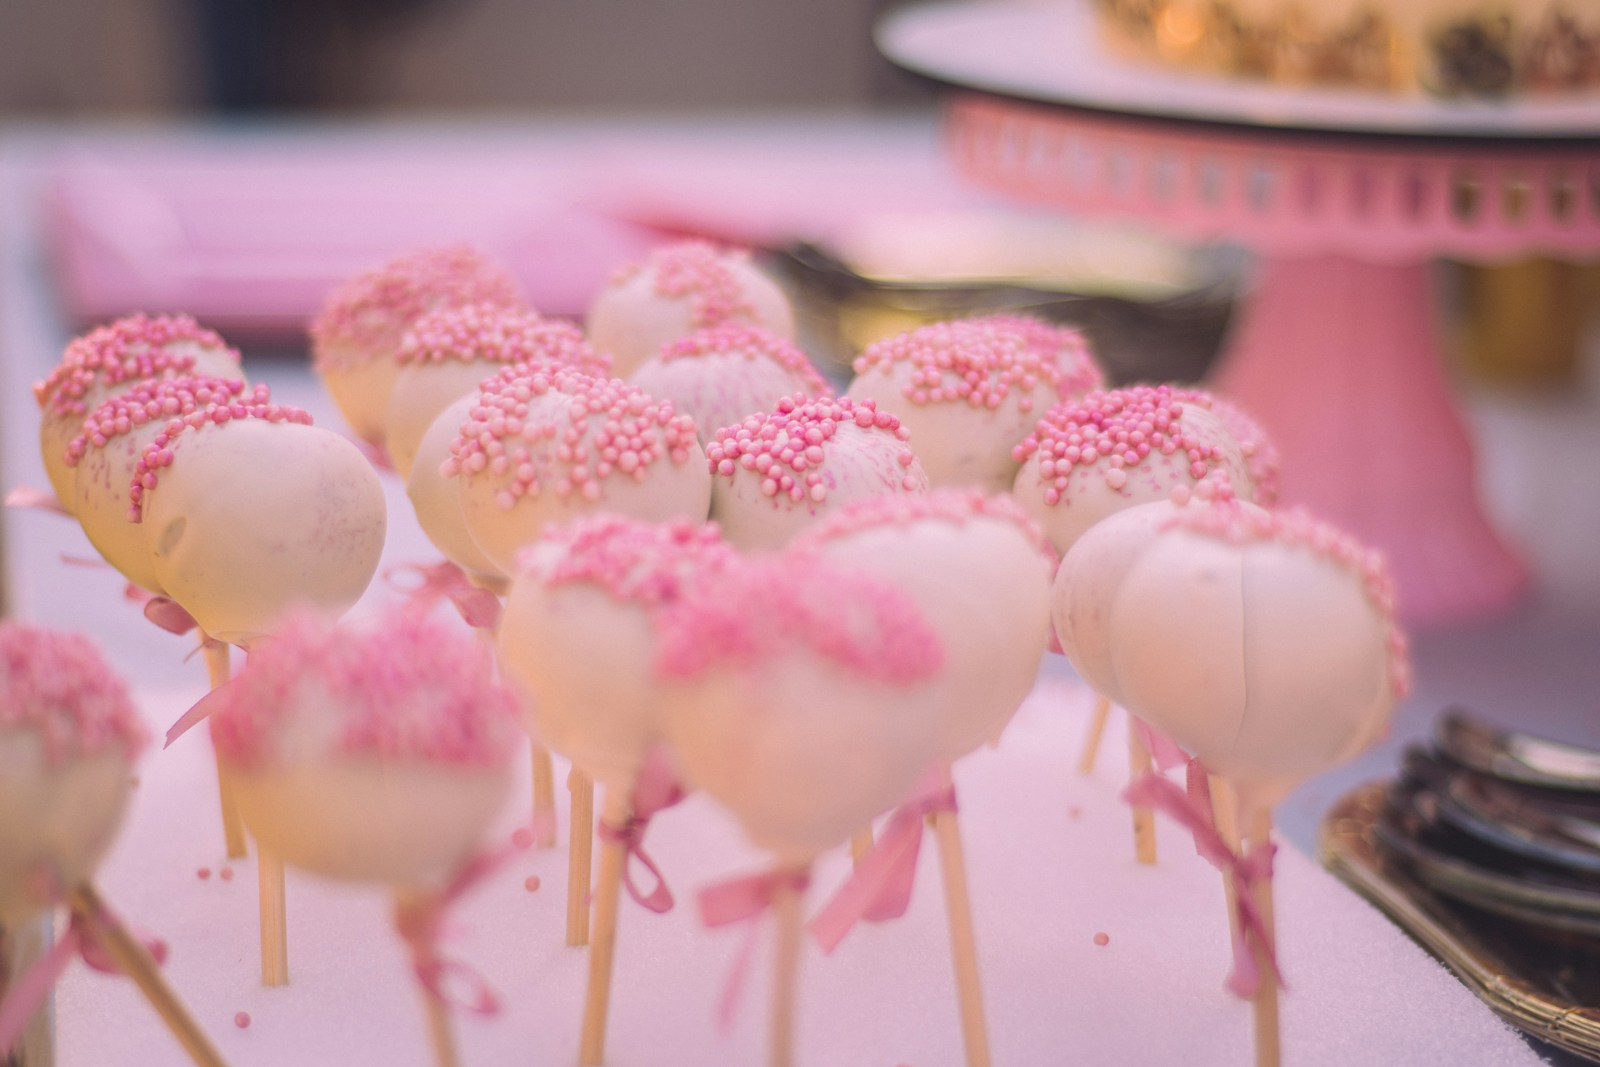
Marshmallow Pops Standing in a Jar
A tall jar packed with marshmallow pops on sticks is one of the easiest ways to add height to a table. The marshmallows get half-dipped in coloured white chocolate and rolled in sprinkles, giving each one a glossy top and a plain white base. Pink, yellow and orange together read as warm and festive without being garish.
Make these up to two days ahead. Store them stick-side down in a cup of sugar or a block of polystyrene in the fridge, then transfer them to the display jar just before guests arrive. Contains dairy.
Ingredients
- 20 large marshmallows
- 20 cake pop sticks or lollipop sticks (15 cm)
- 200 g (7 oz) white chocolate, chopped
- 1 teaspoon coconut oil
- Pink, yellow and orange gel food colouring (one colour per batch)
- 4 tablespoons assorted sprinkles, divided by colour
- 2 tablespoons edible glitter (optional)
- 1 teaspoon vanilla extract
Instructions
- Push a stick firmly through the flat side of each marshmallow, going about halfway through. Do not push all the way out the other side.
- Line a tray with baking paper and set it nearby.
- Melt the white chocolate with the coconut oil in a small deep bowl over simmering water. Stir in the vanilla. Divide the melted chocolate into three small bowls and tint each batch with a different gel colour, stirring until even.
- Dip the top third of each marshmallow into a colour of your choice, letting the excess drip off. Immediately scatter the matching sprinkles over the wet chocolate.
- Stand the pops upright in a polystyrene block or press them into a ball of dough to set. Leave for 15 minutes until the chocolate is firm.
- Pack the finished pops into a tall clear jar or vase filled with granulated sugar to hold them upright on the table.

🛍 Shopping guide
Truffles Boxed in Rows
A small gift box lined with a paper liner and filled with truffles in neat rows signals effort without requiring it. Roll half in cocoa powder and half in desiccated coconut so the box shows a two-tone grid. The slight variation in size from hand-rolling is part of the charm: it reads as handmade, which is exactly the right message.
Truffles keep refrigerated for five days. Contains dairy and can contain nuts if you roll them in chopped pistachios. Makes 24 truffles, which fills one standard confectionery box.
Ingredients
- 250 g (9 oz) dark chocolate (60-70% cocoa), finely chopped
- 120 ml (half cup) double cream (heavy cream)
- 30 g (2 tablespoons) unsalted butter, cubed at room temperature
- 1 tablespoon golden syrup or light corn syrup
- 1 teaspoon vanilla extract
- Pinch of fine salt
- 3 tablespoons unsweetened cocoa powder, for rolling
- 3 tablespoons desiccated coconut, for rolling
Instructions
- Place the chopped chocolate in a heatproof bowl. Heat the cream in a small saucepan over medium heat until it just begins to simmer, then pour it over the chocolate. Let it sit without stirring for 90 seconds.
- Stir from the centre outward in small circles until the mixture is glossy and smooth. Add the butter, golden syrup, vanilla and salt, and stir until the butter has fully melted and the ganache is uniform.
- Cover the bowl and refrigerate for at least one hour until the ganache is firm enough to scoop.
- Put the cocoa powder on one small plate and the desiccated coconut on another. Scoop out level teaspoon-sized portions of ganache (about 15 g each) and roll quickly between your palms into rough balls.
- Roll half the truffles in cocoa powder and half in coconut, pressing gently so the coating sticks. Place them on a lined tray as you go.
- Arrange them in a confectionery box in alternating rows of cocoa and coconut. Refrigerate until the party.

Fruit Skewers Fanned on a Platter
Fruit skewers earn their place on a dessert table because they give it colour and freshness alongside all the chocolate and cream. Fan them out from the centre of a round platter so the different colours radiate outward: mango orange, watermelon pink, green grape and strawberry red make a warm spectrum that photographs beautifully.
Thread the fruit up to two hours ahead and keep the platter covered with cling film in the fridge. The honey-lime drizzle goes on just before serving so the fruit stays bright and does not go slippery. No common allergens. Vegan and gluten-free as written.
Ingredients
- 200 g (7 oz) watermelon, cut into 2 cm cubes
- 200 g (7 oz) mango, cut into 2 cm cubes
- 200 g (7 oz) pineapple, cut into 2 cm cubes
- 200 g (7 oz) large strawberries, hulled
- 150 g (5 oz) green grapes, seedless
- 2 tablespoons runny honey (or maple syrup for vegan)
- 1 tablespoon fresh lime juice
- 1 teaspoon finely grated lime zest
- 20 wooden skewers (20 cm)
Instructions
- Mix the honey, lime juice and lime zest together in a small bowl and set aside.
- Thread the fruit onto the skewers in this order: grape, pineapple, watermelon, mango, strawberry. Repeat the pattern for each skewer, using four or five pieces per skewer.
- Lay the finished skewers on a large round platter, fanning them out from the centre so the coloured ends face outward.
- Just before serving, drizzle the honey-lime dressing lightly over the fruit. Serve at once.

No Bake Cheesecake Jars
Individual cheesecake jars sit perfectly in a cluster on the table, each one showing a biscuit-crumb base, a pale cream layer and a bright fruit topping through the glass. Use small jam jars or 200 ml Weck jars for the neatest look. The visual hook is the trio of distinct horizontal bands: brown, cream and vivid red.
These set fully in three to four hours and keep in the fridge overnight, making them ideal for preparing the day before. Contains dairy and gluten. Swap the digestive biscuits for gluten-free ones if needed.
Ingredients
- 180 g (6 oz) digestive biscuits (graham crackers), finely crushed
- 60 g (4 tablespoons) unsalted butter, melted
- 400 g (14 oz) full-fat cream cheese, at room temperature
- 200 ml (three-quarters cup) double cream (heavy cream)
- 80 g (one-third cup) icing sugar (powdered sugar), sifted
- 1 teaspoon vanilla extract
- 2 tablespoons lemon juice
- 300 g (10 oz) strawberry jam or raspberry jam
- 100 g (3.5 oz) fresh strawberries, sliced, for topping
Instructions
- Stir the crushed biscuits and melted butter together until every crumb is coated. Divide the mixture among 10 jars (about 2 tablespoons per jar) and press down firmly with the back of a spoon to form an even base.
- Beat the cream cheese, icing sugar, vanilla and lemon juice together until completely smooth, about 2 minutes.
- In a separate bowl, whip the double cream to stiff peaks. Fold it gently into the cream cheese mixture in three additions, keeping as much volume as possible.
- Spoon or pipe the filling into each jar, filling to about 1 cm below the rim. Smooth the tops.
- Refrigerate for at least 4 hours until the filling is firm.
- Just before serving, top each jar with a teaspoon of jam and a slice or two of fresh strawberry.

🛍 Shopping guide
Biscuit Sandwiches Stacked in a Tower
A tower of biscuit sandwiches is the structural centrepiece of the table: wider at the base, tapering toward the top, all tied together with a ribbon if you like. Soft vanilla buttercream holds each pair together, and the edge of the filling is rolled in rainbow sprinkles so every sandwich shows a coloured band around its waist. The crunch is audible from a metre away.
Assemble up to 24 hours ahead and store in an airtight container at room temperature. Contains dairy and gluten. Use store-bought round shortbread or digestive biscuits to save time.
Ingredients
- 40 round shortbread biscuits (about 5 cm diameter)
- 120 g (half cup plus 1 tablespoon) unsalted butter, softened
- 240 g (2 cups) icing sugar (powdered sugar), sifted
- 2 tablespoons whole milk
- 1 teaspoon vanilla extract
- Pinch of fine salt
- 5 tablespoons rainbow sprinkles, spread on a small plate
- 2 drops pink gel food colouring (optional)
Instructions
- Beat the softened butter on medium speed for 2 minutes until pale. Add the icing sugar in two additions, beating well after each. Add the milk, vanilla and salt, then beat on high for a further 2 minutes until light and fluffy. Tint with pink gel colouring if using.
- Spread or pipe about a heaped teaspoon of buttercream onto the flat side of one biscuit. Press a second biscuit flat-side down onto the filling, applying gentle even pressure until the buttercream reaches just to the edges.
- Hold the sandwich upright and roll the exposed filling edge through the rainbow sprinkles, pressing lightly so they stick all the way around.
- Repeat with the remaining biscuits and filling.
- Stack the sandwiches in a tower on the table, largest base if there is size variation, tallest in the centre if all are equal.

Chocolate Dipped Strawberries on a Tiered Stand
A tiered cake stand earns its keep here: the tiers let you display twice as many strawberries in half the footprint, and the glossy chocolate coating catches the light beautifully. Dip each strawberry in dark chocolate and, while it is still wet, drizzle a thin line of white chocolate over the top for a striped effect. The combination of glossy dark and the white drizzle against the red fruit is the whole visual argument for this recipe.
Dip strawberries up to four hours before the party and refrigerate on a lined tray. Transfer to the stand just before guests arrive. Contains dairy. Choose large, uniform strawberries for the neatest result on the stand.
Ingredients
- 24 large strawberries with stems, washed and thoroughly dried
- 300 g (10 oz) dark chocolate (60-70% cocoa), chopped
- 100 g (3.5 oz) white chocolate, chopped
- 1 teaspoon coconut oil, divided
- 2 tablespoons gold or coloured sprinkles (optional)
Instructions
- Line a tray with baking paper. Make absolutely sure the strawberries are completely dry: any moisture will cause the chocolate to seize.
- Melt the dark chocolate with half a teaspoon of coconut oil in a heatproof bowl over simmering water, stirring until smooth. Pour it into a tall narrow glass or mug for easier dipping.
- Hold each strawberry by the stem and dip it into the dark chocolate, coating about three-quarters of the fruit. Let the excess chocolate drip back into the glass, then set the strawberry on the lined tray. Repeat with all 24.
- Melt the white chocolate with the remaining coconut oil. Transfer it to a piping bag or a small zip-lock bag with a tiny corner snipped off.
- Drizzle thin lines of white chocolate across each dipped strawberry in a zigzag pattern. Scatter a few sprinkles on those that need extra colour.
- Leave the tray in the fridge for 20 minutes until the chocolate sets, then arrange the strawberries on a tiered stand.

🛍 Shopping guide
Jelly Cups Set in Clear Glasses
Jelly set directly in small clear glasses becomes something worth looking at: the colour glows in the light and the slight wobble when someone picks up a glass is always a hit with younger guests. Layer two colours for a stripe effect, or embed a few raspberries and blueberries inside the jelly for suspended fruit that shows through the glass.
Make these the day before: they need a minimum of four hours to set fully, and they keep refrigerated for two days. Use individual glasses or shot glasses for the smallest, sweetest portion size. This recipe is gelatine-based and not vegan.
Ingredients
- 2 packets (85 g each) strawberry or raspberry jelly crystals (gelatin dessert)
- 1 packet (85 g) lemon or orange jelly crystals (a contrasting colour)
- 600 ml (2.5 cups) boiling water, divided
- 300 ml (1.25 cups) cold water, divided
- 100 g (3.5 oz) fresh raspberries
- 100 g (3.5 oz) fresh blueberries
- Whipped cream, for serving
Instructions
- Dissolve the lemon or orange jelly in 300 ml of boiling water, stirring for 2 minutes. Stir in 150 ml of cold water. Pour about 3 cm of the mixture into each glass and refrigerate for 90 minutes until set but still slightly tacky on top.
- Once the first layer is set, press a few raspberries gently into the surface of each glass.
- Dissolve the strawberry or raspberry jelly in the remaining 300 ml of boiling water, stir in 150 ml of cold water, and let it cool to room temperature (not cold, or it will set before you pour it).
- Pour the second jelly gently over the back of a spoon held just above the set layer to avoid disturbing the first colour. Fill each glass to within 1 cm of the rim. Drop a few blueberries in.
- Refrigerate for at least 2 hours until fully set. Serve with a small swirl of whipped cream on top.

Popcorn Cones Standing in a Rack
A rack of popcorn cones is one of the fastest ways to add height, colour and texture to a table all at once. Use a wire muffin rack or a flower-arranging foam block punctured with holes to hold the cones upright. Toss the popcorn in a warm caramel coating and a pinch of sea salt so it clumps slightly, giving each cone a golden, craggy texture that catches the light.
Make the popcorn up to 24 hours ahead and store in an airtight tin. Fill the cones on the morning of the party. The cones themselves are simply waffle cone papers or bought paper cones in warm colours. Contains dairy. This recipe is nut-free as written.
Ingredients
- 120 g (half cup) popping corn kernels
- 3 tablespoons neutral oil (such as sunflower)
- 90 g (6 tablespoons) unsalted butter
- 120 g (half cup) golden caster sugar
- 2 tablespoons golden syrup or light corn syrup
- 1 teaspoon fine sea salt, plus extra to finish
- Half teaspoon vanilla extract
- 12 paper cones or waffle cones
Instructions
- Pop the corn in the oil in a large lidded saucepan over medium-high heat, shaking the pan frequently, until the popping stops. Transfer to a very large bowl and remove any unpopped kernels.
- Melt the butter in a medium saucepan over medium heat. Add the sugar and golden syrup, stir to combine, then let it bubble without stirring for 3 minutes until the caramel is deep golden and smells nutty.
- Remove from the heat, add the salt and vanilla, and stir once. Immediately pour the caramel over the popcorn and toss quickly with two large spoons, working fast to coat every kernel before the caramel sets.
- Spread the caramel popcorn in a single layer on a large sheet of baking paper and sprinkle a little extra sea salt over the top. Leave to cool and harden for 10 minutes.
- Break the cooled popcorn into small clusters and fill each paper cone generously, letting the popcorn pile slightly above the rim for visual effect. Stand the cones in a rack or foam block to display.

Salted Caramel Dipping Pots With Fruit
A cluster of small pots filled with warm salted caramel gives the table a rich, glossy accent and doubles as an interactive station. Set the pots on a low tray at the front of the table where guests can dip slices of apple, banana, pineapple and whole strawberries. The visual hook is the pot itself: a dark amber sauce in a white ceramic ramekin against a pile of vivid fruit.
The caramel keeps refrigerated for one week and reheats gently in a microwave in 20-second bursts. Contains dairy. Use a sugar thermometer to take the guesswork out of the caramel stage if you are new to it.
Ingredients
- 200 g (1 cup) white caster sugar
- 90 ml (6 tablespoons) water
- 120 ml (half cup) double cream (heavy cream), warmed
- 40 g (3 tablespoons) unsalted butter, cubed
- 1 teaspoon flaky sea salt, plus more to taste (start with 1 tsp, add a pinch more if needed)
- 1 teaspoon vanilla extract
- 2 large apples, cored and cut into wedges
- 2 bananas, sliced into thick rounds
- 200 g (7 oz) large strawberries, whole
- 200 g (7 oz) pineapple chunks
Instructions
- Combine the sugar and water in a medium heavy-bottomed saucepan. Cook over medium heat without stirring until the sugar dissolves, then raise the heat slightly and let it boil without stirring for about 8 minutes until the caramel turns a deep amber (around 175 C on a sugar thermometer).
- Remove the pan from the heat. Carefully pour in the warmed cream in a slow stream: the mixture will bubble fiercely. Whisk constantly until the bubbling settles.
- Add the butter and whisk until fully melted and incorporated. Add the sea salt and vanilla and whisk again.
- Taste and add a pinch more salt if needed. Pour the caramel into small ceramic ramekins or glass pots.
- Arrange the prepared fruit on a platter or board around the pots. Serve the caramel warm.

Iced Biscuits Laid Out in a Grid
A flat grid of iced biscuits is the item that anchors the table and gives it a graphic, finished quality. Cut the biscuits into circles or stars, ice them in a warm palette (orange, yellow, coral and pink) and let each one dry fully before laying them out in neat rows. The visual payoff is entirely in the colour and the pattern: a grid of 20 biscuits in four colours looks deliberate and designed.
Biscuits keep in an airtight tin for five days, iced or plain. Ice them the day before and leave them uncovered overnight so the royal icing sets hard. Contains gluten, dairy and egg. Use a bought plain shortbread if you want to skip making the dough entirely: the icing is the part that matters here.
Ingredients
- 250 g (2 cups) plain flour (all-purpose flour)
- 125 g (half cup plus 1 tablespoon) unsalted butter, cold and cubed
- 80 g (one-third cup) caster sugar
- 1 large egg yolk
- 2 tablespoons cold water
- 1 teaspoon vanilla extract
- 300 g (2.5 cups) royal icing sugar (flood consistency: sift, add water by the teaspoon until it falls off a spoon in 10 seconds)
- Orange, yellow, coral and pink gel food colouring
Instructions
- Rub the butter into the flour until the mixture resembles fine breadcrumbs. Stir in the sugar, then add the egg yolk, water and vanilla. Mix until a dough just comes together. Press into a disc, wrap and chill for 30 minutes.
- Roll the dough on a lightly floured surface to 4 mm thickness. Cut into rounds or stars using a 6 cm cutter. Place on a lined baking tray and chill for 10 minutes.
- Bake at 180 C (fan 160 C) for 10 to 12 minutes until the edges are just starting to go golden. Cool completely on a wire rack before icing.
- Mix the royal icing sugar with water a teaspoon at a time until it reaches flood consistency: drizzle a line back into the bowl and it disappears in about 10 seconds. Divide into four bowls and tint each a different warm colour.
- Spoon or pipe the icing over each biscuit, flooding it right to the edge. Use a toothpick to pop any bubbles. Leave the iced biscuits uncovered for at least one hour (ideally overnight) until the icing is completely hard.
- Lay the dried biscuits in a grid on a flat board or tray, alternating colours in a repeating pattern.

Frequently Asked Questions
Which of these birthday party treats can be made the day before?
Almost all of them. The truffles, cheesecake jars, jelly cups, iced biscuits, chocolate bark and marshmallow pops all keep overnight in the fridge or an airtight tin. The caramel for the dipping pots reheats in minutes. The fruit skewers and popcorn cones are best made on the morning of the party.
How many treats do I need per person for a dessert table?
Aim for three to four pieces per guest when the dessert table is supplementing a birthday cake. With 12 different items on the table, one or two pieces of each per person gives guests plenty of variety without over-catering.
Are any of these birthday party treats nut-free?
The berry layer glasses, marshmallow pops, cheesecake jars, jelly cups, biscuit sandwiches, popcorn cones and fruit skewers are nut-free as written. The chocolate bark and truffles contain nuts in the method above but can be made without them. Always check all packaged ingredients for allergen warnings.
How do I keep a dessert table looking neat during a party?
Work in odd numbers and keep the display restocking-ready: store a second batch of the quickest items (popcorn cones, skewers) behind the table. Swap out half-empty platters rather than topping them up, so the display always looks intentionally arranged rather than picked over.
Can I make these treats without any special equipment?
Yes. Every recipe here uses standard kitchen kit: a saucepan, a bowl, a whisk and a lined tray cover almost everything. The marshmallow pops need lollipop sticks, which are cheap and widely available. No stand mixer, no molds and no thermometer are strictly required, though a sugar thermometer helps with the caramel.
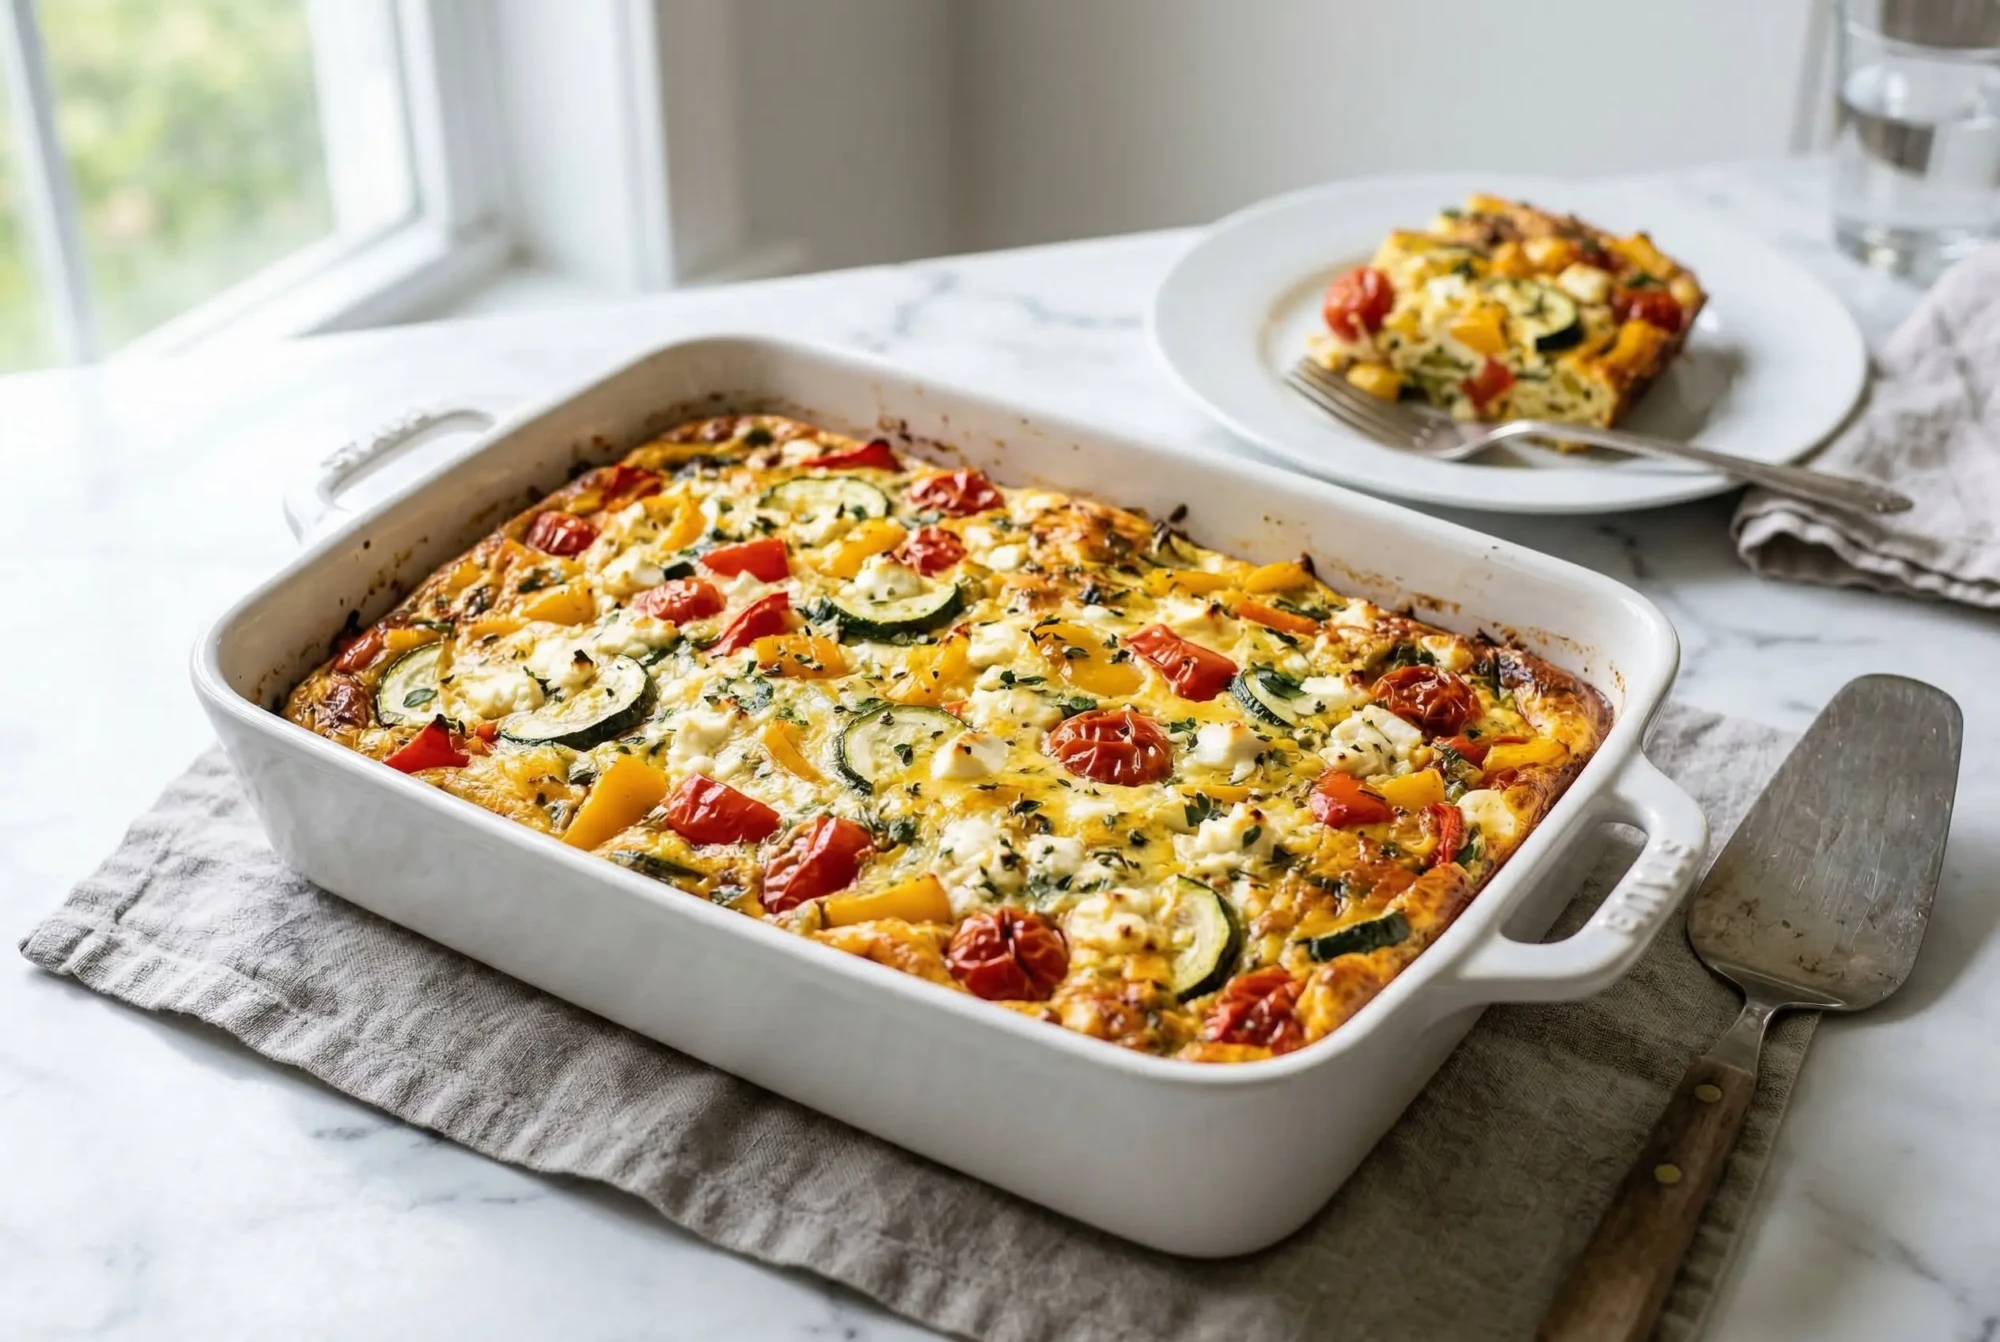
Low calorie veggie breakfast bake with egg whites, zucchini, peppers, tomatoes, spinach, feta. 165 c
Ever have one of those mornings where you’re staring into the fridge with zero energy to actua
12 no-bake birthday treats anyone can assemble in one evening. Each one has a single visual trick th
Leave a Reply