

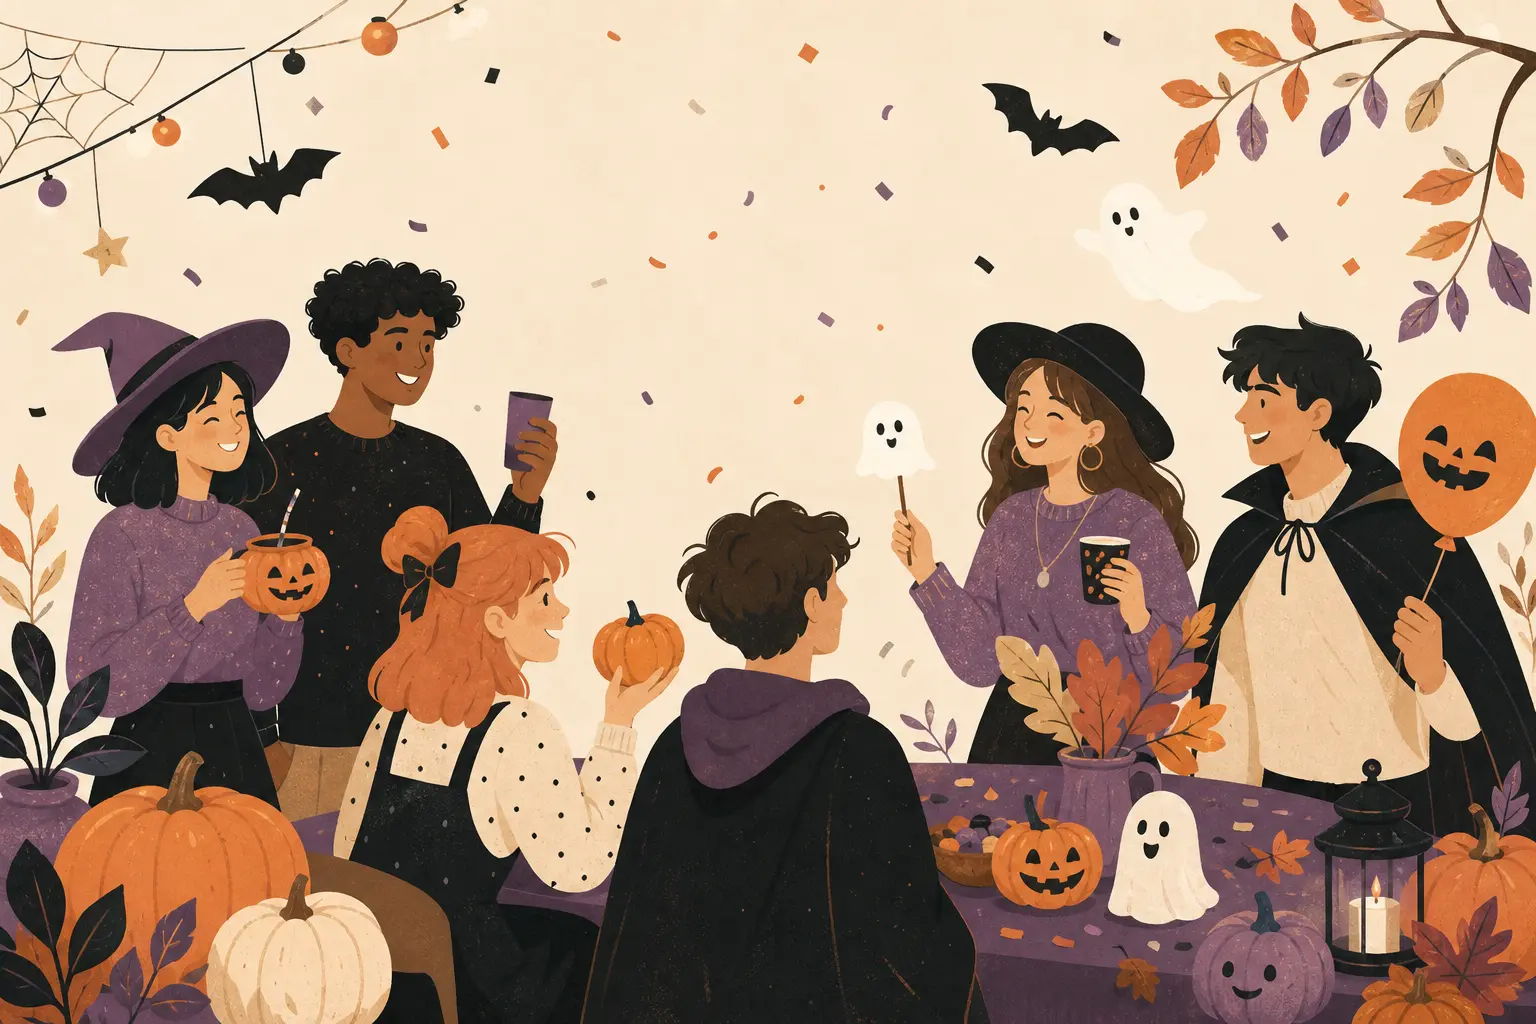
So, you’ve decided to throw a Halloween party — amazing. You’ve thought about the snacks, the decorations, maybe even the playlist.
But here’s the thing most hosts forget: the invitation is the first creative impression your guests get, and for Halloween, it sets the entire mood before a single cobweb is strung.
A cute ghost invite tells your guests one thing; a deep burgundy wax-sealed envelope tells them something completely different. Getting that right matters more than you think.
Whether you’re hosting a family-friendly costume party or a spine-chilling adult gathering, the right invitation sets the tone for an unforgettable Halloween celebration. Every design below comes with a free printable template you can download, fill in by hand (there are blank lines for all your details, don’t worry), and print at home.
We’ve also included a full guide on the printing and sending process, because honestly? That part trips people up more than the design does.
Before we dive in: nearly half of all Halloween shoppers begin gathering supplies and ideas in September or earlier, which means if you’re waiting until mid-October, you’re already playing catch-up — give yourself a solid 4–6 weeks minimum. Bookmark this now, pick your vibe, and let’s get spooky.
This post contains affiliate links — if you buy through them, I may earn a small commission at no extra cost to you.
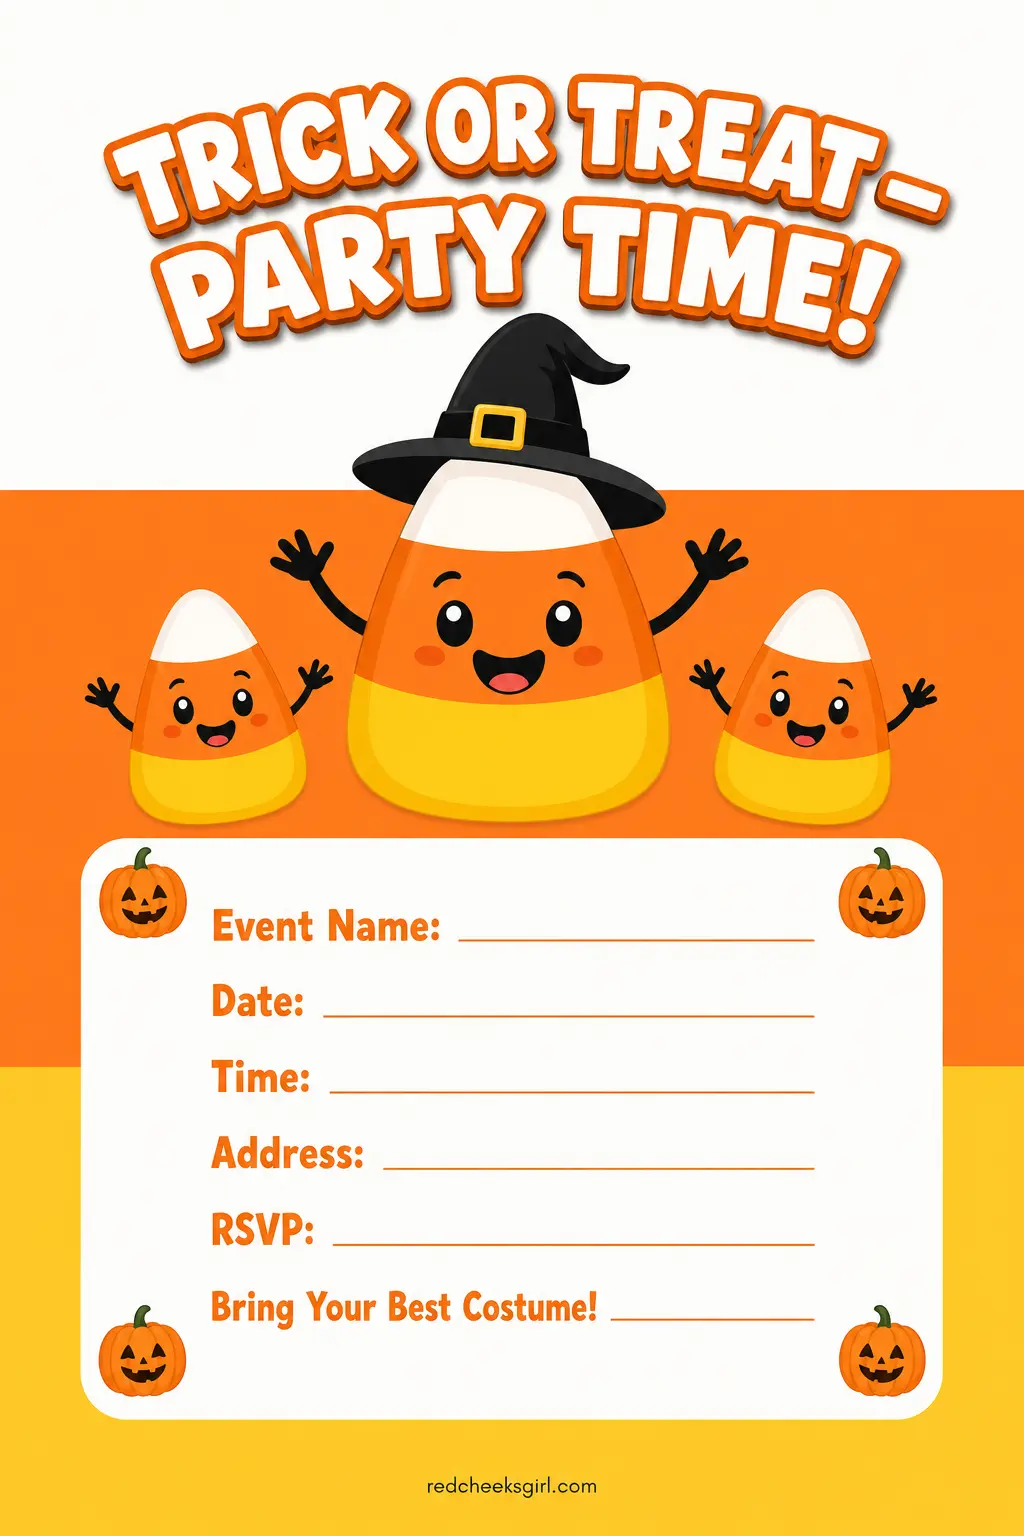
Cute Kid-Friendly Halloween Party Invitations
Kid-friendly Halloween invitations have one job: make every child who receives one immediately excited to come. The sweet spot is designs that are unmistakably Halloween — pumpkins, bats, friendly ghosts — but without anything that gives a five-year-old nightmares before the party even starts.
Think warm autumn oranges, cheerful purples, and illustrated characters with big round eyes and goofy smiles.
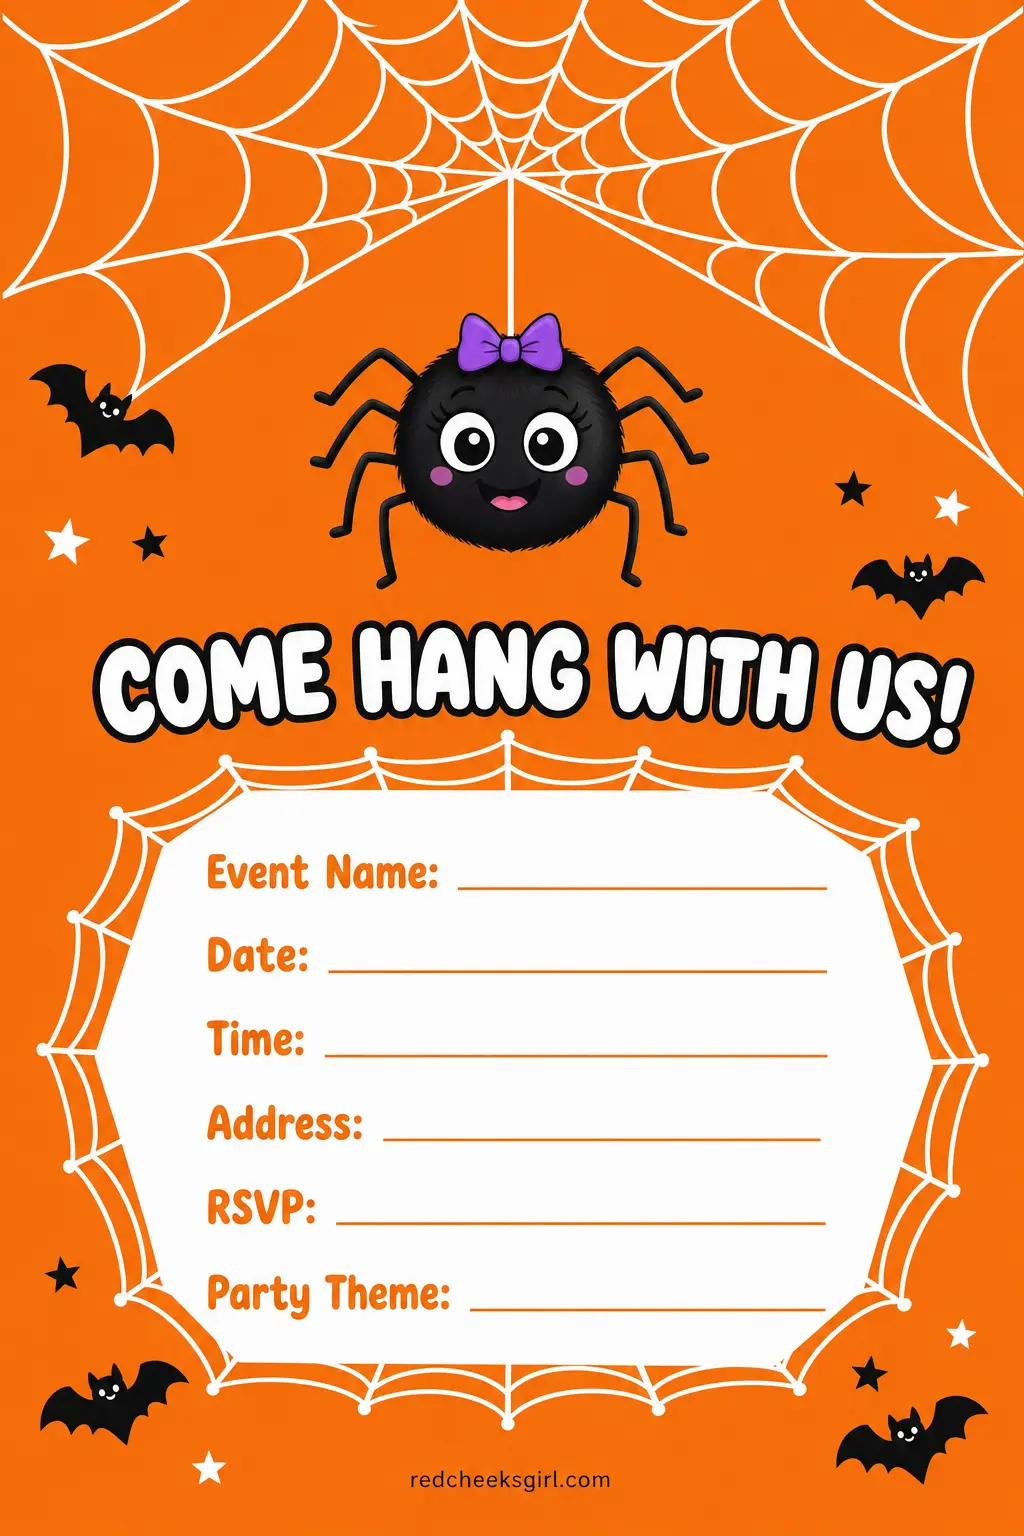
A cute and whimsical invitation featuring friendly ghosts, pumpkins, bats, a black cat, and a smiling mummy in soft pastel colors creates that child-friendly spooky theme perfectly. It’s spooky season, just… make it adorable.
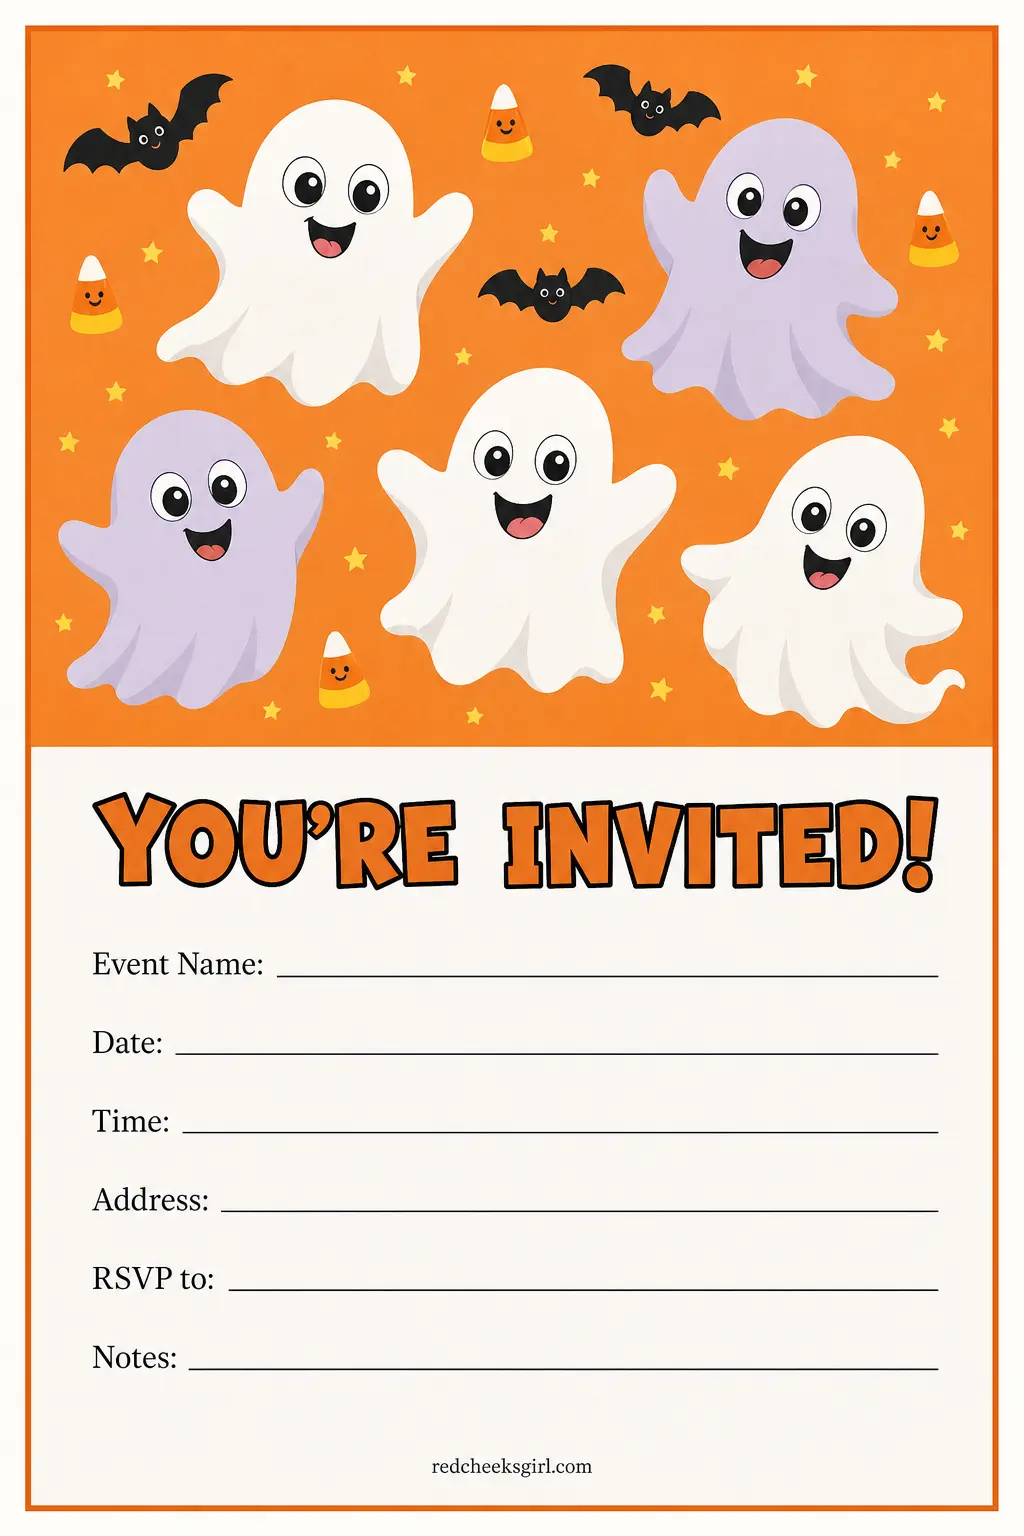
For the first design in this section, a Friendly Ghost Cluster invite does all the heavy lifting. A crowd of wobbly little ghosts in white and pale lavender against an orange background is irresistible — it’s so cute that adults want to keep it.
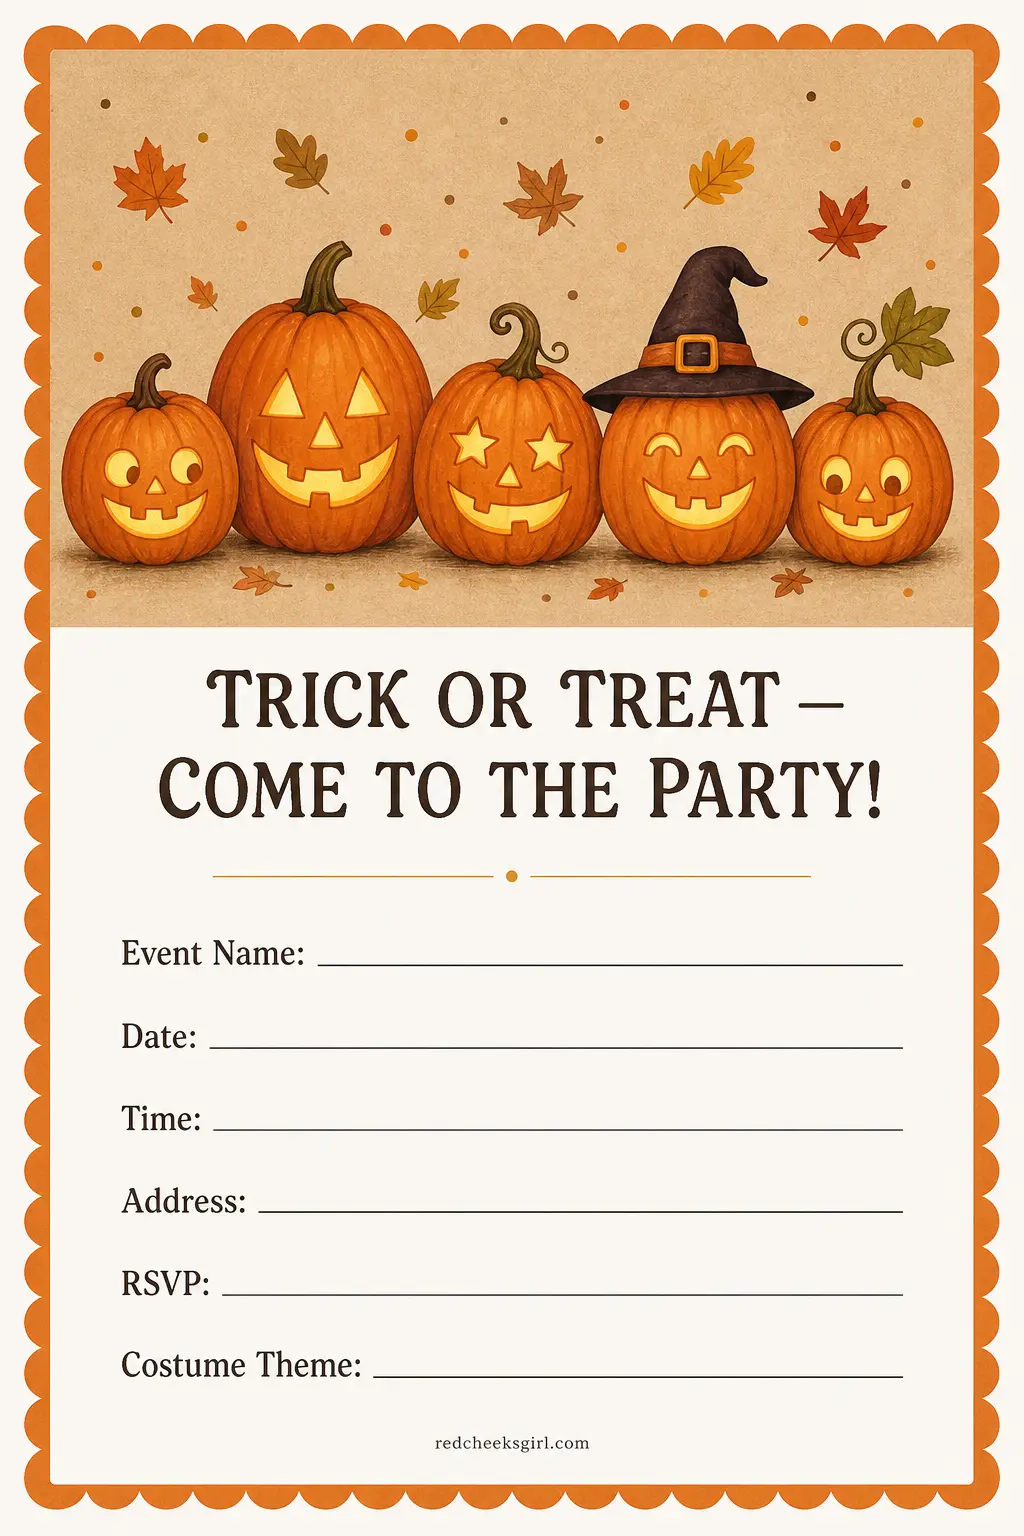
For the second, go with a Pumpkin Patch Gang design: a row of smiling jack-o’-lanterns in different sizes, each with its own personality (one with glasses, one with a gap-tooth grin), on a kraft-paper-style warm background. Both designs work beautifully on white or cream cardstock.
The practical tip here is to keep your color palette warm and the imagery round and friendly — avoid sharp angles, dripping red, or anything that reads as genuinely scary.
Warm autumn tones of orange, black, and grey make designs feel festive and child-friendly without veering into frightening territory. For kids’ parties, also consider adding a costume hint line to the invite — something like “Come dressed as your favorite spooky thing!”
— so little guests have the excitement of planning their costume the moment the card arrives. Print these on 80 lb. bright white cardstock for the cleanest color payoff.




Spooky-Chic Adult Halloween Party Invitations
Here’s the thing about adult Halloween parties: they deserve invitations that actually look grown-up.
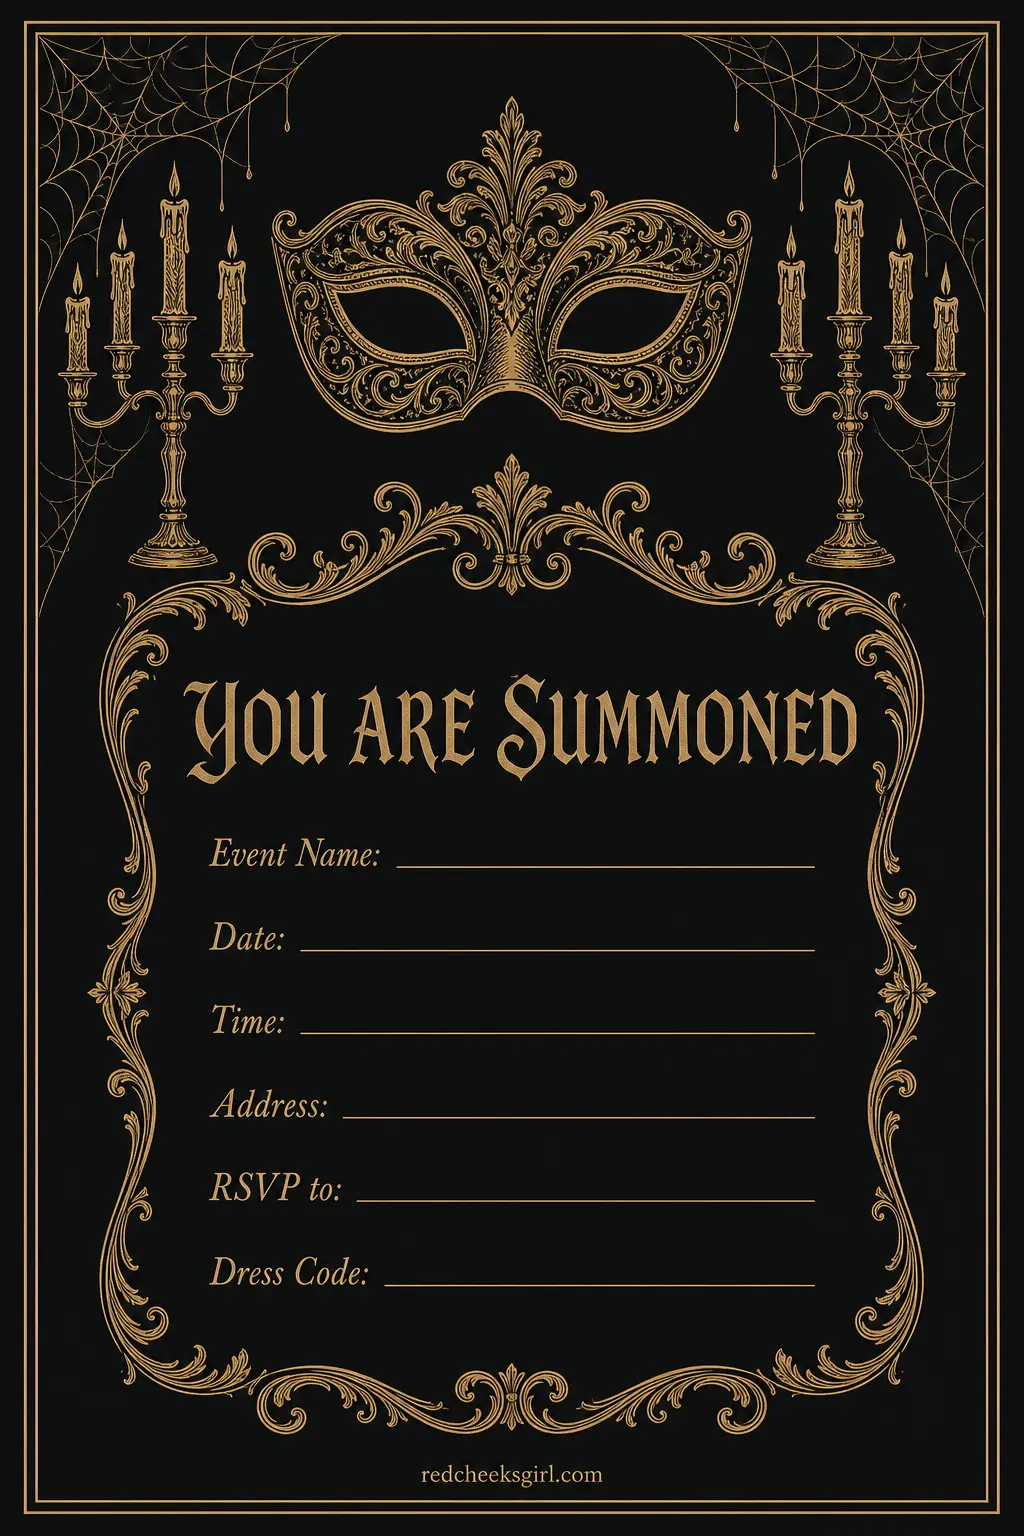
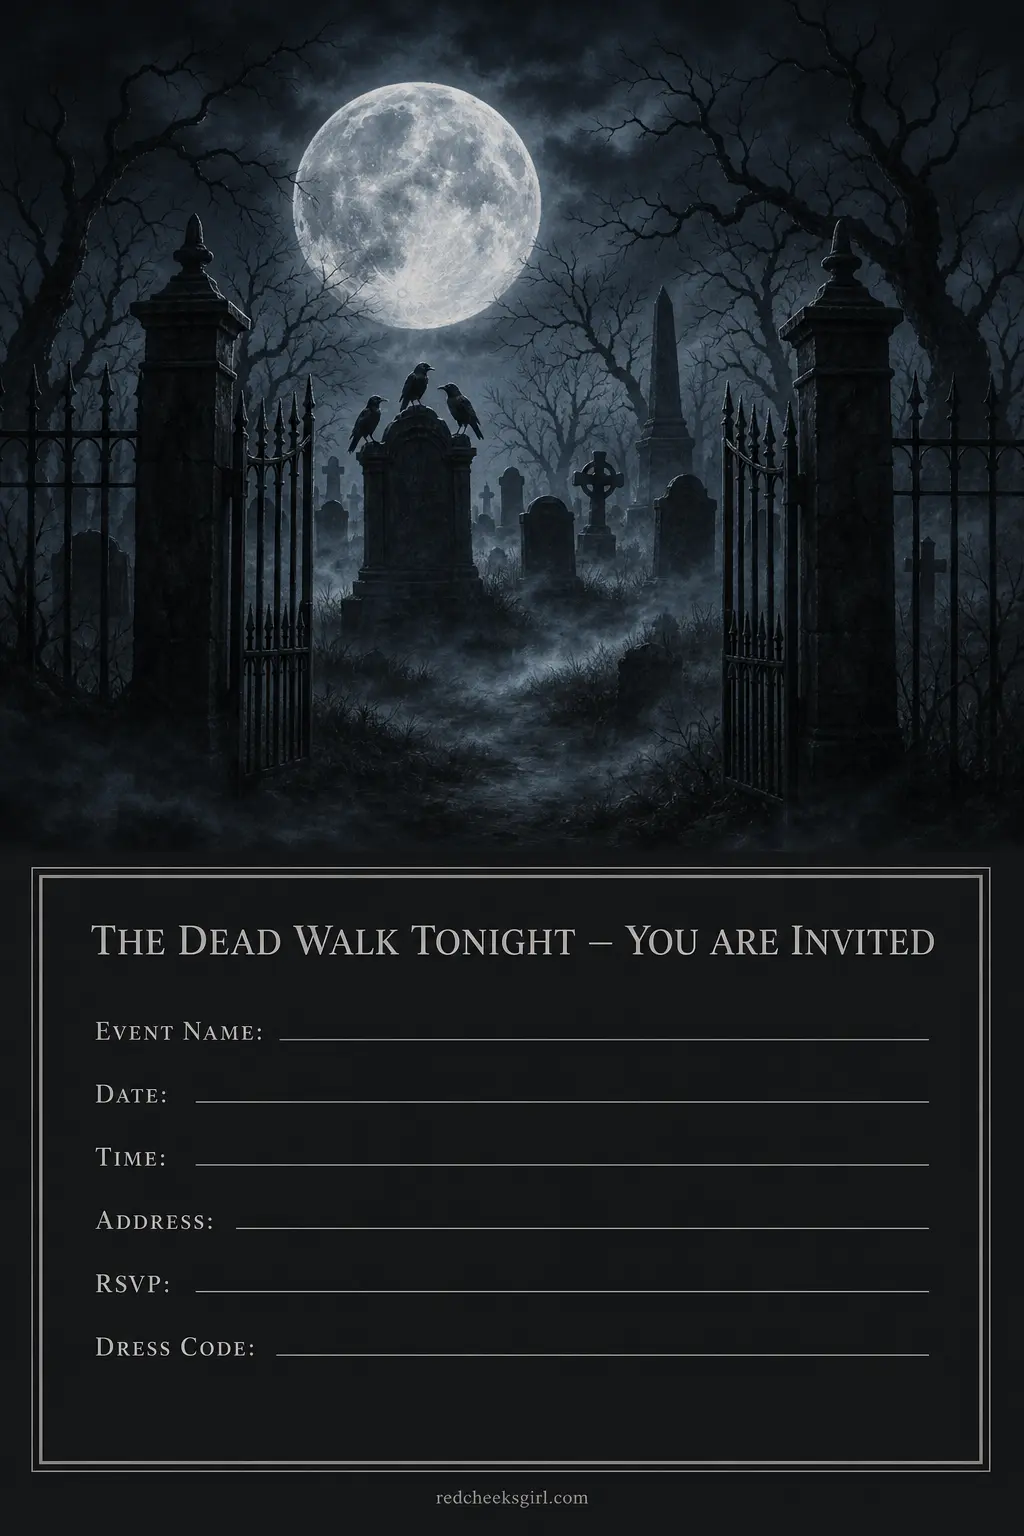
From a chic masquerade to a spooky Halloween cocktail hour or costume contest, set the tone with a sophisticated design and themed wording — think dark, dramatic color palettes, elegant fonts, and a hint of mystery. Forget clipart bats on orange paper.
We’re talking deep charcoal backgrounds, gold or silver foil-effect accents, spiderweb filigree borders, and typography that leans toward the theatrical.
Design number three in this collection is a Midnight Masquerade invite: a deep black background with a hand-drawn mask and candelabra illustration in champagne gold, with a gothic serif font for the header. It whispers “costume required, darling” without saying it outright.
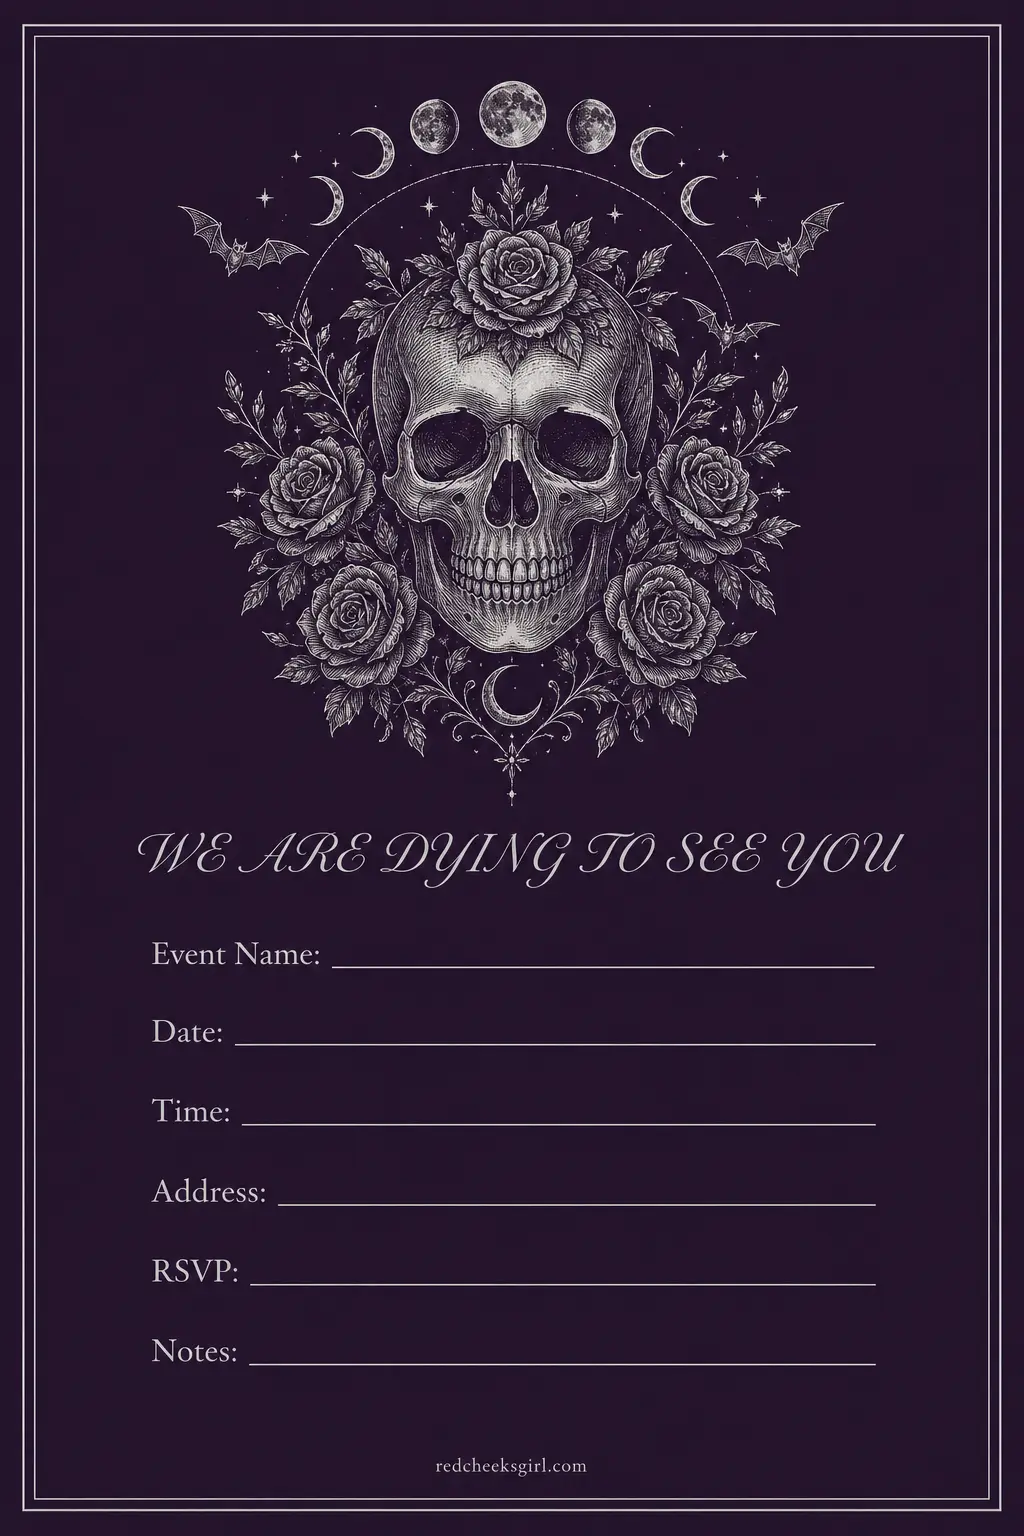
Design four is the Haunted Cocktail Hour card: a jewel-toned dark plum background with a delicate skull-and-floral illustration in silver, perfect for the adults who want their Halloween party to feel like an event, not just a party.
Current trends lean toward minimalist designs with bold typography, nostalgic vintage aesthetics, and glam Halloween with metallic accents — so these two designs hit the mark perfectly.
The practical tip for spooky-chic invitations: print on a dark or black cardstock for maximum drama — yes, your home printer can handle it, but run a single test sheet first since dark papers can sometimes cause ink to appear slightly matte.
Alternatively, print the design on white cardstock and mount it on a black card base using double-sided tape.
Either way, seal those envelopes with a black or deep red wax seal (more on that in the printing section) and your guests will know before they even open it that this is not a casual gathering.



🛍 Shopping guide
Vintage Halloween Party Invitations
Vintage Halloween design is having a genuine moment, and honestly, it makes total sense.
Before plastic masks and candy aisles, Halloween was celebrated with postcards — illustrated works of art filled with witches, jack-o’-lanterns, black cats, and children in costume; between the late 1800s and 1920s, these colorful greetings captured the magic of autumn nights and the playful mystery of All Hallows’ Eve. Tapping into that visual tradition for your party invitation instantly gives it a sense of history and warmth that modern clipart just can’t replicate.
Think sepia tones, aged paper textures, ornate botanical borders, and hand-lettered typography with an ink-pressed feel.
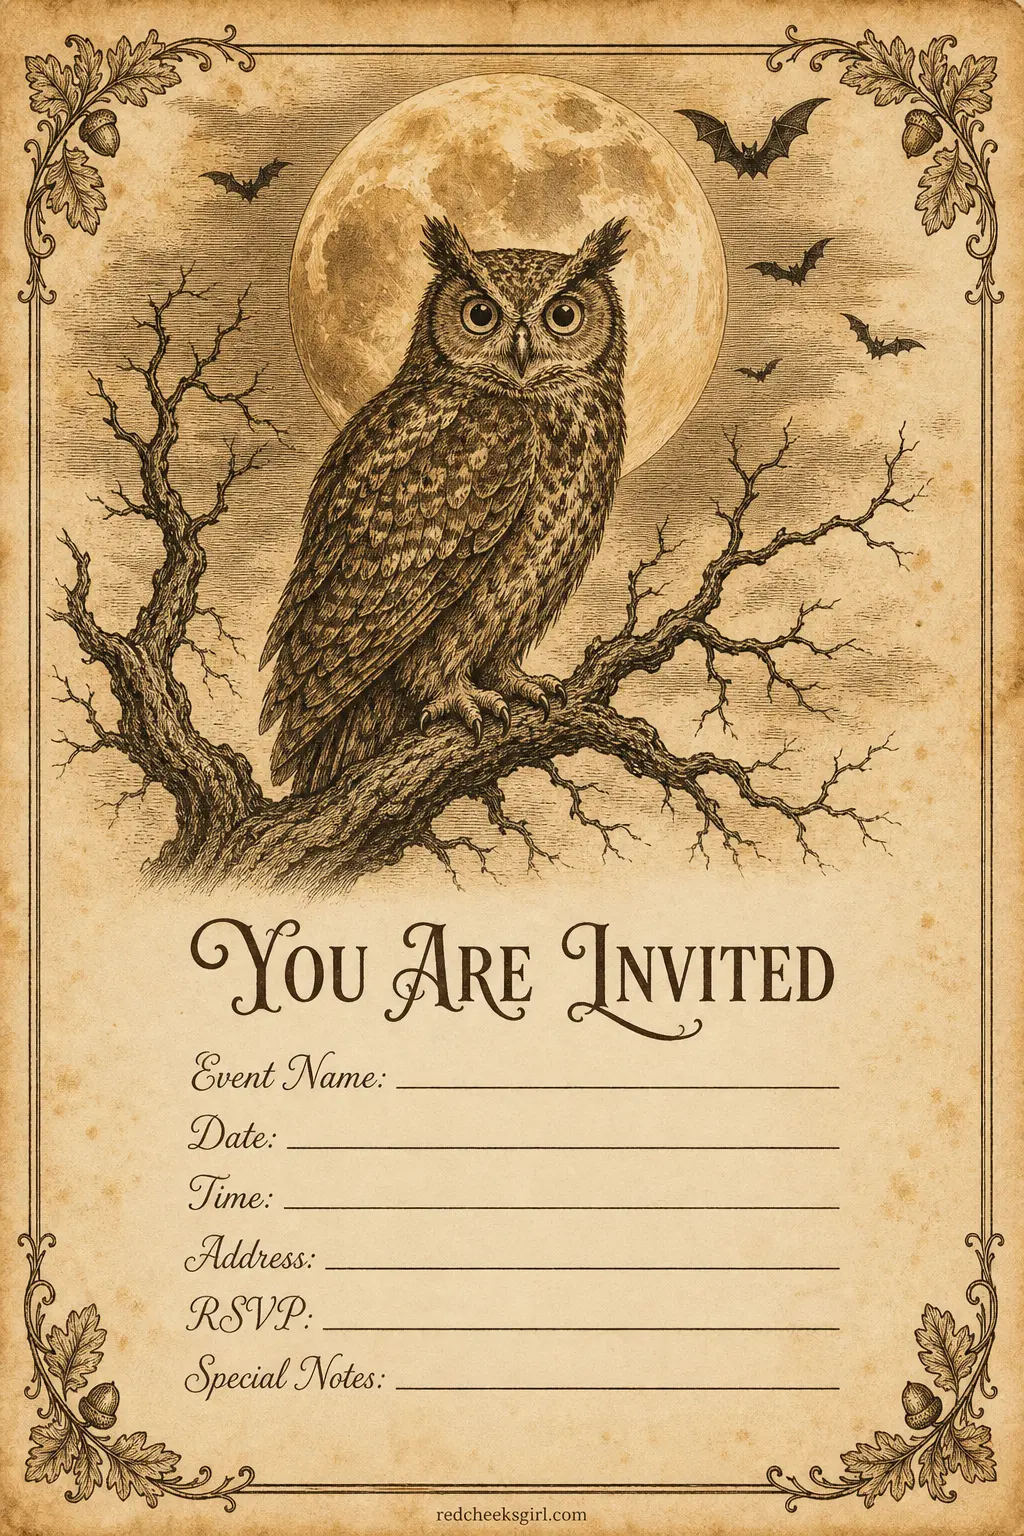
Design five in this collection is an Antique Postcard invite: a reproduction-style card with a hand-drawn owl perched on a bare branch, a harvest moon behind it, and a sepia-toned border with distressed edges.
It looks like it came from a Victorian stationery shop — in the best possible way.
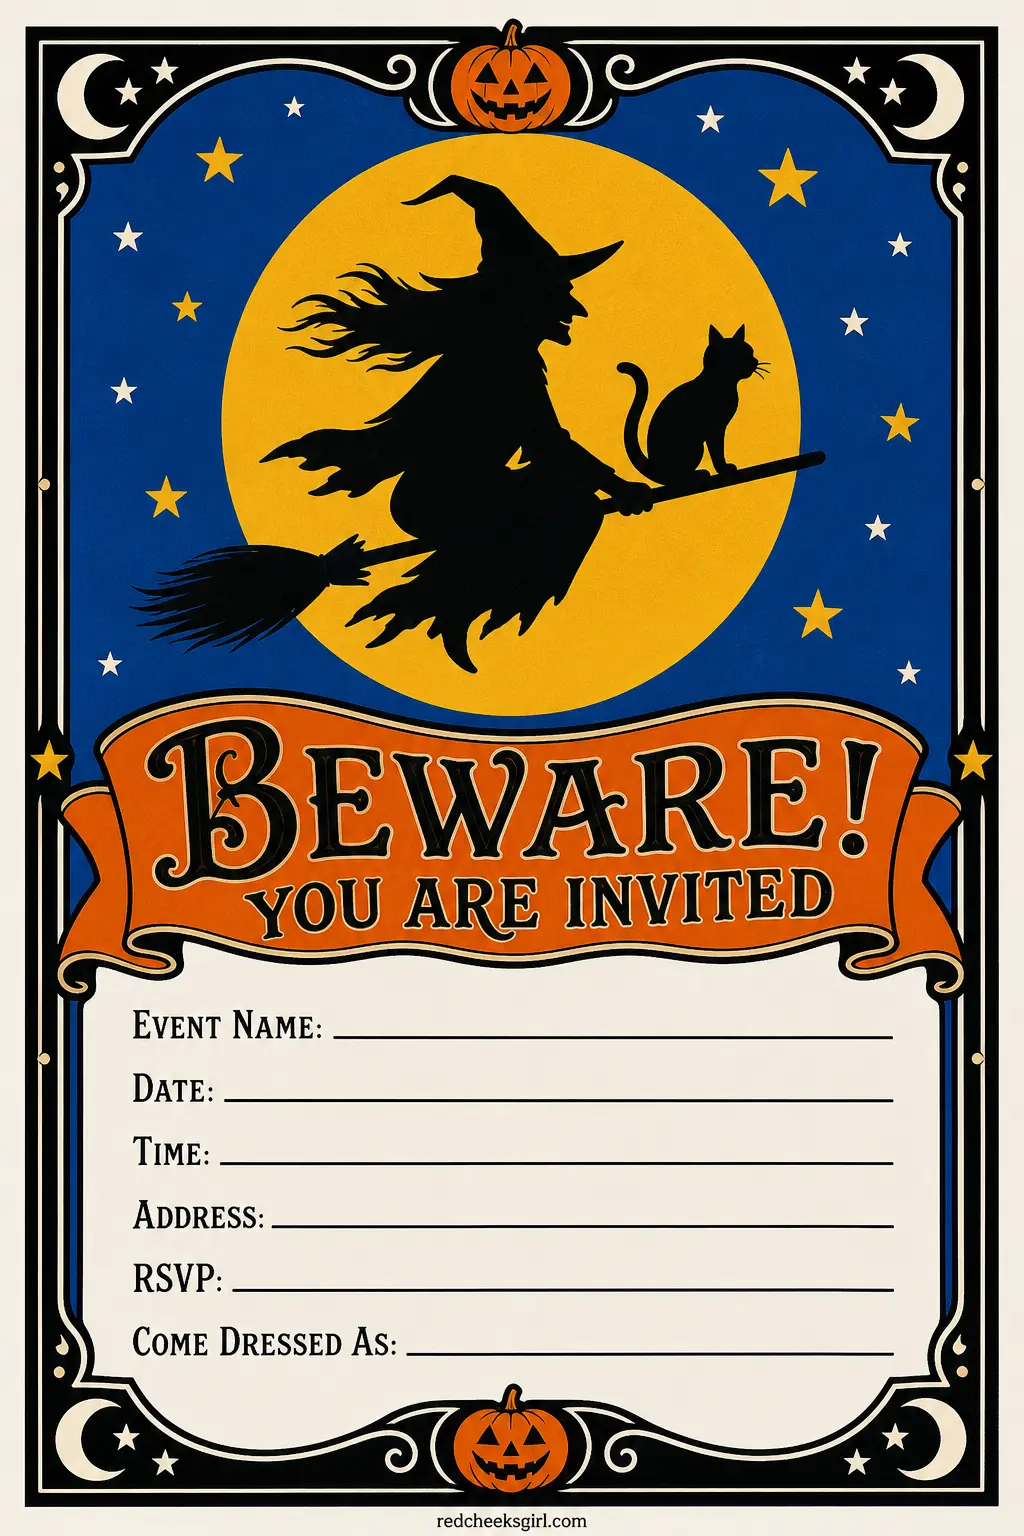
Design six goes a bit brighter with a Golden Age Witch invitation: bold primary colors in the style of early 20th-century illustration, featuring a whimsical witch silhouette on a broomstick against a round harvest moon, with a hand-lettered script headline. These designs incorporate hand-drawn illustrations reminiscent of Halloween traditions, with distressed typography and sepia tones creating nostalgic appeal that connects modern celebrations to historical context.
The practical tip for vintage designs: print on parchment or kraft-colored cardstock rather than bright white — it amplifies the aged aesthetic immediately and costs nothing extra. A rotary paper trimmer will give you cleaner edges than scissors, especially if you’re cutting multiple copies.
If you really want to go all in, run the finished card lightly over a brown ink pad on its edges (called “distressing”) for an extra aged look that takes about ten seconds per card and looks like you spent an hour on it.
Your guests will think you’re incredibly crafty. (You are.)


Minimalist Modern Halloween Party Invitations
Not everyone wants skeletons and glitter — and that’s completely valid. Minimalist Halloween invitations are having a serious design moment right now.
“Macabre minimalism is gaining popularity among those who prefer a more understated approach,” notes one design expert — “this trend embraces the beauty of simplicity and focuses on bold, graphic elements such as black and white prints, geometric shapes, and minimalist Halloween-themed artwork.” The result?
Invitations that look more like modern art prints than party cards, and that guests actually want to keep.
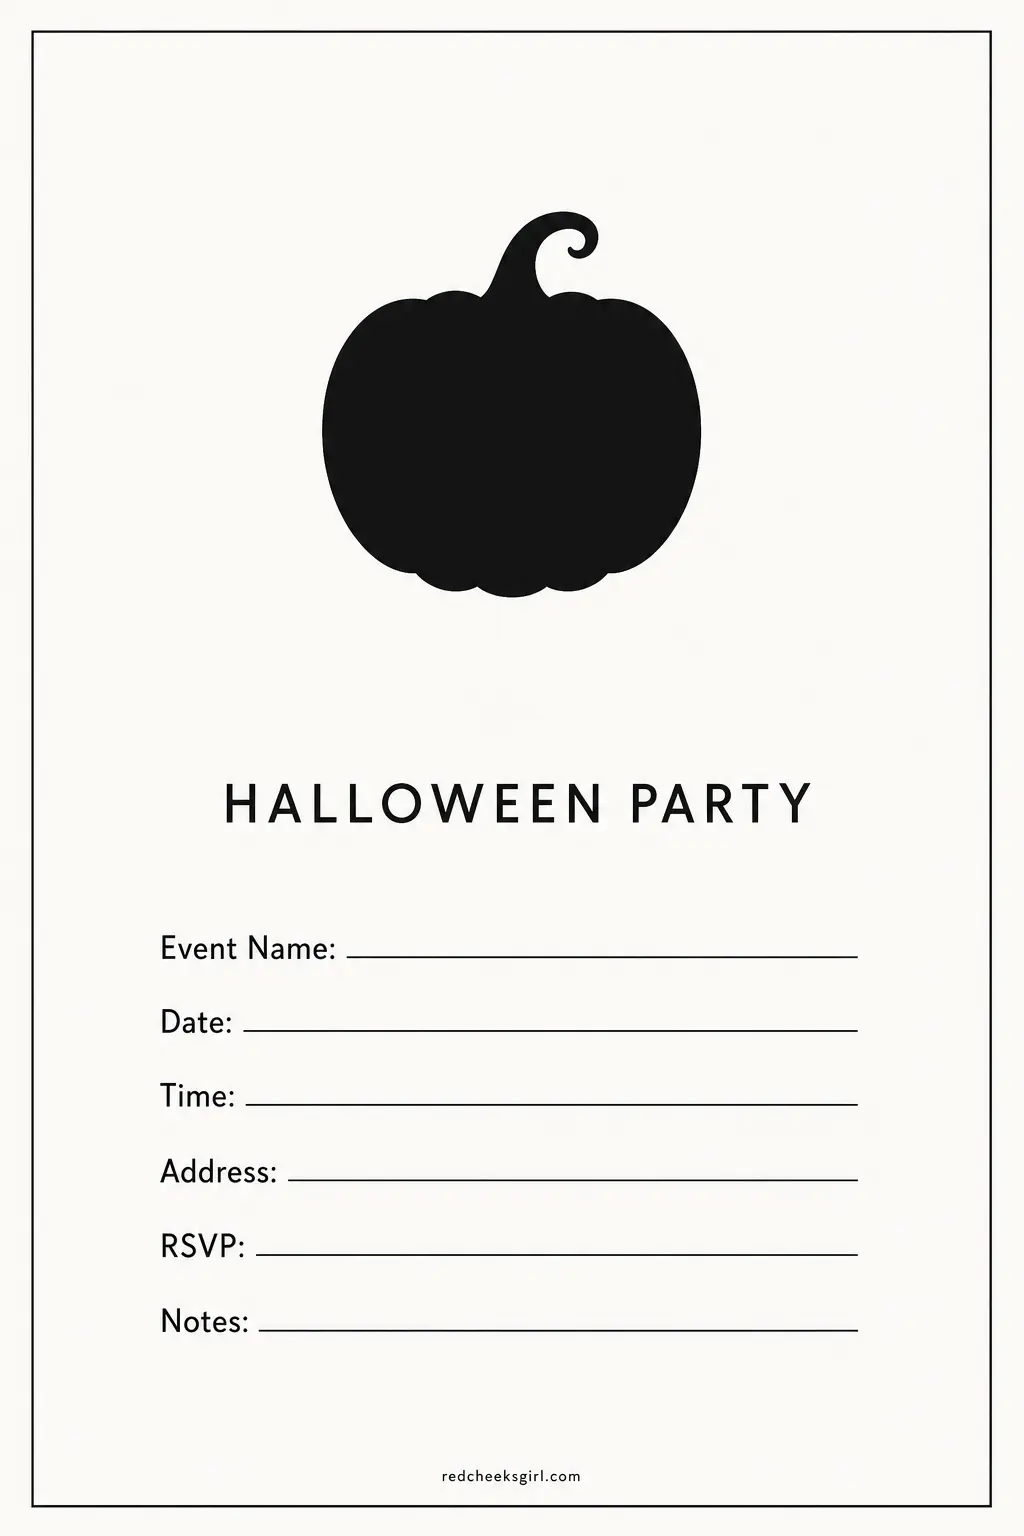
Design seven in this collection is a Single Pumpkin Silhouette invite: a stark black pumpkin outline centered on a crisp white card, with the party details in a clean sans-serif font below it. Zero clutter, maximum impact.
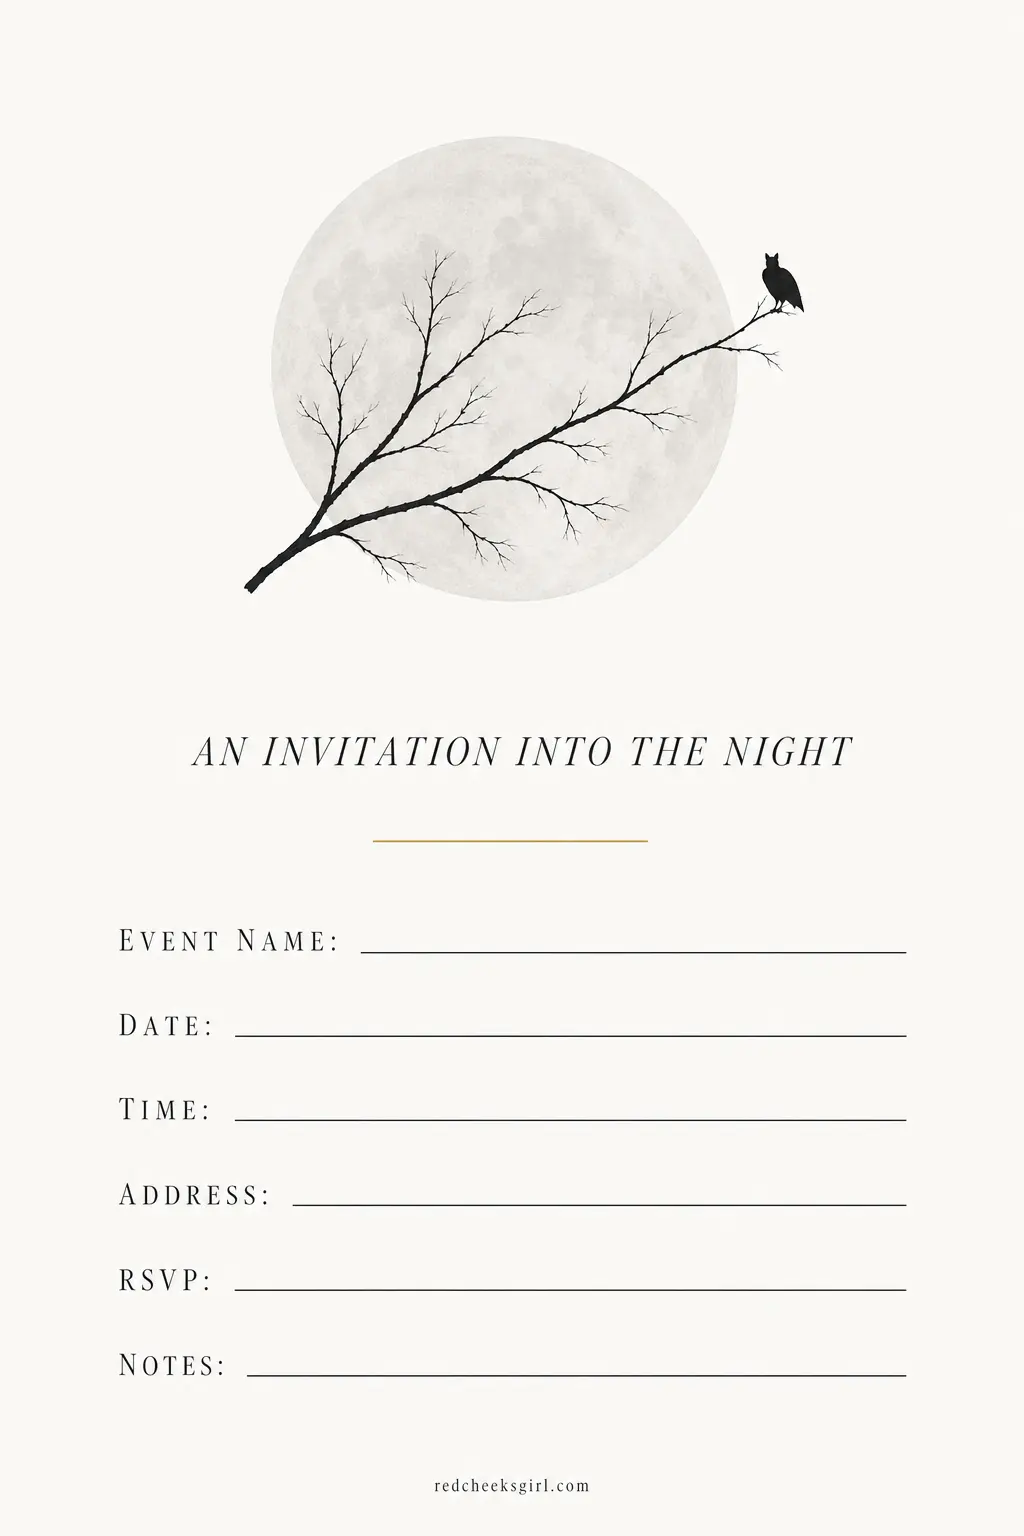
Design eight is the Full Moon Line Art invitation: a single, perfect circle in pale grey (the moon) with a thin branch silhouette crossing it, all on an off-white background with a refined italic font.
Clean layouts with strategic visual elements define modern Halloween aesthetics; minimalist spooky invitations use negative space effectively, letting single focal points carry the design, and simple typography with one strong image creates memorable impact. Both of these read as sophisticated and intentional — not low-effort.
The practical tip for minimalist designs: print on the highest-quality white or natural linen cardstock you can find.
Rather than defaulting to orange and purple, modern minimalists lean into black, white, and earthy neutrals — not only does this palette feel more sophisticated, but it integrates seamlessly with any aesthetic. Since the design is simple, the paper quality becomes the luxury detail.
A slightly heavier 100 lb. cardstock will make even a two-color print feel premium and expensive. Pair with a simple white A2 envelope and a single small black wax seal and the whole suite feels very intentional and very chic.


🛍 Shopping guide
Bright and Playful Halloween Party Invitations
Some Halloween parties are just… fun. Like, genuinely, unashamedly, everyone-is-here-to-have-a-good-time fun. And that energy deserves an invitation that reflects it.
Bright and playful designs use the full crayon box — electric orange, acid green, hot pink, sunshine yellow — and lean into bold, chunky illustration styles that feel energetic and celebratory rather than eerie.
This aesthetic is perfect for mixed-age parties, classroom or neighborhood gatherings, or any host whose Halloween vibe is more “Monster Mash dance party” than “haunted manor séance.”
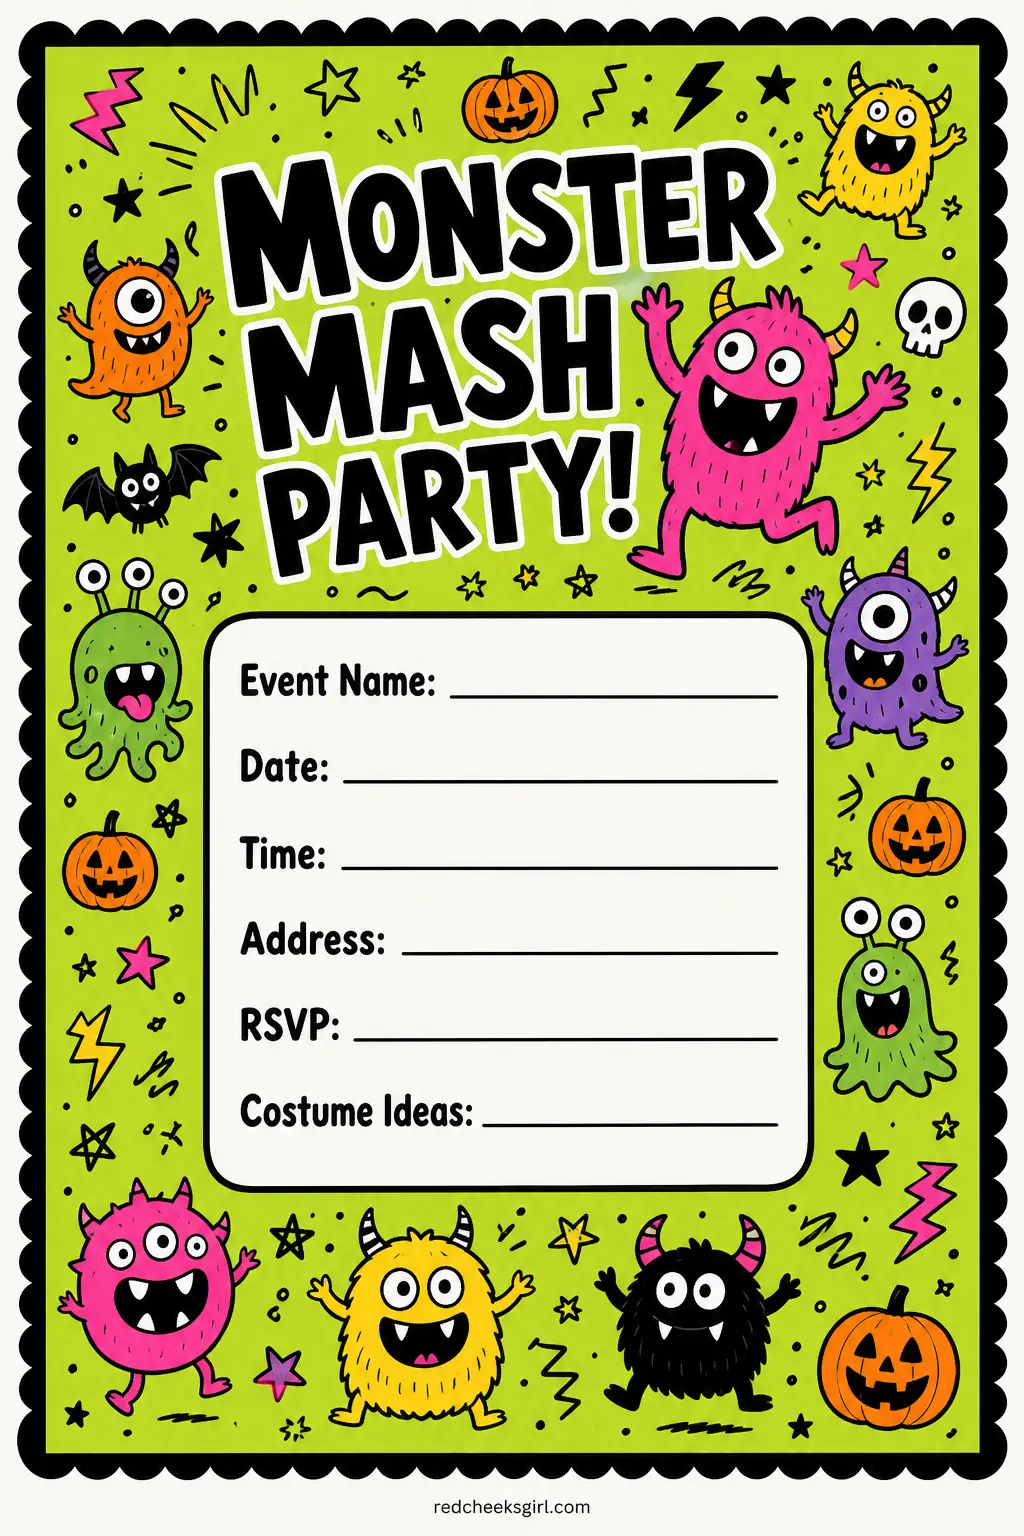
Design nine is a Neon Monster Mash invite: a vibrant lime green background covered in tiny cartoon monster doodles (fangs, eyeballs, tentacles — the works), with the party details in a chunky block font outlined in black. It practically jumps off the page.
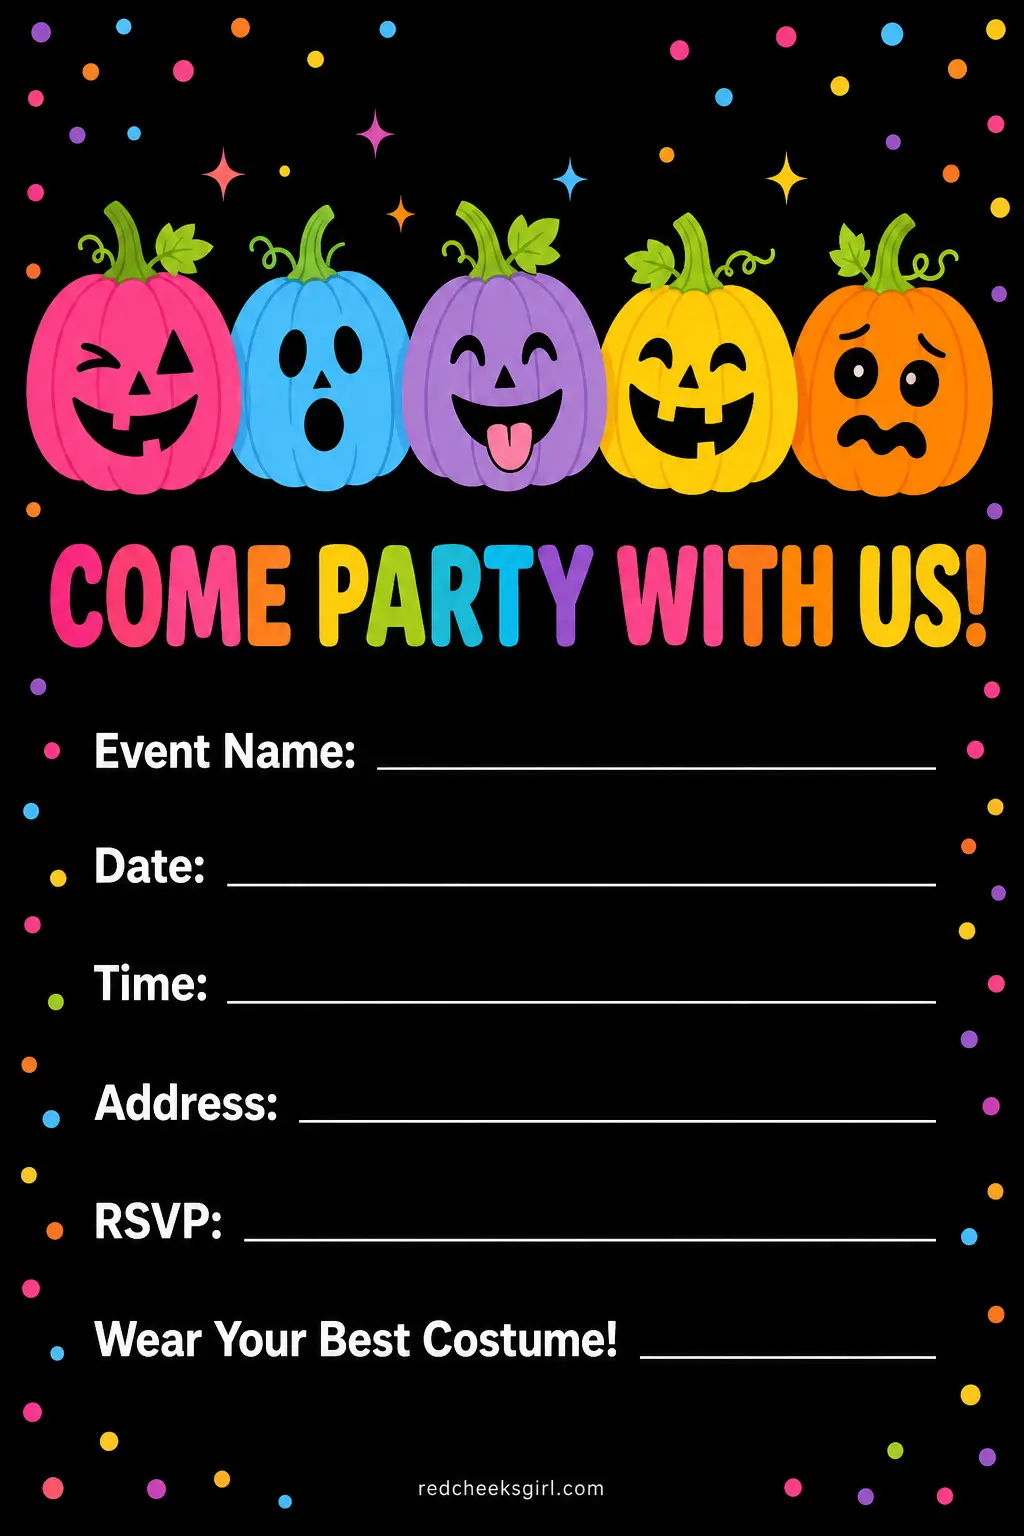
Design ten goes for a Rainbow Pumpkin Patch concept: jack-o’-lanterns in pink, blue, purple, orange, and yellow arranged in a row, each with a different expression, on a bold black background.
Orange, black, and purple dominate Halloween color schemes, with neon accents adding a modern edge — but honestly, the rainbow pumpkin approach throws all the rules out and wins anyway.
The practical tip for bright designs: these colors can look washed out on cheap paper.
Printing your own invitations at home can save money and give you complete creative control — but only if you know how to set things up properly, from choosing the right template to getting crisp prints on quality cardstock. For saturated, bright designs specifically, always print in the highest DPI setting your printer allows and use a photo-quality or glossy cardstock — the colors will sing instead of looking dull and flat.
Run one test sheet before you print the whole stack. (Learn from my mistakes here. Just do it.)



🛍 Shopping guide
How to Print and Send Your Halloween Invitations
Okay, you’ve picked your design (maybe two — I know, it’s hard). Now let’s talk actually getting these beauties printed and into your guests’ hands, because this is where a lot of DIY invitation projects quietly fall apart.
The first thing to know is paper weight.
The weight of the paper matters for printing, mailing, and the general feel of the invitation; if you’re printing at home, make sure you’re choosing a paper weight your printer can handle — many home printers can handle an 80 lb. weight, but it may not feel substantial enough in hand if it isn’t mounted on another layer. For a truly impressive card, aim for 100 lb.
cardstock if your printer supports it, or print on 80 lb. and mount it onto a heavier base card.
Before you go full production mode, always do a test print.
Build in time to test — one or two test sheets will save you from ruining a whole stack later. Set your printer to its highest quality setting, select “cardstock” or “heavy paper” in the media type options if available, and make sure your design is set to print at 100% scale (not “fit to page,” which can shrink borders and mess up your sizing). When printing your finished pieces, make sure your printer is set to “borderless” or that the scale is set to 100% to ensure they print the correct size. Once printed, use a rotary paper trimmer for clean, straight edges — rotary trimmers offer straight, precise, sharp cuts and a multitude of blades to swap in for various projects, making them great for invitations, cards, and scrapbooks.
Now: envelopes and sending. For a regular mailed invite, a standard A2 or A7 envelope works perfectly. But if you really want to elevate the whole experience, add a wax seal.
Good news: most sealing wax today is made from a modern flexible formula that can bend and go through the mail without breaking — it will even go through sorting machines without any issues. The key tip: check the envelope weight before mailing — a US Forever Stamp covers mail up to one ounce, but wax seals add extra weight, and when paired with thick cardstock, you may go over the limit, which can result in mail being returned or the recipient being charged a fee; if you’re over an ounce, add extra postage. When in doubt, take a fully assembled sample envelope to your post office and have them weigh it before you mail the batch.
Five minutes of effort that saves a serious headache. And if you love the look of handmade stationery more broadly, you might enjoy exploring junk journaling techniques for working with paper ephemera — a lot of the skills overlap beautifully.
🛍 Shopping guide
Frequently Asked Questions
What size should Halloween party invitations be?
The most popular sizes for printable party invitations are 5×7 inches (A7) and 4×6 inches (A6). For home printing, most people design at 5×7 and print two per 8.5×11 letter-size sheet, then trim with a paper cutter. If you want a full-bleed design with no white borders, make sure your printer supports borderless printing before you start.
What paper weight is best for printing Halloween invitations at home?
For home printing, 80 lb. cardstock is the most reliable choice — virtually every inkjet and laser printer can handle it. If you want a more premium feel, 100 lb. cardstock is excellent but check your printer’s paper weight capacity first.
For dark or photographic designs, use a glossy photo cardstock to keep colors vivid. Always run a single test sheet before printing the full batch.
How early should I send Halloween party invitations?
Send invitations 4–6 weeks before the party, especially for adult events where guests need costume planning time. For kid parties, 3–4 weeks is usually enough. If you’re mailing physical invitations, allow an extra week for printing, assembly, and postal delivery time.
Can I mail invitations with wax seals?
Yes! Modern flexible sealing wax is designed to go through postal sorting machines without cracking.
The main thing to watch is postage — a wax seal adds extra weight, so take a fully assembled sample to the post office to be weighed before mailing the whole batch. If your envelope exceeds one ounce, you’ll need additional postage.
Alternatively, pre-made adhesive wax seal stickers are a simpler option that avoids the weight issue.
What’s the difference between cute kid-friendly and spooky-chic adult Halloween invitation designs?
Kid-friendly designs use round, friendly illustrations (ghosts with googly eyes, smiling pumpkins), warm colors like orange and purple, and playful rounded fonts.
Spooky-chic adult designs lean into dark, dramatic palettes (charcoal, deep plum, burgundy), elegant serif or gothic fonts, fine-line illustrations, and sophisticated details like gold foil accents or skull florals. The wording also shifts — from ‘come to the party!’
to something more theatrical like ‘you are summoned.’
Do I need a special printer for cardstock invitations?
Most home inkjet and laser printers can handle 65–80 lb. cardstock without any problems. Check your printer’s manual for its maximum paper weight capacity. For heavier stock (100 lb.
and above), some home printers struggle — in that case, either choose a lighter cardstock or print on standard paper and mount it onto thicker card stock using adhesive. A paper trimmer is essential for clean, straight cuts after printing.
Is a vintage Halloween invitation style suitable for kids’ parties?
It can work very well for family-friendly parties or children who love the atmospheric, storybook look — think witches, owls, and jack-o’-lanterns in warm sepia tones rather than anything genuinely scary. For very young children, stick to the cute kid-friendly designs.
For older kids (8+), a vintage style can feel exciting and special. Just keep the imagery whimsical rather than dark or gothic.
📌 Save These for Later
Loved these? Pin your favorite image below so you can find this list again when you’re planning.
Discover 20 fun Bible trivia games perfect for youth group nights and family gatherings, with printa
25 bedazzled Halloween crafts for adults who treat rhinestones as a basic supply. Pumpkins, candles,
Halloween party activities for kids that run in parallel, no queues. Eleven free printables plus nin
Leave a Reply