

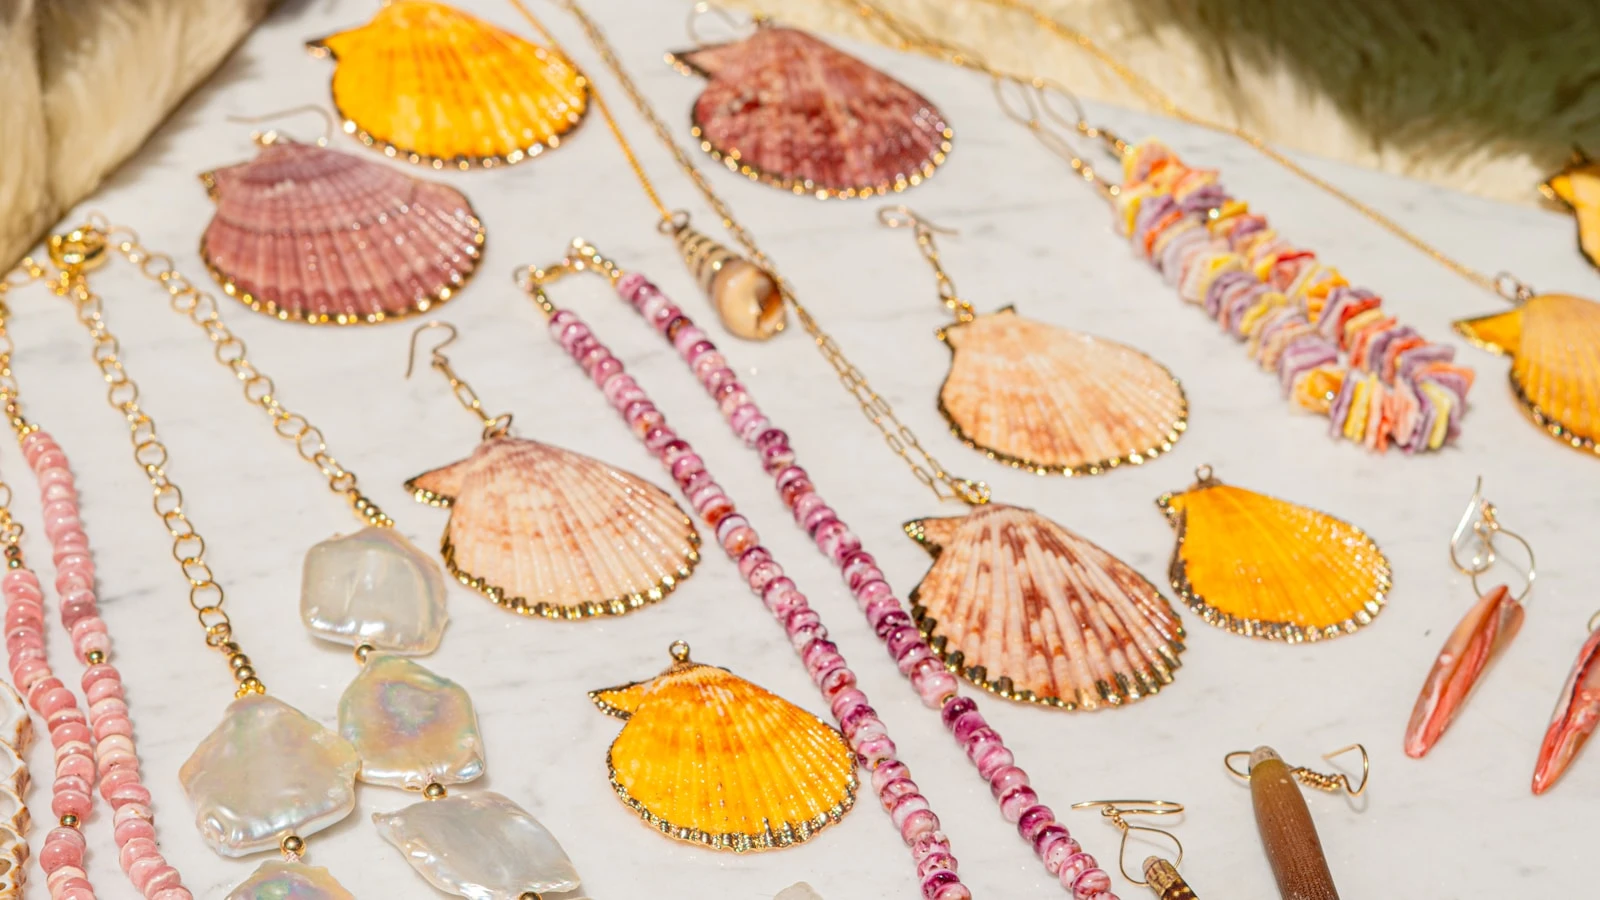
I came home from the beach last summer with an entire grocery bag of shells. Just… stuffed them in there. Then they sat in a bowl on my counter for four months looking like a sad reminder that I have no follow-through.
Finally made myself deal with them. Spent two weekends, spent maybe $30 total at the craft store, and now I have actual pieces around my house that people ask about. One person thought I bought the mirror at Anthropologie. (I did not.)
Here’s what I actually made — and what’s worth your time.
This post contains affiliate links. If you buy something through these links, I may earn a small commission at no extra cost to you. I only recommend things I’d actually use.
The Projects That Look the Most Expensive (Easiest First)
1. Shell and Sand Memory Jar
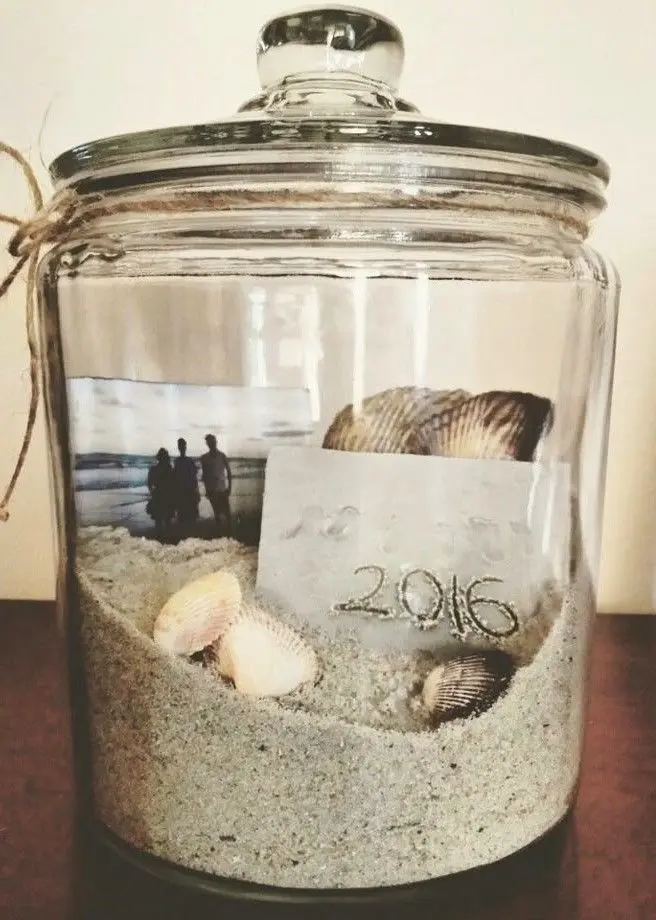
This one takes about 15 minutes and looks stunning on a bookshelf or windowsill.
Take a clear glass apothecary jar — the kind with a cork or a lid — and layer sand on the bottom, then small shells, then a few statement pieces on top. If you want to get precise, tie a small tag around the neck with the beach name and year written in a fine-tip pen.
The key is restraint. Don’t fill it all the way. Leave some visual breathing room. About two-thirds full looks intentional; stuffed to the brim looks like a souvenir shop.
You can find clear apothecary jars in different sizes for next to nothing — I got a set of three for under $15.
2. Scallop Shell Jewelry Dish
Okay, this one I genuinely love and have made probably six of at this point because people keep asking for them as gifts.
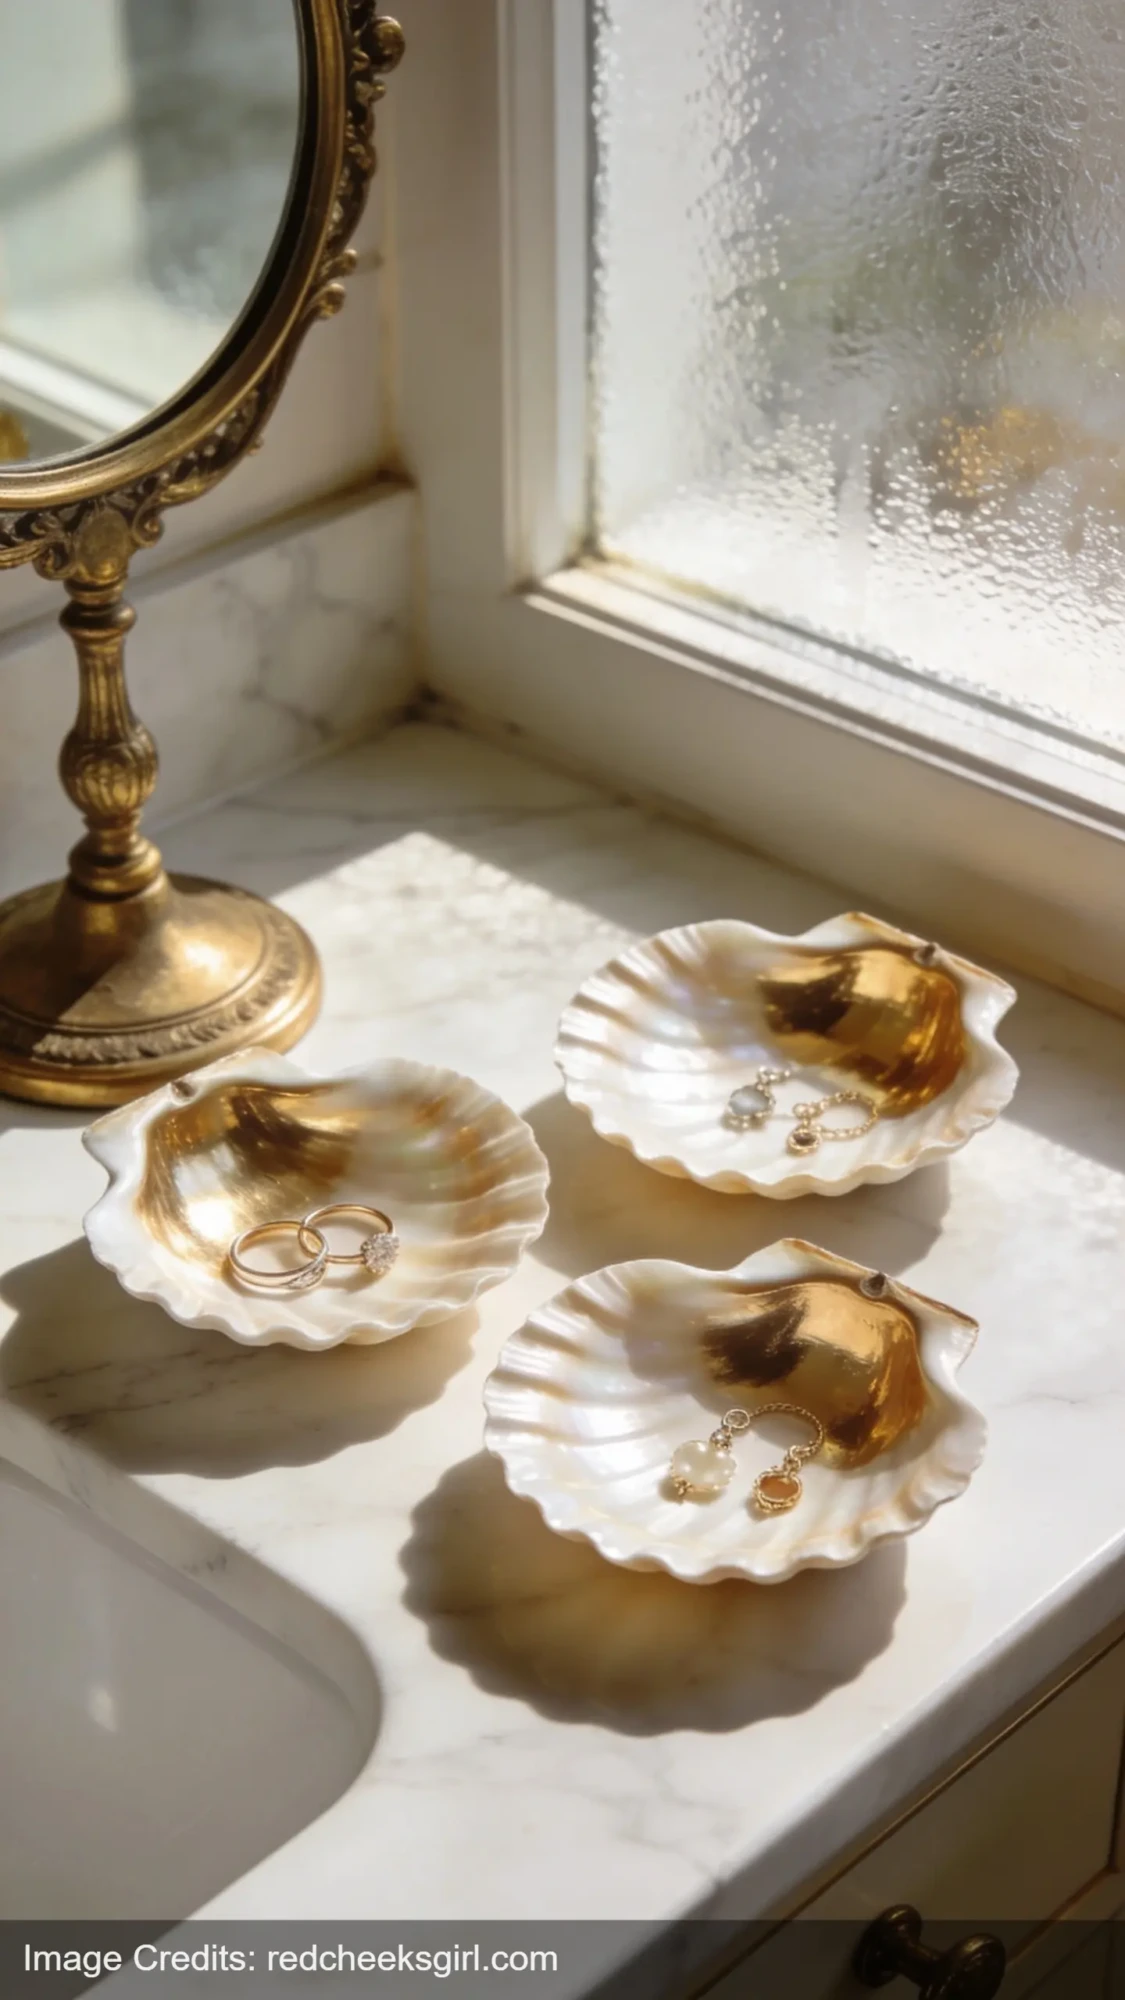
Take a large flat scallop shell — the kind with the natural ridges — and paint the inside with gold or bronze metallic paint. Two thin coats. Let it dry completely between coats. Seal it with a matte or satin spray if you want, though honestly I’ve skipped this step and they’ve held up fine.
That’s it. It looks like something you’d find in a boutique for $28. It costs you the price of a small bottle of craft paint and a shell you may already have.
The flat shape makes it actually useful — I keep mine on my dresser for rings and earrings. A big scallop will hold a surprising amount of jewelry.
3. Framed Shell Art (Specimen Style)
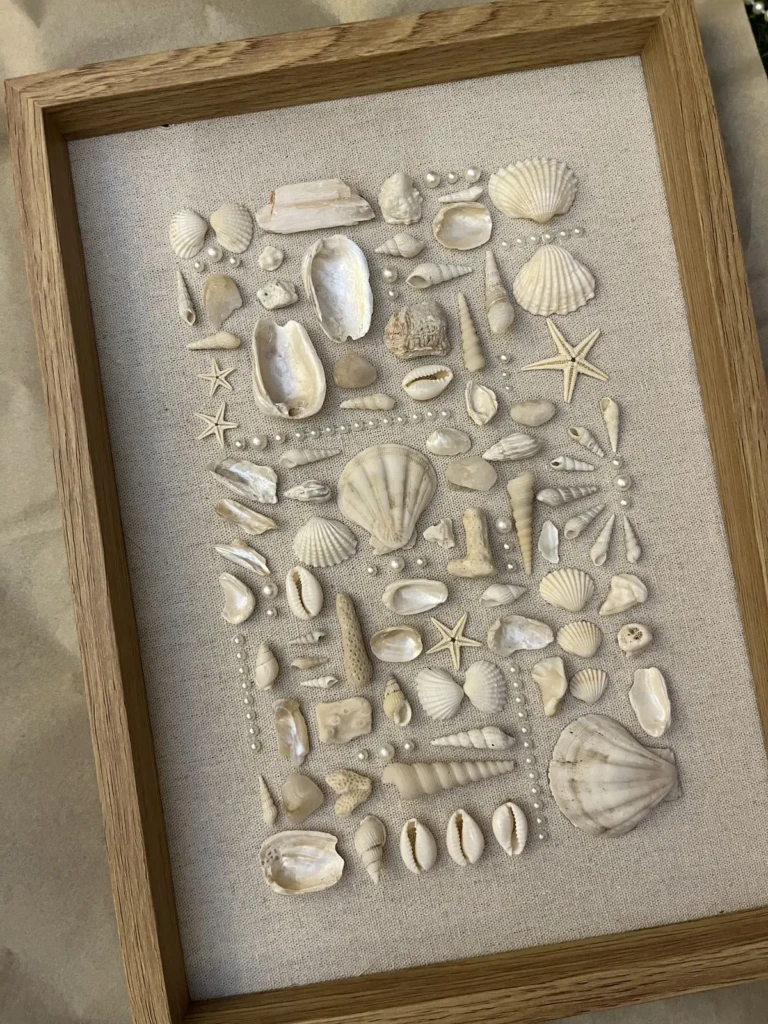
This is my personal favorite because it looks SO museum-worthy and requires basically no artistic skill.
Get a deep shadow box frame — the kind where the glass sits an inch or two above the backing. Line the backing with white or cream linen fabric or paper. Then arrange your shells in rows, like a naturalist’s collection. You want some breathing room between each one so they read as individual specimens rather than a pile.
Hot glue each shell in place. You can add tiny handwritten labels underneath each one if you’re feeling extra (I did this once and it looked genuinely incredible — I wrote the shell name and where I found it in tiny pencil print).
Hang in a cluster of two or three frames for a full wall statement. If you want frames that don’t look cheap, West Elm and IKEA both have shadow box options that photograph beautifully.
4. Shell Mirror Frame
This one takes a few hours but the result is legitimately stunning and it’s way easier than it looks.
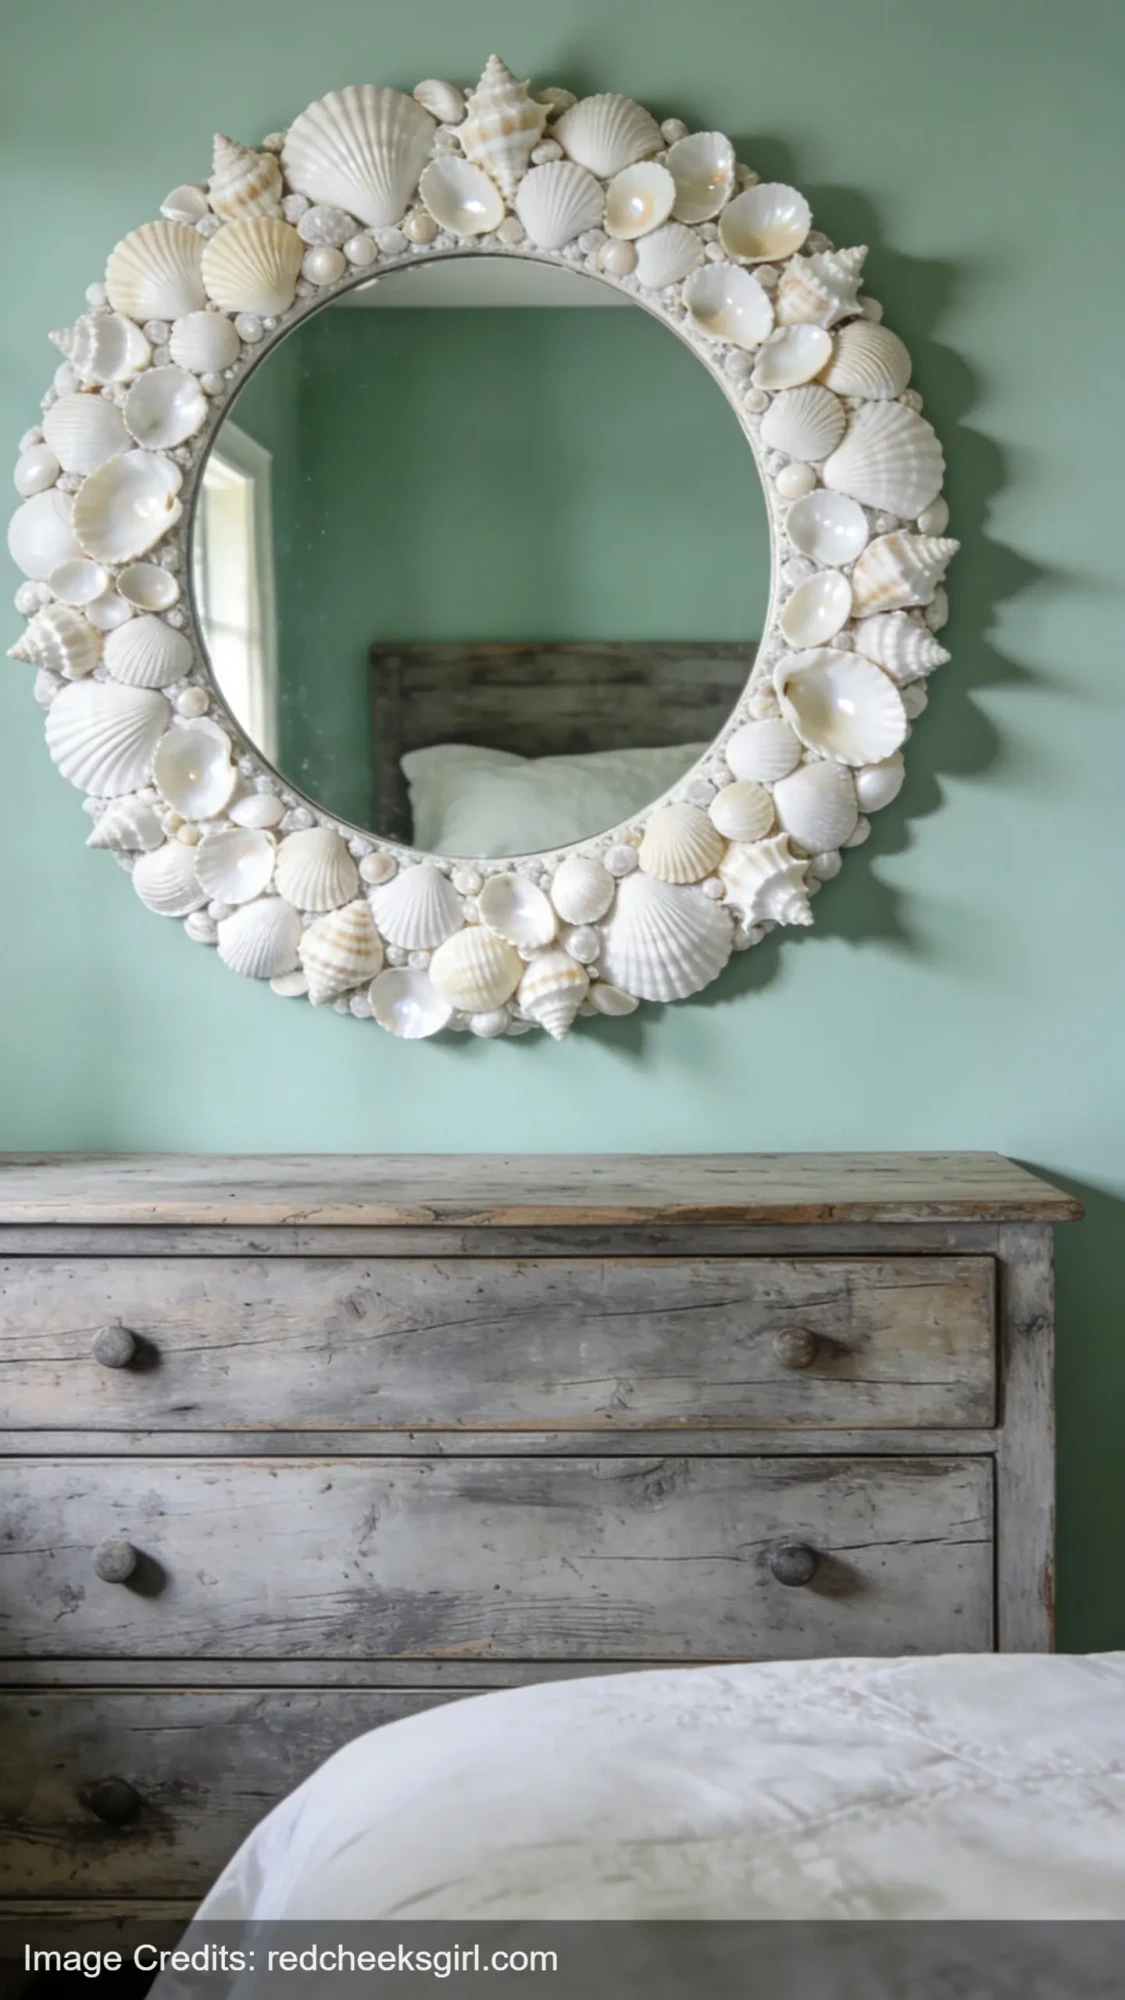
Start with an unfinished round mirror — wood frame, no finish. You can find these at craft stores or on Amazon for under $20. Hot glue shells around the frame starting from the bottom center and working outward in both directions. Mix sizes: larger conch or moon snail shells as anchors, smaller ones filling gaps, tiny shells tucked in at the end.
The trick everyone skips: vary your shell types, not just sizes. If every shell is the same species it looks flat. A mix of ribbed scallops, smooth clams, and a few small conch pieces gives you actual visual texture.
Seal the whole thing with a clear matte sealant spray when you’re done so the glue joints don’t yellow over time.
5. Seashell Candle Holders
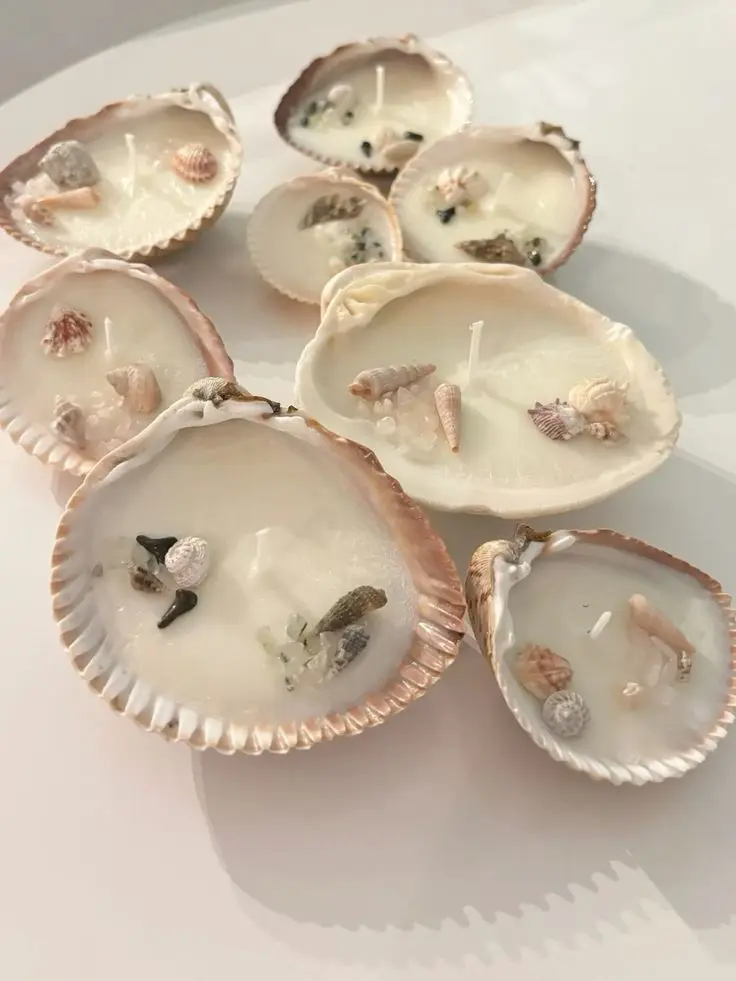
One summer I made these as hostess gifts and brought them to three different parties. Every single time, someone asked where I bought them.
Take a glass votive or hurricane candle holder and glue shells directly to the outside surface using E6000 adhesive (better hold than hot glue for glass). Arrange them in a natural, random pattern — not rows, not symmetrical, just wherever looks good. Let dry 24 hours.
When a candle is lit inside, the light filters through thin shells in this really beautiful way. Shells like small clams and moon snails that have a bit of translucency glow from inside. It looks intentional and a little magical.
E6000 craft adhesive is what makes the difference here — hot glue peels off glass eventually.
6. Driftwood Shell Mobile
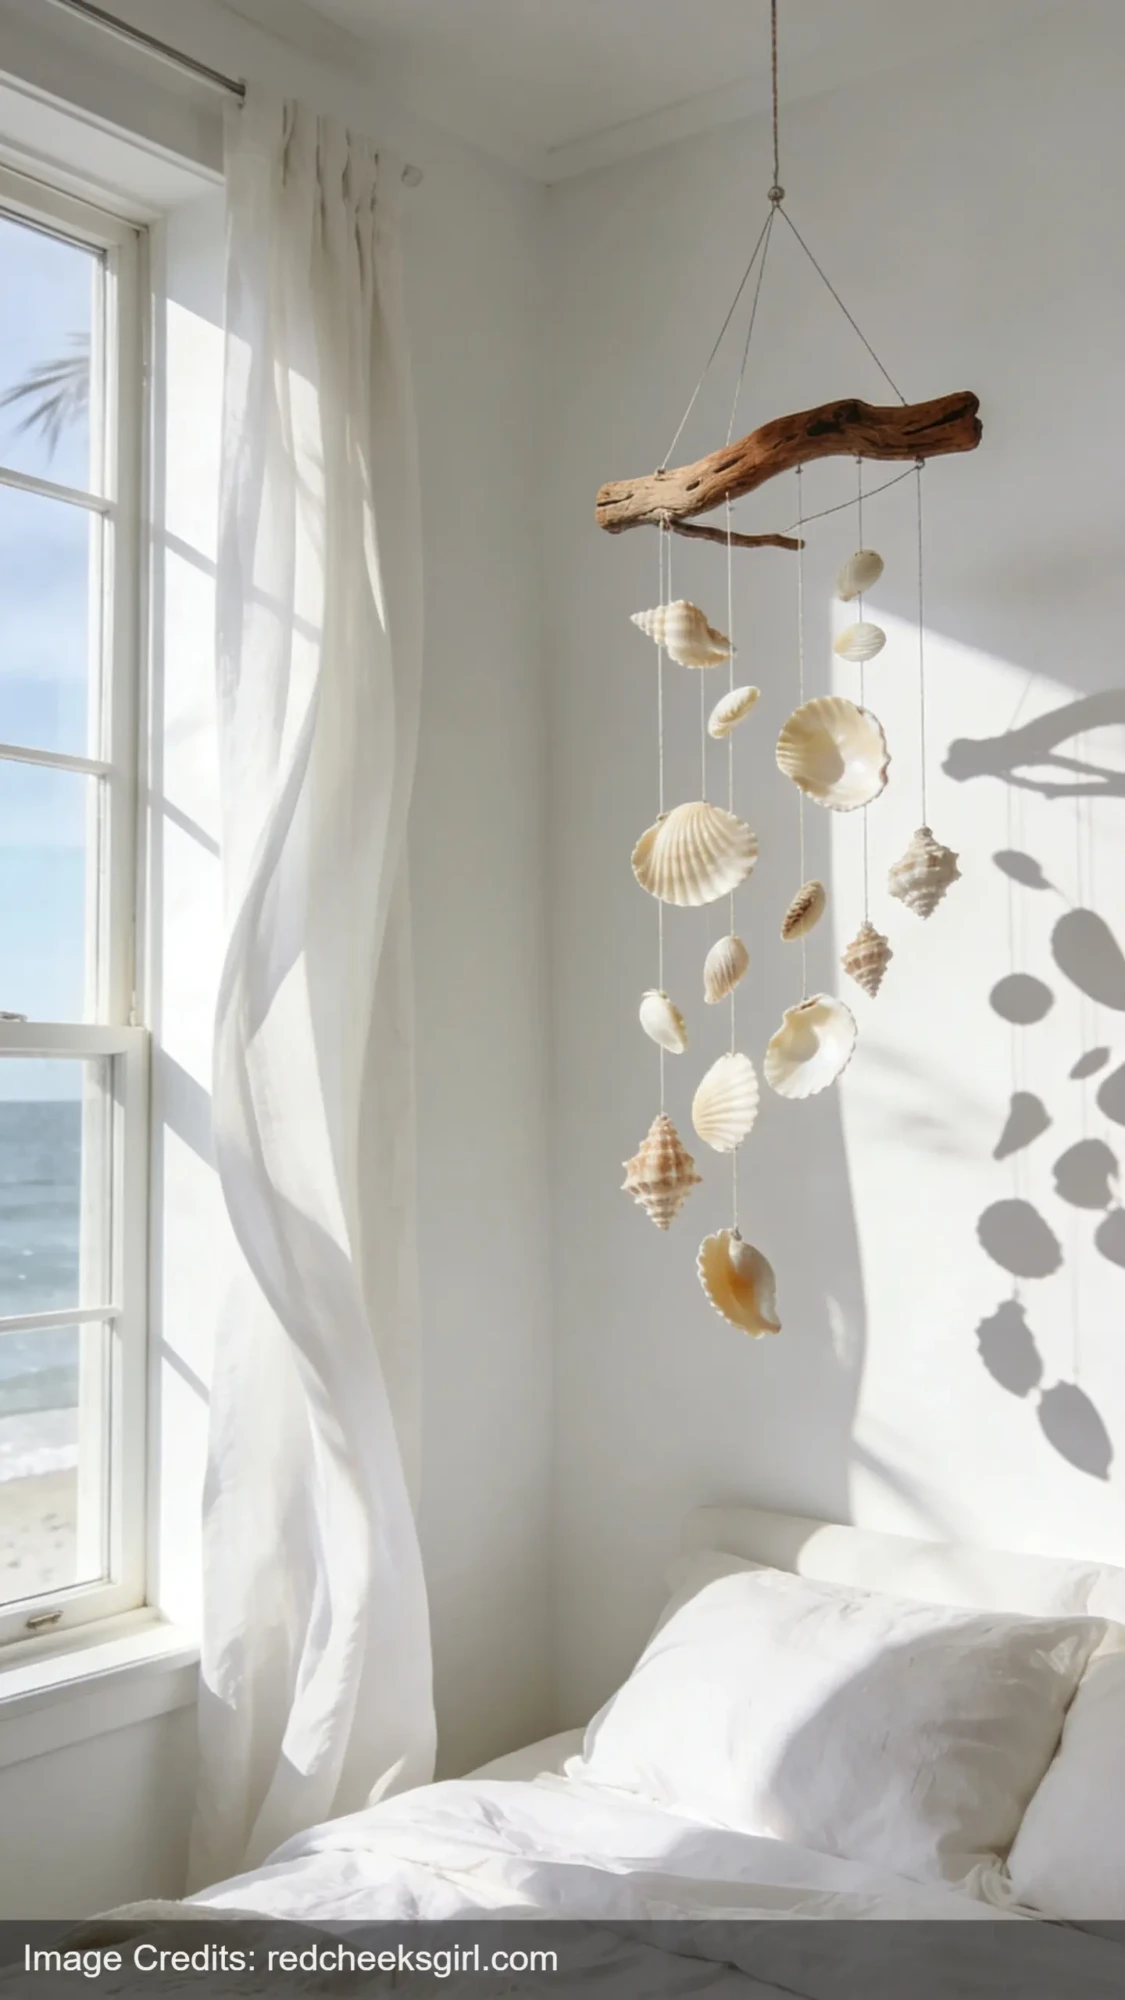
This one requires drilling small holes in shells, which sounds scary but genuinely isn’t — I used a regular drill with a tiny bit and it took about 30 seconds per shell once I got my rhythm.
Find or buy a piece of driftwood (or a branch that’s been drying out for a few weeks). Cut varying lengths of fishing line — I did four to eight lengths per piece of driftwood. Thread shells onto each line with knots between them to hold spacing. Tie the lines to the driftwood at uneven intervals.
Hang it where it’ll catch a breeze. A window, a porch, over a bed. Mine hangs in my bedroom and I love it more than most things I’ve bought for that room.
The driftwood does a lot of the visual work. It reads “intentionally organic” rather than “summer camp craft” when you give each shell some space.
7. Resin Shell Coasters
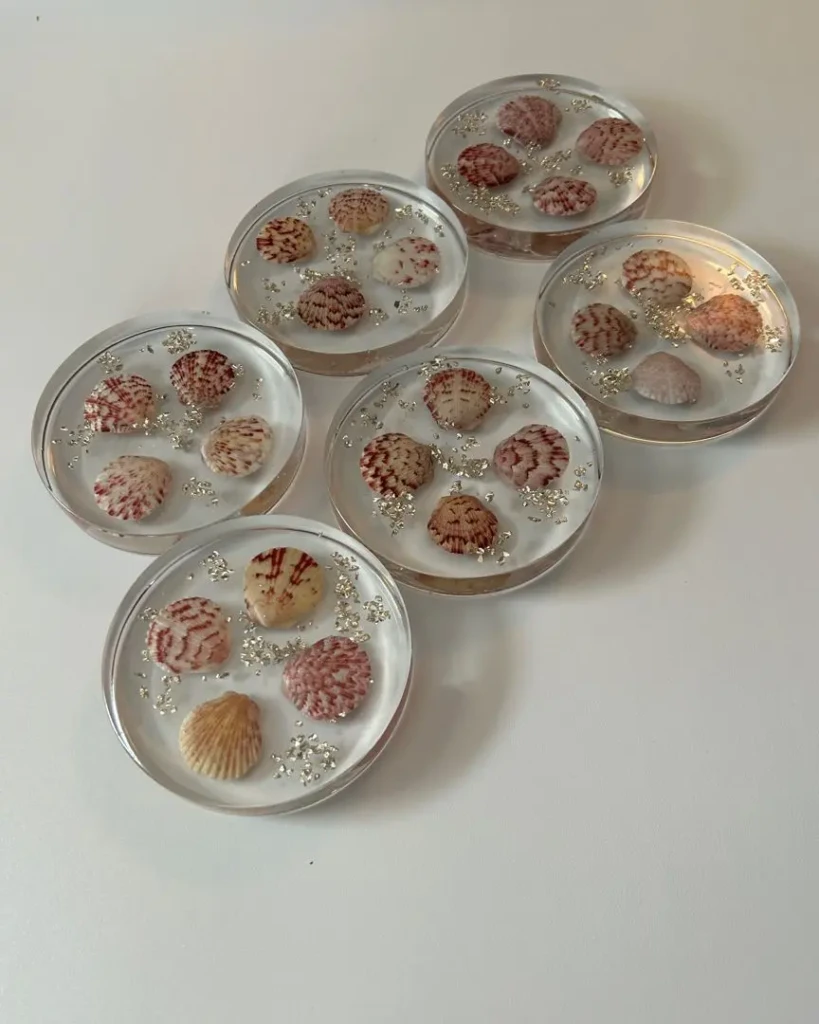
These are a bigger commitment — you’ll need casting resin, coaster molds, and some patience — but the results look legitimately high-end.
Pour a thin layer of resin into the mold, let it get slightly tacky (about 30–45 minutes depending on your resin brand), then arrange shells face-down into the resin. Pour a second layer on top to seal everything in. Let cure fully — usually 24–48 hours.
The shells end up suspended in the resin like they’re frozen mid-wave. Add a tiny bit of blue or green alcohol ink to the resin before pouring if you want a ocean-tinted look. It’s subtle and beautiful.
I used sand dollars in one set and they’re genuinely the most asked-about objects in my living room.
8. Shell-Covered Terracotta Pots
This works for both indoor plants and outdoor patio planters. The outdoor ones especially — something about them against greenery looks like a very expensive garden shop.
Use a good marine-grade adhesive for anything going outside so rain doesn’t loosen the shells. For indoor pots, hot glue is fine. Start at the rim and work down, covering the exterior surface. I like mixing larger shells at the top with smaller infill shells below — it creates a natural weighted look.
Seal outdoor pots with a waterproof clear coat spray.
These look great in pairs or threes on a porch. Potted with something trailing and green, they look like you spent a lot of money decorating your outdoor space. You didn’t.
9. Marbled Nail Polish Shells
Okay, this one is oddly satisfying and a little messy and completely worth it.
Fill a bowl with room-temperature water. Drop a few colors of nail polish on the surface — they’ll spread out into a swirl. Drag a toothpick through the polish to create a marble pattern. Then quickly dip a shell into the water and lift it out. The polish transfers onto the shell surface in a beautiful marbled pattern.
Blue and green polish together looks like actual ocean water. Gold and white looks like marble tile. These make gorgeous decorative accents in a bowl, scattered on a coffee table tray, or hung as ornaments.
Dry flat on wax paper. The whole thing costs you some old nail polish you were probably going to throw out anyway.
10. Wood Bead and Oyster Shell Garland
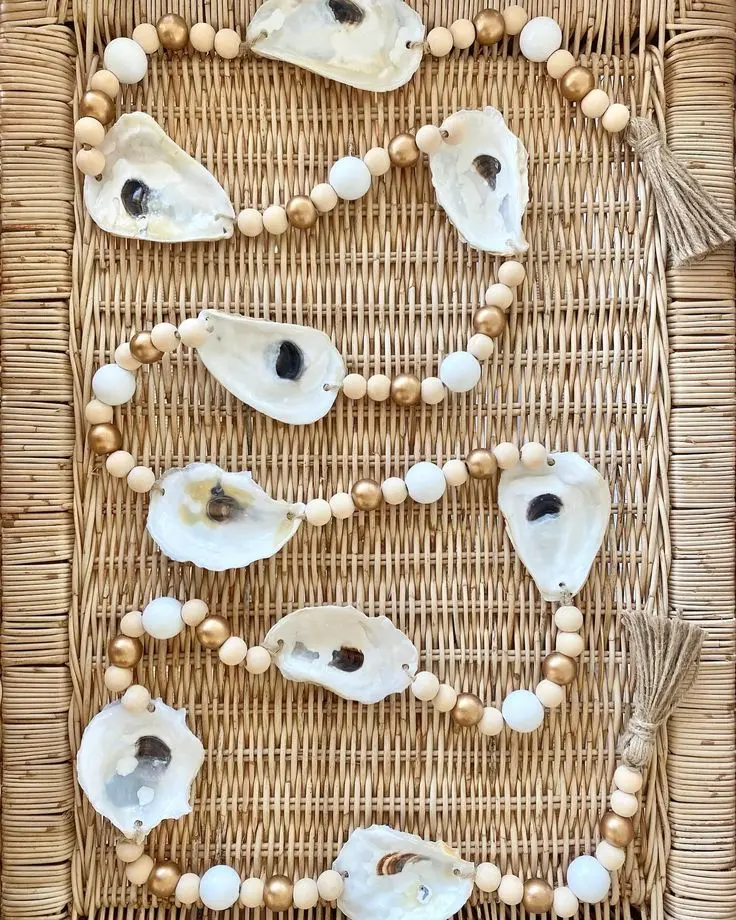
This is the project that surprised me most with how elegant it came out.
String large wood beads (natural or whitewashed) onto jute twine, alternating with oyster shells that have had small holes drilled through the hinge end. Add a jute tassel at one end if you’re feeling it.
Drape over a mirror, across a mantel, or hang in a window. It reads very “upscale coastal boutique” without being themed or kitschy. The combination of organic wood, natural fiber, and shell feels genuinely sophisticated.
Natural wood beads in bulk are cheap and you’ll have plenty left over for other projects.
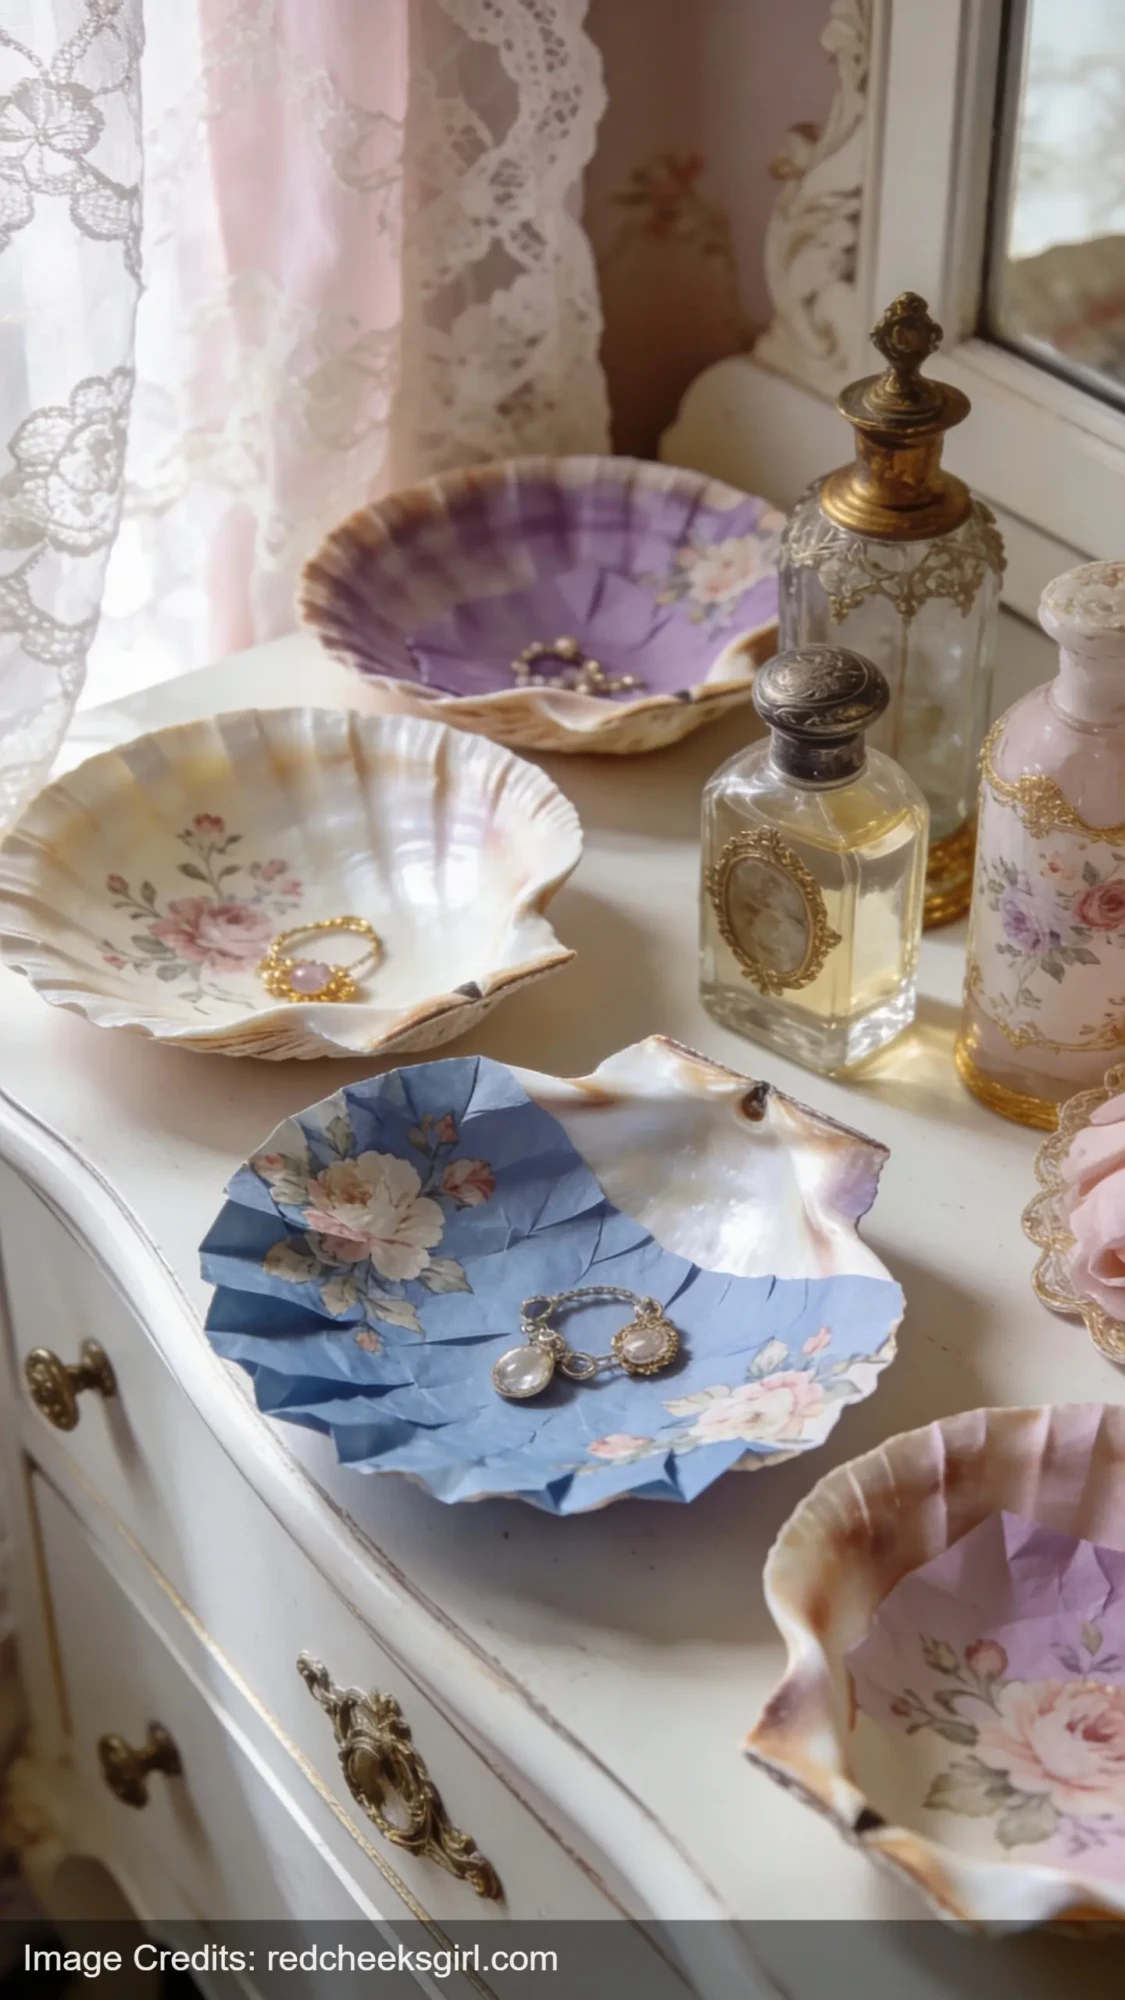
11. Decoupage Shell Trinket Dishes
Similar to the painted jewelry dish above, but with a different look — more detailed, more patterned.
Take a large flat shell and use Mod Podge to adhere small pieces of tissue paper (florals, geometric prints, watercolor prints — all work) to the inside of the shell. Apply in overlapping pieces, smooth out air bubbles, let dry, then seal with another coat of Mod Podge on top.
The result is a little jewel-box of a dish. I made one with a blue watercolor tissue paper and it looks like expensive Italian ceramics. Not even a little bit like a craft.
Good for rings, bobby pins, lip balm, whatever small thing keeps disappearing on your dresser.
12. Shell Wind Chime
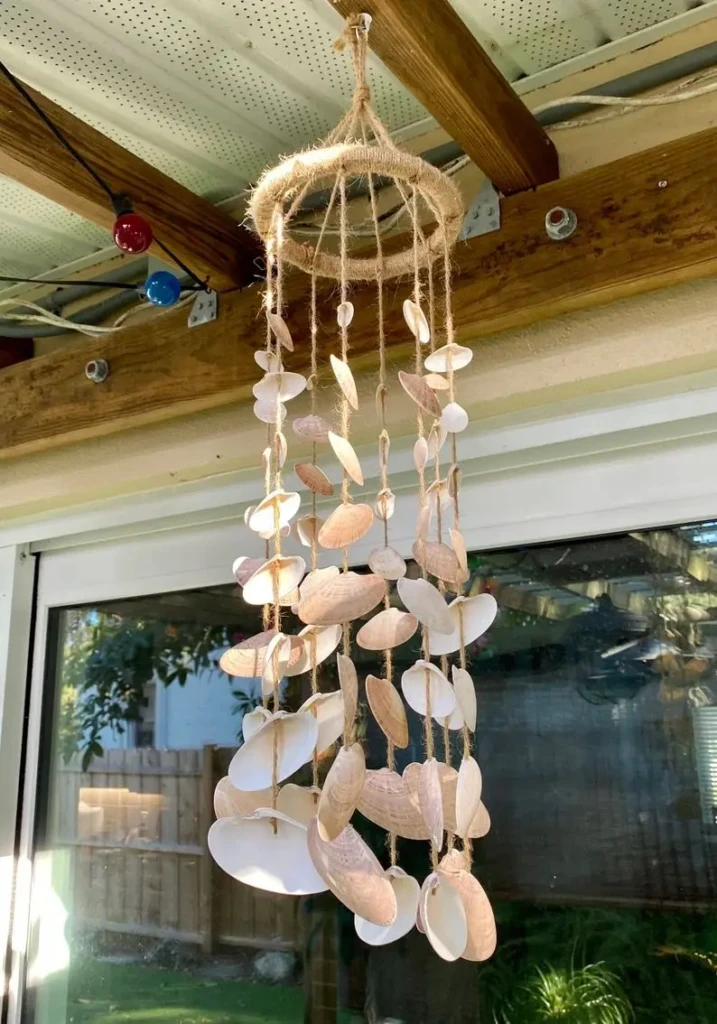
This is the most therapeutic craft I’ve made. Something about drilling the holes, threading the line, listening to the shells knock together while you work.
Drill or use a Dremel tool to make holes at the top of larger, sturdier shells — thick clam shells and moon snails hold up best, thinner shells crack. Thread onto fishing line at varying lengths. Tie the lines to a piece of driftwood, a wooden ring, or even just a thick twig.
Hang on a porch or balcony. The sound is genuinely lovely — softer and more hollow than metal wind chimes, which I find kind of harsh. More oceany.
If drilling intimidates you: shells with natural holes (like auger shells or periwinkles) don’t need drilling at all.
13. Shell Shadow Box with Sea Glass and Sand
The most display-worthy of everything on this list. Takes a little time but zero special skills.
Use a deep shadow box frame. Cover the backing with craft sand — spread a thin, even layer and press it down with your palm. Arrange shells, pieces of sea glass, and one or two small starfish on top of the sand. Hot glue everything to secure. Add tiny dried flowers or a small piece of driftwood if you want more dimension.
The result looks like a real coastal still life. Hang it above a bathroom vanity, in a hallway, or over a bed. This is also the one project I’d say is worth going to a craft store to buy shells if you don’t have enough from actual beach trips — they sell bags of mixed shells for a few dollars and they look just as good.
What to Do with Shells Before You Start Crafting
One thing nobody tells you: beach shells need a quick clean before you craft with them. Soak them in a mix of bleach and water (1:10 ratio) for about 30 minutes, then rinse well and let air dry fully. This kills any bacteria, removes the ocean smell, and brightens the color slightly. Skip this and your crafts will smell a little fishy after a while — ask me how I know.
Shells from craft stores come pre-cleaned. You can use them immediately.
FAQ
Do I need a drill to do most of these projects? Only for the mobile, wind chime, and garland projects — the ones that require holes. Most of the others (mirror, shadow boxes, candle holders, dishes) use glue only. If you don’t own a drill, the no-drill projects are plenty.
What glue works best for seashell crafts? Hot glue is fine for most things. E6000 is better for glass surfaces and anything you want to be really permanent. For outdoor projects, marine-grade adhesive is worth it so moisture doesn’t loosen things over time.
I don’t have shells from the beach. Do the craft store bags look real? Honestly, yes. Especially once they’re arranged, glued down, or inside resin or a shadow box. The main difference is craft store shells tend to be all one or two species — so mixing a couple different bags gives you more variety.
Which project is best for a complete beginner? The memory jar or the painted scallop jewelry dish. Both take under an hour, require no tools, and look great. Start there and you’ll get hooked.
Can these be given as gifts? The jewelry dish, candle holders, decoupage shell dishes, and resin coasters are all genuinely gift-worthy. I’ve given the jewelry dish as a birthday gift more than once and people always love it.
If you’re in the mood for more DIY home projects, I’ve been really into air dry clay ideas for home decor lately — a lot of the same aesthetic, similar price range to get started. And if you want to think about the bigger picture of how coastal decor actually works in a room, this summer home decor guide is a good read. If you’re looking for more creative projects to work through, these creative things to do ideas have a whole section on making stuff for your home. And if you ever want to take the crafting hobby further, there’s a whole world of handbuilt pottery ideas that pair really well with coastal decor — same organic, handmade vibe.
This post contains affiliate links. If you buy something through these links, I may earn a small com
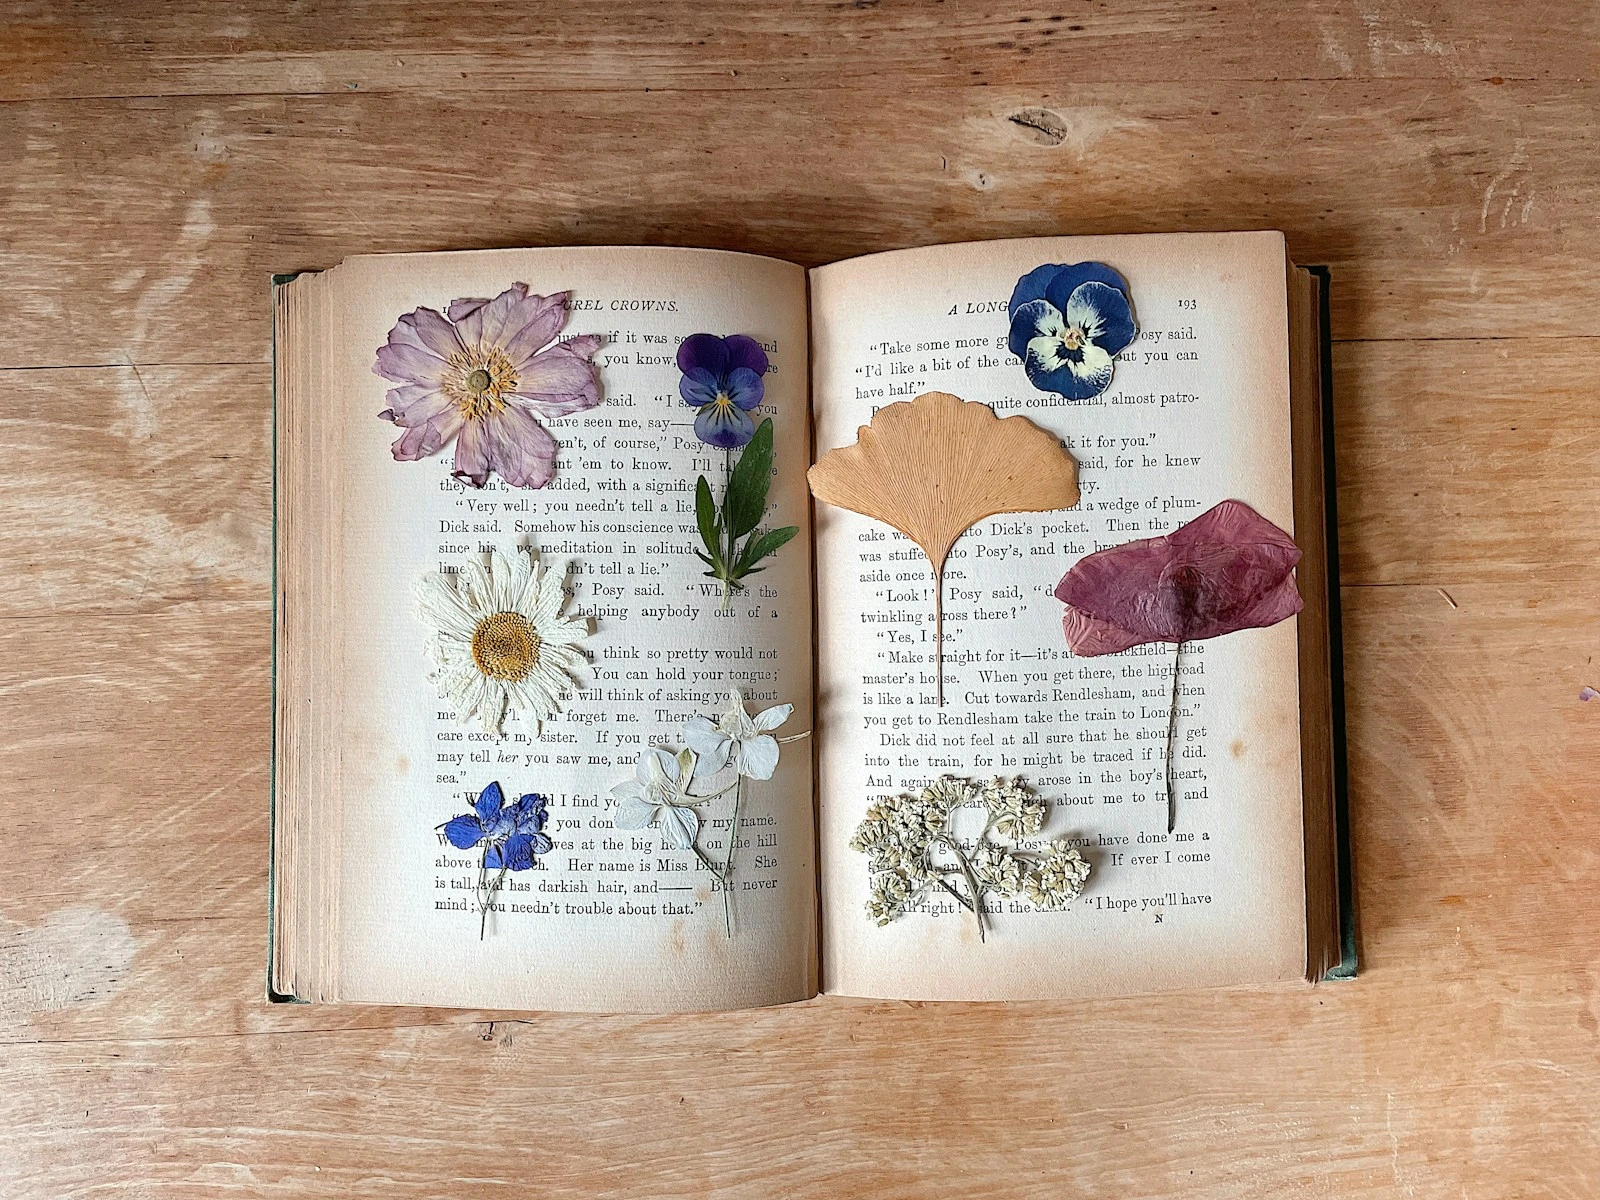
I bought my flower press at a craft fair three years ago and used it exactly once before it lived on
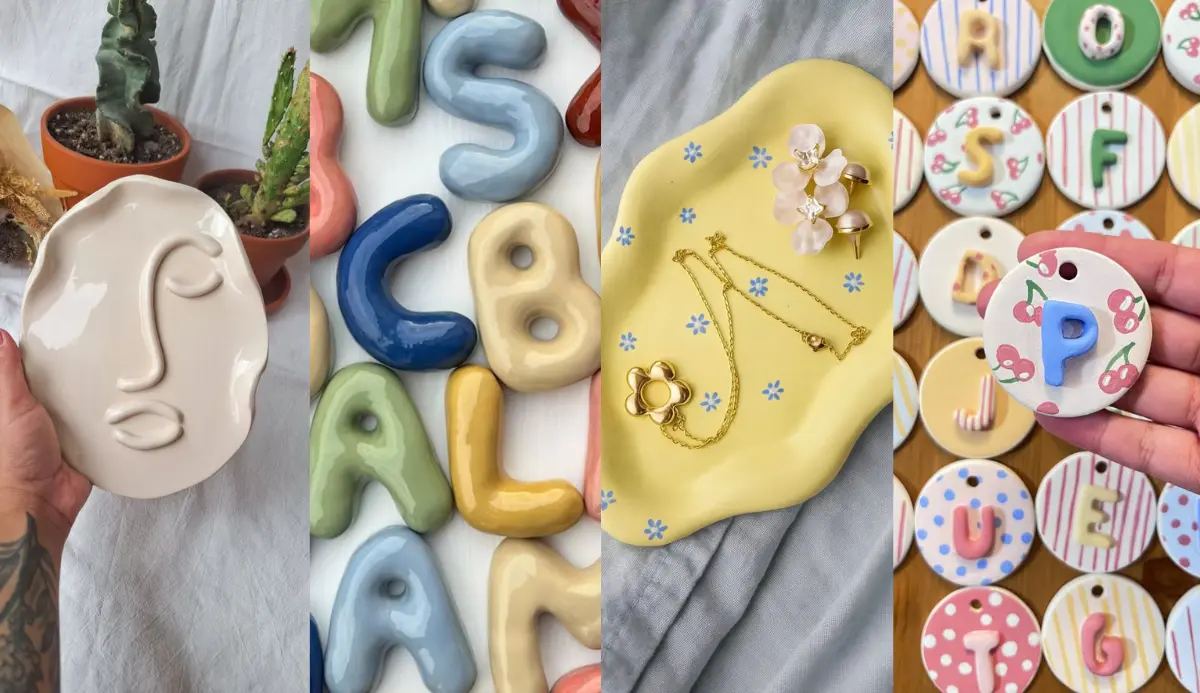
The air dry clay obsession has reached critical mass in 2026, and it’s not just another fleeti
Leave a Reply