

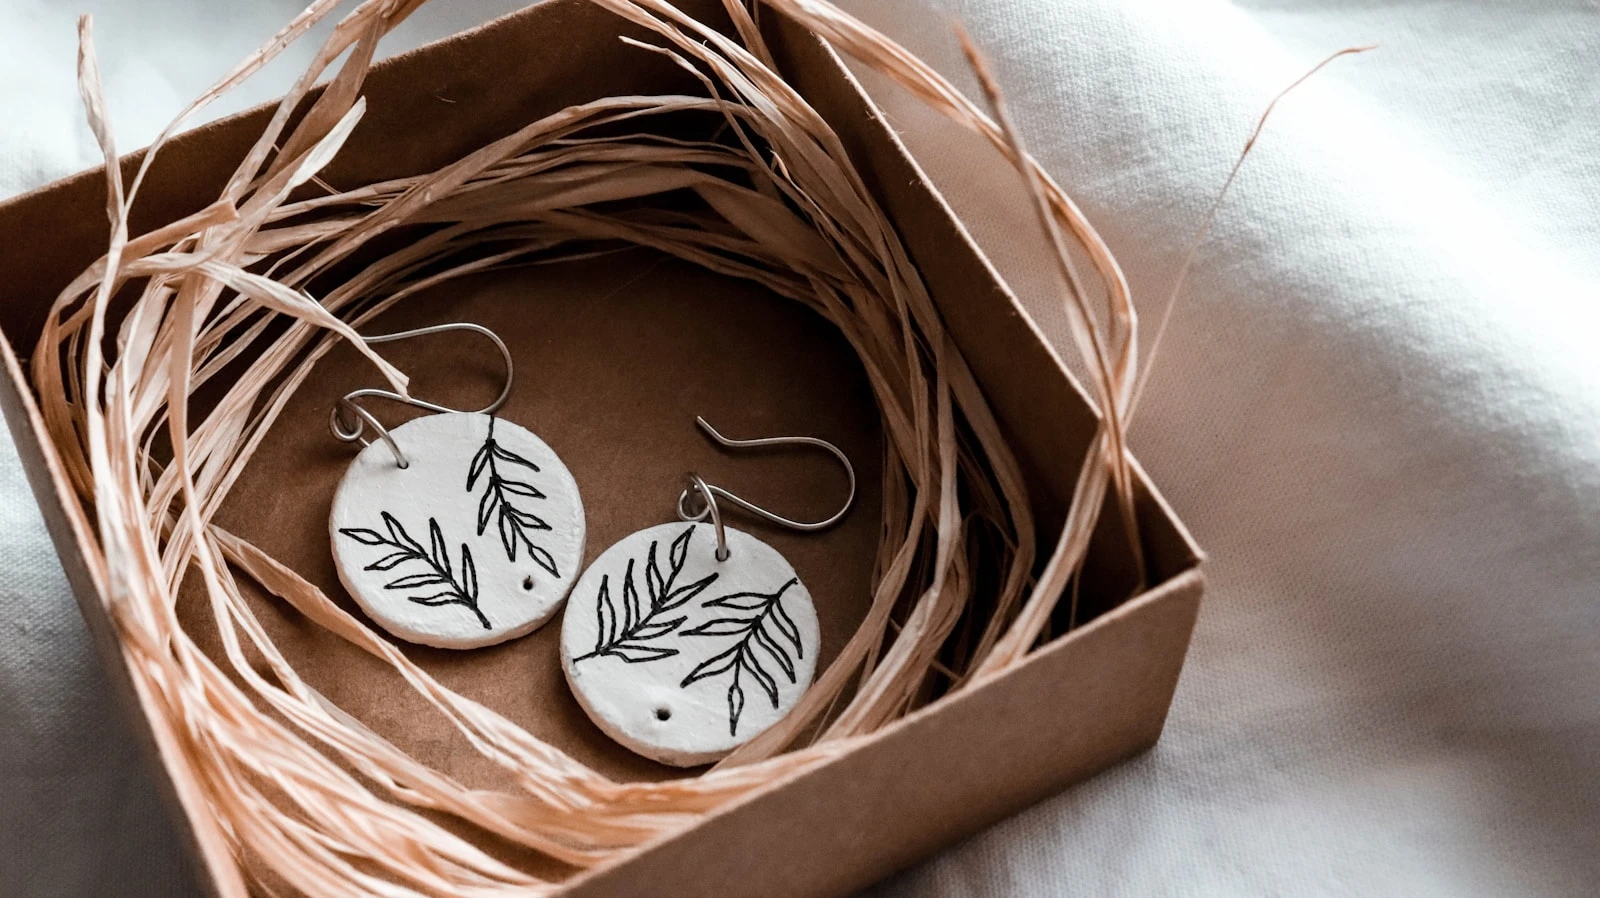
I spent $11 on a block of air dry clay and made four pairs of earrings in one afternoon. Two of them looked like things I’d actually considered buying on Etsy for $28 each.
That’s when I realized I’d been avoiding this craft for no reason. It’s not precious. It’s not complicated. And you don’t need a kiln, a wheel, or anything that costs more than a trip to Michaels.
These are the air dry clay jewelry ideas that actually look good — not “cute for homemade,” just… good.
This post contains affiliate links. If you buy something through these links, I may earn a small commission at no extra cost to you. I only recommend things I’d actually use.
The Only Supplies You Actually Need
Before the ideas: keep it simple. You need air dry clay, jewelry findings (earring hooks or posts), strong glue like E6000, and that’s basically it. A small acrylic roller and some basic clay sculpting tools help, but a chopstick and a butter knife will honestly do.
One thing that tripped me up early: white clay looks chalky once it dries. If you want clean, polished results, sand lightly with 400-grit sandpaper and seal with a matte or glossy varnish. That step alone makes the difference between “craft fair” and “boutique.”
1. Arch Earrings
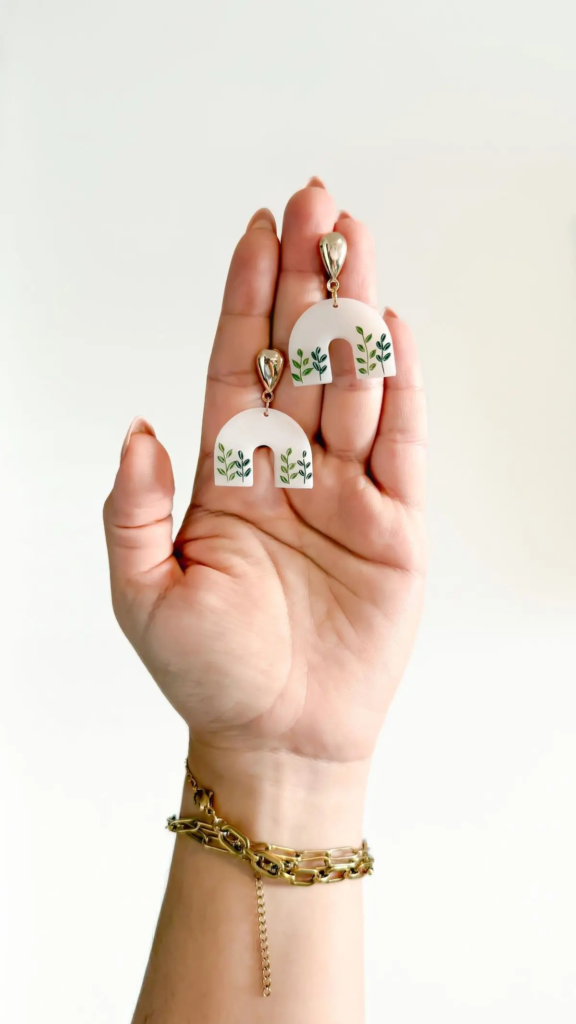
These are everywhere right now and they are so easy to pull off. Roll your clay to about 3–4mm thick, cut a half-circle, then cut a smaller half-circle from the bottom center to create the arch shape. You can use a round cookie cutter and a bottle cap, or just freehand it — the slight imperfections actually make them look more handmade-on-purpose.
Let them dry flat on parchment paper. Paint in neutral tones: cream, terracotta, dusty sage. Seal, attach a post to the back, done. These look genuinely expensive for a piece that took maybe 15 minutes of actual work.
2. Twisted Rope Hoops
Roll two thin snakes of clay, twist them together, then bend into a hoop shape and press the ends together. While the clay is still wet, insert a wire or use a toothpick to create a hole at the top for the earring hook to thread through.
These need to be on the smaller side — maybe 25–30mm diameter — or they get heavy. Dry for 24 hours before handling the join. The texture catches light in a way that looks genuinely artisan, especially if you paint them gold or leave them natural white.
3. Botanical Imprint Studs
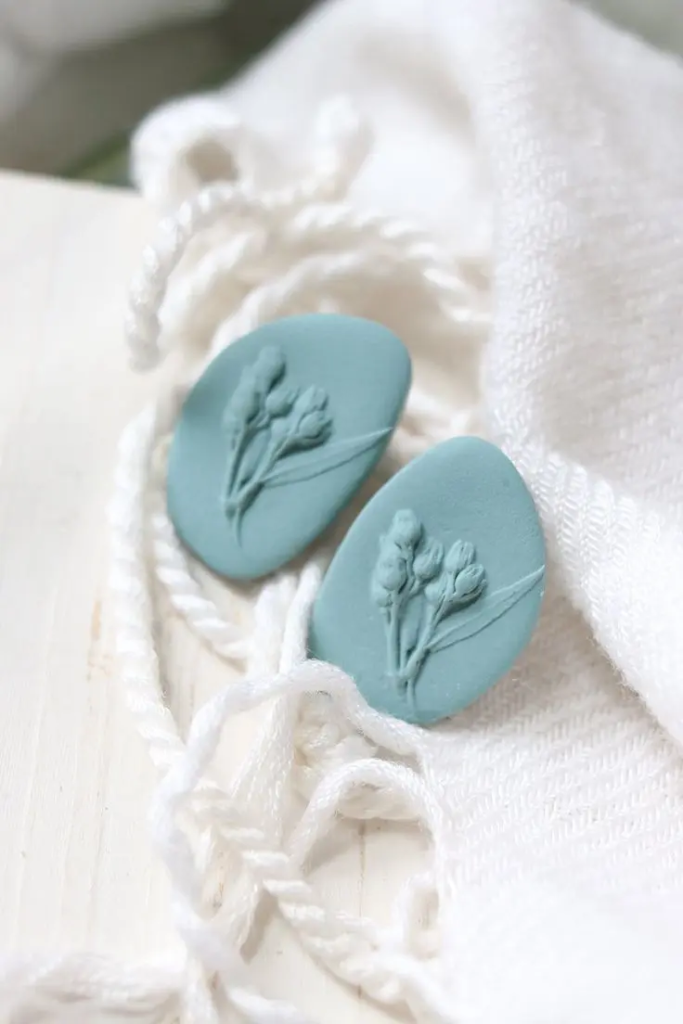
Press a small leaf, piece of lace, or even a piece of textured fabric into a small circle of clay before it dries. Pull it off. What’s left is a detailed imprint that looks incredibly intentional.
Cut to about 15mm circles for studs, 20–25mm for dangles. I’ve used a eucalyptus leaf and a piece of hessian fabric — both came out looking like something from a ceramics studio. Sand the edges smooth and seal with a matte finish so they don’t look plasticky.
This is my favorite of all the air dry clay jewelry ideas for gifting because they photograph beautifully and people genuinely cannot believe you made them.
4. Irregular Flat Pendants
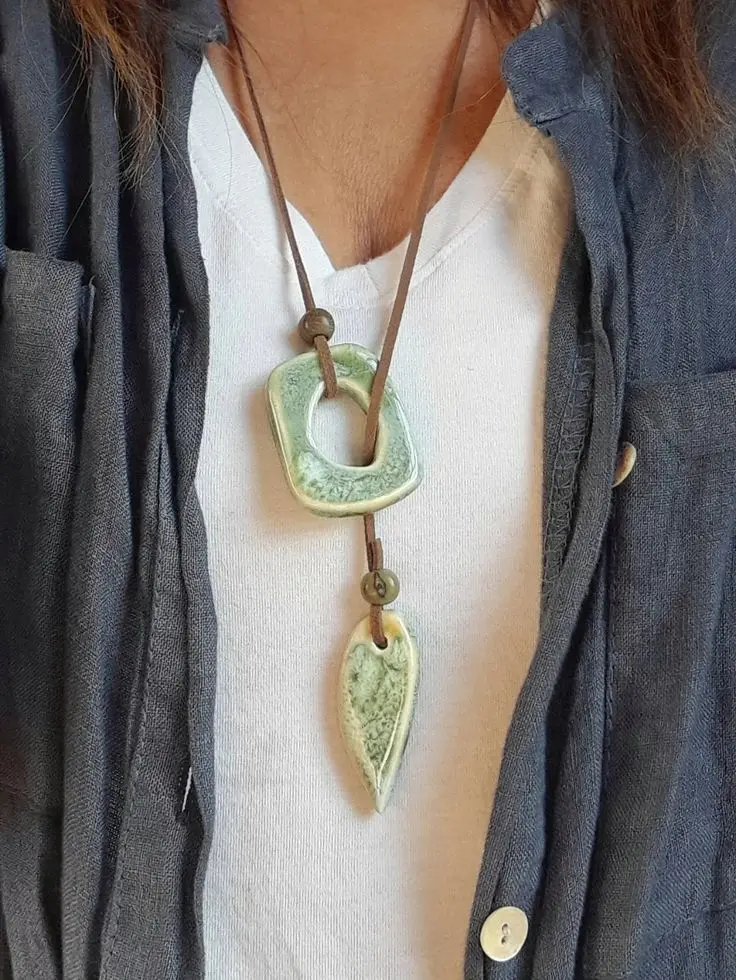
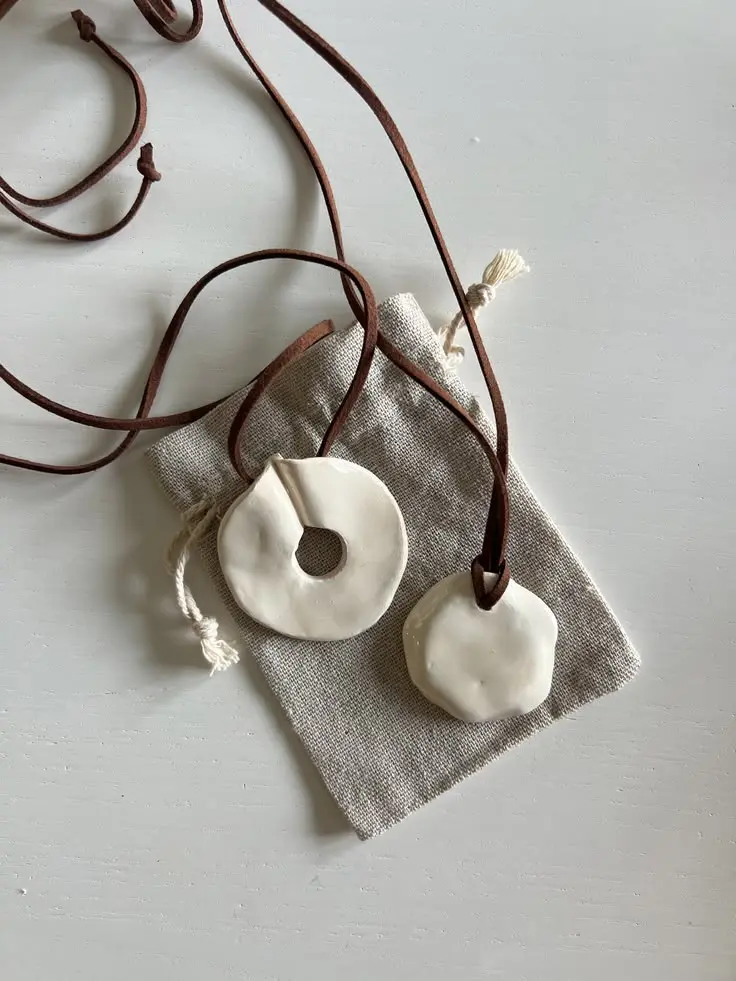
The key word here is irregular. Don’t try to cut a perfect circle or rectangle. Cut a rough circle, let it be slightly wobbly at the edges, smooth just the center with your fingertip. This is what separates “trying too hard” from “actually good design.”
Use a straw or toothpick to make the hole for the cord before drying — you cannot add it cleanly after. Once dry, paint with a single neutral color or try a simple abstract design: a thin painted line, a dot of contrasting color. Thread onto a waxed cord necklace for an effortless layering piece.
5. Terrazzo Look Earrings
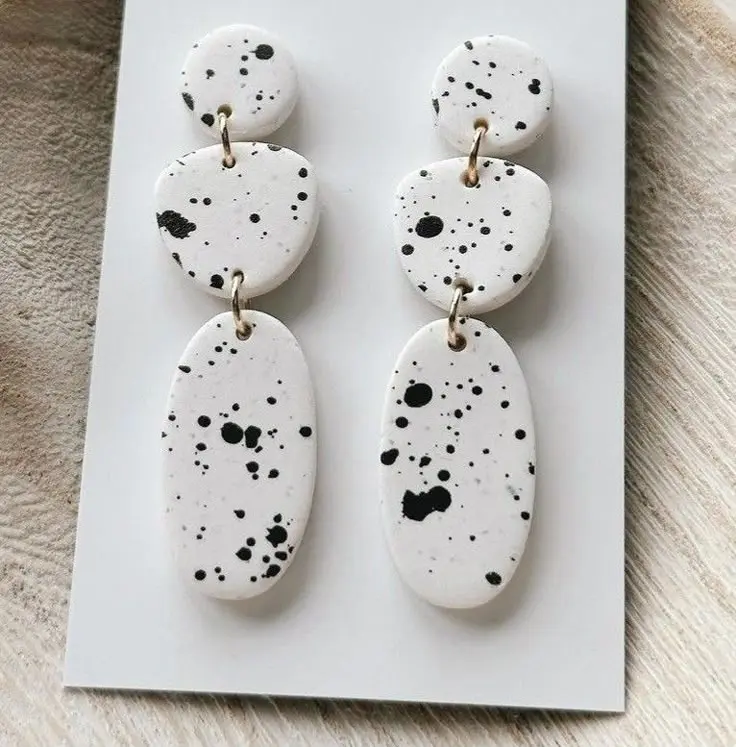
This one takes a little more prep but the result looks exactly like the terrazzo tile trend that’s been all over home decor for years. Mix small bits of colored clay into your white clay, kneading just enough to distribute but not fully blend — you want visible flecks, not a solid new color.
Roll flat, cut into shapes, and let the pattern do the work. No painting needed. Round shapes work best here; the speckled pattern and clean silhouette together read “modern boutique” immediately. If you want to go deeper into mixing clay colors and textures, the ceramic jewelry ideas post has some genuinely beautiful examples for inspiration.
6. Sculptural Ear Cuffs
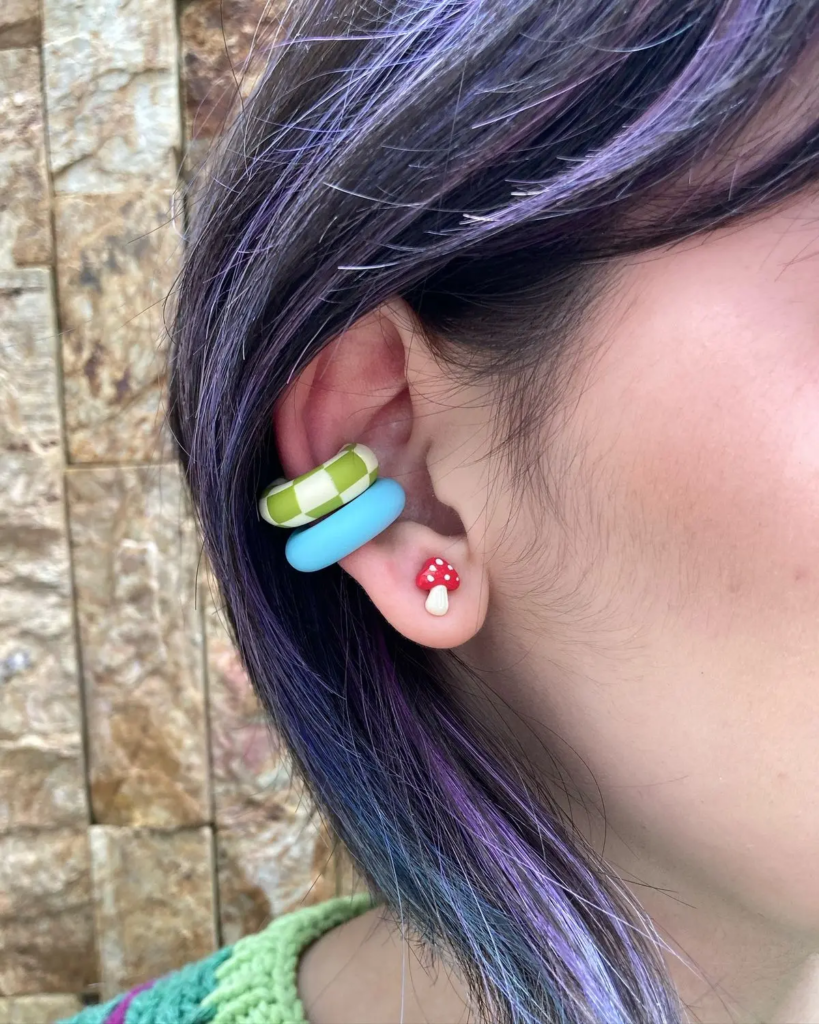
These intimidated me until I realized I was overthinking it. Roll a thin, even snake of clay — about 4–5mm thick — and bend it into a loose C shape that fits around the upper ear. Don’t make it too tight; the clay will shrink very slightly as it dries.
You can leave it plain and paint it metallic silver or gold, or add a tiny sculpted detail like a pressed dot pattern before it dries. The appeal is in the simplicity. One plain gold-toned cuff on the upper ear looks more expensive than most actual jewelry I own.
Let these dry on a curved surface — the back of a spoon works perfectly — so they hold the right shape.
7. Slab Cut Geometric Drops
Roll your clay thin — about 2–3mm — and cut geometric shapes: long triangles, thin rectangles, parallelograms. These are fast. Ten minutes of cutting and you have enough shapes for four or five pairs.
The thing that makes these look boutique rather than homemade is consistency within a pair. Your two earrings don’t need to be perfect, but they should be close to the same size. Weigh them on a kitchen scale if you’re a little obsessive (I am). Attach ear wires through a small hole at the top point and hang from a simple gold filled ear wire.
These are also a good entry point if you’re curious about selling. If you enjoy making things like this and want to think about turning it into something more, the small business ideas for fashion lovers post is worth a read.
8. Moon Phase Pendants
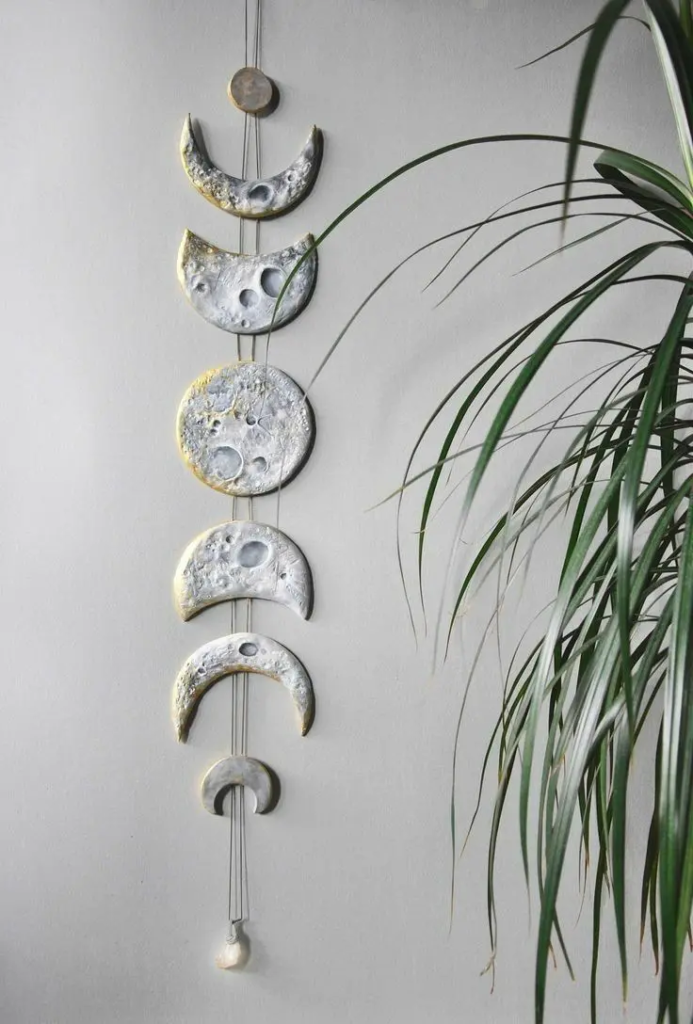
Crescent moons, full circles, half-moons — cut them freehand or use a round cutter and just trim. These are universally popular and look great in a monochromatic set: three shapes on three separate cords worn together.
The crescent is the trickiest to keep even. I cut a larger circle, then used a smaller round cutter to remove one side and create the crescent shape. Much easier than trying to freehand the curve. Paint them the same color but use two slightly different finishes — one matte, one with a faint shimmer — for a subtle layered look that photographs really well.
9. Embossed Signet-Style Ring
Yes, rings. They’re more involved than earrings but genuinely doable. Roll a thick rectangle of clay about 8–10mm wide, wrap it around a ring mandrel or a thick marker capped to your size. Trim and blend the seam at the back with a wet finger.
While it’s still on the mandrel, press a simple design into the flat top section: a small stamped letter, a leaf shape, a dot pattern. Let it dry on the mandrel — do not remove it until completely dry or it will deform. 48 hours minimum.
These look wildly different from anything you’d find in a fast fashion store, which is kind of the whole point.
If you want more project ideas in this general direction, the air dry clay decor ideas post covers home pieces that use all the same techniques and the same $11 block of clay.
A Few Things I Learned the Hard Way
Dry time is not optional. I rushed a pair of arch earrings once, thought they felt firm enough, glued on the posts, put them in — and one cracked from the weight of the finding pulling on clay that wasn’t fully cured. Air dry clay looks dry before it is. Give it the full 24 hours flat, plus another 12 before you sand or paint.
Also: not all air dry clays are equal. The cheap packs at dollar stores tend to crack as they dry because the formula shrinks unevenly. Crayola Air Dry Clay and DAS modeling clay both hold up well for jewelry-scale pieces. For anything that needs to be durable — rings especially — DAS is my preference.
FAQ
Does air dry clay jewelry break easily? It can, if it’s thin and unsupported. Earrings and pendants that are at least 3mm thick and sealed properly hold up well for everyday wear. Rings are more vulnerable — treat them like you’d treat any delicate ring, meaning take them off before washing your hands.
Do I need to seal air dry clay jewelry? Yes. Unsealed pieces absorb moisture and can soften or crack over time. A matte or glossy acrylic sealer works perfectly — two thin coats. This also protects any paint you’ve added.
What glue holds earring posts to clay? E6000 is the standard recommendation and it holds well. Let it cure for 24 hours before wearing. Super glue works in a pinch but is more brittle long-term.
Can you make rings with air dry clay? Yes, but size them slightly large. Air dry clay shrinks a small amount as it dries. Make the ring a half size bigger than you need.
Is air dry clay jewelry safe to wear? Once sealed, yes. Unsealed clay can absorb sweat and moisture. Seal everything you plan to wear.
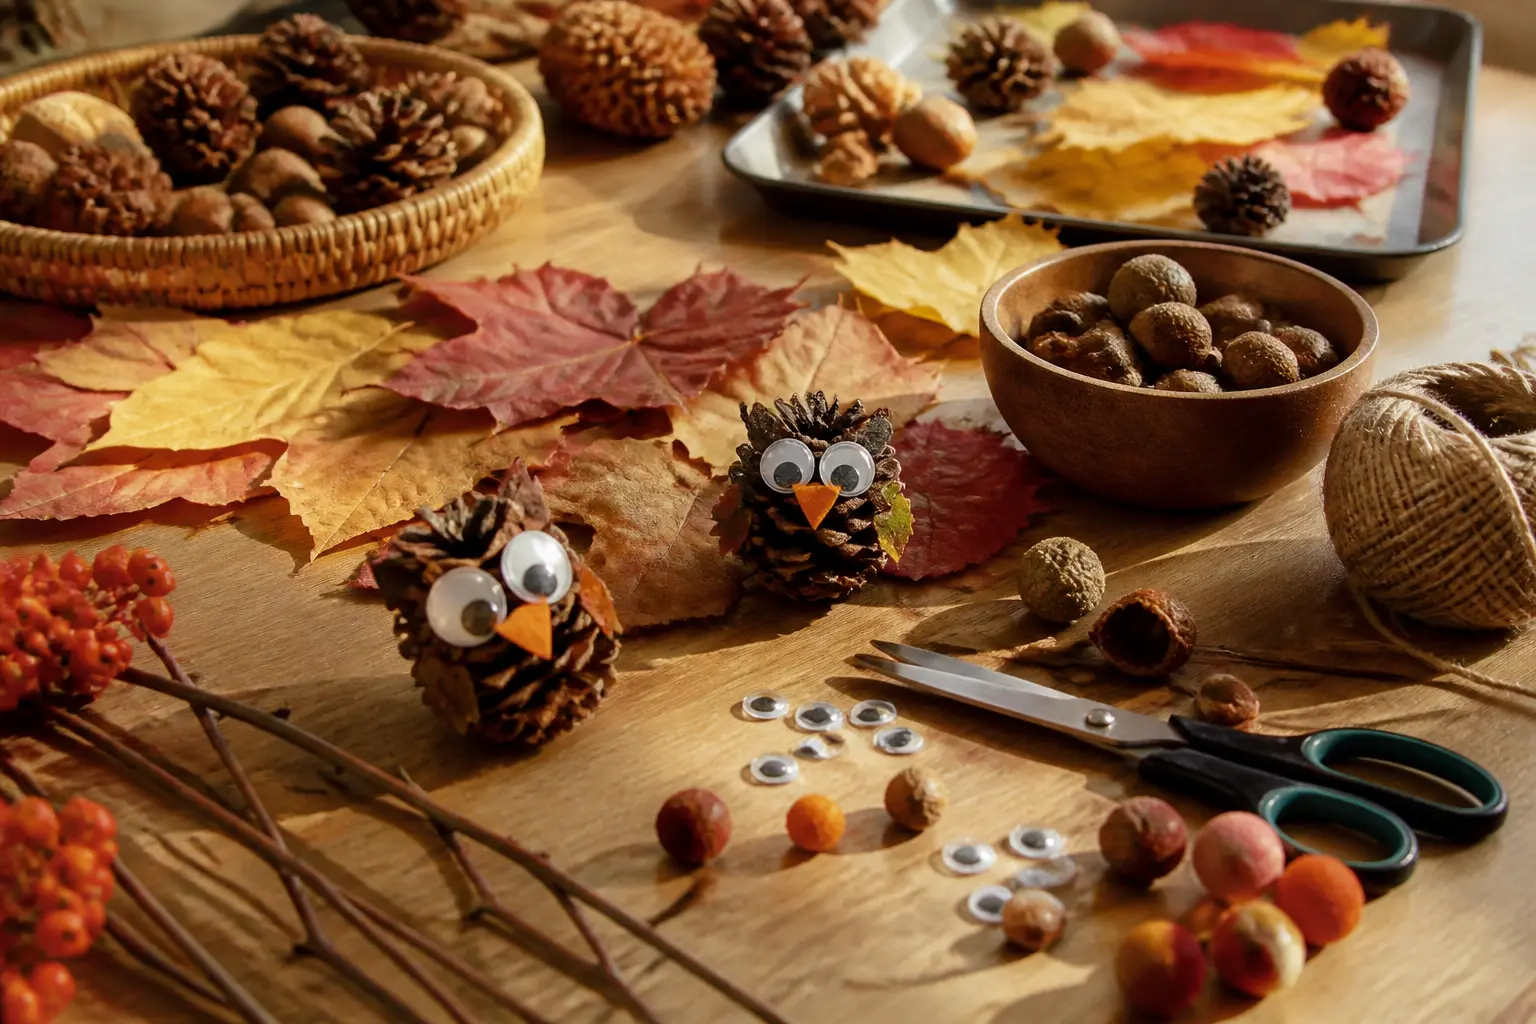
17 fall crafts for preschoolers that actually get played with afterwards. Simple materials, glue sti

There’s a specific kind of quiet that happens when your hands are covered in clay and the whee
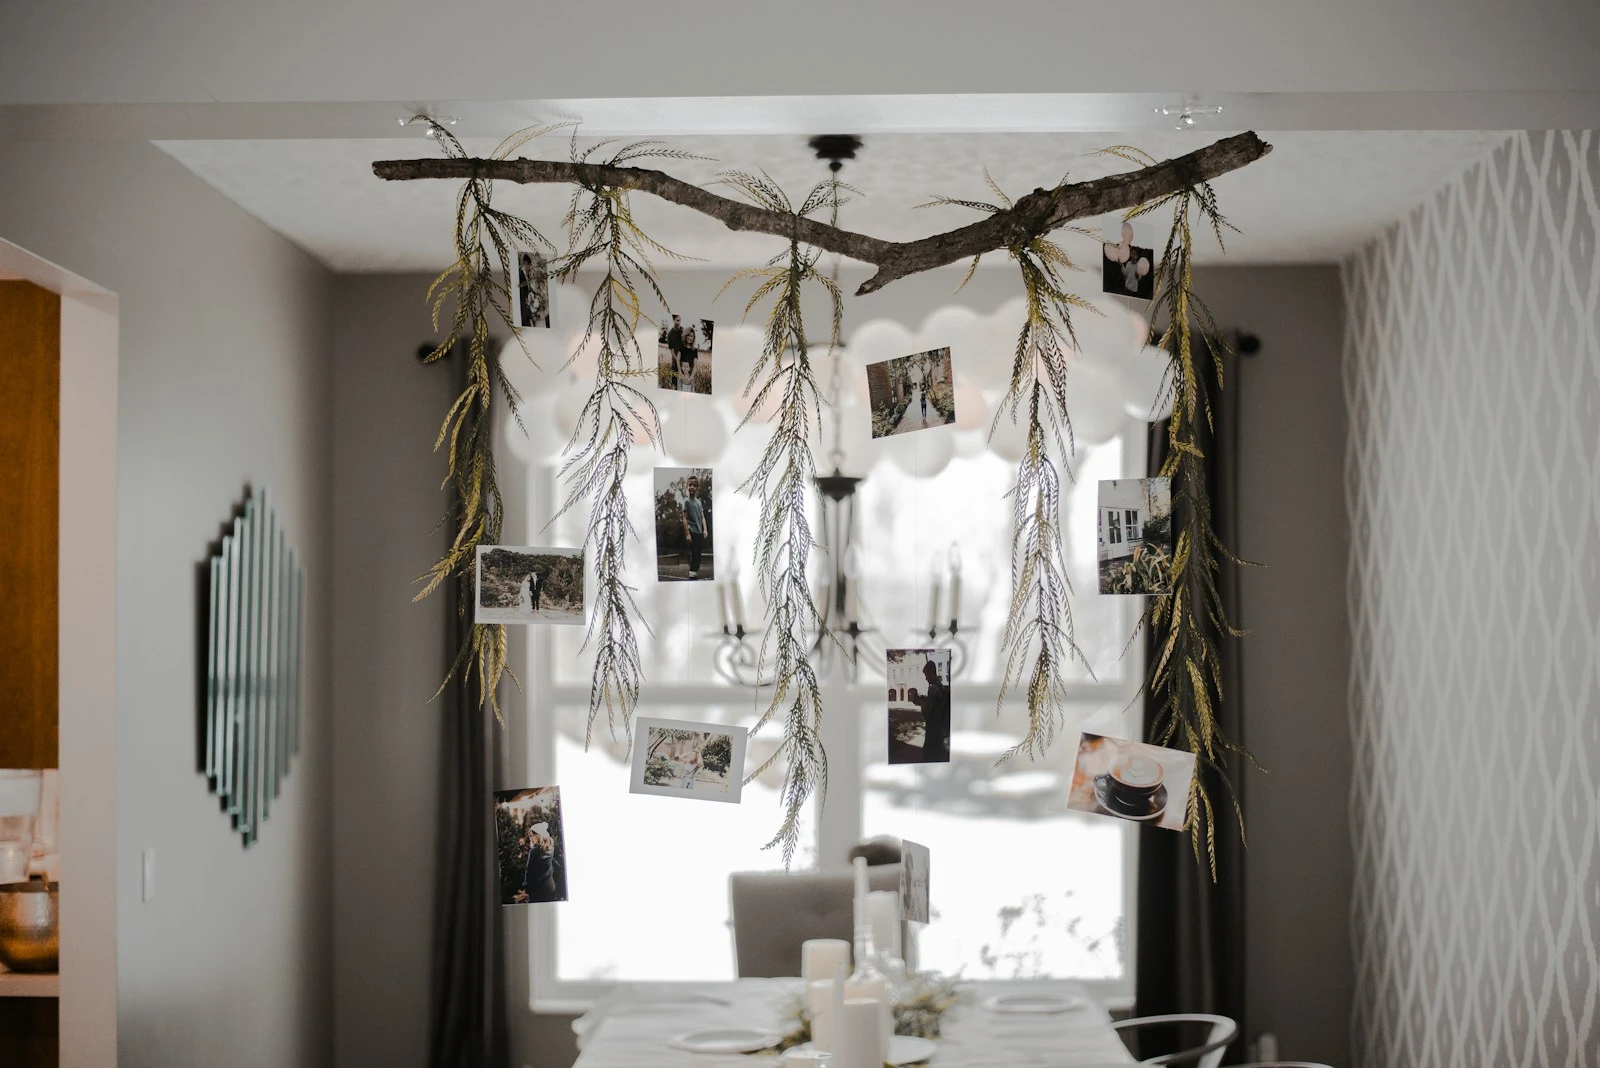
I grabbed a branch off the ground on a walk last October. It was a good one — silvery-gray, fo
Leave a Reply