

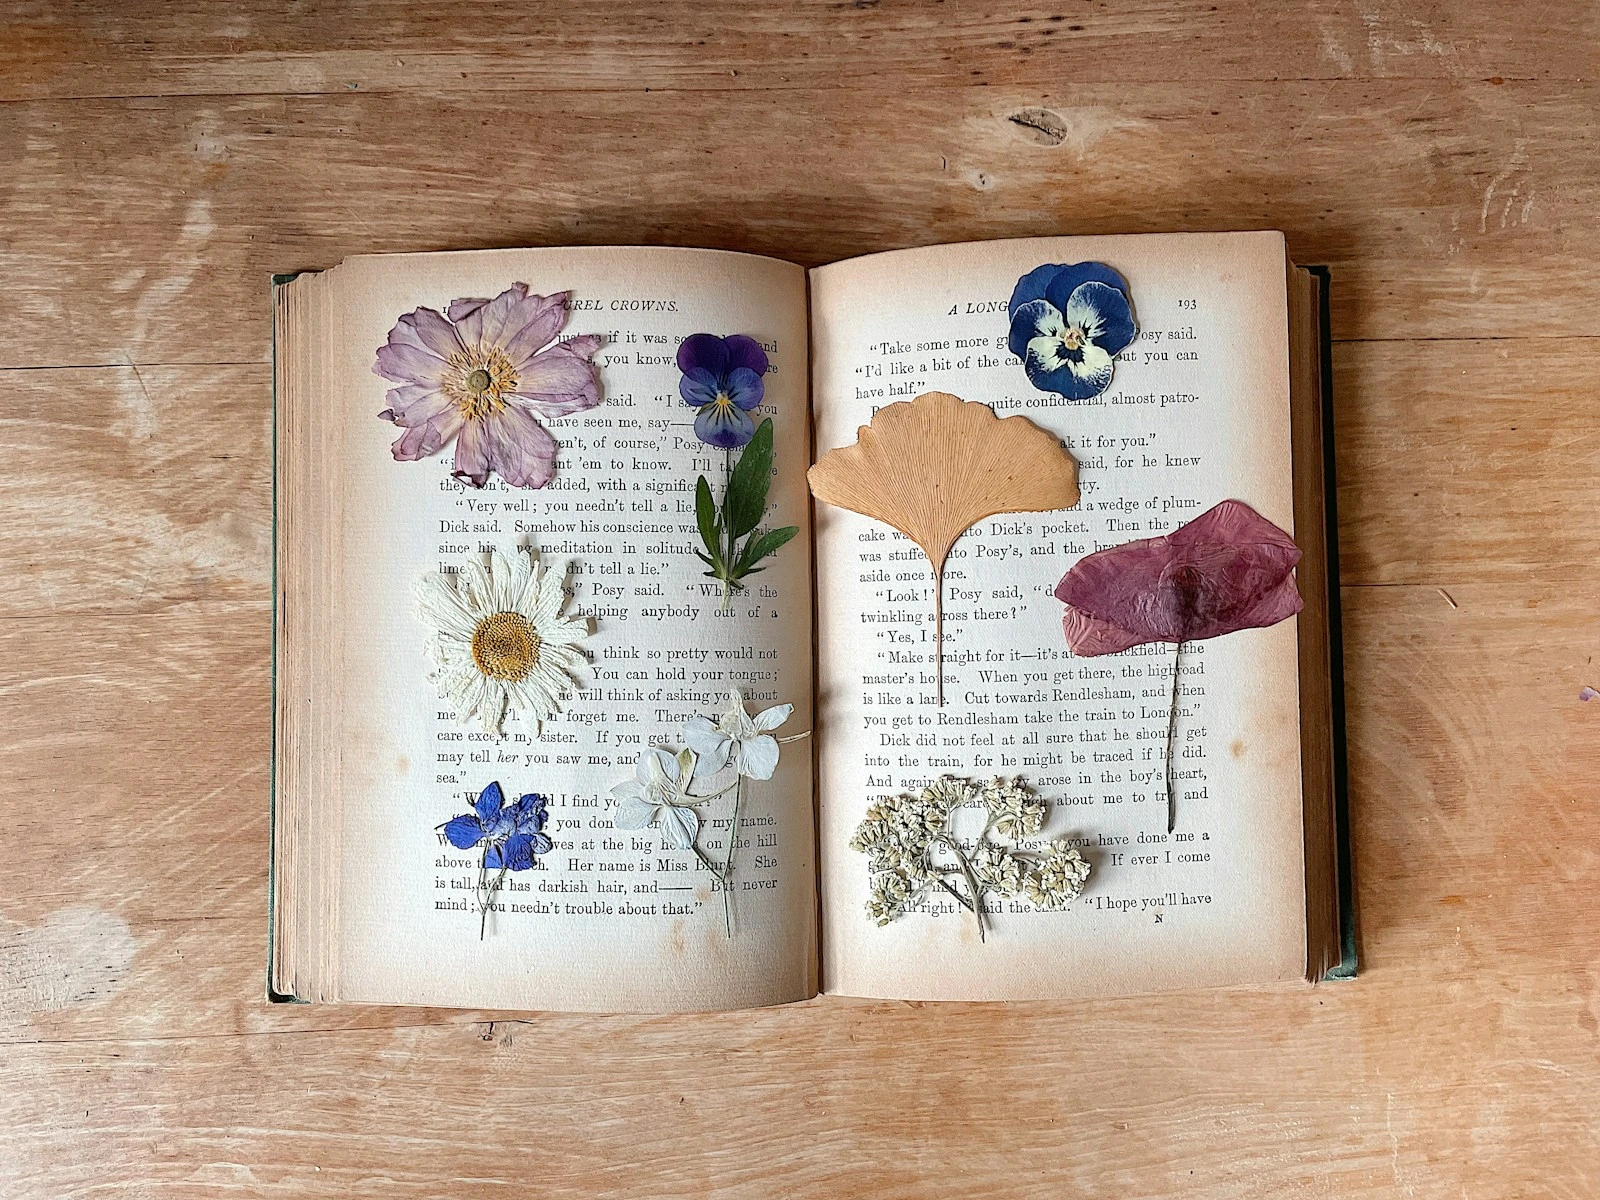
I bought my flower press at a craft fair three years ago and used it exactly once before it lived on a shelf collecting the kind of guilt that only unused hobby supplies can generate.
Then last spring I actually committed to it. Spent a whole afternoon pressing pansies and ranunculus and some wild clover I pulled from the backyard. Two weeks later I had a little stack of dried blooms and genuinely no idea what to do with them.
Turns out there are about a million things you can do with pressed flowers — and most of them are so pretty they look like something you’d find in a vintage shop. Here are 12 pressed flower projects I’ve tried, researched, or have on my list to do next.
This post contains affiliate links. If you buy something through these links, I may earn a small commission at no extra cost to you. I only recommend things I’d actually use.
First, the Pressing Part (Quick Version)
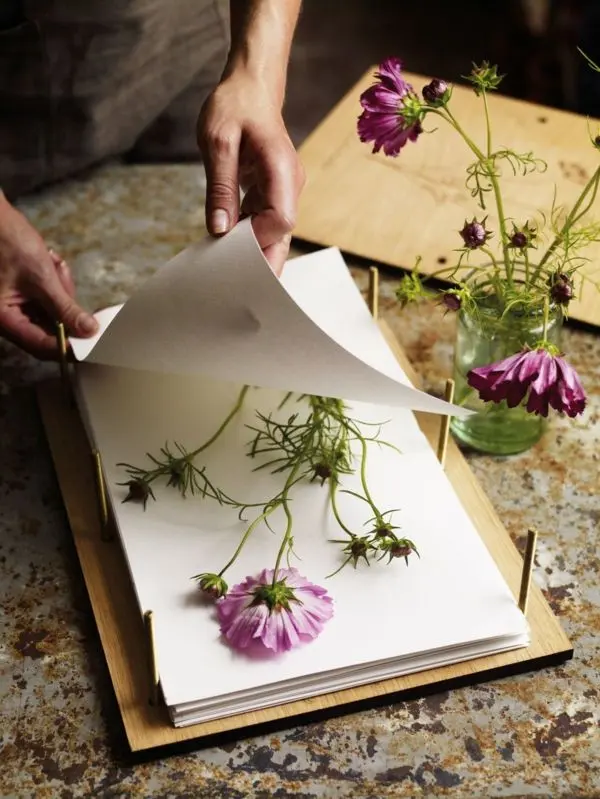
You don’t need a fancy press. A heavy hardcover book and some parchment paper work perfectly fine. Place flowers face-down between two sheets of parchment, tuck them between the pages somewhere in the middle of the book (so the spine isn’t under pressure), stack more books on top, and wait 2–3 weeks. Done.
If you want to do this regularly and don’t want to sacrifice your novels, a wooden flower press runs about $12–15 and makes the whole thing easier. I eventually got one after ruining two pages of a cookbook I actually use.
Flowers that press well: pansies, violas, cosmos, larkspur, Queen Anne’s lace, ferns, small roses, lavender, clover. Thick flowers like dahlias are harder — the petals tend to go moldy before they dry. Stick to flatter blooms when you’re starting out.
The 12 Projects
1. Resin coasters
This is the one everyone shows on Pinterest and yes, it’s as good as it looks. You press your flowers, pour a thin layer of clear casting resin, set flowers in place, then pour another layer on top once the first sets. The result is a coaster with flowers suspended inside it, perfectly preserved under glass-smooth resin.
It takes about two days total (resin has to cure between pours) and the first batch I made I gave my mom for her birthday. She genuinely cried. I’ve been milking that reaction ever since.
A word: resin has fumes. Work outside or in a ventilated space and wear gloves. It’s not dangerous if you’re sensible about it, but it’s not the kind of thing to do in a closed apartment kitchen.
2. Framed botanical art
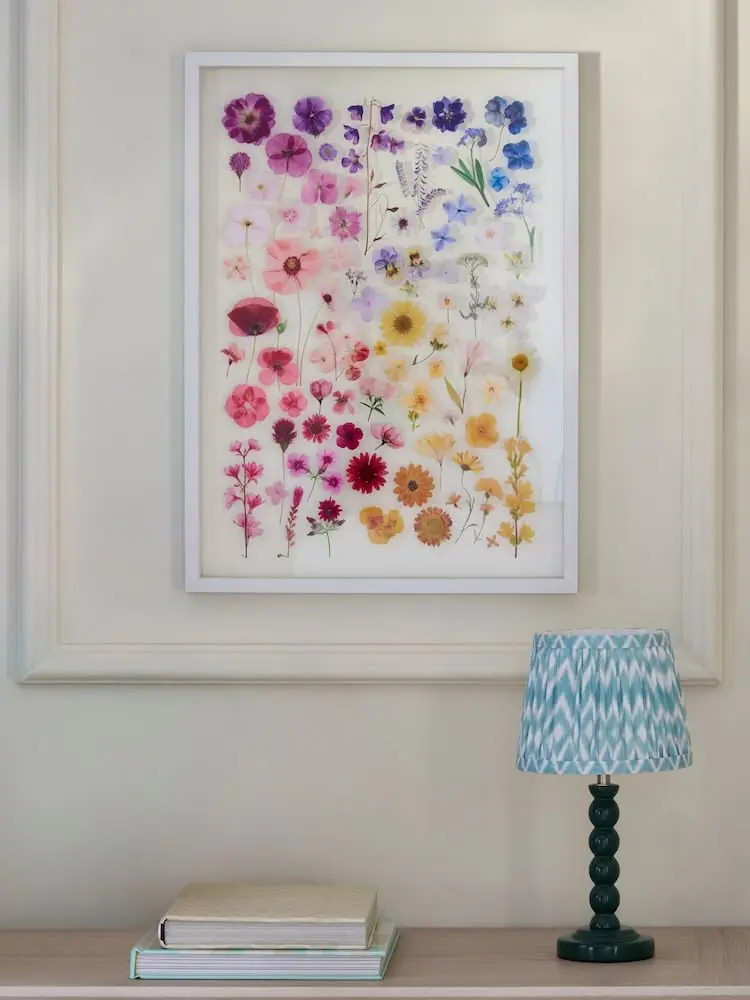
The simplest project on this list and somehow always the most impressive. Arrange pressed flowers on watercolor paper or card stock, secure them with a tiny dot of acid-free craft glue, and frame. That’s it.
The trick is the arrangement. Don’t symmetrical-garden it. Let a stem drift off to one side. Overlap two flowers slightly. Let a bit of negative space exist. It looks more like art when it’s a little imperfect. Gallery frames from IKEA, a few stems of larkspur and some fern fronds, and you’ve got something that looks genuinely nice on a wall.
3. Pressed flower candles
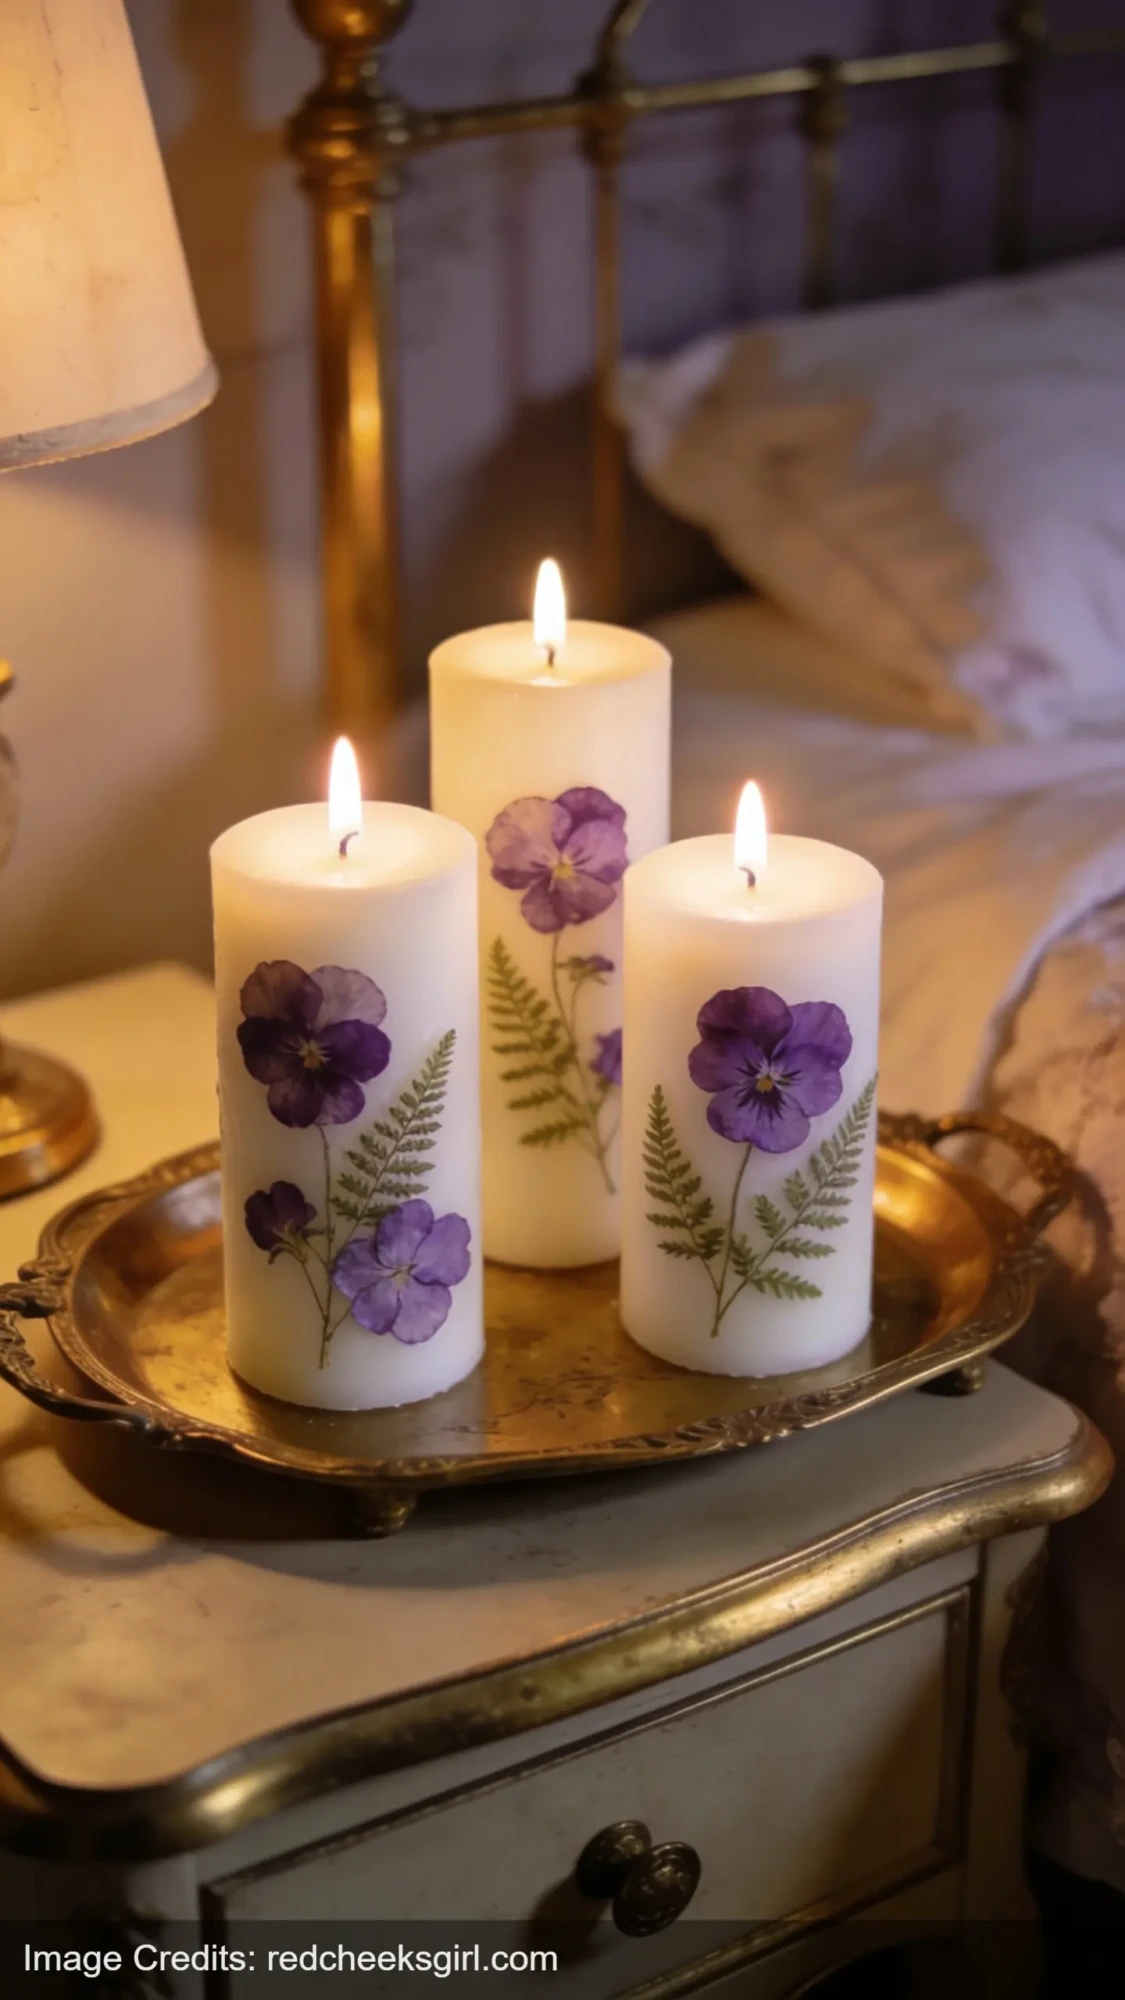
You brush a thin layer of mod podge onto the side of a plain white pillar candle, press a dried flower gently against it, then seal with another layer. The flower essentially becomes part of the candle’s surface.
This one requires patience — the mod podge needs to dry fully between coats or the flower shifts. I’ve done three coats and it holds beautifully. Plain white pillar candles are cheap and make great gifts once you’ve dressed them up.
4. Bookmarks
Cut cardstock into bookmark-sized strips. Arrange flowers on top. Laminate. Punch a hole, add a ribbon. Done in under an hour and genuinely useful.
I made a batch of 12 for Christmas gifts one year and they were among the most well-received things I’ve given. People keep them. Which is either sweet or says something about how rarely anyone gives useful handmade gifts.
These are also a great entry project if you’re new to pressing — they’re forgiving, fast, and you don’t need a lot of flowers. If you like making handmade gifts, the DIY Valentine’s Day cards guide on here has a similar low-commitment energy and pairs well with bookmark-making season.
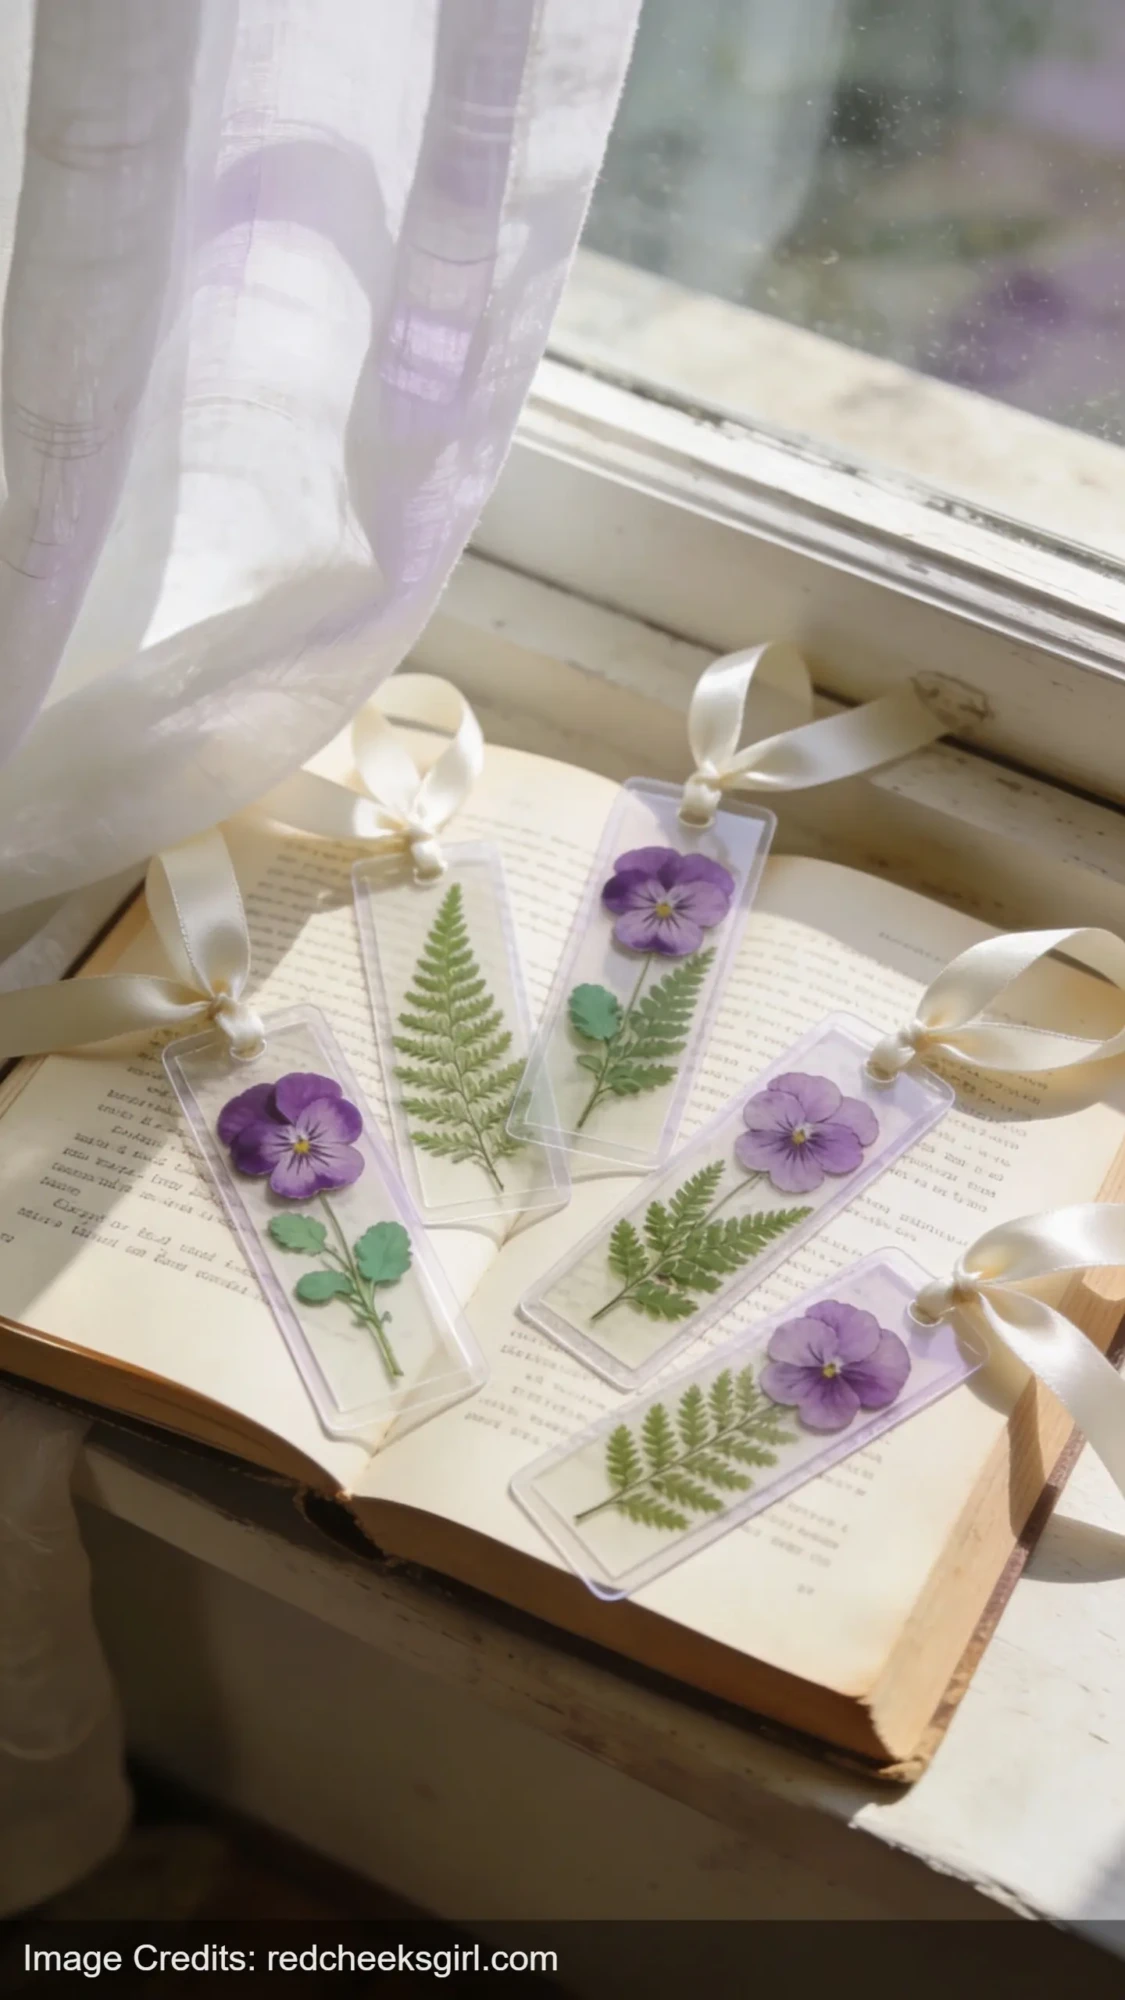
5. Phone case
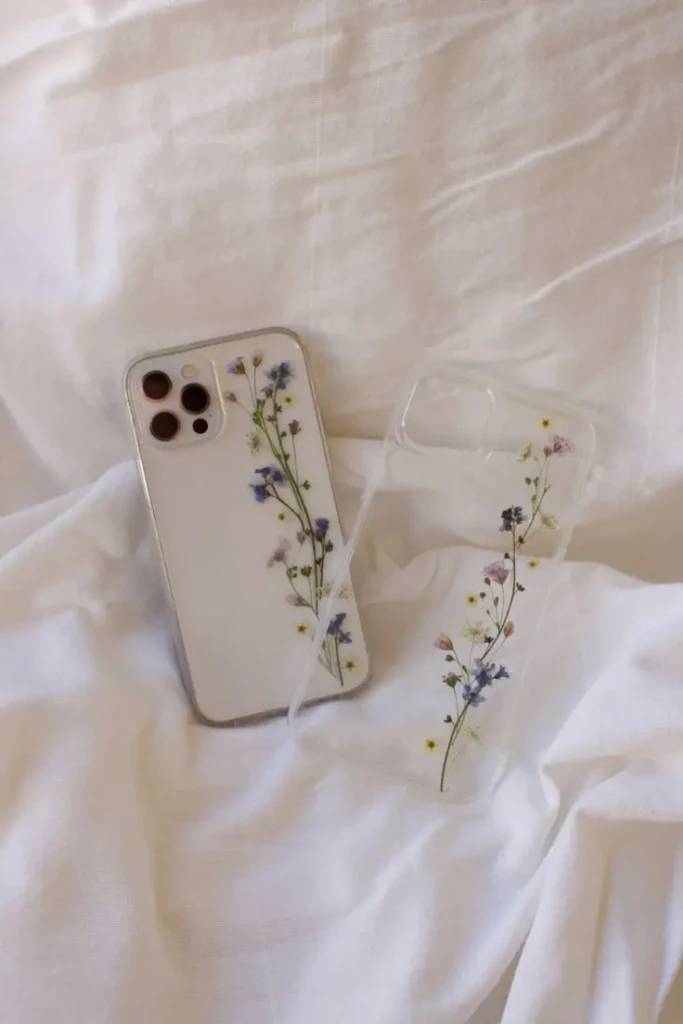
Buy a clear phone case. Arrange dried flowers on the back. Seal with a layer of mod podge and let it cure completely before putting the case back on. The flowers stay flat and visible under the clear plastic.
The thing to know: mod podge is slightly tacky even when dry, so dust sticks to it over time. Some people seal over it with a UV resin for a harder finish. I’ve done both and the resin version lasts longer.
6. Wax sachets
Melt soy wax, pour into a silicone mold, lay pressed flowers on the surface before it sets. Once hardened, tie with a ribbon and tuck into a drawer or hang in a closet. They don’t really smell like the flowers anymore (drying removes most of the scent) but they look incredible and add a light natural fragrance if you add a few drops of essential oil to the wax.
These are a perfect project for an afternoon when you’re already doing something else — you melt the wax, pour, arrange flowers, and then just wait.
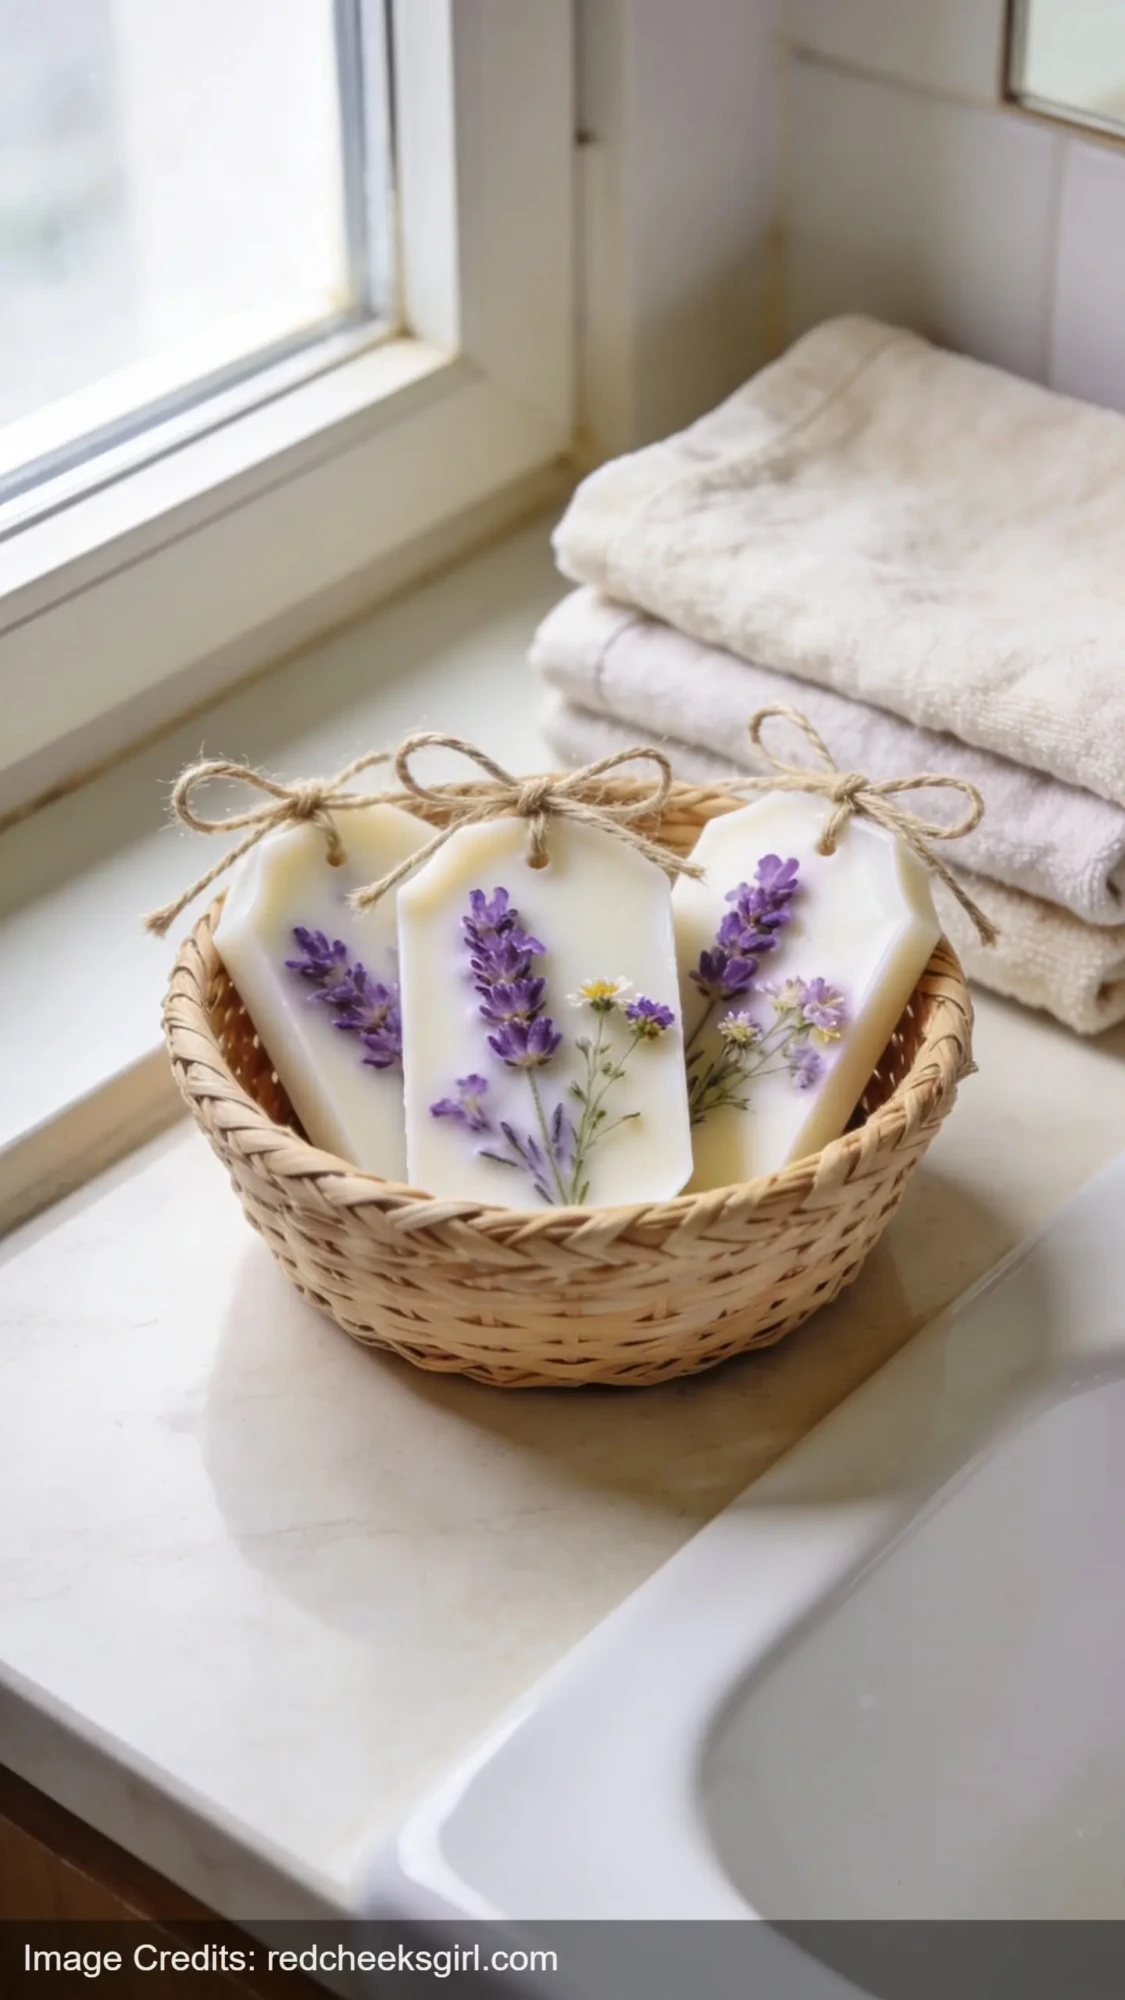
7. Greeting cards
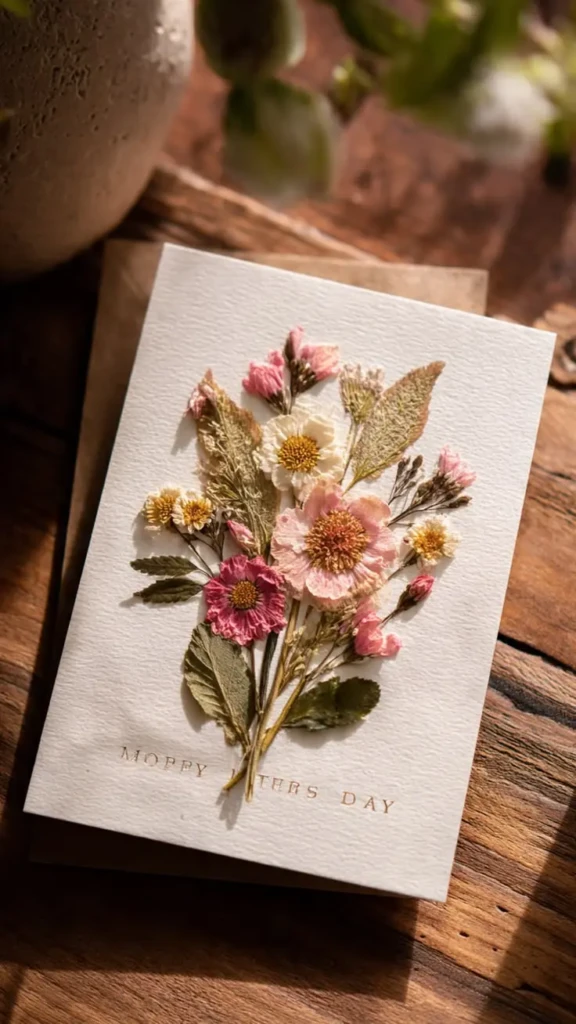
Similar to bookmarks but with more room to play. Fold cardstock in half, arrange flowers on the front, seal with mod podge or laminate, and write your message inside. The flowers give even a quick “thinking of you” card a handmade quality that people notice.
I keep a small stash of blank cards with pressed flowers ready for whenever I need them — birthdays, get well, thank you notes. It takes about 20 minutes per card if you’re relaxed about it. If you’re into handmade paper crafts, the scrapbook ideas post has a lot of similar energy and some ideas that overlap nicely with card-making.
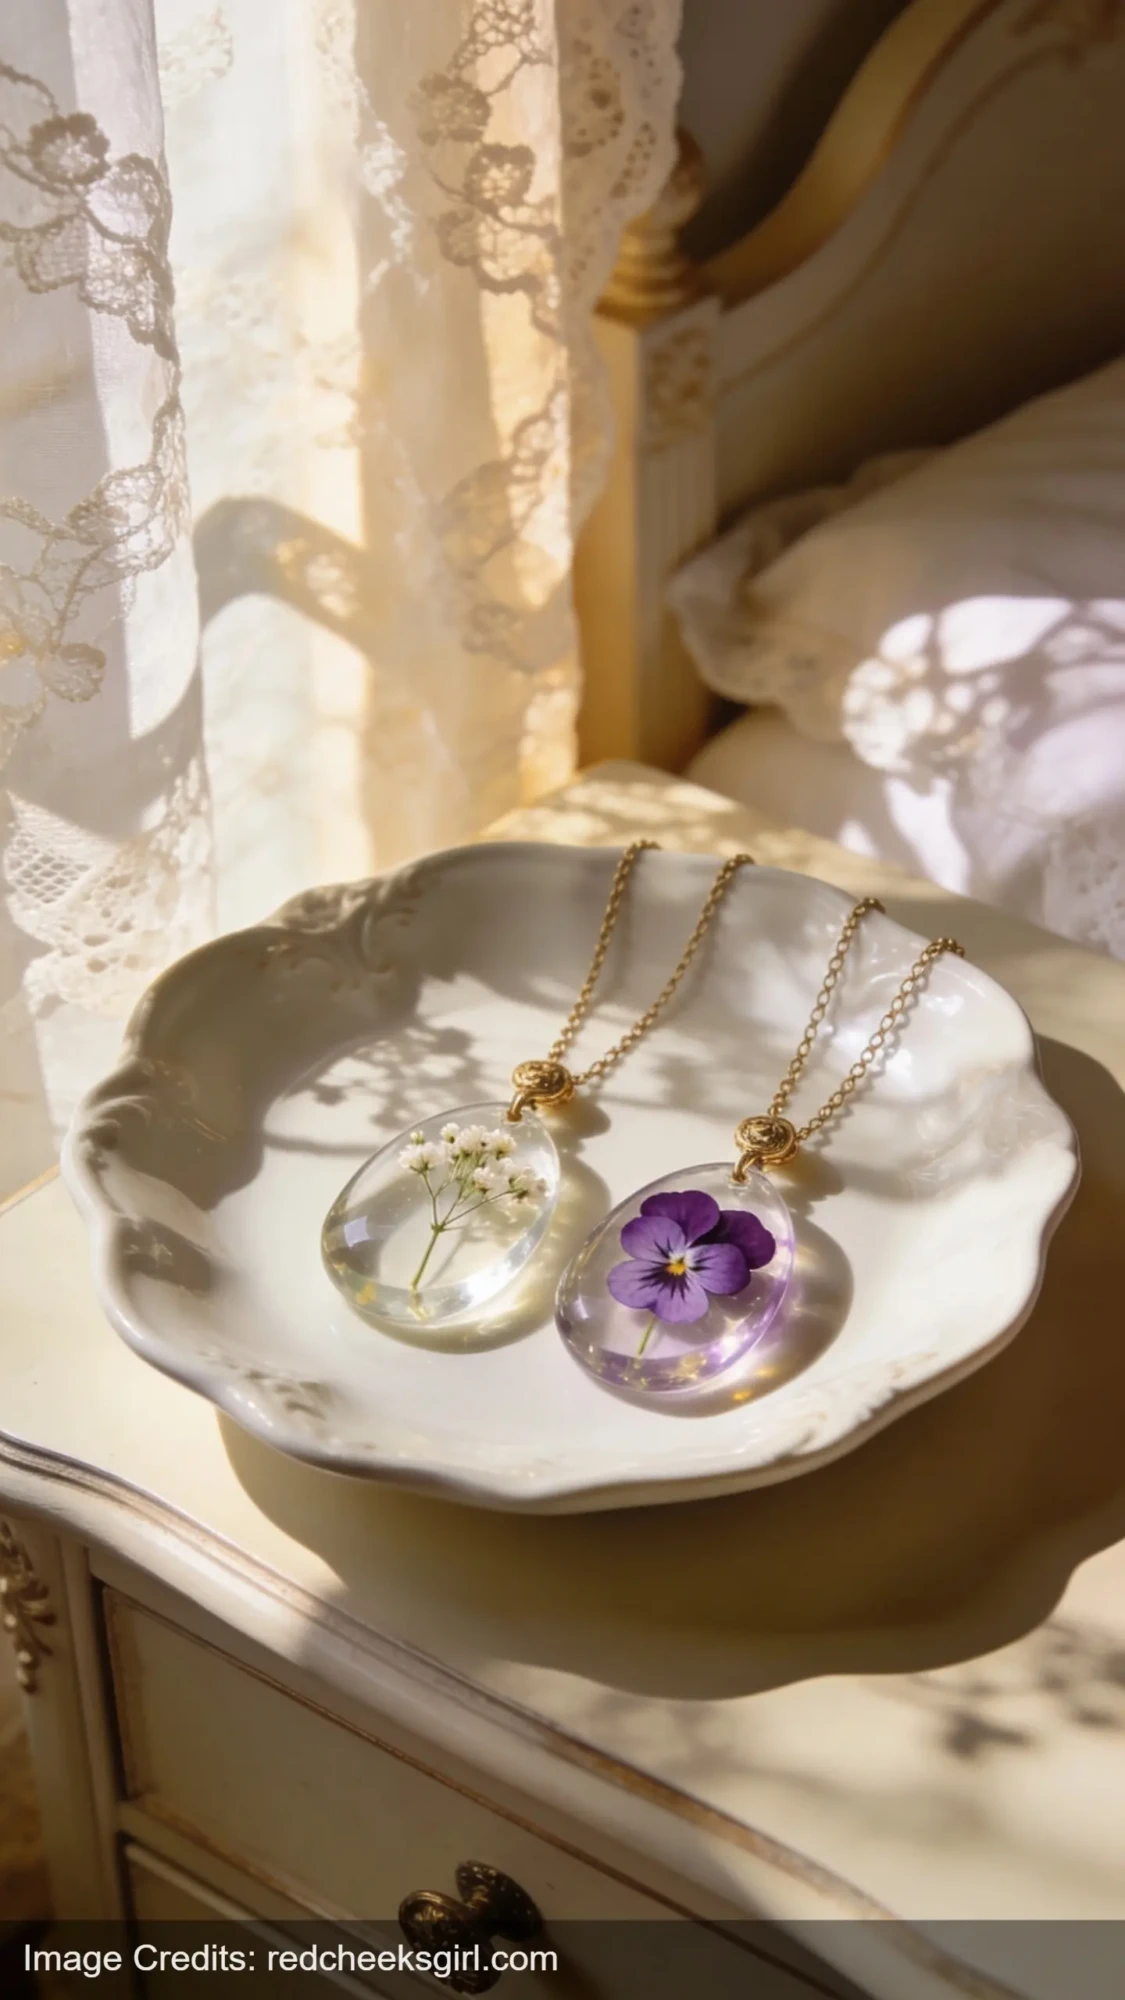
8. Resin jewelry
Same principle as the coasters, just smaller. Pour resin into pendant or ring molds, set tiny pressed flowers (violas and small daisies work best), cure, sand edges smooth. The results look like something from an Etsy shop — which, by the way, pressed flower jewelry absolutely sells if you want to go that route. The air dry clay ideas post is a good companion if you’re thinking about making things to sell.
You need small jewelry resin molds and the same casting resin as the coasters — buy one kit and you can do both projects with the same materials.
9. Glass ornaments
Clear glass ball ornaments with an opening at the top. Remove the cap, feed pressed flowers in with tweezers, replace the cap, tie with a ribbon. These are a little finicky — you’re essentially doing origami surgery with tweezers inside a small sphere — but the finished result is genuinely beautiful. Hung in a window, light comes through and you can see the flowers inside.
They’ve become my go-to Christmas gift for teachers. Takes maybe 15 minutes per ornament once you get the hang of the tweezers situation.
10. Pressed flower journal covers
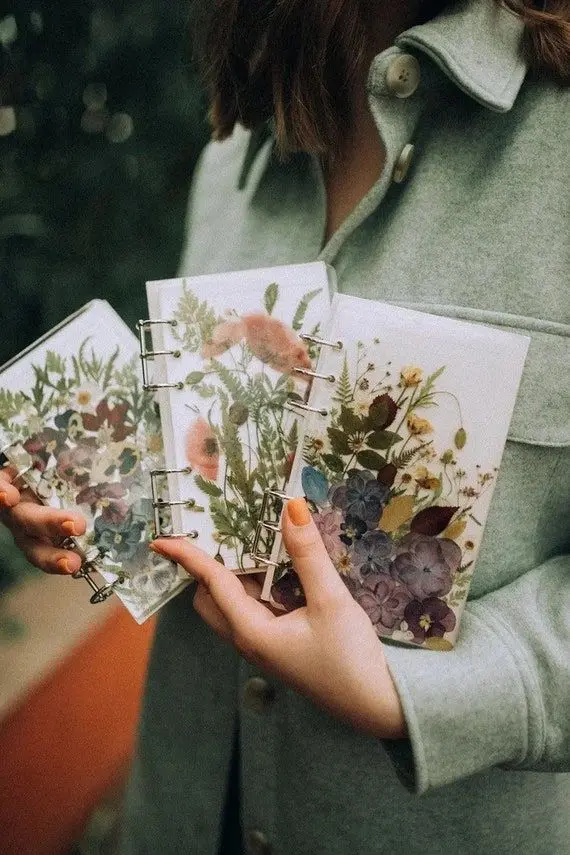
Buy a plain journal — kraft paper cover works best. Arrange flowers on the front, seal with mod podge, let cure fully (overnight is ideal). The cover becomes stiff and textured in the nicest way. If you’re already into junk journaling or memory keeping, this fits right in — the junk journal ideas post has a lot of good techniques that translate directly to decorated journal covers.
11. Shadow box arrangements
This is the more involved version of framed botanical art. Instead of a flat frame, you use a shadow box — which has depth — and build a three-dimensional arrangement. Some flowers flat on the backing, some on small risers or folded cardstock lifts so they sit at slightly different heights.
It takes longer and requires more flowers, but the depth makes it look less like a pressed flower project and more like actual art. Worth it for a wall you care about.
12. Botanical tray liner
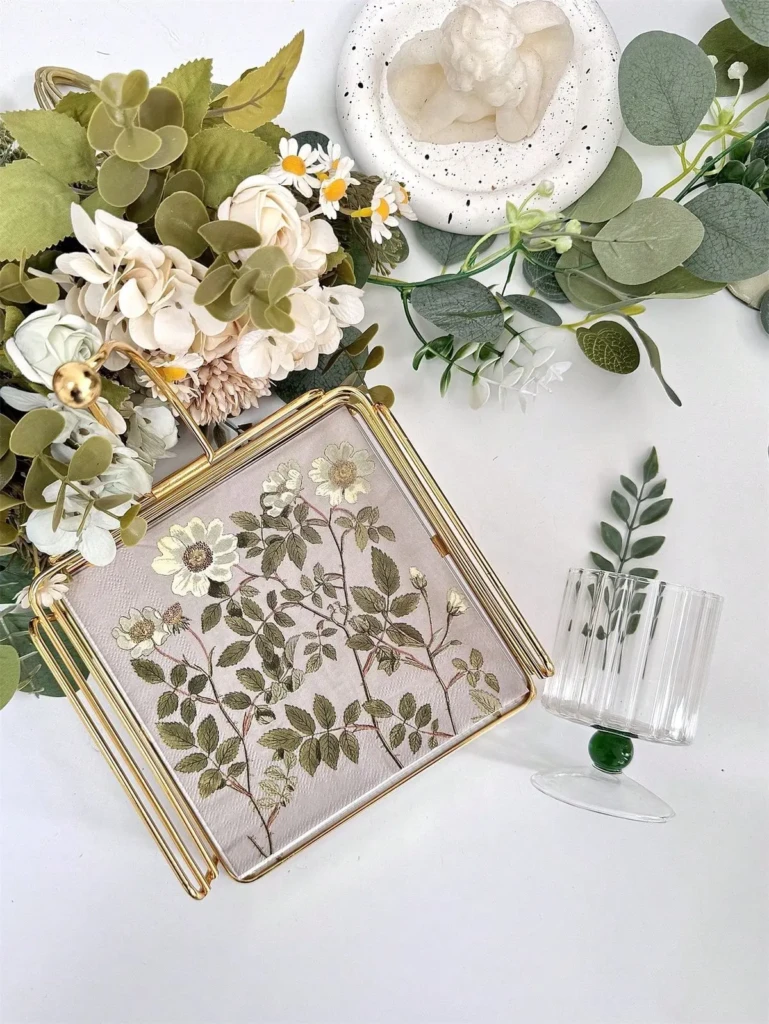
Arrange pressed flowers on a piece of white watercolor paper sized to fit a tray. Seal the paper with mod podge (several thin coats, letting each dry). Once cured fully — we’re talking 48+ hours — place it under glass in the tray. The flowers show through and the glass protects them.
This is the most involved project on the list in terms of patience, but it’s also the most permanent. The tray becomes a piece of your home rather than just a tray. I did this for my bathroom and get a weird amount of pleasure from it every morning.
What You Actually Need to Get Started
You don’t need much. A flower press or a heavy book. Mod podge. Cardstock. Casting resin if you want to do the coasters or jewelry. That’s the core kit for probably 8 of these 12 projects.
The flowers themselves are free if you have a garden, very cheap if you buy them. Farmer’s markets at end-of-day will often sell you stems for almost nothing. Wildflowers are fair game. Even grocery store flowers press well — I’ve done whole batches from the $5 bouquets at Trader Joe’s.
If you want more creative weekend project ideas that have this same slow, satisfying quality, the 33 creative things to do post has a lot of good options in the same spirit.
FAQ
What flowers are easiest to press for beginners?
Pansies, violas, and cosmos. They’re thin, flat, and dry quickly without going brown. Ferns and leaves are also very forgiving. Avoid roses or dahlias until you’re comfortable with the process.
How long do pressed flowers last in projects?
A long time if you seal them properly. Unsealed, they’ll fade over a few years. Sealed under resin, they can last decades. The main enemy is UV light — keep framed pieces out of direct sunlight to slow fading.
Do I need a UV lamp for the resin projects?
Not necessarily. Most craft casting resins cure with air over 24–48 hours without UV. UV resin (the kind that comes in a syringe) cures faster with a UV lamp, but it’s more expensive and a smaller quantity. For beginners, standard two-part casting resin is easier to work with.
Can I use fresh flowers instead of pressed?
No — fresh flowers have moisture in them, which causes resin to cloud and mod podge to mold. Fully dried and pressed flowers only.
Is this a good project to do with kids?
The pressing part, yes. Bookmarks and greeting cards, yes. Resin, no — fumes and the mixing process make it adult-only.

There’s a very specific kind of person who glues rhinestones onto a Stanley cup at 11pm on a W
Easy Mother's Day craft ideas for kids ages 2-11. From fingerprint art to clay flower mirrors, these
I came home from the beach last summer with an entire grocery bag of shells. Just… stuffed th
Leave a Reply