

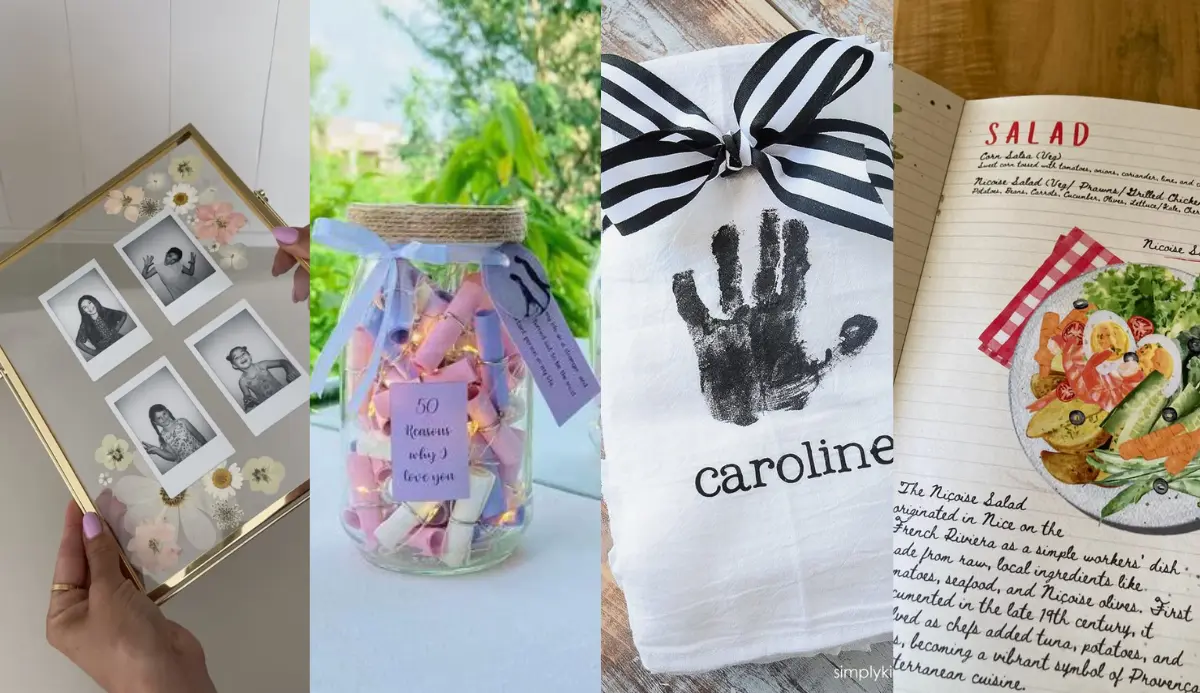
My daughter is 10 now, and honestly, some of my favorite memories with her are the afternoons we spend making Mother’s Day crafts together. Not for me — for our moms, my mom and my husband’s mom. There’s something really special about watching her concentrate on getting the paint just right or carefully gluing pieces together, knowing she’s making something from the heart.
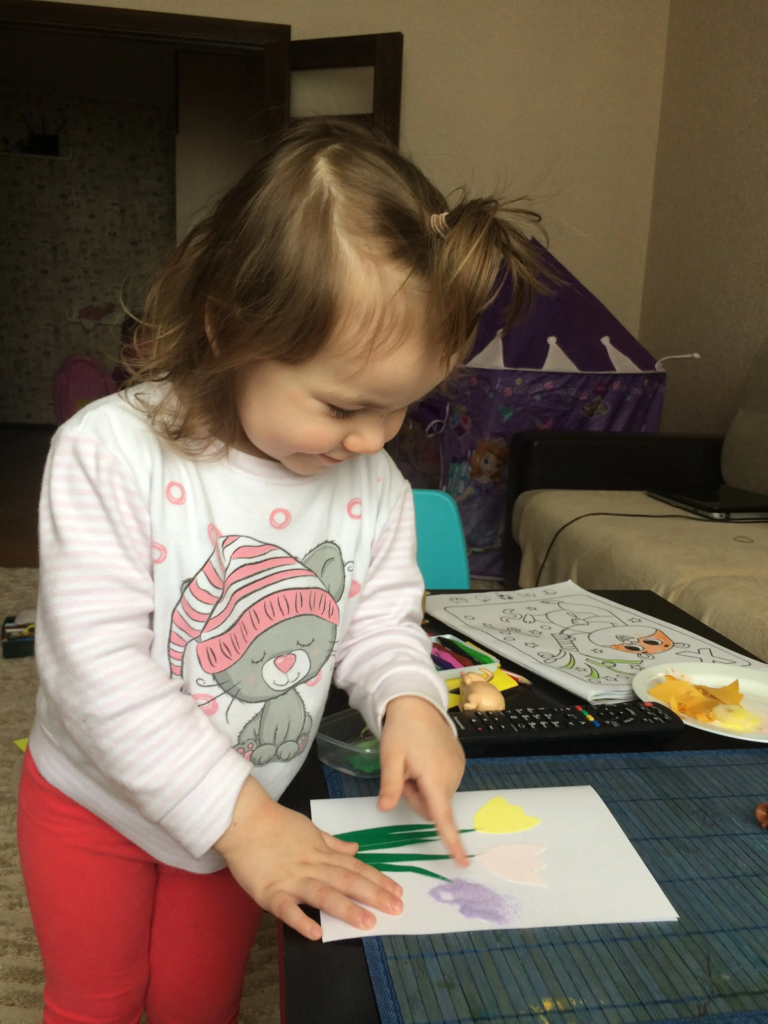
The store-bought stuff is fine, but it doesn’t hold a candle to a handmade gift that took time, thought, and a whole lot of love. Plus, these crafts have become a tradition in our house — my husband helps too, which makes it even better.
Over the years, we’ve tried everything from simple fingerprint flowers (when she was tiny) to more elaborate projects like the viral clay flower mirror she made last year. I’ve seen which crafts actually work for different ages, which ones end in tears (hello, overly complicated Pinterest fails), and which ones grandma still has displayed a year later.
So I’m sharing 15 Mother’s Day craft ideas organized by age — from toddlers who can barely hold a paintbrush to tweens who want something Instagram-worthy. These are all projects we’ve either made ourselves or that I know work because they’re trending for a reason.
Let’s get crafting.
Affiliate Disclosure
This post contains affiliate links. If you make a purchase through these links, I may earn a small commission at no extra cost to you. I only recommend products I genuinely use and love.
Ages 2-5: Toddlers & Preschoolers
At this age, it’s all about simple, sensory-friendly crafts that let little hands explore. Expect mess. Embrace mess. The joy is in the process, not perfection.
1. Handprint Flower Bouquet
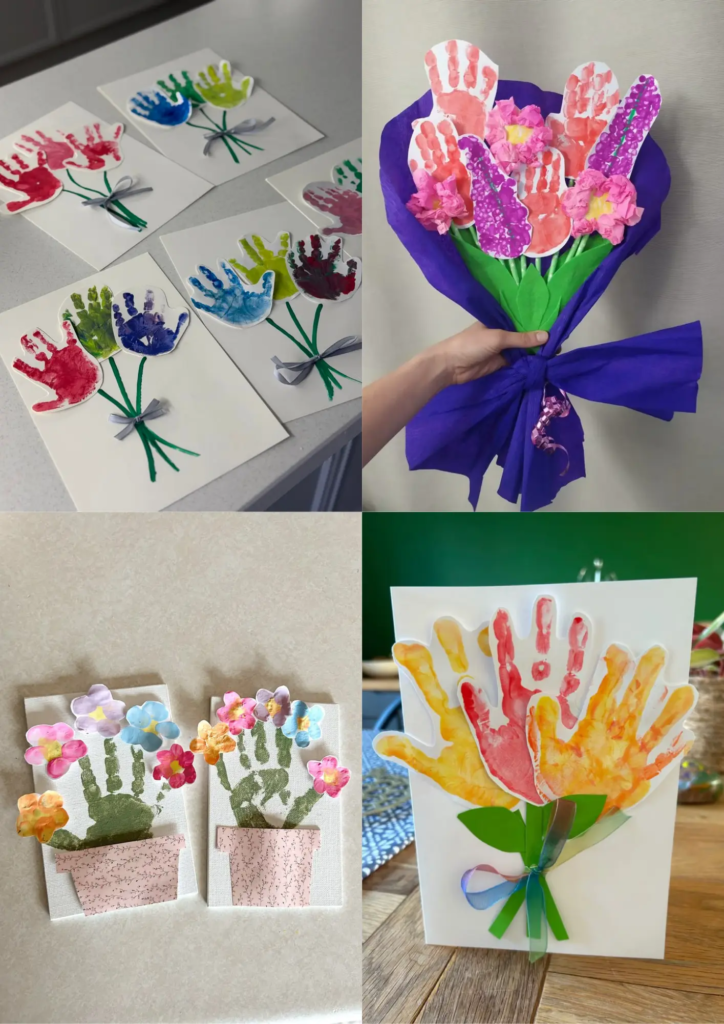
What it is: Paint your child’s hand and press it onto paper to create flower petals, then add stems.
Why it works: Toddlers love getting messy with paint, and handprints are the ultimate keepsake. Moms cry over these.
What you need:
- Washable paint (multiple colors)
- White cardstock or construction paper
- Green paper or markers for stems
- Small flower pot (optional)
How to make it:
- Paint your child’s hand with their favorite colors
- Press firmly onto white paper (one hand = one flower)
- Let dry completely
- Cut out each handprint
- Draw or glue green stems onto another piece of paper
- Attach handprint flowers to the tops of the stems
- Optional: Roll the paper into a cone shape and “plant” in a small pot with shredded green paper
Pro tip: Do this on a weekend morning when you’re not rushed. My daughter’s preschool teacher did this with the whole class, and every mom still has theirs framed.
Video tutorial:
2. Fingerprint Heart Card
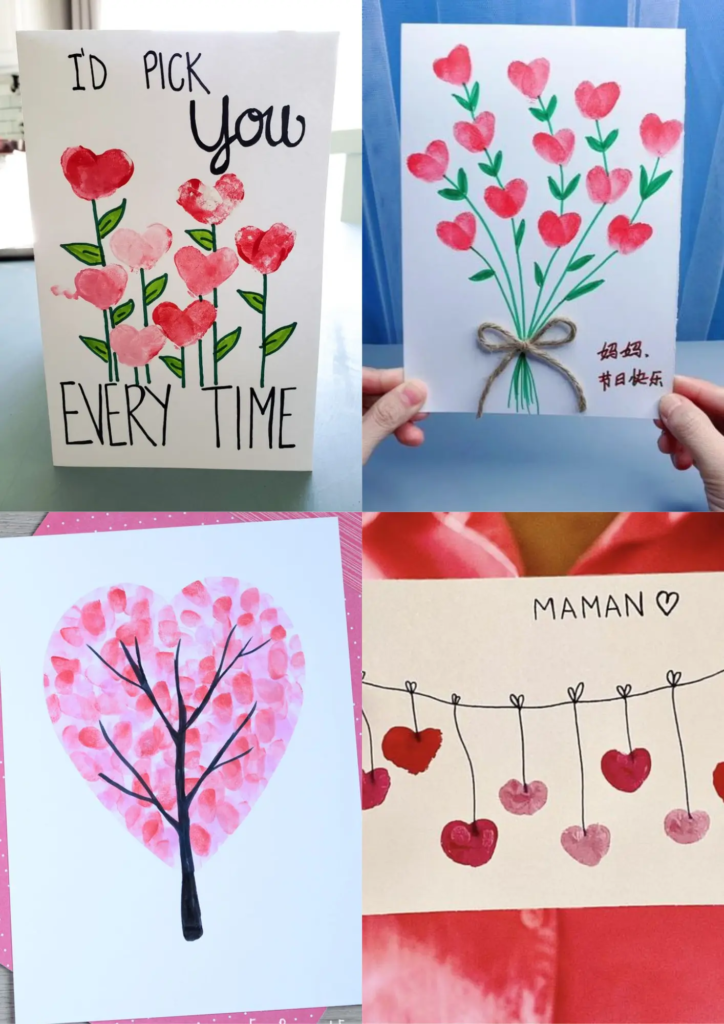
What it is: A simple card decorated with fingerprint hearts and a sweet message inside.
Why it works: Even 2-year-olds can make dots with their fingers. It’s foolproof and adorable.
What you need:
- Blank cards or folded cardstock
- Ink pads in red, pink, purple
- Markers
- Baby wipes for cleanup
How to make it:
- Fold cardstock in half to create a card
- Have your child press their fingertip onto an ink pad
- Make two fingerprints side by side at an angle (forming a heart shape)
- Repeat all over the front of the card
- Write “Made with love” or “Happy Mother’s Day” on the front
- Inside, write a message from the child
Pro tip: Practice the heart shape on scrap paper first. It takes a few tries to get the angle right.
3. Painted Flower Pot
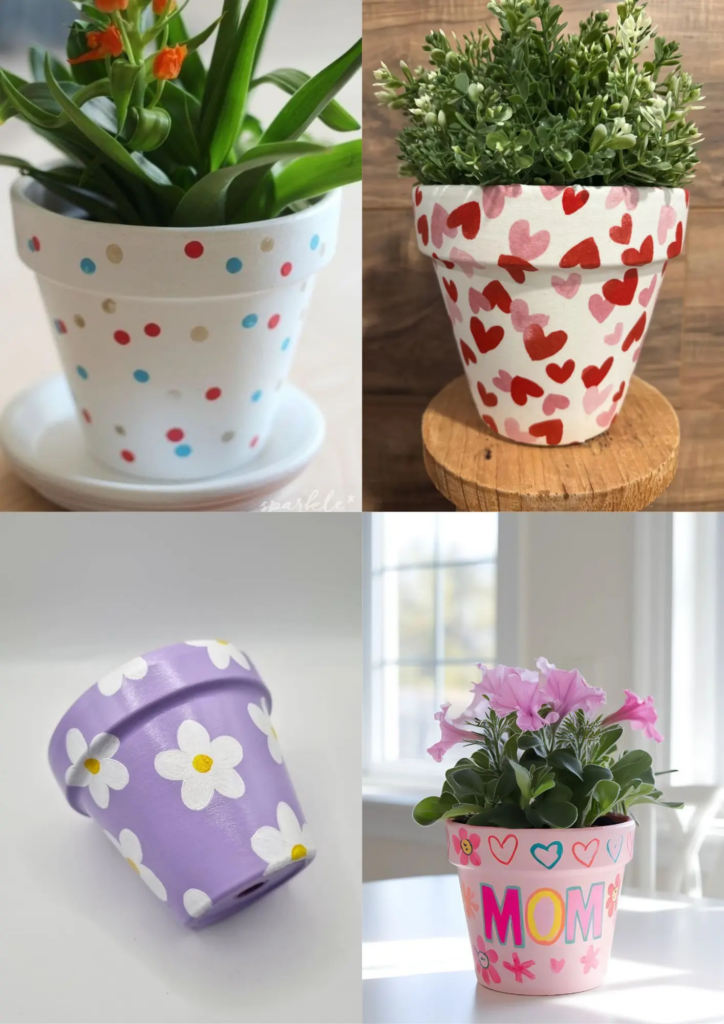
What it is: A small terracotta pot decorated with paint and filled with flowers or a plant.
Why it works: It’s functional, adorable, and grandmas love having plants from the grandkids.
What you need:
- Small terracotta pot
- Acrylic paint
- Paintbrushes
- Clear acrylic sealer spray (for adults to apply)
- Small plant or flowers
How to make it:
- Let your child paint the outside of the pot however they want (abstract is perfect!)
- Add fingerprints, handprints, or their name
- Let dry completely (overnight is best)
- Spray with sealer (adults only, do this outside)
- Once dry, fill with soil and a small plant
Pro tip: Succulents are great for this because they’re hard to kill. We’ve also done herbs like basil — grandma loved having “cooking herbs from the grandkids.”
4. Paper Plate Flower Wreath
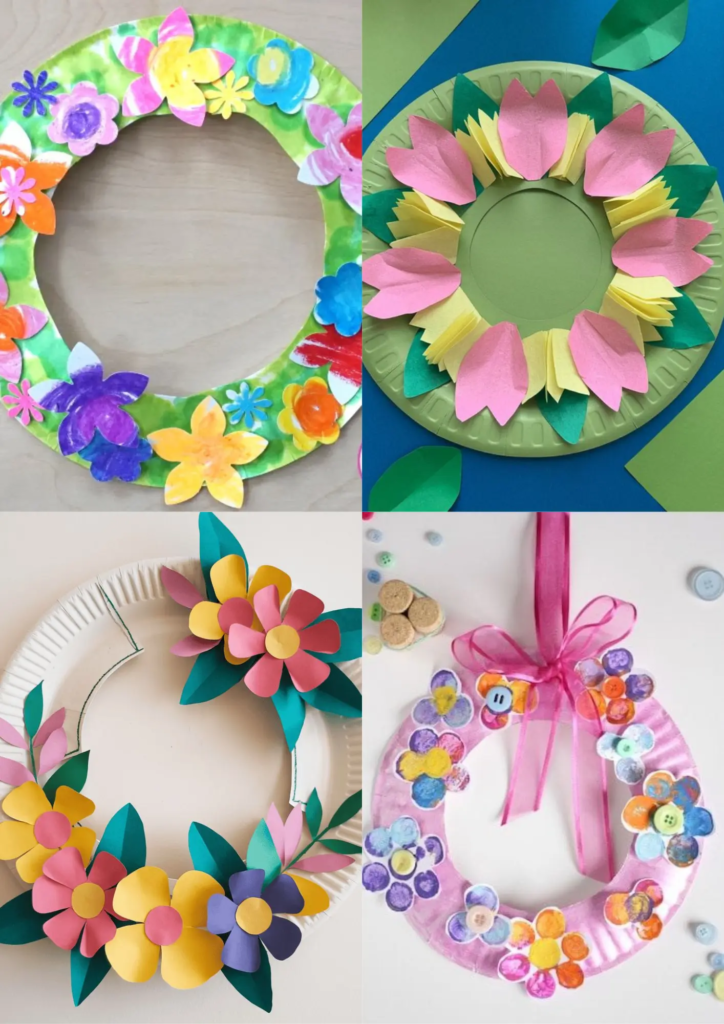
What it is: A paper plate turned into a flower wreath with tissue paper flowers.
Why it works: Toddlers can crumple tissue paper and glue — that’s the whole craft. Easy win.
What you need:
- Paper plate
- Tissue paper (multiple colors)
- Glue stick
- Ribbon
- Scissors
How to make it:
- Cut the center out of the paper plate, leaving a ring
- Cut tissue paper into squares (about 3×3 inches)
- Have your child crumple each square into a ball
- Glue tissue paper balls all around the paper plate ring
- Attach a ribbon to the back for hanging
Pro tip: This takes longer than you think because toddlers want to crumple ALL the tissue paper. Set aside at least 30 minutes.
5. “Mom Fills My Heart” Handprint Art
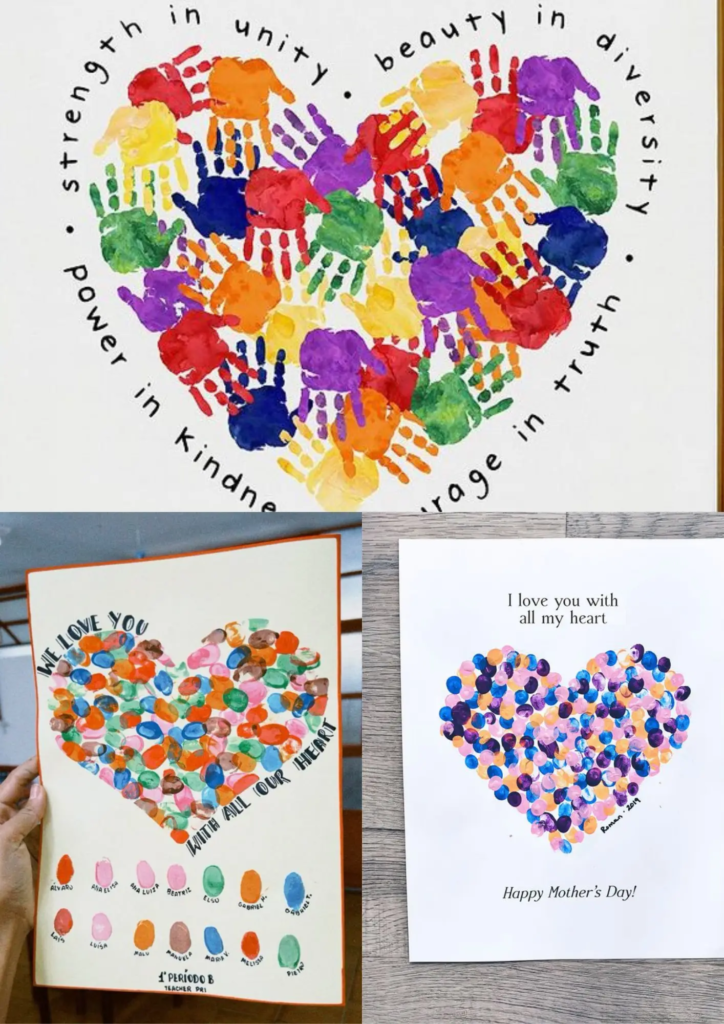
What it is: A canvas or paper with a big heart filled with the child’s handprints.
Why it works: It’s sweet, simple, and makes a great keepsake or wall art.
What you need:
- Canvas or thick paper
- Washable paint
- Marker or paint pen
How to make it:
- Draw a large heart outline on the canvas
- Paint your child’s hand and press multiple times inside the heart outline
- Use different colors for each handprint
- Let dry
- Write “Mom, you fill my heart” or something similar at the top
Pro tip: This is messy. Do it outside or lay down a plastic tablecloth. Trust me.
Ages 6-8: Early Elementary
This age group can handle more detailed work and loves feeling like they’re making “real” gifts. They also have opinions now, so let them choose colors and designs.
6. Shrinky Dink Keychain
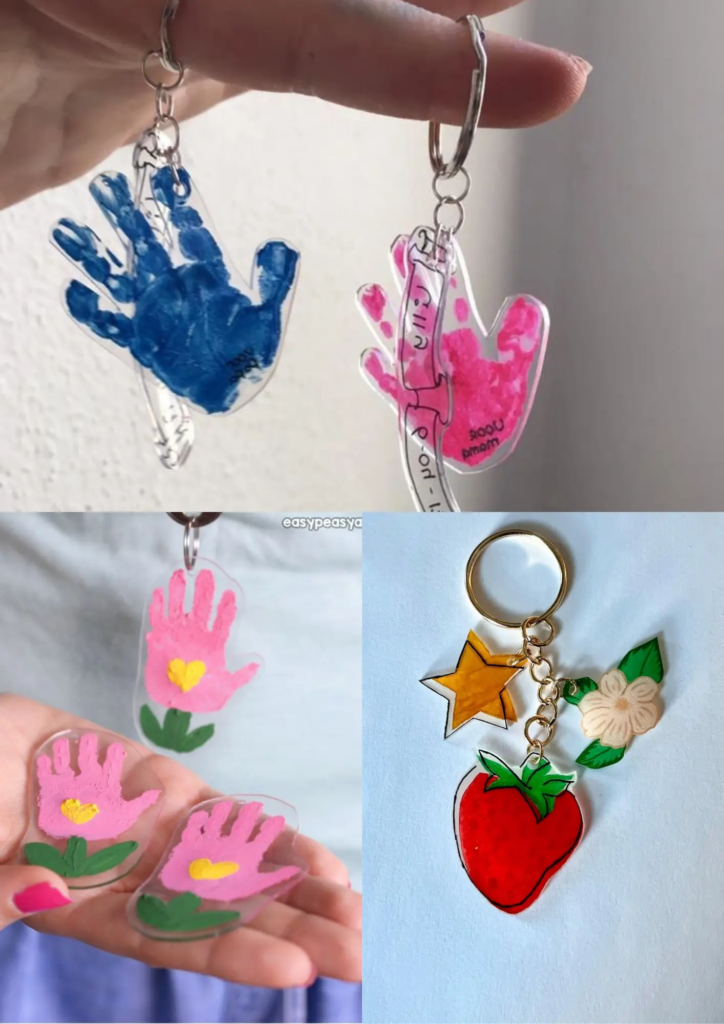
What it is: A hand-drawn design on special plastic that shrinks in the oven to create a custom keychain.
Why it works: Kids think it’s magic watching the plastic shrink. Plus, moms actually use keychains.
What you need:
- Shrinky Dink paper
- Permanent markers or colored pencils
- Hole punch
- Key rings
- Baking sheet
How to make it:
- Have your child draw a design on the shrinky dink paper (hearts, flowers, “Best Mom,” etc.)
- Cut out the design
- Punch a hole at the top (before shrinking!)
- Bake according to package directions (usually 325°F for 3-5 minutes)
- Watch it shrink (kids love this part)
- Once cool, attach to a key ring
Pro tip: The design will shrink to about 1/3 the original size, so draw bigger than you think you need. Also, colors get more vibrant after shrinking.
Video tutorial: Shrinky Dink Keychain Tutorial
7. Photo Memory Jar
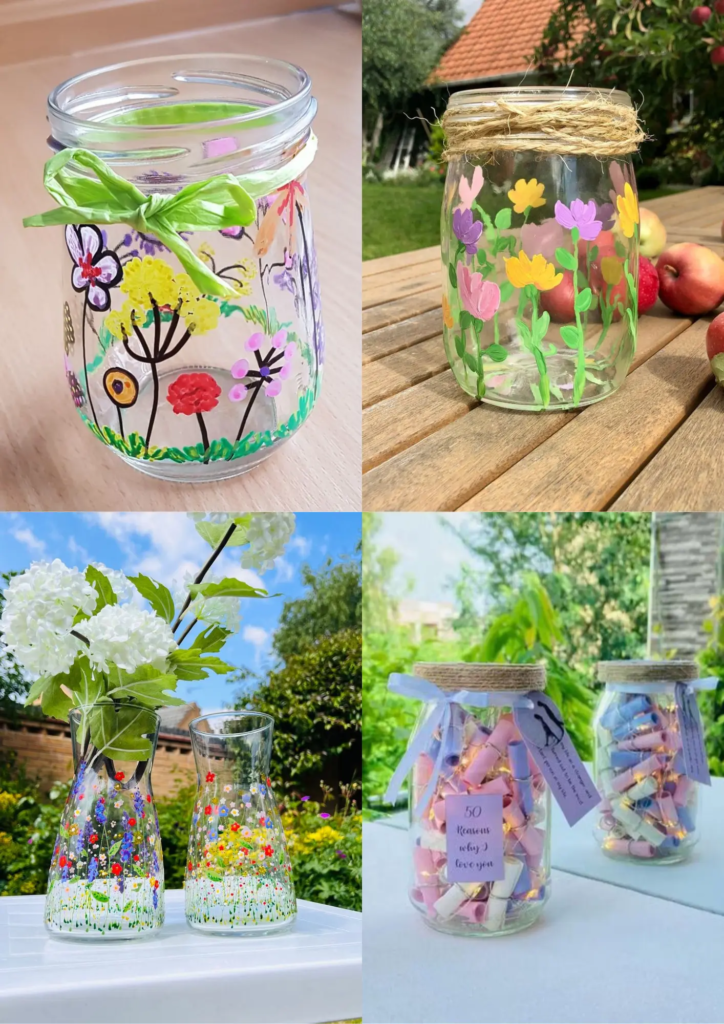
What it is: A mason jar decorated with photos and filled with written memories or reasons “I love you.”
Why it works: It’s sentimental without being complicated. Moms keep these forever.
What you need:
- Mason jar (16 oz works well)
- Printable photo sticker paper
- Photos of the kids
- Colorful paper strips
- Markers
- Ribbon
How to make it:
- Print photos onto sticker paper and stick them around the outside of the jar
- Cut colorful paper into strips
- Have your child write “I love you because…” statements on each strip
- Fold strips and fill the jar
- Tie a ribbon around the top
Pro tip: Help younger kids with spelling, but let them write it themselves — the wobbly handwriting is part of the charm.
8. Painted Rock Garden Markers
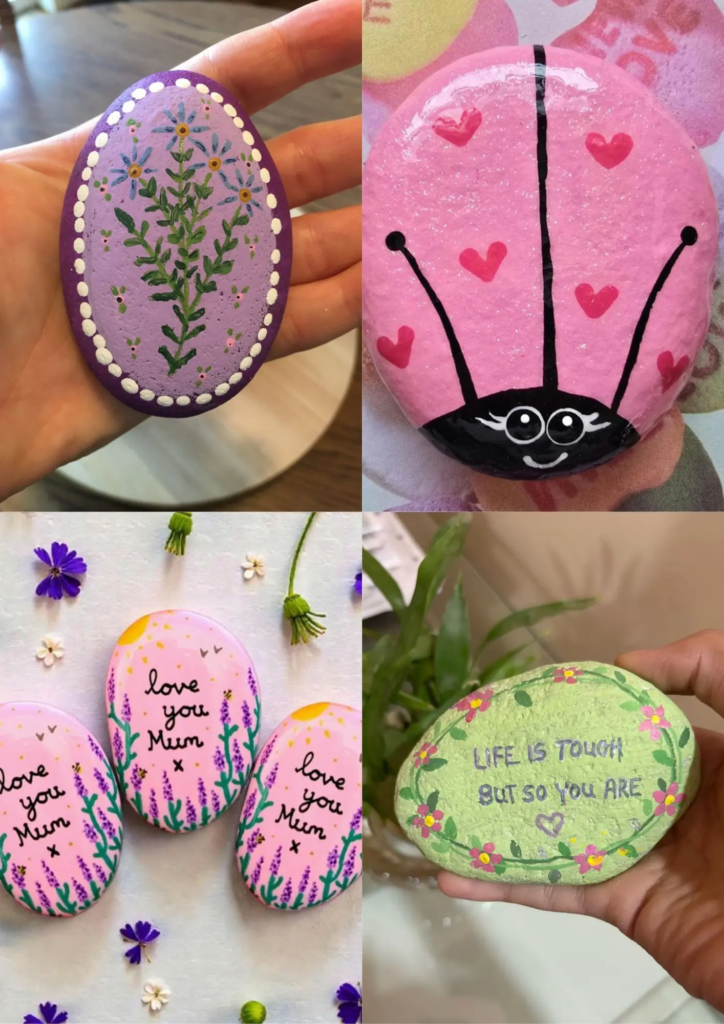
What it is: Smooth rocks painted as flowers, then placed in a small pot as a “forever garden.”
Why it works: No dead flowers, ever. Plus, painting rocks is fun and forgiving.
What you need:
- Smooth rocks (2-3 inches)
- Acrylic paint
- Paintbrushes
- Clear sealer spray
- Small flower pot
- Green wooden dowels or sticks
- Hot glue (adult supervision)
How to make it:
- Paint each rock to look like a flower (simple circles with petals work great)
- Let dry completely
- Spray with clear sealer
- Hot glue each rock to the top of a wooden dowel
- “Plant” the stick flowers in a pot filled with sand or small stones
Pro tip: This is one we made last year and my MIL still has it on her kitchen windowsill.
9. Handprint Recipe Tea Towel
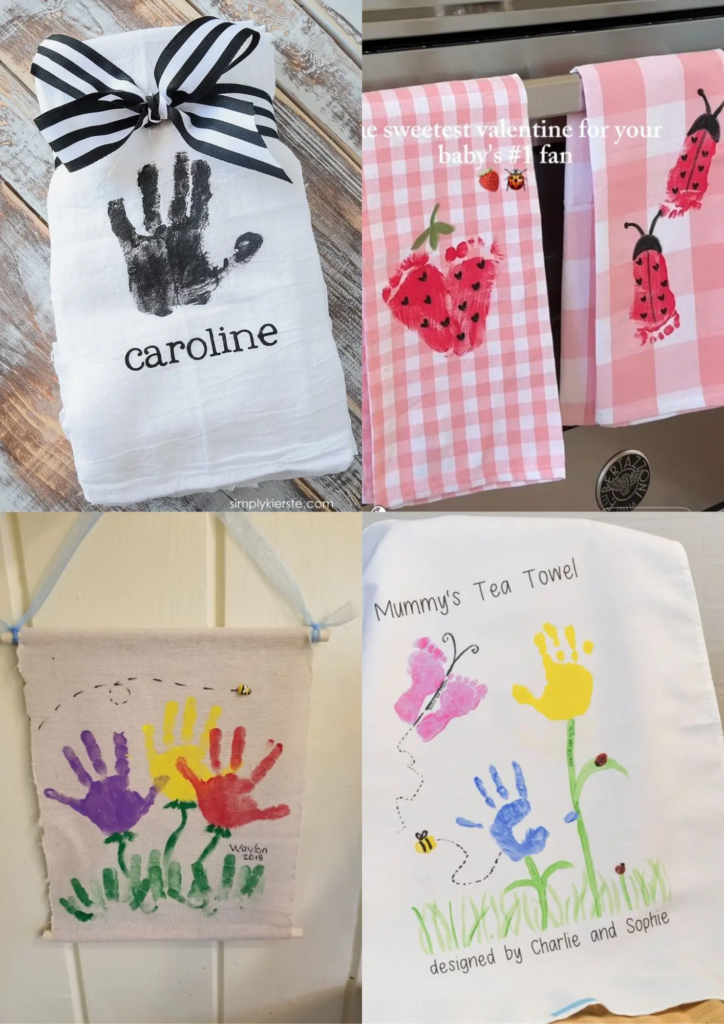
What it is: A plain kitchen towel decorated with handprints and a favorite family recipe.
Why it works: It’s functional and personal. Every time mom uses it, she thinks of the kids.
What you need:
- Plain white tea towel (flour sack style)
- Fabric paint or fabric markers
- Cardboard (to put inside towel while painting)
How to make it:
- Place cardboard inside the towel to prevent paint bleeding through
- Have your child make handprints in one corner using fabric paint
- Let dry
- Write a favorite family recipe on the towel with fabric markers
- Heat-set according to paint instructions (usually iron on reverse)
Pro tip: Choose a simple recipe like “Grandma’s Chocolate Chip Cookies” or “Mom’s Famous Pancakes.” Keep it short.
10. Cupcake Liner Flower Bouquet
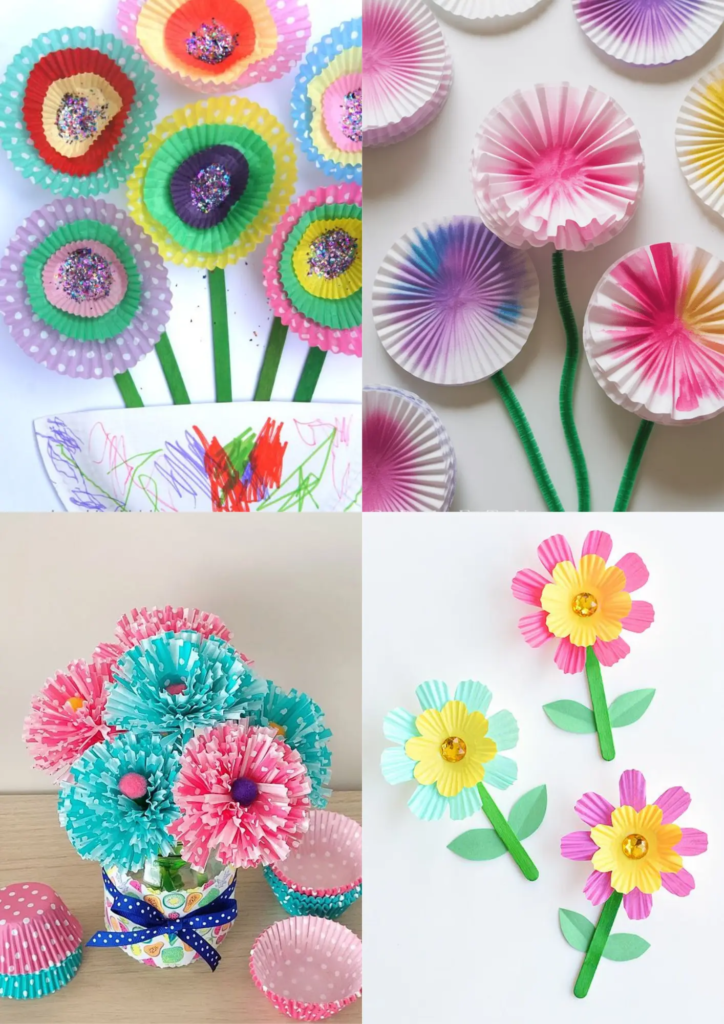
What it is: Paper flowers made from cupcake liners, pom poms, and pipe cleaners.
Why it works: It’s crafty but not complicated, and the result actually looks good.
What you need:
- Colorful cupcake liners
- Pom poms (small, for flower centers)
- Green pipe cleaners
- Glue
- Small vase
How to make it:
- Flatten cupcake liners
- Poke a pipe cleaner through the center of a liner
- Glue a pom pom to the center (covering the pipe cleaner hole)
- Bend the pipe cleaner at the bottom to keep the liner in place
- Make several flowers
- Arrange in a small vase
Pro tip: Layer 2-3 liners per flower for a fuller look.
Video tutorial: Cupcake Liner Flowers
Ages 9-11: Older Kids & Tweens
This age group wants to make something impressive. They have the patience for more detailed projects and care about the final result looking good.
11. Clay Flower Mirror (Viral TikTok Craft)
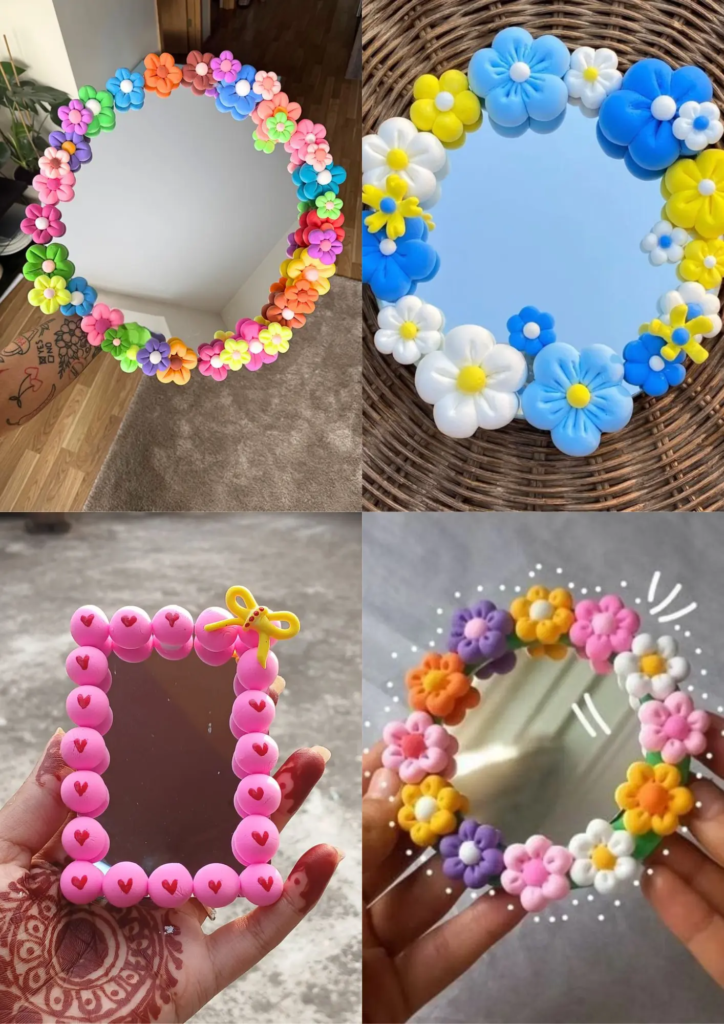
What it is: A small mirror decorated with handmade clay flowers around the edge.
Why it works: This is THE trending Mother’s Day craft on TikTok right now. It looks professional, and tweens love making viral crafts.
What you need:
- Small round mirror (6-8 inches)
- Air dry foam clay (multiple colors) — must be FOAM clay, not regular
- Acrylic paint (optional, for coloring)
- Toothpicks (for shaping petals)
- Hot glue gun
How to make it:
- Make small clay flowers: roll clay into balls, flatten, and use toothpick to create petal texture
- Let flowers dry completely (24-48 hours)
- Optional: paint flowers with acrylic paint
- Arrange flowers around the mirror edge
- Hot glue each flower to the mirror
Pro tip: This takes TIME. My daughter spent two weeks making flowers before assembling. Start early. Also, foam clay is lighter than regular clay, which is important for keeping flowers attached to the mirror.
Video tutorials:
12. Personalized Recipe Book
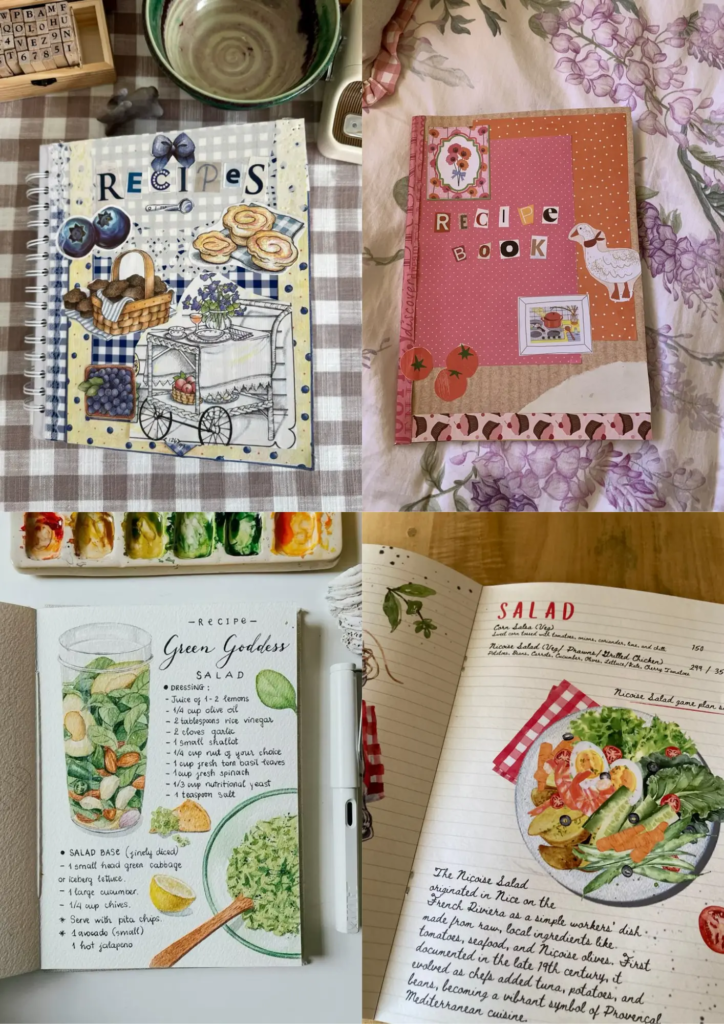
What it is: A handmade book filled with family recipes, photos, and notes.
Why it works: Older kids can do research (asking family for recipes), design pages, and create something truly useful.
What you need:
- Blank recipe book or scrapbook
- Printed photos
- Markers, pens, colored pencils
- Decorative washi tape
- Glue stick
How to make it:
- Ask mom (or grandma) for her favorite recipes
- Have your child write or print each recipe on a page
- Add photos of the finished dishes (or family photos from times you made it together)
- Decorate each page with drawings, stickers, or washi tape
- Include personal notes like “I love when you make this” or “This reminds me of…”
Pro tip: Don’t try to do this in one day. Work on it over a week, doing 2-3 recipes per day.
13. Macrame Plant Hanger
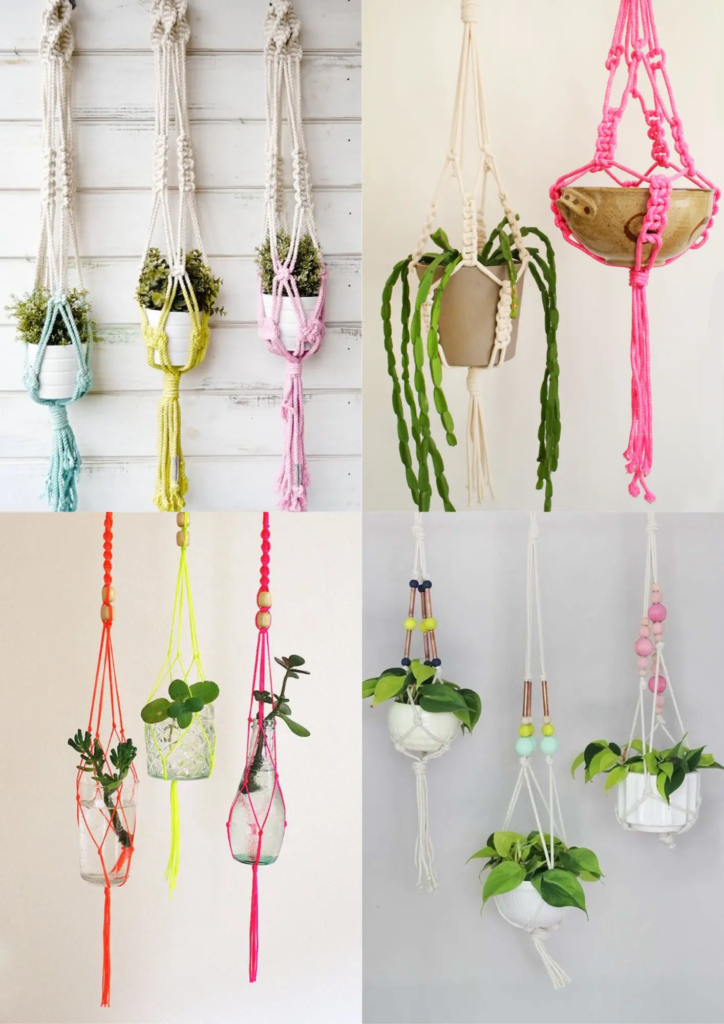
What it is: A simple macrame plant hanger using basic knots.
Why it works: Macrame is trending, plant moms love it, and tweens can learn basic knots in an afternoon.
What you need:
- Macrame cord (3-4mm thickness)
- Metal or wooden ring (1-2 inch diameter)
- Scissors
- Small potted plant
How to make it:
- Cut 8 pieces of cord, each about 8 feet long
- Fold each piece in half and attach to the ring using a lark’s head knot
- Separate cords into 4 groups of 4 strands each
- Create square knots down each section (about 12-15 inches)
- Gather all cords together at the bottom and tie a large knot
- Trim ends evenly
- Place plant in the hanger
Pro tip: YouTube is your friend for learning knots. We watched a tutorial together and paused/replayed about 100 times. Worth it.
Video tutorial: Easy Macrame Plant Hanger for Beginners
14. Custom Photo Candle
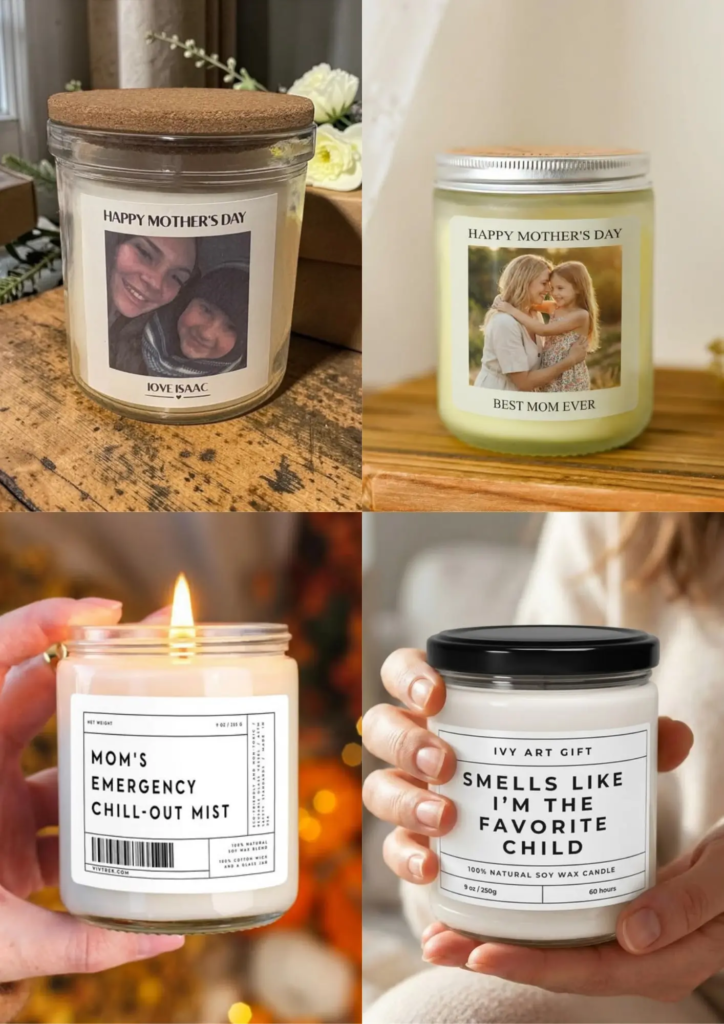
What it is: A pillar candle with a printed photo transferred onto the outside.
Why it works: It looks store-bought but is 100% handmade. Very Instagram-worthy.
What you need:
- White pillar candle (3×6 inch works well)
- Tissue paper
- Printed photo (laser printer, NOT inkjet — this is important)
- Hair dryer or heat gun
- Scissors
How to make it:
- Print a photo on regular paper using a laser printer
- Cut the photo to fit around the candle
- Wrap tissue paper around the candle
- Place the photo (printed side down) onto the tissue paper
- Use a hair dryer to heat the back of the photo — the heat transfers the ink
- Carefully peel away the paper, leaving the image on the candle
Pro tip: This is TRICKY. Practice on a cheap candle first. The temperature matters — too hot melts the candle, not hot enough and the image won’t transfer.
Video tutorial: Photo Candle Transfer Tutorial
15. Pressed Flower Frame
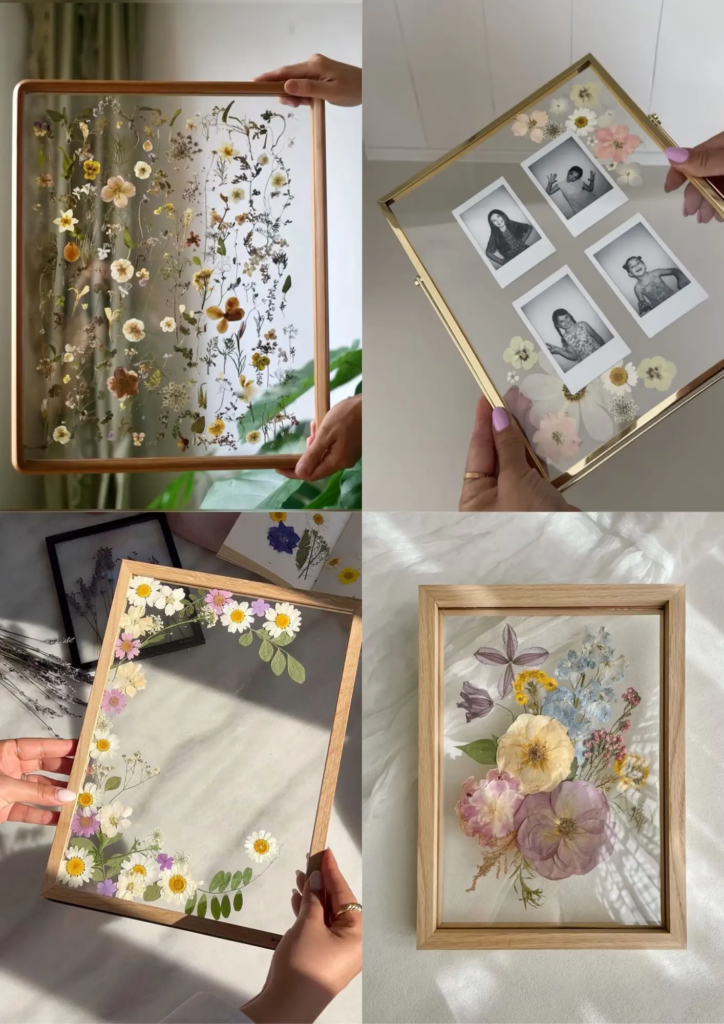
What it is: A clear glass frame with pressed flowers arranged inside for a botanical art piece.
Why it works: It’s elegant, timeless, and older kids can make design choices about flower placement.
What you need:
- Clear glass frame (8×10 with glass on both sides works best)
- Fresh flowers (collected 2-3 weeks before)
- Heavy books or flower press
- Parchment paper
- Tweezers
How to make it:
- Press flowers 2-3 weeks in advance: place between parchment paper and under heavy books
- Once fully dried, carefully arrange pressed flowers on the glass
- Once you like the arrangement, add the backing to the frame
- Seal frame
Pro tip: Start pressing flowers NOW if Mother’s Day is coming up. Pansies, daisies, and ferns press really well.
Supplies You’ll Need
Here’s a master list of supplies that cover most of these projects. Buy once, use for multiple crafts:
Basic Craft Supplies:
- Air dry clay (foam and regular)
- Acrylic paint set
- Washable paint for kids
- Paintbrushes variety pack
- Hot glue gun + glue sticks
- Mod Podge
Paper & Cardstock:
Specialty Items:
Tips for Crafting With Kids
After years of doing this, here’s what actually works:
Start early. Don’t wait until May 10th to start a project that takes a week. We usually start planning 2-3 weeks before Mother’s Day.
Embrace imperfection. The crooked letters, the paint that went outside the lines — that’s what makes it special. Don’t redo their work.
Let them lead. You’re the assistant, not the director. If they want the flowers purple instead of pink, let them be purple.
Protect your surfaces. I learned this the hard way. Use a plastic tablecloth or work outside.
Take breaks. If frustration sets in (for you OR the kid), stop for the day. Come back tomorrow.
Have a backup plan. Sometimes a project just doesn’t work. Keep a simple option (like a card) ready to go.
Make it about the time together. Yes, the gift is important. But the real gift is the time you spent making it together. My daughter won’t remember if the flowers were perfectly shaped. She’ll remember that we made them together while listening to music and laughing about something silly.
More Mother’s Day Ideas:
Mother’s Day Bouquet Guide: Order or DIY
DIY Mother’s Day Gift Basket: 12 Ideas for Every Budget
12 Mother’s Day Gifts for the Mom Who Has Everything
Frequently Asked Questions
Q: How far in advance should we start these projects?
A: For simpler projects (handprints, cards), 1 week is fine. For anything involving drying time (clay, pressed flowers), start 3-4 weeks before Mother’s Day. The clay flower mirror needs at least 2 weeks.
Q: What if my child doesn’t want to do crafts?
A: Don’t force it. Some kids aren’t crafty, and that’s okay. Maybe they’d prefer to help cook mom breakfast or write her a letter. The point is the thought, not the medium.
Q: Can I do multiple crafts or should we pick one?
A: Totally depends on your kid’s attention span and your schedule. For younger kids (2-5), one is plenty. Older kids might enjoy making a card AND a gift. My daughter usually does 2-3 small things total (one for me, one for each grandma).
Q: Where can I find video tutorials for these crafts?
A: YouTube is your best friend. Search “[craft name] + tutorial” and you’ll find dozens. For the viral clay flower mirror, TikTok has hundreds of tutorials — just search “clay flower mirror” on the app.
Q: What if we mess up?
A: That’s crafting with kids! Have extra supplies on hand, or just pivot to something simpler. The year my daughter spilled an entire jar of glitter, we called it “abstract art” and moved on.
Q: Are these crafts appropriate for boys too?
A: Absolutely. My neighbor’s son made the clay mirror last year and it turned out amazing. These crafts are for any kid who wants to make something special for their mom or grandma.
Q: What if we don’t have all the supplies?
A: Improvise! Can’t find foam clay? Use regular clay or even playdough (though it won’t dry permanently). No mason jars? Use recycled pasta sauce jars. The best crafts use what you have.
Q: Do dads really help with this stuff?
A: Mine does! He’s usually in charge of the hot glue gun and providing snacks. It’s actually become a sweet tradition for all three of us to work on gifts together.
Look, Mother’s Day gifts don’t have to be perfect. They don’t even have to be Pinterest-worthy (though the clay flower mirror might get you there).
What matters is that your kids spent time making something with their own hands, poured some love into it, and gave mom something she can’t buy in a store — a piece of their childhood captured in paint, clay, or glitter.
My mom still has the lumpy clay pot I made her when I was 7. It’s genuinely ugly. But she keeps pens in it on her desk, and every time I see it, I remember the afternoon we spent making it together.
That’s what these crafts are really about — not the thing itself, but the memory attached to it.
So pick a project, gather your supplies, put on some music, and make something together. Take photos of the process (the messy hands, the concentrated faces, the paint everywhere). Those photos matter just as much as the finished product.
And when your kid proudly hands over their handmade gift and says “I made this for you,” try not to cry.
(You’re going to cry anyway. We all do.)
Happy crafting, and happy Mother’s Day to all the moms out there who display our kids’ creations like museum pieces, even when they’re held together with three pounds of glitter glue. ❤️
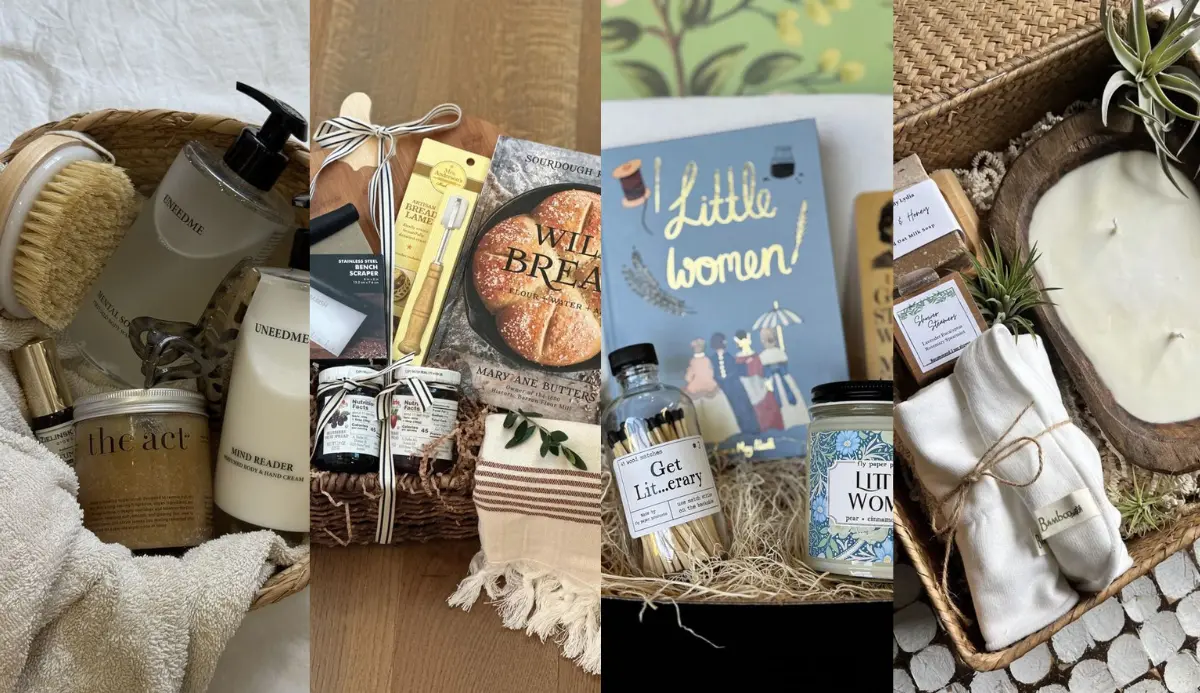
The art of gift basket making has been somewhat lost in our age of one-click shopping and two-day de
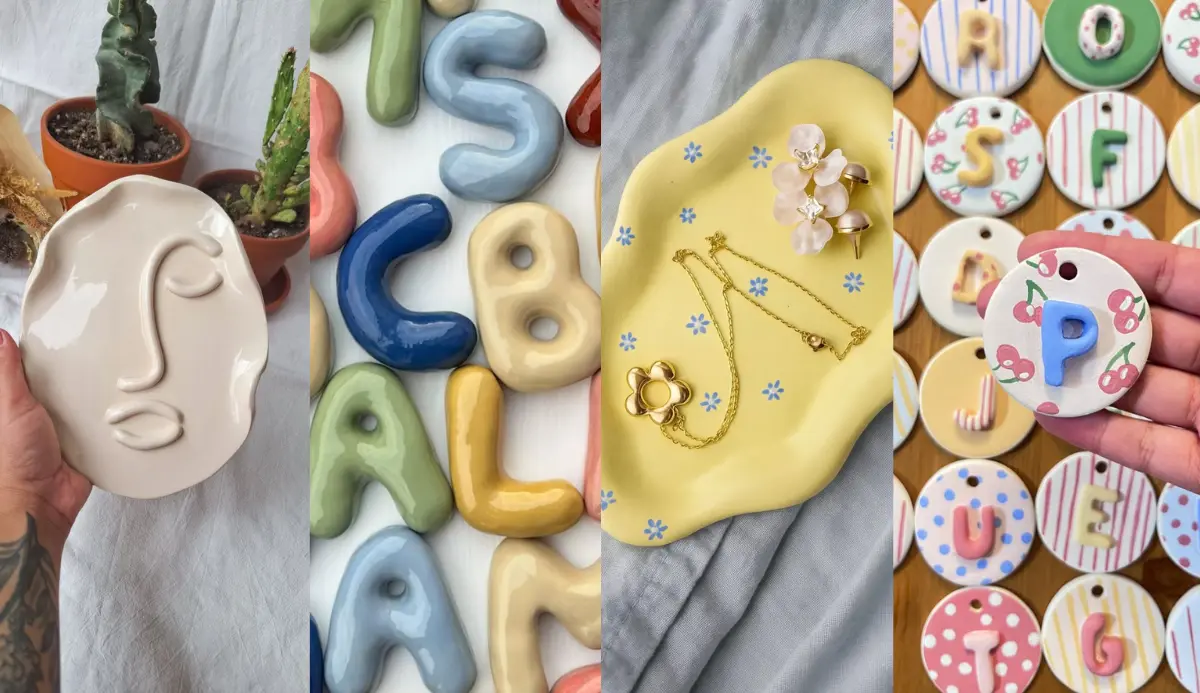
The air dry clay obsession has reached critical mass in 2026, and it’s not just another fleeti
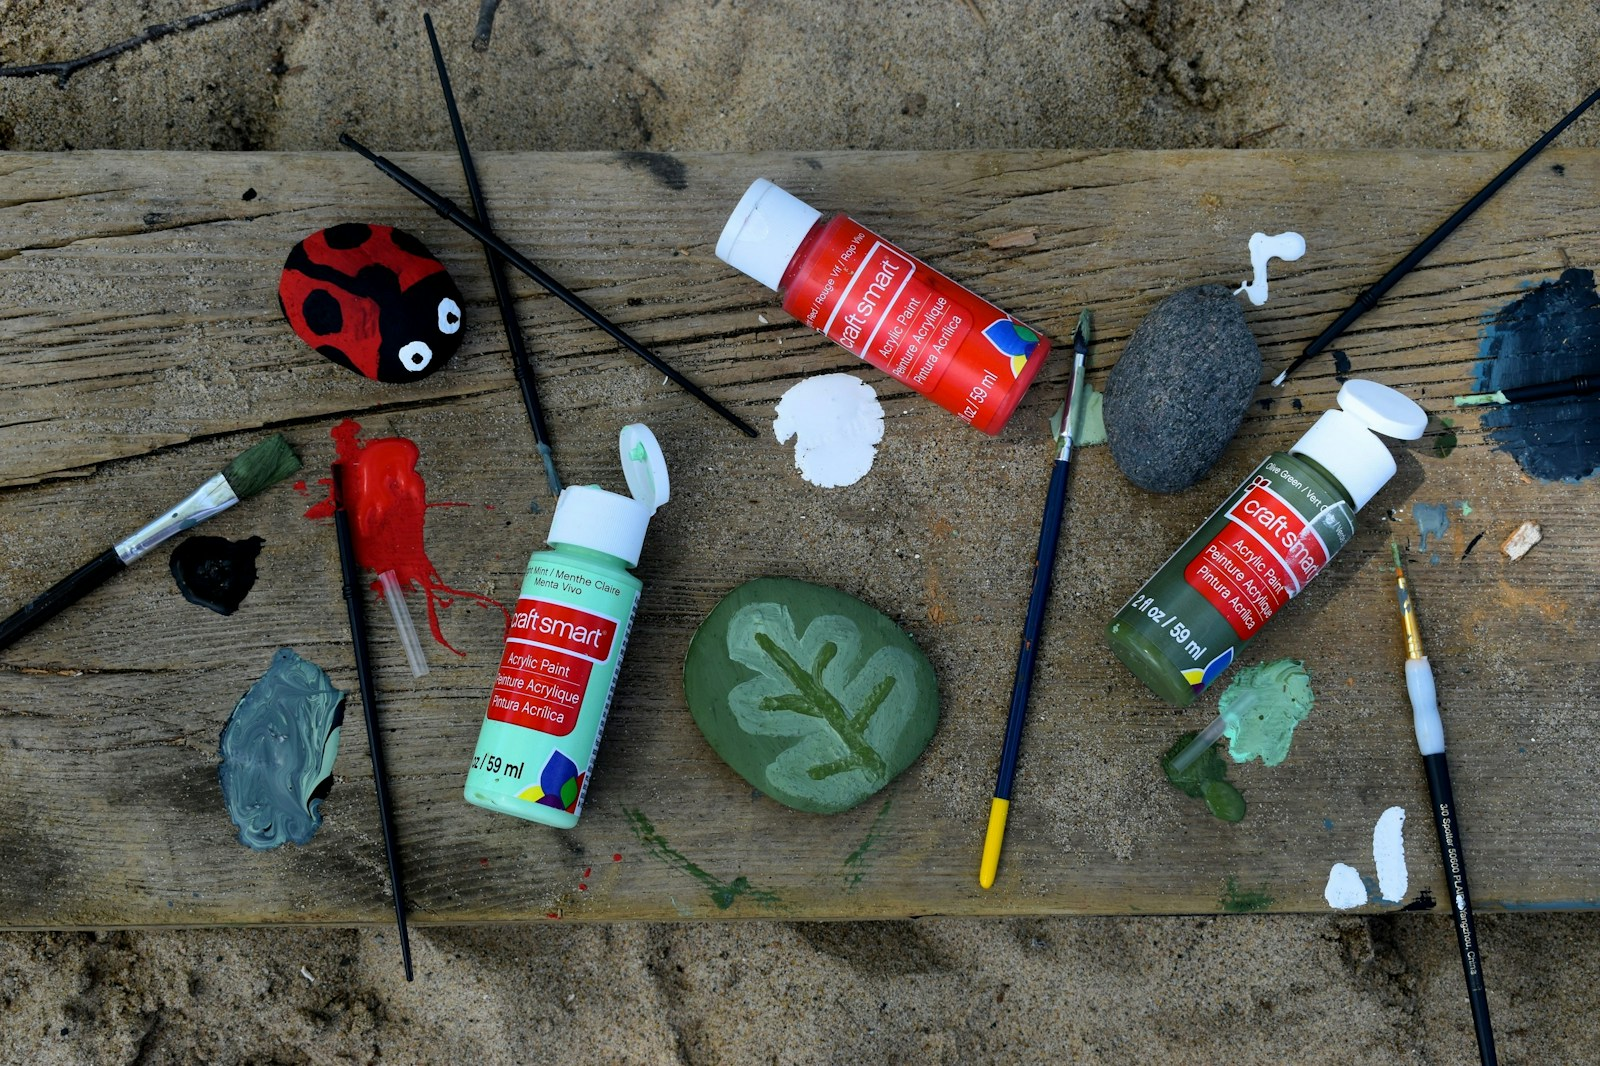
Last summer I watched my daughter spend 45 minutes collecting shells — the prettiest little ha
Leave a Reply