

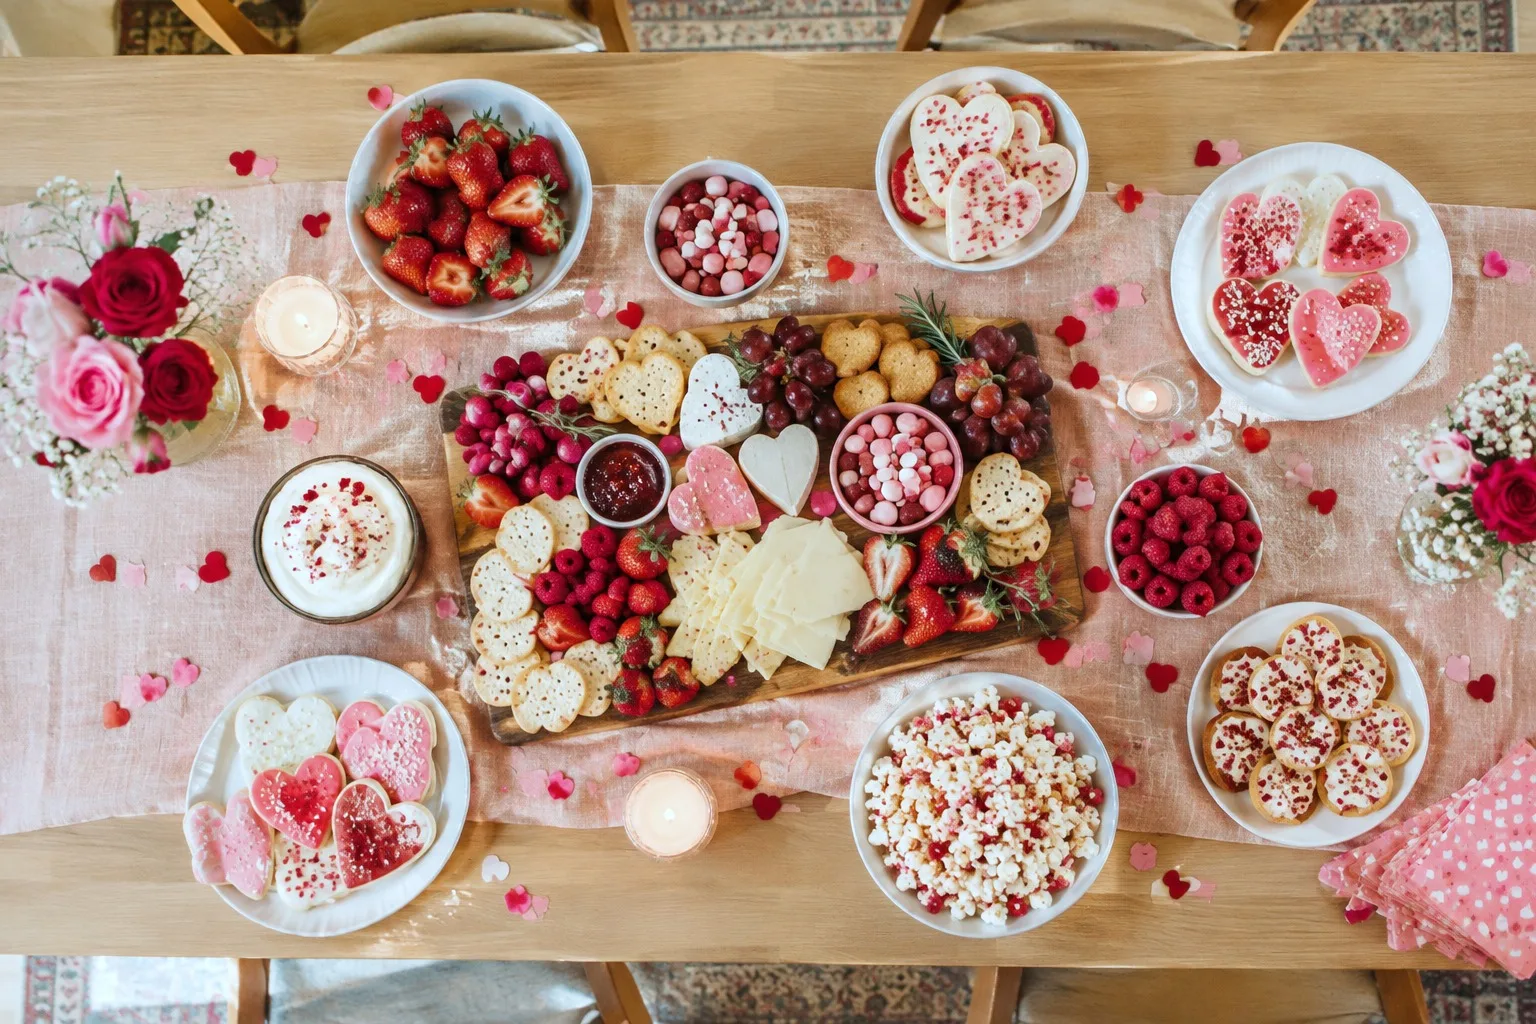
A Valentine’s spread does not need a theme park’s worth of planning. It needs a few things that are pink or red on sight, a few that are salty so nobody is sick of sugar by nine o’clock, and a table that lets people graze standing up with a drink in one hand.
These twenty cover both: chocolate dipped strawberries and cake pops for the sweet tooth, pepperoni pizza bites and a caprese skewer or two for the savory holdouts. Several lean on dairy, gluten, eggs or peanut butter, so flag that early if anyone at the table has a restriction and swap where the recipe allows it.
None of this needs a bar cart, so if you want something to pour alongside the platters, a round-up of party drinks everyone will ask you to make again covers that half of the table.
And if the evening runs past the last strawberry, there is a full list of Valentine’s Day ideas for every kind of celebration to keep it going.
This post contains affiliate links. If you buy through them, I may earn a small commission at no extra cost to you.
Table of Contents
- Valentine Snack Board
- Chocolate Covered Pretzel Rods with Sprinkles
- Cupid Crunch
- Chocolate Dipped Strawberries
- Heart Shaped Mini Tarts
- Caramel Pretzel Bites
- Strawberry Cheesecake Cups
- Heart Shaped Pepperoni Pizza Bites
- Raspberry White Chocolate Bark
- Strawberry Cream Cheese Danishes
- Red Velvet Cake Pops
- Pink Velvet Whoopie Pies
- Chocolate Peanut Butter Heart Cups
- Strawberry Shortcake Skewers
- Mini Caprese Skewers with Heart Tomatoes
- Prosciutto Wrapped Melon Hearts
- Pink Deviled Eggs
- Raspberry Brie Bites
- Strawberry Lemonade Fruit Dip
- Chocolate Covered Oreo Hearts
- Frequently Asked Questions
Valentine Snack Board
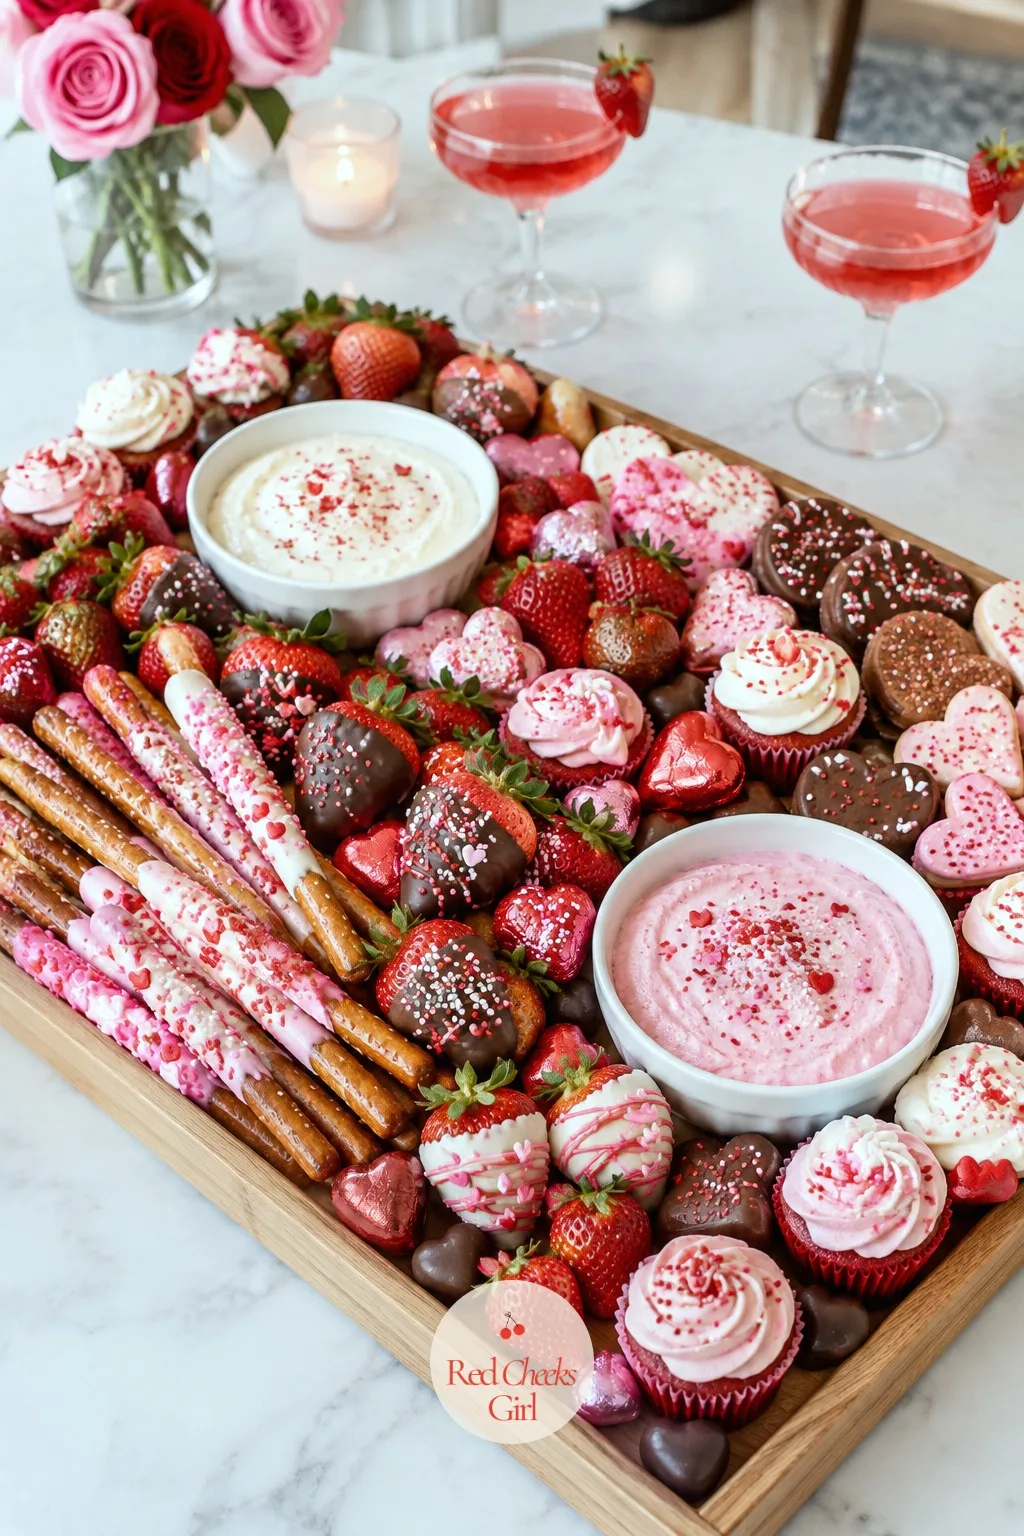
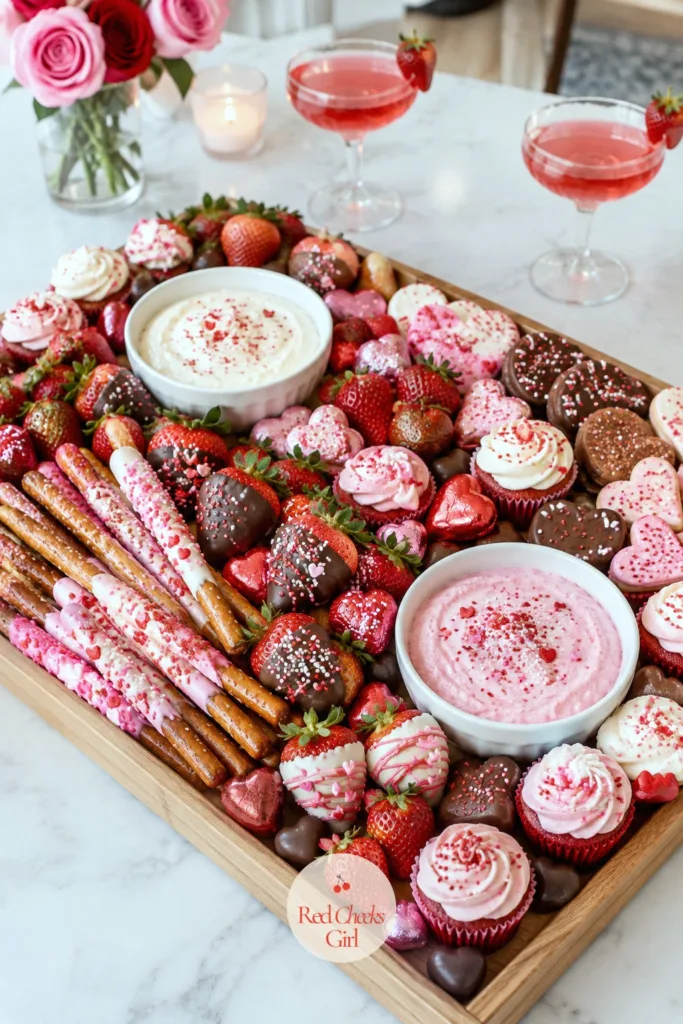
A snack board is the one item on this list that asks nothing of the oven and still looks like the main event. The trick is not the food, it is the gaps: leave none, and let two small bowls do the work of holding the loose things together.
Build it on the biggest flat surface in the kitchen, not the table, so you can shuffle pieces before anyone sees the attempt that did not land. Fill in color as you go rather than finishing one section at a time, so pink is never all in one corner.
Set the finished board down last, after the games table is cleared, since a board this full draws a crowd the second it lands. If the evening includes a few rounds after dinner, twenty Valentine’s Day party games everyone will love pairs well with a board people can pick at between turns.
Valentine Snack Board
Ingredients
- 1 pound fresh strawberries hulled
- 1 cup fresh raspberries
- 12 chocolate covered pretzel rods
- 1 cup pink and red candy coated chocolates
- 1 cup chocolate peanut butter cups unwrapped
- 1 cup pink yogurt covered pretzels
- 12 mini heart shaped shortbread cookies
- 1 cup dark chocolate bark broken into shards
- 8 mini cupcakes with pink frosting
- 1/2 cup marshmallow fluff for dipping
- 1/2 cup melted dark chocolate for dipping
- 1 wooden or marble board at least 16 inches across
Instructions
- Set the board on the counter, not the table, so you have room to shuffle pieces before guests arrive.
- Place two small bowls directly on the board, off center rather than symmetrical, and fill one with marshmallow fluff and one with melted chocolate for dipping.
- Arrange the strawberries in a loose fan along one long edge, leaves pointing outward, and tuck the raspberries into a small cluster beside them.
- Lay the pretzel rods in a row across the opposite edge, slightly overlapping like fallen dominoes so the sprinkles catch the light.
- Fill the remaining space in small clusters rather than long rows: a scoop of candy coated chocolates here, a stack of peanut butter cups there, cupcakes grouped by three.
- Tuck the chocolate bark shards and shortbread cookies into any gap that still shows board, working color across the whole surface rather than finishing one corner first.
- Carry the board to the table last, after it is fully built, and set it where people stand rather than where they sit, since this is a grazing piece, not a course.
Good to Know
🛍 Shopping guide
Chocolate Covered Pretzel Rods with Sprinkles
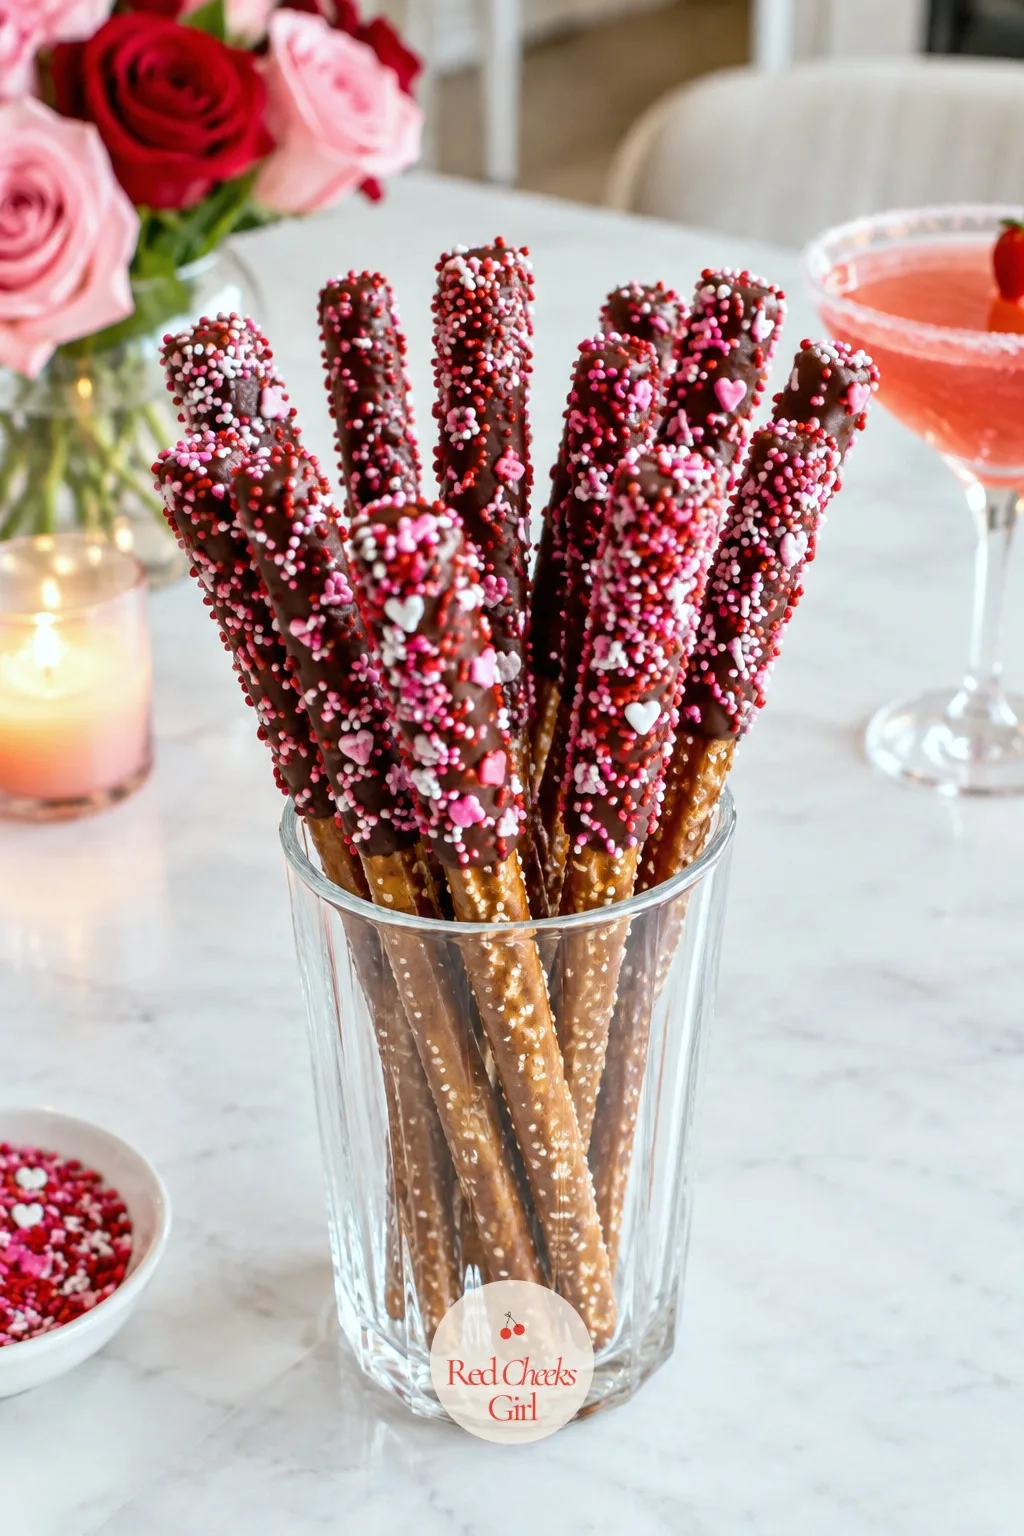
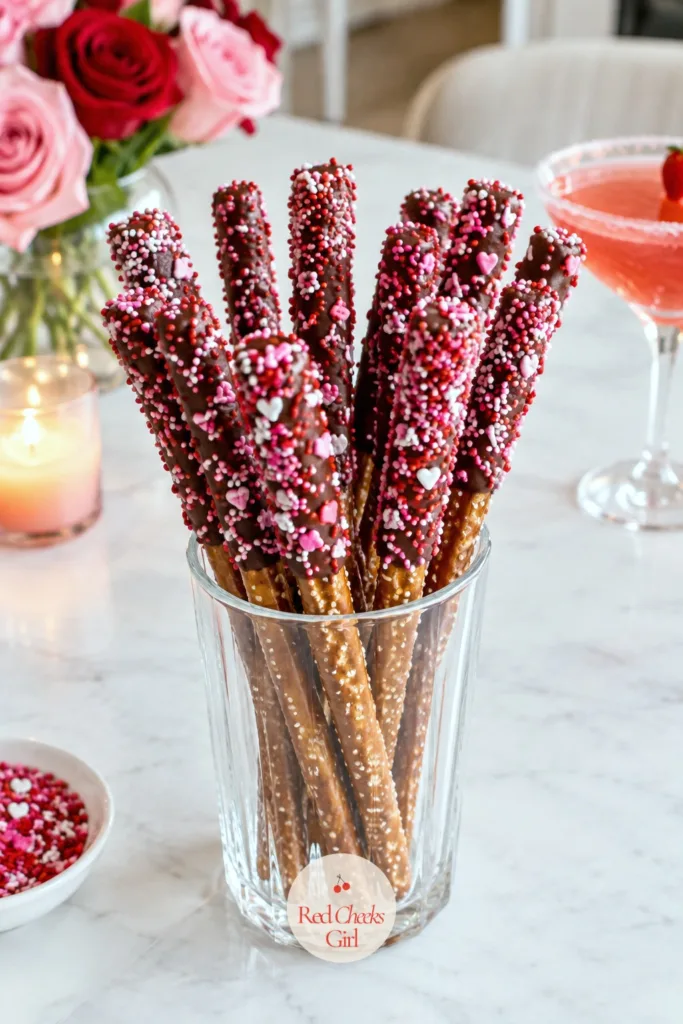
These are the easiest thing on the table and the first to disappear, which is the whole case for making a double batch. The salt from the pretzel against the sweet coating does the flavor work; your job is just to keep the chocolate thin enough that it snaps instead of cracking.
Work fast once the chocolate is melted, since it firms up as it cools, and have the sprinkles ready in a shallow dish before you dip the first rod. A fork or skewer laid across the bowl gives you somewhere to rest each rod while the excess chocolate drips off.
Stand them upright to set, point down, in a tall glass or a block of styrofoam with holes punched in, so the coating stays even all the way around. Once set, lean a dozen in a tall glass at the table, like flowers, rather than laying them flat where the sprinkles rub off on each other.
Chocolate Covered Pretzel Rods with Sprinkles
Ingredients
- 16 thick pretzel rods
- 1 1/2 cups chocolate melting wafers dark, milk or white
- 1/2 cup pink and red sprinkles
- 1/4 cup mini heart shaped candies for extra garnish
Instructions
- Line a baking sheet with parchment paper and set a tall drinking glass nearby for standing the finished rods upright.
- Pour the sprinkles and mini candies into two separate shallow bowls, wide enough to roll a pretzel rod through without crowding.
- Melt the chocolate wafers in a microwave safe bowl in 30 second bursts, stirring between each, until smooth and pourable like heavy cream, about 90 seconds total.
- Hold one pretzel rod by its bare end and dip the other two thirds into the melted chocolate, turning to coat all sides.
- Let the excess chocolate drip back into the bowl for a few seconds, then lay the rod on the lined baking sheet.
- While the chocolate is still wet, roll or sprinkle the coated section with sprinkles and press on a few mini candies for a cluster look.
- Repeat with the remaining rods, re-melting the chocolate for 15 seconds in the microwave if it starts to thicken.
- Let the rods set at room temperature for 20 minutes, or in the refrigerator for 8 minutes, until the chocolate is firm and no longer tacky to the touch.
Good to Know
🛍 Shopping guide
Cupid Crunch
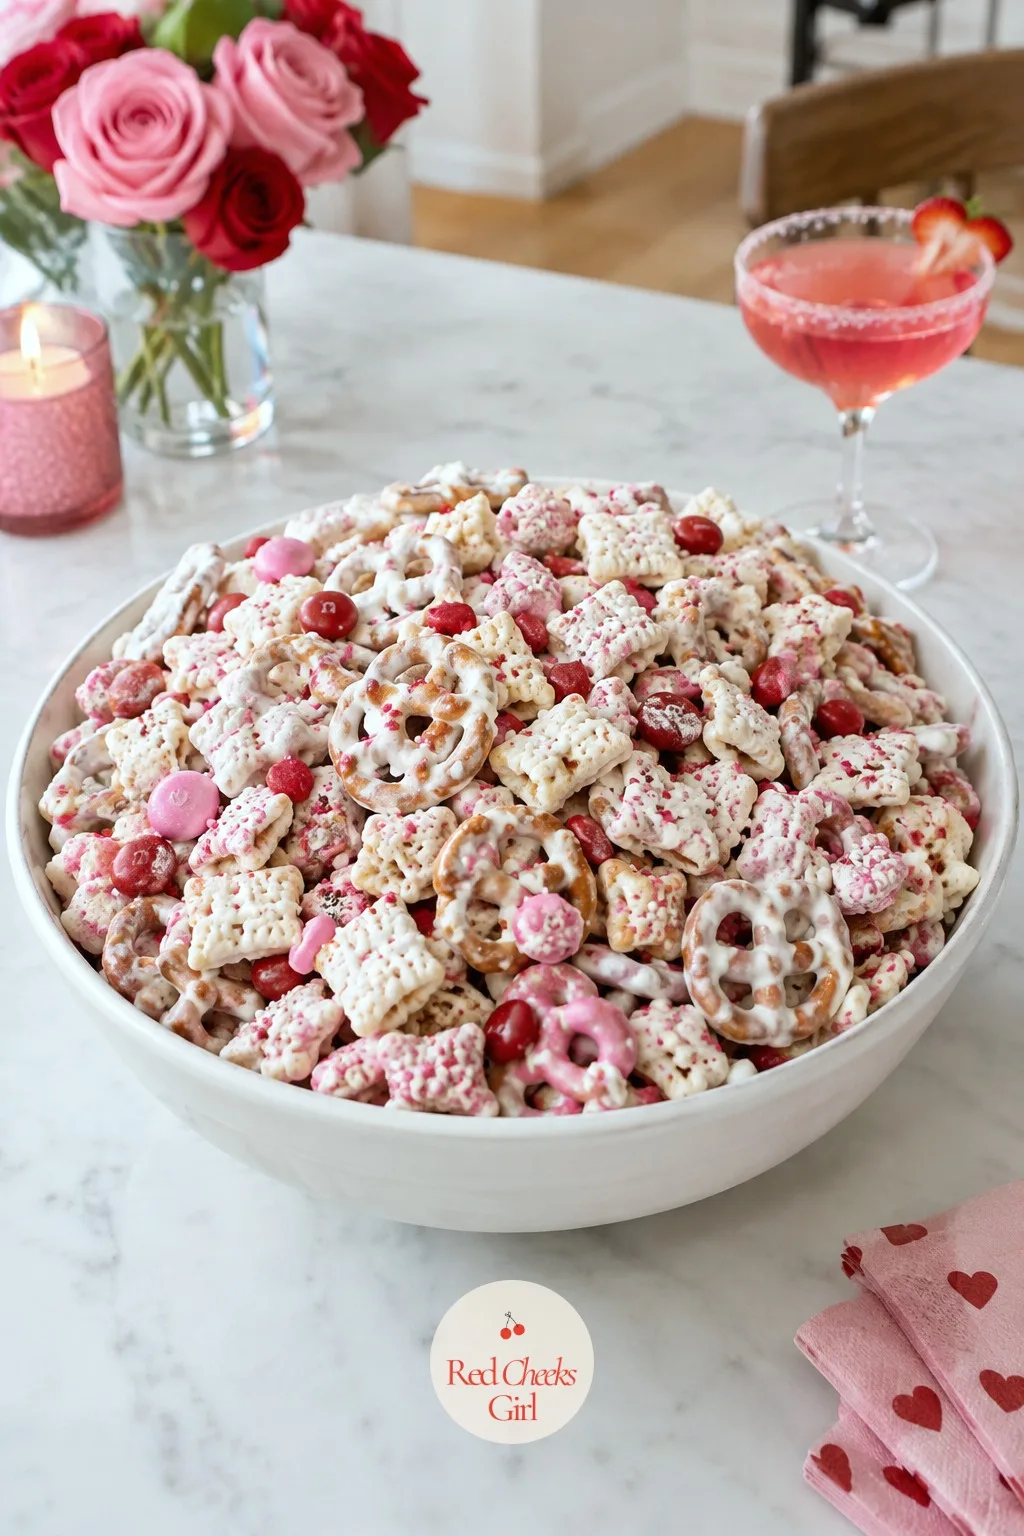
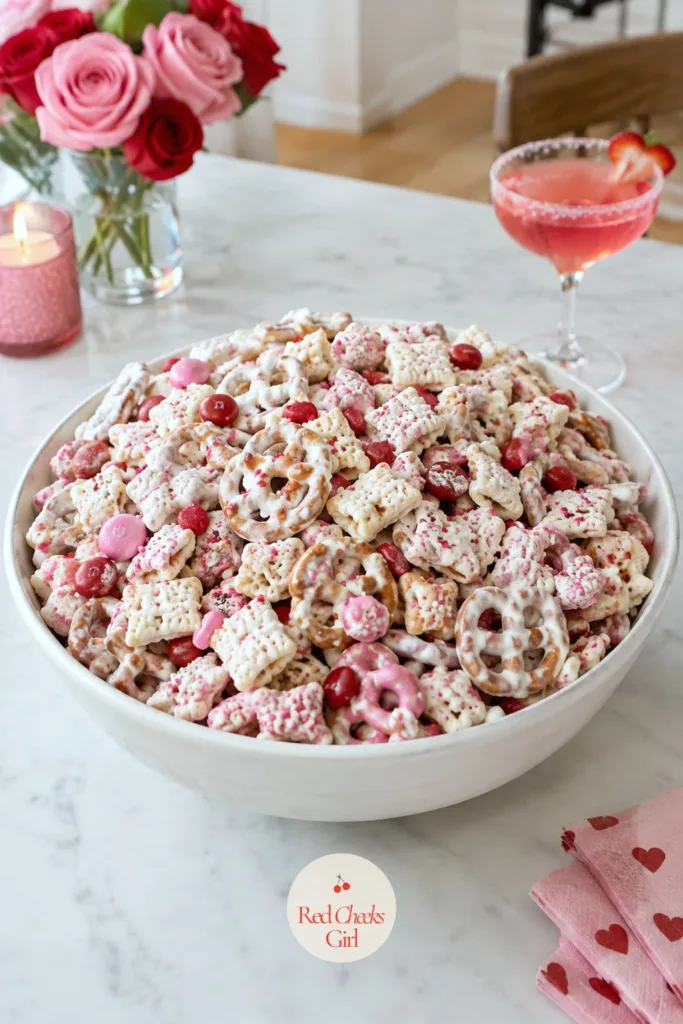
This is the bowl people keep walking back to without quite noticing they are doing it, because it is salty, sweet and a little different in every handful. It needs no oven and no real skill, only a big bowl and a willingness to pour the white chocolate on without being precious about it.
Spread it thin on the tray while it sets, not piled, so the coating hardens into crunchy clusters instead of one soft slab you have to crack apart. Once it is dry, breaking it up by hand gives you the uneven shards that make it look homemade rather than poured from a bag.
Serve it in a wide, shallow bowl rather than a deep one, so the color sits on top where it shows, and keep a small scoop in the bowl instead of tongs. It also packs well into little cellophane bags if anyone is taking some home.
Cupid Crunch
Ingredients
- 3 cups square rice cereal squares
- 2 cups mini pretzel twists
- 2 cups toasted oat cereal rings
- 1 cup pink and red candy coated chocolates
- 12 ounces white chocolate melting wafers
- 1/2 cup pink and red sprinkles
Instructions
- Line a large baking sheet with parchment paper and set it within reach of the stove.
- In a very large bowl, combine the rice cereal squares, pretzel twists and oat cereal rings, tossing gently so nothing crushes.
- Melt the white chocolate wafers in a microwave safe bowl in 30 second bursts, stirring between each, until smooth and pourable, about 2 minutes total.
- Pour the melted white chocolate over the cereal mixture and fold gently with a spatula until every piece is lightly coated and no dry patches remain.
- Scatter the candy coated chocolates over the top and fold once or twice more, just enough to distribute them without crushing the cereal.
- Spread the mixture in a thin, even layer across the lined baking sheet, breaking up any large clumps with the spatula.
- Scatter the sprinkles over the top while the coating is still wet, so they stick rather than roll off.
- Let the mixture set at room temperature for 15 minutes, or until the white chocolate is firm and no longer glossy, then break into irregular clusters by hand.
Good to Know
Chocolate Dipped Strawberries
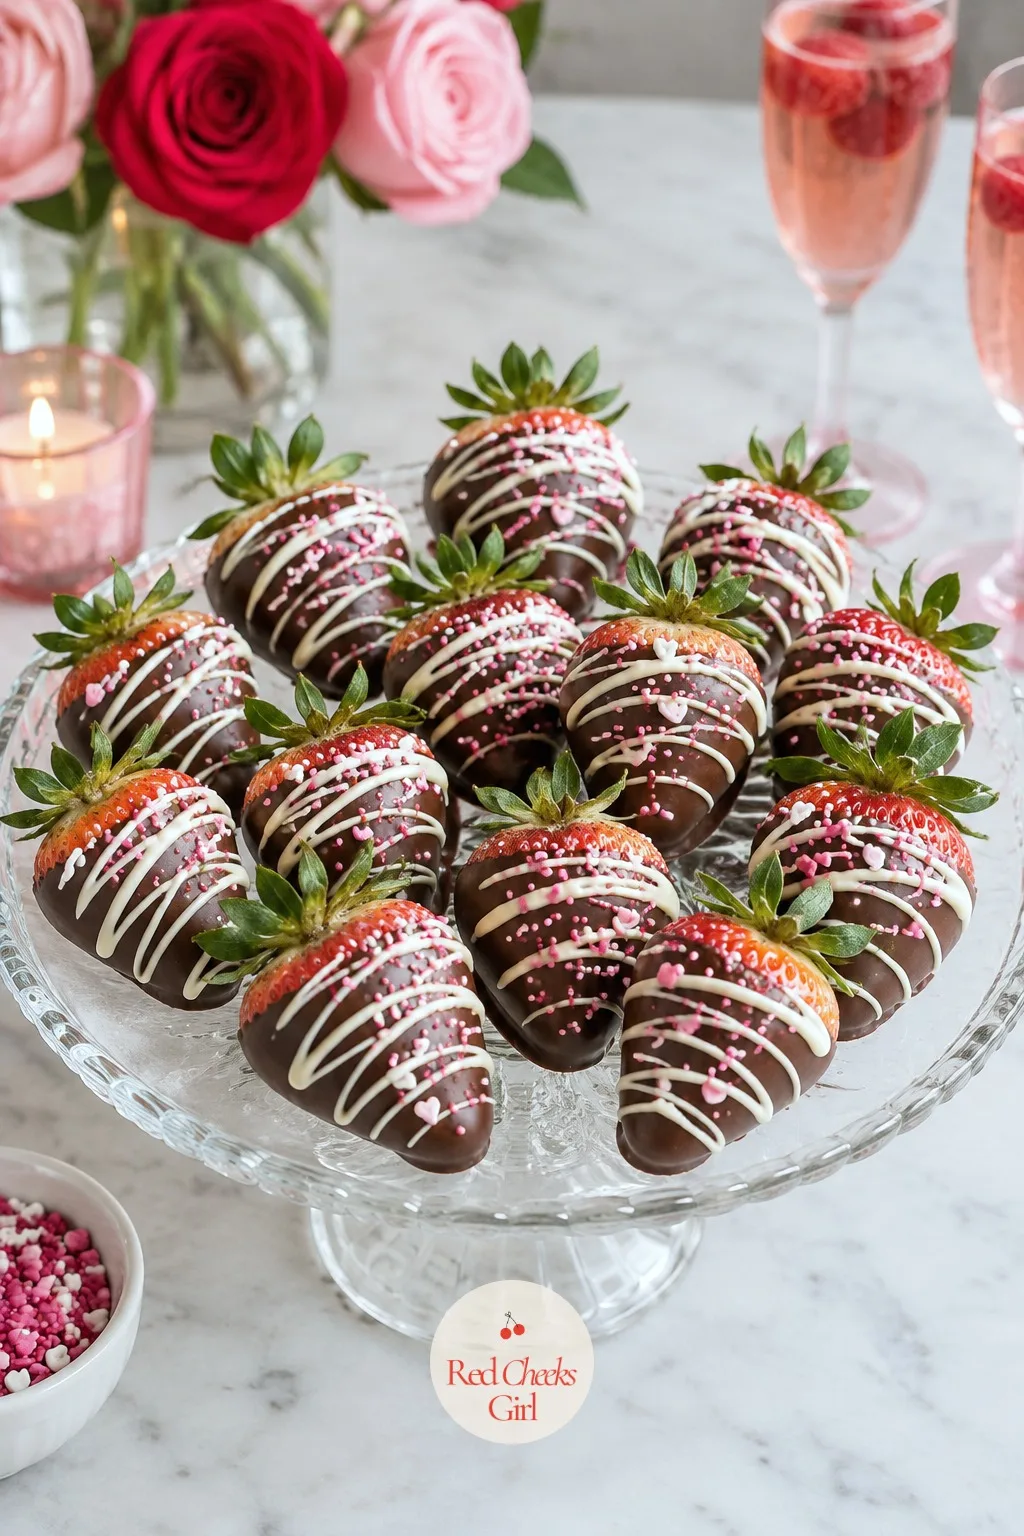
Everyone can make these, and everyone has seen a sad, weeping version at some point, so the fix is worth knowing before you start. Wet strawberries are the enemy: any moisture left on the skin will make the chocolate slide right off or turn cloudy as it sets.
Dry each berry completely with a paper towel before it goes anywhere near the chocolate, and let the chocolate cool slightly off the heat so it clings rather than pools at the base. Room temperature chocolate also holds a better shine than chocolate dipped straight from the double boiler.
Stand them upright on parchment to set, then arrange them stem up in a shallow glass bowl or a low cake stand so the dipped tips show rather than hide against each other. Serve them the same day you dip them; strawberries left wet overnight in the fridge will soften under the shell.
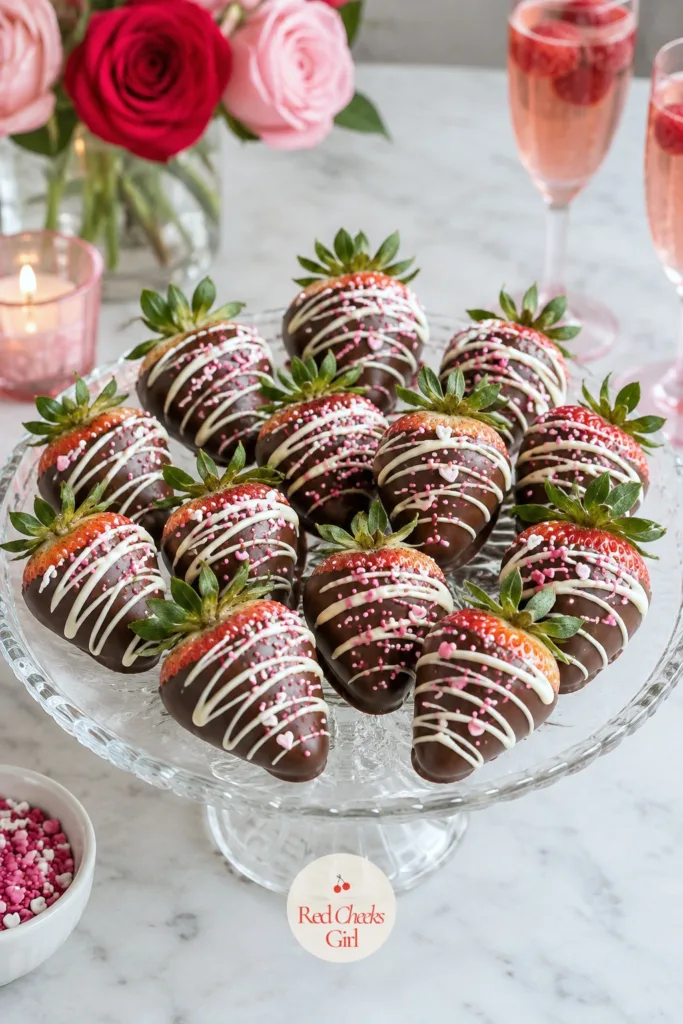
Chocolate Dipped Strawberries
Ingredients
- 16 large strawberries with stems
- 8 ounces semisweet chocolate chopped
- 4 ounces white chocolate chopped, for drizzle
- 2 tablespoons pink and red sprinkles
Instructions
- Line a baking sheet with parchment paper and rinse the strawberries under cool water, then pat each one completely dry with a paper towel, leaving no visible moisture.
- Let the strawberries sit at room temperature for 15 minutes so no condensation forms once they are near the warm chocolate.
- Melt the semisweet chocolate in a heatproof bowl set over a pan of barely simmering water, stirring until smooth, then remove from the heat and let it cool for 2 minutes.
- Hold each strawberry by the stem and dip it into the chocolate, twisting gently to coat about three quarters of the berry, leaving the top red.
- Let the excess chocolate drip off for a few seconds, then set the strawberry stem side up on the lined baking sheet.
- Melt the white chocolate the same way and drizzle it across the dipped strawberries with a spoon, then scatter sprinkles over the wet drizzle immediately.
- Let the strawberries set at room temperature for 20 minutes, or until the chocolate feels firm and dry to a light touch.
Good to Know
Heart Shaped Mini Tarts
These look like they came from a bakery case, and the secret is store-bought puff pastry doing the heavy lifting while you handle the shaping and the filling. The heart shape comes from a cookie cutter, not a steady hand, so there is nothing here to get wrong.
Watch the pastry in the last few minutes in the oven rather than trusting the timer alone: it is ready when the edges puff up into deep golden ridges and the centers look dry rather than pale and doughy. Underbaked pastry will sink the moment it cools.
Let them cool before adding the glaze, or it will slide straight off the warm pastry instead of sitting on top. Set them out on a flat plate in slightly overlapping rows, like a hand of cards, so the heart shapes read clearly from across the table.


Heart Shaped Mini Tarts
Ingredients
- 1 sheet puff pastry thawed
- 8 ounces cream cheese softened
- 1/4 cup granulated sugar
- 1 teaspoon vanilla extract
- 1 cup strawberries thinly sliced
- 2 tablespoons strawberry jam warmed
- 1 egg beaten, for egg wash
- Powdered sugar for dusting
Instructions
- Preheat the oven to 400 degrees Fahrenheit and line a baking sheet with parchment paper.
- Roll the puff pastry out lightly on a floured surface and cut out 10 hearts using a 3 inch heart shaped cutter.
- Using a smaller heart cutter or a paring knife, score a smaller heart inside each one, cutting only halfway through the pastry, to form a border that will puff up around the filling.
- Transfer the hearts to the lined baking sheet and brush the borders with the beaten egg.
- In a medium bowl, beat the cream cheese, sugar and vanilla together until smooth and no lumps remain.
- Spoon about a tablespoon of the cream cheese mixture into the center of each heart, staying inside the scored border.
- Fan 3 or 4 strawberry slices over the cream cheese on each tart.
- Bake for 14 to 16 minutes, until the borders are deep golden and puffed and the centers no longer look wet or doughy.
- Let the tarts cool on the pan for 10 minutes, then brush the strawberries lightly with the warmed jam for shine.
- Dust with powdered sugar just before serving.
Good to Know
Caramel Pretzel Bites
Salty, chewy, and done in under half an hour, this is the one to make when the oven is already on for something else. A pretzel square, a chocolate candy, and a few minutes of warmth is really the whole method.
Watch the oven window rather than stepping away: the candy is ready the moment it looks glossy and slightly slumped, not fully melted into a puddle. Press the topping on while it is still soft, since a candy left too long will crack rather than flatten under a thumb.
Let them set fully before moving them, or the caramel will smear. Pile them into a low bowl rather than a flat plate, so the shine of the chocolate catches the light from every angle.
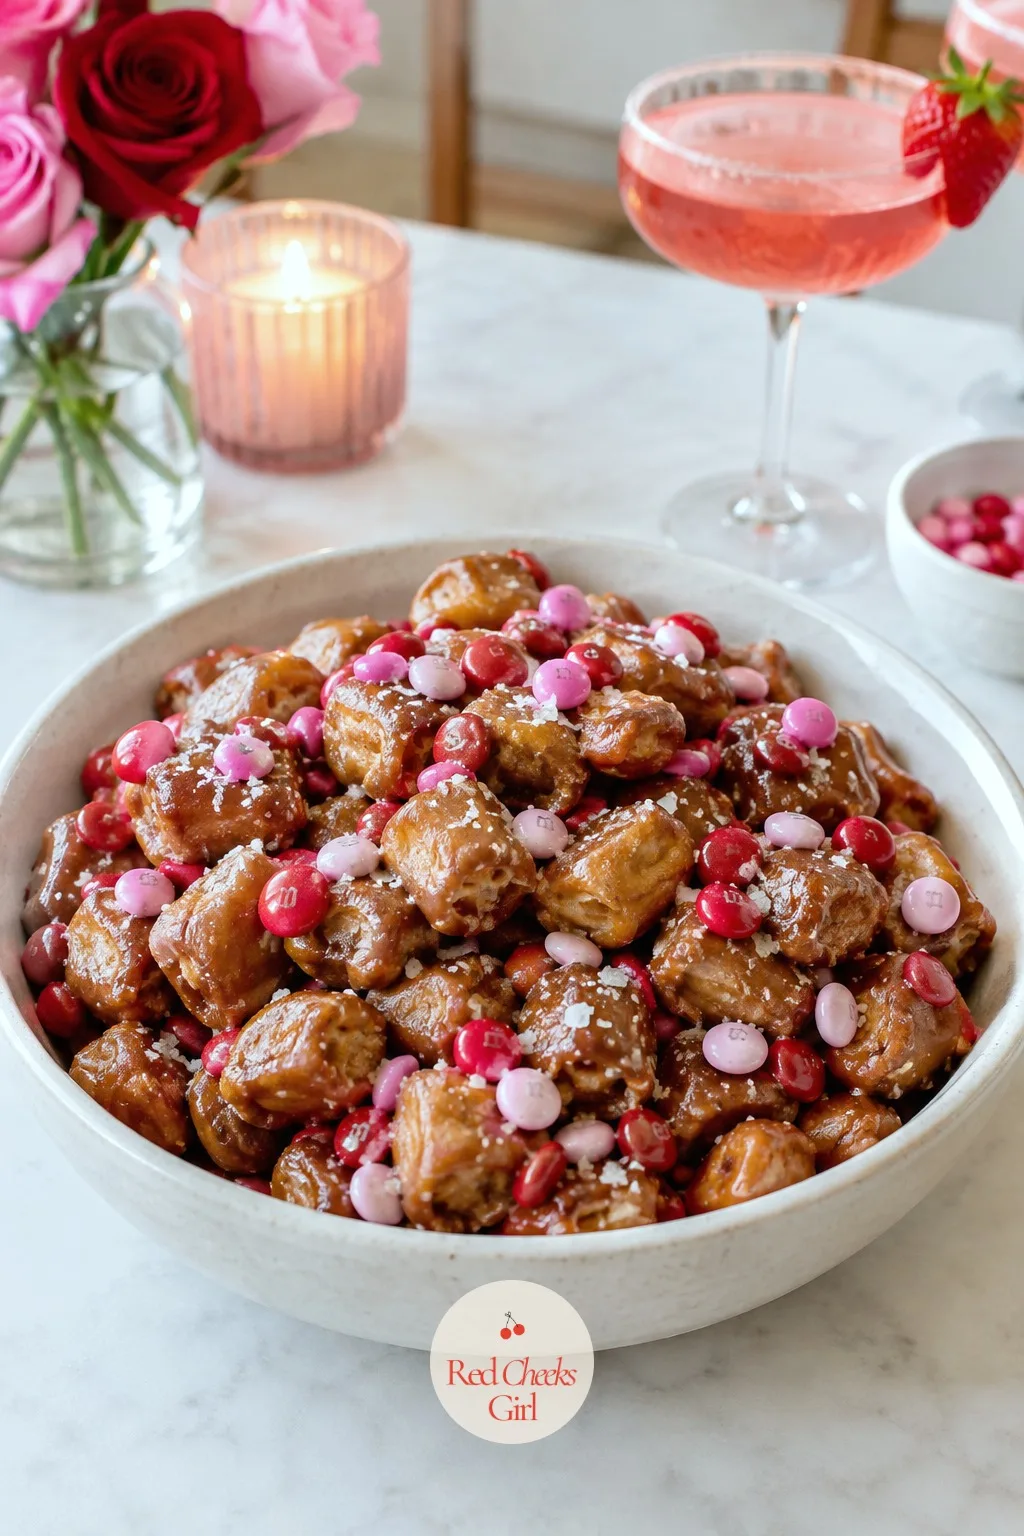

Caramel Pretzel Bites
Ingredients
- 24 small square pretzel snaps
- 24 chocolate caramel candies unwrapped
- 24 pink and red candy coated chocolates
- Flaky sea salt for finishing
Instructions
- Preheat the oven to 350 degrees Fahrenheit and line a baking sheet with parchment paper.
- Arrange the pretzel snaps in a single layer on the baking sheet, spaced about an inch apart.
- Place one chocolate caramel candy on top of each pretzel.
- Bake for 3 to 4 minutes, watching closely, until the candies look glossy and slightly slumped but have not fully melted flat.
- Remove the pan from the oven and immediately press one candy coated chocolate into the center of each softened caramel, flattening it gently with a finger.
- Sprinkle a few flakes of sea salt over the warm bites while the caramel is still soft enough to hold them.
- Let the bites cool completely on the pan, about 15 minutes, until the caramel is firm and no longer tacky, before lifting them off.
Good to Know
Strawberry Cheesecake Cups
No oven, no water bath, no waiting for a cheesecake to crack if you look at it wrong, just the flavor in a glass you can hand straight to someone. The whipped filling needs real chilling time though, so start this one earlier than you think.
Whip the cream to soft peaks before folding it into the cream cheese, and fold rather than stir, so the filling stays light instead of dense. A filling that slides slowly off the spoon rather than pouring is exactly where you want it.
Layer the crumbs, filling and strawberries in small clear cups so the pink and red show through the glass in stripes. Line them up on a tray in rows of four, close together, so the whole tray reads as one dessert rather than a dozen scattered cups.
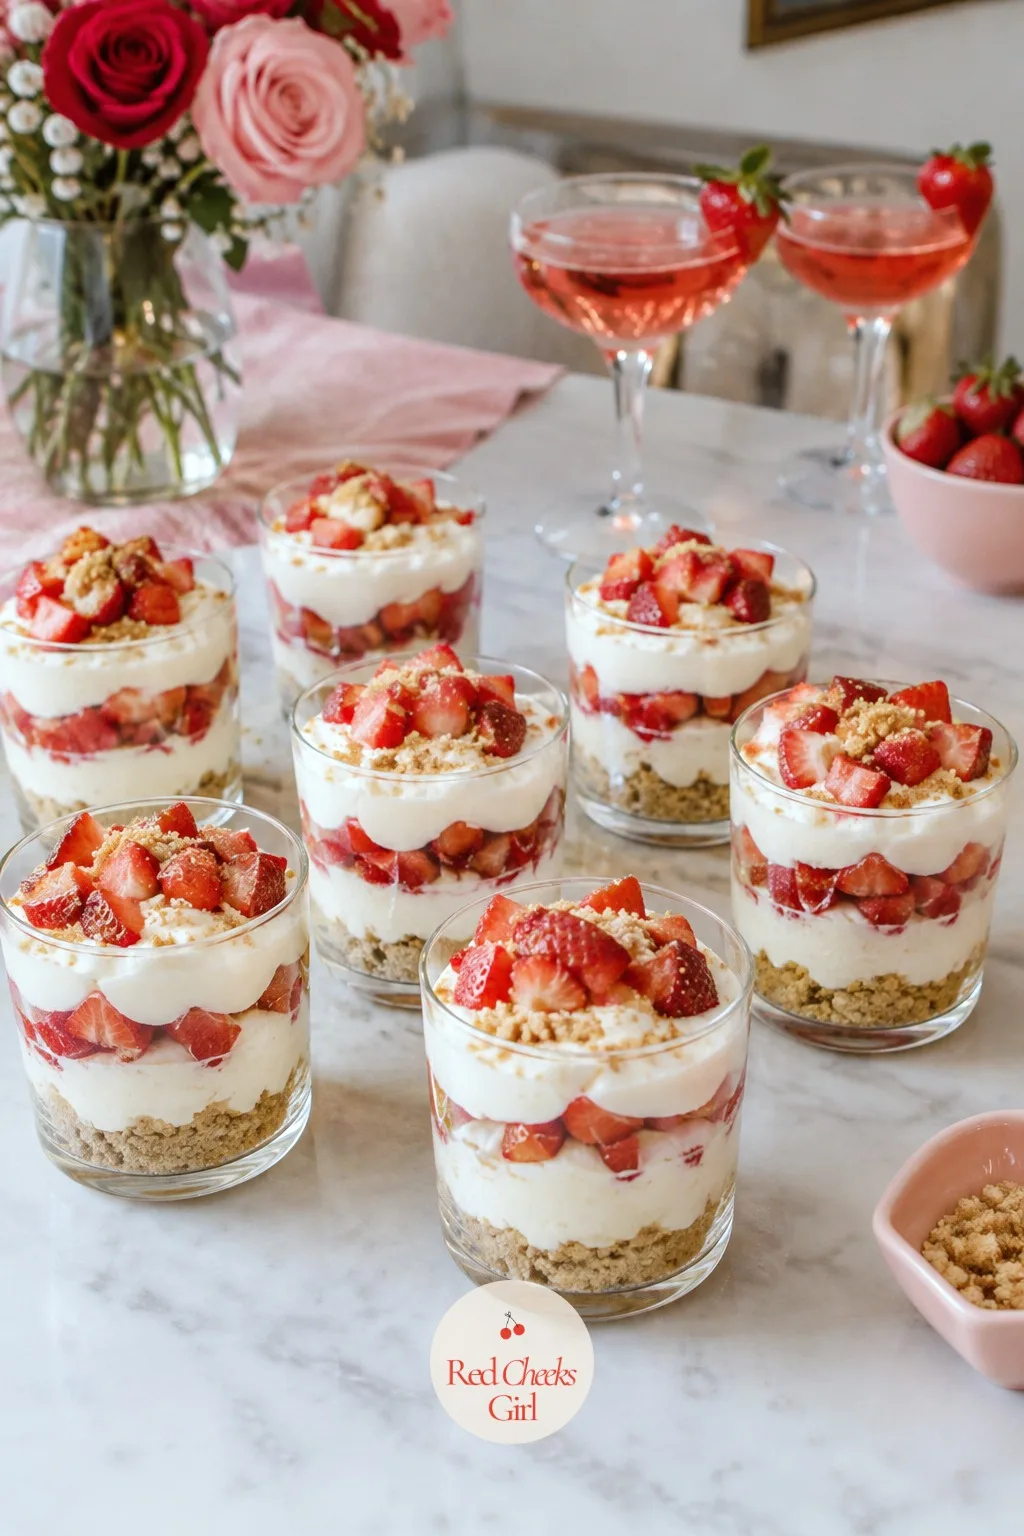
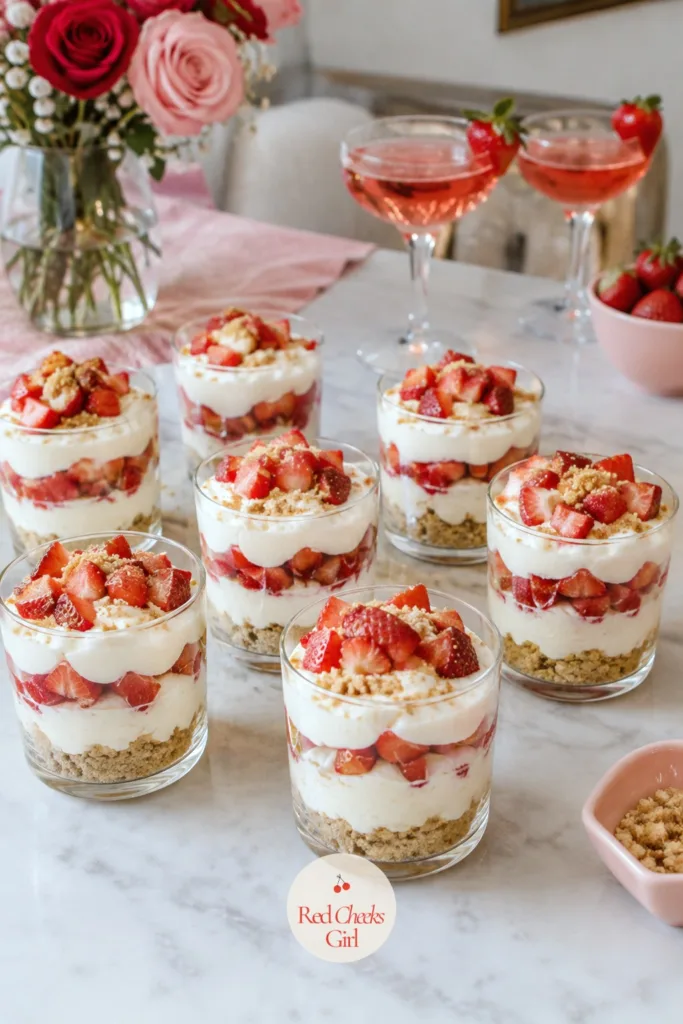
Strawberry Cheesecake Cups
Ingredients
- 1 cup graham cracker crumbs
- 3 tablespoons unsalted butter melted
- 8 ounces cream cheese softened
- 1/3 cup granulated sugar
- 1 teaspoon vanilla extract
- 1 cup heavy cream cold
- 1 1/2 cups strawberries diced small
- 2 tablespoons strawberry jam
Instructions
- In a small bowl, stir the graham cracker crumbs and melted butter together until the mixture looks like wet sand.
- Spoon about 2 tablespoons of the crumb mixture into the bottom of each of 8 small clear cups and press down lightly with a spoon.
- In a large bowl, beat the cream cheese, sugar and vanilla together until smooth with no lumps, about 2 minutes.
- In a separate bowl, whip the cold heavy cream with a mixer until soft peaks form, about 2 minutes.
- Fold the whipped cream into the cream cheese mixture in two additions, folding gently until no streaks remain and the filling holds a slow ribbon when dropped from the spoon.
- In a small bowl, stir the diced strawberries with the jam until coated.
- Spoon the cream cheese filling over the crumb layer in each cup, then top with a spoonful of the jammy strawberries.
- Cover the cups and refrigerate for at least 2 hours, until the filling is cold and set firm enough to hold its shape when the cup is tilted.
Good to Know
🛍 Shopping guide
Heart Shaped Pepperoni Pizza Bites
Every table like this needs one thing that is not sweet, and this is the one people reach for first precisely because it is not. A heart shaped cutter on refrigerated pizza dough does all the romantic styling; the rest is just pizza.
Watch the cheese, not the clock, for doneness: it should be fully melted and just starting to brown at the edges, with the crust underneath firm enough to lift with a spatula without bending. A pale, floppy bite is not ready yet.
Serve these warm rather than at room temperature, since the cheese firms up fast once it leaves the oven. A shallow basket lined with parchment keeps them from sliding, and a small cup of warmed marinara alongside turns the whole thing into a dip.
If salty is more her speed than sweet, there is a longer list of savory Valentine’s Day food ideas for anyone who prefers salty over sweet.


Heart Shaped Pepperoni Pizza Bites
Ingredients
- 1 can refrigerated pizza dough
- 1/2 cup pizza sauce
- 1 1/2 cups shredded mozzarella cheese
- 24 mini pepperoni slices
- 1 tablespoon olive oil
- 1/2 teaspoon dried oregano
- Warm marinara for dipping
Instructions
- Preheat the oven to 400 degrees Fahrenheit and line a baking sheet with parchment paper.
- Unroll the pizza dough on a lightly floured surface and cut out 12 hearts using a 3 inch heart shaped cutter, rerolling scraps as needed.
- Transfer the hearts to the lined baking sheet, spaced an inch apart.
- Brush each heart lightly with olive oil, then spread about a teaspoon of pizza sauce over the center of each, leaving a small border bare.
- Sprinkle the mozzarella evenly over the sauce, then press 2 mini pepperoni slices into the cheese on each heart.
- Sprinkle the oregano over the tops.
- Bake for 9 to 10 minutes, until the cheese is fully melted and just browning at the edges and the crust underneath is firm enough to lift without bending.
- Let the bites cool on the pan for 3 minutes before moving them, since the cheese needs a minute to firm up.
- Arrange them in a shallow basket or on a flat plate and serve warm with a small bowl of marinara alongside.
- Reheat any leftovers at 350 degrees Fahrenheit for 5 minutes rather than in the microwave, to keep the crust from going soft.
Good to Know
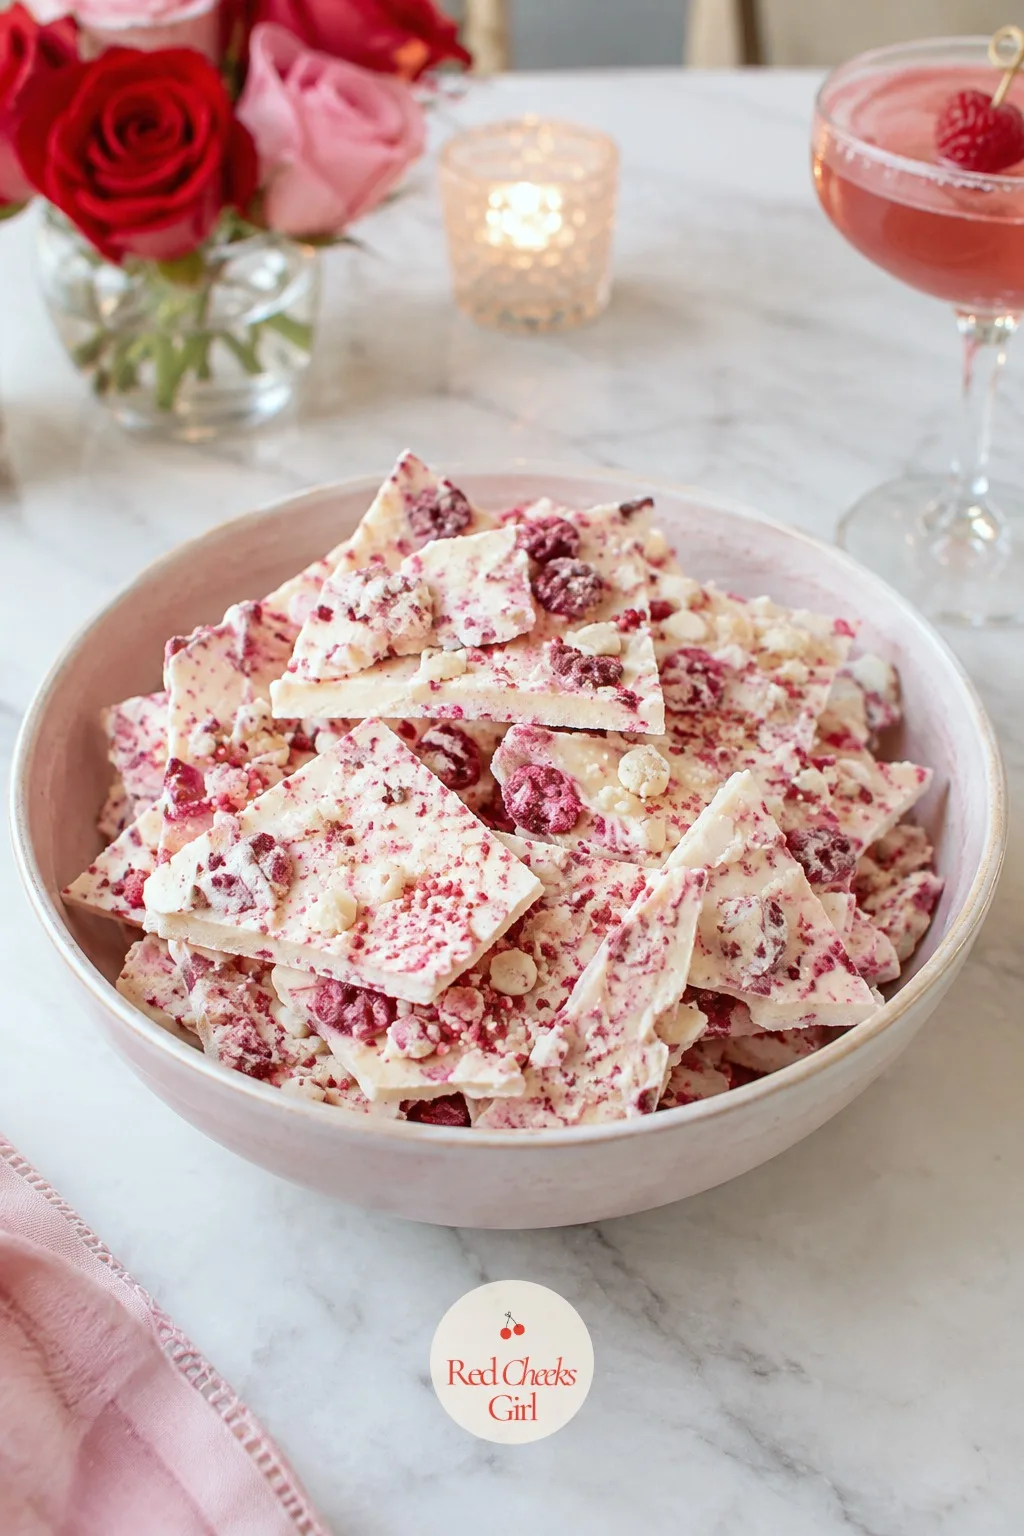
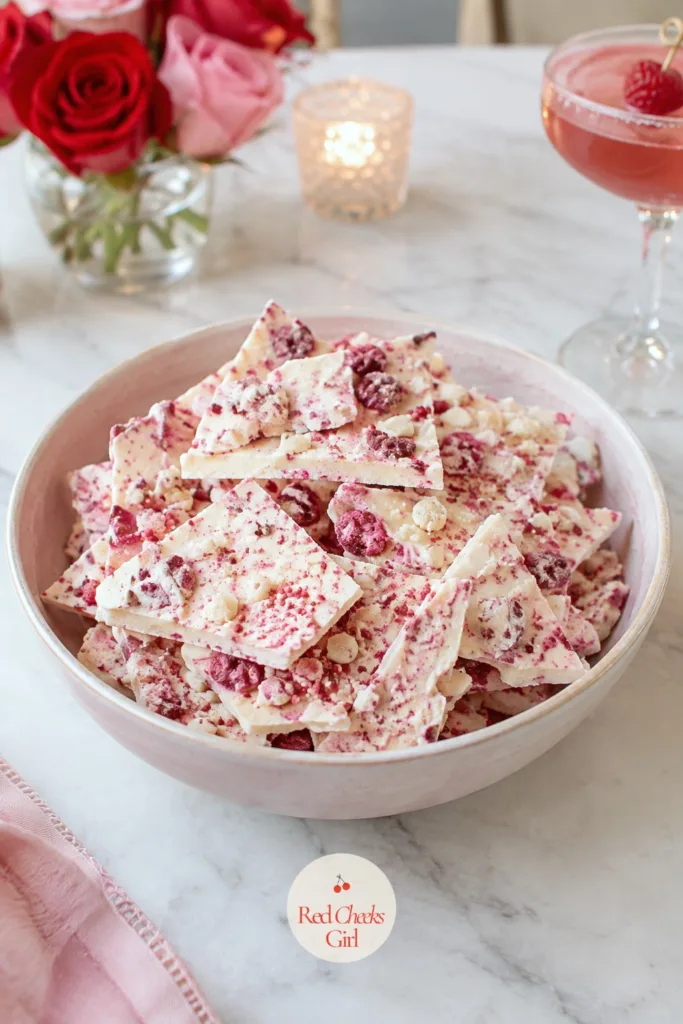
Raspberry White Chocolate Bark
Bark asks for almost nothing: melt, pour, scatter, wait. The only real skill is patience while it sets, since cutting into warm chocolate will smear the fruit through it instead of leaving clean red dots against white.
Freeze dried raspberries, not fresh, are what make this work: fresh fruit bleeds moisture into the chocolate and turns it grainy within a day, while freeze dried pieces stay crisp and hold their color.
Break it into uneven, jagged pieces rather than cutting neat squares, since the raw edges are what make bark look handmade. Stack the shards loosely in a shallow bowl or lean a few upright against the side so the raspberry flecks show from across the table.
Raspberry White Chocolate Bark
Ingredients
- 16 ounces white chocolate chopped
- 1/2 cup freeze dried raspberries lightly crushed
- 2 tablespoons pink and red sprinkles
- 1/4 cup mini pretzels broken into pieces
Instructions
- Line a baking sheet with parchment paper.
- Melt the white chocolate in a heatproof bowl set over a pan of barely simmering water, stirring often, until smooth and fully melted, about 4 minutes.
- Pour the melted chocolate onto the lined baking sheet and spread it into an even layer about 1/4 inch thick using an offset spatula.
- Scatter the crushed freeze dried raspberries, broken pretzel pieces and sprinkles evenly over the wet chocolate.
- Tap the pan gently on the counter a few times to settle the toppings into the chocolate.
- Let the bark set at room temperature for 30 minutes, or in the refrigerator for 15 minutes, until it is firm and no longer glossy or soft at the edges.
- Break into irregular shards by hand once fully set, rather than cutting with a knife.
Good to Know
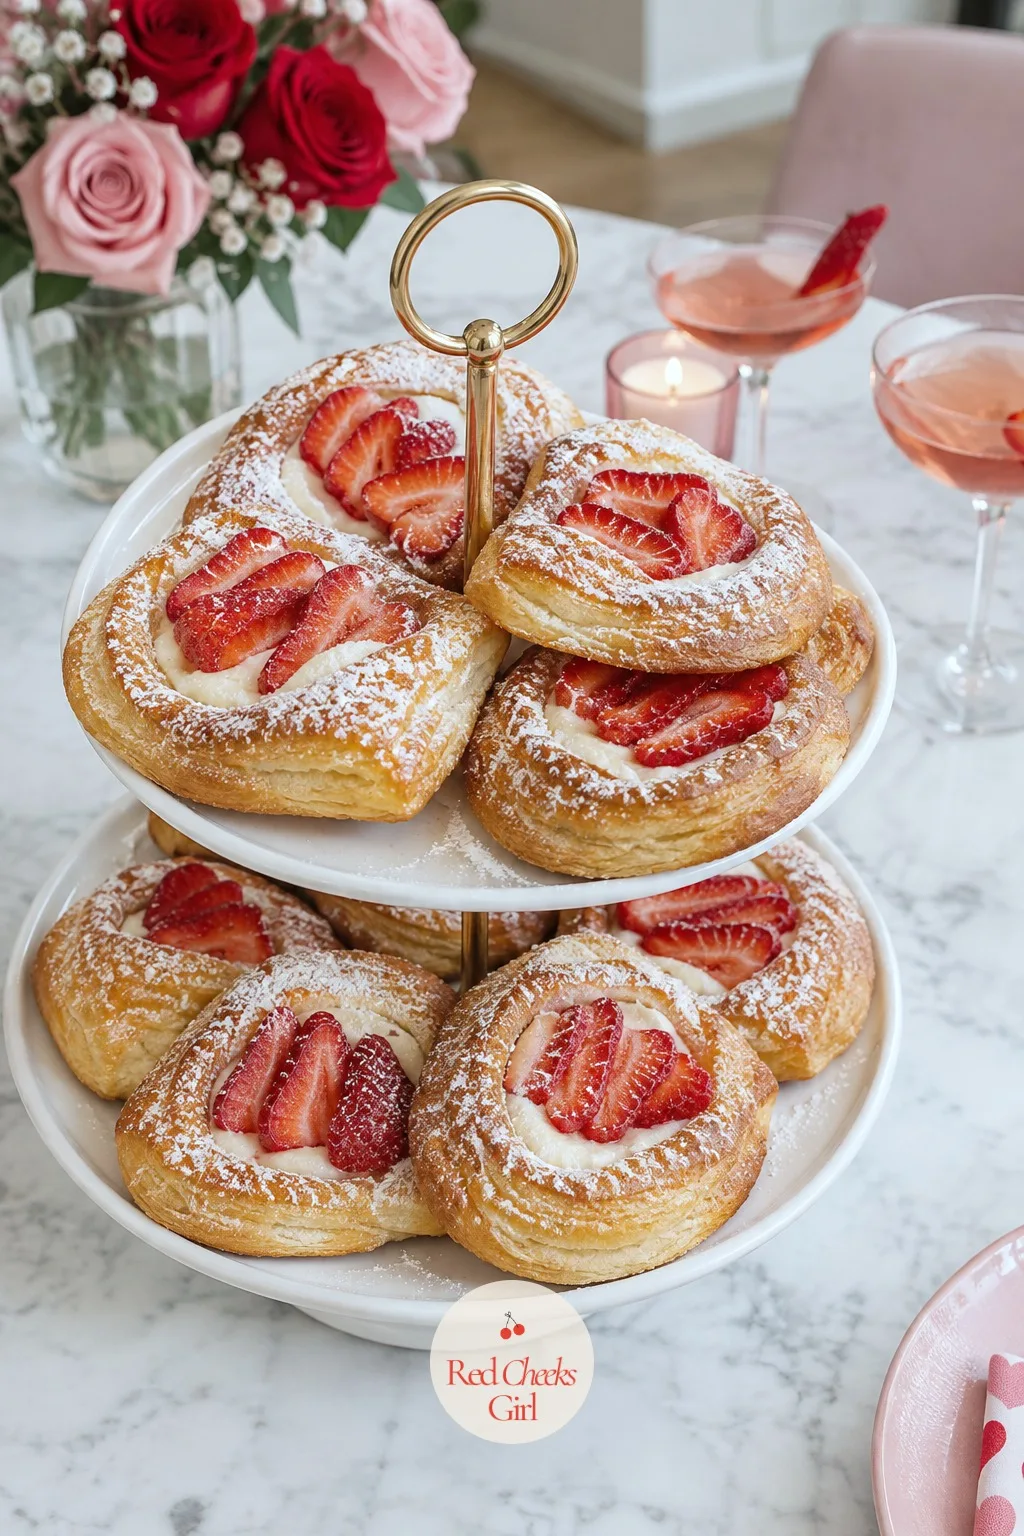
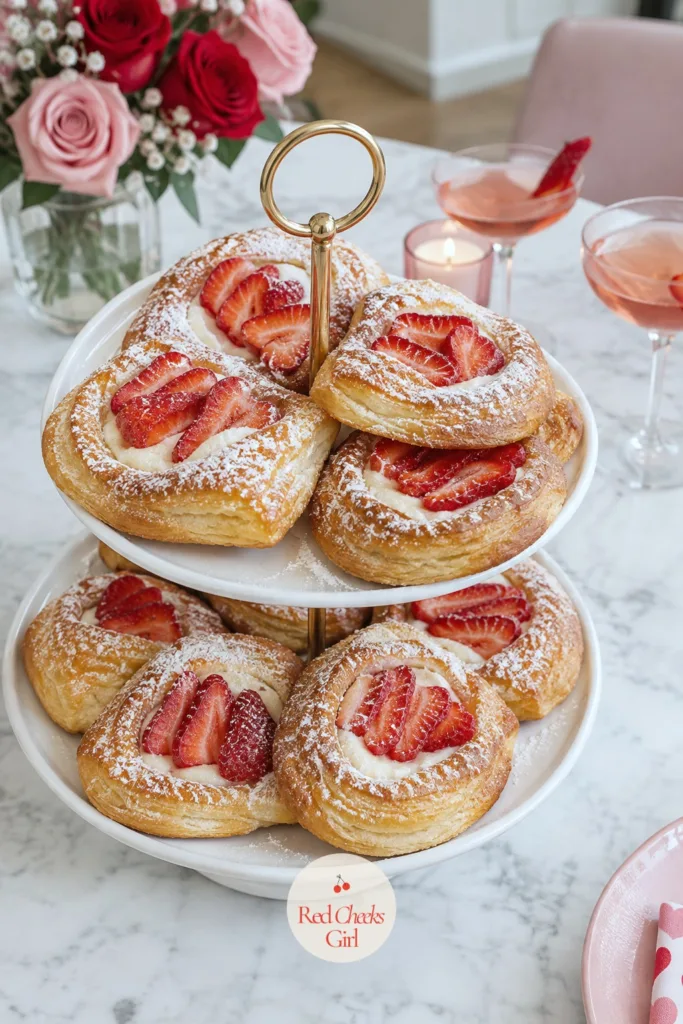
Strawberry Cream Cheese Danishes
These borrow the same puff pastry trick as the mini tarts but fold into a softer, more danish-like shape, so put them on the table at different ends if you are serving both. Nobody needs to know how little hands-on time either took.
The fold matters more than the filling here: bring two opposite corners of each square up and pinch them together in the center, which gives you a pocket that holds the filling instead of letting it run out during baking.
Pull them from the oven the moment the pastry turns deep golden and visibly flaky at the folded edges; a pale danish will taste raw inside. Stack them on a tiered stand rather than a flat plate, so the folded shapes catch light from more than one angle.
Strawberry Cream Cheese Danishes
Ingredients
- 2 sheets puff pastry thawed
- 8 ounces cream cheese softened
- 1/4 cup granulated sugar
- 1 teaspoon vanilla extract
- 1 cup strawberries sliced thin
- 1 egg beaten, for egg wash
- 2 tablespoons apricot jam warmed, for glaze
- Powdered sugar for dusting
Instructions
- Preheat the oven to 400 degrees Fahrenheit and line a baking sheet with parchment paper.
- Cut each sheet of puff pastry into 4 to 5 squares, about 4 inches across, for 9 squares total.
- In a medium bowl, beat the cream cheese, sugar and vanilla together until smooth with no lumps remaining.
- Spoon about a tablespoon of the cream cheese mixture into the center of each pastry square.
- Fan 2 or 3 strawberry slices over the cream cheese on each square.
- Bring two opposite corners of each square up toward the center and pinch them together over the filling to form a pocket, leaving the center visible.
- Transfer the shaped danishes to the lined baking sheet and brush the pastry, not the filling, with the beaten egg.
- Bake for 16 to 18 minutes, until the pastry is deep golden and visibly flaky at the folded edges.
- Let the danishes cool on the pan for 10 minutes, then brush the exposed strawberries with the warmed apricot jam for shine.
- Dust with powdered sugar just before serving.
Good to Know
Red Velvet Cake Pops
Cake pops have a reputation for being fussy, but the cake itself does not need to be pretty since it gets crumbled and reshaped anyway. The only real risk is dipping chocolate that is too hot, which will crack the pop or melt it right off the stick.
Freeze the shaped balls before dipping, not just chill them, so they hold their shape against the warm coating instead of softening and sliding down the stick.
Dip the stick itself an inch deep into melted chocolate first and let it set before inserting it into the cold cake ball; that small anchor is what keeps the pop from spinning off later.
Stand the finished pops upright in a block with holes punched in, or a tall vase filled with sugar or rice, so they set without flat sides. Arrange them fanned out in the vase for serving, like a small bouquet, rather than bunched straight up.
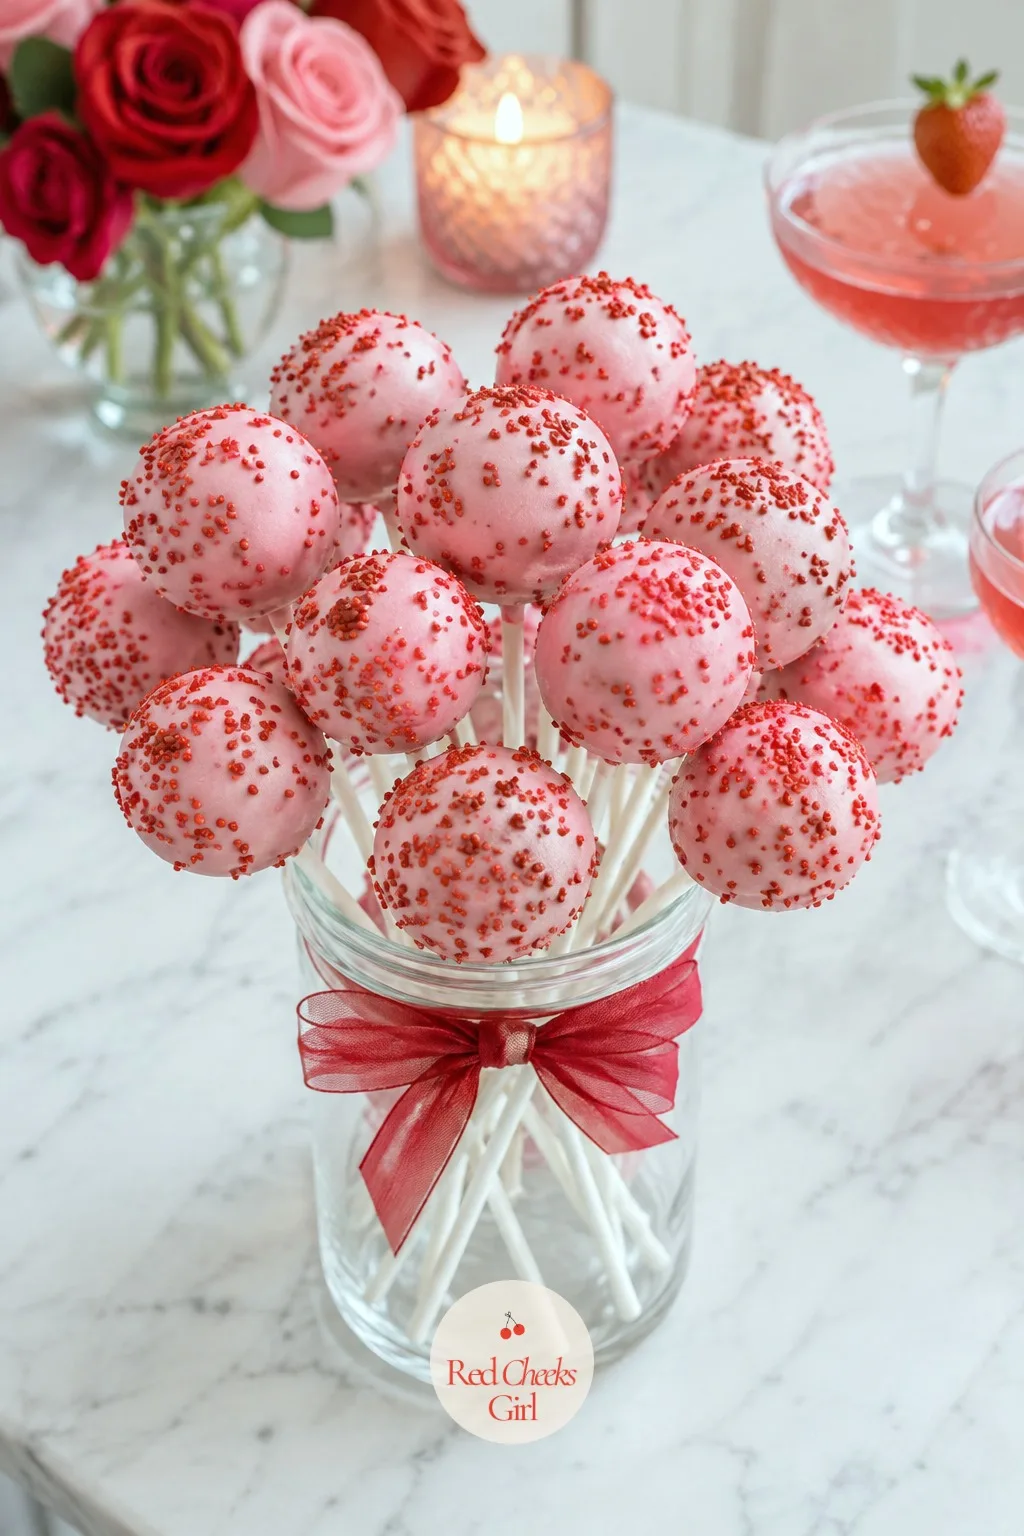
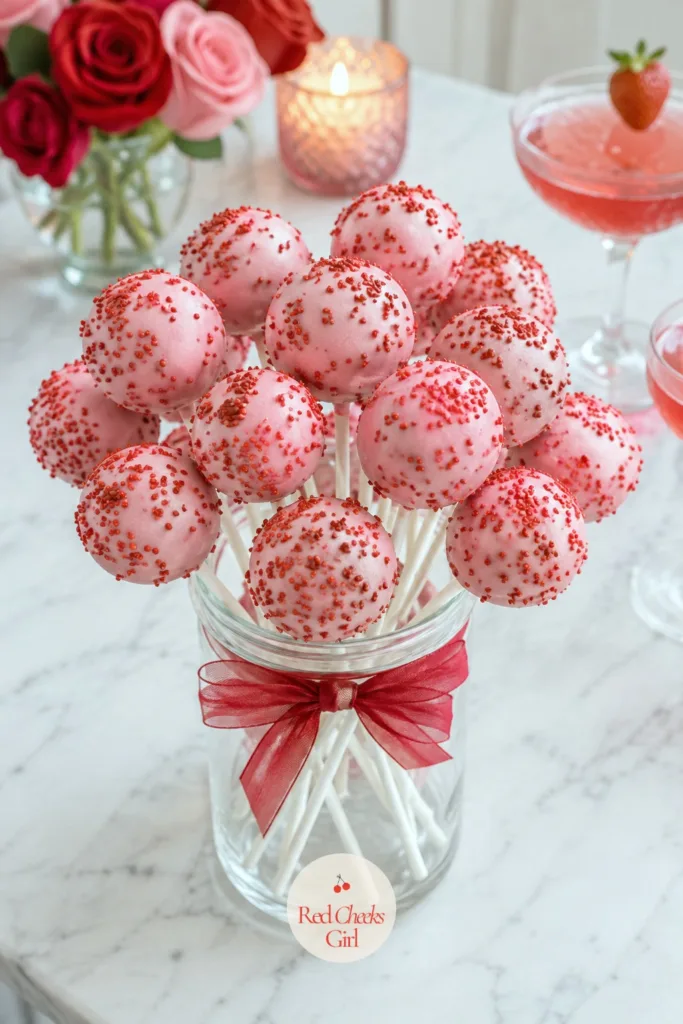
Red Velvet Cake Pops
Ingredients
- 1 box red velvet cake mix plus ingredients it calls for
- 1/2 cup cream cheese frosting
- 16 ounces pink or white candy melting wafers
- 20 lollipop sticks
- 2 tablespoons red and pink sprinkles
Instructions
- Bake the red velvet cake according to the package directions in a 9 by 13 inch pan, then let it cool completely, about 1 hour.
- Crumble the cooled cake into fine crumbs in a large bowl using your hands or a fork.
- Add the cream cheese frosting to the crumbs and mix until the mixture holds together when pressed, like firm clay, without being wet.
- Roll the mixture into 20 balls, about 1 1/2 inches each, and place them on a parchment lined tray.
- Freeze the cake balls for 20 minutes, until firm to the touch but not rock hard.
- Melt the candy wafers in a microwave safe bowl in 30 second bursts, stirring between each, until smooth and thin enough to coat the back of a spoon.
- Dip the tip of each lollipop stick about an inch into the melted candy, then insert it halfway into a chilled cake ball, and let these sit for 5 minutes so the anchor sets.
- Dip each cake pop fully into the melted candy, turning to coat evenly, then tap the stick gently against the bowl's edge to shake off excess coating.
- Scatter sprinkles over the wet coating immediately, before it has a chance to set.
- Stand the pops upright in a block of styrofoam or a tall glass filled with sugar, and let them set at room temperature for 20 minutes, until the coating is firm and dull rather than glossy.
- Arrange the set pops fanned out in a vase or tall jar for serving.
Good to Know
🛍 Shopping guide
Pink Velvet Whoopie Pies
A whoopie pie is a sandwich cookie with a cake-soft center, and the pink tint here does all the holiday work without a single cutter or special pan. Pipe rather than spoon the batter if the rounds matter to you; a piping bag with the tip snipped off gives far more even circles than a spoon ever will.
Watch for the moment the tops spring back when pressed lightly with a finger and no longer look wet or shiny in the center; overbaked rounds turn dry instead of staying soft-cake tender. Let them cool fully before filling, since warm cookies will melt the frosting straight through.
Sandwich two same-sized rounds with a generous scoop of filling between, enough to see a white ring peek out at the edge. Stack them two high in a low basket lined with parchment rather than flat in a single tight row, so the filling shows from the side.
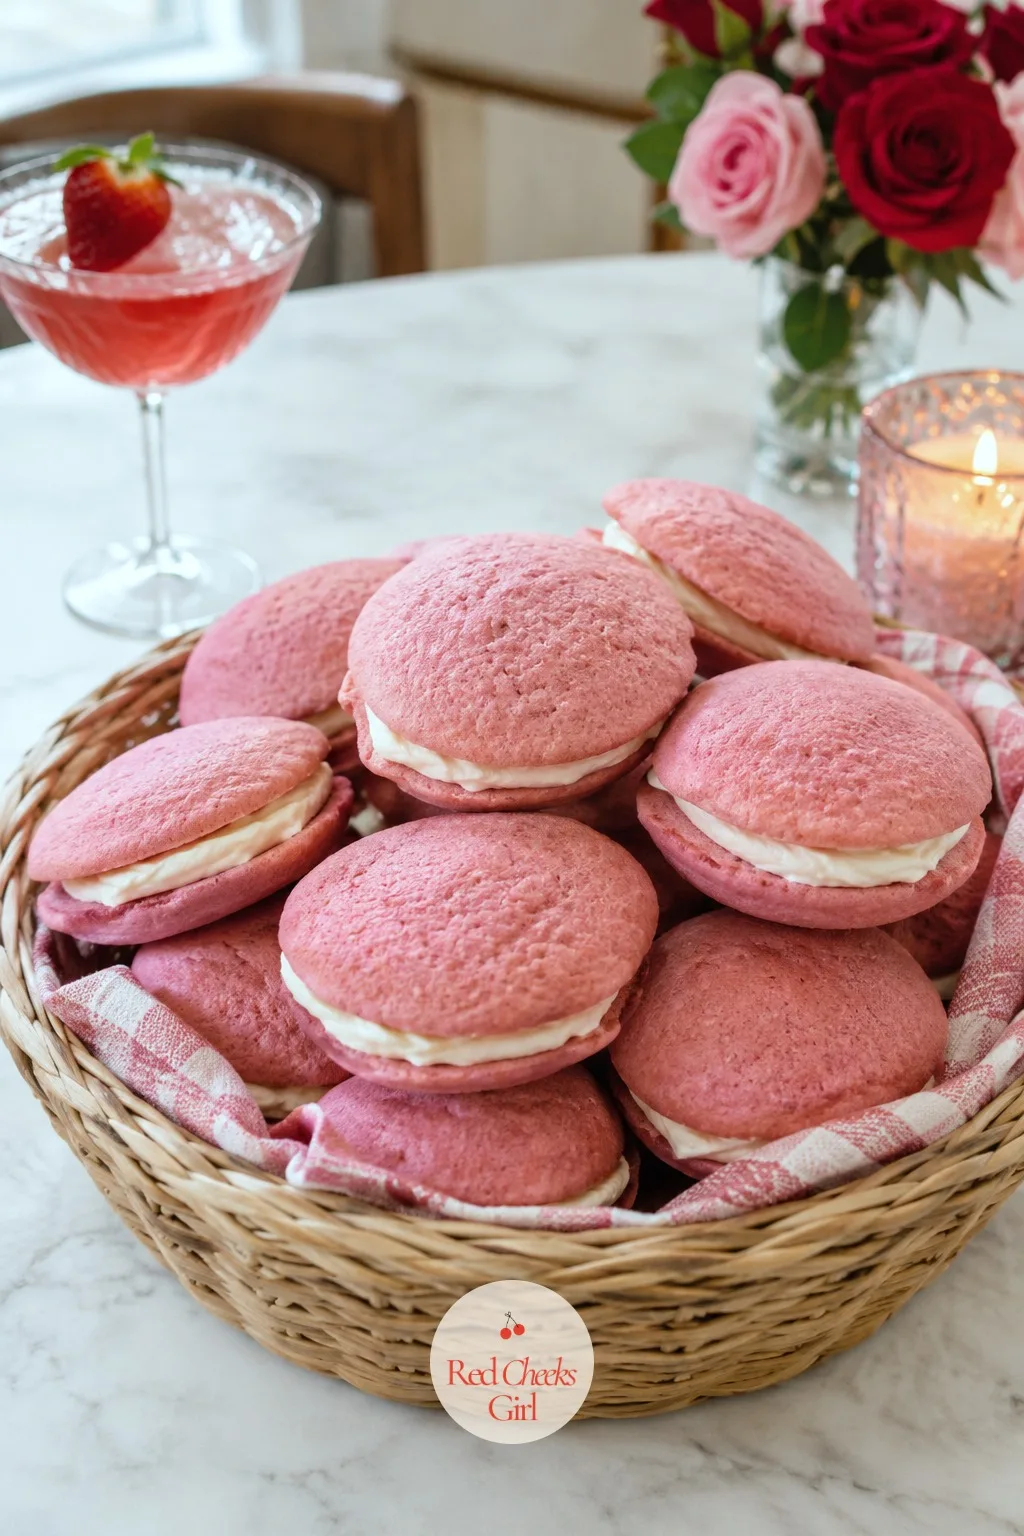
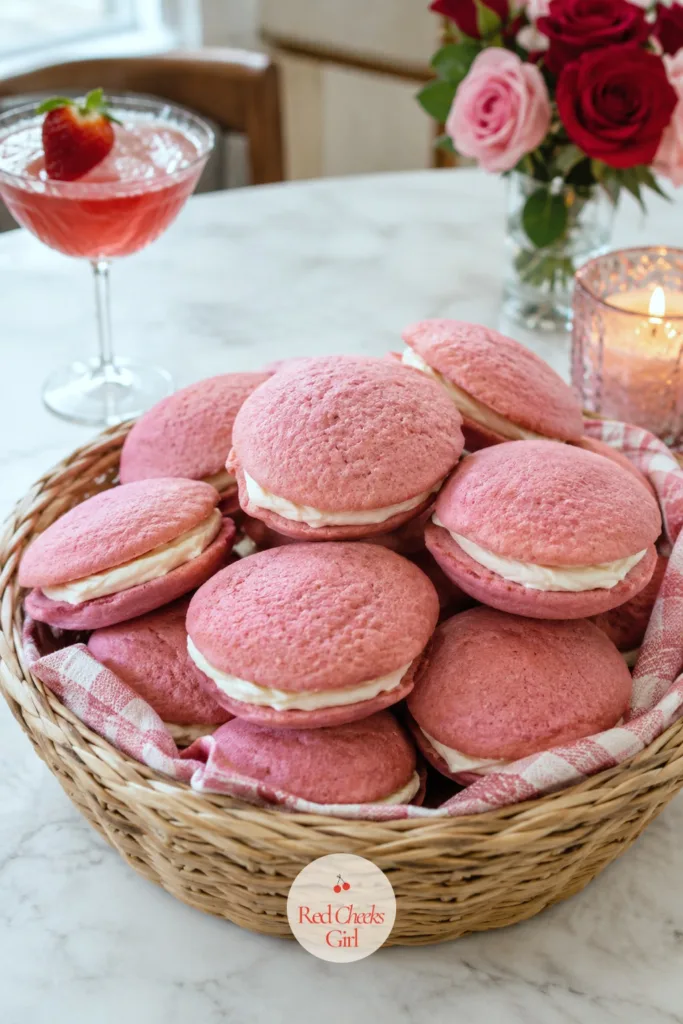
Pink Velvet Whoopie Pies
Ingredients
- 2 cups all-purpose flour
- 1/4 cup unsweetened cocoa powder
- 1 teaspoon baking soda
- 1/2 teaspoon salt
- 1/2 cup unsalted butter softened
- 1 cup granulated sugar
- 1 large egg
- 1 teaspoon vanilla extract
- 1/2 cup buttermilk
- 1 tablespoon red or pink gel food coloring
- 8 ounces cream cheese softened, for filling
- 1/4 cup unsalted butter softened, for filling
- 2 cups powdered sugar for filling
Instructions
- Preheat the oven to 350 degrees Fahrenheit and line two baking sheets with parchment paper.
- In a medium bowl, whisk together the flour, cocoa powder, baking soda and salt.
- In a large bowl, beat the butter and sugar together until light and fluffy, about 2 minutes, then beat in the egg and vanilla.
- Add the dry ingredients to the butter mixture in two additions, alternating with the buttermilk, mixing just until combined after each.
- Beat in the gel food coloring until the batter is an even, deep pink with no streaks.
- Pipe or spoon the batter into 24 rounds, about 2 tablespoons each, spaced 2 inches apart on the lined baking sheets.
- Bake for 9 to 10 minutes, until the tops spring back when pressed lightly and no longer look wet in the center.
- Let the rounds cool completely on the pan, about 20 minutes, before filling.
- For the filling, beat the cream cheese and butter together until smooth, then beat in the powdered sugar until thick enough to hold its shape when lifted on a spoon.
- Spread or pipe a generous spoonful of filling onto the flat side of half the rounds.
- Top each with a second round, flat side down, pressing gently until the filling peeks out just past the edge.
Good to Know
Chocolate Peanut Butter Heart Cups
These taste like the orange-wrapper candy everyone already loves, shaped for the day and made with real peanut butter instead of the waxy filling. A silicone heart mold does the shaping; nothing here needs a candy thermometer.
Chill between layers rather than pouring the peanut butter straight onto wet chocolate, or the two will blur together into one muddy layer instead of two clean ones. The bottom chocolate layer should feel fully set and cool to the touch before the filling goes on.
Pop them out of the mold only once they are fully firm, pressing gently from the back rather than pulling from the top, so the point of the heart does not snap. Pile them in a small bowl, points facing every direction, rather than lined up in a row.
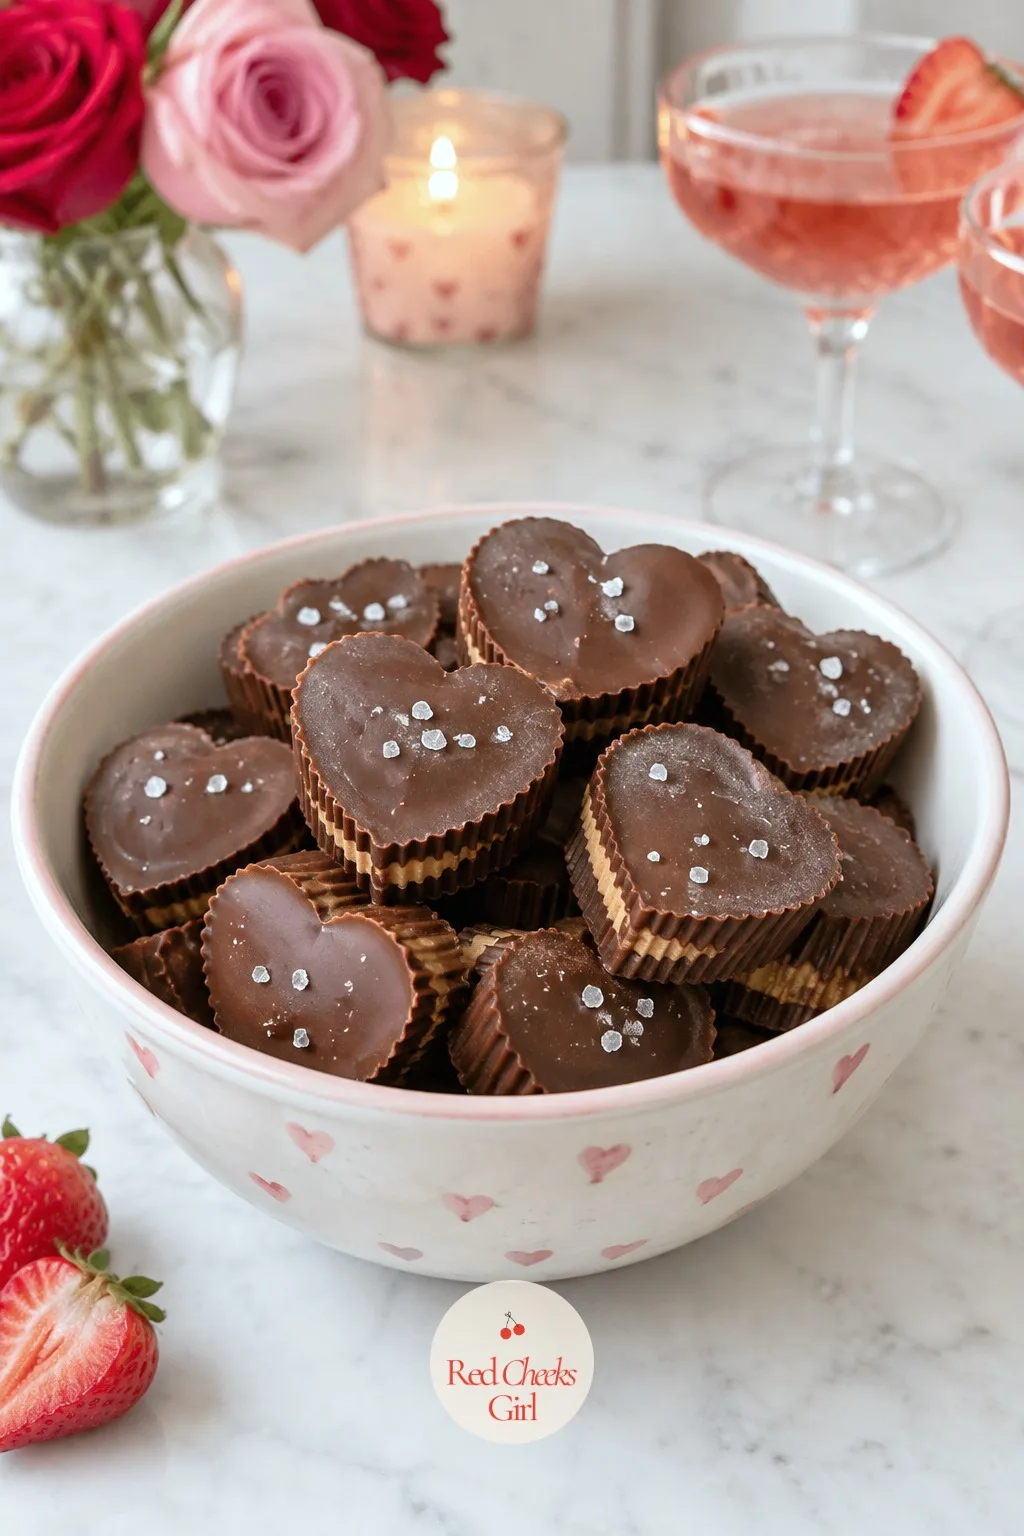
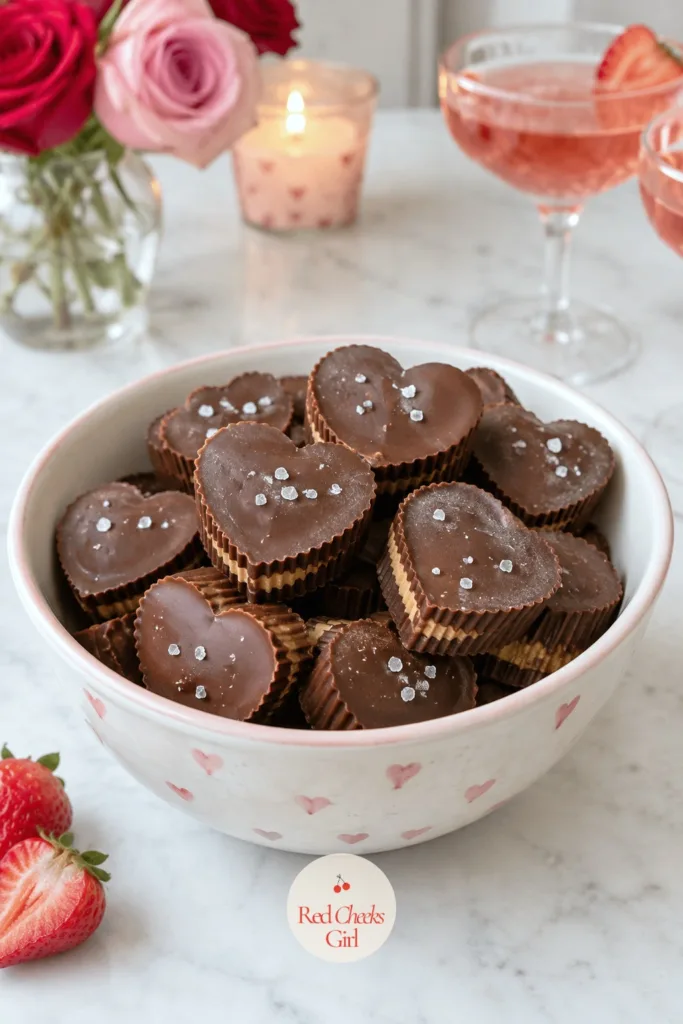
Chocolate Peanut Butter Heart Cups
Ingredients
- 10 ounces milk chocolate chopped
- 1/2 cup creamy peanut butter
- 2 tablespoons powdered sugar
- 1/4 teaspoon salt
- Flaky sea salt for finishing
Instructions
- Melt the milk chocolate in a heatproof bowl set over a pan of barely simmering water, stirring until smooth, about 4 minutes.
- Spoon about a teaspoon of melted chocolate into the bottom of each cavity of a 12 cup silicone heart mold, tilting to coat the bottom and slightly up the sides.
- Refrigerate the mold for 10 minutes, until the chocolate layer is fully set and cool to the touch.
- In a small bowl, stir the peanut butter, powdered sugar and salt together until smooth and thick enough to hold a shape.
- Spoon about a teaspoon of the peanut butter mixture into each chocolate-lined cavity, pressing it flat and leaving room at the top for a final layer.
- Gently rewarm the remaining chocolate if it has thickened, then spoon it over the peanut butter layer in each cavity, covering it completely.
- Sprinkle a few flakes of sea salt over the tops while the chocolate is still wet.
- Refrigerate for 30 minutes, until fully firm, then press gently on the back of the mold to release each cup.
Good to Know
Strawberry Shortcake Skewers
This is the one that looks the most composed for the least amount of work, since a store-bought pound cake does all the baking for you. Threading it onto skewers is really just assembly with a little rhythm to it.
Toast the cake cubes lightly in a dry skillet before skewering, just a minute a side, so the edges go slightly firm and golden instead of staying soft and crumbly on the stick; soft cake alone tends to slide and split when skewered raw.
Alternate strawberry, cake, strawberry, cake rather than grouping by type, so every bite off the skewer has both. Lean the finished skewers against the rim of a tall glass, fanned out, rather than laying them flat, so the colors stack visibly from the side.
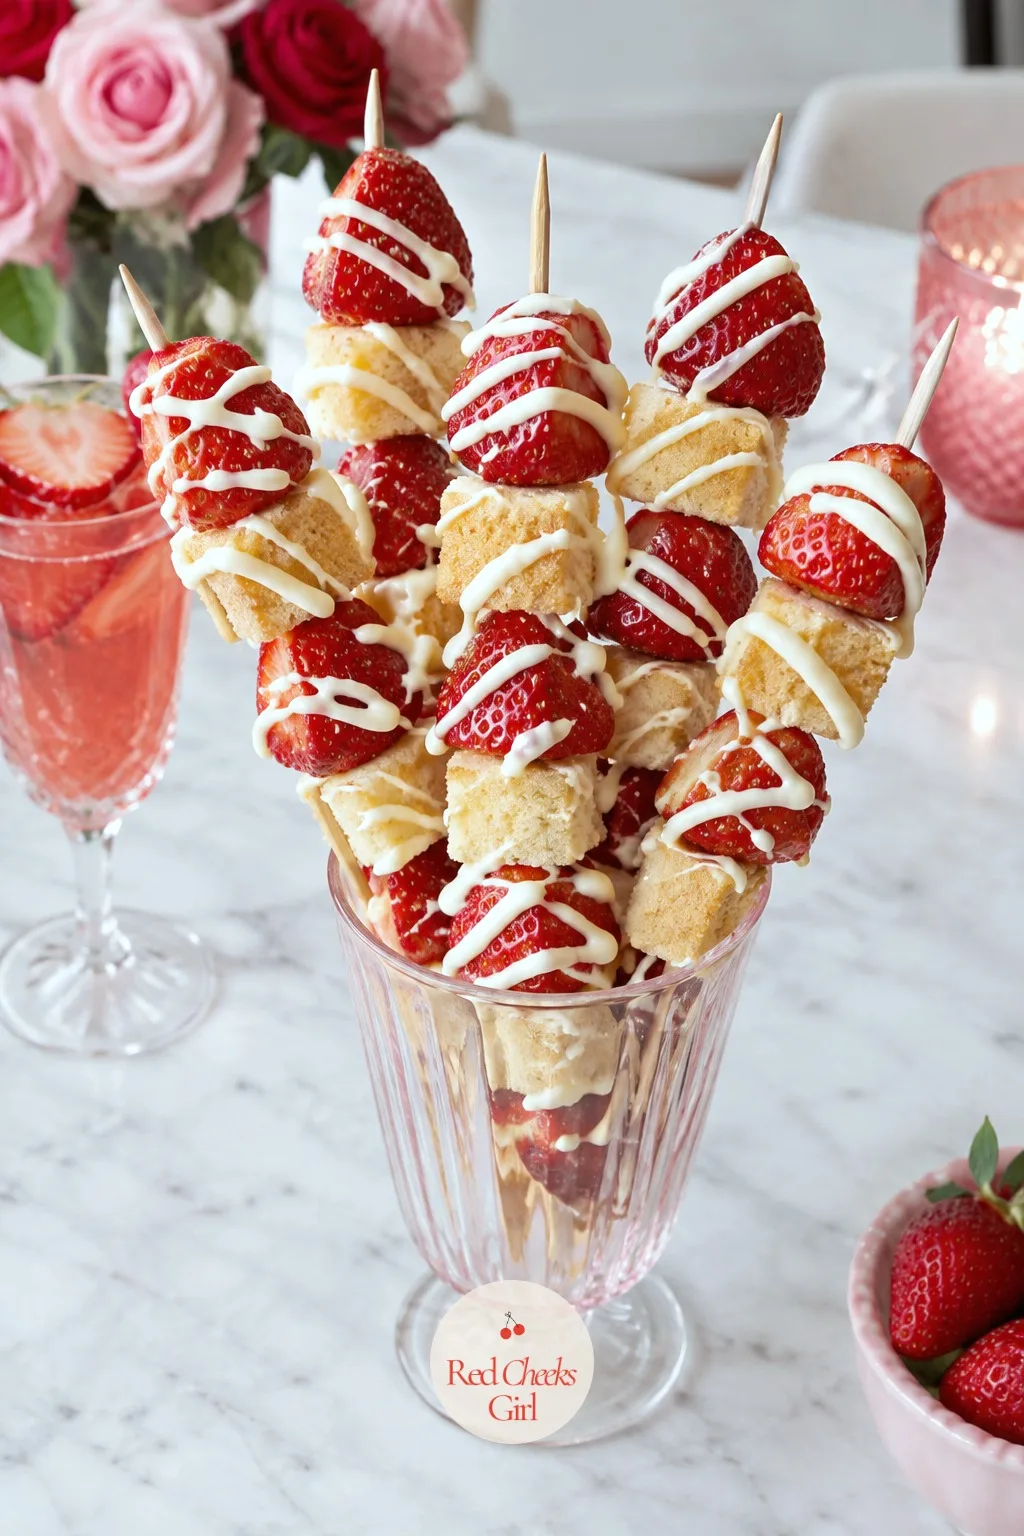
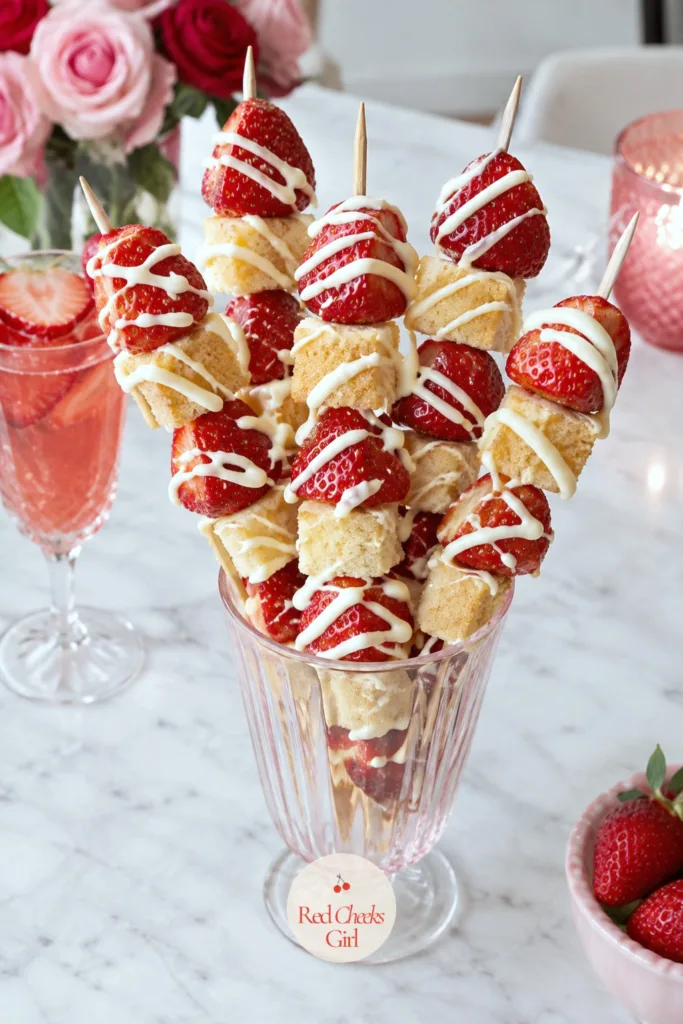
Strawberry Shortcake Skewers
Ingredients
- 1 pound cake cut into 1 inch cubes
- 20 strawberries hulled and halved
- 1/2 cup white chocolate melted, for drizzle
- 10 wooden skewers 6 inches long
Instructions
- Warm a dry skillet over medium heat and toast the pound cake cubes for about 1 minute per side, just until the edges turn lightly golden and feel slightly firm.
- Let the toasted cubes cool for 5 minutes before skewering, so they hold together.
- Thread strawberry halves and cake cubes onto each skewer, alternating pieces, 4 to 5 pieces per skewer.
- Lay the finished skewers on a flat tray lined with parchment.
- Drizzle the melted white chocolate back and forth over the skewers using a spoon.
- Let the drizzle set for about 5 minutes, until it no longer looks wet, before moving the skewers.
Good to Know
Mini Caprese Skewers with Heart Tomatoes
A savory bite that still fits the color scheme, since ripe cherry tomatoes are already the right shade of red without any help. Cutting each one into a shallow heart notch is a two second flourish, not a real technique, and it reads clearly even from across a crowded table.
Pat the mozzarella balls dry before skewering, the same way you would a strawberry, since trapped moisture will water down the olive oil drizzle and dull the shine. Thread each piece through its widest point so it sits flat rather than spinning on the stick.
Arrange the skewers standing upright in a shot glass or small jar rather than flat on a plate, basil leaf facing out on each one, so the red, white and green show in every direction. These hold at room temperature for an hour, longer than most of the sweets here.
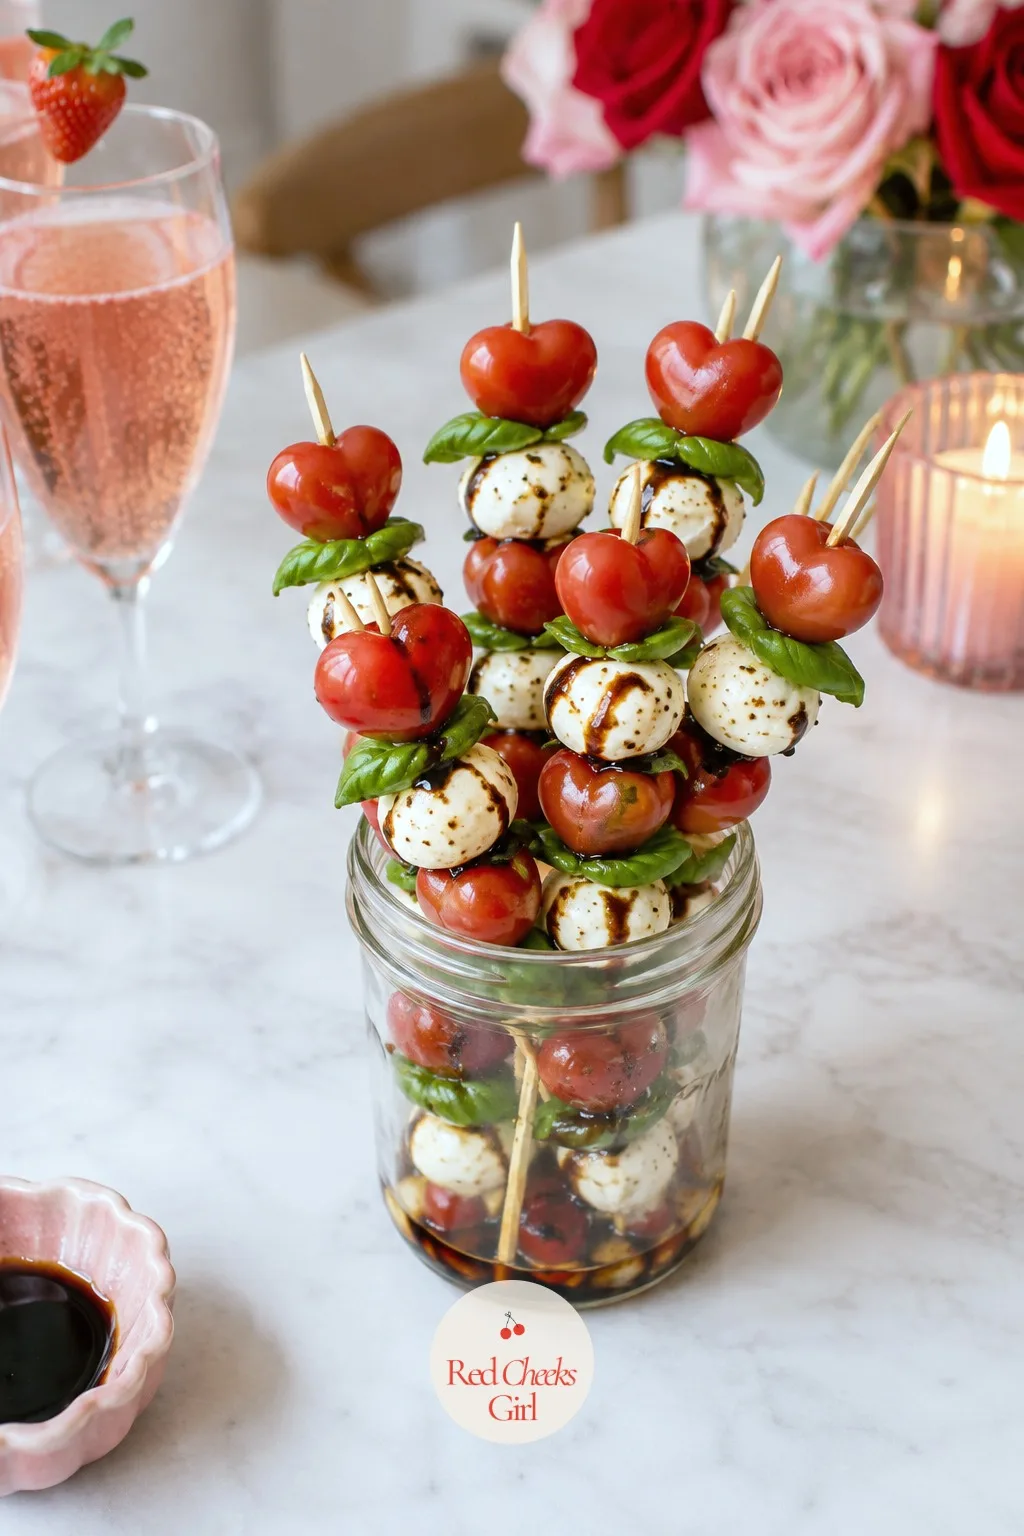
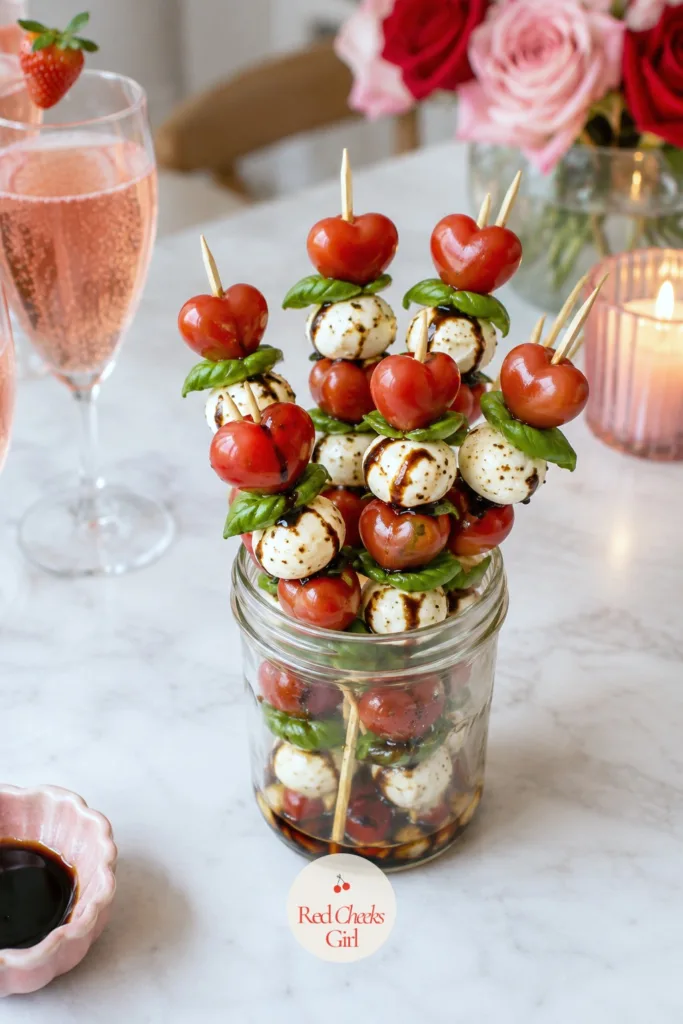
Mini Caprese Skewers with Heart Tomatoes
Ingredients
- 16 cherry tomatoes
- 16 small fresh mozzarella balls
- 16 fresh basil leaves
- 2 tablespoons olive oil
- 1 tablespoon balsamic glaze
- Salt and black pepper to season
- 16 cocktail picks or short skewers
Instructions
- Using a small paring knife, cut a shallow V-shaped notch into the top of each cherry tomato opposite the stem, then round the base slightly to shape a heart.
- Pat the mozzarella balls dry with a paper towel.
- Thread one basil leaf, folded in half, onto each pick, followed by a mozzarella ball and then a tomato heart.
- Arrange the finished skewers upright in a small jar or shot glass.
- Drizzle the olive oil and balsamic glaze over the tops, letting it run down over the tomatoes.
- Season lightly with salt and pepper just before serving.
Good to Know
Prosciutto Wrapped Melon Hearts
Three ingredients, no cooking, and the only tool that matters is a small heart cutter run through a thick slice of melon. The salty prosciutto against the sweet fruit is the entire point, so resist the urge to add anything else.
Cut the melon at least an inch thick before stamping out hearts, since a thin slice will not hold the shape once it is wrapped and handled. Wrap loosely rather than tightly, so the prosciutto drapes with a bit of movement instead of looking shrink-wrapped.
Lay them in a single layer on a flat plate, slightly fanned, rather than stacked, since stacking will press the fruit into the meat and blur the heart shape. A few mint leaves tucked between pieces add the only green note at a mostly pink table.


Prosciutto Wrapped Melon Hearts
Ingredients
- 1 small cantaloupe or honeydew melon
- 8 ounces thinly sliced prosciutto
- Fresh mint leaves for garnish
- Black pepper to season
Instructions
- Cut the melon into slices about 1 inch thick, then stamp out hearts using a 2 inch heart shaped cutter, for about 16 hearts.
- Cut the prosciutto slices in half lengthwise.
- Wrap one strip of prosciutto loosely around the middle of each melon heart, leaving the point and top curves visible.
- Arrange the wrapped hearts in a single layer on a flat plate, slightly overlapping at the edges.
- Tuck a few mint leaves between the pieces.
- Finish with a light grind of black pepper just before serving.
Good to Know
Pink Deviled Eggs
These start as plain deviled eggs and finish pink from a quick soak in pickled beet juice, a trick that colors only the white, leaving the creamy yolk filling untouched and classic. It takes patience, not skill, since the color only develops with time.
Peel the eggs under cool running water rather than dry, which keeps the whites from tearing where you need them smooth. A torn white will not hold the pink evenly, leaving pale patches where the beet liquid could not reach.
Pipe the filling rather than spoon it, for a neat peak that holds its shape on the way to the table. Set them in a deviled egg tray with raised slots rather than a flat plate, so they cannot roll and smear the filling against each other.
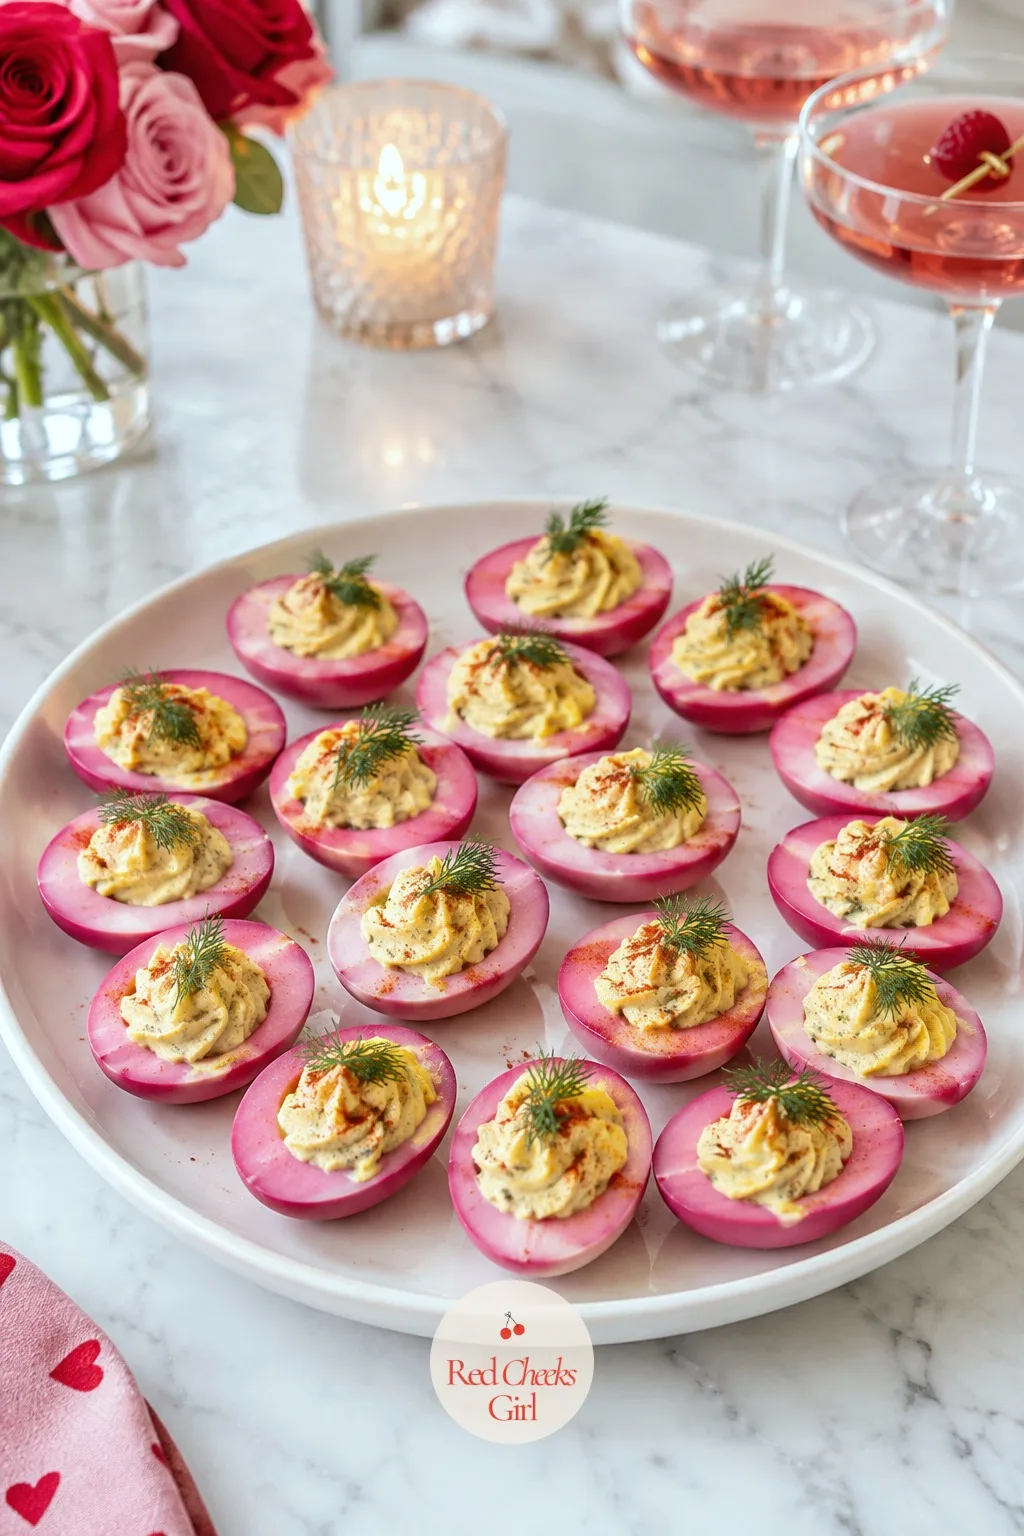
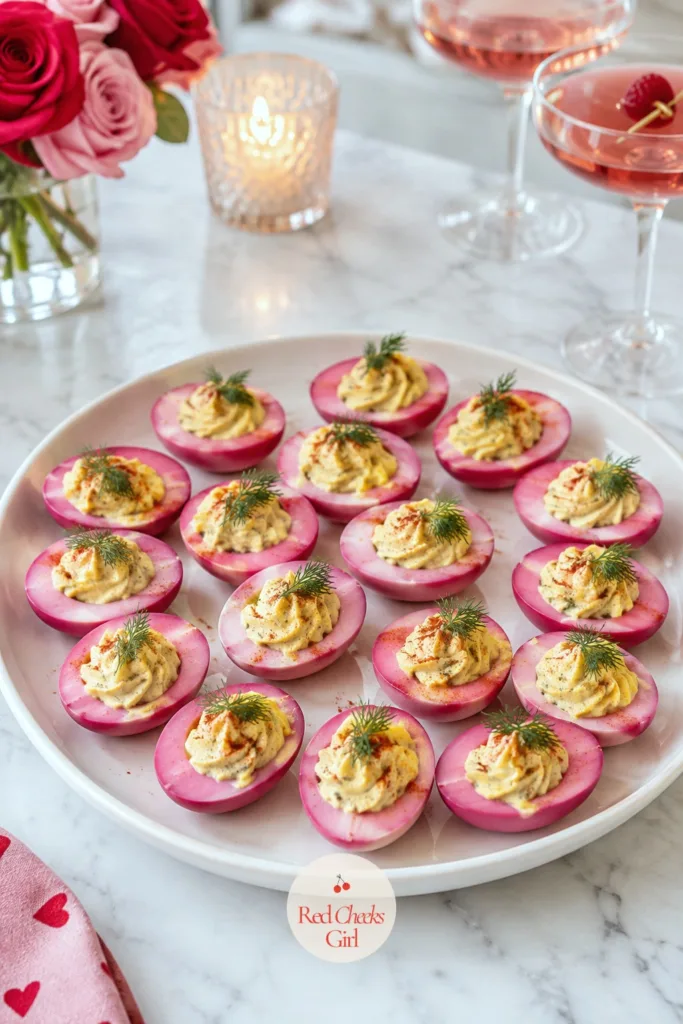
Pink Deviled Eggs
Ingredients
- 6 large eggs
- 1 cup pickled beet juice from a jar of pickled beets
- 1/4 cup mayonnaise
- 1 teaspoon yellow mustard
- 1/2 teaspoon white vinegar
- Salt and black pepper to season
- Fresh dill or chives for garnish
Instructions
- Place the eggs in a single layer in a saucepan and cover with cold water by an inch.
- Bring to a boil over high heat, then cover, remove from the heat, and let stand for 10 minutes.
- Transfer the eggs to a bowl of ice water and let cool for 10 minutes, then peel each egg under cool running water.
- Pour the beet juice into a shallow bowl and submerge the peeled whole eggs for 2 hours, turning once halfway through, until the whites are a deep pink all the way around.
- Remove the eggs from the beet juice and pat dry, then slice each in half lengthwise and scoop the yolks into a separate bowl.
- Mash the yolks with the mayonnaise, mustard and vinegar until completely smooth with no lumps.
- Season the yolk mixture with salt and pepper to taste.
- Pipe or spoon the yolk mixture back into the pink egg white halves, mounding it slightly above the surface.
- Garnish each with a small sprig of dill or a few snipped chives just before serving.
Good to Know
🛍 Shopping guide
Raspberry Brie Bites
Warm, gooey and barely sweet, this is the bite for the guest who claims not to want dessert and then eats three of these anyway. Puff pastry cups hold everything together, so there is no plating to manage once they come out of the oven.
Watch the pastry edges, not the cheese, for doneness: they should be deep golden and crisp all the way around, while the brie in the center looks soft and just starting to spill rather than fully melted into a puddle.
Let them rest for a few minutes after baking, since the filling is lava-hot straight from the oven and needs that time to settle without burning anyone’s tongue. Serve them warm on a small plate, close together, straight from the tin they baked in.


Raspberry Brie Bites
Ingredients
- 1 sheet puff pastry thawed
- 6 ounces brie cheese cut into 12 small cubes
- 1/3 cup raspberry jam
- 2 tablespoons chopped pecans
- 1 tablespoon honey for drizzle
Instructions
- Preheat the oven to 400 degrees Fahrenheit and lightly grease a 12 cup mini muffin tin.
- Cut the puff pastry into 12 squares and press each one into a cup of the muffin tin, letting the corners stick up above the rim.
- Place one cube of brie into each pastry cup.
- Spoon about a teaspoon of raspberry jam over the brie in each cup.
- Sprinkle the chopped pecans evenly over the tops.
- Bake for 14 to 16 minutes, until the pastry edges are deep golden and crisp and the brie looks soft and just beginning to spill.
- Let the bites rest in the tin for 5 minutes before lifting them out, since the filling stays very hot.
- Drizzle with honey just before serving.
Good to Know
Strawberry Lemonade Fruit Dip
This is the dip you make when a bowl of cut fruit needs a reason to get eaten first, and it comes together with a whisk, no cooking at all. Lemon zest, not just juice, is what gives it the bright pink-lemonade flavor without watering down the texture.
Whip it until it thickens slightly and holds a soft peak when the whisk lifts out, which usually takes less time than you expect since the cream cheese base is already fairly stiff. Overbeating will turn it grainy rather than smooth.
Serve it in a wide, shallow bowl set in the center of a platter of sliced strawberries and melon, with a small spoon rather than a knife, since guests will want to scoop rather than spread. A sprig of mint on top is the only garnish it needs.
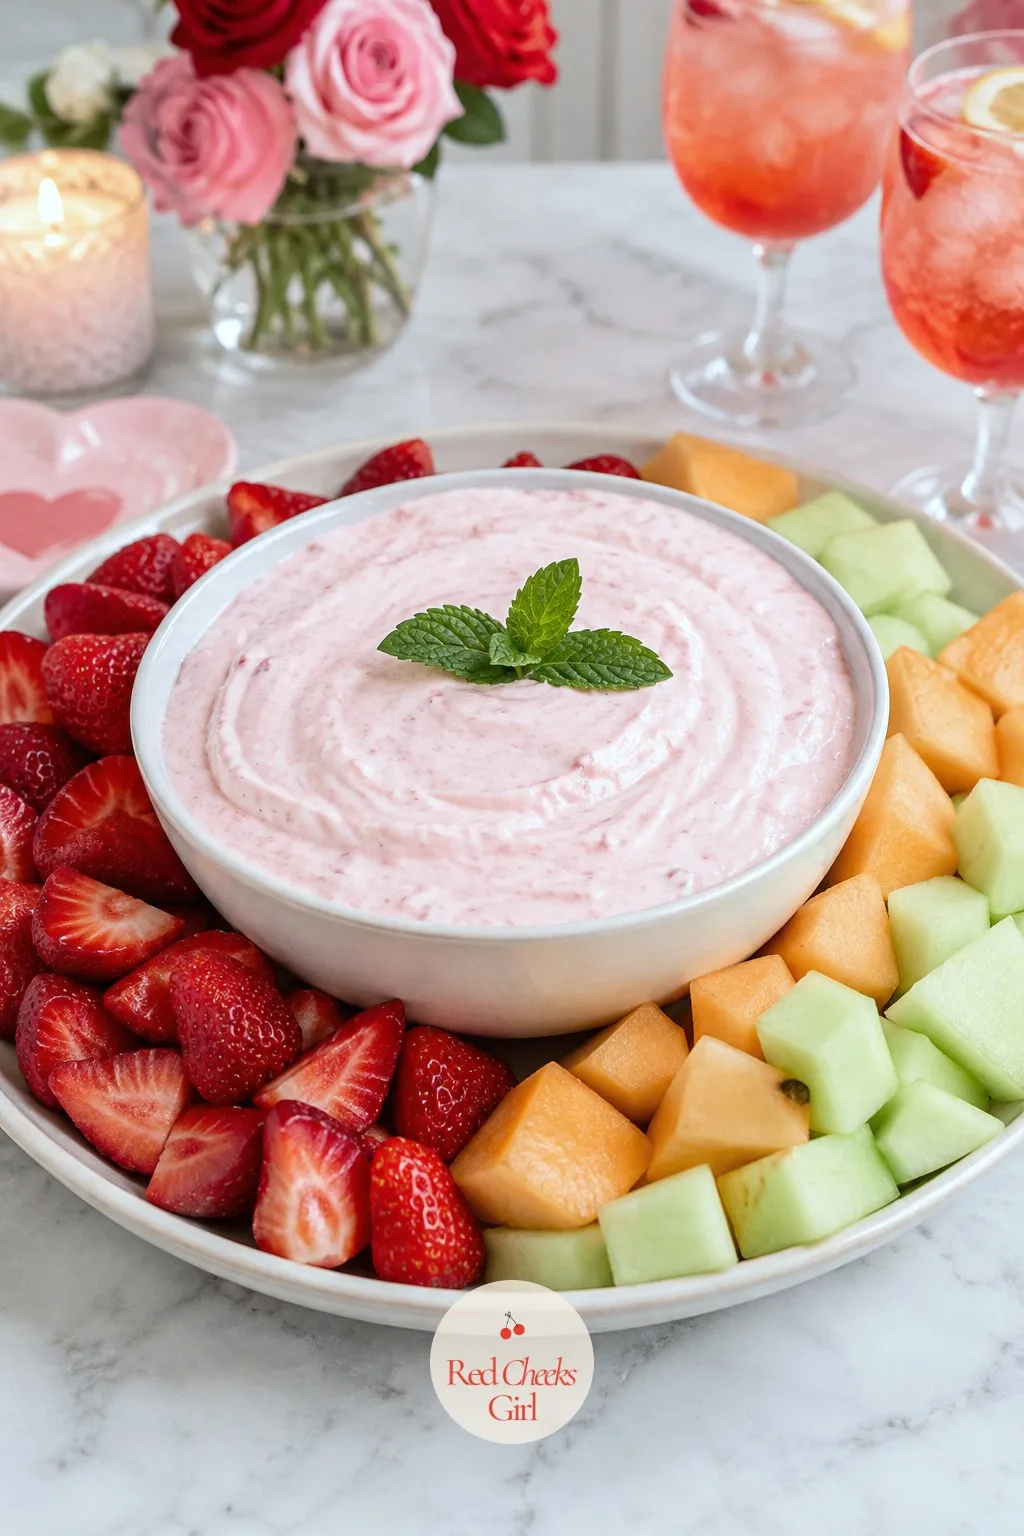
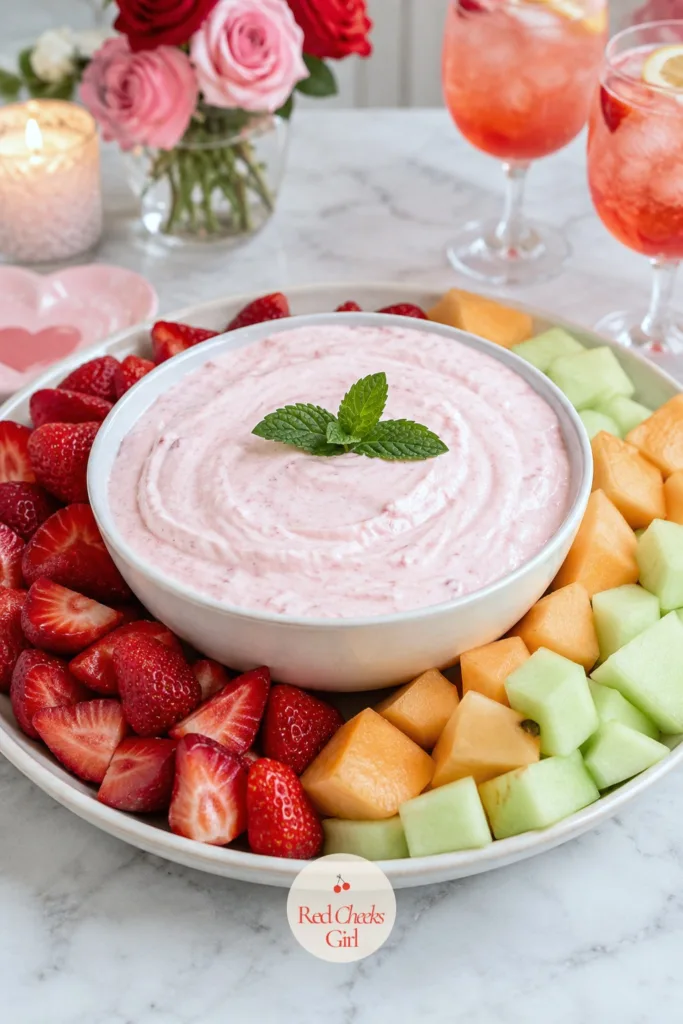
Strawberry Lemonade Fruit Dip
Ingredients
- 8 ounces cream cheese softened
- 1 cup marshmallow fluff
- 2 tablespoons lemon juice
- 1 teaspoon lemon zest
- 1/4 cup heavy cream
- Assorted sliced strawberries and melon for serving
Instructions
- In a large bowl, beat the cream cheese until smooth and no lumps remain, about 1 minute.
- Add the marshmallow fluff, lemon juice and lemon zest, and beat until fully combined and smooth.
- Pour in the heavy cream and beat for another minute, until the dip thickens slightly and holds a soft peak when the beater is lifted.
- Cover and refrigerate for at least 30 minutes, until cold and slightly firmer.
- Spoon the dip into a wide, shallow serving bowl.
- Arrange sliced strawberries and melon around the bowl for dipping.
Good to Know
Chocolate Covered Oreo Hearts
A cookie cutter and a steady knife turn an ordinary sandwich cookie into something that looks made for the day, no baking involved. Warm the knife slightly under hot water before each cut, which keeps the chocolate cookie from cracking into crumbs as the cutter presses through.
Dip only the bottom half of each heart rather than the whole cookie, so the cream filling stays visible in a stripe between chocolate shell and exposed cookie. That line is what reads clearly as a heart from across the table, not the shape alone.
Let them set flat on parchment, filling side up, rather than propping them upright. Arrange them in a tight grid on a flat plate, like tiles, so the repeated pattern does the visual work instead of a loose scatter.
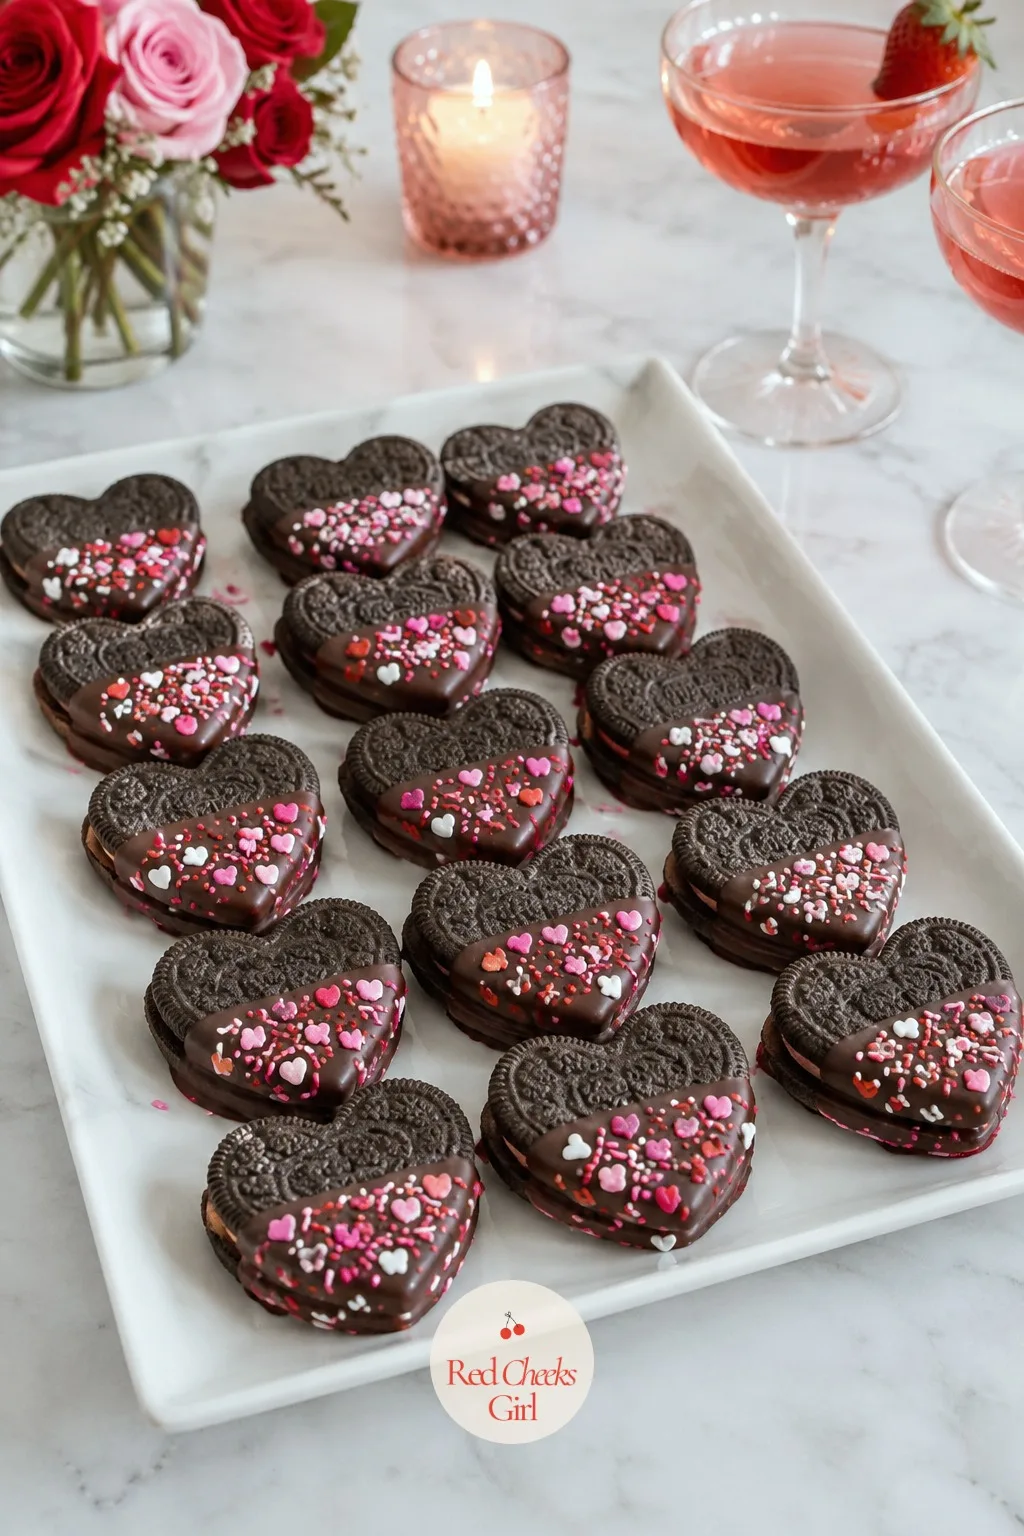
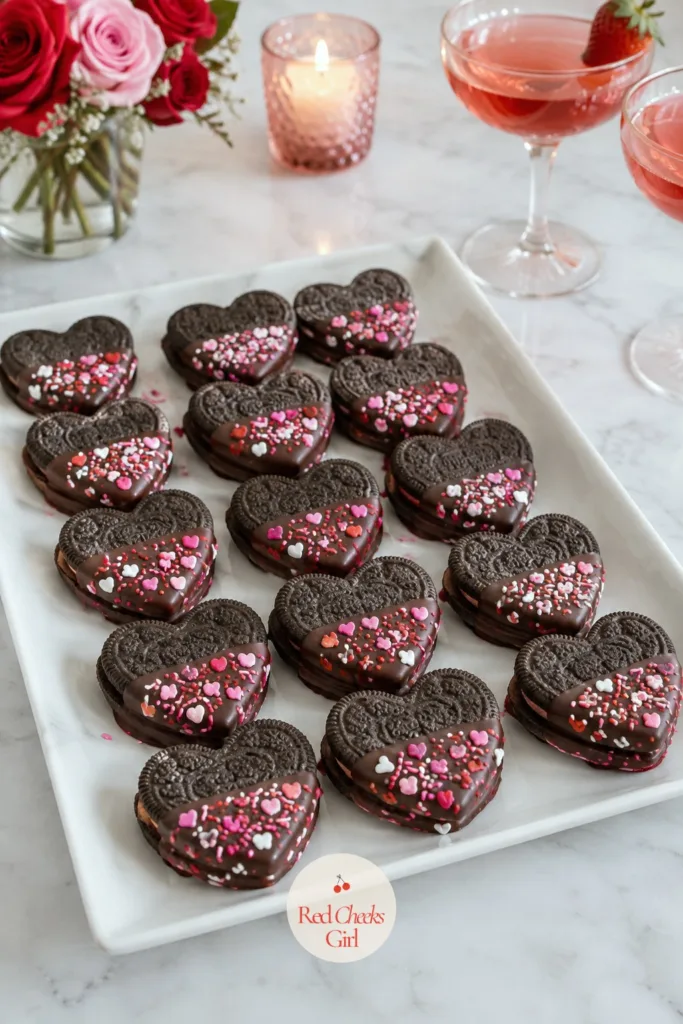
Chocolate Covered Oreo Hearts
Ingredients
- 20 sandwich cookies
- 10 ounces semisweet or white chocolate chopped
- 2 tablespoons pink and red sprinkles
Instructions
- Warm a sharp paring knife under hot running water, then dry it, and use it to trim each sandwich cookie into a rough heart shape, re-warming the knife between cuts as it cools.
- Line a baking sheet with parchment paper.
- Melt the chocolate in a heatproof bowl set over a pan of barely simmering water, stirring until smooth, about 4 minutes.
- Dip the bottom half of each cookie heart into the melted chocolate, leaving the top half with the cream filling visible.
- Let the excess chocolate drip off for a few seconds, then lay the cookie flat on the lined baking sheet, filling side up.
- Scatter sprinkles over the wet chocolate on each cookie immediately after dipping.
- Let the cookies set at room temperature for 15 minutes, until the chocolate is firm and no longer shiny.
Good to Know
Frequently Asked Questions
Can you make Valentine’s snacks ahead of time?
Most of these hold well for one to three days in an airtight container, especially dipped pretzels, bark and cake pops. Fresh-dipped strawberries and anything with cut fruit are best made the same day.
What should go on a Valentine’s snack board?
A good board mixes textures and a few savory pieces with the sweets, not just one type of candy. Strawberries, pretzels, chocolates and a couple of cheese or charcuterie pieces balance it out.
How do you keep chocolate covered strawberries from getting soggy?
Dry the strawberries completely before dipping, since any leftover moisture makes the chocolate slide or turn cloudy. Serve them the same day rather than storing them wet in the fridge overnight.
How do you make heart shapes without a special cookie cutter?
Cut a circle, then pinch one side into a point and press a shallow notch into the opposite side with the back of a knife. This works on cookies, pastry and even melon slices.
Are these snacks safe for someone with a peanut allergy?
The peanut butter heart cups are the only recipe here built on peanut butter, and sunflower seed butter swaps in with the same texture. Check labels on any store-bought chocolate or sprinkles as well.
Easter desserts for the whole table: 22 pastel bakes from carrot cake to lemon bars, each with a mak
My grandmother never measured anything. She’d squeeze a lemon directly over the bowl, catch wh
Sufganiyot are soft, jam-filled Hanukkah doughnuts you fry at home, fill with strawberry jam, and du
Leave a Reply